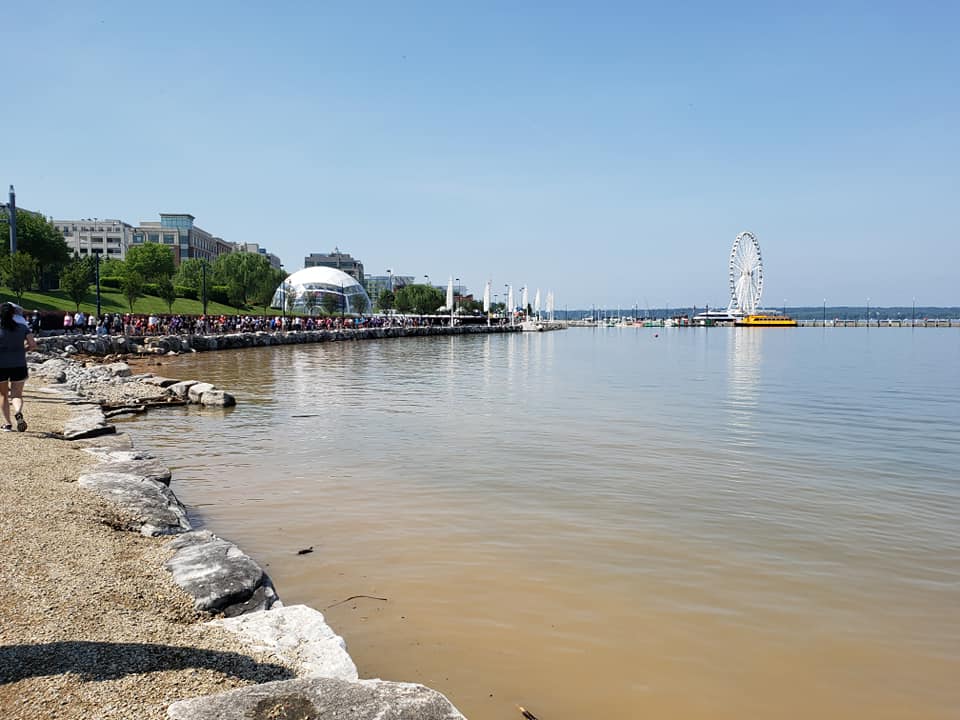
For the last few months, I’ve been fundraising for the Arthritis Foundation’s Walk to Cure Arthritis and this weekend the event finally took place! After a lot of rain here recently, we got an absolutely gorgeous day for the walk. My mom, dad, Joe, and my cousin Alyssa came to support me and hear me sing the National Anthem.

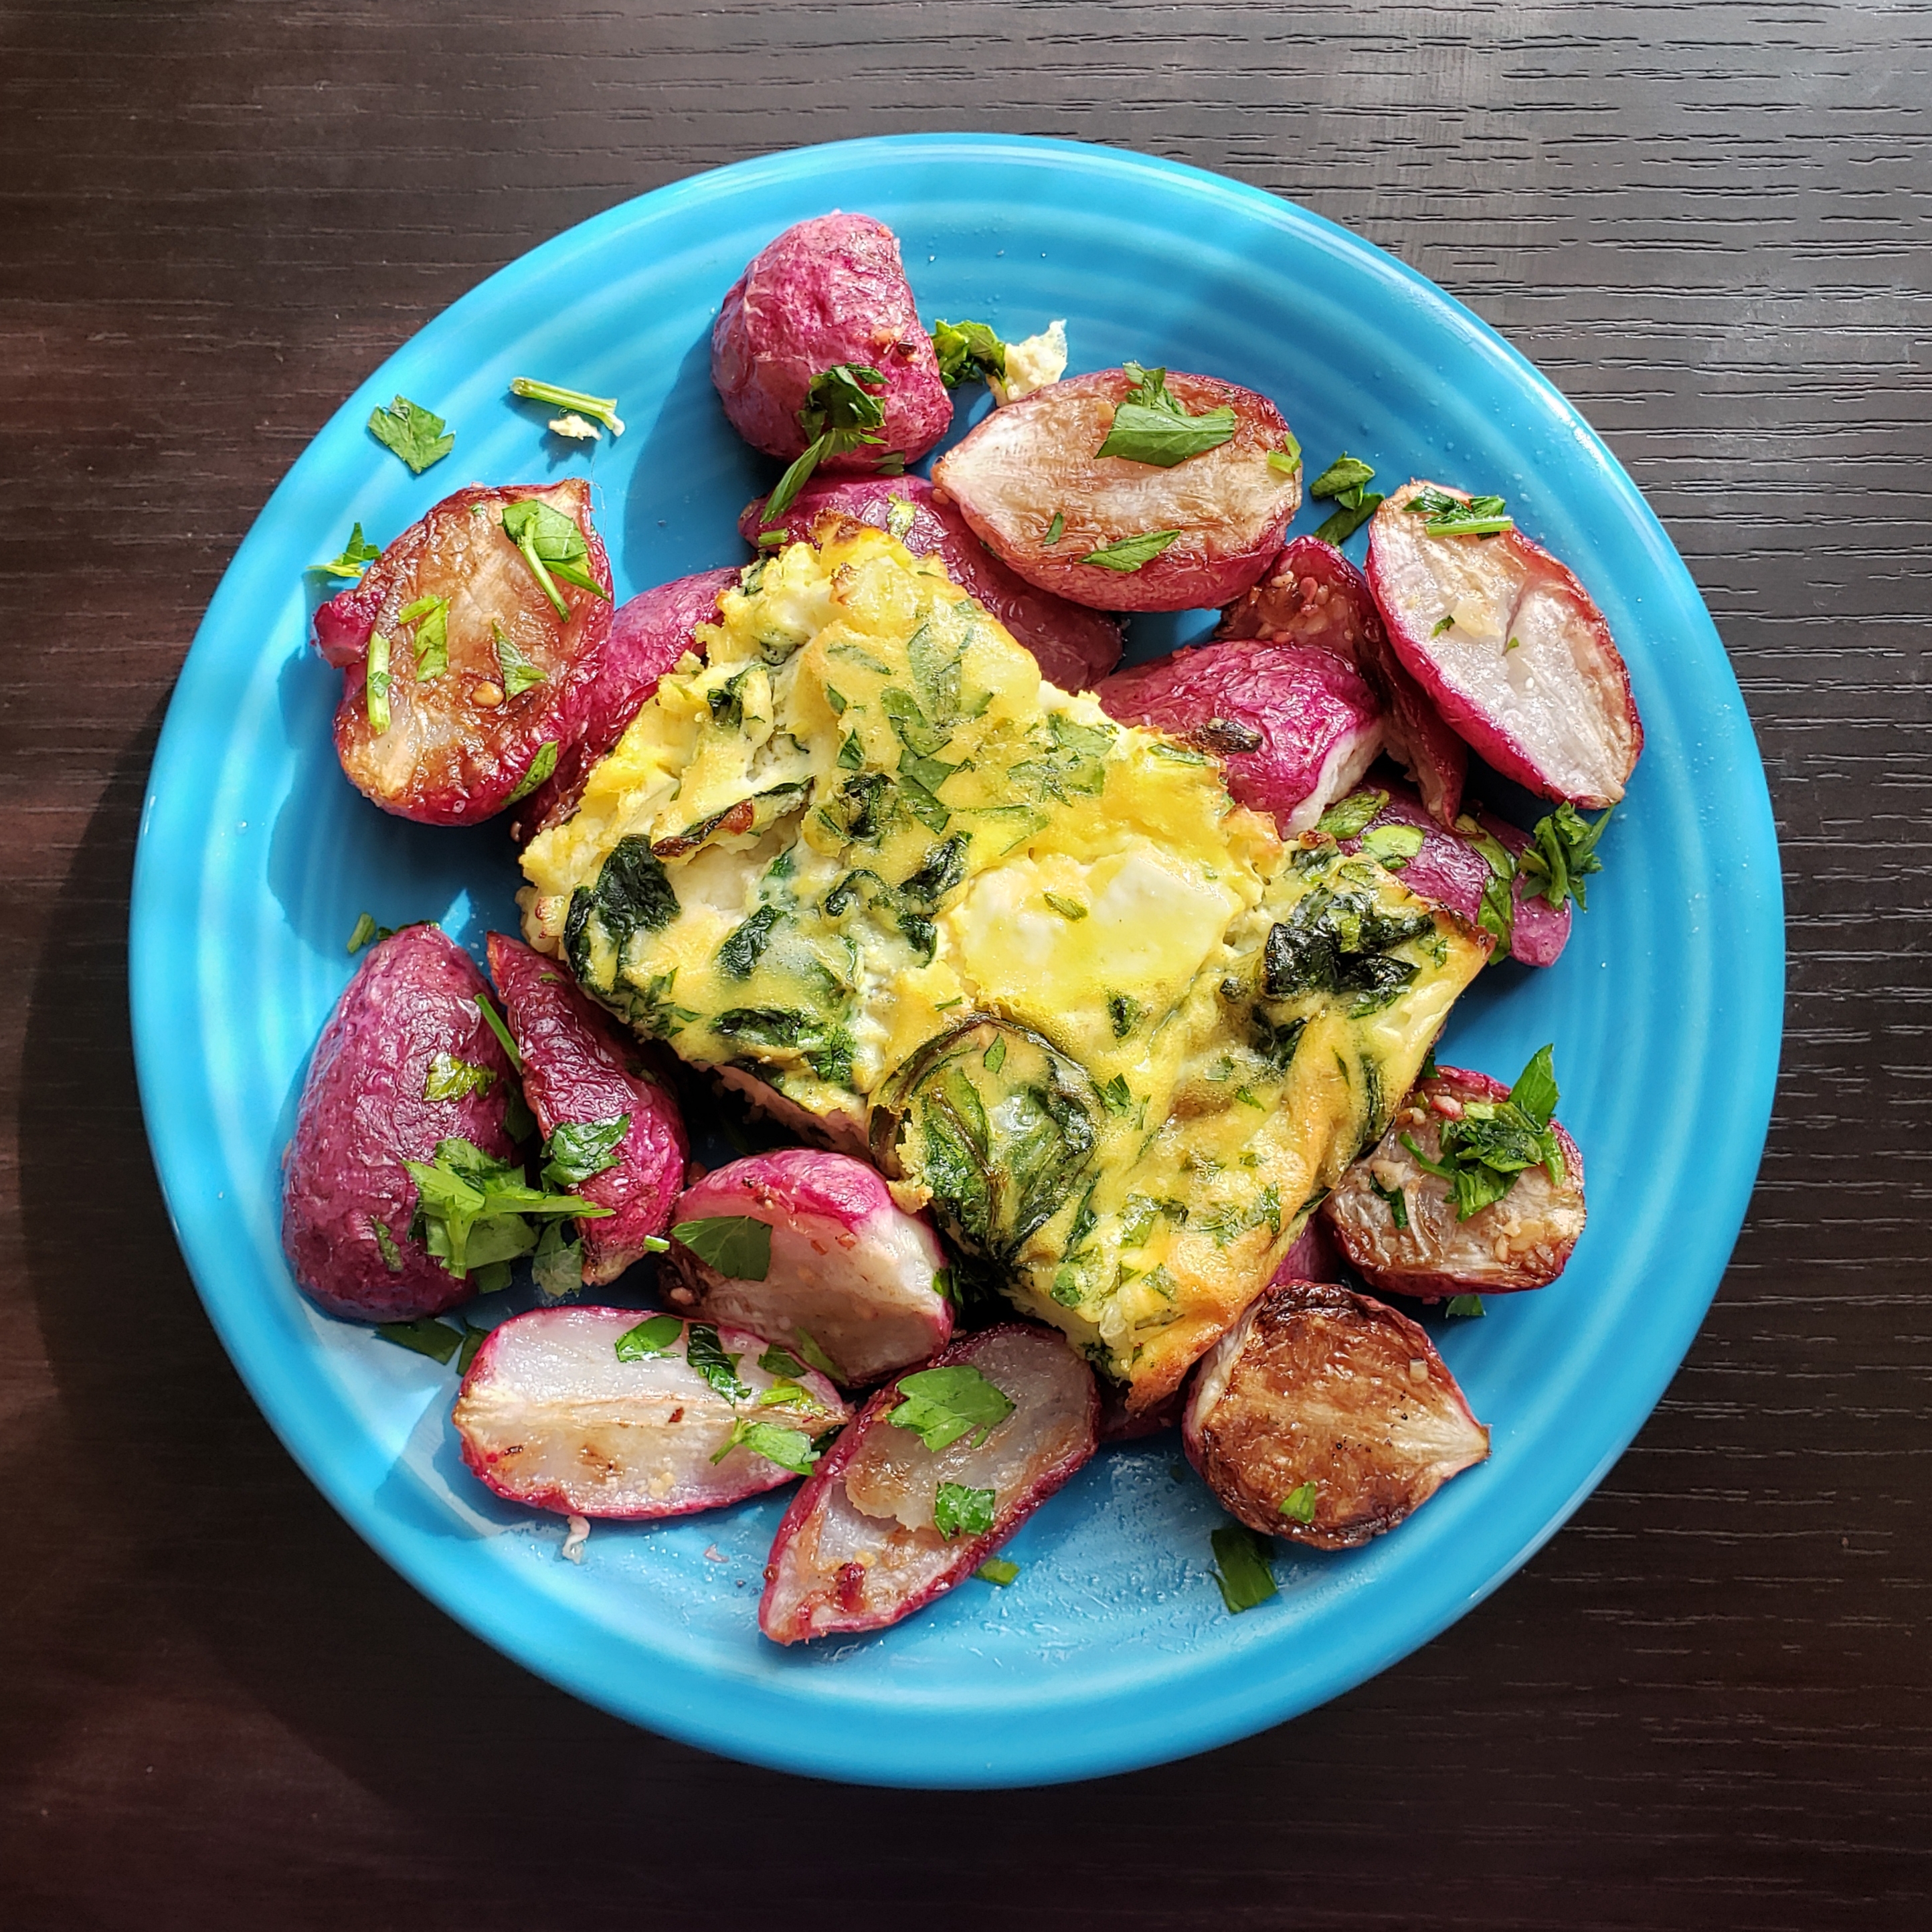
Of course, I had to make us a delicious breakfast before our morning exercise so we had oatmeal, yogurt and a protein and vegetable packed egg casserole that turned out really great. This morning I reheated a piece and enjoyed it along with some garlic-roasted radishes—too good to not share!
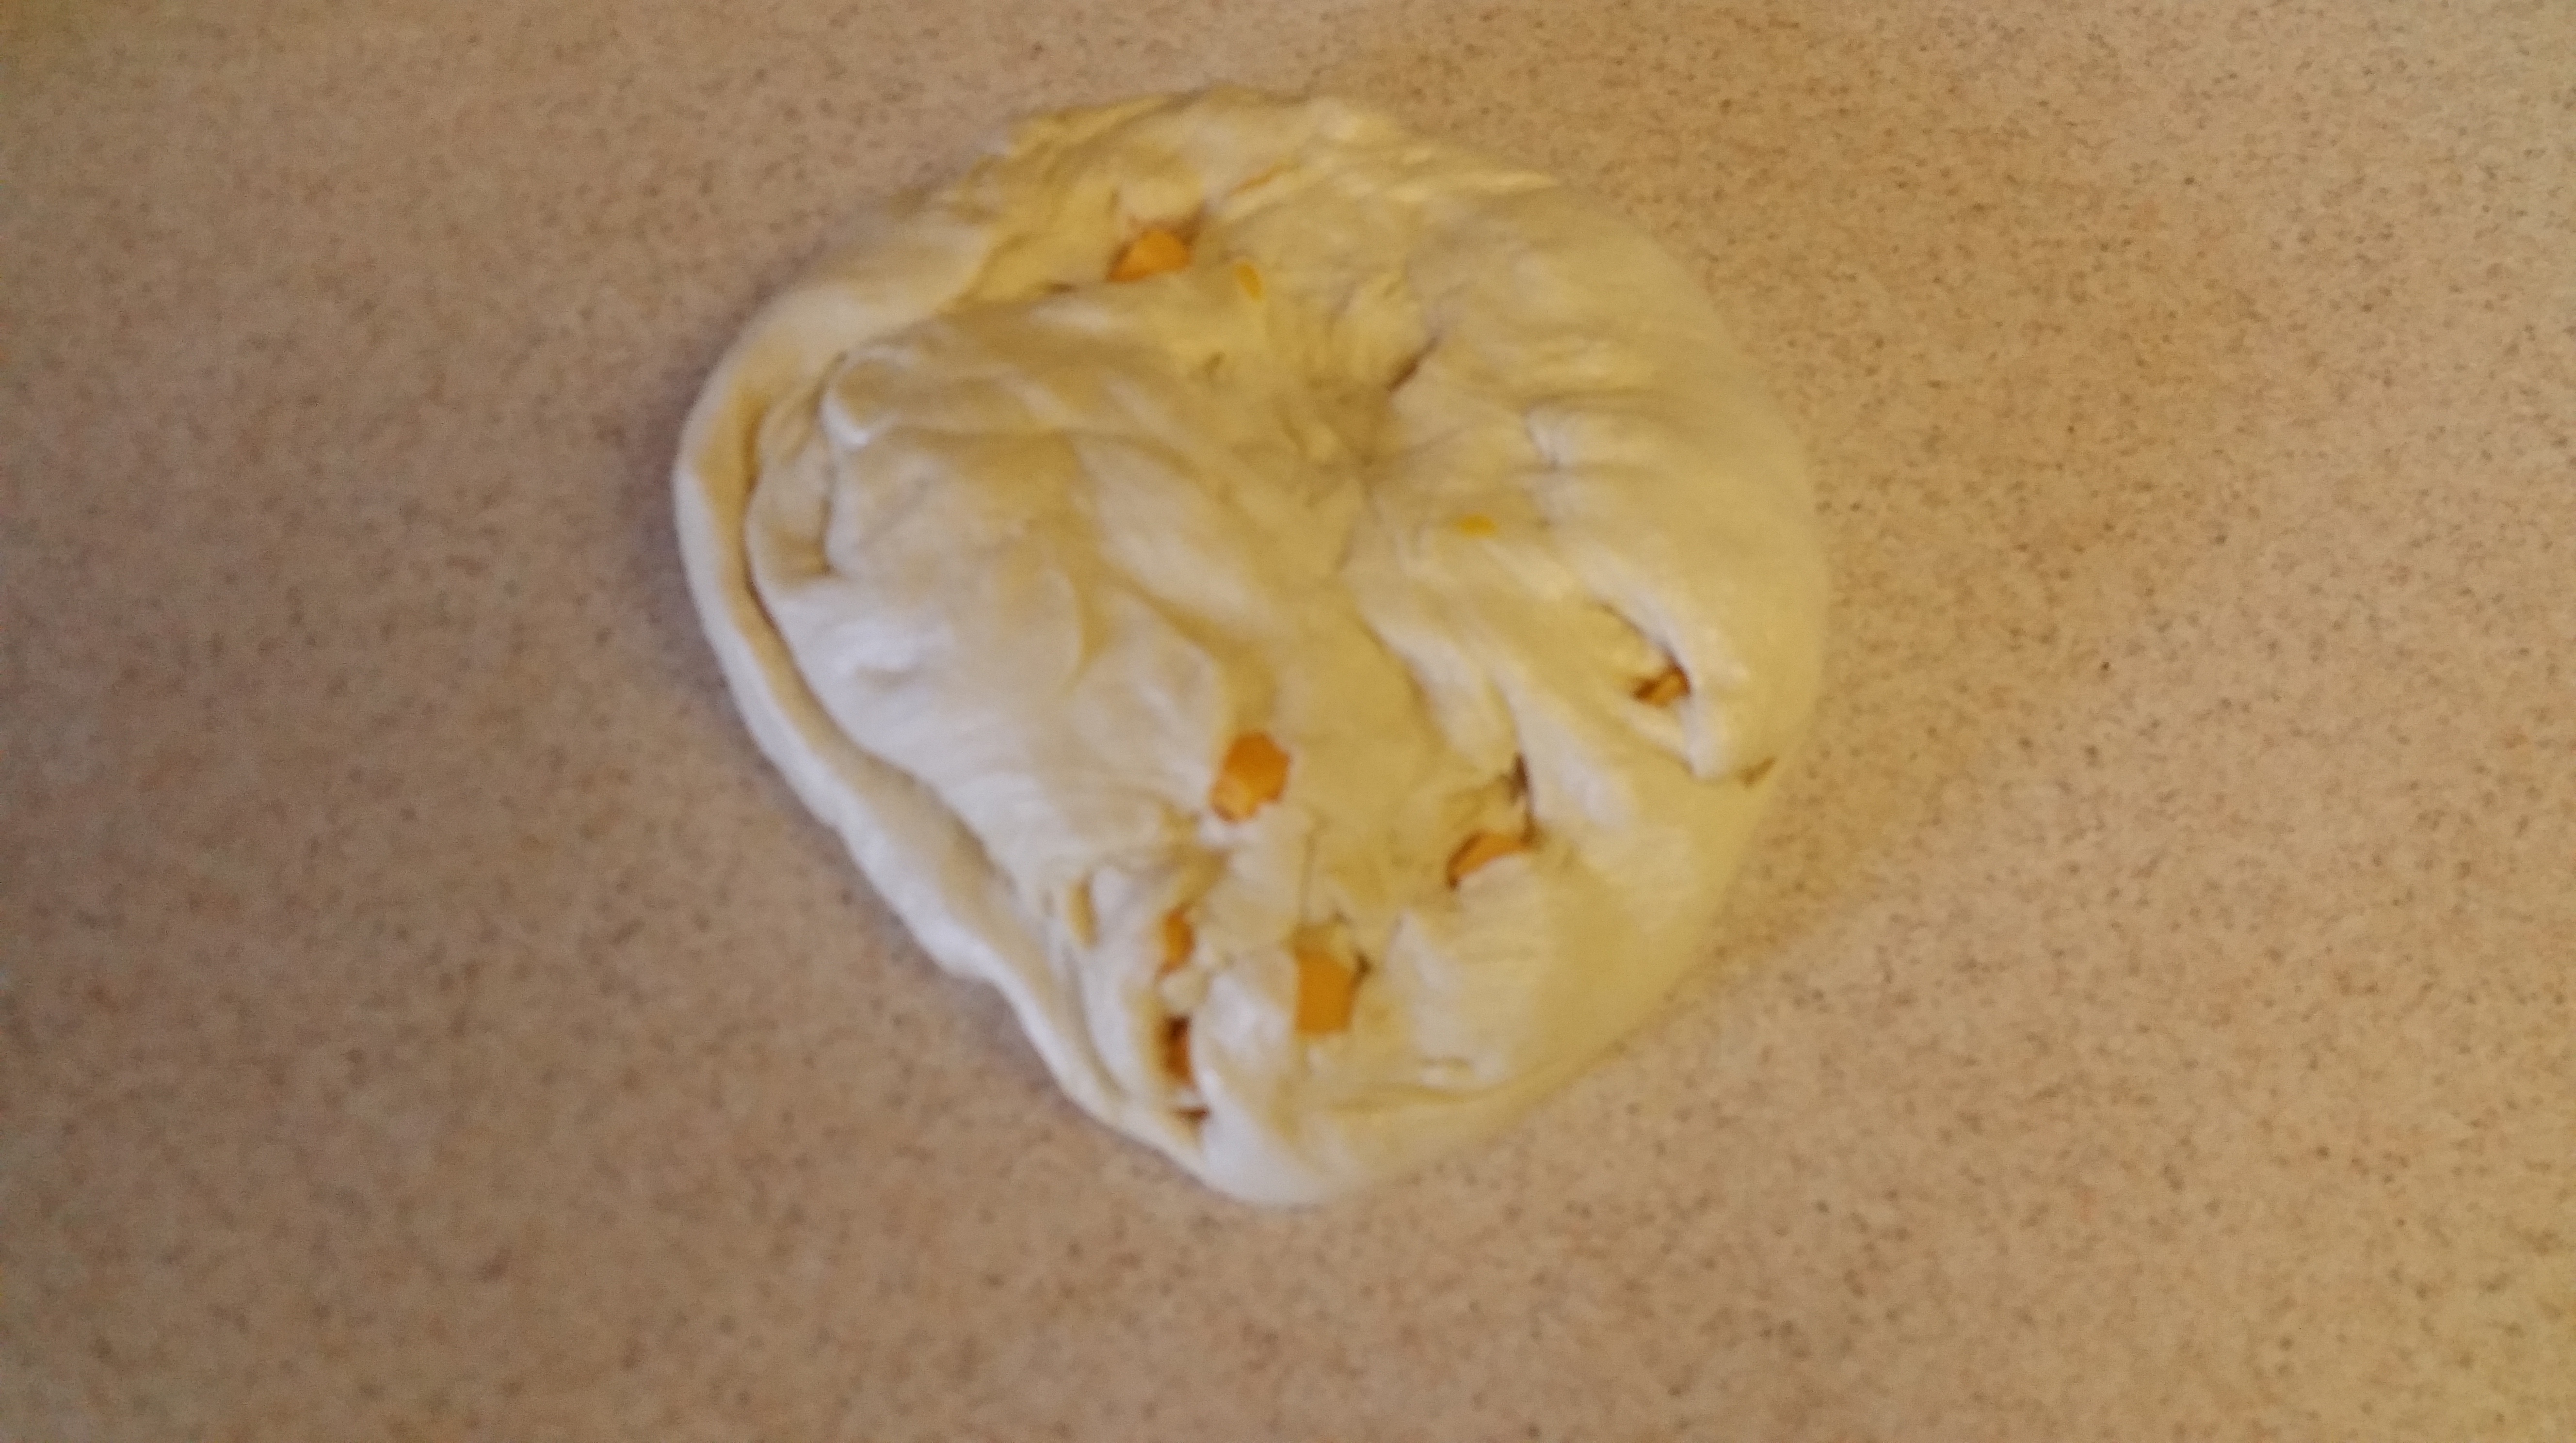
Spanikopita Egg Casserole
- 8 large eggs
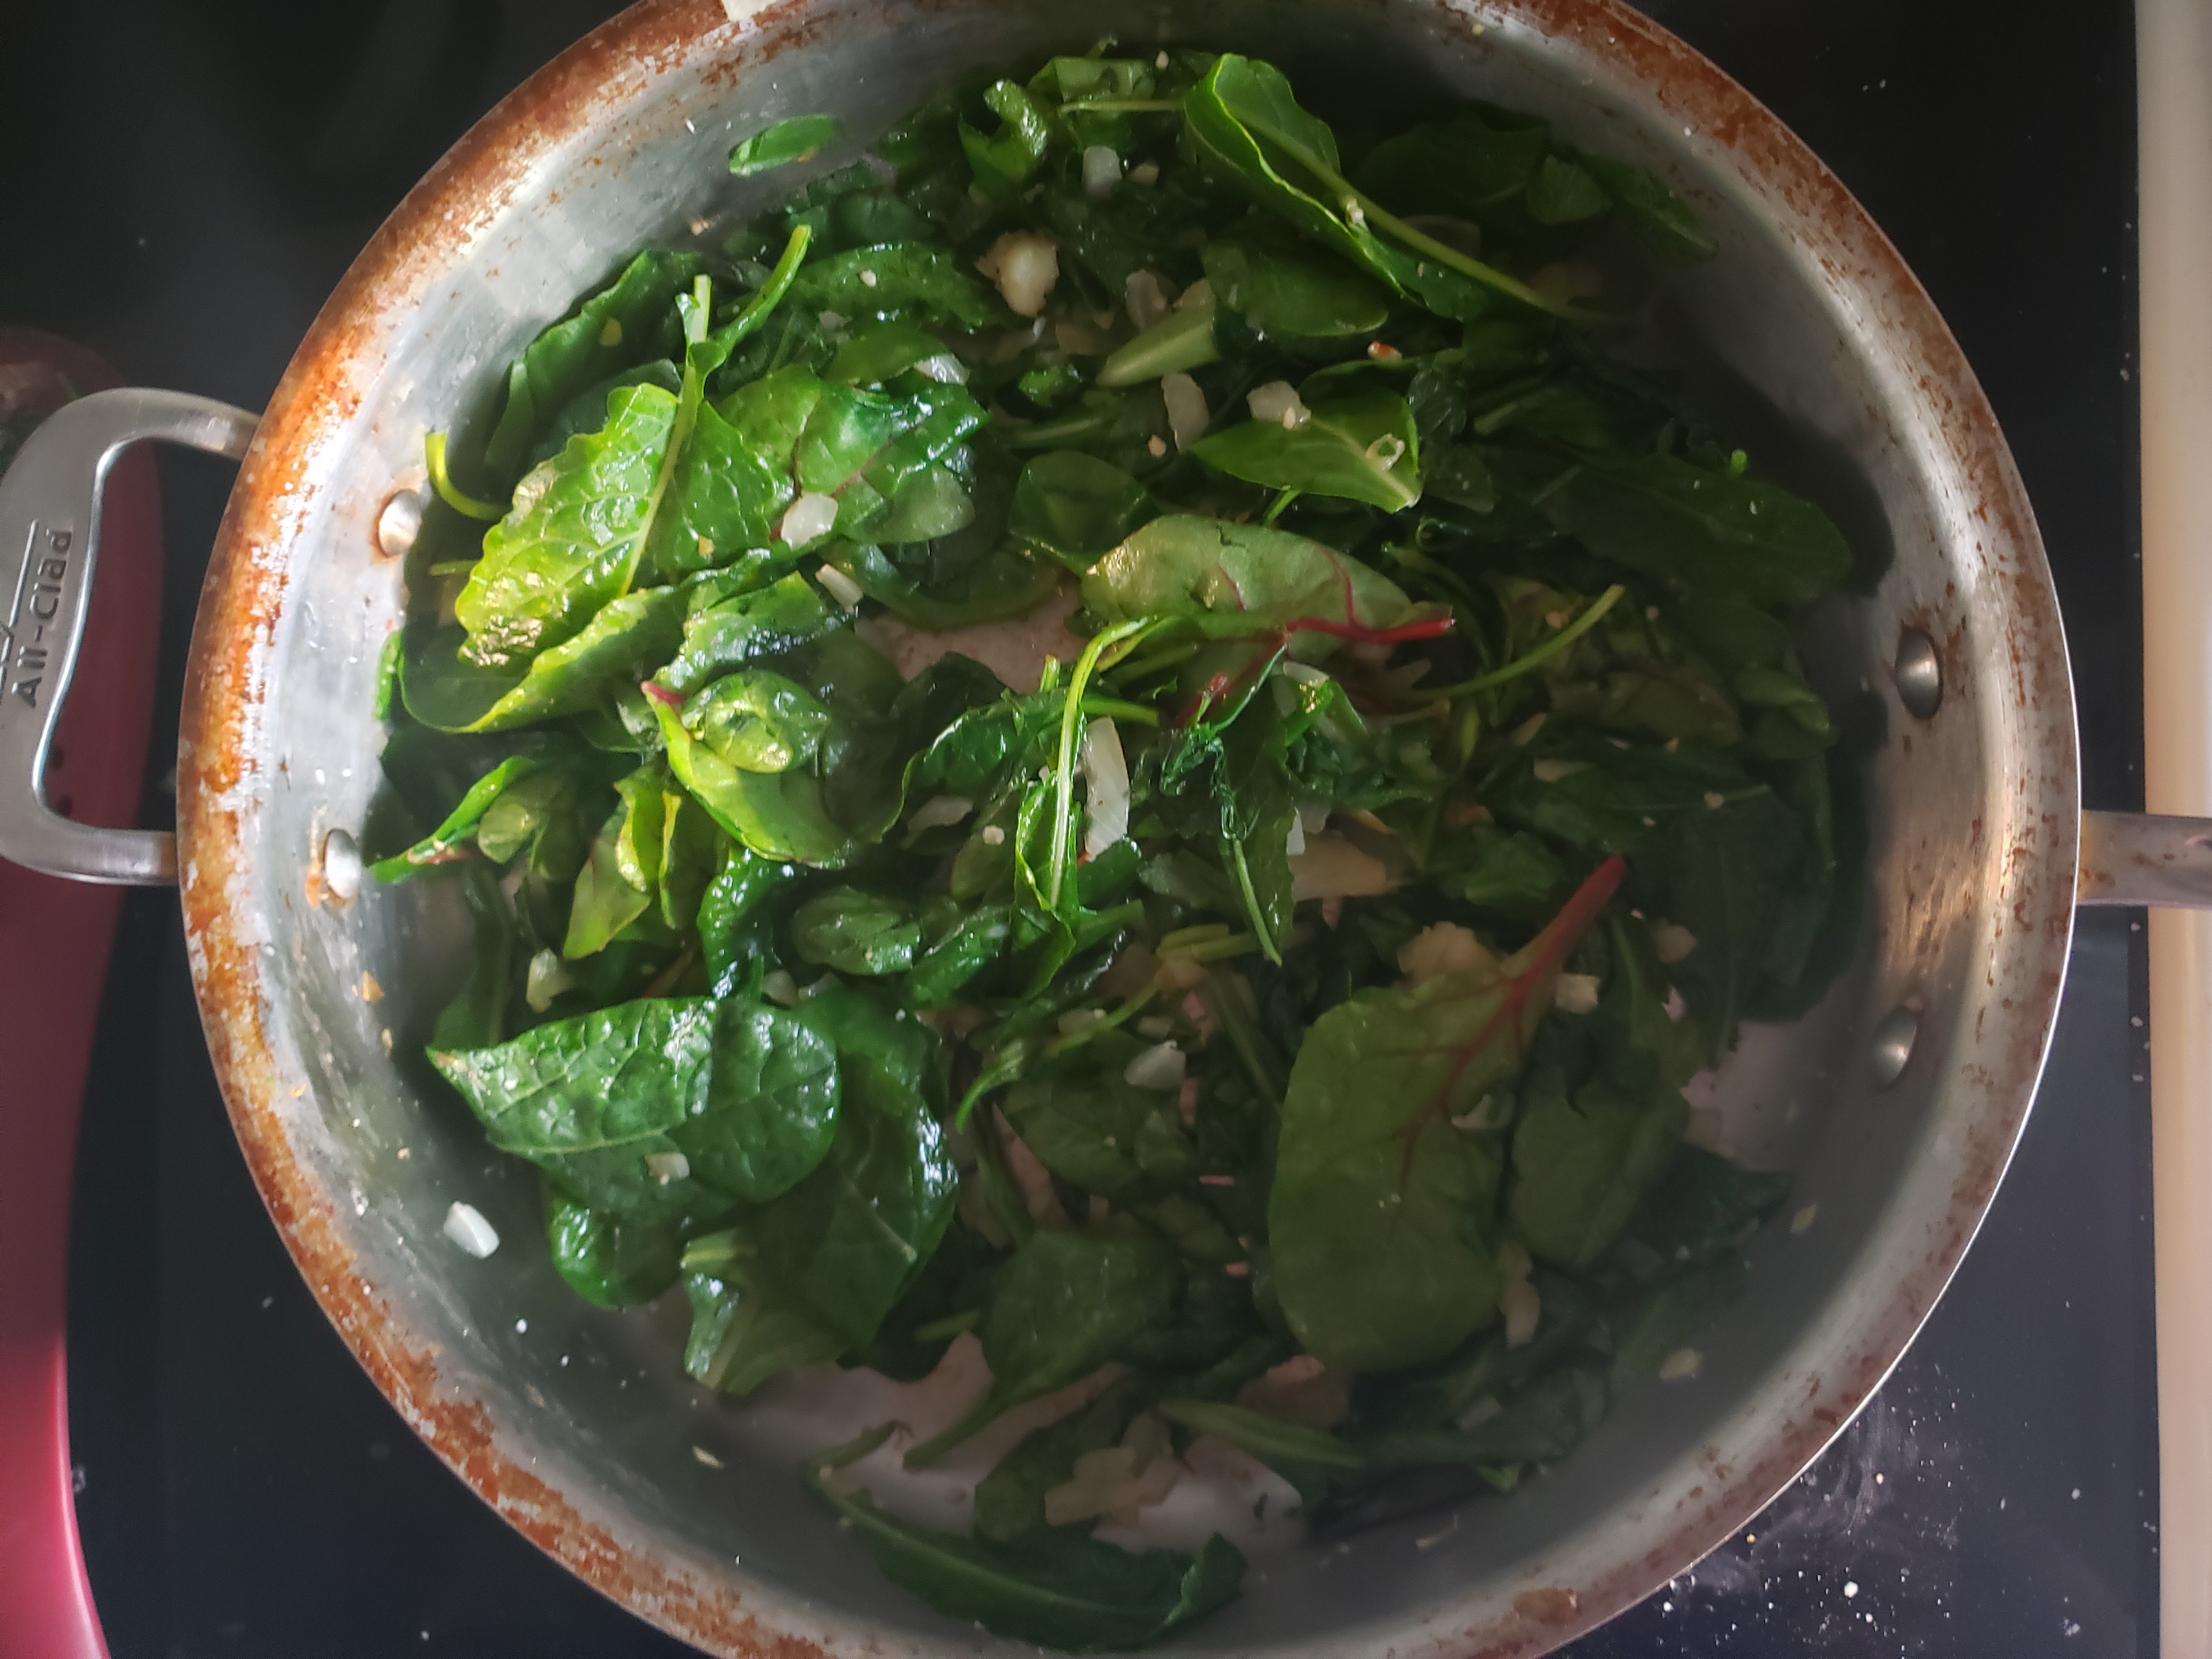
- 5 oz. greens (I used a baby kale, chard, and baby spinach mix)
- 1 tbsp. olive oil
- 1 onion, diced
- 2 cloves garlic, minced
- ½ cup light cream or half and half
- ½ cup ricotta cheese
- ½ cup feta cheese, crumbled
- ¼ cup fresh parsley, finely chopped
- ½ tsp. kosher salt
- A few grinds of black pepper
Garlic-Roasted Radishes
- 8 oz. radishes, quartered (or halved if small)
- 2 cloves garlic, minced
- 1 tbsp. olive oil
- Salt and pepper to taste
- 2 tbsp. fresh parsley, finely chopped
Preheat an oven to 350 degrees F and lightly grease an 8×8 in. baking dish.

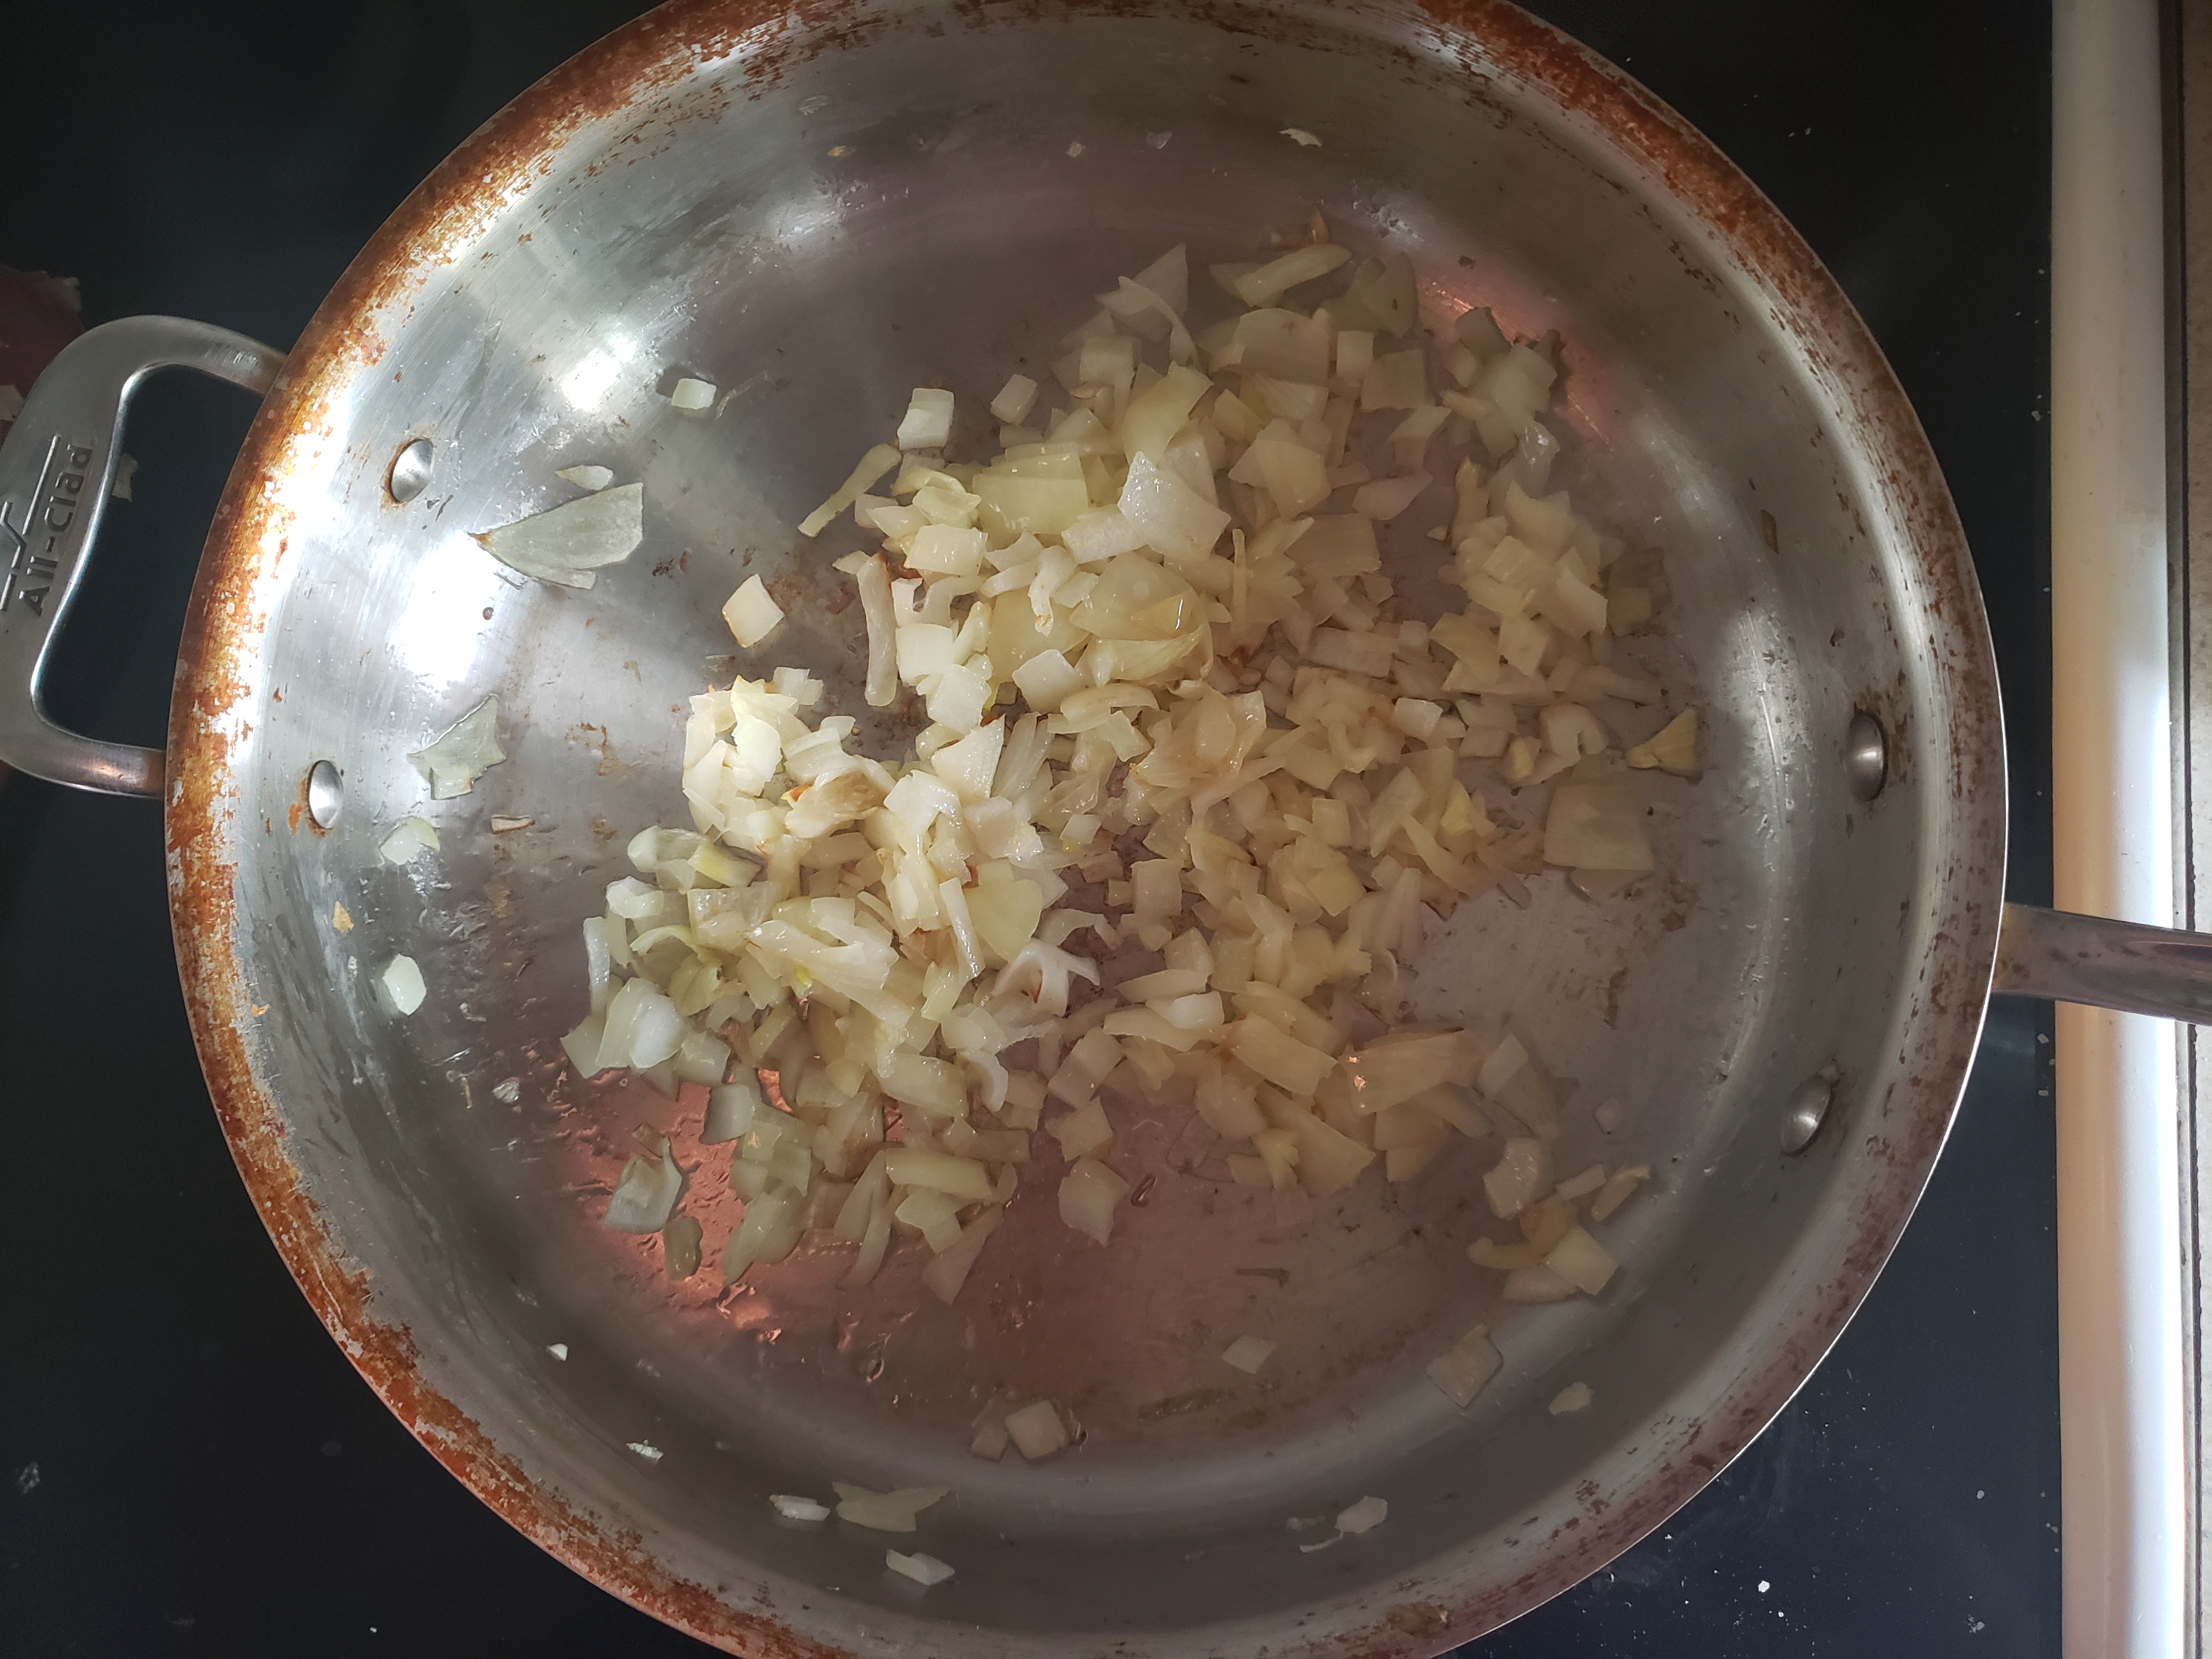
For the egg casserole, begin by sautéing the onion in the olive oil for 4-5 minutes or until slightly softened. Add the garlic and cook 1 minute more.
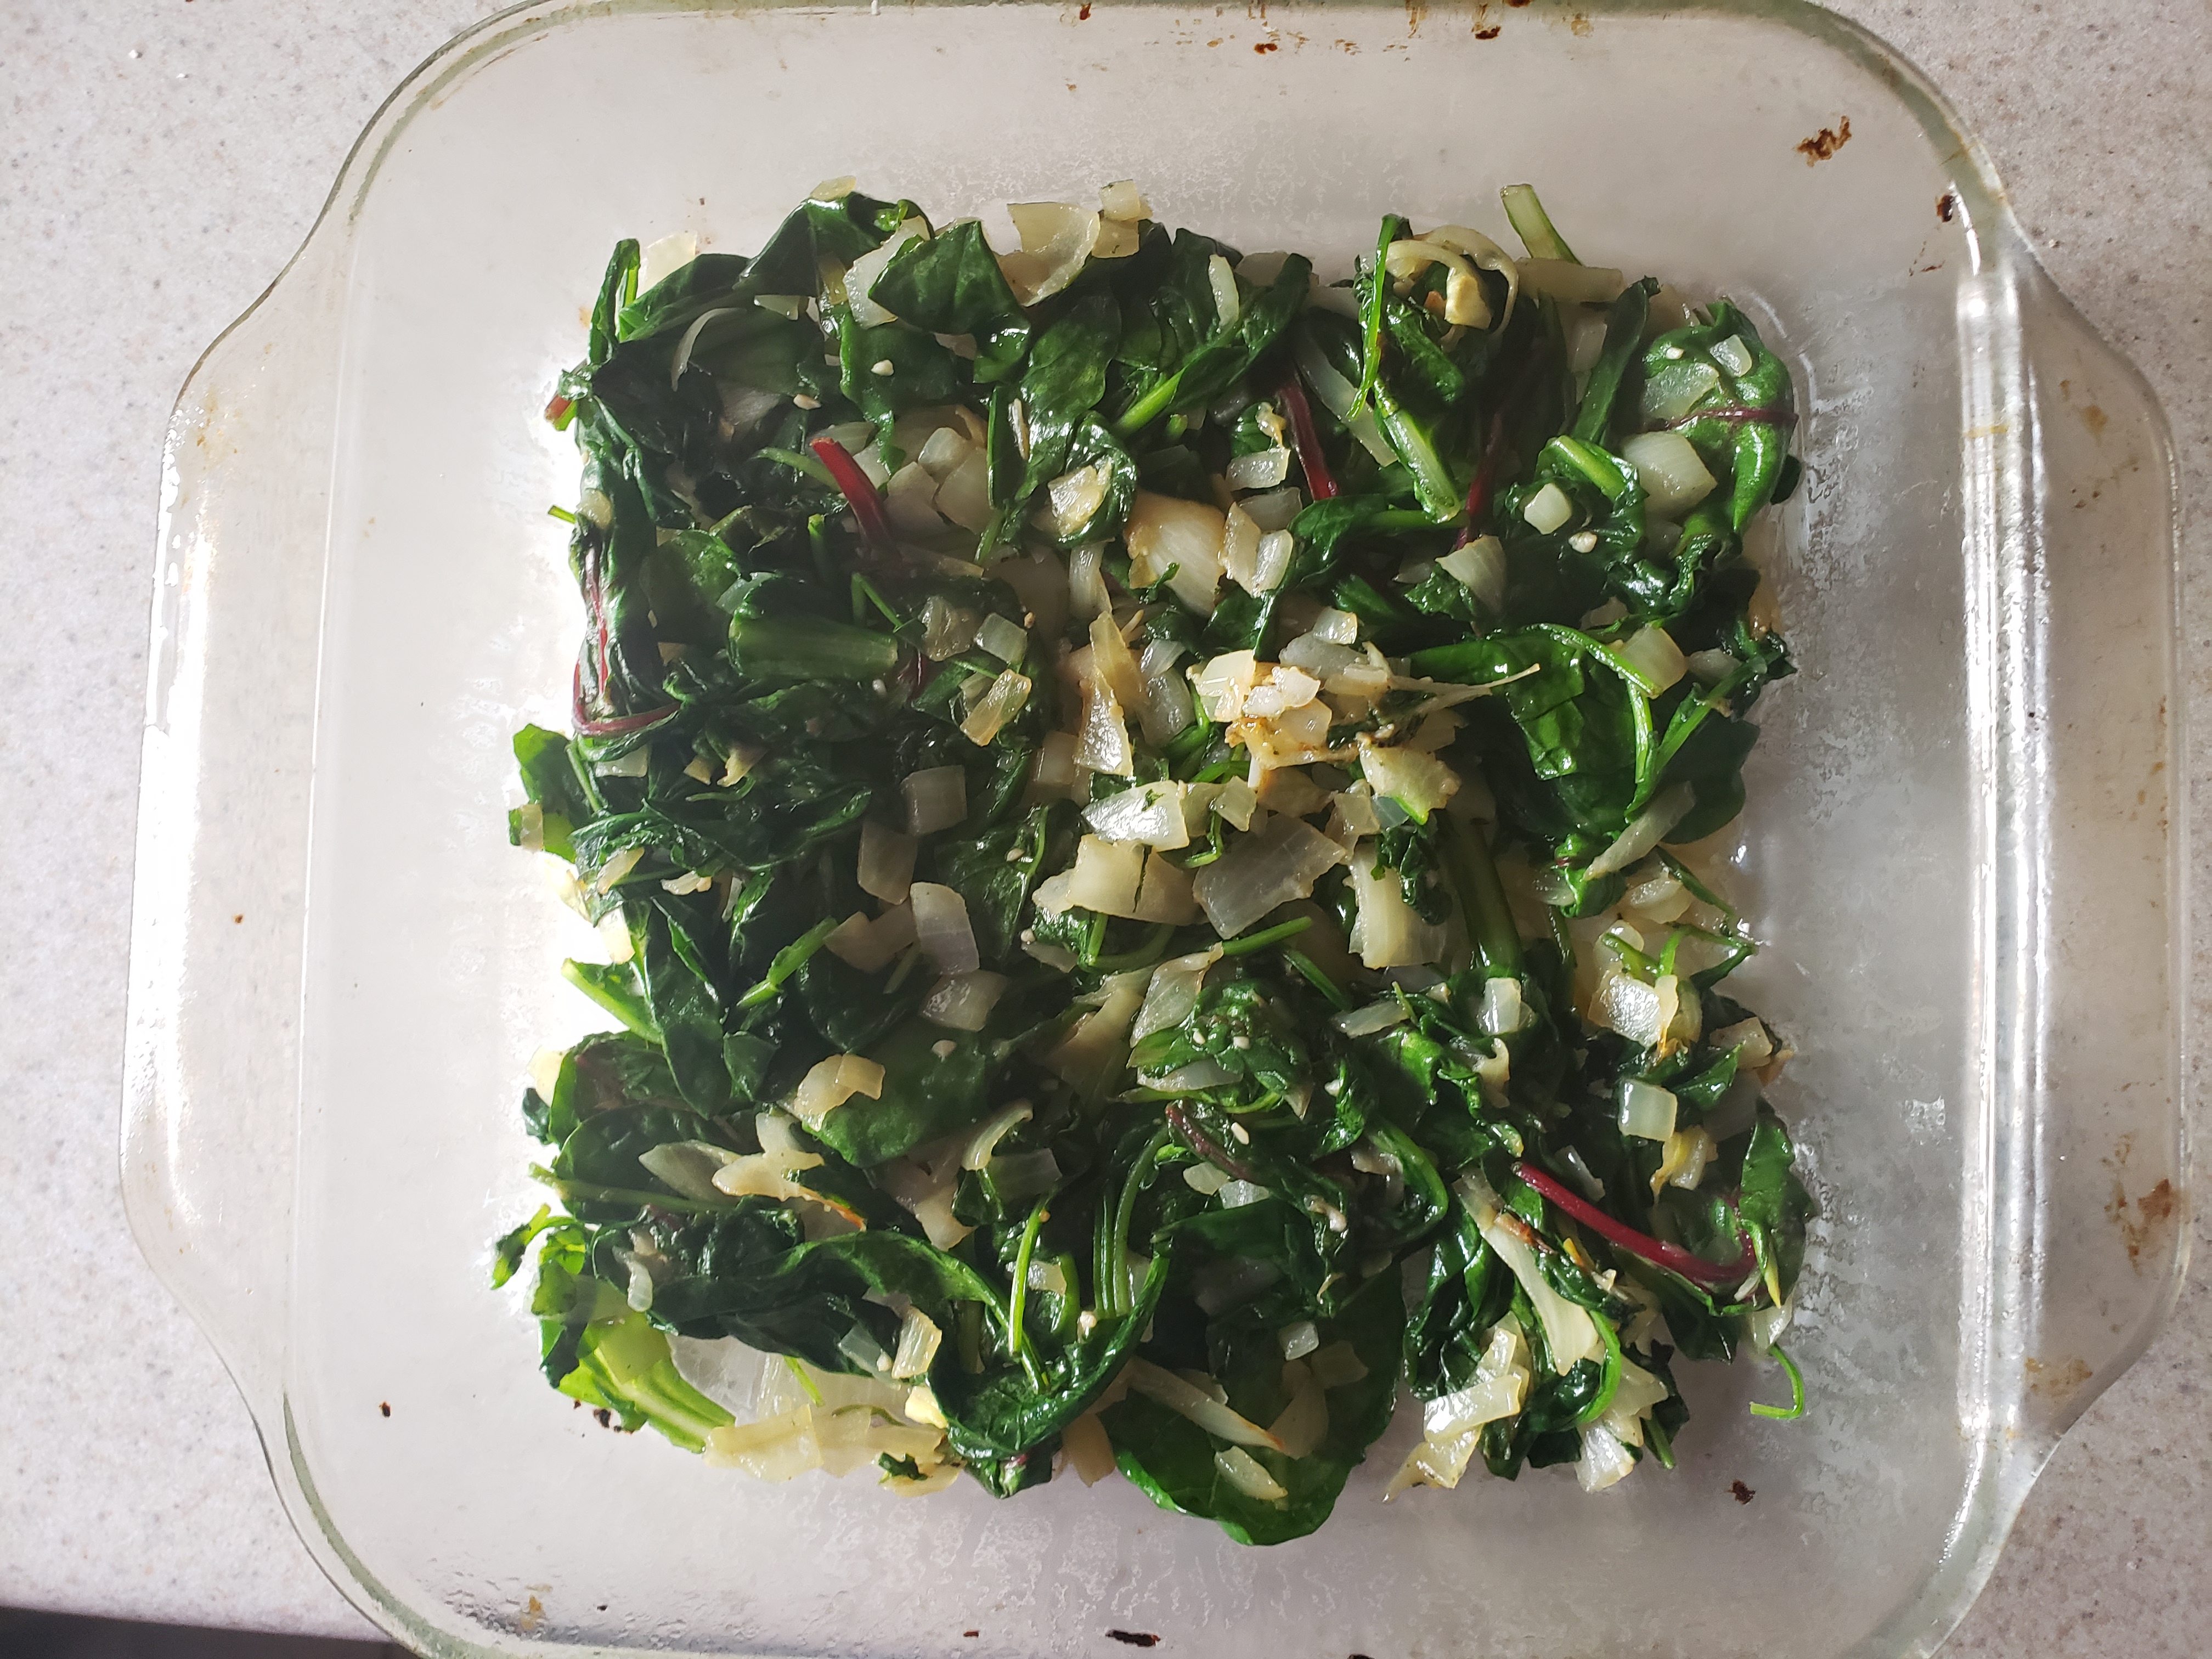
Add the greens and cook just until wilted, about 1-2 minutes.
Transfer the mixture to the baking pan, spreading it evenly along the bottom.
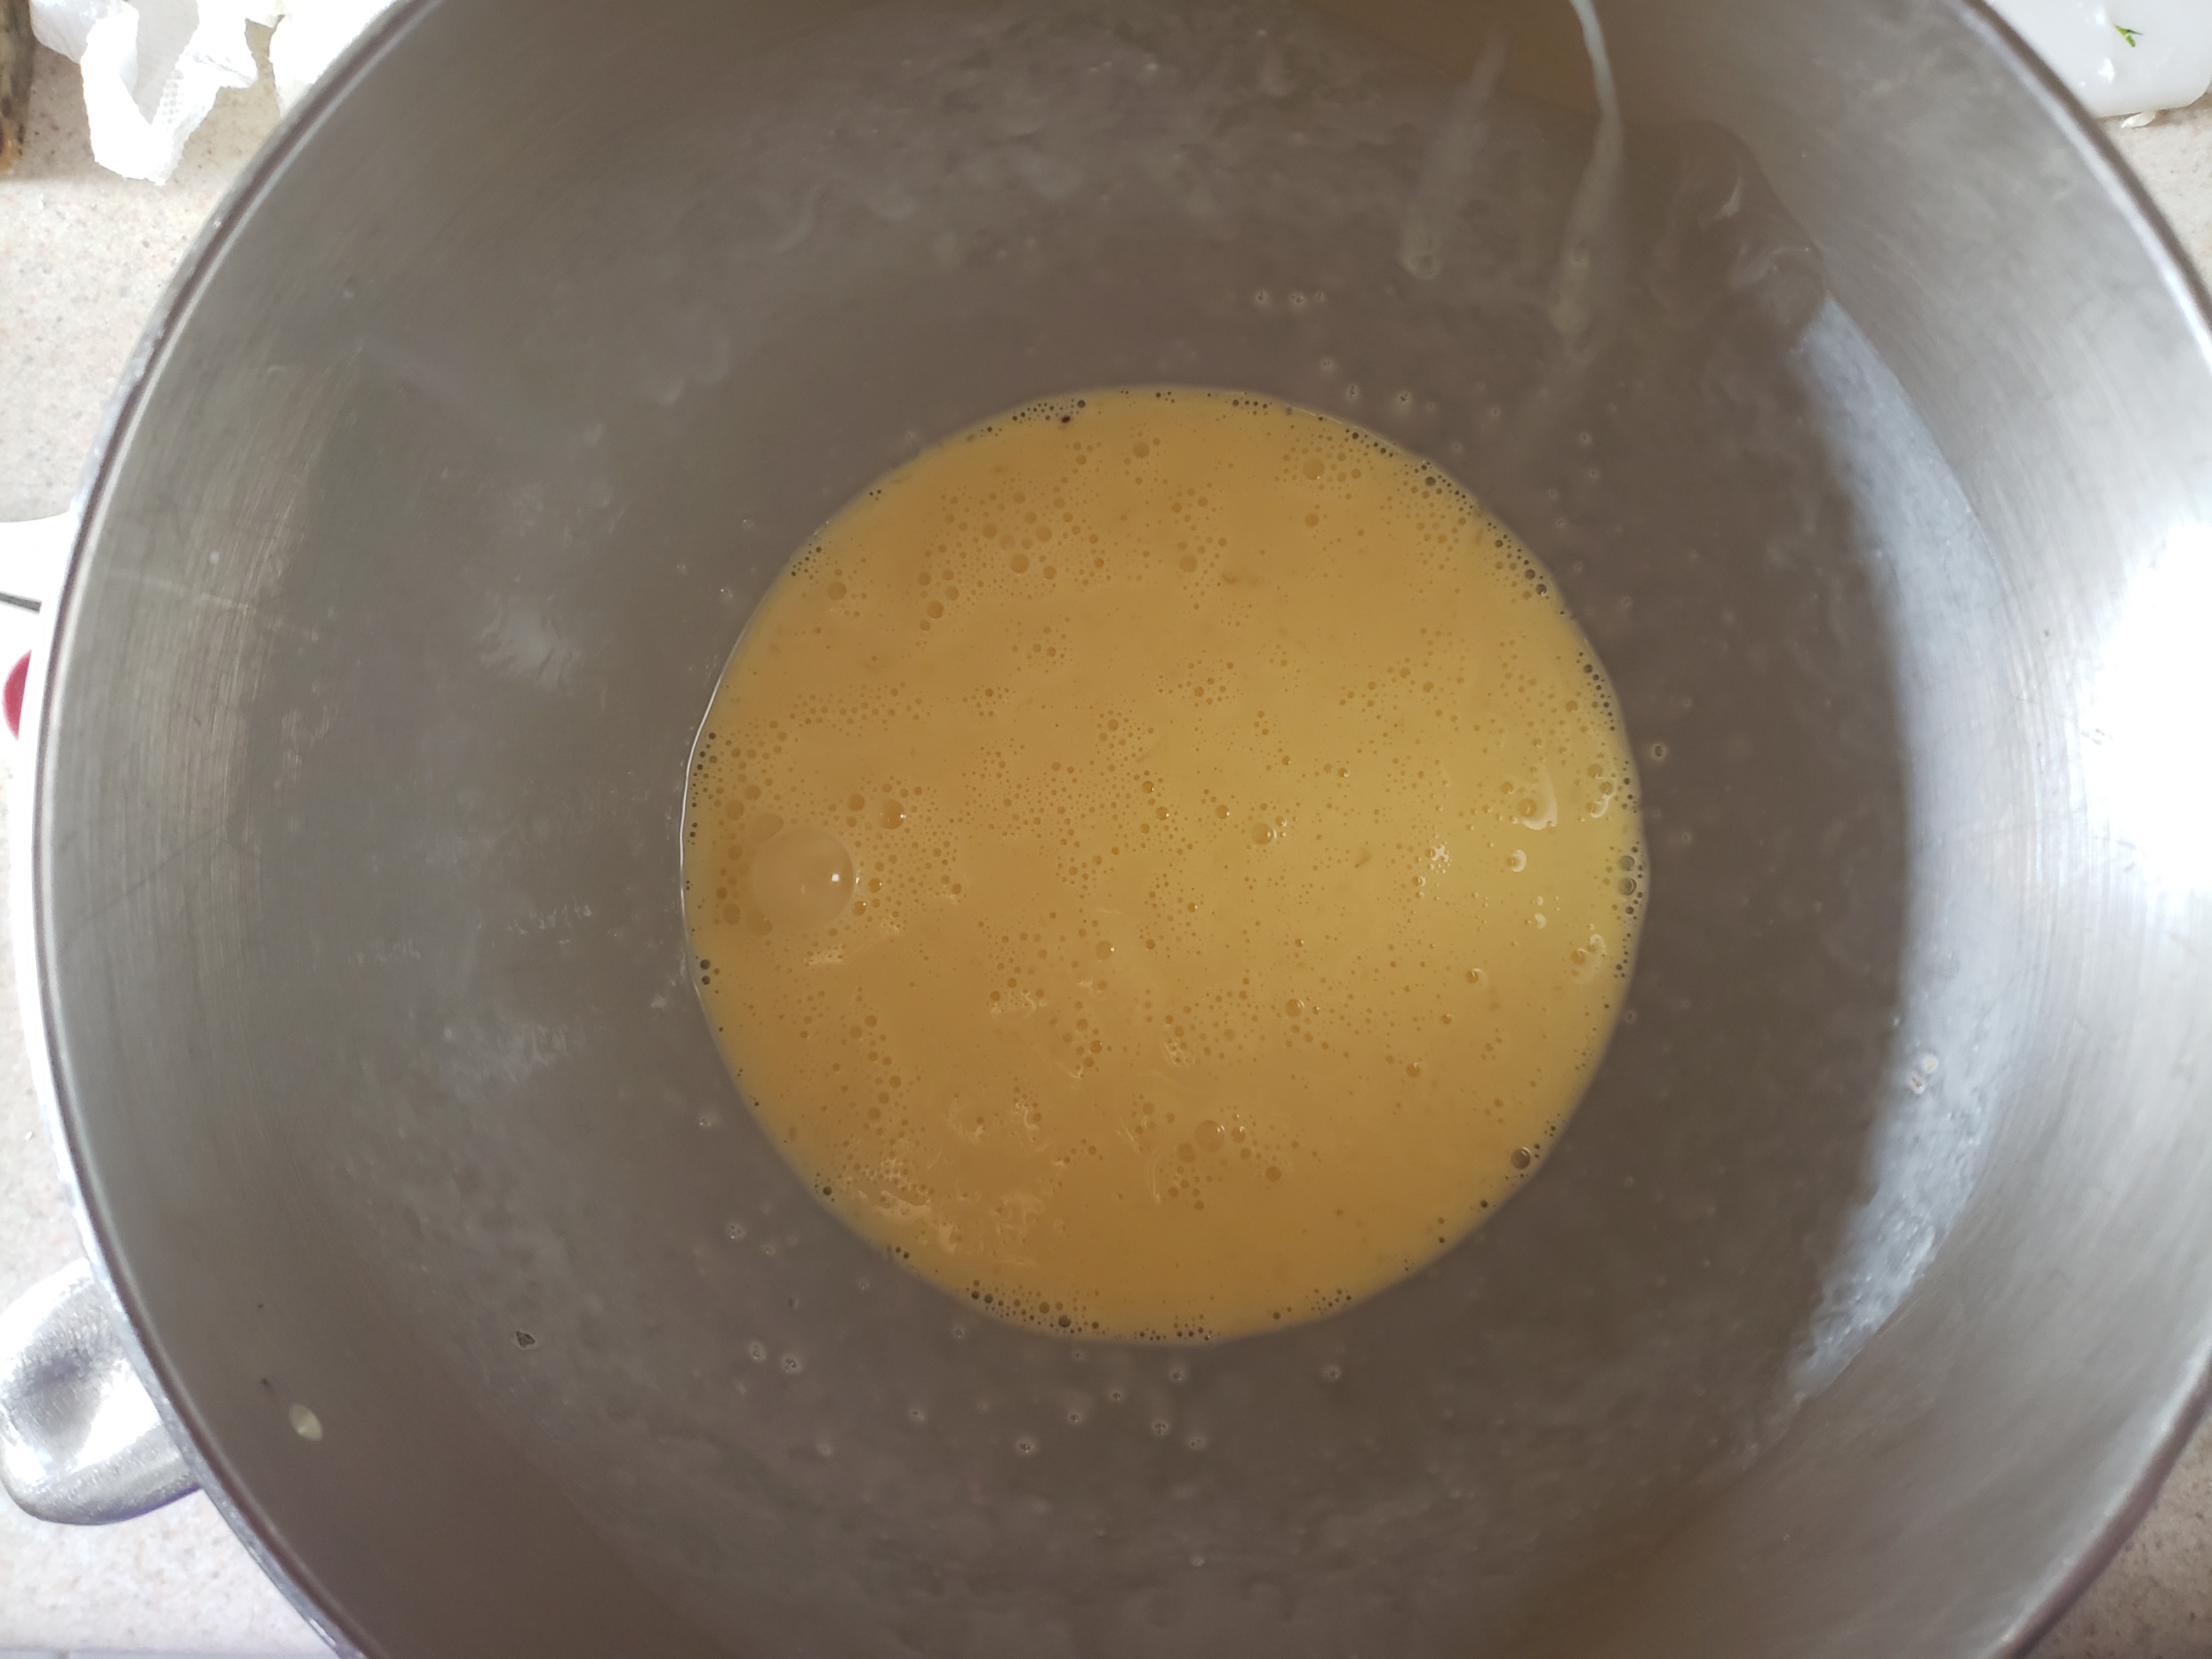
In a large bowl, whisk the eggs and light cream together.
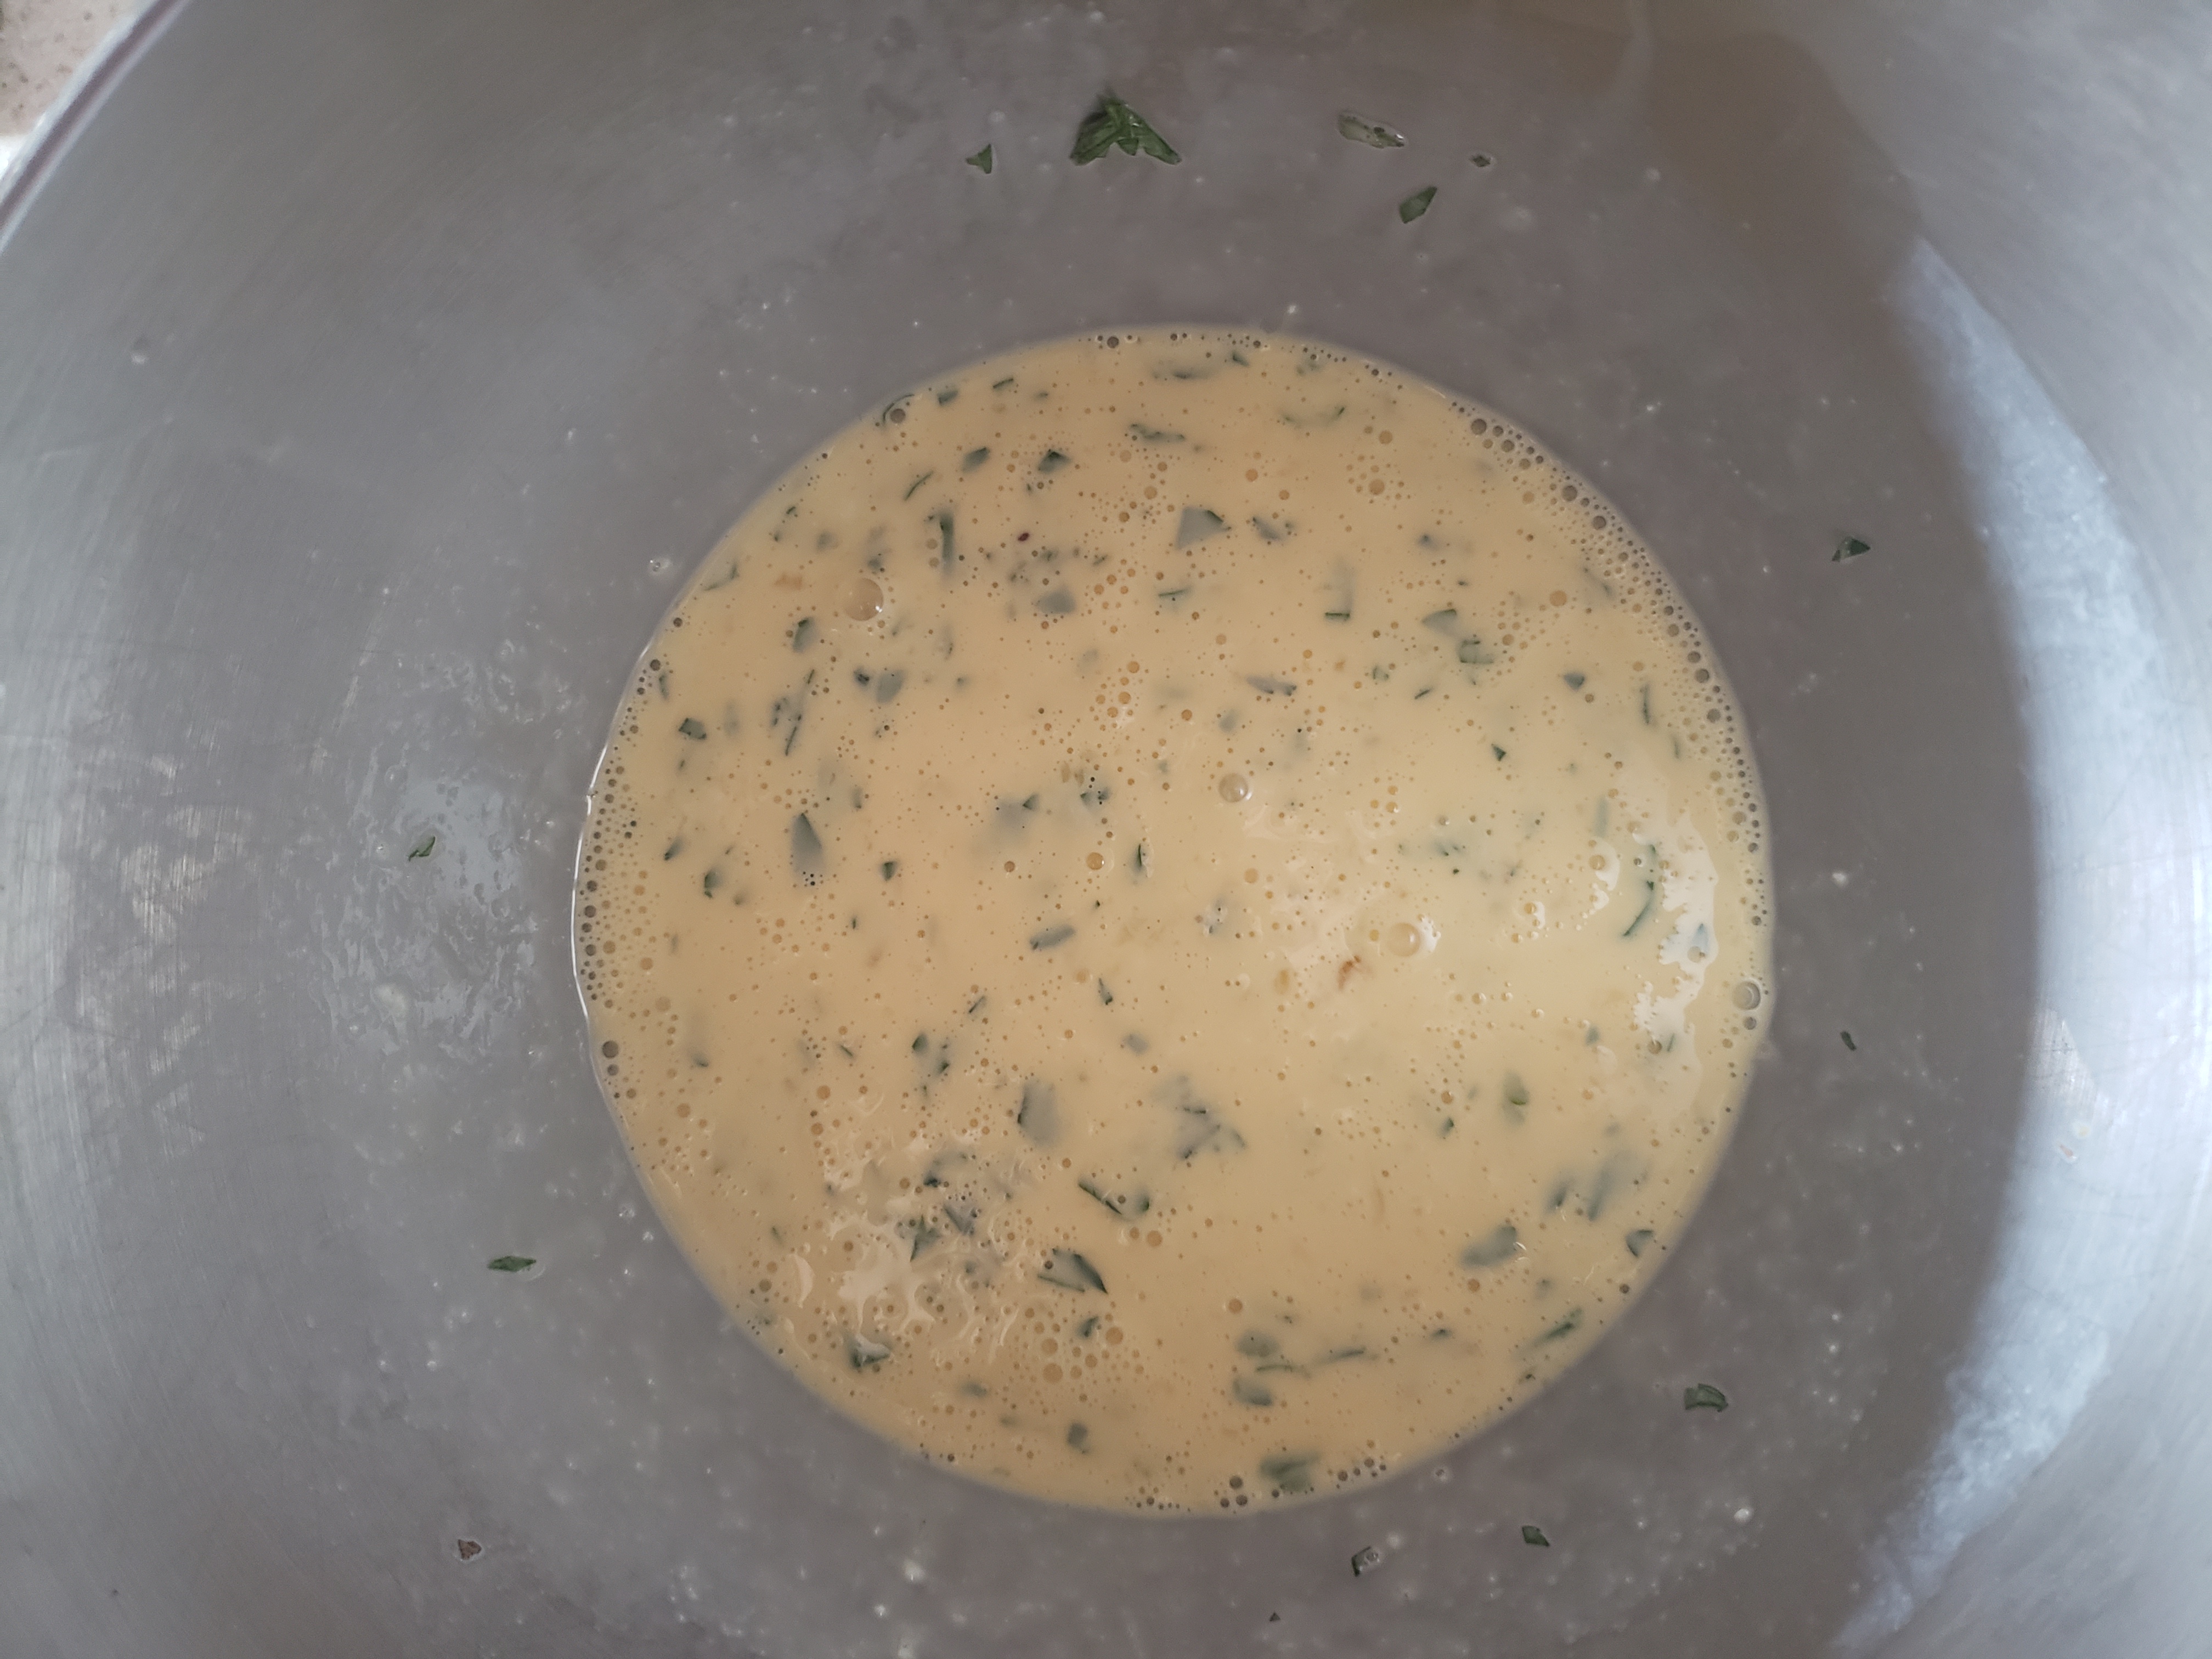
Then add the ricotta, feta, and parsley and mix well.
Pour the egg mixture evenly over the spinach mixture and stir gently.

Bake the casserole for 40-45 minutes or until set and golden around the edges. You’ll get 6 generous slices from this recipe.

For the radishes, preheat the oven to 425 degrees F. Toss the radishes with the oil, salt, and pepper, and then spread evenly on a foil-lined baking pan.
Roast for 25 minutes, tossing once, until lightly caramelized. Stir in the garlic and roast for 2-3 minutes more. Remove from the oven and toss with the parsley.

This really makes for a filling breakfast. The egg casserole tastes rich and creamy, and the slightly sweet roasted radishes make for a perfect accompaniment.
We really had a great time at the walk this weekend. It was so inspiring to meet others battling the various types of arthritis and hear their stories. For all the challenges we face, the event was uplifting and overwhelmingly positive. Hope you enjoy these dishes and share them with your support team soon!
Ciao for now,
Neen