Archive | Gluten-Free RSS feed for this section

Easy Energy: Granola Bars

12 Oct

Granola bars are pretty great grab-and-go calorie-dense snacks. But if you’ve bought them, you know they’re also kind of expensive per portion. Fortunately, making your own is very simple, cost-effective, and also makes it easy to customize the bars to your tastes.

Granola Bars

  • 5 cups rolled oats
  • 1 cup pecans
  • 2/3 cup brown sugar
  • ½ cup honey
  • 4 oz. unsalted butter
  • 1 tsp. vanilla
  • ½ tsp. salt
  • 1 ½ cups add-ins (seeds, dried fruit, nuts, chips etc.) I went with ½ cup pumpkin seeds, ½ cup chopped pitted dates, and ½ cup dried tart cherries

Line a 9×13 in. pan with parchment paper and set aside.

Preheat an oven to 350 degrees F, and then spread the oats and pecans out on baking sheets and toast for 10 minutes or until fragrant.

Chop the pecans and transfer the oats and pecans to a large bowl.

Combine the butter, brown sugar, honey, vanilla, and salt in a saucepan over medium heat. Bring the mixture to a boil and boil while stirring for one minute.

Pour the butter mixture over the oats and pecans and stir thoroughly, until there are no dry spots.

Add the dried cherries, pumpkin seeds, and dates and mix thoroughly. Note: If you are using chocolate or other chips, wait 15 minutes before stirring them into the mixture so that they don’t melt.

Pour the mixture into the prepared 9×13 in. pan and press down firmly with greased hands into an even layer. Chill in the refrigerator for at least 2 hours, or until very firm.

Cut into 32 squares.

A little crisp, a little chewy, and just sweet enough. Store at room temperature in a sealed container or individually wrapped in plastic wrap for easy on-the-go snacks. Super simple, right? And the possibilities are endless! I especially like coconut, pineapple, and macadamia nuts, or chocolate, dried cranberries, and walnuts. Pistachios, candied ginger, and dates as a combination was also a big hit. Sometimes I divide the batch in half and press into two 8×8 in. pans so I can make two different flavors.

No matter how you dress them up, these snacks are a welcome surprise in any suitcase, lunchbox, purse, or backpack. Hope you find your favorite flavor!

Ciao for now,

Neen

The King’s Crispy Treats

26 Mar

I went on a granola bar making binge recently. First I had a friend who was traveling who I thought could use a snack, and then I was in a show with a lot of long hours and heavy lifting, so I made tons of bars for the whole cast.

Then Joe spoke up. He doesn’t like oats, or the texture of most dried fruit. What kind of bar could I make for him? I remembered a Kashi bar that he used to eat that had chocolate covered pretzels in it and a sort of crispy cereal base. I considered that banana chips weren’t chewy and so I added those to the equation, and that’s when it hit me. Add some peanuts and peanut butter and you have something approximating Elvis’ beloved fried peanut butter and banana sandwiches in breakfast bar form. With a little added chocolate because yes, please!

Elvis Bars

  • 3 ½ cups crispy rice cereal or puffed rice cereal
  • ½ cup roasted salted peanuts, roughly chopped
  • ½ cup banana chips, roughly chopped
  • ½ cup chocolate covered pretzels, roughly chopped
  • 1/3 cup brown sugar
  • ¼ cup unsalted butter
  • ¼ cup honey
  • 3 tbsp. peanut butter
  • 1 tsp. vanilla extract
  • ½ tsp. salt

Line an 8×8 in. square pan with parchment and set aside.

In a large bowl, combine the cereal, banana chips, and peanuts.

In a medium saucepan, combine the brown sugar, butter, honey, vanilla, and salt. Cook until the mixture just starts to bubble.

Remove the saucepan from the heat and stir in the peanut butter until smooth.

Add the peanut butter mixture to the cereal mixture and stir well to combine.

Wait 15 minutes for the mixture to cool slightly, and then add the chocolate covered pretzel pieces.

Pour the mixture into the prepared pan and press firmly into an even layer. Chill in the refrigerator for two hour before cutting into squares.

I wrap them individually in plastic wrap and store in the refrigerator.

Crispy, chewy, sweet, and salty. Delicious! Hope you enjoy these royal treats soon.

Ciao for now,

Neen

Cure for a Cold Snap: Curried Butternut Squash and Apple Soup

13 May

Howdy readers, I’m back. It’s been an interesting few months to say the very least, but needless to say I wasn’t doing as much cooking as I do normally. And when I was cooking, I was feeling stuck in a little bit of a rut. Not as if there aren’t endless sources of inspiration in books and online, I just wasn’t in that head space. It was hard to be out of the groove, but as I’ve started feeling more like myself, getting back into the kitchen and just experimenting has made me really happy again.

I’ve been on a soup and stew kick this week. That might seem like a little bit of a head-scratcher for this time of year, but if you were in Arlington this week, it’s been in the 50s, overcast, and rainy. So my local friends might understand why I’ve wanted nothing but warming foods.

This soup is spicy-sweet, creamy, and really delicious. It can also be made vegan if you swap out the chicken stock for vegetable stock or even water with a stick of kombu in it. Let’s have at it!

Curried Butternut Squash and Apple Soup

Ingredients

  • 1 lb butternut squash, cubed
  • 1 apple, cored and cubed
  • 1 red onion, diced
  • 3-4 cups unsalted chicken stock or broth
  • ½ cup whole or light coconut milk
  • 2 tbsp. olive oil
  • 1 tbsp. curry powder
  • 1 tsp. salt (less or more to taste)
  • ½ tsp. cayenne pepper (less or more to taste)
  • ½ tsp. toasted ground coriander
  • Optional: Toasted, salted pistachios

Method

Heat the olive oil in a deep, straight-sided saute pan over medium heat. Add the onions and cook until soft and a bit sweet.

Add the chopped apple, squash, and spices to the pan and cook everything over medium heat for 5-7 minutes or until the squash and apples begin to cook down and release liquid.

Add enough broth to the pan to cover the vegetables and fruit, then turn the heat to high and bring to a boil. Then reduce the heat back to medium and allow the soup to simmer, uncovered, until the squash is tender. The liquid will also start to reduce.

Using a traditional or immersion blender, puree the soup. If using a countertop blender, you may need to do so in batches to keep the hot liquid in check. Once the soup is pureed, add the coconut milk and blend it in. Check the seasoning, add salt and pepper as needed, and then blend again.

Serve hot with the toasted pistachio garnish and enjoy!

Hopefully I’ll be back a little more quickly this time. There’s a lot I know I’ll want to make once the farm markets are back in full swing for the summer, so keep your eyes peeled for new recipes. Until then…

Ciao for now,

Neen

Satisfy My Soul: Sweet Potato, Chickpea, and Collard Greens Stew

14 Jan

Long-time readers of this blog will no doubt remember the “Mystery Food” series. For a couple of summers, I participated in Community Supported Agriculture programs in the NoVA area. Basically, it’s like buying stock…only more delicious. You pay a lump sum to a local farm at the beginning of the growing season, and once a week receive a box full of whatever has been harvested that week.

What I miss the most about it is that it forced me out of my comfort zone. I had to plan meals around whatever appeared in that box—and during some times of the year that meant figuring out what to do with massive quantities of squash, apples, or greens. Kale must grow really well around here, because boy-howdy did I eat a lot of kale those summers.

So when my friend Heather tipped me off to a special deal on Relay Foods, a grocery delivery service that sources from local stores, restaurants, and farms, I was excited to find they had their own version of this CSA-type share called a Bounty Box. Cha-ching! Time for vegetable roulette. I ordered one and anxiously anticipated what might appear on the porch.

There were some glorious pink lady apples, a jug of fresh apple cider, a nice fat little tomato, some white potatoes, watercress, curly kale, an enormous pile of collard greens, and several very hefty sweet potatoes. I was definitely pleased with the haul, but a little thrown for a loop. Confession time: I never buy sweet potatoes or collards. I have nothing against them, but I just never buy them or cook with them.

20140106_170432

Nothing like a mystery box to let your mouth know what it’s been missing! Seasonal food is awesome, because it’s exactly what the earth has to offer at that moment—and wherever you are, it’s probably exactly what your body is asking for too. Think about it: Collards packed with vitamin c, k, and soluble fiber (not to mention factors that regulate immune function) and sweet potatoes full of fiber, beta carotene, vitamin c, vitamin b-6, and potassium. Yep, mother earth definitely knows you need some protection against flu season. And nothing says yummy winter food like a stew…

Sweet Potato, Chickpea, and Collard Greens Stew

  • 1 tbsp. olive oil
  • 1 onion, diced
  • 2 cloves garlic, minced
  • 1 tsp. smoked paprika
  • ½ tsp. coriander seeds
  • ½ tsp. cayenne pepper
  • ½ tsp. cumin
  • 3-4 cups collard greens, large ribs removed, roughly chopped
  • 1 15.4 oz. can of no salted added chickpeas, drained, or 2 cups of dried chickpeas soaked overnight
  • 2 large sweet potatoes (approximately 1 lb.), peeled and diced
  • 2-3 cups vegetable or chicken stock
  • Salt and pepper to taste

Begin by heating the olive oil, paprika, cumin, cayenne pepper, and coriander seeds  in a large pot over medium heat. Heat for about one minute, and then add the chickpeas and stir to combine. Cook the chickpeas until lightly browned, about 5-7 minutes. Remove, and set aside.
20140109_171922Add the onions to the pot and cook until soft and somewhat translucent, about 5-7 minutes. Add the garlic and cook one minute more, stirring frequently so that the spices don’t burn.

Add the diced sweet potatoes to the pot and cook for 10 minutes.
20140109_173252Once the sweet potatoes have softened slightly, add enough vegetable or chicken stock to the pot to just cover them. Bring the mixture to a boil, then reduce and simmer for 15 minutes or until the sweet potatoes are very tender.
20140109_174255
Remove the pot from the heat and blend or mash the soup until you like the consistency. I like to leave some chunks of sweet potato, rather than making this smooth like bisque.
20140109_180547
Return the pot to the stove over medium heat and add the collard greens and chickpeas. Simmer the soup for 10-15 minutes or until the greens are tender.
20140109_191507Serve hot, garnished with some roasted chickpeas, pumpkin seeds, or sunflower seeds for some crunch.
20140109_191523
Nothing like a bowl of something hearty to warm your body and soul on a cold January evening. And a reminder that sometimes being thrown out of your regular routine leads to a whole new experience of comfort, ease, and culinary satisfaction.

Ciao for now,

Neen

Stop for Science (again!): Gluten-Free Soft Pretzels

6 Nov

Regular readers of this blog will recall my Home Alone style dash through the Frankfurt airport, induced by the scent of warm soft pretzels (laugenbrezel!), and the subsequent foray into the chemistry that gives us this glorious bread. Ah yes, we donned our gloves and surgical masks together, avoided recreating any particularly cringe-worthy scenes from Fight Club, and discovered that sometimes you have to be a little brave to make the magic happen.

It appears that suddenly the rest of the world has discovered that pretzels are that good, because it seems like every restaurant is offering sandwiches on pretzel buns now. The nerve! Yes, restaurant industry, thanks for waiting until I went gluten-free to shove advertisements for pretzel rolls in my face at every turn. But it’s like they say: Don’t get mad, get even.

And I found the perfect opportunity on a chilly Sunday over the weekend to do just that. With leftover mornay sauce from the previous night’s macaroni and cheese just begging to be reheated as cheese dip, clearly, it was time to take back the pretzel.

The process for making gluten-free pretzels is pretty similar to making traditional pretzels. There are some differences in the dry ingredients in order to add more acid and give the dough that chewy tenderness, but the main difference I found is purely tactile. The gluten-free dough feels much less stiff, so it took more care and a lighter touch to roll it out. I’d recommend keeping a little bowl of sweet rice flour nearby to flour your hands with, because it’s pretty likely that the warmth from your hands will make the dough stick to them otherwise. The other main difference is kind of awesome: only one rise! So basically, you get your pretzels twice as fast. Hallelujah!

Gluten Free Soft Pretzels

  • 3 1/4 cups gluten-free flour blend (here’s mine!), plus ¼ – ½ cup extra
  • 1 1/2 tsp. xanthan gum
  • ½ cup dry buttermilk powder
  • 1 package rapid-rise or instant yeast
  • 1/4 teaspoon cream of tartar
  • 1/4 teaspoon baking soda
  • 1 tbsp. dark brown sugar or barley malt syrup
  • 1 tsp. kosher salt
  • 1 tsp. rice vinegar or cider vinegar
  • 2 tbsp. unsalted butter, softened
  • 2 egg whites
  • 1 ½ cups warm water, about 110 degrees
  • 1 oz. food grade lye
  • Coarse salt or pretzel salt
  • Plastic gloves, safety goggles, vinegar, and nonreactive pans and utensils.

Line two baking sheets with parchment paper and set them aside.

Combine the flour blend, xanthan gum, buttermilk powder, yeast, cream of tartar, baking soda, brown sugar, and salt in a large bowl and mix well.

20131103_074135Add the vinegar, butter, and egg whites to the dry ingredients and mix well, then add the water in a slow steady stream. Once all of the water has been added, turn the mixer to a high speed and mix for 2-3 minutes. The dough will be loose and wet.

20131103_075122Turn the mixer speed down to low and add flour 1 tbsp. at a time just until the dough begins to pull away from the sides of the bowl. It will still be quite tacky. Use a dough scraper to turn the dough out onto a silpat or lightly floured board, then knead lightly until smooth. Divide it into 12-16 equal pieces, depending on how large you would like the rolls to be. From here, you can either roll the dough into balls OR roll out into thin ropes and form into the traditional pretzel shape.

20131103_08033420131103_08041120131103_080414Set the rolls onto the prepared baking sheet, cover lightly with plastic wrap, and allow them to rise in a warm place for 45 minutes. They will puff up, but will not quite double in size.

Now it’s time for the lye bath. Put on your gloves and safety goggles, and wipe down the surface of your workstation with plain white vinegar. Keep a small glass of vinegar nearby to neutralize any spills of the lye solution.

20130807_115440Measure one quart of cool water into a nonreactive saucepan. Slowly add one ounce of food grade lye and stir gently to dissolve. ALWAYS add the lye to the water and not the water to the lye. Doing it the other way around may cause the lye to react and combust.

20130807_131512Dip each pretzel in the lye solution for 30 seconds and then place back on the parchment-lined baking sheet using a slotted spoon. When finished, wipe down any surfaces that may have come into contact with lye with a vinegar soaked rag, and then with warm soap and water.

Sprinkle the pretzels with coarse salt and then let them rest while the oven is preheating.

Preheat the oven to 375 degrees F. Bake the pretzels for 20-30 minutes or until they are a deep golden brown.

20131103_09294320131103_09295220131103_093145 Cool completely on a wire rack prior to storing.

To save pretzels for later enjoyment, wrap individual pretzels in plastic wrap and then put them in a zip-top bag in the refrigerator or freezer. These reheat beautifully in the toaster or toaster oven, so you don’t have to worry about the leftovers going to waste. Perfect for slider-style sandwiches, cheese dip, mustard, or just alongside a cup of coffee, they are a hit out of the park.

So the next time some chain restaurant’s advertisement comes blaring through your television or radio praising their “artisan,” “hand-crafted,” or “revolutionary” pretzel buns… remember that you’ve totally got the power to make them even better.

Ciao for now,

Neen

Back in the Saddle: Nutty Blondes

30 Oct

One of the concepts that I think is the most difficult for me and my ego to accept is the idea that just because I have done something well once does not mean that I will do it well every time I attempt it. At a point, we like to thing we have a particular task mastered, right? Sure, I can reliably get into halasana (plough pose) 99% of the time, but there are some days where my back just says, “NO.” I’m getting better at listening to the mental cues, but they are always humbling. In a way, they are the messengers I dislike the most, and probably the ones I need the most at the same time.

It’s been that way with baking a lot lately. For a long time, baking was just that thing for me that I was reliably “good at.” But with going gluten-free, I’ve spent a lot of time lately feeling like a complete amateur. Every batter and dough is foreign, and every attempt is hopeful scientific experimentation mixed with prayers to the divine forces. This has been frustrating because for the first time in years, I haven’t been able to just wander into the kitchen and start throwing things together. I’ve had to measure and think about it all.

I felt so much resistance to it, because it felt like my sanctuary had been stolen. My ego kept throwing internal temper tantrums, wanting to stray from every recipe and make it my own. But just like learning to cook and bake the first time around, I kept reminding myself that you have to create the solid foundation before you can start playing with the details.

And though my ego still pouted in the corner, I began to feel the joy and excitement of the unknown return to my kitchen endeavors. In letting go of needing to maintain the identity of “a good baker,” I afforded myself the opportunity to really learn from the gluten-free cooking resources I’d gathered. I discovered that (at least so far), I don’t care much for sorghum flour in cookies, millet flour adds the perfect crunch to pizza dough, brown rice pasta dough needs more xanthan gum and some tapioca to give it the right tackiness for rolling, bean flour gives things an odd smell, and that at the end of the day…it’s still all about ratios (Thanks, Michael Ruhlman!).

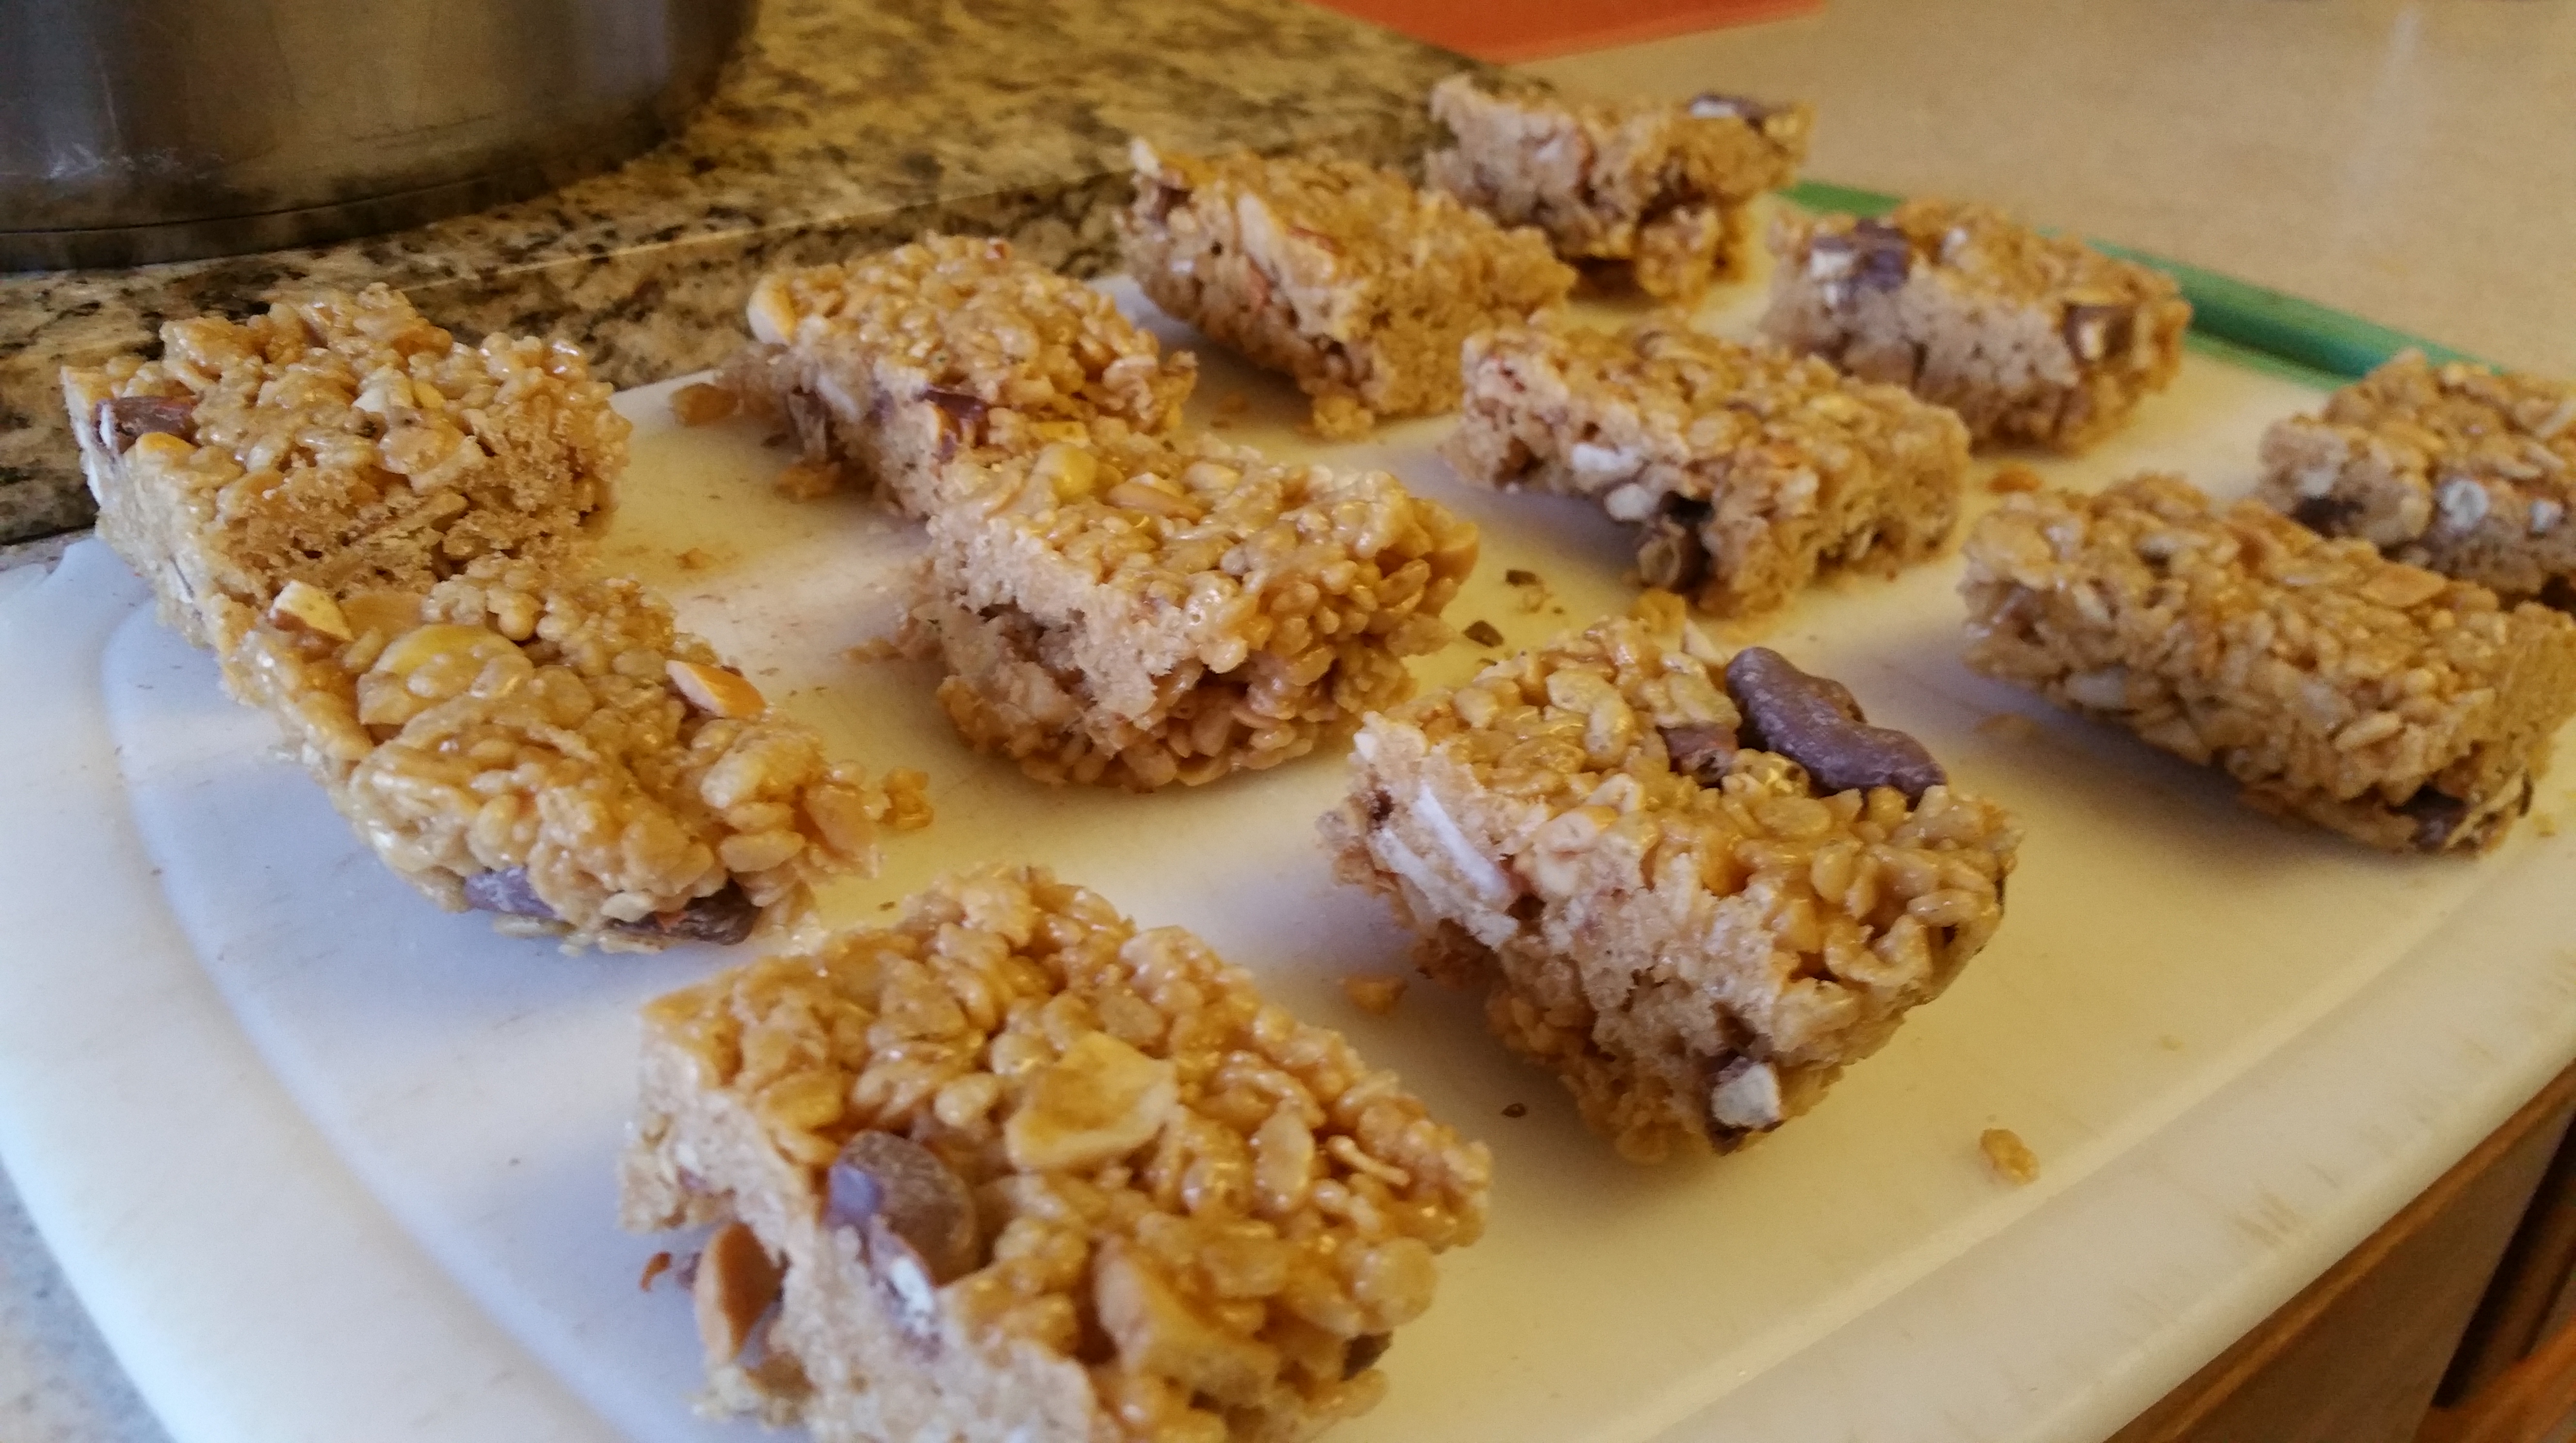
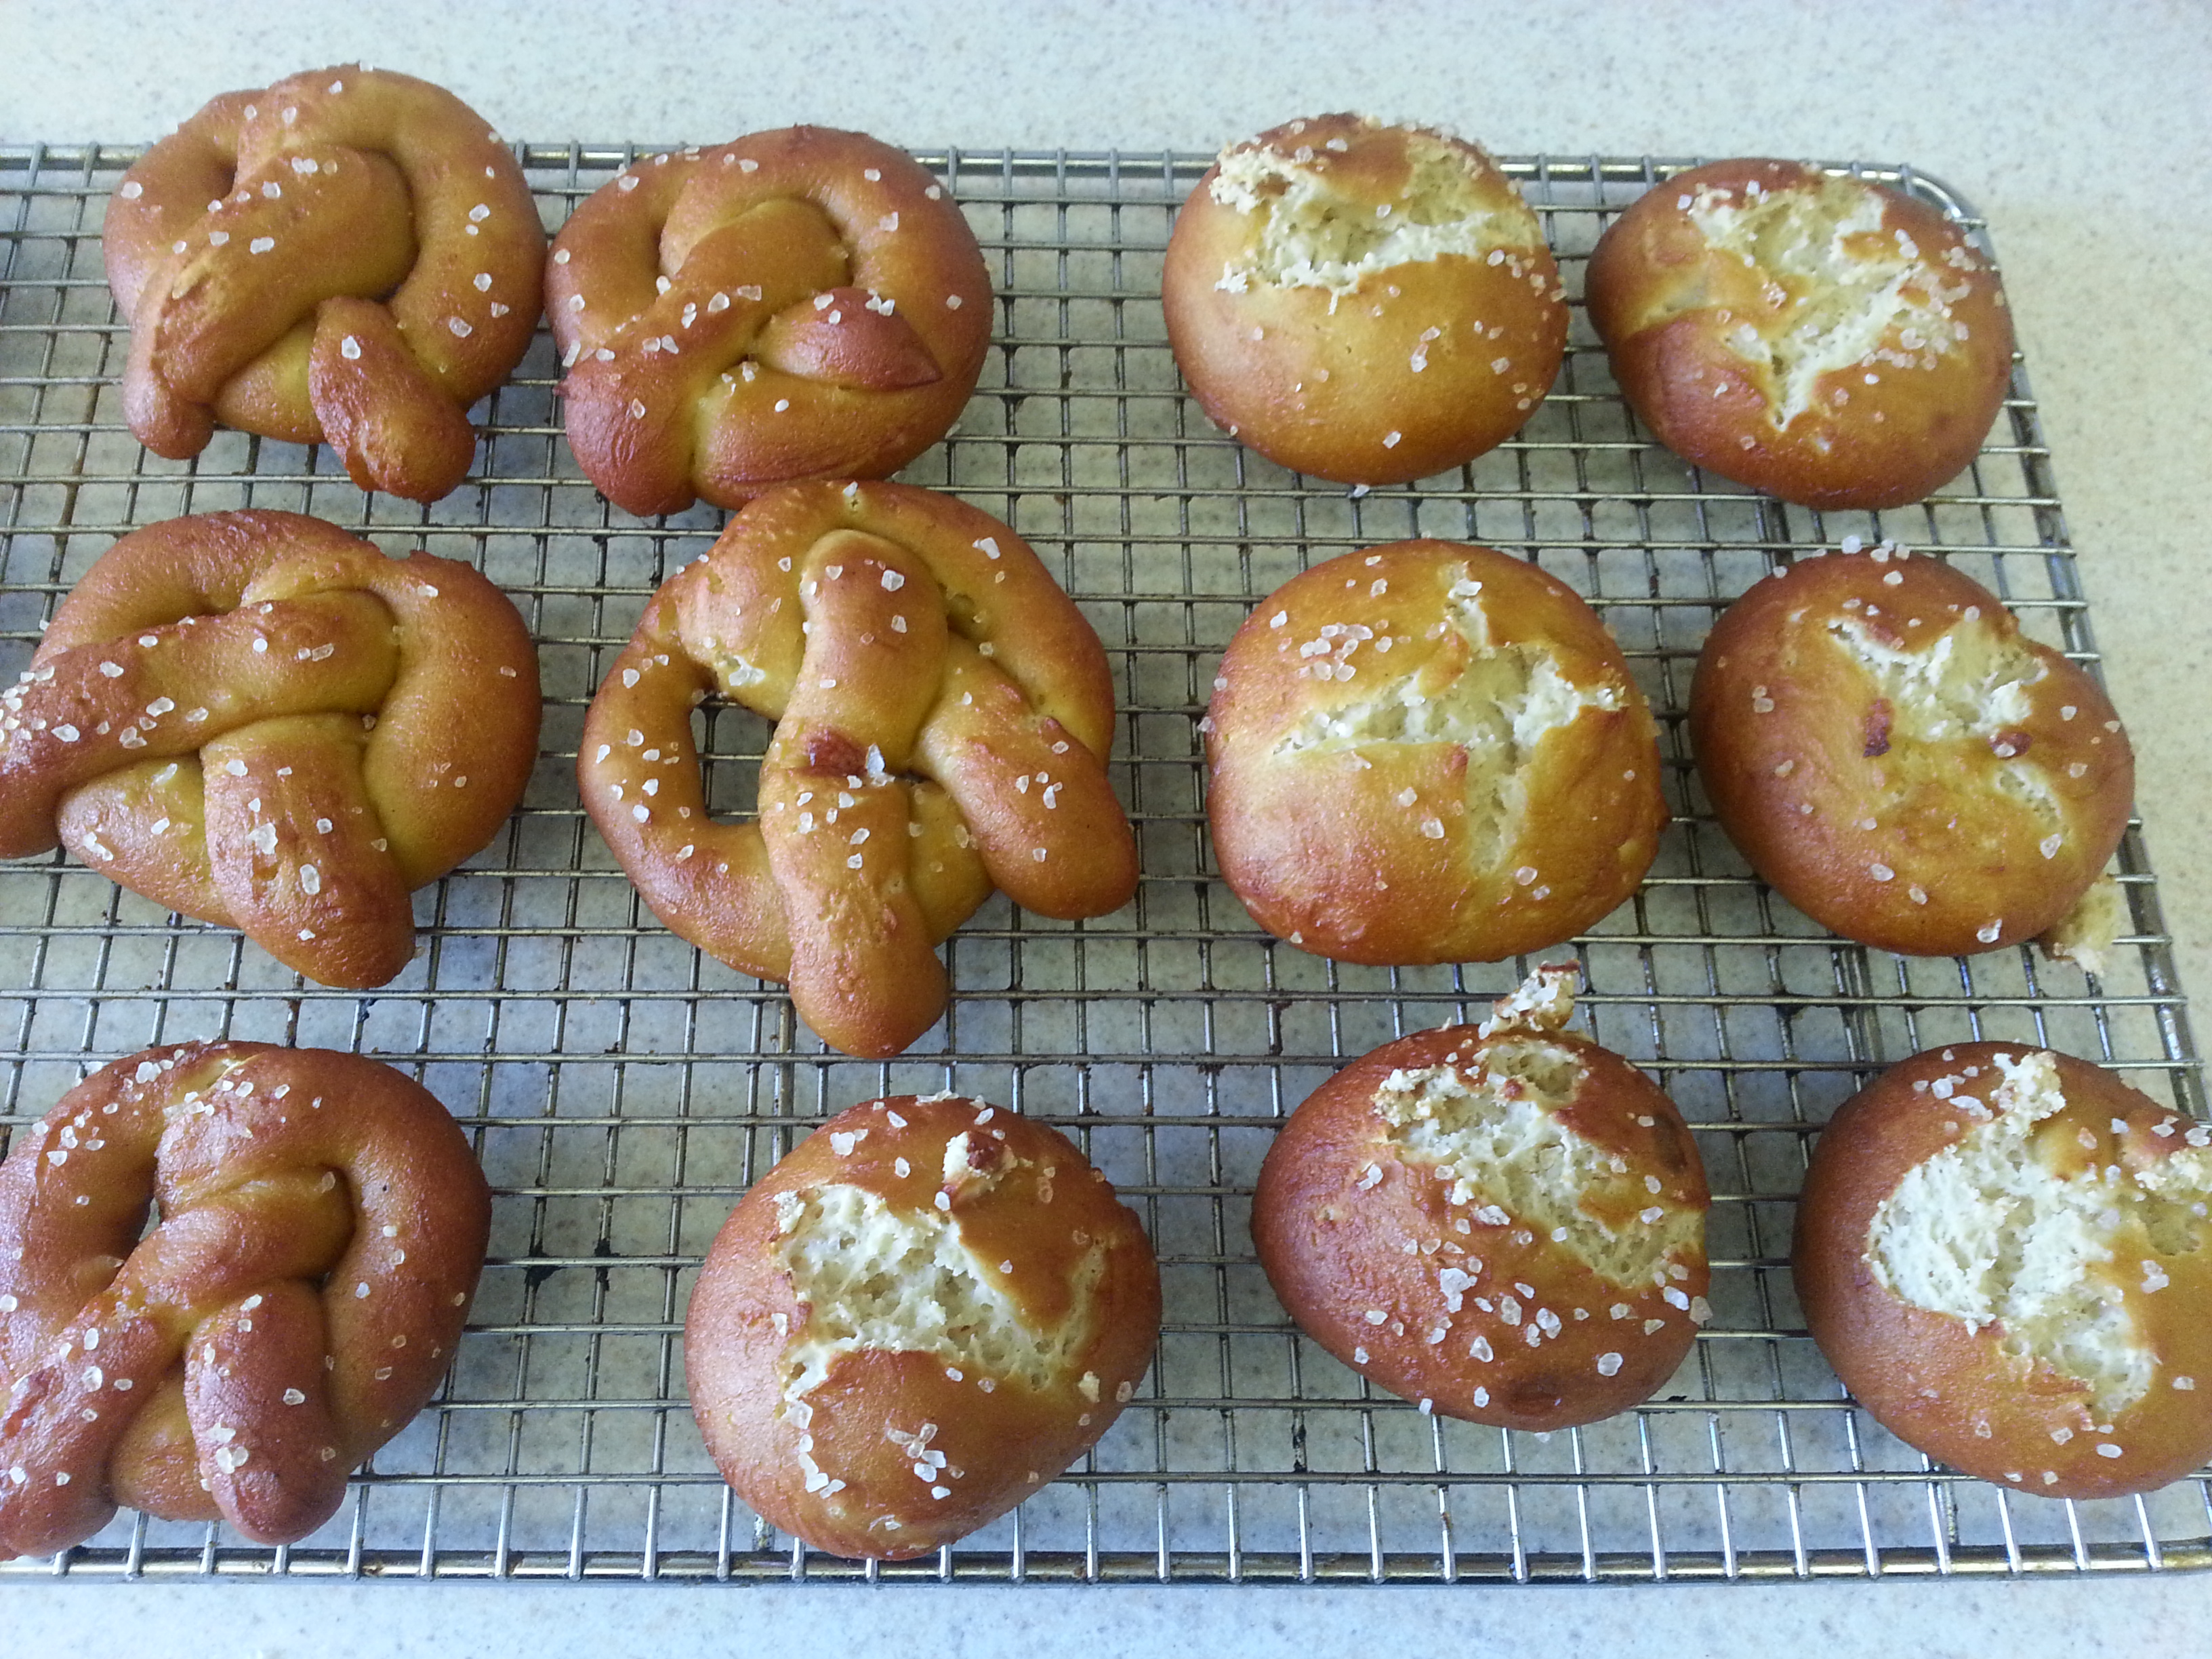
Last night, I really felt like I was home again. Back in the saddle, just doing what I do. I took a moment and said I brief “thank-you” to the universe, because I know that I have a long way to go. This recipe is a special victory, because it’s the first gluten-free cookie recipe I’ve developed on my own. It’s also the first one I’ve taken a bite of and said, “I could open a bakery tomorrow and sell these.”

Yeah, they’re that good. For those of you reading from the Folger or who donated to me for Warrior Dash, these might sound familiar. The version I made then was full of pecans, coconut, and M&M candies. This version nixes the M&Ms, but only because I didn’t have any on hand and (gasp) wasn’t in the mood for chocolate. I have no doubt they’d be a welcome addition.

Brown Butter Pecan, and Coconut Cookies, aka “Nutty Blondes”

makes 2 dozen cookies

  • 1 ¼ cups Neen’s Gluten-Free Flour Blend for Cookies (recipe below)
  • ½ tsp. xanthan gum
  • ½ tsp. baking soda
  • 1 tsp. cream of tartar
  • ½ tsp. kosher salt
  • ¾ cup sugar
  • 90 grams unsalted butter (about 7 tbsp.)
  • 1 egg
  • 1 tsp. vanilla extract
  • ½ cup pecans, toasted and chopped
  • ½ cup unsweetened shredded coconut, toasted

Neen’s Gluten-Free Flour Blend for Cookies

Makes 9 cups

  • 2 ½ cups finely ground brown rice flour
  • 2 ½ cups super-fine sweet rice flour
  • 2 cups tapioca flour
  • 2 cups potato starch (not potato flour)
  • 1 tbsp. xanthan gum

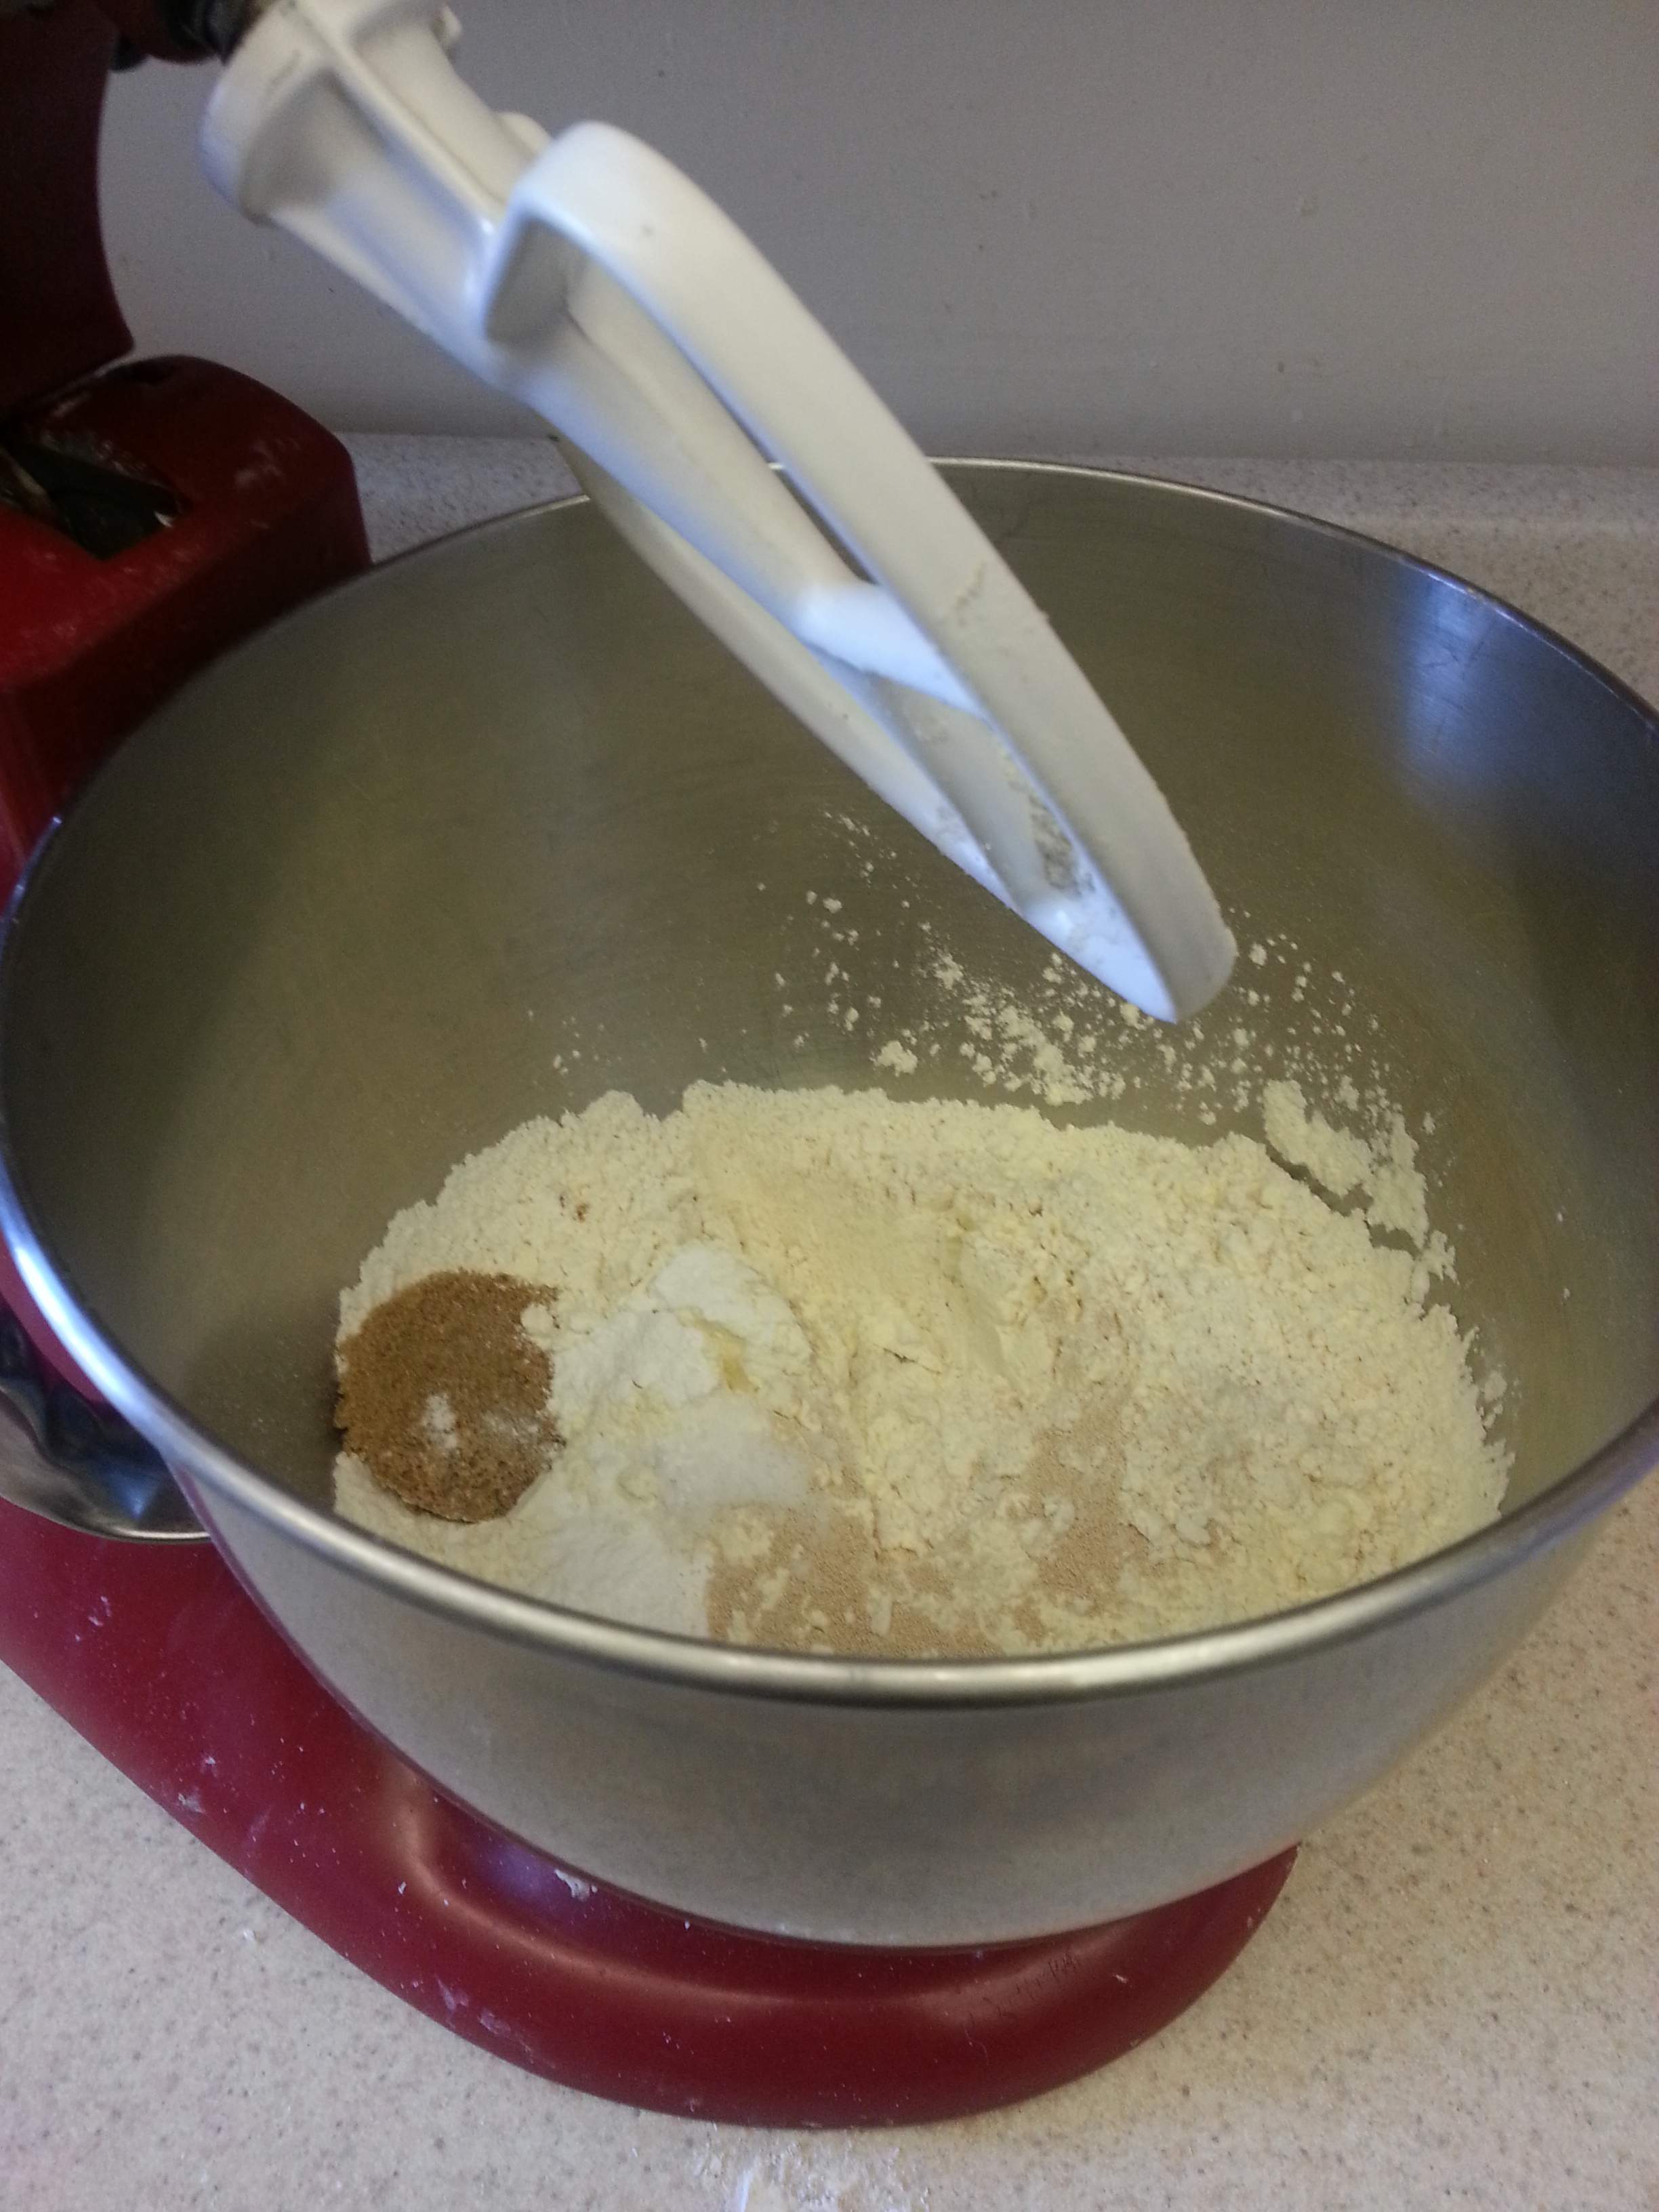
Combine the flour, cream of tartar, baking soda, salt, xanthan gum, sugar, pecans, and coconut in the bowl of a stand mixer and set aside.

20131029_185542
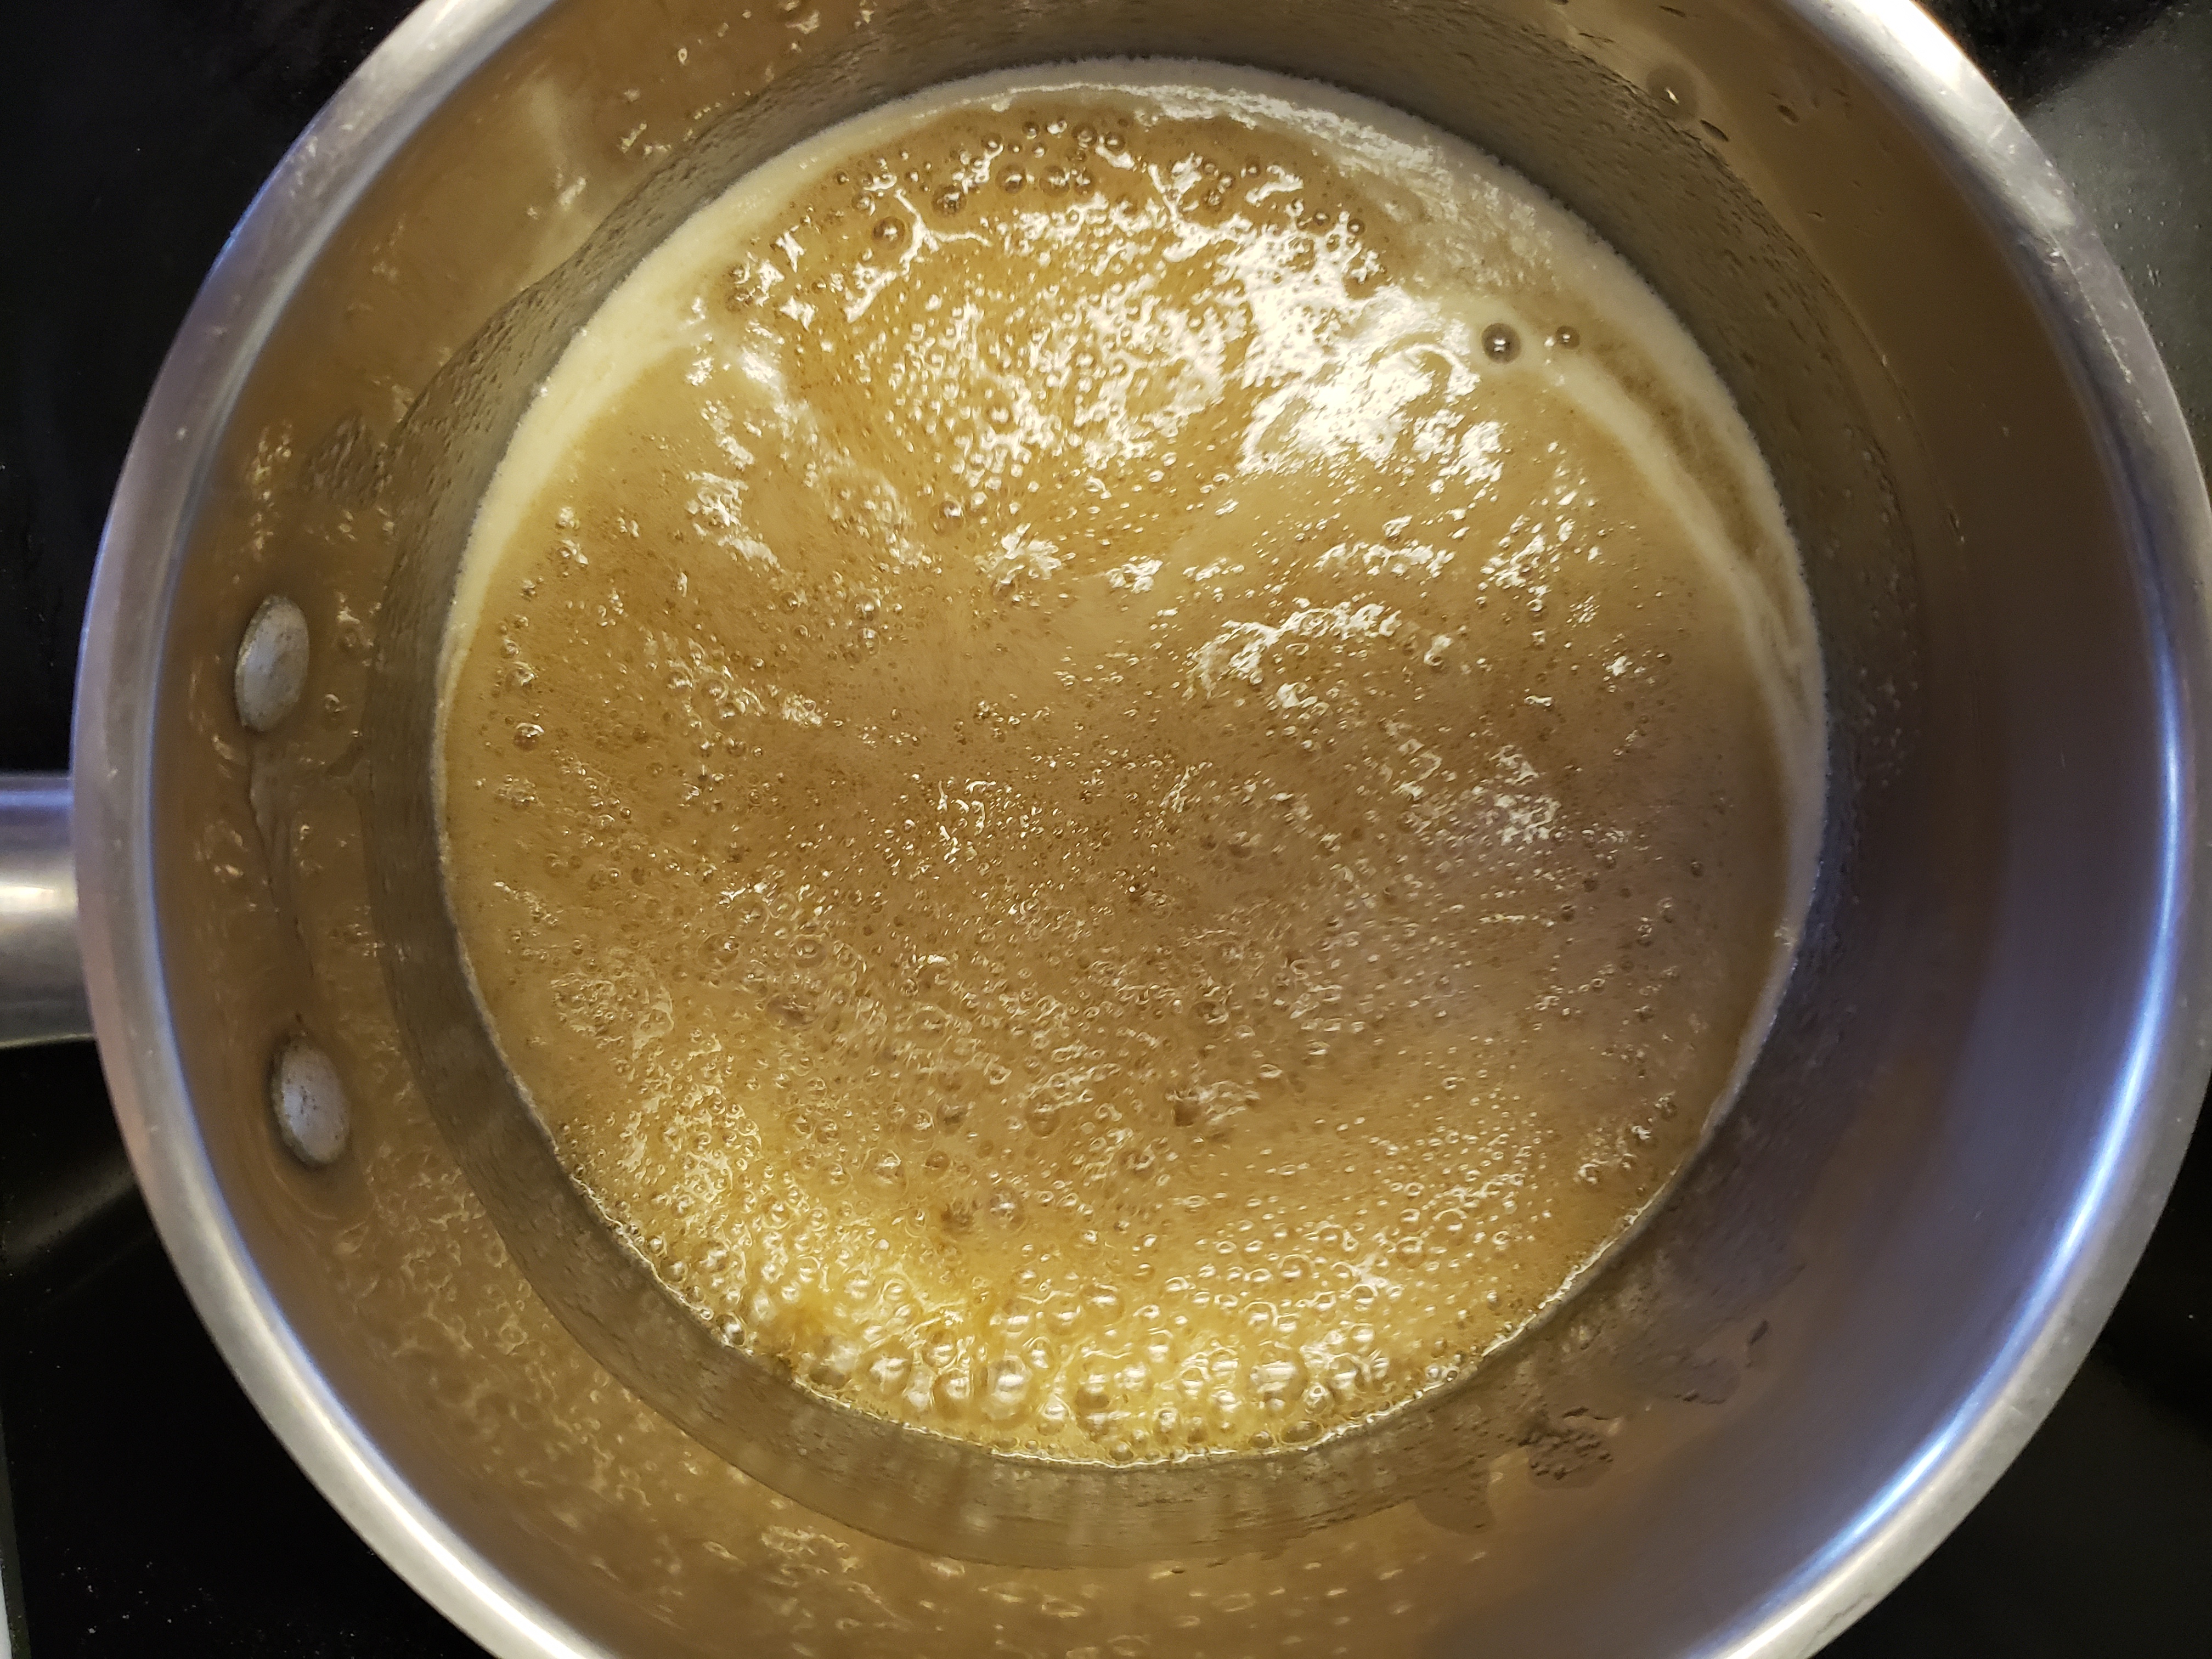
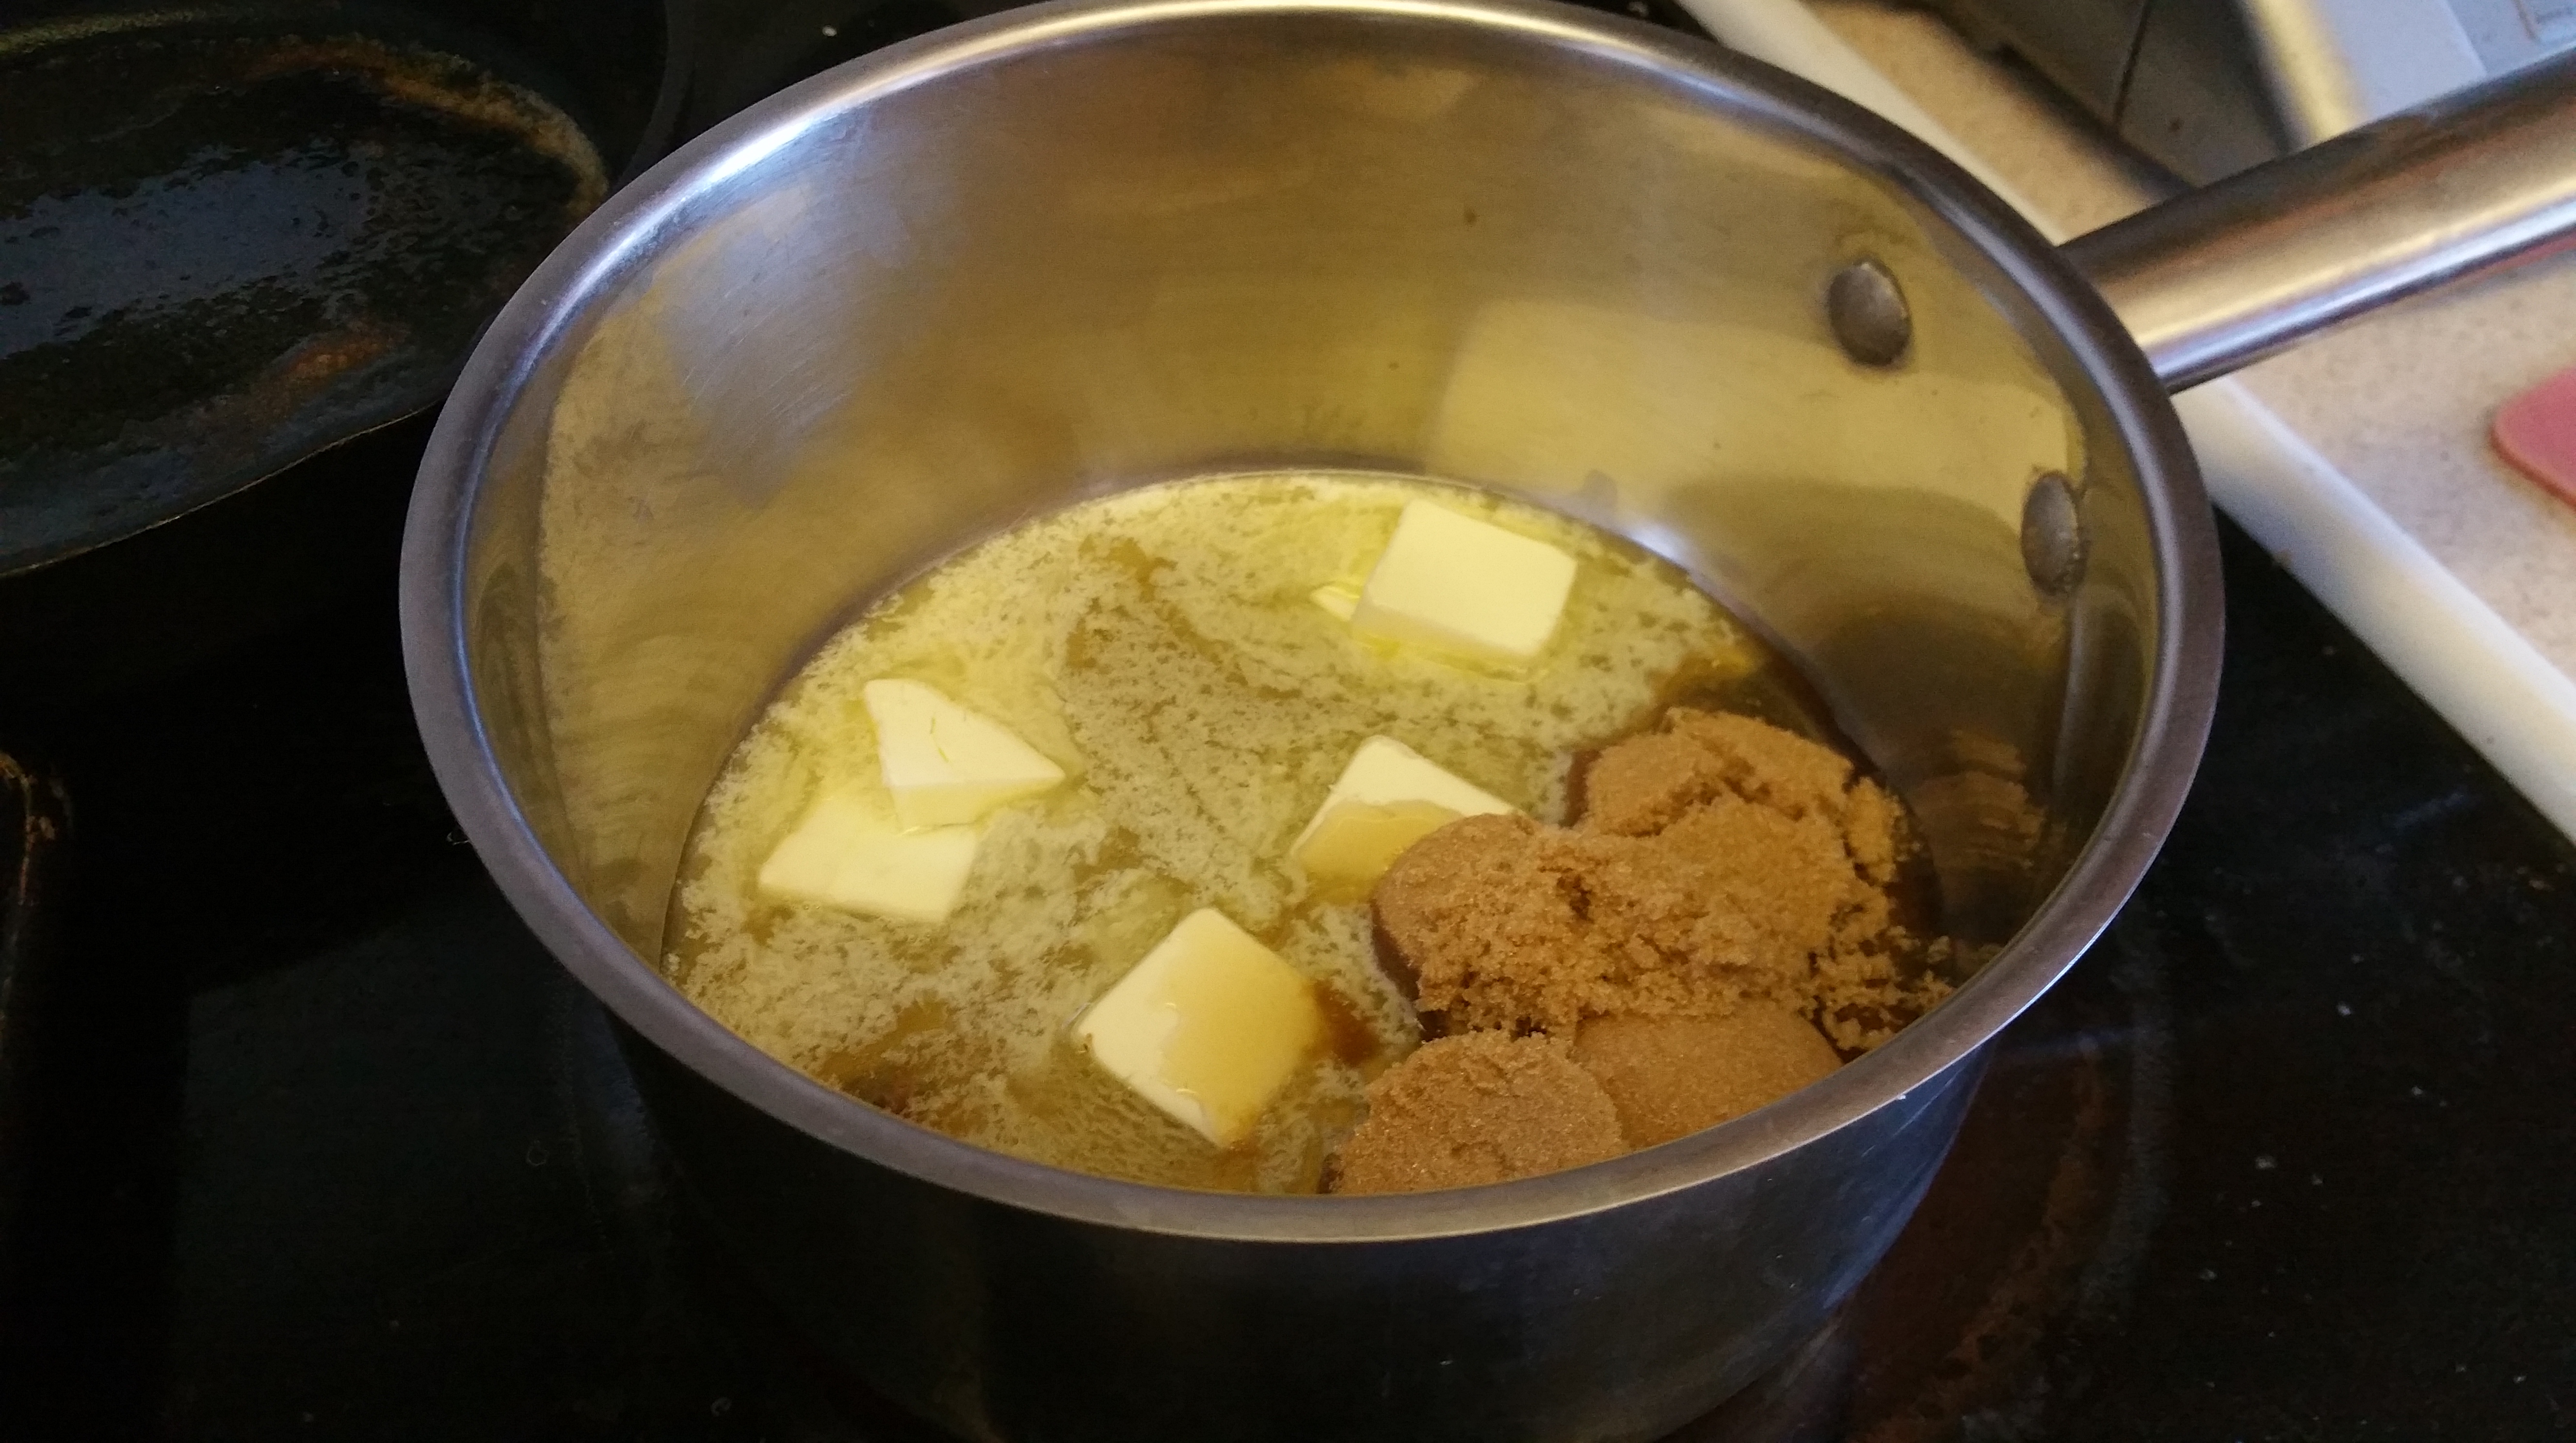
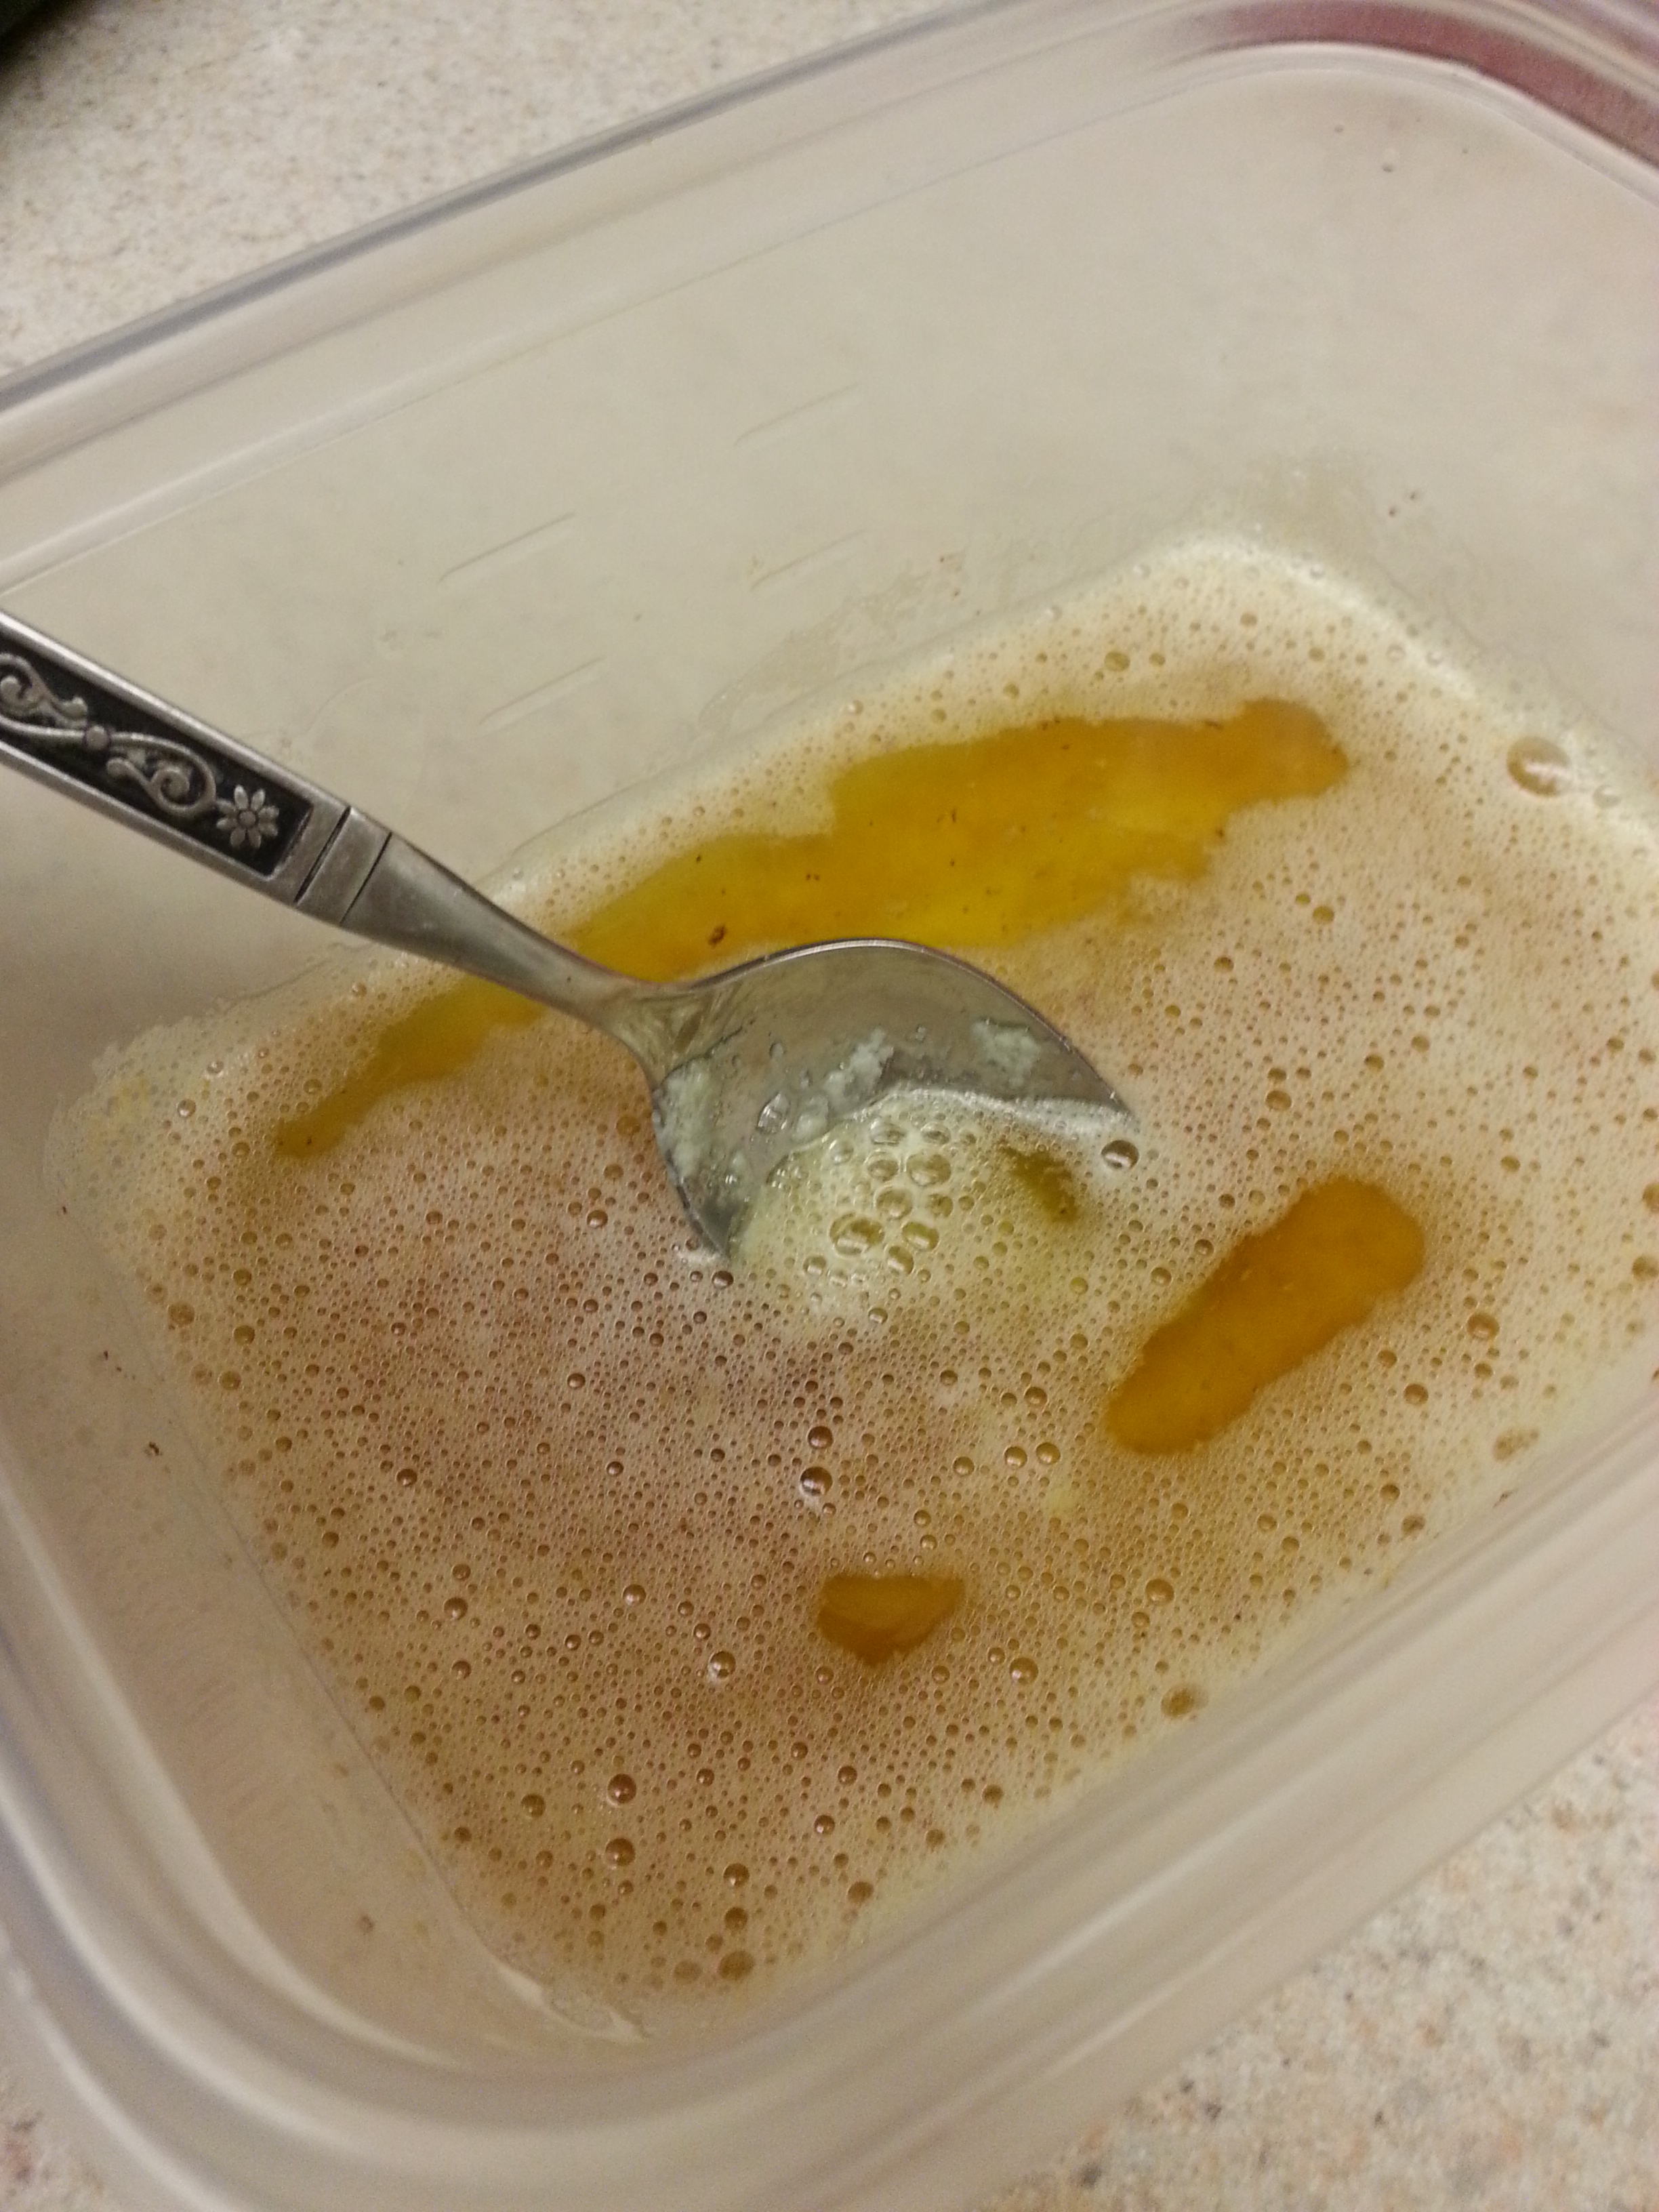
Brown the butter by placing it in a saucepan over medium heat. Stirring frequently, cook the butter until it is amber in color. Then move it to a small bowl and put in the freezer or refrigerator until it is still liquefied, but no longer hot to the touch.

20130906_233809
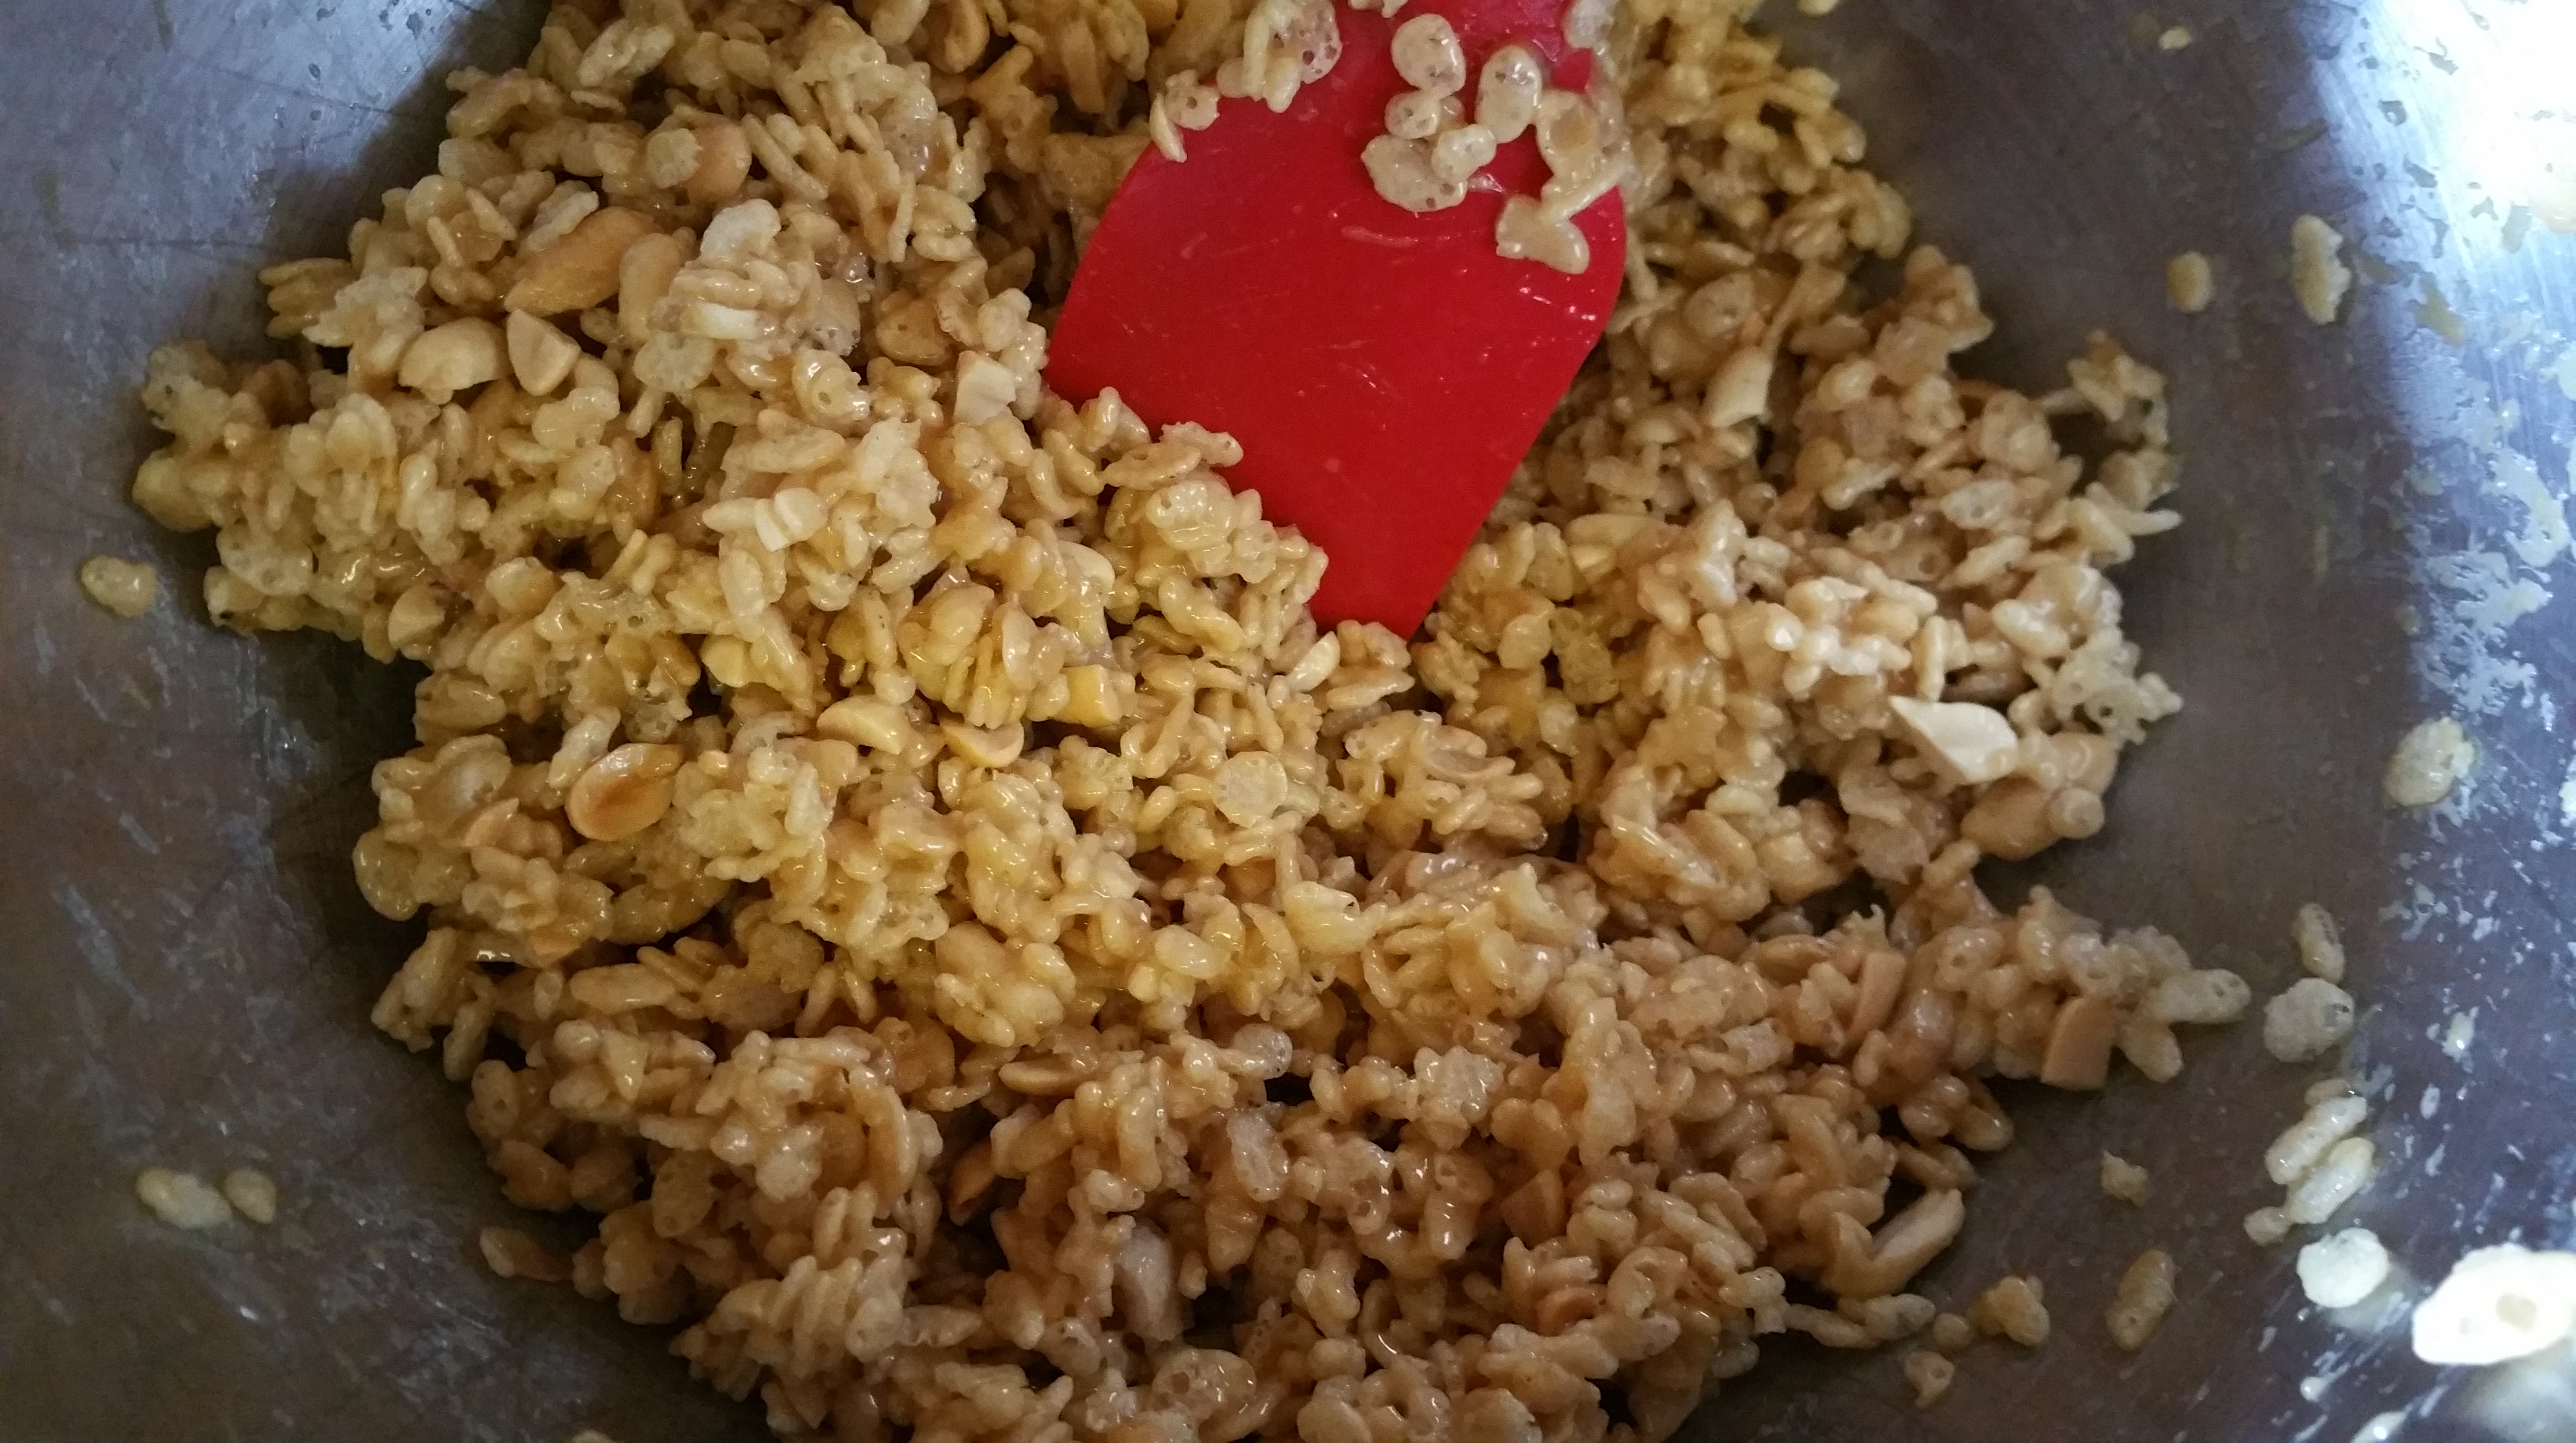
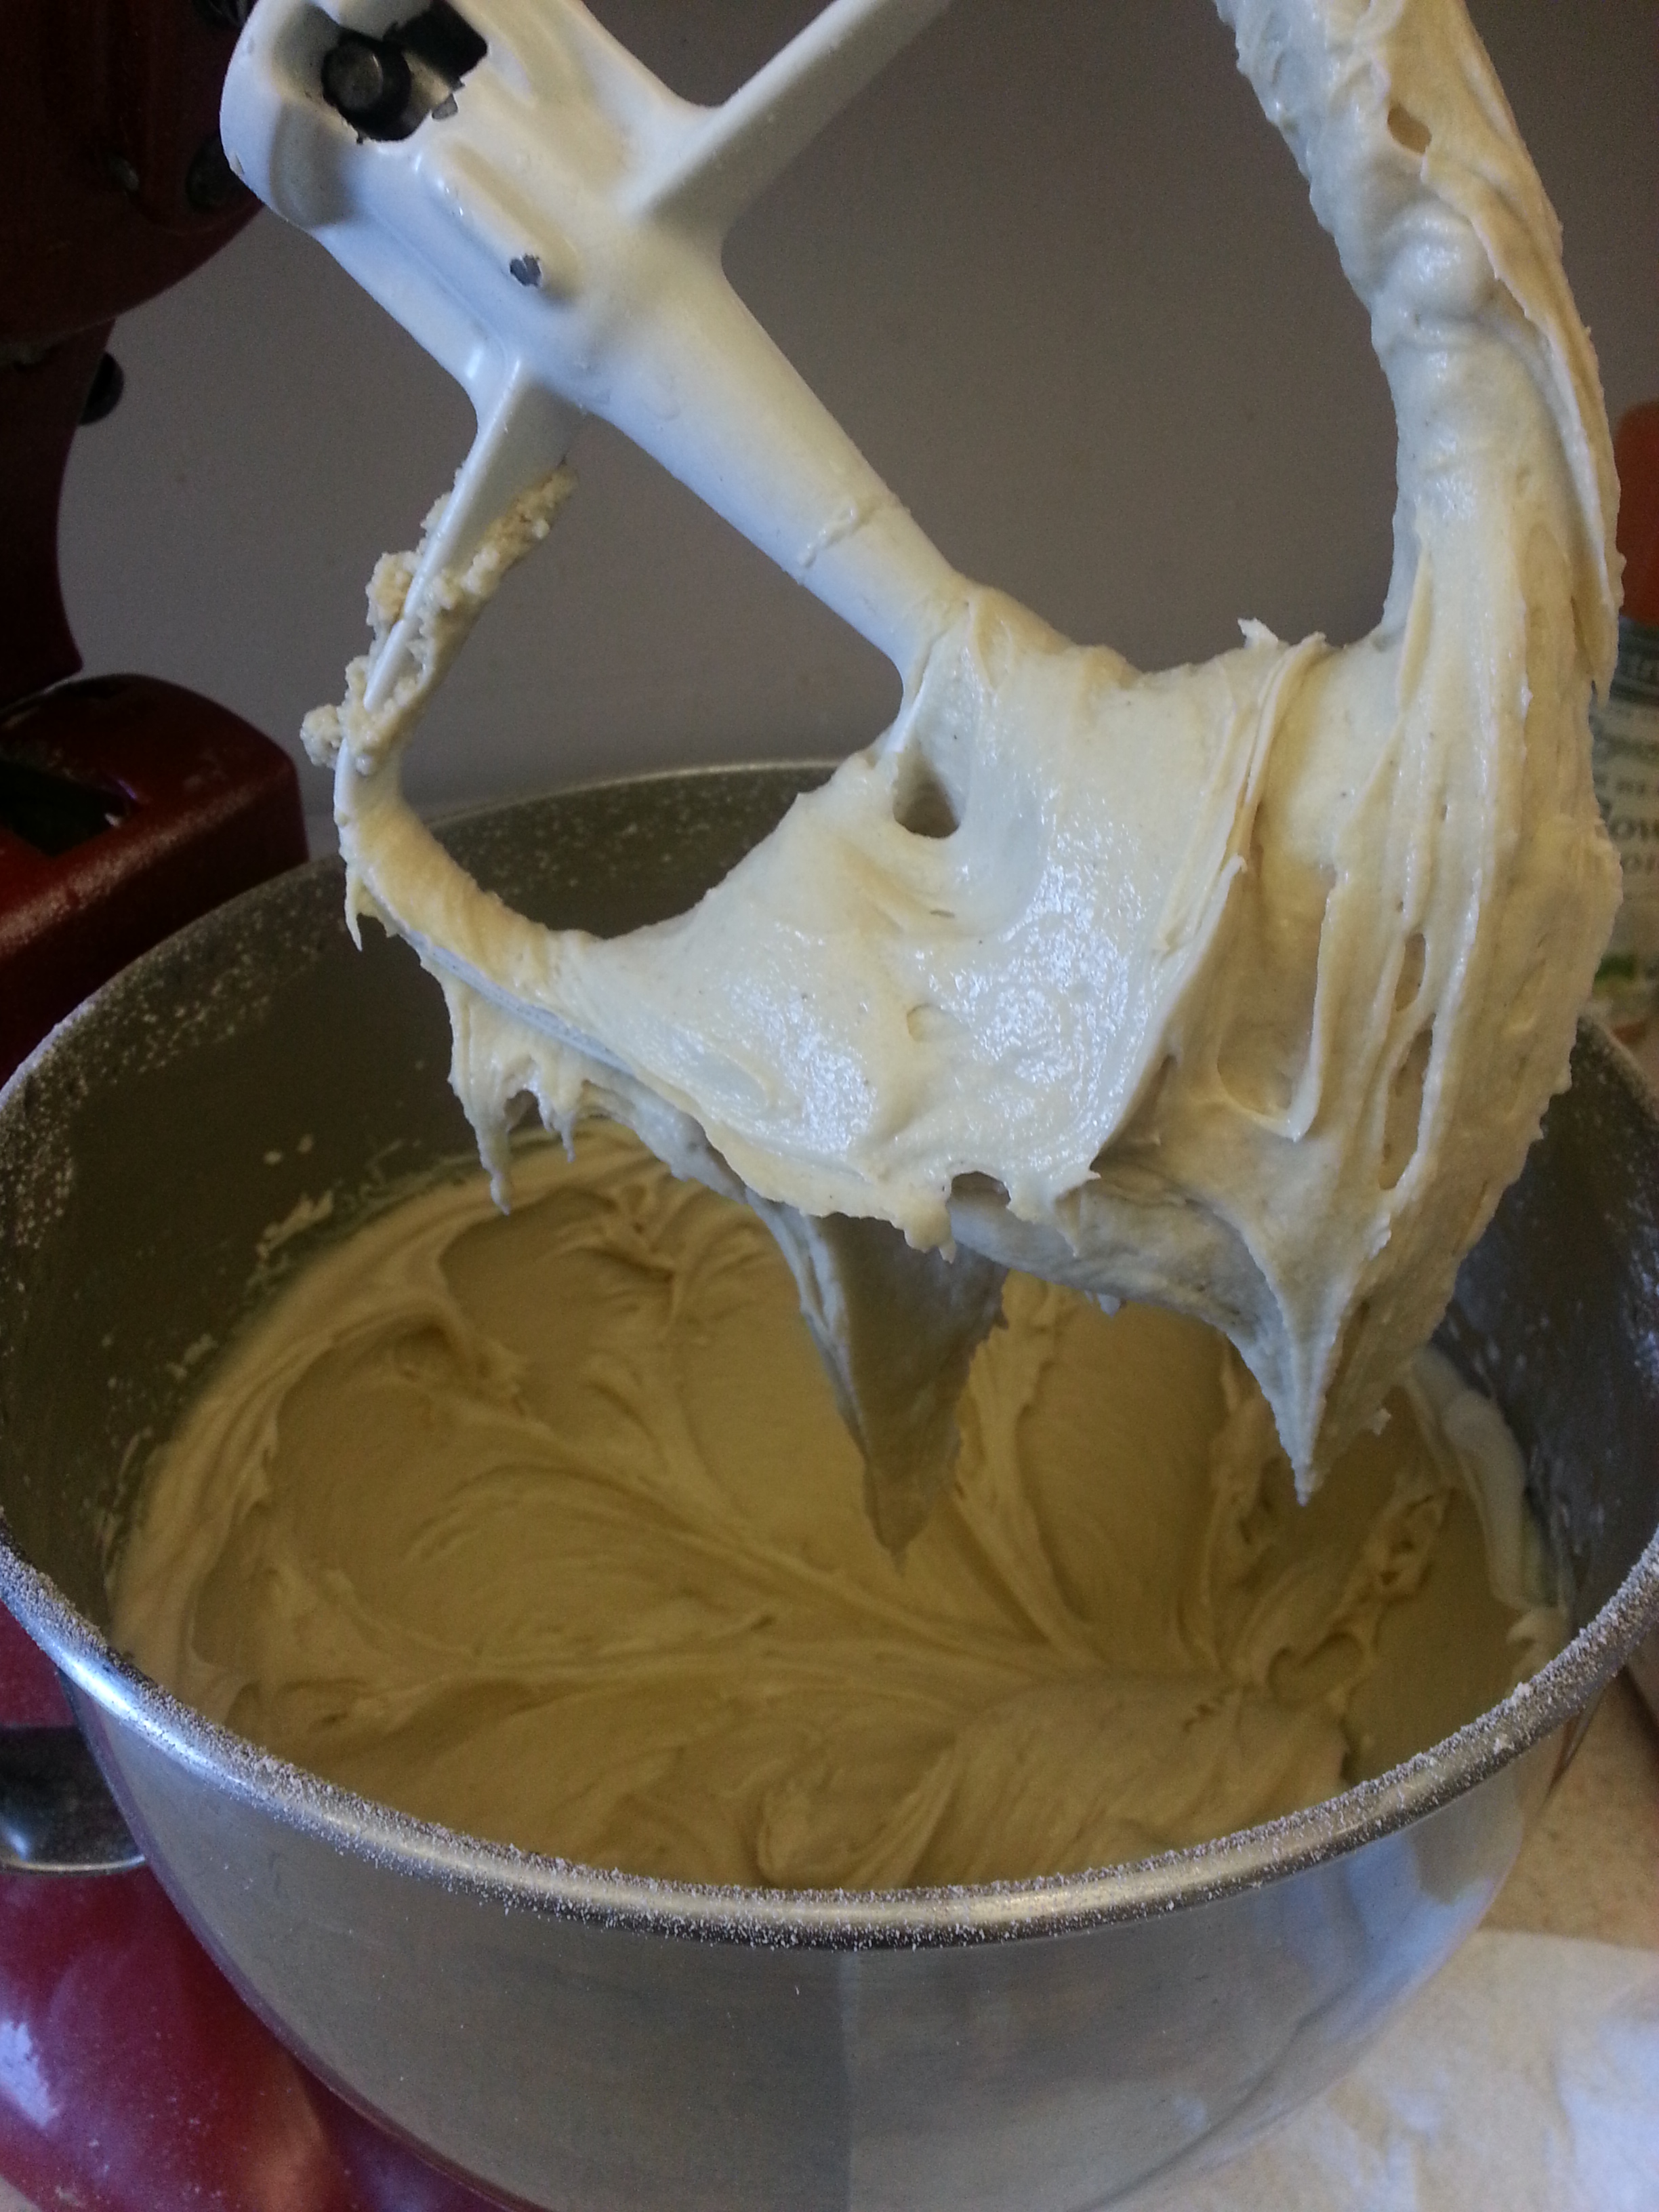
With the mixer running, slowly add the egg, butter, and vanilla extract to the dry ingredients and mix until the batter is clumpy. If it feels dry, you can add a few drops of milk, water or egg white to get the dough to come together.

20131029_190424Scoop the dough out onto a piece of parchment paper and form into a log. Wrap in parchment paper and freeze or refrigerate until firm. I usually freeze the dough for 30 minutes to an hour. If you aren’t feeling particularly patient, you can make these as drop cookies, but the dough freezes exceptionally well. I like to make a bunch of dough logs, freeze them, and have them ready for holiday cookie baking and gift-giving.

20131029_19084920131029_191419Preheat the oven to 350 degrees F.

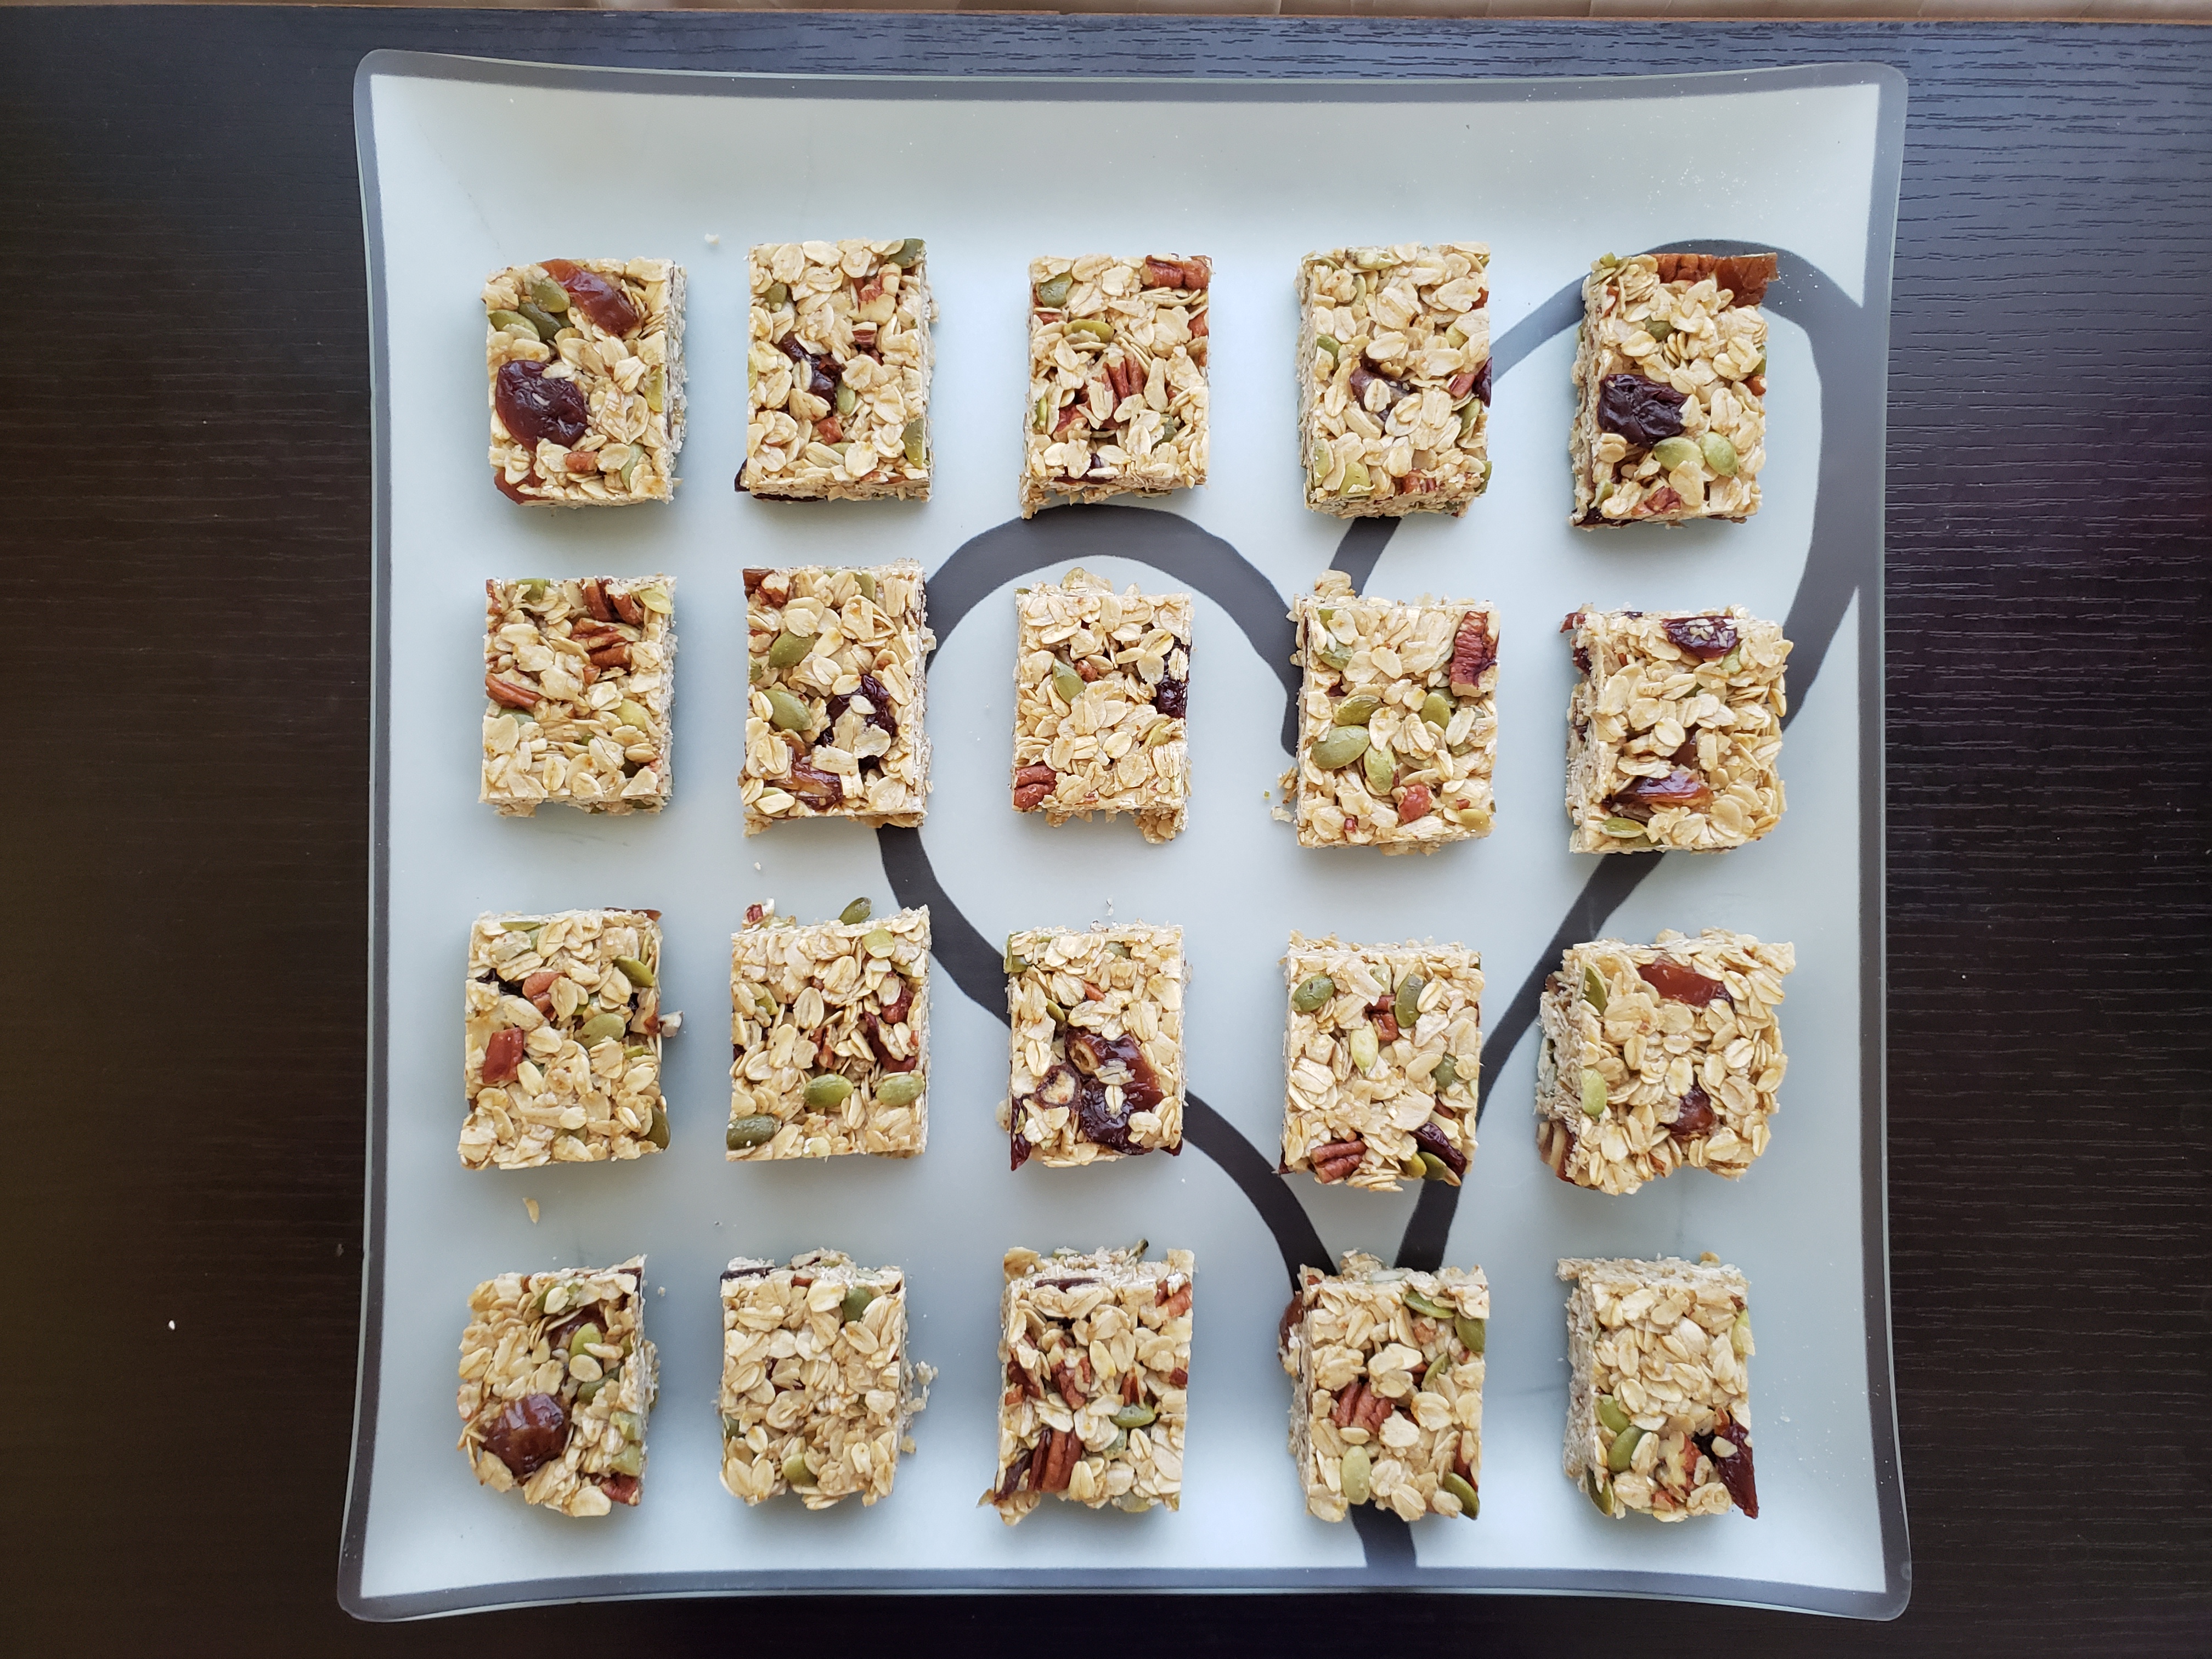
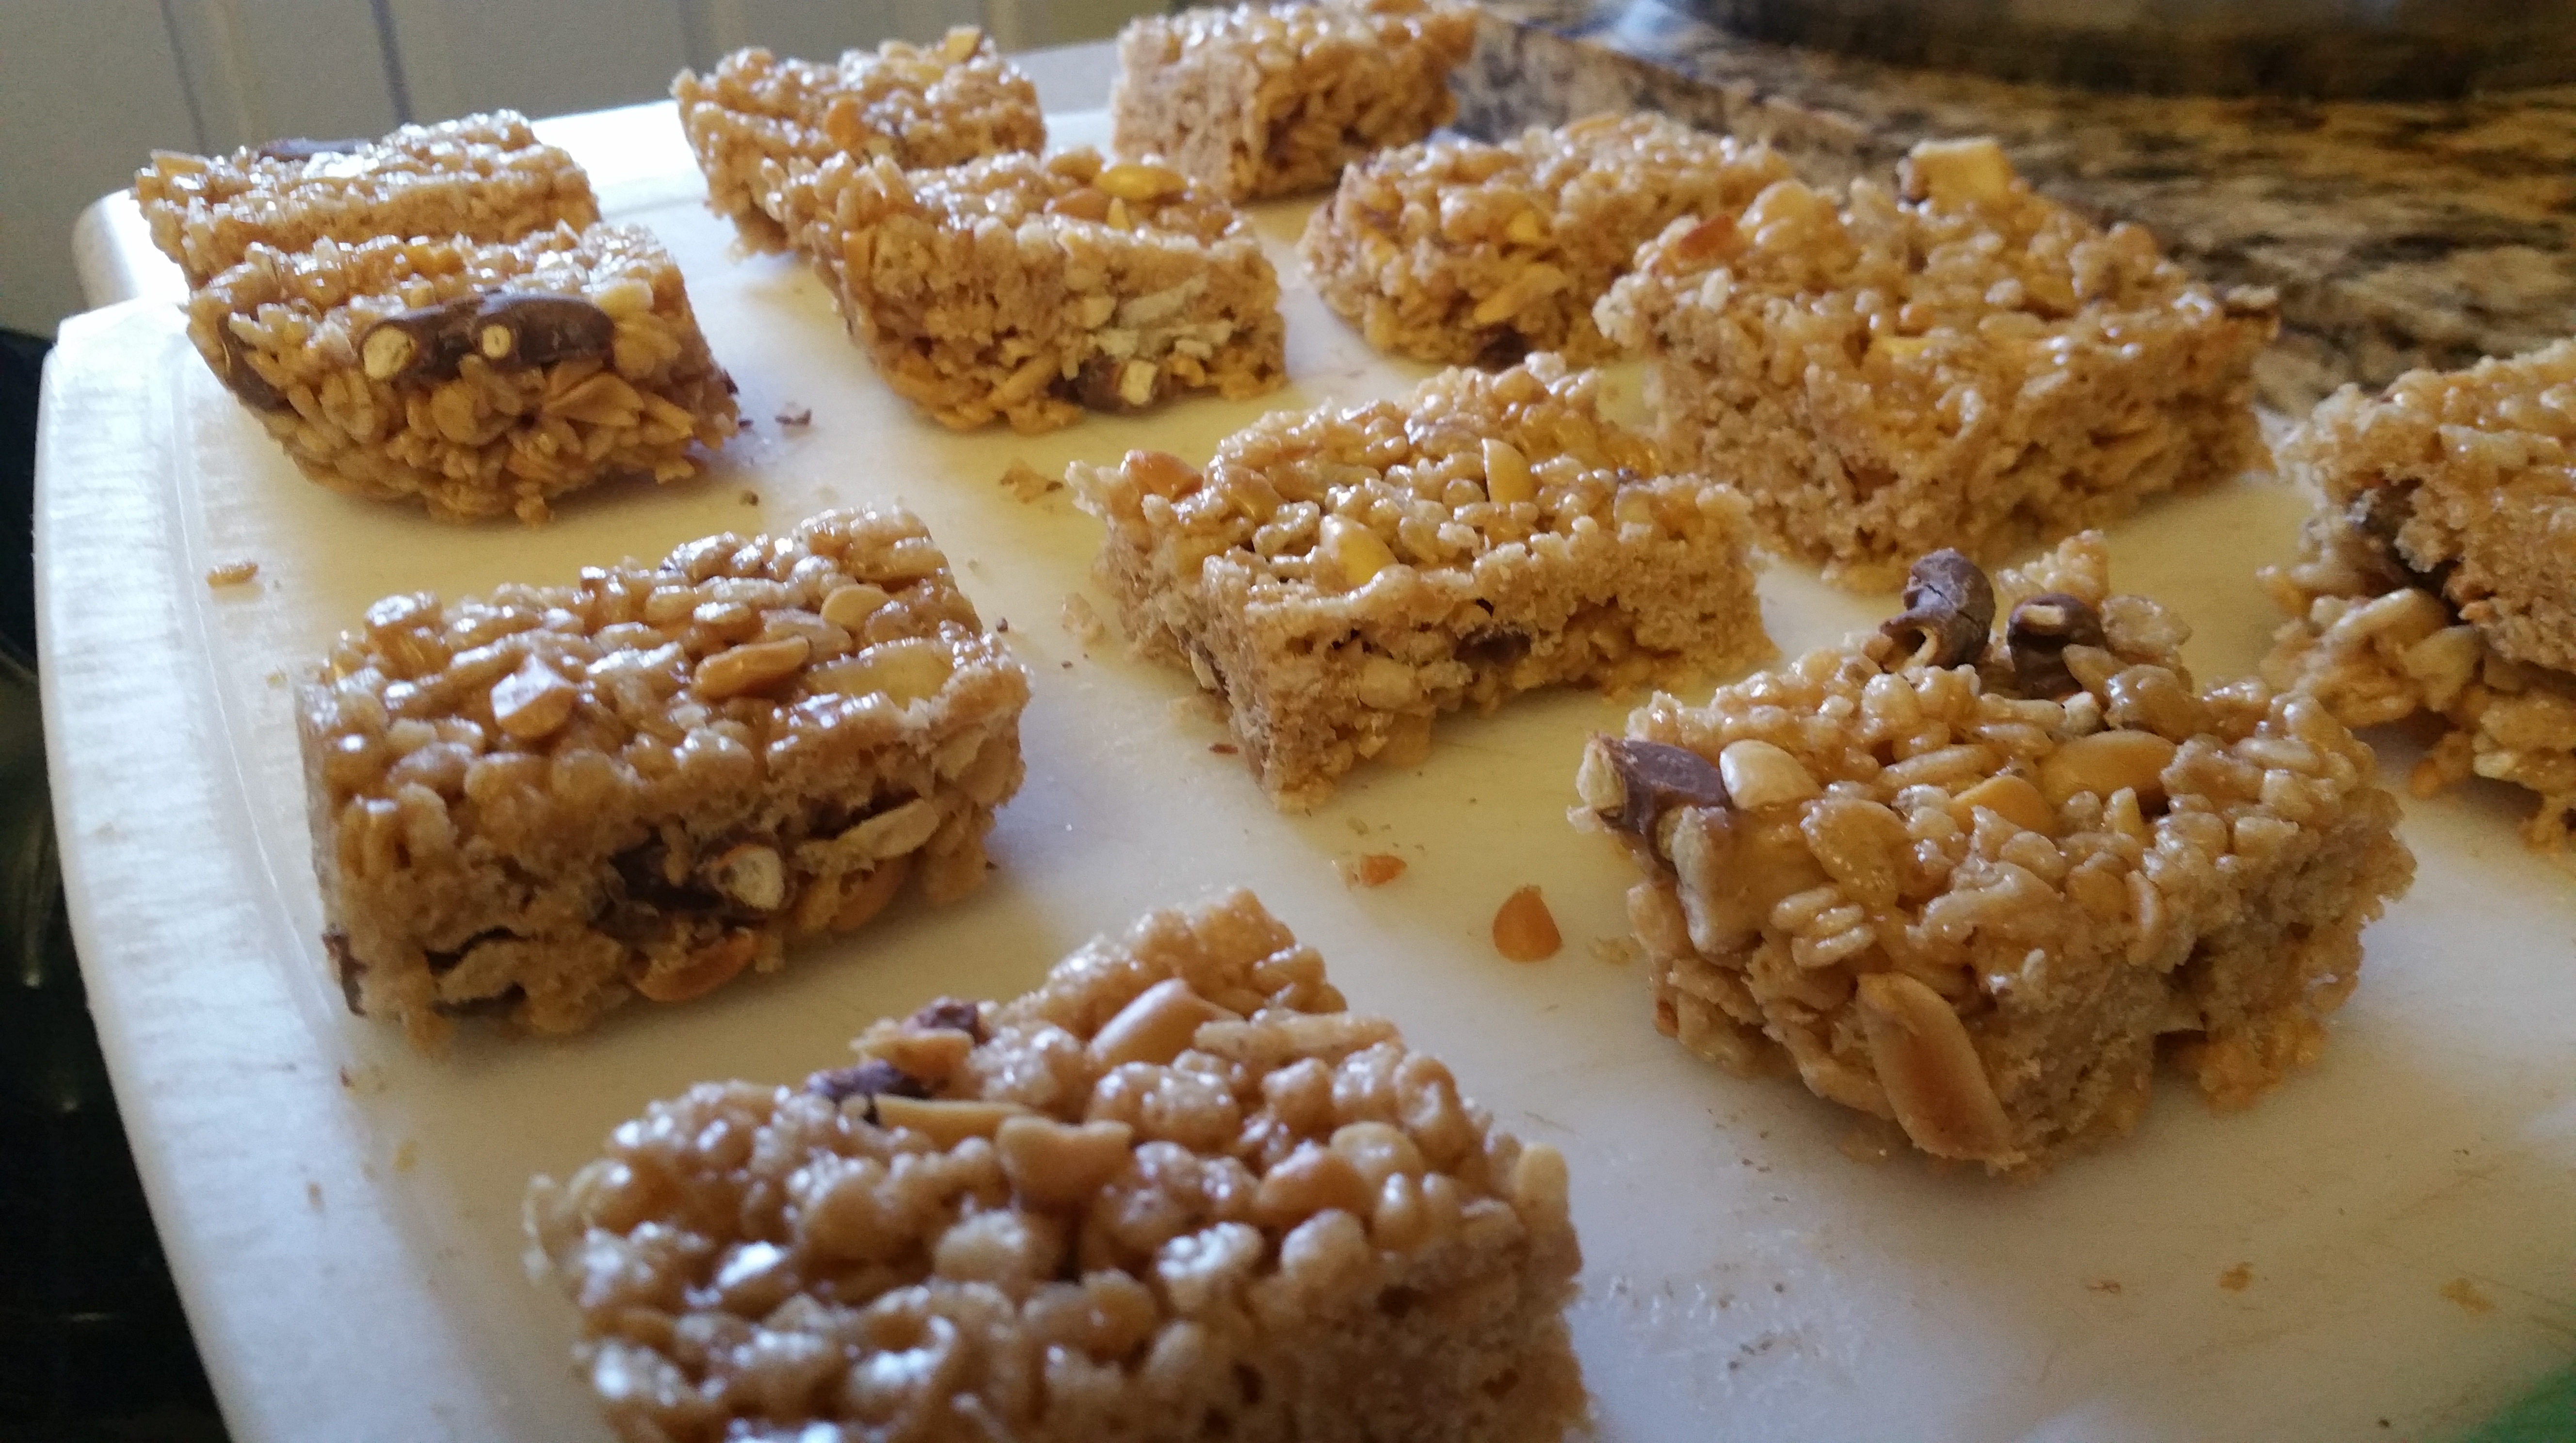
Slice the chilled dough into ½ in. thick discs and place them on a parchment-lined baking sheet with 1-2 in. of space in between them (they will spread slightly). Bake for 8-10 minutes or until the edges are just beginning to brown. Cool on a wire rack, eat, and share with friends for maximum enjoyment.

20131029_202026SNICKERDOODLES, too???

I thought that this dough would also make for excellent snickerdoodles, and since I was so determined to play, I approached it as I try to approach difficult arm or single-leg balances: If you fall and it’s ugly, at least you learned where the edge is! Fortunately, there was no such disaster and my intuition was right on in this case. To make these into sweet cinnamon-sugar delights, omit the pecans and coconut. In a small bowl, combine 3 tbsp. of sugar with 1 tsp. cinnamon. After freezing and slicing the dough log, toss the discs in the cinnamon sugar mixture and then bake on parchment-lined sheets. Voila! Now you have two distinctly different cookies from one simple method. Oh, the possibilities!

snickerdoodlesAnd suddenly, there it is. That inspiration and charge that sparks through me when I realize that there is something new and delicious to share with the world around me. The stress of “figuring it out” melts away and I remember why I love cooking: it’s a dare and a challenge, it’s a learning experience, it’s a love, and oh yes…

…it’s a joy.

Ciao for now,

Neen