Archive | Cookies RSS feed for this section

Back to Baking: Sugar Cookies

7 Jan

I missed Christmas cookie baking season for the first time in YEARS. I still managed to crank out a few cookies for my doctors, hair stylist, etc. using my food processor, but it was nowhere near the variety or number that usually graces my table during the season. Needless to say, I was pretty bummed out by it. But hey, it was a small price to pay to have a functional heart!

Luckily my parents are also pretty baking-happy during the holiday season, so I received a package in the mail with quite a variety of delicious goodies to enjoy. Of all the cookies they sent, it was the simplest one that I still craved days after polishing off. I speak of course of sugar cookies. I asked my mom for the recipe, which she was kind enough to pass along, and swore that as soon as I was medically cleared to lift my stand mixer onto the counter again I’d make them and share them with all of you.

Guess who can use both arms again??? Let’s celebrate with something sweet!

Sugar Cookies

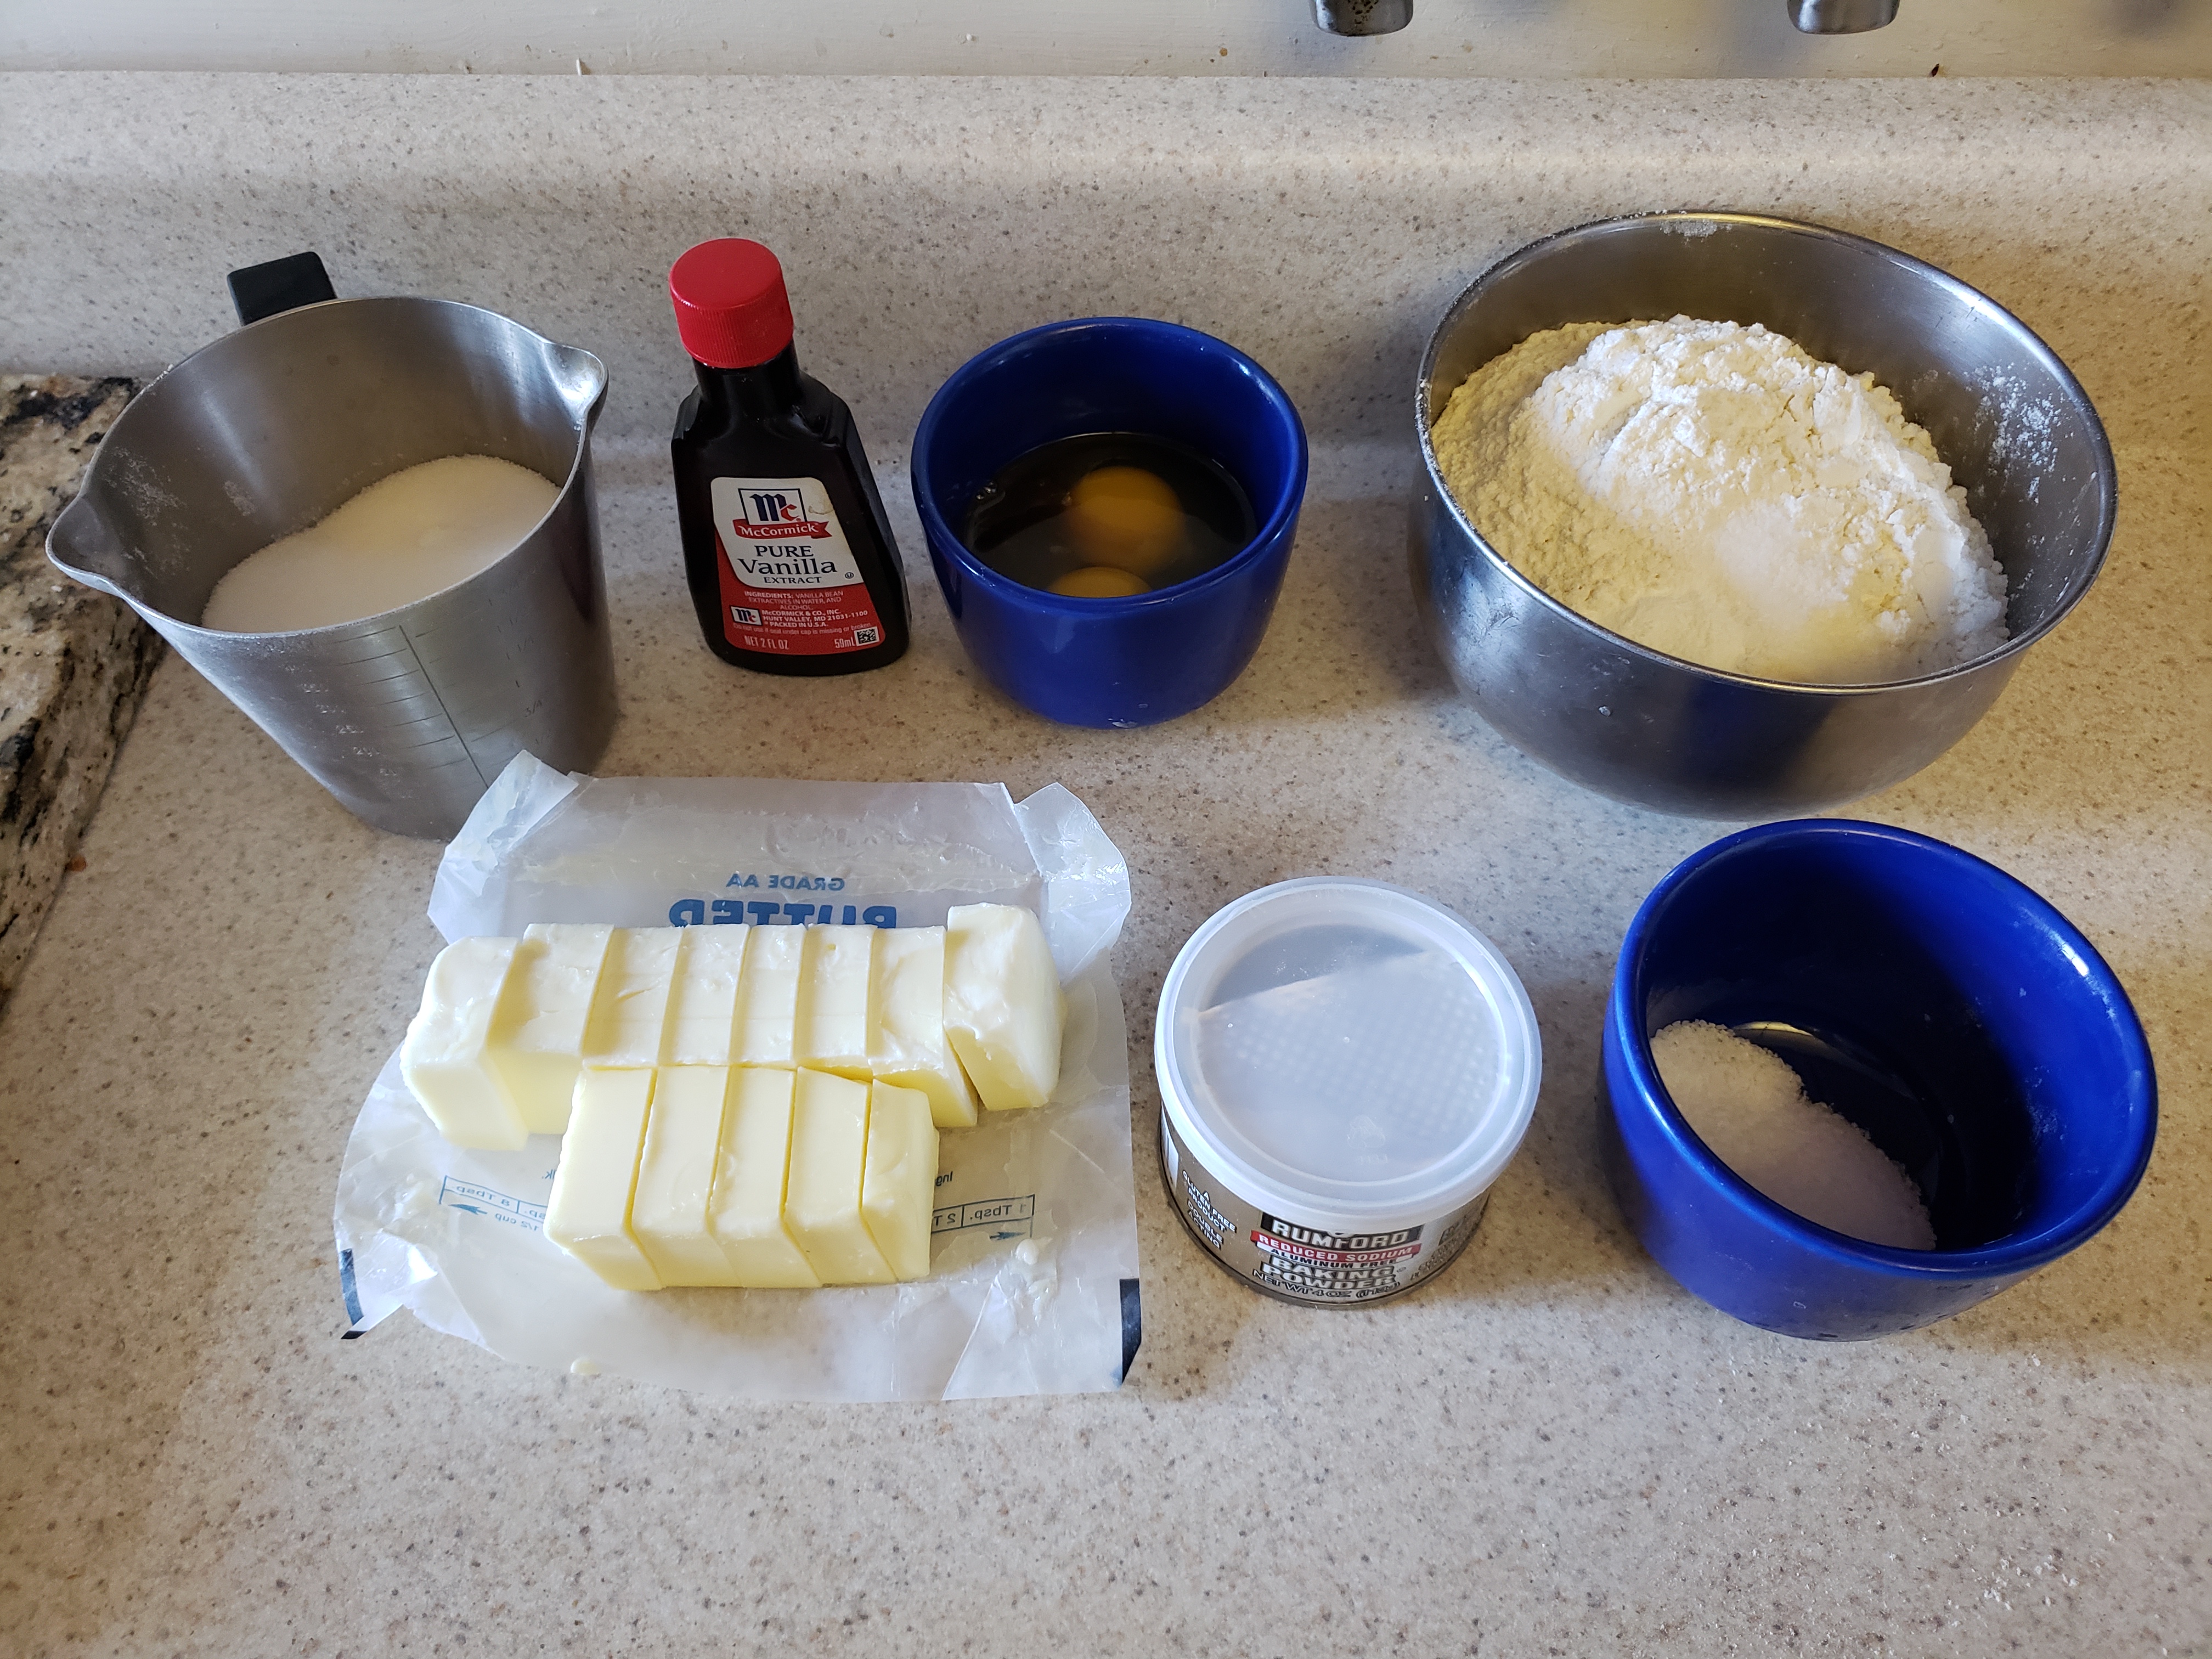
  • 6 oz. unsalted butter, softened
  • 1 cup sugar
  • 2 eggs
  • ½ tsp. vanilla extract
  • 2 ½ cups flour
  • 1 tsp. baking powder
  • ½ tsp. salt
  • Sprinkles for decoration

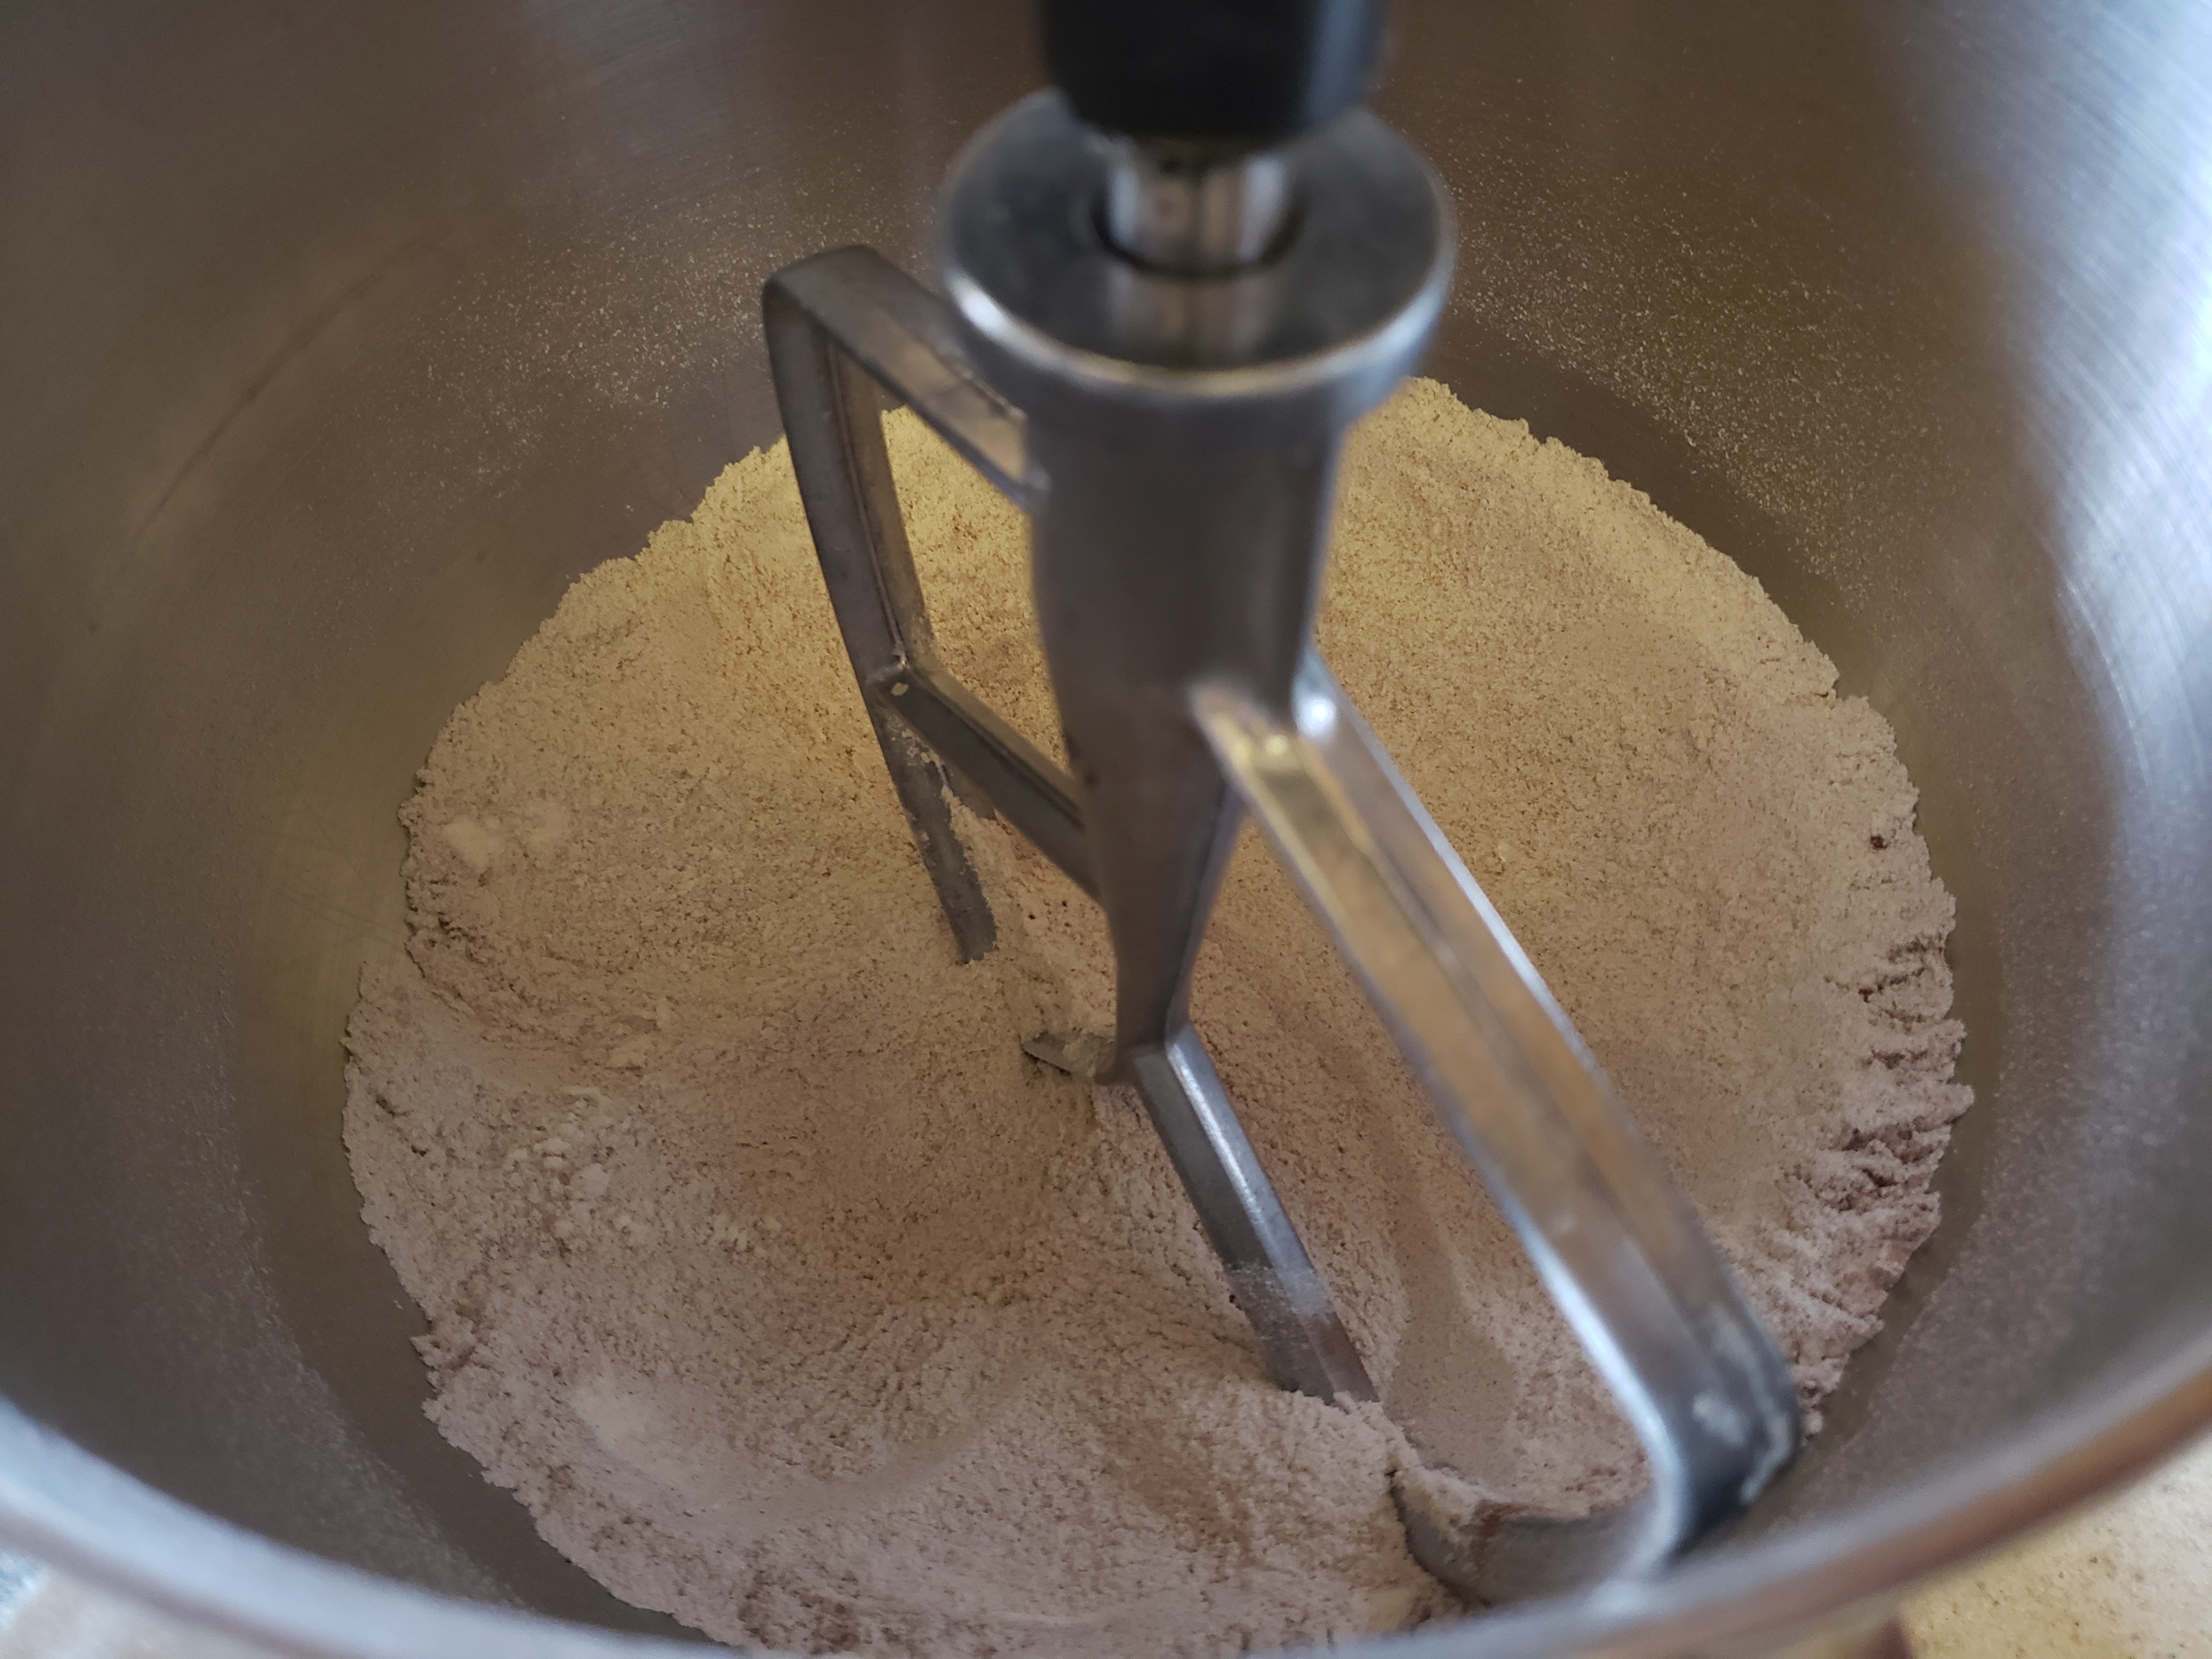
In a medium-sized bowl, sift together the flour, baking powder, and salt. Set aside.

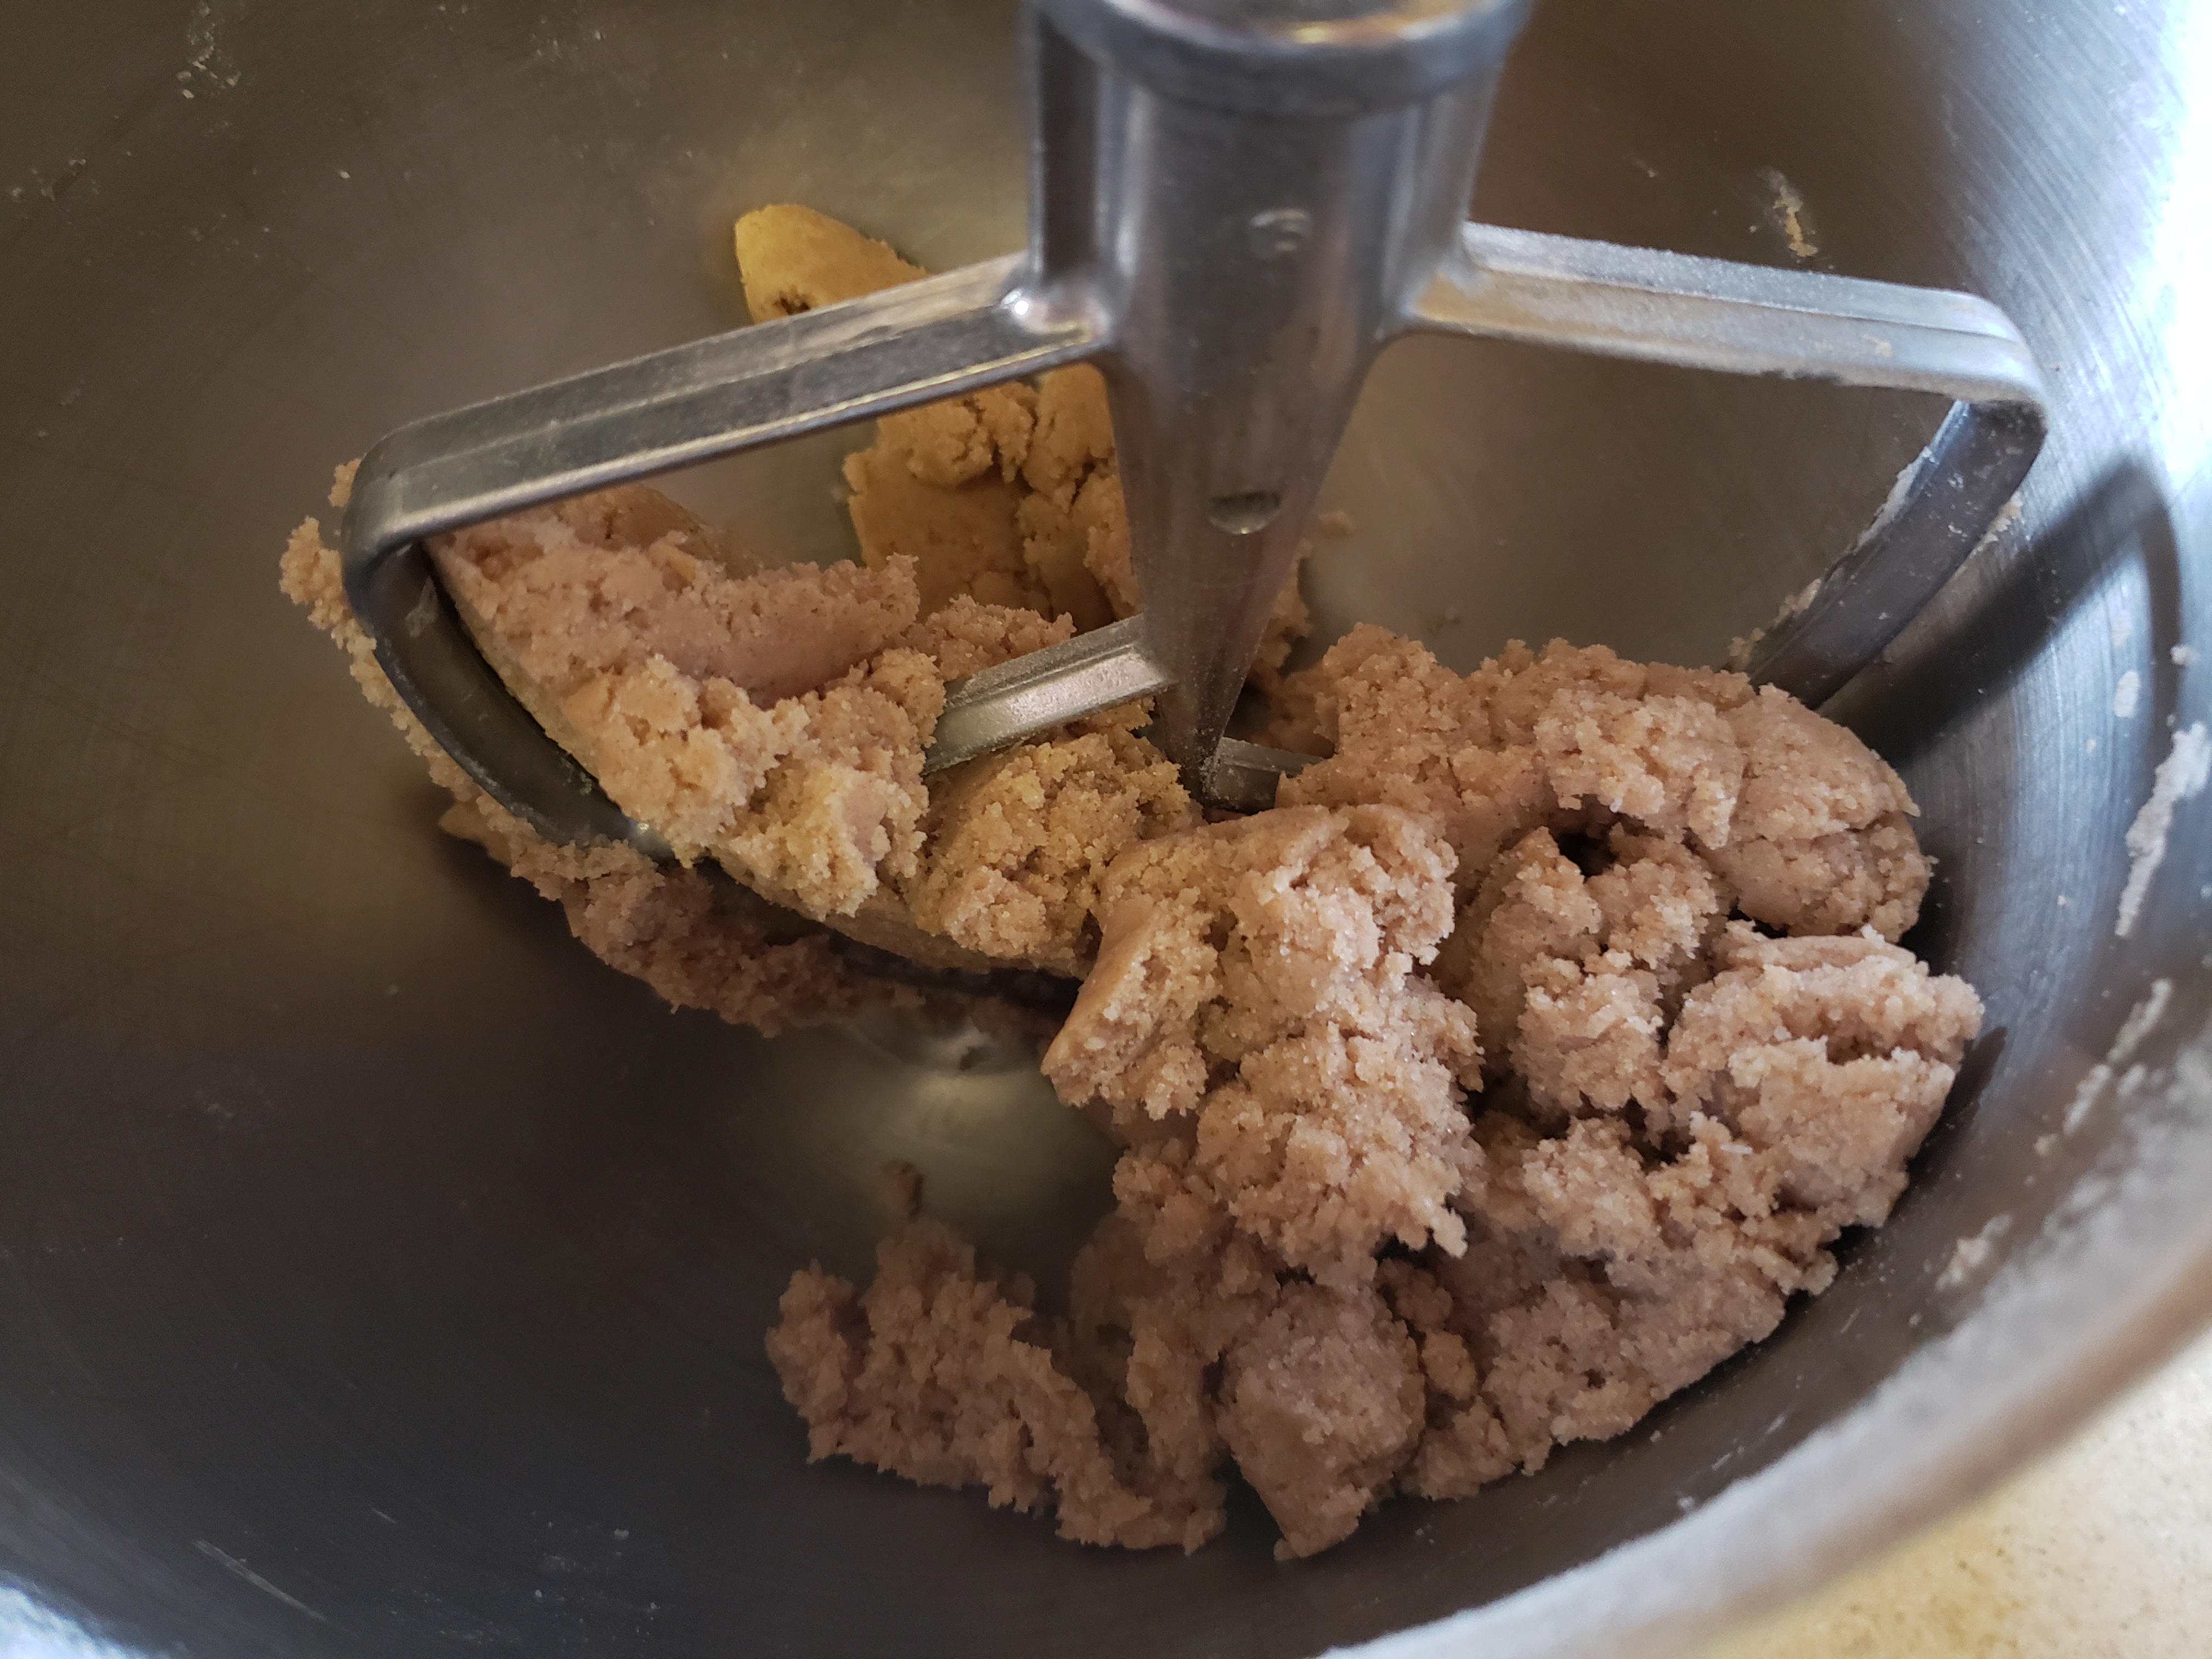
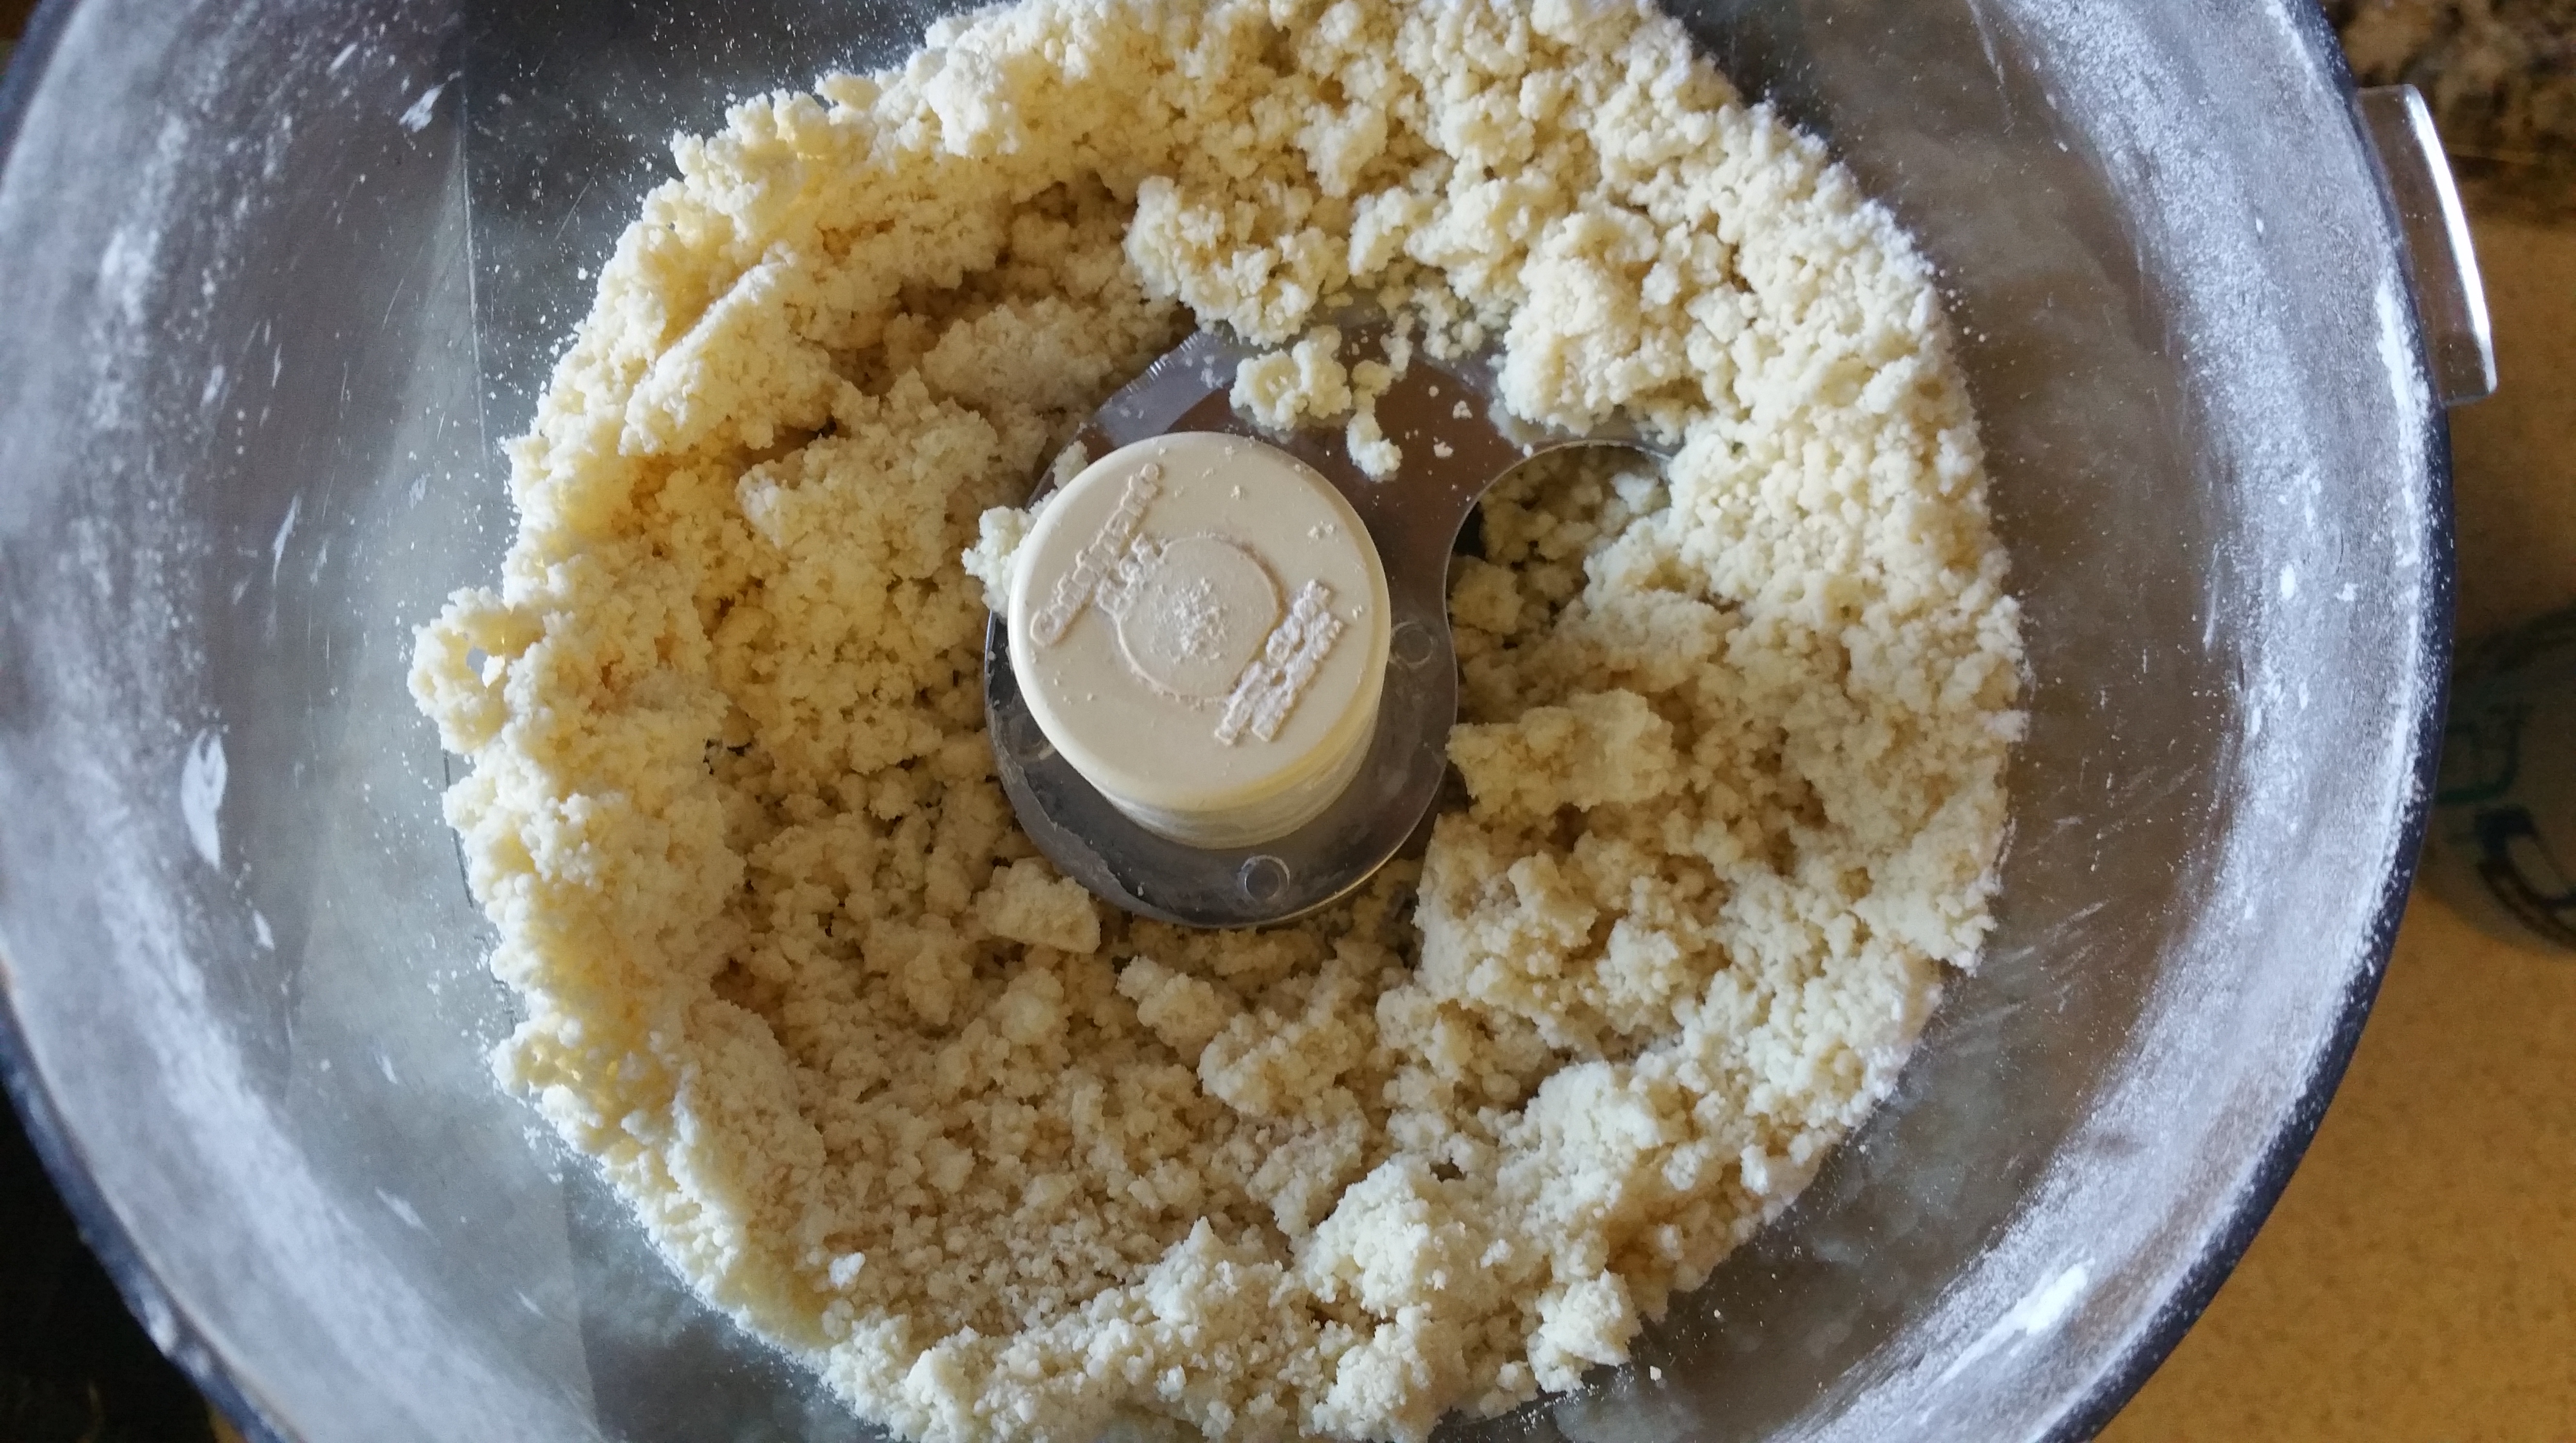
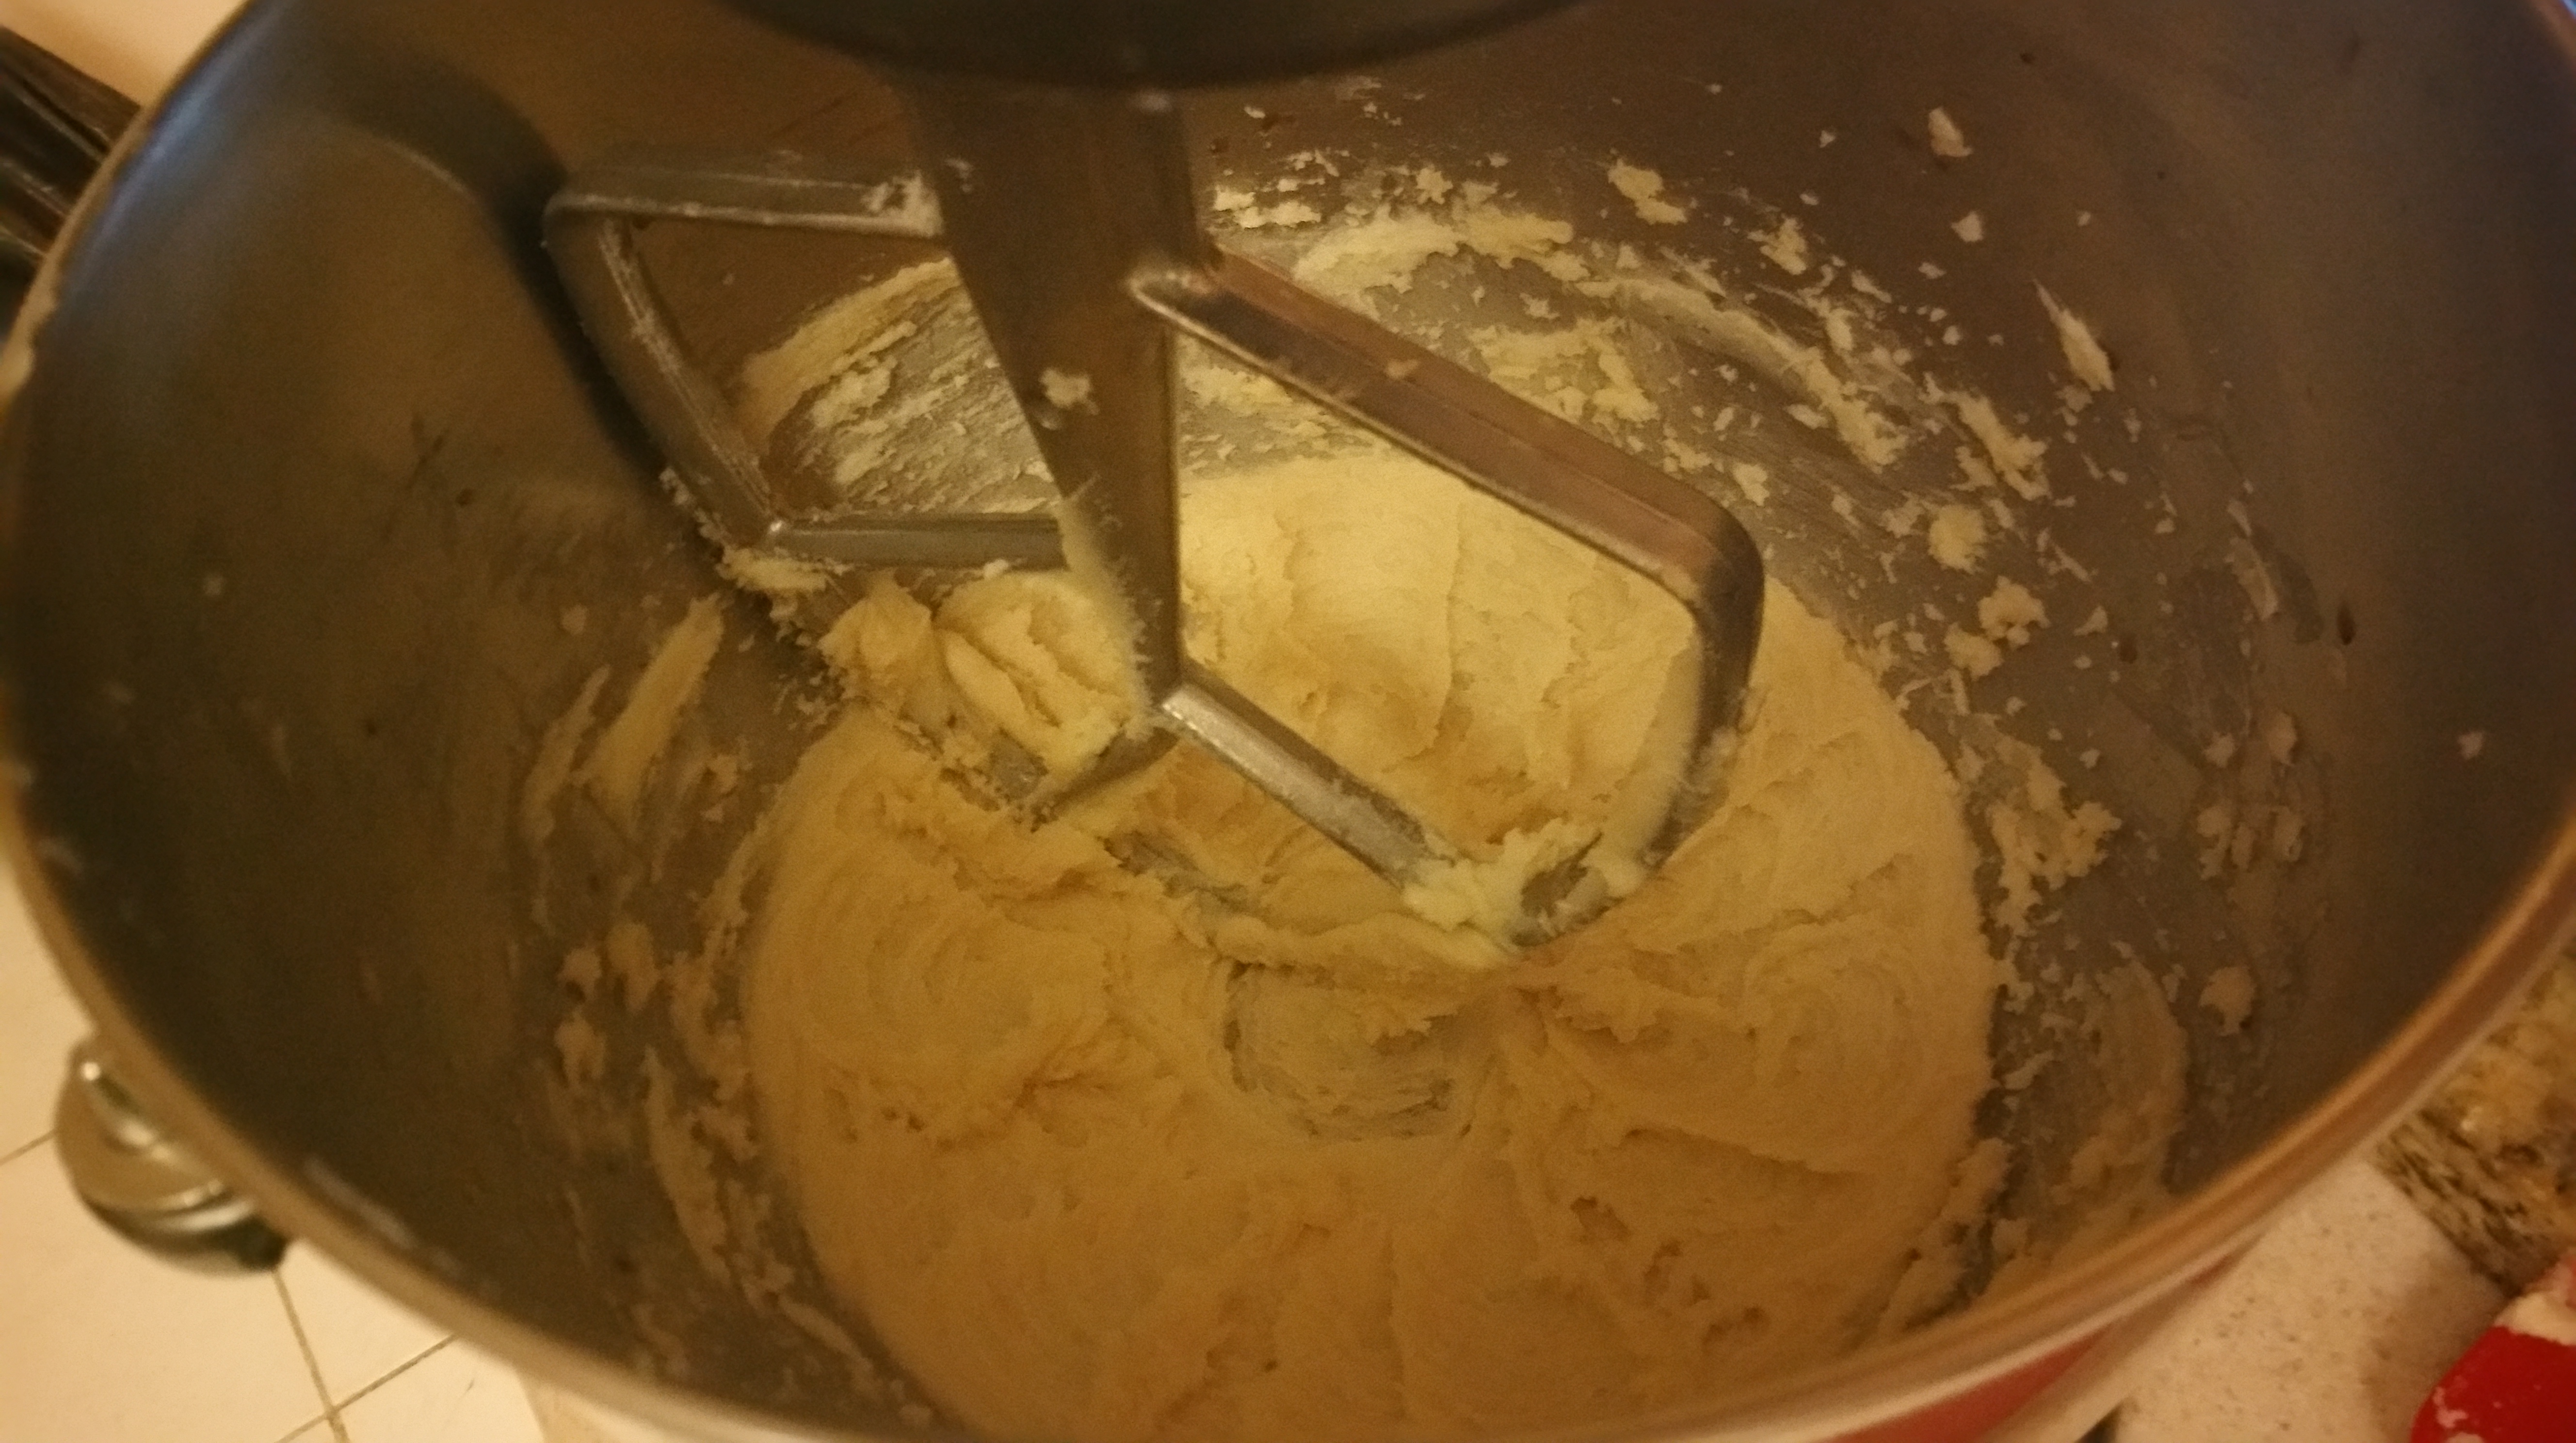
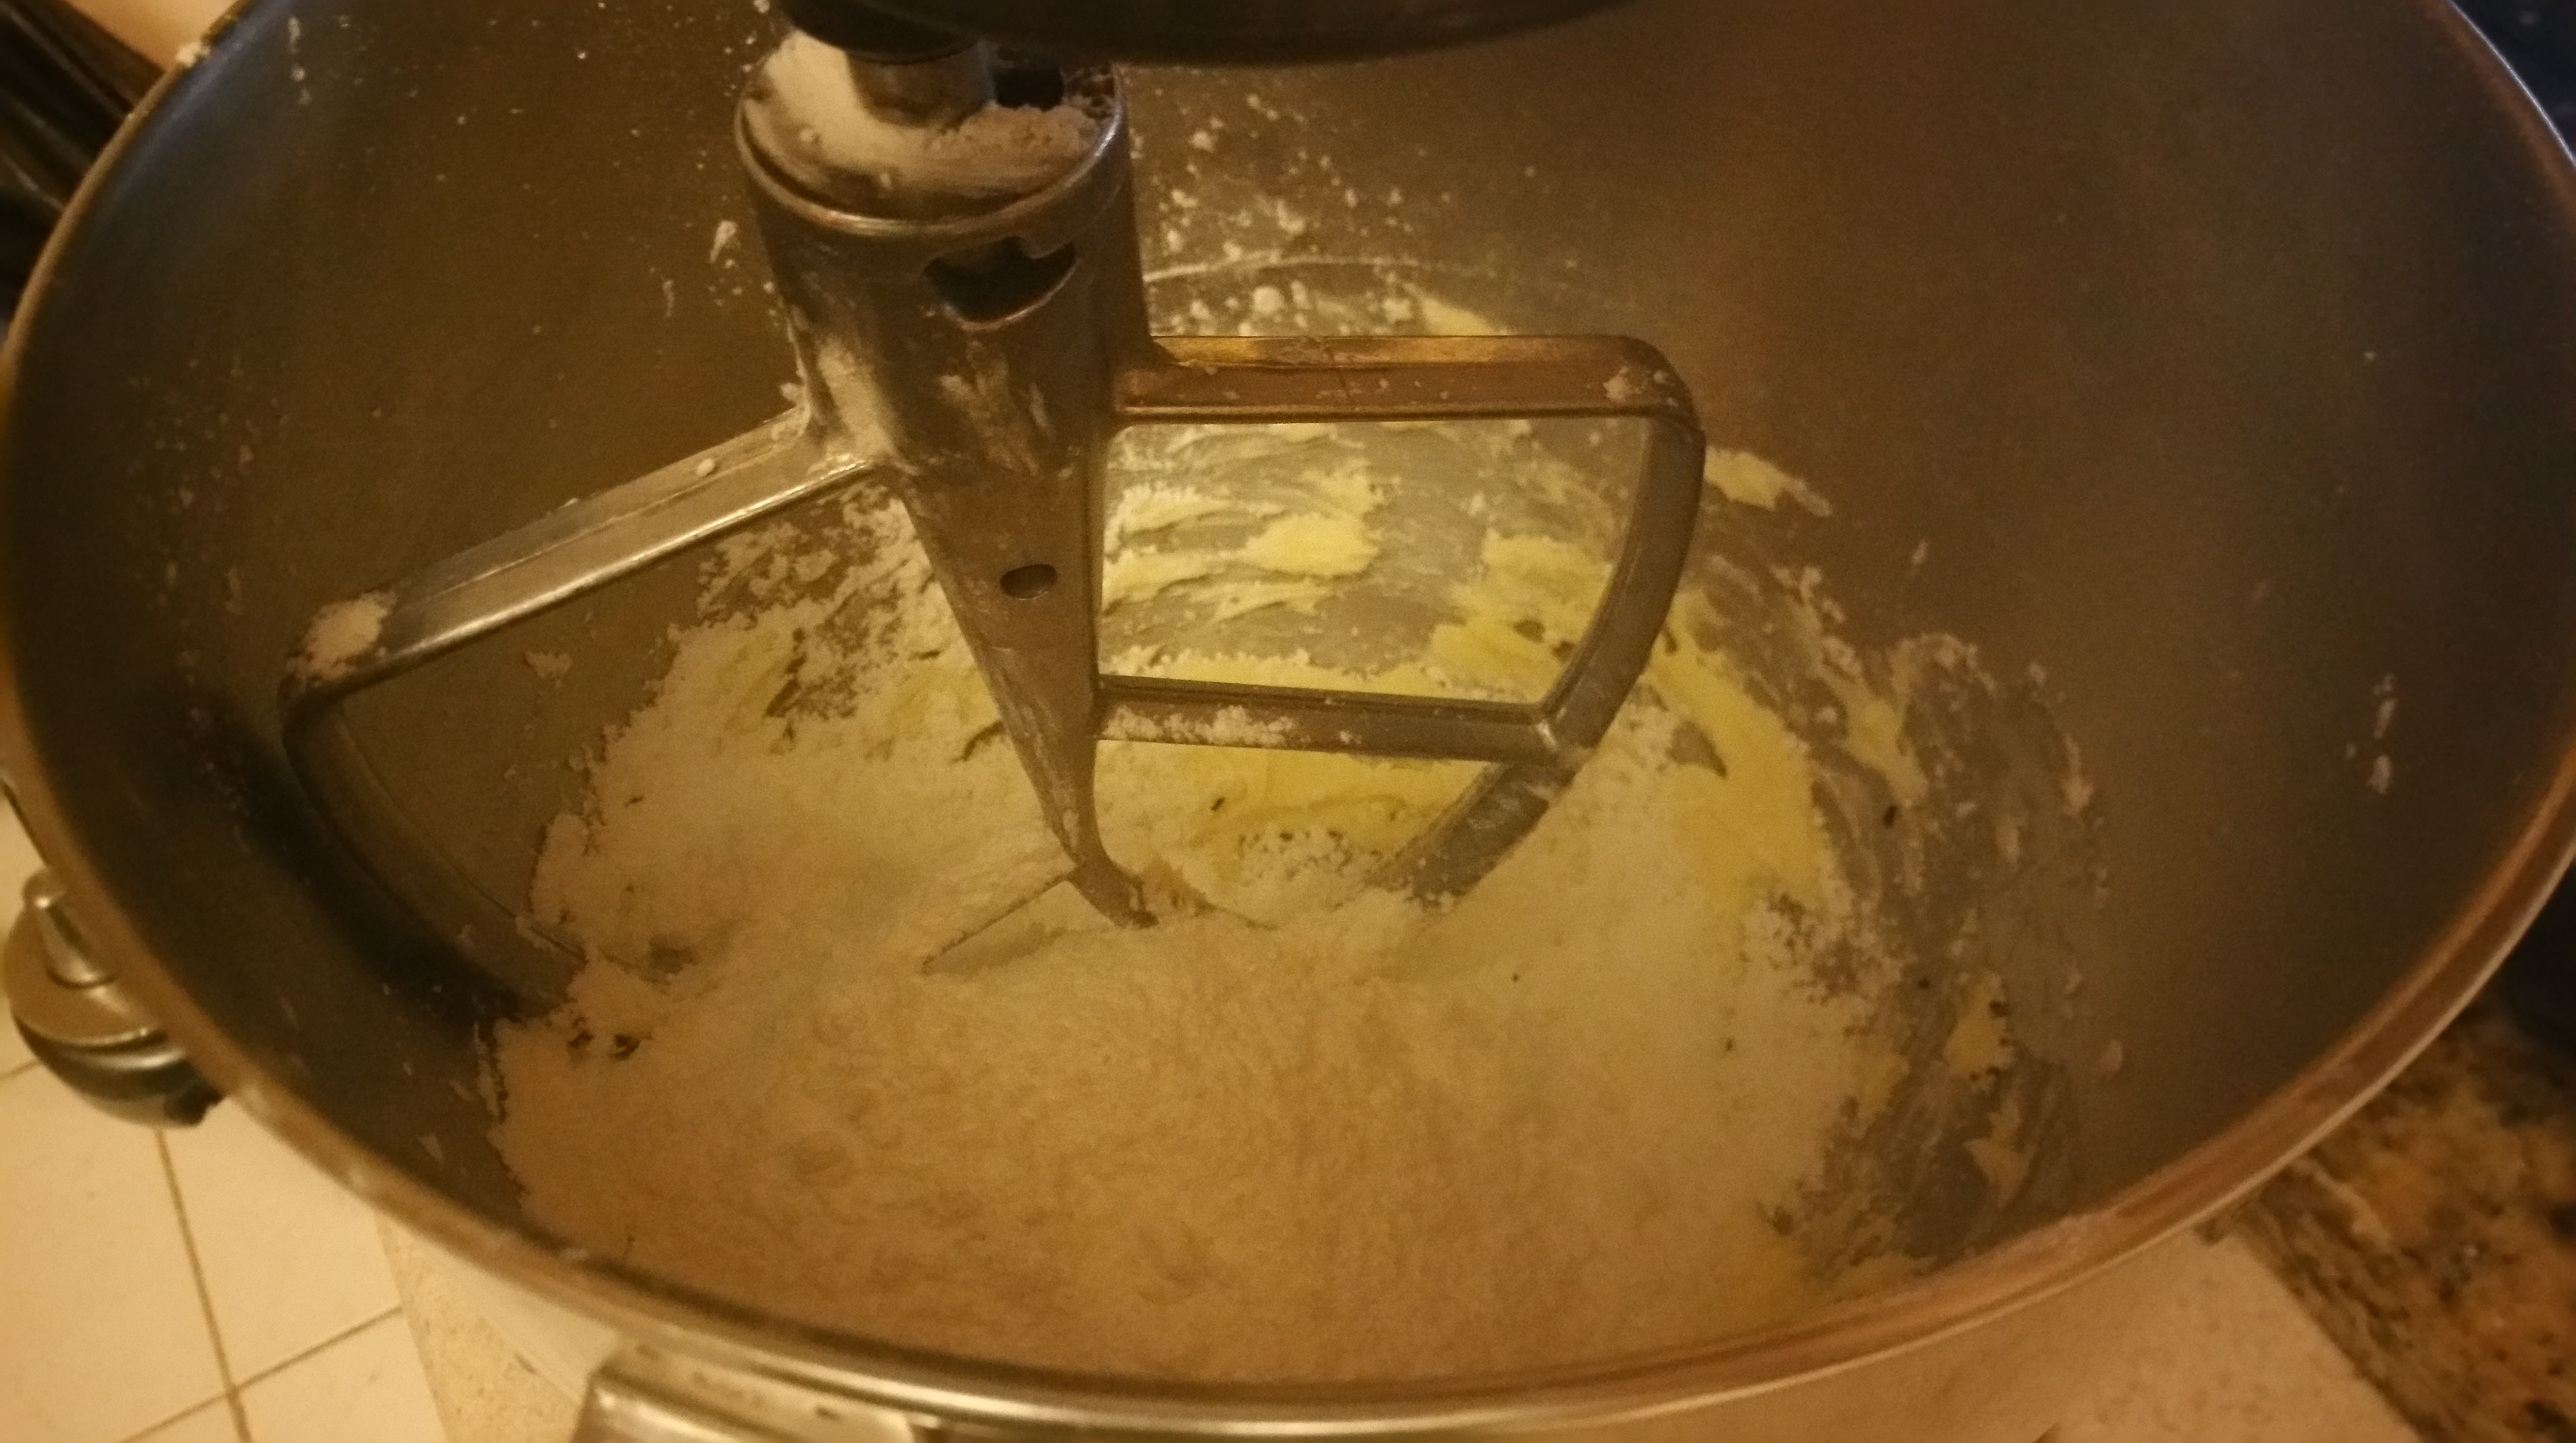
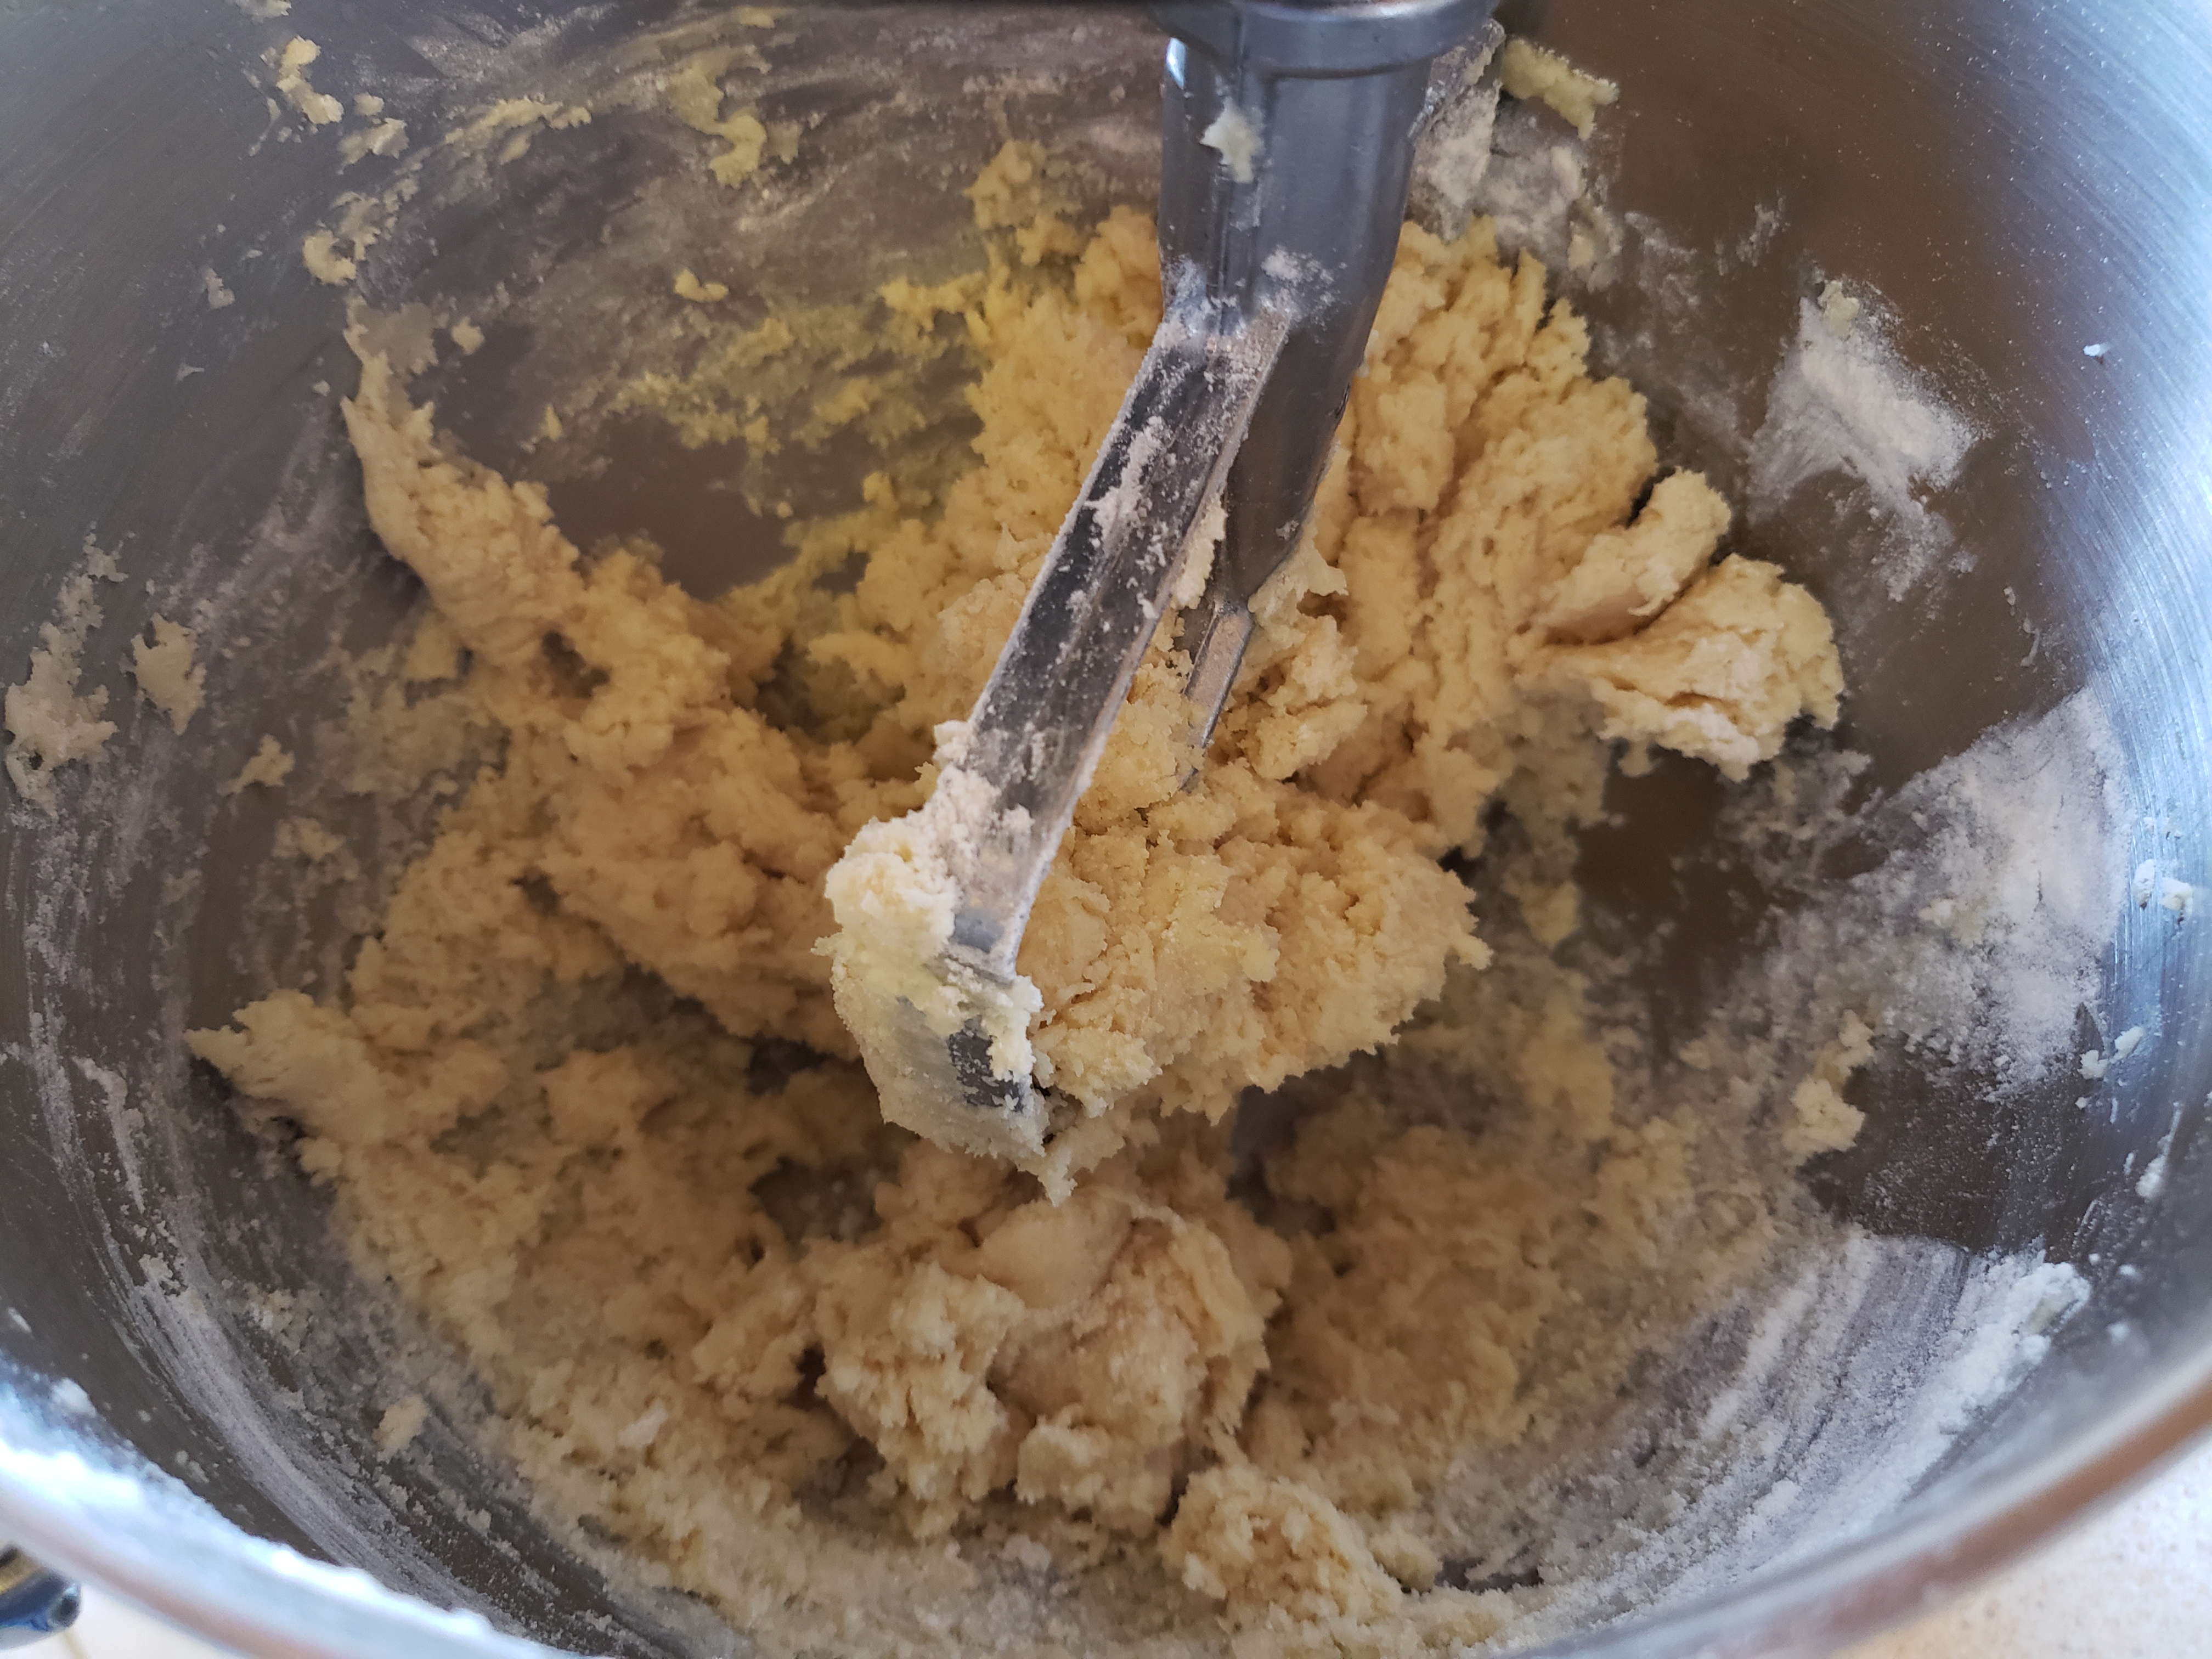
In the bowl of a stand mixer, beat the butter and sugar together on medium speed until smooth and fluffy.

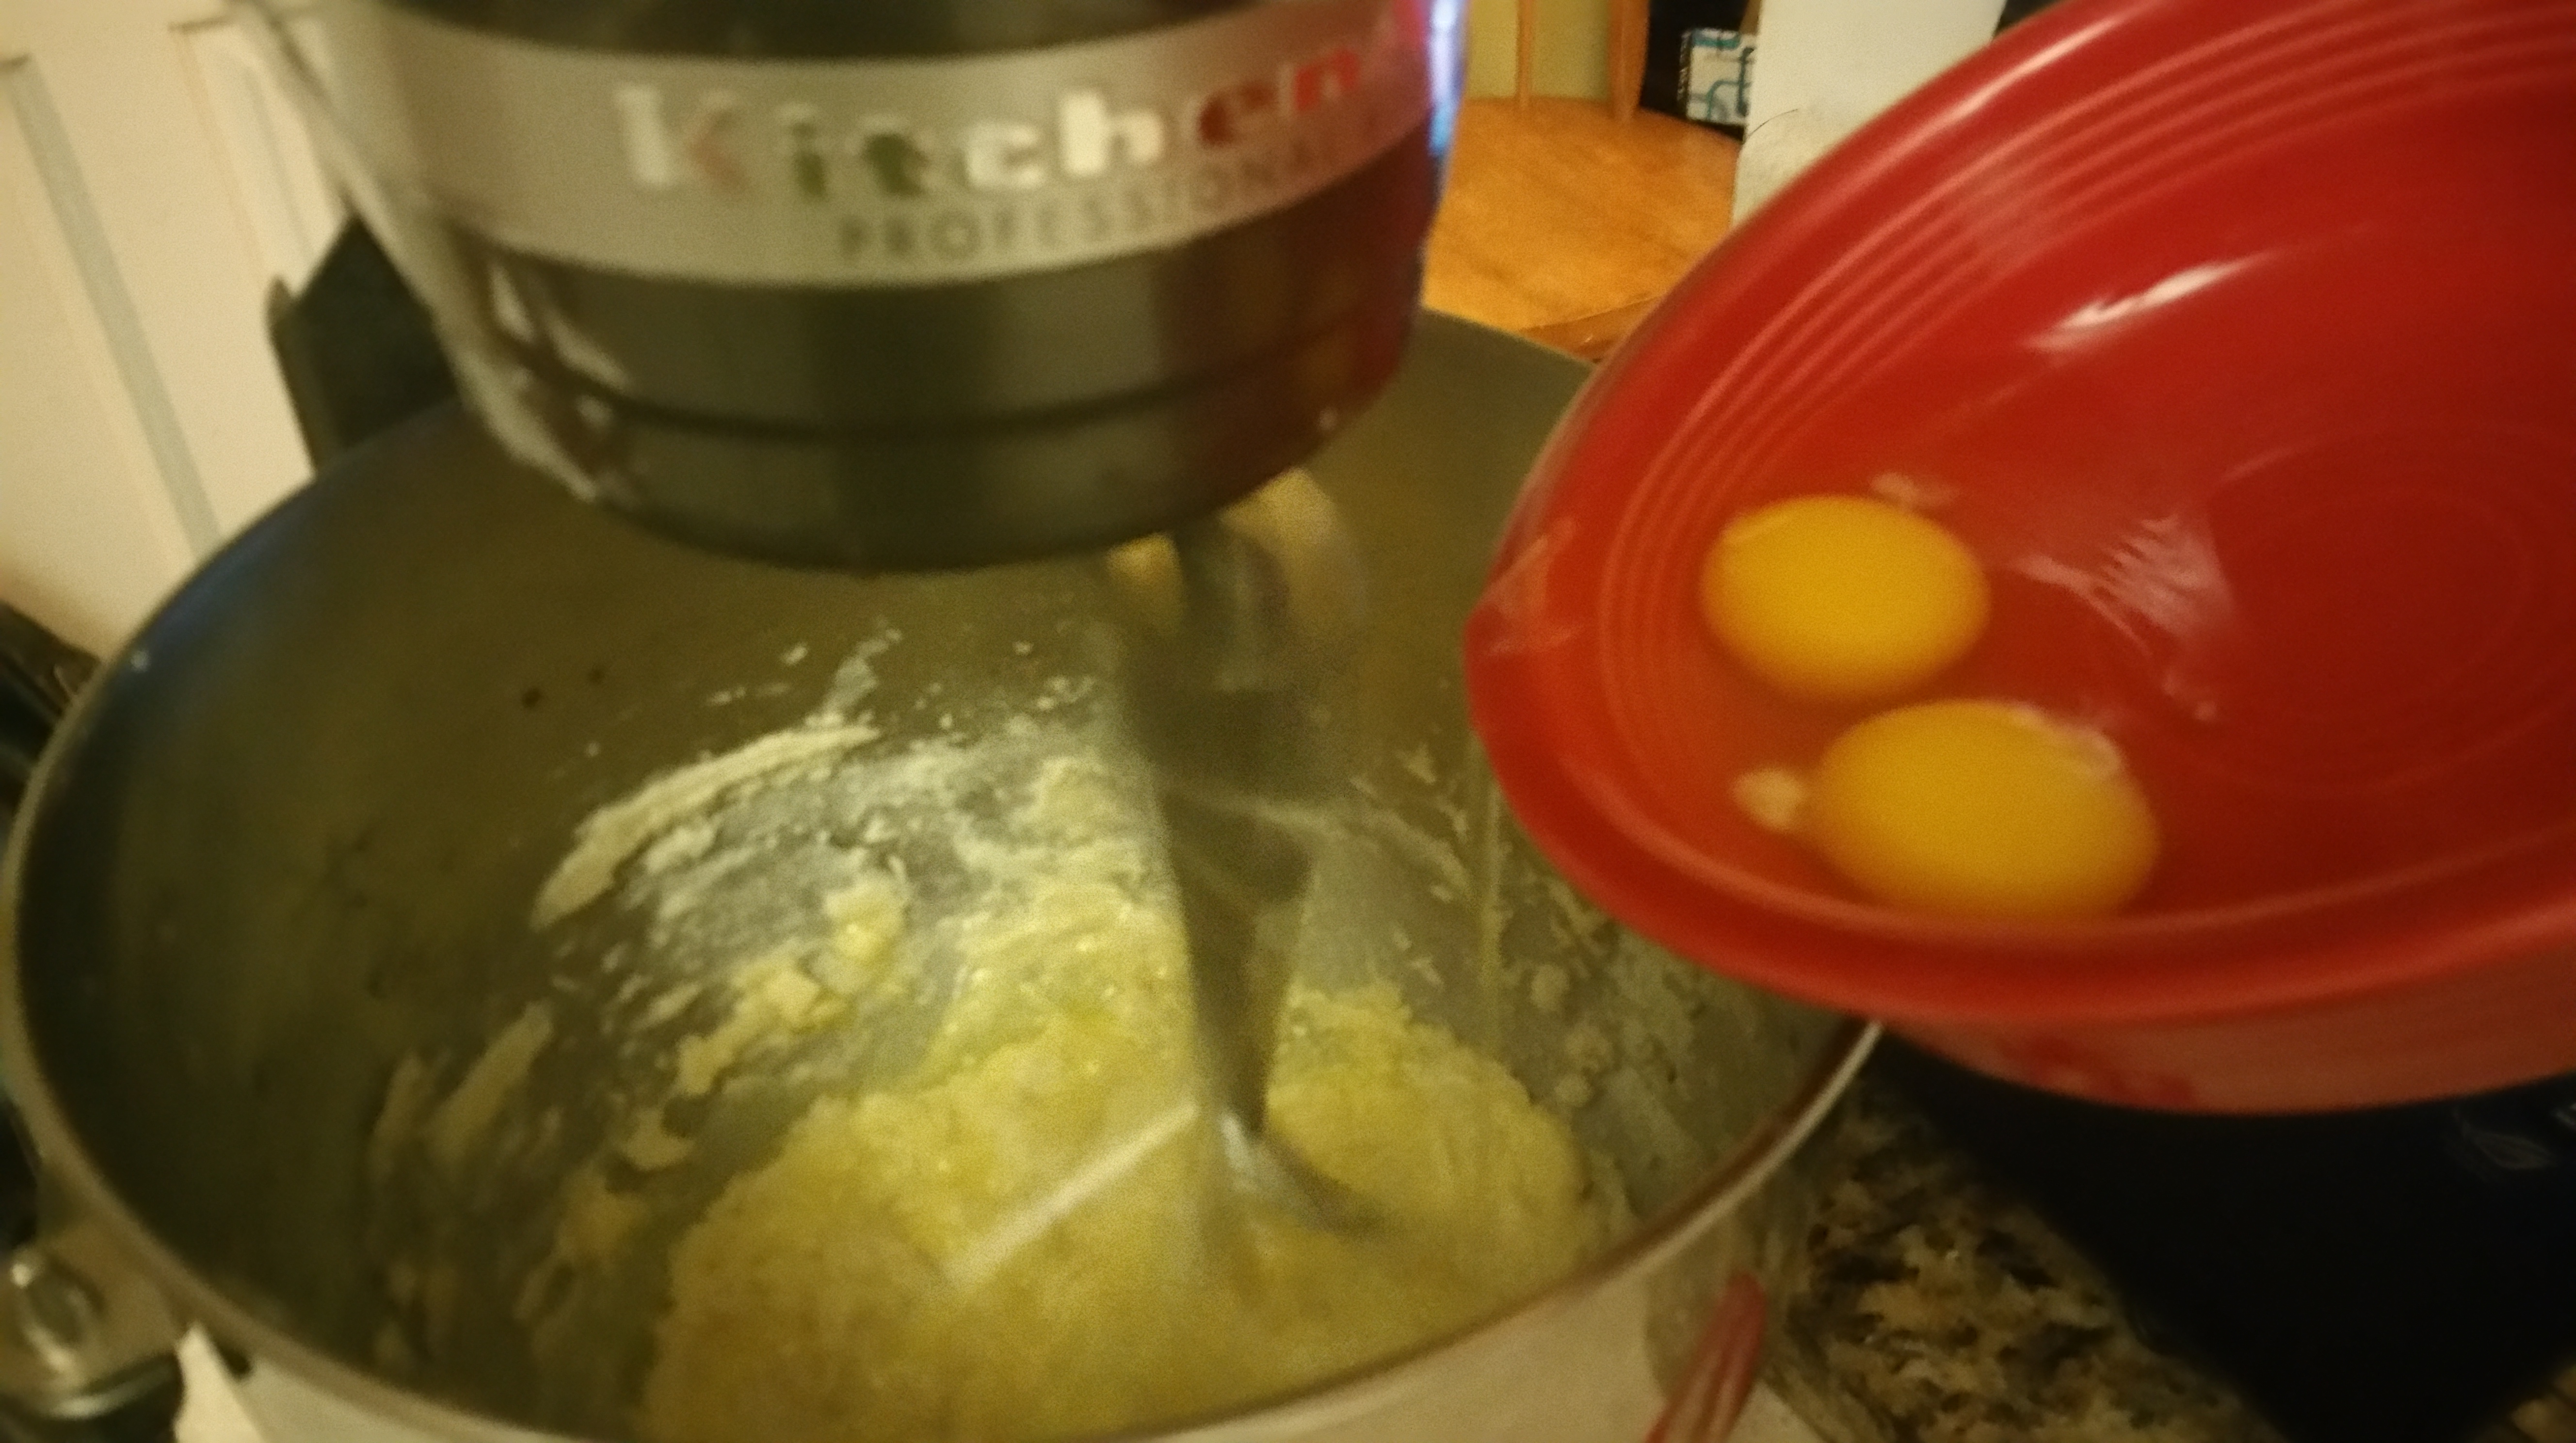
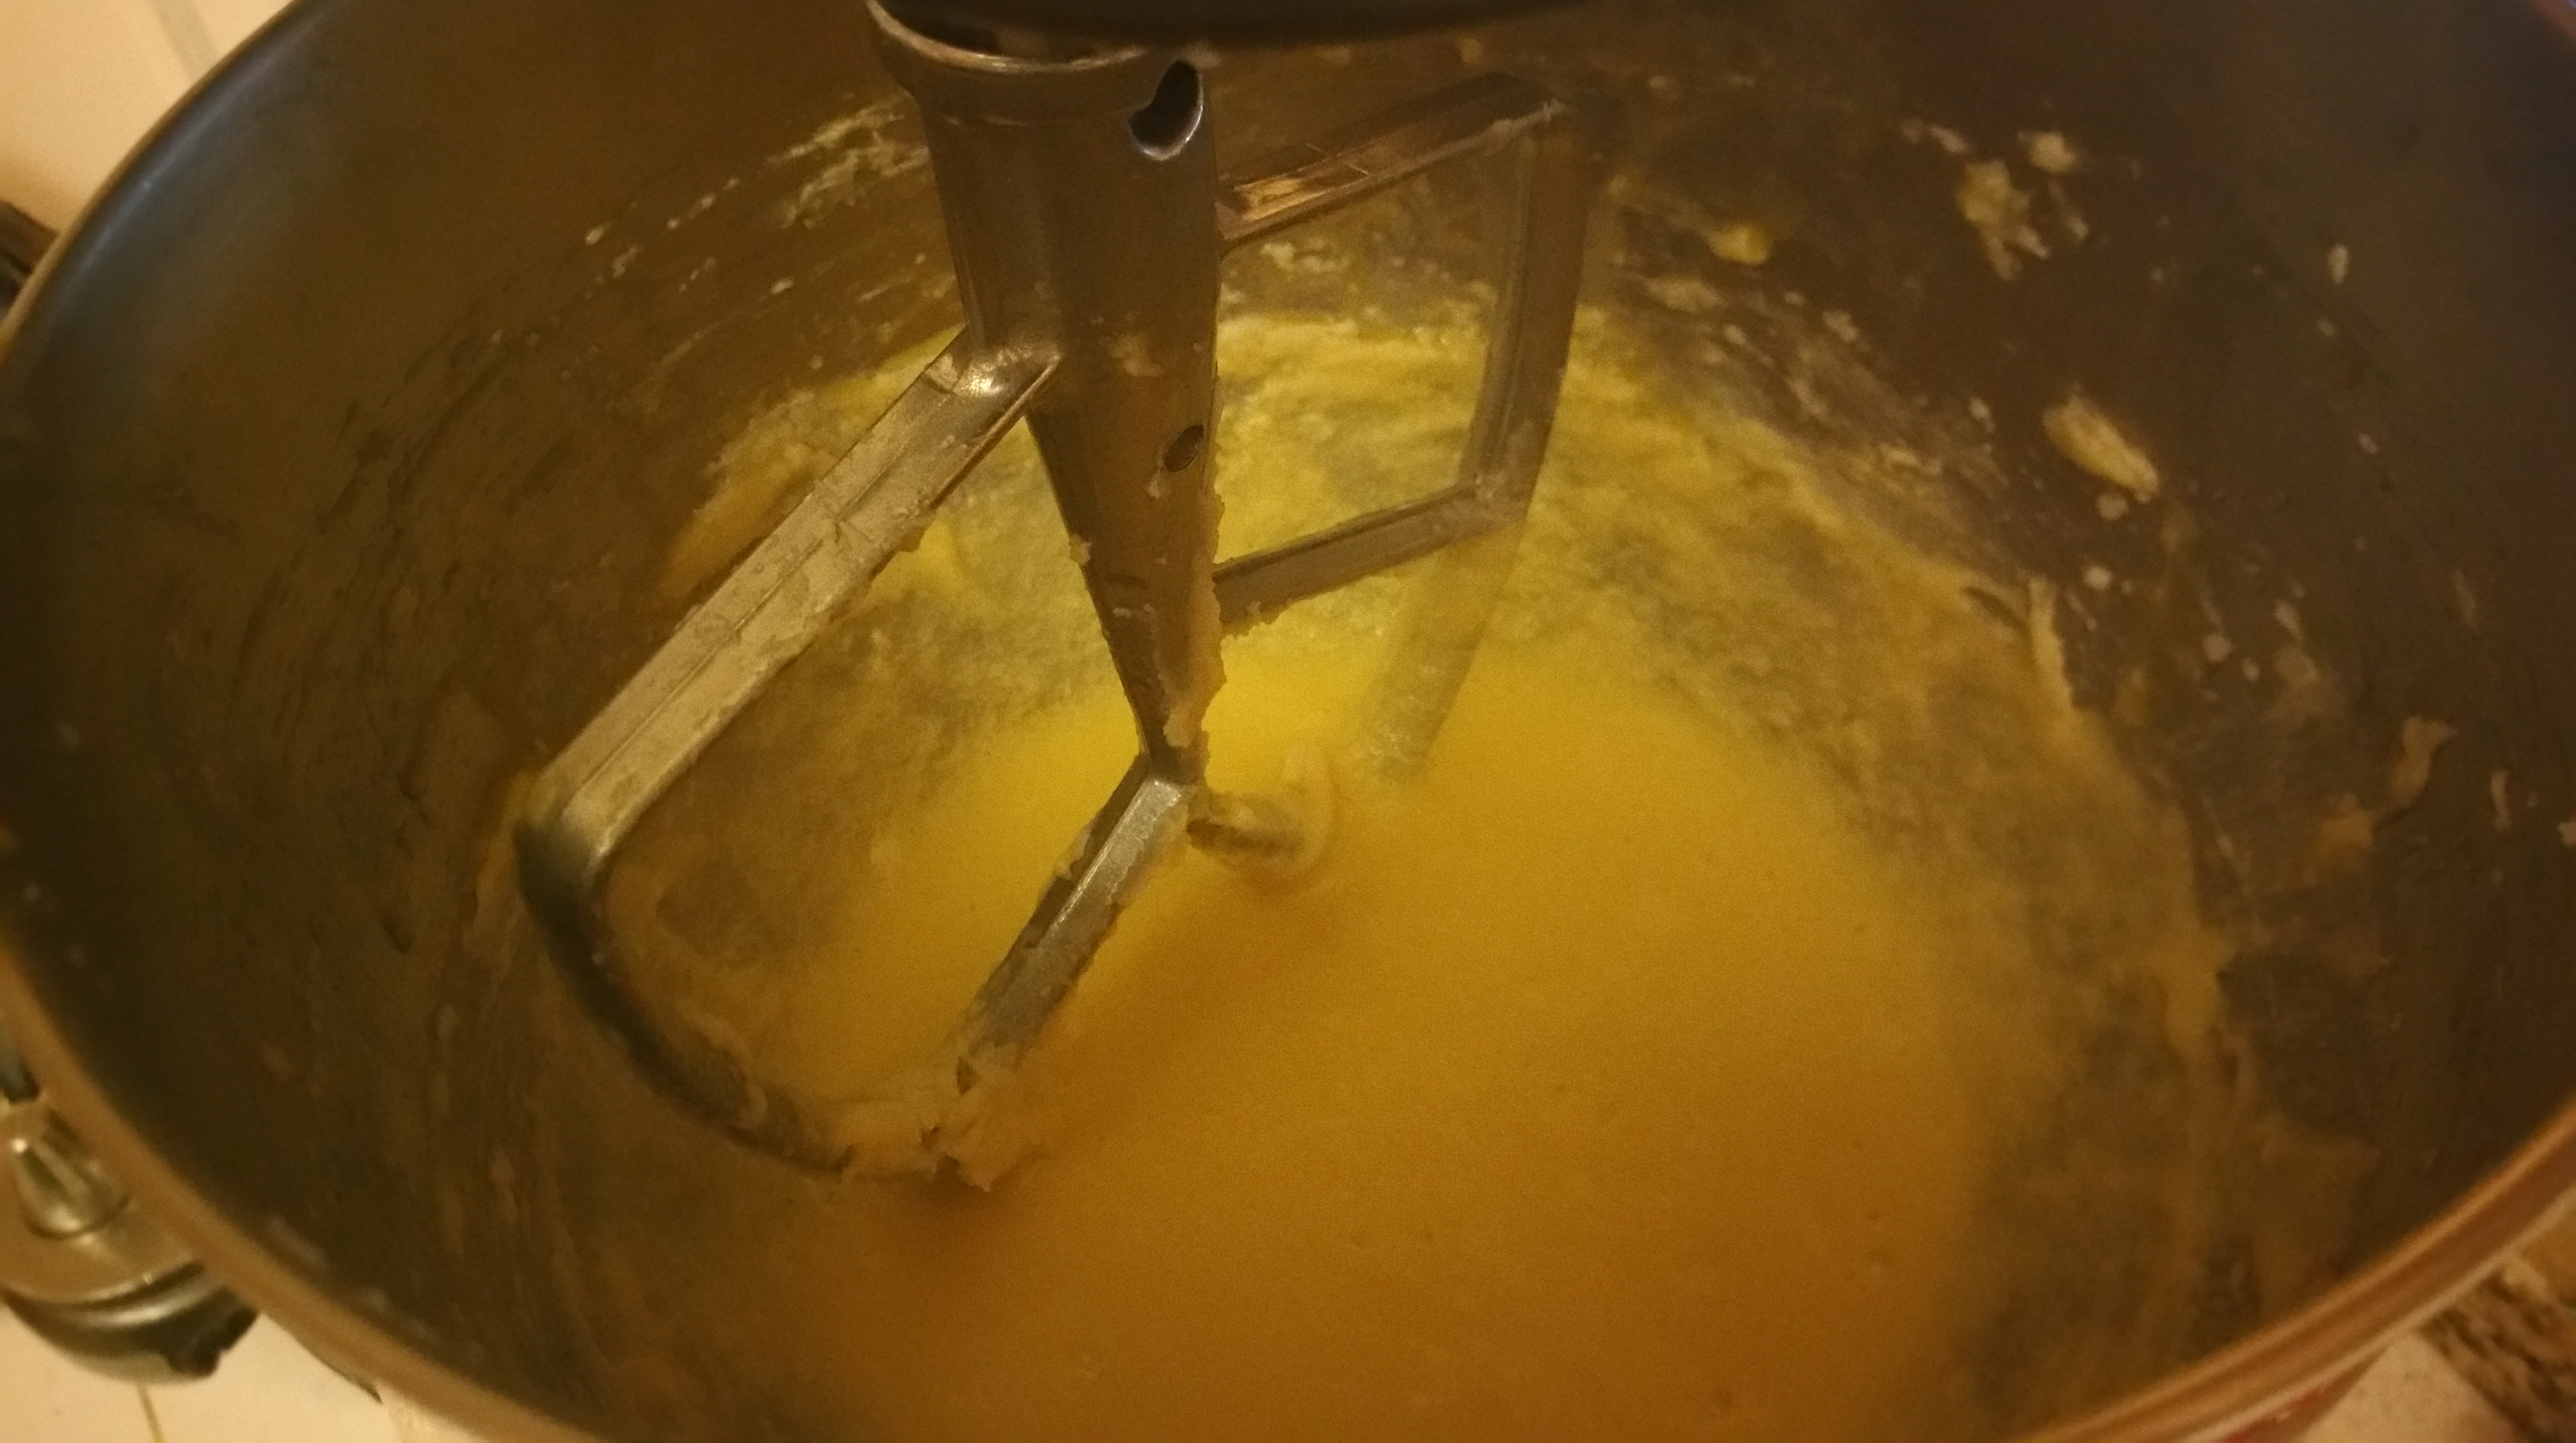
Add the eggs and vanilla extract and beat until well combined, scraping down the sides of the bowl as needed.

Add the flour mixture and stir until a soft dough forms.

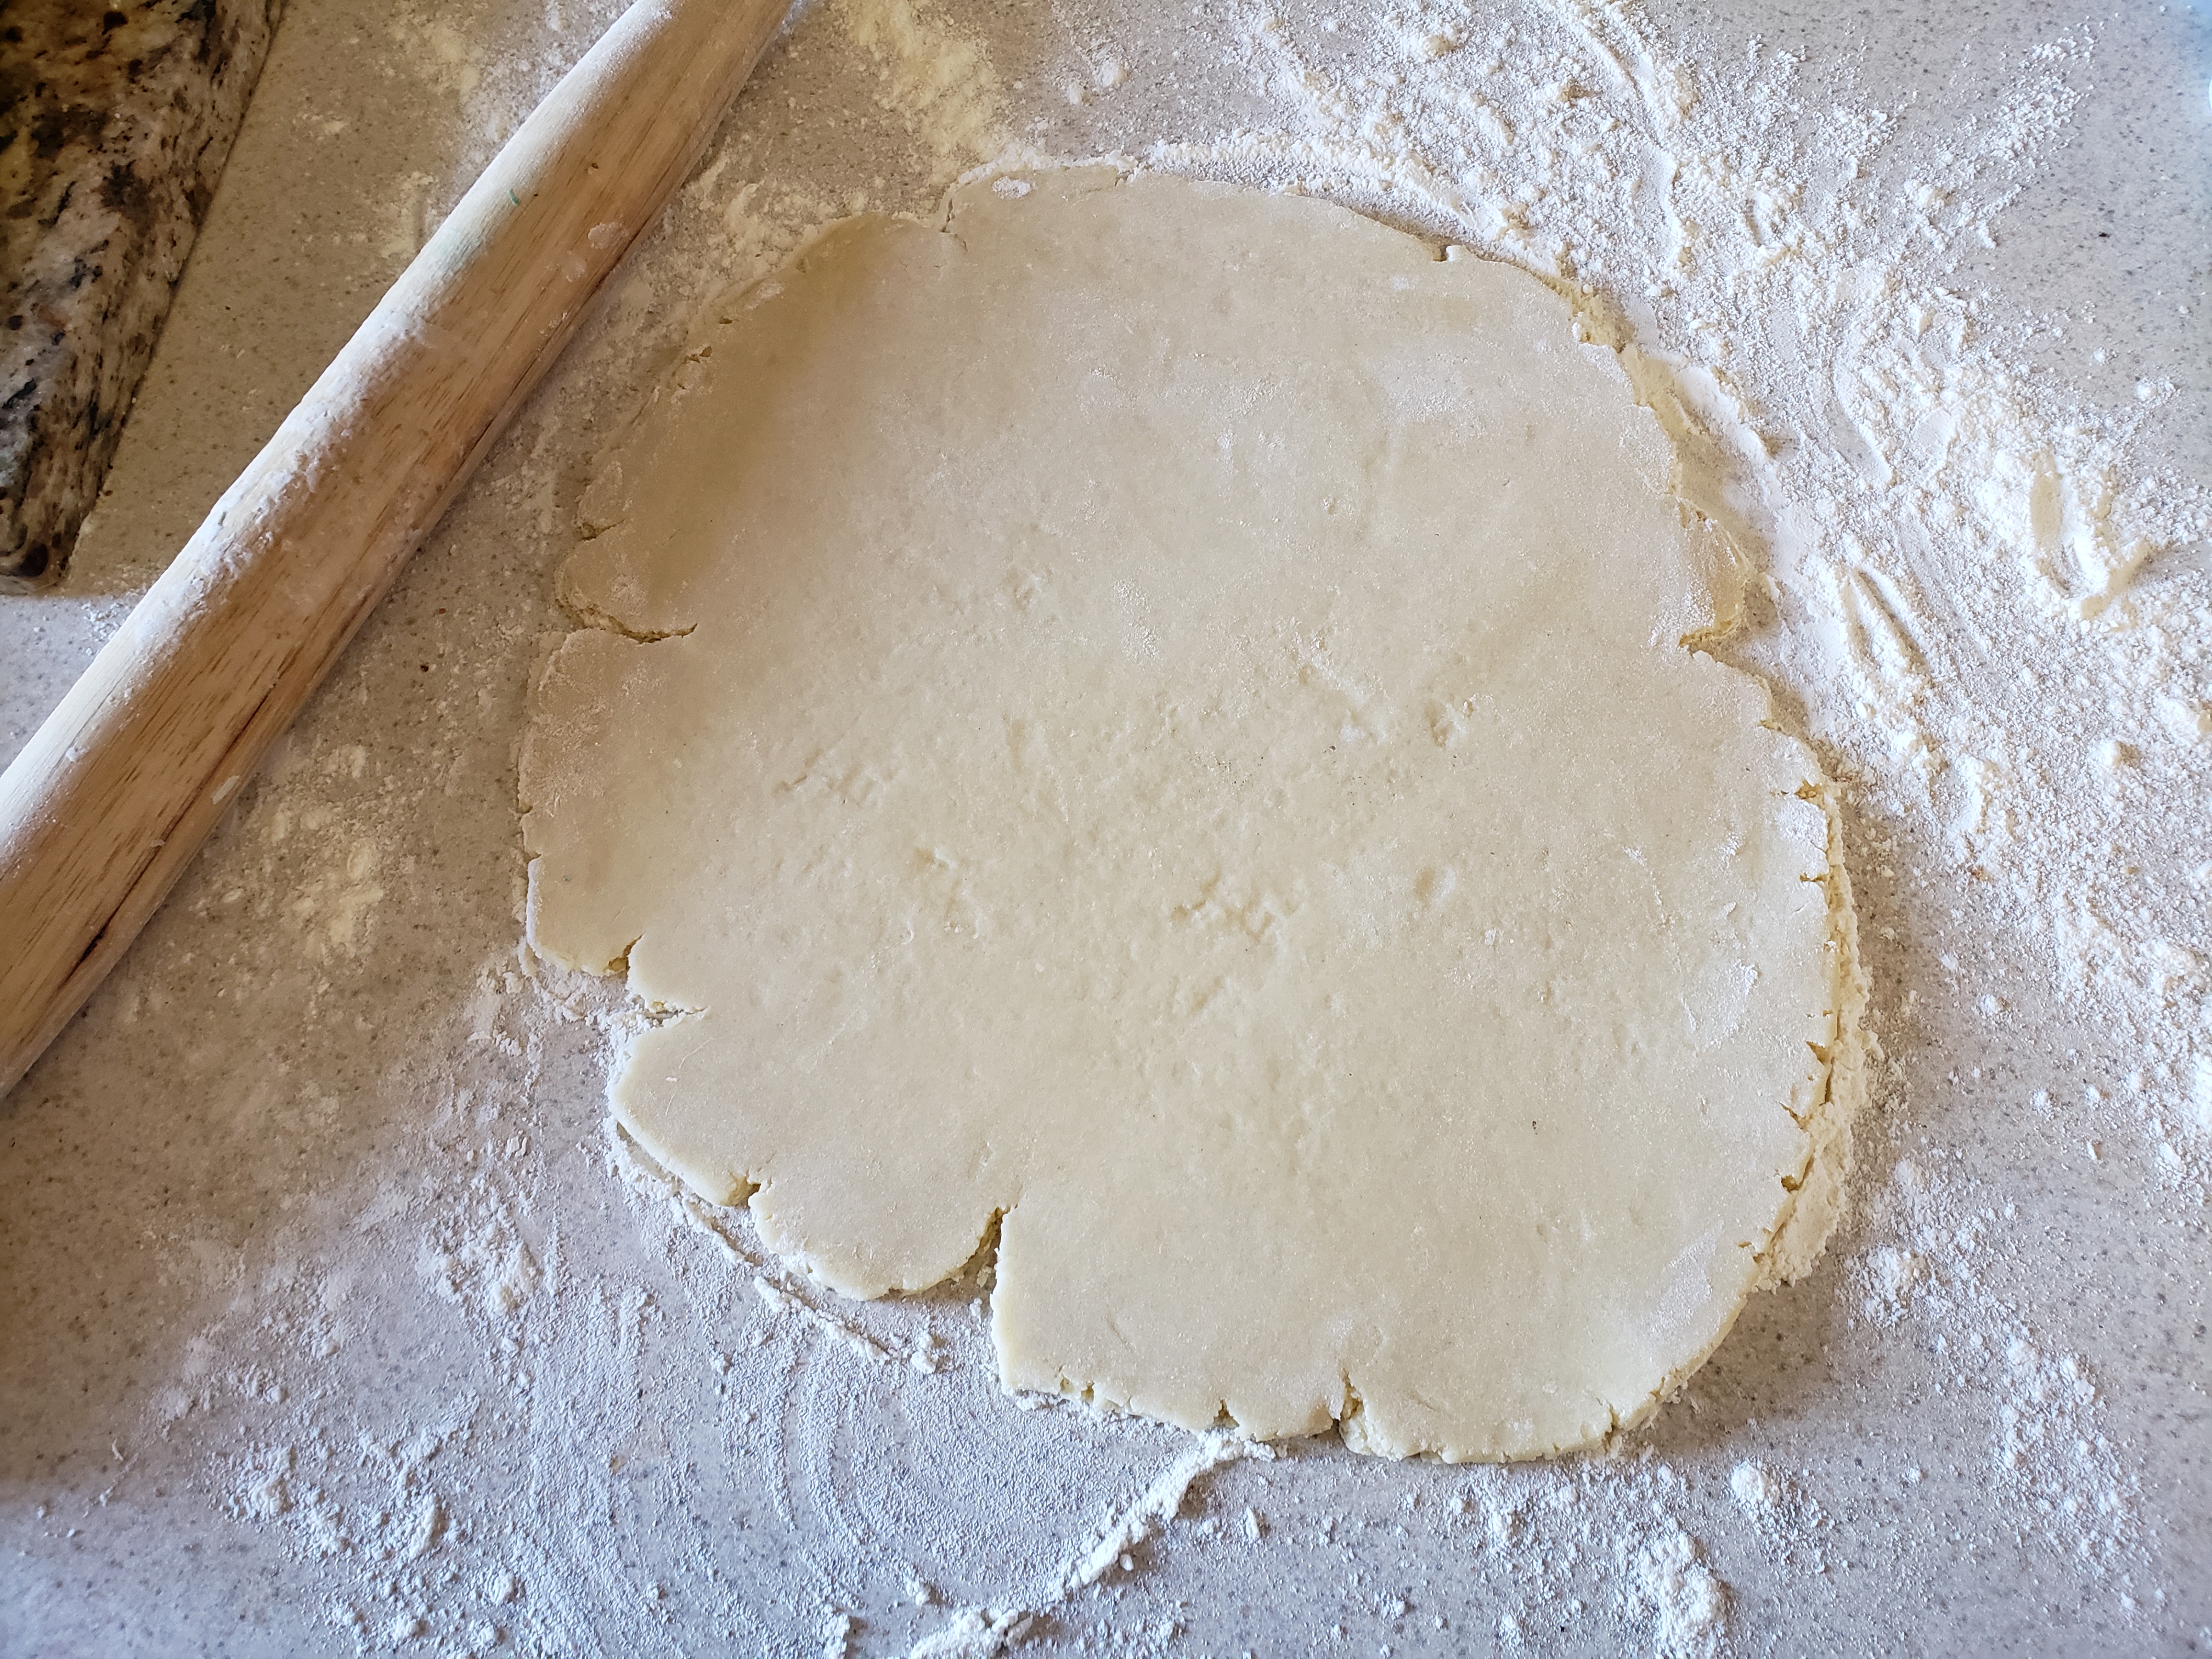
Gather the dough into a ball and then flatten into a large disc and wrap in plastic wrap. Chill the dough for at least one hour.

Preheat the oven to 400 degrees F.

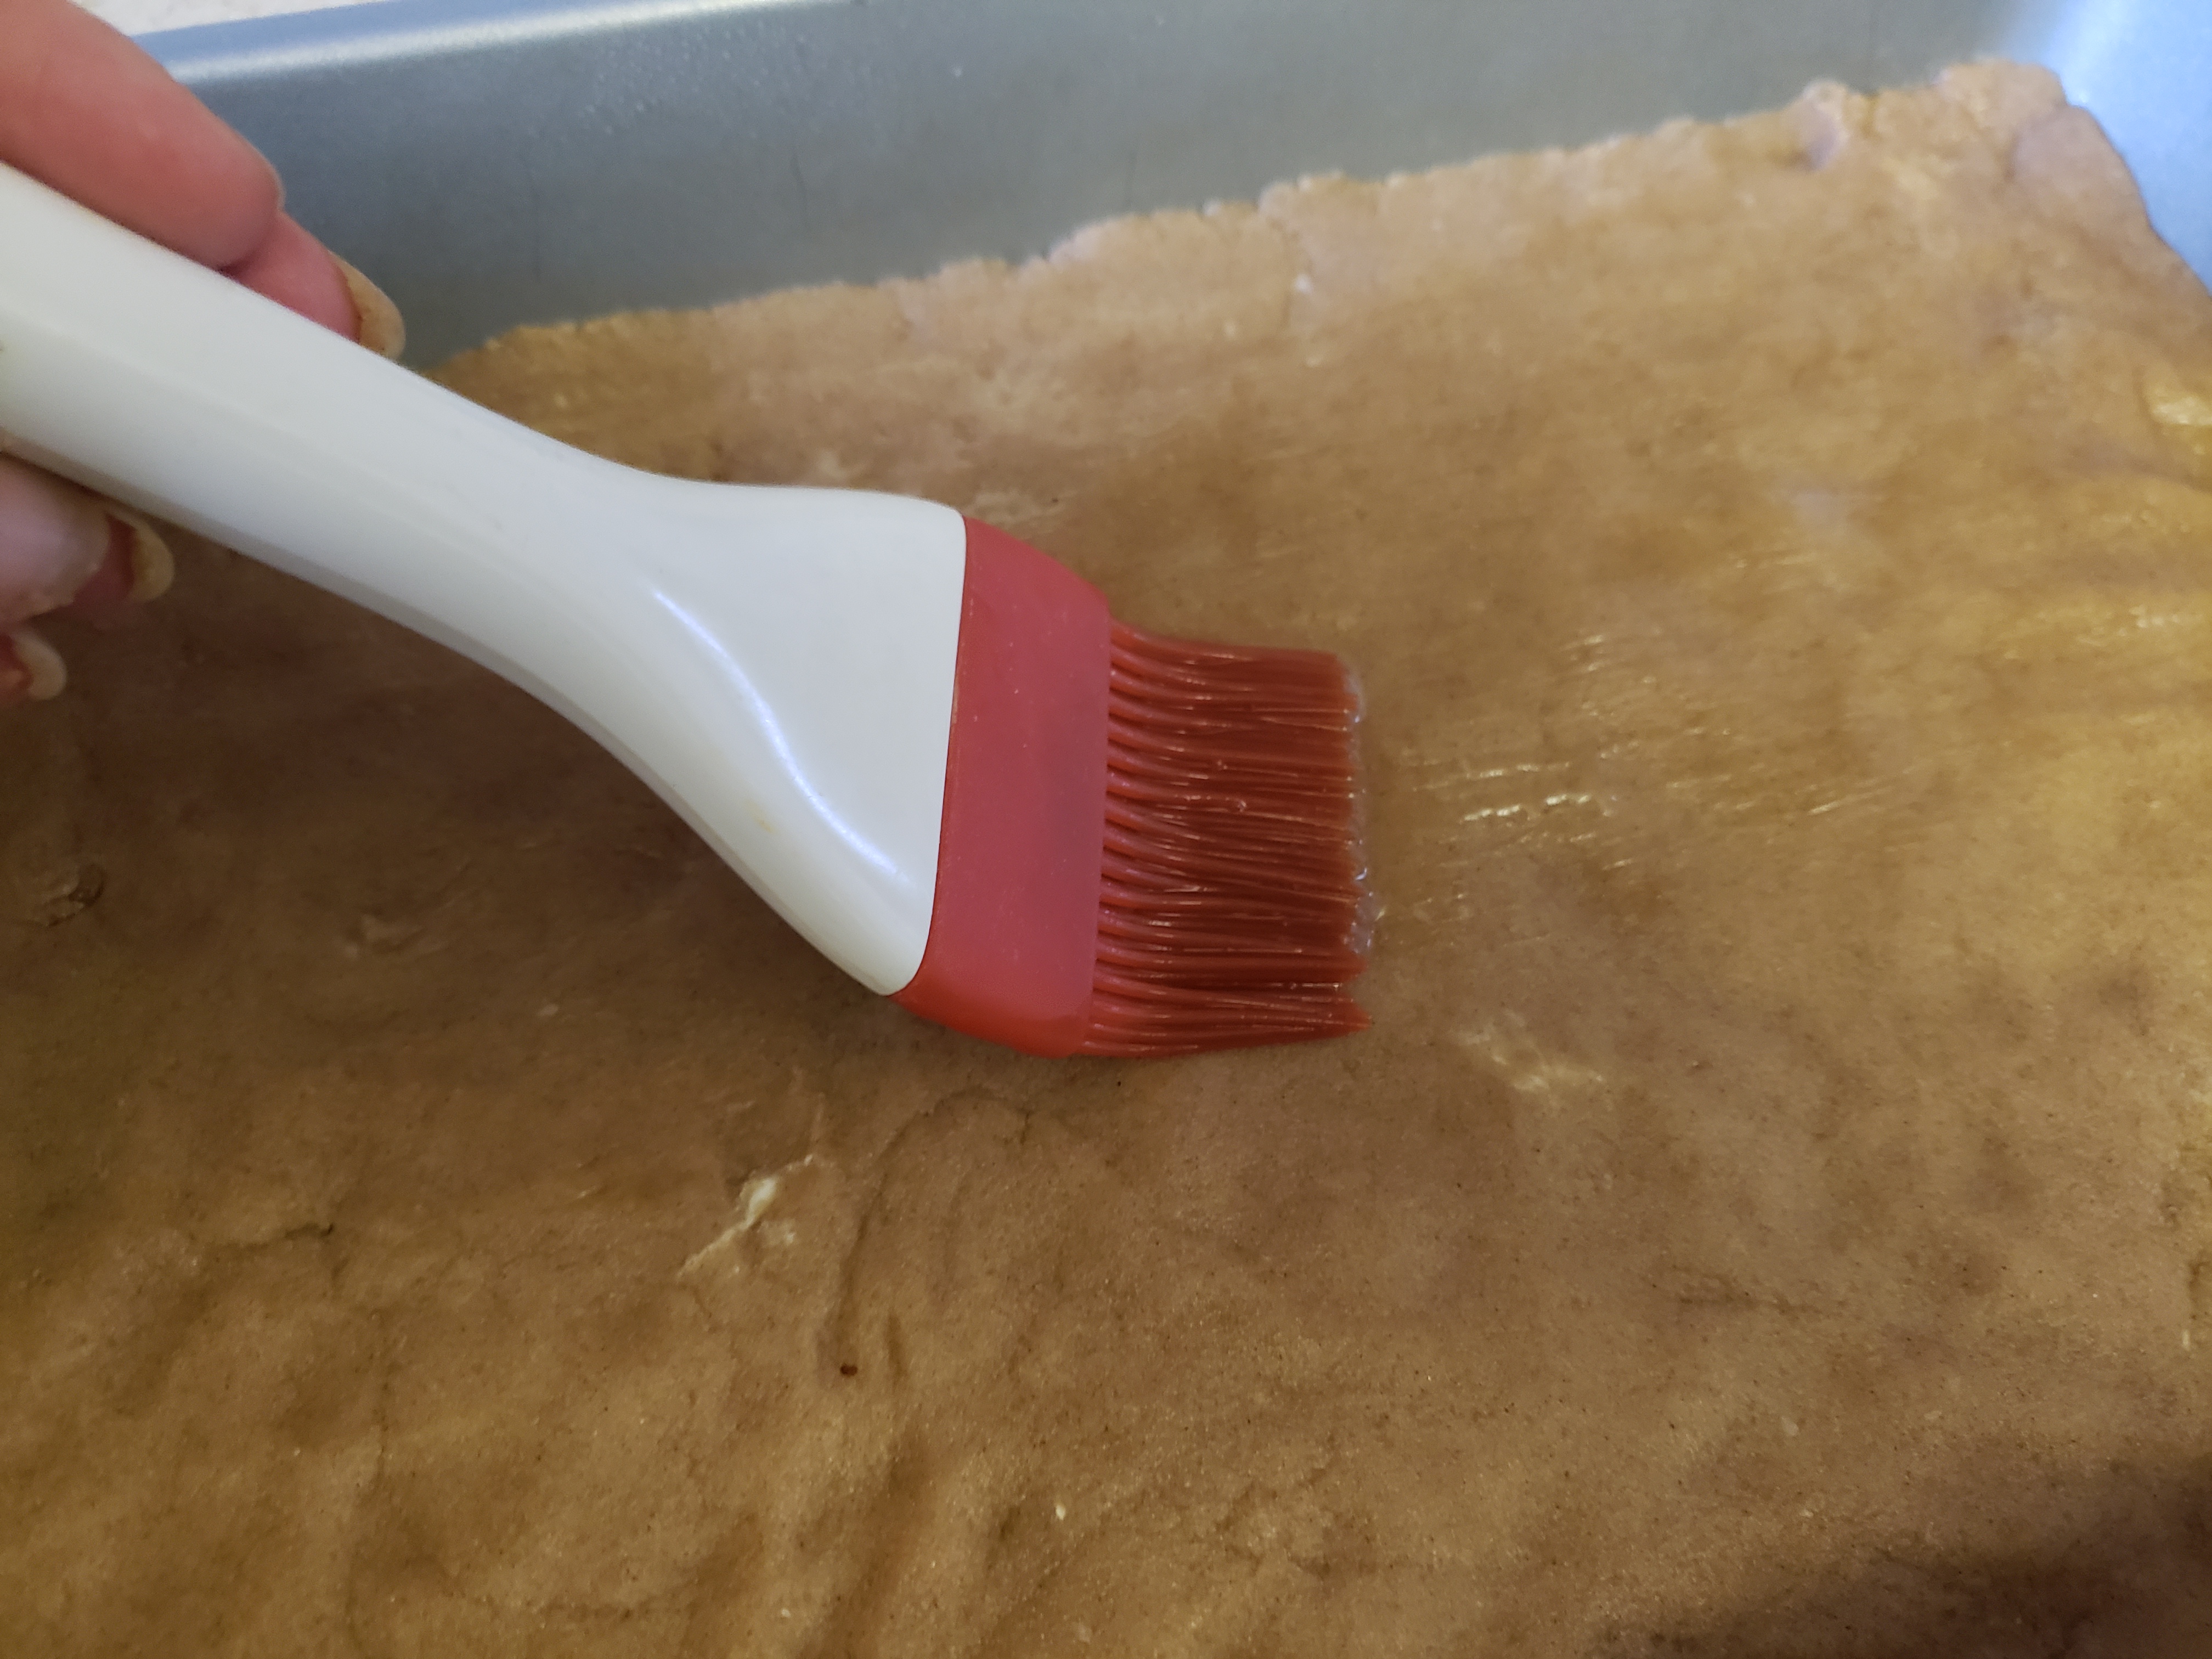
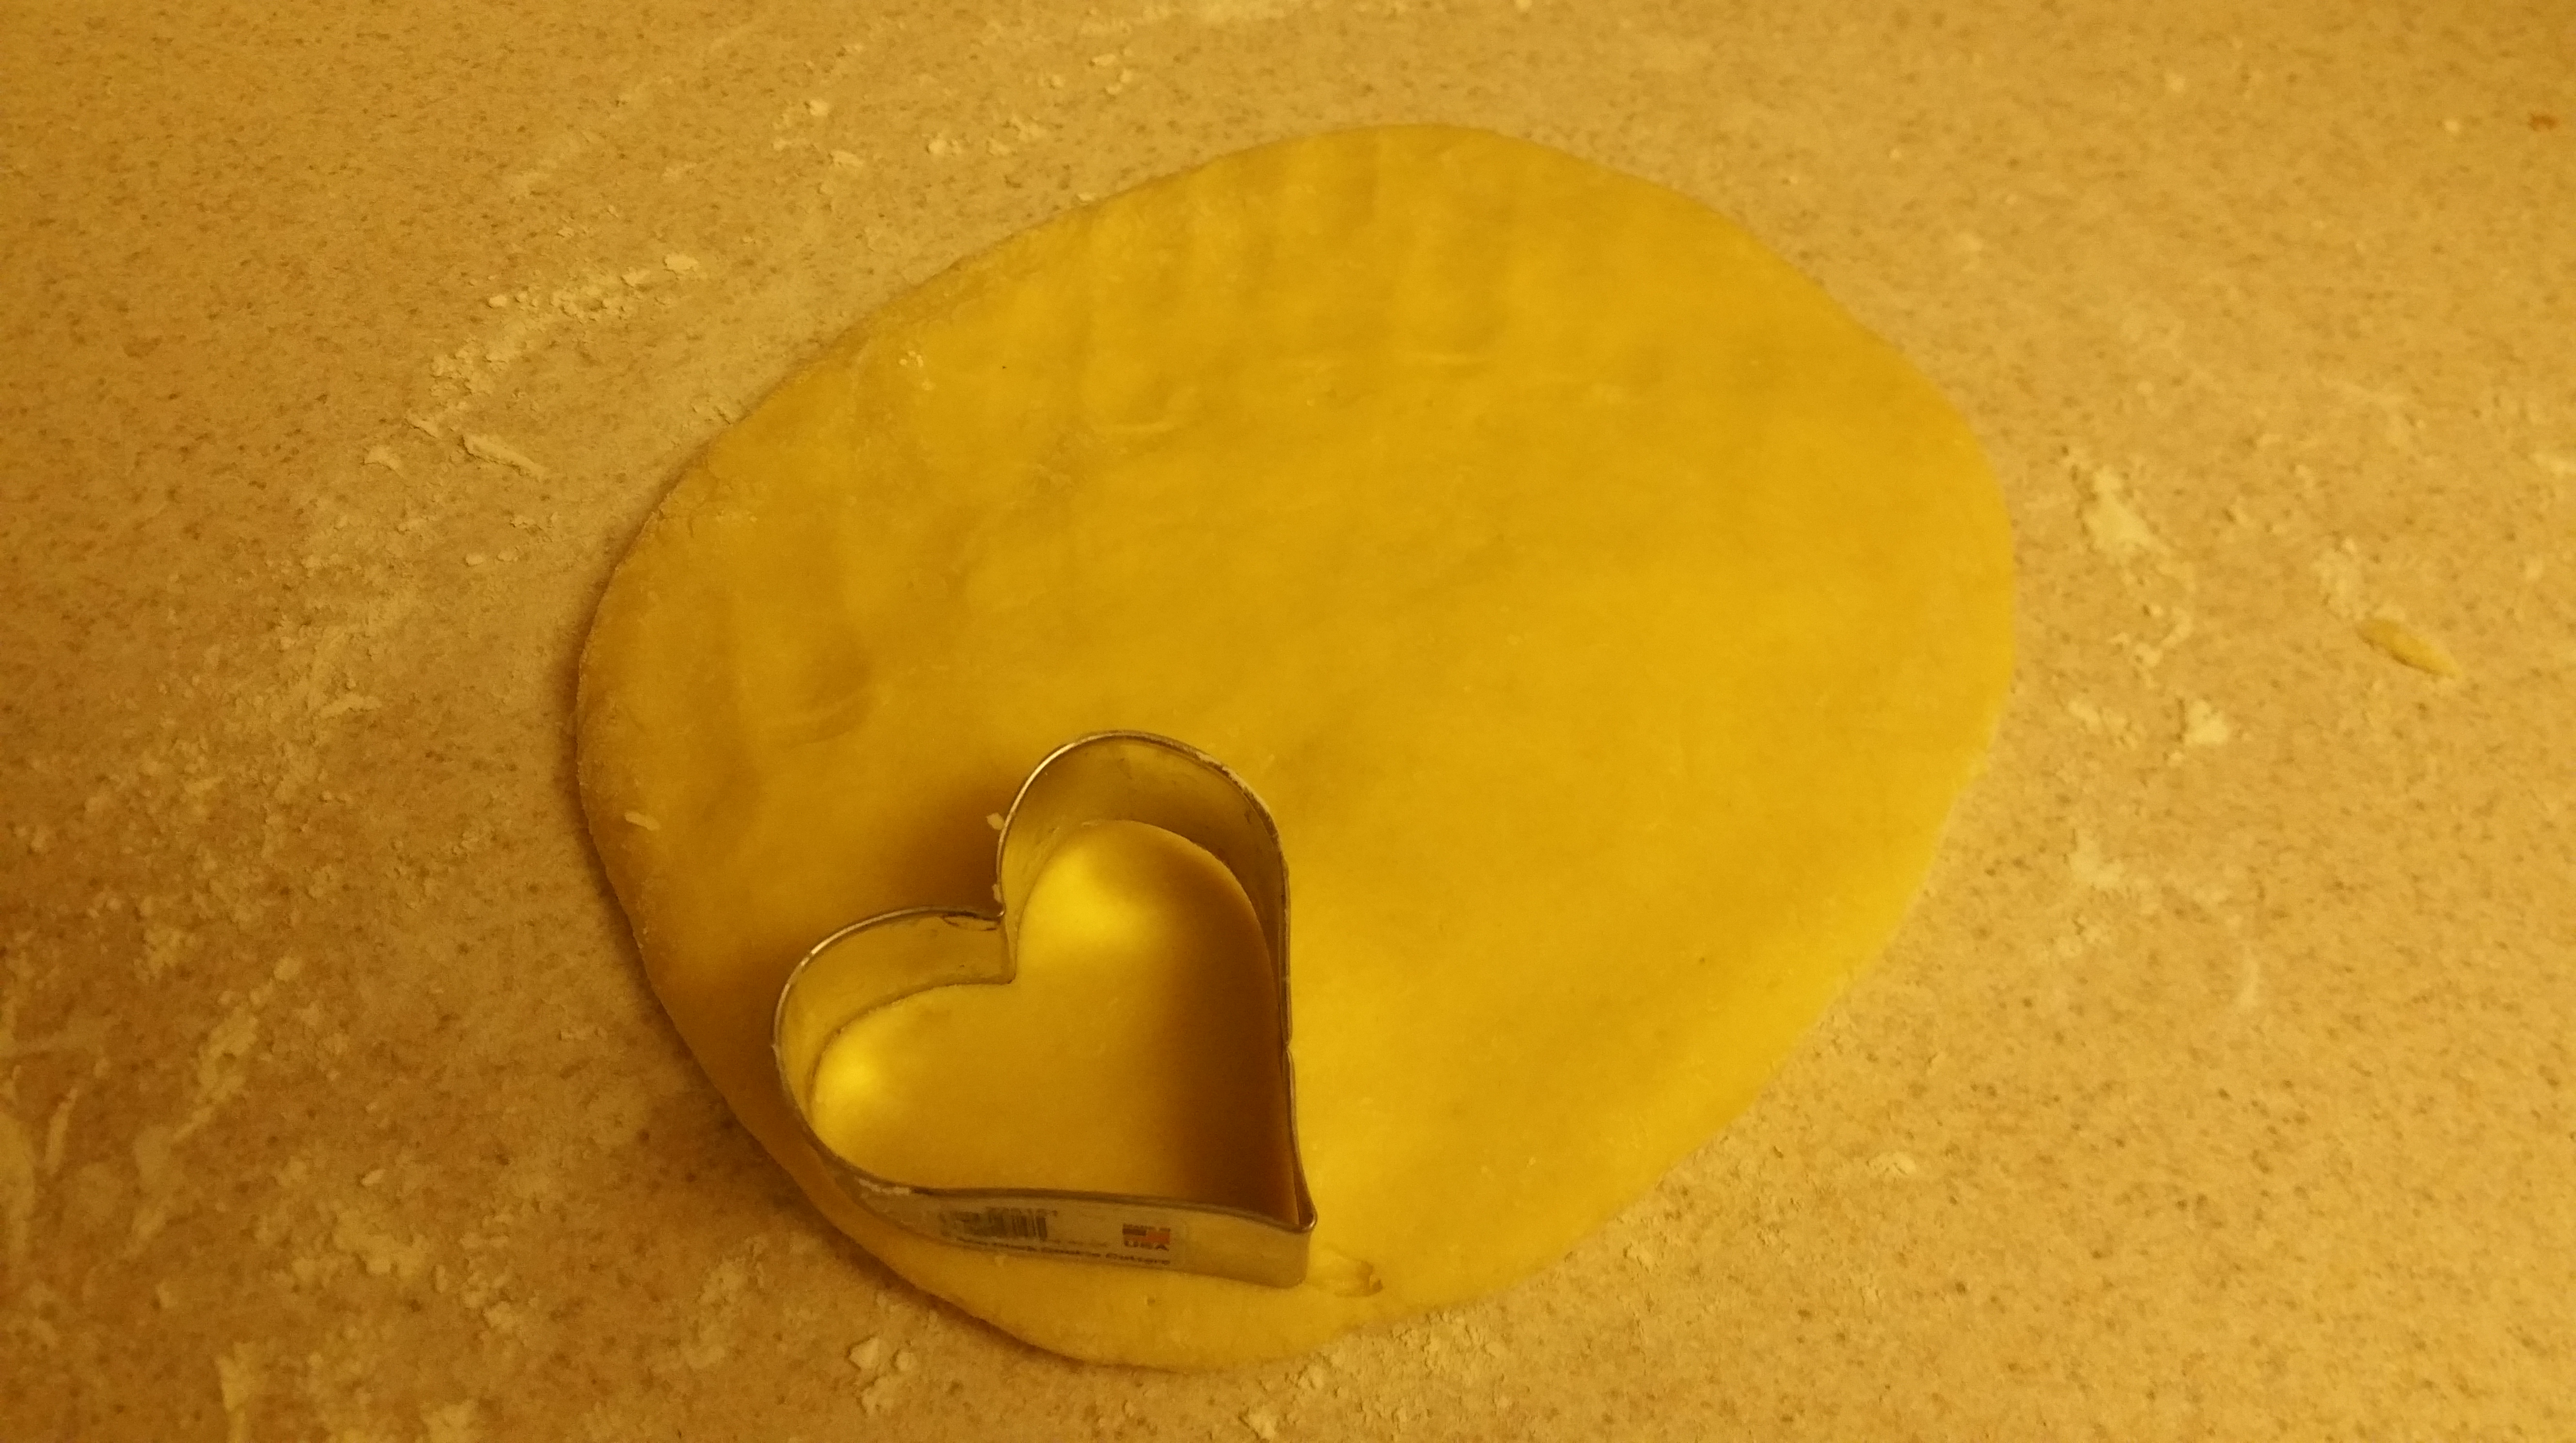
Lightly flour a work surface and then roll the dough out to ¼ in. – ½ in. thickness.

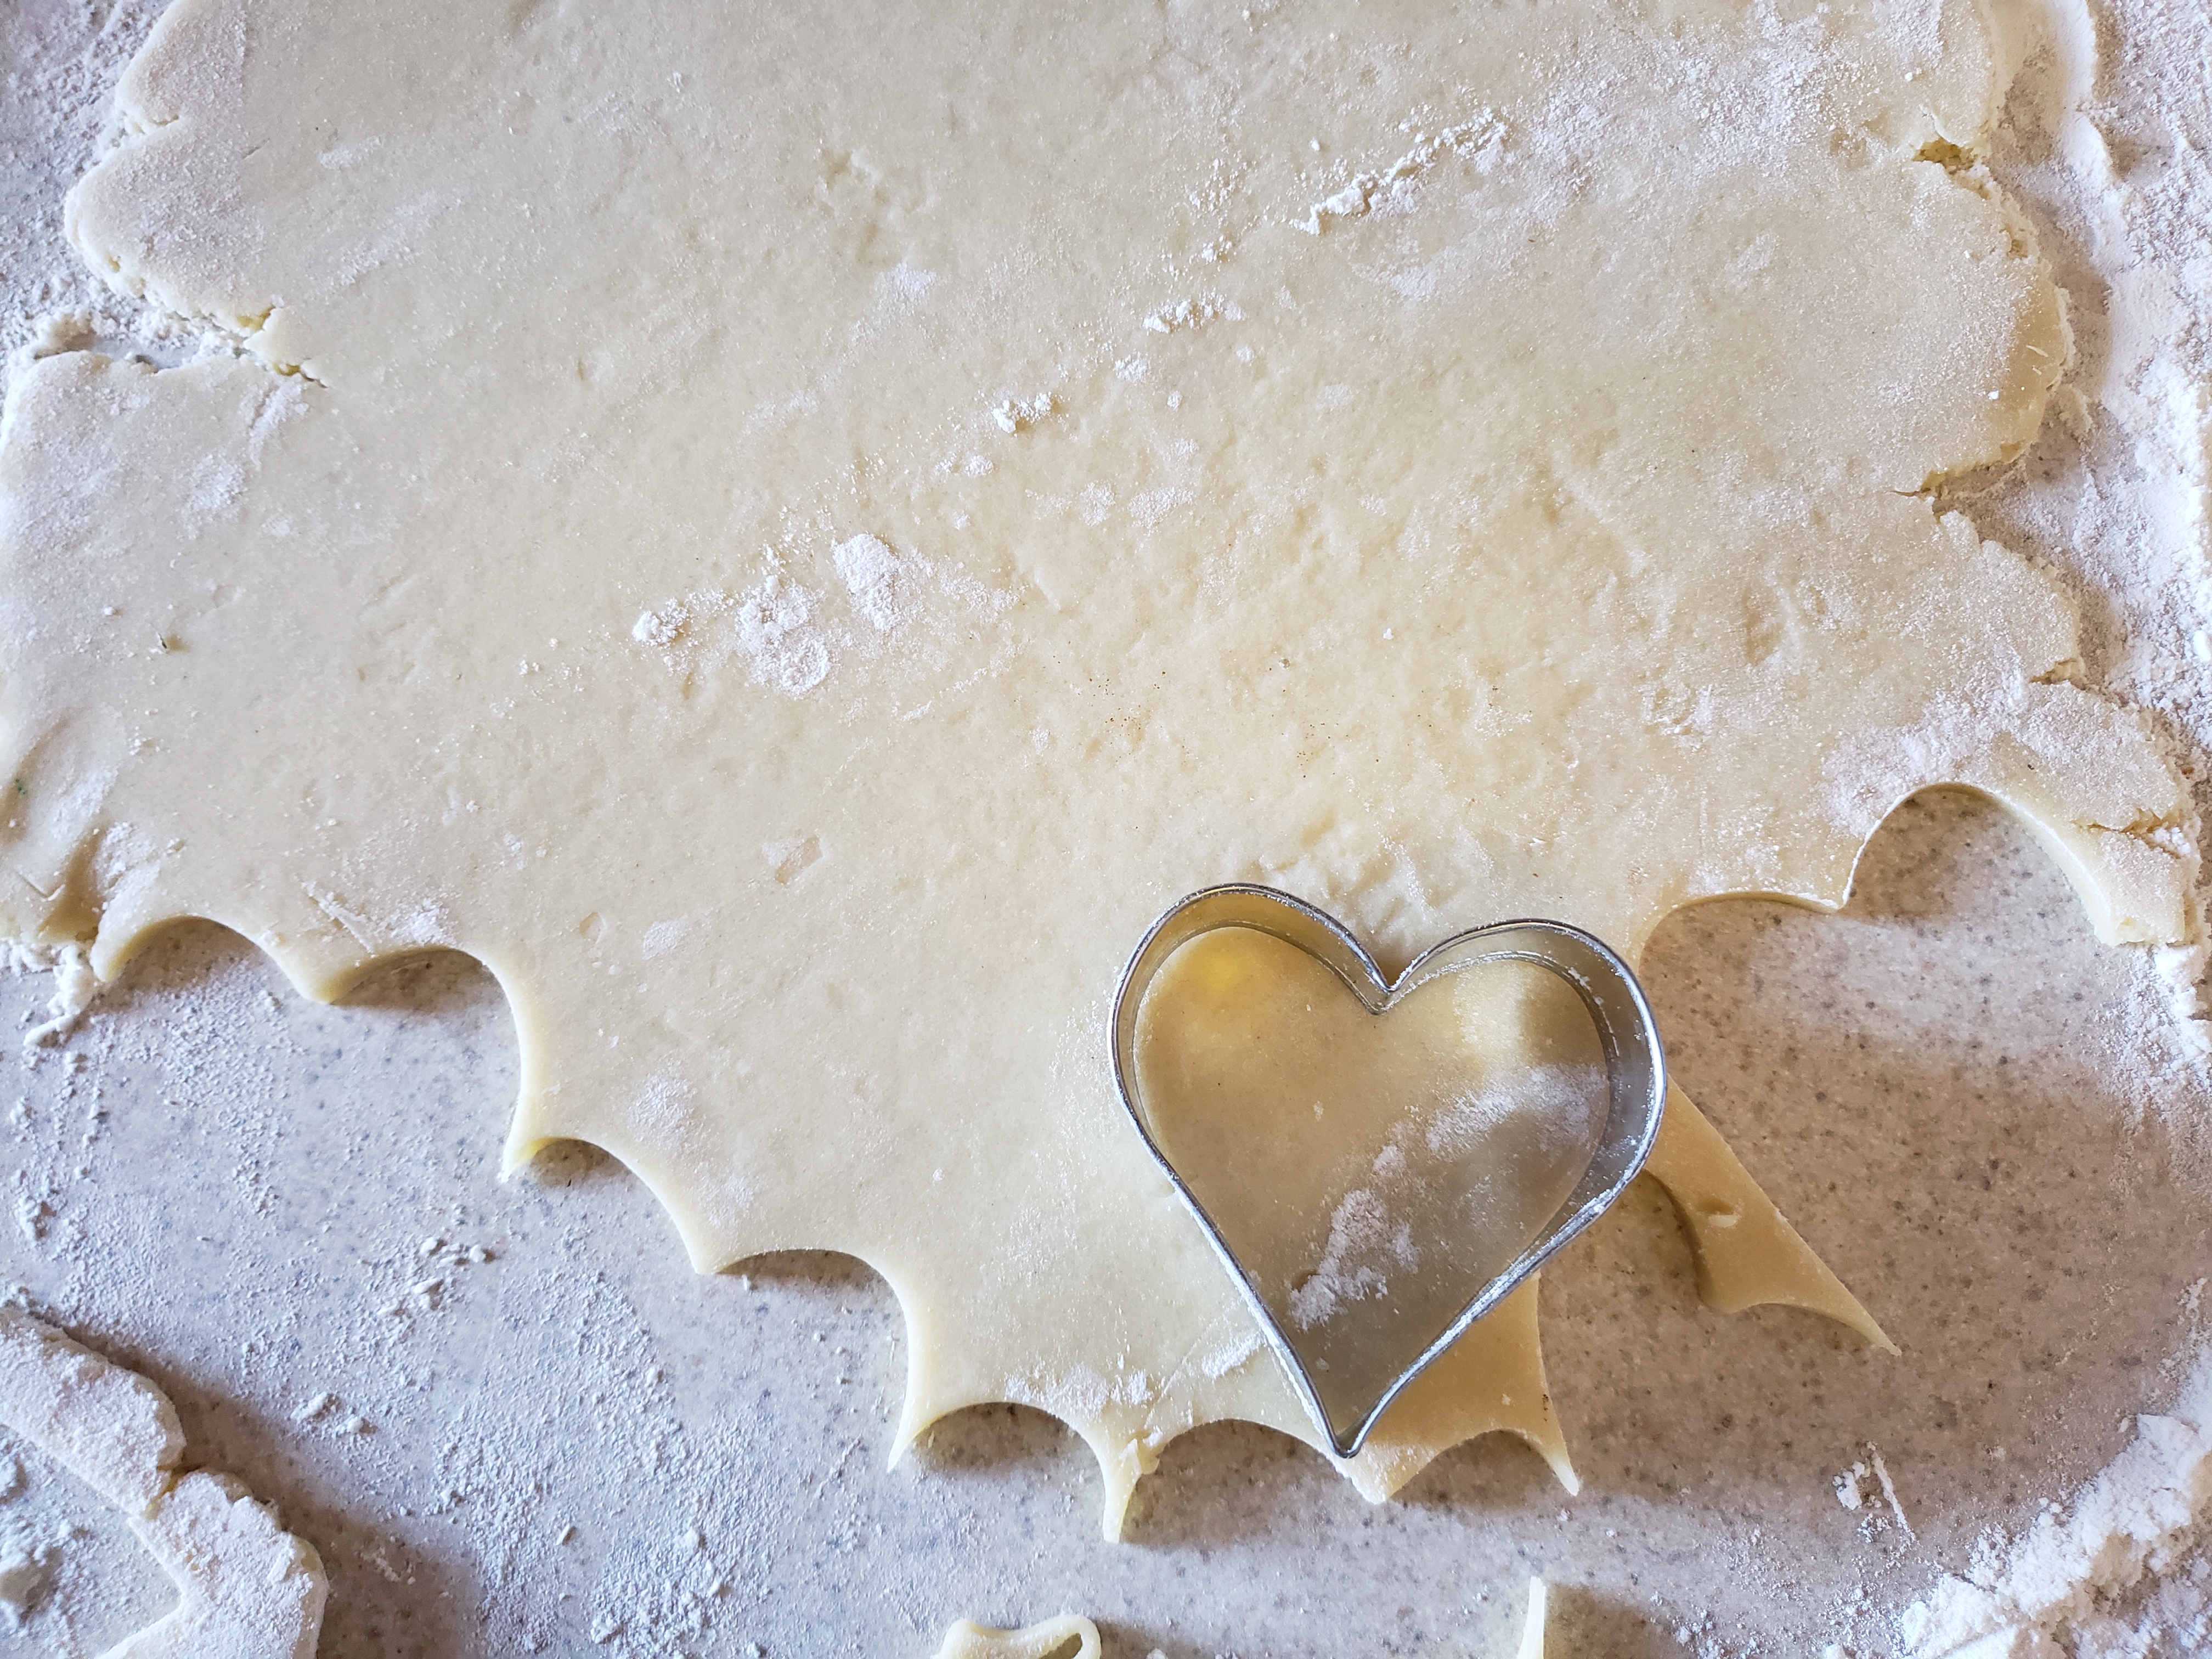
Cut out cookies and re-roll scraps as needed. Depending on the size of your cookie cutters, this will make 3-4 dozen cookies.

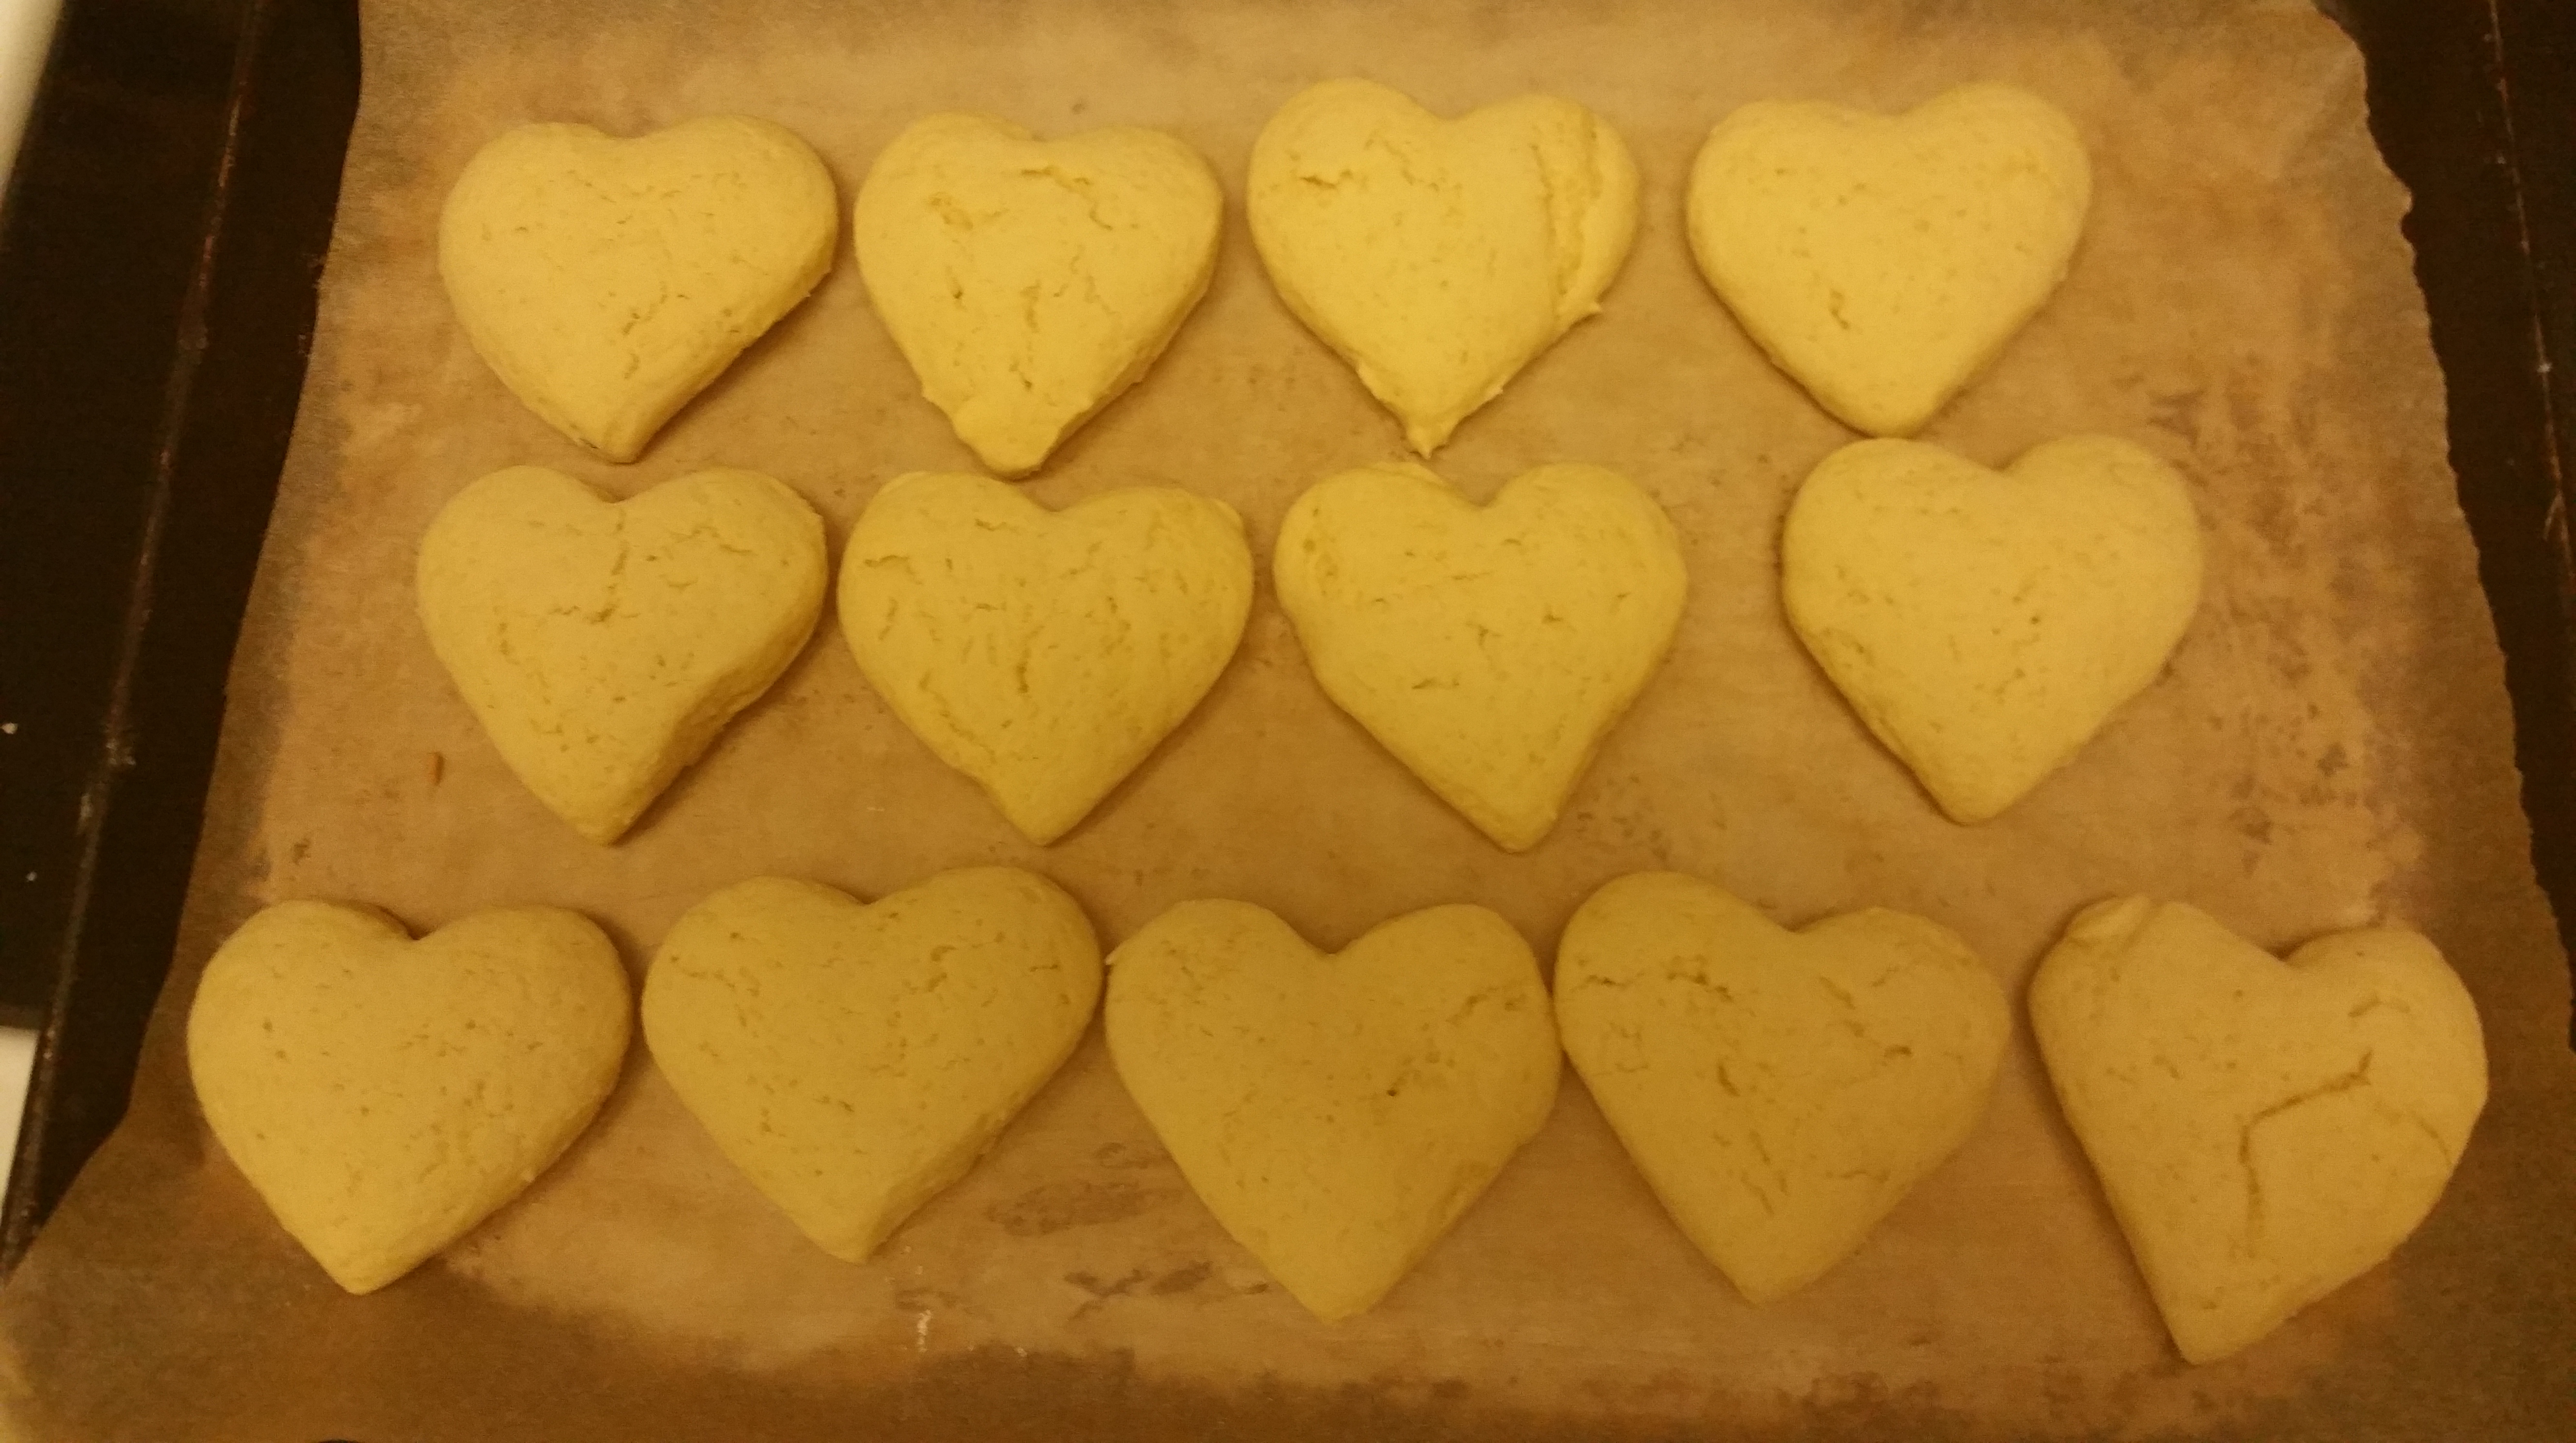
Arrange the cookies on a baking sheet about 1 in. apart and top with sprinkles.

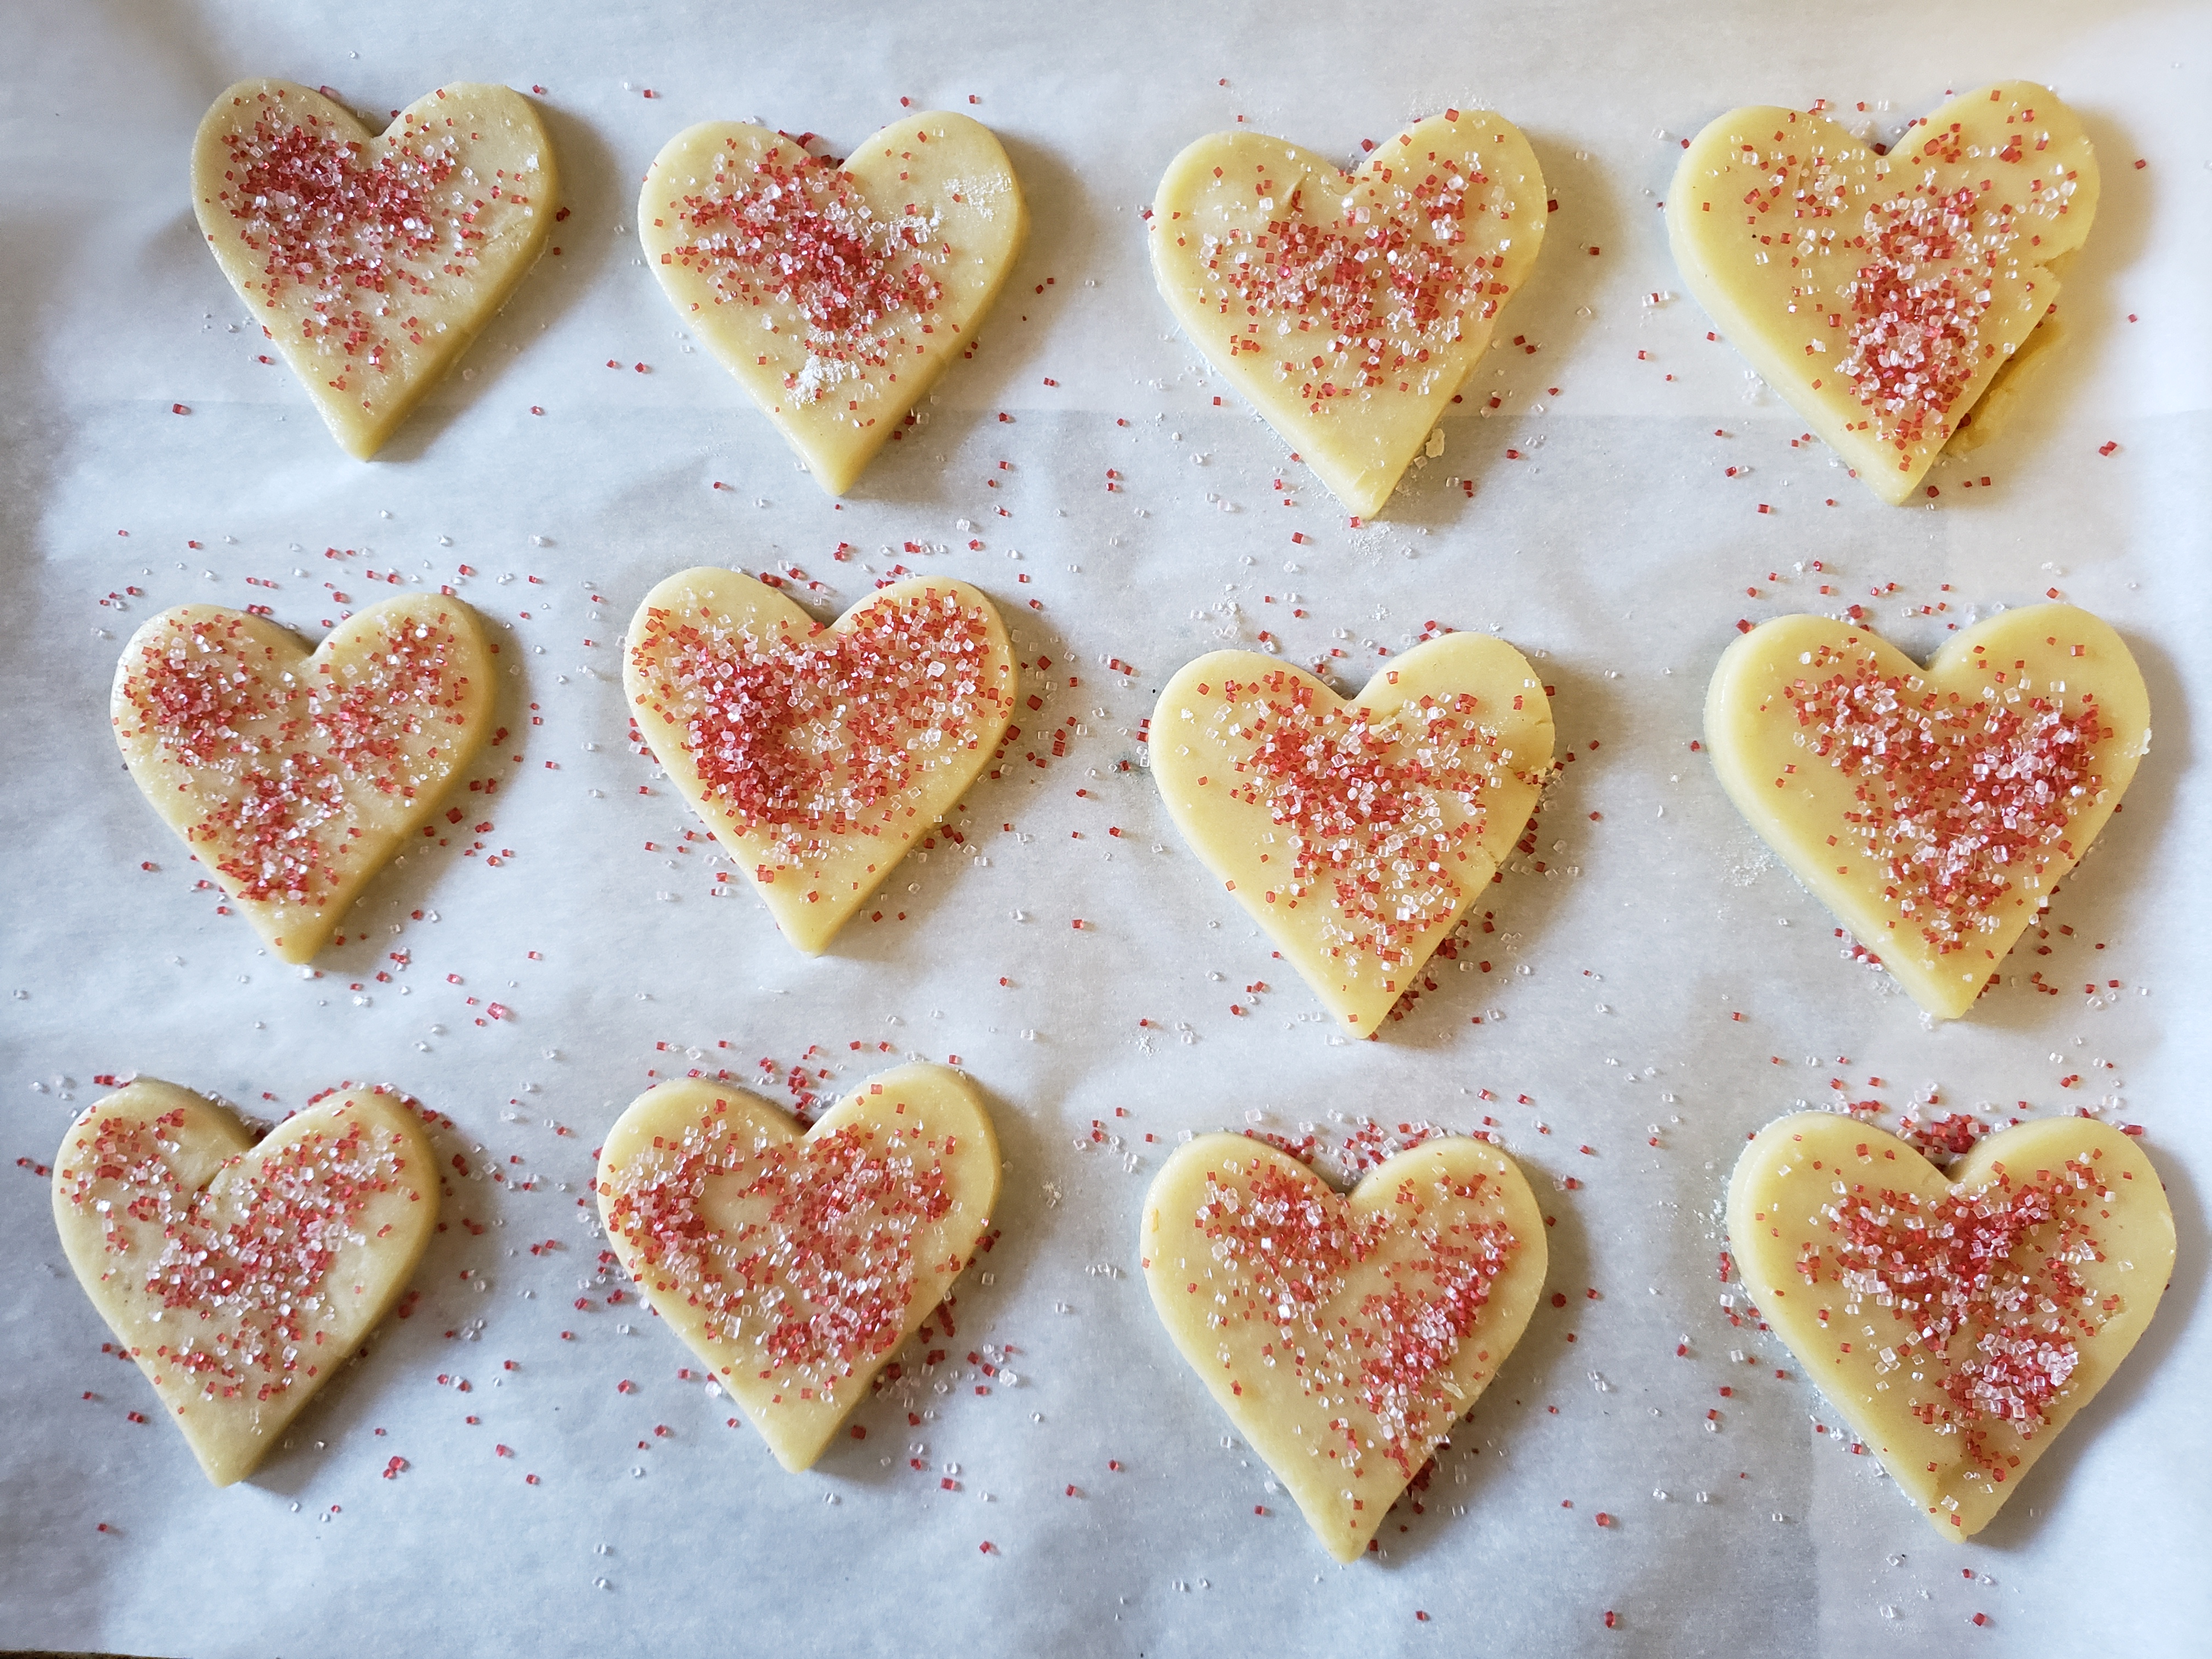
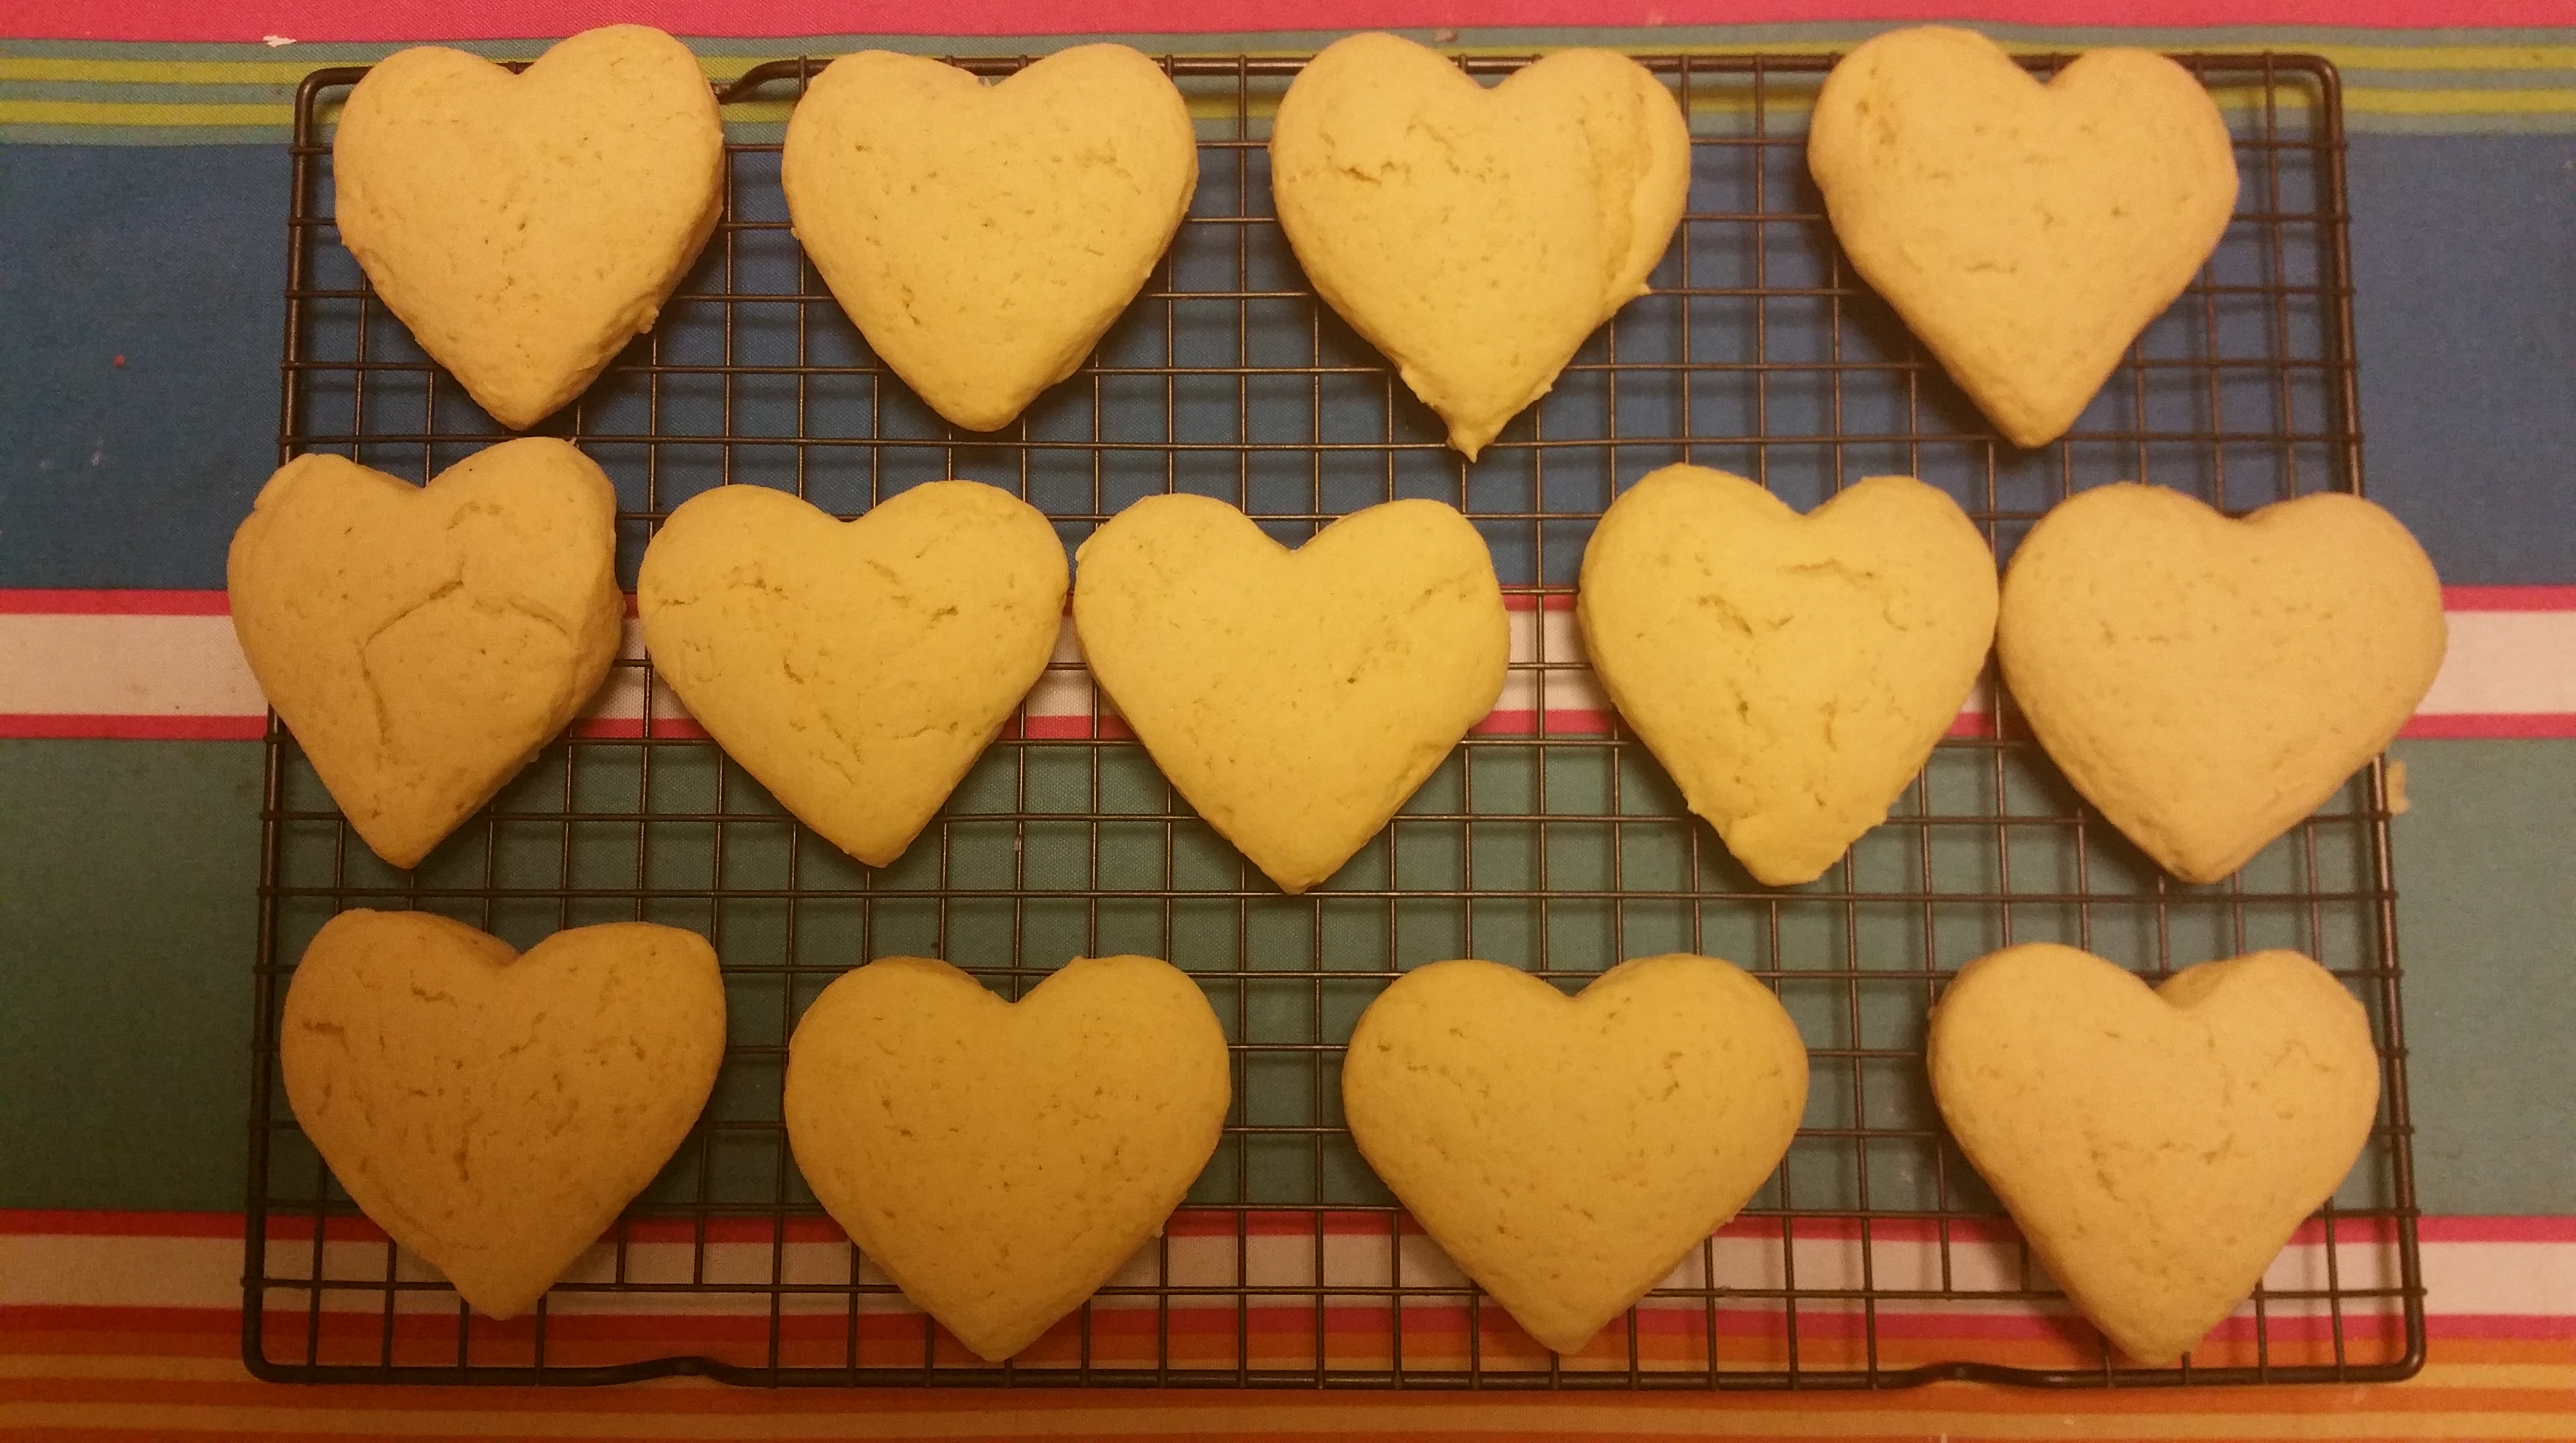
Bake for 6-8 minutes or until just set and barely golden on the bottom. Cool completely on a wire rack.

Store in an airtight container…if they last that long.

So even though they weren’t ready in time for the holidays, who says you can’t enjoy these sweet surprises year-round? A gift of cookies is always sure to make someone smile, so share the love often.

Until next time, happy baking!

Ciao for now,

Neen


The Cookie Connection: Cinnamon Crispies

26 Nov

When I was growing up, we spent nearly every Christmas at my paternal grandmother’s house. If I close my eyes, I can still smell her kitchen. So many of my favorite foods came from her; broccoli casserole, ham pies, sauce and meatballs, pretzel jell-o (don’t knock it ‘til you try it), pumpkin pies, her breaded chicken, and especially an array of Italian and not-so-Italian cookies.

When we celebrated Gram’s 90th birthday over the summer, my cousin Emily surprised all of us with a cookbook of her recipes written in her beautiful script handwriting. To me, it was the greatest treasure anyone could bestow.

A little under two weeks ago, my Gram passed away after a long battle with Parkinson’s disease. As we stood in the funeral home, surrounded by flowers and mourners, I turned to my cousin and said, “You know what Gram would have said about all of this, right?” We both smiled and nearly in chorus said, “Oh this is ri-DIC-ulous!” My Gram had no time for pageantry and no love for flowers. Her love and affection was, like mine, spread through sharing food and especially telling people, “Oh, you don’t eat nothing!” before scooping another meatball or piece of pie onto their plate. I will admit to doing this to my own husband many times.

After we returned to Arlington following the funeral, I started going through the cookbook of her recipes and smiling at the ones that reminded me of her kitchen. I laughed at all the mentions of “two handfuls of Crisco” or “two scoops of sugar.” Like so many good cooks, she did things by feel and not by a structured recipe or method. Her recipes matched the time in which she learned to cook too. I can’t tell you how many times Oleo is mentioned in this cookbook.

Most of the cookie recipes were familiar to me, but there were several I came across that I didn’t recall. One such recipe was for Cinnamon Crispies. As far as I could tell, they were bar cookies consisting of a layer of cinnamon-sugar cookie batter topped by chopped pecans. As I am a sucker for anything containing pecans and warm spices, I knew I had to try it. And of course, you’ll see what I mean about things being a little…non-specific:

First of all, is the butter soft? Is it cut in cold? And if soft, why isn’t it creamed with the sugar first? If sugar is a dry ingredient does that imply more of a pastry consistency? Is a flat pan a sheet pan or a cake pan? What should it look like when it’s done???

There were a few clues in the recipe that helped me decide how to work this one out. Since at the end it said to cut into squares, I decided to bake in a 9×13 in. baking pan to get a perfectly rectangular shape. As for the mixing part, the instructions said to “spread” this into the baking pan, so that made me assume it was more of a cookie dough than a pastry dough. As for the final product, that I’d just have to guess about. All it said was to bake it for 30 minutes, so however it looked at 30 minutes was what I was going to stick with. So come along with me on my adventure and let’s blindly bake some cookies together, shall we? I mean, nothing with this much cinnamon, sugar, and butter can possibly be bad anyway…

Cinnamon Crispies

  • 1 cup sugar
  • 1 cup flour
  • 2 tsp. cinnamon
  • 1 ½ sticks butter (6 oz.), slightly softened
  • 1 egg yolk (reserve egg white)
  • ½ tsp. vanilla extract
  • 1 cup chopped pecans

Sift together the flour, sugar, and cinnamon in a large mixing bowl.

Add the butter, egg yolk, and vanilla extract, and mix until a soft dough forms.

Press the dough into an even ¼ in. layer in a 9×13 in. baking pan.

Brush the top of the dough with the unbeaten reserved egg white and sprinkle on the chopped pecans.

Bake for 30 minutes.

Remove and cool in the pan for 15 minutes before cutting into squares.

They are, as advertised, both cinnamon AND crispy. The cookie layer has a little bit of chewiness to it, but the butter toasts the pecans and makes the top so crunchy. Ri-DIC-ulously delicious.

I’m so glad I could share a little bit of my Gram’s cooking with you. Whenever I need to go home for a few moments, I’ll work my way through those recipes and smile. As I wrote on the day I learned of her passing, “You’ll always be with me in the kitchen.”

Ciao for now,

Neen

Going Goldilocks: Cherry, Sesame, and Pecan Biscotti

4 Nov

Most recipes are a search for that just right bite. We fumble around seeking textures, flavors, and oftentimes memories in our kitchens. Then comes the a-ha moment, that blissful occasion where it all turns out just right, or at least just the way you want it. For me, nothing embodies that dance more than biscotti.

Twice-baked breads could be stored for long periods of time, which is why these cookies were favored by the Roman legions. Adding to their non-perishability is the fact that they contain no fat other than eggs. So it’s not a flaky or tender cookie, but a crunchy, dense treat meant to be enjoyed with a beverage–coffee in my case, but vin santo for many others. Still, balance is the name of the game. We’re looking for that sweet spot of crisp but not tooth-breaking, sweet but not cloying, and flavorful, but not overpowering. And in my case, an added element of memory too.

When I was a kid, we would go to Pittsburgh’s Strip District on Saturday or Sunday mornings. After the rest of our shopping was complete, my dad would often send me into Enrico’s biscotti for a “bag of ends.” These treasures were bags full of the ends of biscotti loaves, so you got to try the extra-crunchy versions of lots of different flavors. They were always a welcome treat in the car on the way home.

So when I make biscotti now, I do that search, that little dance. And like Goldilocks, I sometimes find one that’s juuuuuust right.

Cherry, Sesame, and Pecan Biscotti

  • 1 cup brown sugar
  • 3 eggs
  • ½ tbsp. vanilla extract
  • 2 ¾ cups all-purpose flour
  • 1 tsp. baking powder
  • ½ tsp. salt
  • ½ tsp. cinnamon
  • ¼ tsp. cardamom
  • 2/3 cup dried tart cherries
  • ½ cup chopped toasted pecans
  • 1/3 cup sesame seeds

Preheat an oven to 325 degrees F and line a baking sheet with parchment paper.

Beat the eggs and sugar together until well-blended and thickened slightly, about 3 minutes on medium speed. Stir in the vanilla.

Stir in the flour, baking powder, salt, cinnamon, and cardamom just until the flour disappears.

Stir in the dried cherries, pecans, and sesame seeds just until distributed.

Gather the ball into a ball (flour your hands if needed) and let it rest for 5 minutes. At this point, I usually weigh it.

Divide the dough in half evenly and roll each half into an 11 in. log.

Press the logs flat until they are about 3-4 in. wide.

Brush with the egg wash.

Bake for 40 minutes, rotating the pan once for even done-ness. Cool the loaves on a wire rack for 5-10 minutes and reduce the oven temperature to 275 degrees F.

Cut the loaves into ½ in. slices and arrange them, standing up, on the baking sheet. They can be extremely close, but shouldn’t touch.

Bake for another 22-24 minutes and then cool completely on a wire rack.

The cherries become tender in the oven and their tartness is welcome up against the warm spices and rich, nutty pecans and sesame seeds. The cookie itself is crunchy but easy to break, and doesn’t require a beverage to soften it, though one is most certainly welcome. And the extra-crisp heels remind me of the delights found in those random bags of ends.

Truly, this is a balancing act worth the effort and a welcome addition to any holiday cookie exchange. I hope you give these twice-baked treasures a try!

Ciao for now,

Neen


Easy Energy: Granola Bars

12 Oct

Granola bars are pretty great grab-and-go calorie-dense snacks. But if you’ve bought them, you know they’re also kind of expensive per portion. Fortunately, making your own is very simple, cost-effective, and also makes it easy to customize the bars to your tastes.

Granola Bars

  • 5 cups rolled oats
  • 1 cup pecans
  • 2/3 cup brown sugar
  • ½ cup honey
  • 4 oz. unsalted butter
  • 1 tsp. vanilla
  • ½ tsp. salt
  • 1 ½ cups add-ins (seeds, dried fruit, nuts, chips etc.) I went with ½ cup pumpkin seeds, ½ cup chopped pitted dates, and ½ cup dried tart cherries

Line a 9×13 in. pan with parchment paper and set aside.

Preheat an oven to 350 degrees F, and then spread the oats and pecans out on baking sheets and toast for 10 minutes or until fragrant.

Chop the pecans and transfer the oats and pecans to a large bowl.

Combine the butter, brown sugar, honey, vanilla, and salt in a saucepan over medium heat. Bring the mixture to a boil and boil while stirring for one minute.

Pour the butter mixture over the oats and pecans and stir thoroughly, until there are no dry spots.

Add the dried cherries, pumpkin seeds, and dates and mix thoroughly. Note: If you are using chocolate or other chips, wait 15 minutes before stirring them into the mixture so that they don’t melt.

Pour the mixture into the prepared 9×13 in. pan and press down firmly with greased hands into an even layer. Chill in the refrigerator for at least 2 hours, or until very firm.

Cut into 32 squares.

A little crisp, a little chewy, and just sweet enough. Store at room temperature in a sealed container or individually wrapped in plastic wrap for easy on-the-go snacks. Super simple, right? And the possibilities are endless! I especially like coconut, pineapple, and macadamia nuts, or chocolate, dried cranberries, and walnuts. Pistachios, candied ginger, and dates as a combination was also a big hit. Sometimes I divide the batch in half and press into two 8×8 in. pans so I can make two different flavors.

No matter how you dress them up, these snacks are a welcome surprise in any suitcase, lunchbox, purse, or backpack. Hope you find your favorite flavor!

Ciao for now,

Neen

Chairs and Fairs: Nut and Coconut Pie Bars

26 Aug

My yoga practice has changed a lot this year. One of the places I have found comfort, support, and joy is my weekly chair yoga class at Mind the Mat in the Del Ray neighborhood of Alexandria.  The teacher and all of the students could not have been more welcoming when I joined, and I was so grateful to find a practice that allowed me to appreciate my body and mind for the first time in months.

So of course, when I had a kitchen table full of baked goods the week before the Arlington County Fair, I opted to share them with the group. After all, the judges only needed six pieces of each submission (aside from the pies, which had to be presented whole). One of the categories I entered was for bar cookies, and the ones I made were honestly the result of having some leftover odds and ends to use up after candy and pie making. Well, I must have stumbled upon something great, because not only did they win a blue ribbon(!) for the bar cookie category, my chair yoga classmates loved them and gently requested that I share the recipe here. So without further ado…

Nut and Coconut Pie Bars

Crust:

  • 1 cup all-purpose flour
  • 1/4 tsp. kosher salt
  • 1/4 cup powdered sugar
  • 8 tbsp. unsalted butter, cold

Filling:

  • 6 tbsp. unsalted butter, melted and cooled
  • 2/3 cup brown sugar
  • 1 large egg
  • 1 large egg yolk
  • 1/4 tsp. kosher salt
  • 1 tsp. vanilla extract
  • 6 tbsp. all-purpose flour
  • 1 cup toasted chopped nuts (I used ½ pecans and ½ walnuts)
  • ½ cup toasted shredded coconut

Preheat the oven to 350°F and line an 8×8 in. baking pan with parchment paper.

Begin by making the crust. Combine the flour, salt and sugar in the bowl of a food processor. Cut the butter into chunks and add it to the bowl, then run the machine until the mixture forms large clumps.

Press into the prepared baking pan evenly across the bottom and 1/2 inch up the sides.

Bake for 15 minutes. I usually melt the butter for the filling as soon as the crust goes in the oven so that it is cool enough to use by the time the crust is done baking.

To make the filling, whisk the brown sugar into butter until smooth.

Add the whole egg, egg yolk, salt, and vanilla and blend well.

Stir in flour until just combined, and then fold in the coconut and nuts.

Pour the filling over the par-baked crust, spreading evenly using a spatula or small offset palette knife.

Bake 20-25 minutes or until puffed and golden on top.

Cool completely before cutting into squares or triangles. I like to refrigerate the pan because it is much easier to cut neat squares when they have been chilled for a few hours or even overnight.

The texture of the filling resembles pecan pie, but the coconut adds a sweet chewiness that reminds me of the topping on Samoas cookies.  The crust is buttery and crisp, like a rich, thick shortbread. All in all, these accidental delights have a lot more to offer than I initially gave them credit for, and my chair yoga classmates and the county fair judges agreed.

Change happens in a blink and life can really surprise you with strange twists. Sometimes they give you something really special, like a whole new way to practice yoga. It’s good to know that recipes can surprise too in the most unexpected and wonderful ways.

Ciao for now,

Neen

My Best Friend’s Favorite: Tea Cakes

25 Aug

If you ask people in different countries what a tea cake is, you are likely to receive surprisingly different answers. In England, it is a yeast-risen bun typically studded with dried fruit and generally served split and toasted. But if you ask for one in Scotland, you might receive a chocolate coated Italian meringue set on top of a biscuit. The Swedes’ tea cakes are lightly sweetened yeast breads often served with butter and jam or cheese, and Australia’s version is a heavy sponge cake served warm as an accompaniment to a cup of tea.

And then there are the tea cakes of the American southeast. Though the history is somewhat muddled, they are said to have originated in the rural south by slaves who used meager rations of simple ingredients to make the unpretentious pastry. These were a sort of rustic version of the delicate pastries served by affluent white women entertaining visitors. They are something of a cross between a scone and a cookie, and are thick, tender, and lightly sweet.

They are also beloved by my dear Joe. He doesn’t have the same insatiable sweet tooth that I do, so when he comes back for seconds of a baked good, I know it must be special. He especially enjoys them as a breakfast treat and has remarked on several occasions that they are his new favorite thing I make.

While the traditional tea cake is served plain, I like to finish mine with just a little bit of vanilla-almond buttercream for extra sweetness and flavor. These soft, wonderful treats are easy to make, take very few ingredients, and can be done quite quickly. That’s especially nice when you want to whip up something special for your sweetheart. So let’s get to sharing…

Tea Cakes

  • 4 oz. (8 tbsp.) unsalted butter, room temperature
  • ½ cup granulated sugar
  • 3 eggs, room temperature
  • 1 tsp. vanilla extract
  • 2 ¼ cups all-purpose flour
  • 2 tsp. baking powder (aluminum-free if possible)
  • ½ tsp. kosher salt

Vanilla-Almond Buttercream

  • 1 ½ cups powdered sugar
  • 3 oz. (6 tbsp.) unsalted butter, room temperature
  • ½ tsp. vanilla extract
  • ¼ tsp. almond extract
  • Food coloring (optional)

Preheat the oven to 350 degrees F.

Combine the flour, baking powder, and salt in a bowl and set aside.

In the bowl of a stand mixer, beat the butter on medium speed until it is smooth and creamy. Add the granulated sugar and vanilla extract and beat until light and fluffy.

Add the eggs, beating well between each addition and scraping down the bowl as necessary.

Add the flour mixture to the wet ingredients and mix until everything is combined.

Turn the soft dough out onto a lightly floured surface and pat or roll it out to ½ in. thickness. Cut out the tea cakes in whatever shape you desire. I have used a 2 in. round cutter several times for this recipe, but I also love this 2 in. heart shaped cutter. Depending on the size cutter you use, you’ll get anywhere from 12-18 tea cakes.

Place the tea cakes on a parchment-lined baking sheet. You don’t need to leave much space between them. They will rise up, but will not spread very much. Bake for 12-14 minutes or until lightly golden on the bottom.


Move the tea cakes to a wire rack to cool while you prepare the buttercream.

Place the soft butter in the bowl of a stand mixer and beat until creamy. Add the powdered sugar and extracts and beat until smooth and fluffy.

If you desire, you can tint the frosting with food coloring at this point and beat it until well distributed. I really like the Americolor gel food coloring for frosting.

You can spread the frosting on the completely cooled tea cakes with a knife or pipe it on if you enjoy decorating. Of course I had to get a little fancy, these were for my very best buddy.

And that’s it! The tea cakes cool quickly, so you can have these done and ready to enjoy in about an hour. They are best enjoyed fresh, but kept in a well-sealed container at room temperature, they’ll keep for several days. Here are some other variations:

Food doesn’t have to be grand and complicated to be delightful. These treats were born out of a desire to make something special at a time when ingredients were slim. All that really matters is how much they’re enjoyed by the recipient, and the smile on Joe’s face told me everything I needed to know.

Ciao for now,

Neen