When I was growing up, we spent nearly every Christmas at my paternal grandmother’s house. If I close my eyes, I can still smell her kitchen. So many of my favorite foods came from her; broccoli casserole, ham pies, sauce and meatballs, pretzel jell-o (don’t knock it ‘til you try it), pumpkin pies, her breaded chicken, and especially an array of Italian and not-so-Italian cookies.
When we celebrated Gram’s 90th birthday over the summer, my cousin Emily surprised all of us with a cookbook of her recipes written in her beautiful script handwriting. To me, it was the greatest treasure anyone could bestow.
A little under two weeks ago, my Gram passed away after a long battle with Parkinson’s disease. As we stood in the funeral home, surrounded by flowers and mourners, I turned to my cousin and said, “You know what Gram would have said about all of this, right?” We both smiled and nearly in chorus said, “Oh this is ri-DIC-ulous!” My Gram had no time for pageantry and no love for flowers. Her love and affection was, like mine, spread through sharing food and especially telling people, “Oh, you don’t eat nothing!” before scooping another meatball or piece of pie onto their plate. I will admit to doing this to my own husband many times.
After we returned to Arlington following the funeral, I started going through the cookbook of her recipes and smiling at the ones that reminded me of her kitchen. I laughed at all the mentions of “two handfuls of Crisco” or “two scoops of sugar.” Like so many good cooks, she did things by feel and not by a structured recipe or method. Her recipes matched the time in which she learned to cook too. I can’t tell you how many times Oleo is mentioned in this cookbook.
Most of the cookie recipes were familiar to me, but there were several I came across that I didn’t recall. One such recipe was for Cinnamon Crispies. As far as I could tell, they were bar cookies consisting of a layer of cinnamon-sugar cookie batter topped by chopped pecans. As I am a sucker for anything containing pecans and warm spices, I knew I had to try it. And of course, you’ll see what I mean about things being a little…non-specific:
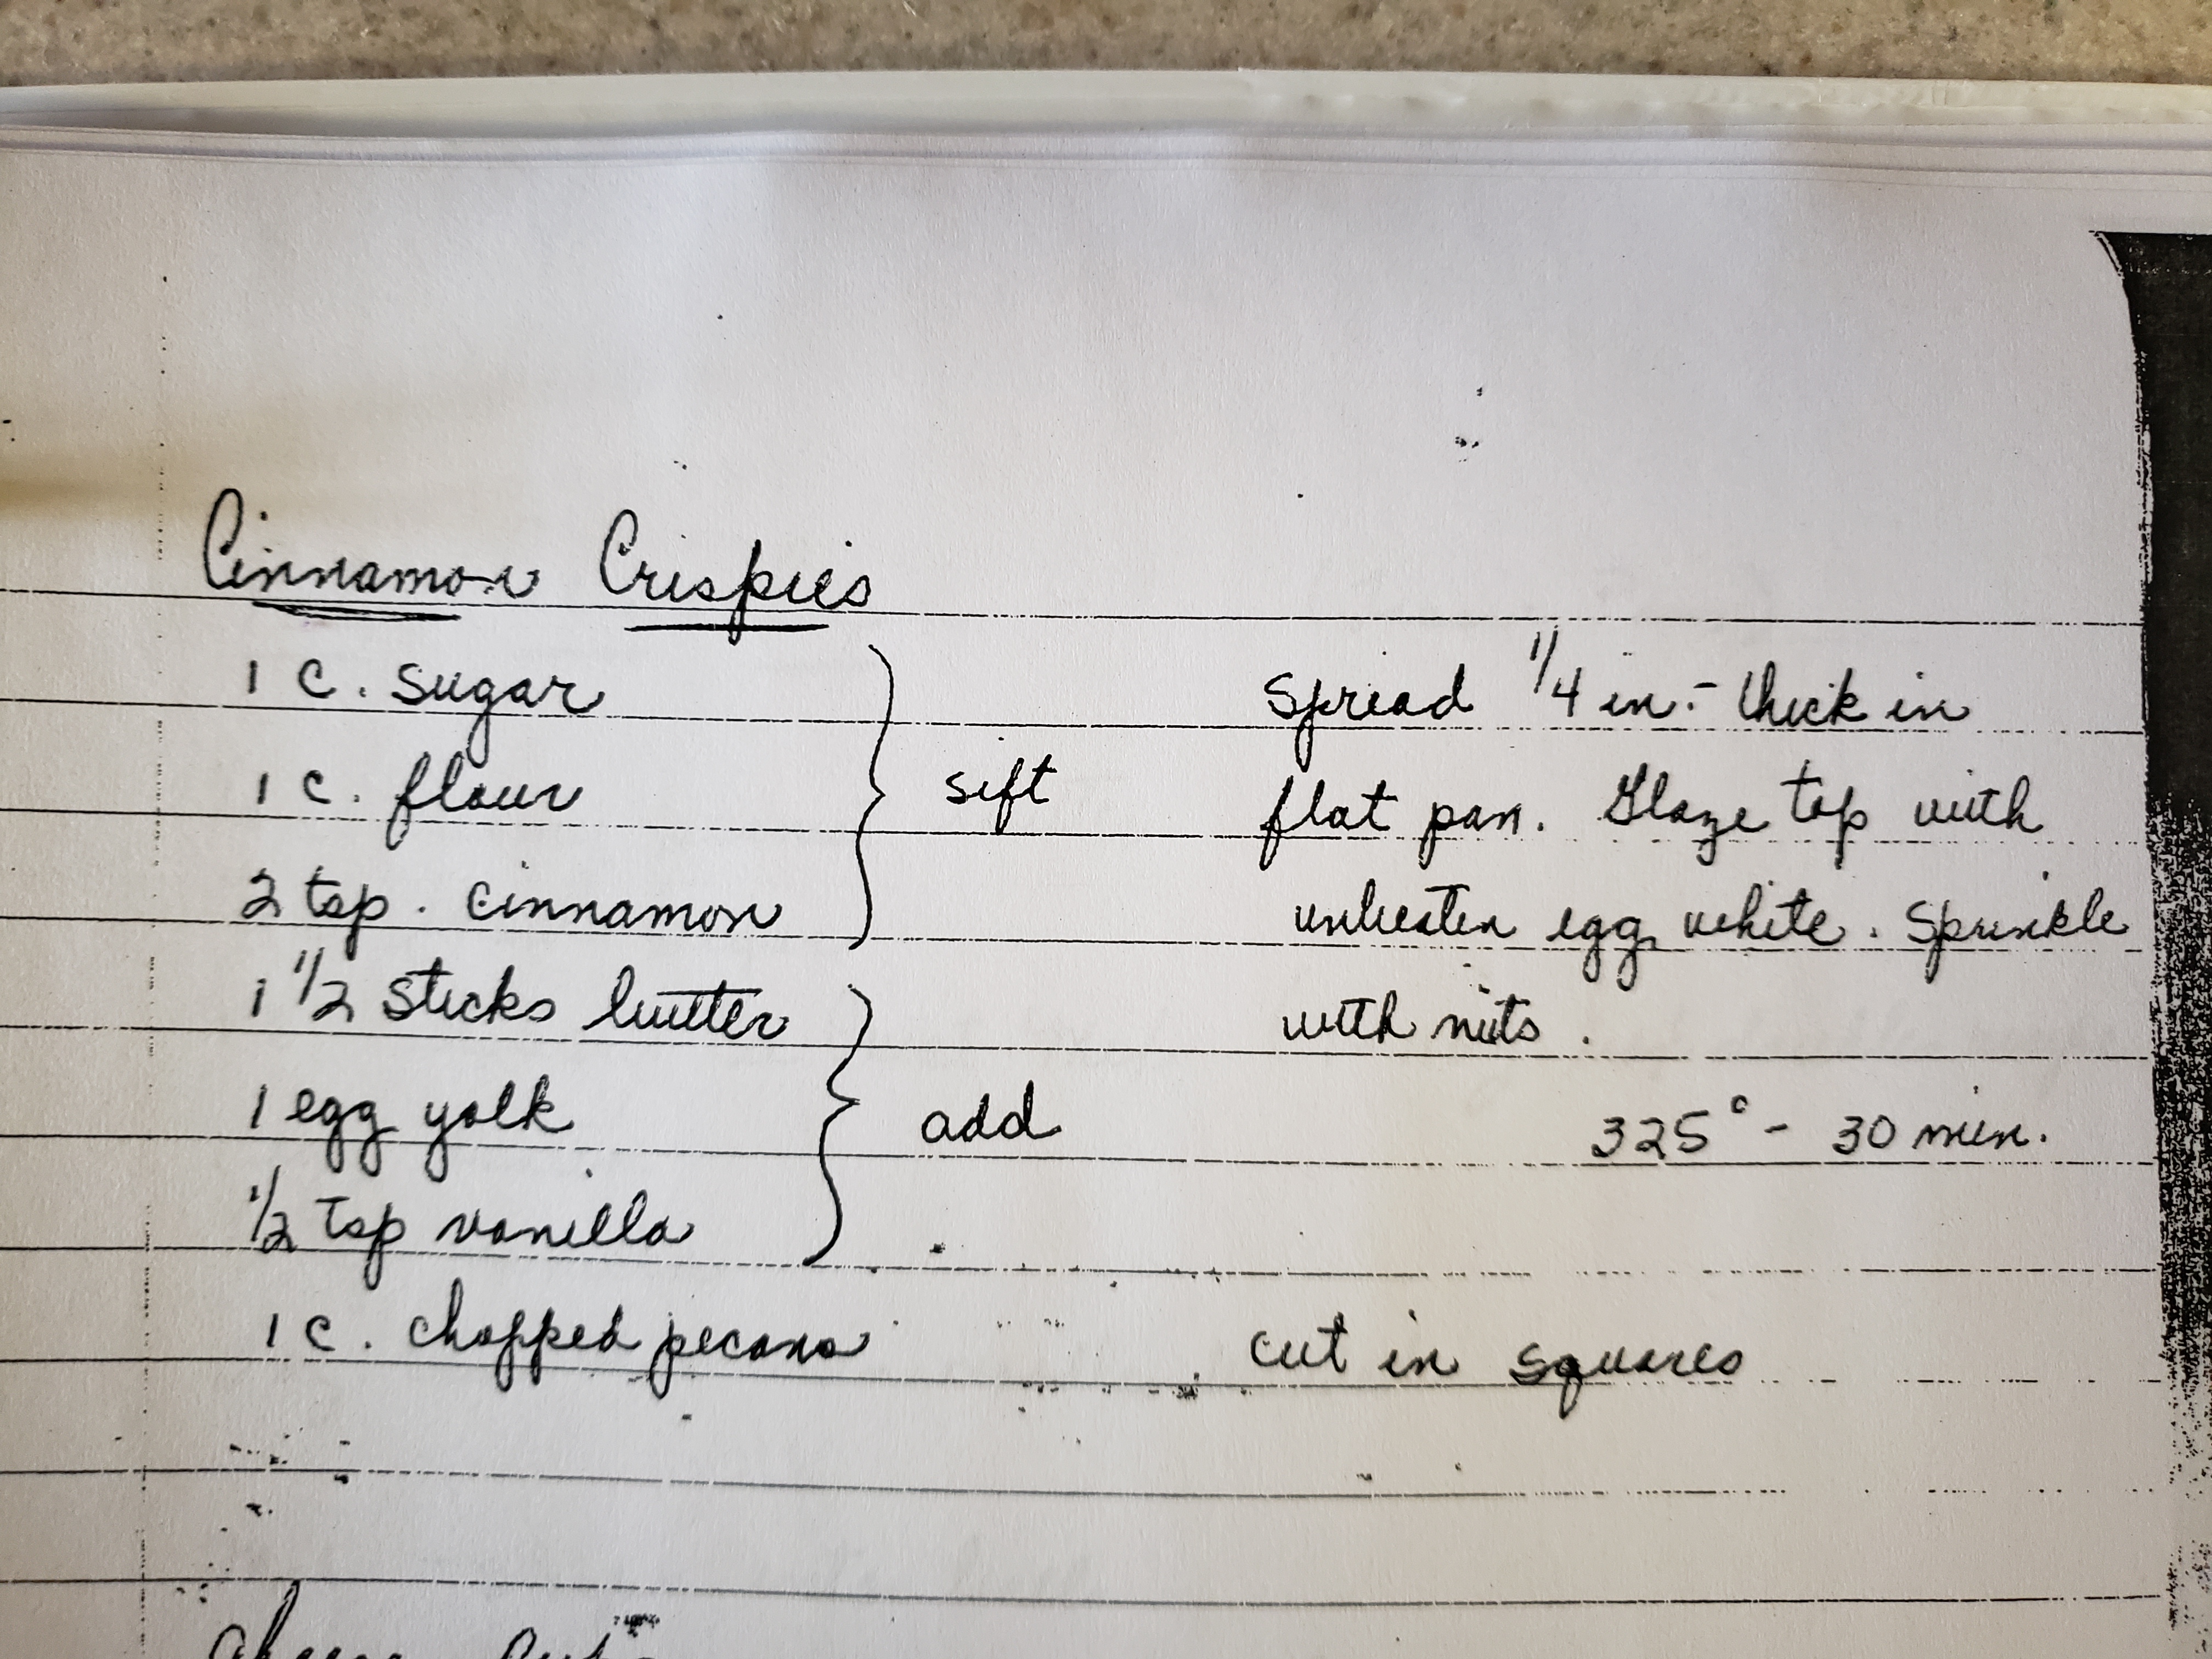
First of all, is the butter soft? Is it cut in cold? And if soft, why isn’t it creamed with the sugar first? If sugar is a dry ingredient does that imply more of a pastry consistency? Is a flat pan a sheet pan or a cake pan? What should it look like when it’s done???
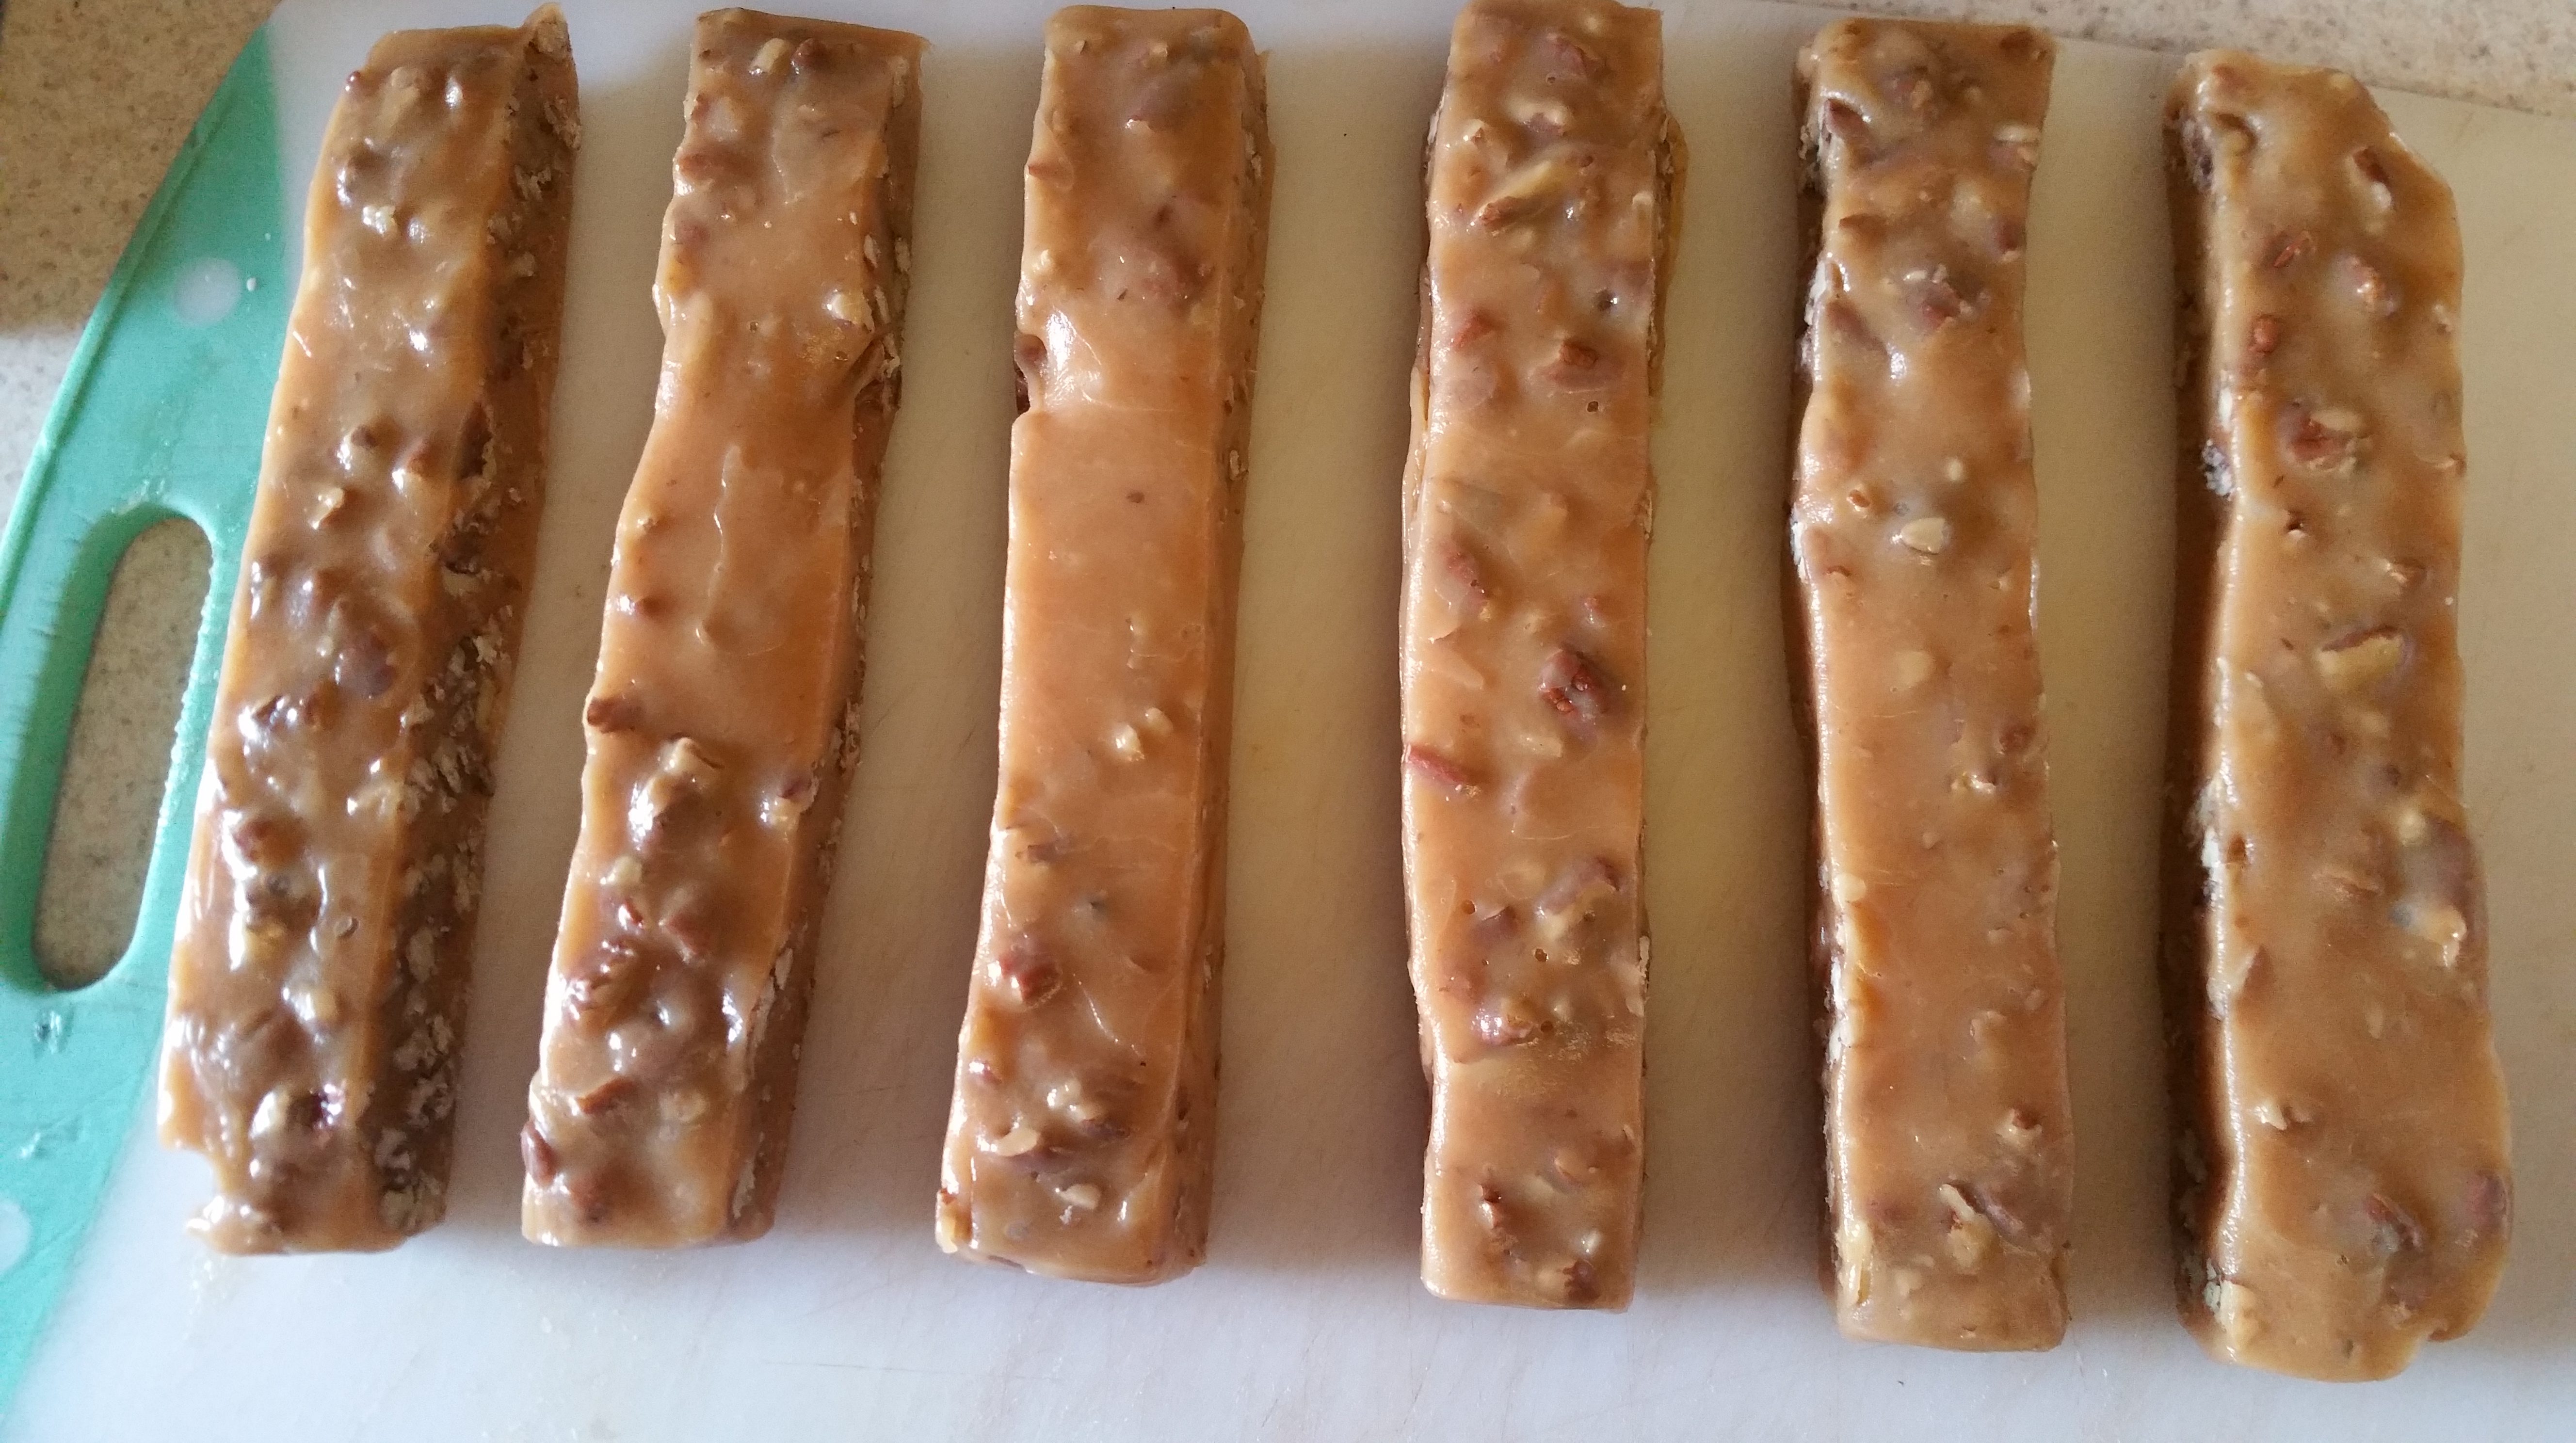
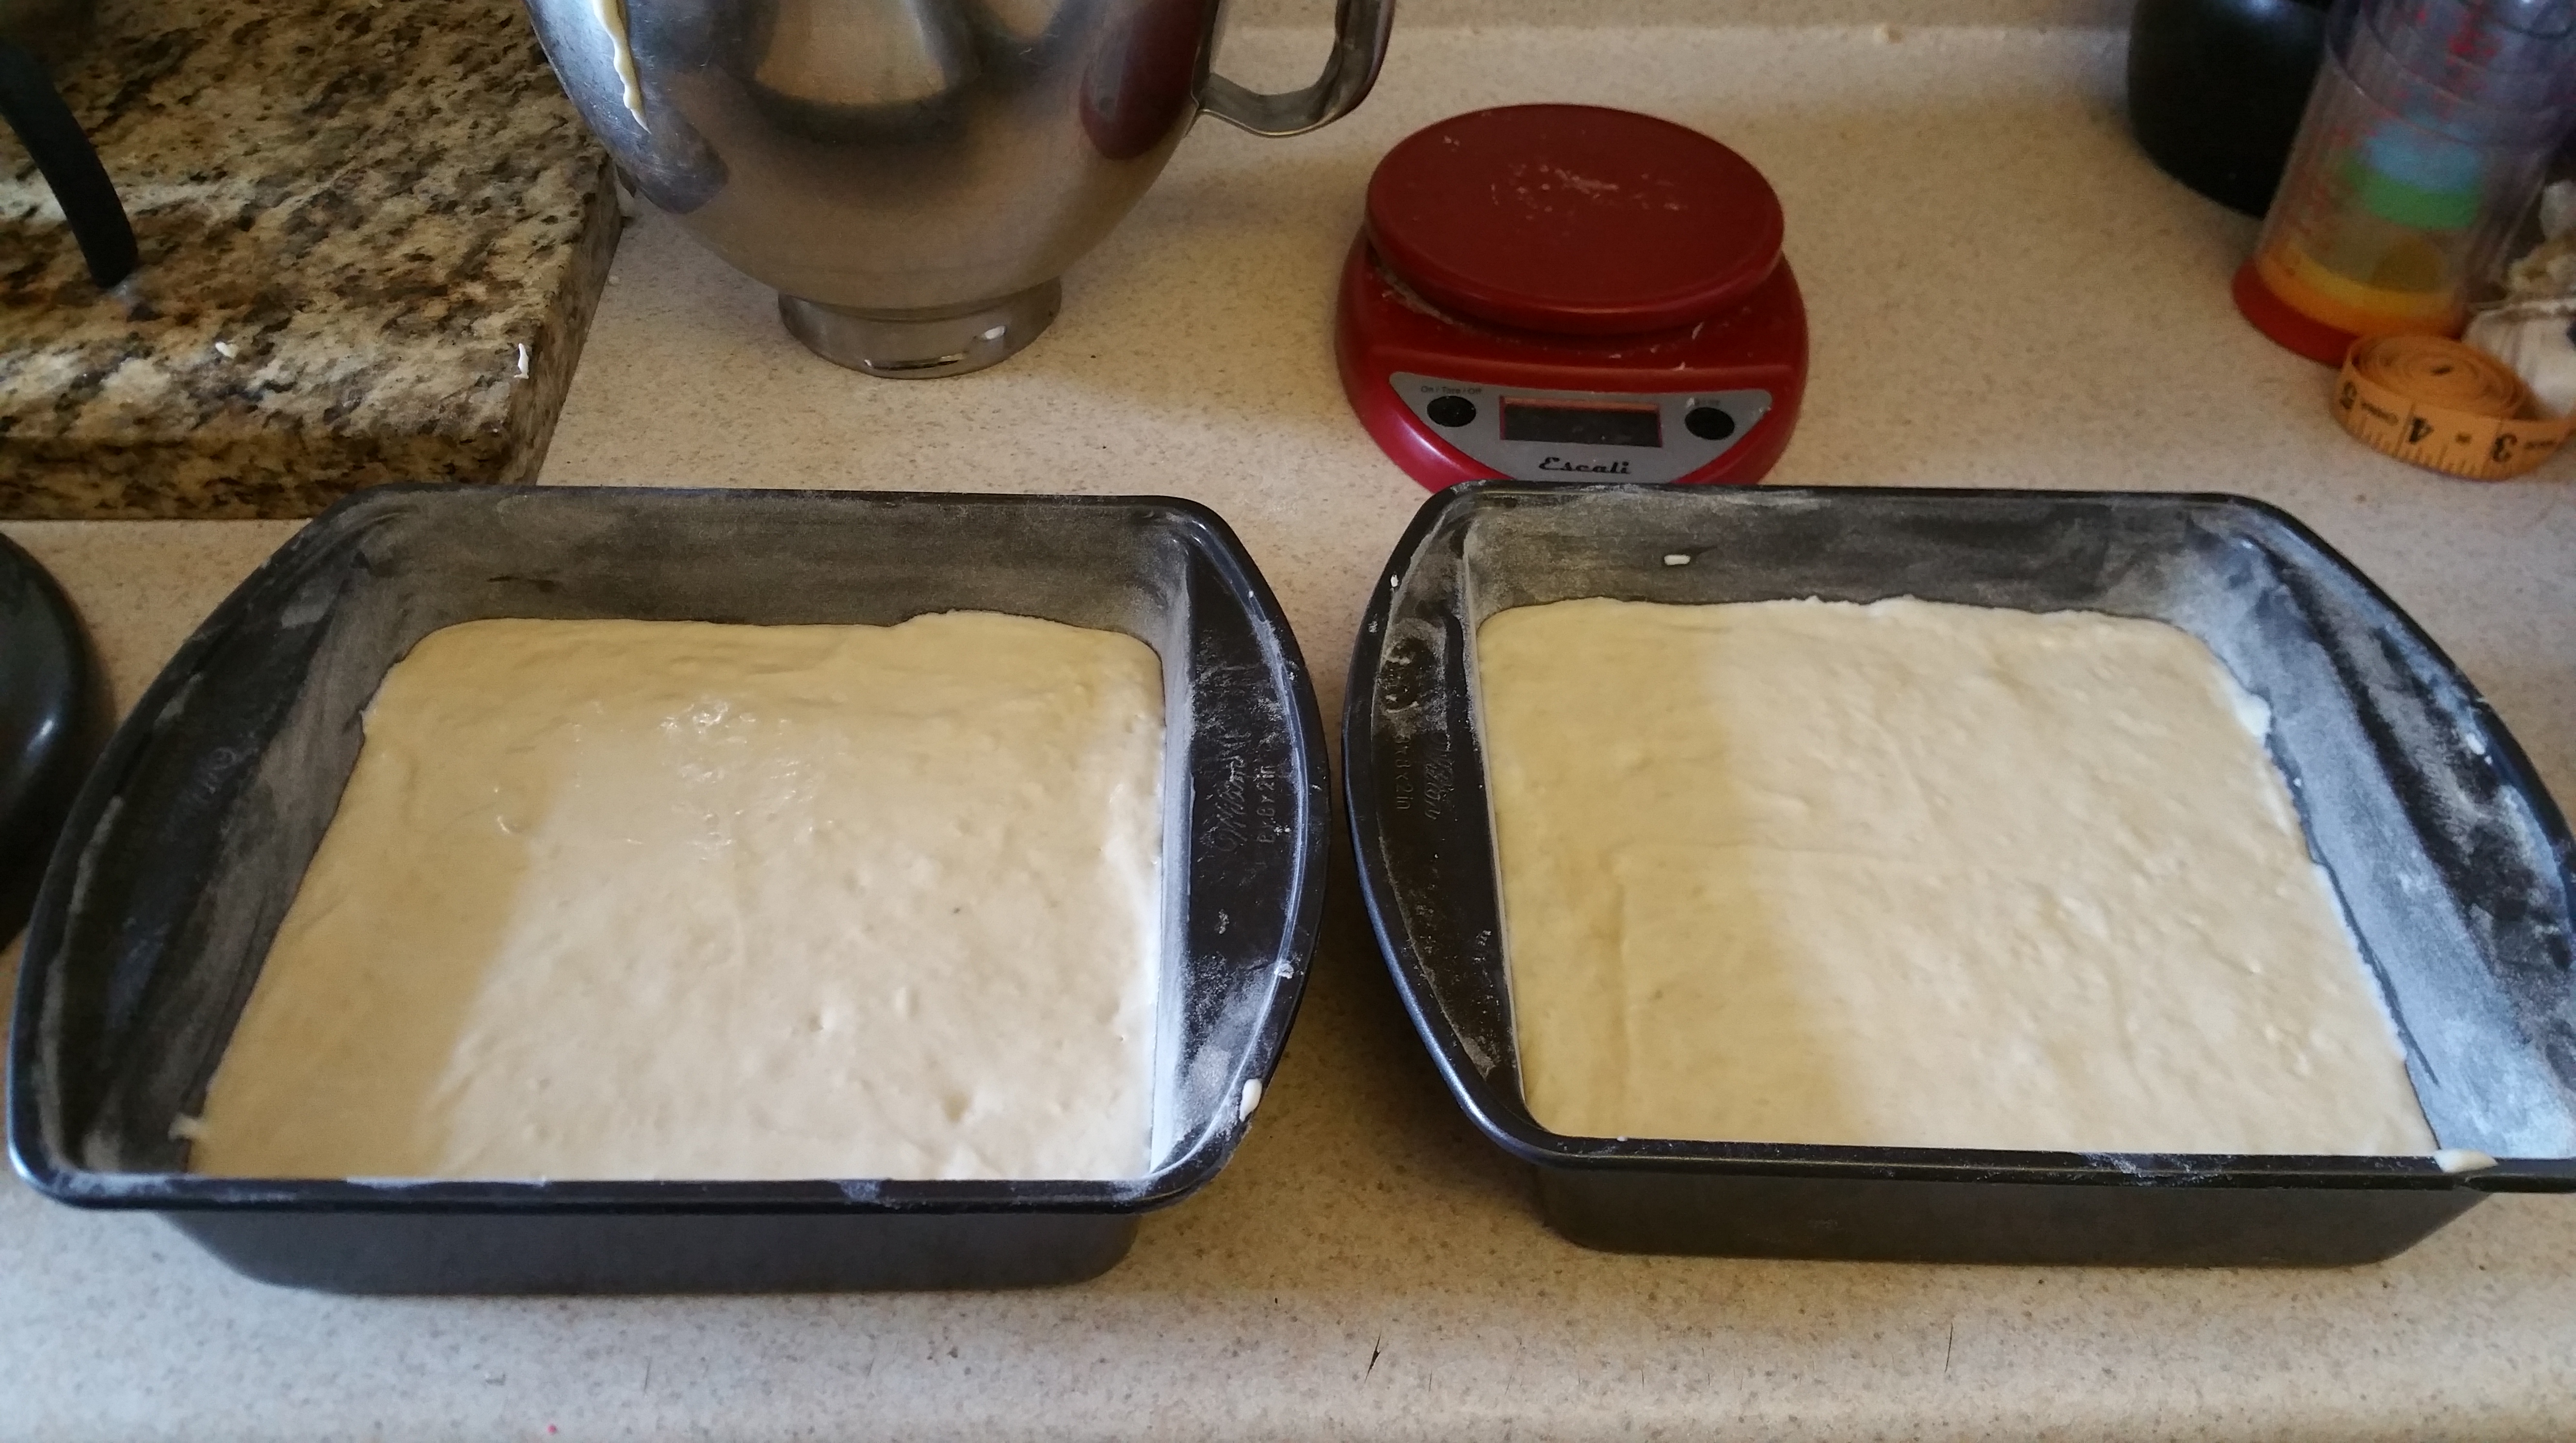
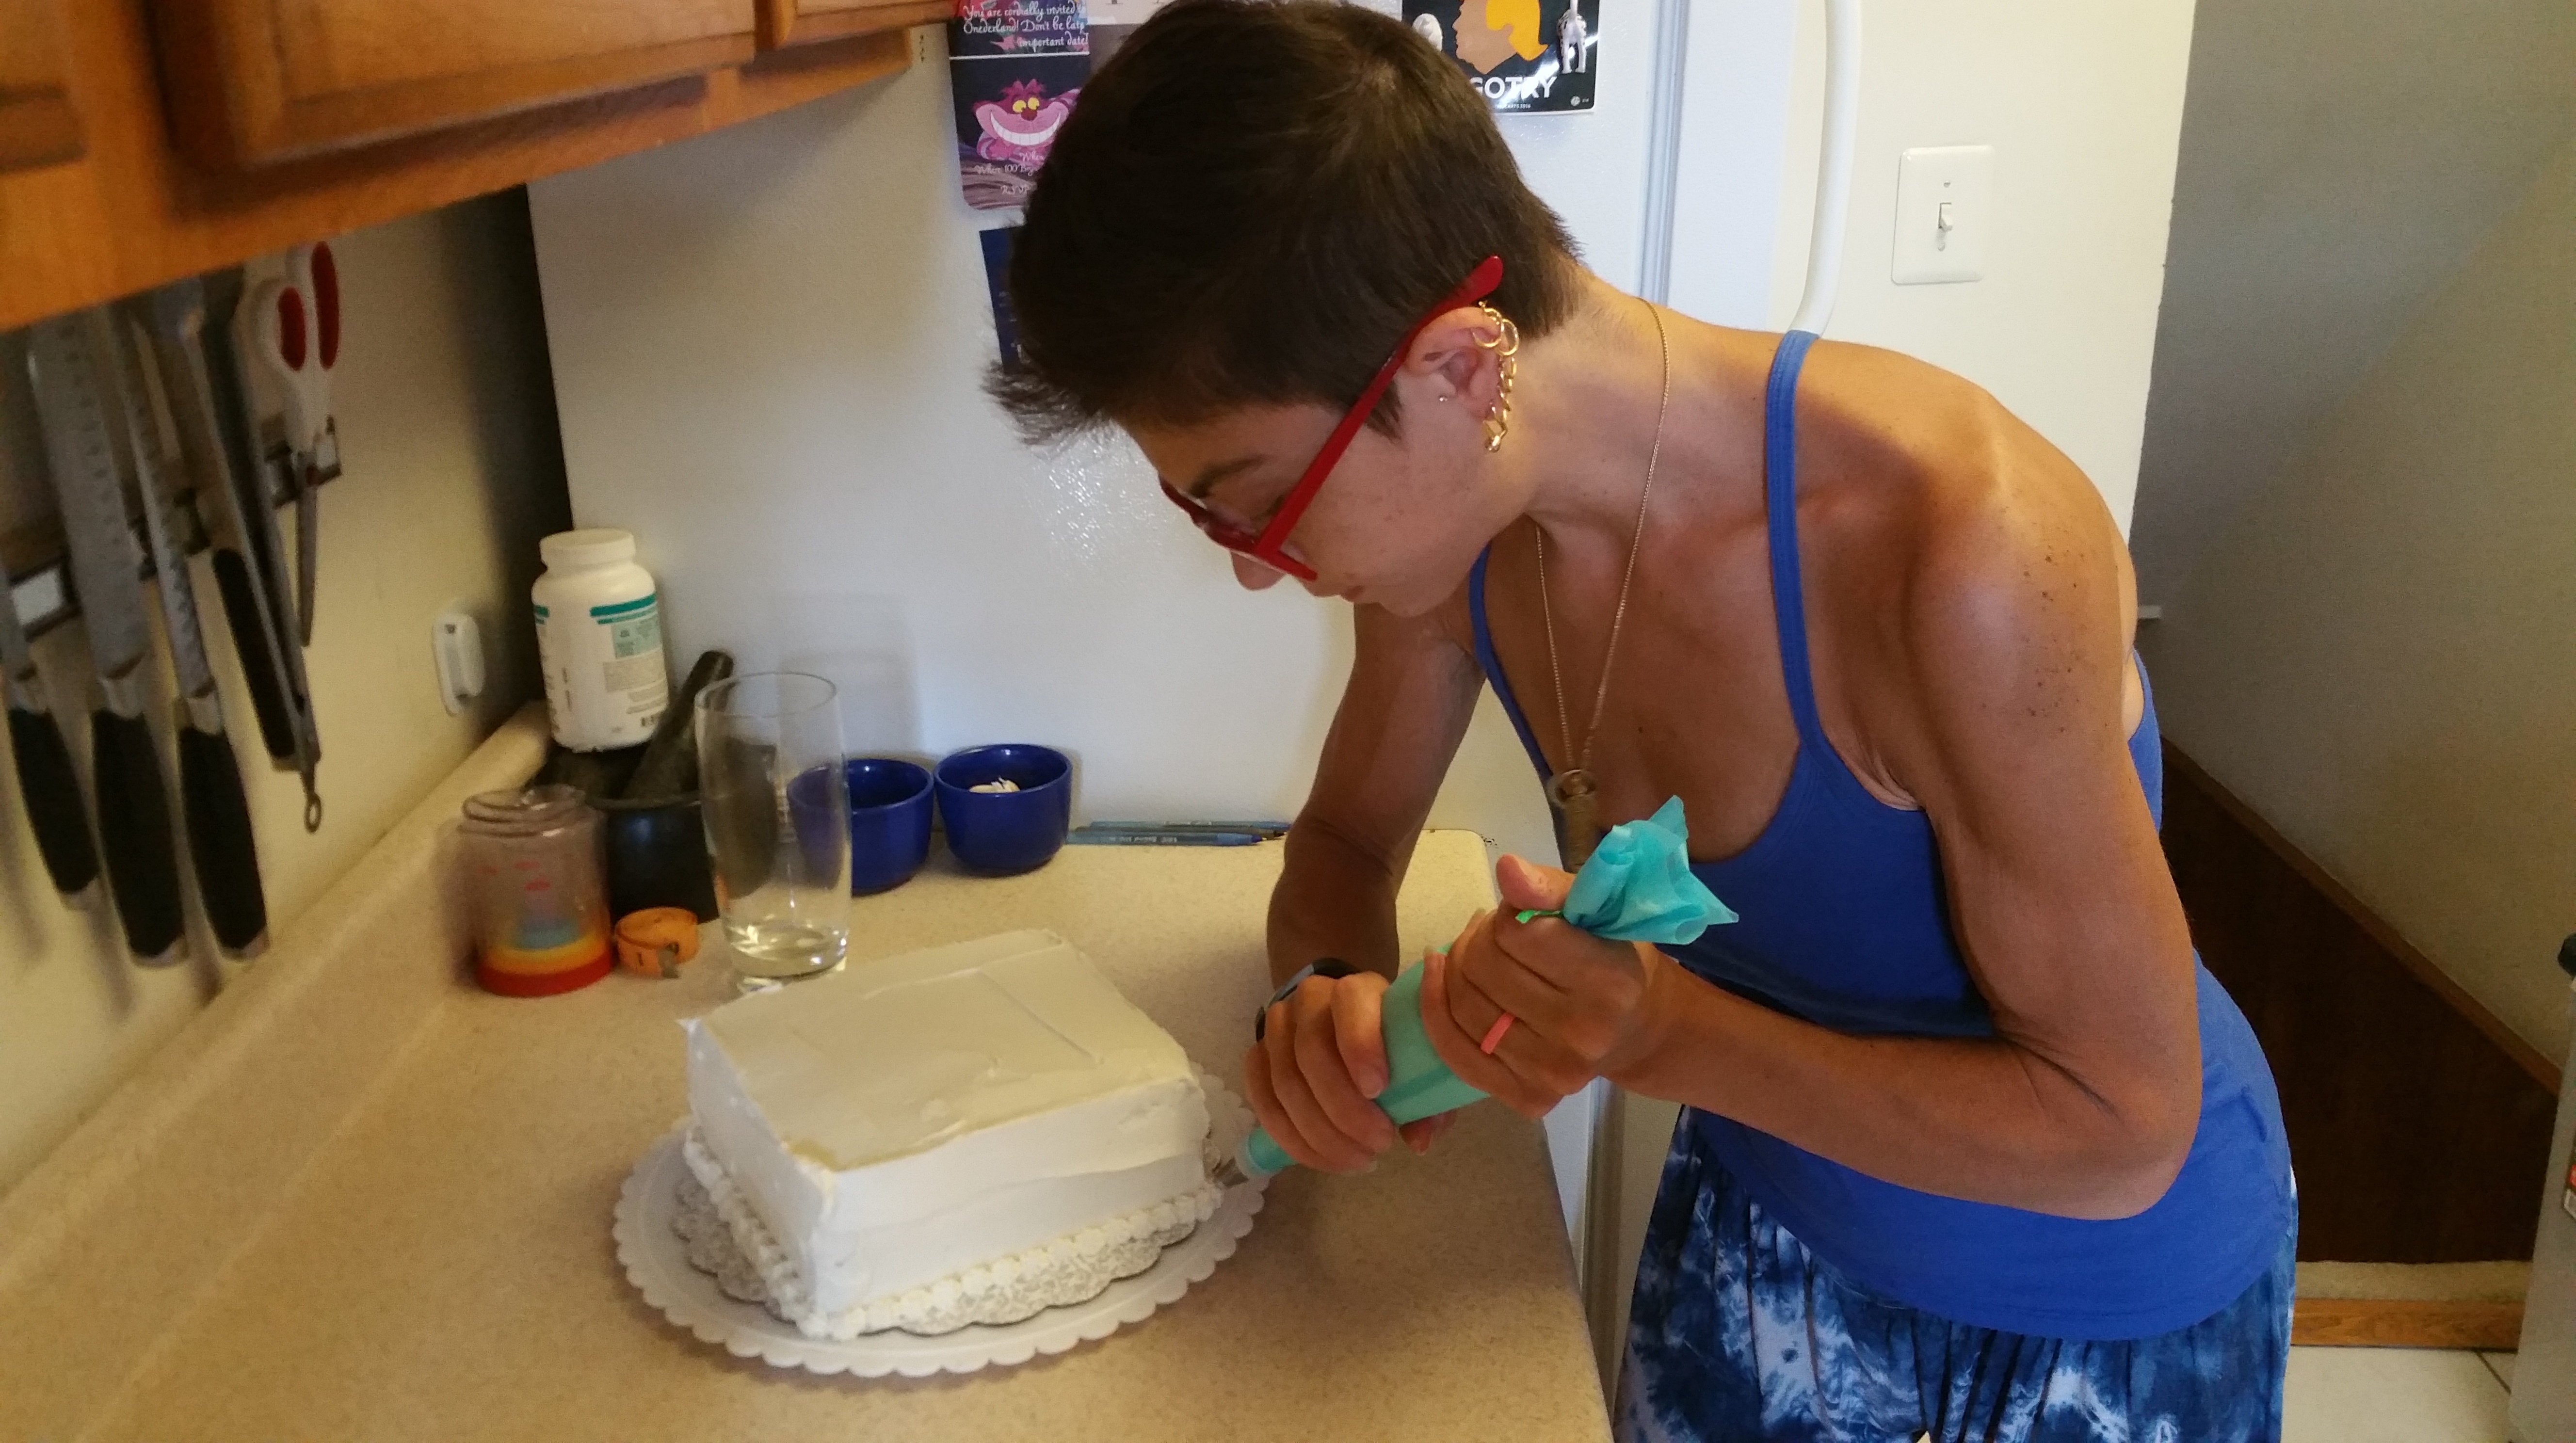
There were a few clues in the recipe that helped me decide how to work this one out. Since at the end it said to cut into squares, I decided to bake in a 9×13 in. baking pan to get a perfectly rectangular shape. As for the mixing part, the instructions said to “spread” this into the baking pan, so that made me assume it was more of a cookie dough than a pastry dough. As for the final product, that I’d just have to guess about. All it said was to bake it for 30 minutes, so however it looked at 30 minutes was what I was going to stick with. So come along with me on my adventure and let’s blindly bake some cookies together, shall we? I mean, nothing with this much cinnamon, sugar, and butter can possibly be bad anyway…
Cinnamon Crispies
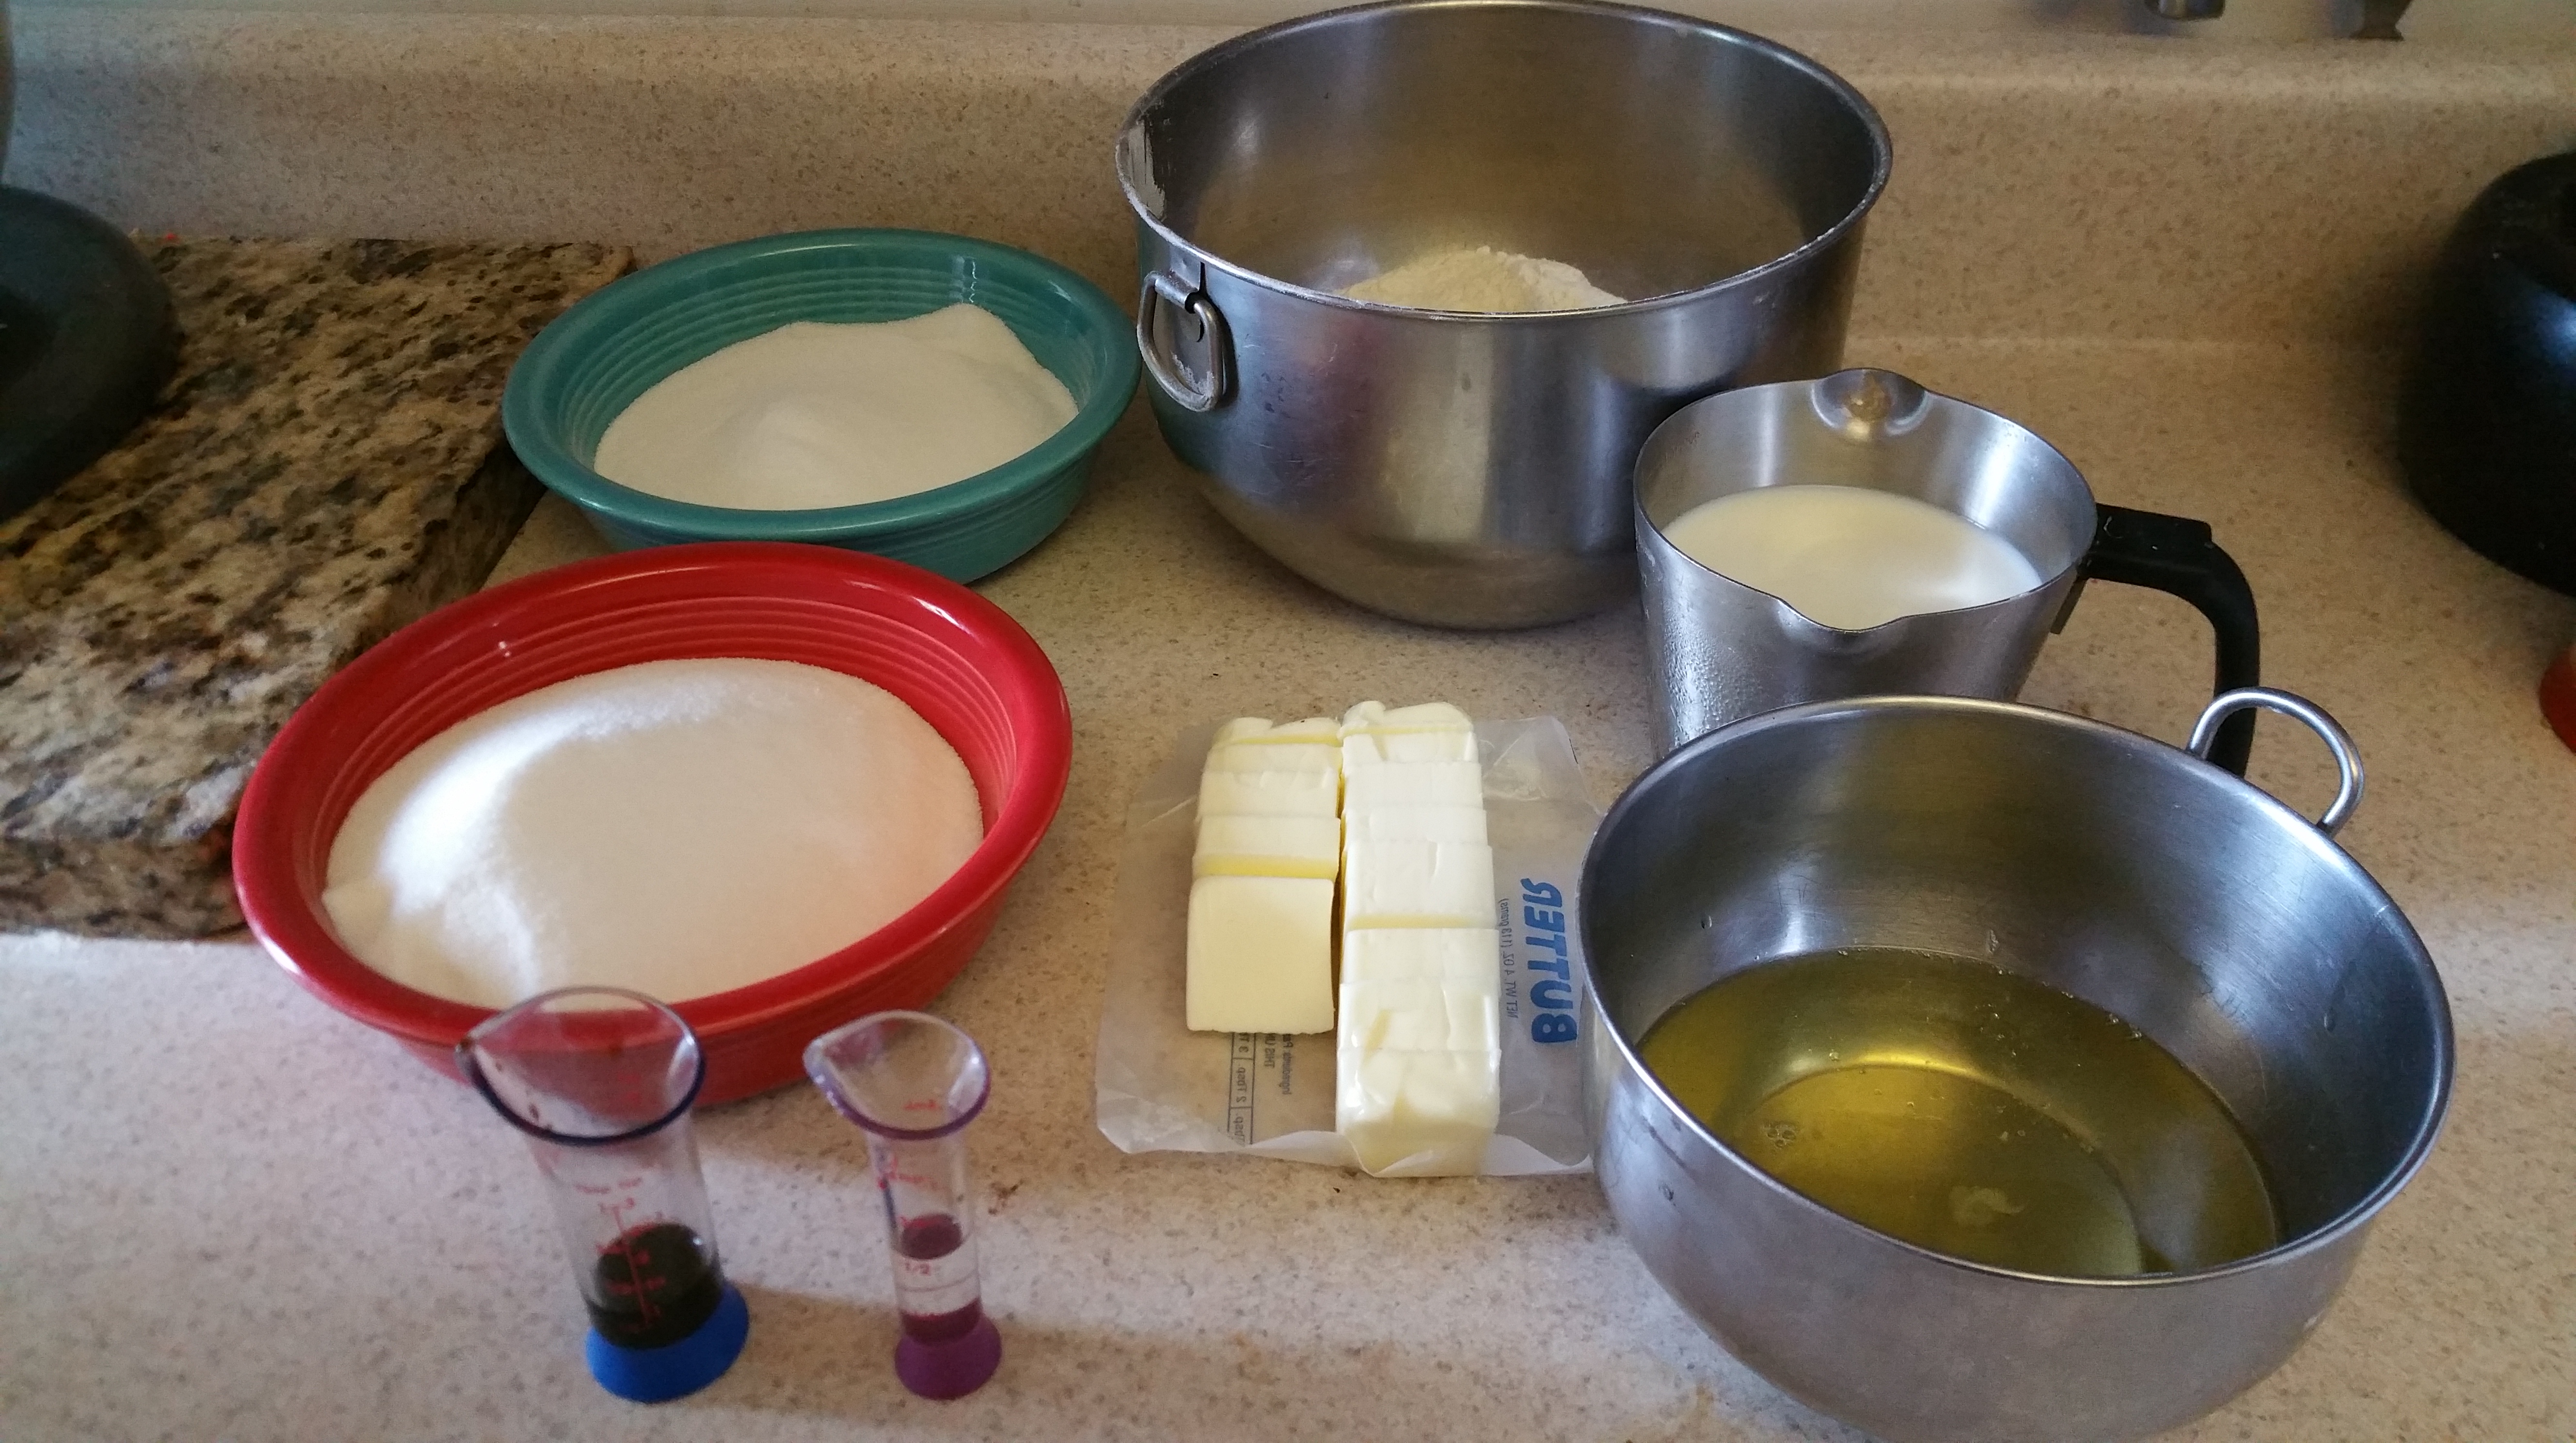
- 1 cup sugar
- 1 cup flour
- 2 tsp. cinnamon
- 1 ½ sticks butter (6 oz.), slightly softened
- 1 egg yolk (reserve egg white)
- ½ tsp. vanilla extract
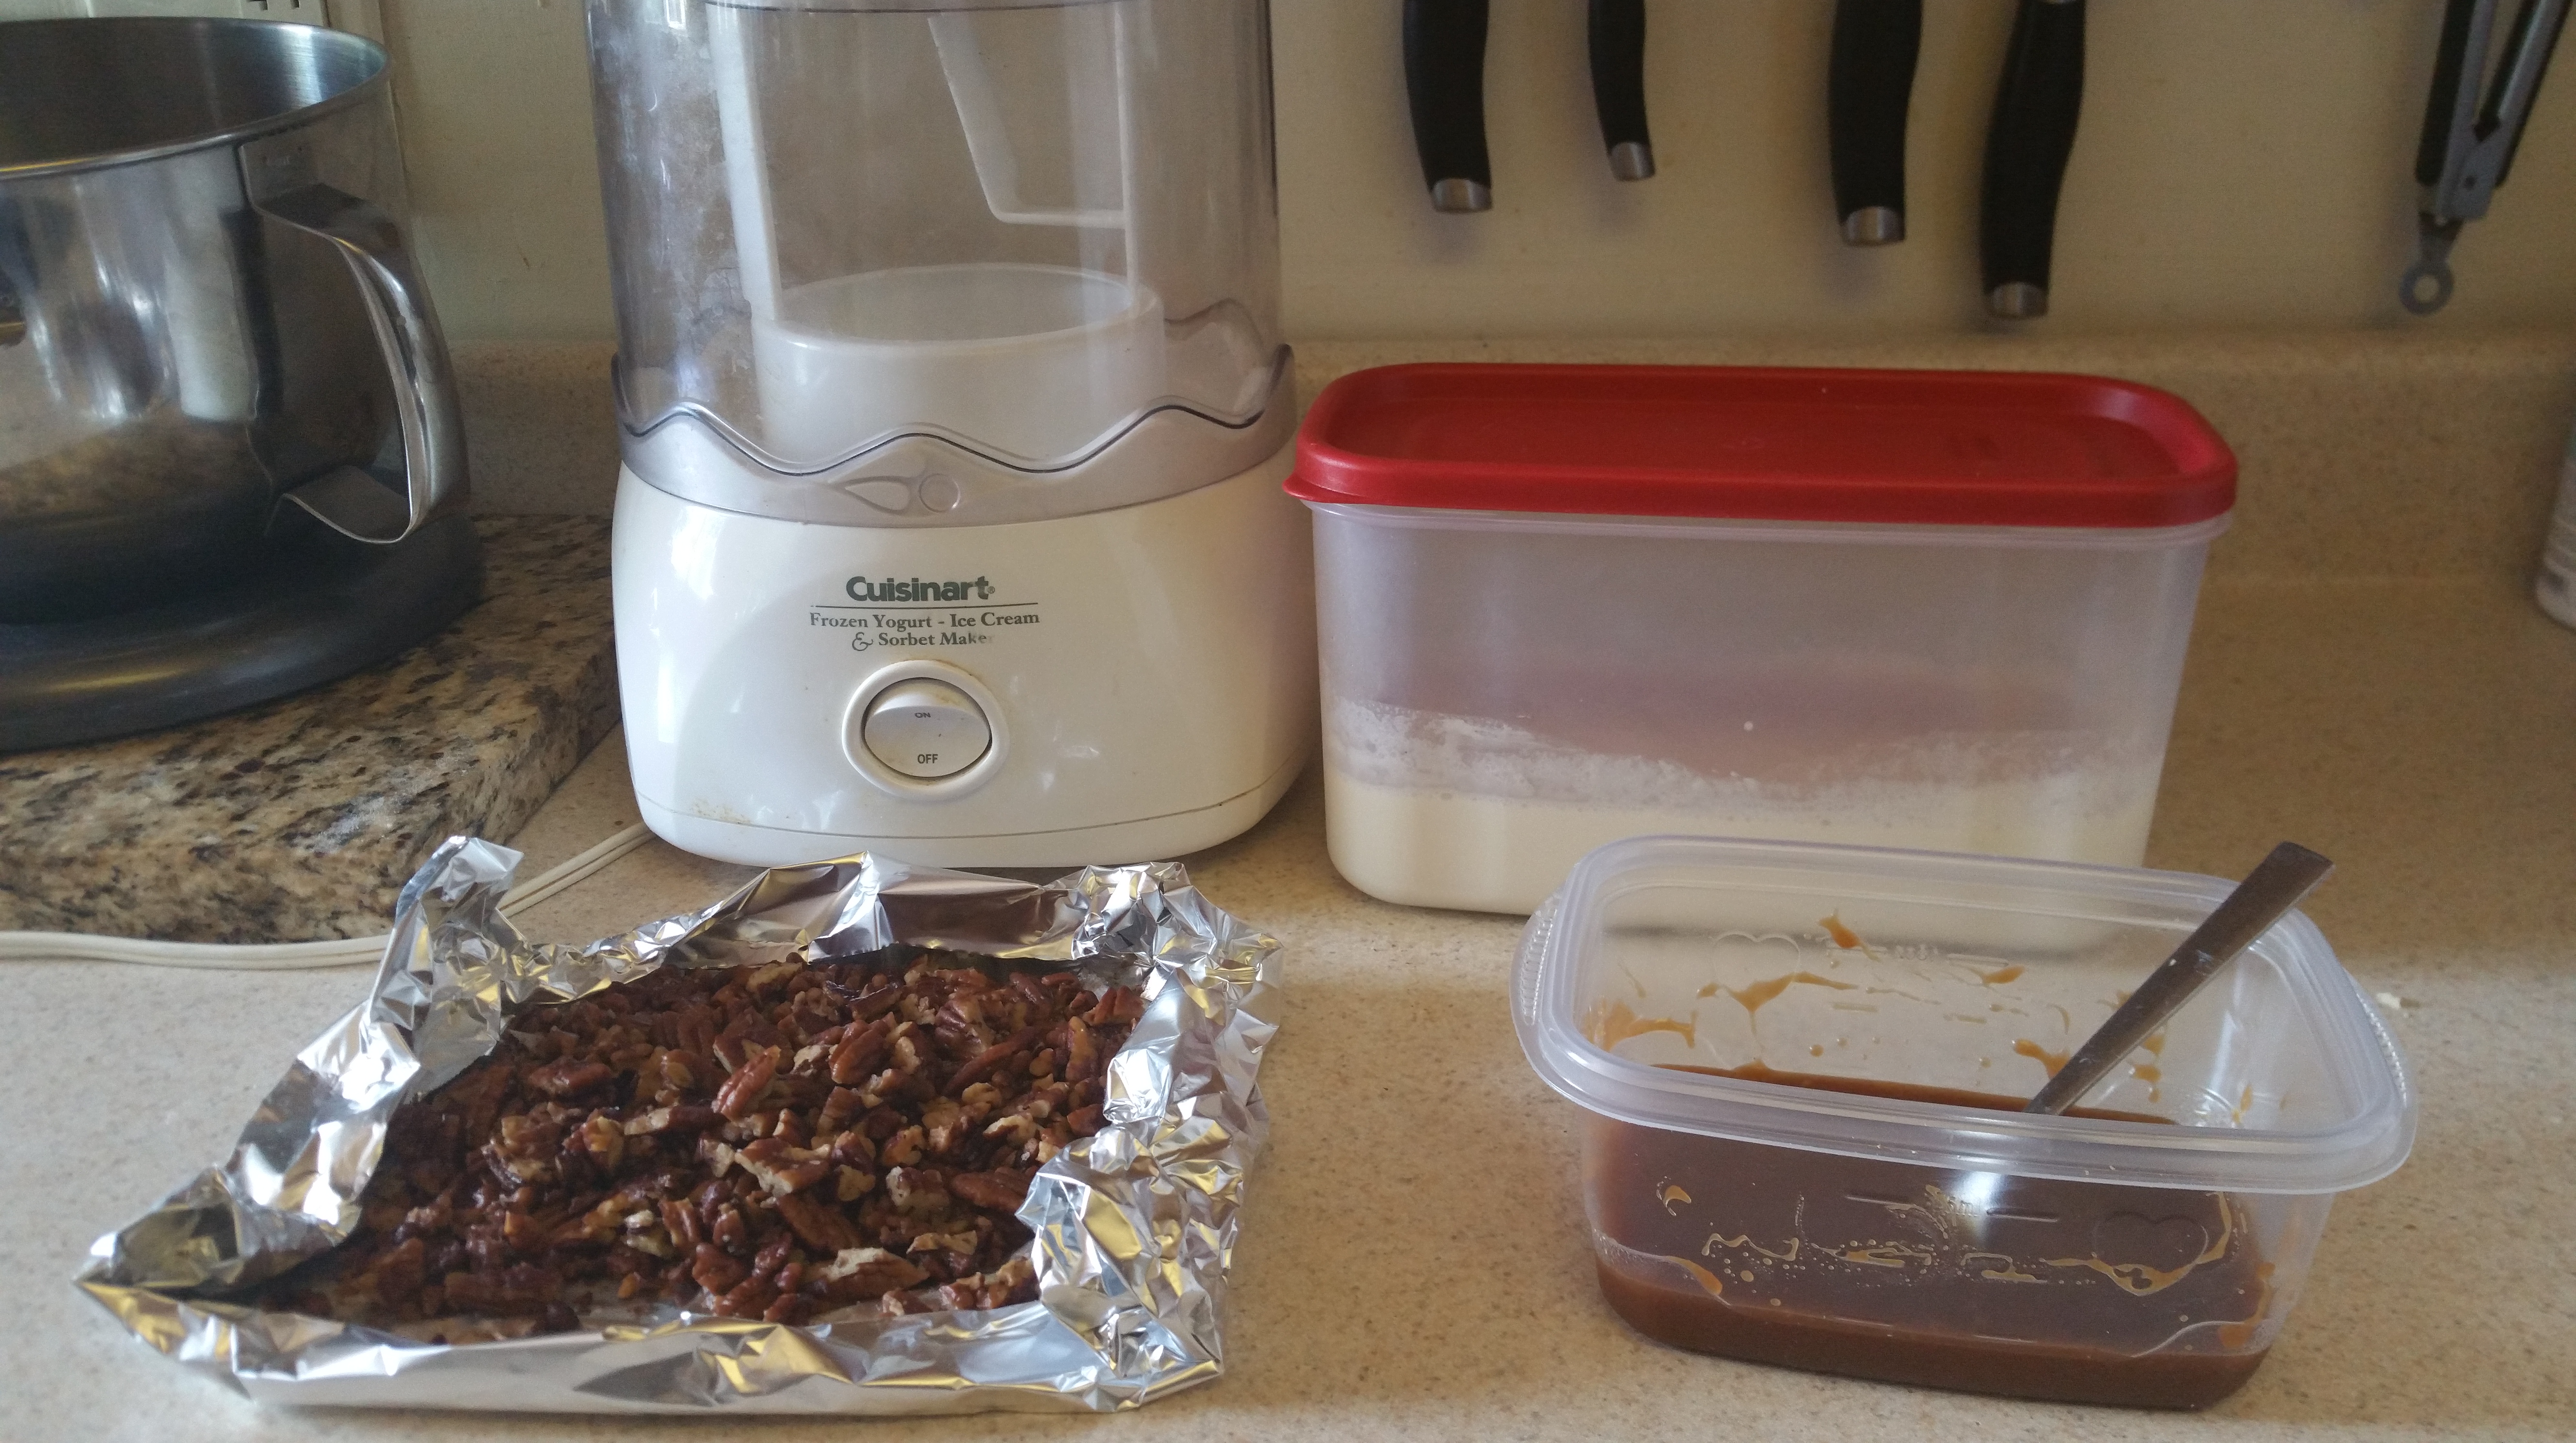
- 1 cup chopped pecans

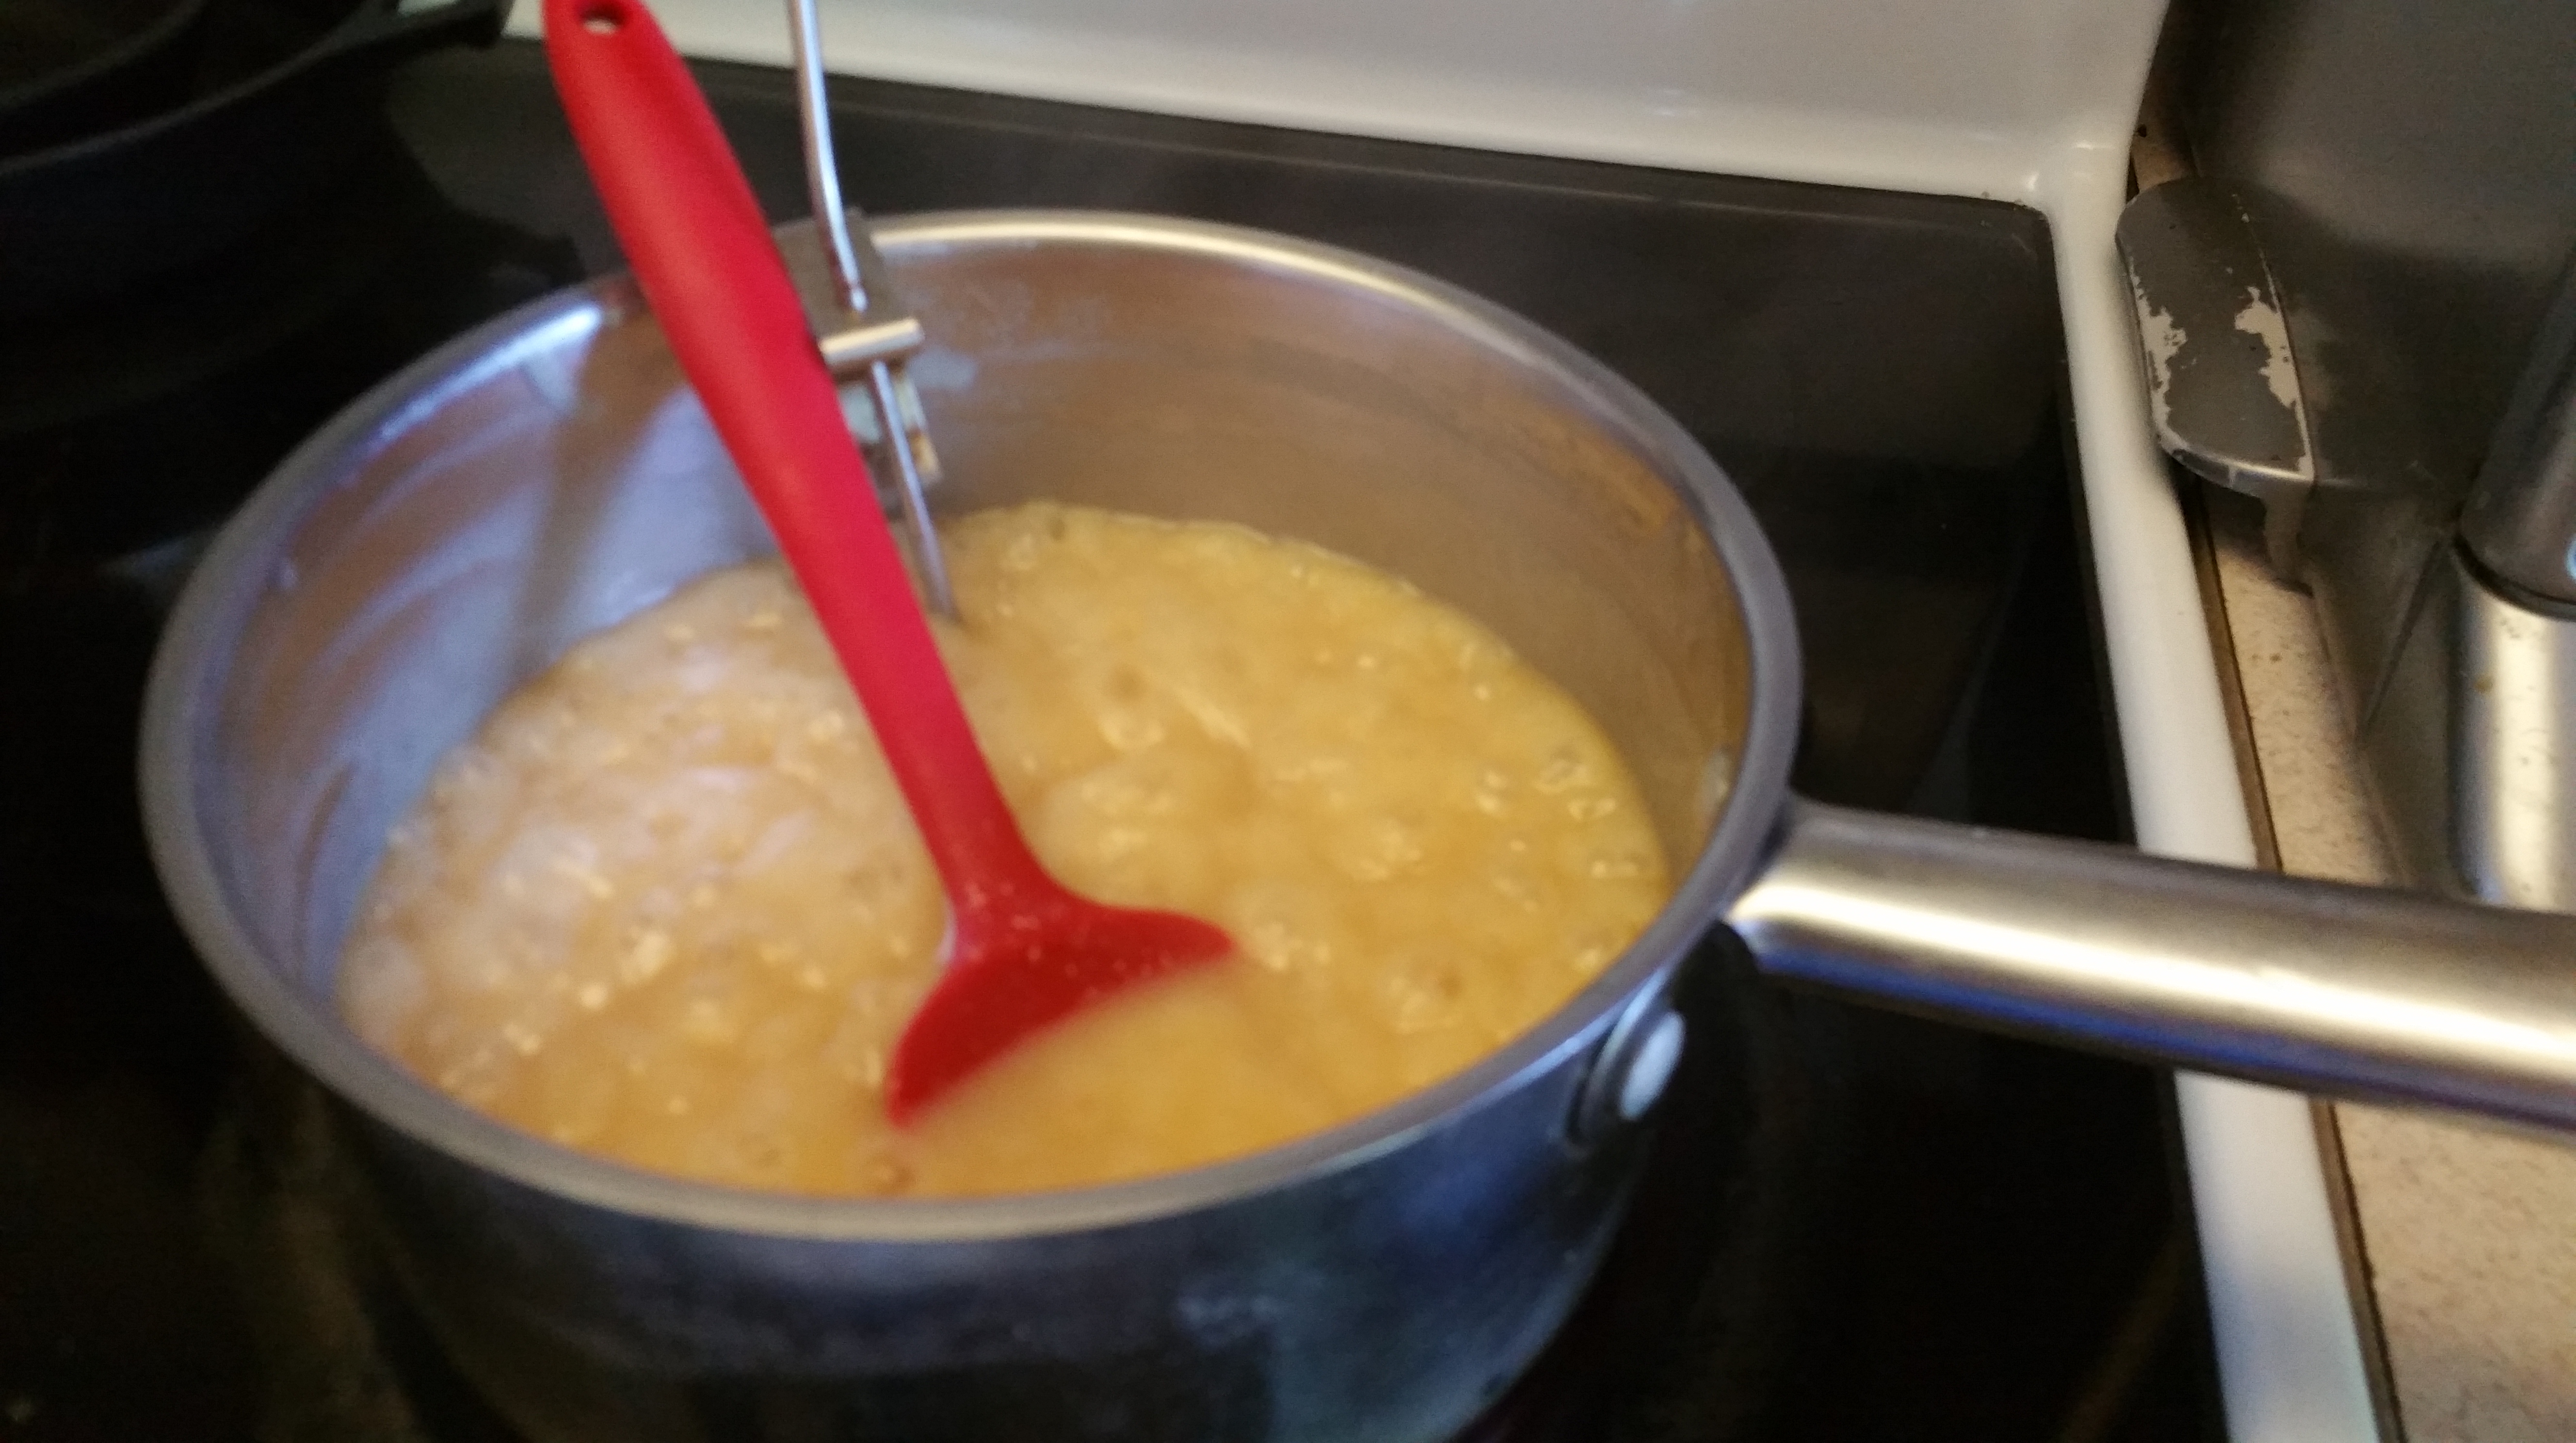
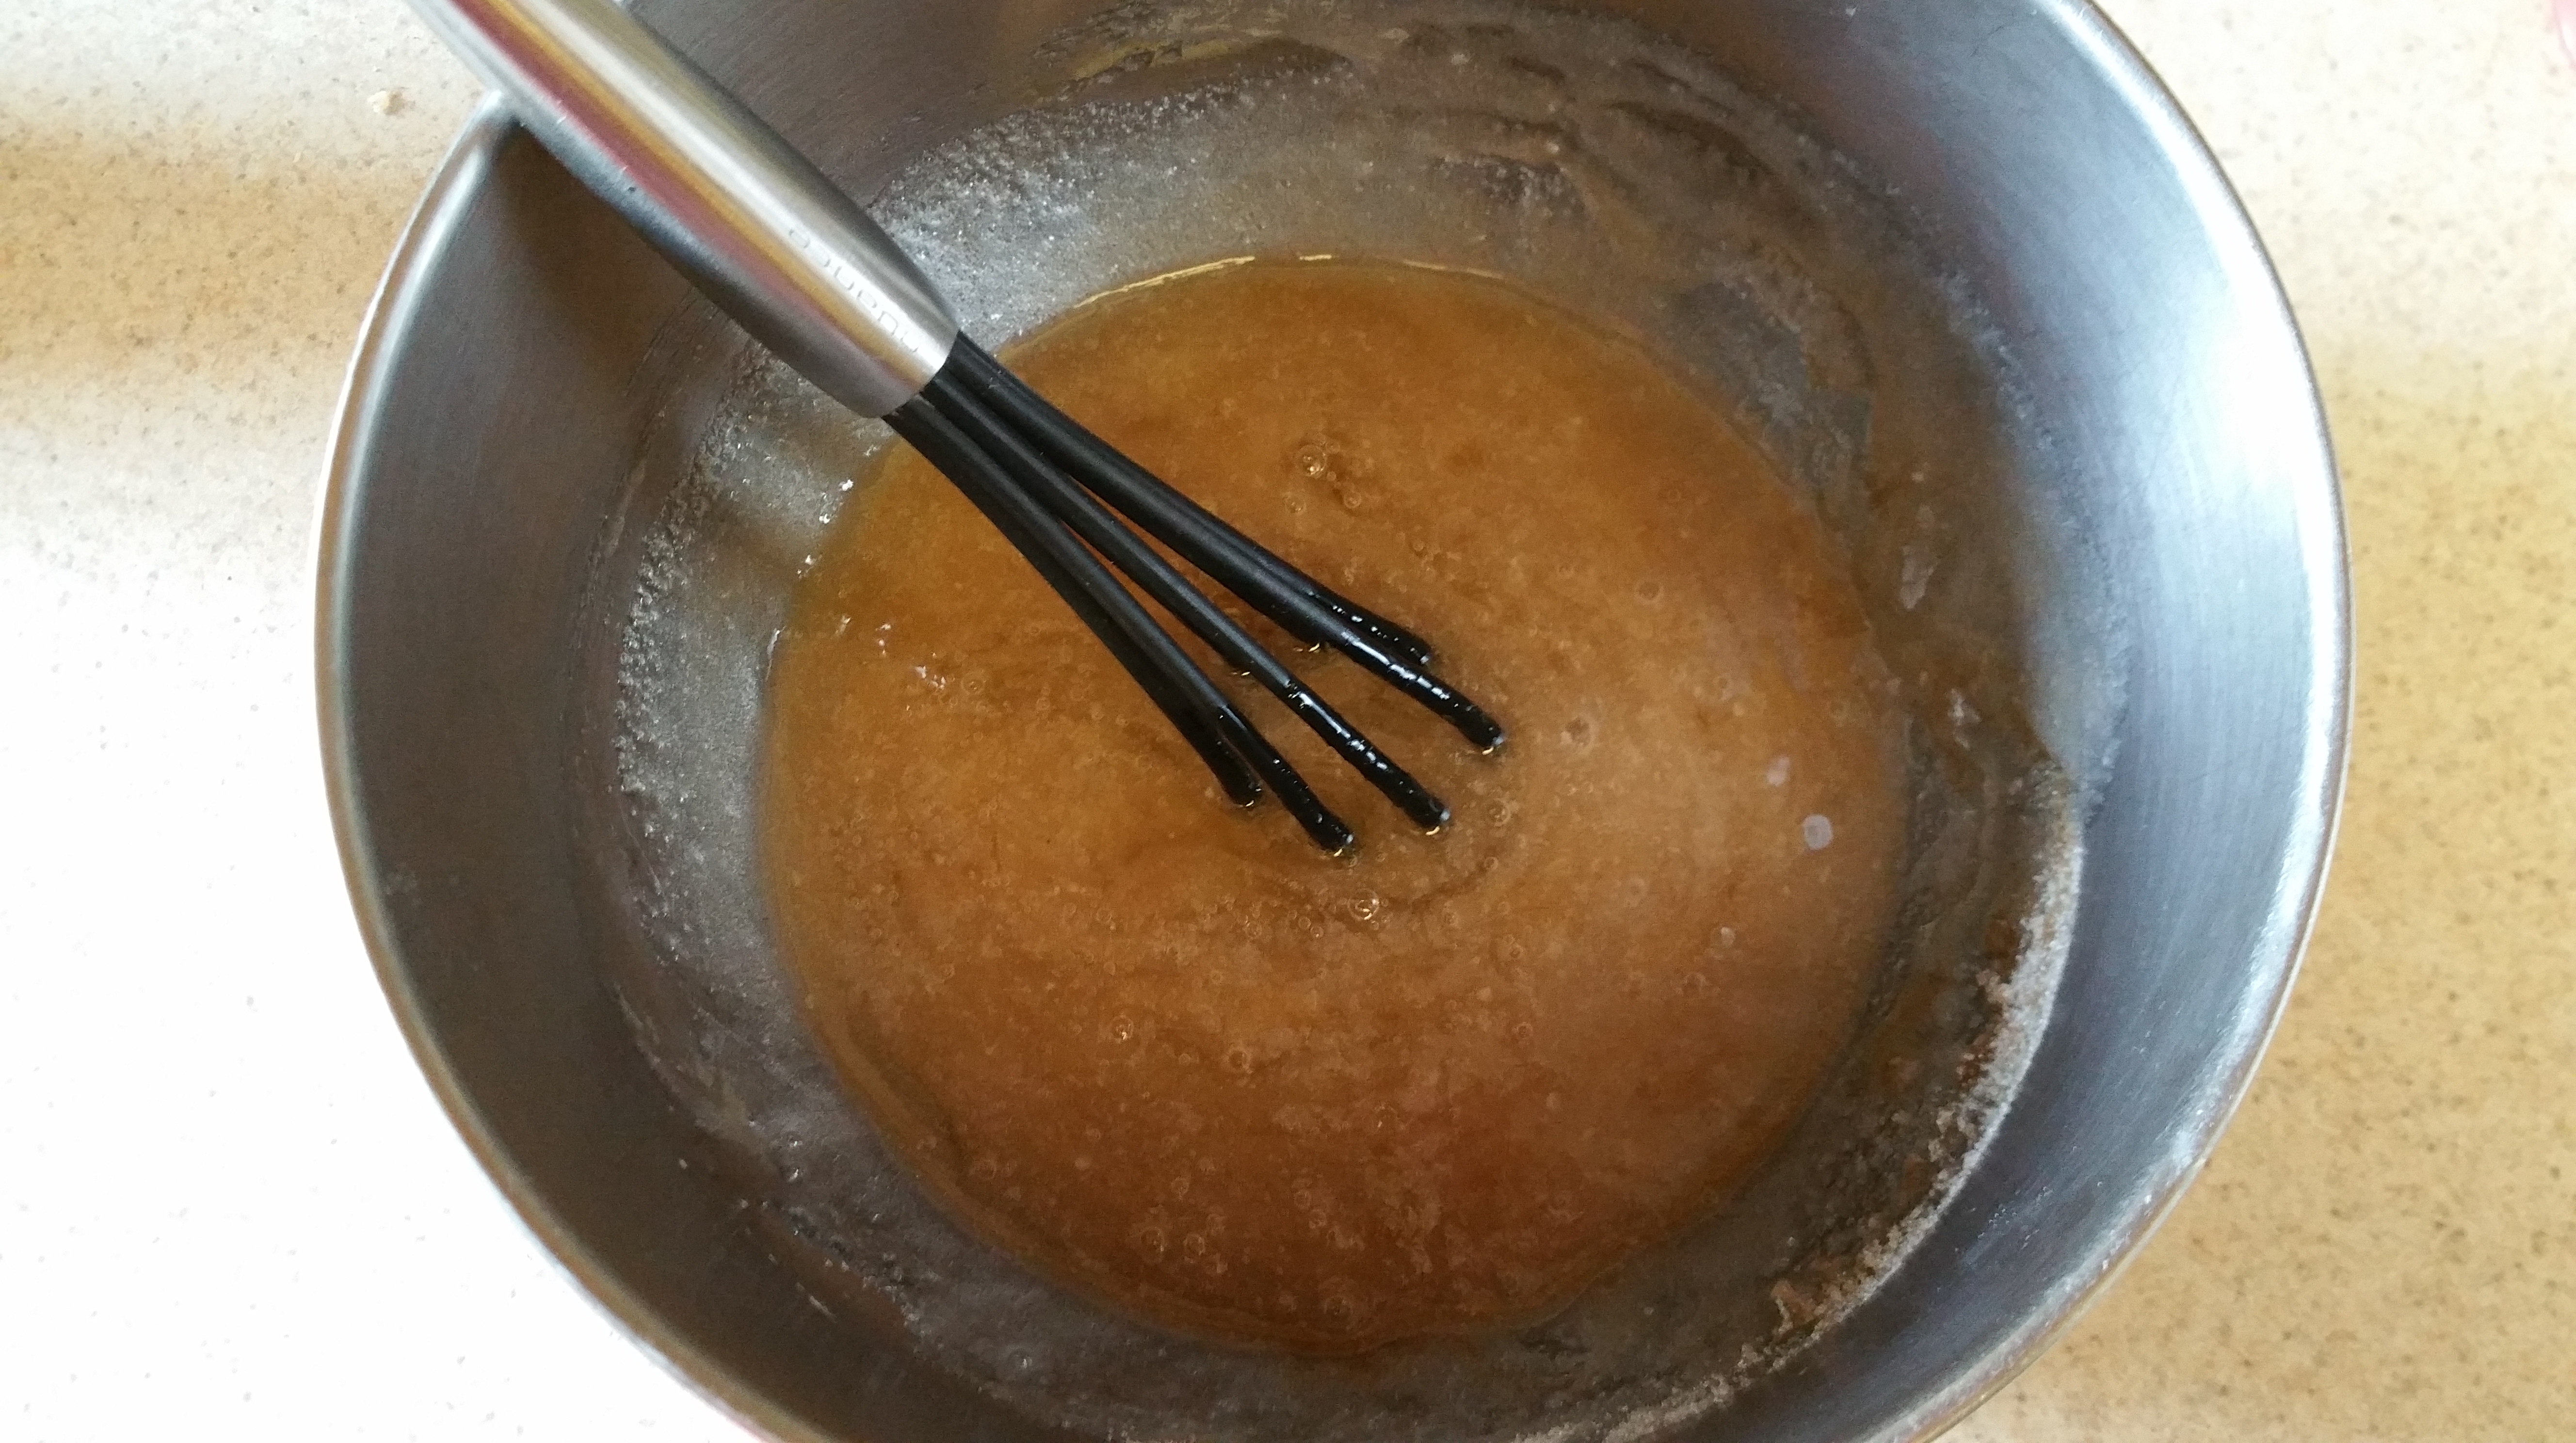
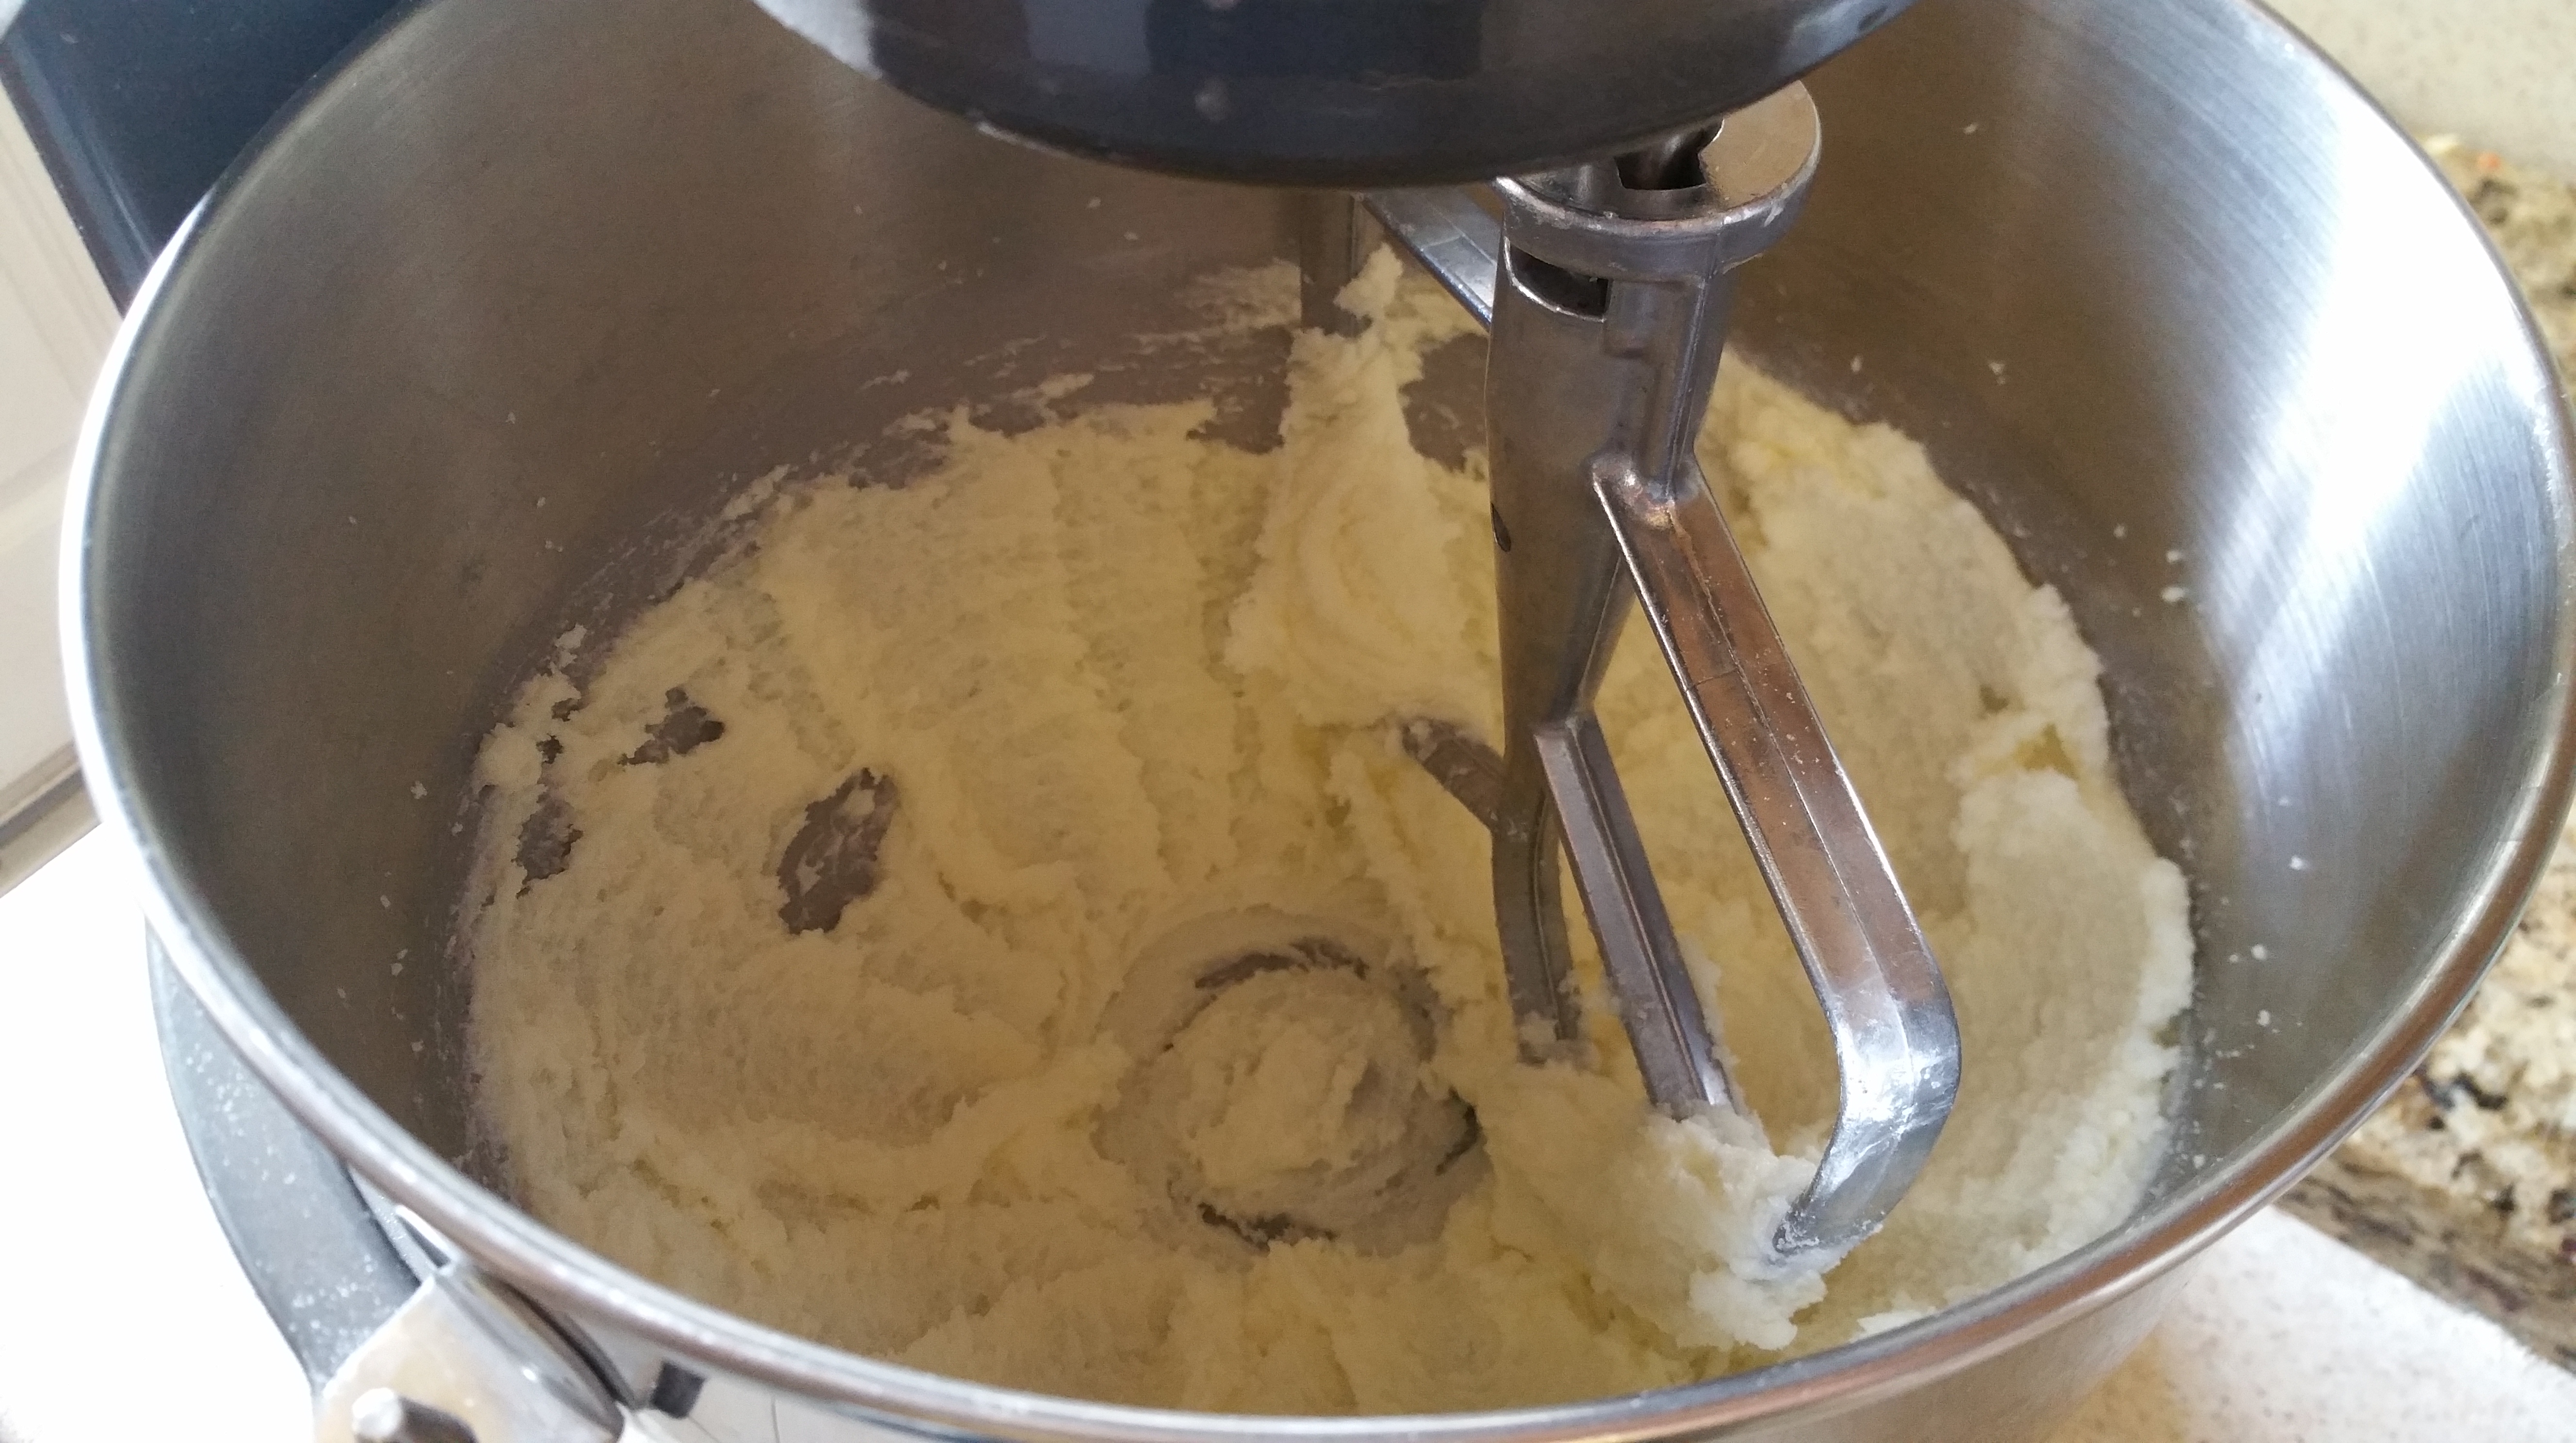
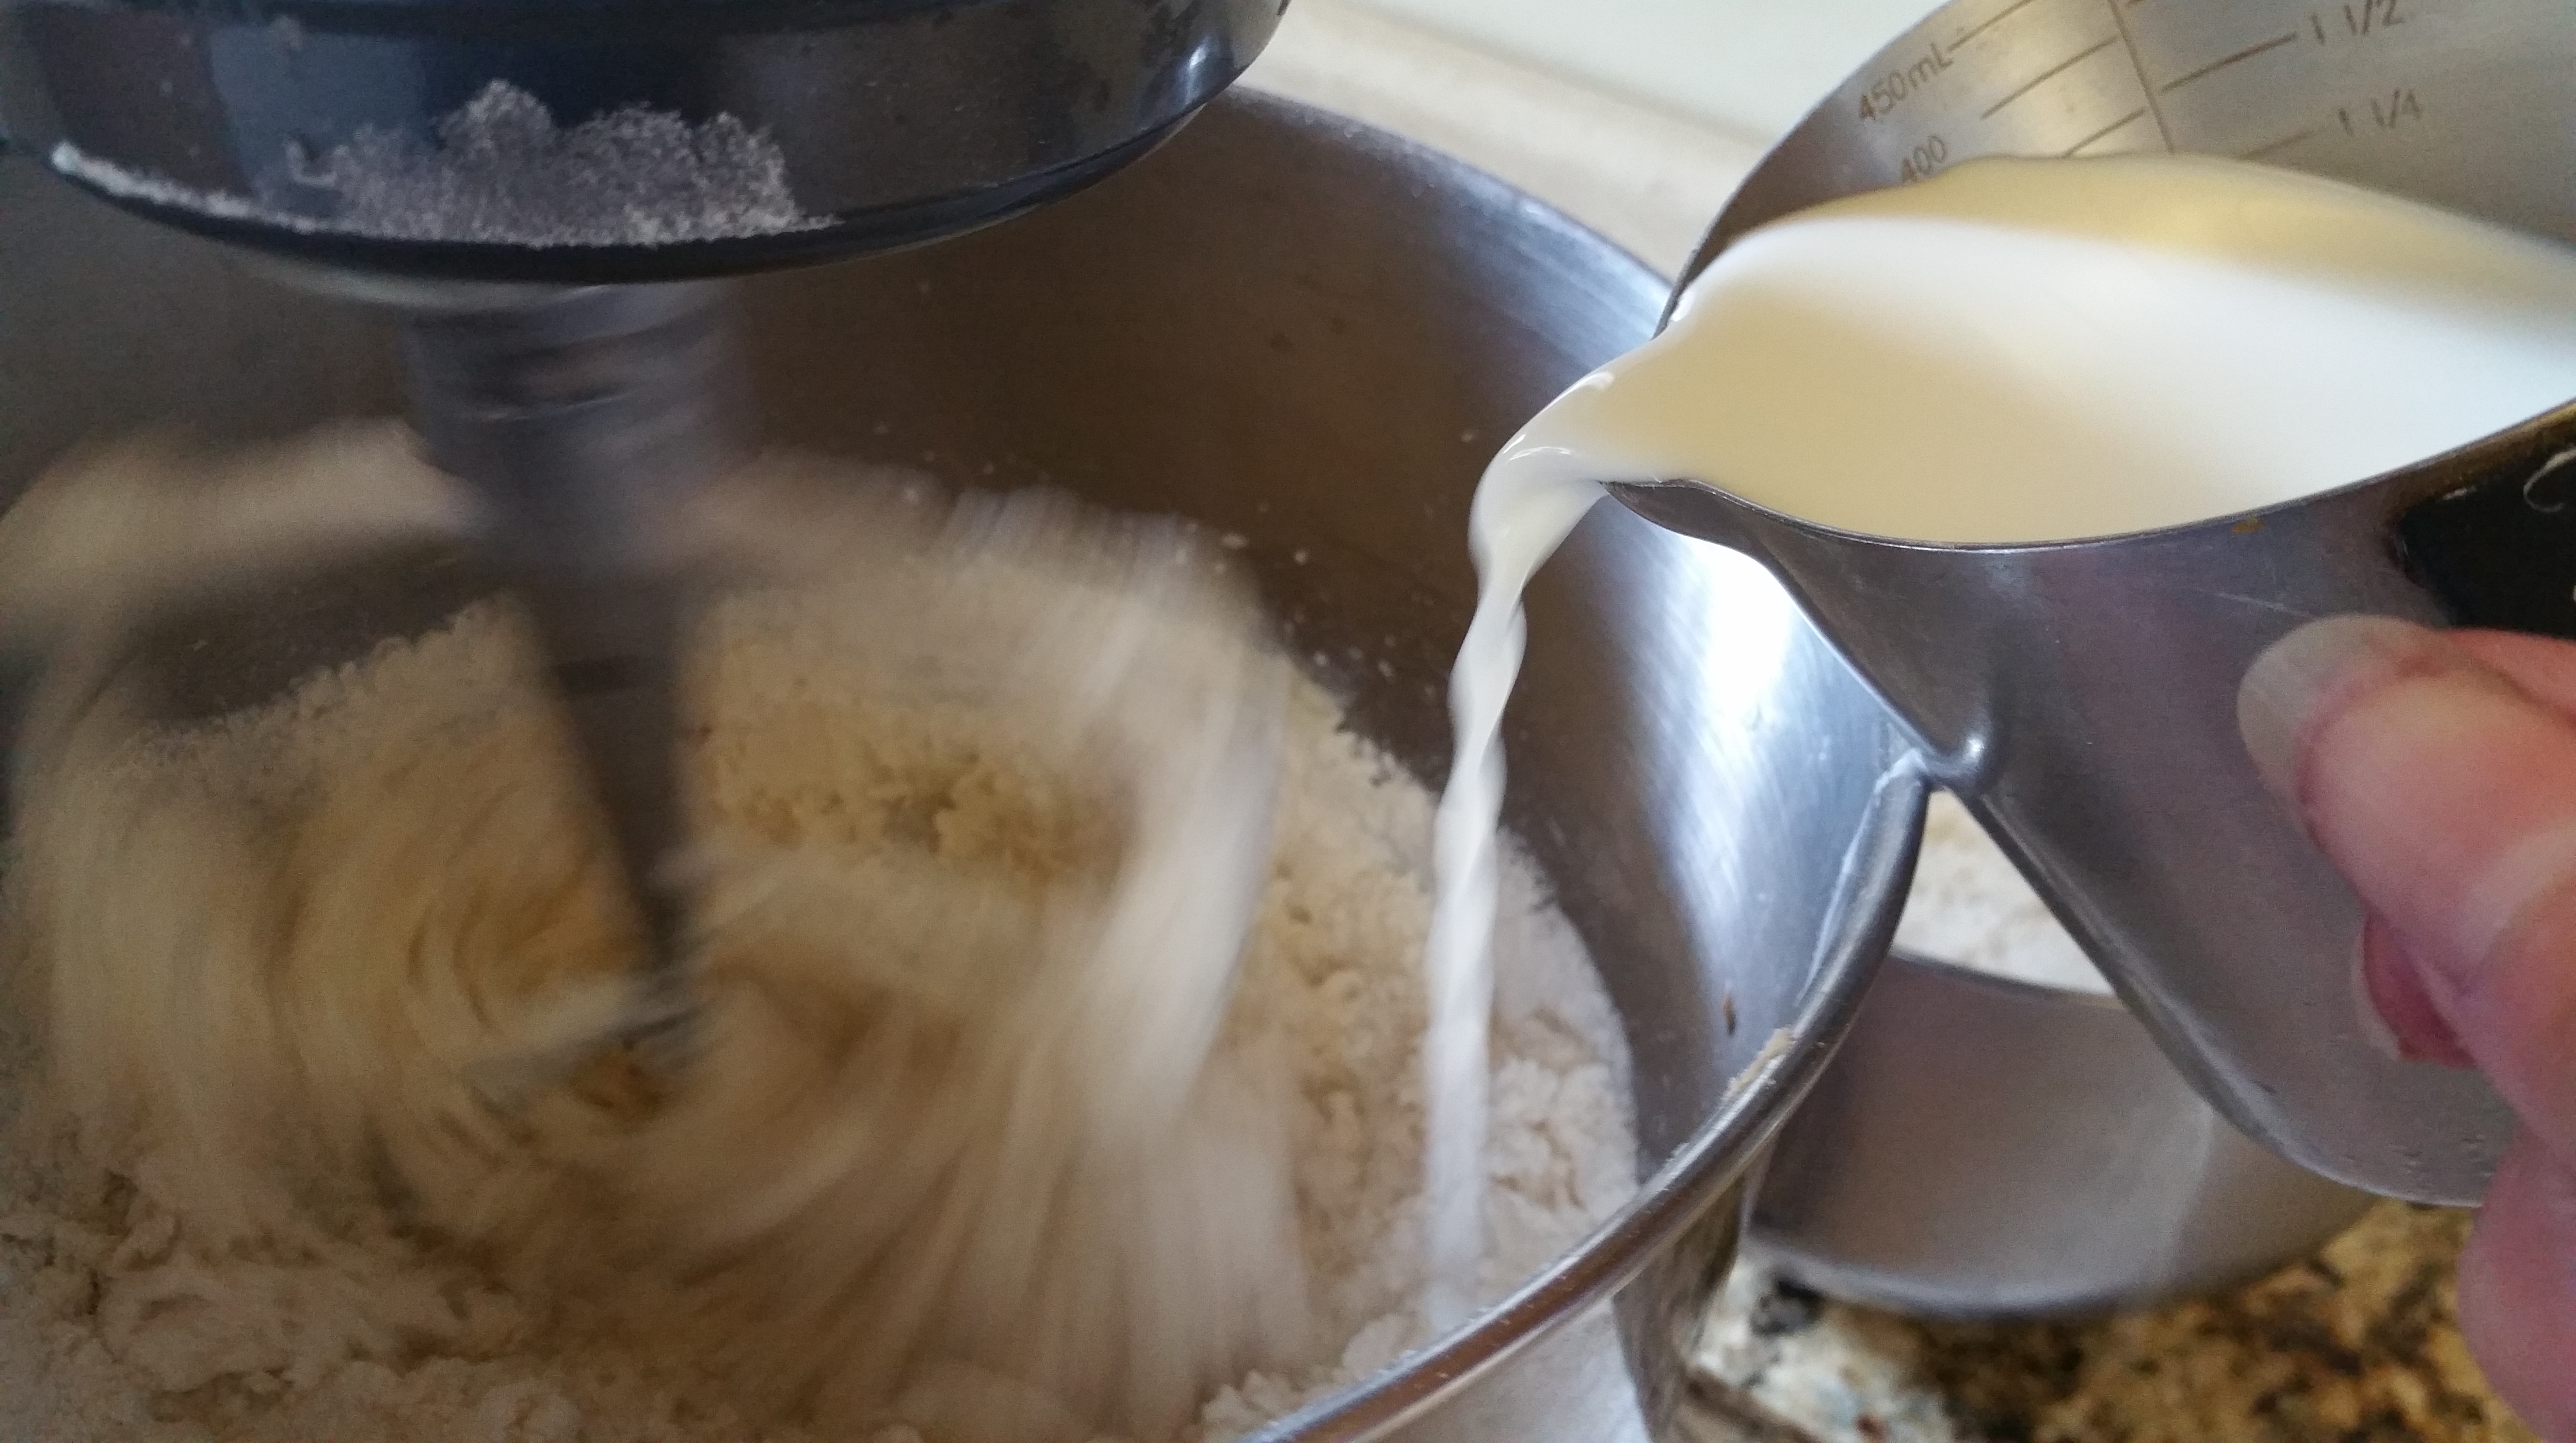
Sift together the flour, sugar, and cinnamon in a large mixing bowl.
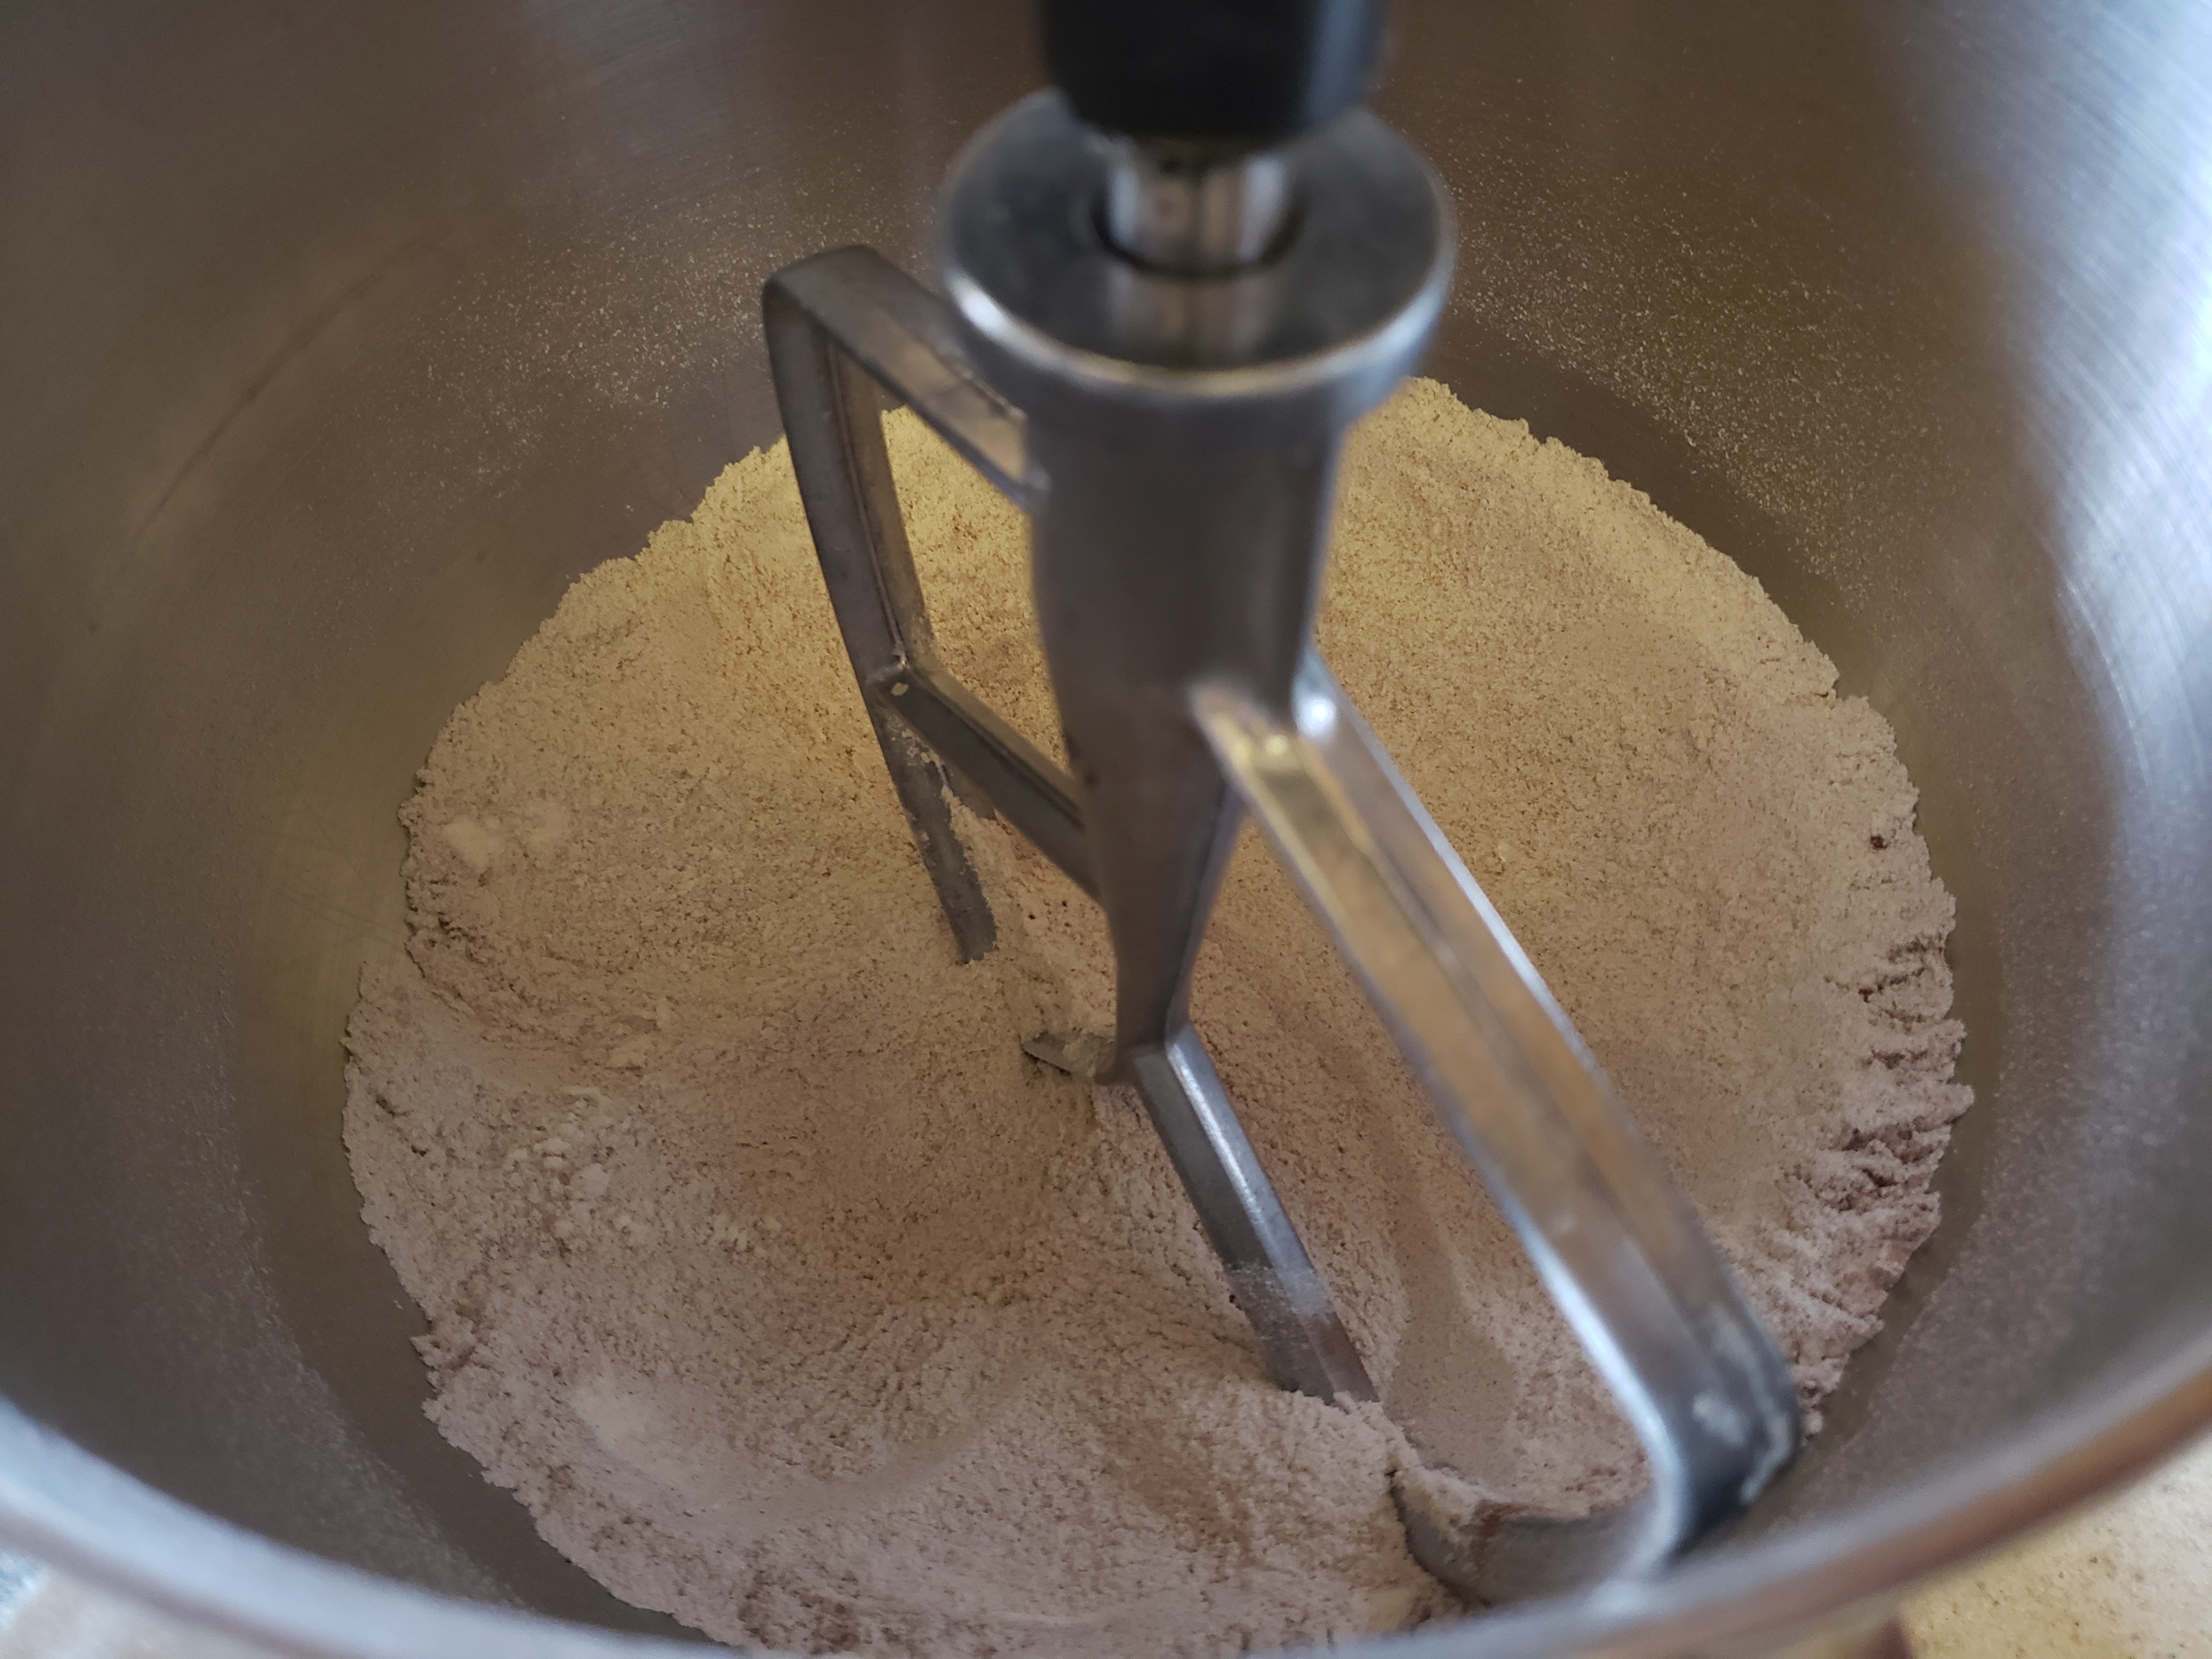
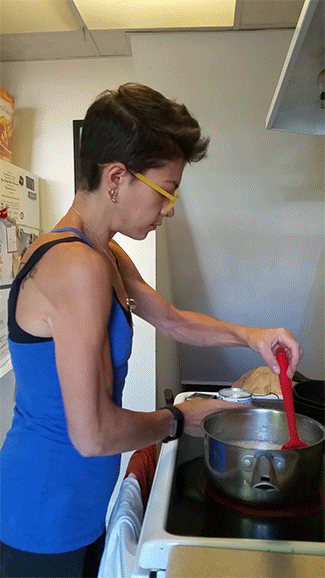
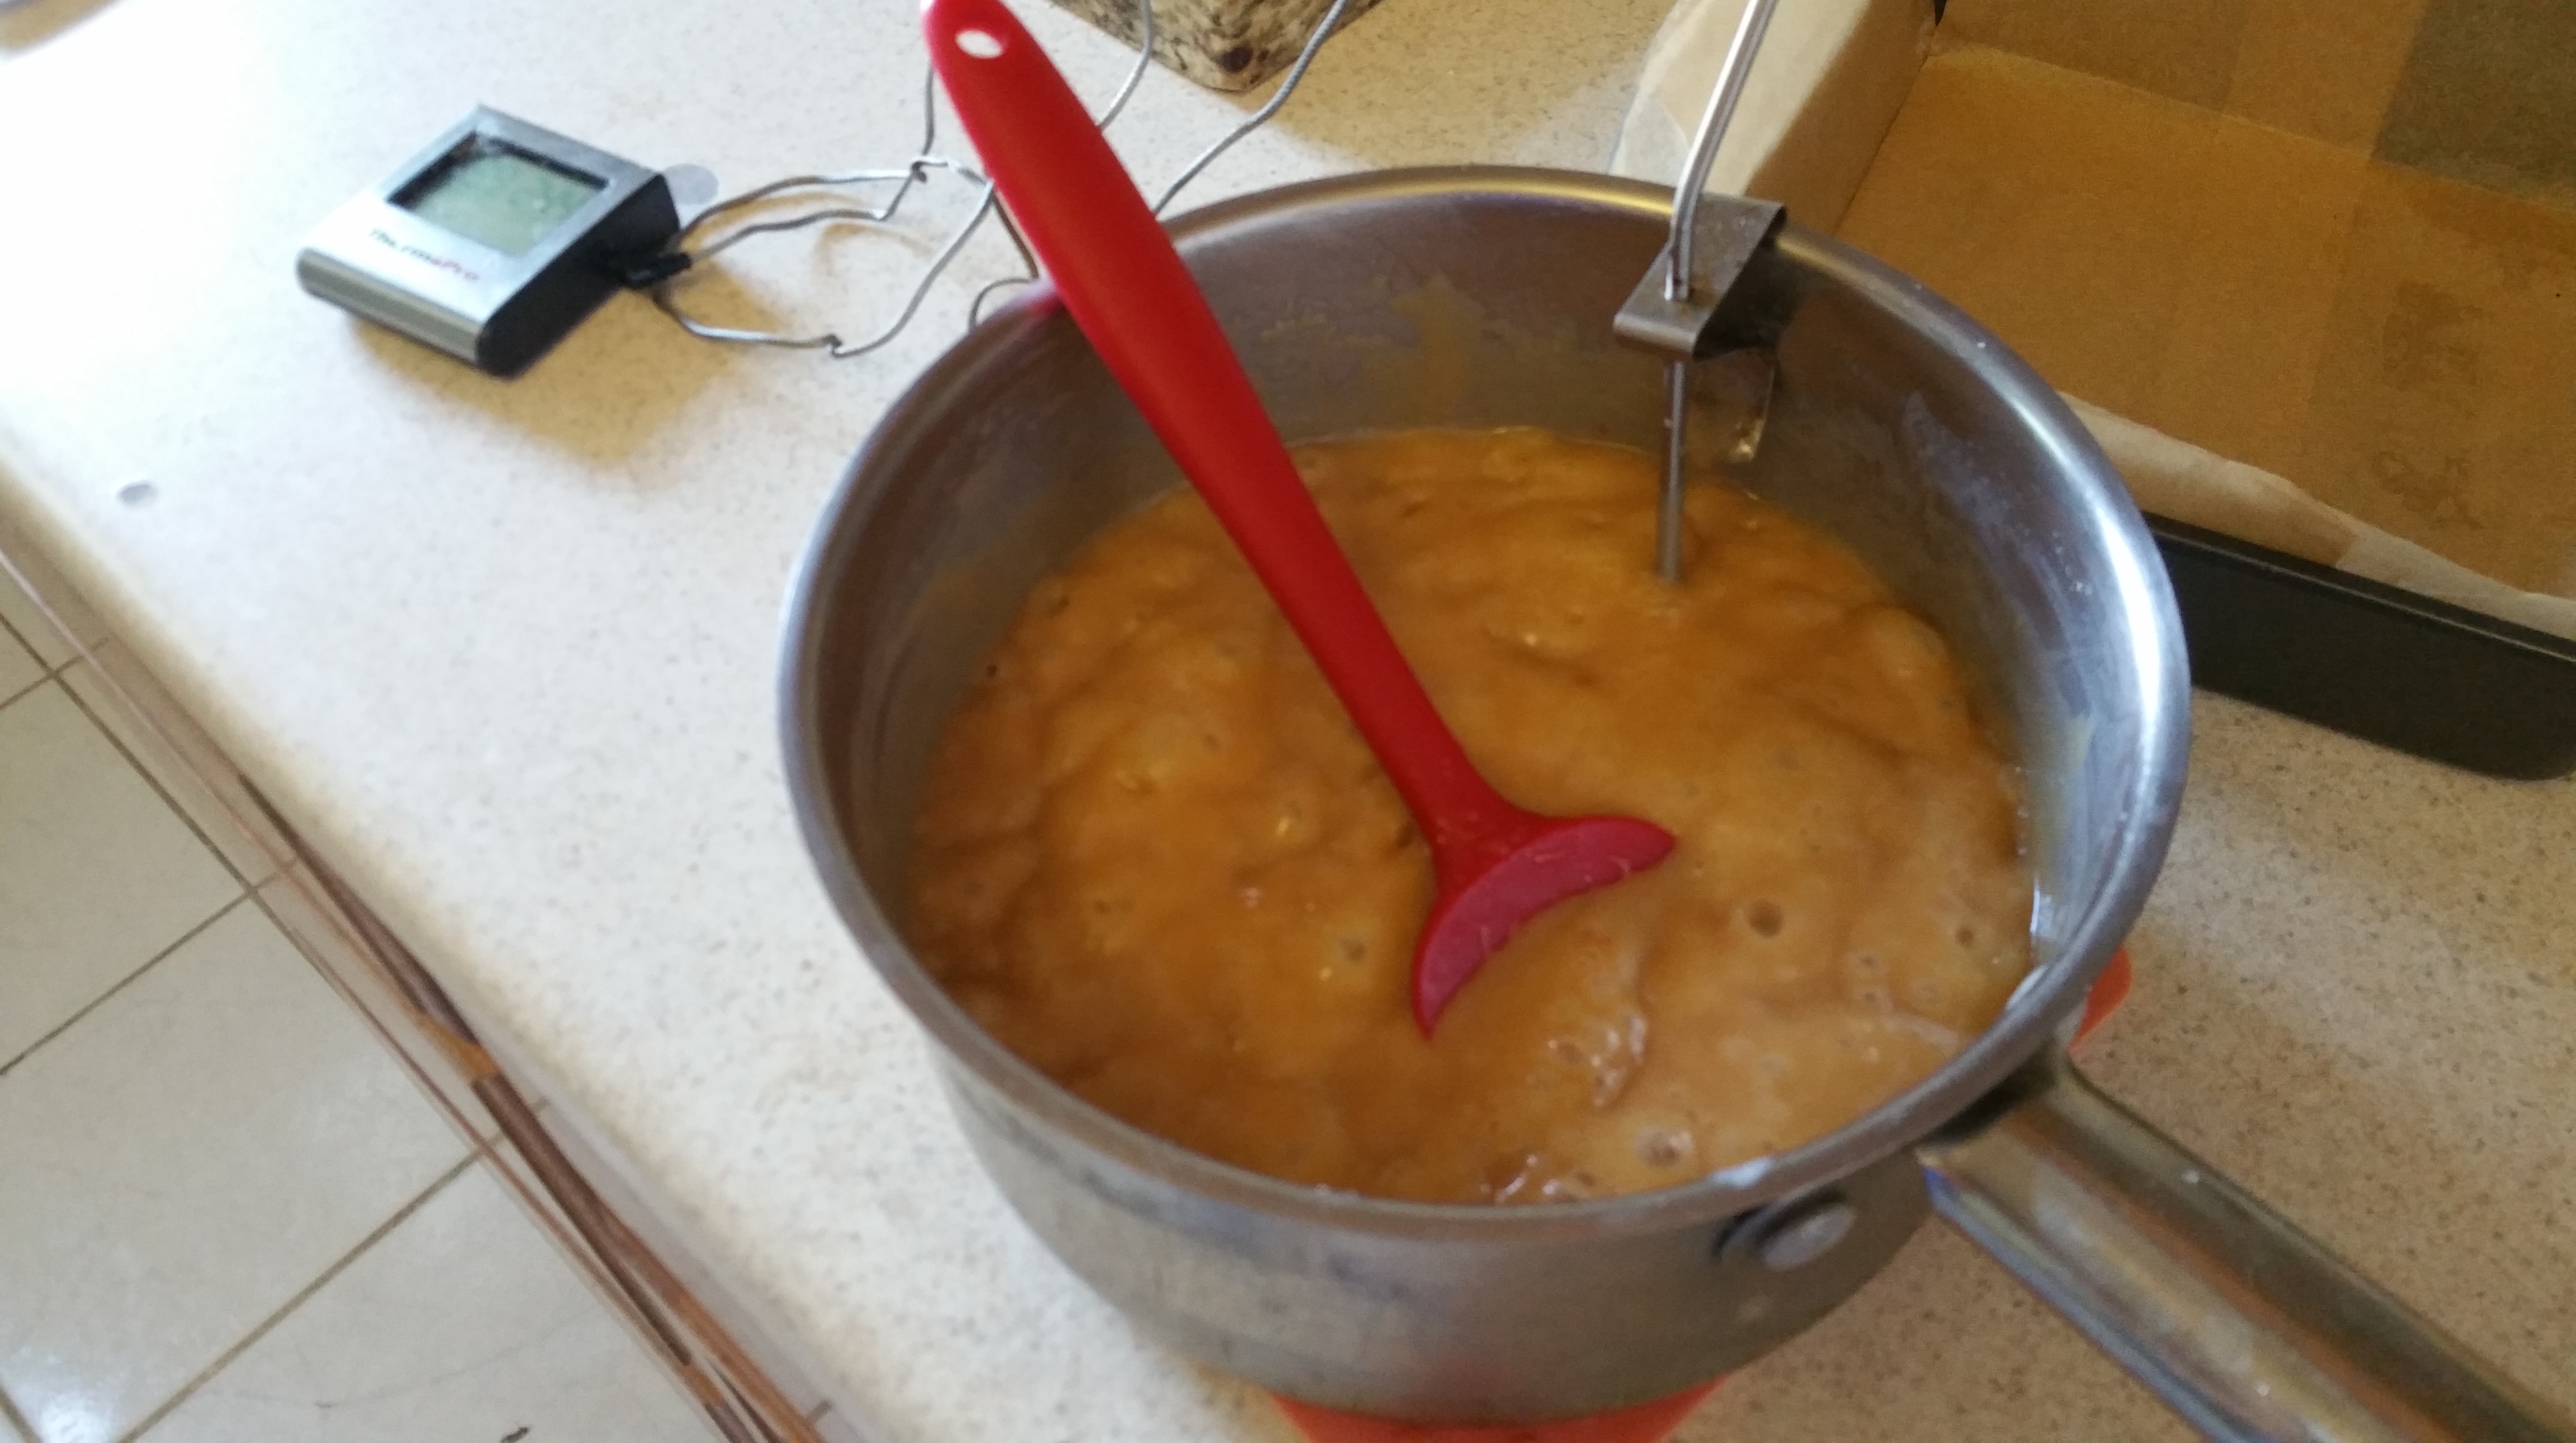
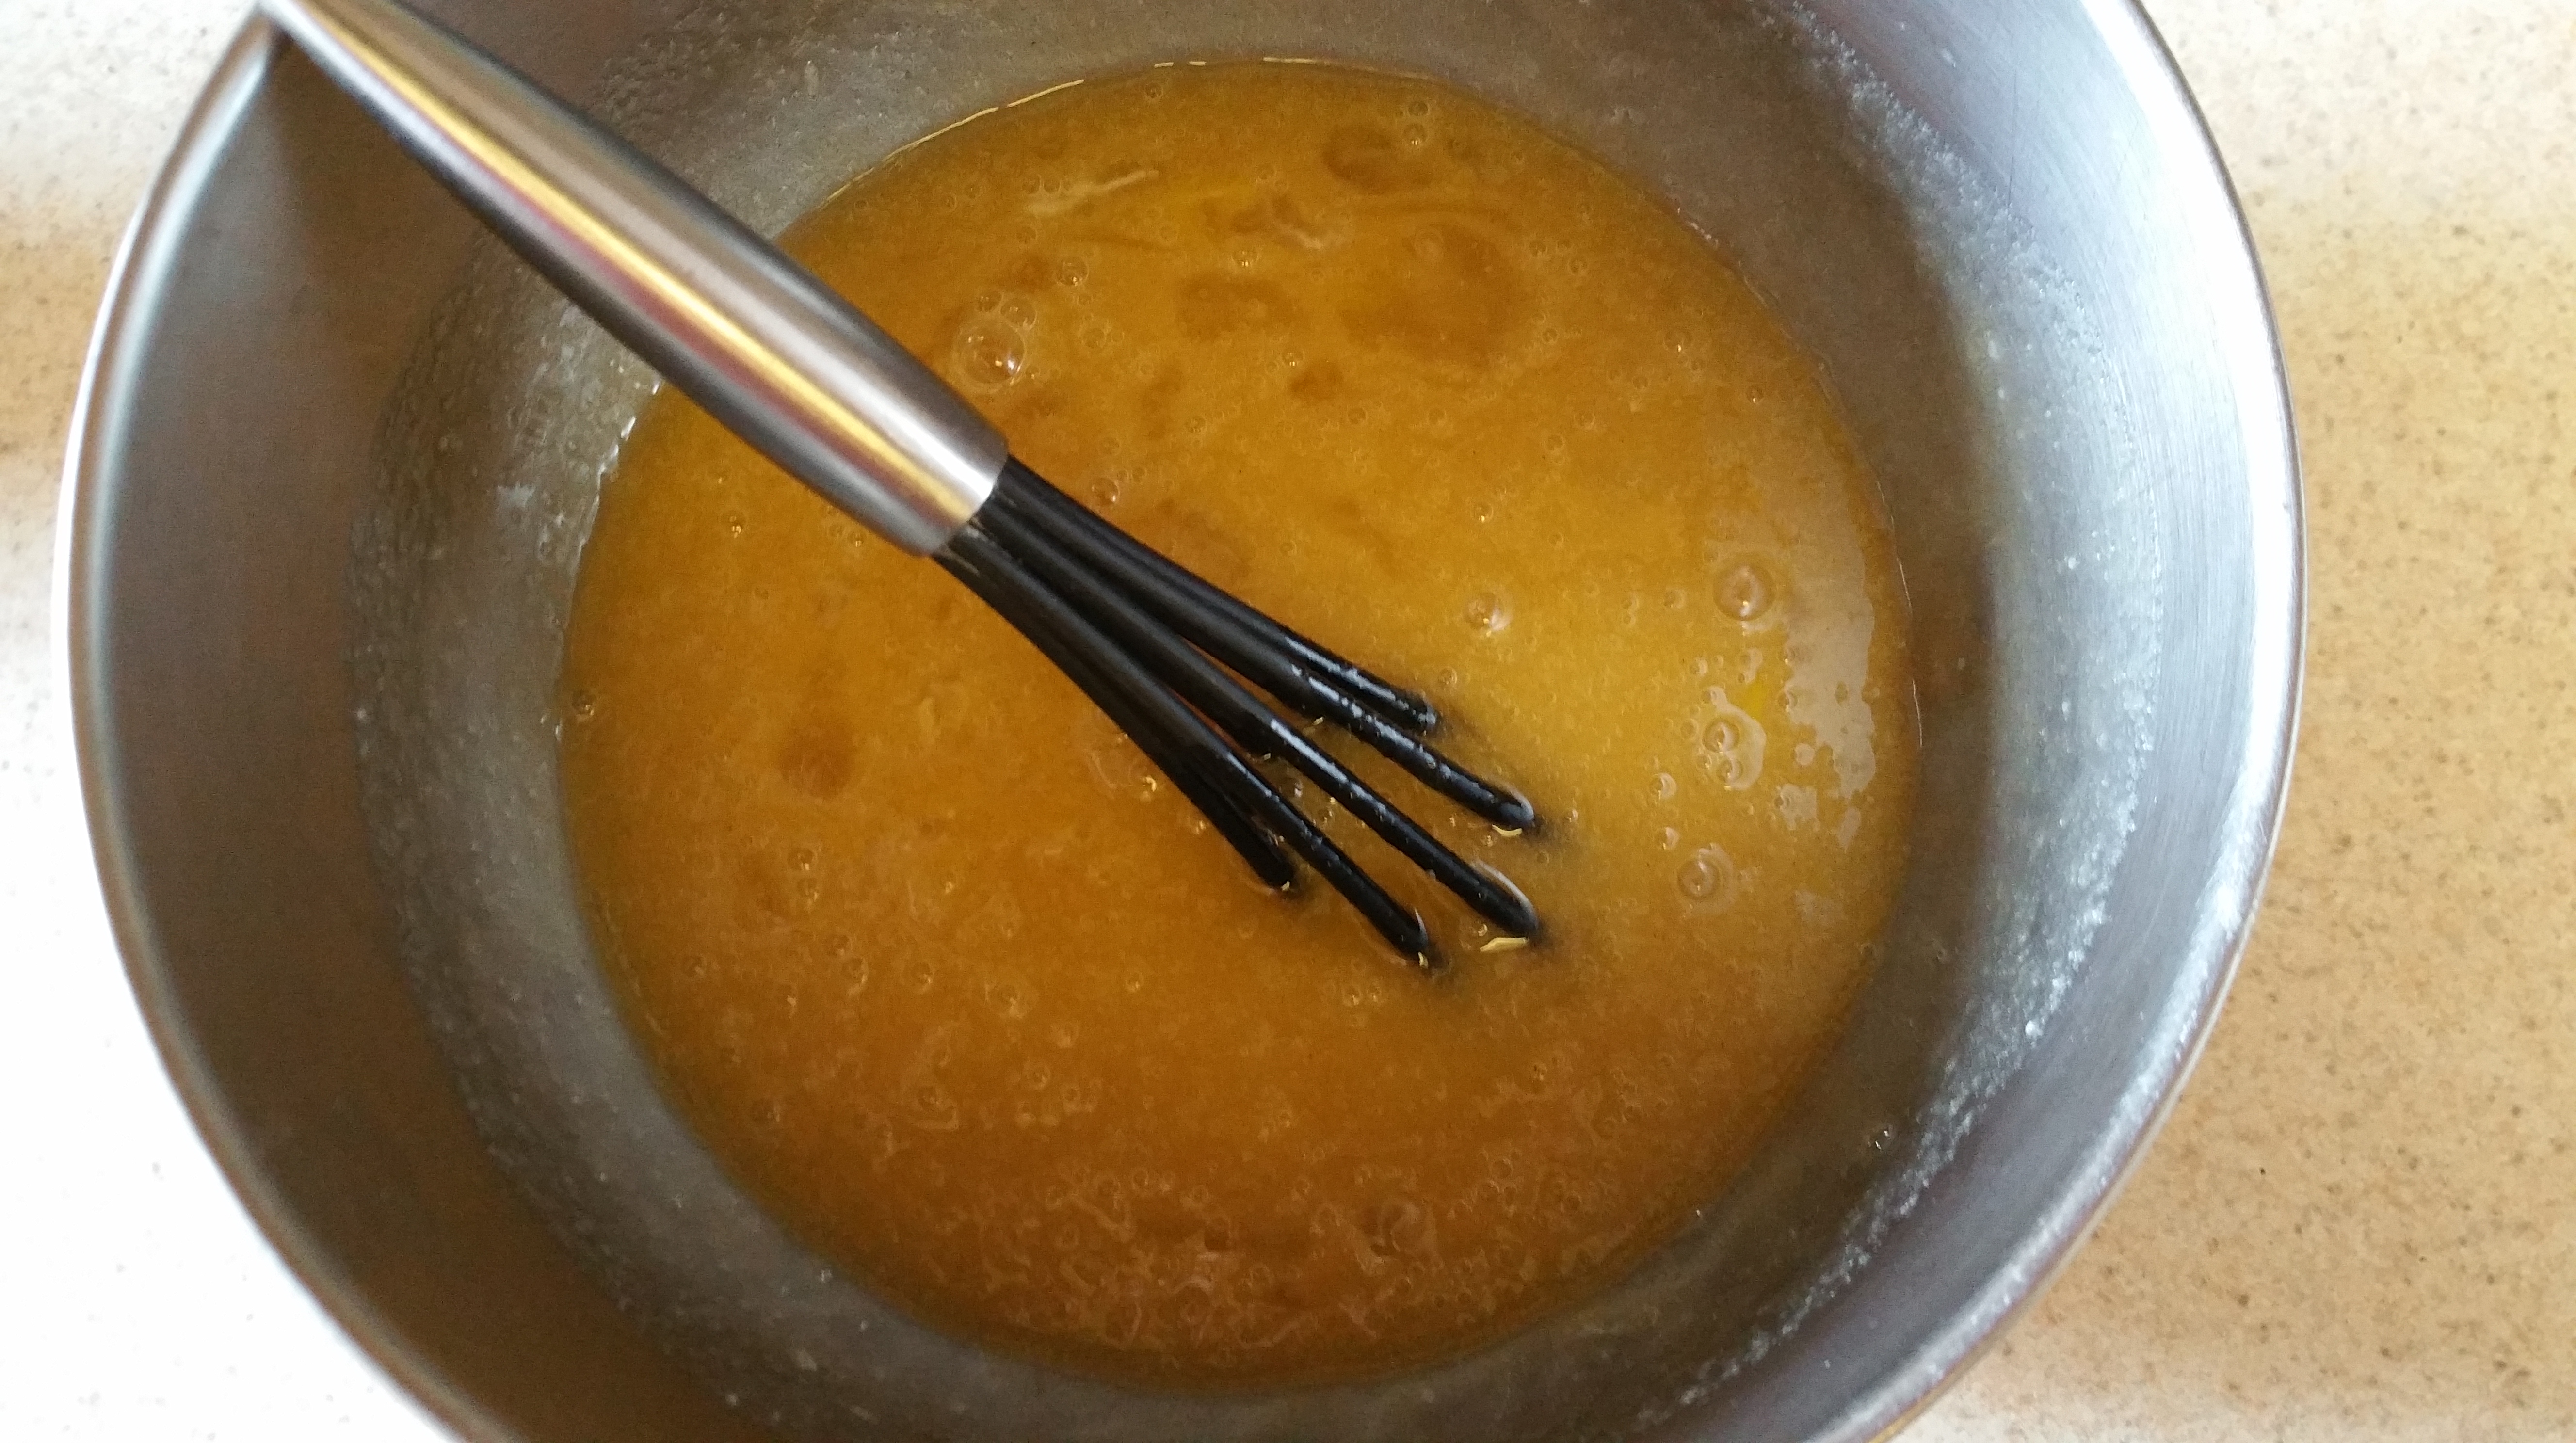
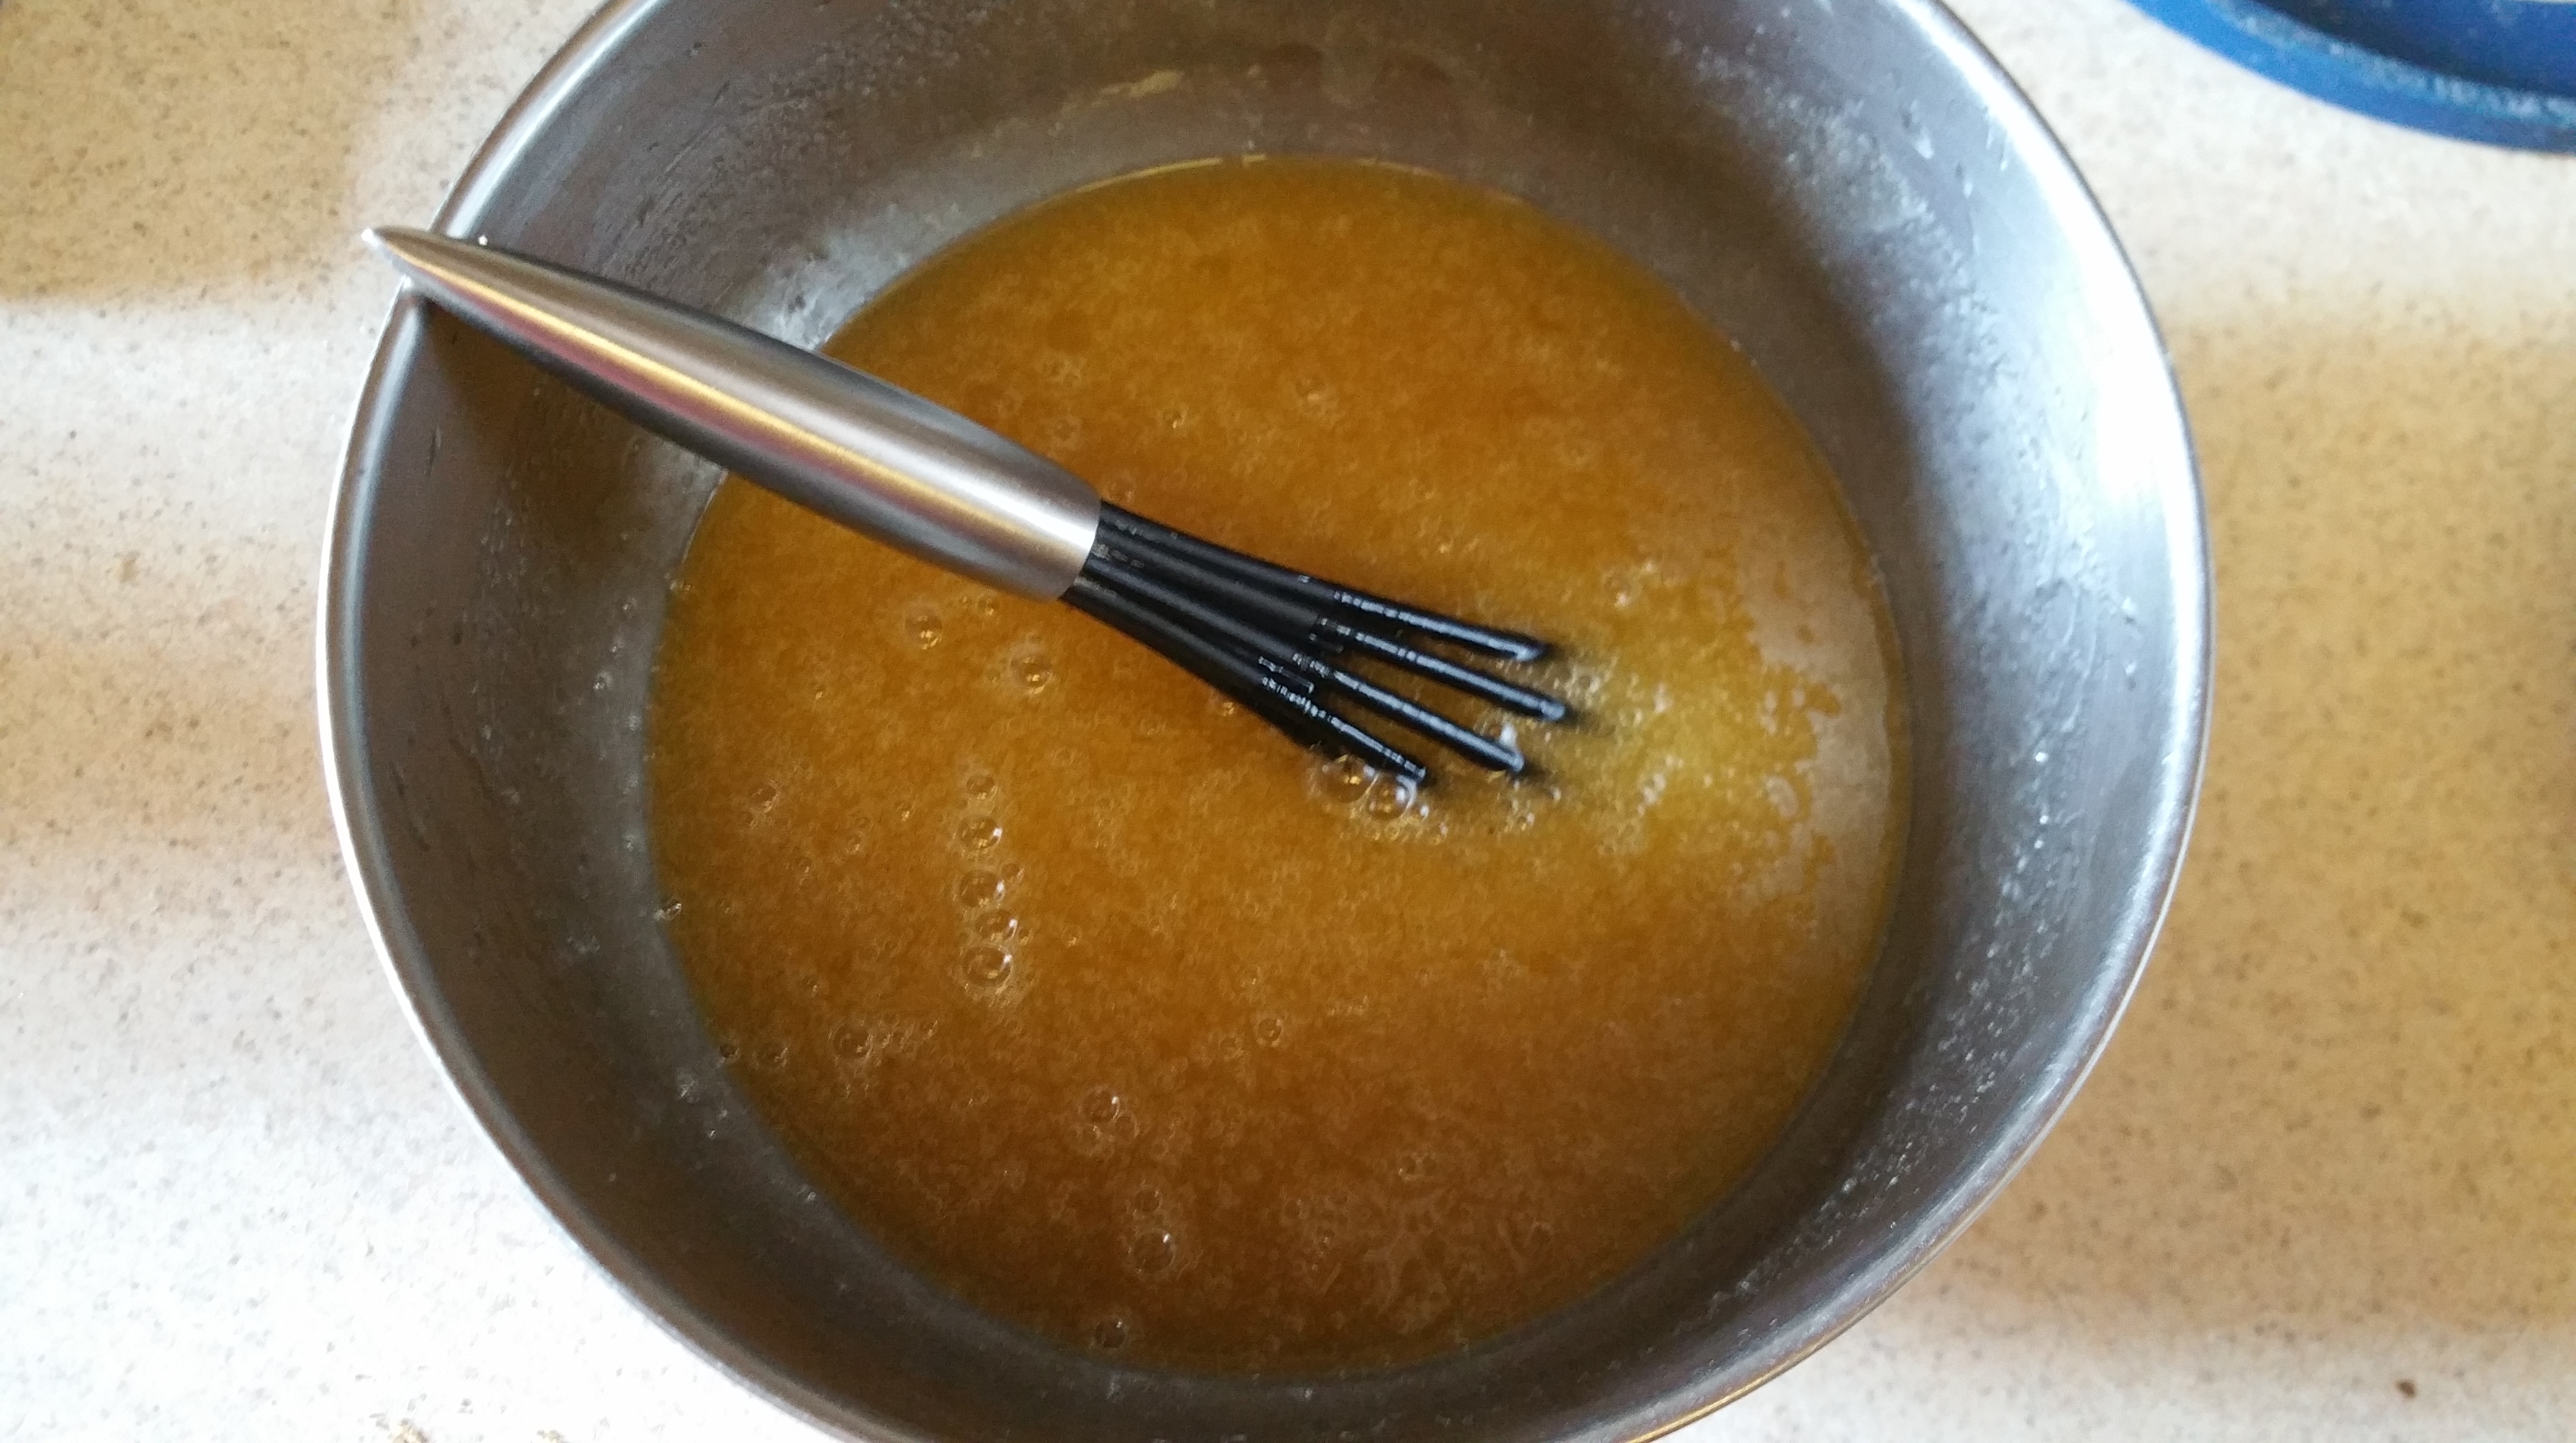
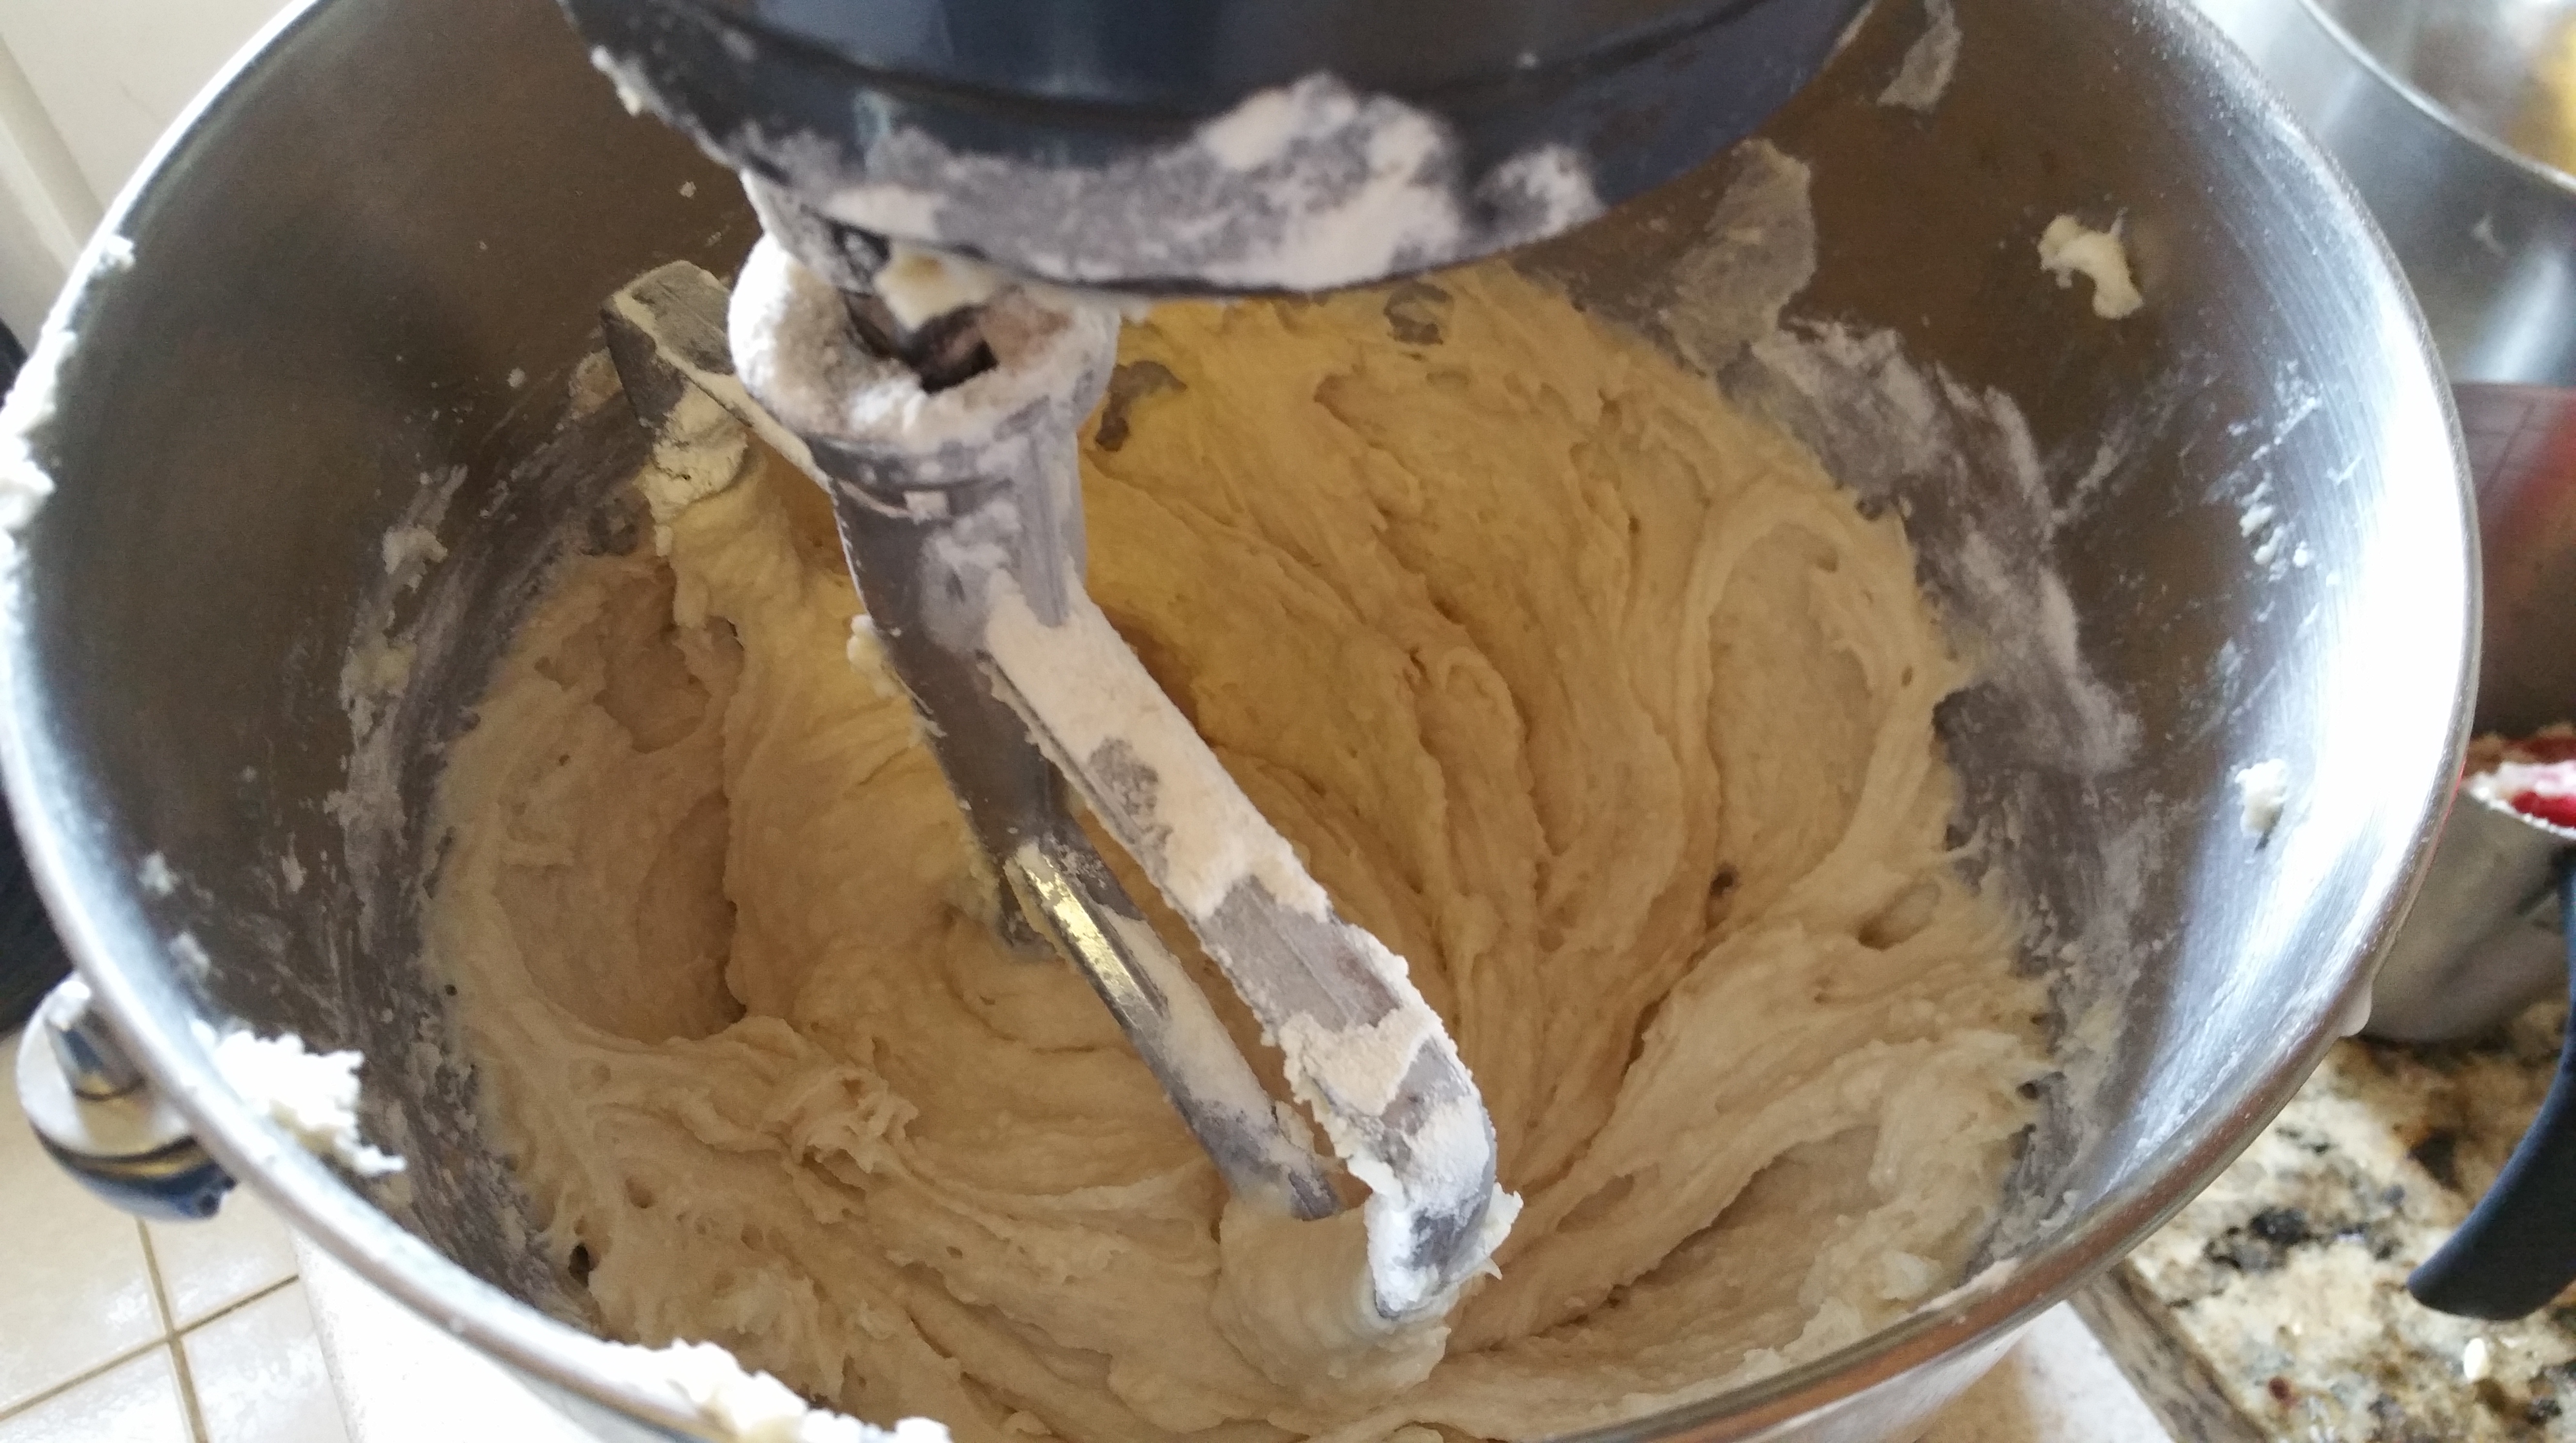
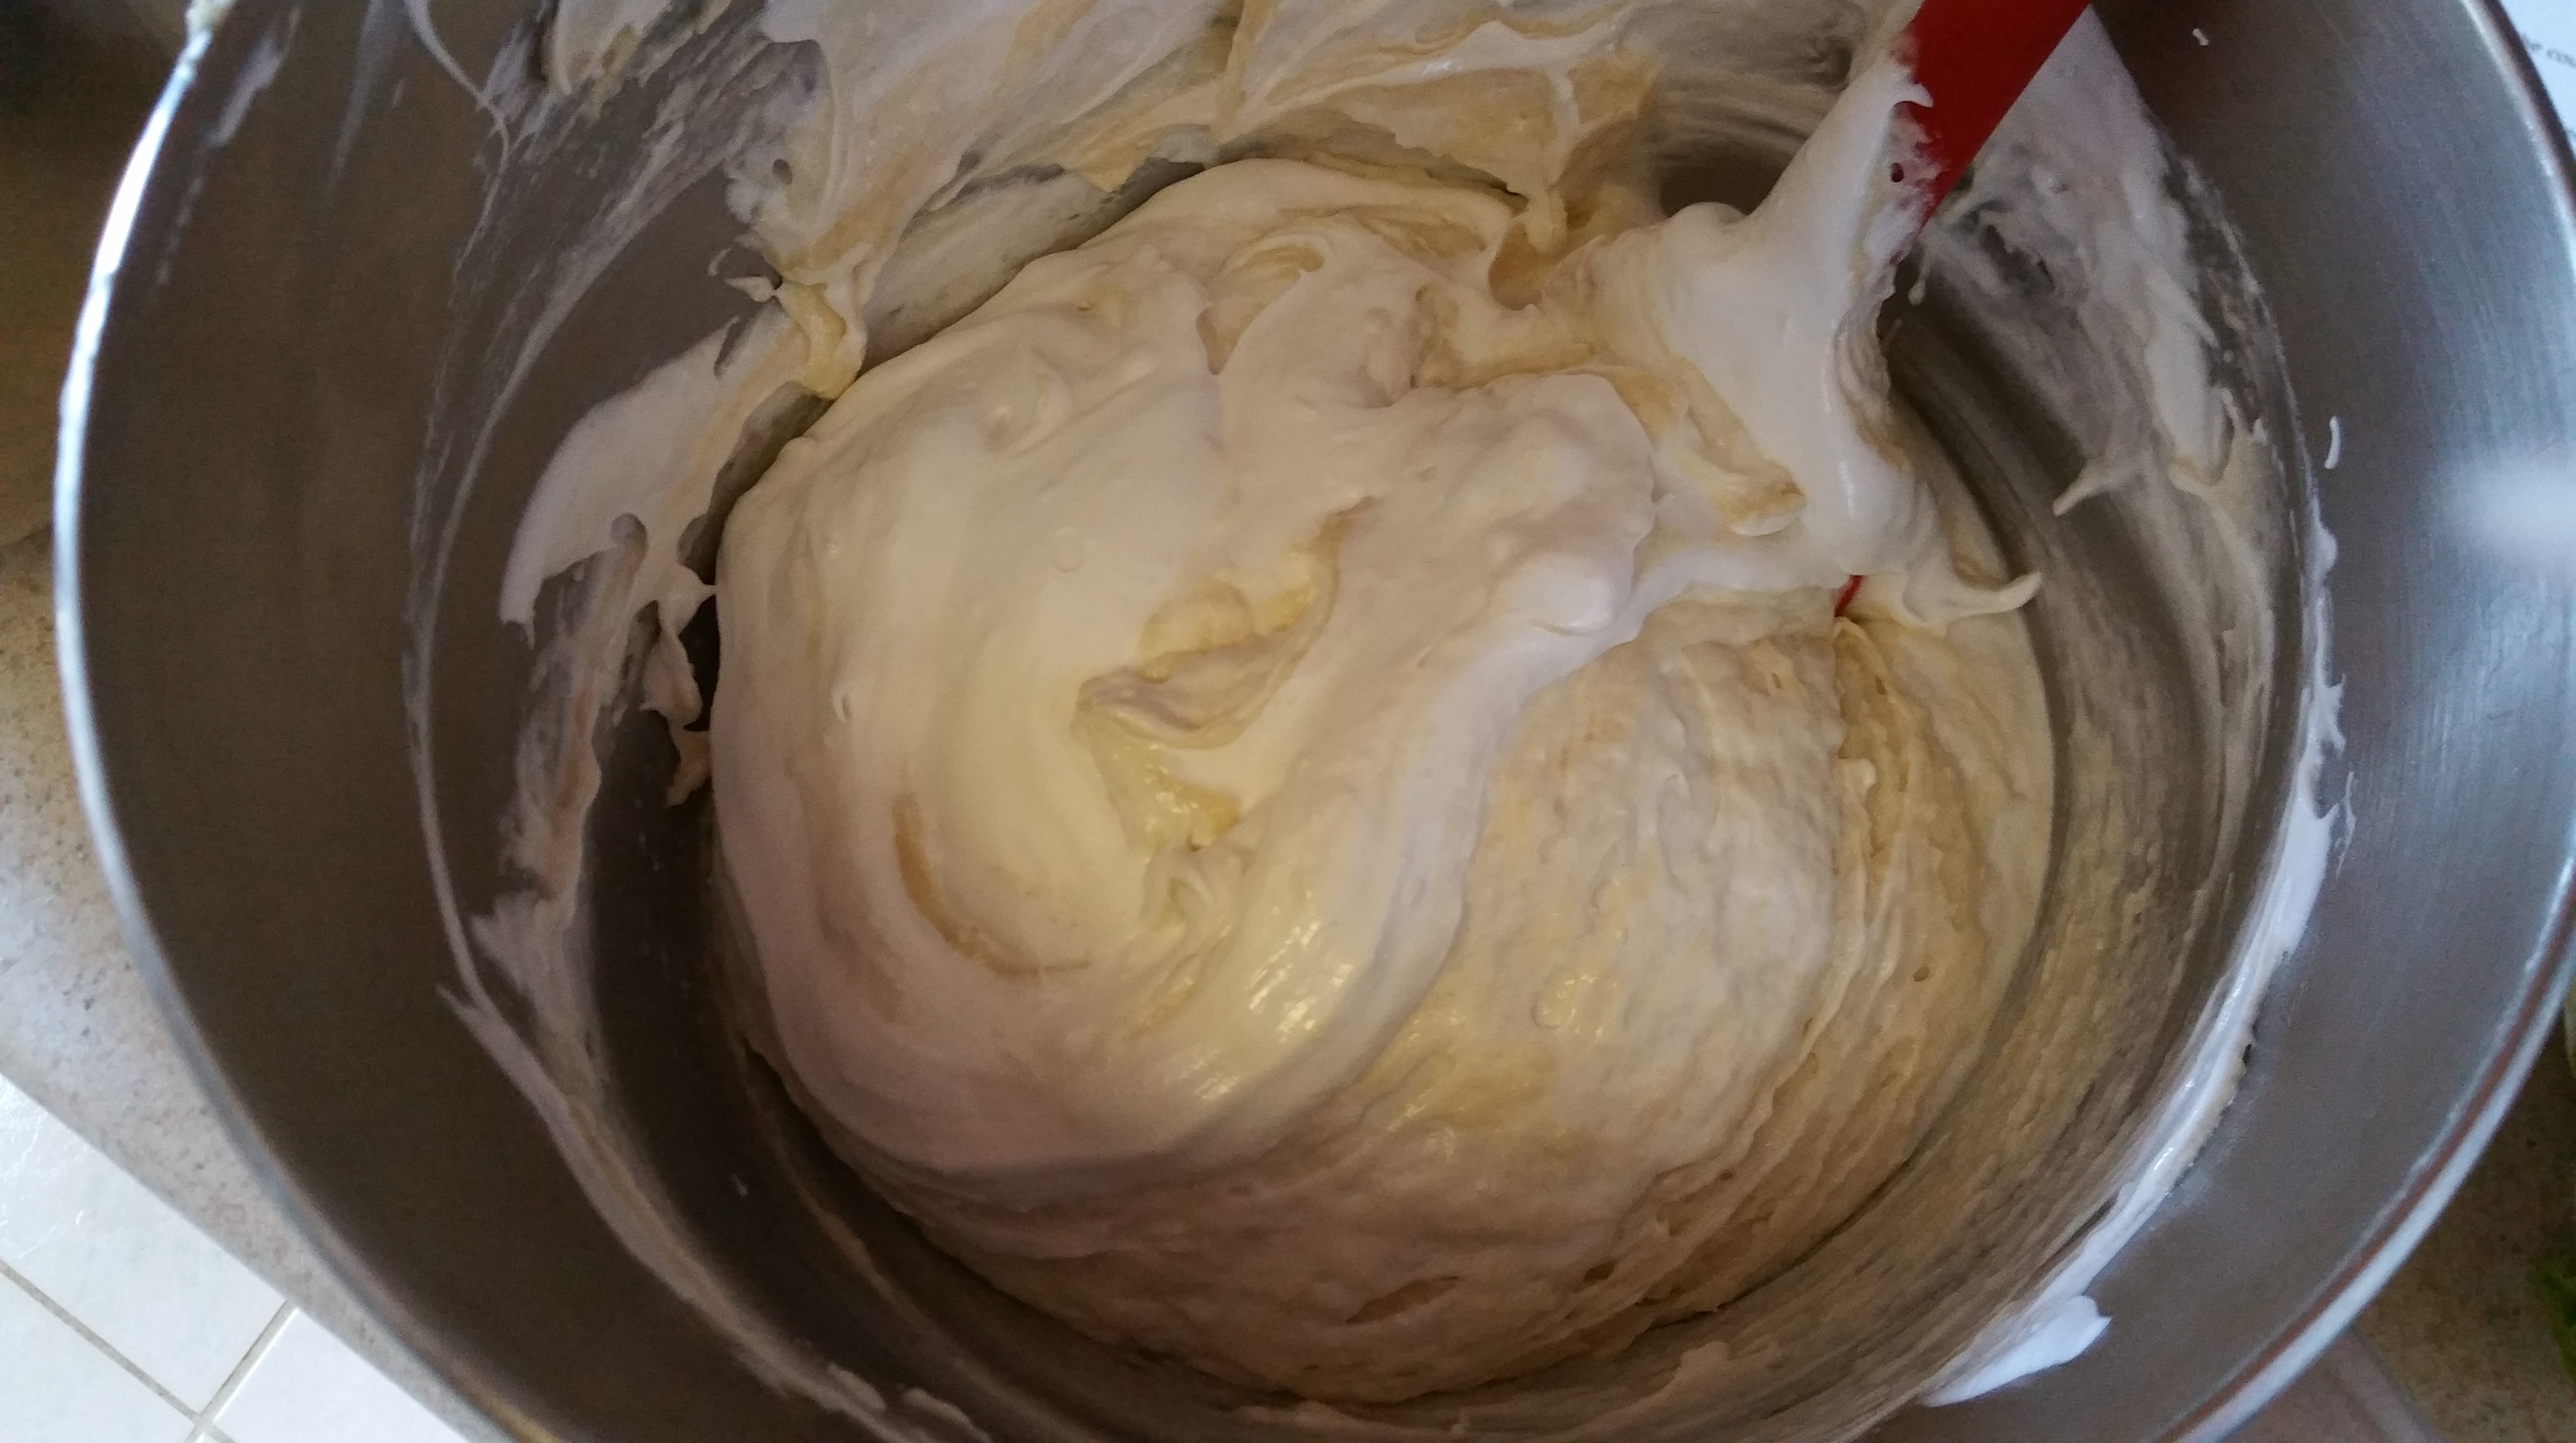
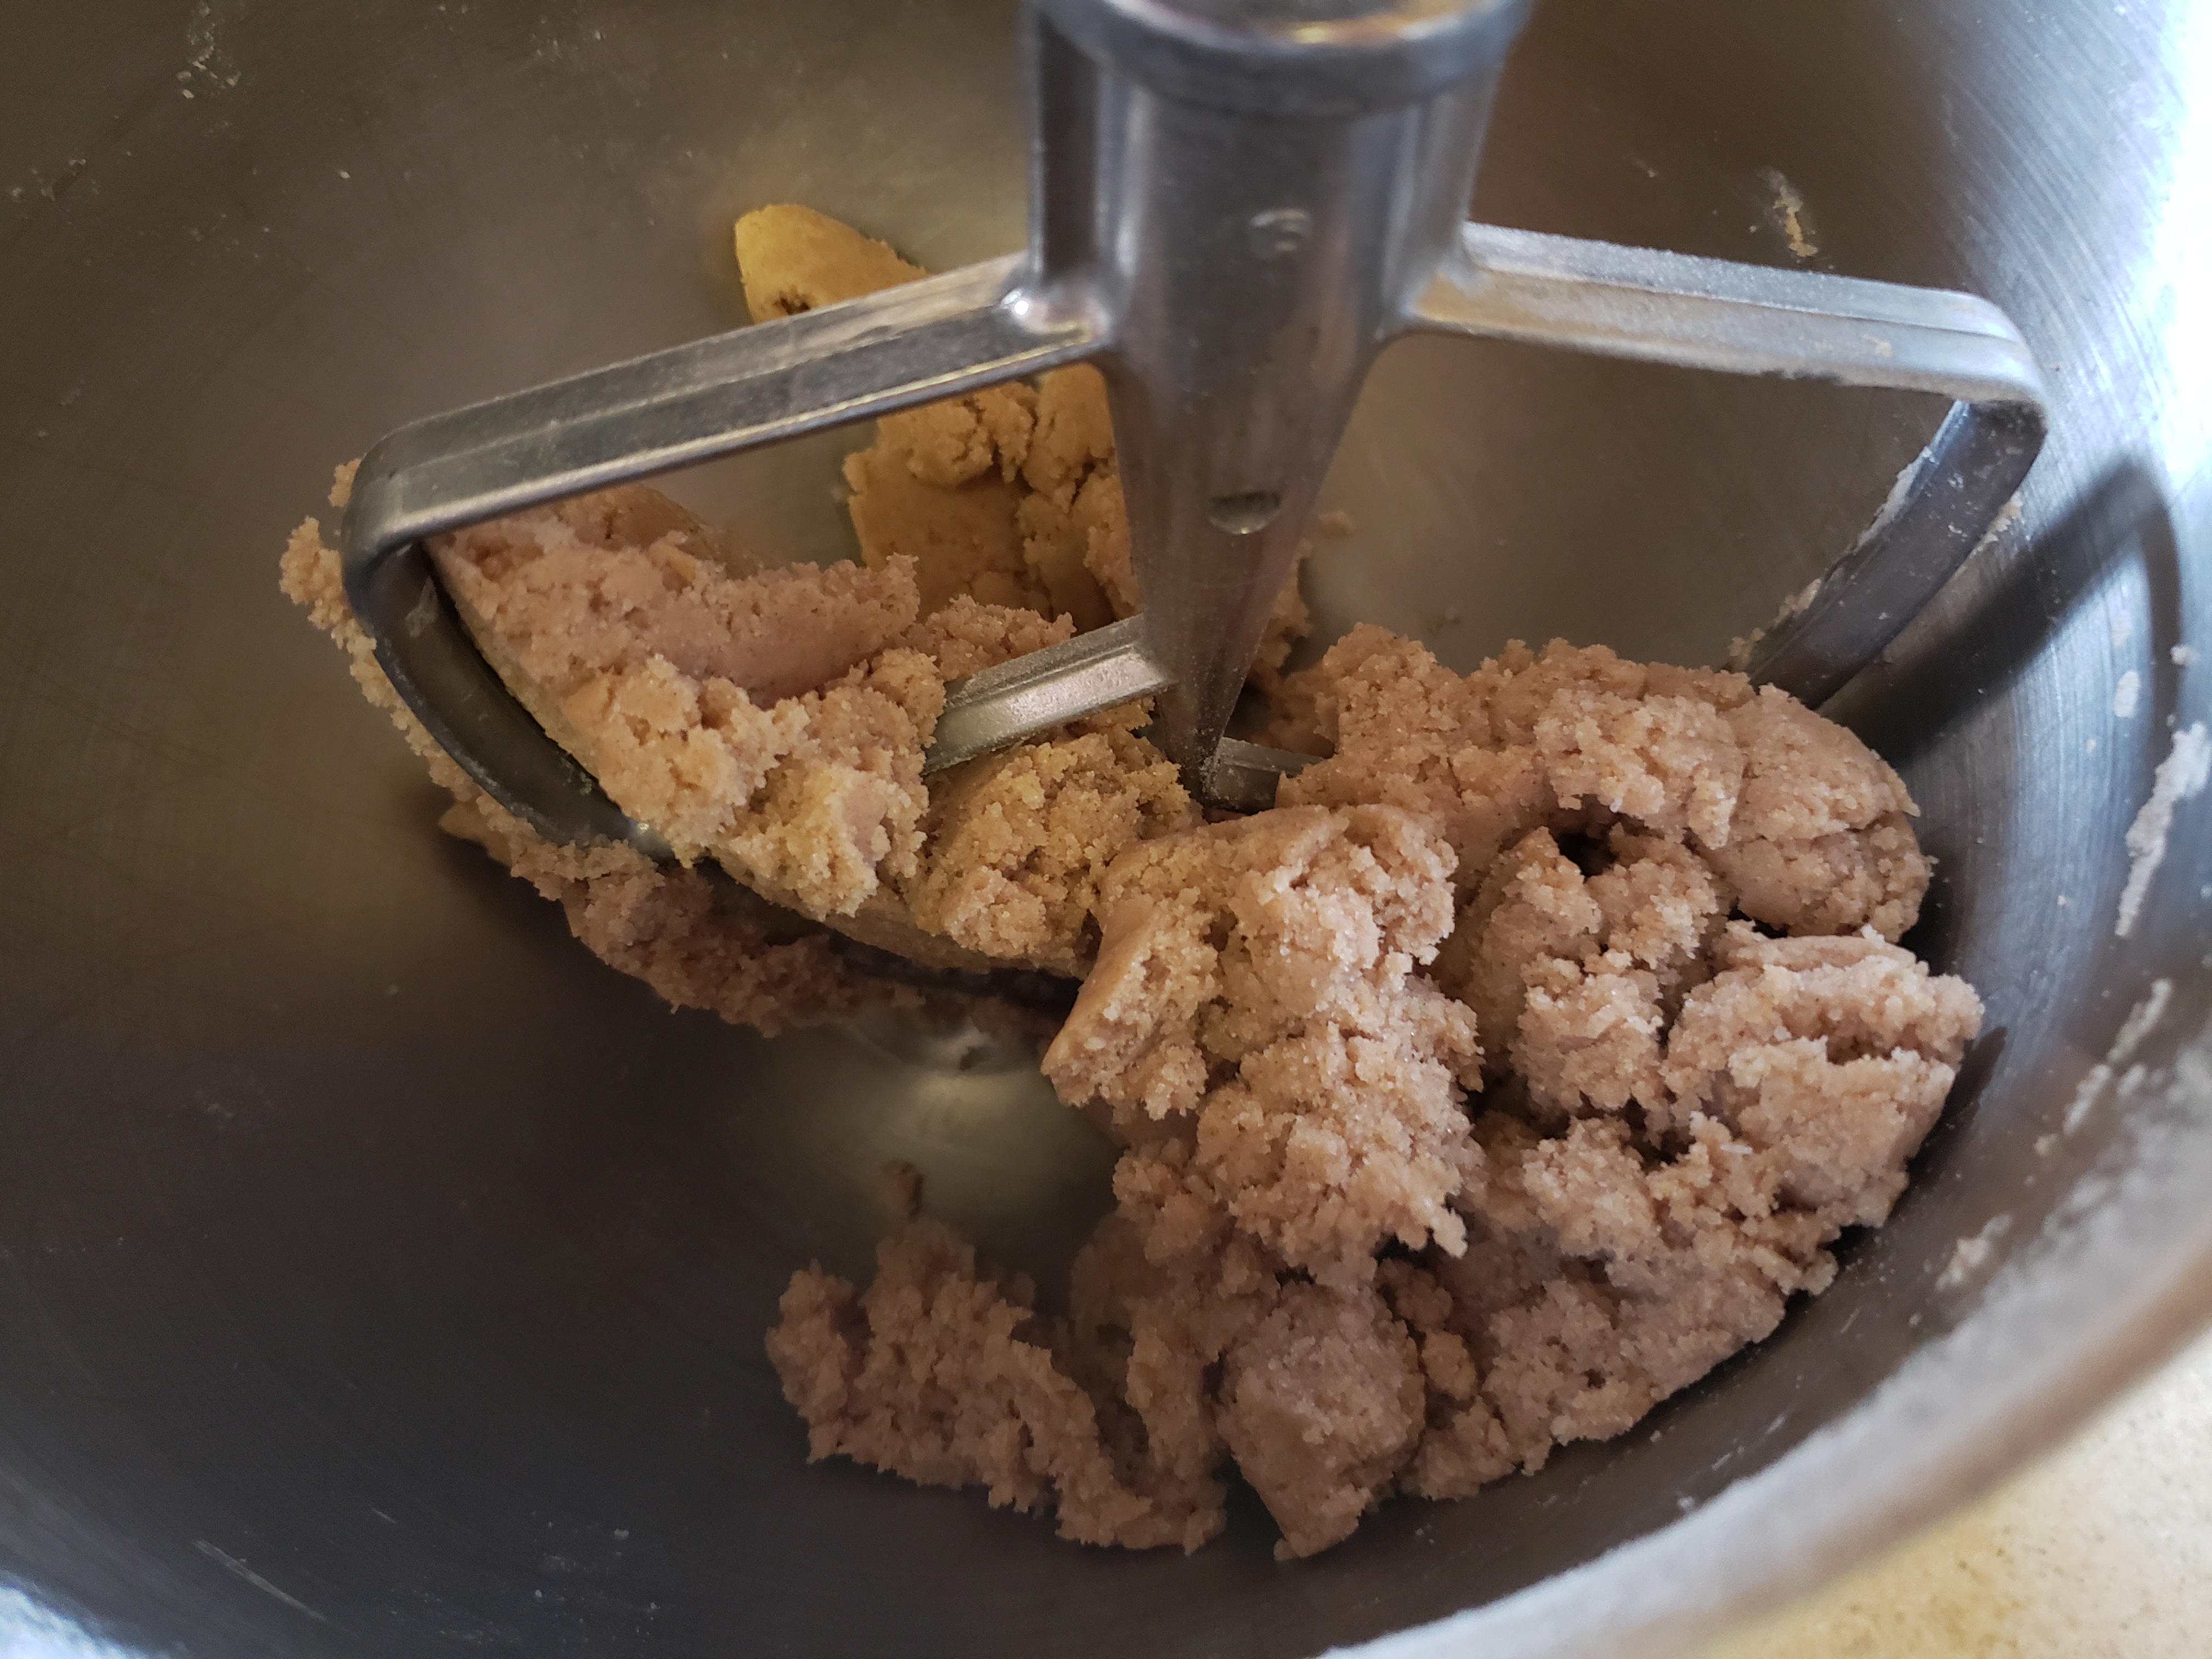
Add the butter, egg yolk, and vanilla extract, and mix until a soft dough forms.
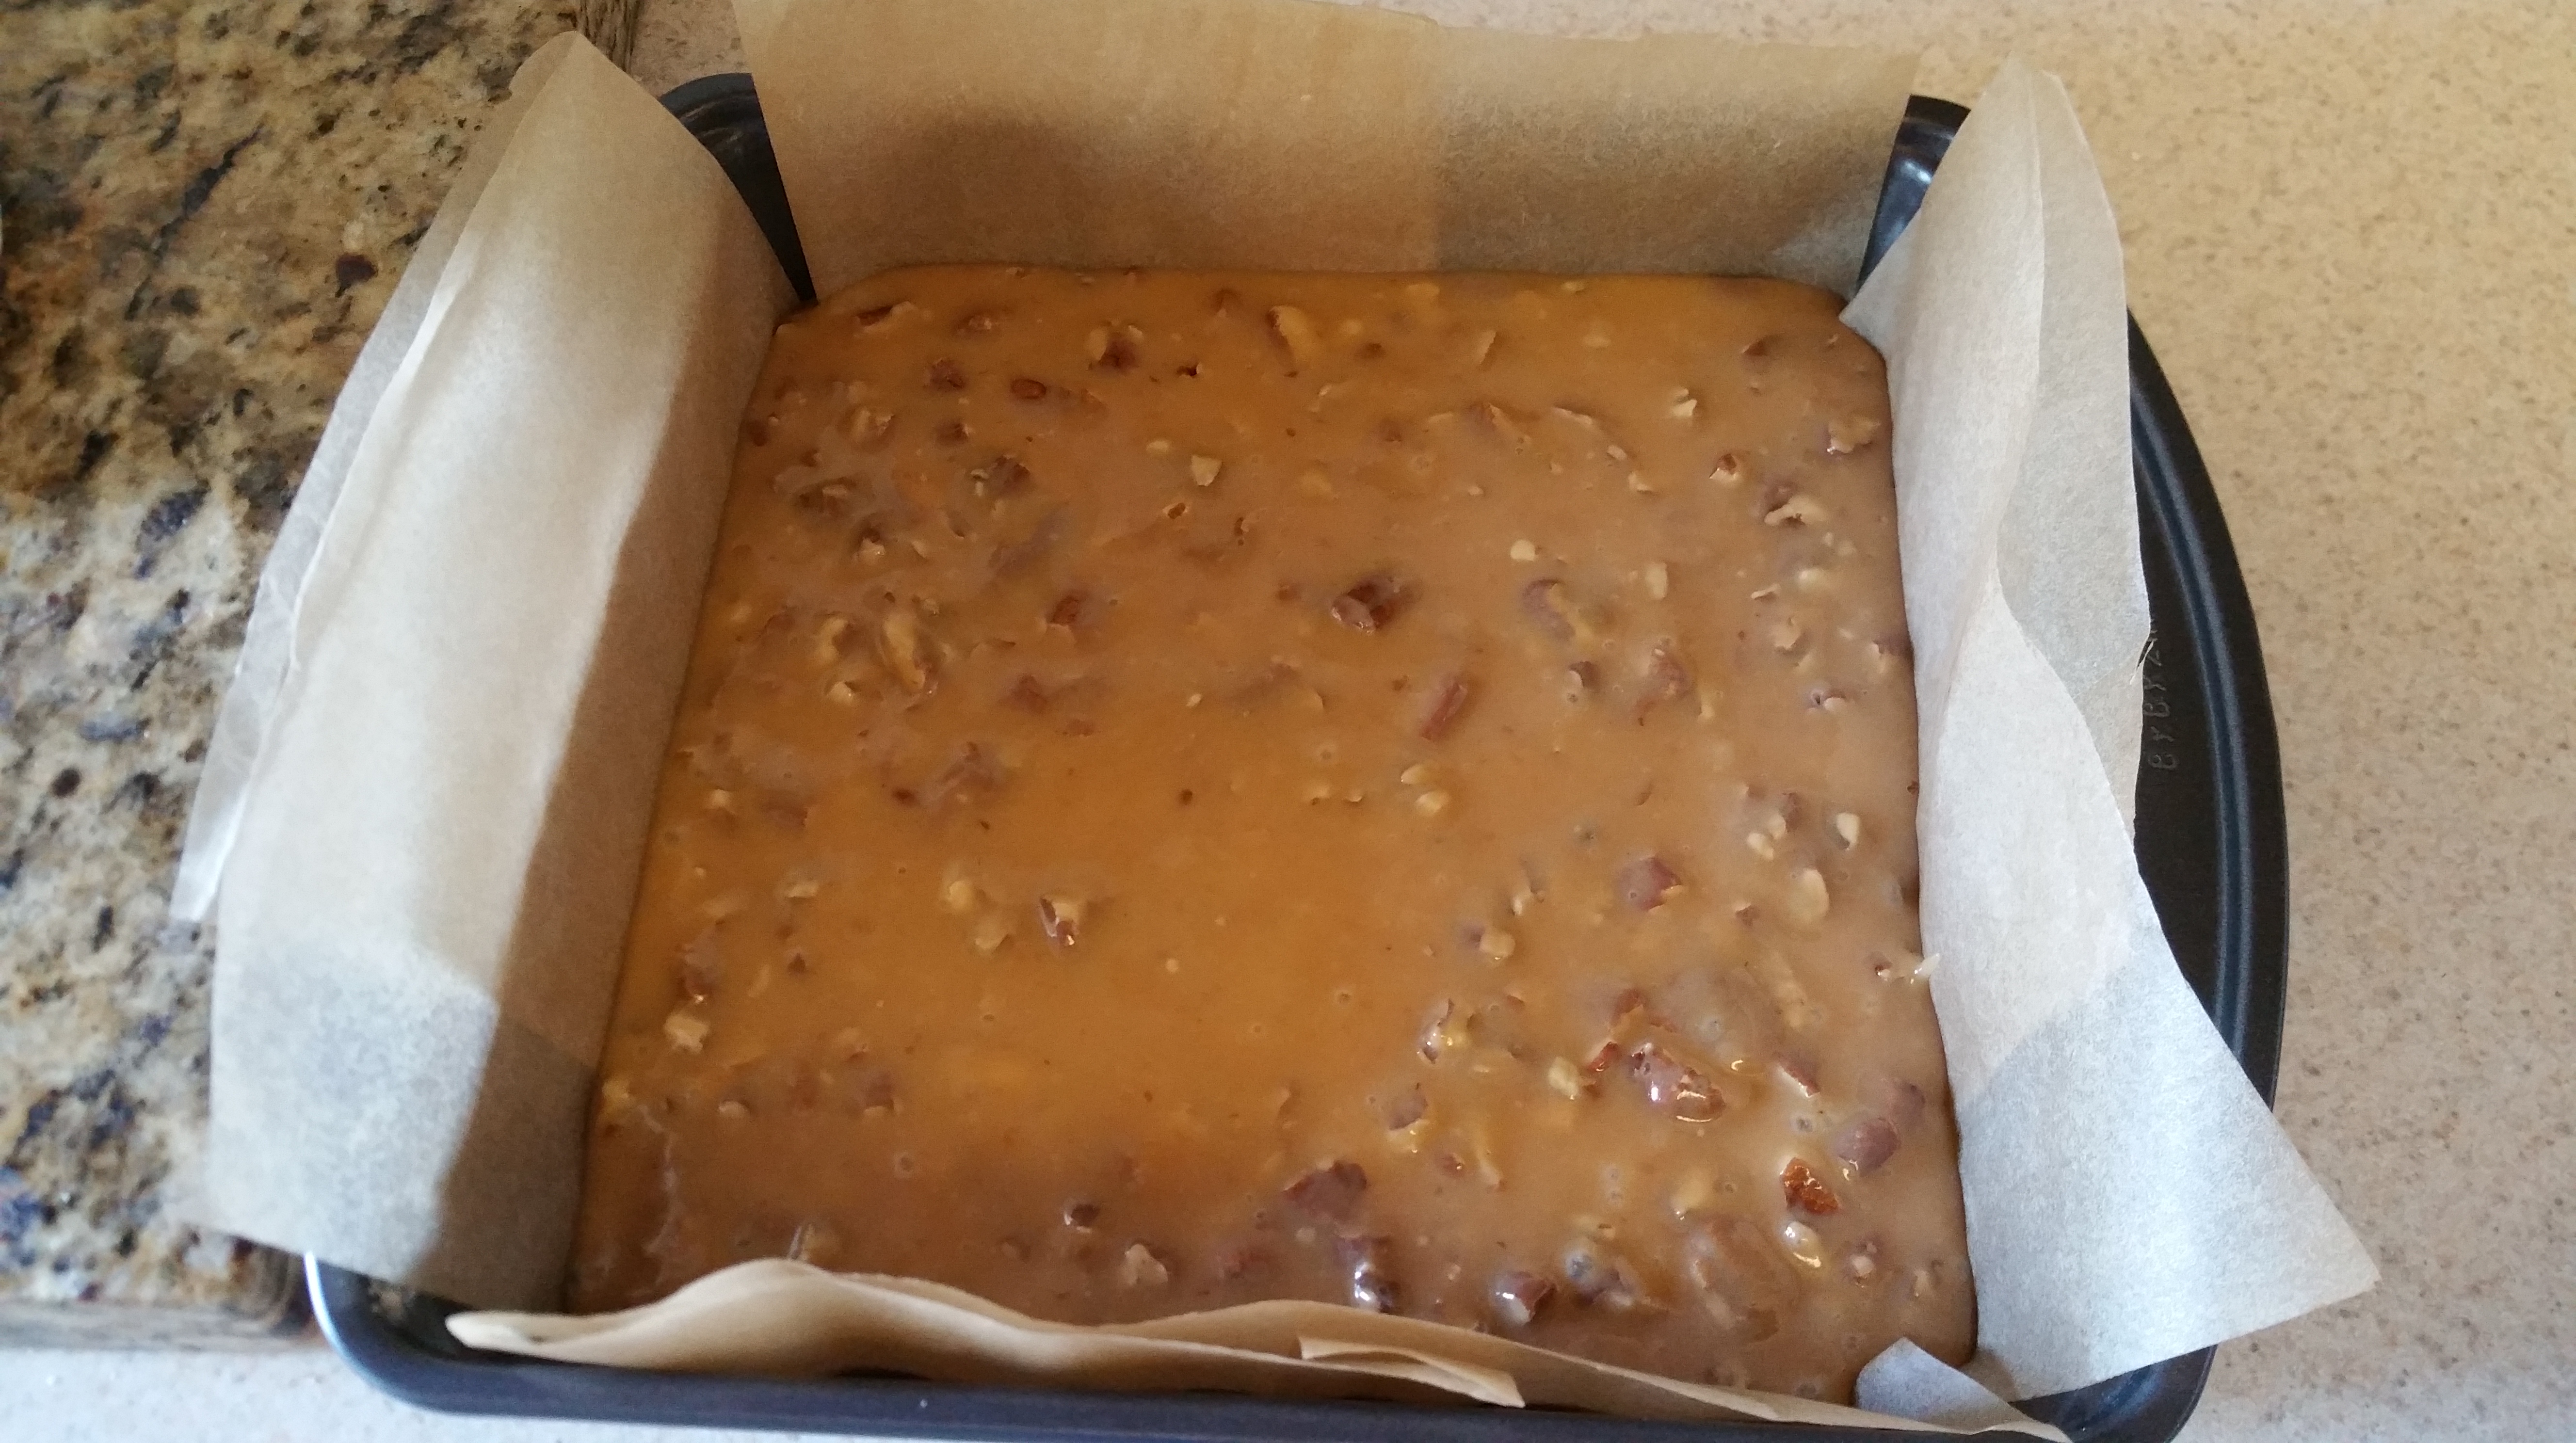
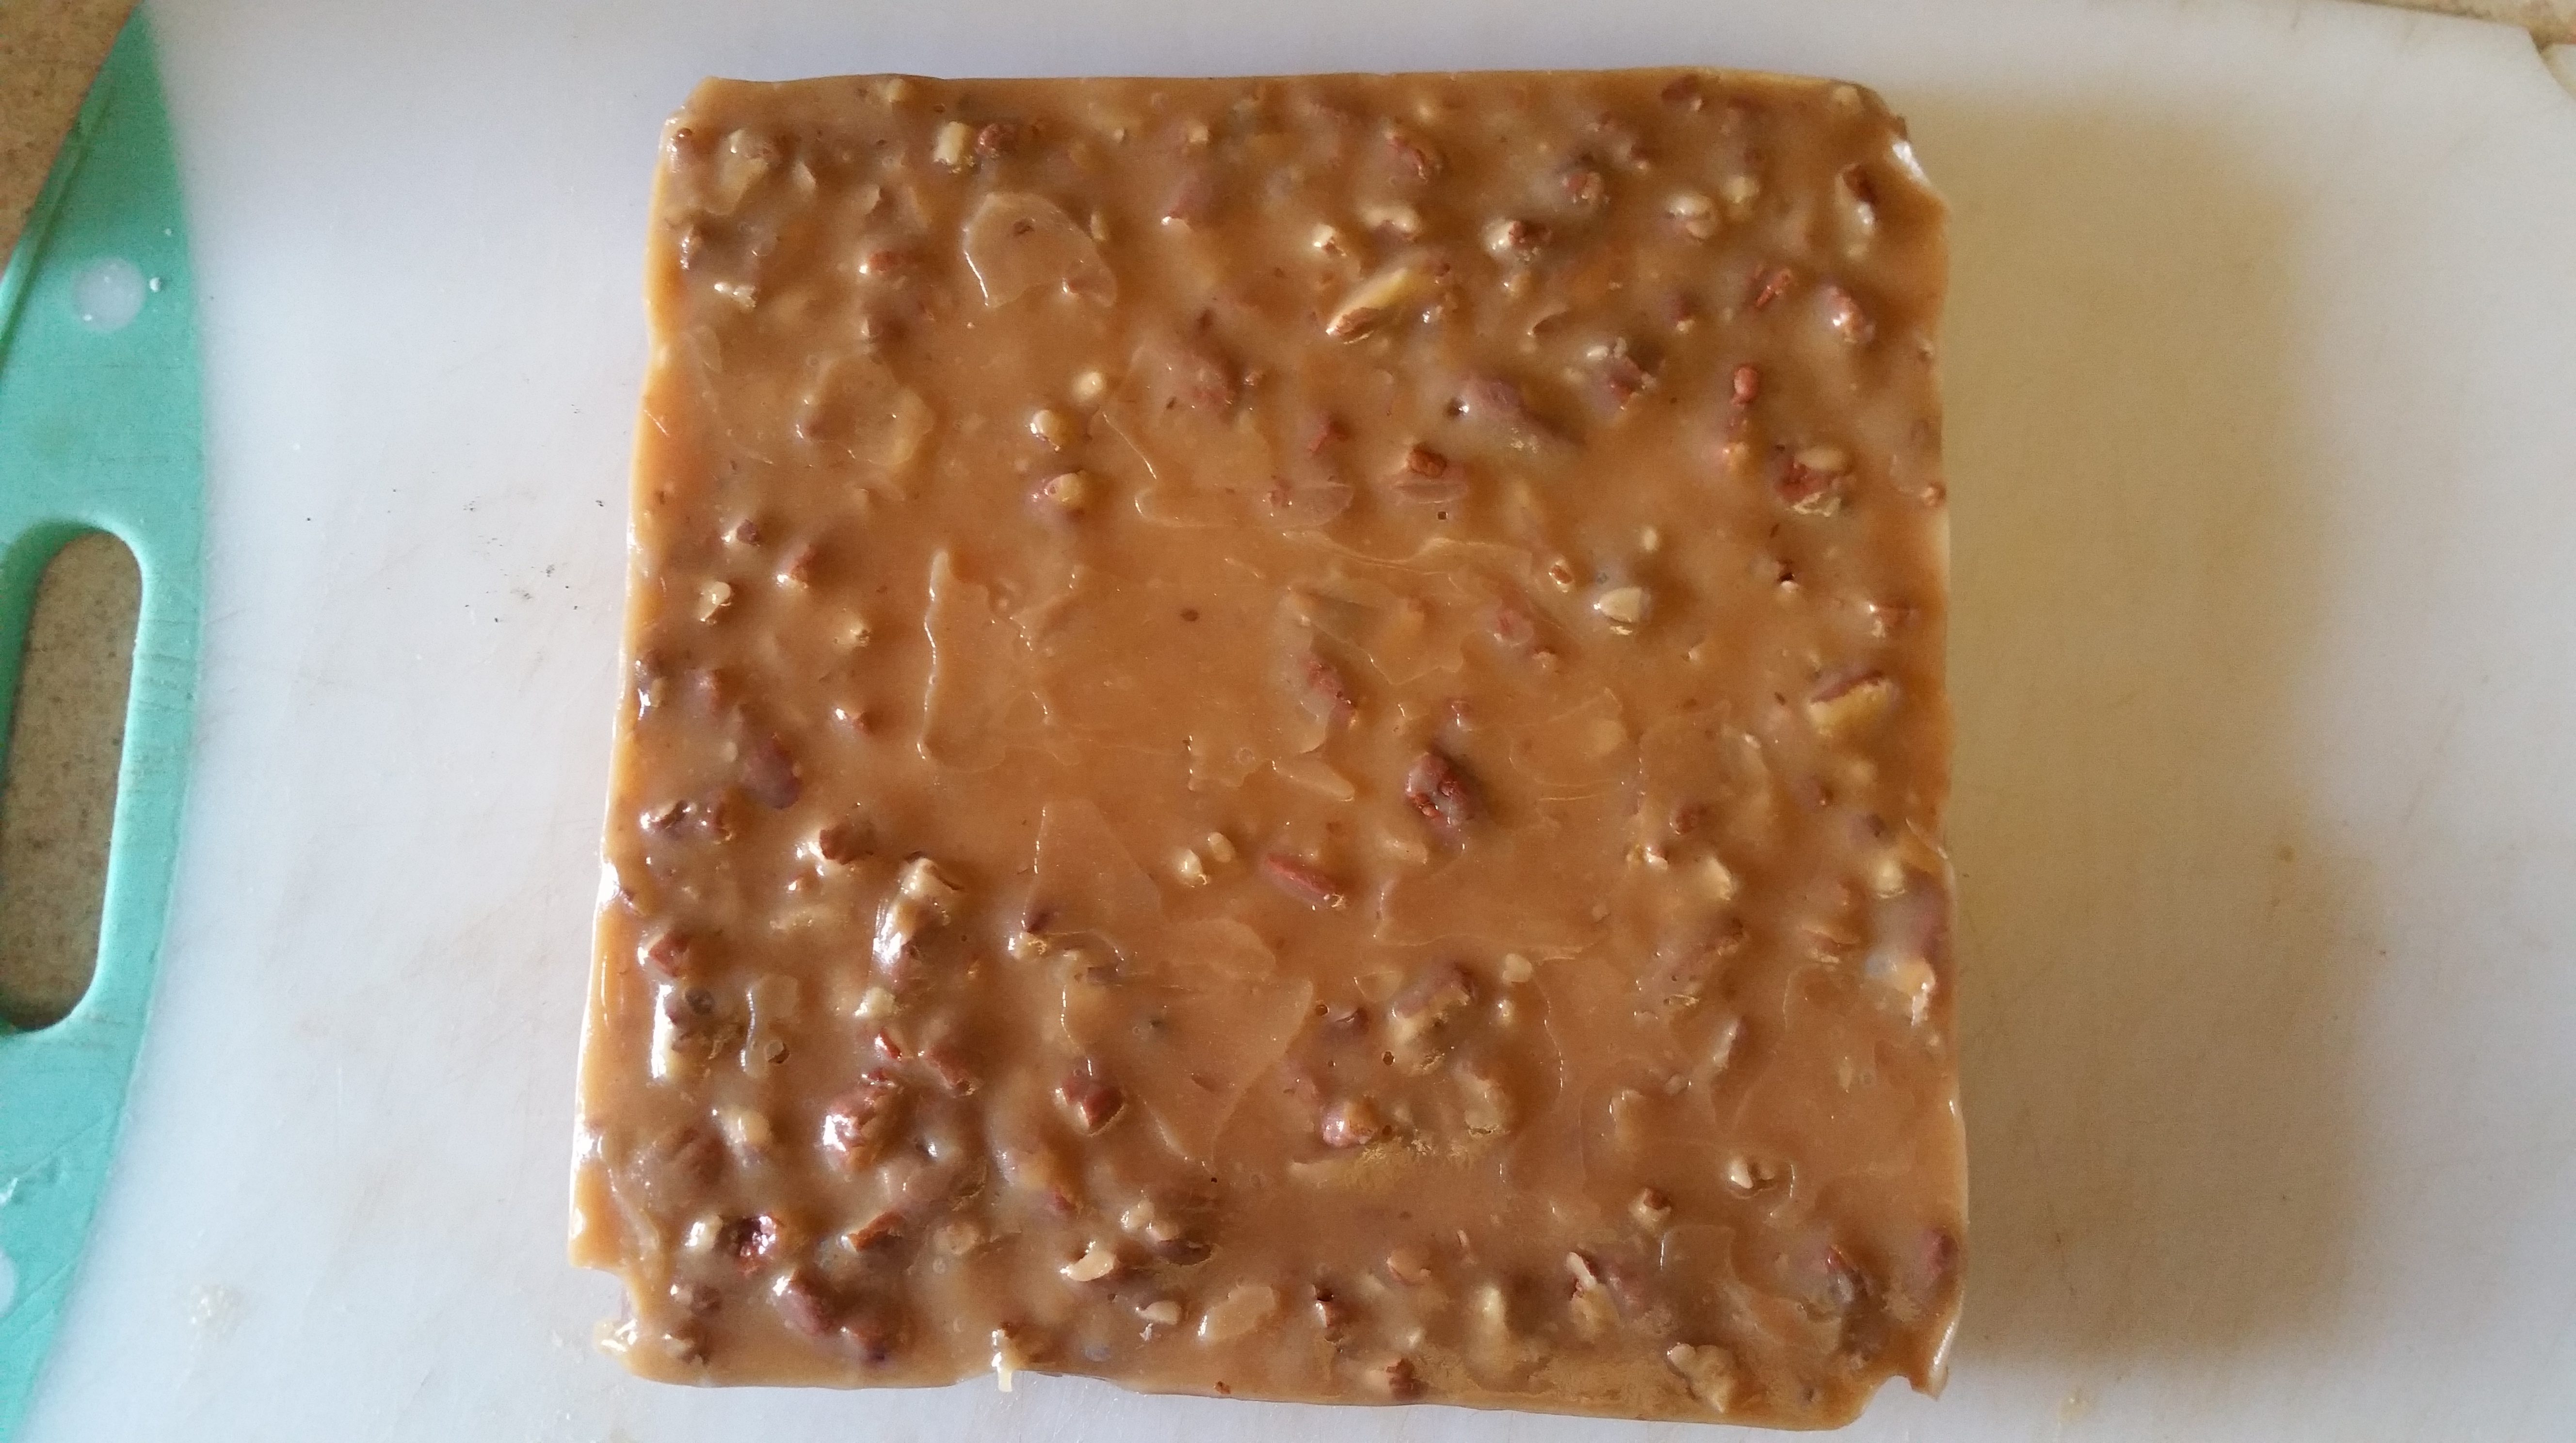
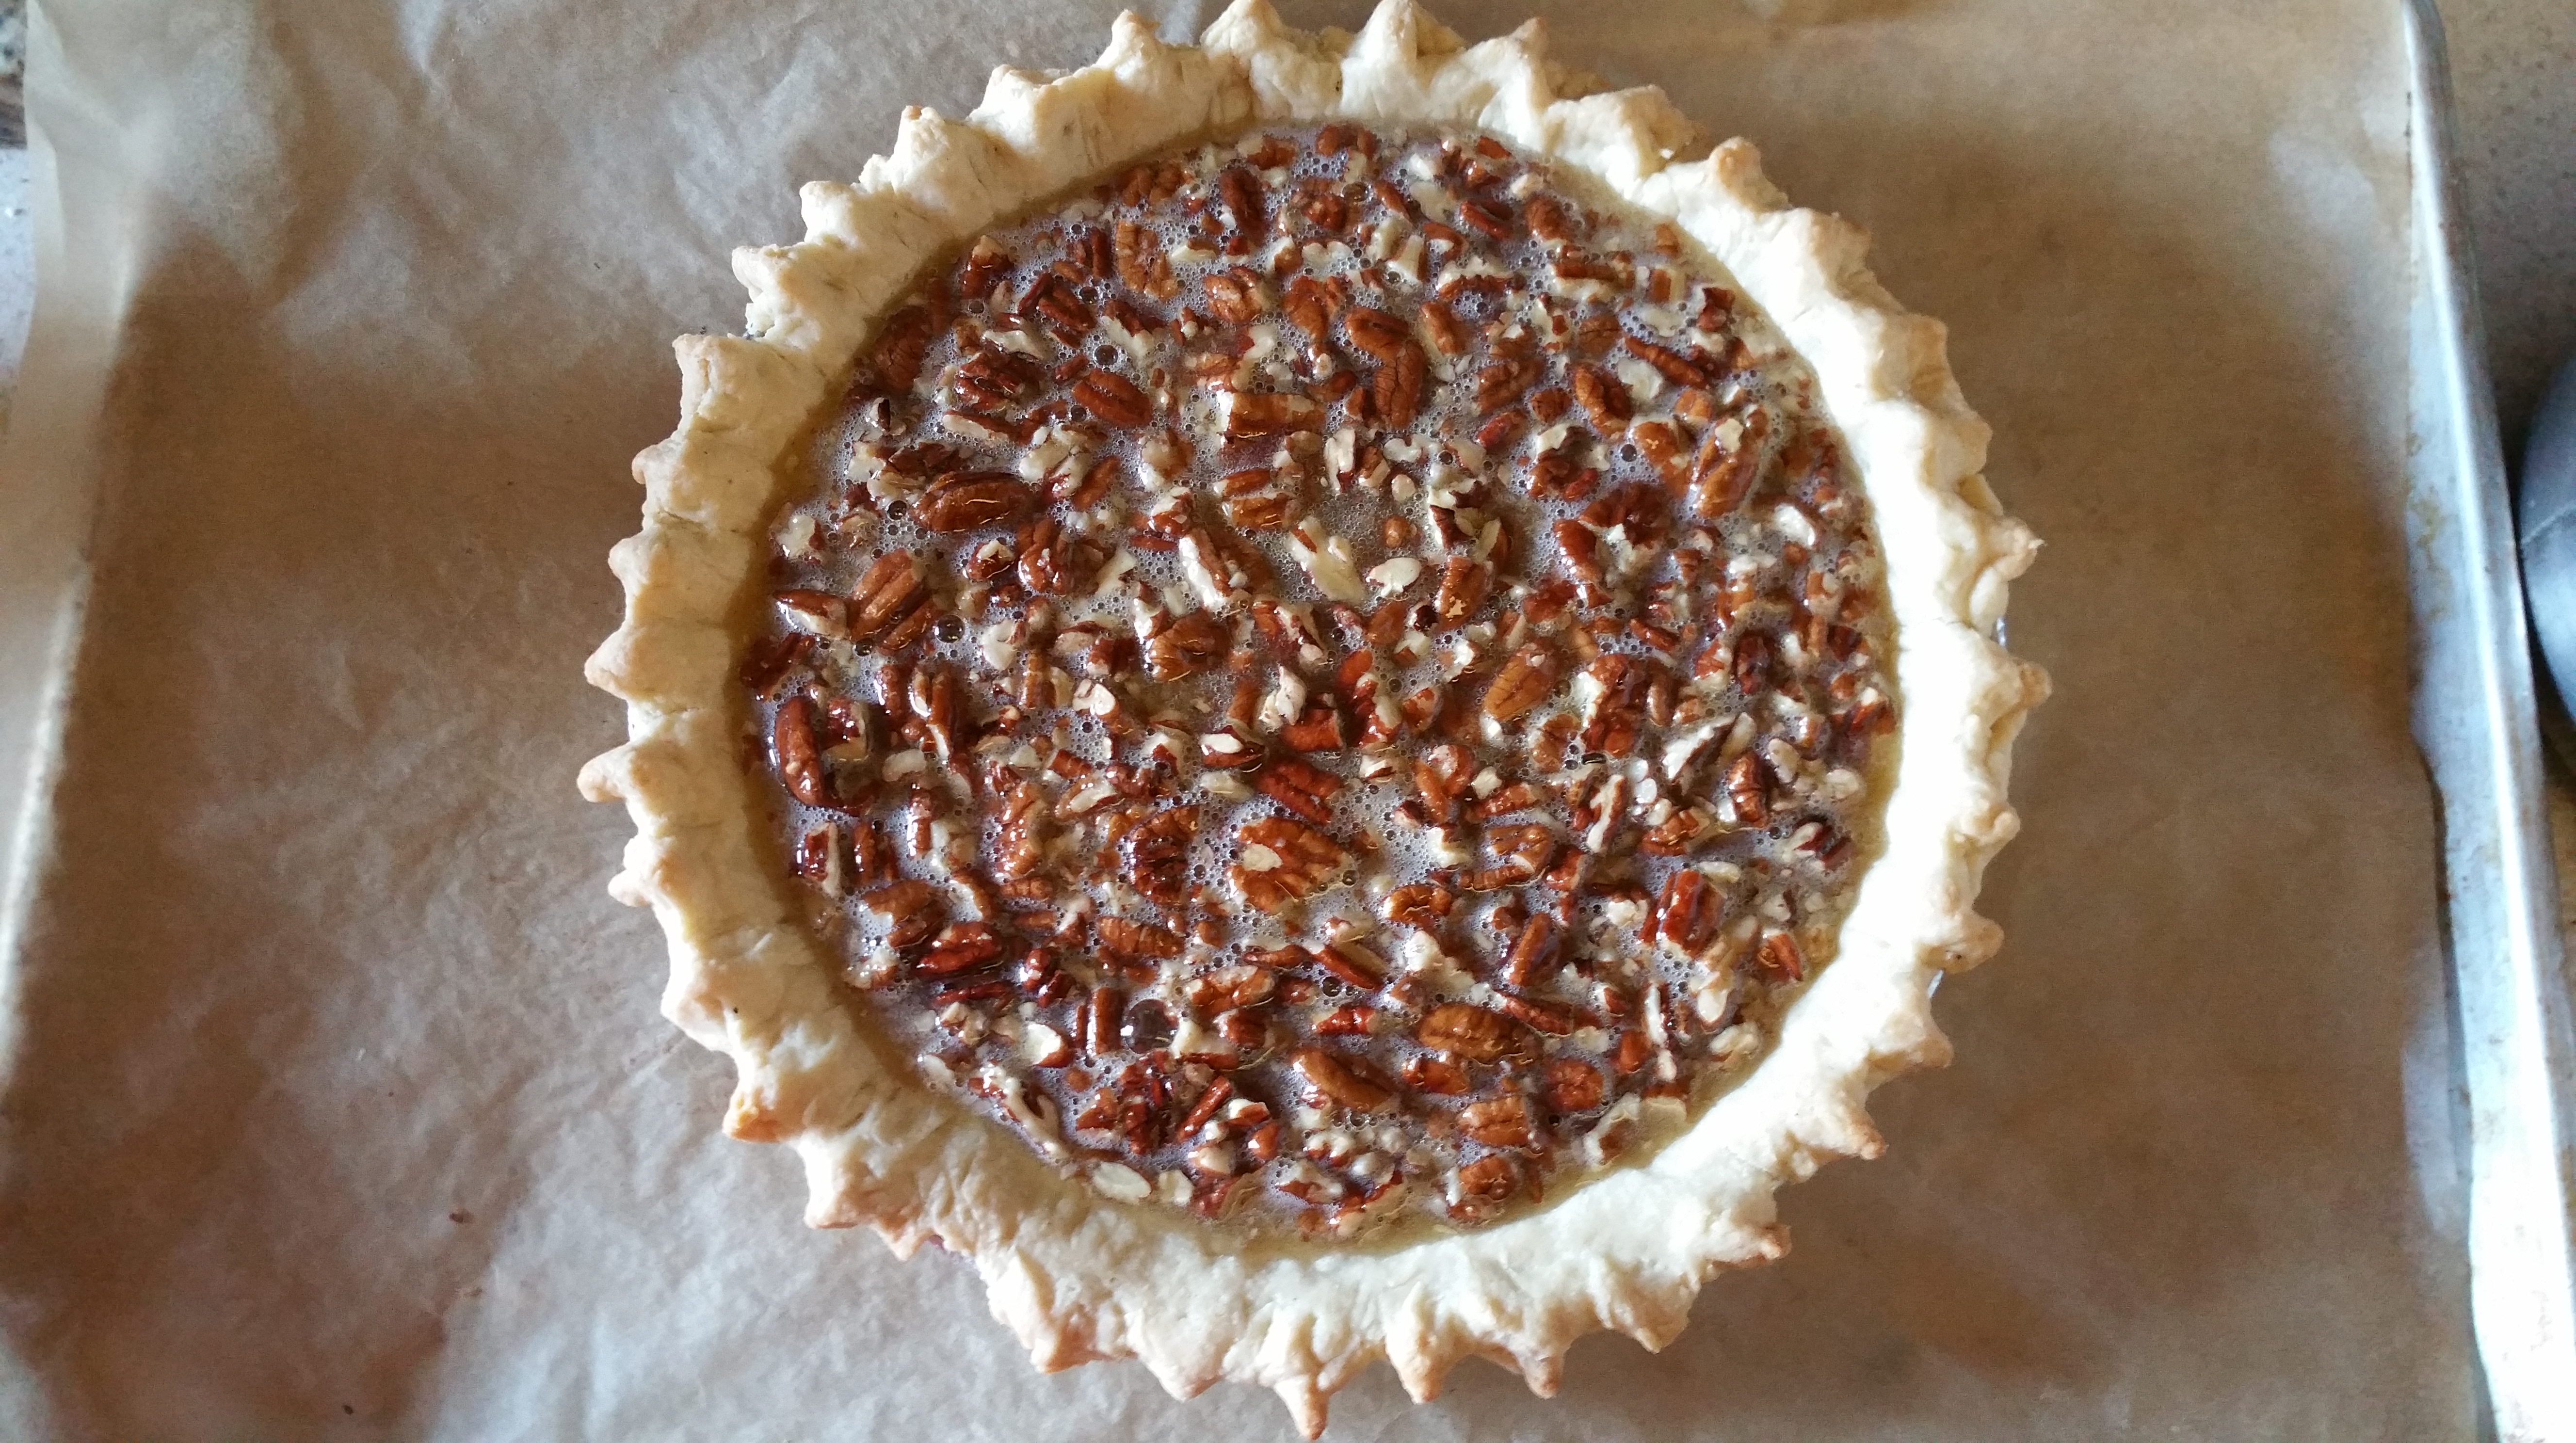
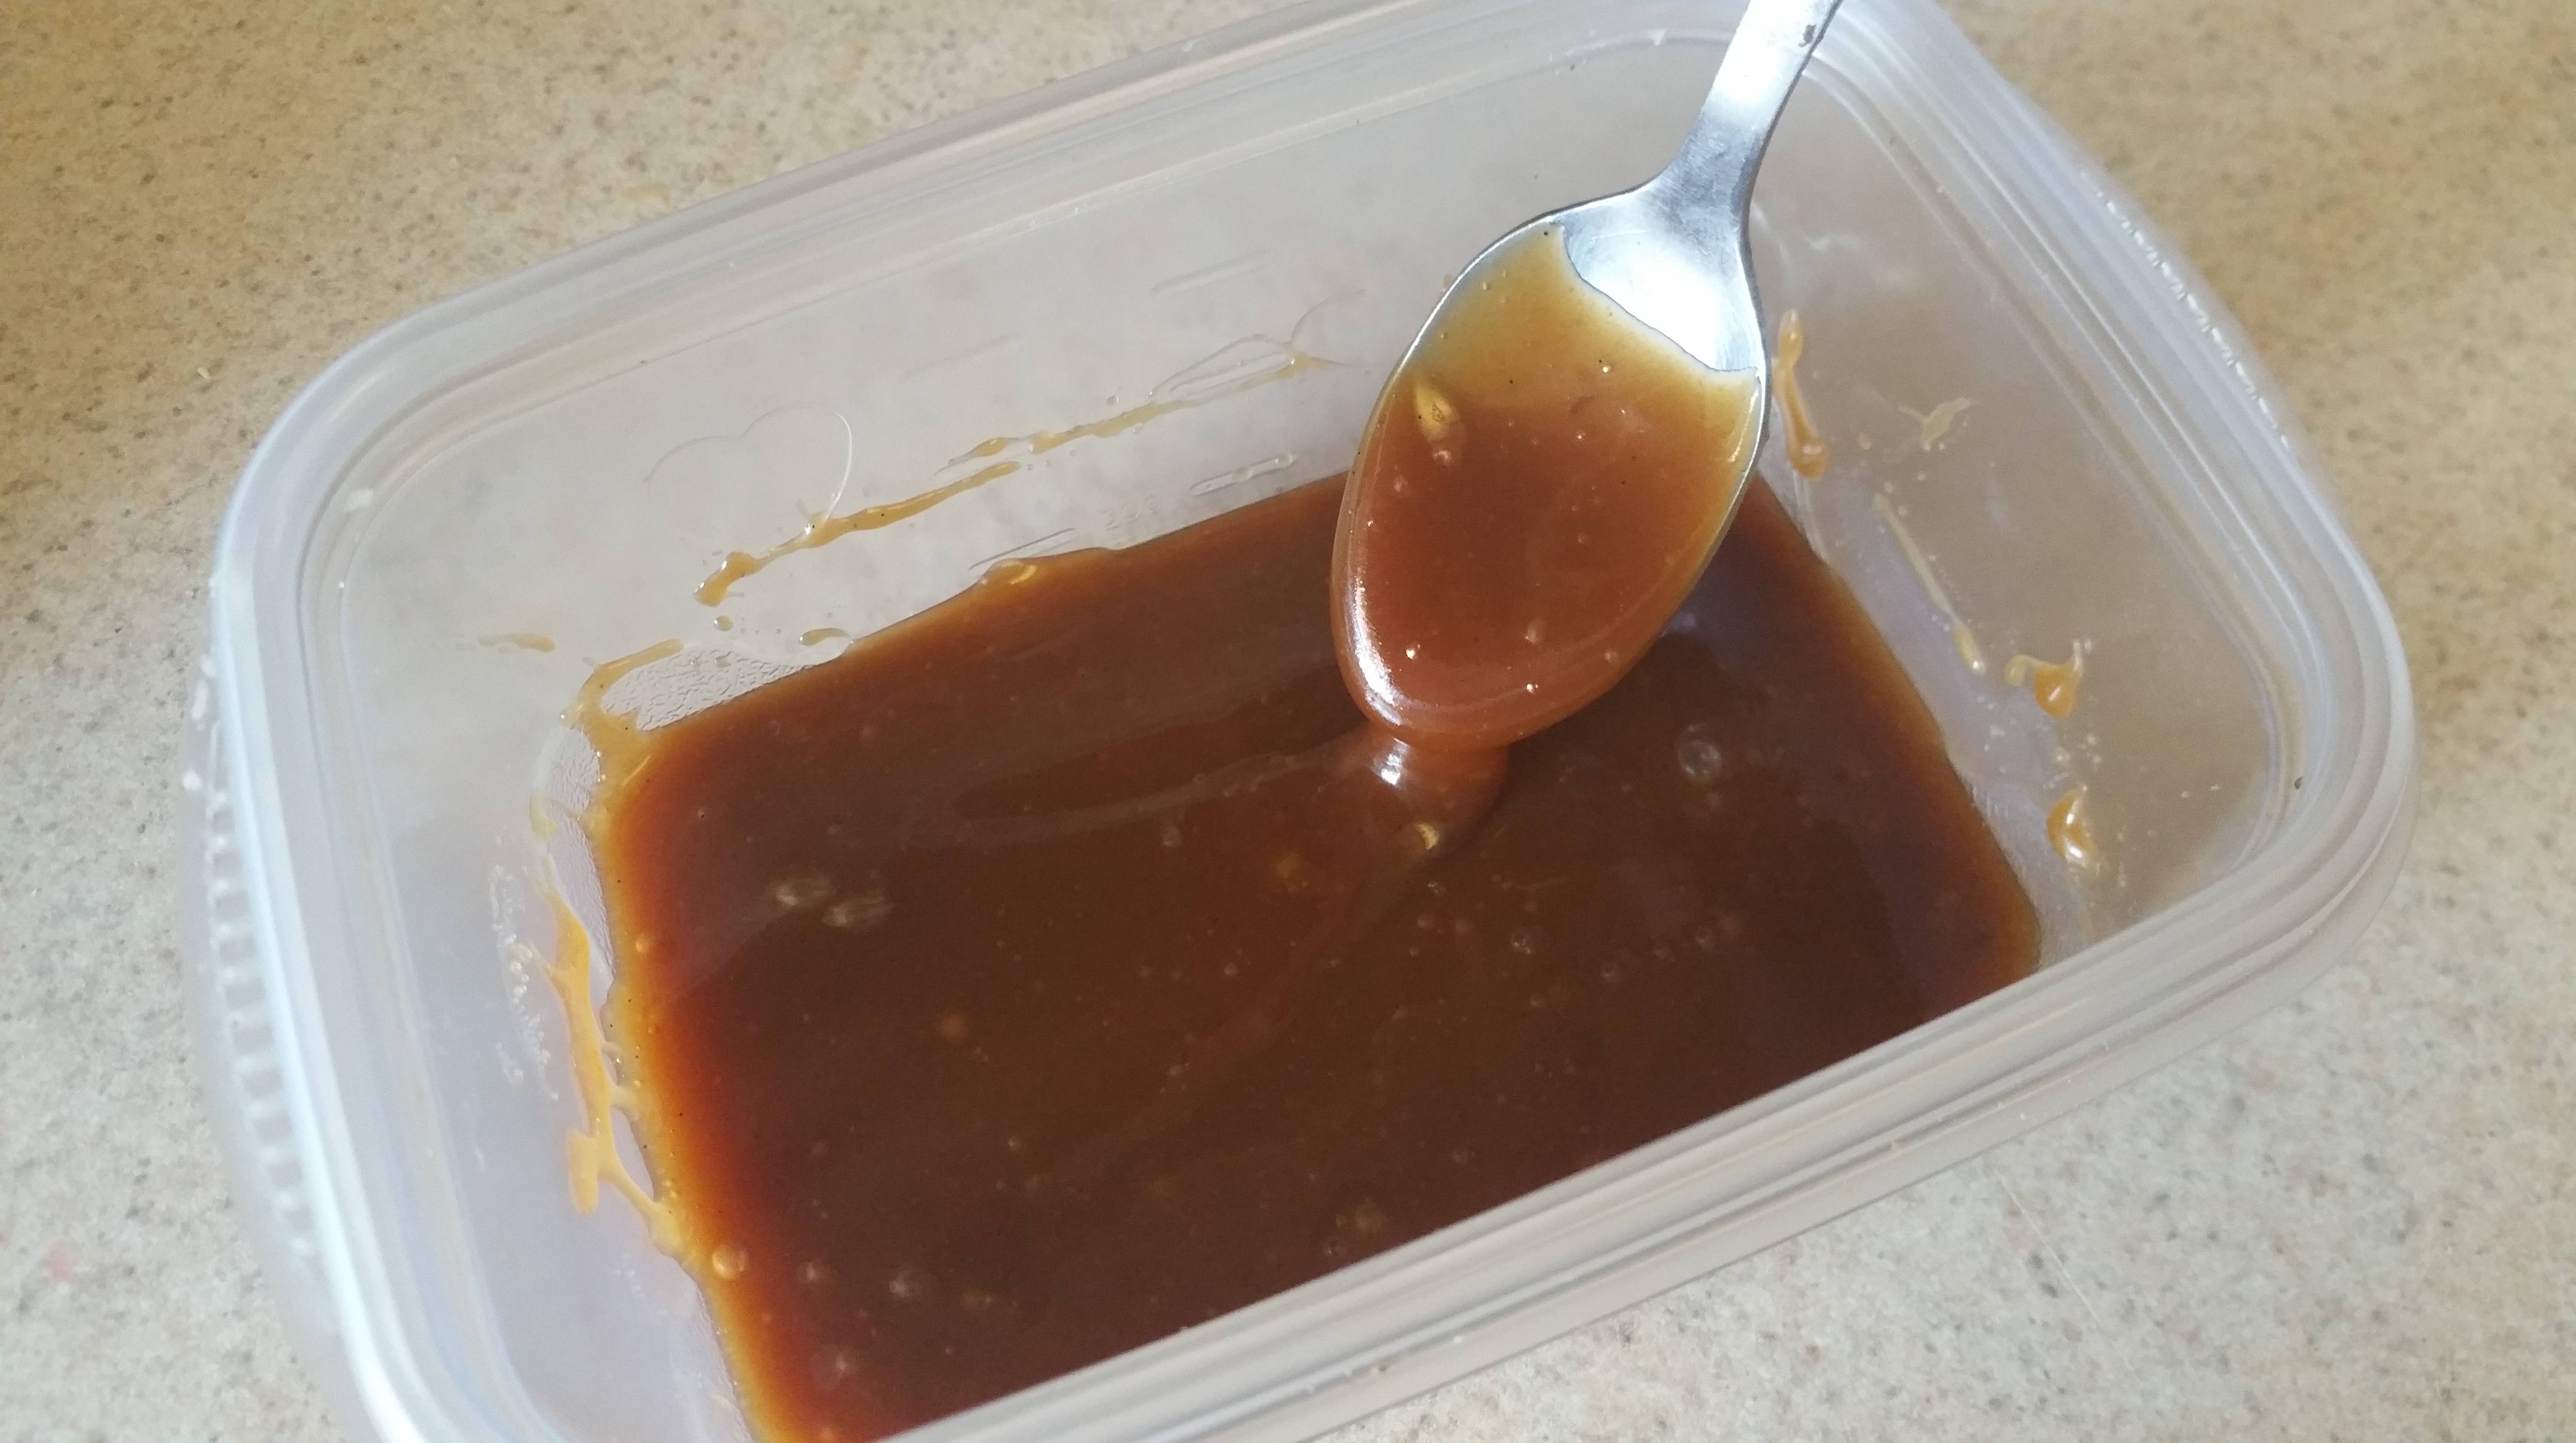
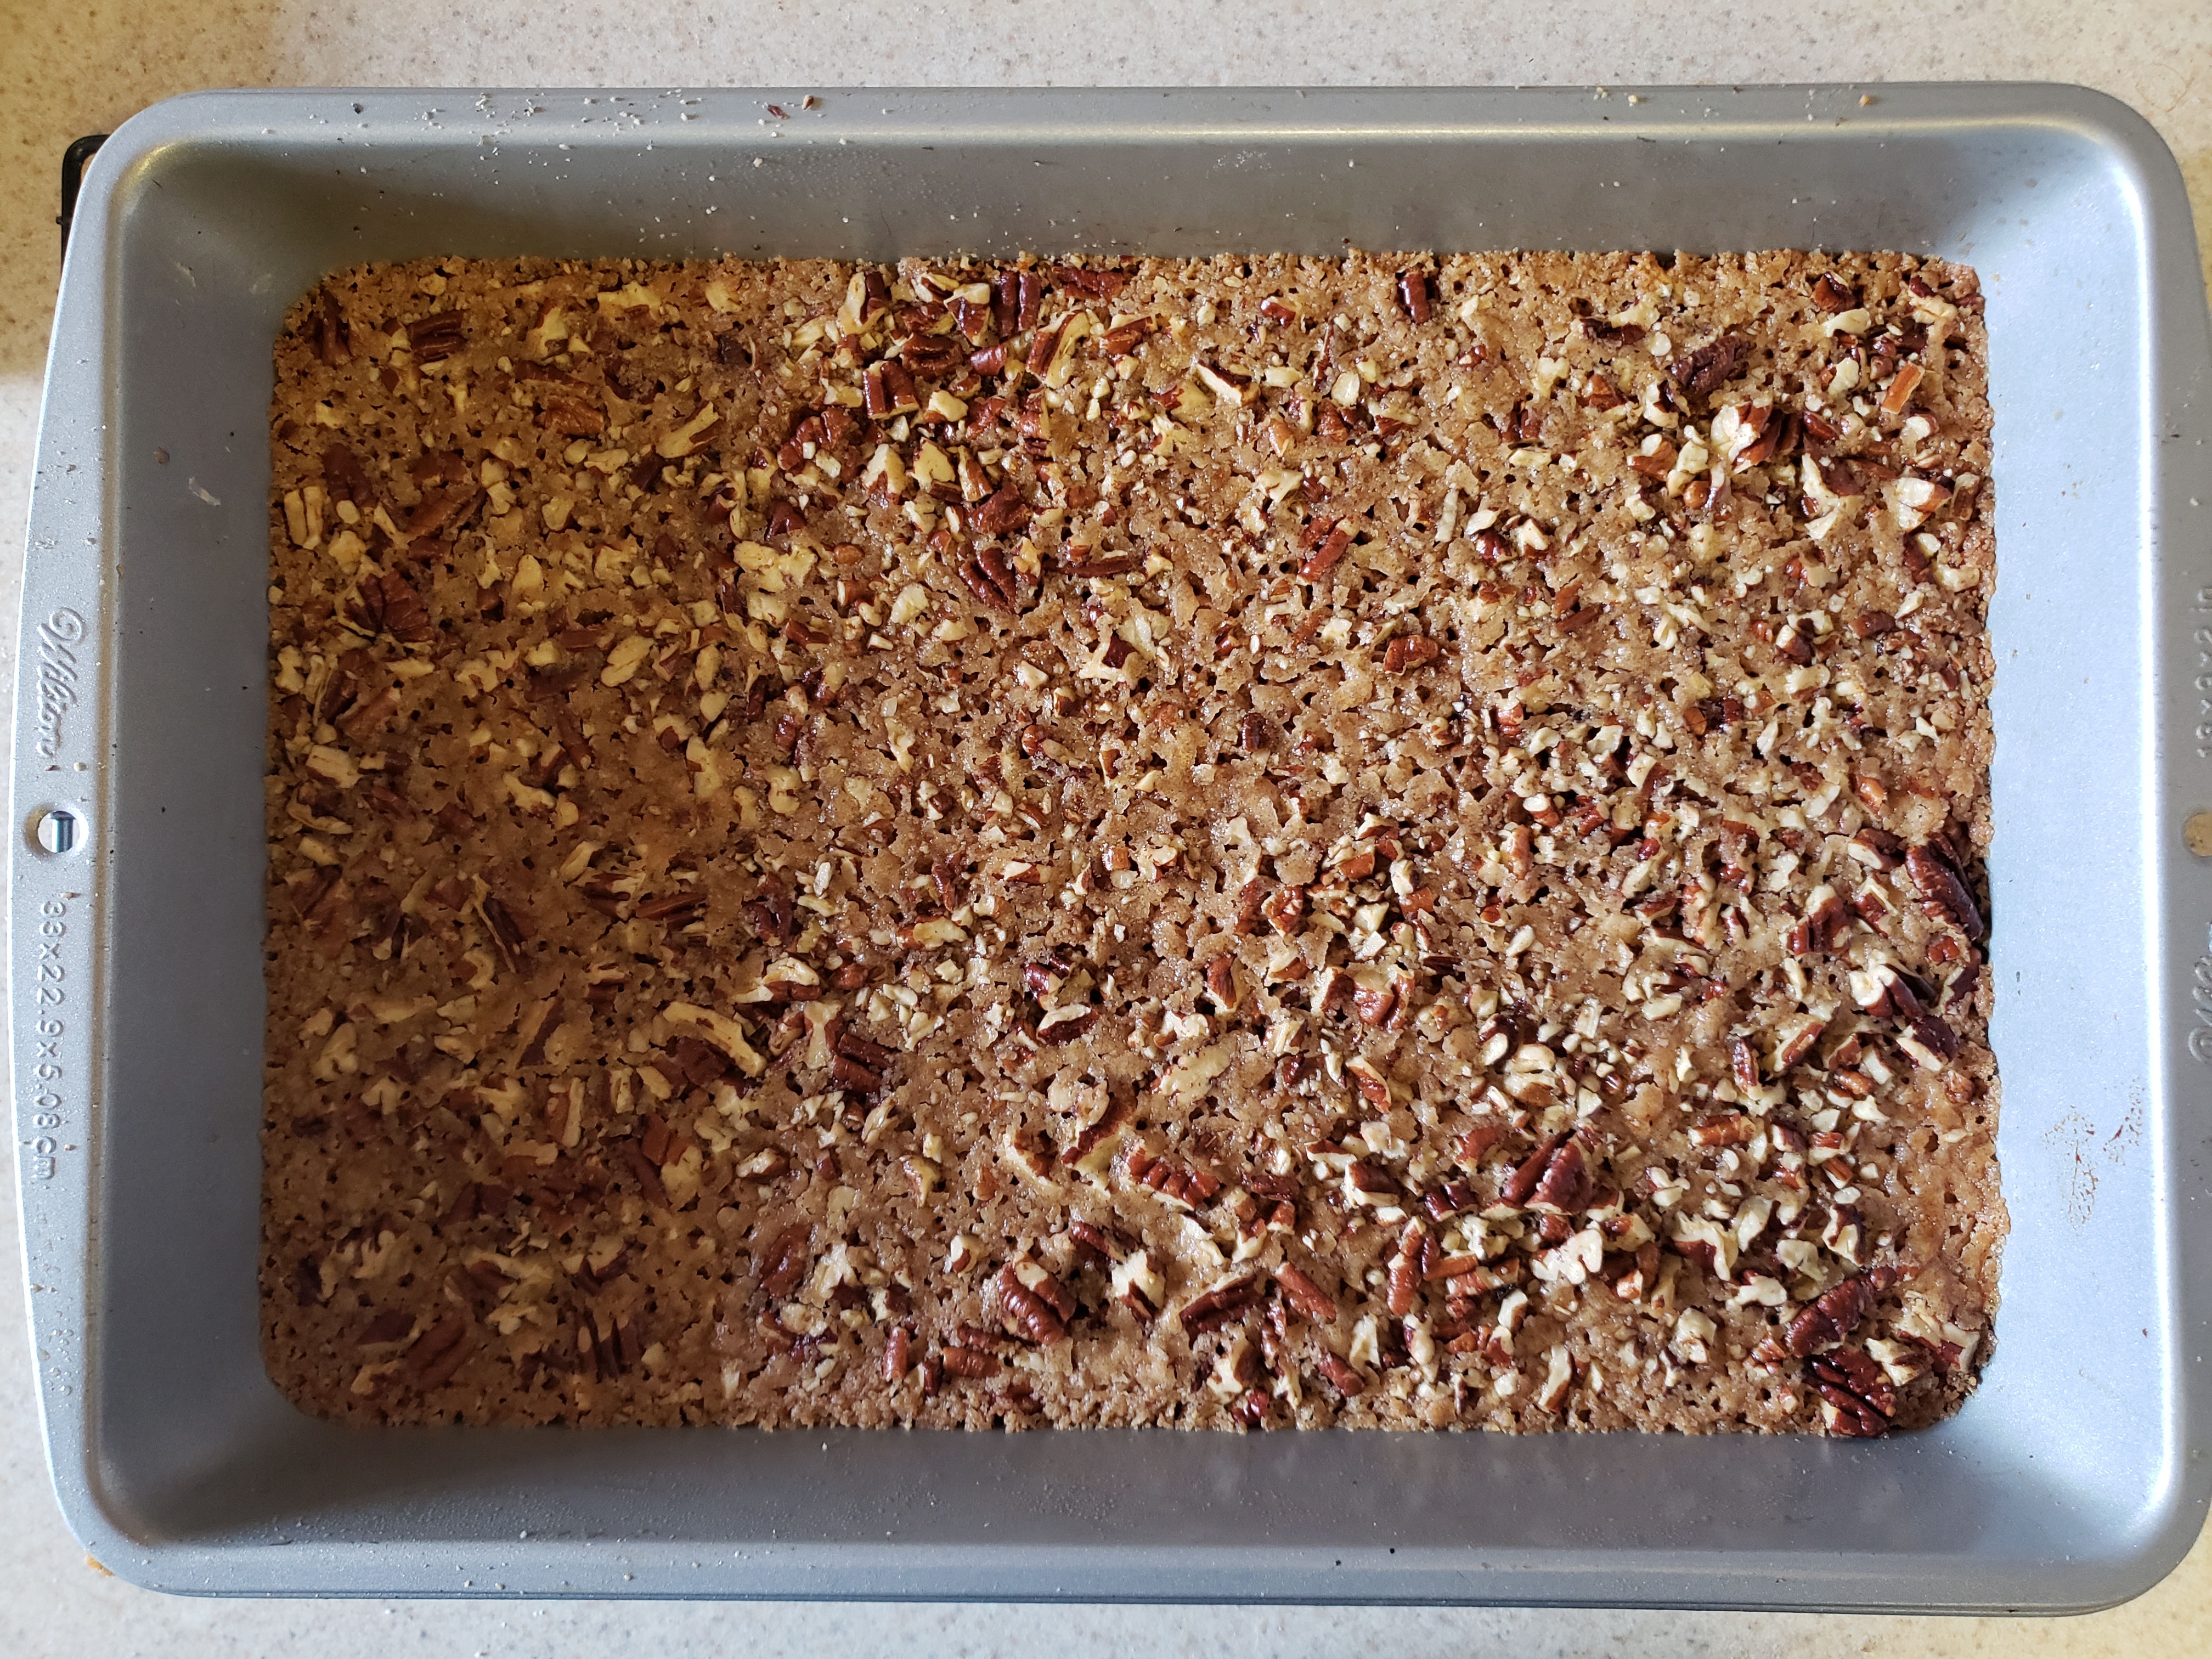
Press the dough into an even ¼ in. layer in a 9×13 in. baking pan.

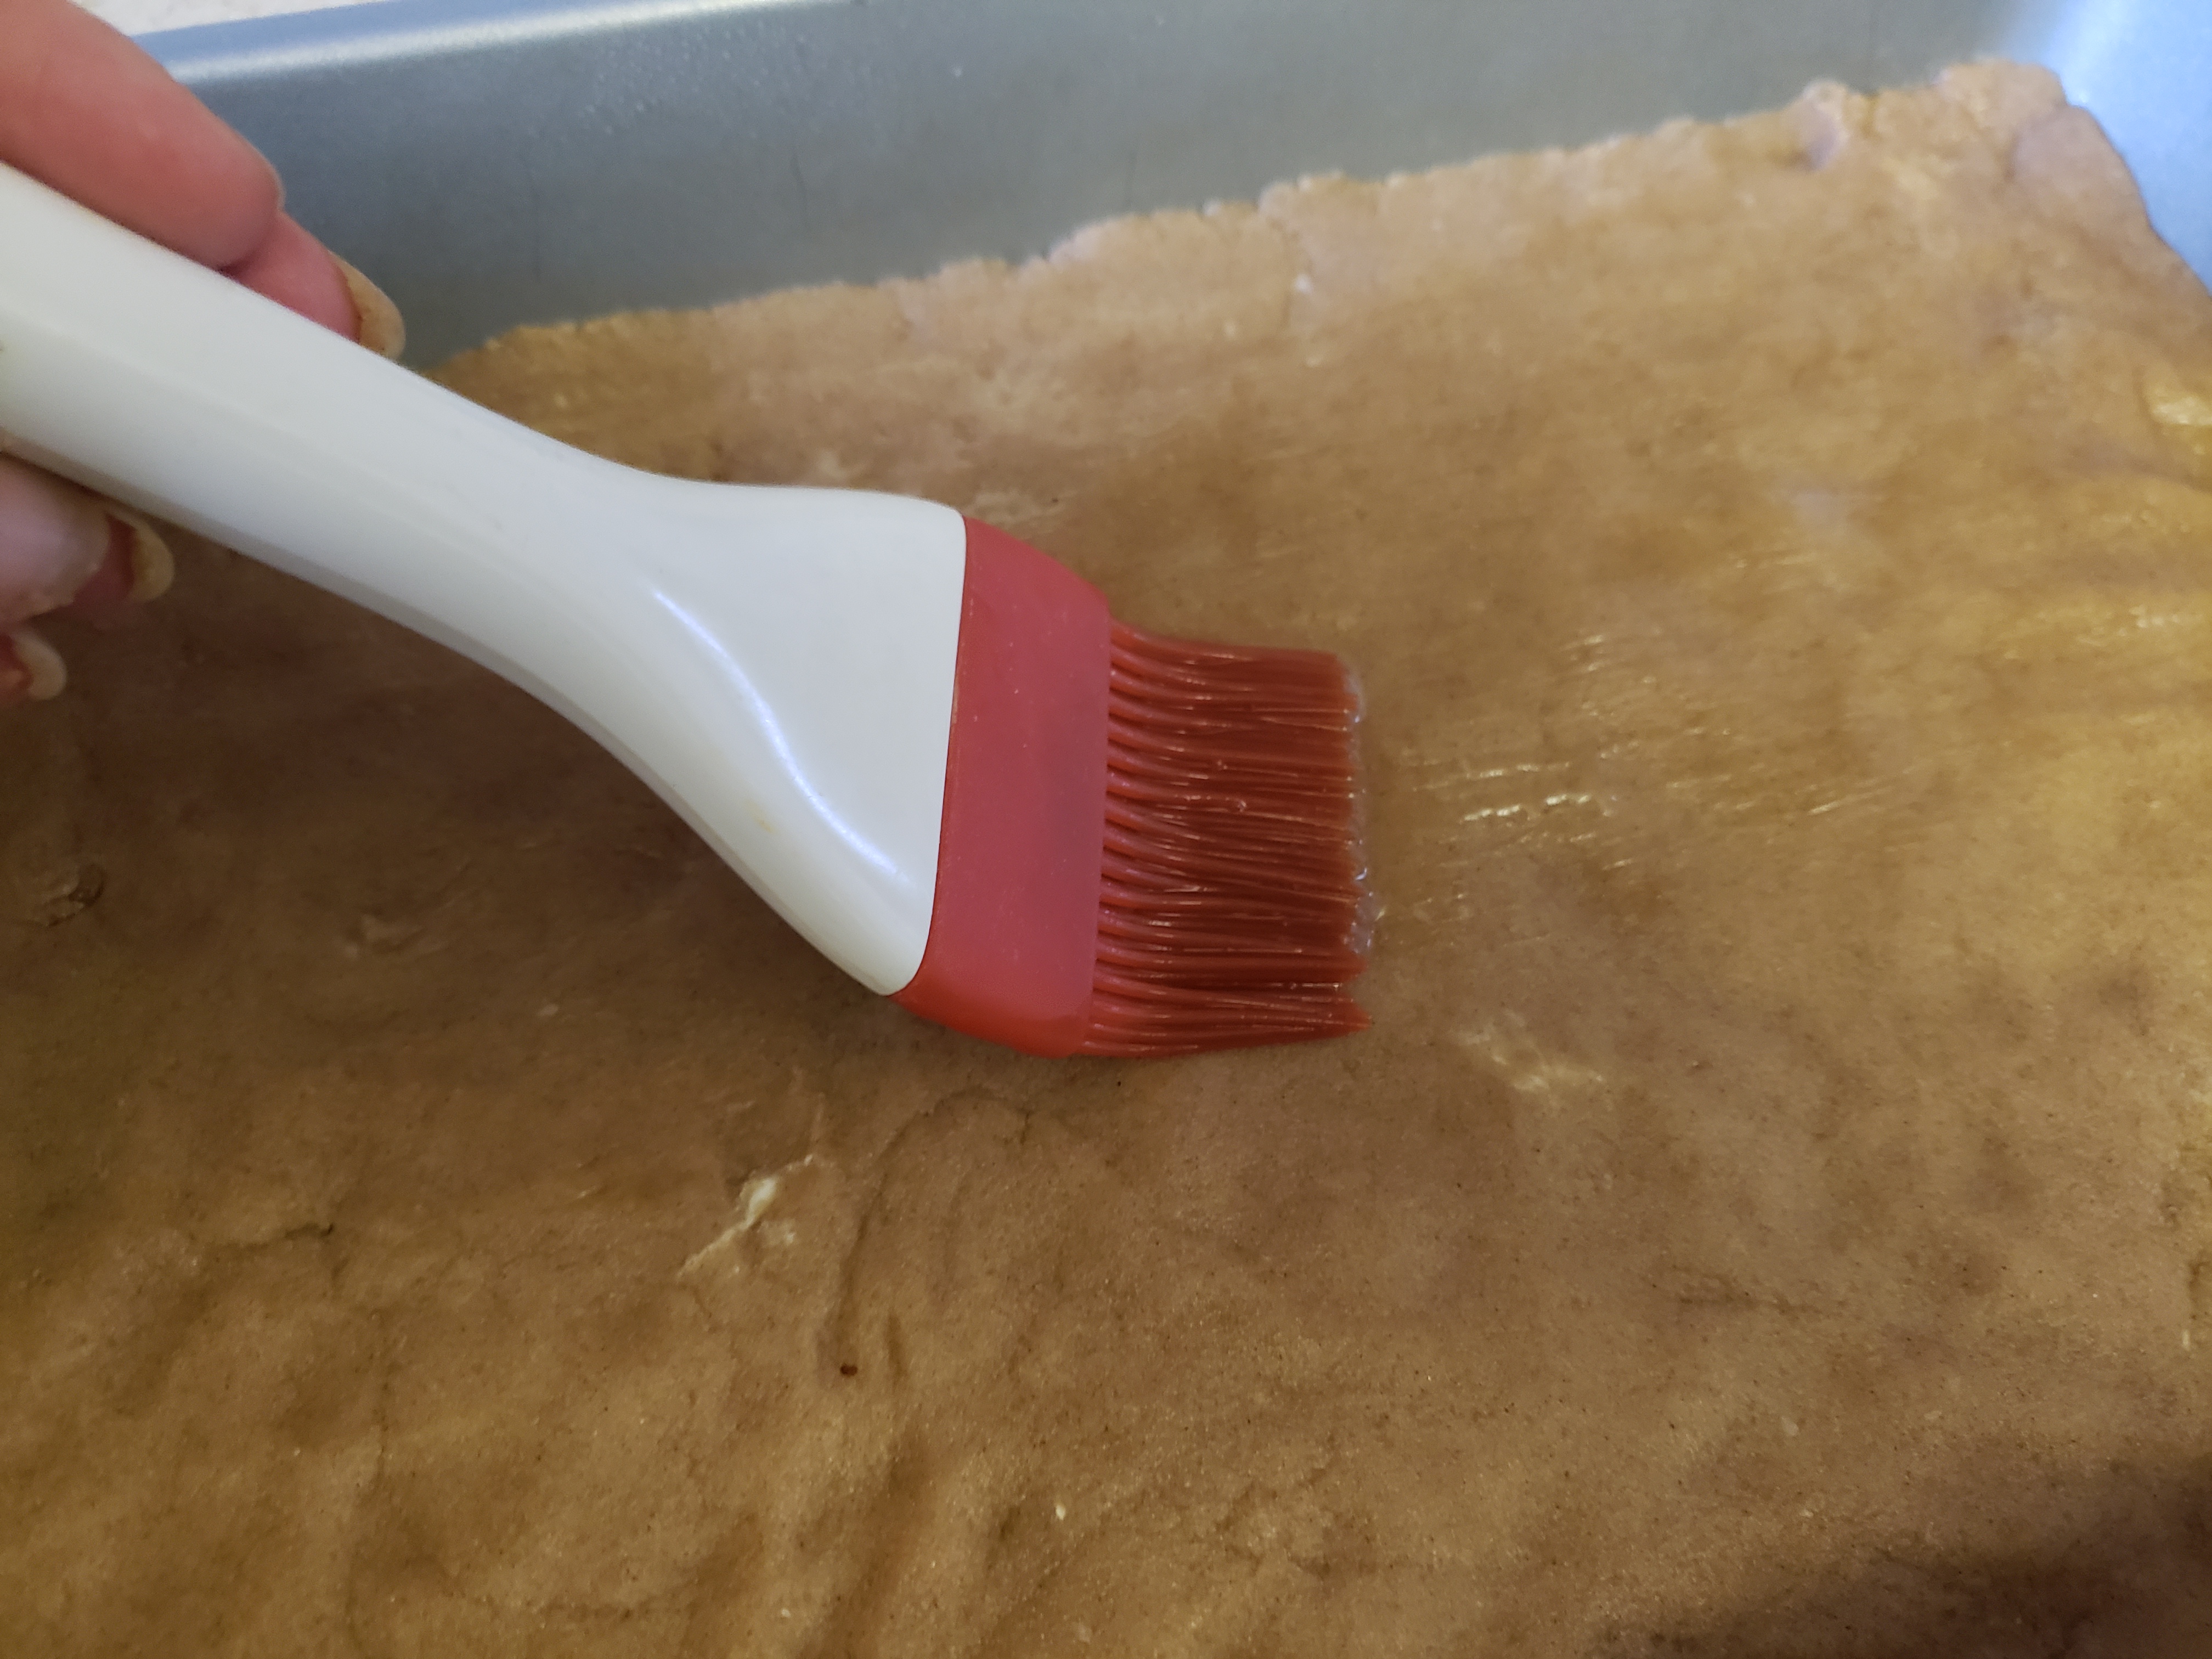
Brush the top of the dough with the unbeaten reserved egg white and sprinkle on the chopped pecans.

Bake for 30 minutes.
Remove and cool in the pan for 15 minutes before cutting into squares.
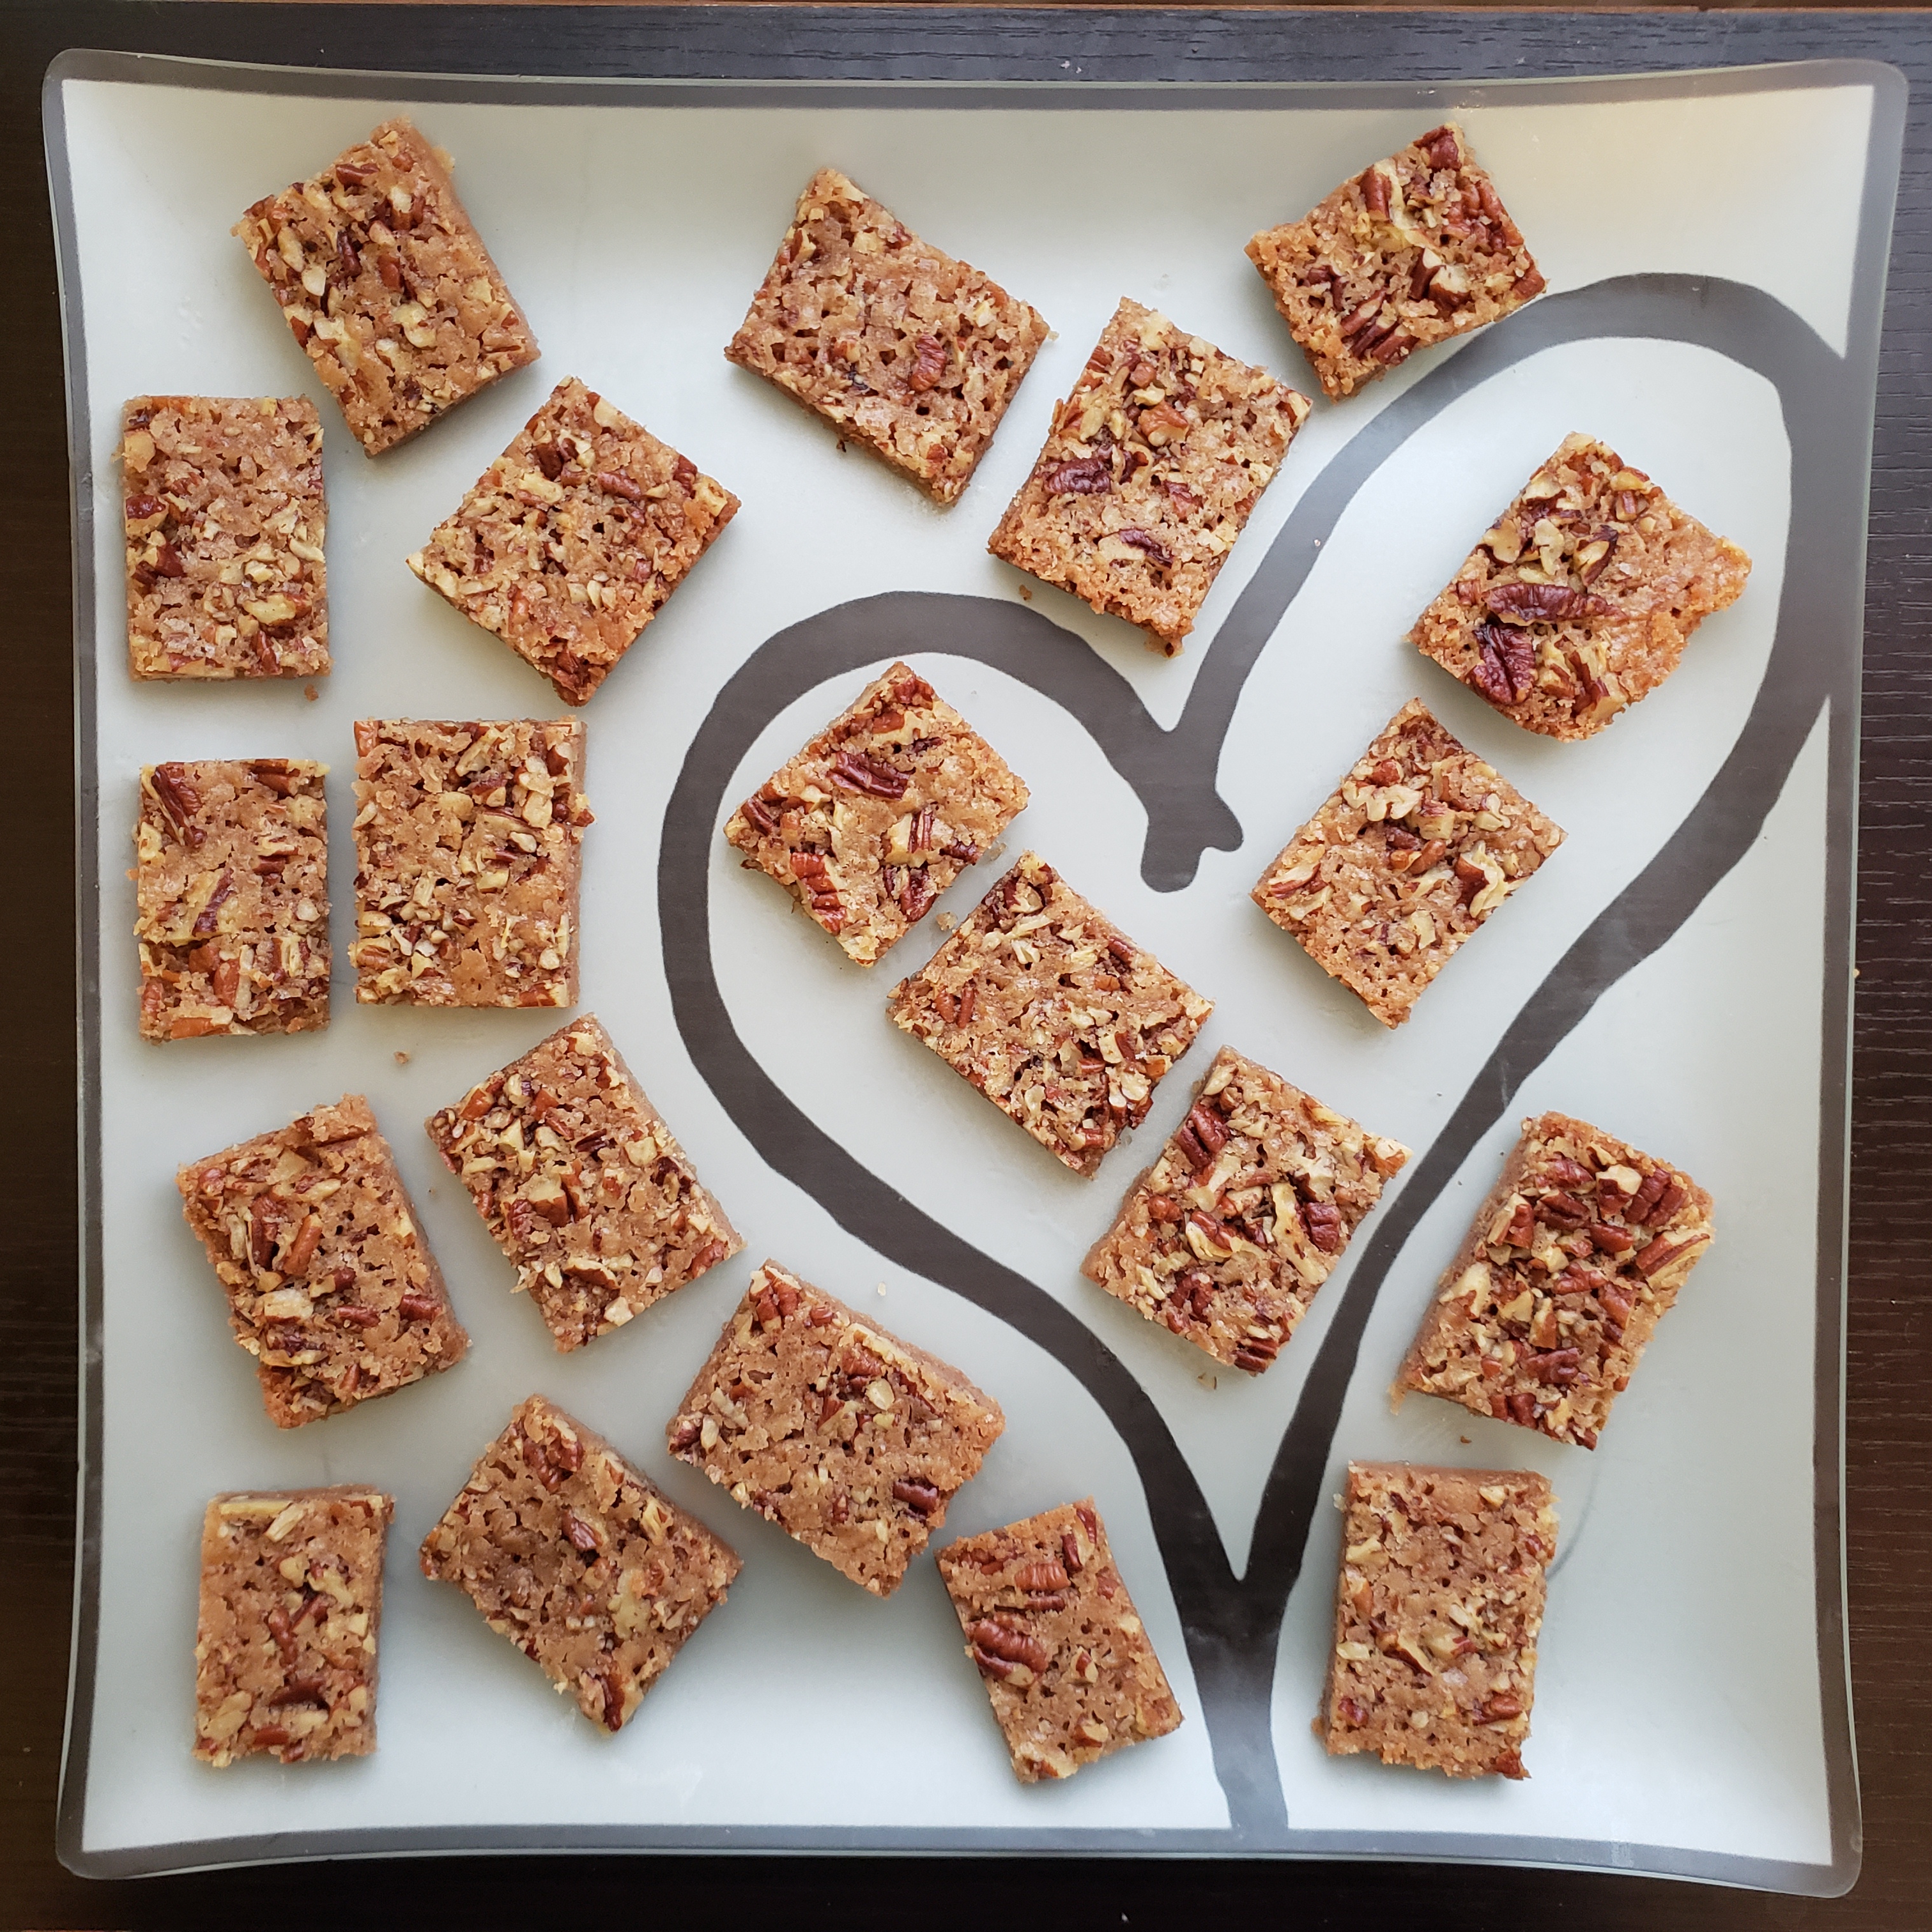
They are, as advertised, both cinnamon AND crispy. The cookie layer has a little bit of chewiness to it, but the butter toasts the pecans and makes the top so crunchy. Ri-DIC-ulously delicious.

I’m so glad I could share a little bit of my Gram’s cooking with you. Whenever I need to go home for a few moments, I’ll work my way through those recipes and smile. As I wrote on the day I learned of her passing, “You’ll always be with me in the kitchen.”

Ciao for now,
Neen