Archive | Intermediate RSS feed for this section

Happy 35th: My Best Buddy’s Birthday Cake

17 Mar

Super-husband turns 35 this week, so we had friends over for a night of virtual reality gaming and delicious food.

The centerpiece of the evening was the guest of honor’s request, a yellow butter cake with vanilla buttercream. I’m not sure how I’ve never shared this yellow cake recipe on here, because it’s one I make often for birthdays because it’s so, so good. Soft, fluffy, sweet, and everything a celebration cake should be. Here’s how to bake it!

Yellow Butter Cake

  • 3 cups sifted cake flour
  • 3 ½ tsp. baking powder
  • ½ tsp. salt
  • 12 tbsp. unsalted butter, room temperature
  • 1 1/3 cups sugar
  • 6 egg yolks
  • 1 cup whole or reduced-fat milk
  • 2 tsp. vanilla extract

Preheat the oven to 350 degrees F. Line the bottom of two 9 in. round cake pans with parchment paper, and then grease and flour the pans.

Whisk together the cake flour, baking powder, and salt in a large bowl and set aside

In the bowl of a stand mixer or using a hand mixer, beat the butter and sugar together until light and fluffy, about 3-5 minutes.

Add the eggs in two batches, beating well between additions and scraping down the bowl as needed.

With the mixer on low, add 1/3 of the flour mixture, followed by half of the milk, then 1/3 of the flour mixture, the other half of the milk, and finally the last 1/3 of the flour mixture, mixing well between additions and scraping down the sides of the bowl as needed.

Divide the batter evenly between the prepared pans. In this instance, it was 500 grams of batter per pan.

Bake the cakes for about 25 minutes, or until a tester inserted in the center of the cake comes out clean.

Cool the cakes in the pans for 10 minutes, and then invert onto a wire rack. Re-invert the cakes to prevent cracking and cool completely.

The recipe for the vanilla buttercream can be found here in the Ribbon Cake recipe.

To frost, place one cake on a plate and frost the top with a thin layer of the buttercream (about ¾ cup).

Add the second layer and frost the top and sides evenly.

Color the remaining buttercream with food coloring for decoration if you wish, and pipe whatever designs your heart desires.

Of course, sing happy birthday and share with friends for maximum enjoyment.

Happy Birthday Joe! You’re the best.

Ciao for now,

Neen


Keeping Cozy: Oatmeal Brown Bread

31 Jan

Most of the country is in the midst of a massive cold front right now. Parts of the US are seeing temperatures reaching -30 degrees F (-50 to -60 with wind chill!) and it is brutal. It’s less insane here in Arlington, but still in the teens. Cold enough certainly that I’m thinking comforting, warming foods like pasta and stew. When I turned to bake my weekly bread, I decided to go with something a little heartier too.

Brown bread seemed like just the ticket. I opted for a traditional baked loaf, rather than the steamed Boston-style brown bread. I also decided to include whole wheat flour and oats to make it extra filling and nutritious. The result was a slightly sweet, moist, and rich loaf that’s equally suitable for sandwiches or eaten plain alongside a bowl of hot soup.

Oatmeal Brown Bread

  • 1 ½ cups boiling water
  • ½ cup old fashioned rolled oats
  • 1 tbsp. unsalted butter
  • 1 tsp. kosher salt
  • 1 tsp. instant yeast
  • 2 tbsp. brown sugar
  • 3 tbsp. molasses
  • 1 ½ cups all-purpose flour
  • 1 ½ – 2 cups whole wheat flour
  • 1-2 tbsp. melted butter

Combine the boiling water, rolled oats, unsalted butter, and kosher salt in a small bowl and allow the mixture to cool to between 110-115 degrees F.

In a large bowl, combine the all-purpose flour, 1 ½ cups of whole wheat flour, instant yeast, brown sugar, and molasses and mix until well combined.

Add the cooled oatmeal mixture and mix well. Add enough of the remaining ½ cup of whole wheat flour to form a soft dough that is slightly tacky.

Knead the dough for 6-8 minutes until smooth and elastic. It will still be slightly tacky.

Grease a large bowl and place the dough in it, turning once to coat with oil. Cover the bowl and allow the dough to rise until doubled, about one hour.

Punch down the dough and pat it out to a 5in. by 6-8 in. rectangle.  Starting from the short end, roll up the dough, pinching seams along the way to increase surface tension. Pinch the final seam shut and gently rock the loaf to even it out.

Place the loaf, seam side down, in a greased loaf pan and cover lightly with greased plastic wrap. Let rise until doubled again, about 30-45 minutes.

Preheat the oven to 375 degrees F and bake the bread for 30-35 minutes, or until golden brown. The internal temperature should measure at least 195 degrees F.

Remove the bread from the pans and brush the top with melted butter. Cool completely before slicing.

This loaf is moist, rich, and full of flavor. It was surprisingly soft and light despite the large proportion of whole wheat flour. I kept warm in the kitchen while it baked and enjoyed the wonderful scent filling up the house. I bet it will make amazing toast, too! Hope you are finding ways to take the chill off. Definitely try this one out. There’s nothing more heartwarming than baking your own bread.

Ciao for now,

Neen

A Holiday Any Day: Cheesecloth Roasted Turkey

28 Nov

We ended up going out to dinner on Thanksgiving this year, but Joe and I really did want to have the traditional turkey dinner at some point at our own leisure. So when I happened upon the perfectly sized 10 lb. turkey at the store over the weekend, we opted for a little mid-week celebration. A Thanksgiving 2.0, if you will.

There are a lot of ways to roast a bird, but I stumbled across the cheesecloth method a few years ago and it has never failed to produce a juicy bird with a crisp skin. With Christmas on the horizon, I thought I’d share this with you as it’s a method that will work with just about any bird you choose to serve. This savory centerpiece is a definite crowd pleaser, and in my opinion it’s pretty easy to prep and cook. So let’s roast!

Cheesecloth Roasted Turkey

  • One 10 lb. turkey
  • 2 tbsp. kosher salt
  • 1 head garlic, halved
  • A few sprigs fresh parsley, thyme, and rosemary
  • 1 lemon, quartered
  • 1 onion, peeled and quartered
  • **4 oz. unsalted butter
  • **¼ cup chicken or turkey stock
  • Cheesecloth (enough to put a double layer that covers the whole bird)

**If you have a larger turkey in the 18-20# range, double these amounts (8oz. butter and 1/2 cup stock respectively)

The day before roasting, rinse the turkey inside and out with cold water and then pat dry with paper towels.

Season the turkey inside and out with the salt. Wrap the turkey in plastic wrap and refrigerate for 24 hours.

Remove the turkey from the refrigerator 1 1/2 hours prior to roasting to bring to room temperature.

Preheat the oven to 425 degrees F with the oven rack set on the lowest rung.

In the turkey’s neck cavity, place a few cloves of the garlic, a few sprigs of rosemary, thyme, parsley, and a quarter of the lemon. Wrap the neck skin over and around the cavity to enclose the seasoning ingredients.

In the body cavity, place half of the remaining garlic, half of the onion, 2 lemon quarters, and half of the remaining parsley and thyme.

Place the turkey, breast side up, on a rack set into a large roasting pan. Fold the wings and tuck the tips underneath the bird.

In a medium saucepan over medium heat, melt the butter and add the remaining garlic, onion, lemon, and herbs to the pot with the stock. Bring to a boil,  and then reduce to a simmer, cooking for 5 minutes. Remove from the heat and cool slightly.

Soak the cheesecloth in the butter mixture and then drape it in a double layer over the turkey.

Put the turkey in the oven and roast for 45 minutes, then turn the oven temperature down to 350 degrees F, and roast for another 15 minutes per pound (removing the cheesecloth for the final 20 minutes), or until an instant-read thermometer inserted into the center of a thigh registers 160 degrees F (about 3 hours). Remove the turkey from the oven and let it rest for 20 minutes before carving.

As I said before, the skin is crisp and savory, while both the dark and light meat are juicy and flavorful. We enjoyed ours thoroughly with some macaroni and cheese and my apple-sausage dressing. The leftovers are tucked away for sandwiches, and maybe even sharing with Dioji and Zero. Don’t forget to save the carcass and any vegetable odds and ends to make turkey stock! Waste not, want not after all.

Hope you’re enjoying your holiday season as much as we are. Give this one a try soon. With it’s buttery cheesecloth robe, your bird will be dressed to impress and full of flavor.

Ciao for now,

Neen

Summer Sweets: Fresh Cherry Marshmallows

19 Aug

Have I mentioned lately how much I love summer? Okay sure, the other seasons have their benefits. The warm spices of autumn, the hearty meals of winter, and the sweetness of early spring vegetables are awesome. But summer has all sorts of fruit and vegetable gifts for me to play with in the kitchen. And their seasons are fleeting, so it’s important to make the most of them while they’re around. That’s why this is the first of TWO recipes utilizing one of my favorite quick-to-disappear delights: Fresh sweet cherries.

Now sour cherries are delightful too, but you only usually see those here in June. Deep, dark red sweet cherries carry on a little longer through the summer. And while my first choice is always to eat them fresh, I do love using them for jams, sauces, and baked goods as well.

Using them for candy-making, on the other hand is a bit more of a challenge. Fruit has a lot of water and some fruits have a great deal of their own pectin. Those factors (and others, like acidity) can really throw off a candy recipe. So I did two things. First, I decided to update my marshmallow recipe. As they do, my methods and techniques have evolved since I first posted it several years ago. Second, I did some research to find out how, where, and when adding some fruit puree to the recipe made the most sense. And very soon, I had a batch of fluffy, fragrant marshmallows with a gentle cherry flavor.

Let’s whip’em up!

Fresh Sweet Cherry Marshmallows

  • 1 1/4 cups water, divided
  • 1/2 cup cherry puree (from 1 heaping cup fresh cherries)
  • 4  ¼ oz. envelopes unflavored powdered gelatin (about 3 tbsp. + 1 tsp.)
  • 3 cups granulated sugar
  • 1 1/4 cups light corn syrup
  • 1/2 cup powdered sugar
  • 1/2 cup cornstarch

Sift the powdered sugar and cornstarch together in a bowl and set aside. You will need this mixture a few times throughout the process, so have it standing nearby.

Grease a 9×13 in. pan and give yourself some extra insurance by lining the bottom with parchment paper. Then grease the parchment and dust the whole pan with the powdered sugar/cornstarch mixture. Make sure it’s totally coated.

Grease a spatula or a large offset palette knife and set it aside.

In the bowl of a stand mixer fitted with a whisk attachment, combine the cherry puree with ½ cup of the water. Sprinkle the unflavored gelatin on top and briefly stir to combine. Let it sit for at least five minutes.

Prepare the syrup by combining the remaining water, sugar, and corn syrup in a saucepan over medium-high heat. Stir until the sugar dissolves, and then attach a candy thermometer and cook without stirring until the syrup reaches 240 degrees F.

While the syrup is cooking, give the fruit puree/gelatin mixture a stir to make sure the gelatin is well-distributed.

Once the syrup reaches 240 degrees F, turn the stand mixer on low speed and slowly stream in the sugar syrup. Once you’ve poured it all in, slowly increase the speed to its highest setting and whip for 11 minutes.

The mixture will cool down, greatly increase in volume, and slowly turn from syrup into fluffy marshmallow.

After the mixture is whipped, use your oiled spatula/palette knife to spread it into the prepared 9×13 in. pan and smooth the top. Dust the top with more of the cornstarch and powdered sugar mixture and let the marshmallows set for 8 hours.

Turn the slab of marshmallow out onto a cutting board and peel back the parchment paper.

Cut into squares of any size using a pizza wheel or an oiled bench scraper. I find that it helps to dip the pizza wheel into the cornstarch and powdered sugar mixture after cutting each row. Your cuts will be much neater.

As you cut, toss the squares in the cornstarch/powdered sugar so that all sides are coated. This keeps the marshmallows from sticking together.

Store in a sealed container away from heat and humidity, and start thinking about all of the great cherry s’mores you are going to make.

The fragrance of these is just incredible, not to mention the soft, creamy texture when you bite into one.

Not a cherry lover? That’s alright! Strawberry and blueberry purees also make great marshmallows. And if you’re looking for something more traditional, simply omit the fruit puree, use 3 envelopes of gelatin instead of 4, and add a tsp. of vanilla extract when there is about 1 minute of whipping time left. That will get you the classic, bright white vanilla marshmallow that’s ready for a skewer and a bonfire.

I hope you find some of your own sweet tastes of the season to whip into this tasty confection. Keep your eyes peeled for another cherry delight here soon!

Ciao for now,

Neen


State Specialties: Smith Island Cake

11 Aug

Chincoteague Island holds some of my favorite foods. The fried chicken and barbecue from Woody’s, scallops from Gary Howard, and crabs and hushpuppies from the aptly named Crab Shack. Not to mention the multiple farmer’s markets, a donut truck, and various small bakeries and ice cream shops.

It’s also the first place I discovered one of the tastiest regional specialties I have yet to try: Smith Island Cake. While they come in many flavors, the common theme among them is the towering number of individually baked (not split) layers, 8-14 of them as far as I’ve seen. The cake is officially designated as the state dessert of Maryland and the most popular variety features a cooked chocolate fudge frosting (though my mother-in-law would have made a strong argument for the coconut variety that she LOVED).

I shared a slice of one of these with my family on one perfect island day and it was a heavenly treat for sure. I’ve wanted to make one ever since, but kept putting it off because I just didn’t have the time. Then Joe went to Las Vegas for a weekend with his friends and I got bored, so things happened.

I’ve done my best to streamline the baking method. The batter and frosting are both pretty simple, you won’t even need a mixer for anything, just two big bowls and a saucepan. No splitting of layers, hooray! And you can take your time with this. The cake batter and frosting are both resilient, so don’t stress.

Smith Island Cake

Butter Cake

  • 24 tbsp. unsalted butter, melted
  • 3½ cups all-purpose flour
  • 4 tsp. baking powder (preferably aluminum-free)
  • 1½ tsp. kosher salt
  • 2¼ cups sugar
  • 2 cups whole milk
  • 2 tsp. vanilla extract
  • 6 eggs

Chocolate Fudge Frosting

  • 6 oz. dark/bittersweet chocolate (I used 56%), chopped
  • 3 cups sugar
  • 1 1/2 cups evaporated milk (one 12 oz. can)
  • 9 tbsp. unsalted butter, melted
  • 2 tsp. vanilla extract
  • ½ tsp. kosher salt

Cut 8 circles of parchment paper to fit the bottom of 9 in. round cake pans. Grease, line with parchment, and flour as many 9 in. round cake pans as you have. Test to see how many pans will fit on the middle rack of your oven. Doing this in advance will let you know how many batches you’ll be making for 8 layers of cake. I have 5 pans, so I baked in 3 batches.

If you want to simplify dividing your batter among batches, weigh the bowl your final batter will be in.

Preheat the oven to 350 degrees F.

In a large bowl, mix the flour, salt, and baking powder. Set aside.

In another bowl, whisk together the butter, sugar, milk, vanilla extract, and eggs until well combined.

Pour the wet ingredients over the dry ingredients and whisk just until it comes together. It will look lumpy, like pancake batter. Let this rest for 15 minutes and then whisk until smooth.

If you are going by weight, weigh your batter, subtract the weight of the bowl, and then divide by 8 to get the amount of batter you’ll use per pan. Alternatively, put a clean bowl on the scale, use the tare function, and pour the batter into the clean bowl. Then divide that number by 8. For my batter, this worked out to just under 9 oz. per pan. I would say it was a heavy ¾ cup per pan.

Spoon the batter into the prepared pans and then tilt the pans to spread the batter evenly across the bottoms.

Bake the layers for 15 minutes or until just golden at the edges and pulling away from the pan.

Allow the layers to cool in pans for 5 minutes, and then invert onto wire racks to cool completely. I don’t have enough cooling racks for 8 cakes, but these cool fast and you can move the cooled layers onto parchment to give yourself more real estate when the next batch is coming out.

Re-grease and flour pans as needed, divide batter, and bake until you have made eight layers.

To make the fudge frosting, combine the butter, evaporated milk, chocolate, and sugar in a saucepan over medium high heat, stirring often. Boil the mixture, stirring, until thick and shiny (about 8 minutes). It should coat the back of a spoon well. Set aside to cool for about one hour, or until warm, but spreadable.

To assemble the cake, spread a thin layer of frosting over each layer. As you stack, the frosting will start to set up and keep things pretty stable.


Once you have stacked all 8 layers, spread the remaining frosting along the sides and top of the cake. If it starts to get too stiff, just re-warm it a little and it will become spreadable again. Like I said before, super resilient stuff to work with.

And…

I added a little spun sugar for a decorative top, but really this cake is about the insides. Let the frosting set up for at least an hour before cutting. Trust me, it’s worth it, because if you’re patient…


Yes, perfect, clean layers! So satisfying.

So what’s the cake like? It has a buttery soft texture and a warm vanilla flavor. The fudge frosting is something special. I love how it sets up and makes this cake so easy to slice. The flavor is a decadent, rich chocolate that’s, well, wonderfully fudgy!

I know the baking in batches is a bit time consuming, but this cake is so easy to put together once that’s done. And so very worthy of state dessert status!

Don’t be afraid to be creative. You can certainly make some vanilla fudge frosting or a double recipe of maple buttercream, peanut butter filling, or caramel sauce to sandwich between the layers. Jam or curd might be a bit slippery unless you let the layers sit in the fridge between stacking/filling, but the cherry filling from the Ribbon Cake is definitely thick enough to hold up here. You could really make some fantastic stripes, in fact I’m already dreaming about my next birthday cake.

Next time I’m in Chincoteague, I’ll have to do some extremely important and detailed research. 😉

Ciao for now,

Neen

One Night in NOLA: Salted Butter Pecan Ice Cream with Caramel Swirl

10 Aug

I don’t eat ice cream very often. I’ve made vanilla and cookies and cream versions for Joe, but usually I have a spoonful and leave it at that. I’m more of a pie and pastry person when it comes to sweets. When I think back to many birthday parties over the years, I’ve never wanted a scoop of ice cream with my cake.

But I have my moments. The craving hits every once in a while and always for the same flavor: butter pecan. And the way I see it, if you are going to treat yourself to ice cream, you should go all the way and make it everything you want. As many of my recipes are, this one is born from a memory.

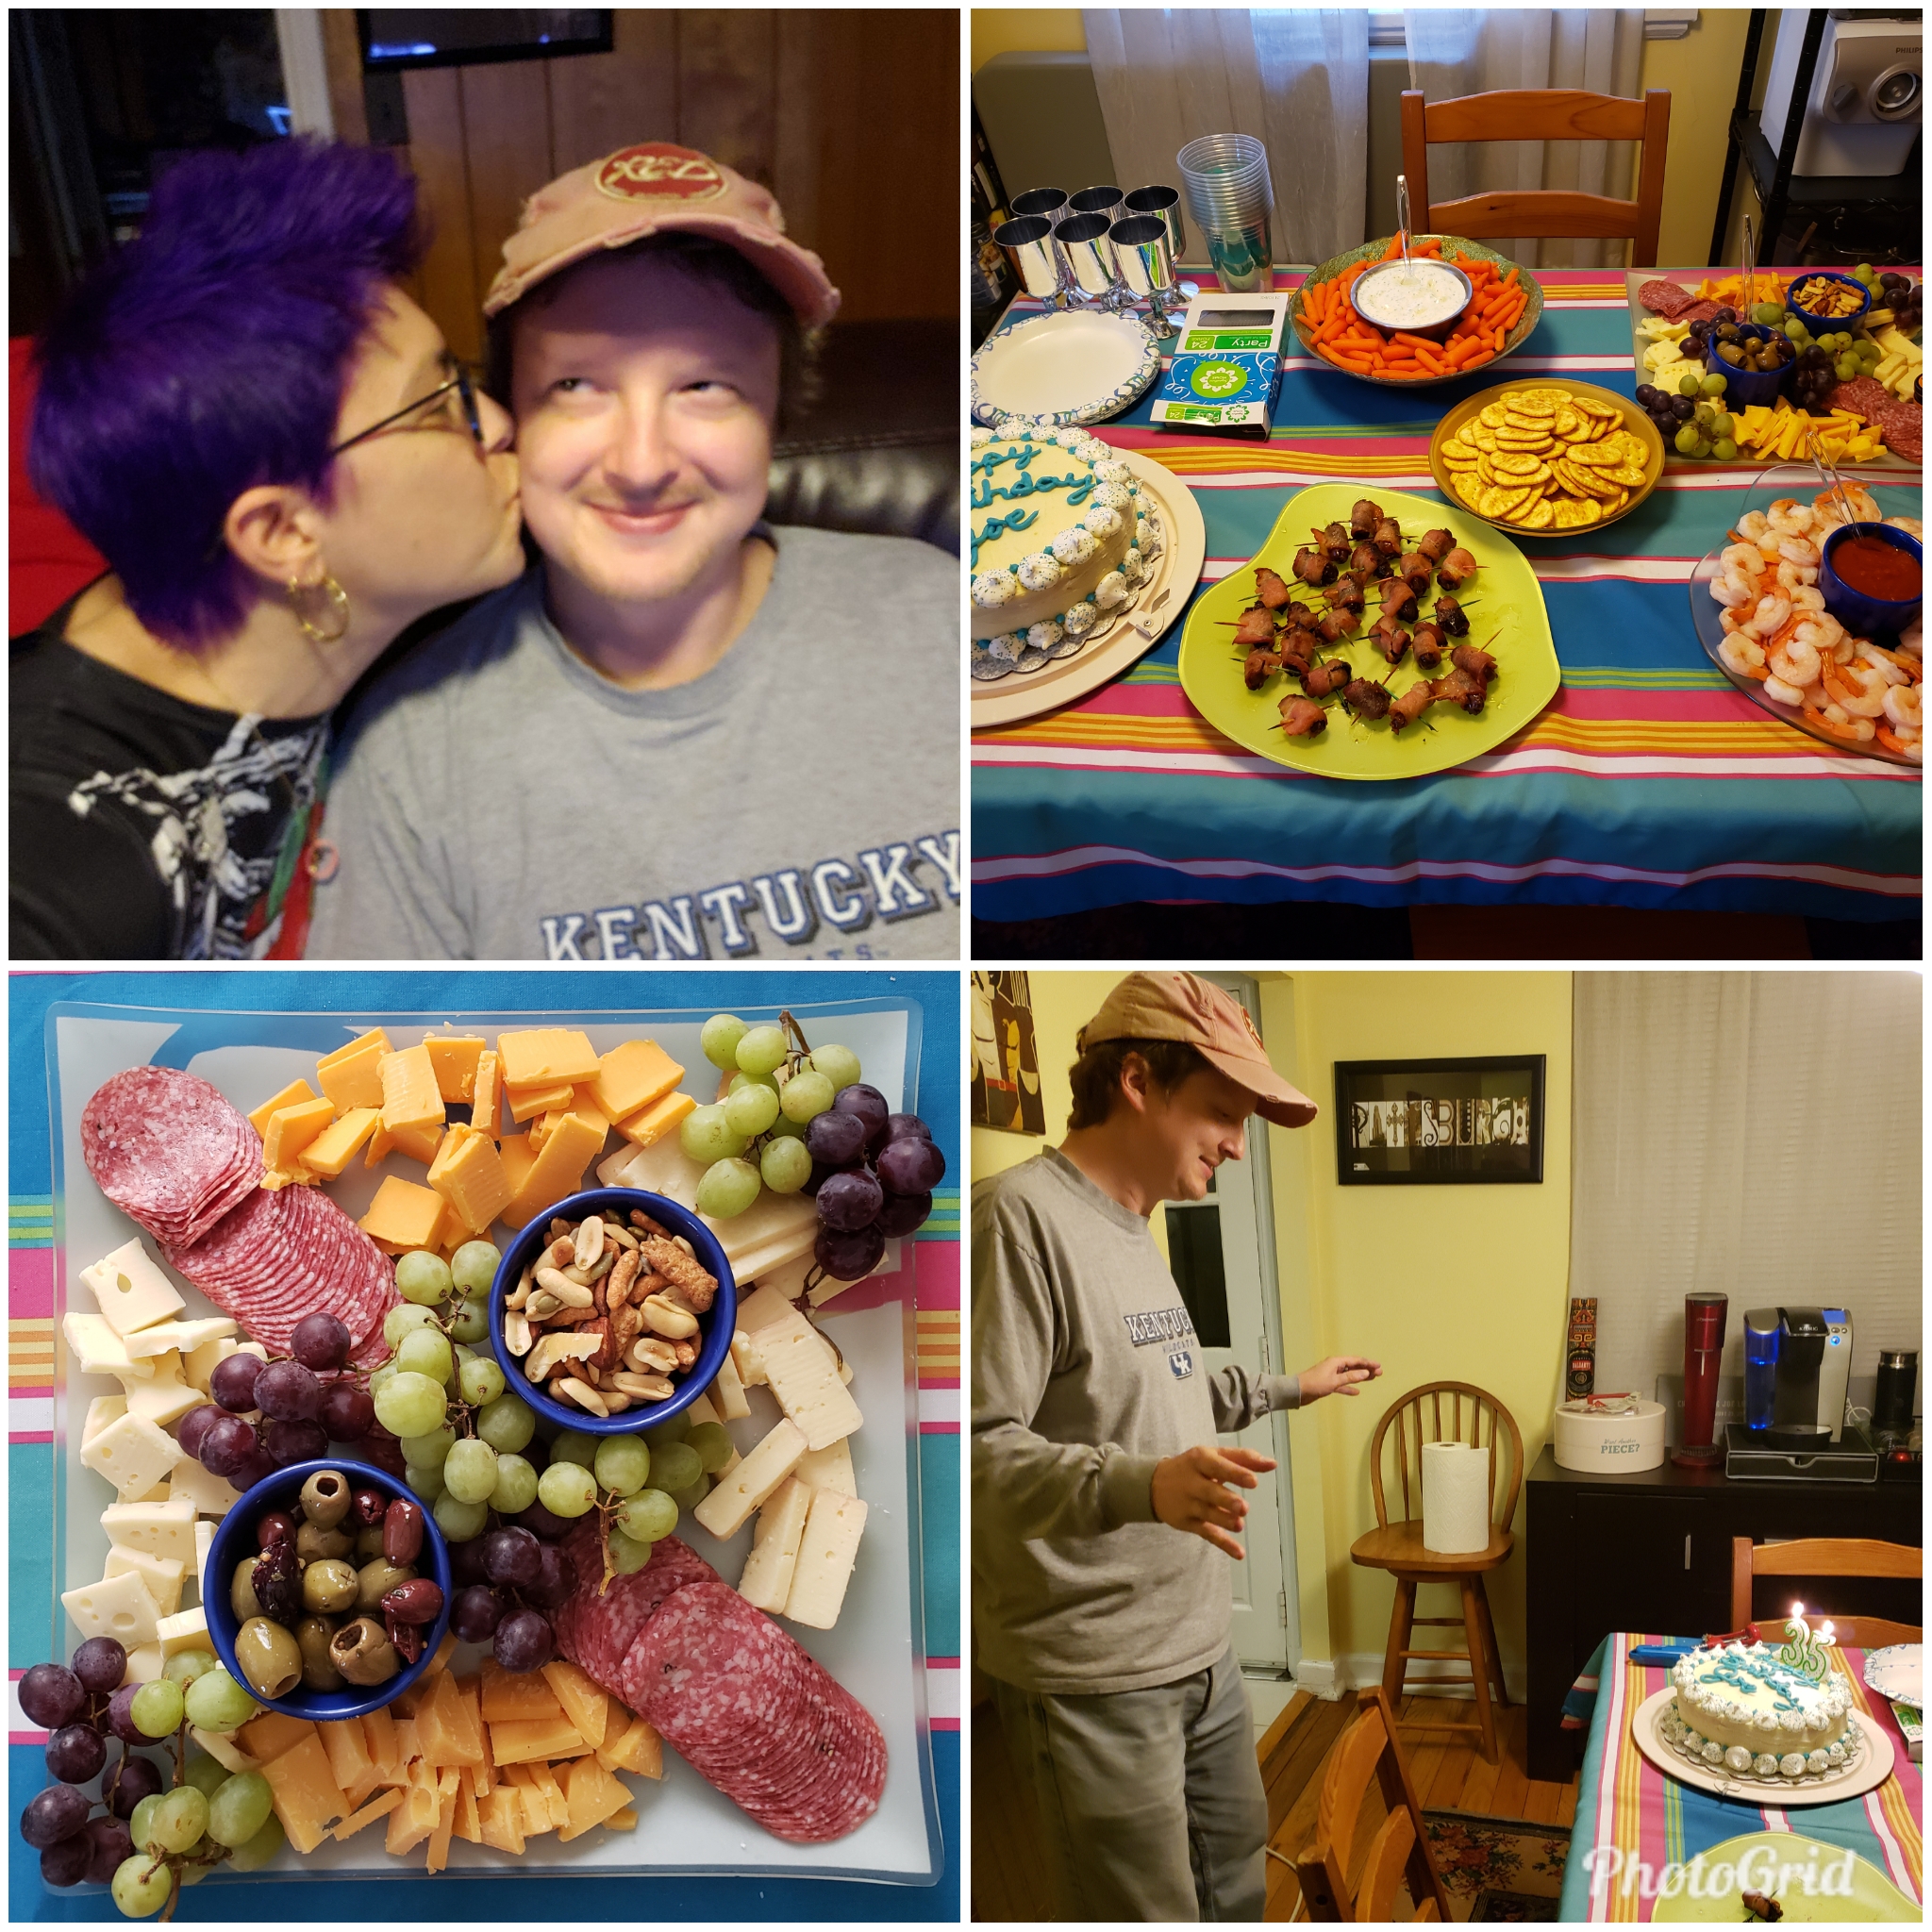
Seven Junes ago, Joe proposed to me a few days before a trip to New Orleans with my family. When we arrived in NOLA, we surprised everyone with the news, and what was already set to be a fun vacation became even more celebratory and special.

The first night there was, as expected, hot and muggy. We made our way through the French Quarter to a tiny restaurant called Green Goddess. We had an excellent meal, but for one time in my whole life, it was an ice cream dessert I ordered there that embedded itself in my brain. It was a sundae consisting of butter pecan ice cream, a caramel sauce, candied bacon, and whipped cream. And it was unreal. The ice cream was perfectly creamy and packed with buttery toasted pecans, the caramel sauce was dark and rich, and the candied bacon was smoky, salty, crunchy, and sweet. The cloud of homemade, not-too-sweet whipped cream on top was the perfect finish.

So when I got my annual(?) ice cream craving, I thought about just making butter pecan, but then I thought back to that sundae and decided it needed a caramel swirl right through the ice cream along with some crispy, salty pecans. Go all the way, right?

The best part about this ice cream is that it’s really not fussy (no egg tempering!), and all of the components can be made in advance. For me, that’s really excellent. My energy level since being diagnosed with RA has been erratic at best, so recipes that allow me to do things at my own pace are especially valuable to me.

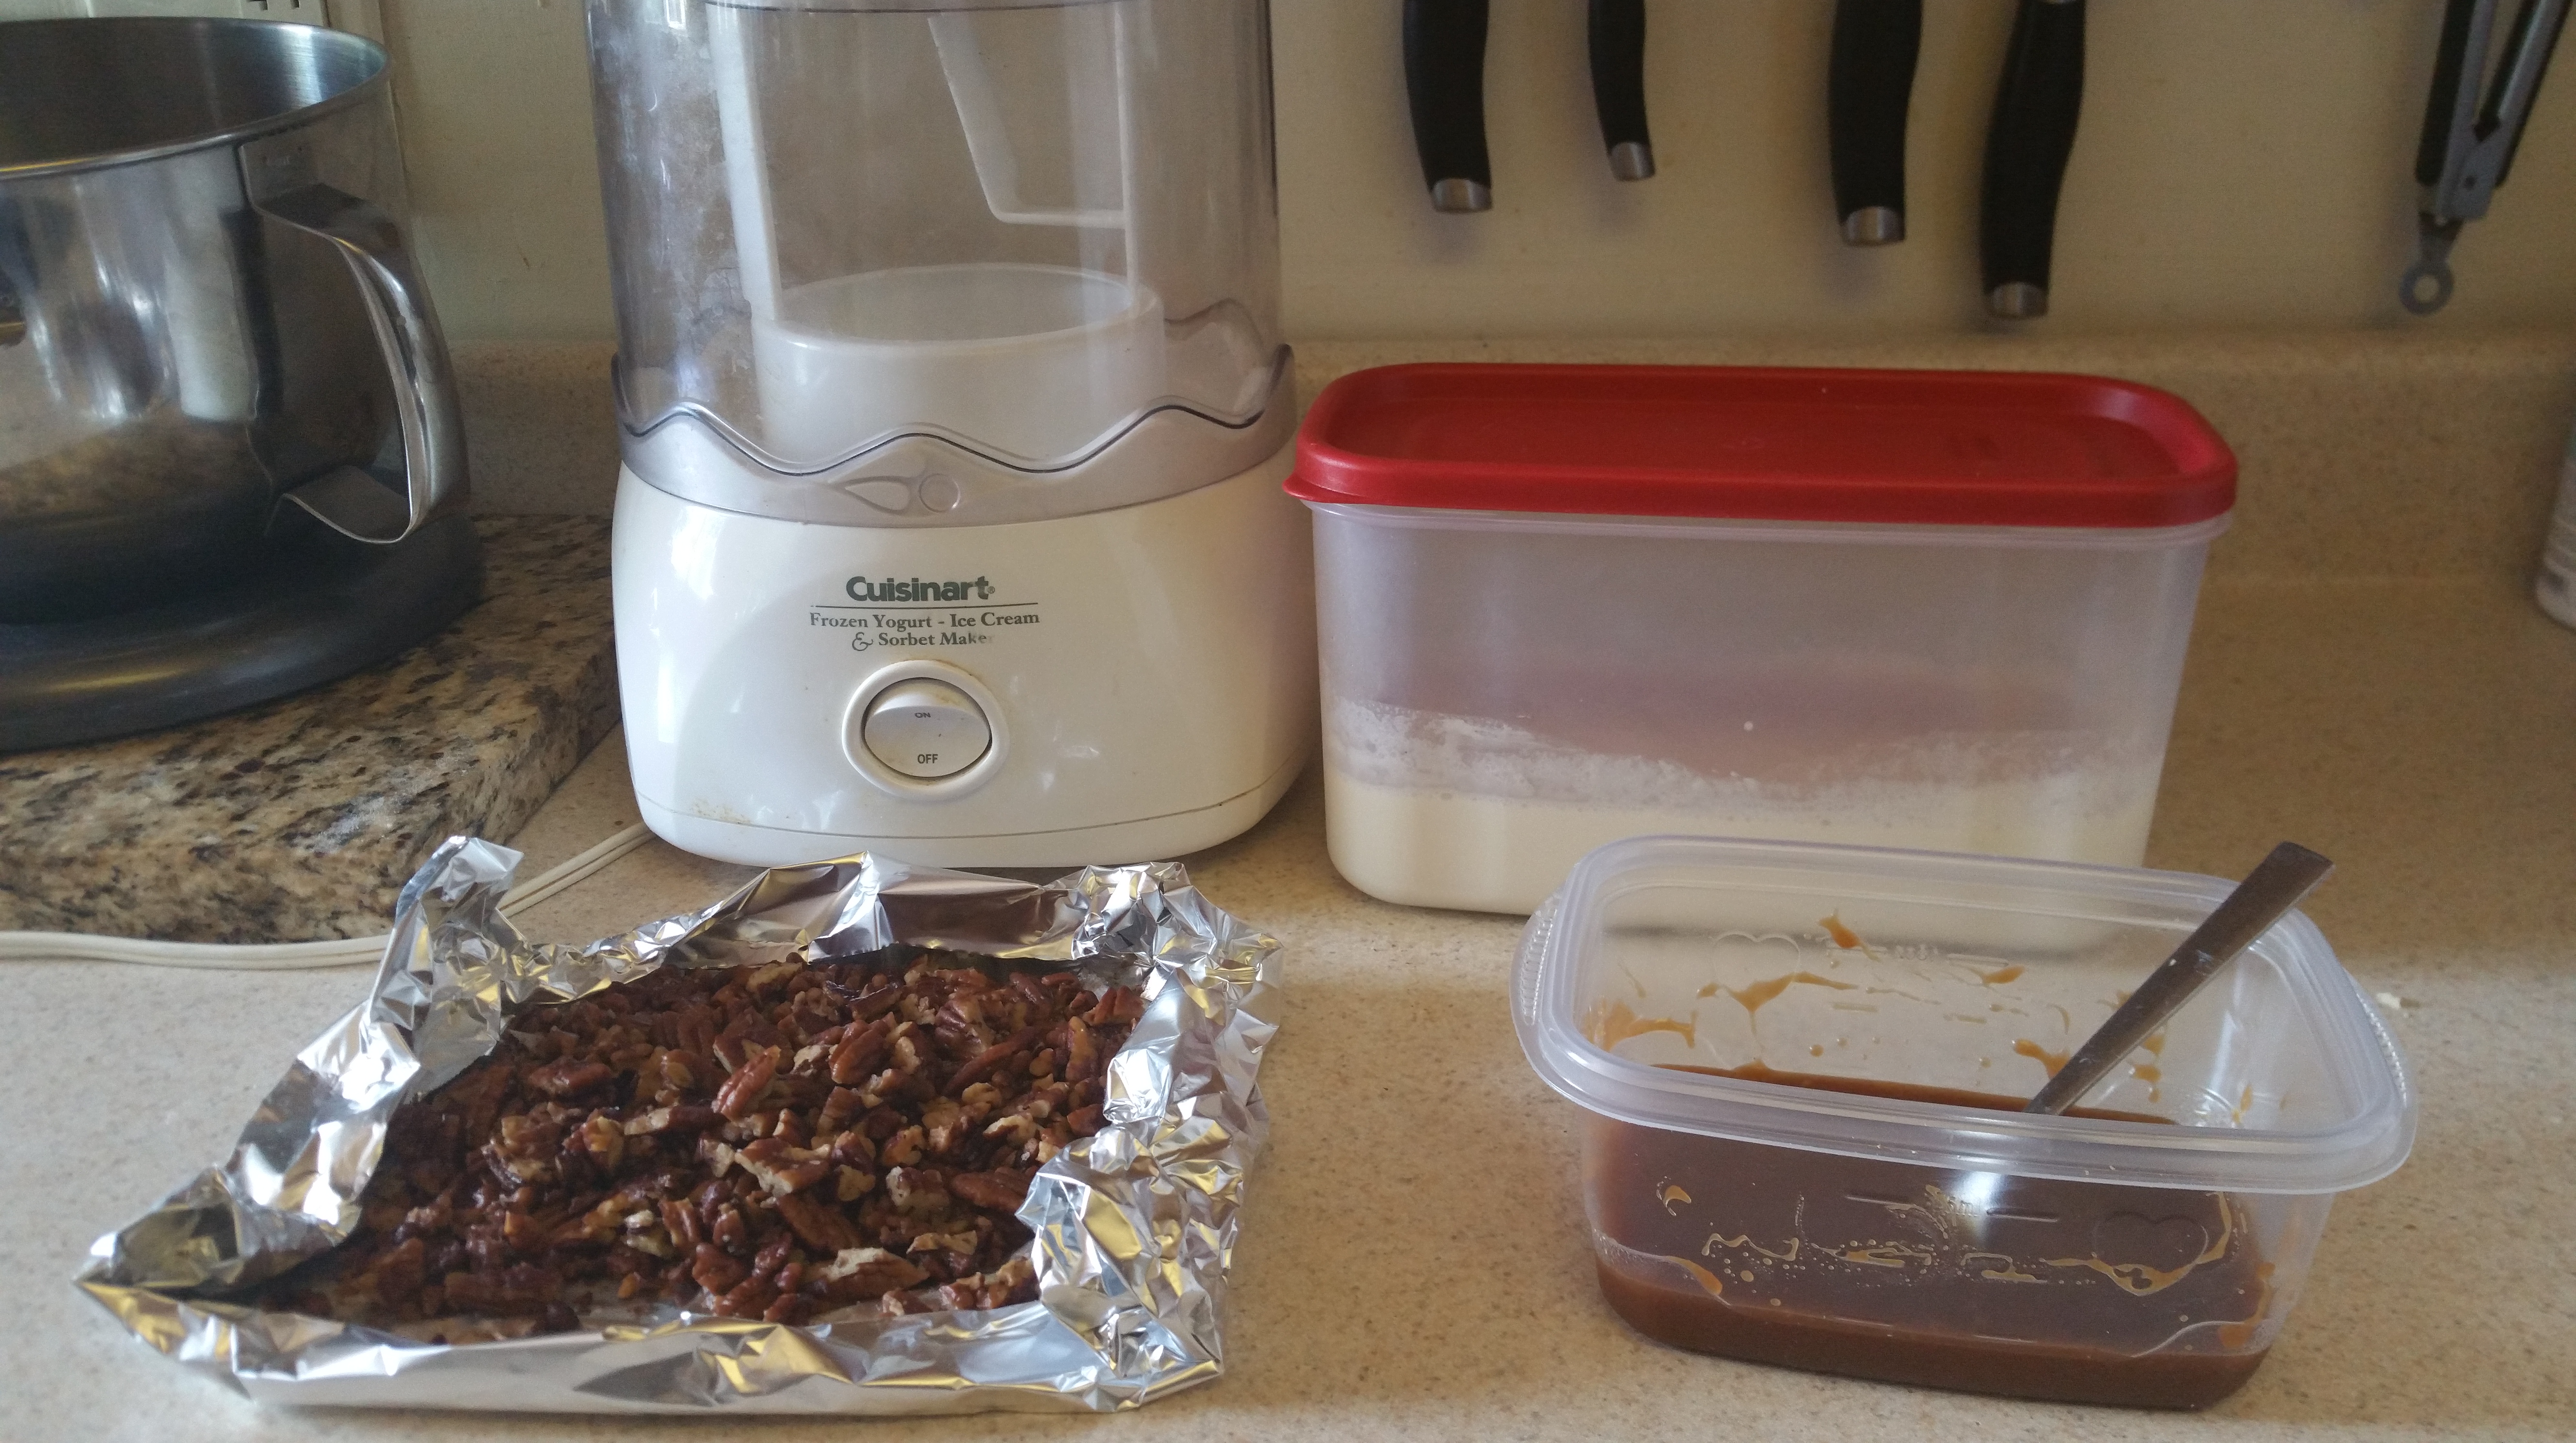
Obviously, you will need an ice cream maker of some kind to make this recipe. Whether you roll a ball or use a electric countertop model, you’ll turn out some great ice cream. Let’s get churning!

Salted Butter Pecan Ice Cream with Caramel Swirl

Ice Cream Base

  • 1 cup cold whole milk
  • 3/4 cup brown sugar
  • 2 cups cold heavy cream
  • 2 tsp pure vanilla extract or 1/3 vanilla bean, split and scraped

Salted Buttered Pecans

  • 1 cup chopped pecans
  • 4 tbsp. butter
  • ¾ tsp. salt

Caramel Swirl

  • 1/2 cup sugar
  • 1/3 cup light corn syrup
  • 1/4 cup water
  • 7 tbsp. heavy cream
  • ½ tsp. vanilla extract
  • ½ tsp. kosher salt

Method

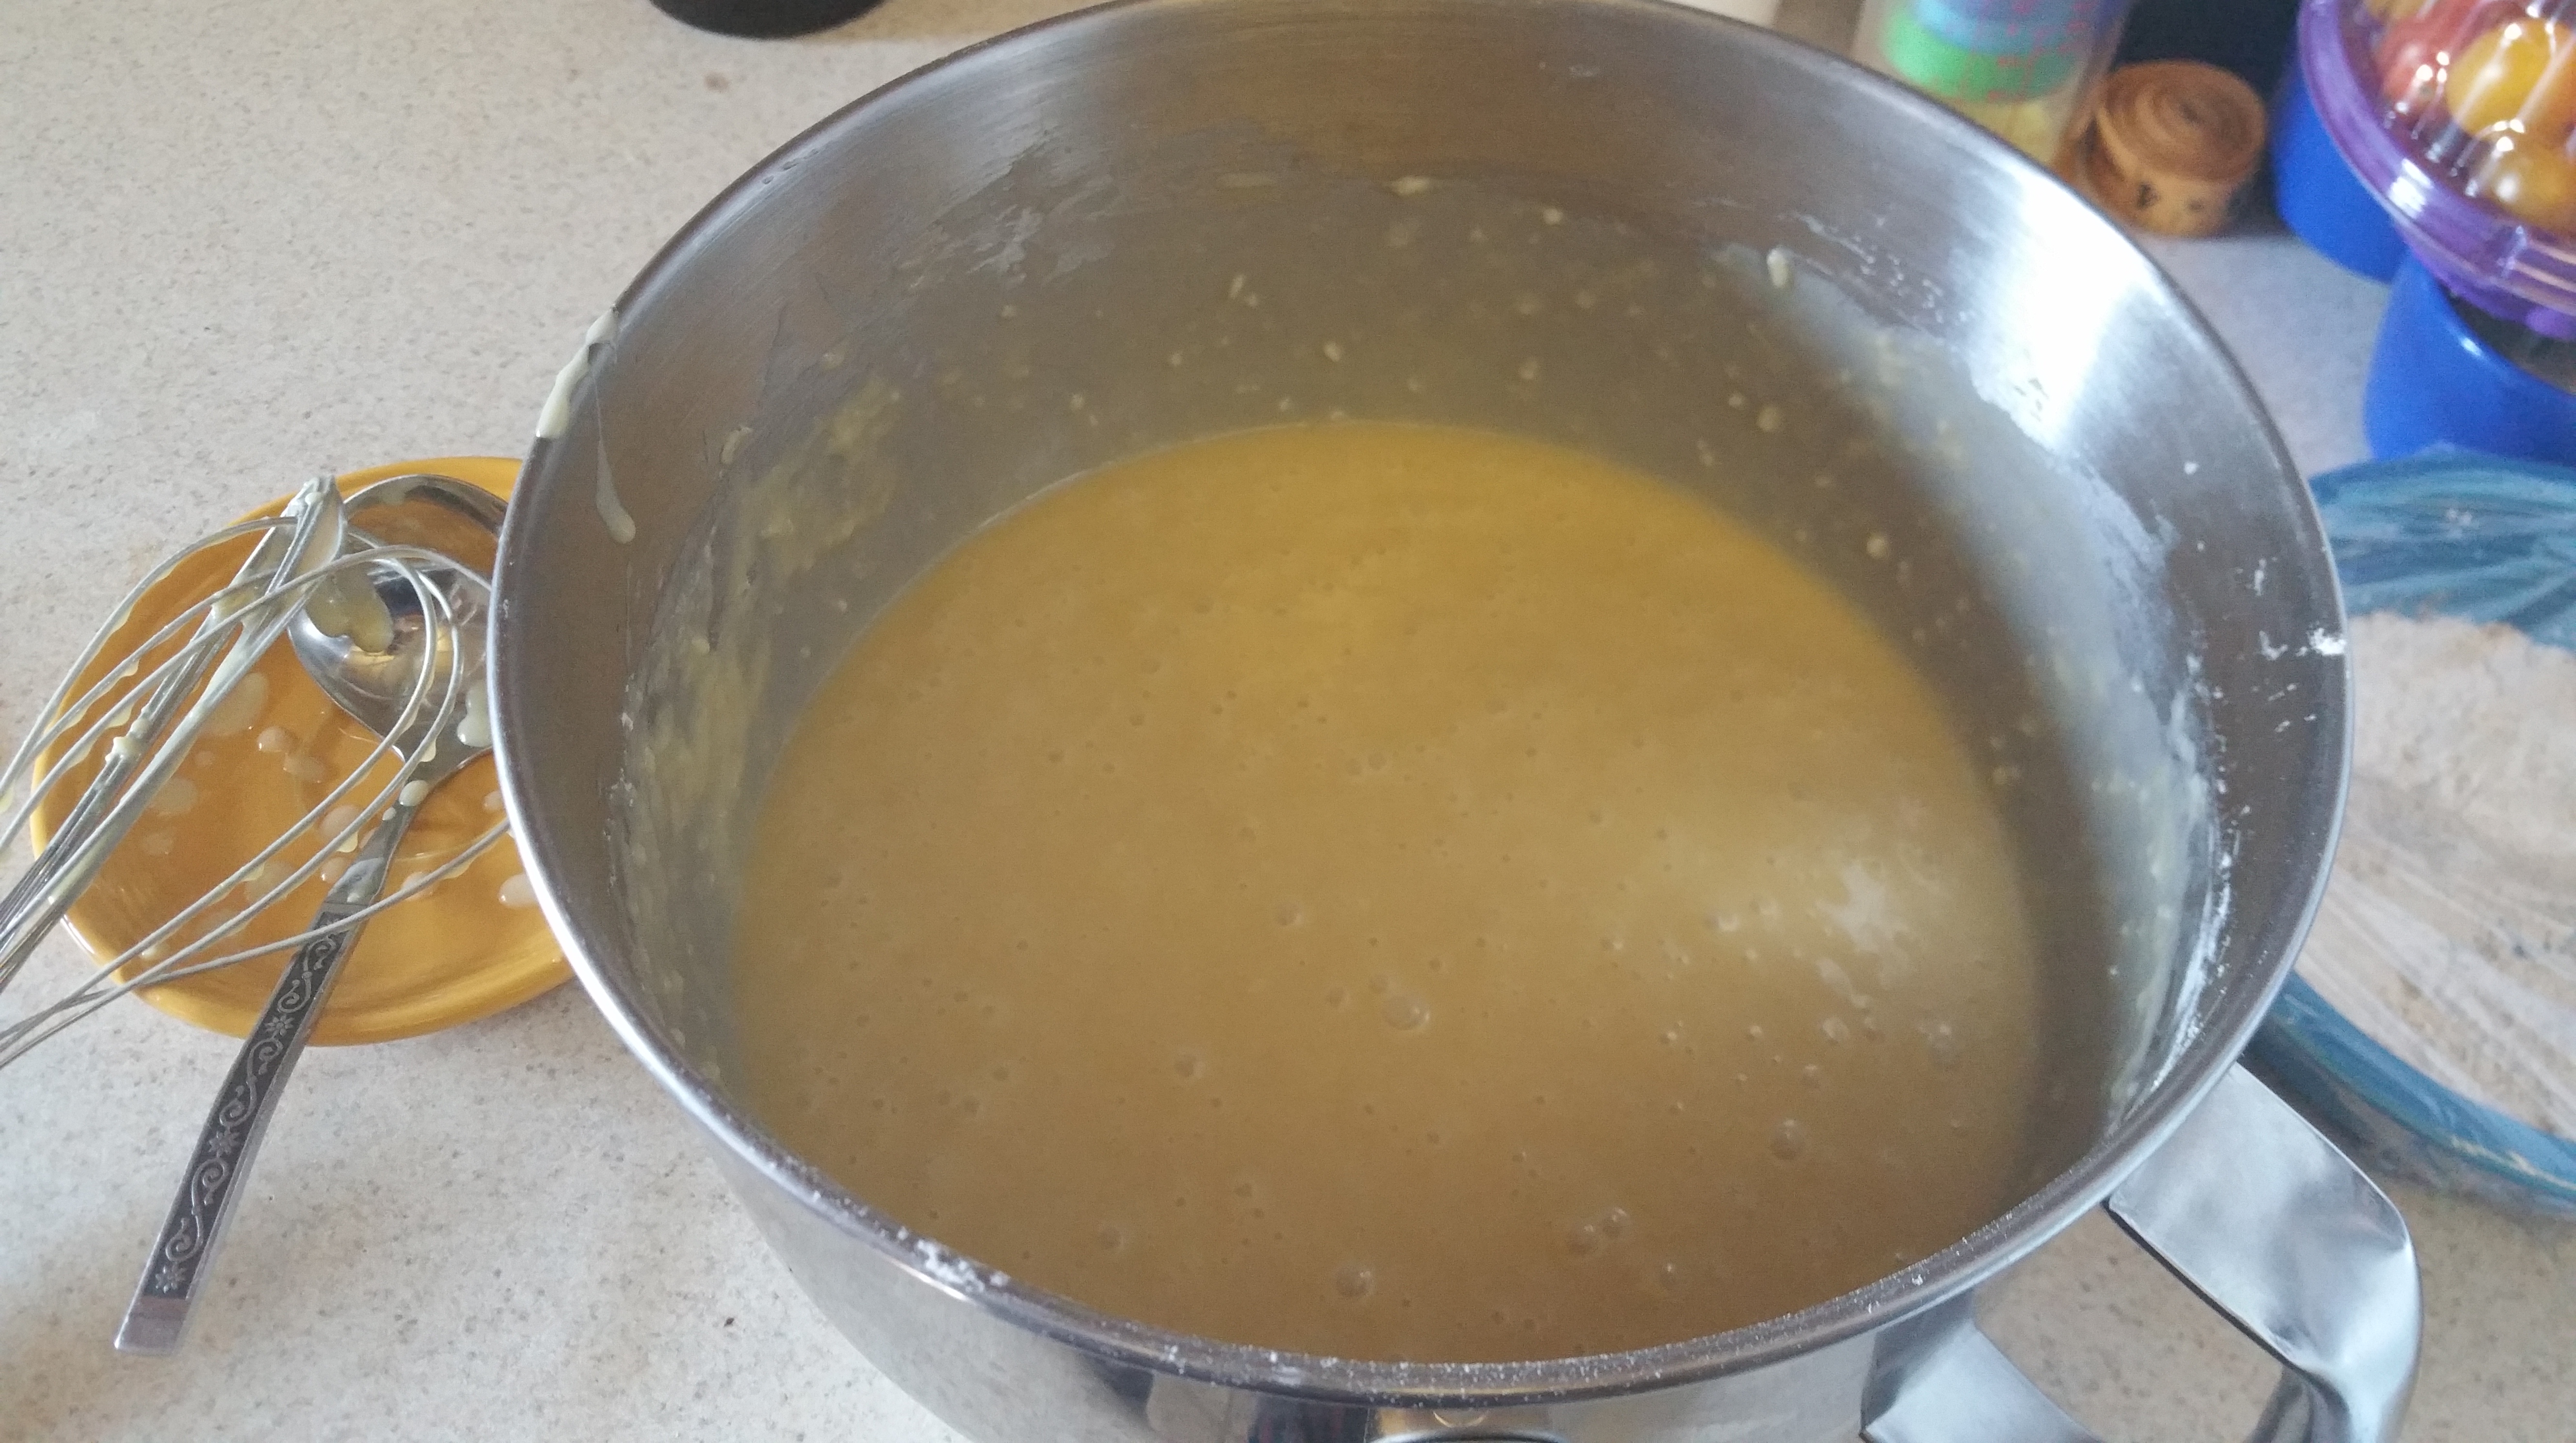
To make the ice cream base, whisk together milk and brown sugar until brown sugar is dissolved.

Stir in heavy cream and vanilla extract or vanilla bean pulp. I also throw the empty vanilla pod in.

Pour into a lidded container (or cover the bowl) and chill in the refrigerator for at least 1 hour, though I usually let it go overnight.

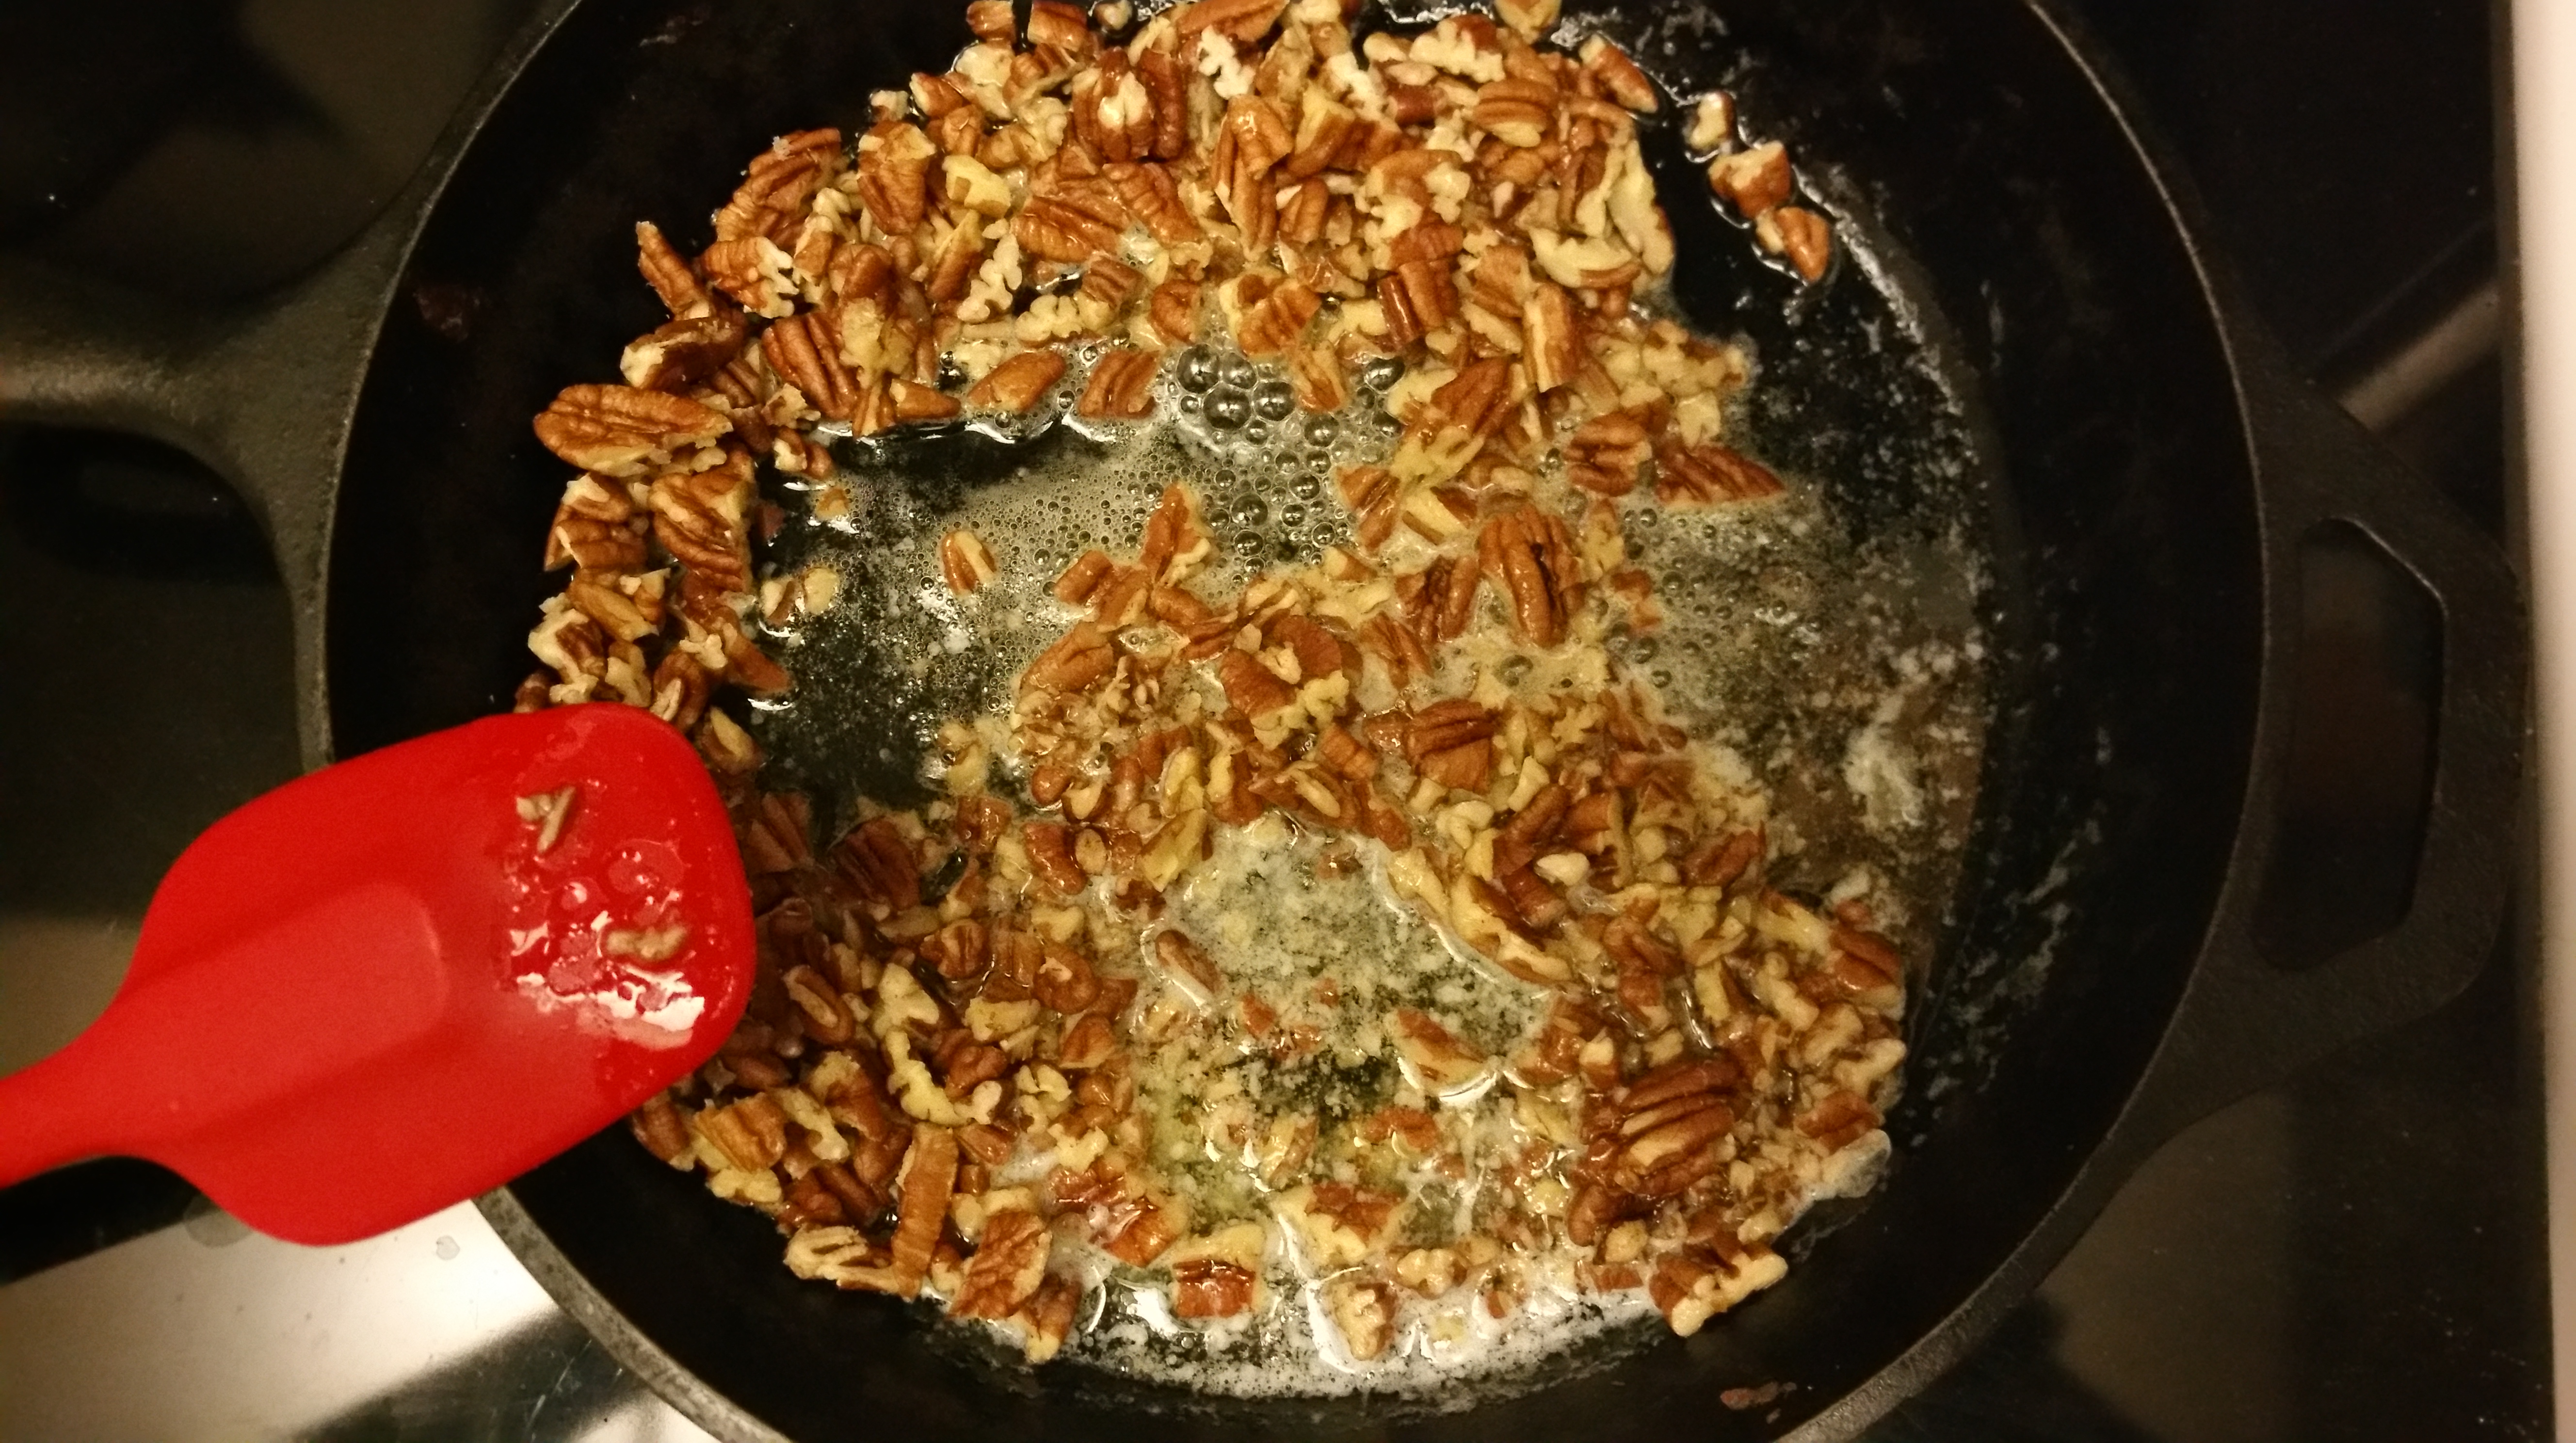
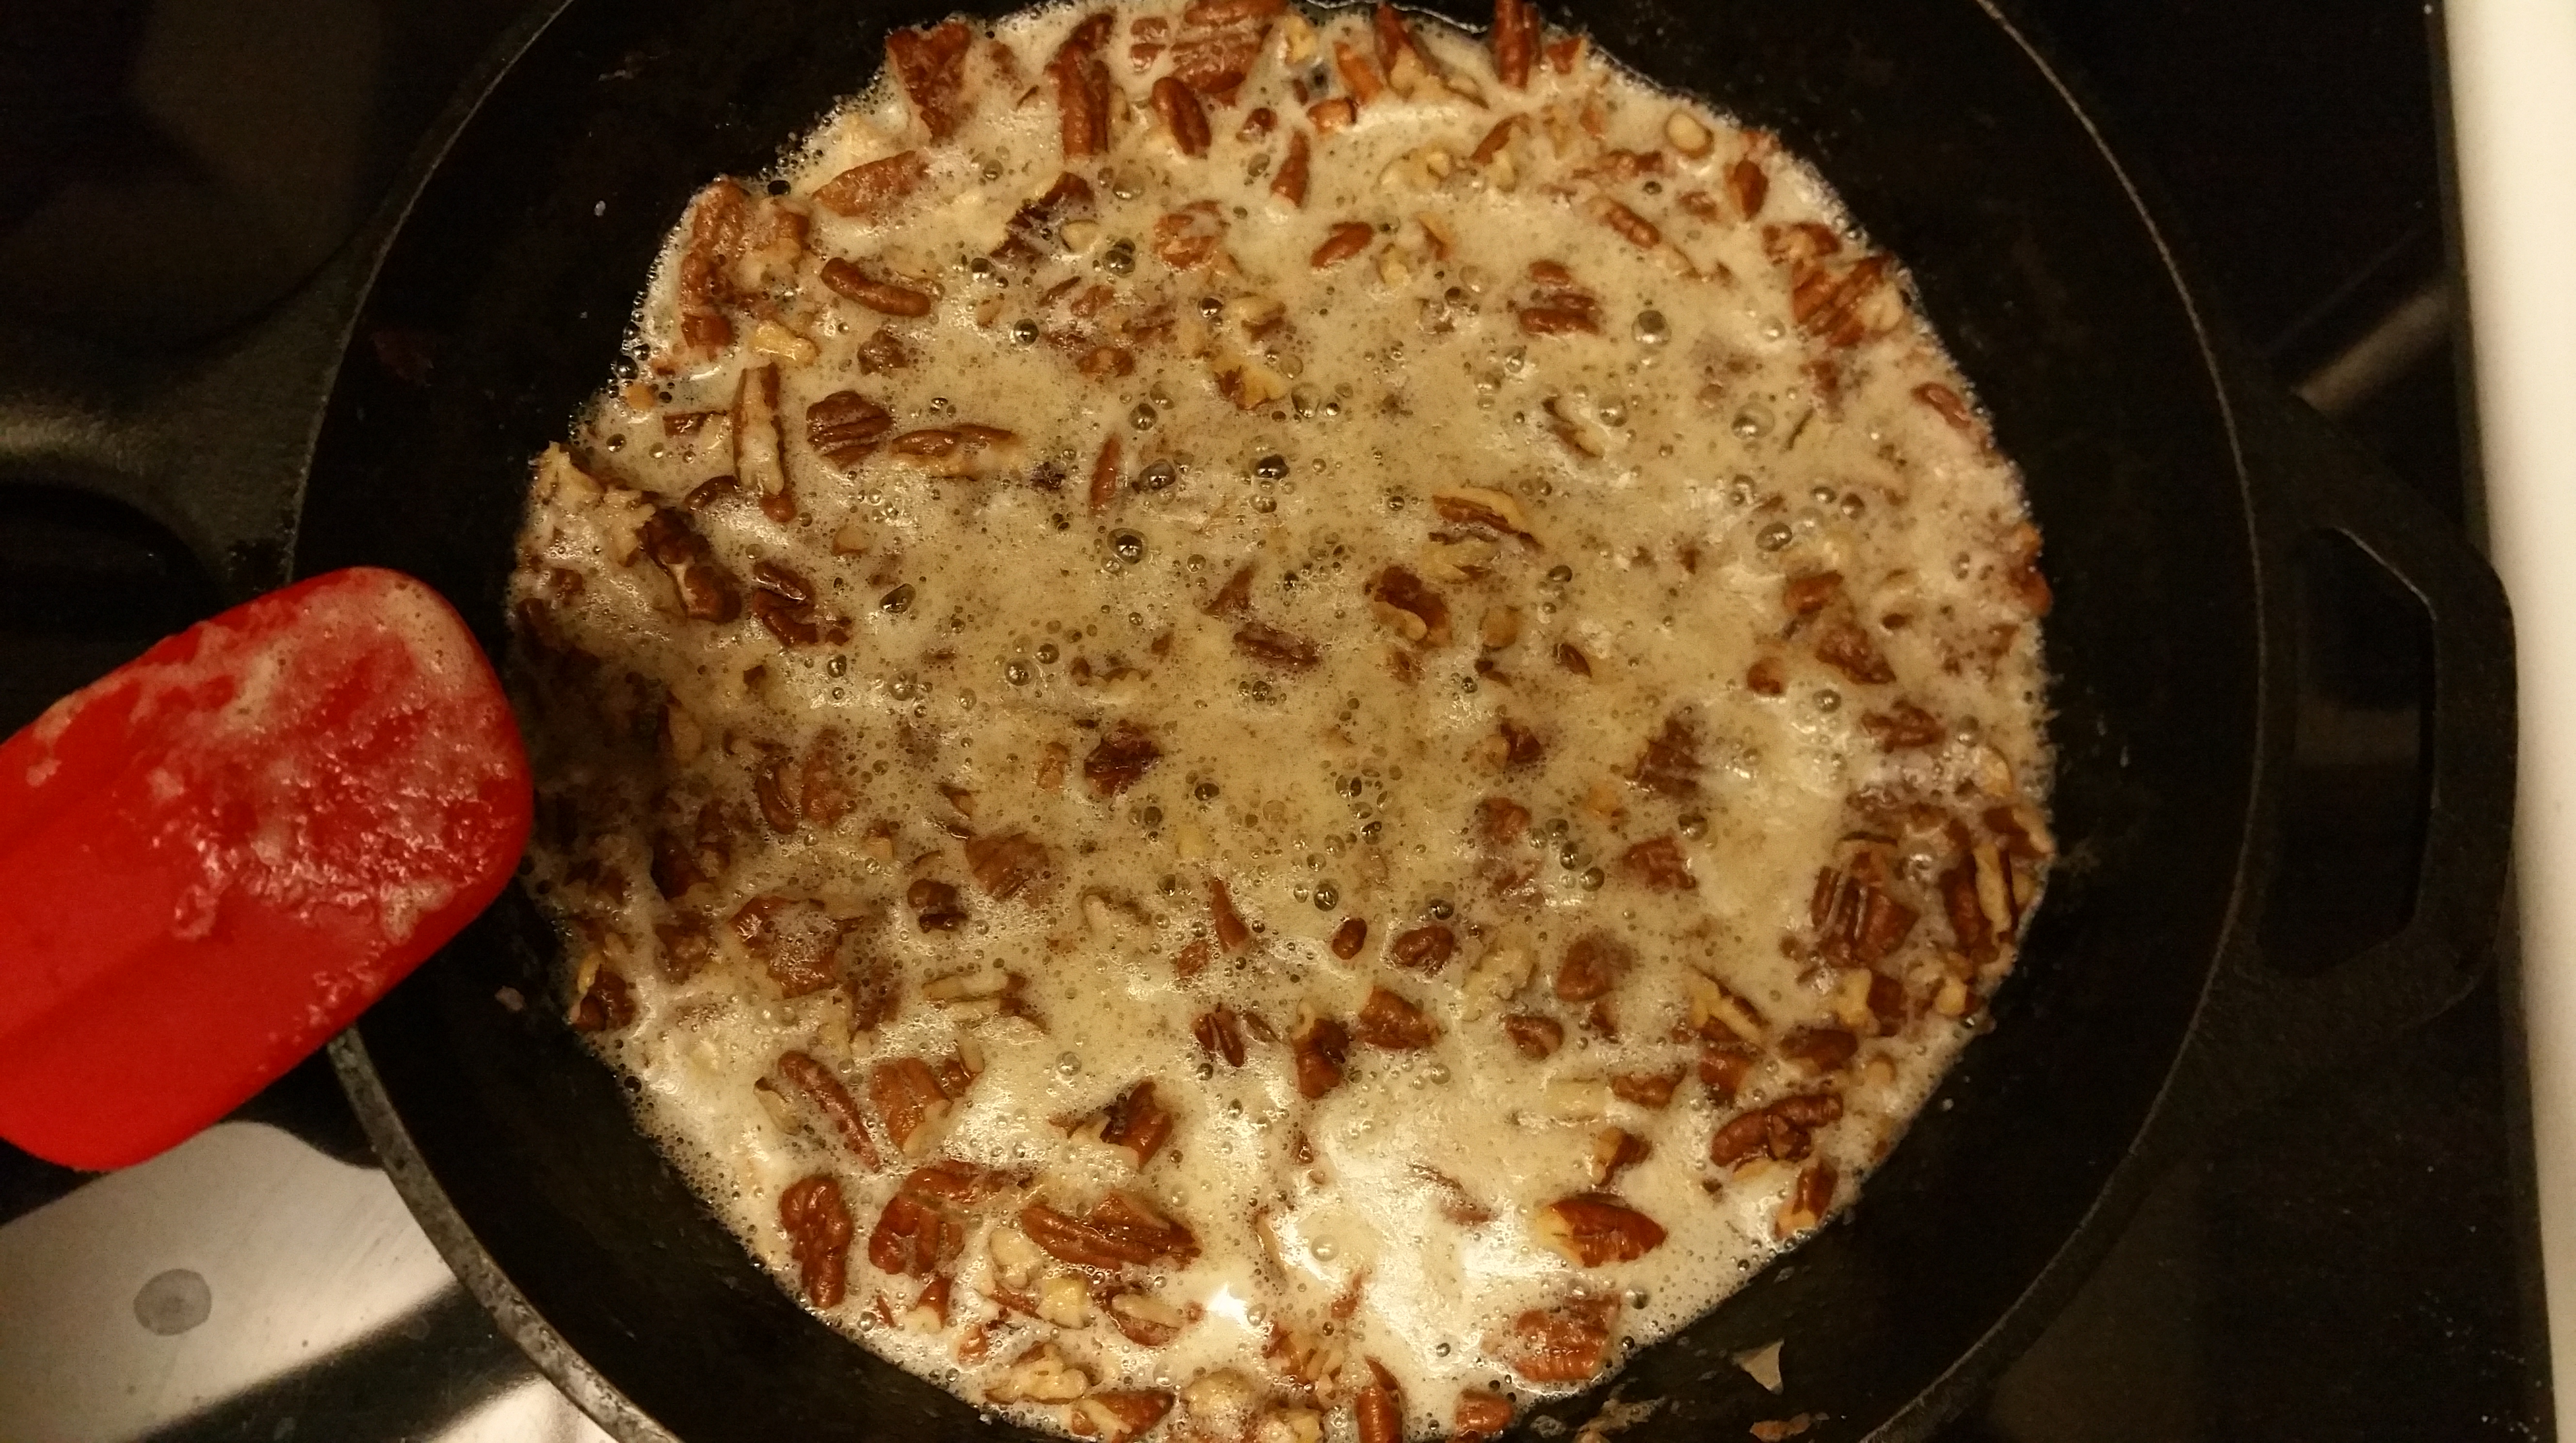
To make the buttered pecans, melt the butter in a skillet. Add pecans and salt to the pan, and cook over medium low heat until pecans are browned and fragrant, about 8-10 minutes.

Remove from heat, strain off the excess butter (and save that pecan butter! It’s so good on pancakes), and spread the pecans on a foil lined baking sheet to cool.

Cool completely before use.

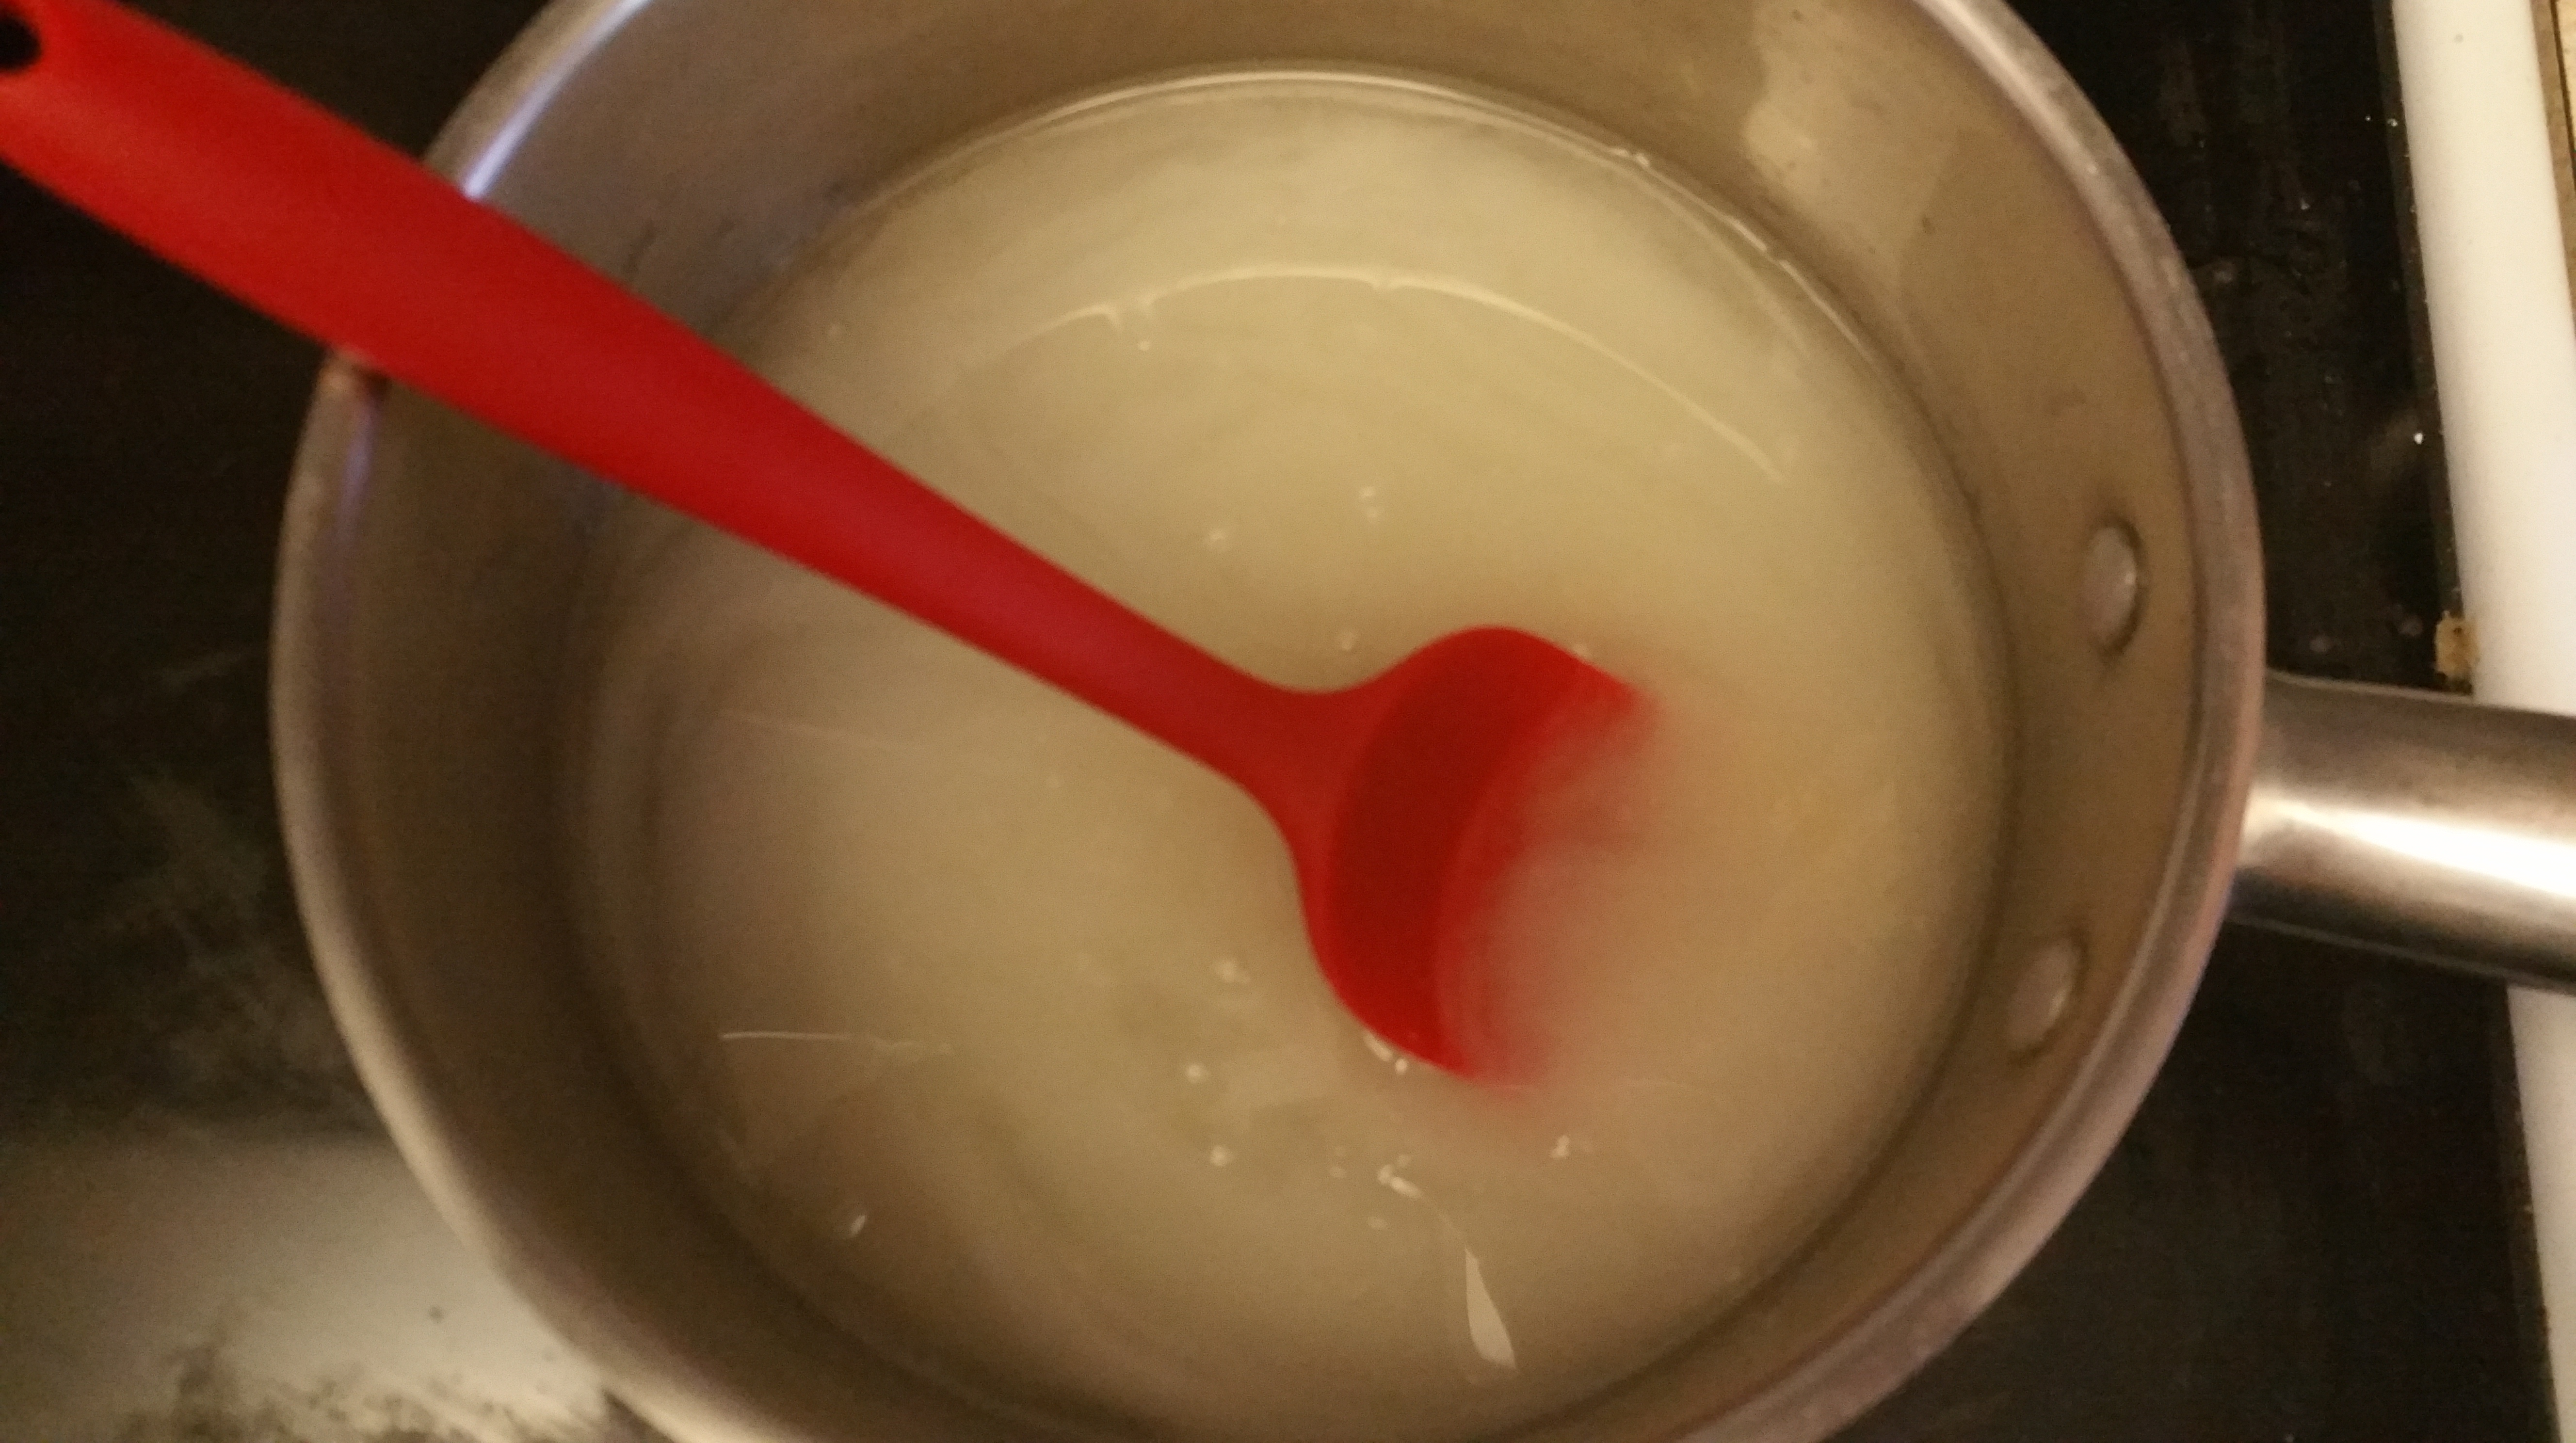
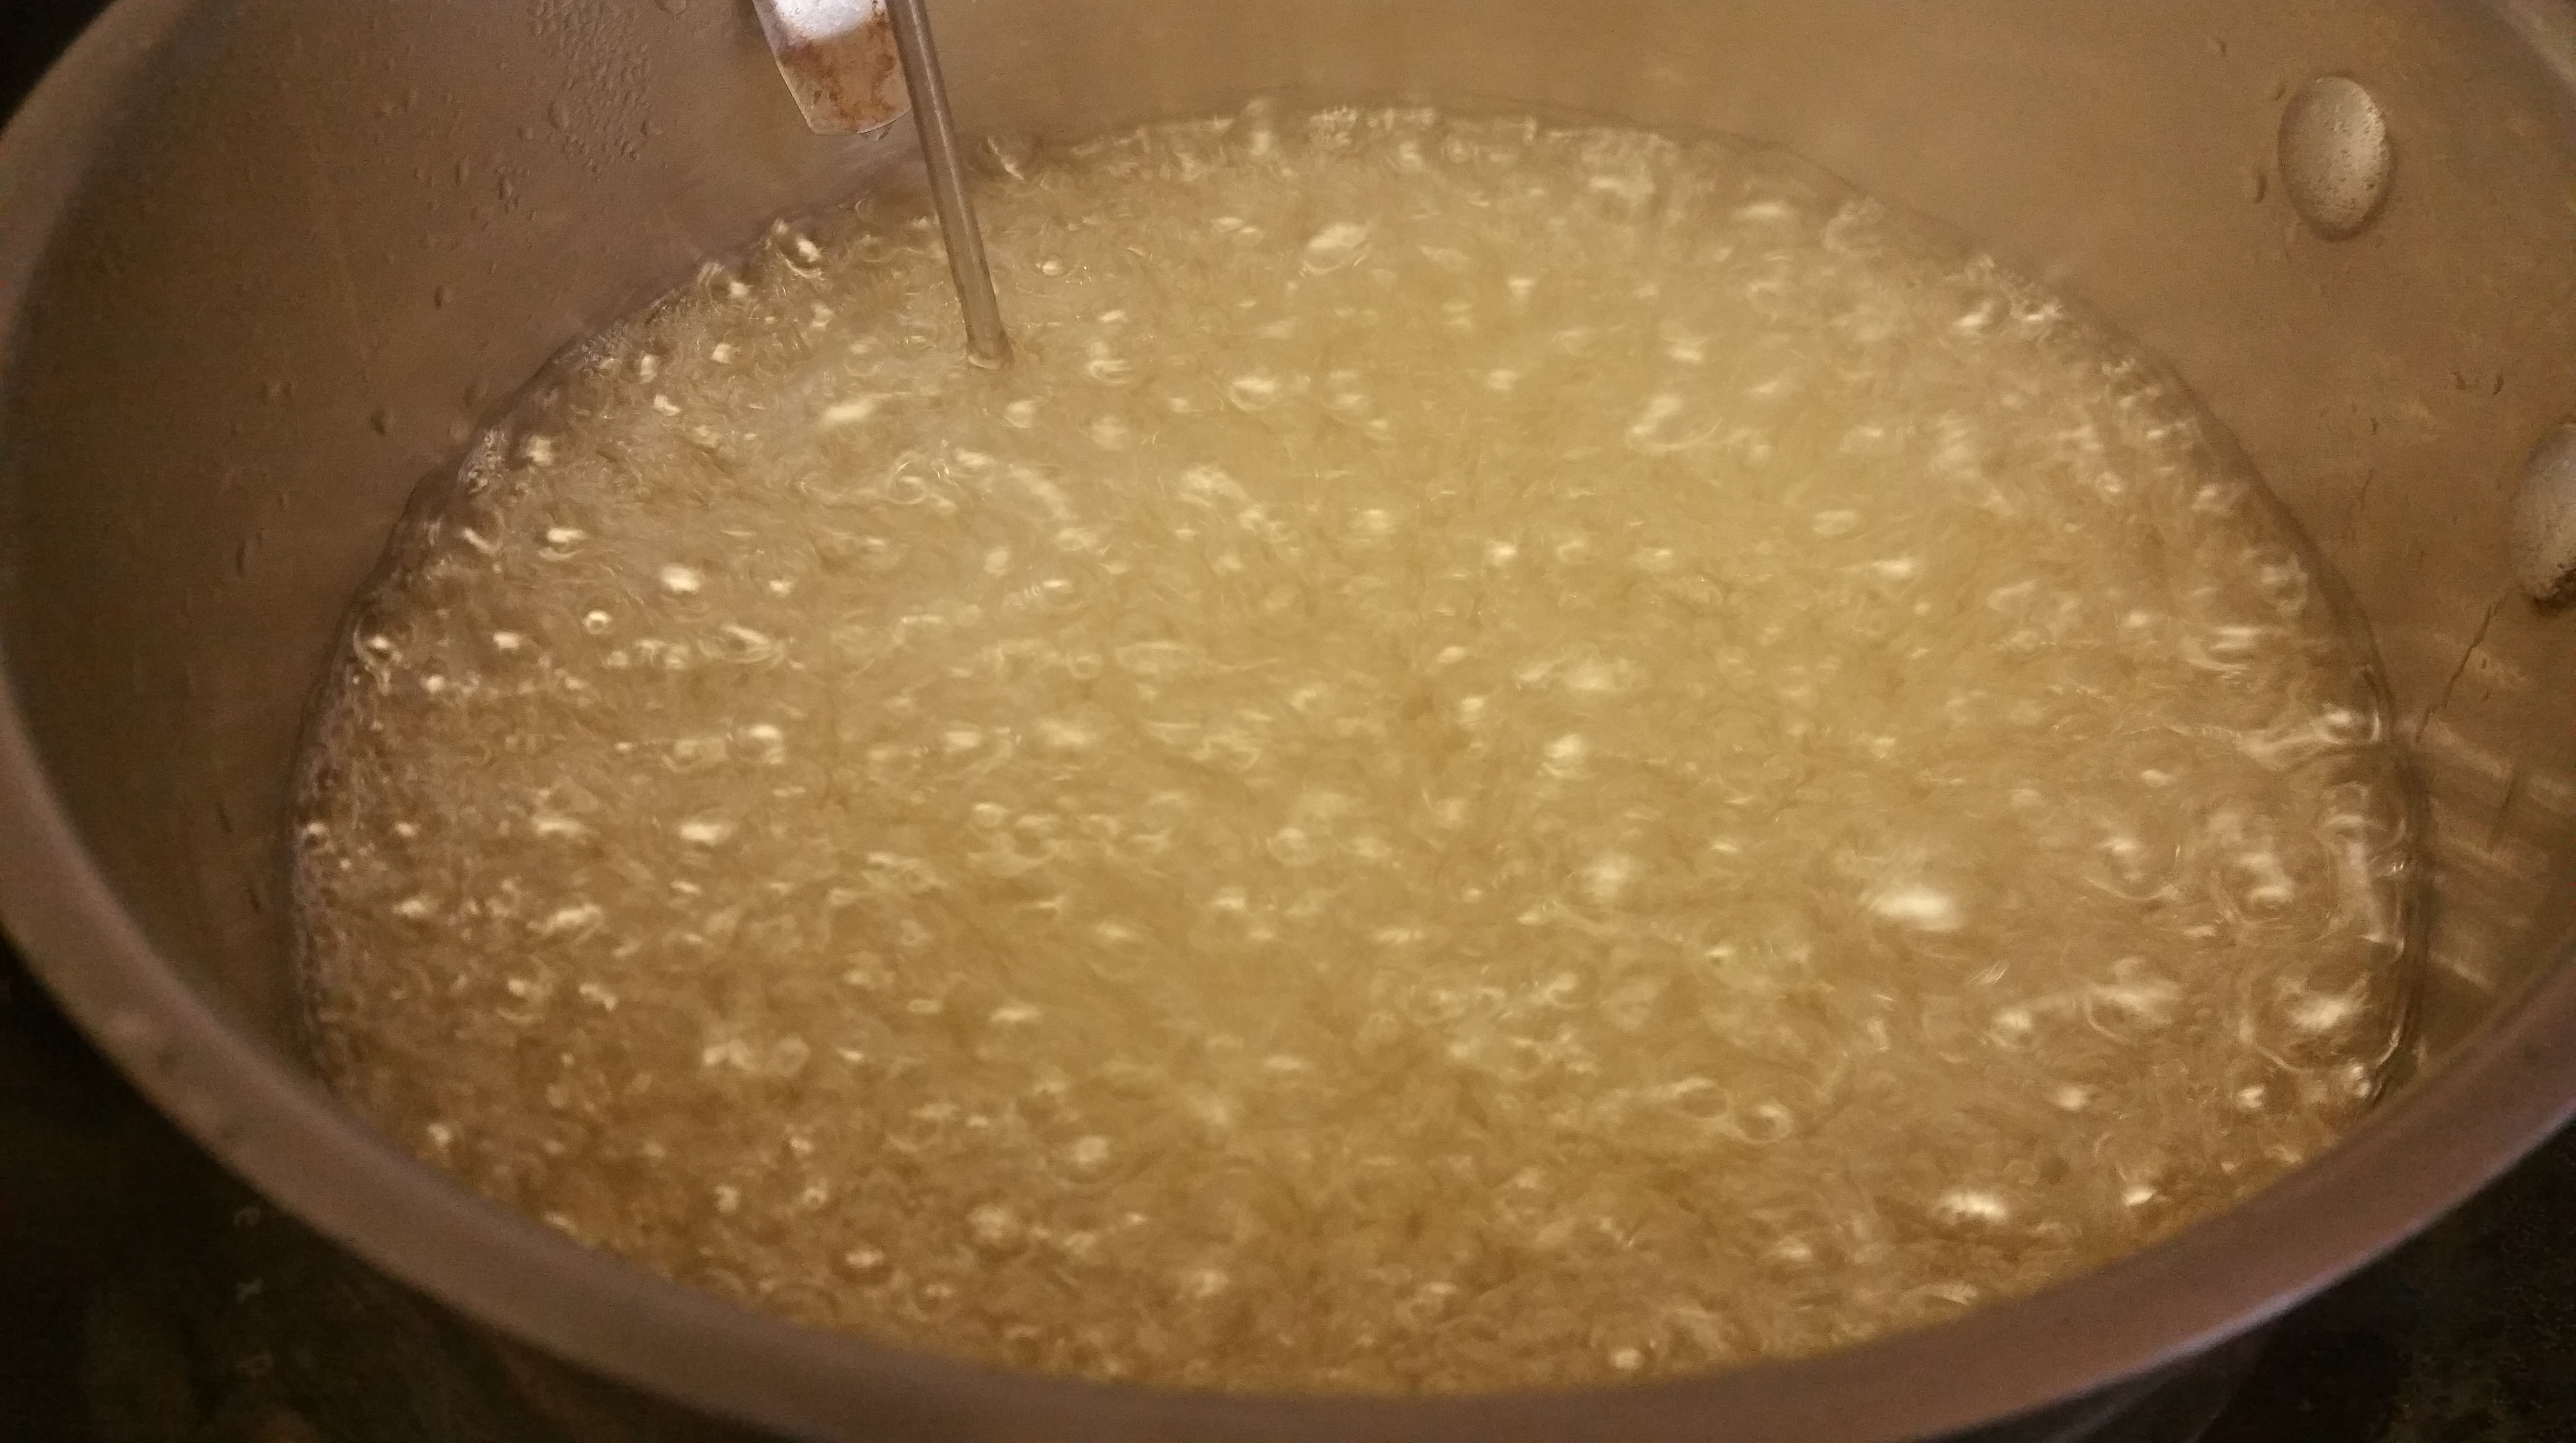
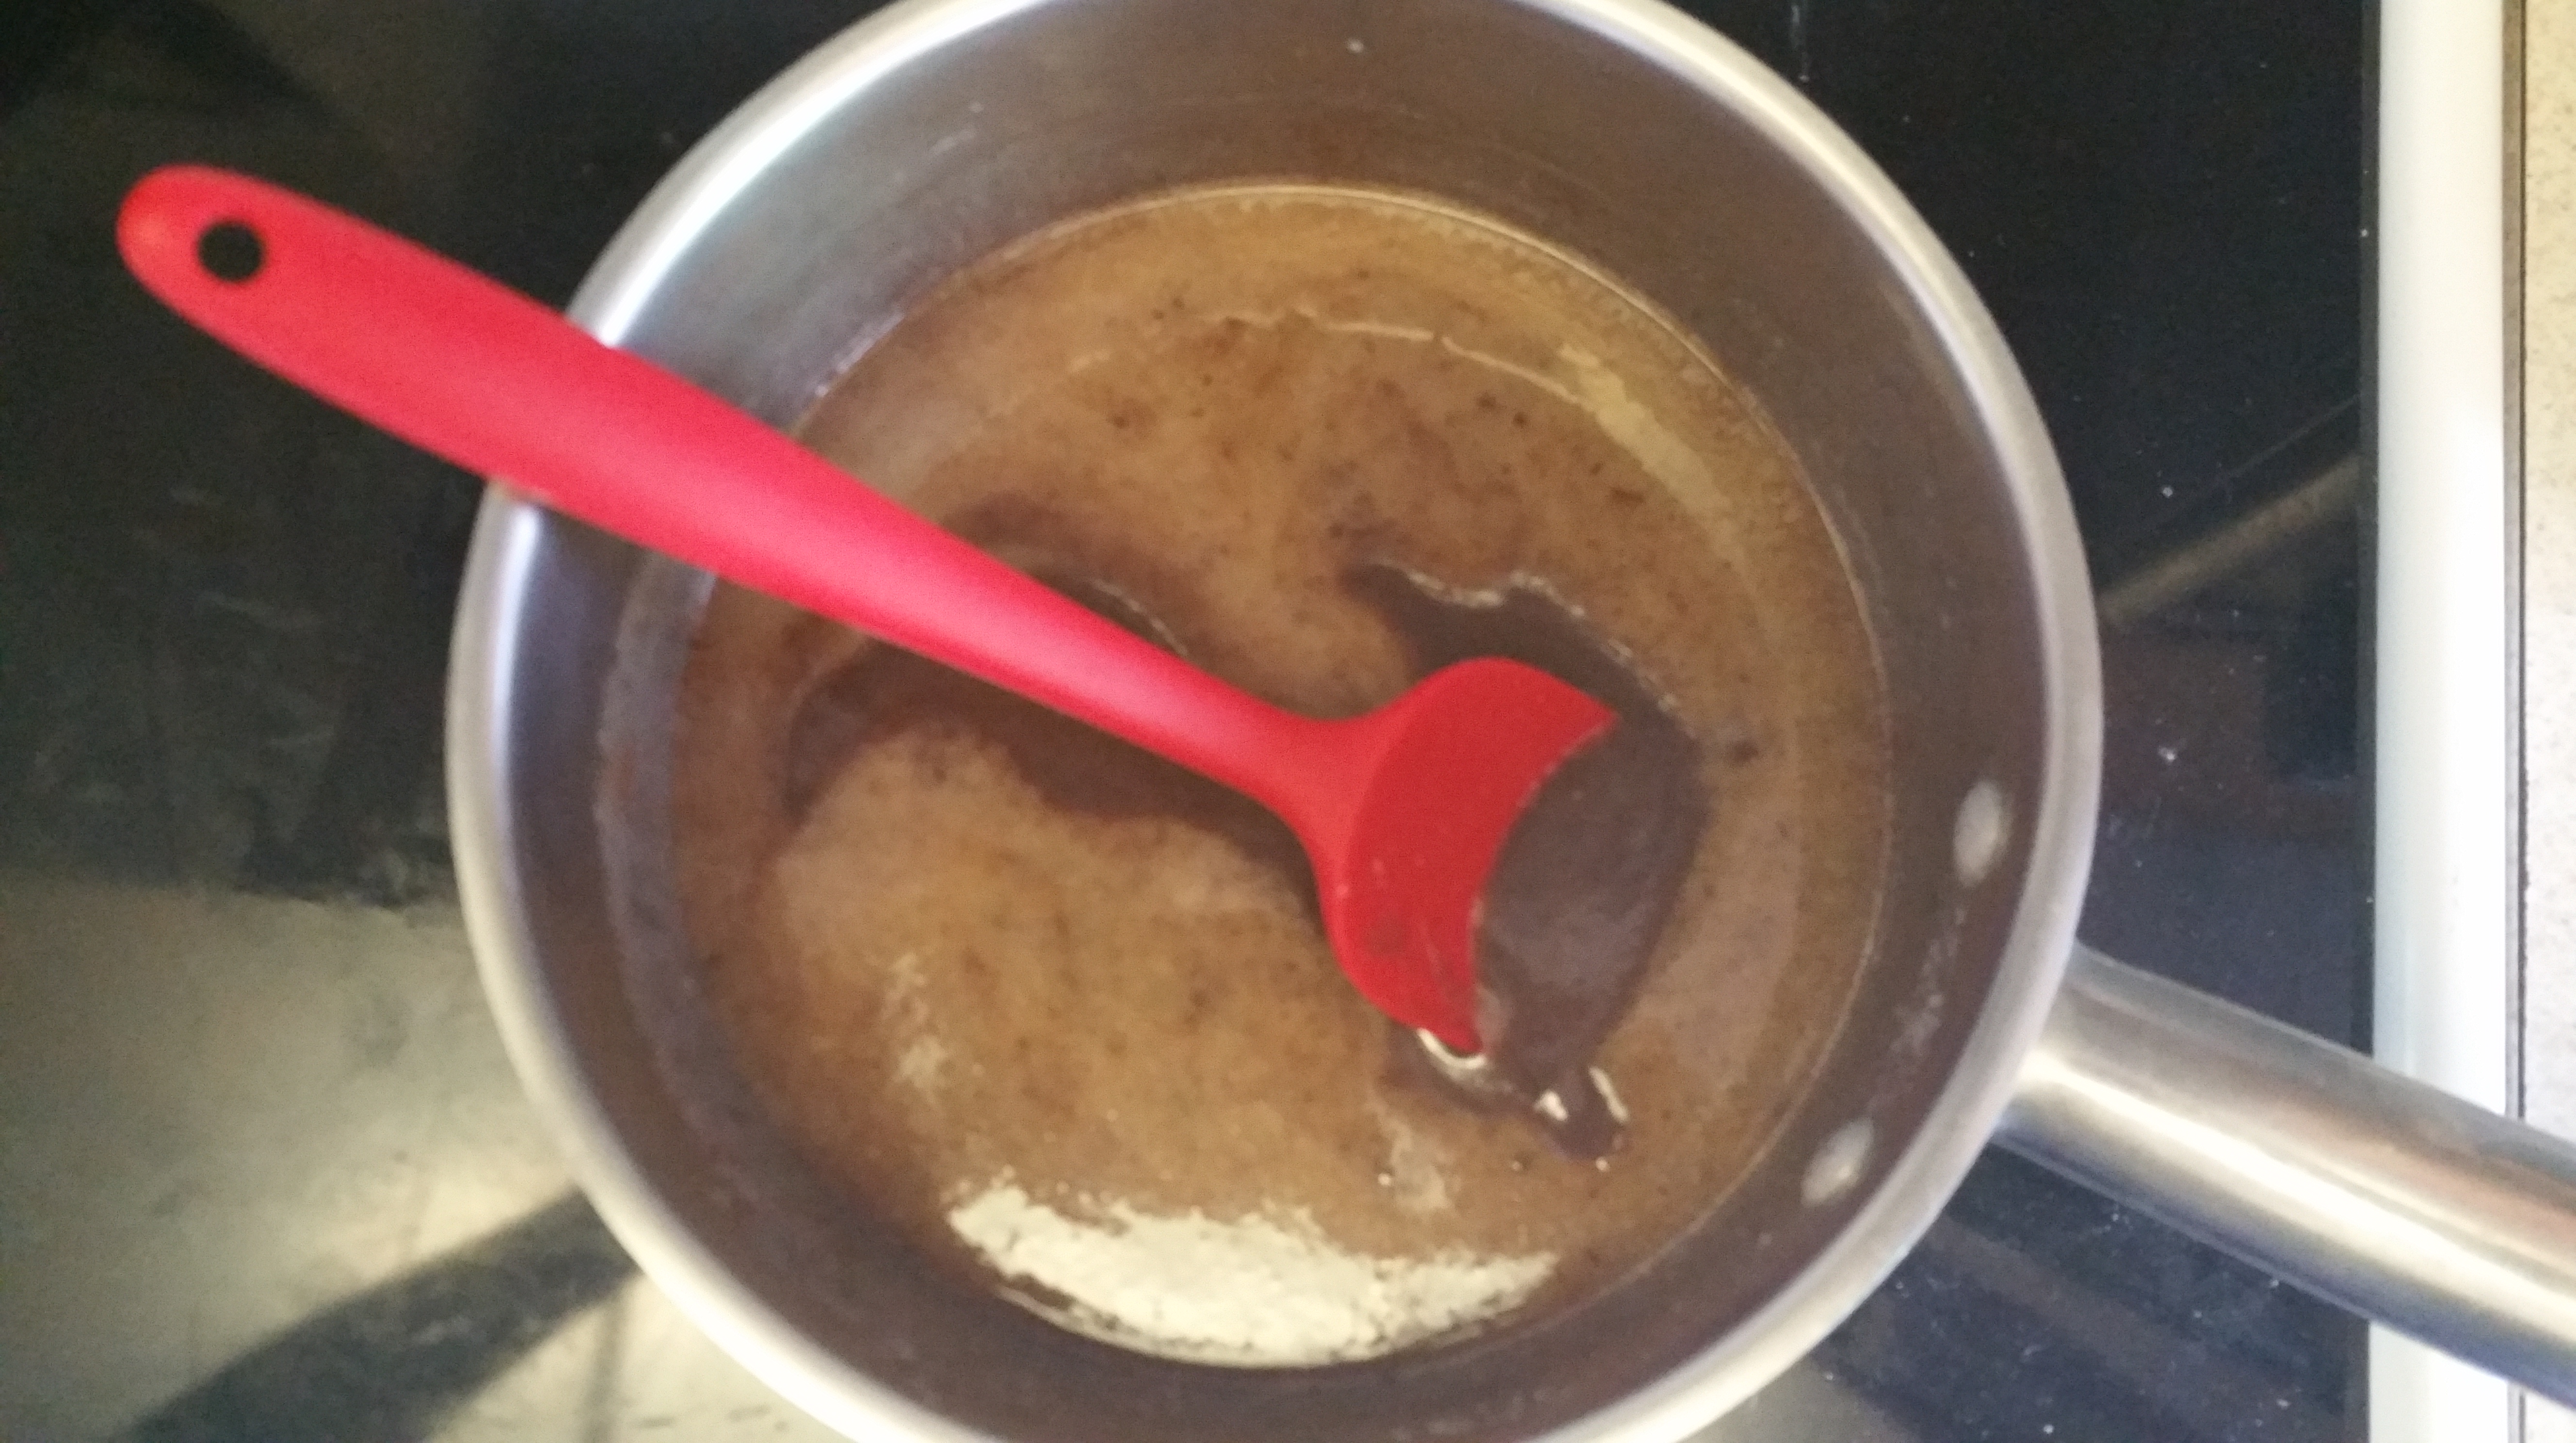
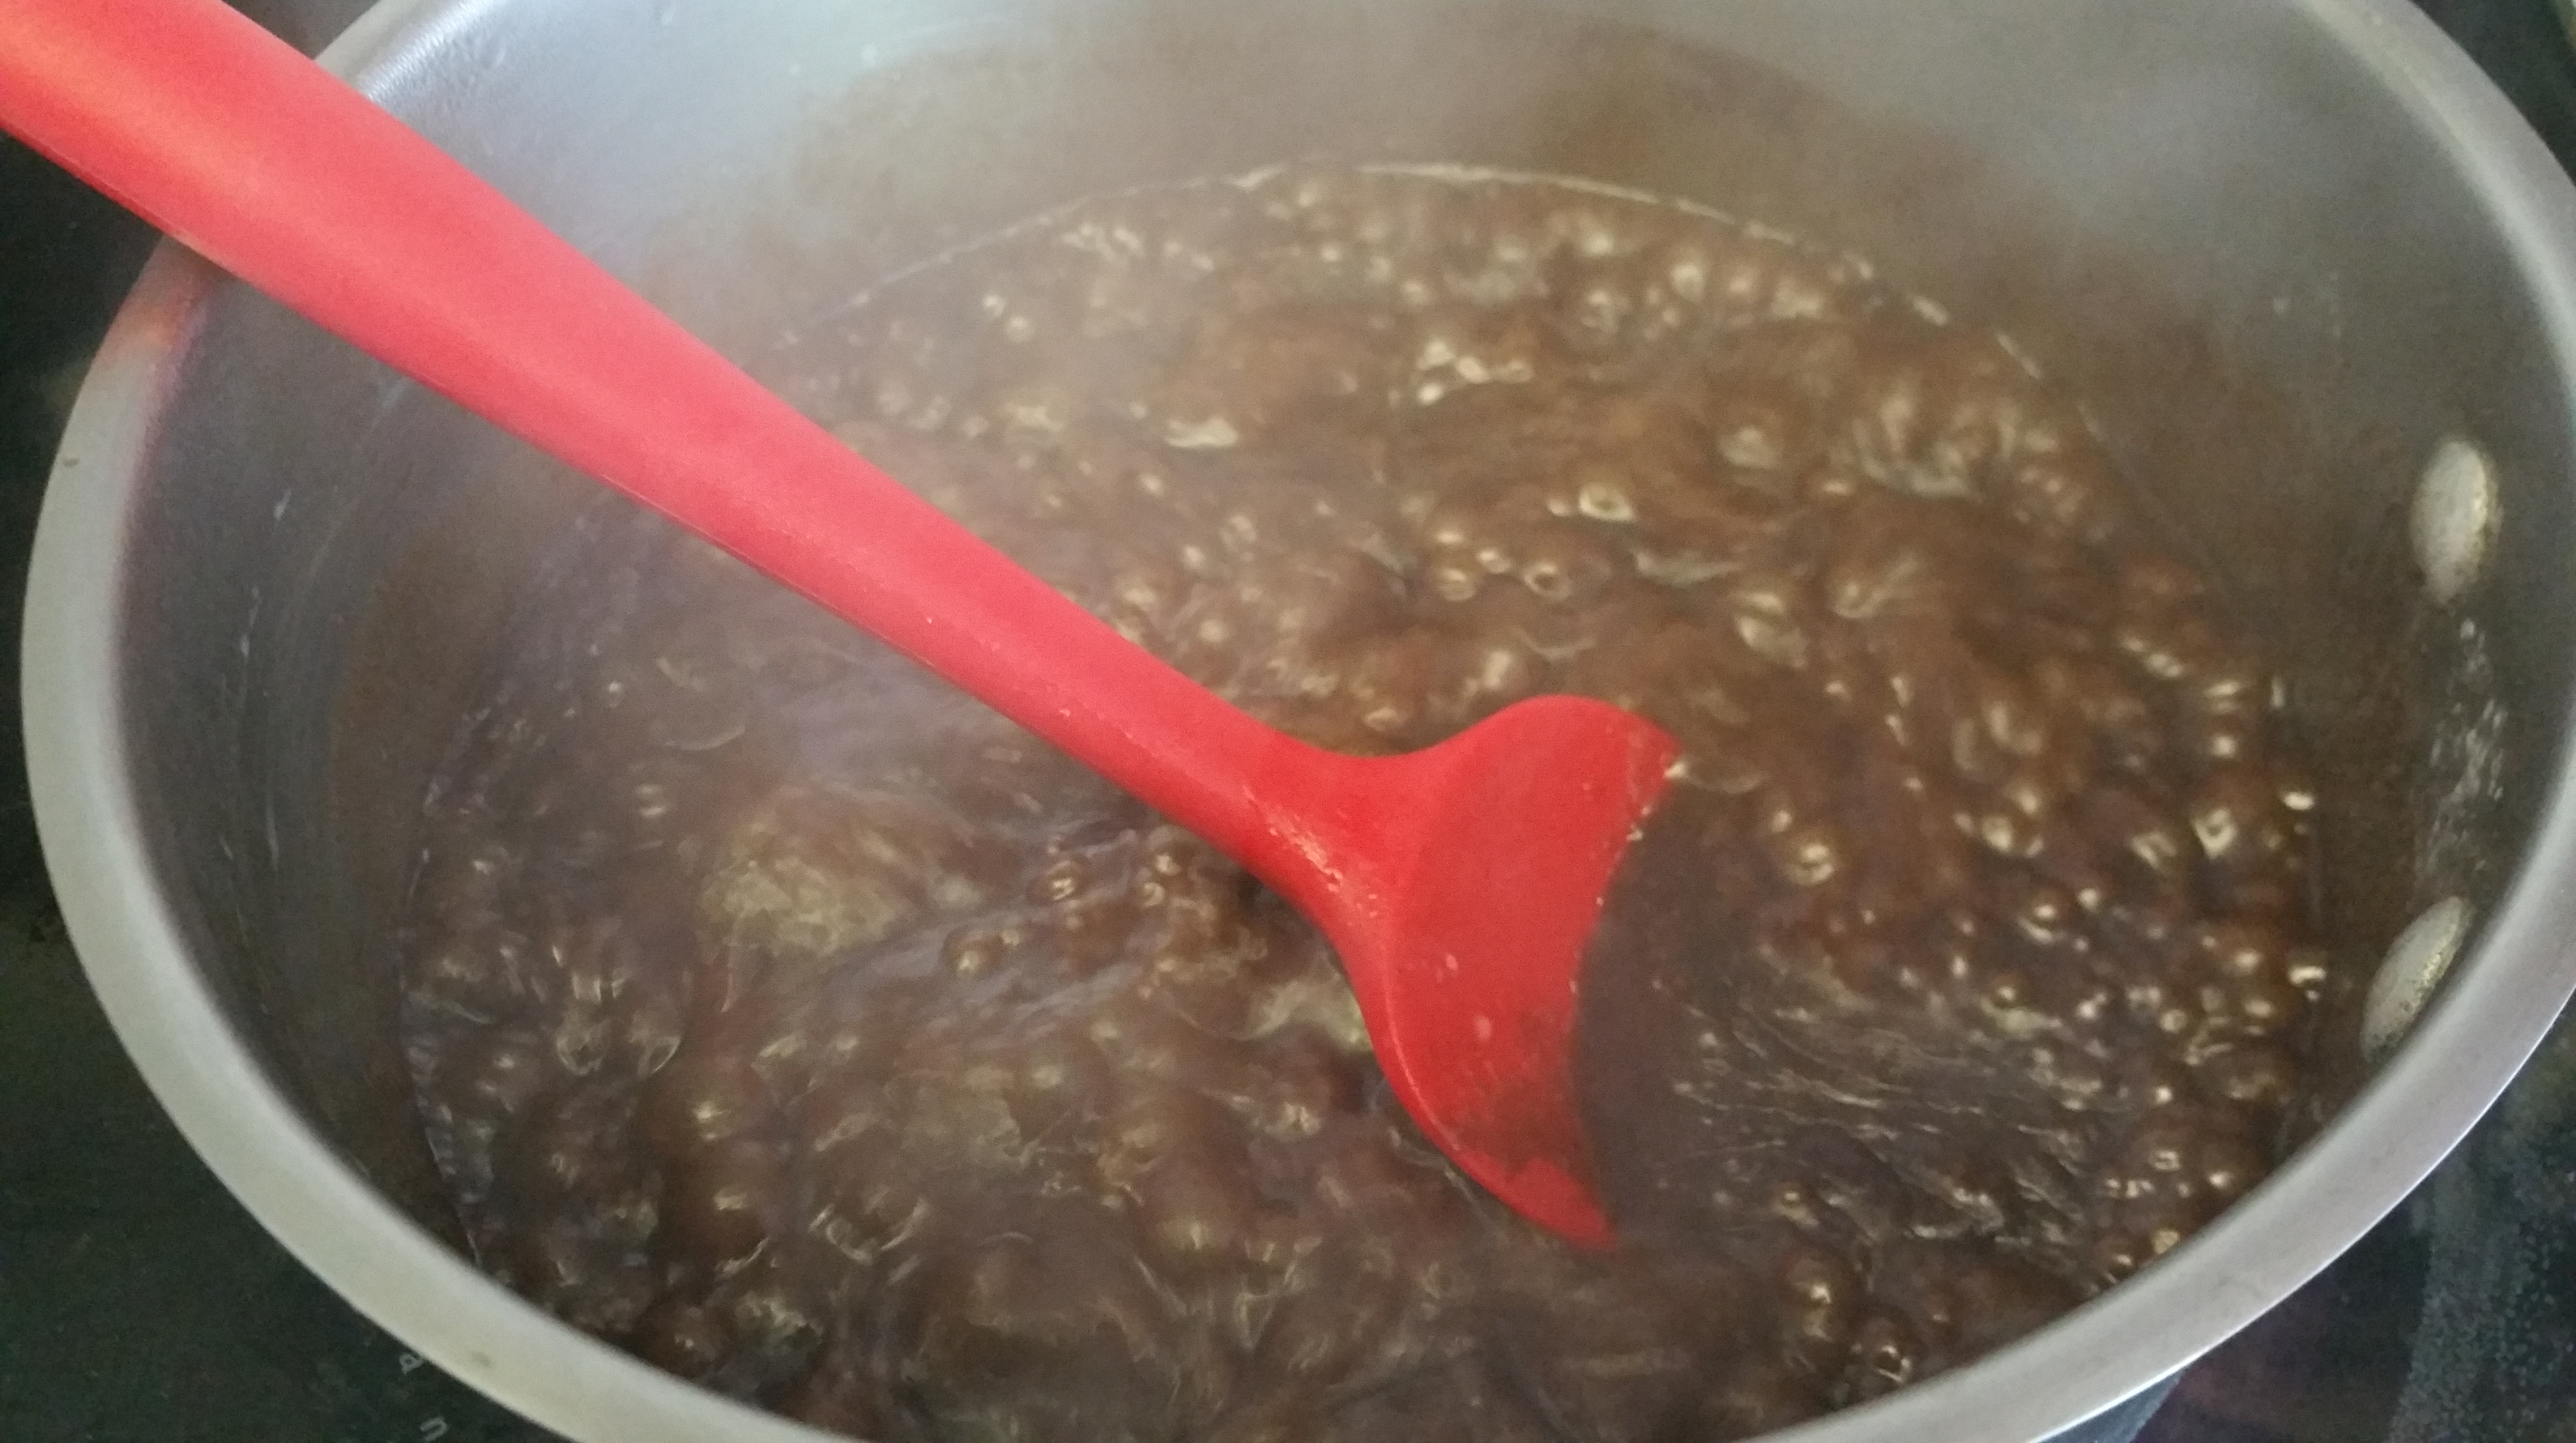
To make the caramel, using a heavy bottomed saucepan, bring the sugar, corn syrup, and water to a boil over medium heat, stirring just until sugar is dissolved.

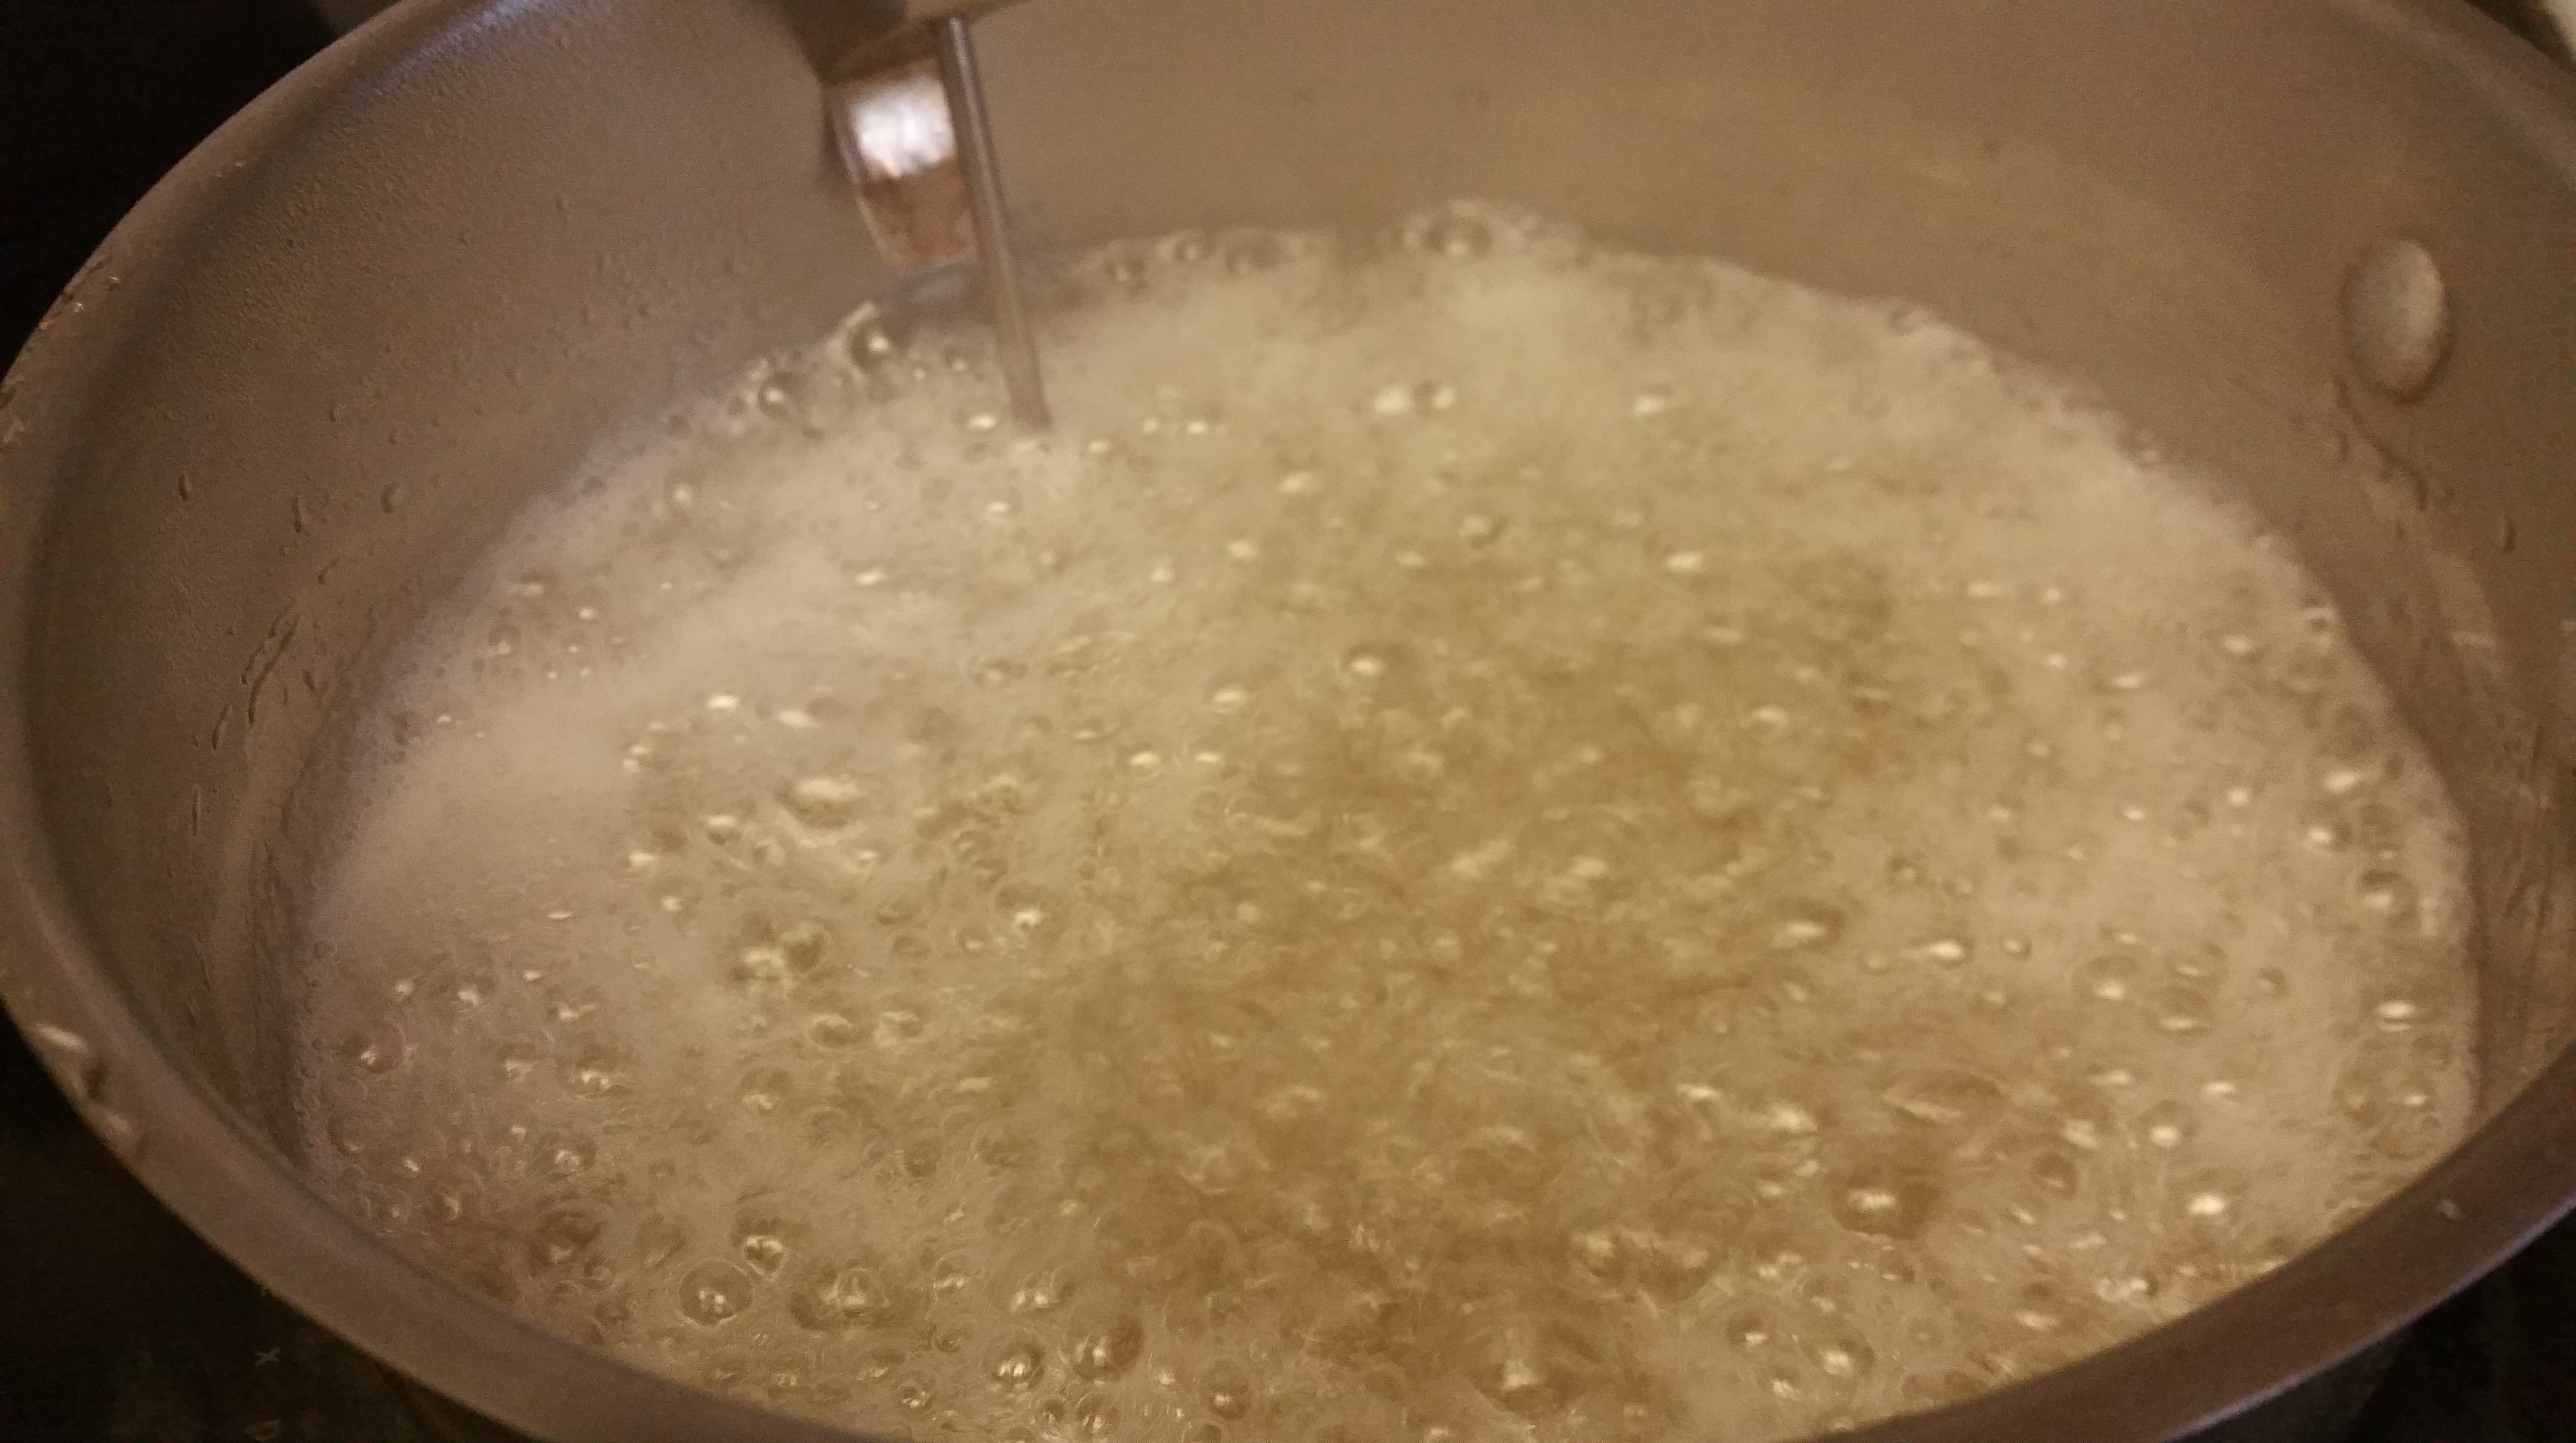
Then boil mixture, without stirring, but gently swirling pan, until the syrup turns a deep amber color. Be careful, it goes from golden to burnt quickly. I like to swirl on and off the heat to keep the syrup nice and even in color.

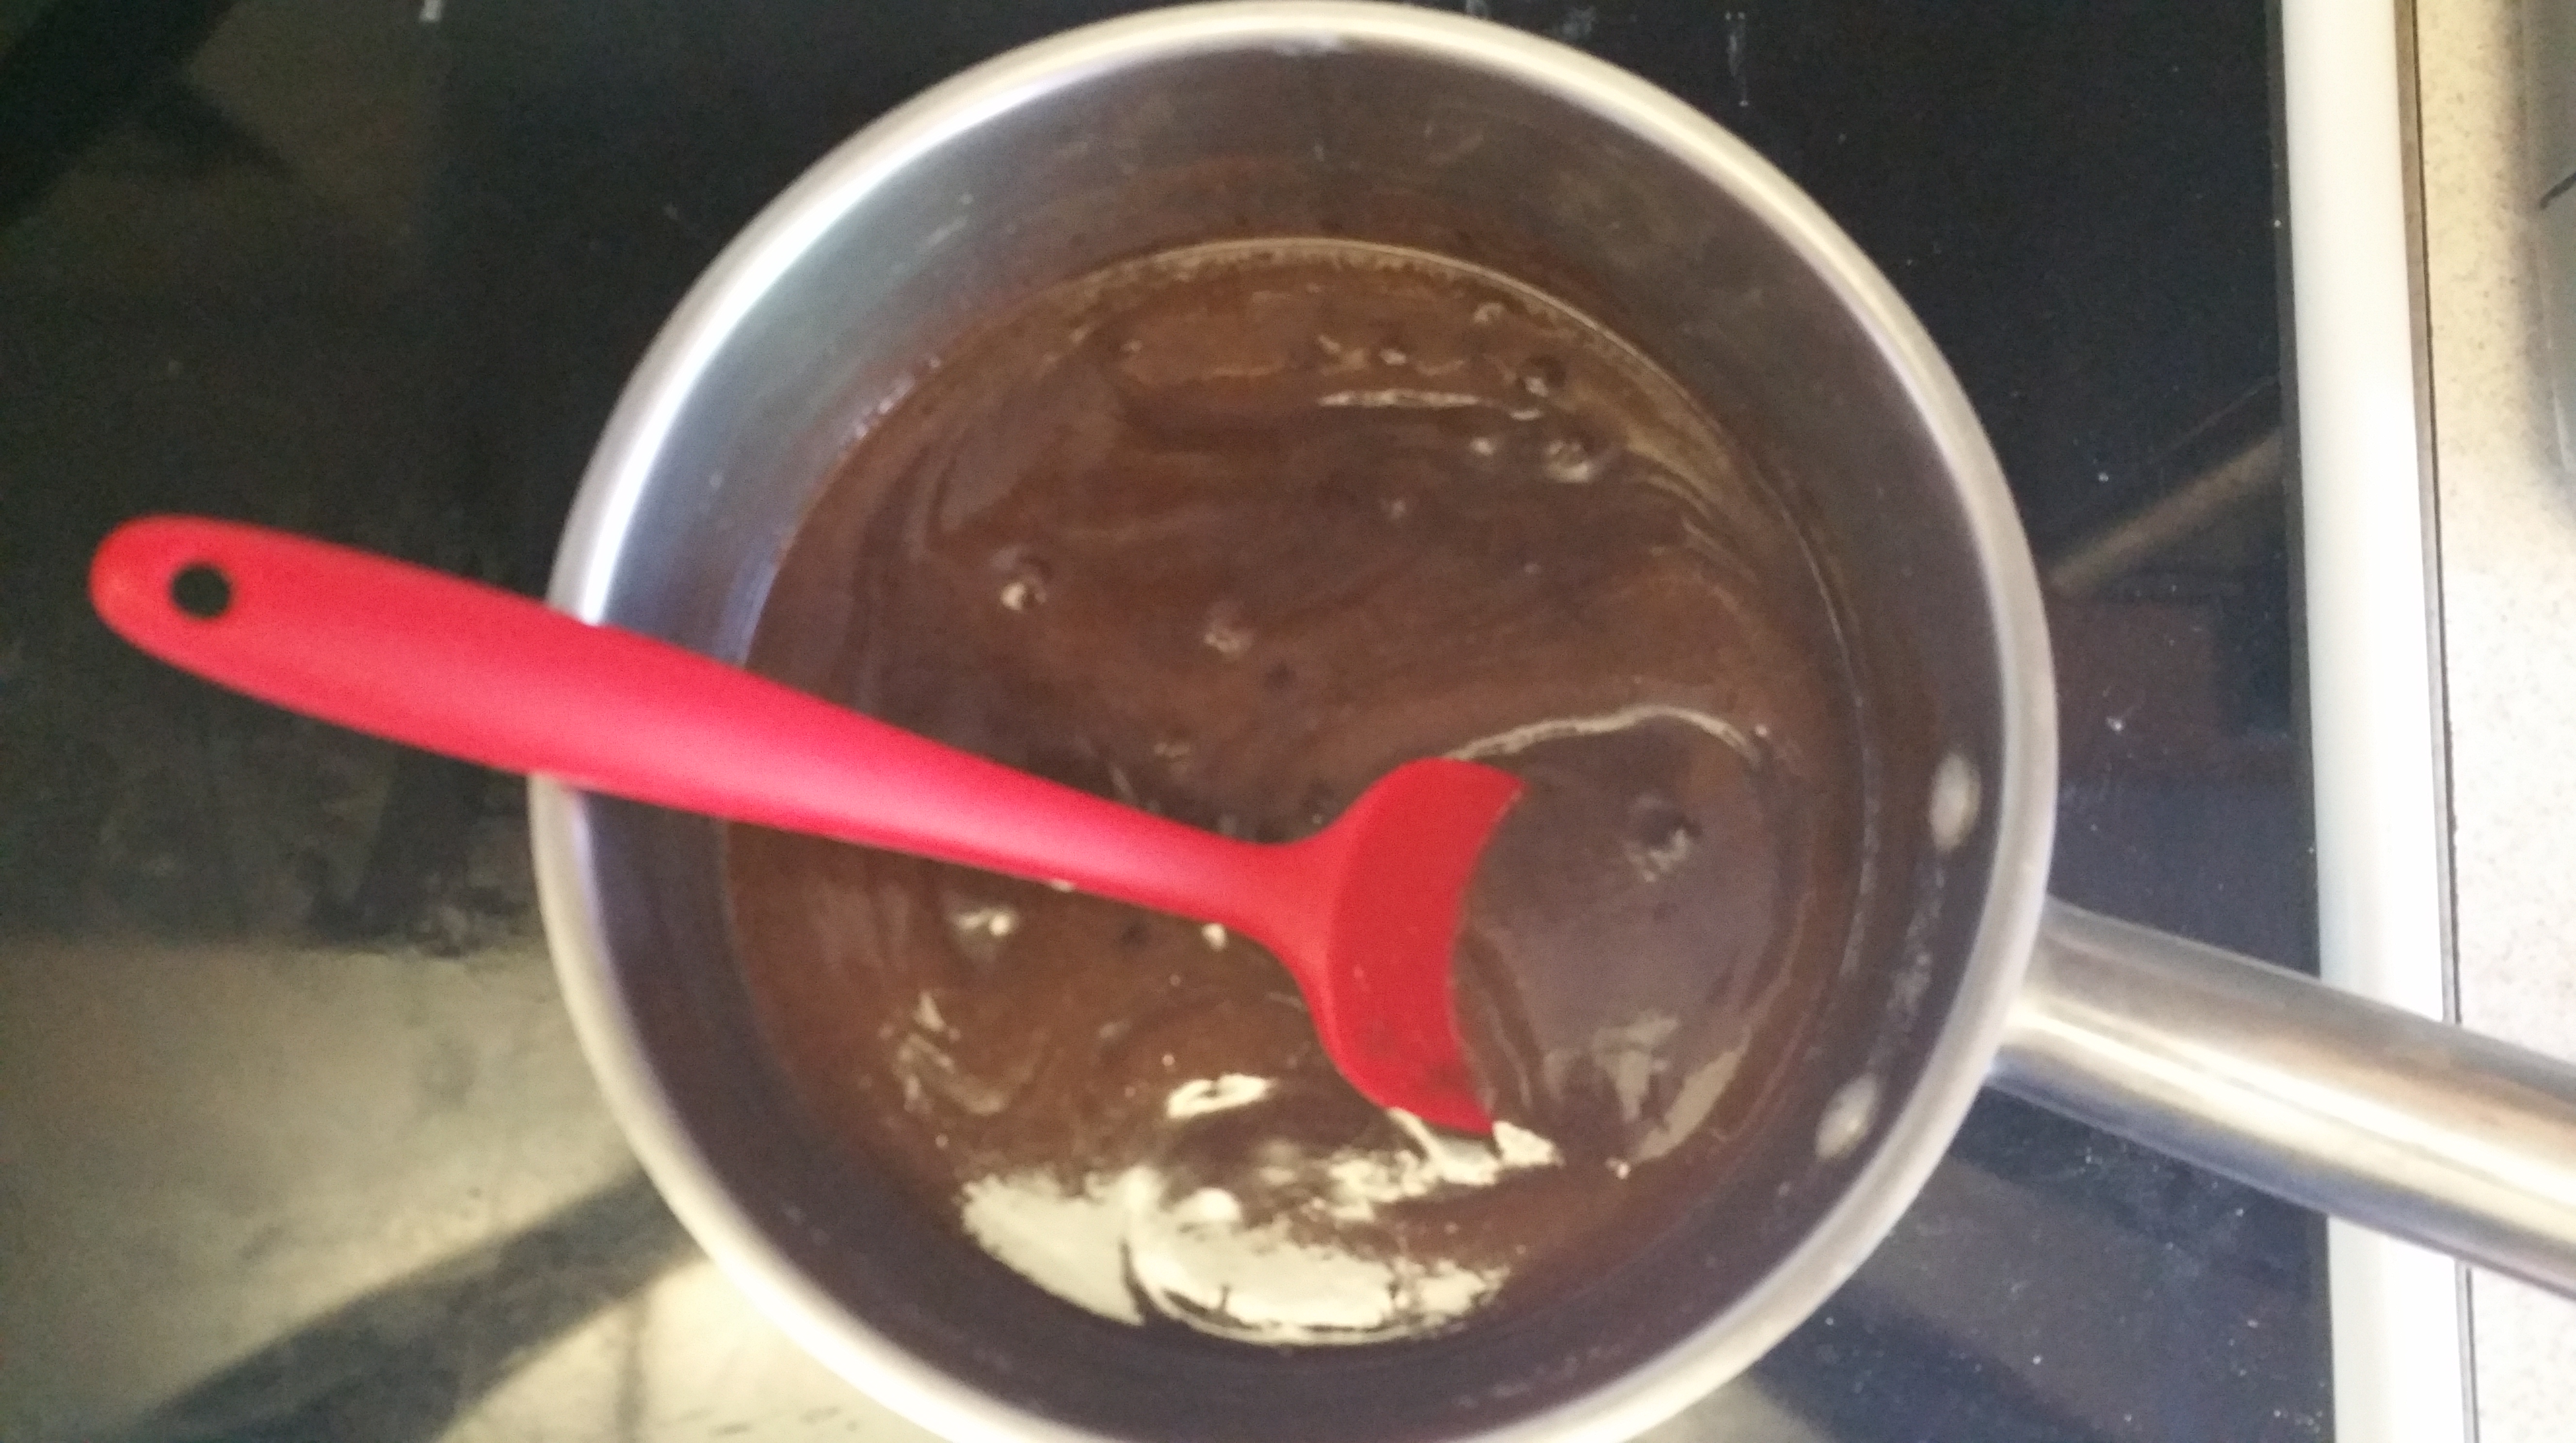
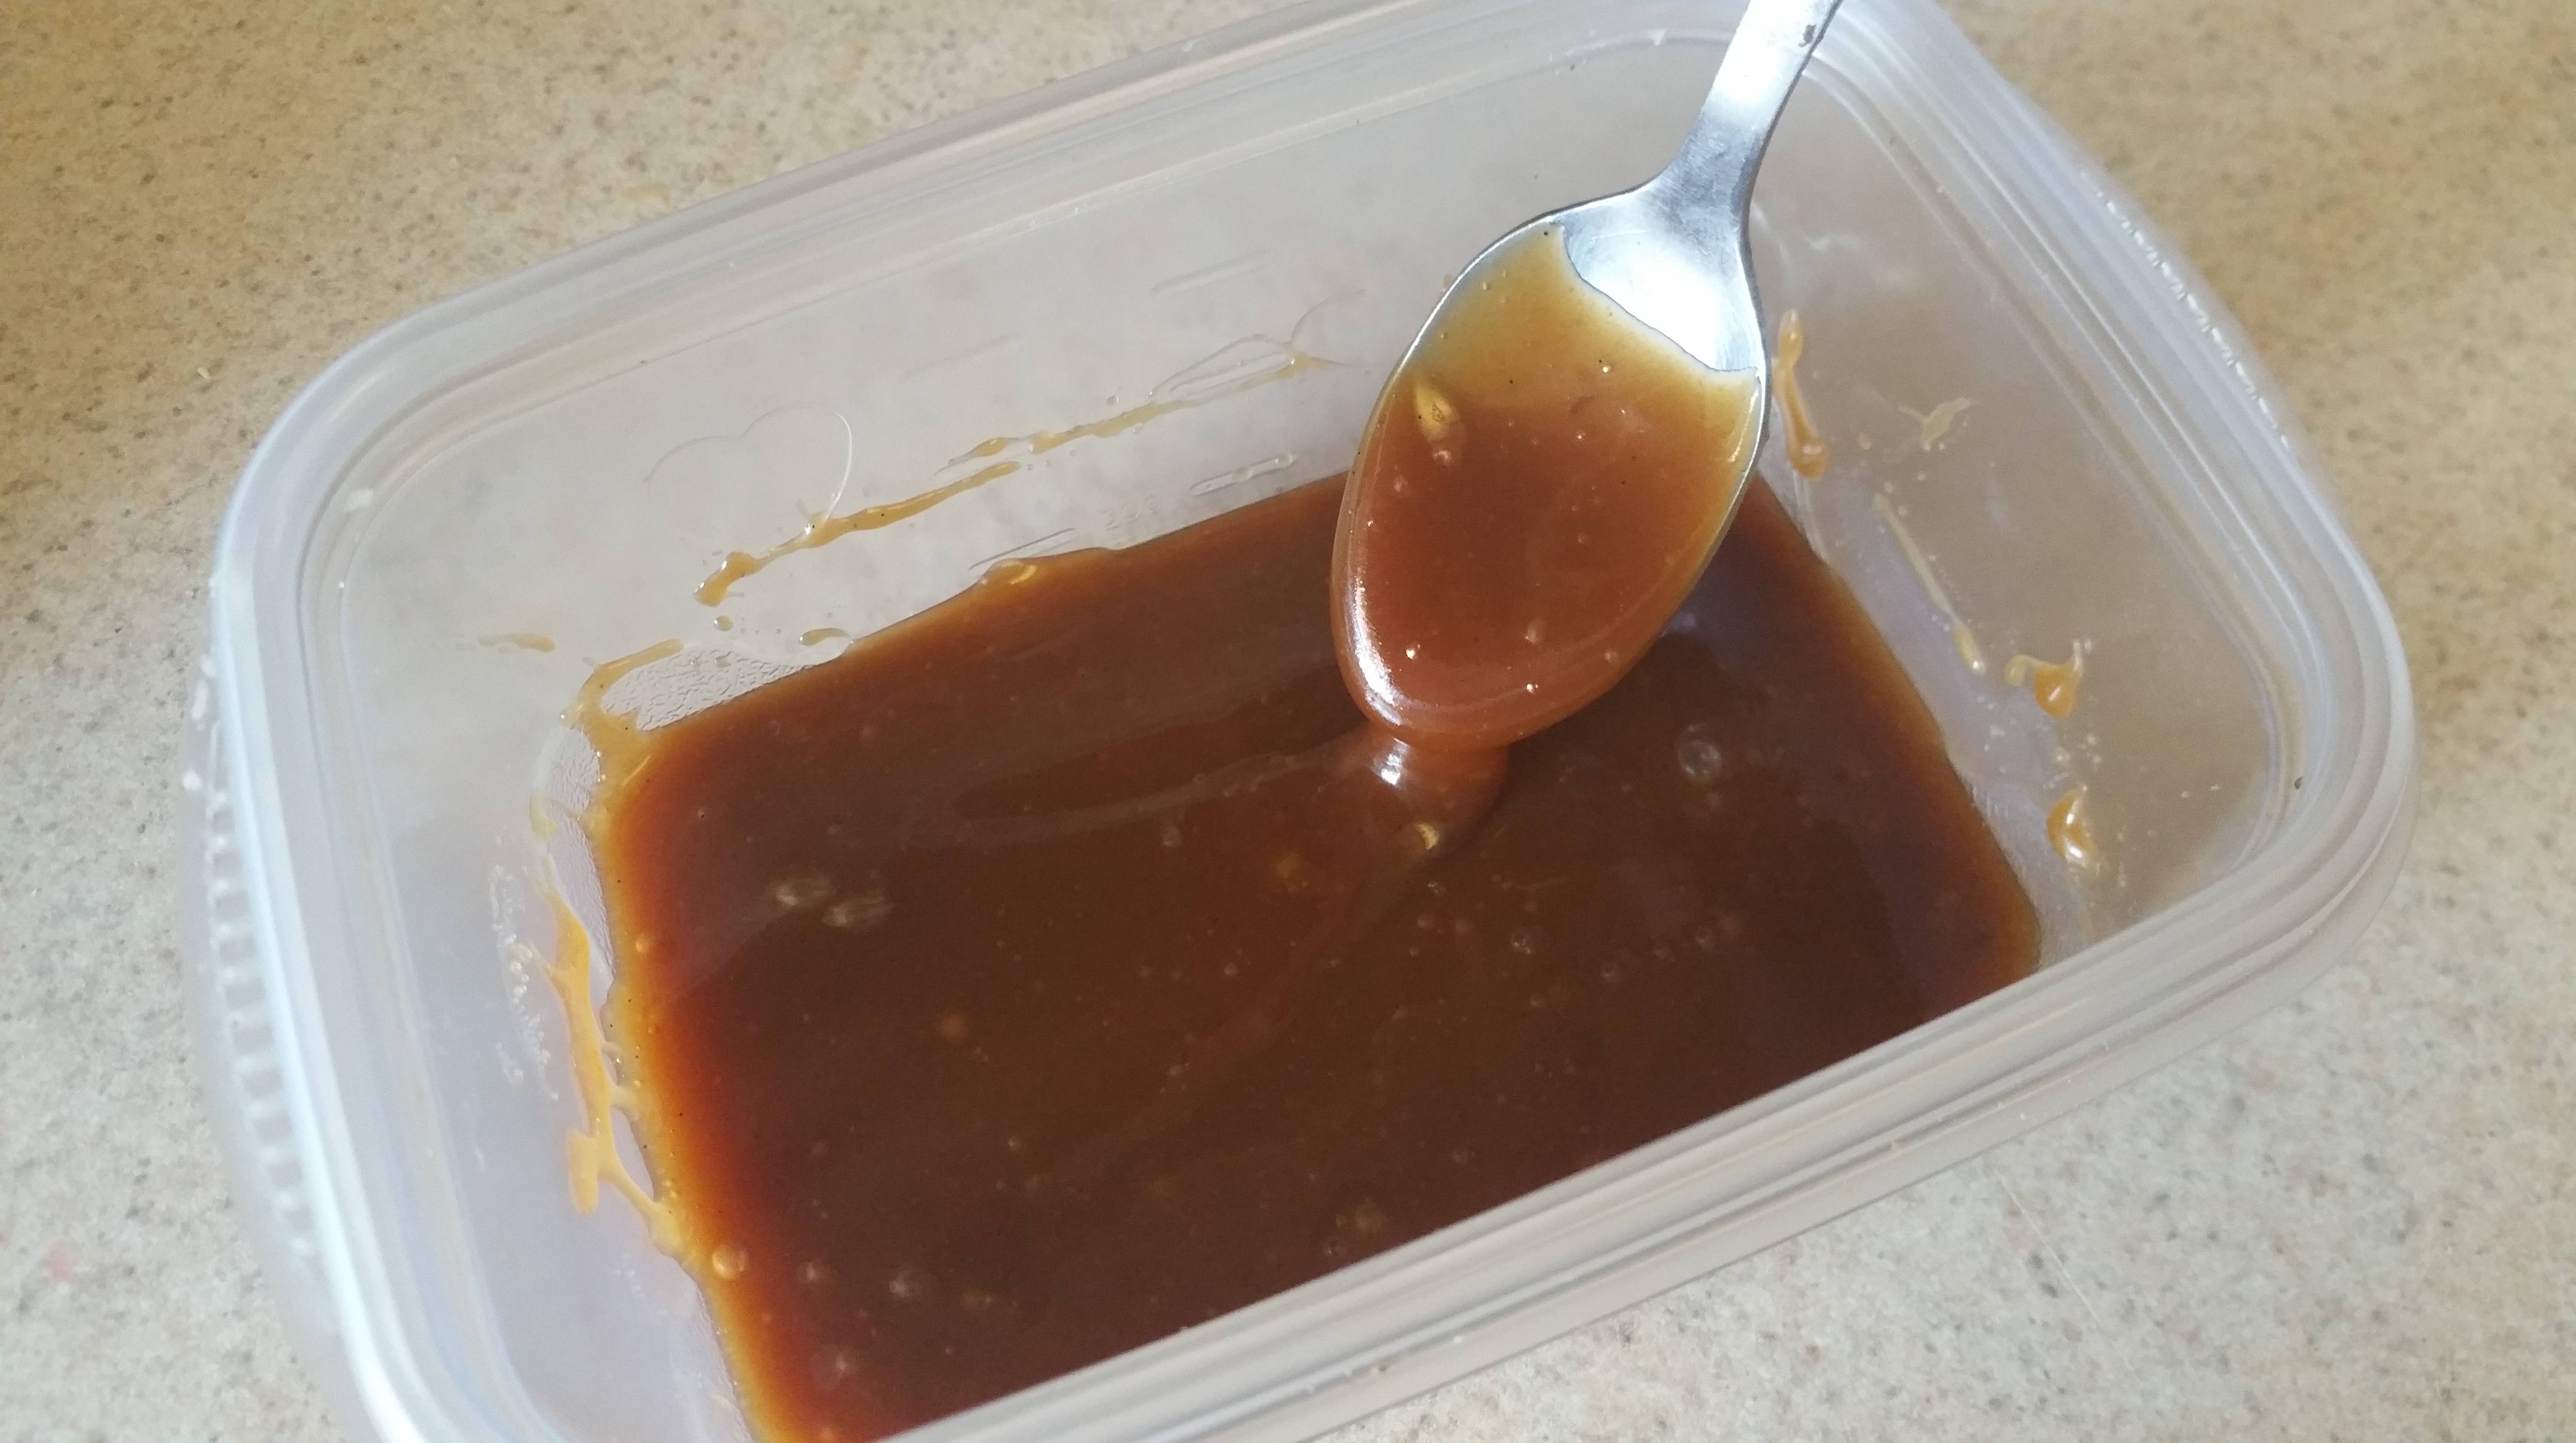
Remove pan from heat and carefully pour in the cream and vanilla extract. The mixture will bubble up and harden a bit. Return it to the heat and simmer mixture, stirring, until caramel is smooth.

Remove pan from heat, stir in the salt and cool caramel to room temperature.

If you make this on the same day you are making your ice cream, leave it at room temperature. If you make it in advance, store covered in the refrigerator for up to a week. Warm to room temperature before use. You may need to heat it slightly to loosen it up.

Now let’s put it all together. Have ready the container you want to use, a large spoon for the ice cream, a spoon for the caramel, and a butter knife. Have your buttered pecans and caramel ready to go.

If you used one, remove the vanilla bean pod from the ice cream base.

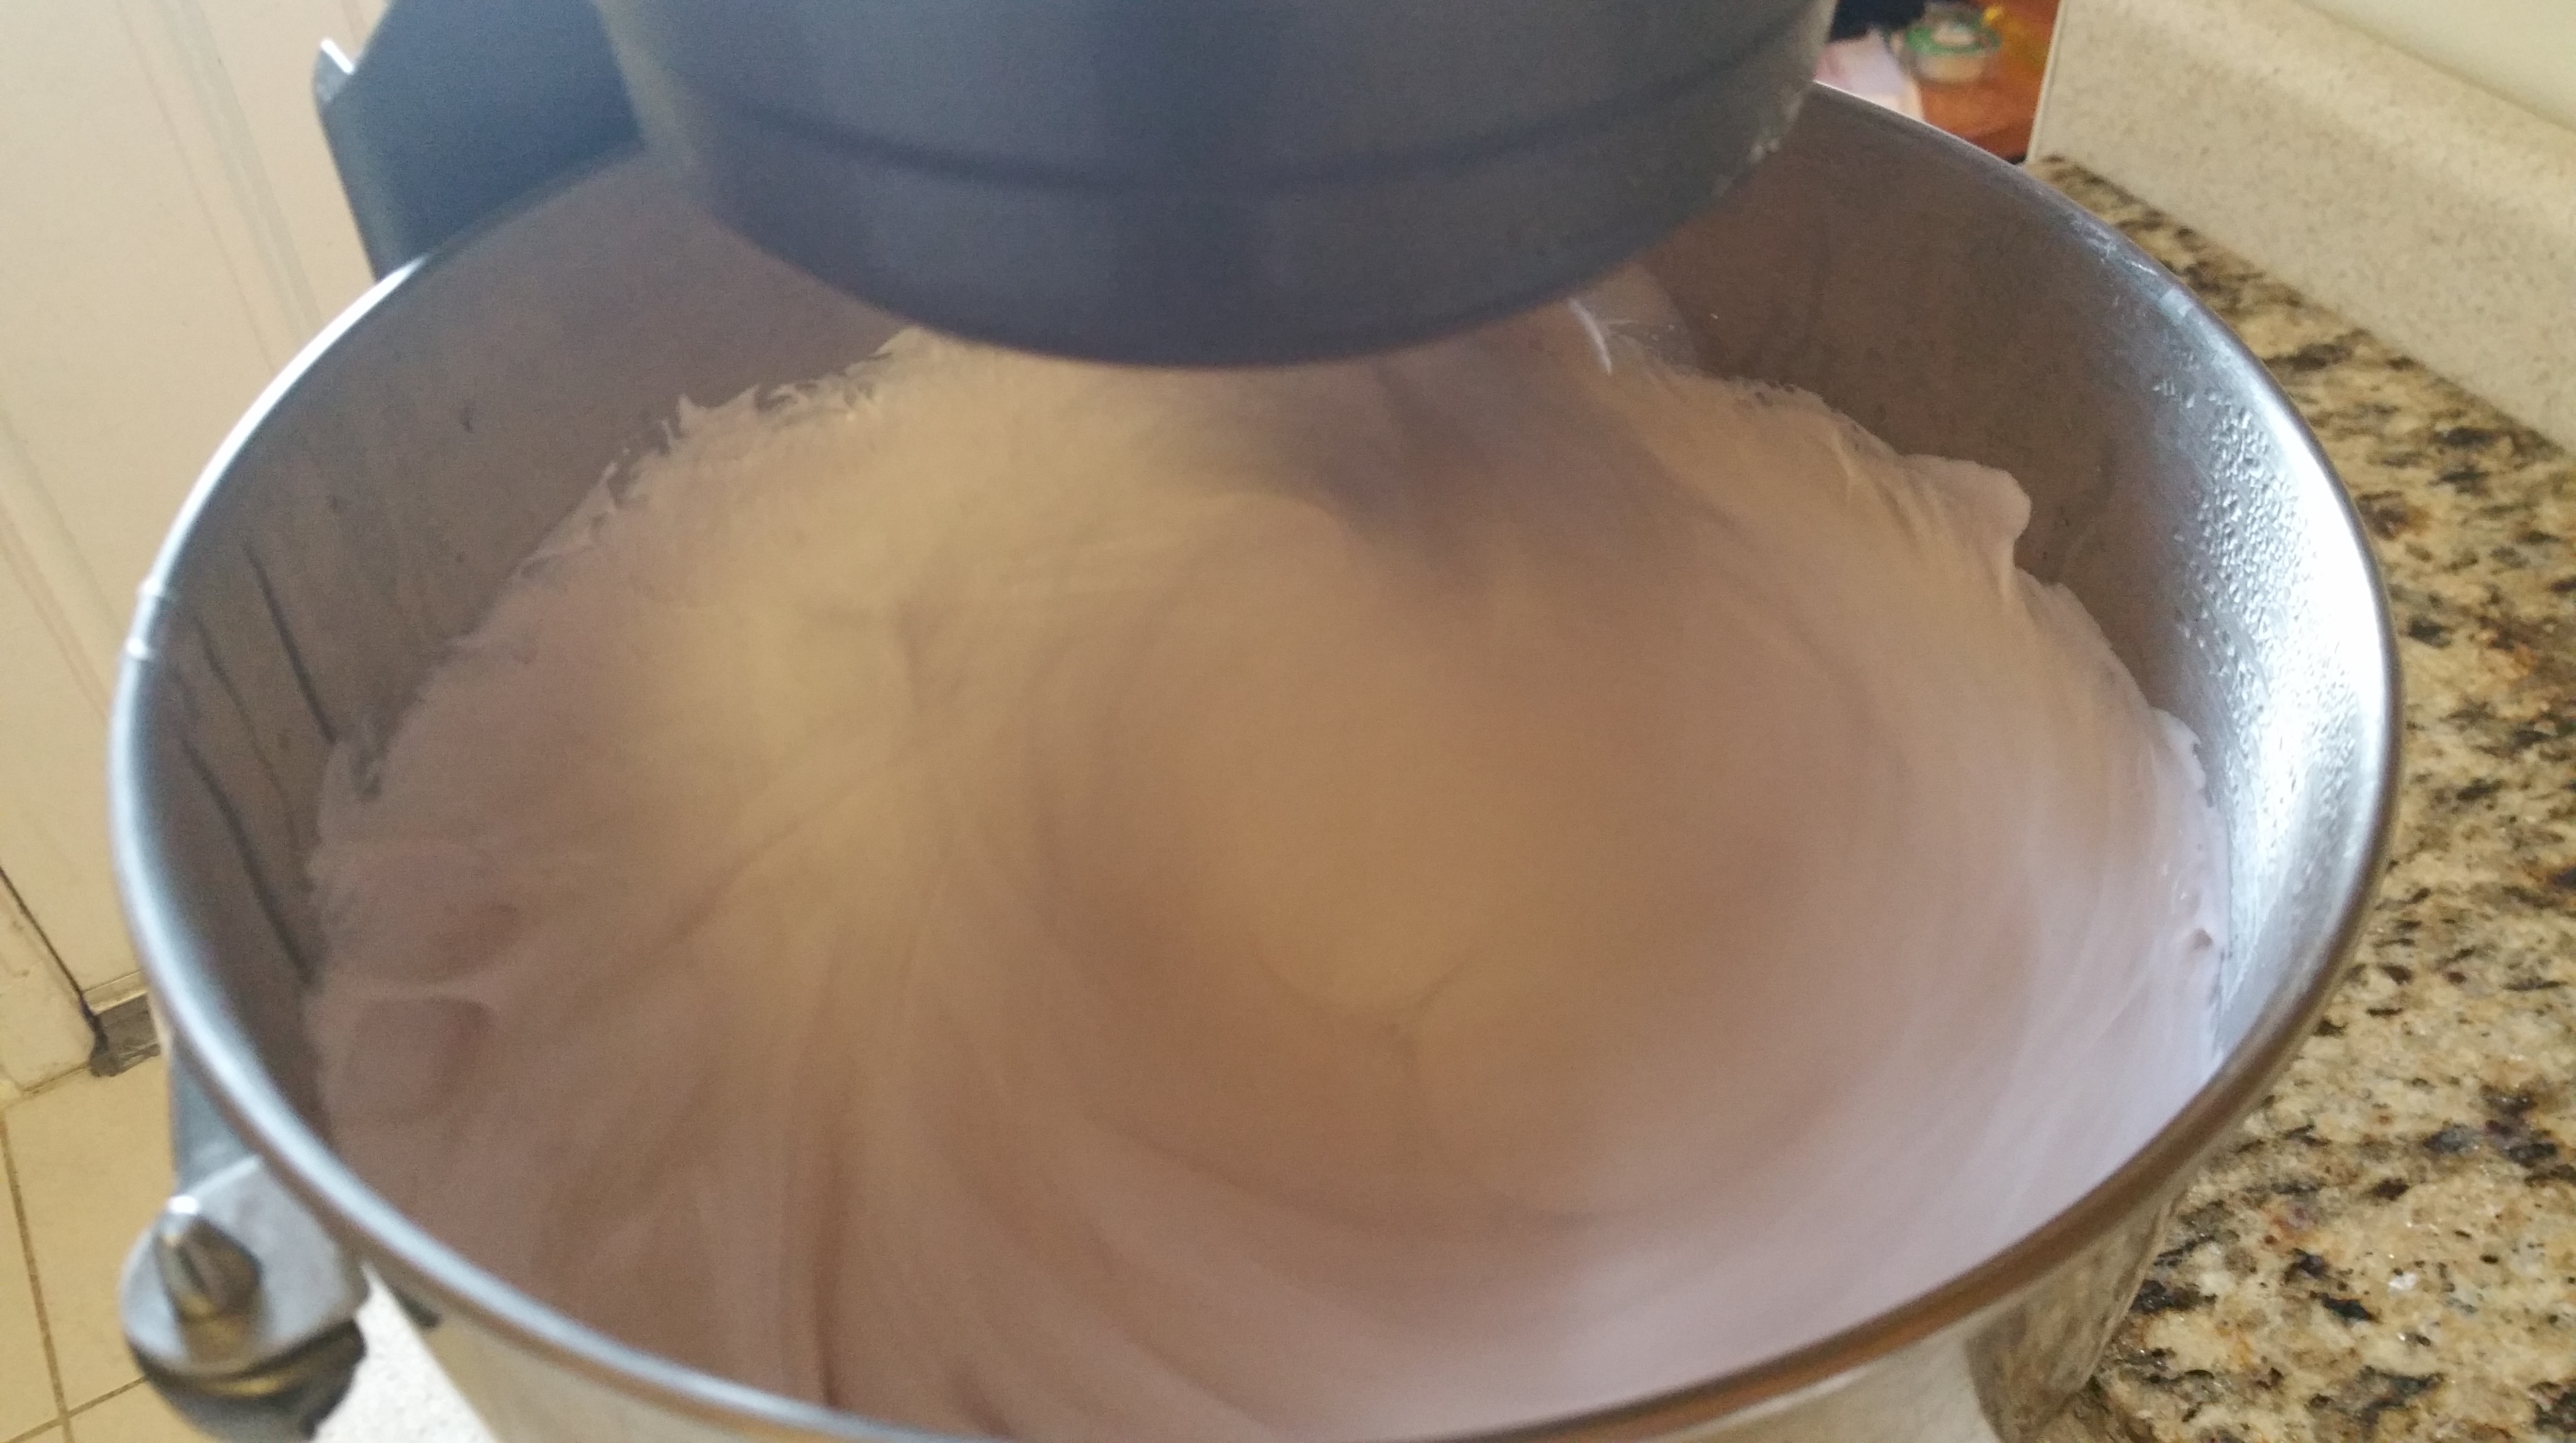
Pour the chilled ice cream base into your ice cream maker and churn according to manufacturer’s directions. In my ice cream maker, this takes about 24 minutes.

Pour in the pecans during the last 3 minutes of churning.

Take 1/3 of the ice cream and spread it in the container. Quickly drizzle a layer of caramel on top.

Repeat this 2 more times, and then use the butter knife to swirl the caramel through the ice cream. I ended up using about 2/3 of the caramel I made, but it did not go to waste!

Cover the ice cream and quickly move to the freezer to harden. In my freezer, it took about four hours to reach a nice hard scoop consistency. Serve as-is, or if you’re feeling special, drizzle on some extra caramel sauce, sprinkle a few chopped salted toasted pecans, and top with some maple sweetened softly whipped cream.

While no pigs were harmed in the making of this sundae, the savory, crunchy toasted pecans and deep, rich caramel swirl running through the fluffy, soft ice cream with that little pillow of whipped cream on top instantly took me back to that wonderful summer night. Music spilling into the restaurant from the streets, my new fiancé by my side, and my family surrounding me. My heart was full. What a profound testament to the power of foods as vessels for memory.

With Joe at Green Goddess

Recipes are little time capsules we can open at any moment, and I know this is one I will surely return to on many occasions.

Ciao for now,

Neen