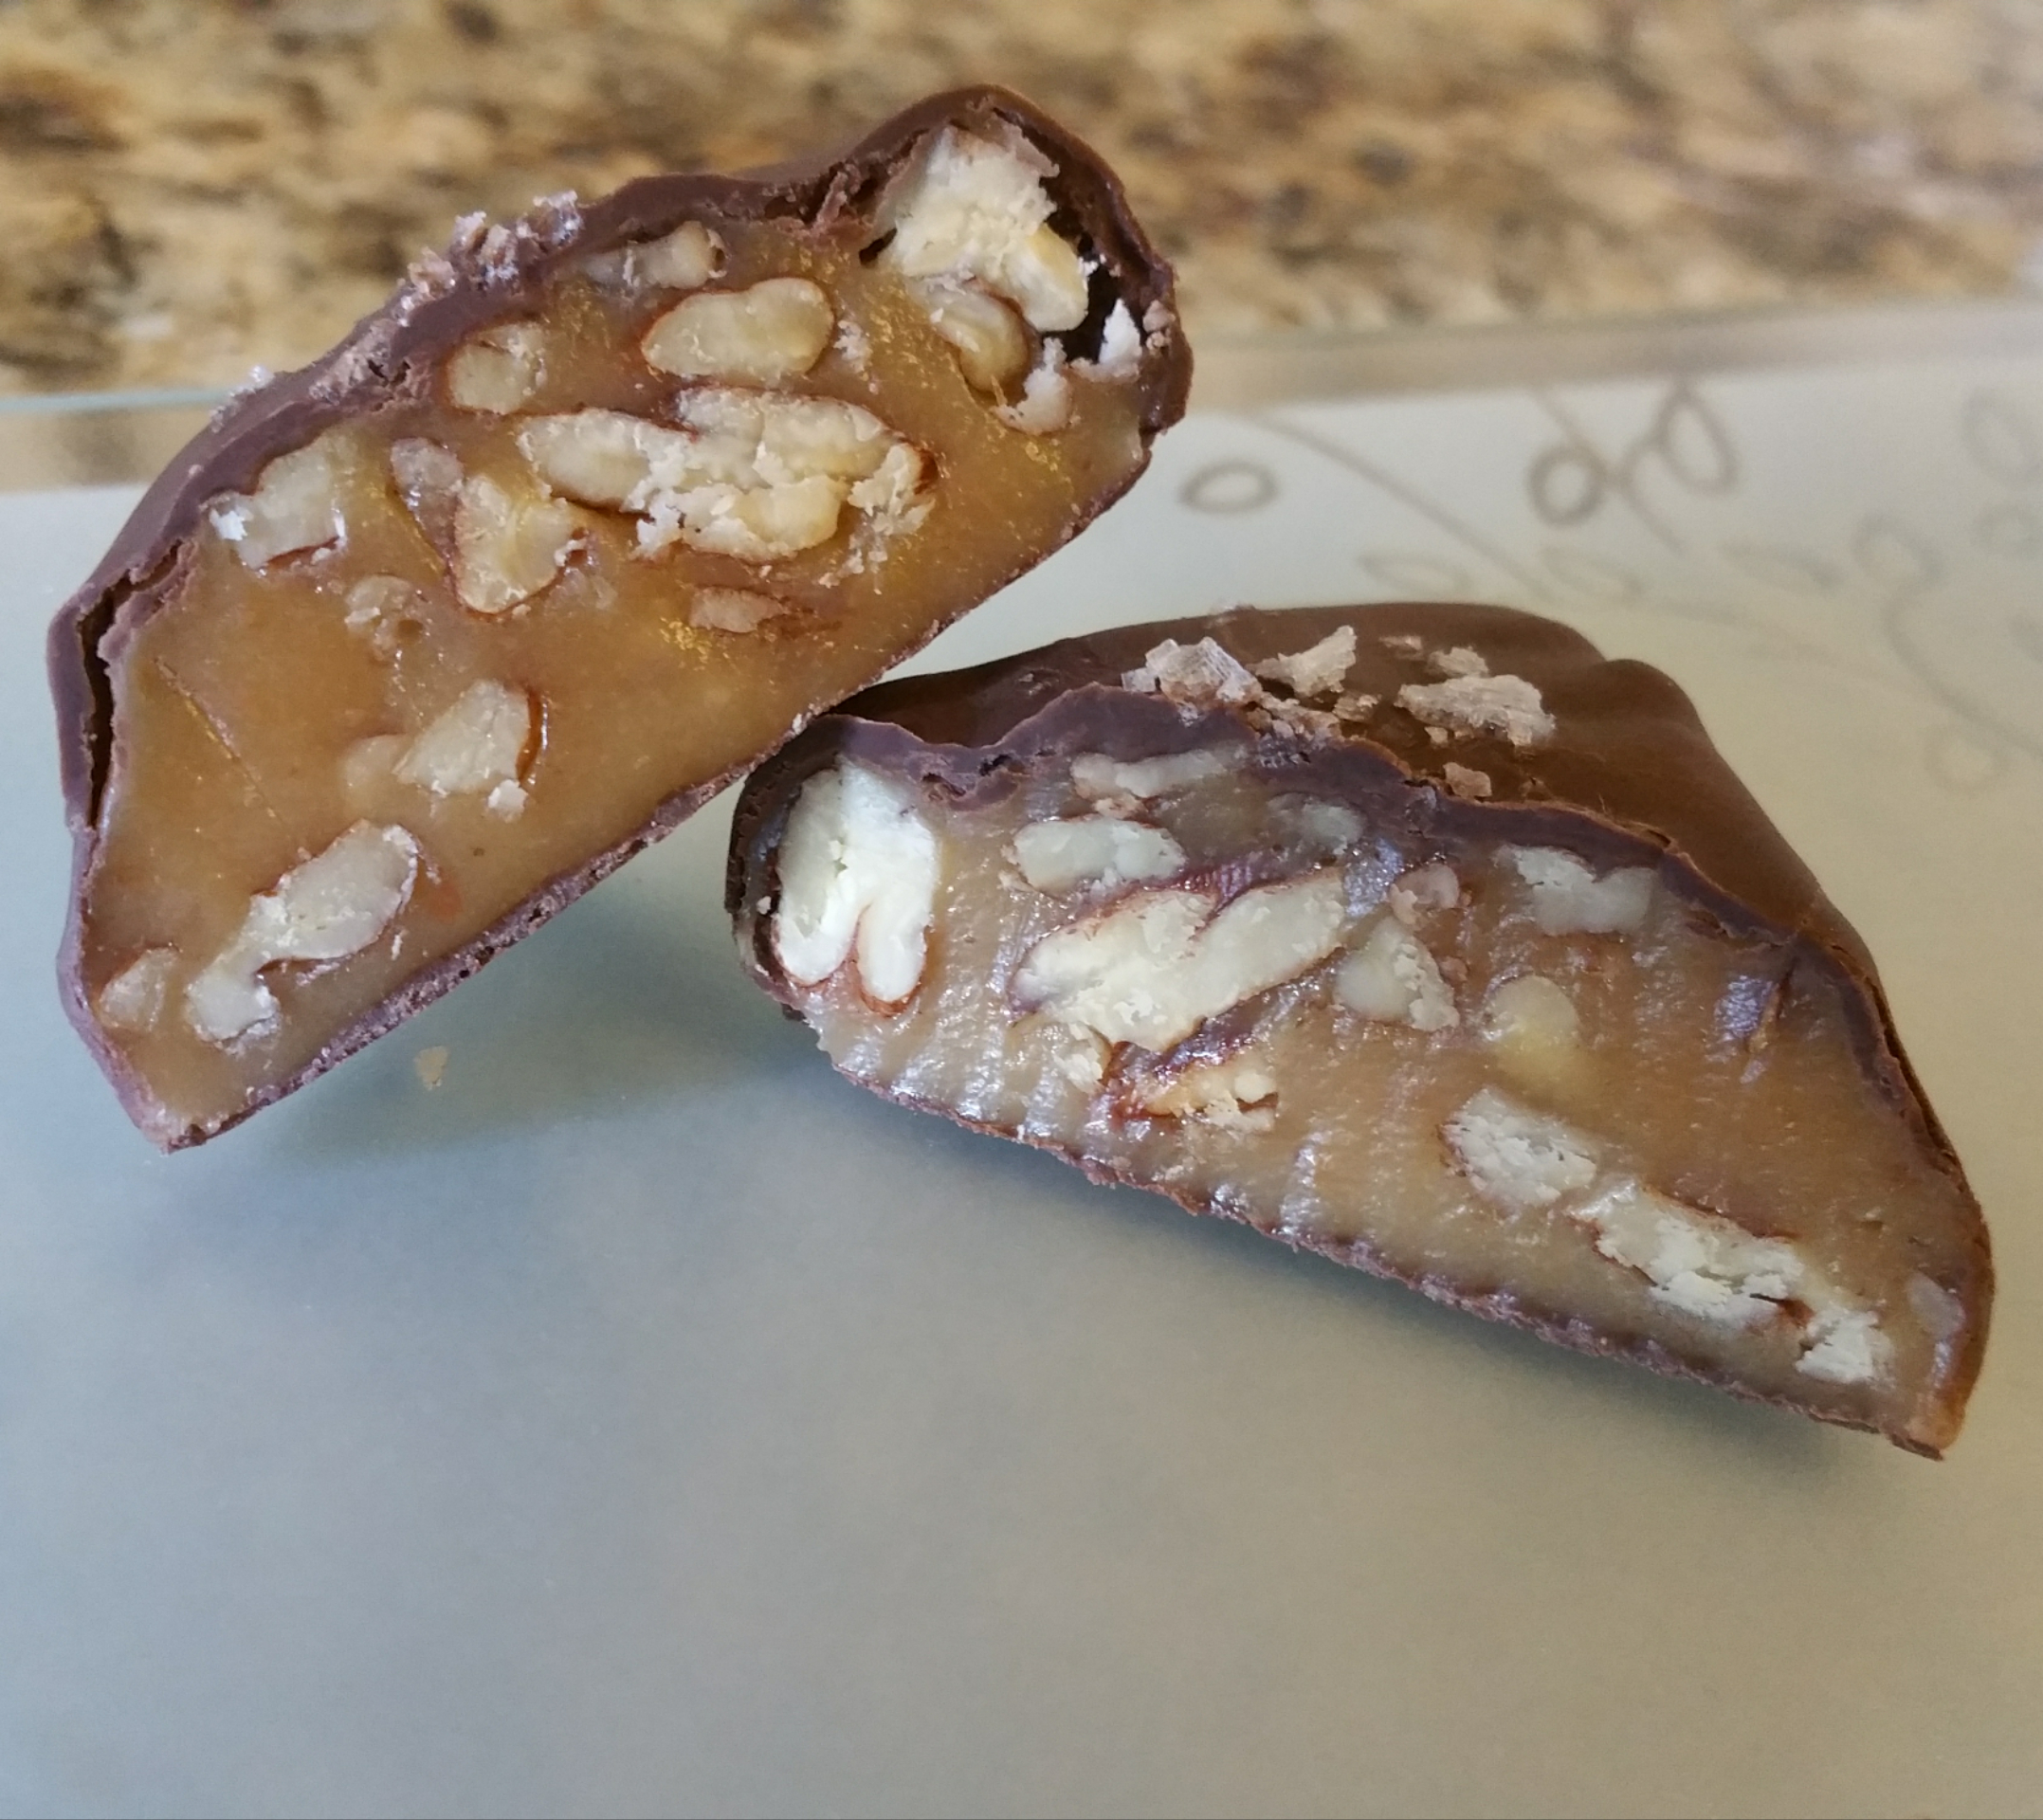
Recently I made a batch of soft caramels and realized that I suddenly had 64 caramels in my house, one stomach, and a husband who does not like caramel. Rather than freeze them, I decided to put a call out on Facebook: “Anybody a big fan of soft caramels?” Within minutes I was out of candy. After I shipped them off, several of the people who received them asked me about the recipe and it occurred to me that I’ve never shared it here. A cinnamon variant of them won a blue ribbon at the Arlington County Fair this year and yet somehow it never dawned on me to post it. Oops, my bad?
Anyway, it’s a delightfully simple recipe where the only real difficulty is that you have to stand at the stove for about 20 minutes and have a half-decent stirring arm. These are nice, soft caramels that are firm enough to cut and wrap easily, but that practically melt in your mouth after the first bite. Sound good to you? Me too, they are my favorite candy. And I’m super happy to share them with you.
Soft Caramels
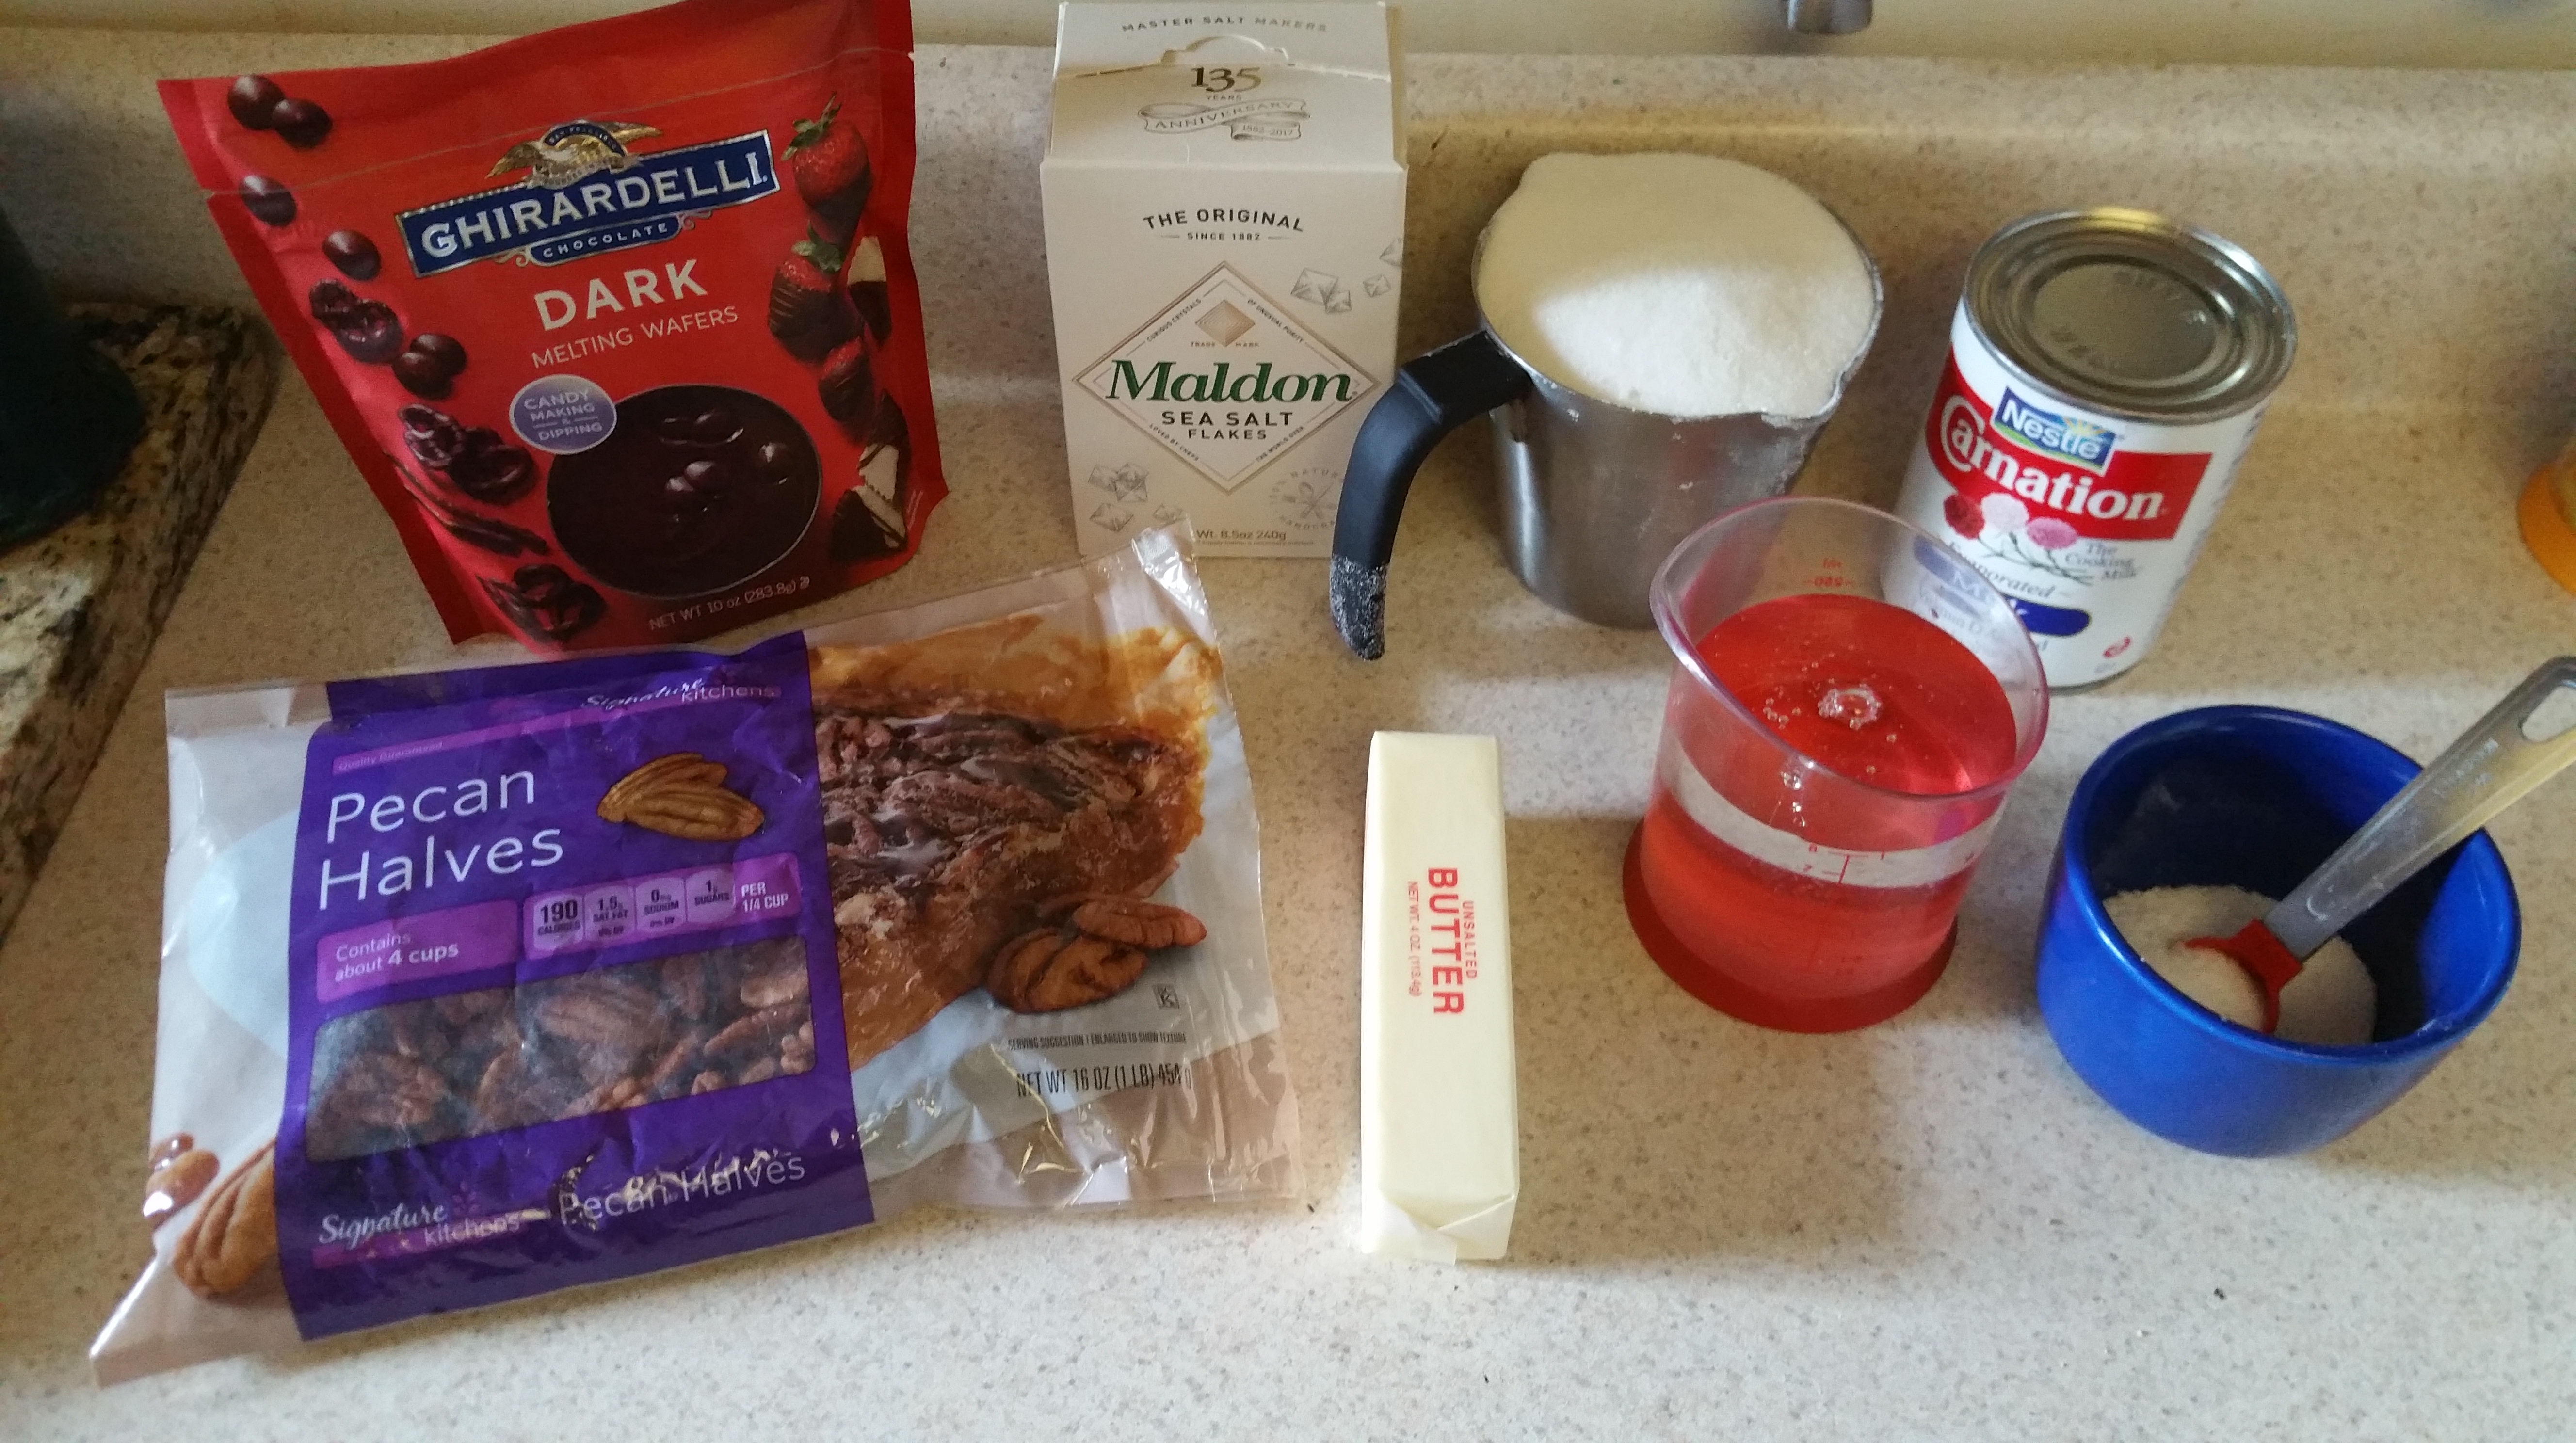
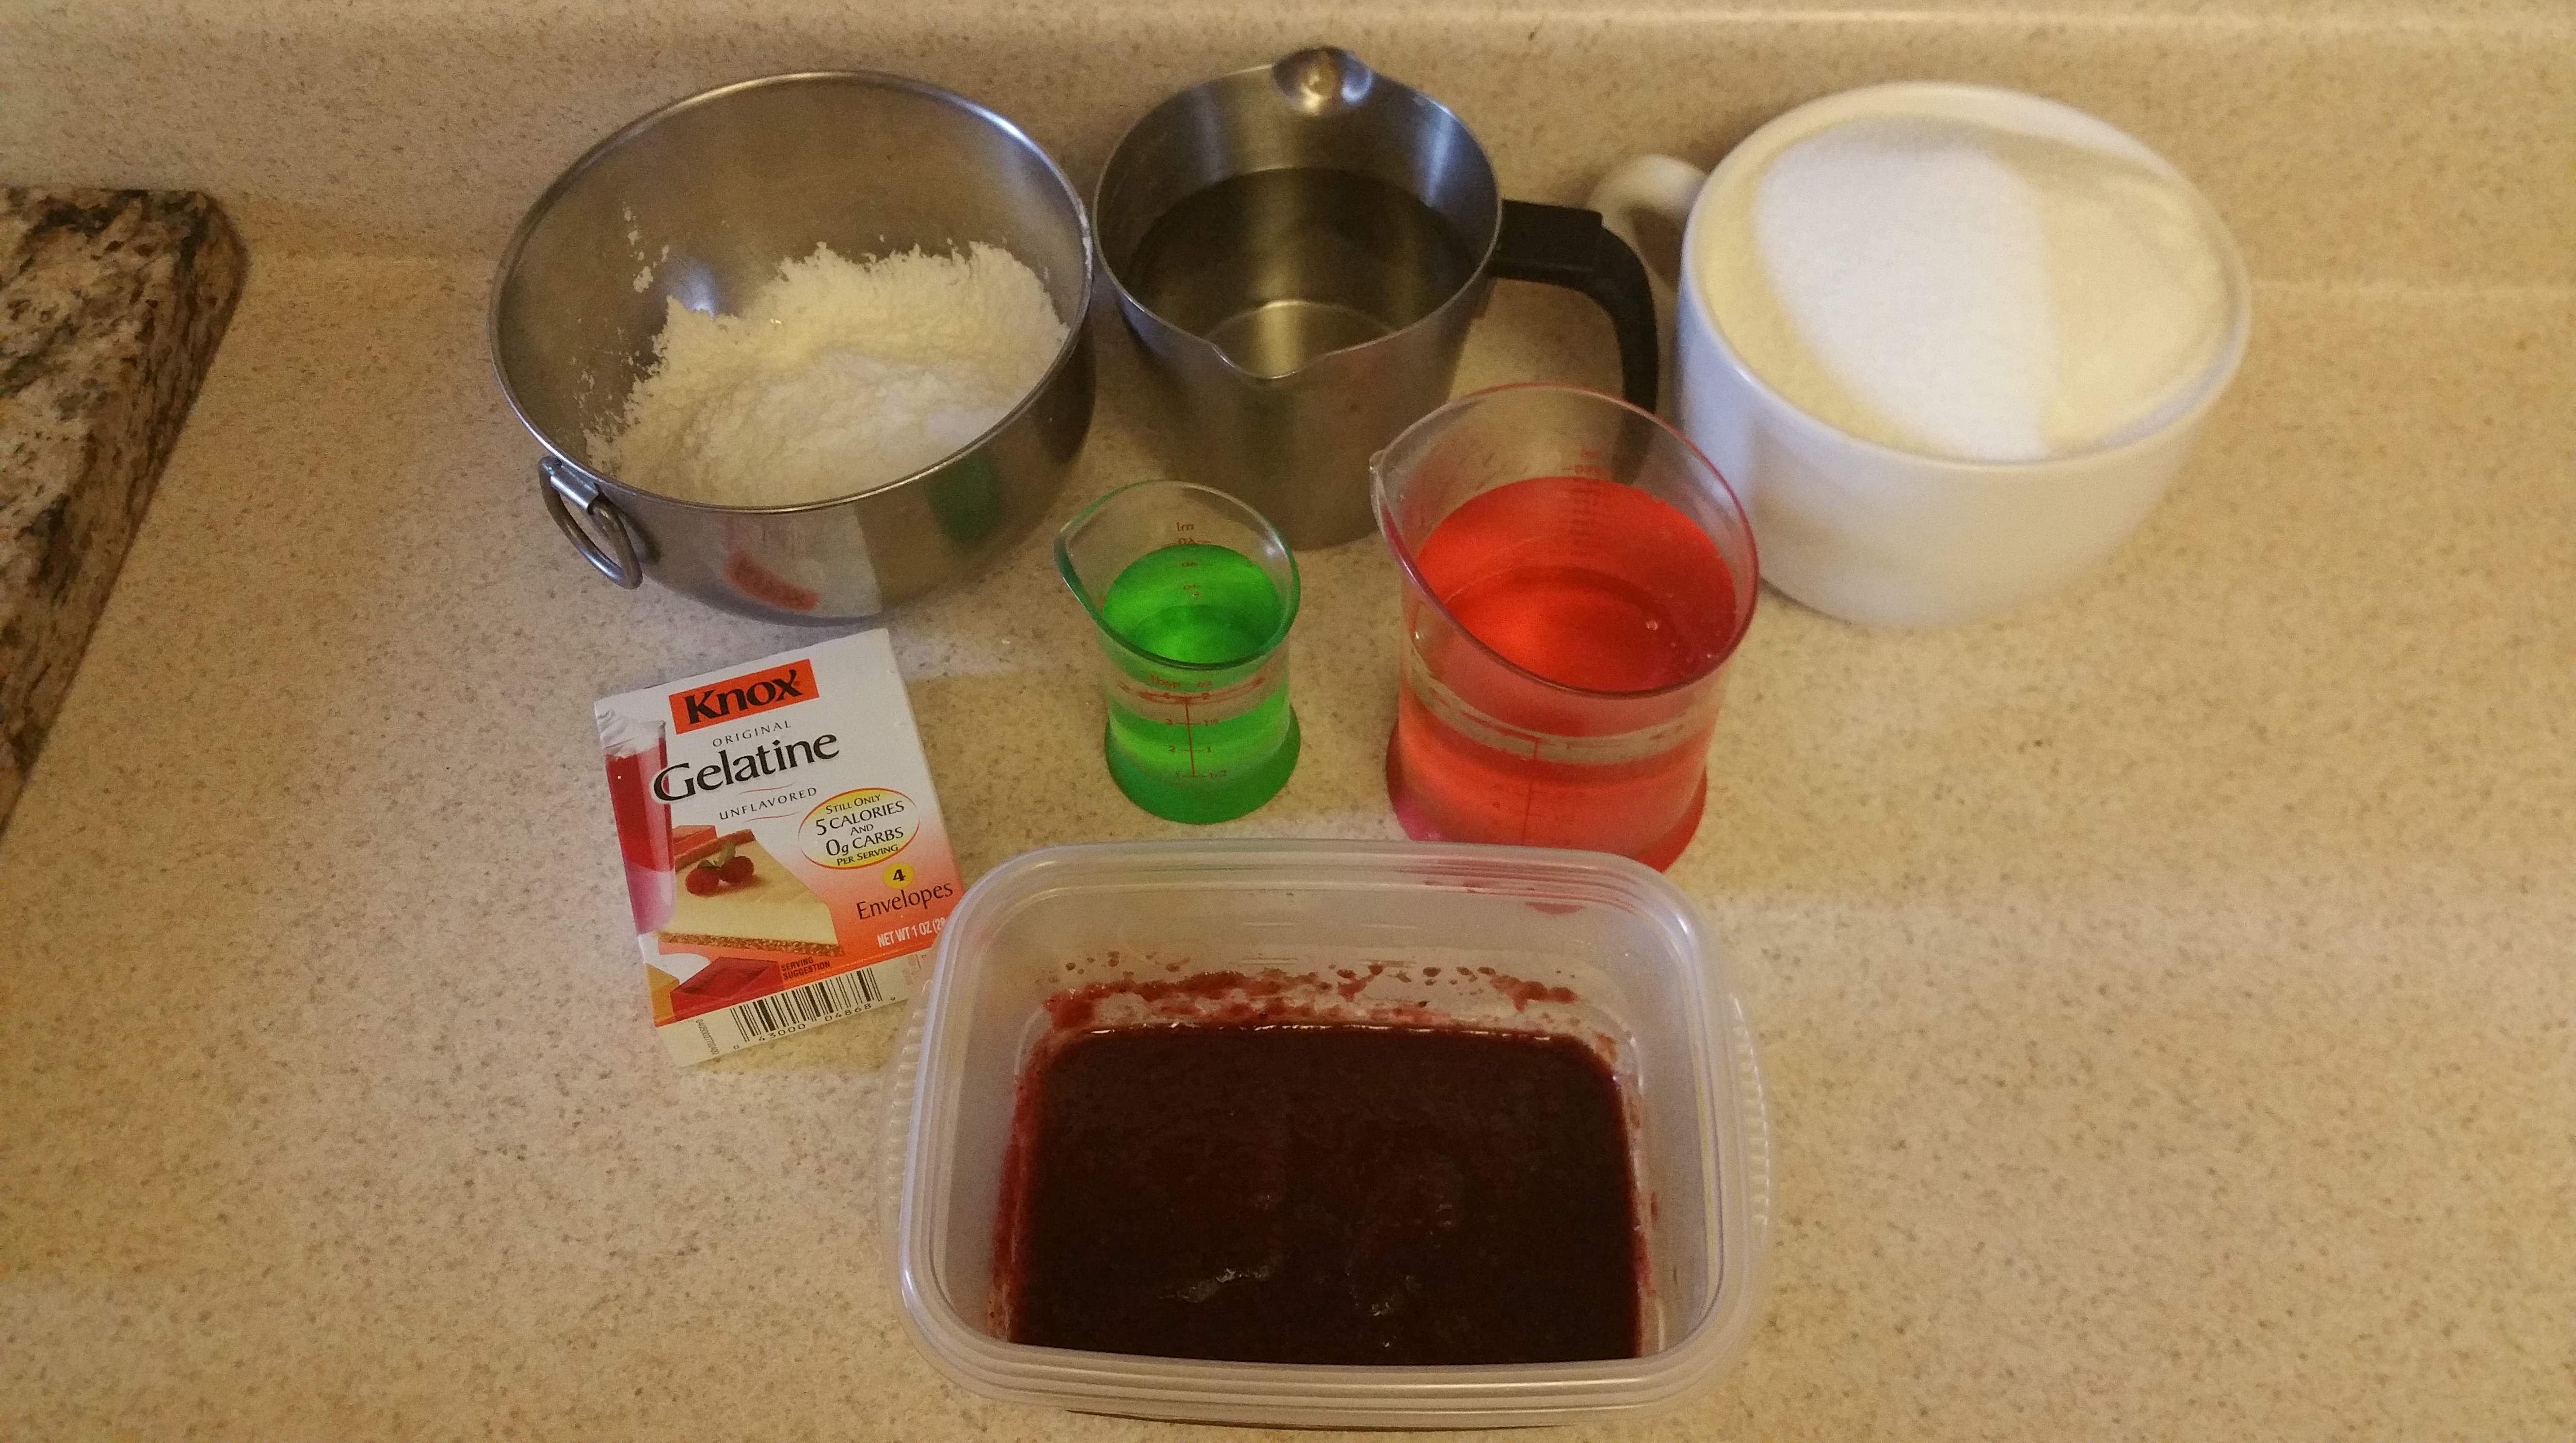
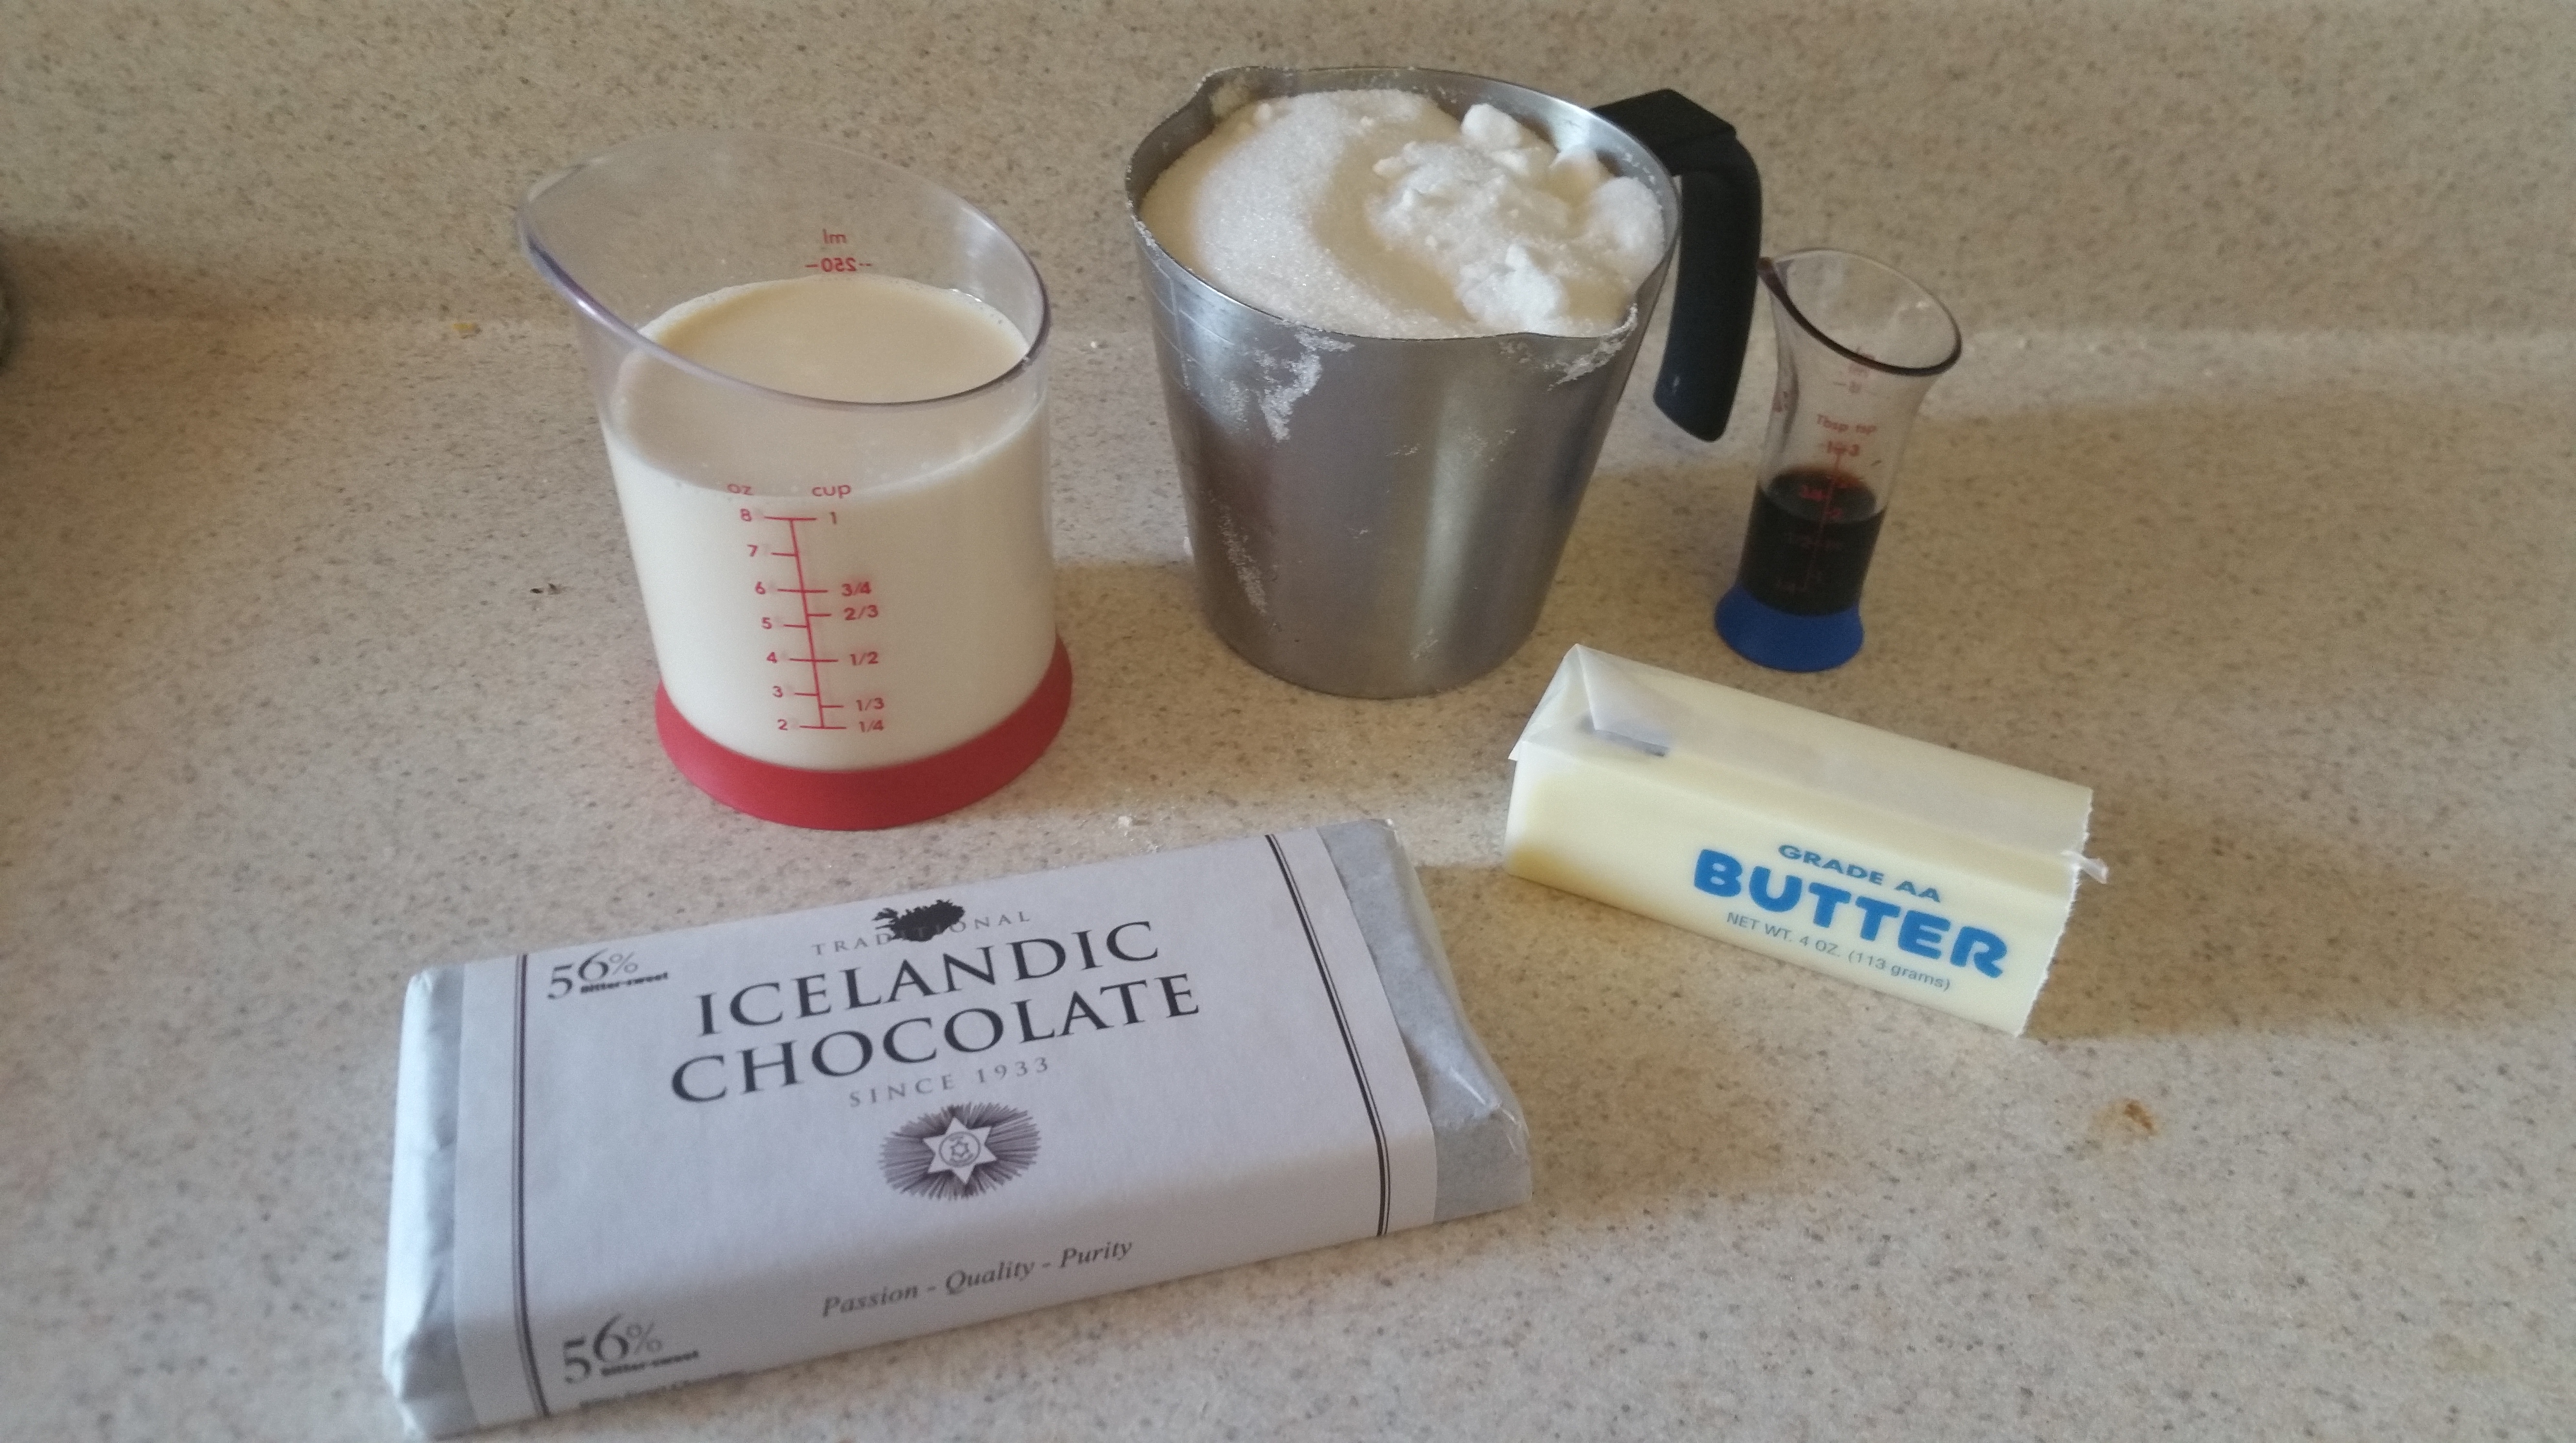
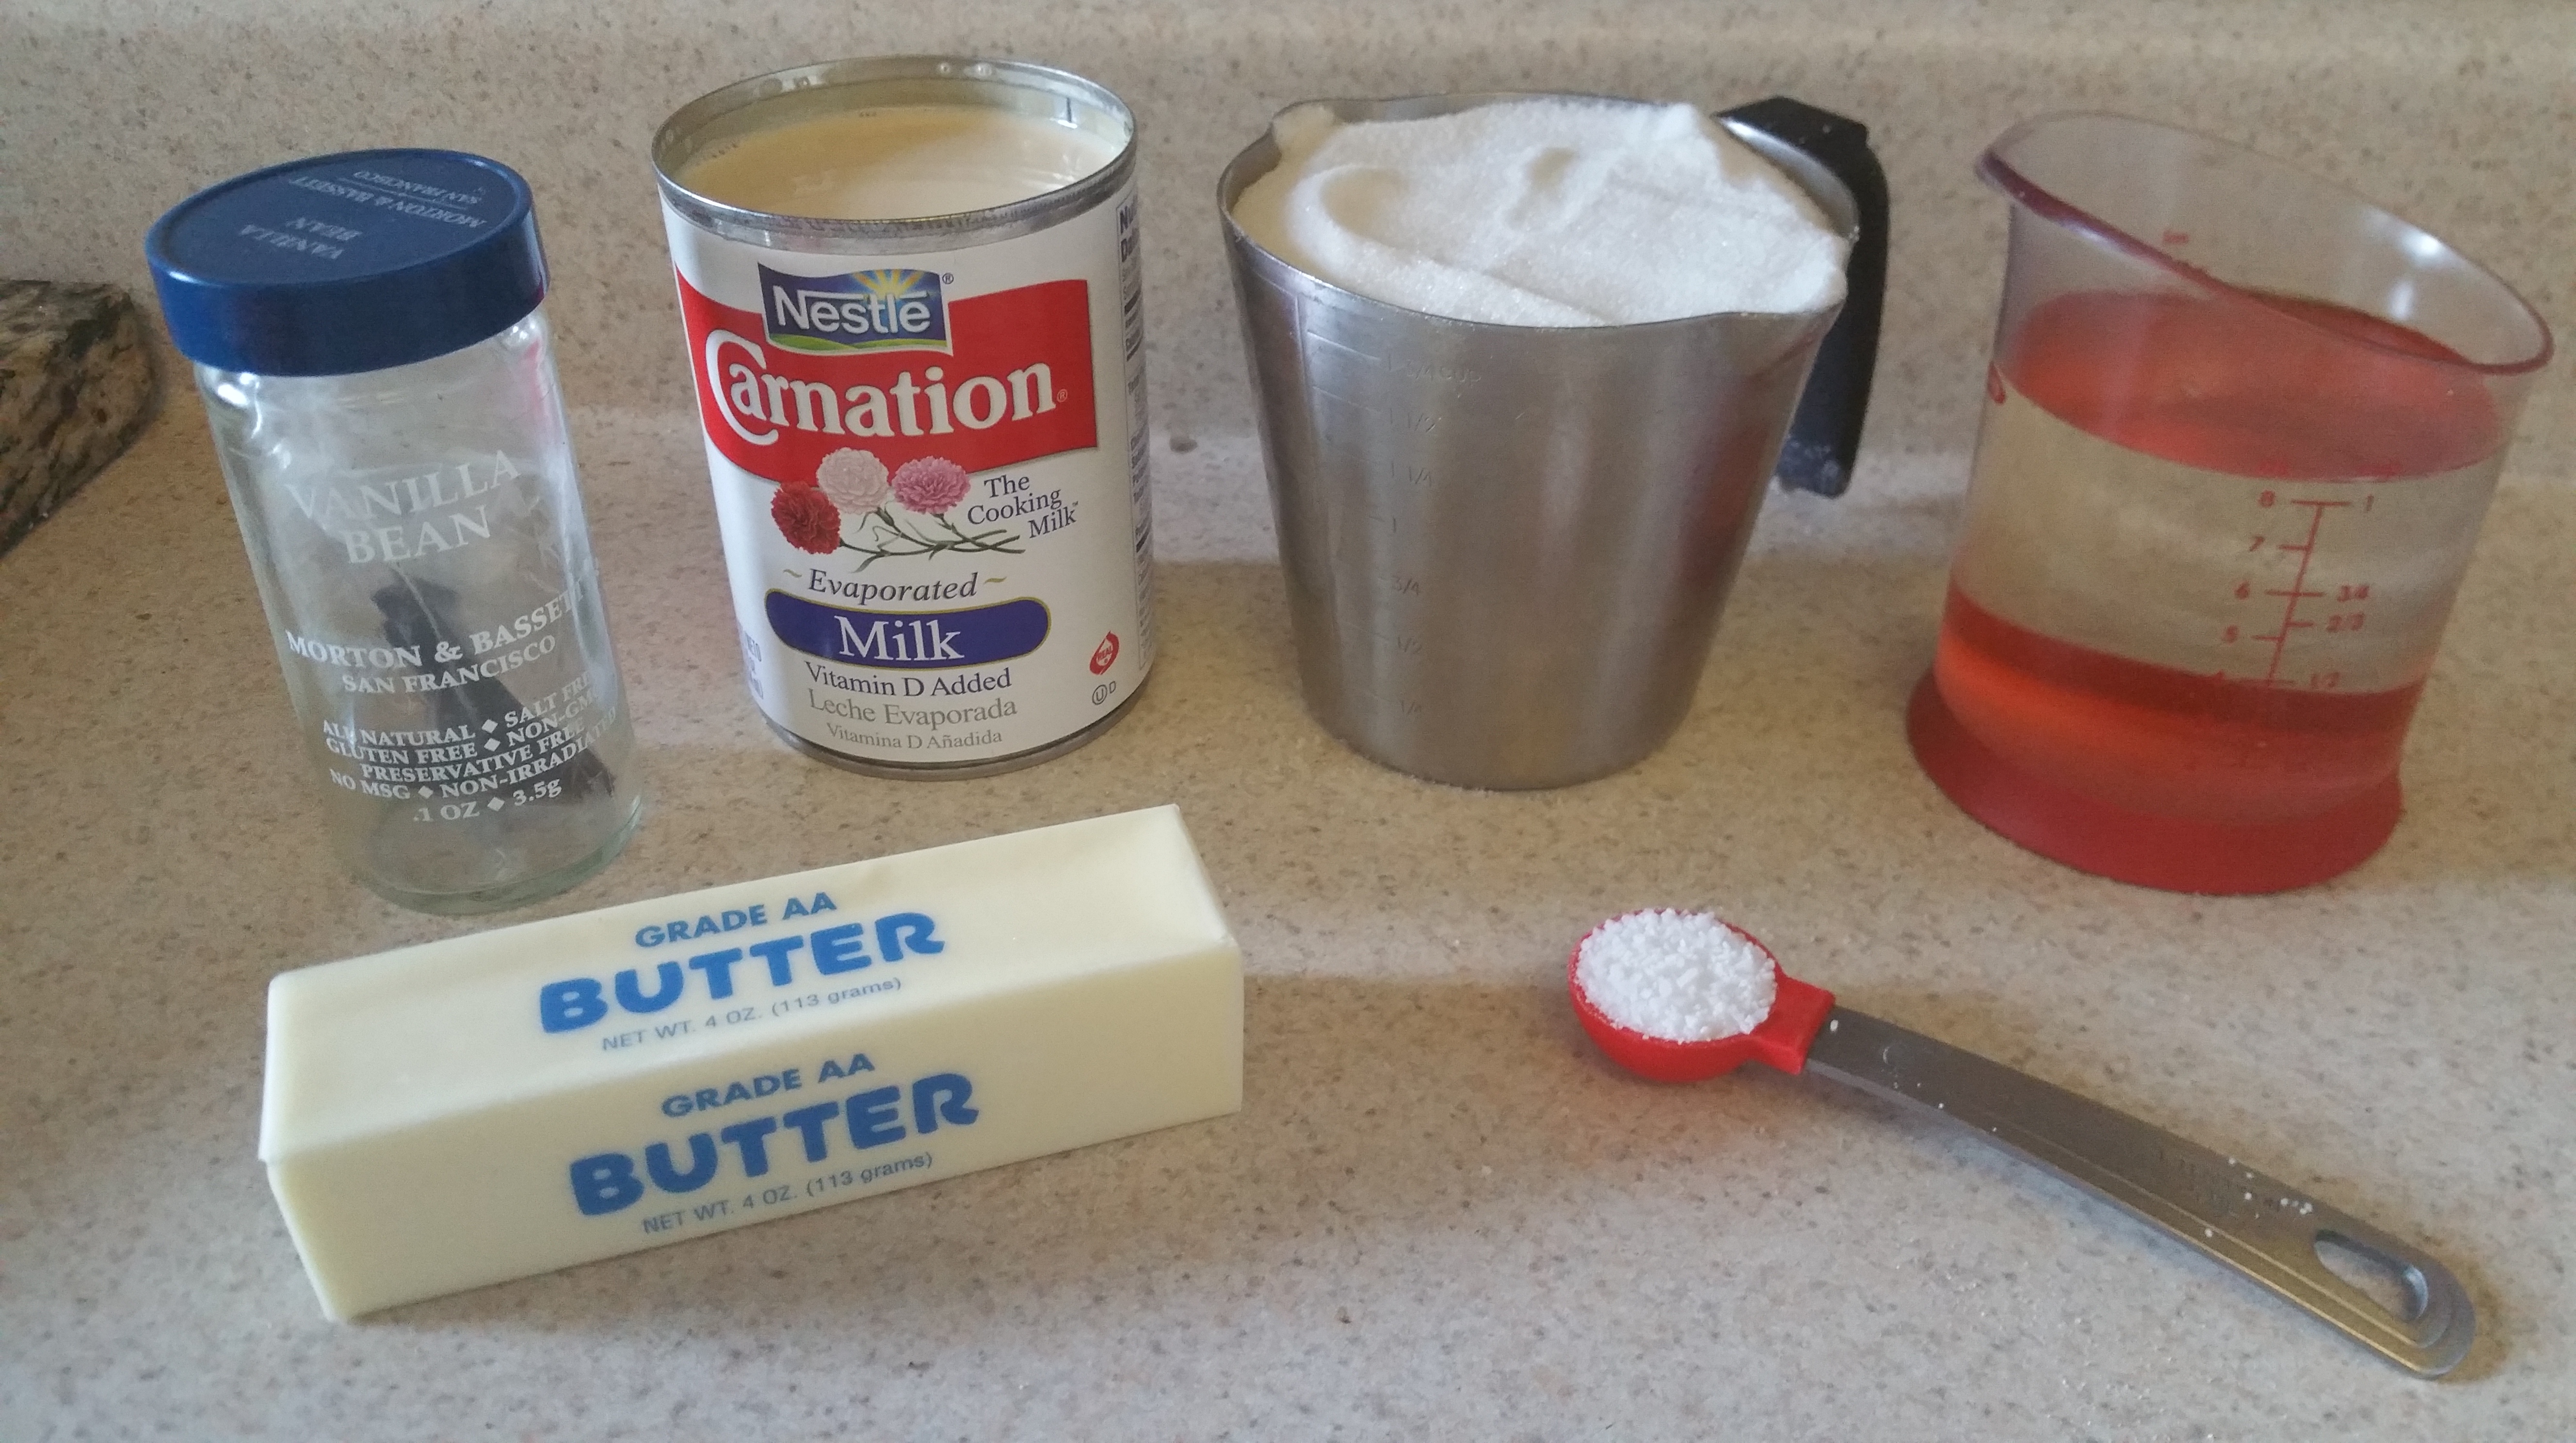
- 2 cups granulated sugar
- 8 tbsp. unsalted butter
- 1 cup light corn syrup
- 1 tsp. kosher salt
- 1 ½ cups evaporated milk (1 can)
- Pulp from ½ vanilla bean, split and scraped
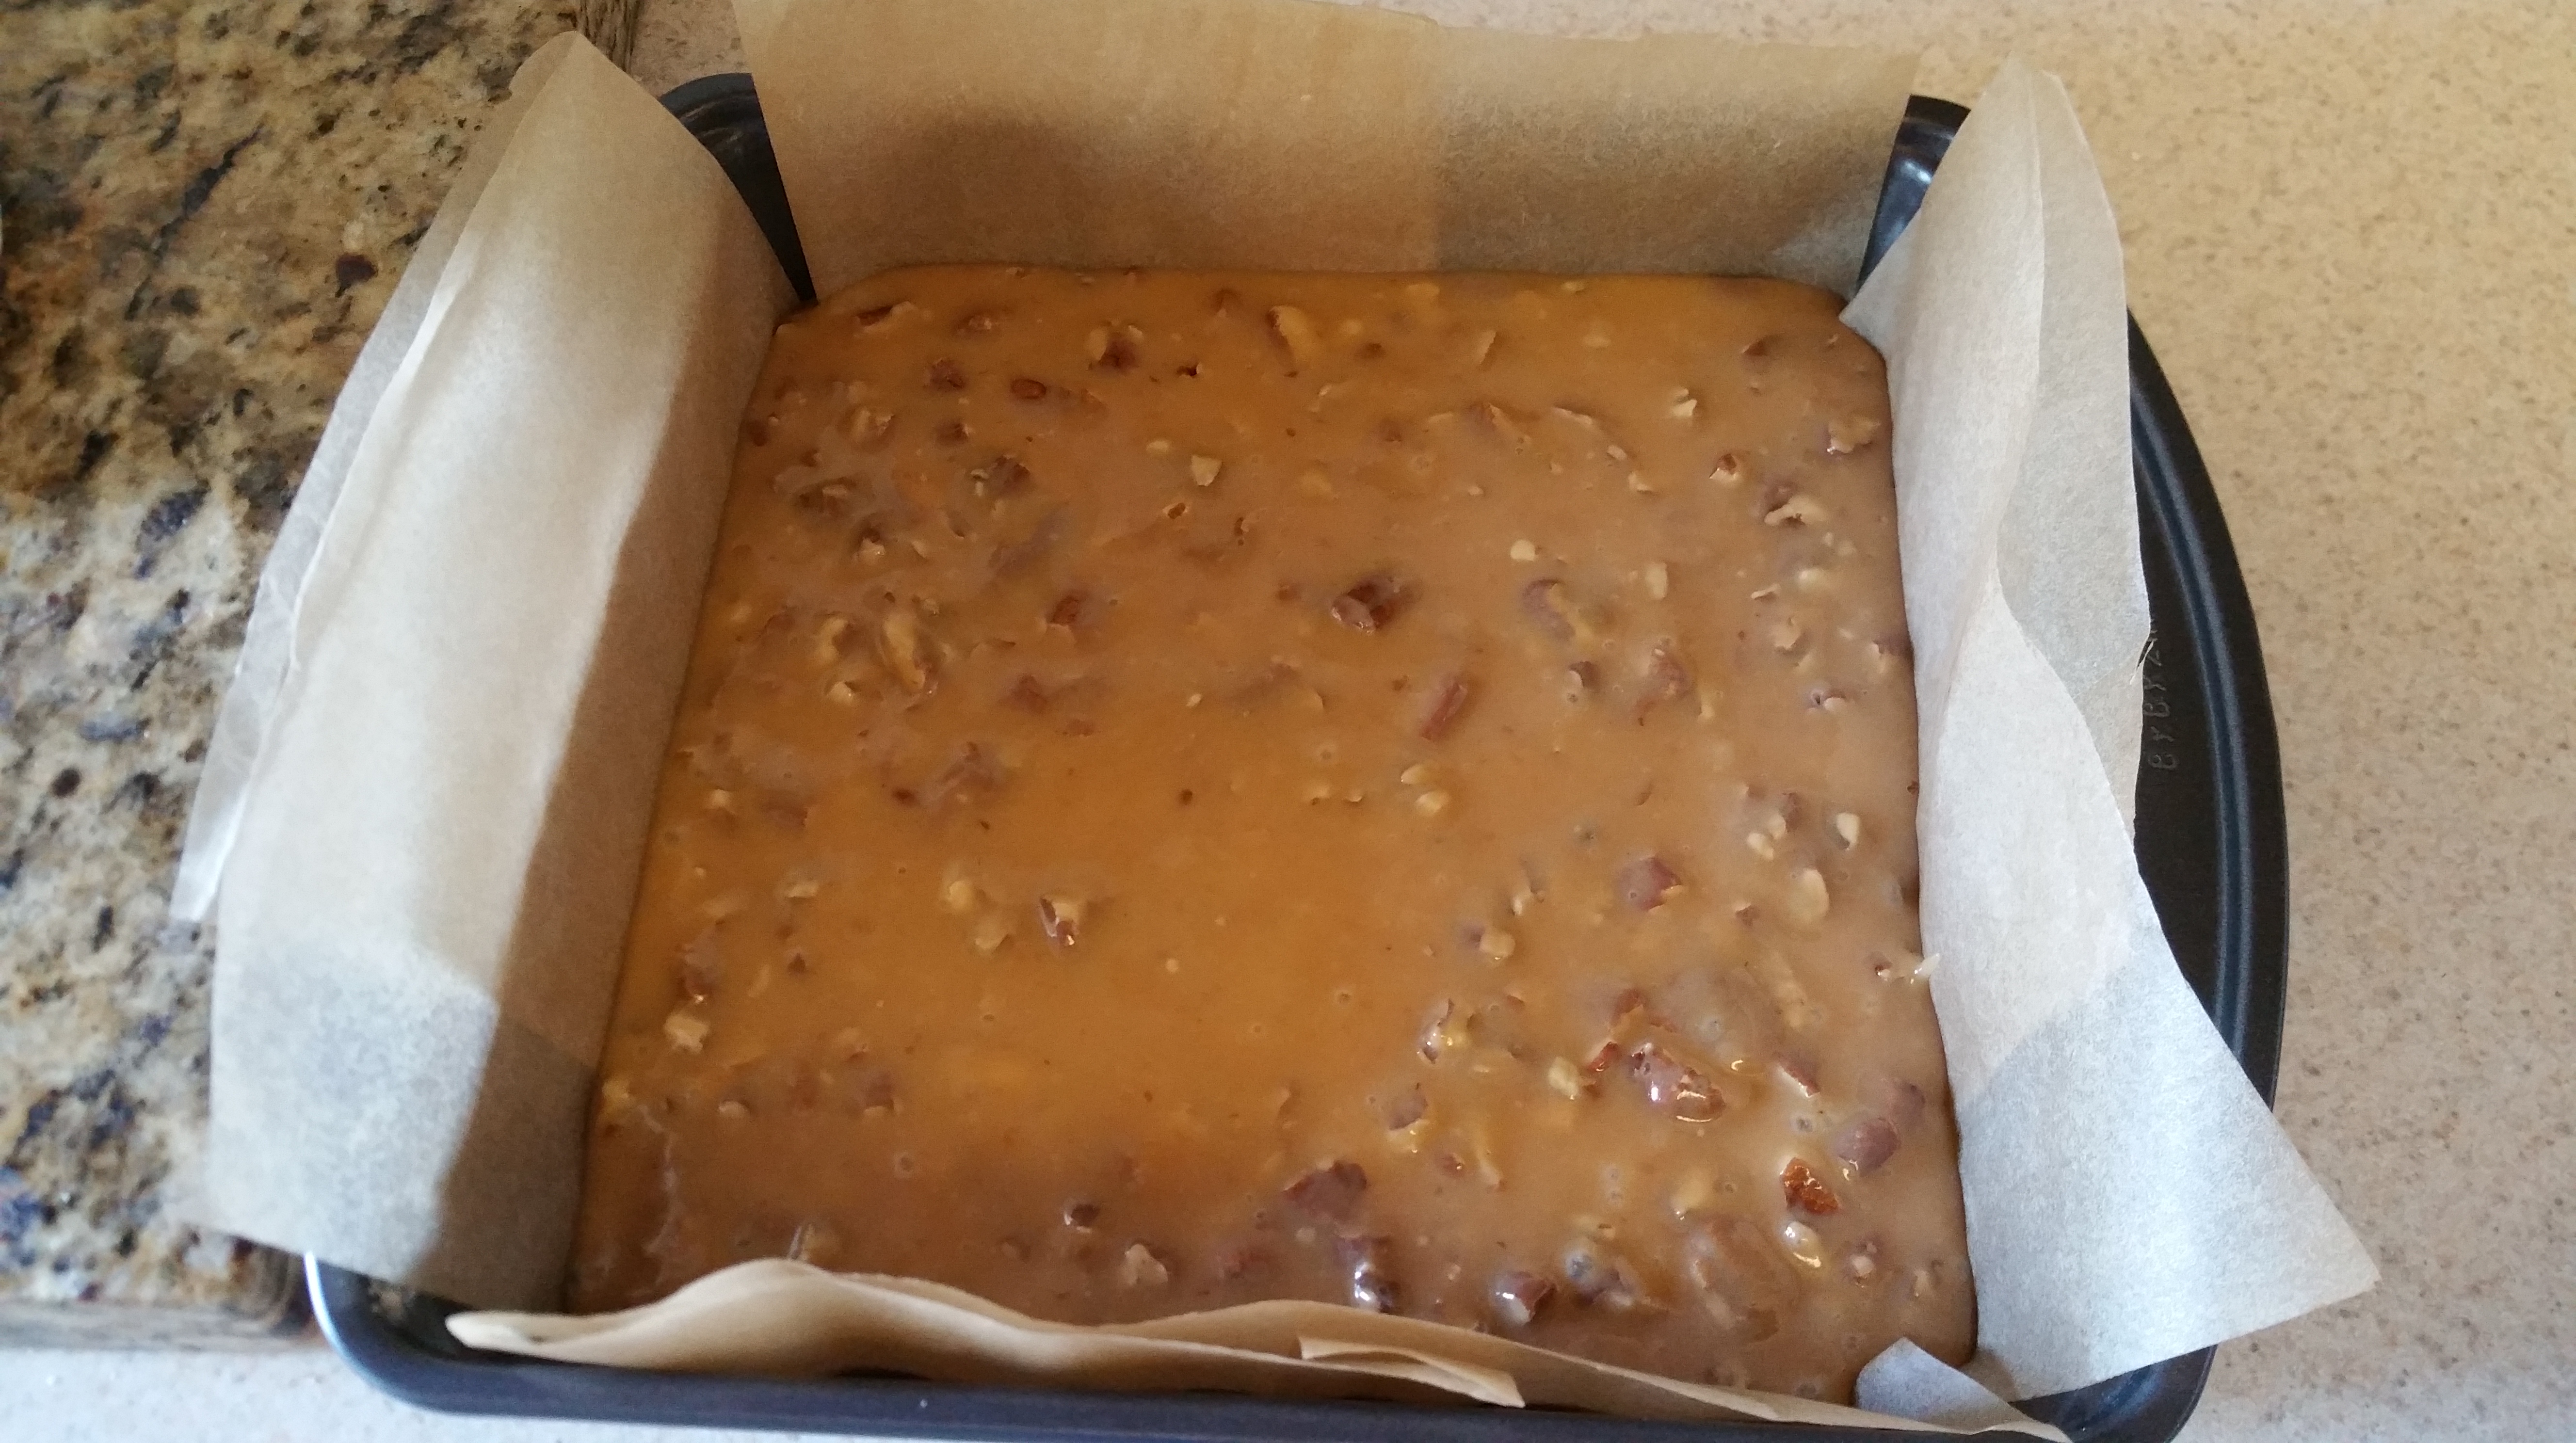
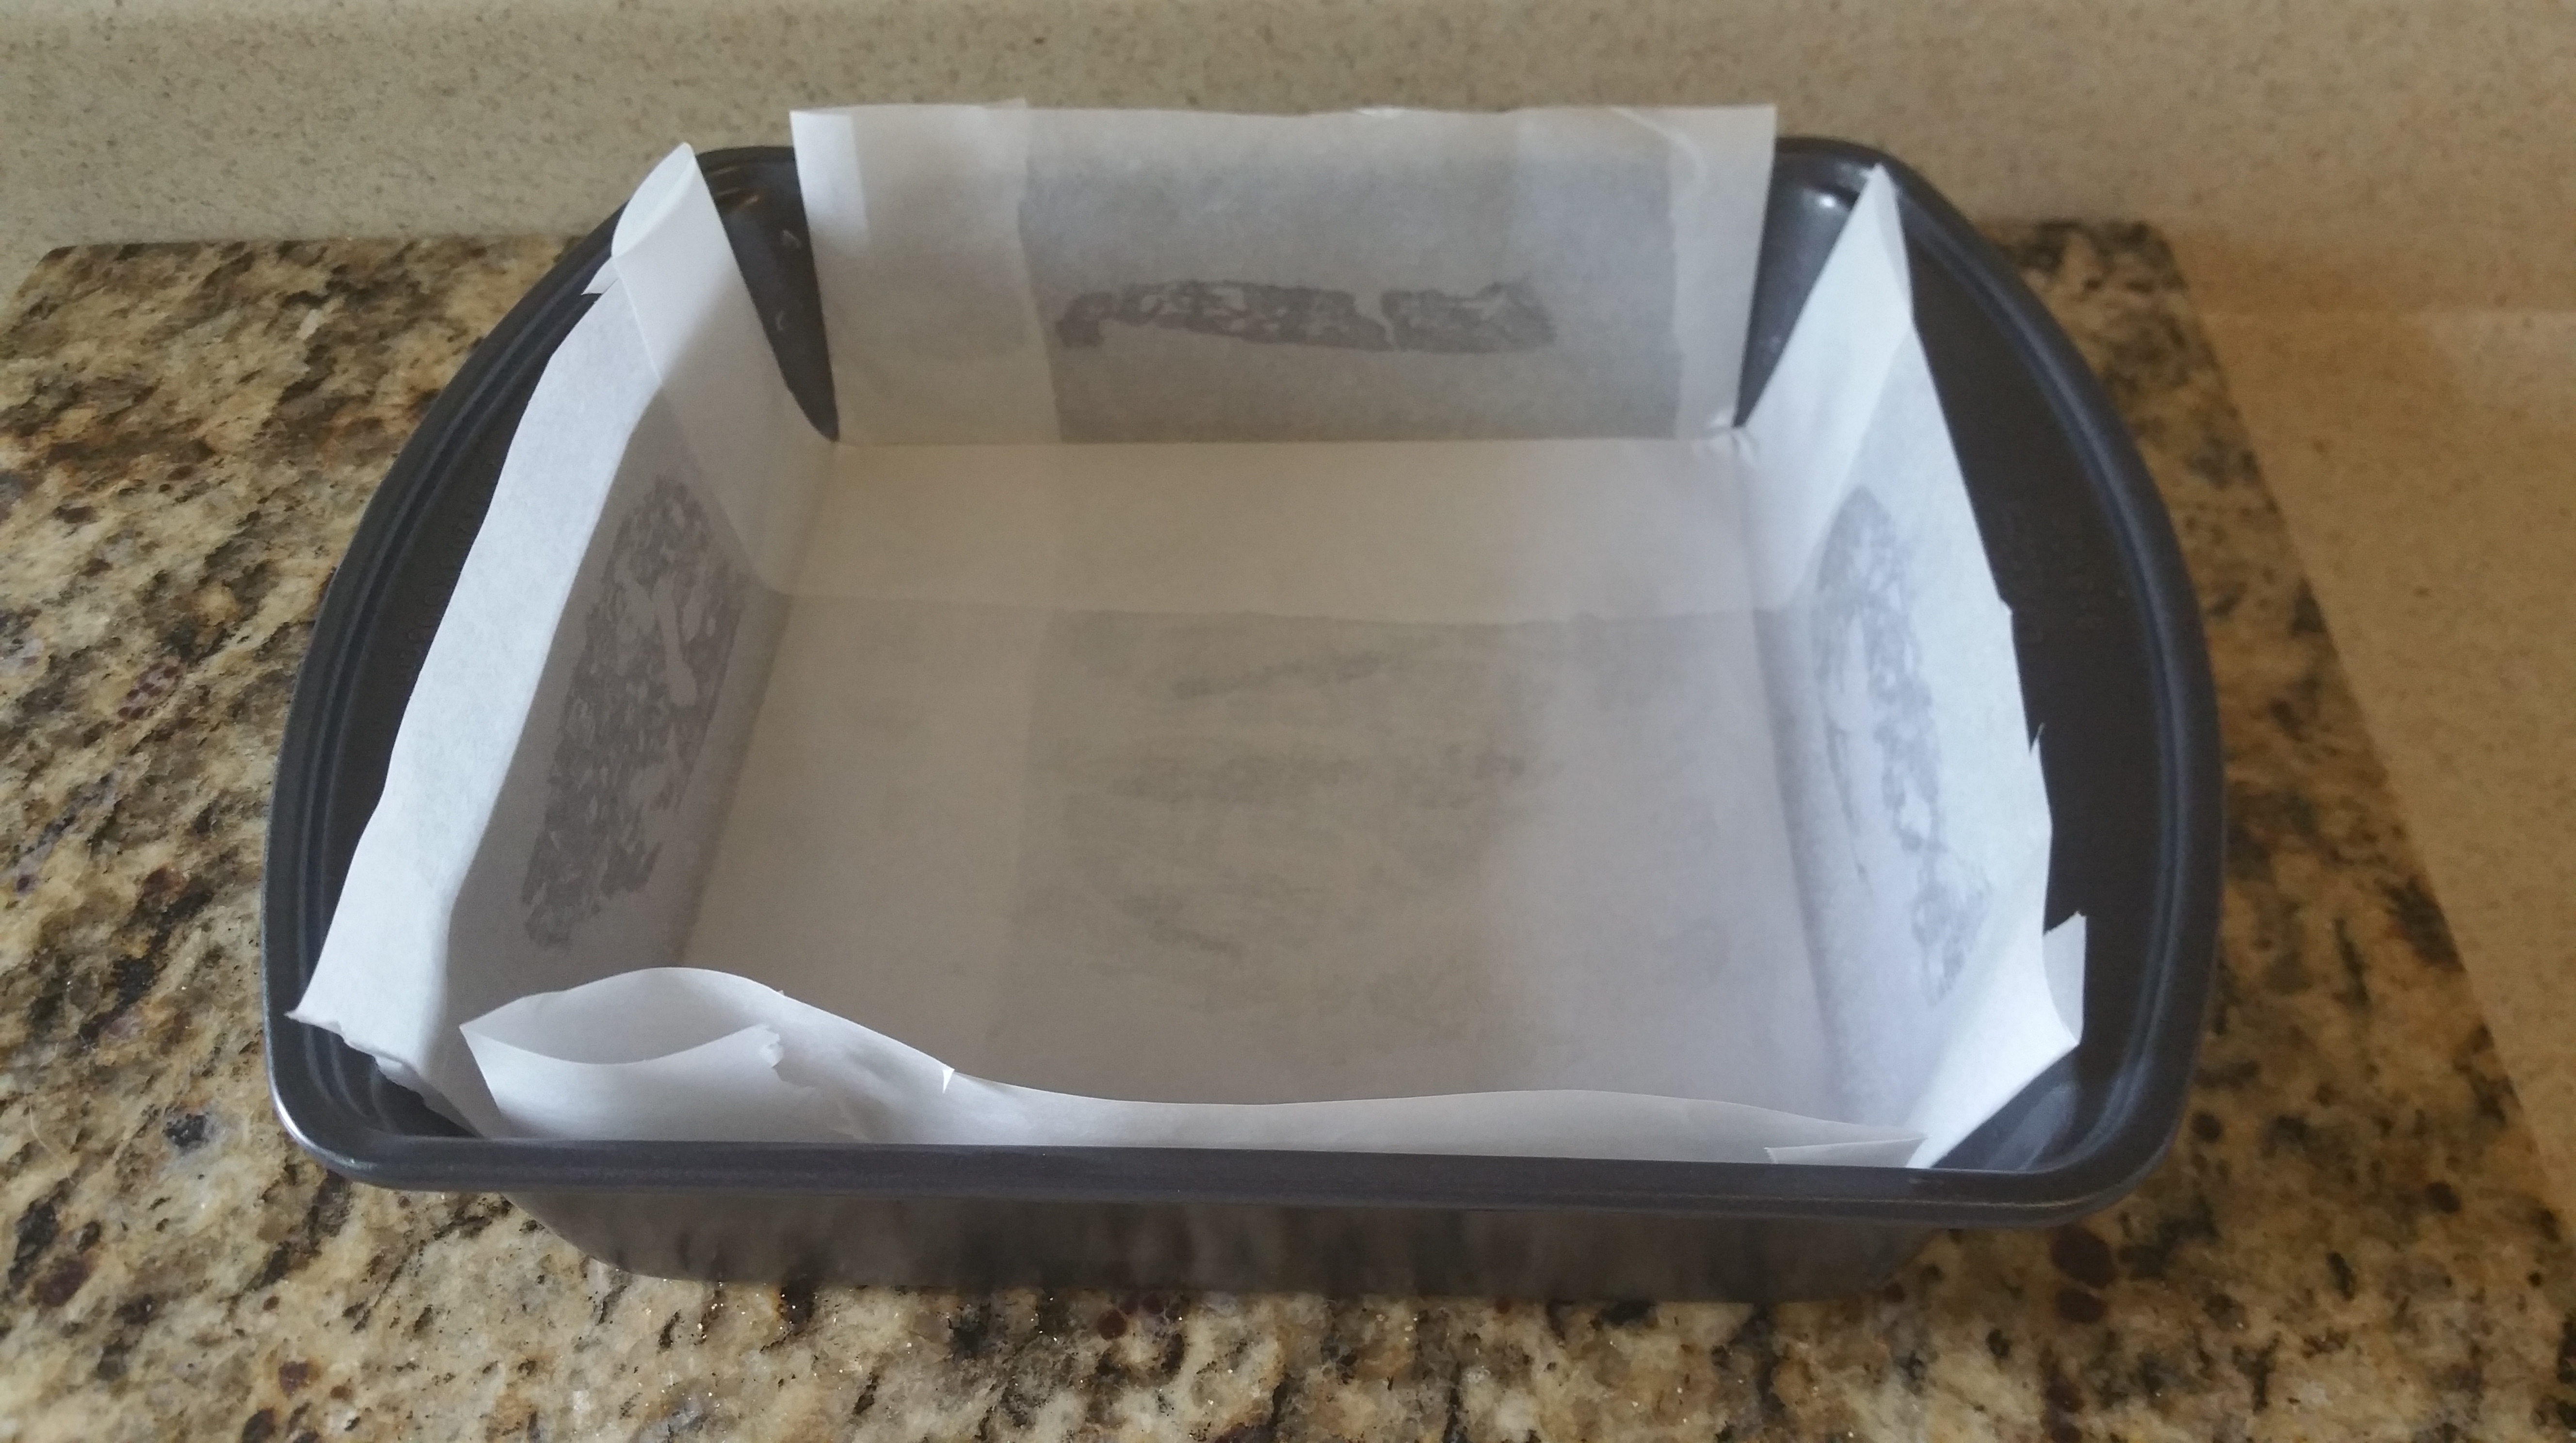
Line an 8×8 in. baking pan with parchment paper.
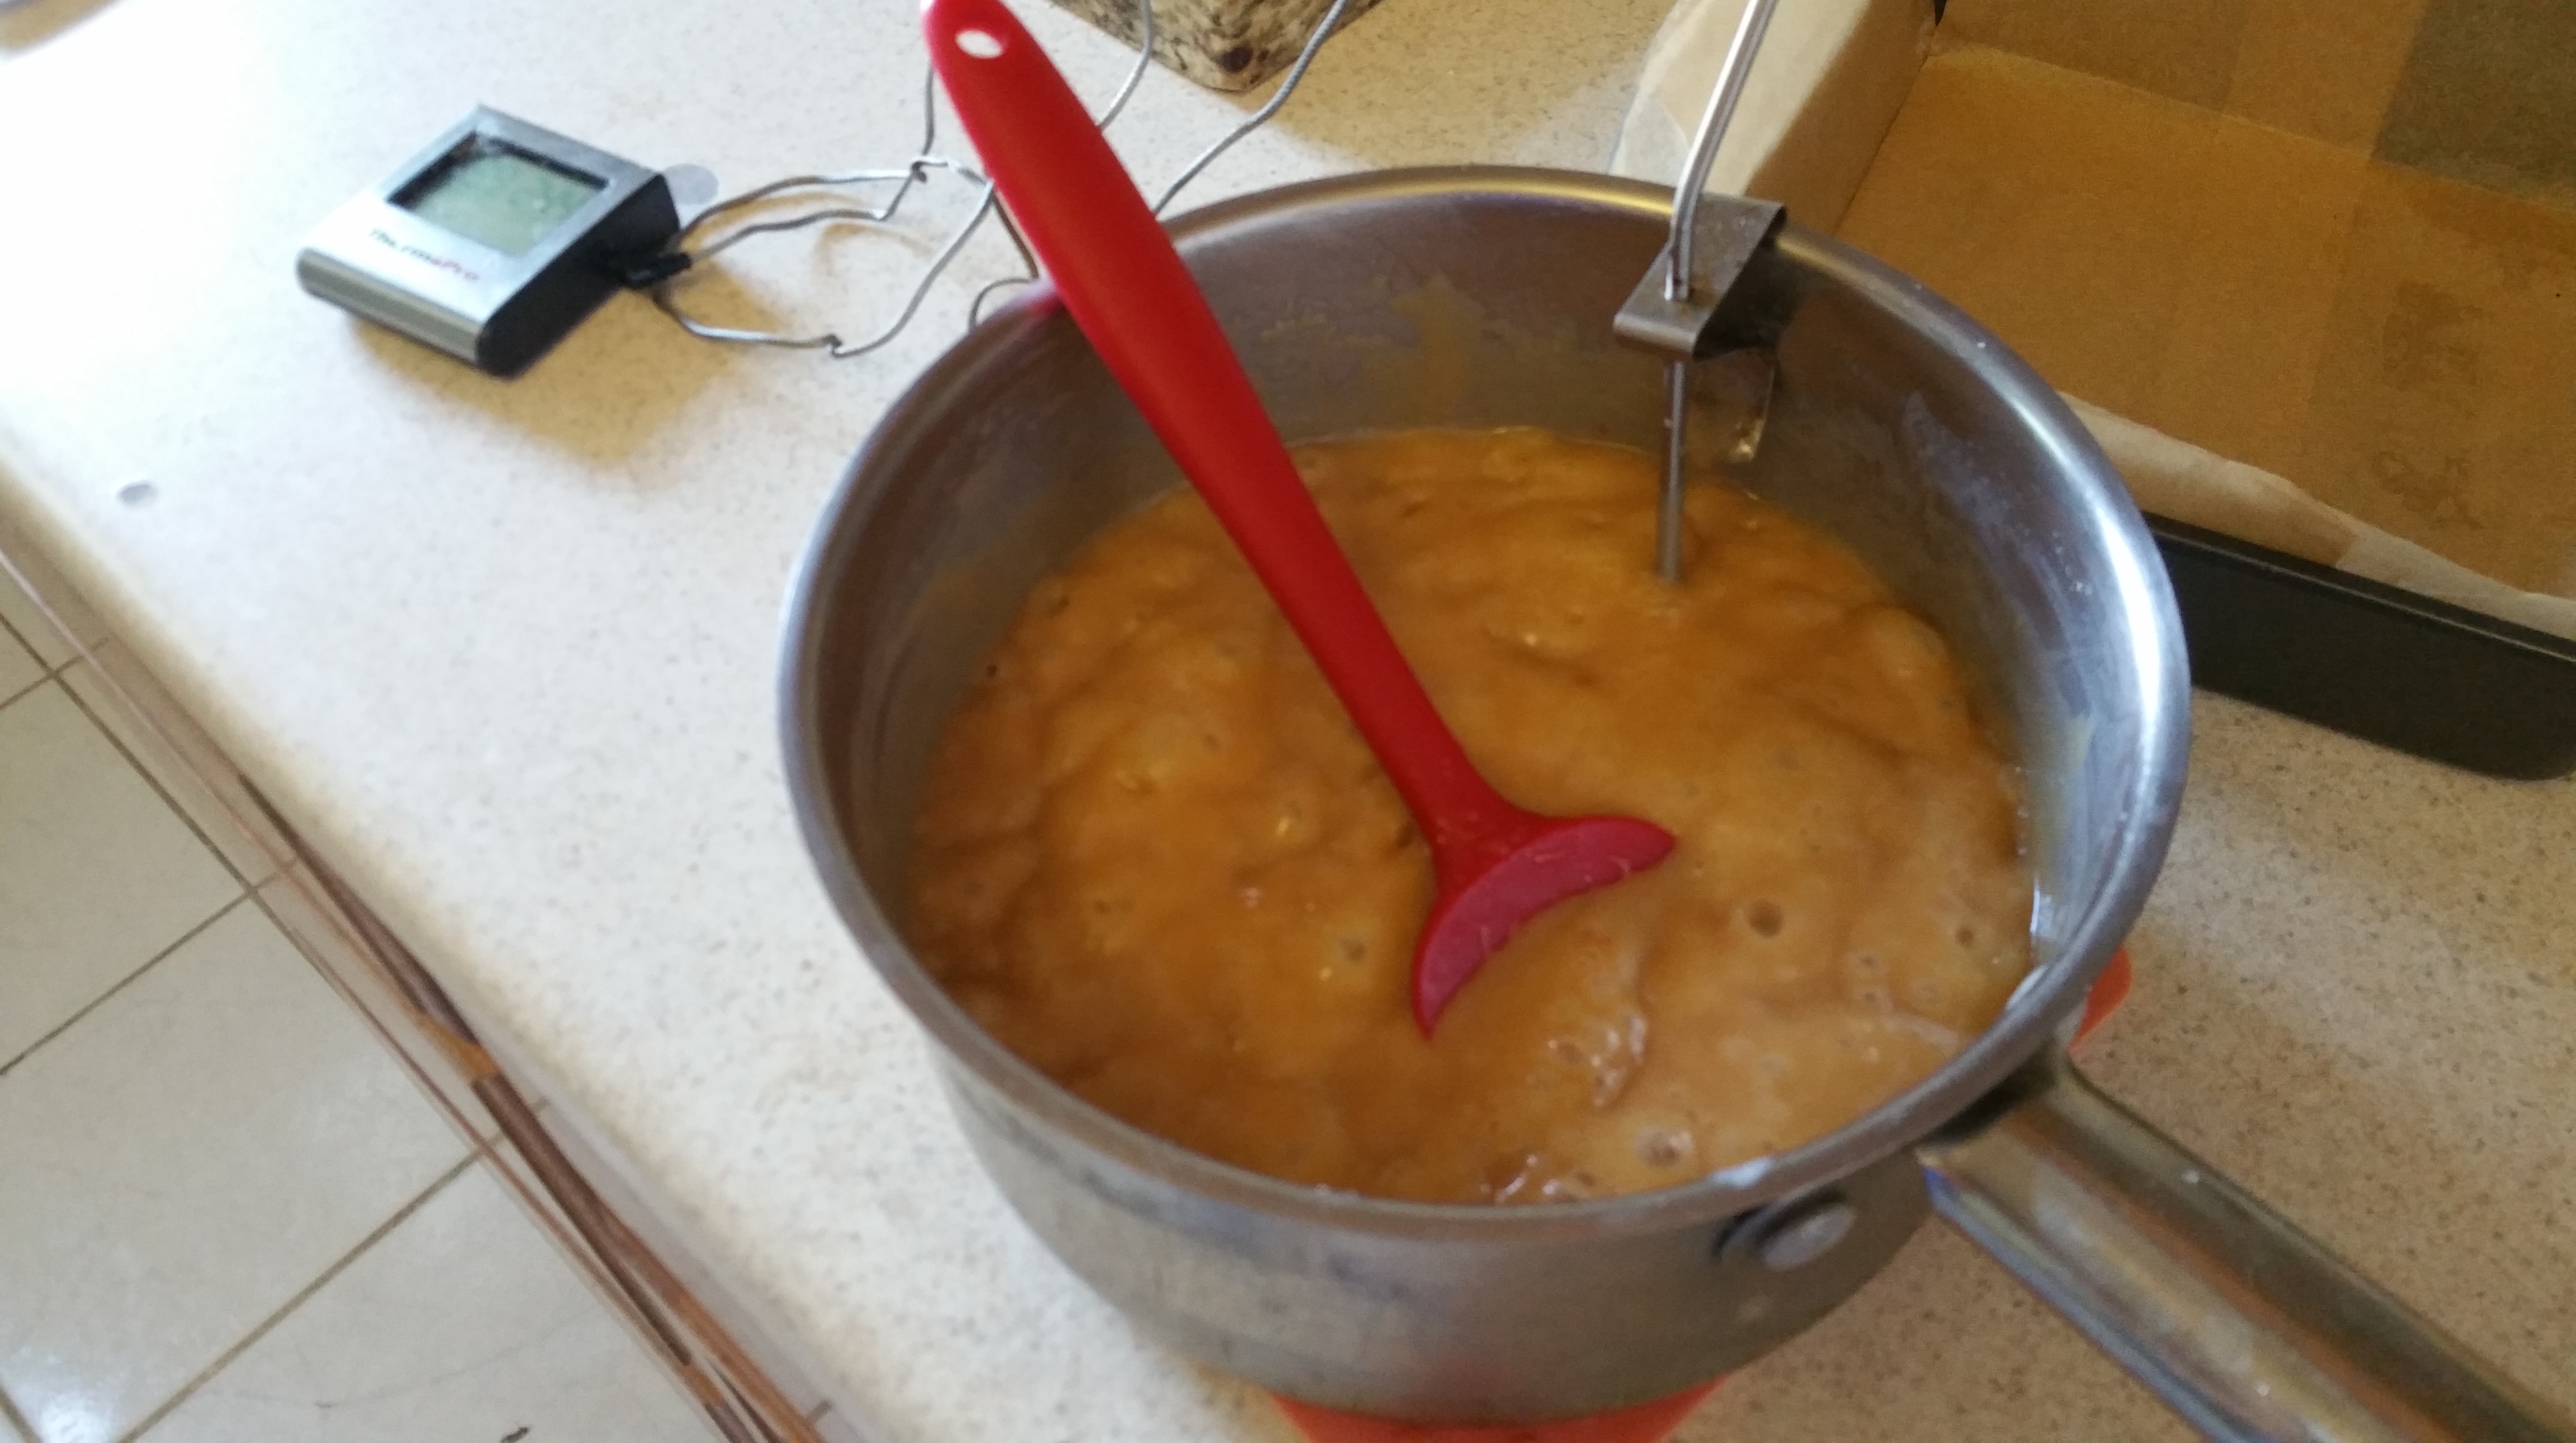
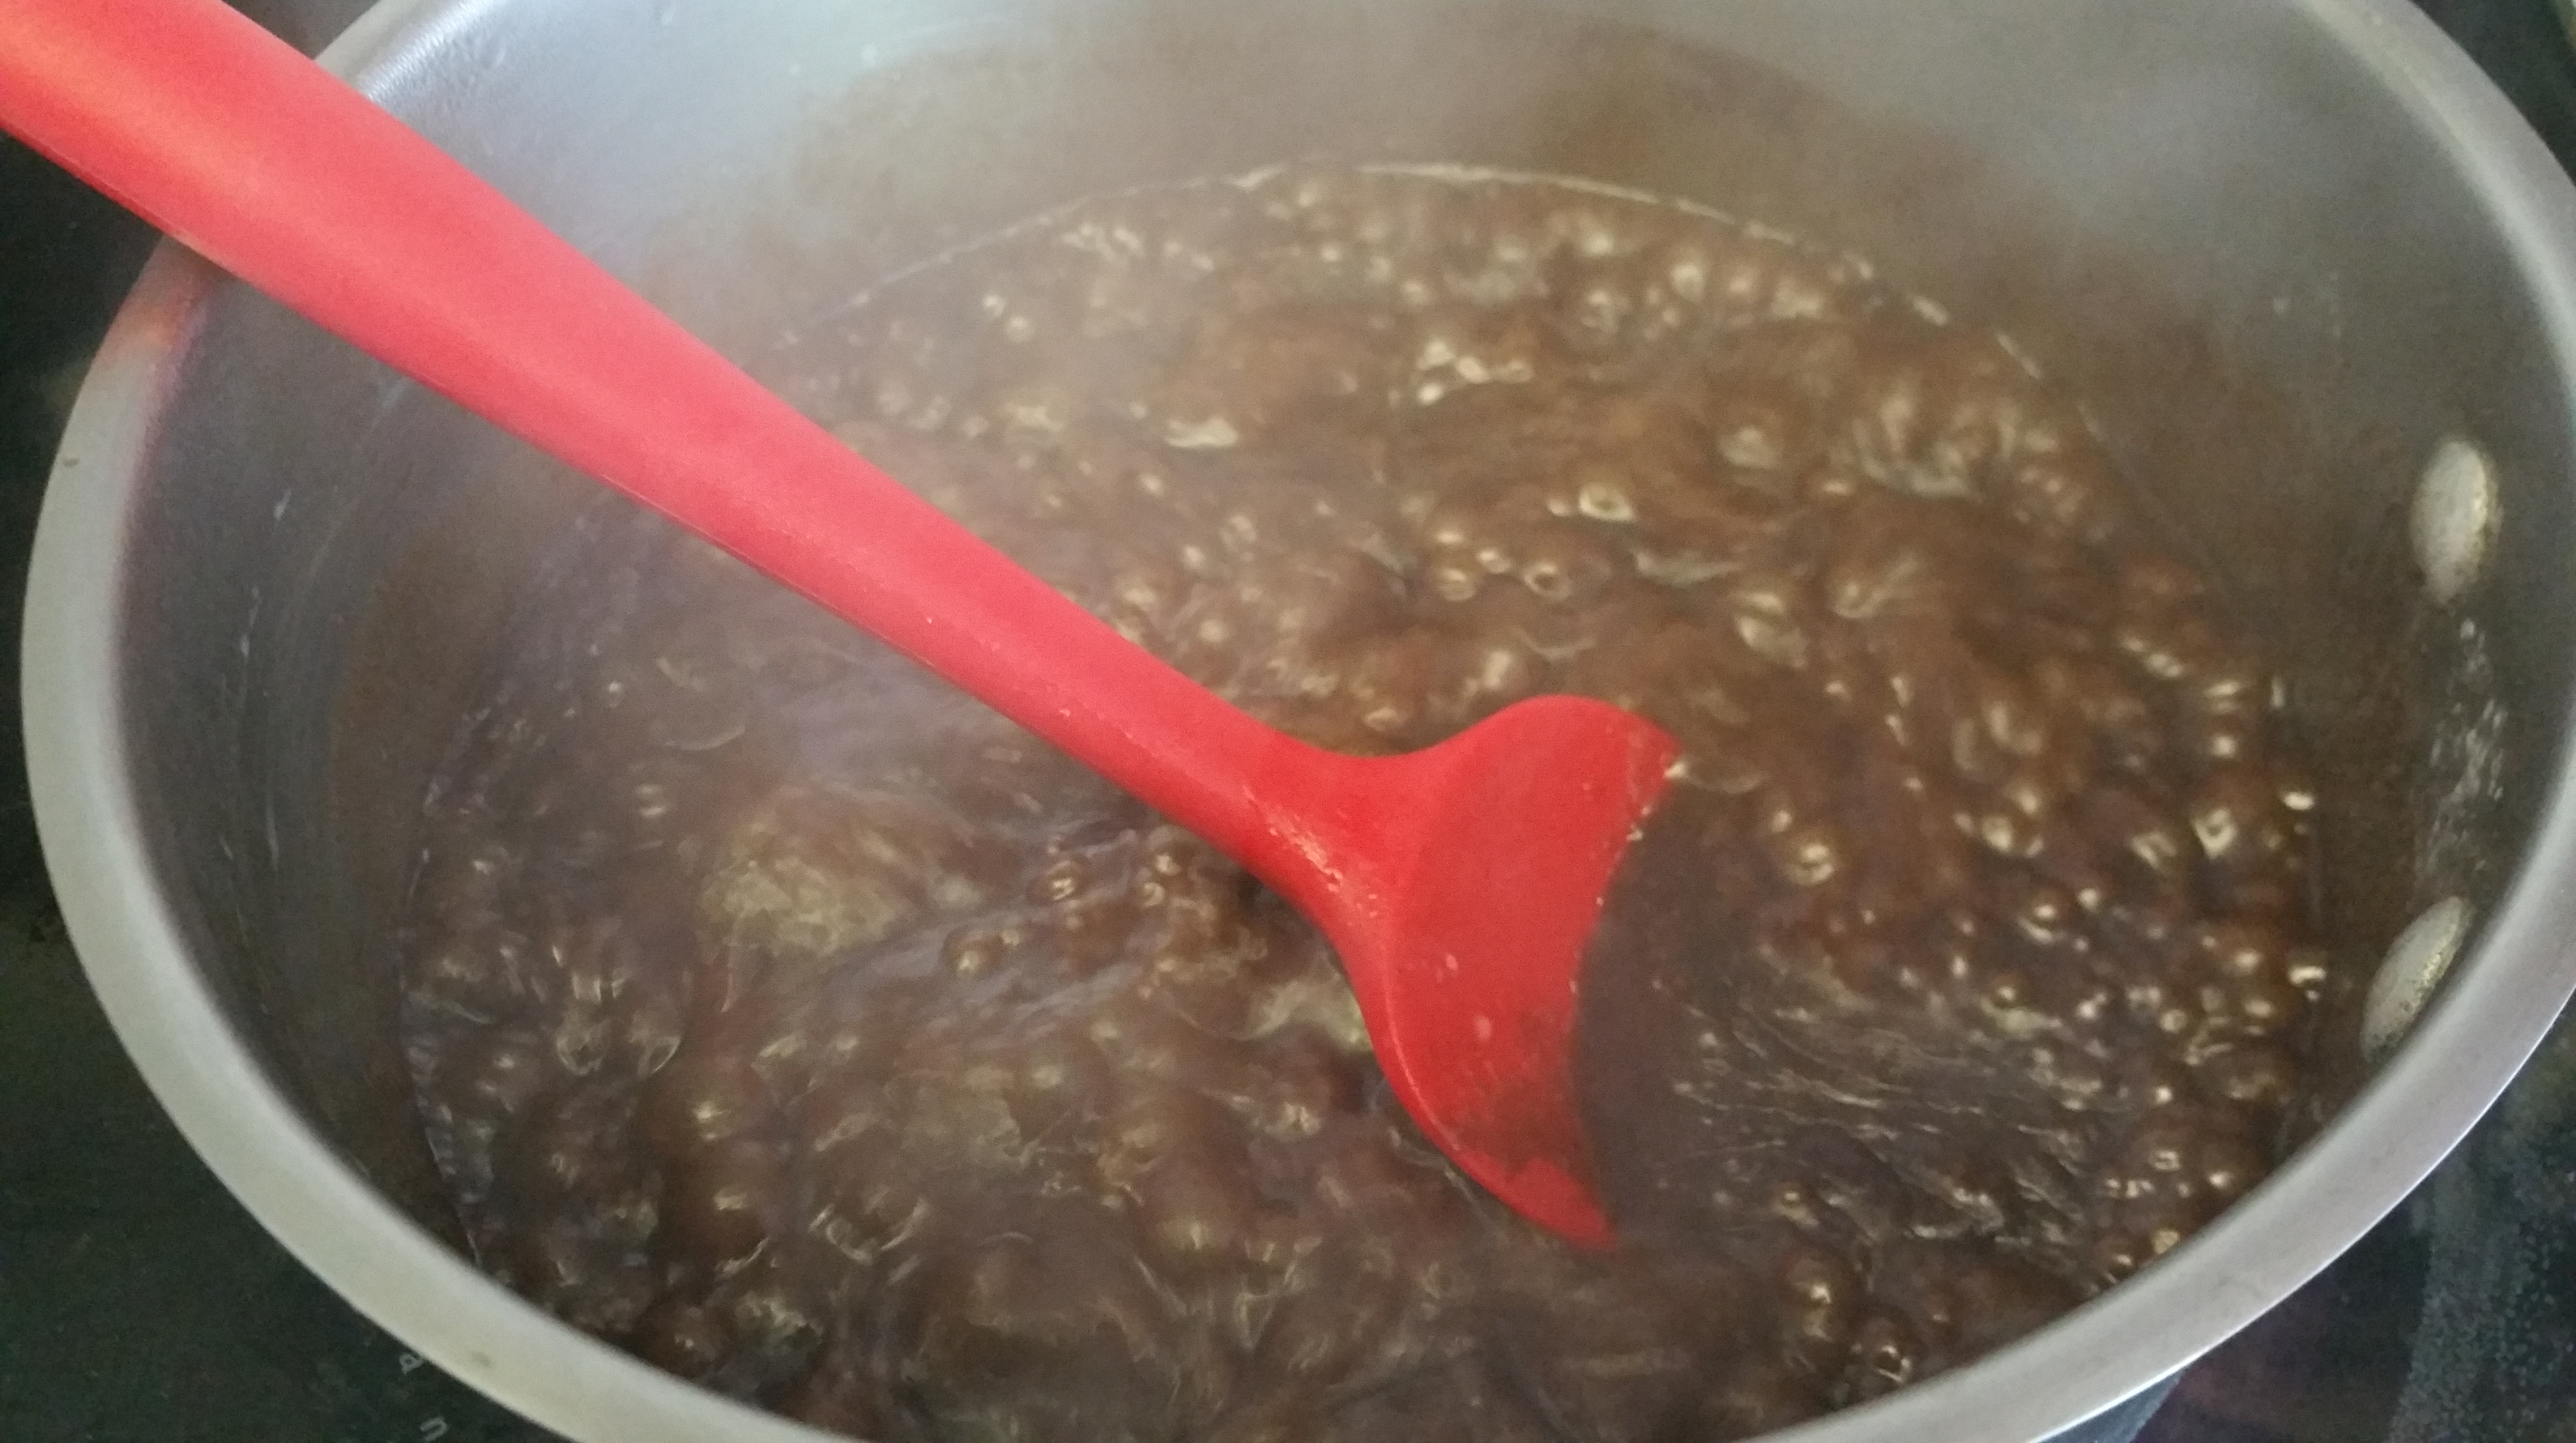
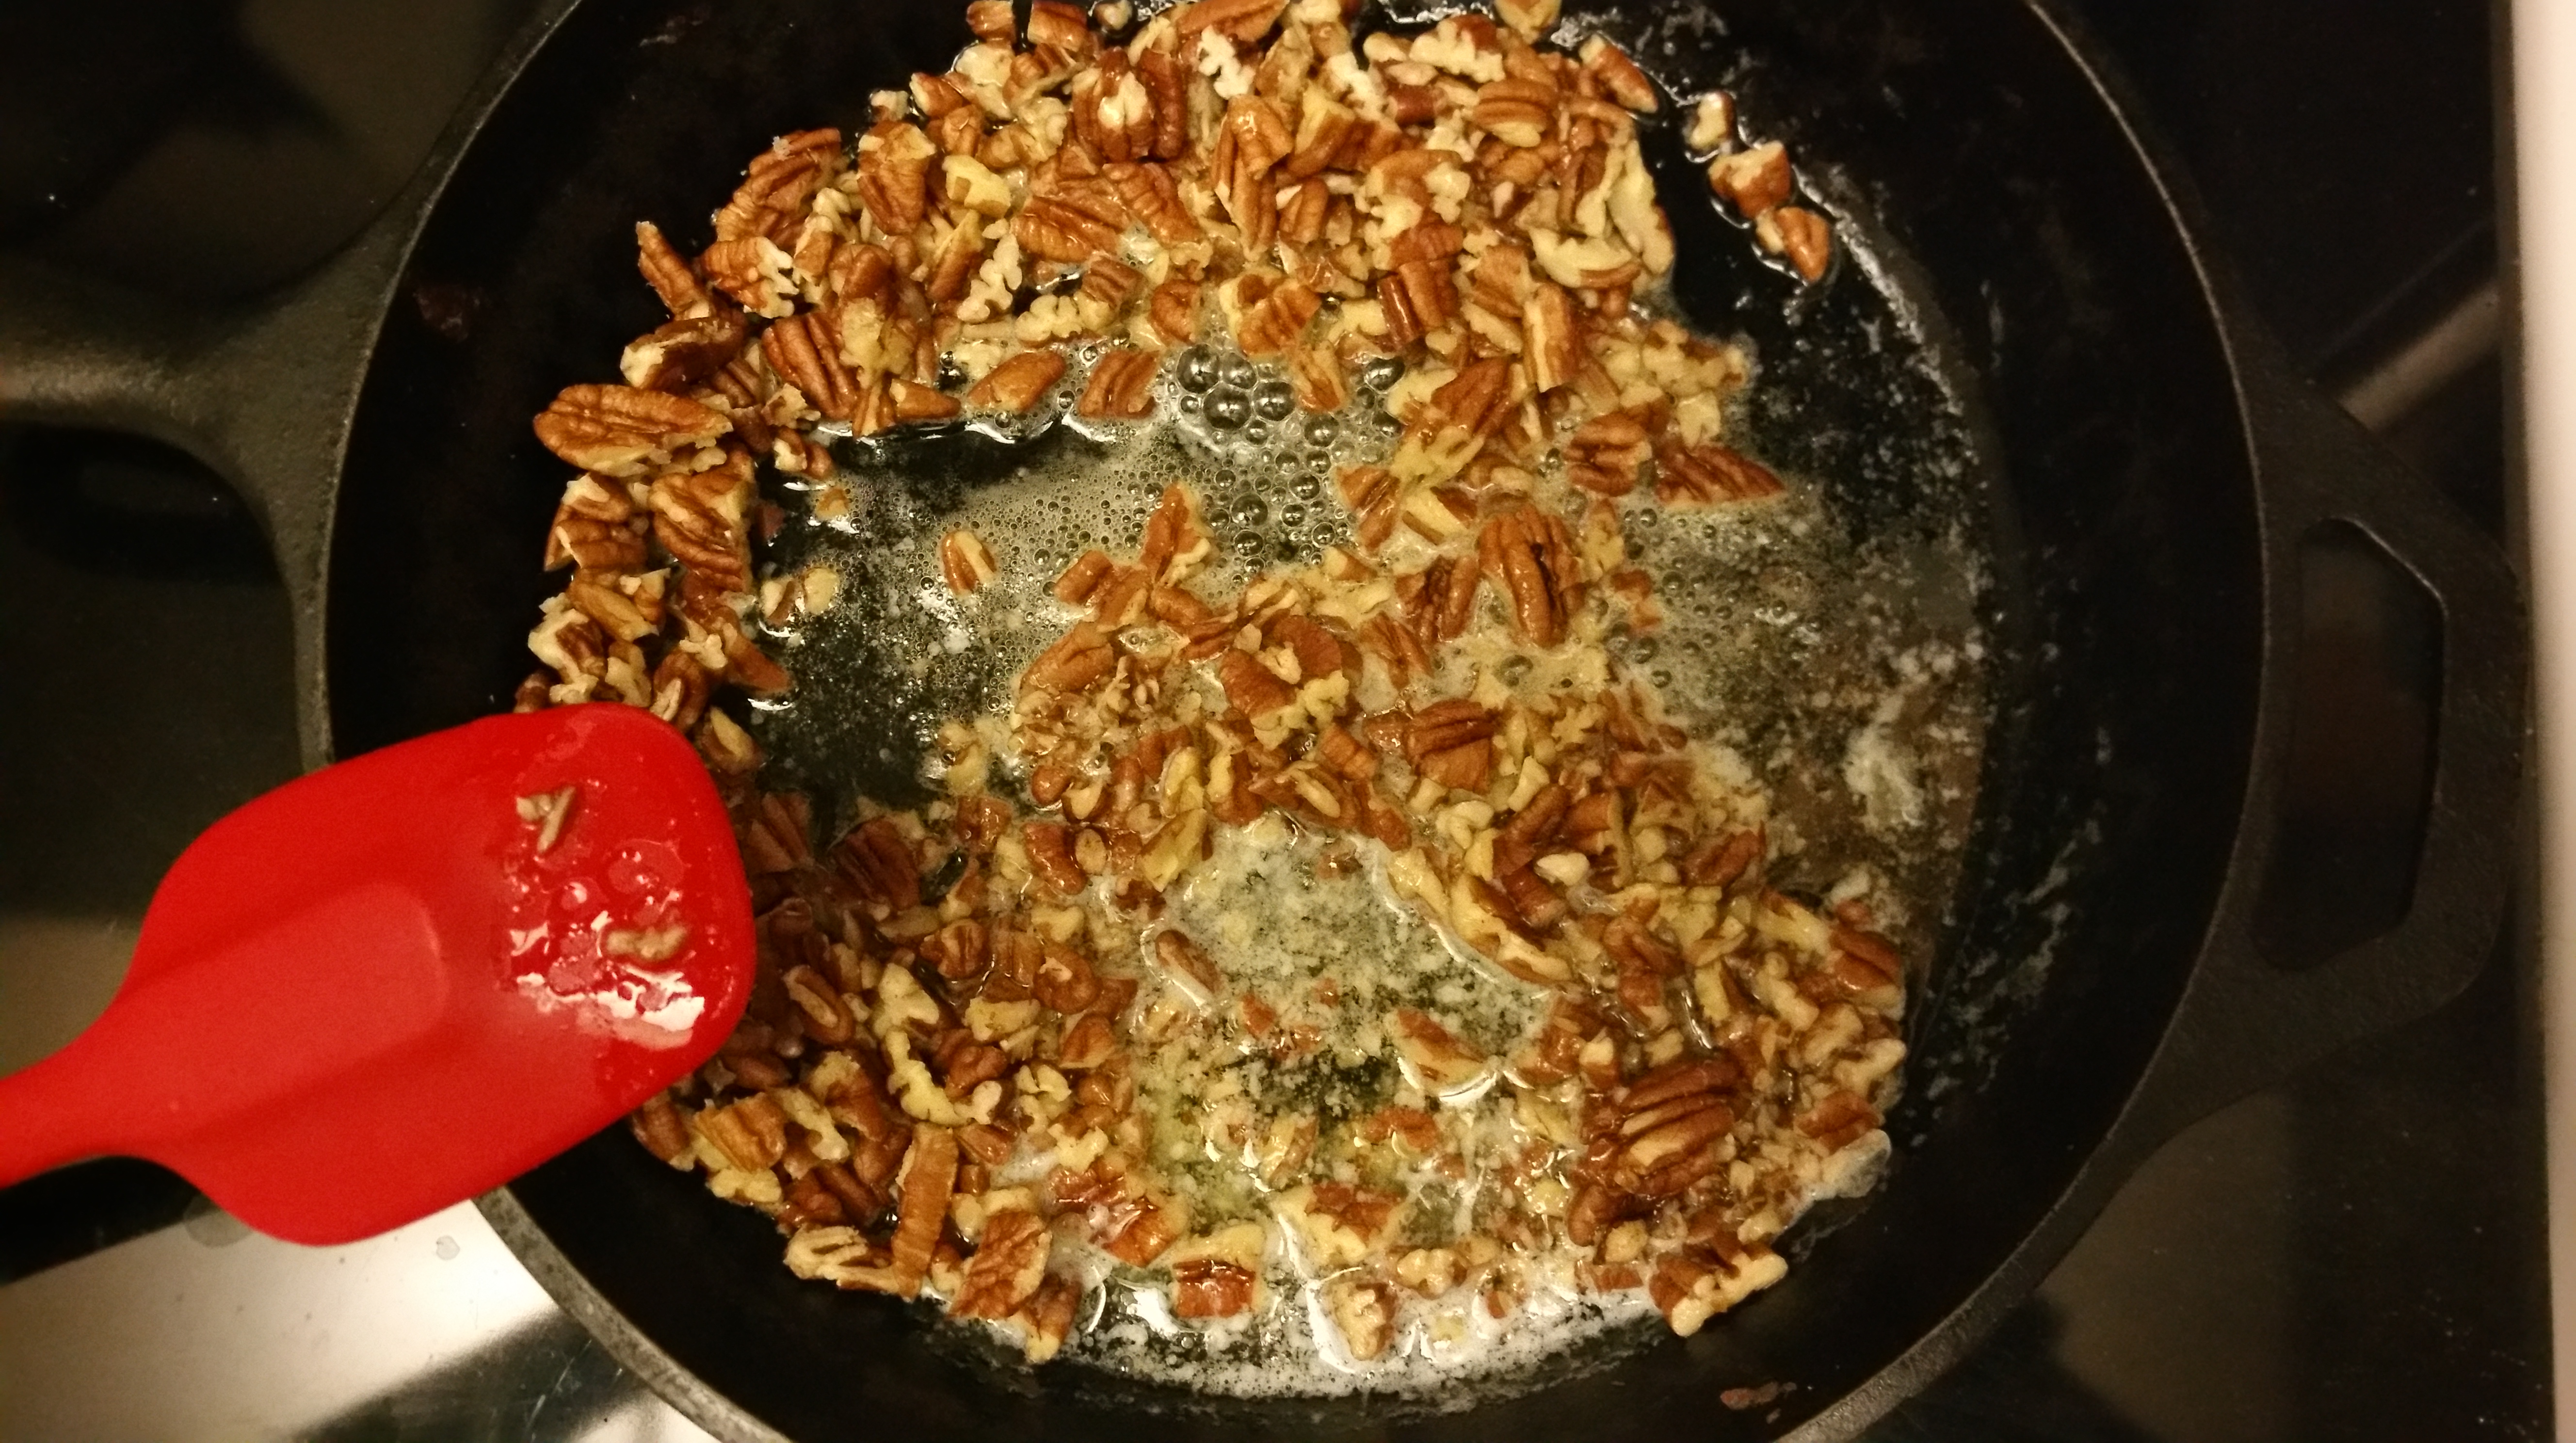
Place a heavy-bottomed saucepan over medium heat and have a candy thermometer standing by. I use a probe thermometer with a paper clip attached because I watched a lot of MacGyver as a kid.

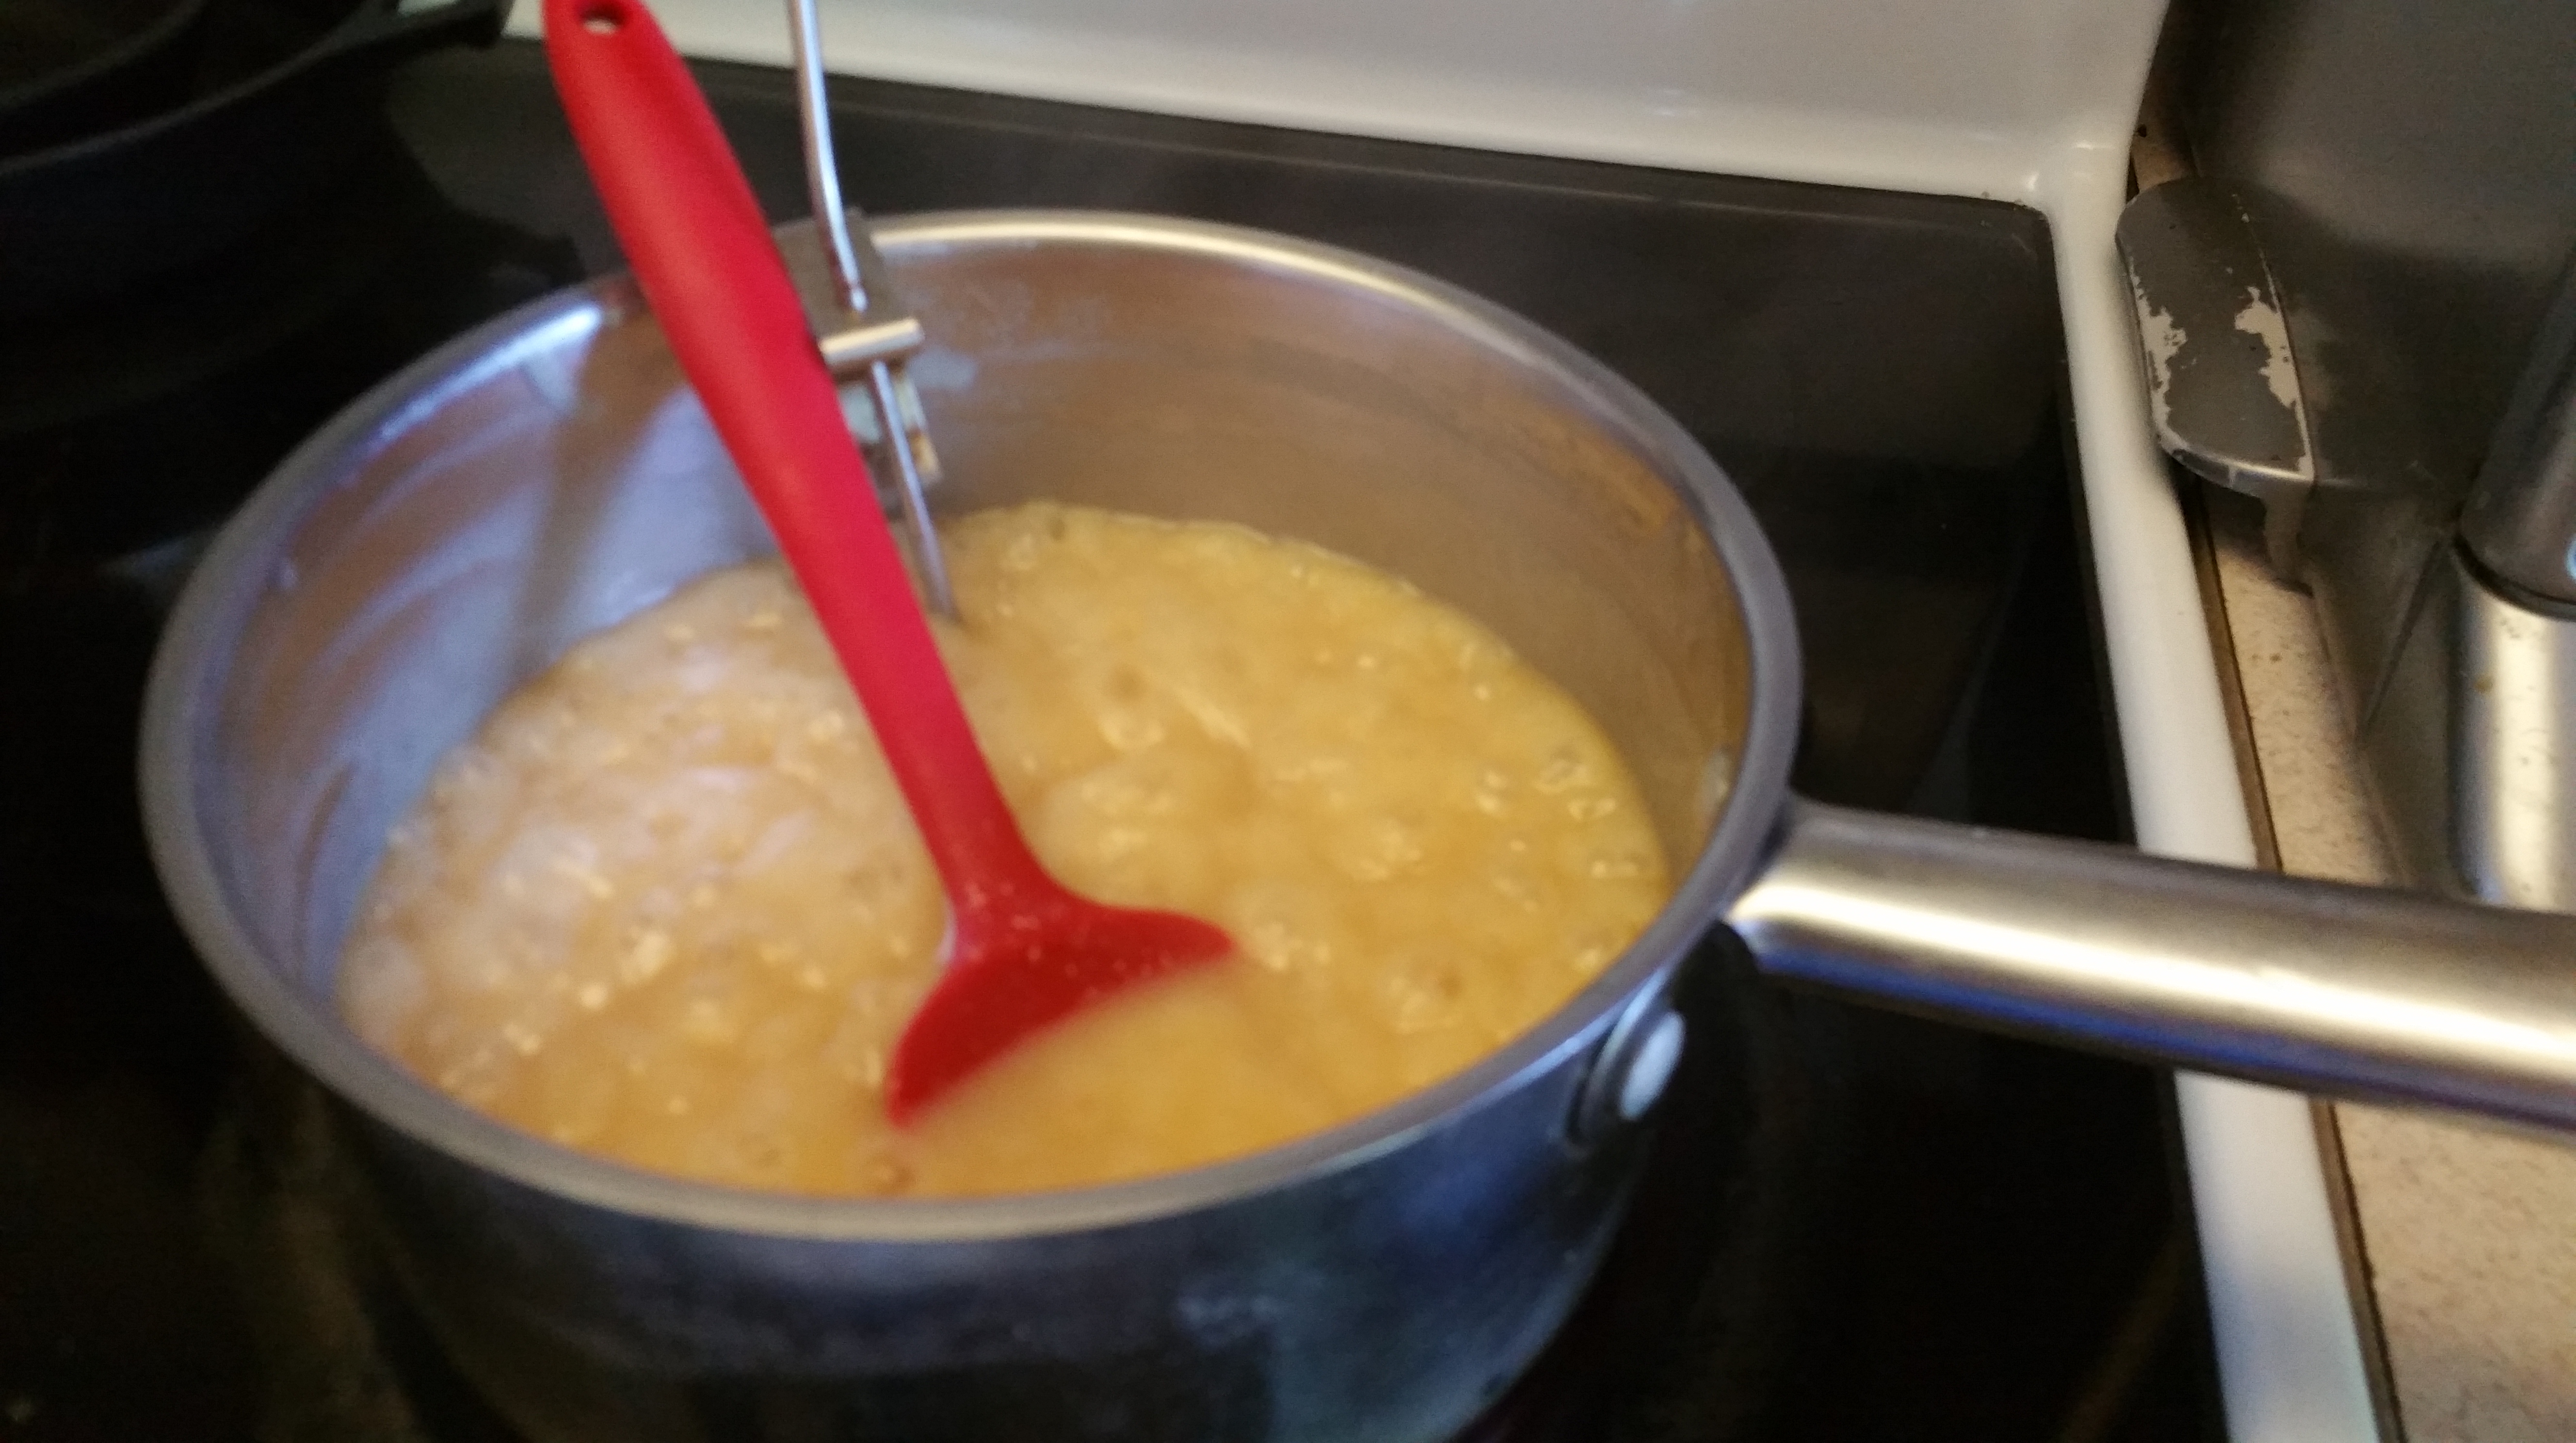
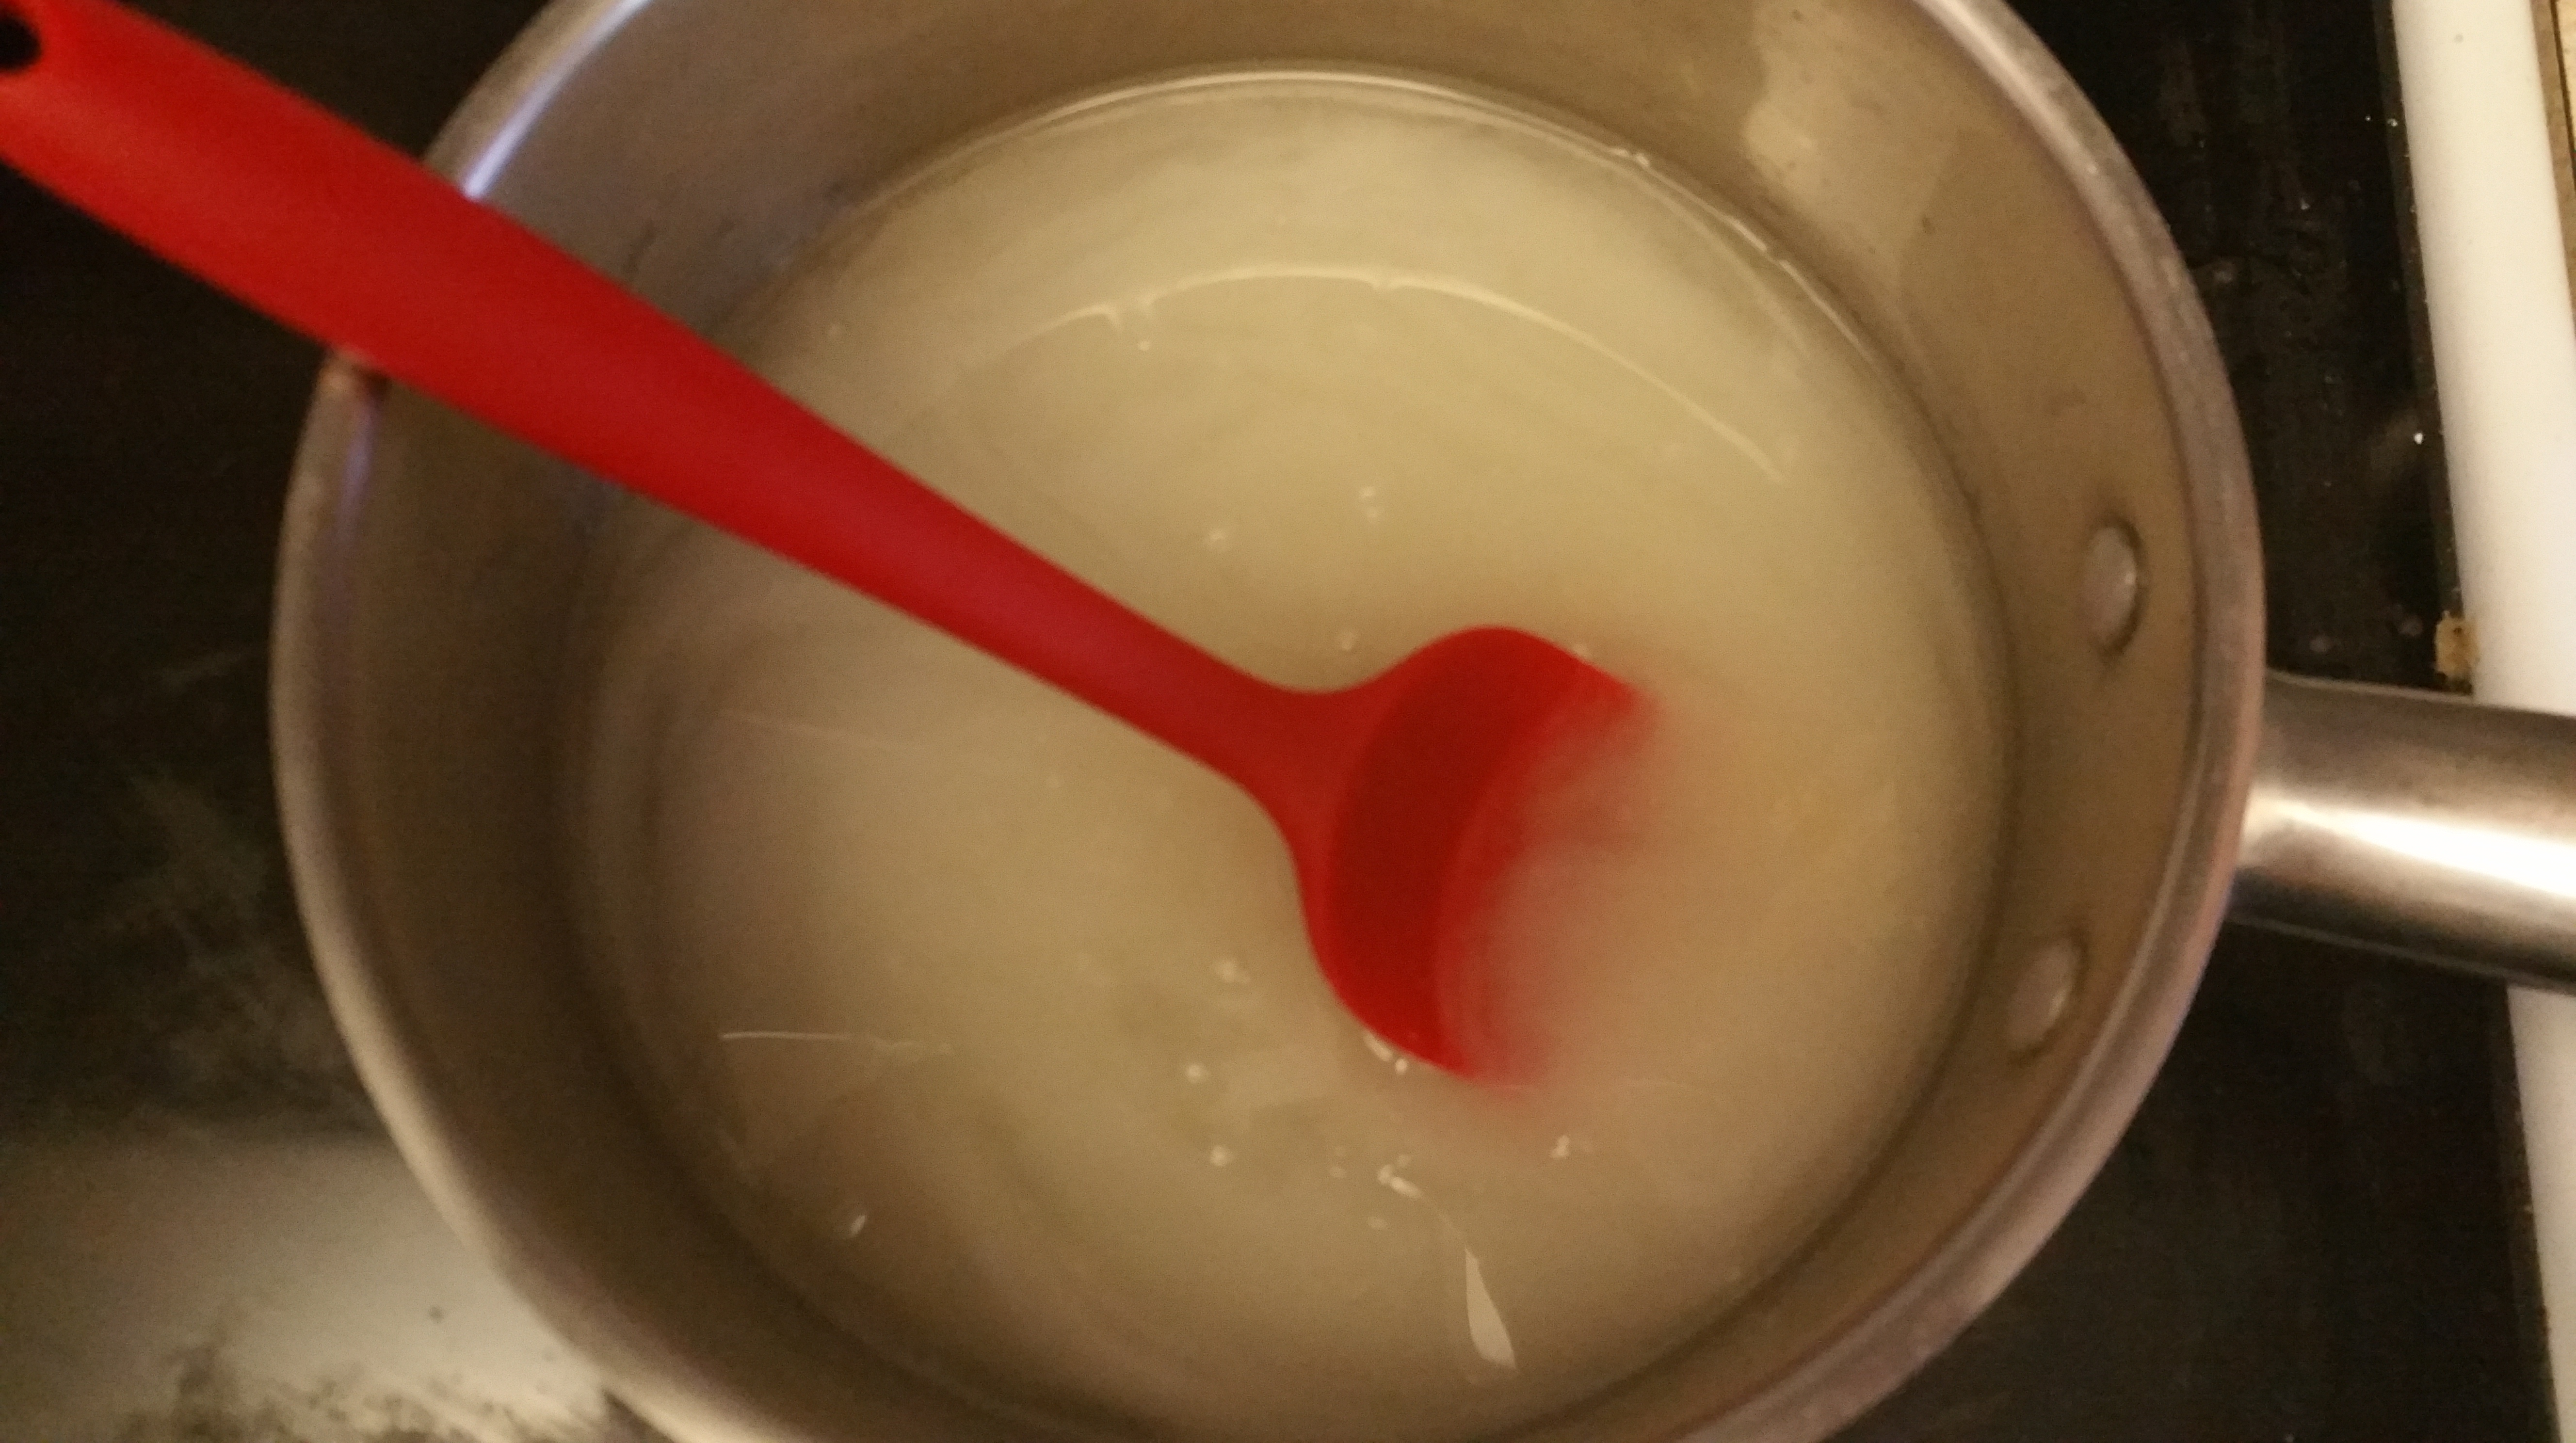
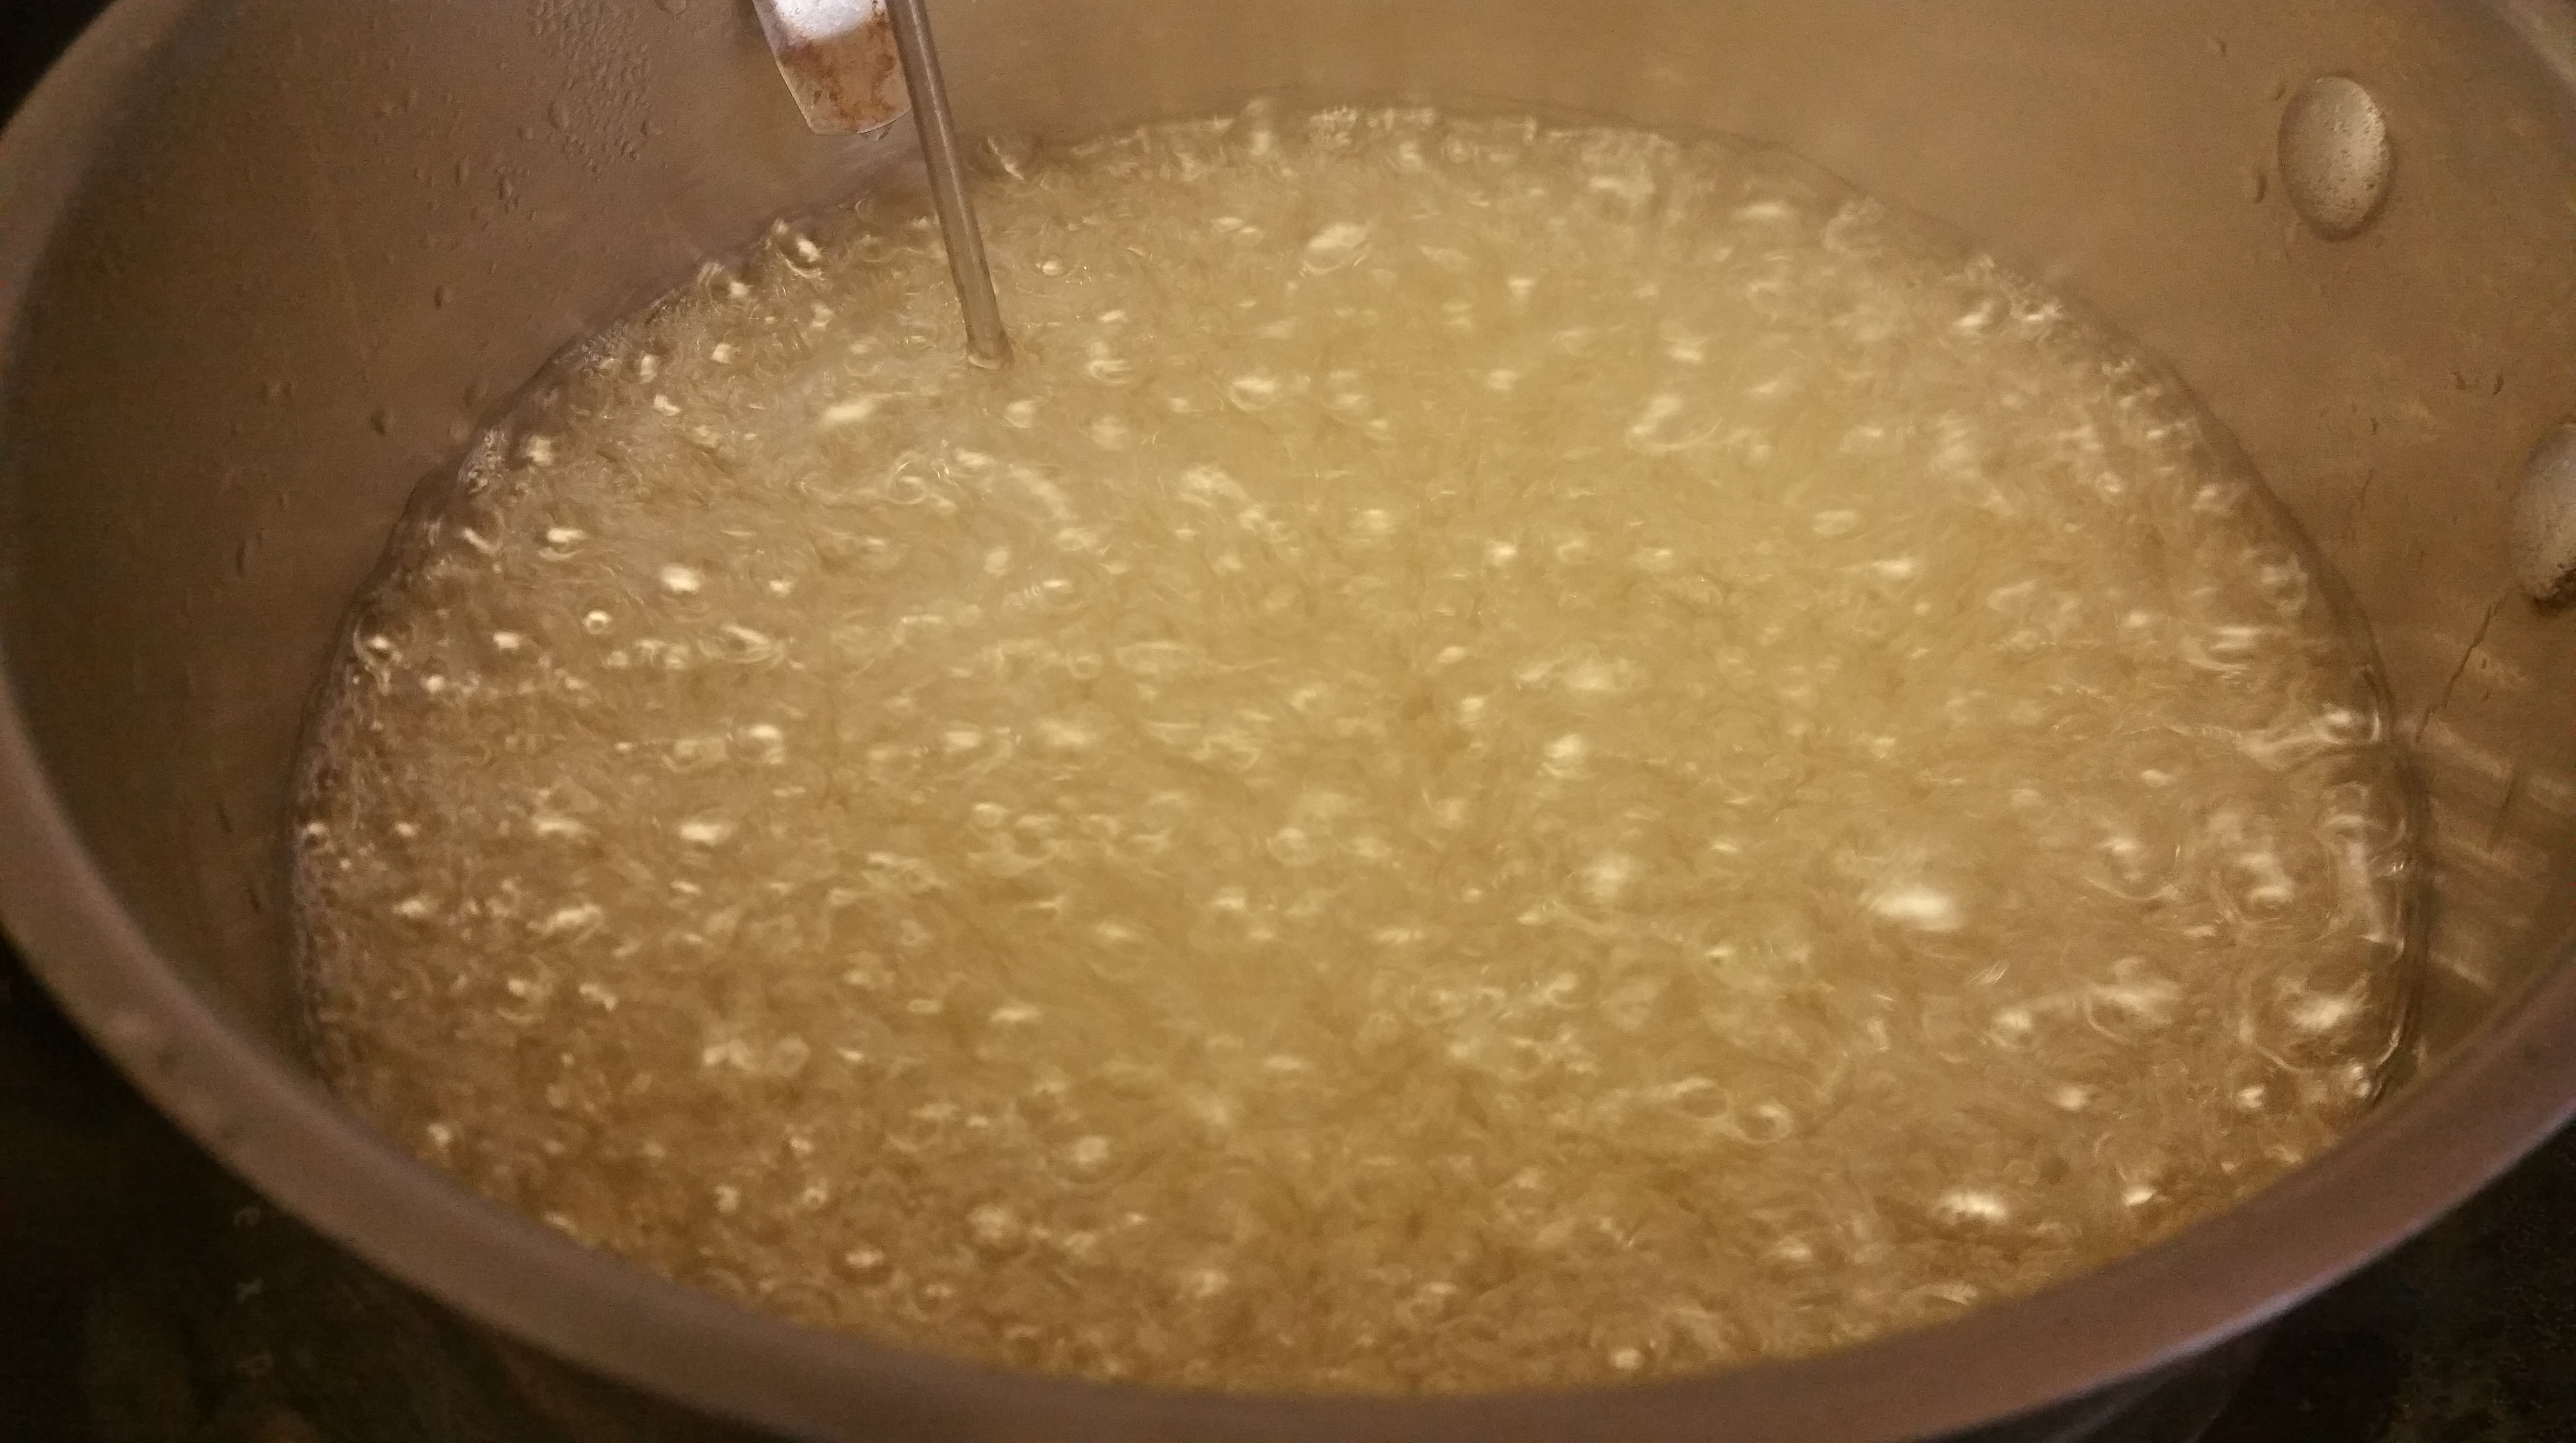
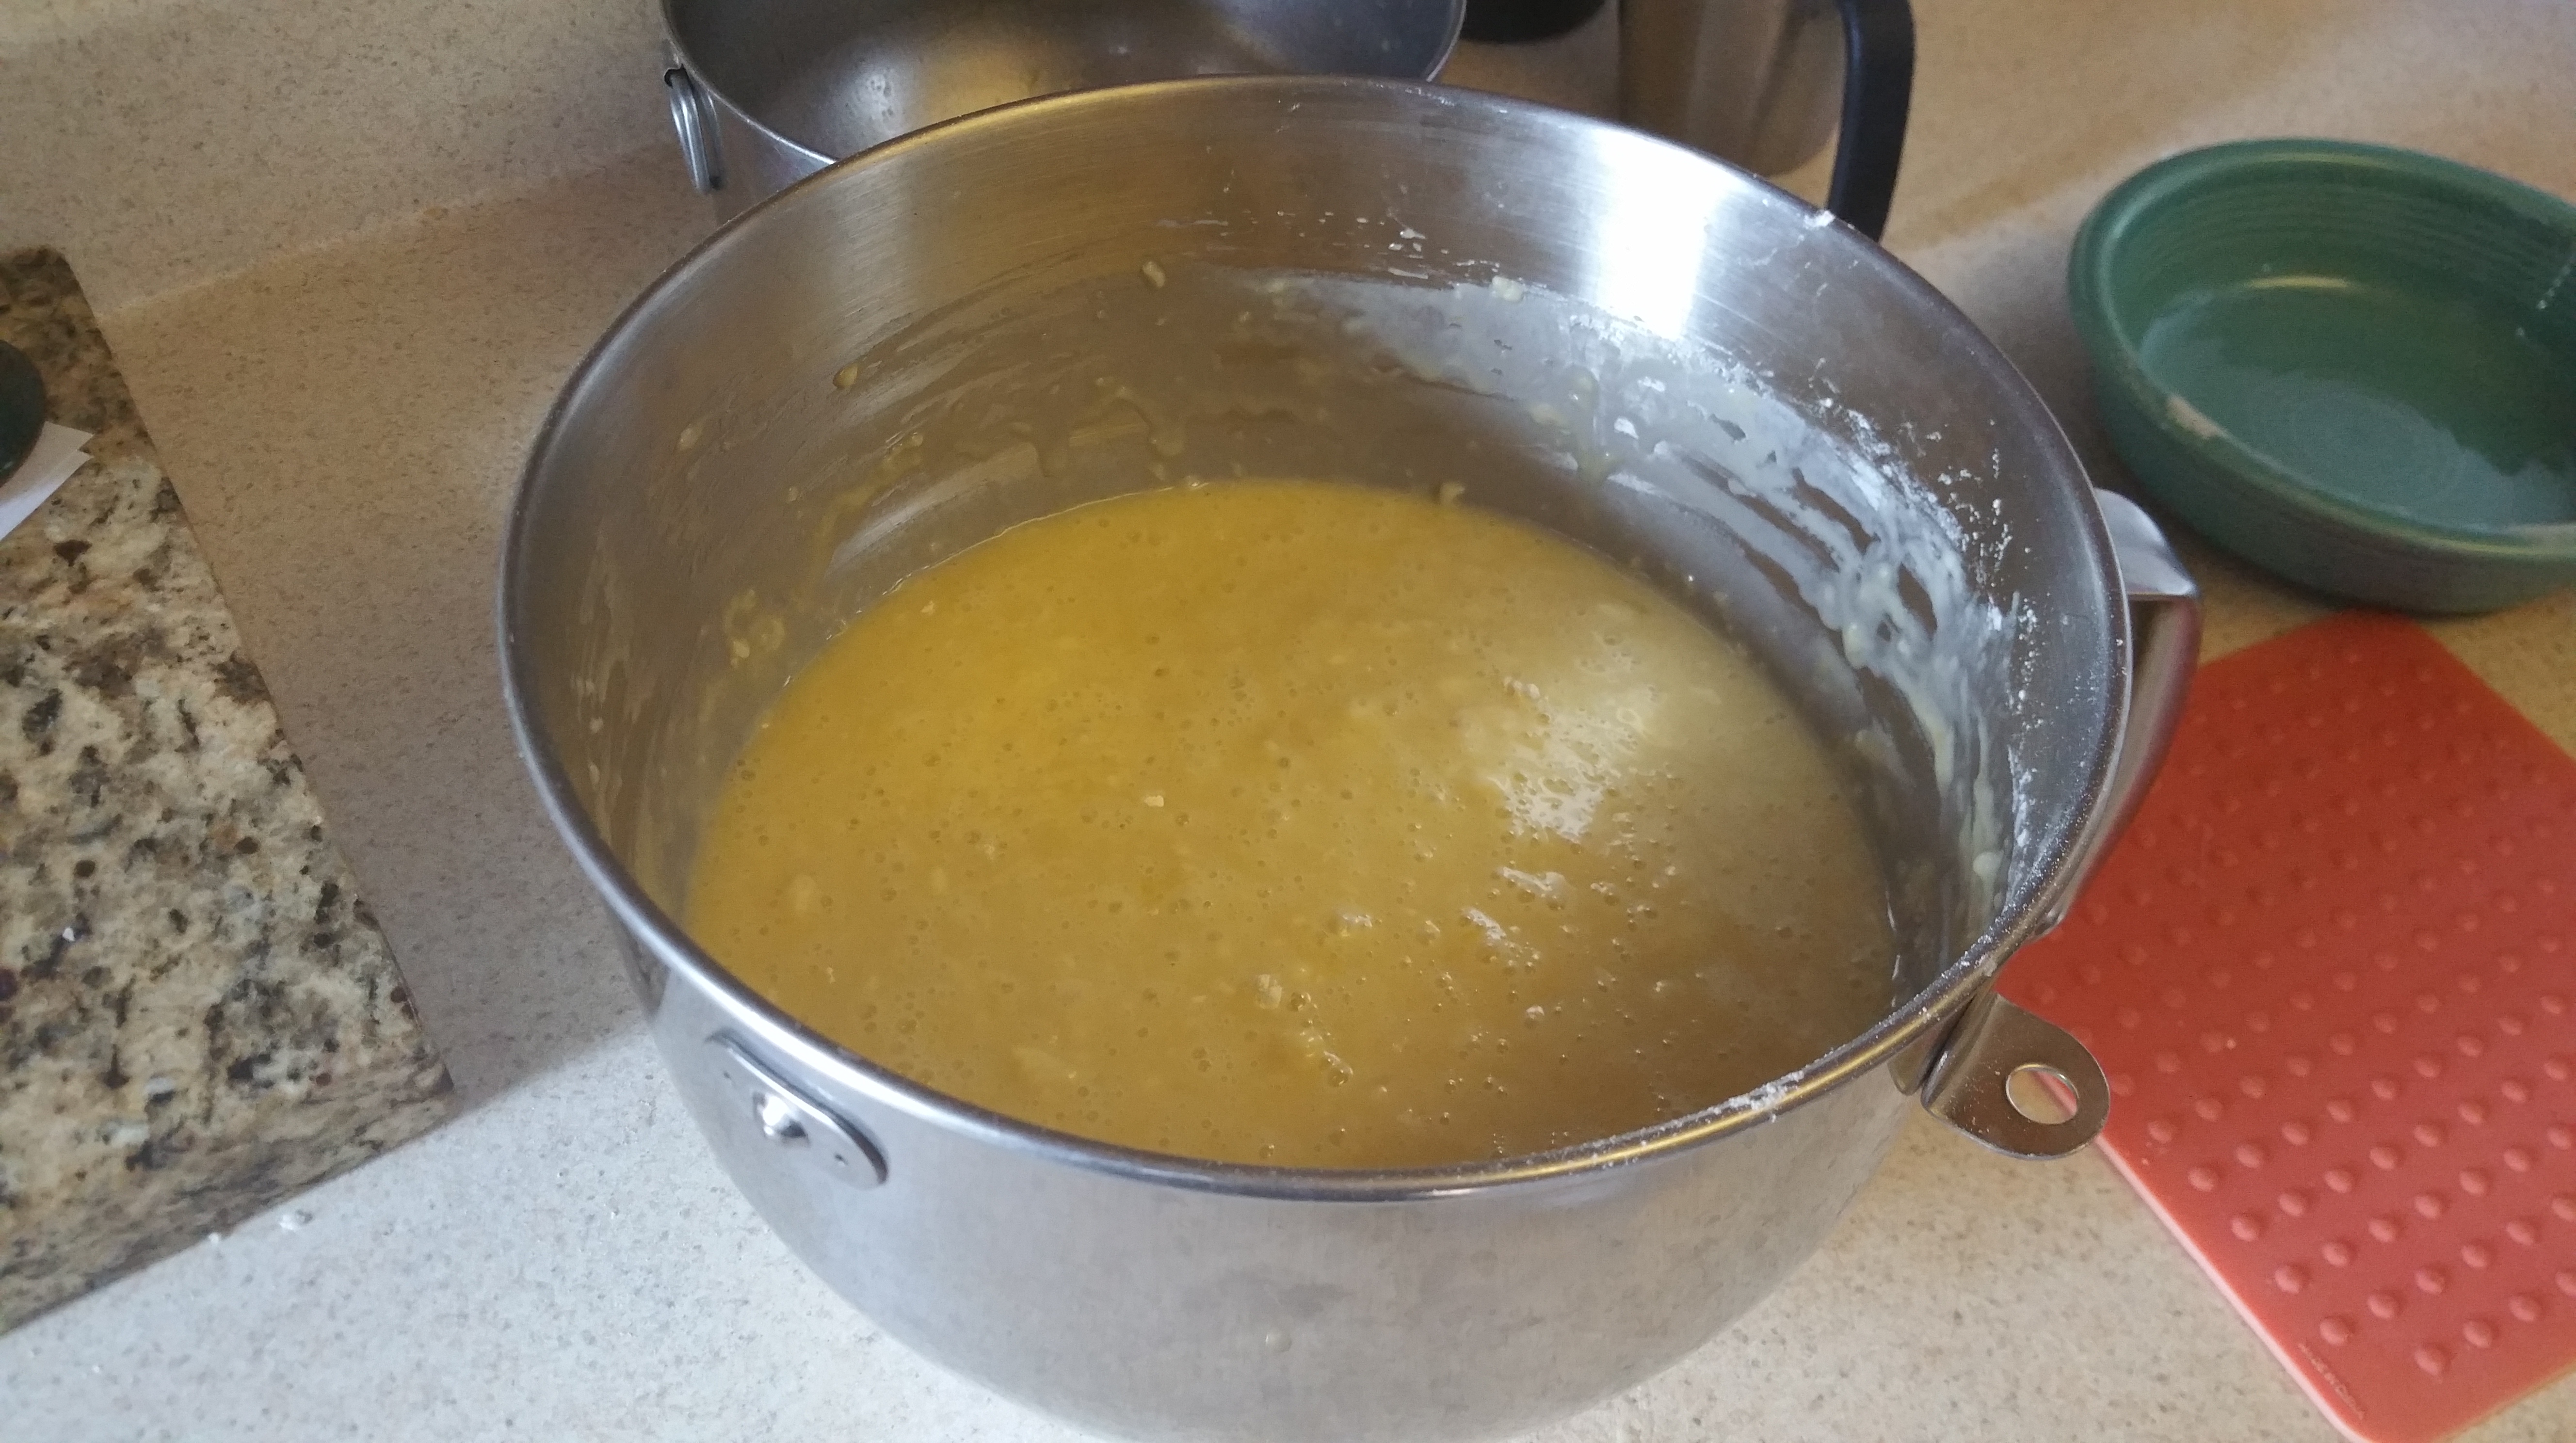
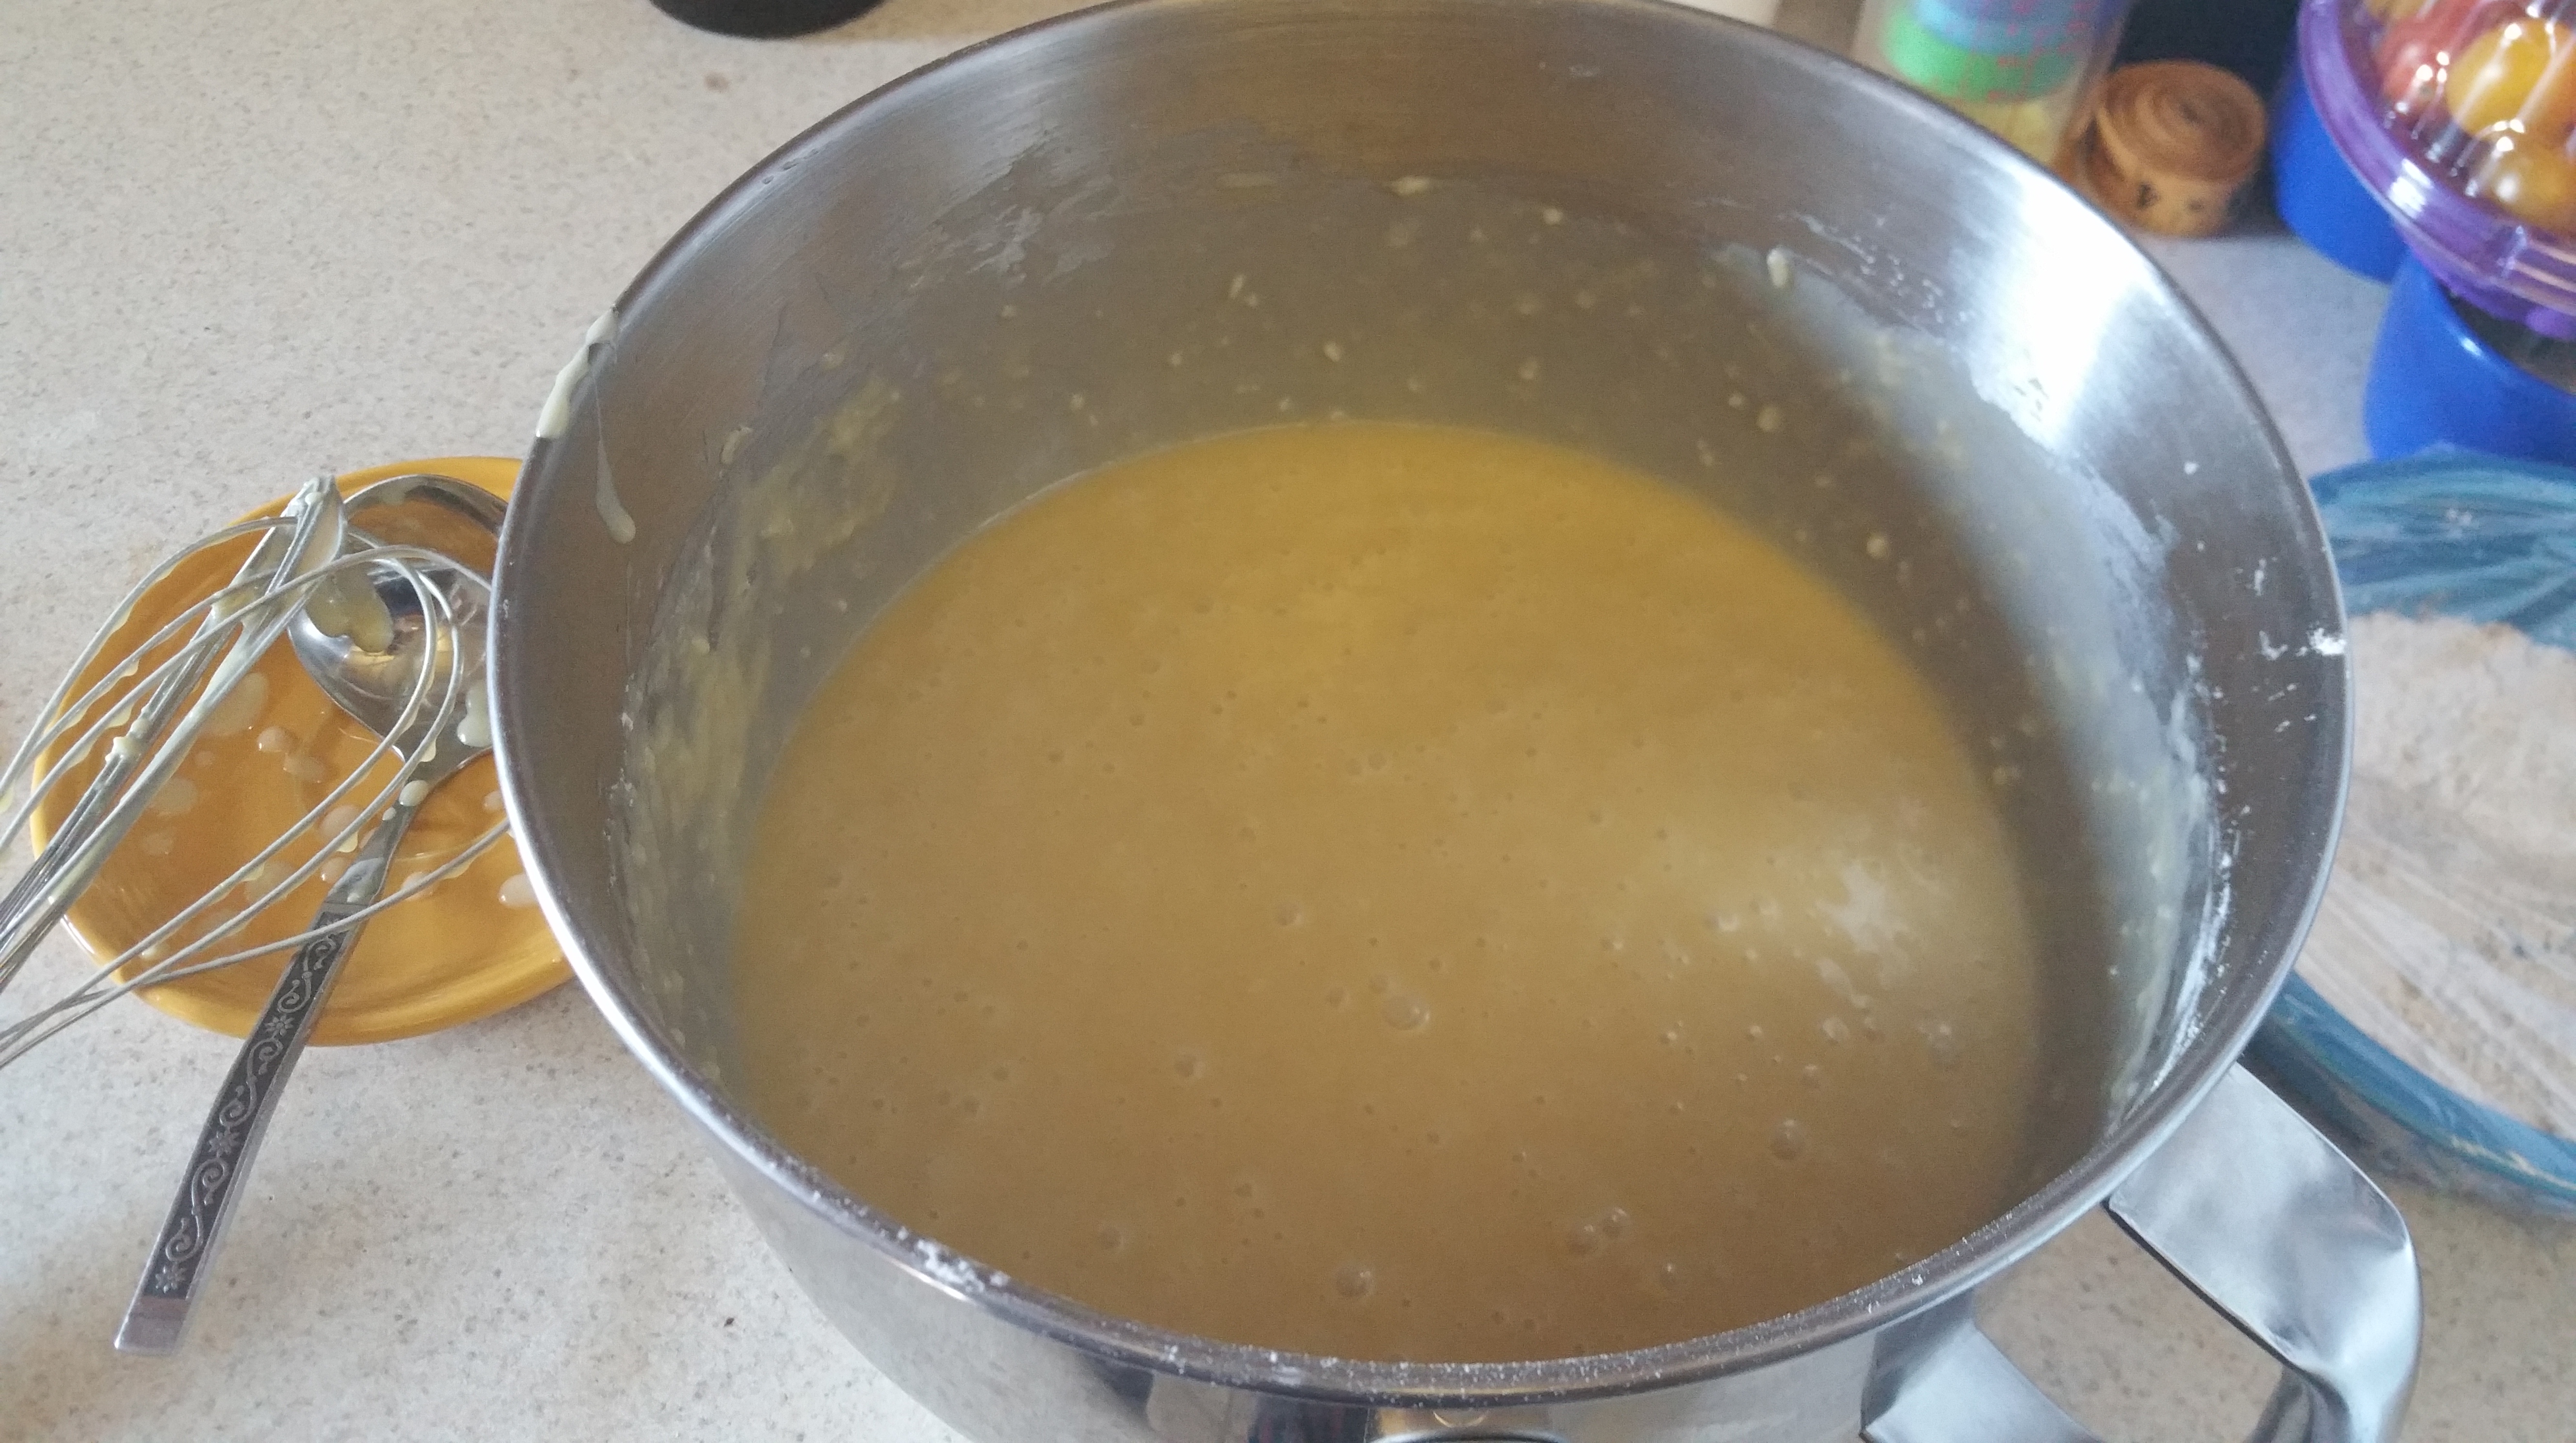
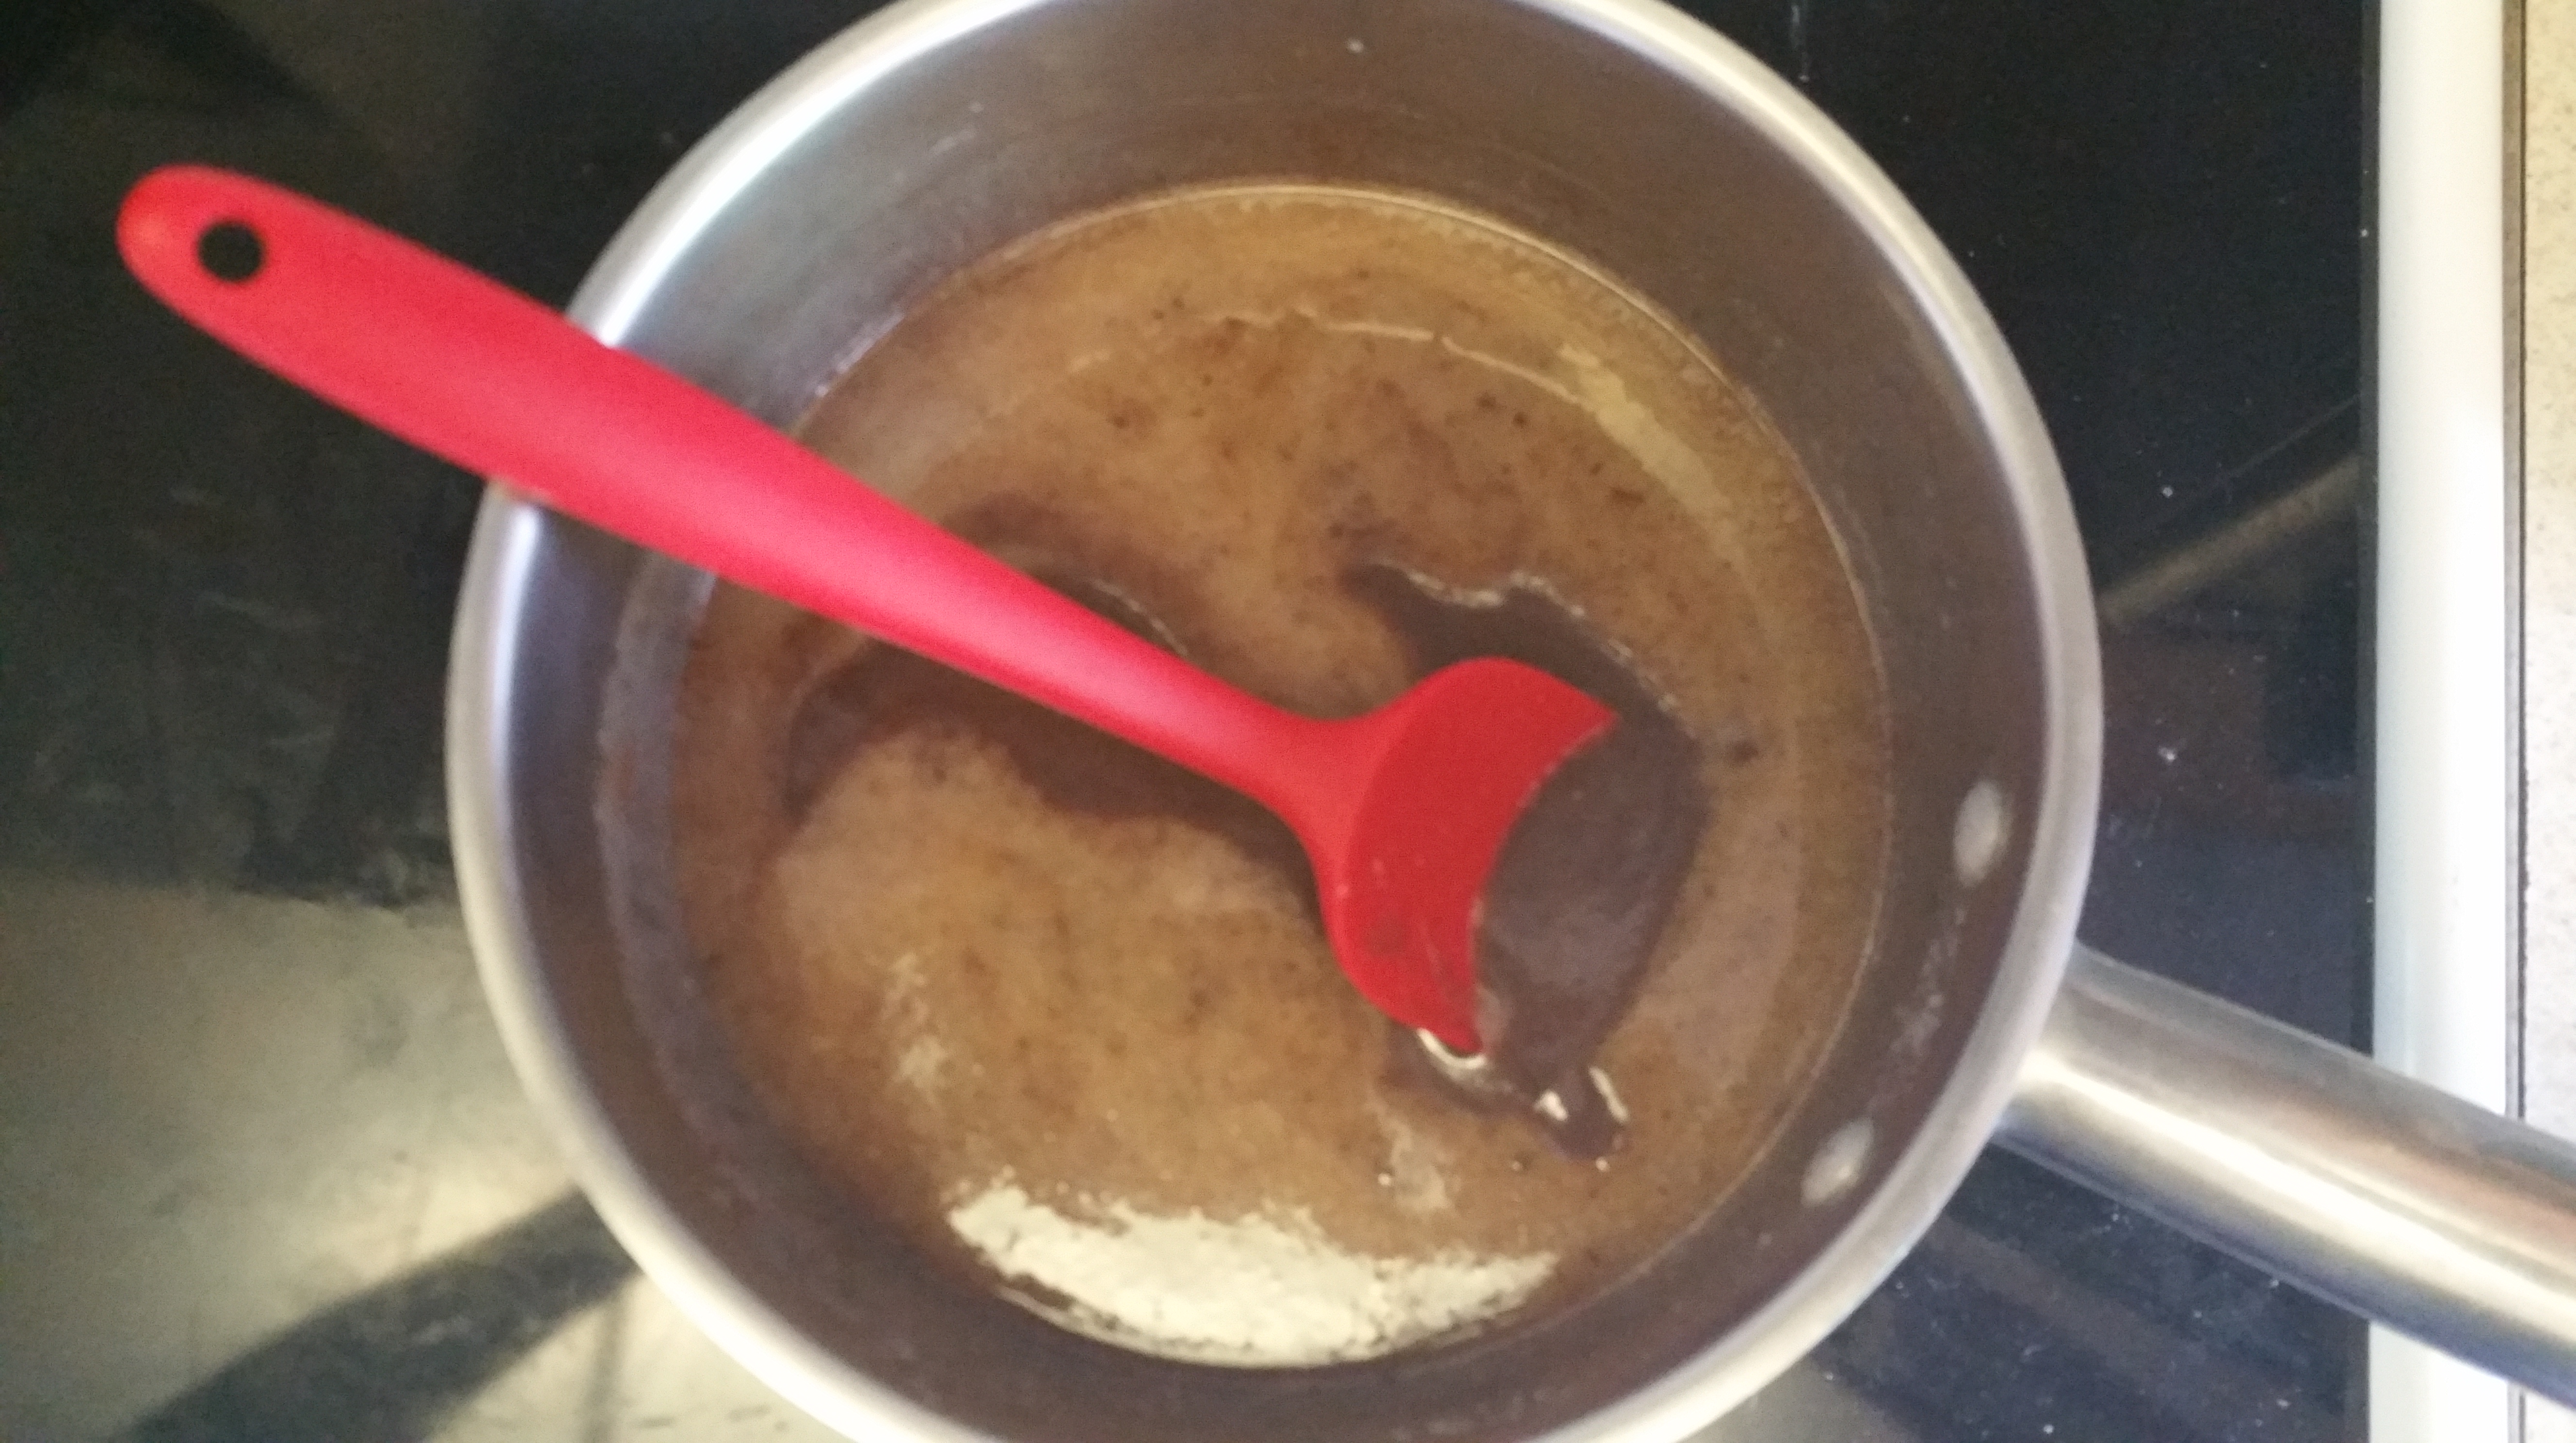
Melt the butter and then add the sugar, corn syrup, vanilla bean pulp, and salt. Bring this mixture to a boil.
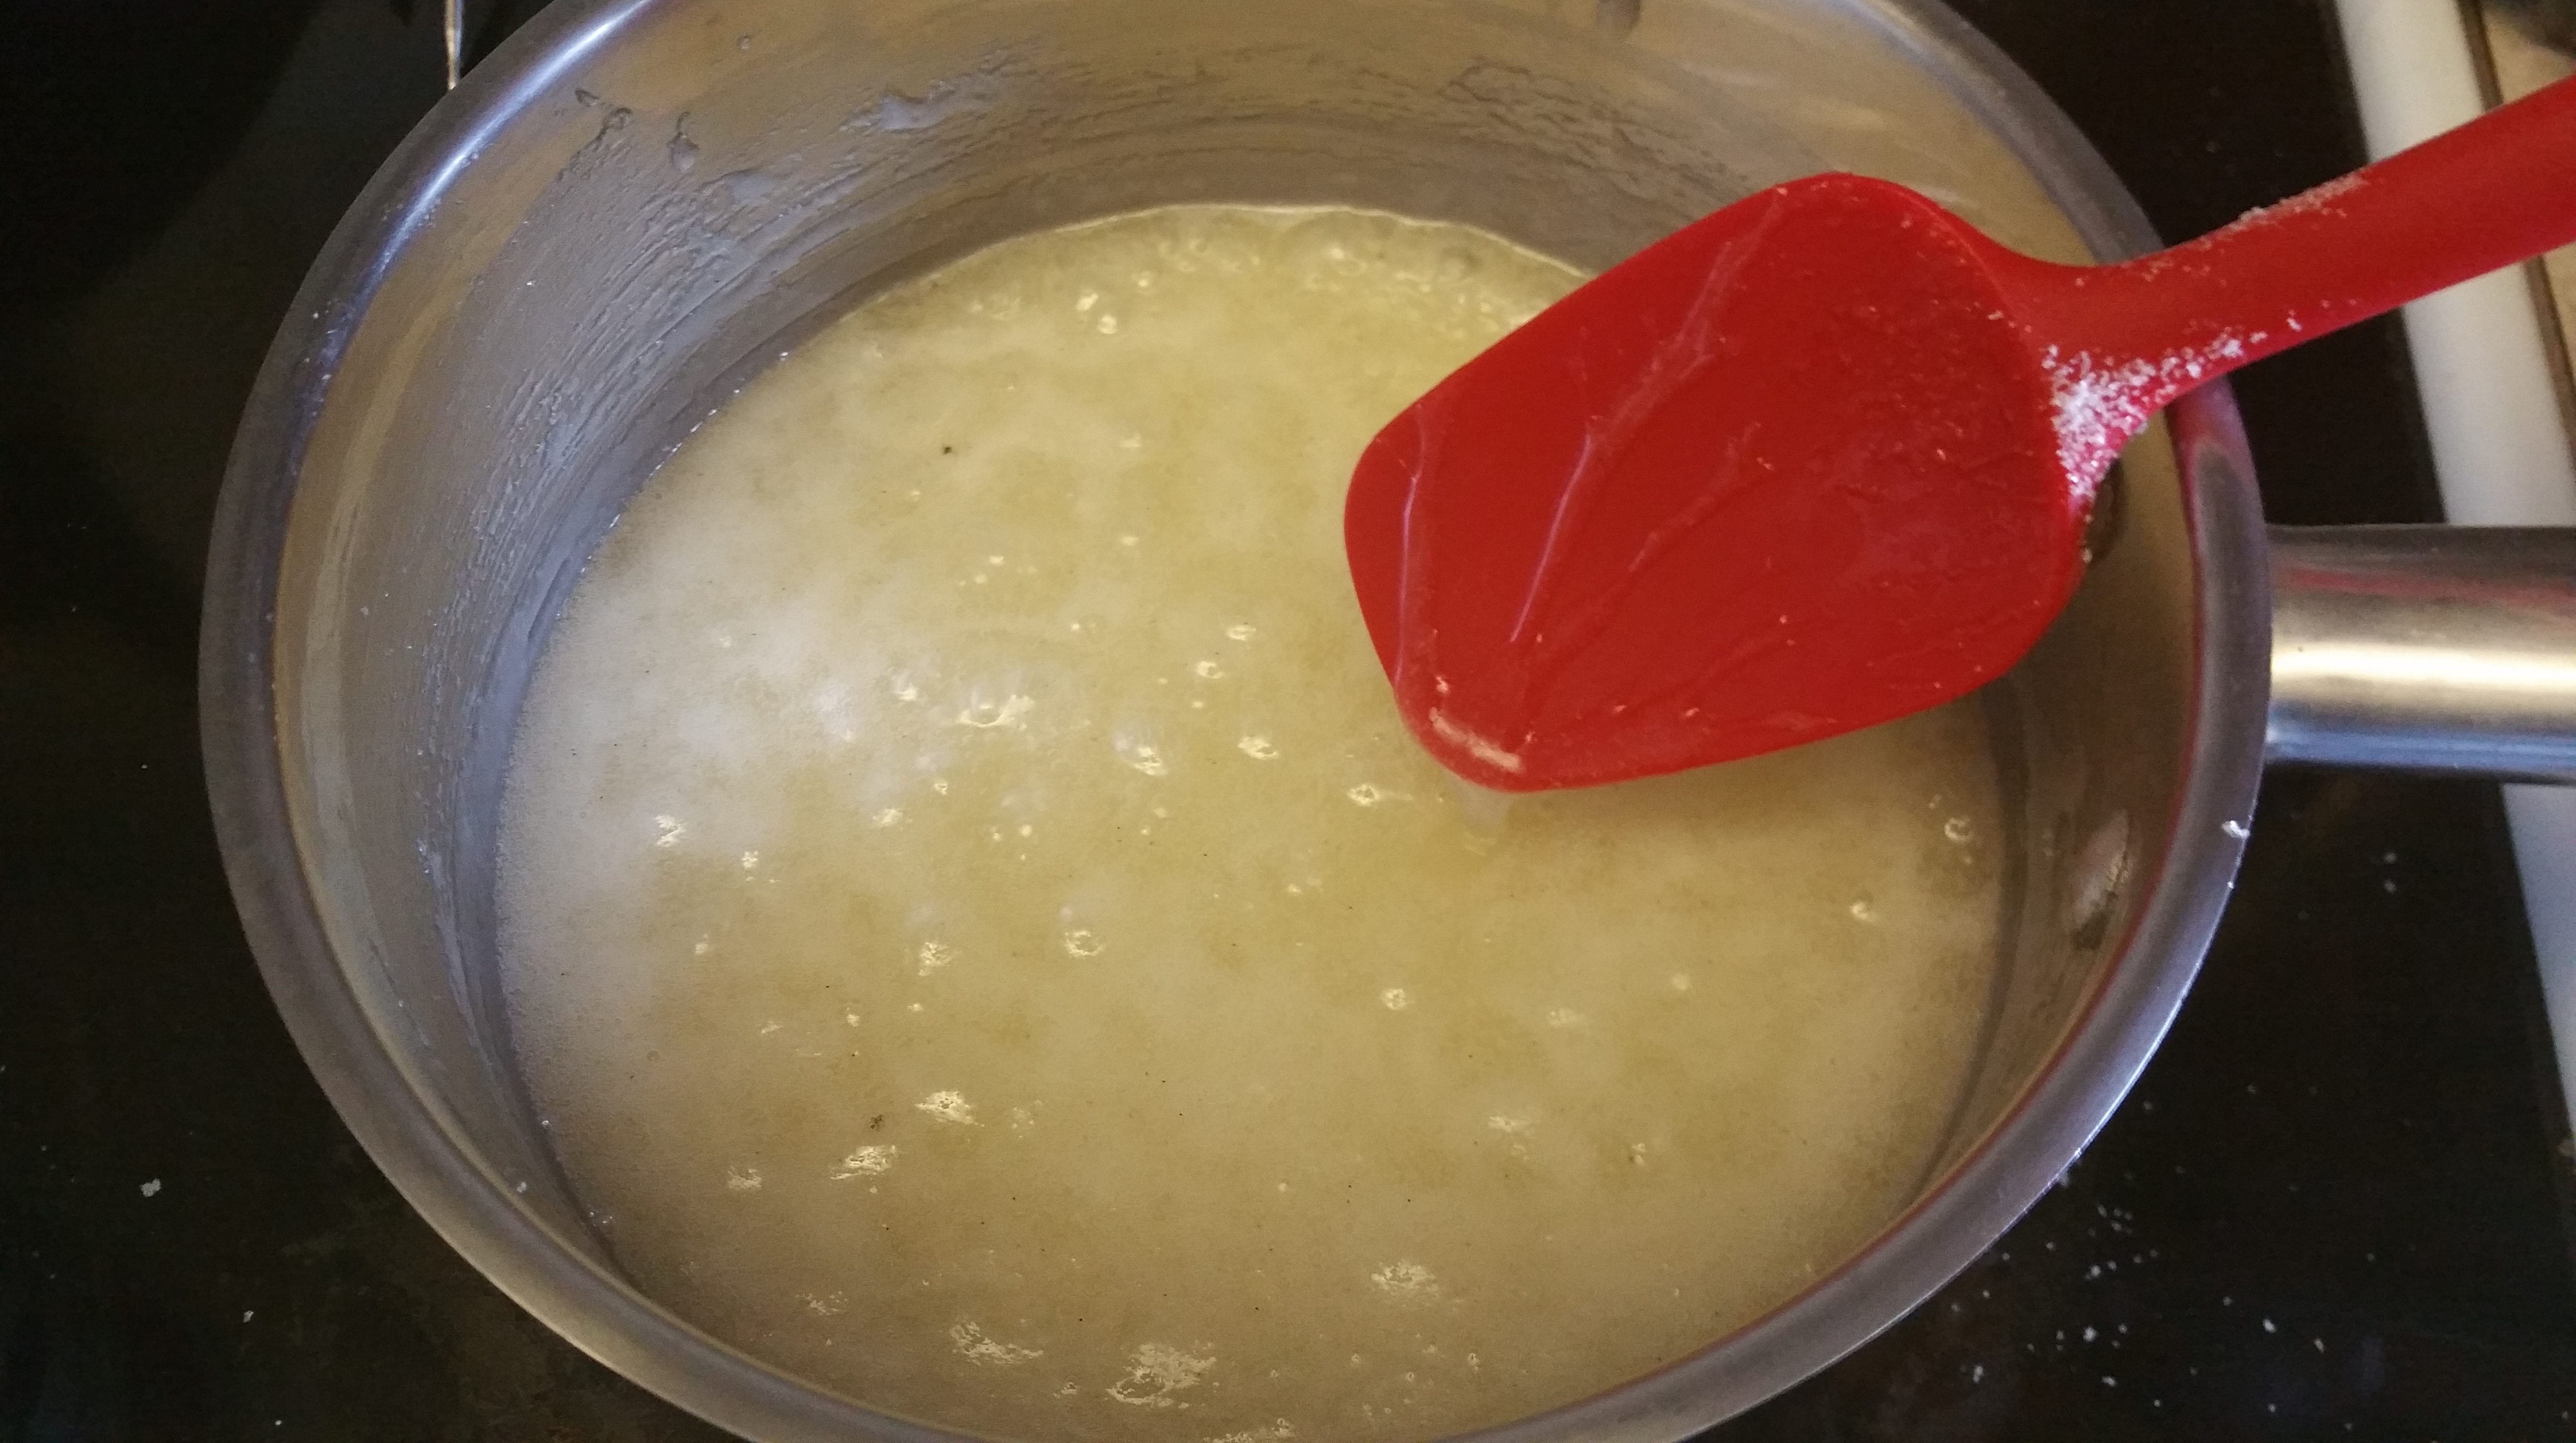
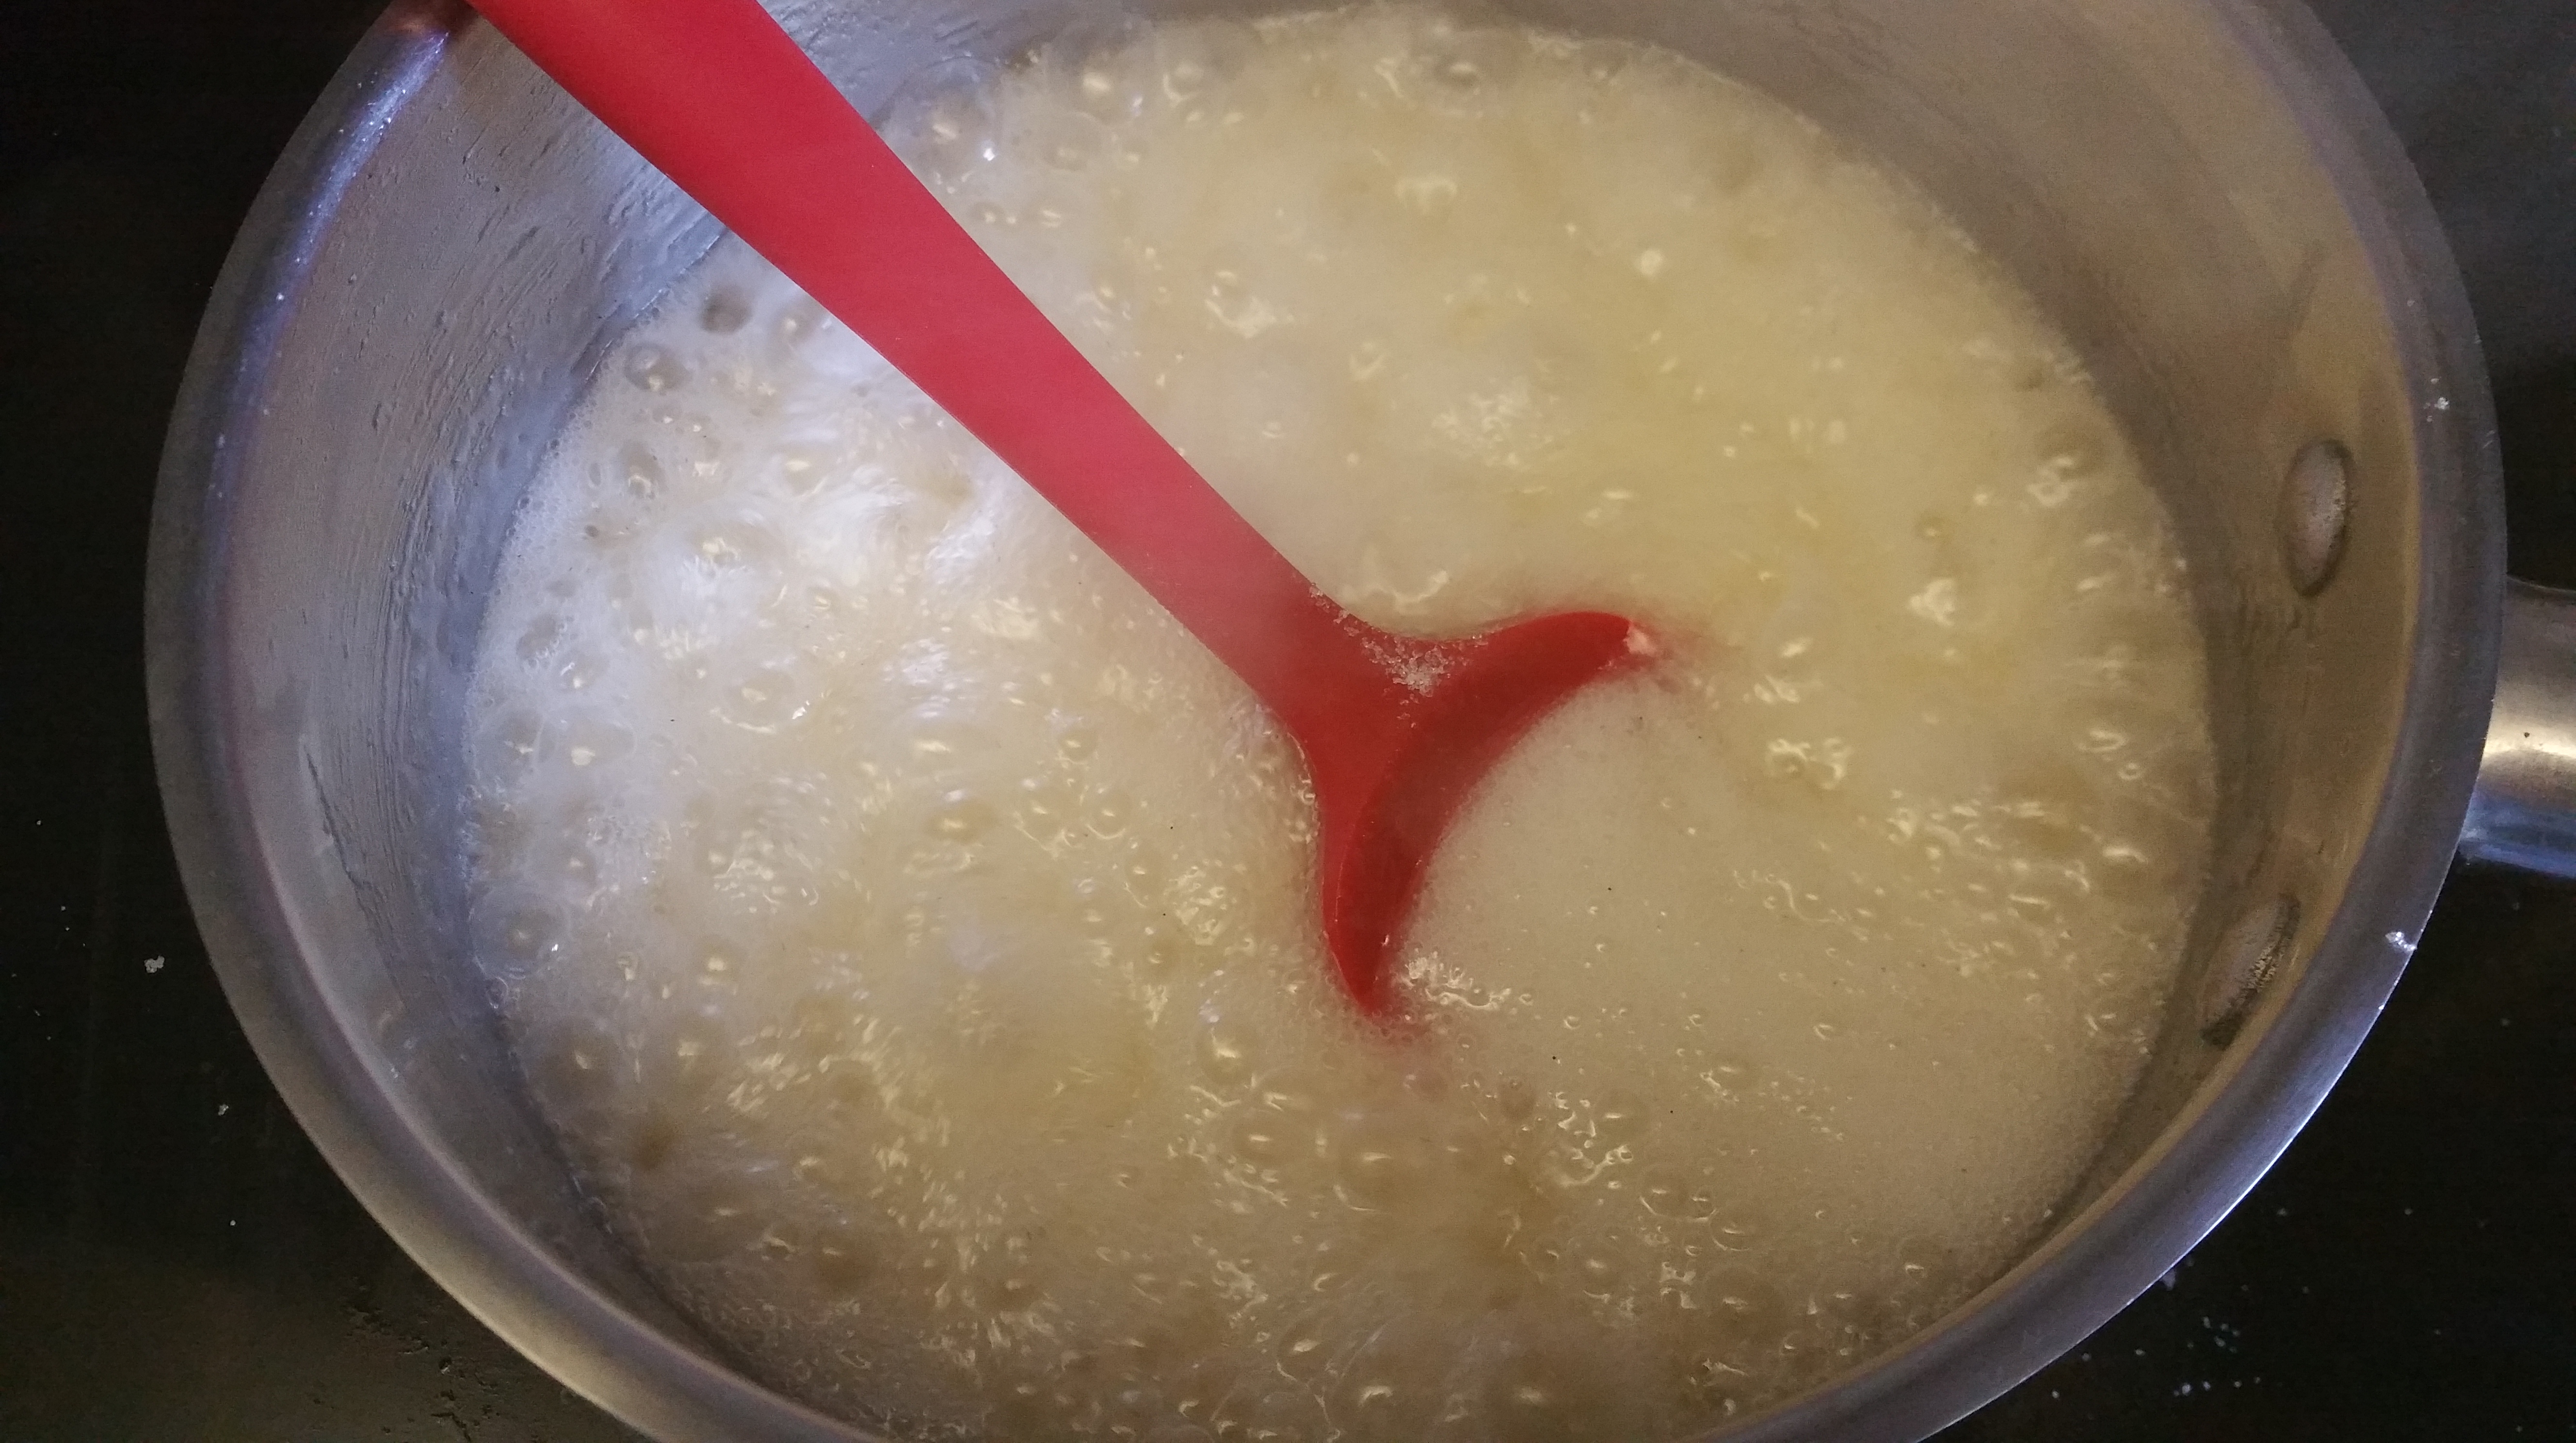
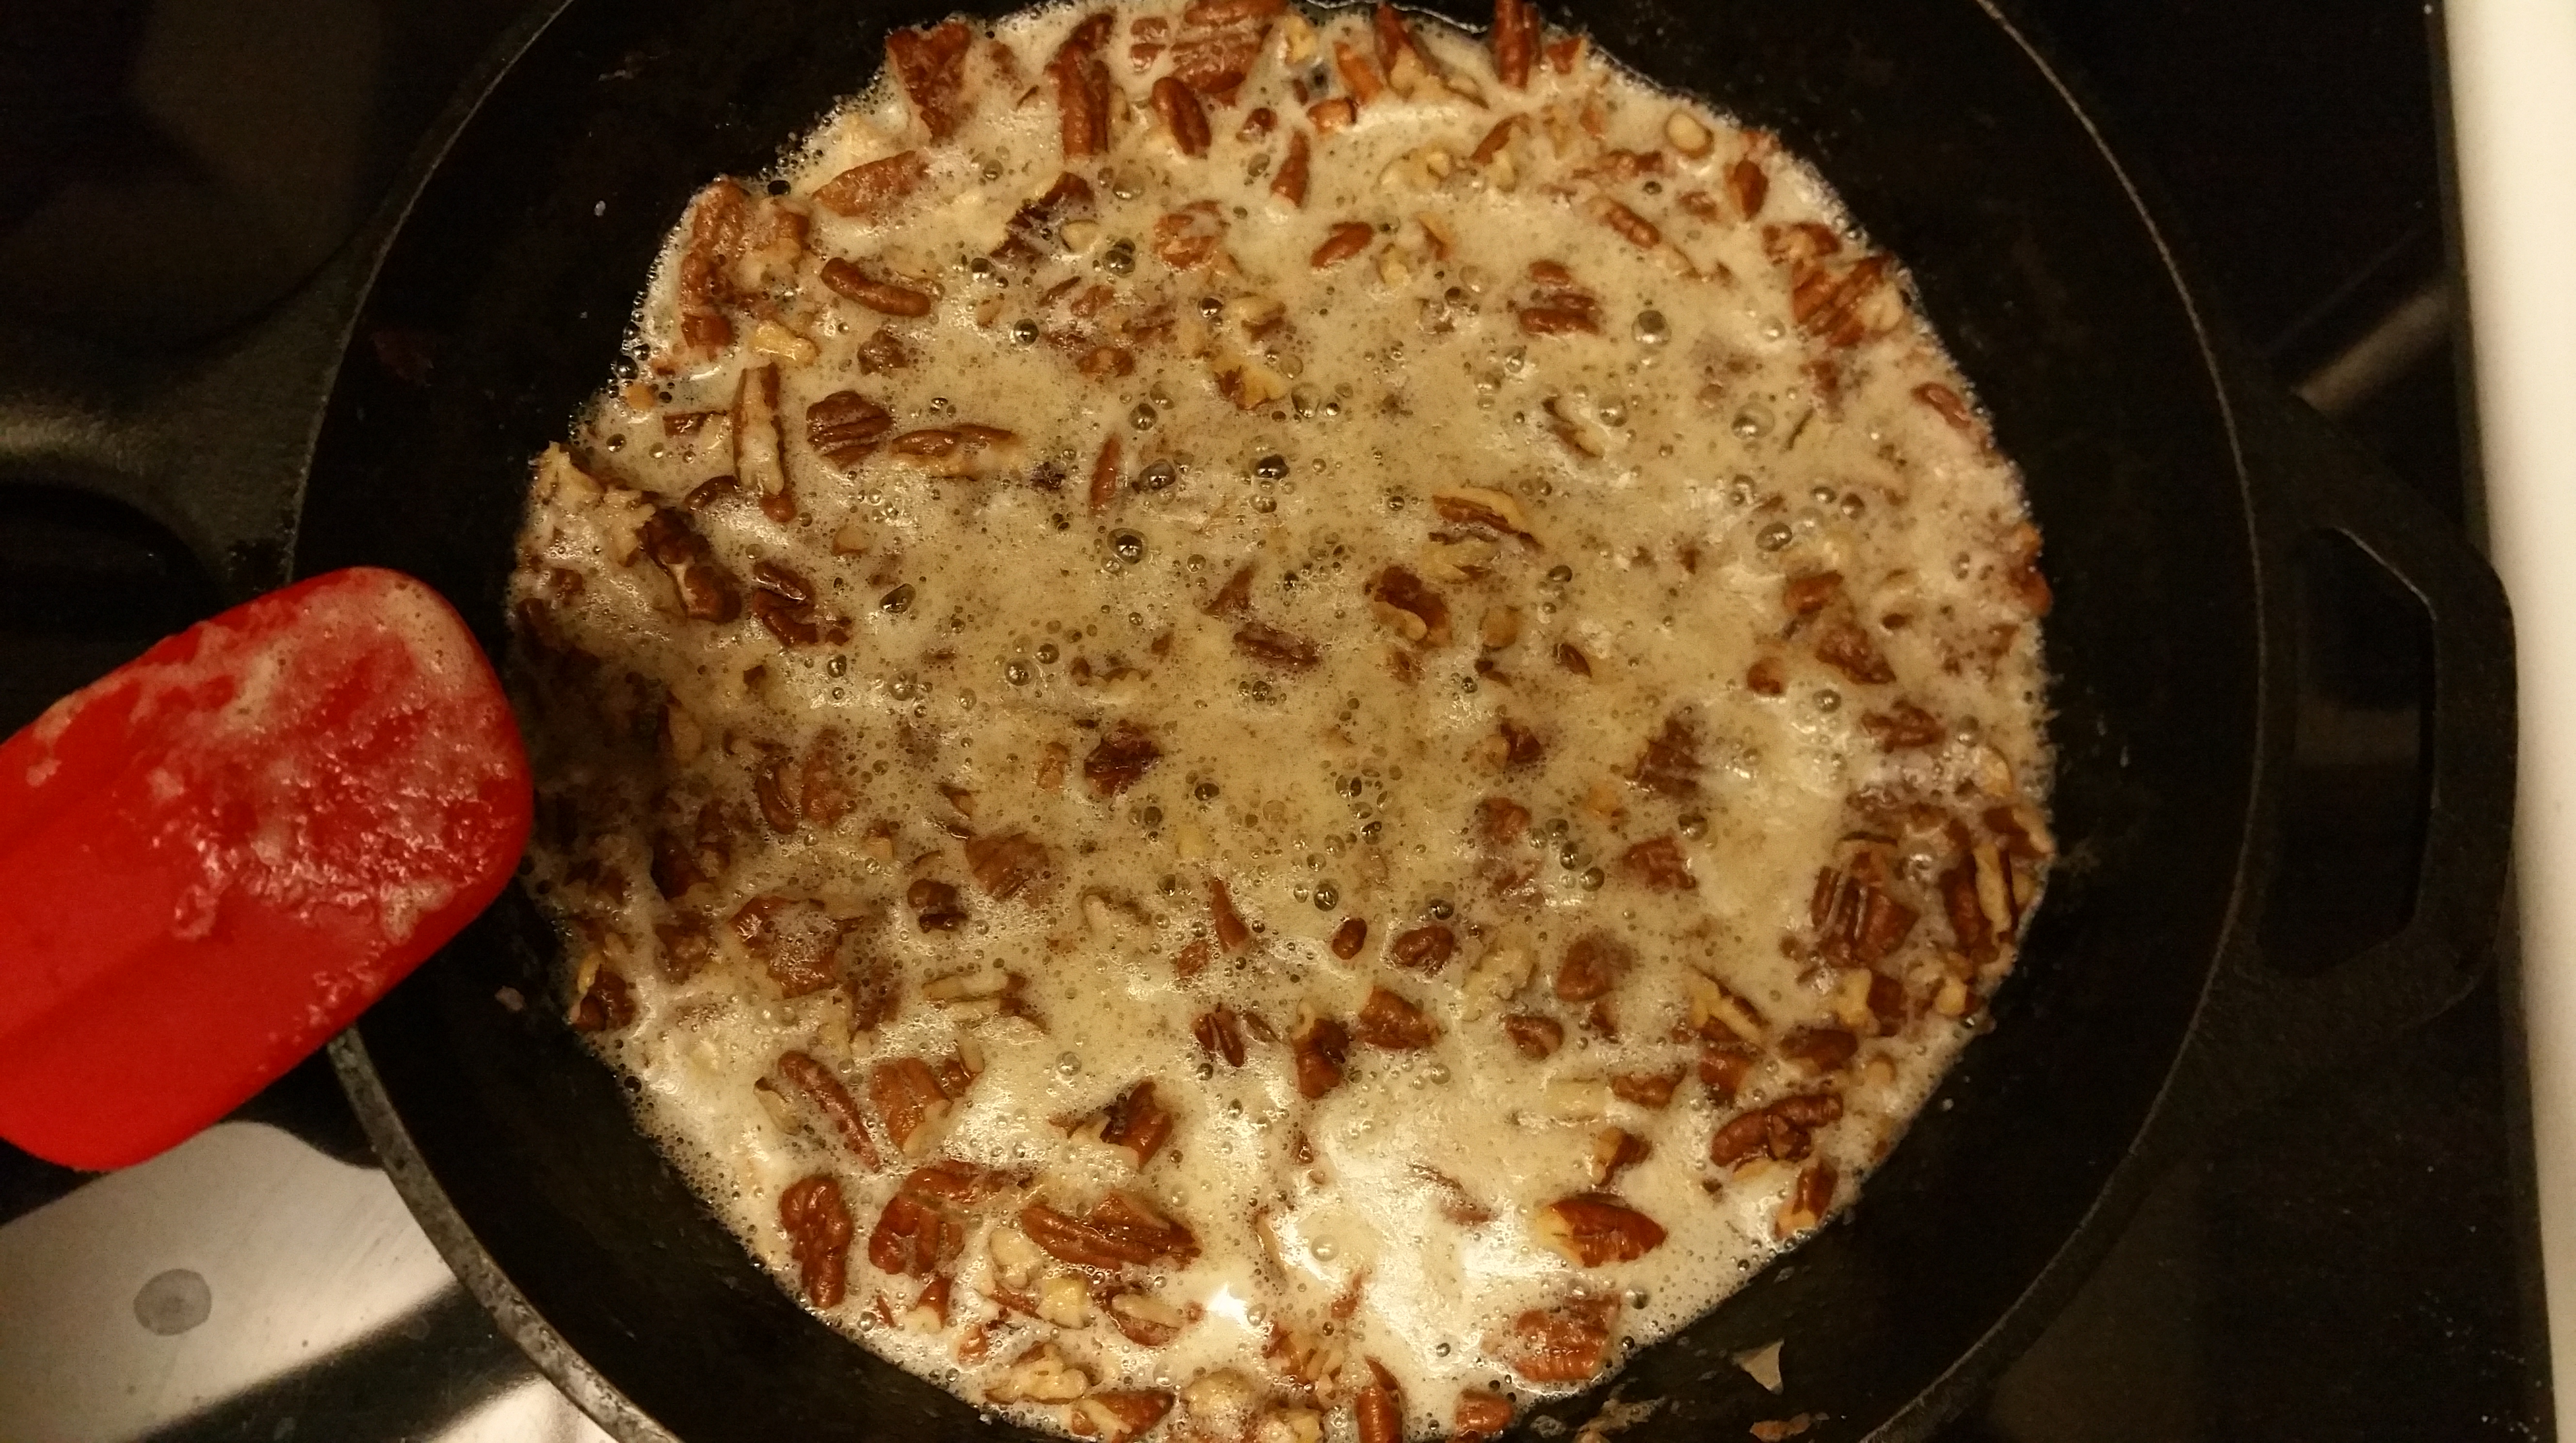
Add the evaporated milk a small amount at a time over the course of 10 minutes. The mixture will hiss and bubble up a little bit every time you add some, so it’s important to go slowly.
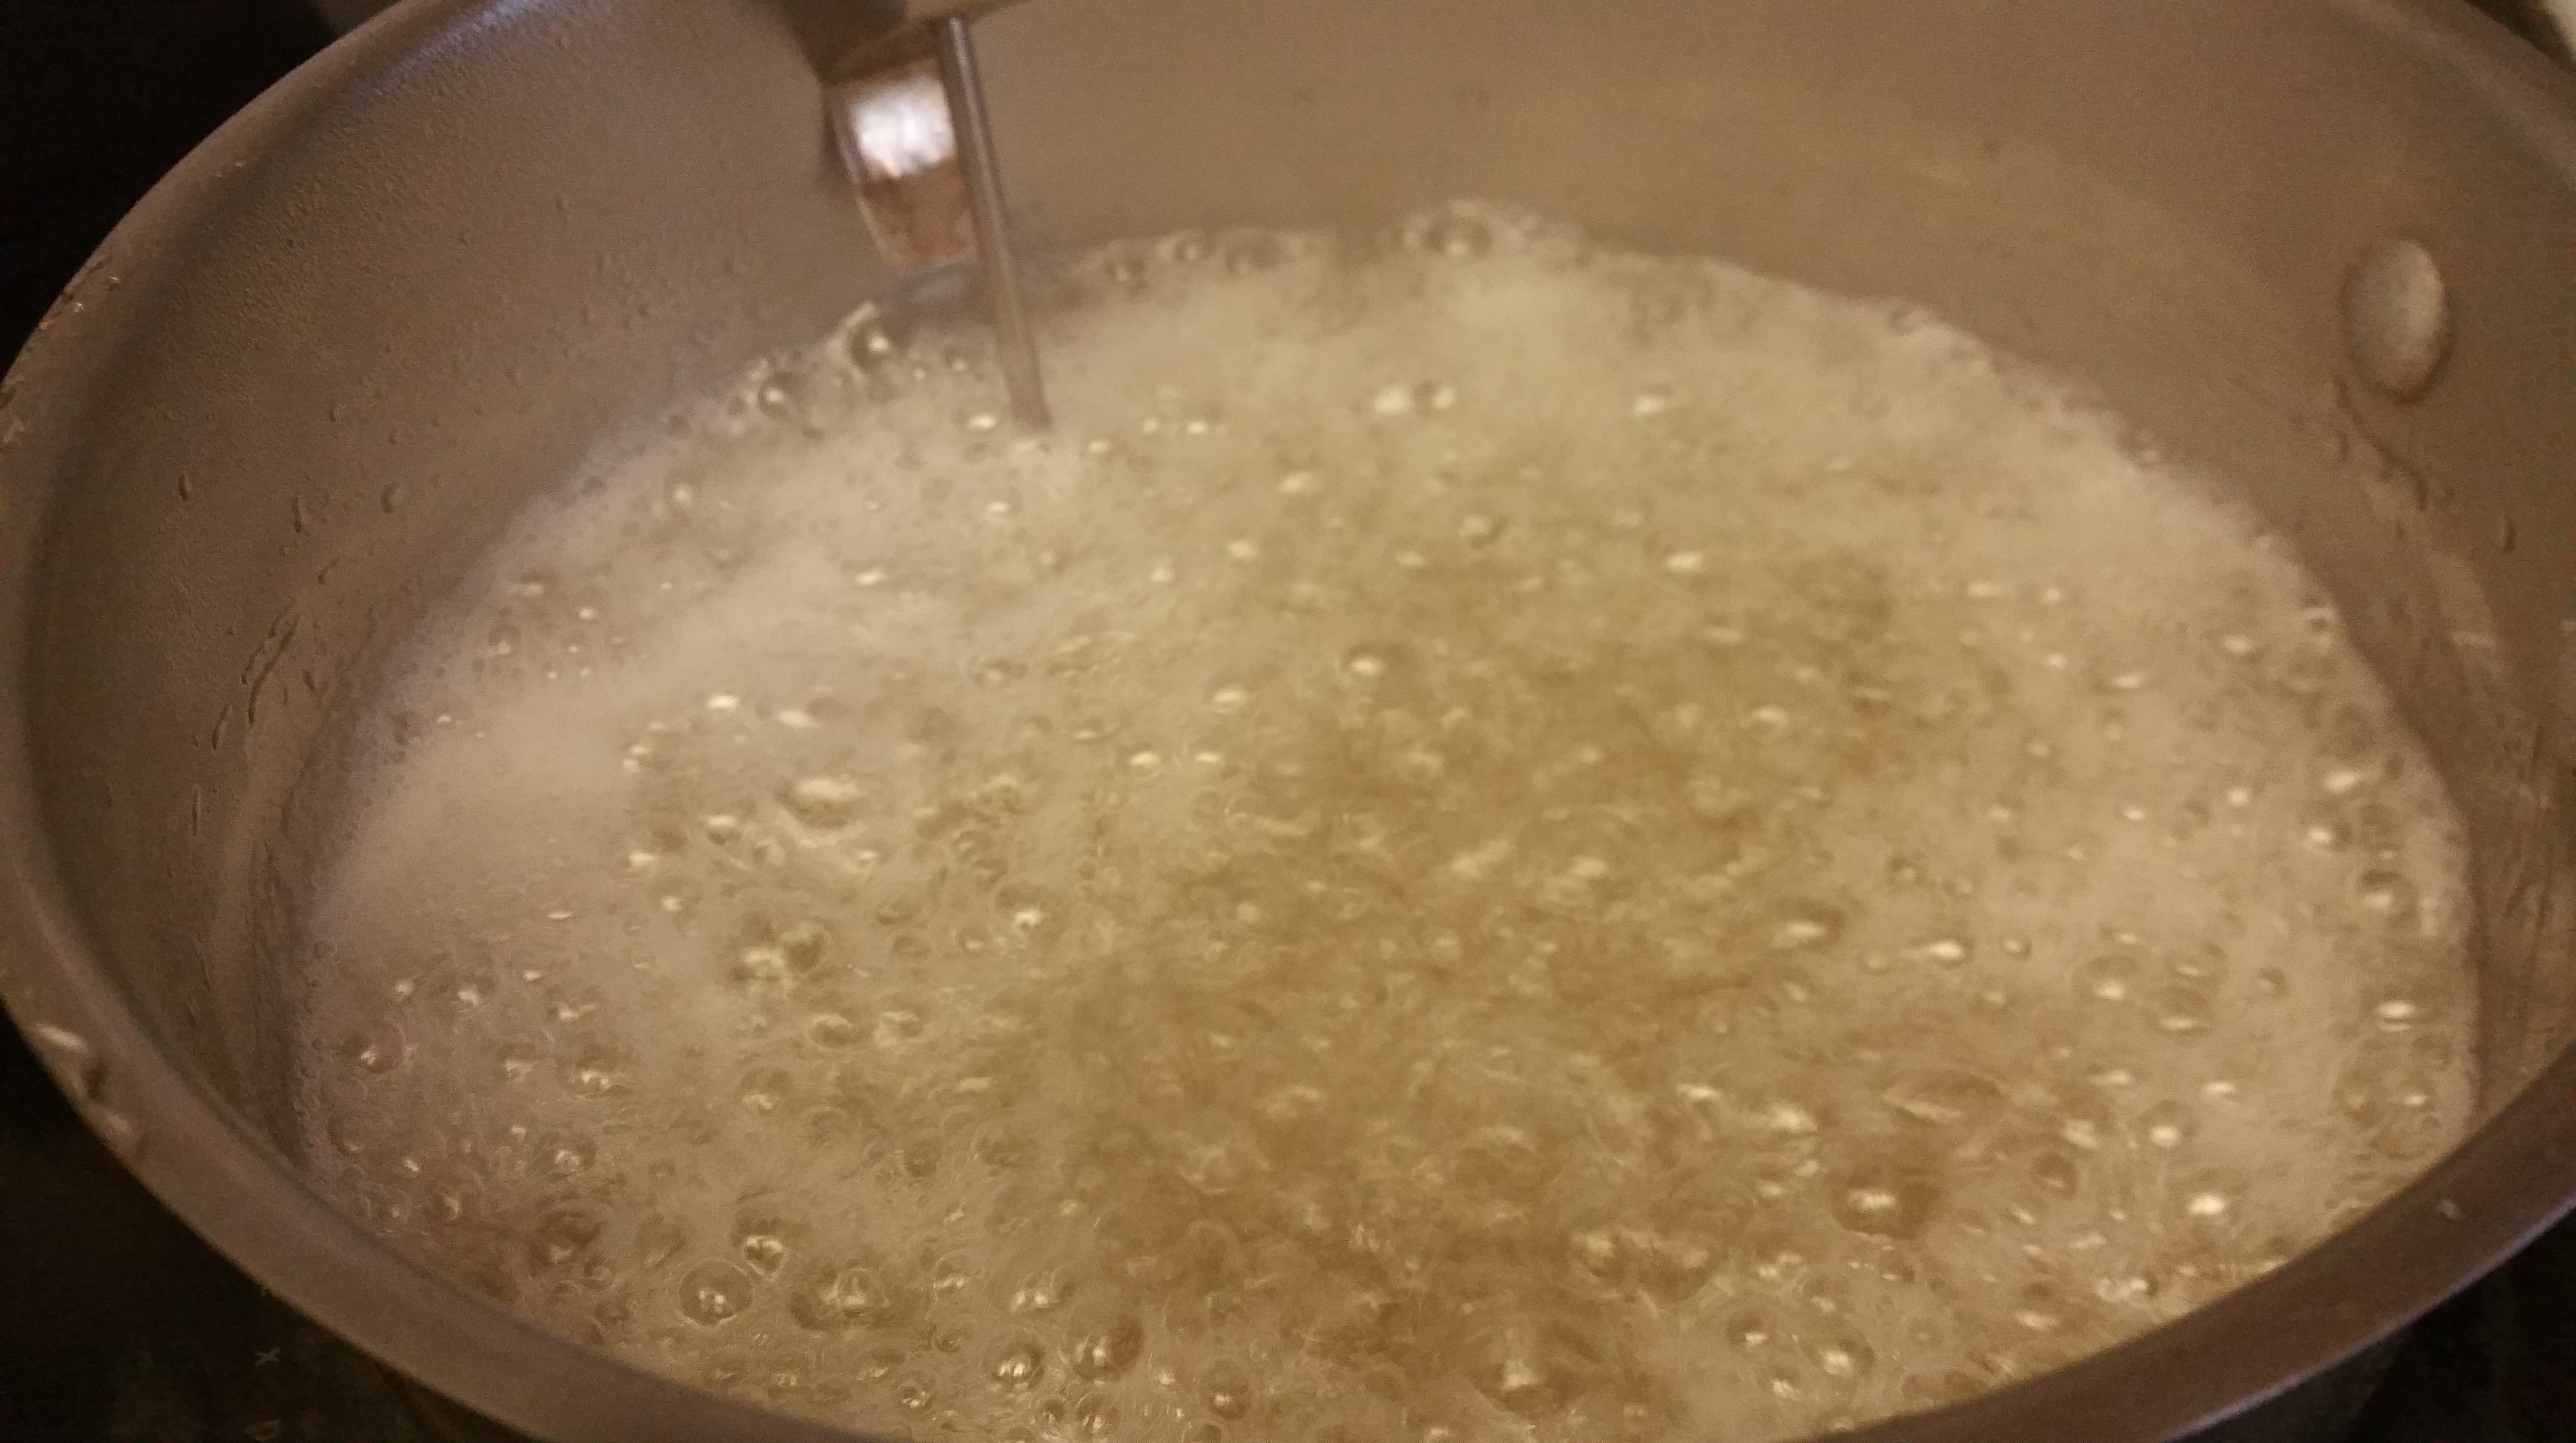
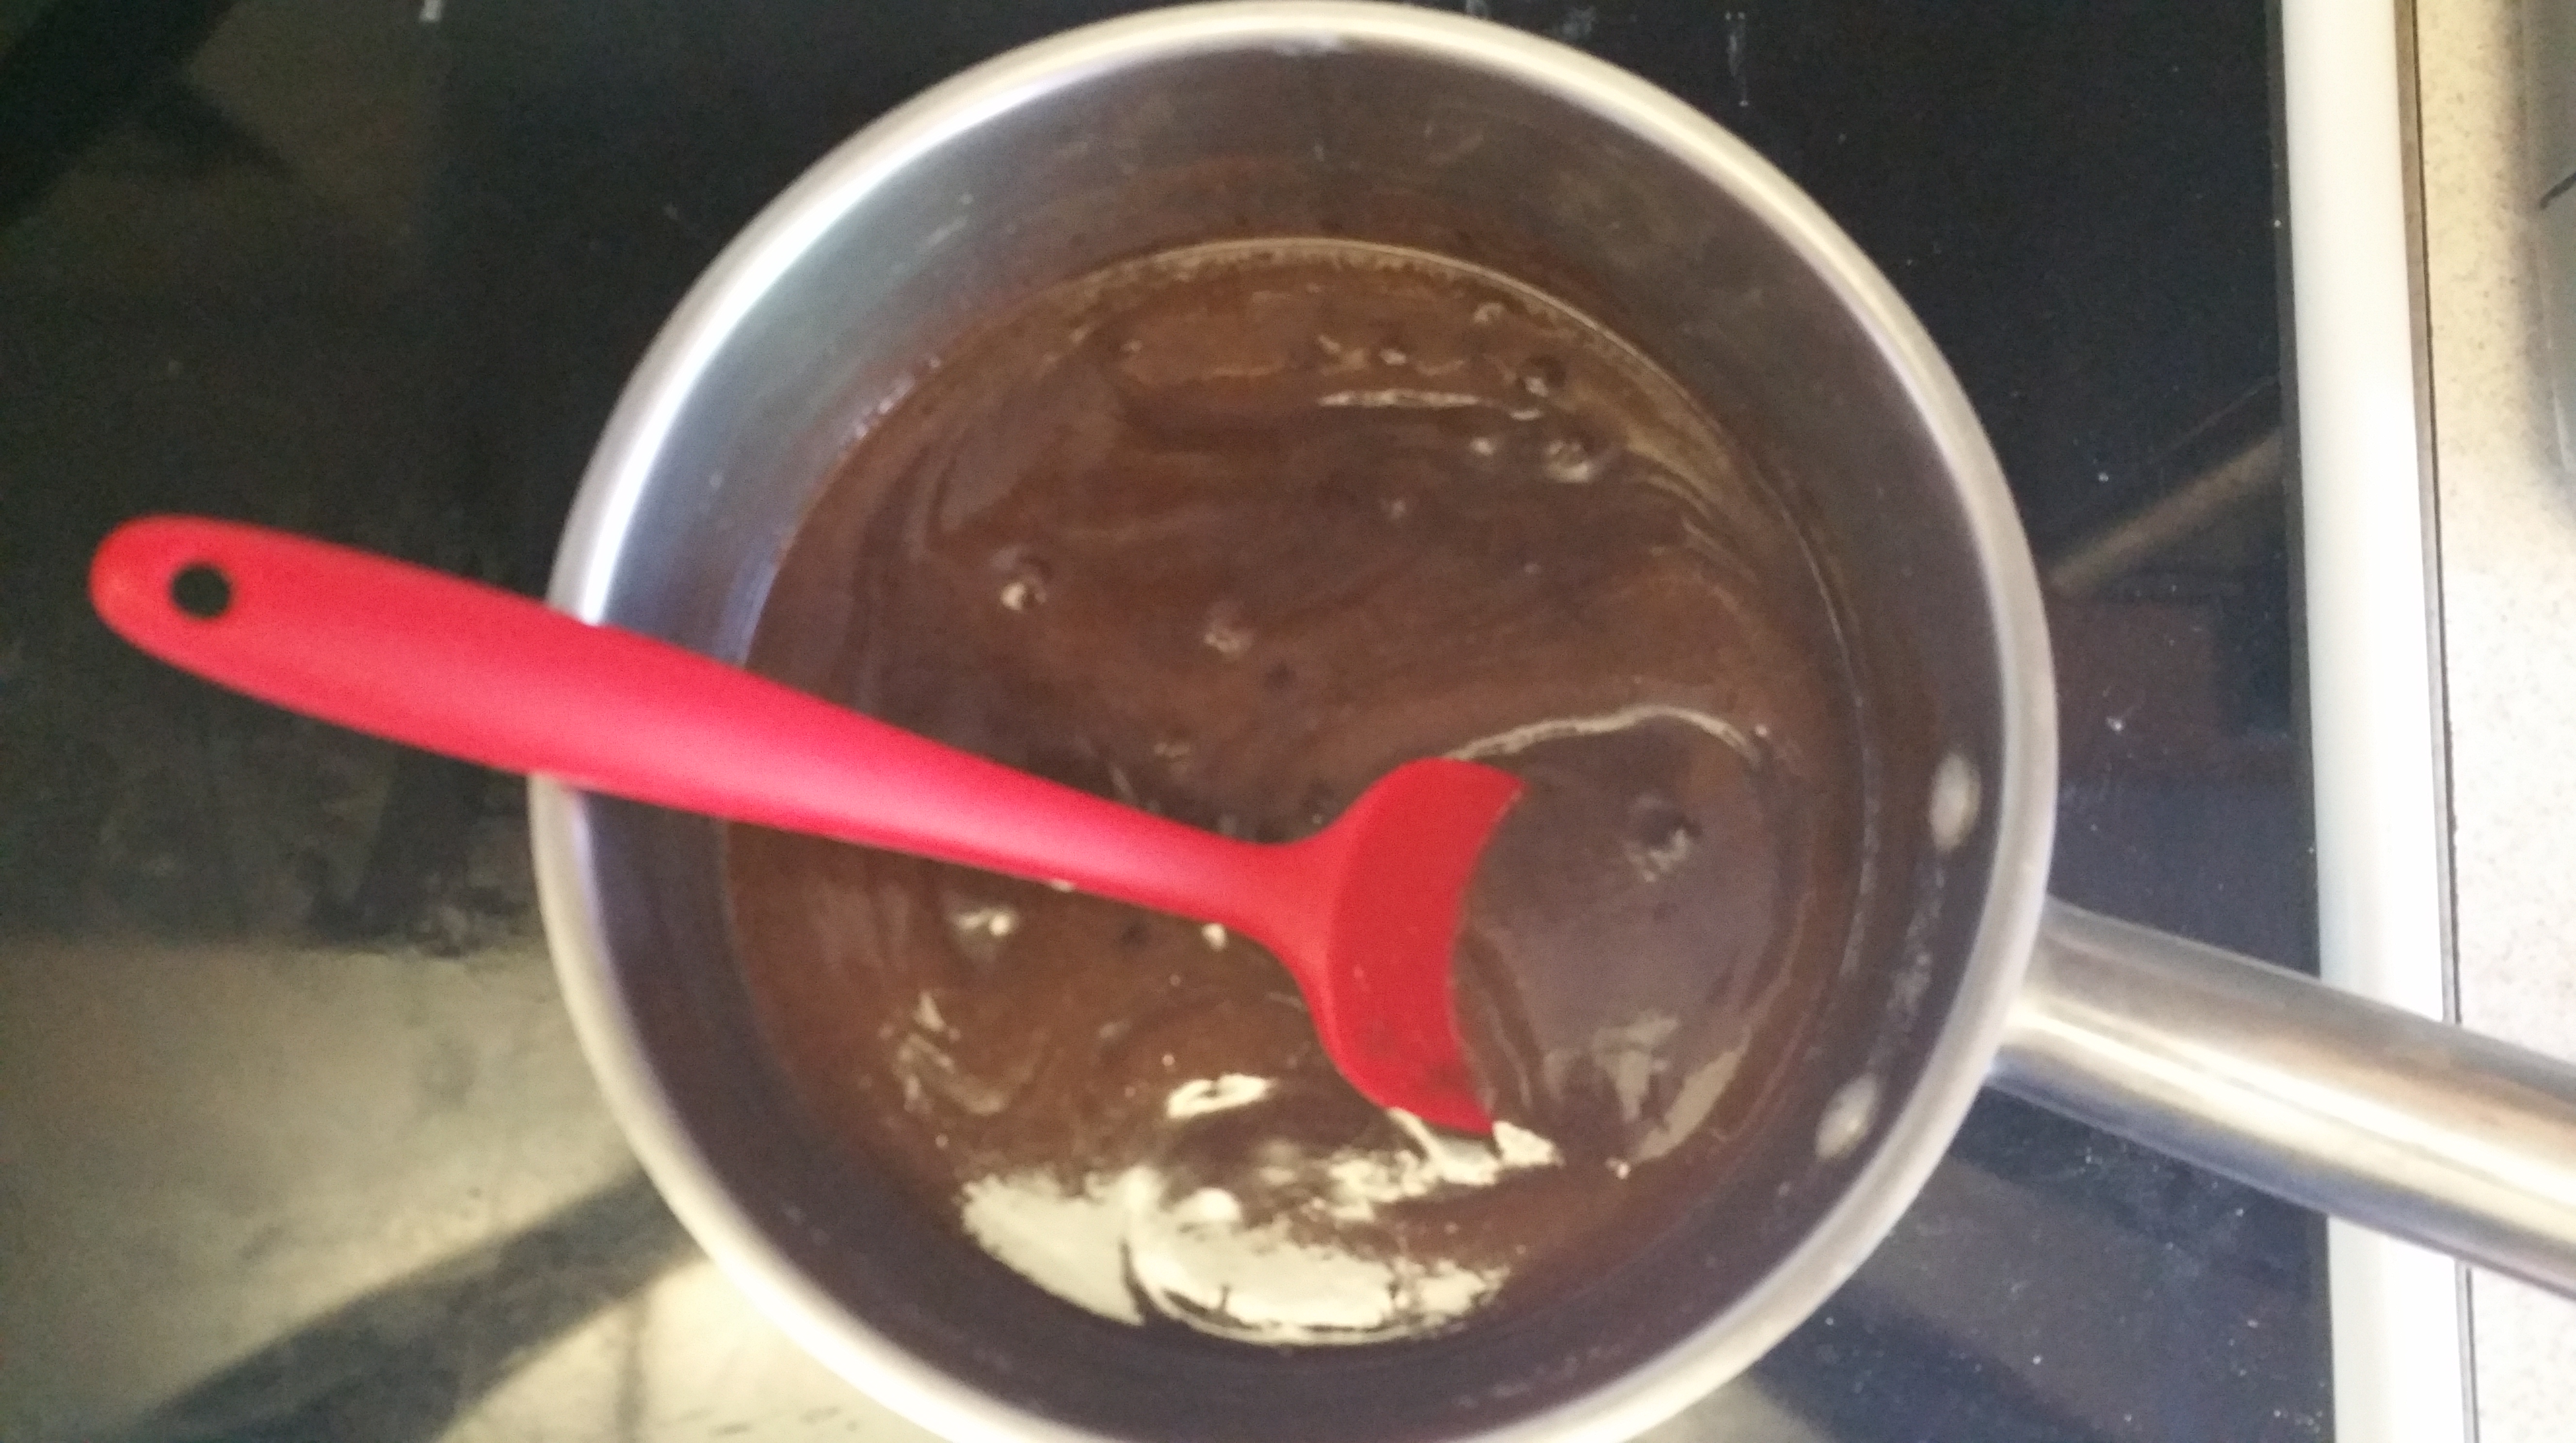
After you’ve added all of the evaporated milk, attach the candy thermometer and cook, stirring constantly, until the mixture reaches 238 degrees F.
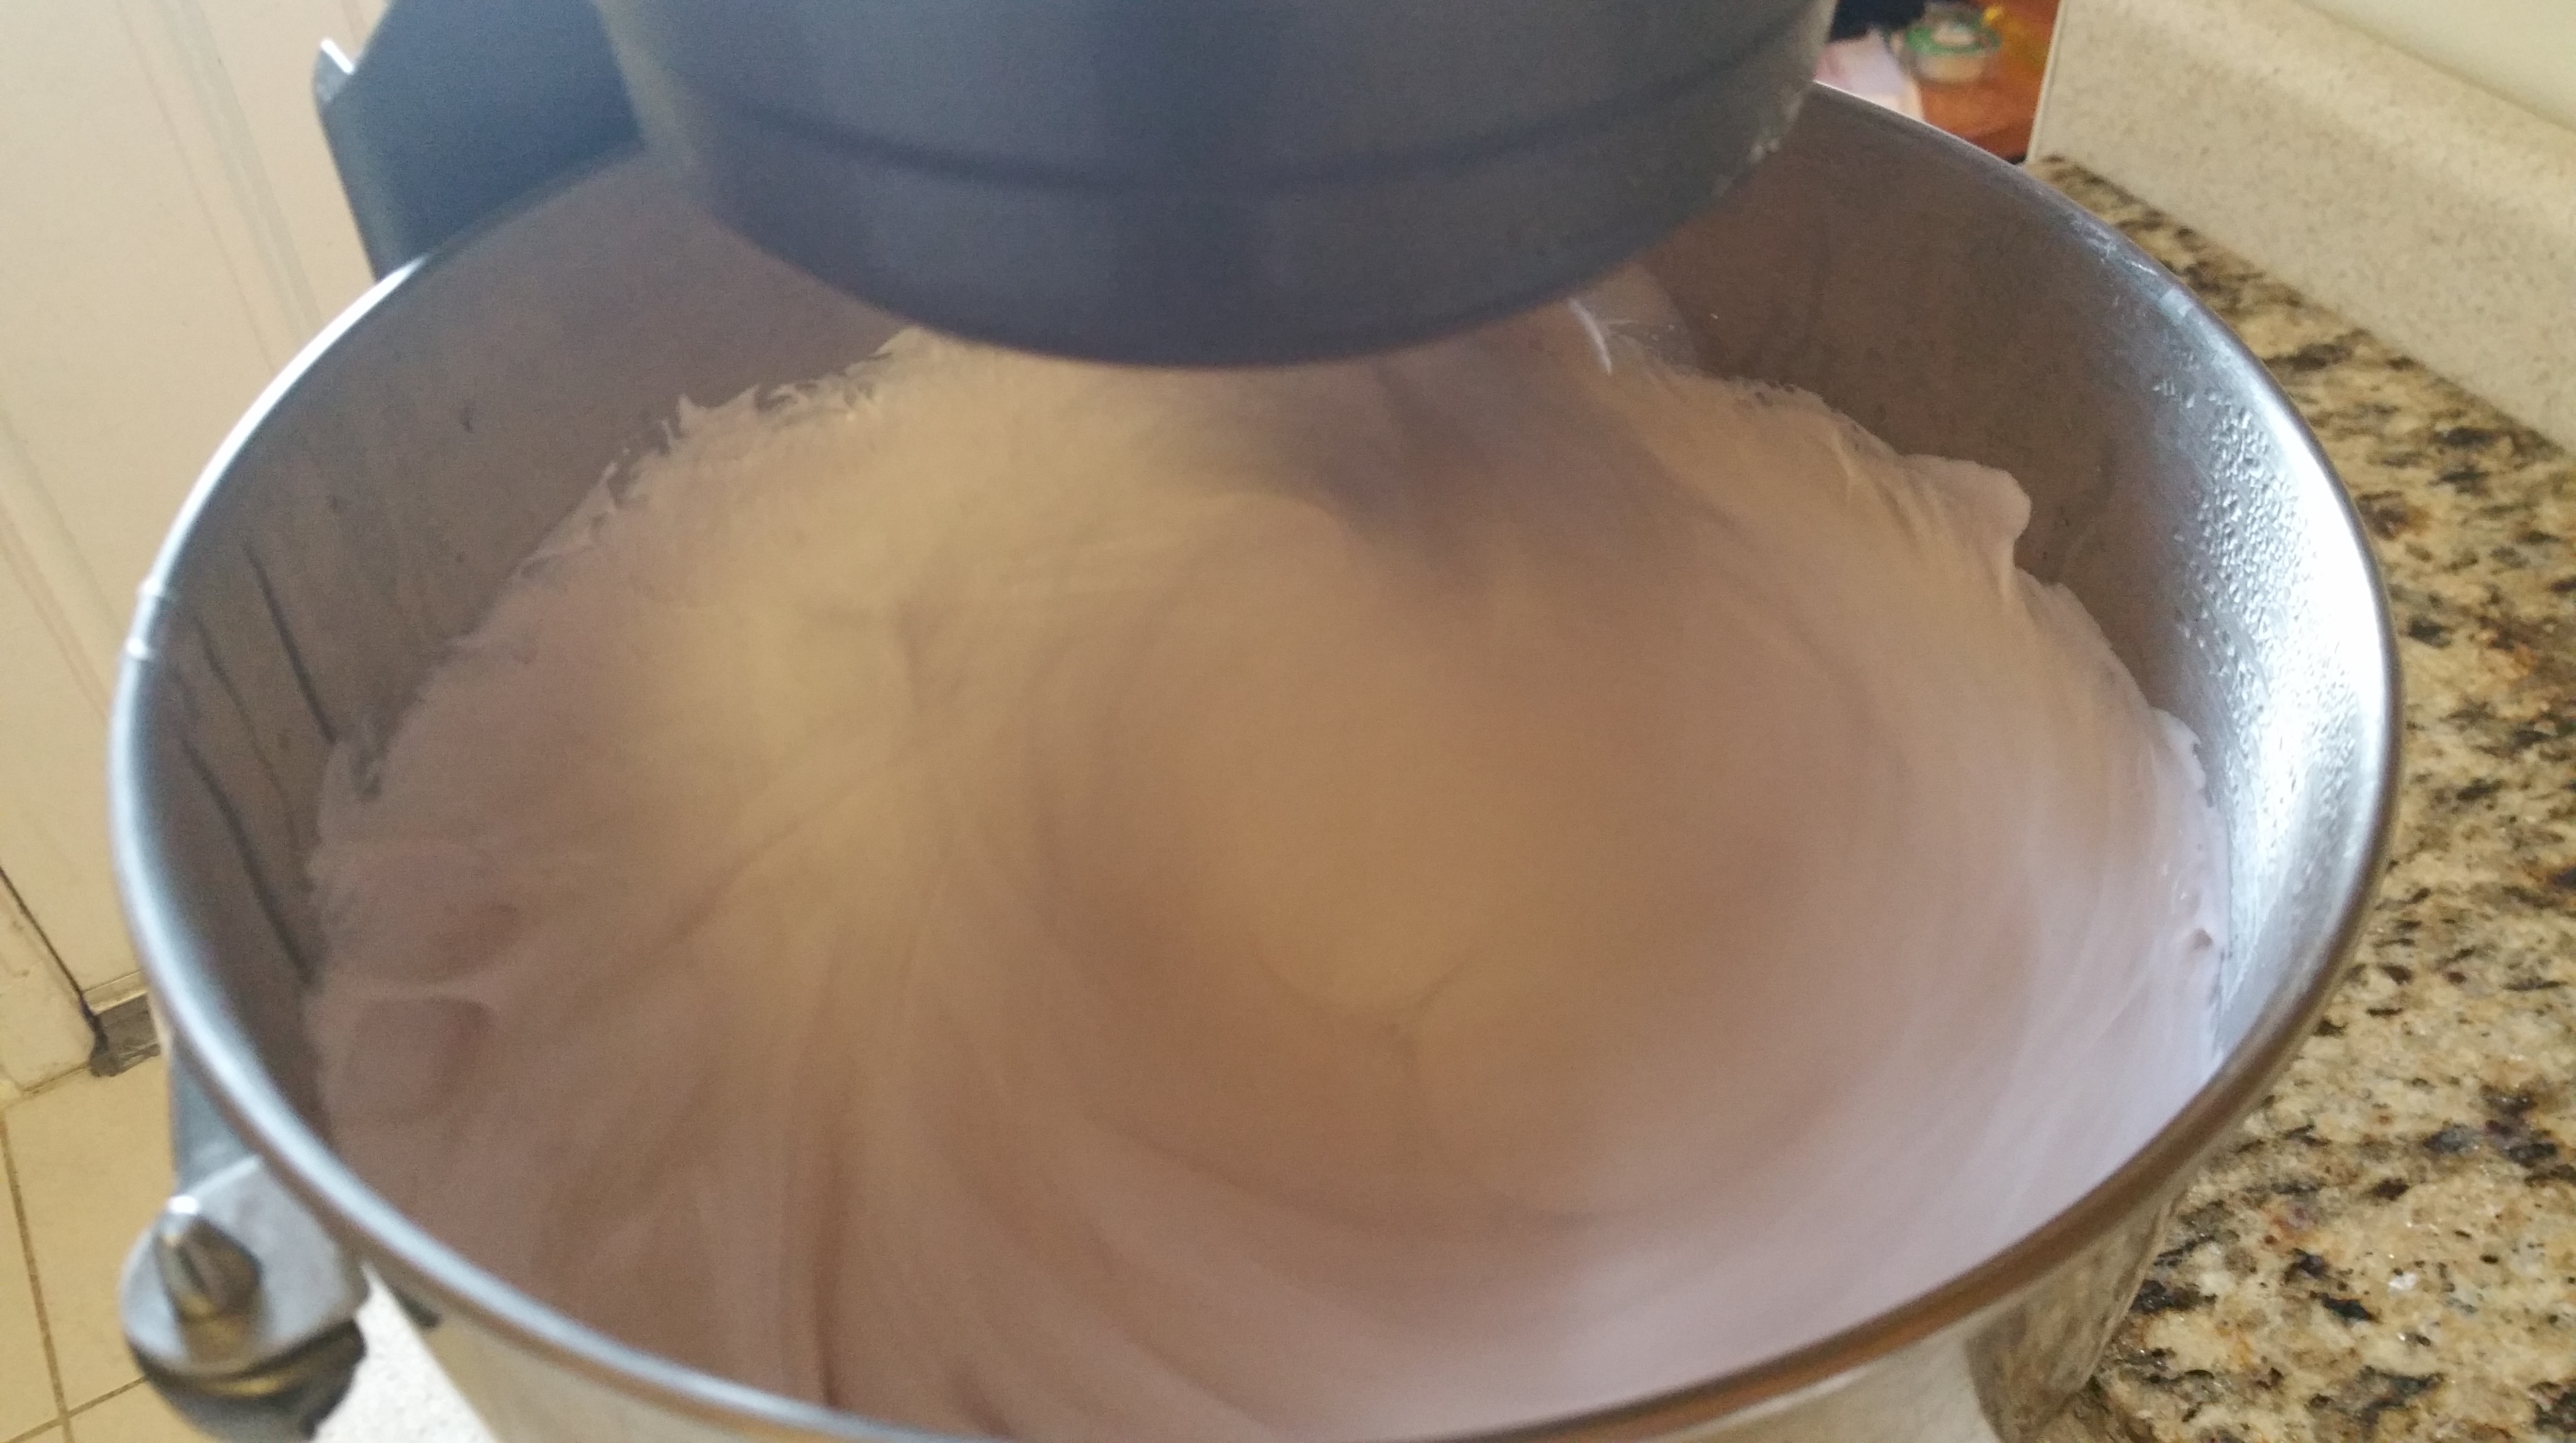
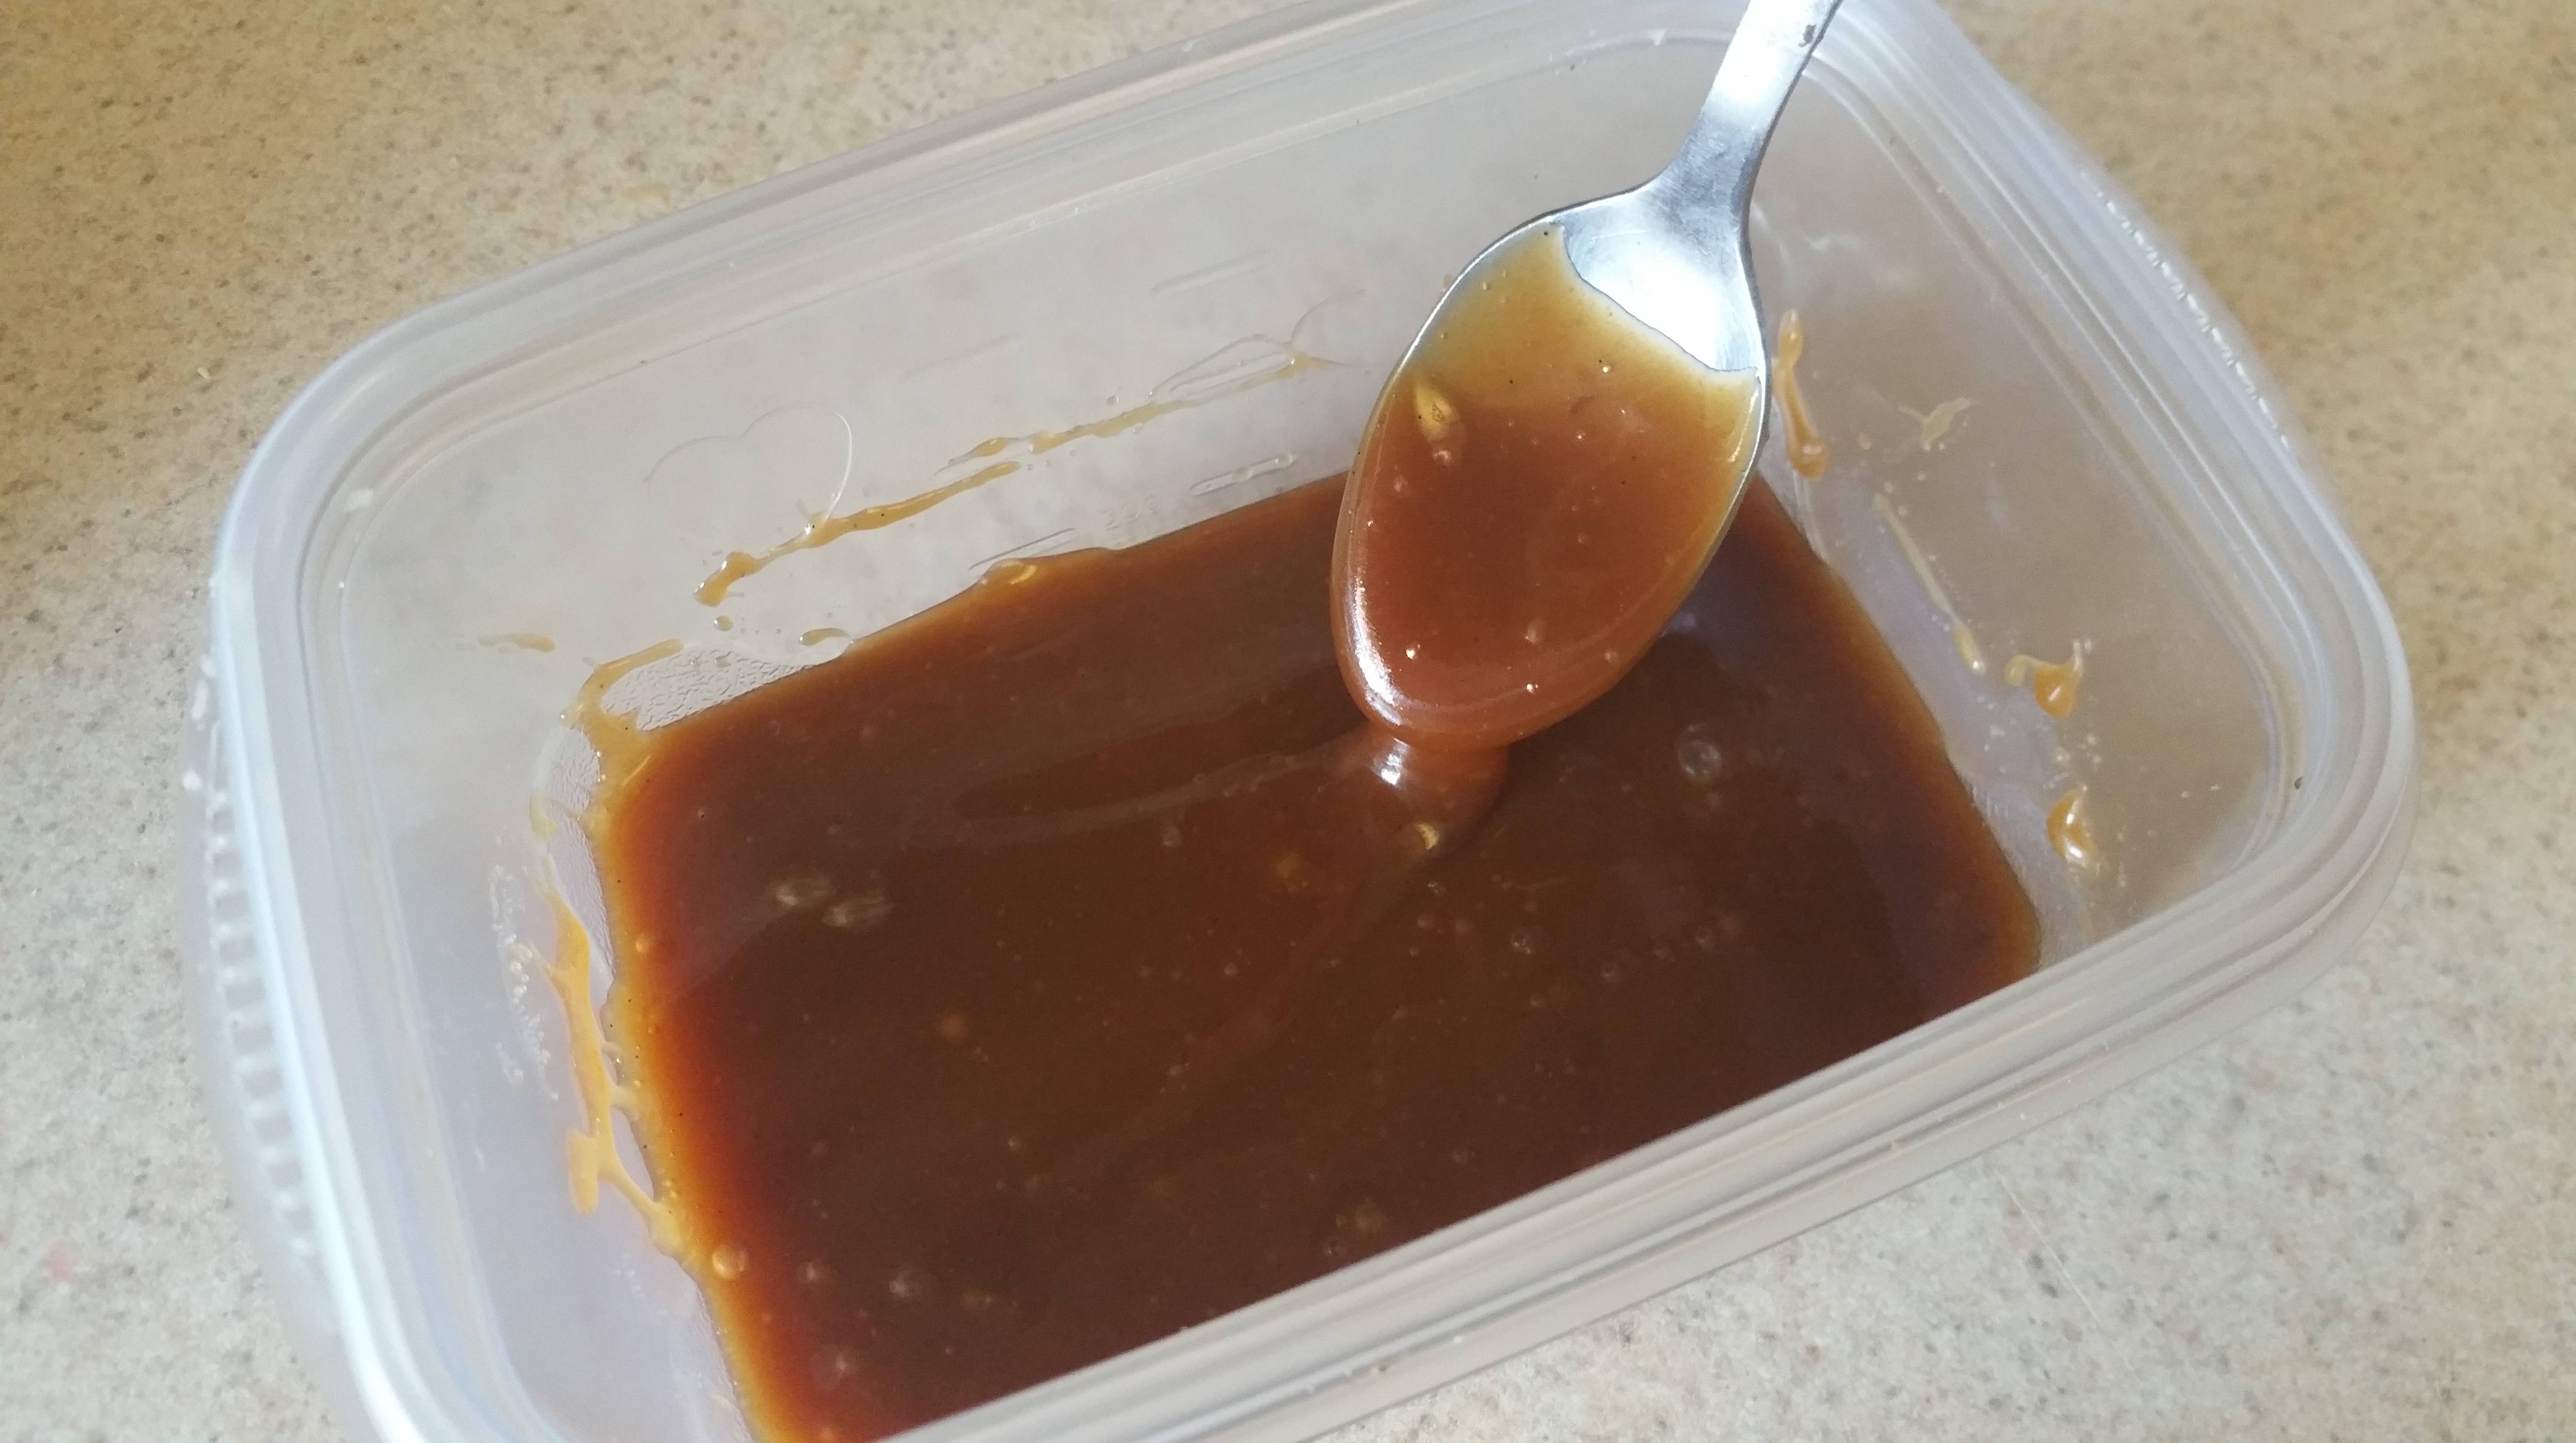
Remove the pan from the heat and pour the caramel into the prepared 8×8 pan.

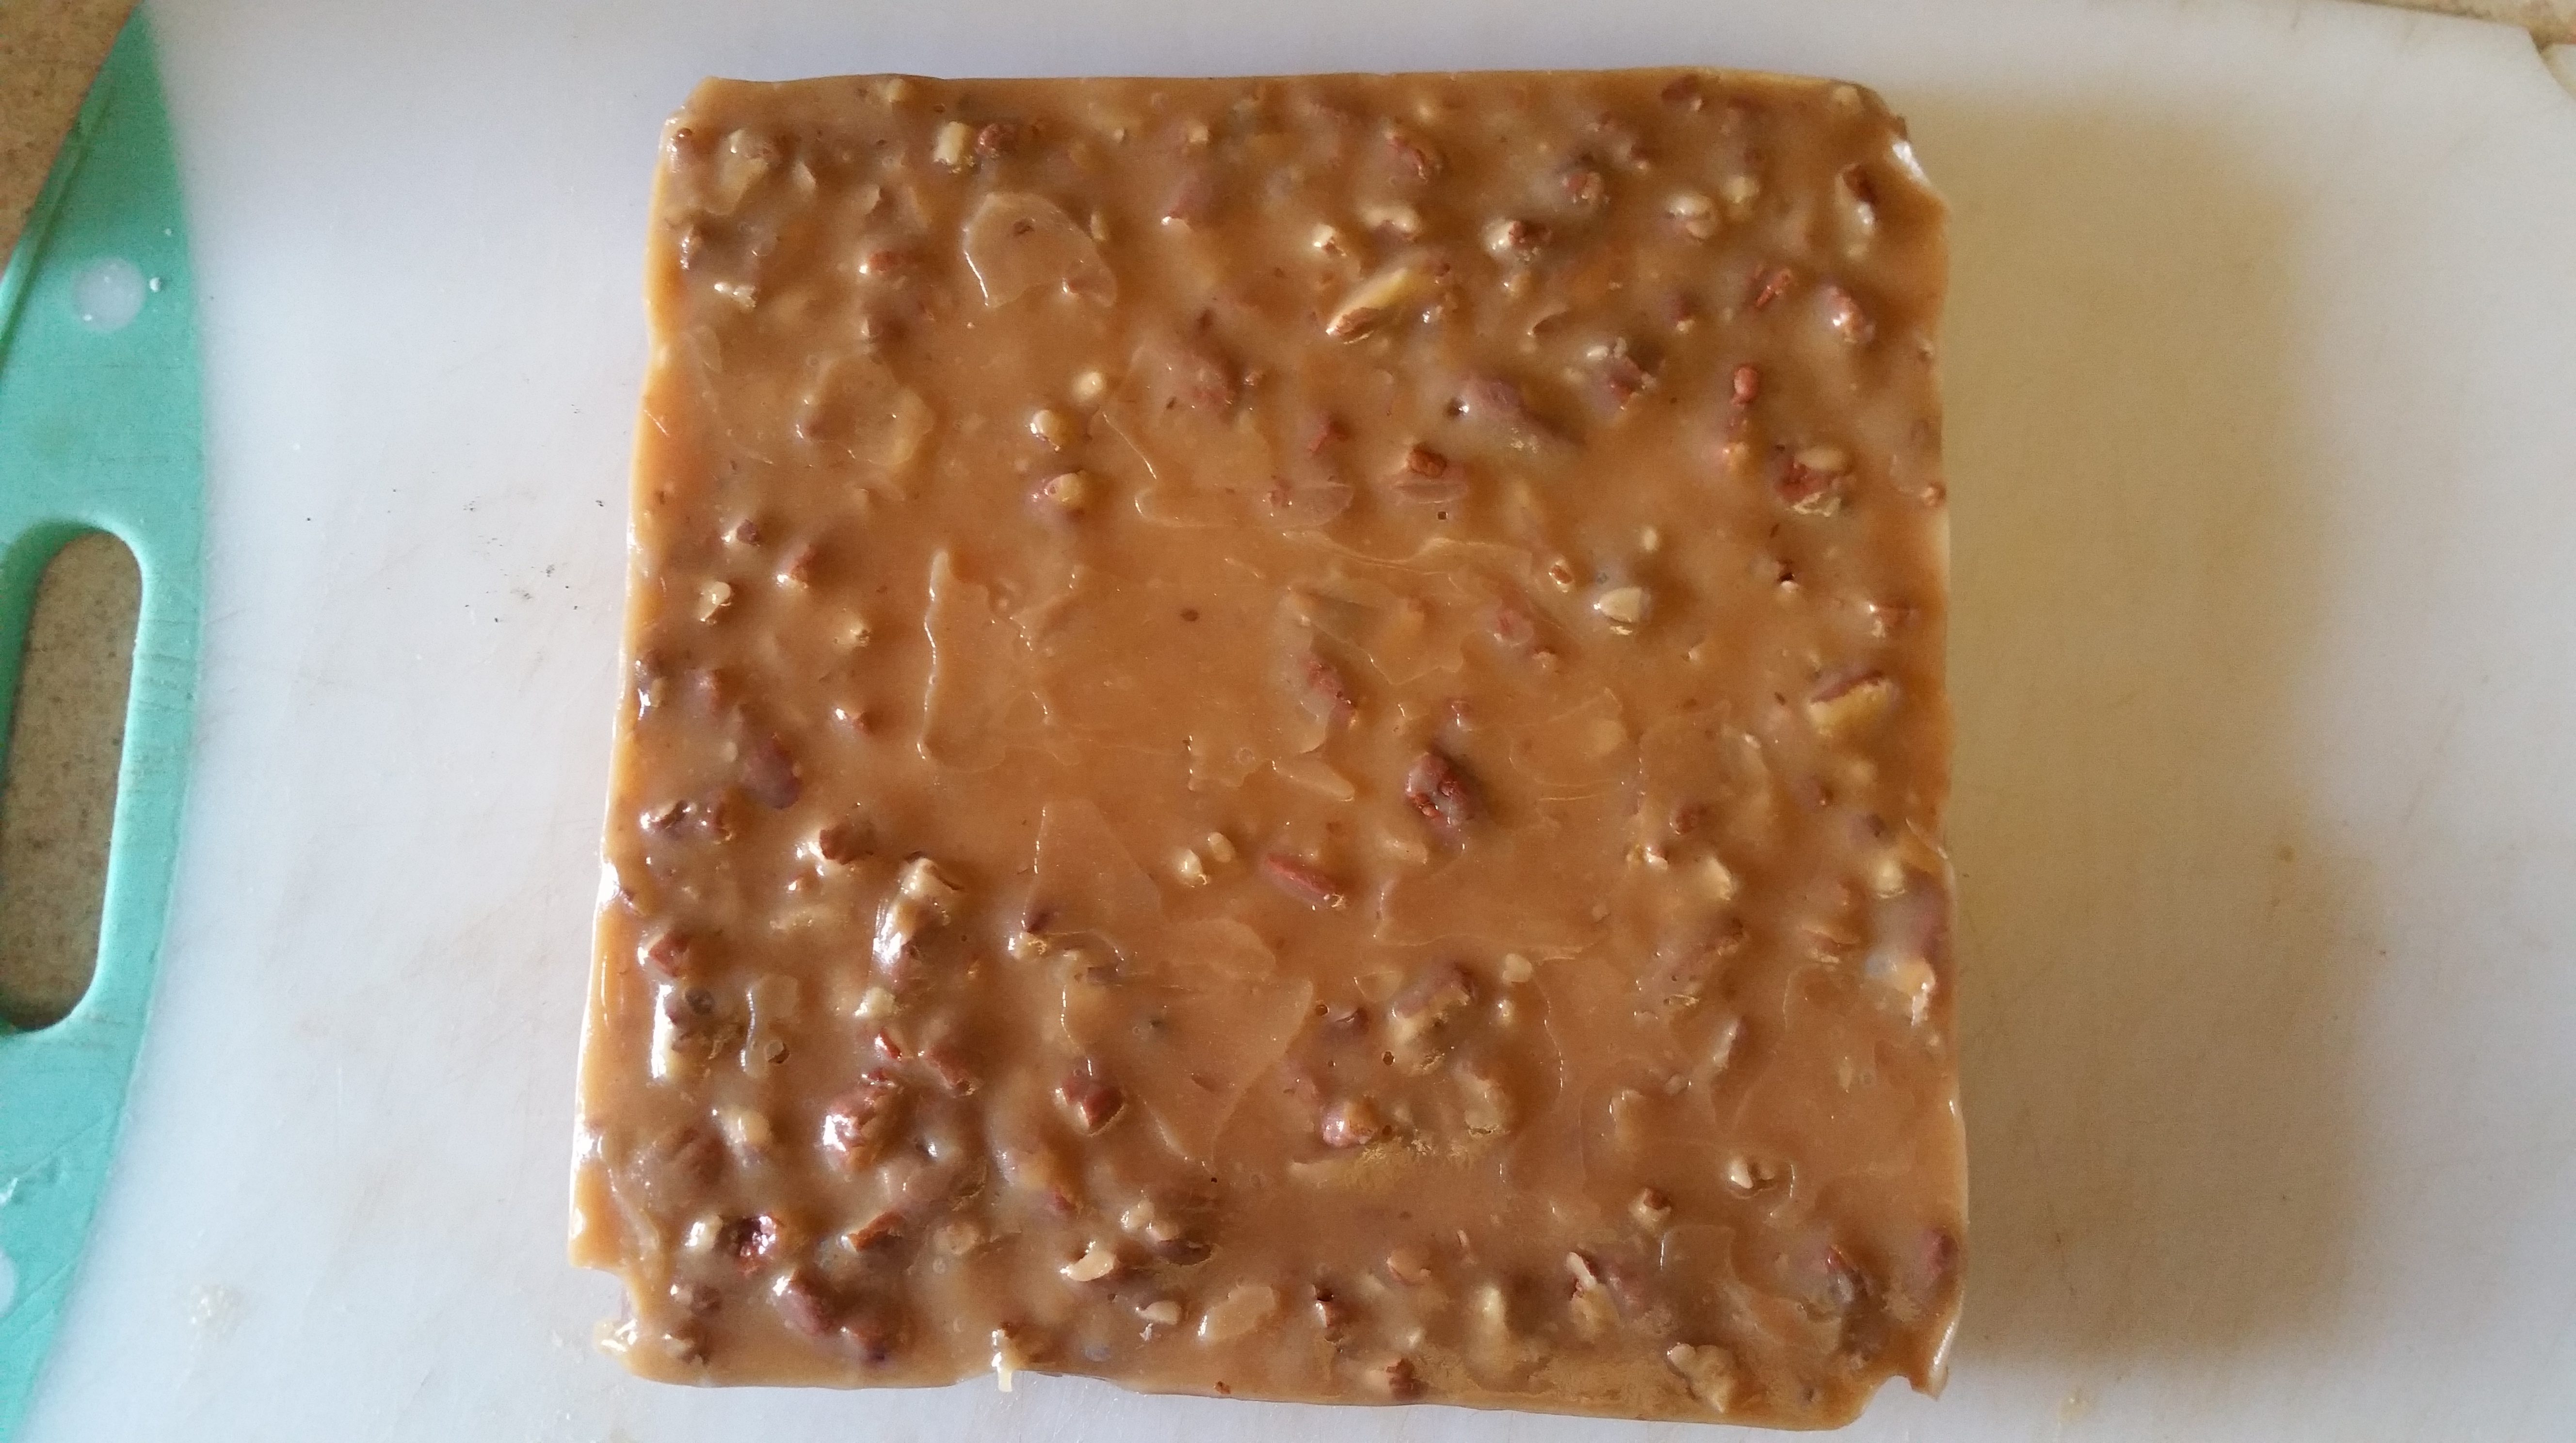
Let cool for at least two hours. I like to move the pan to the refrigerator after an hour to make the caramels easier to cut.
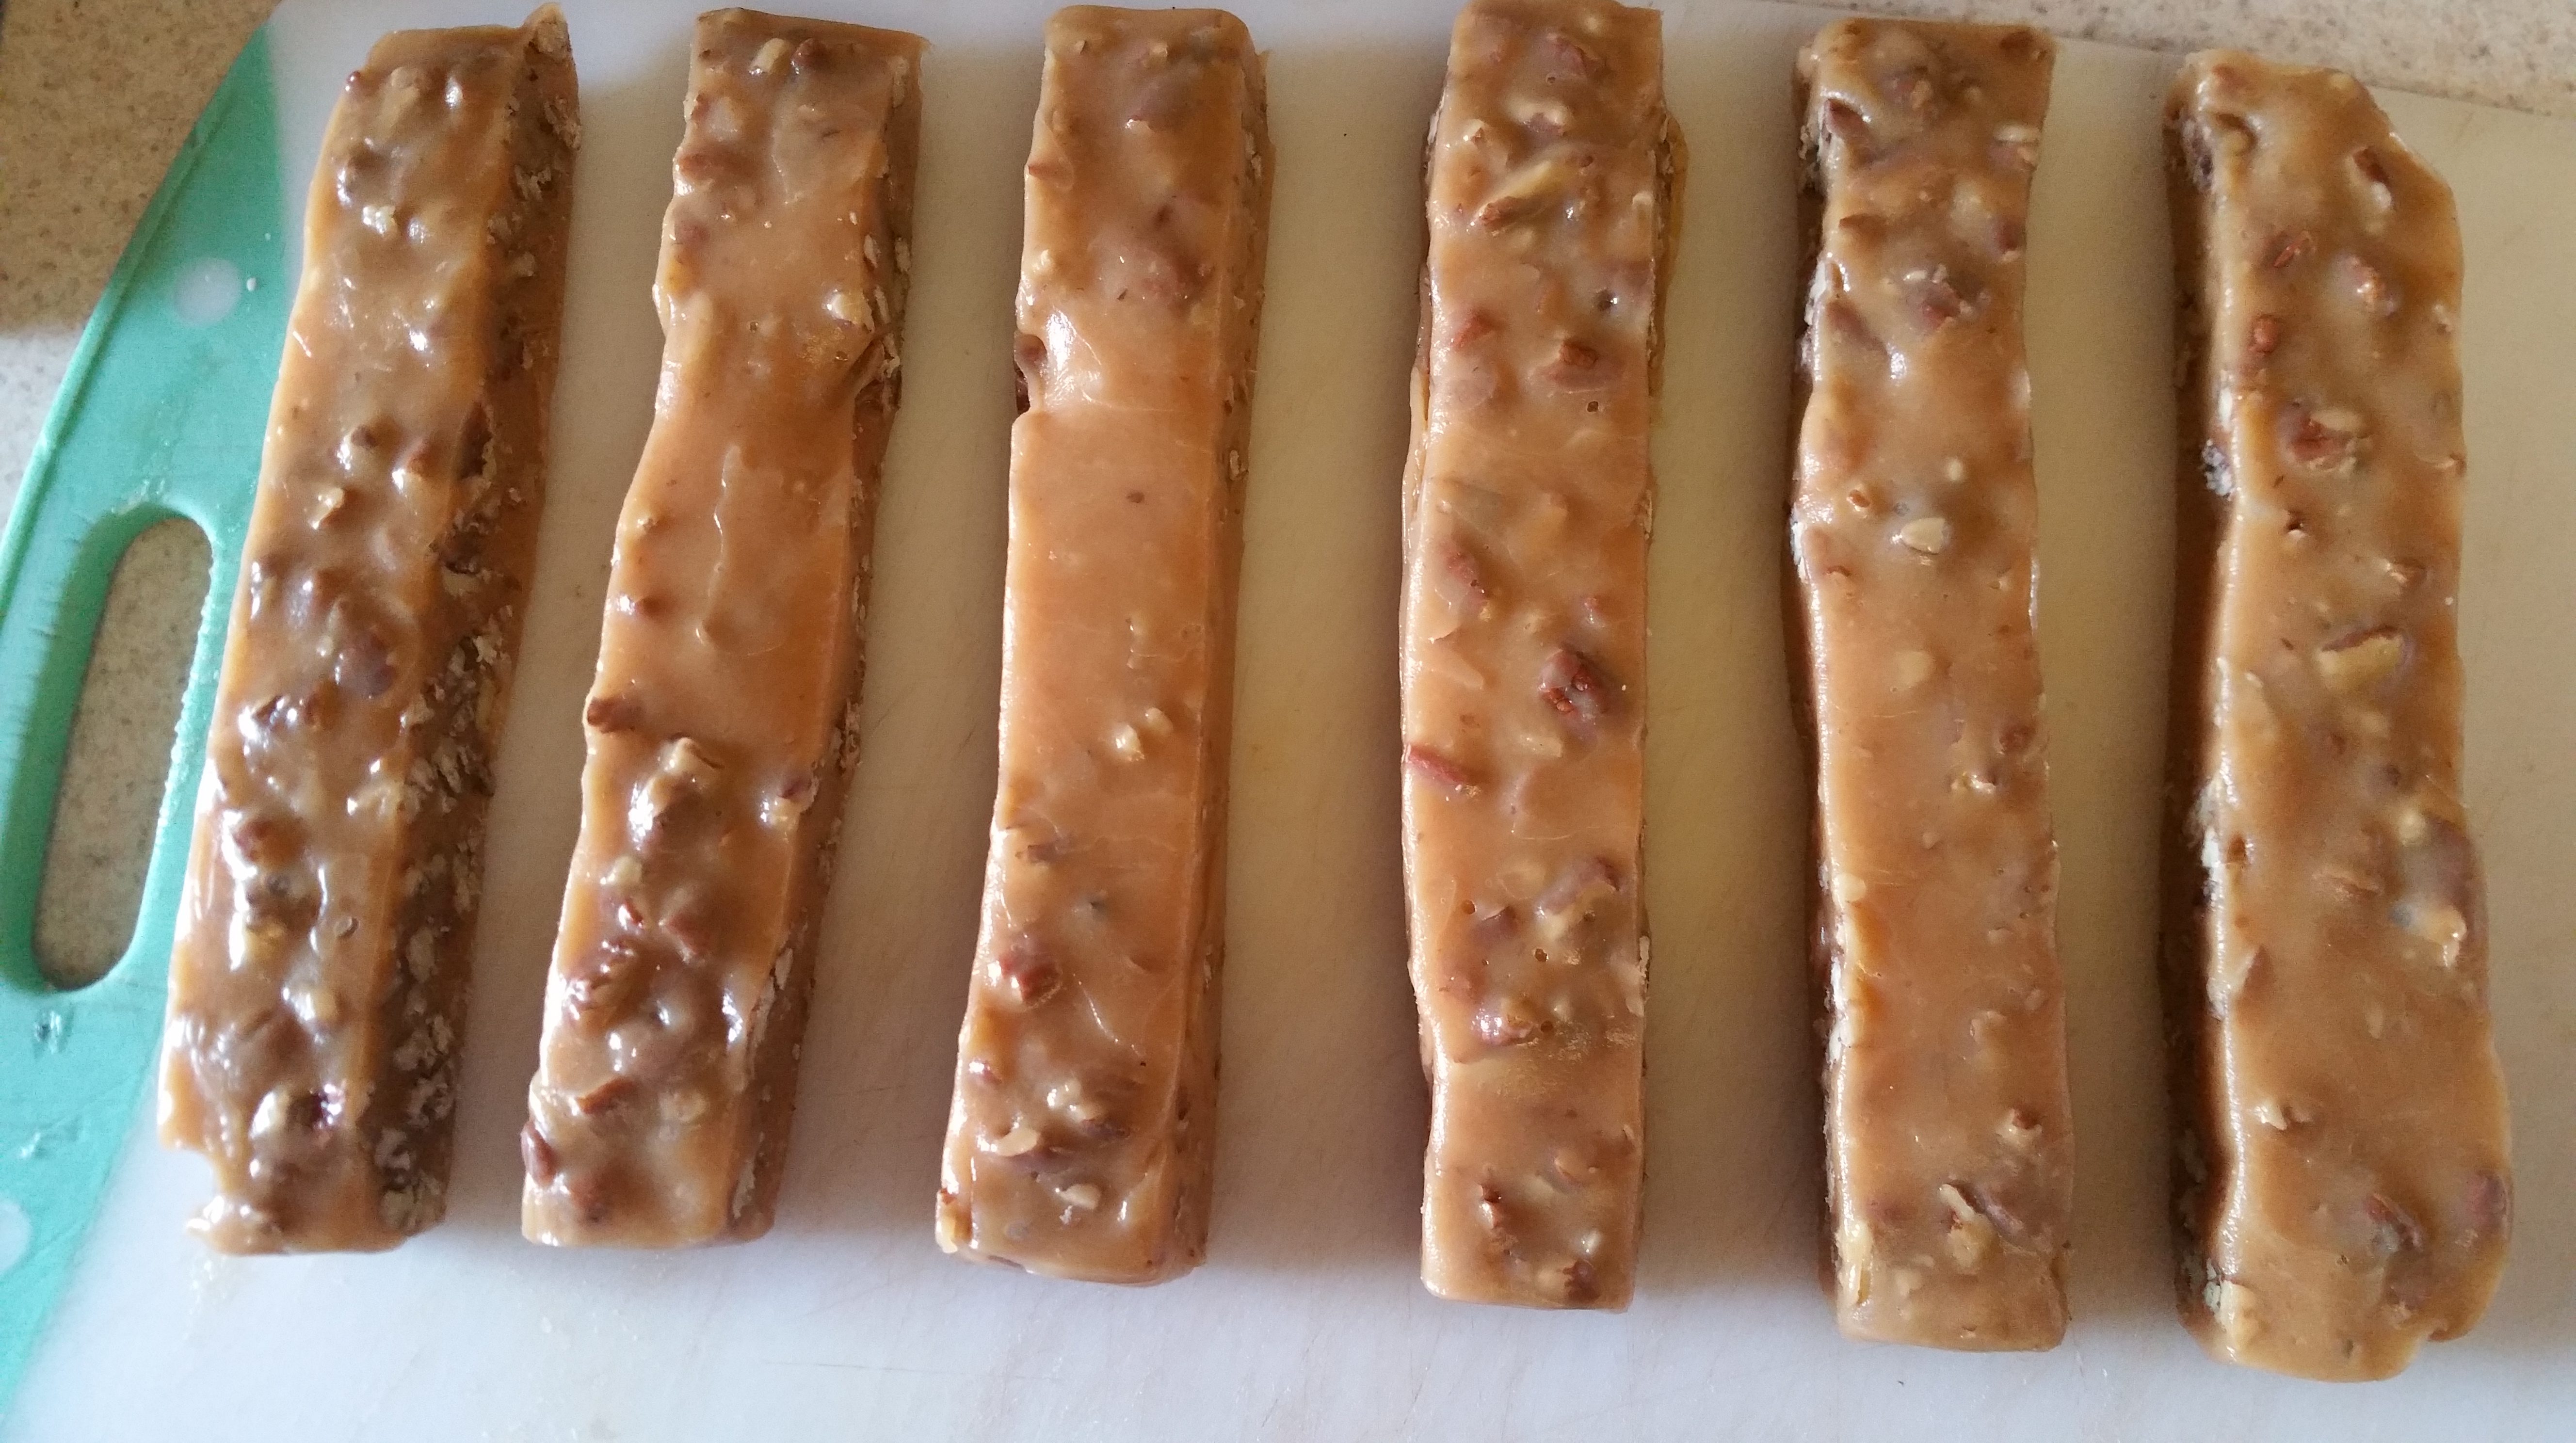
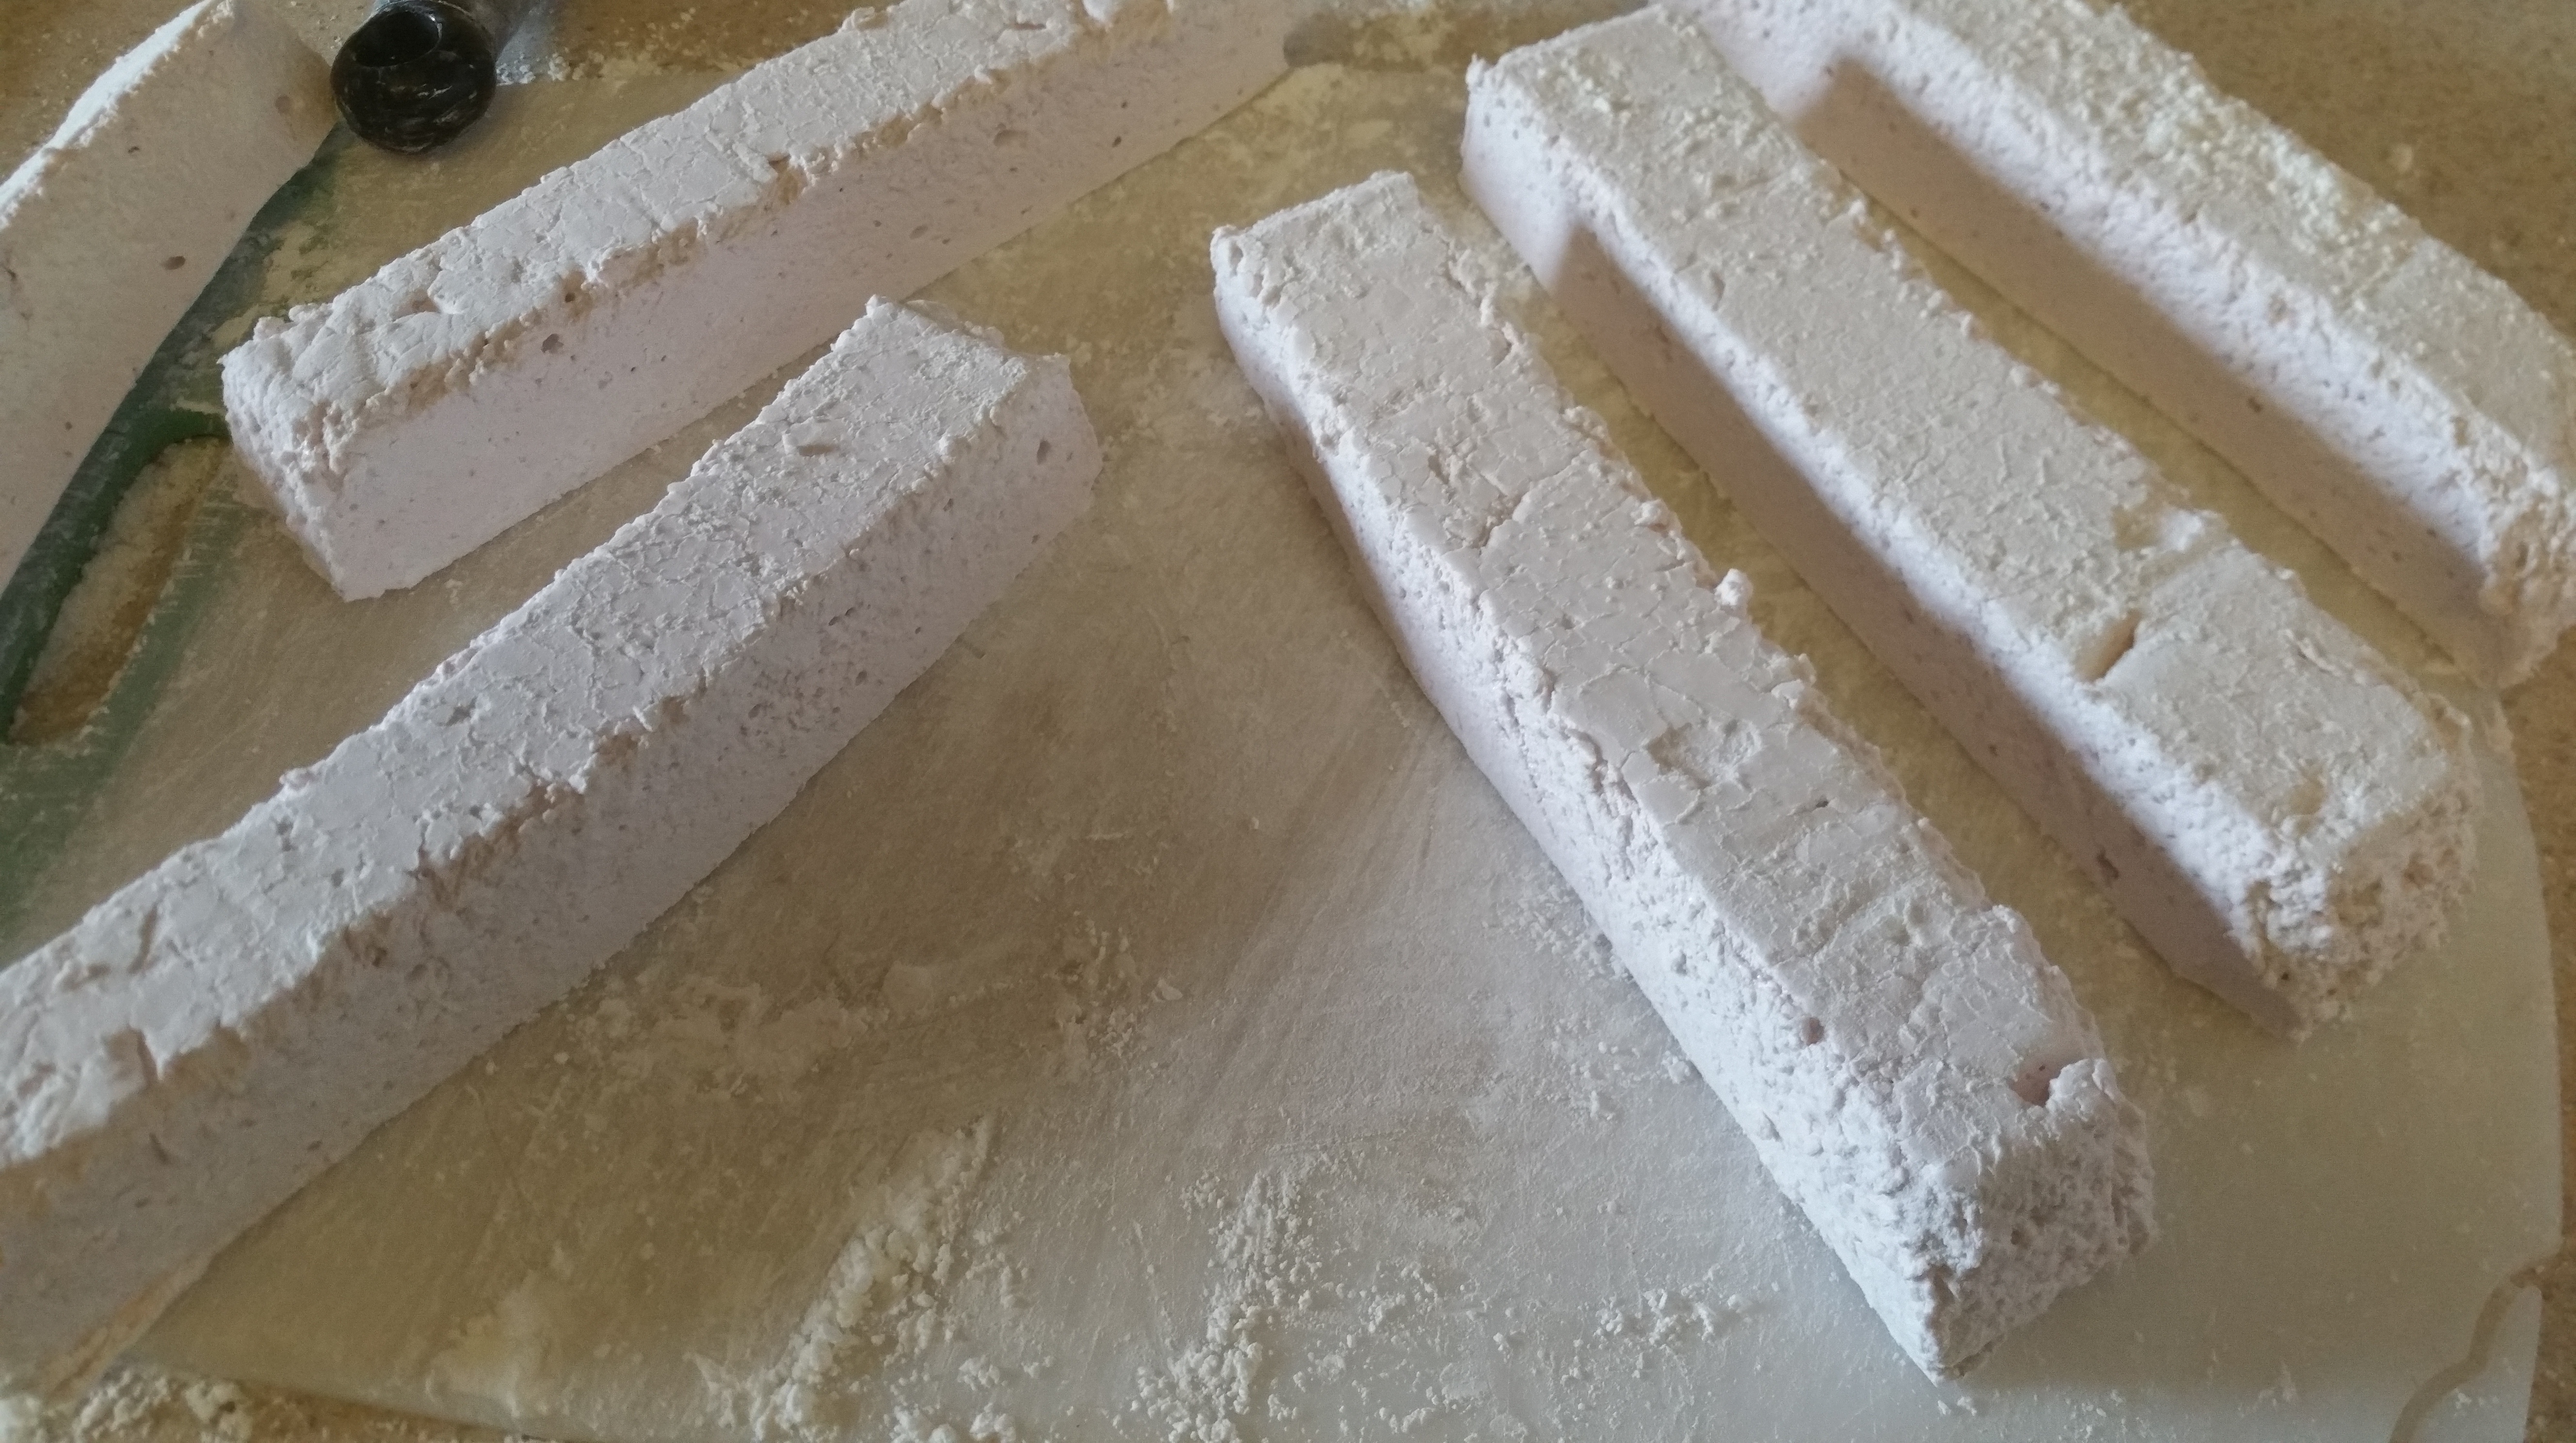
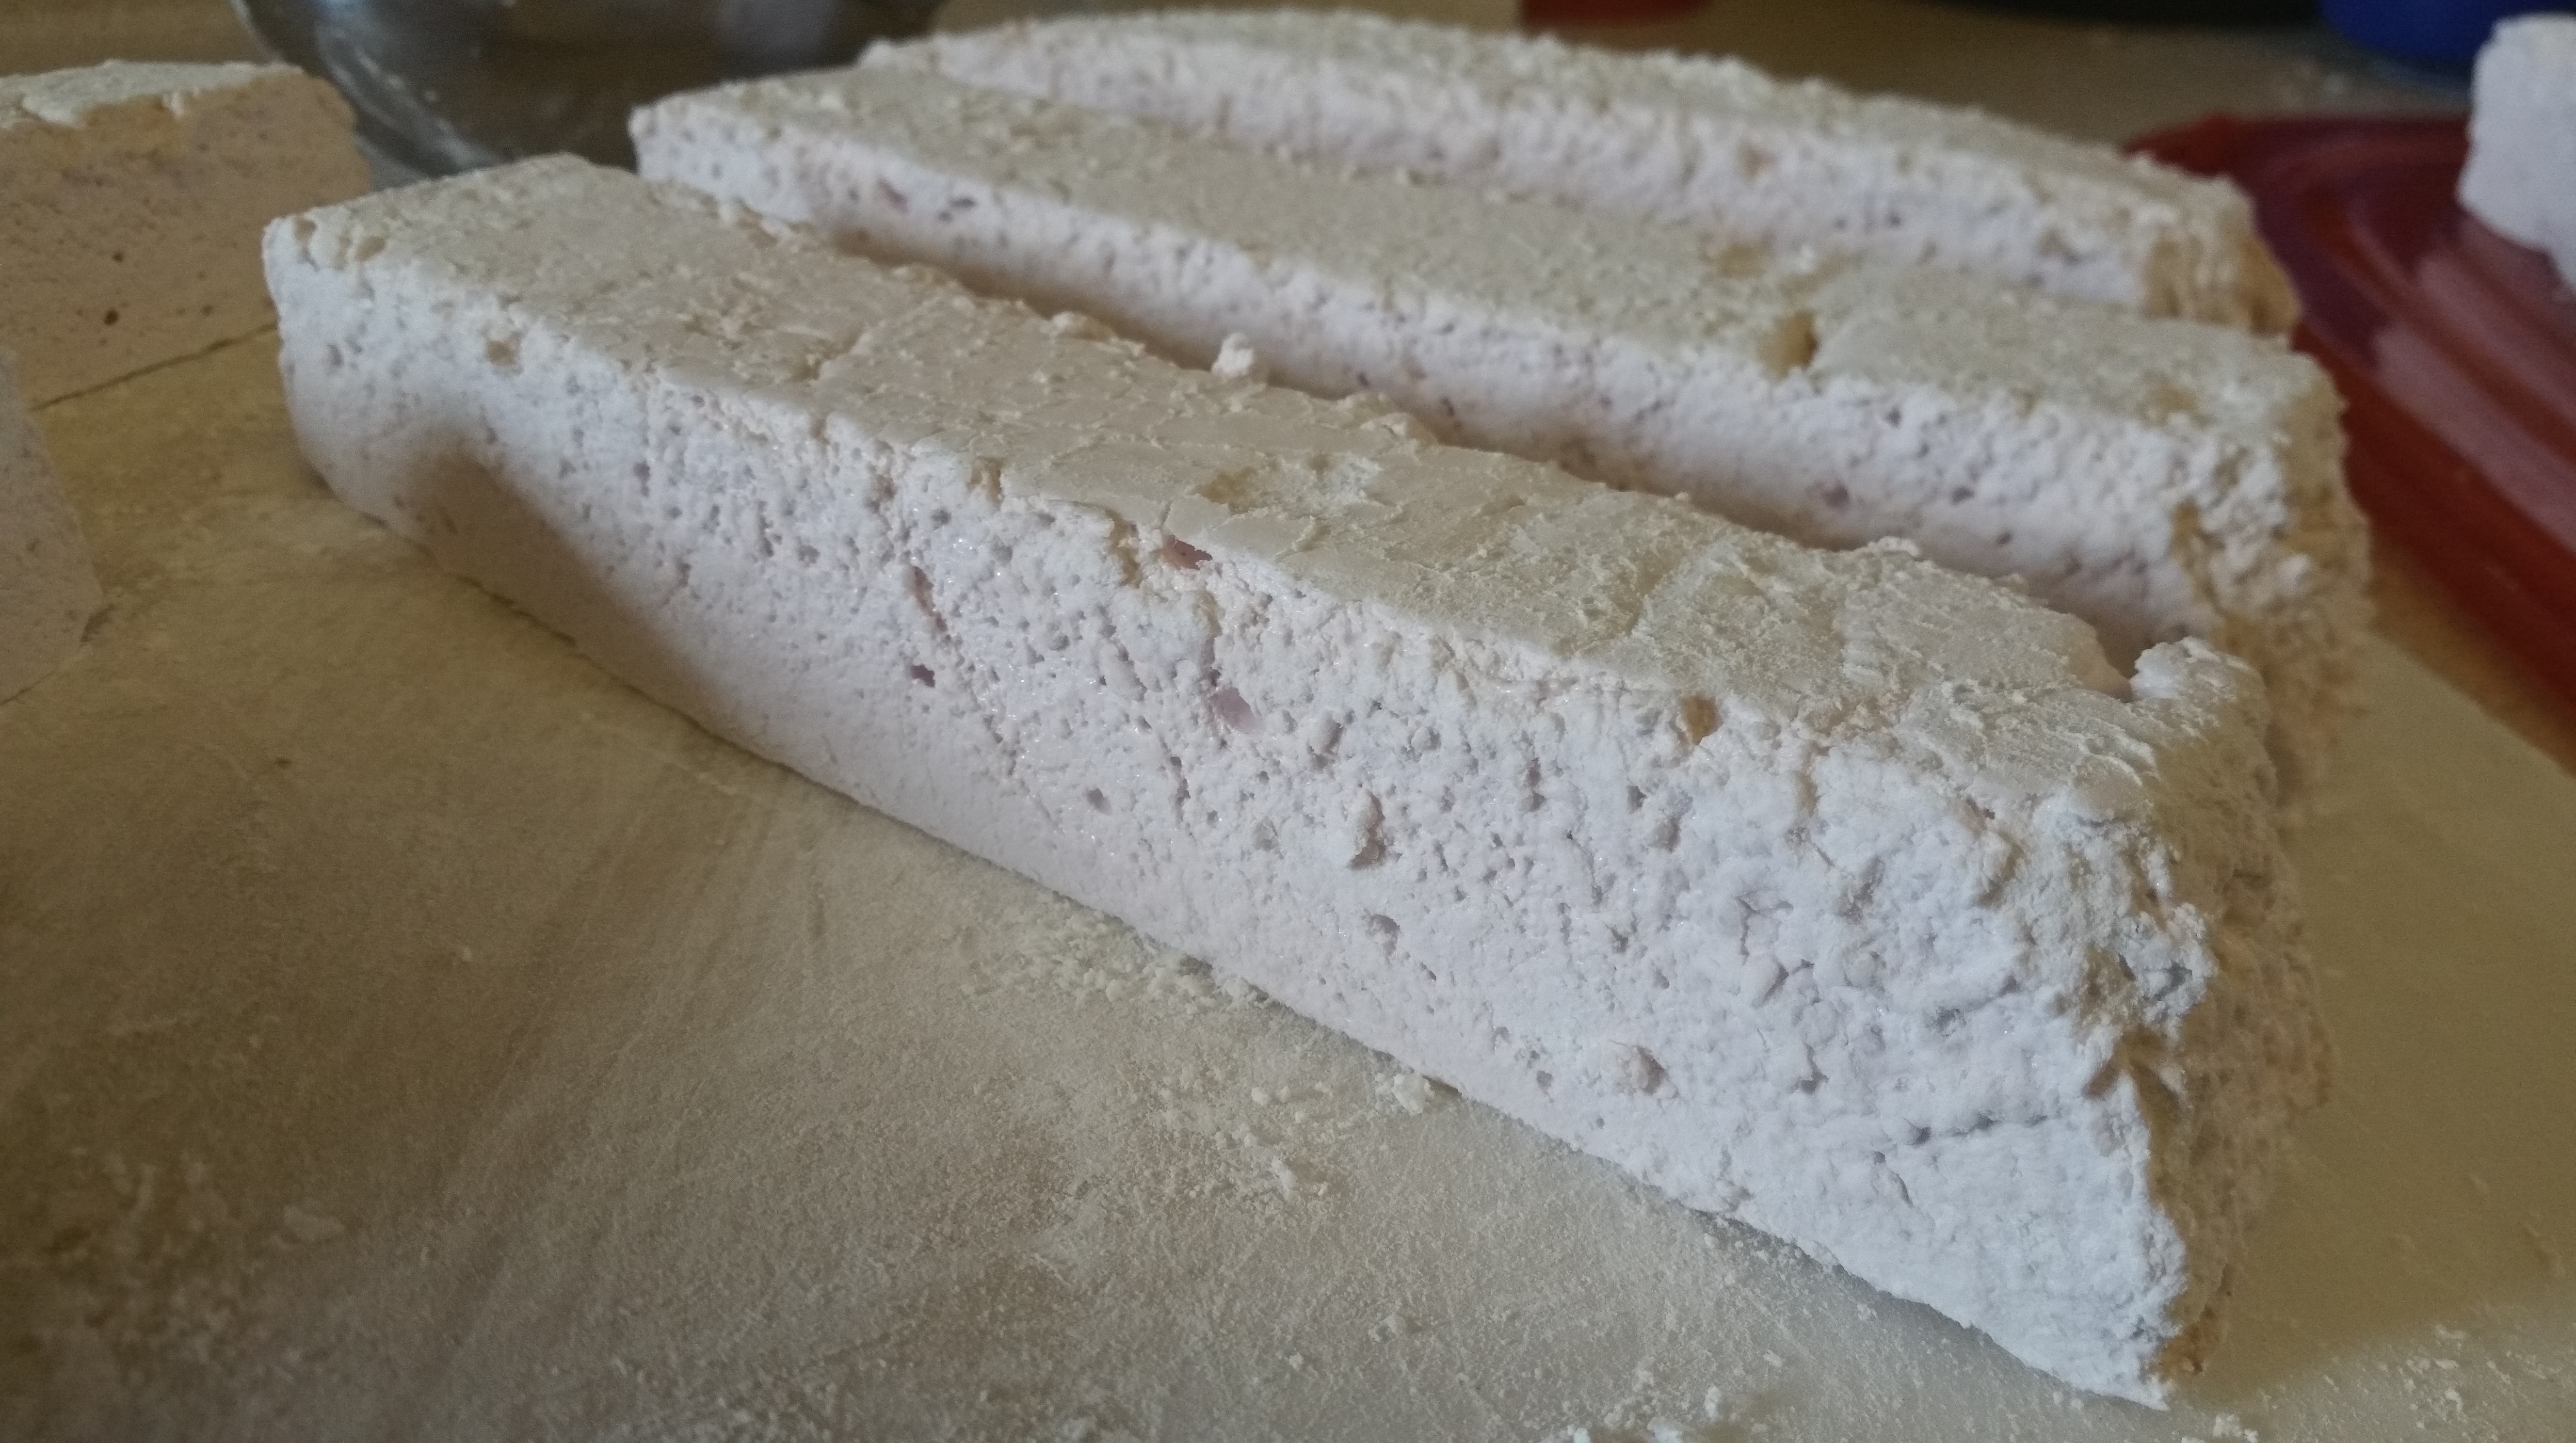
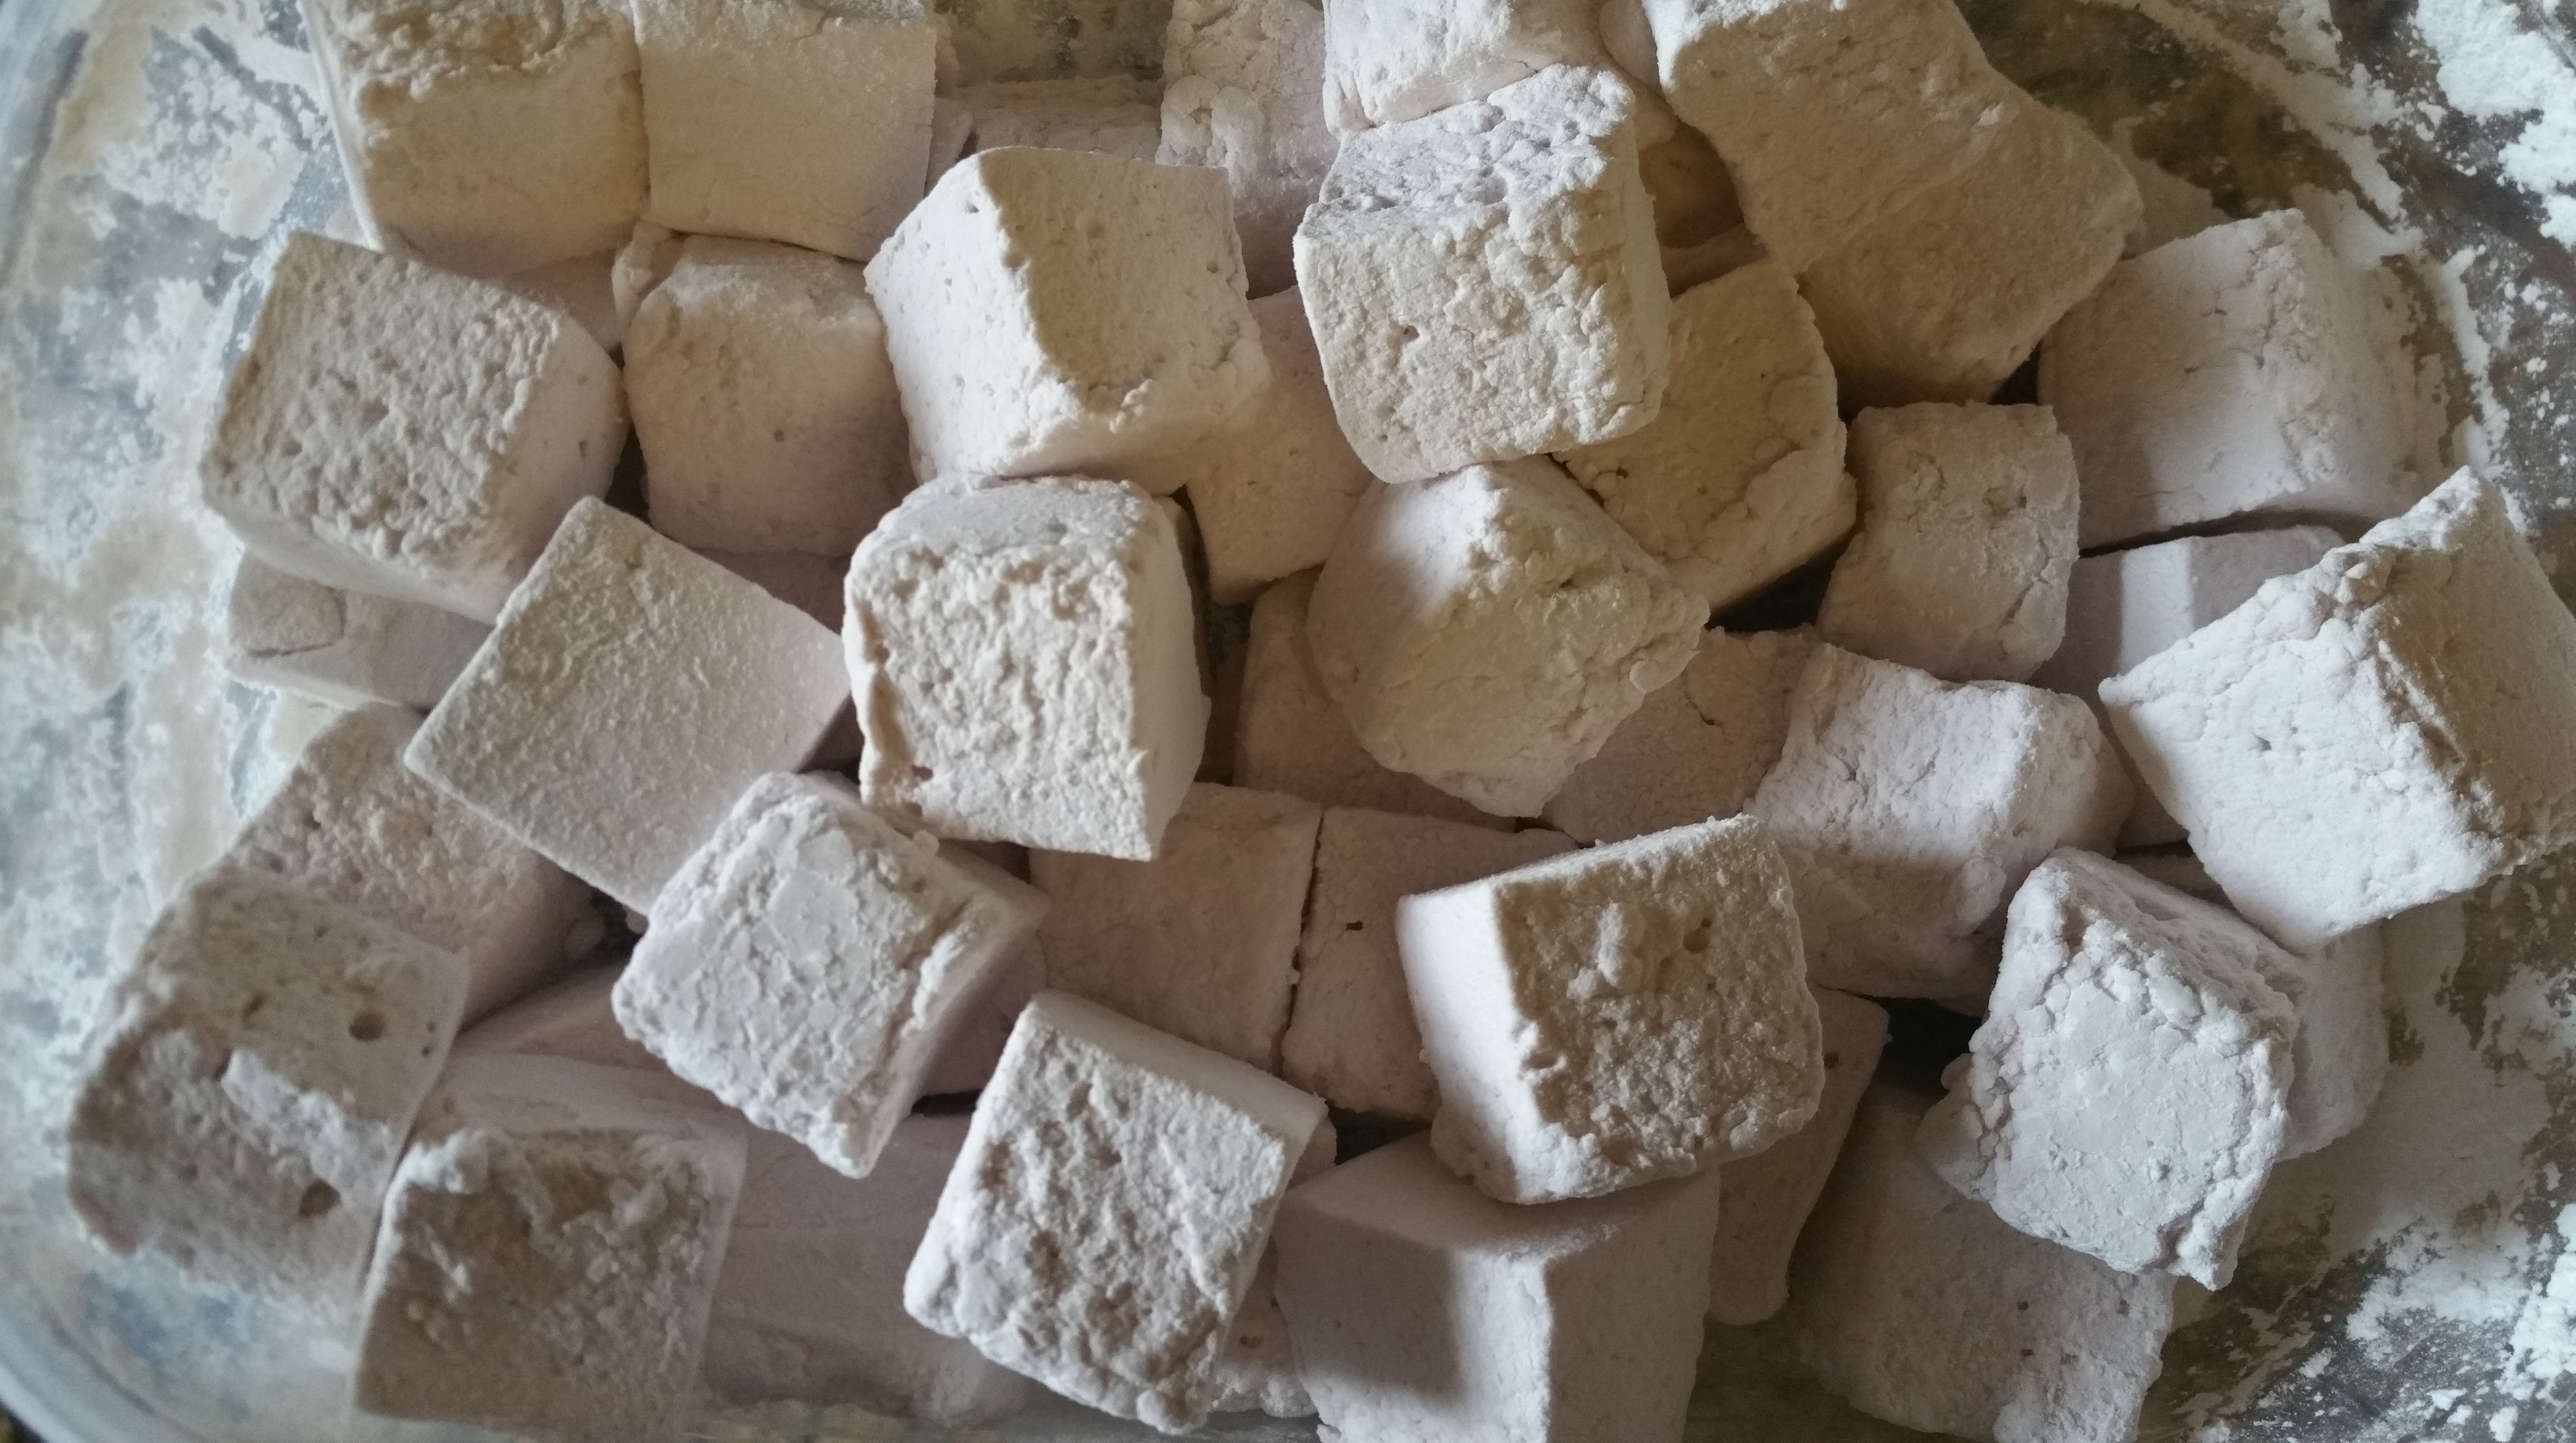
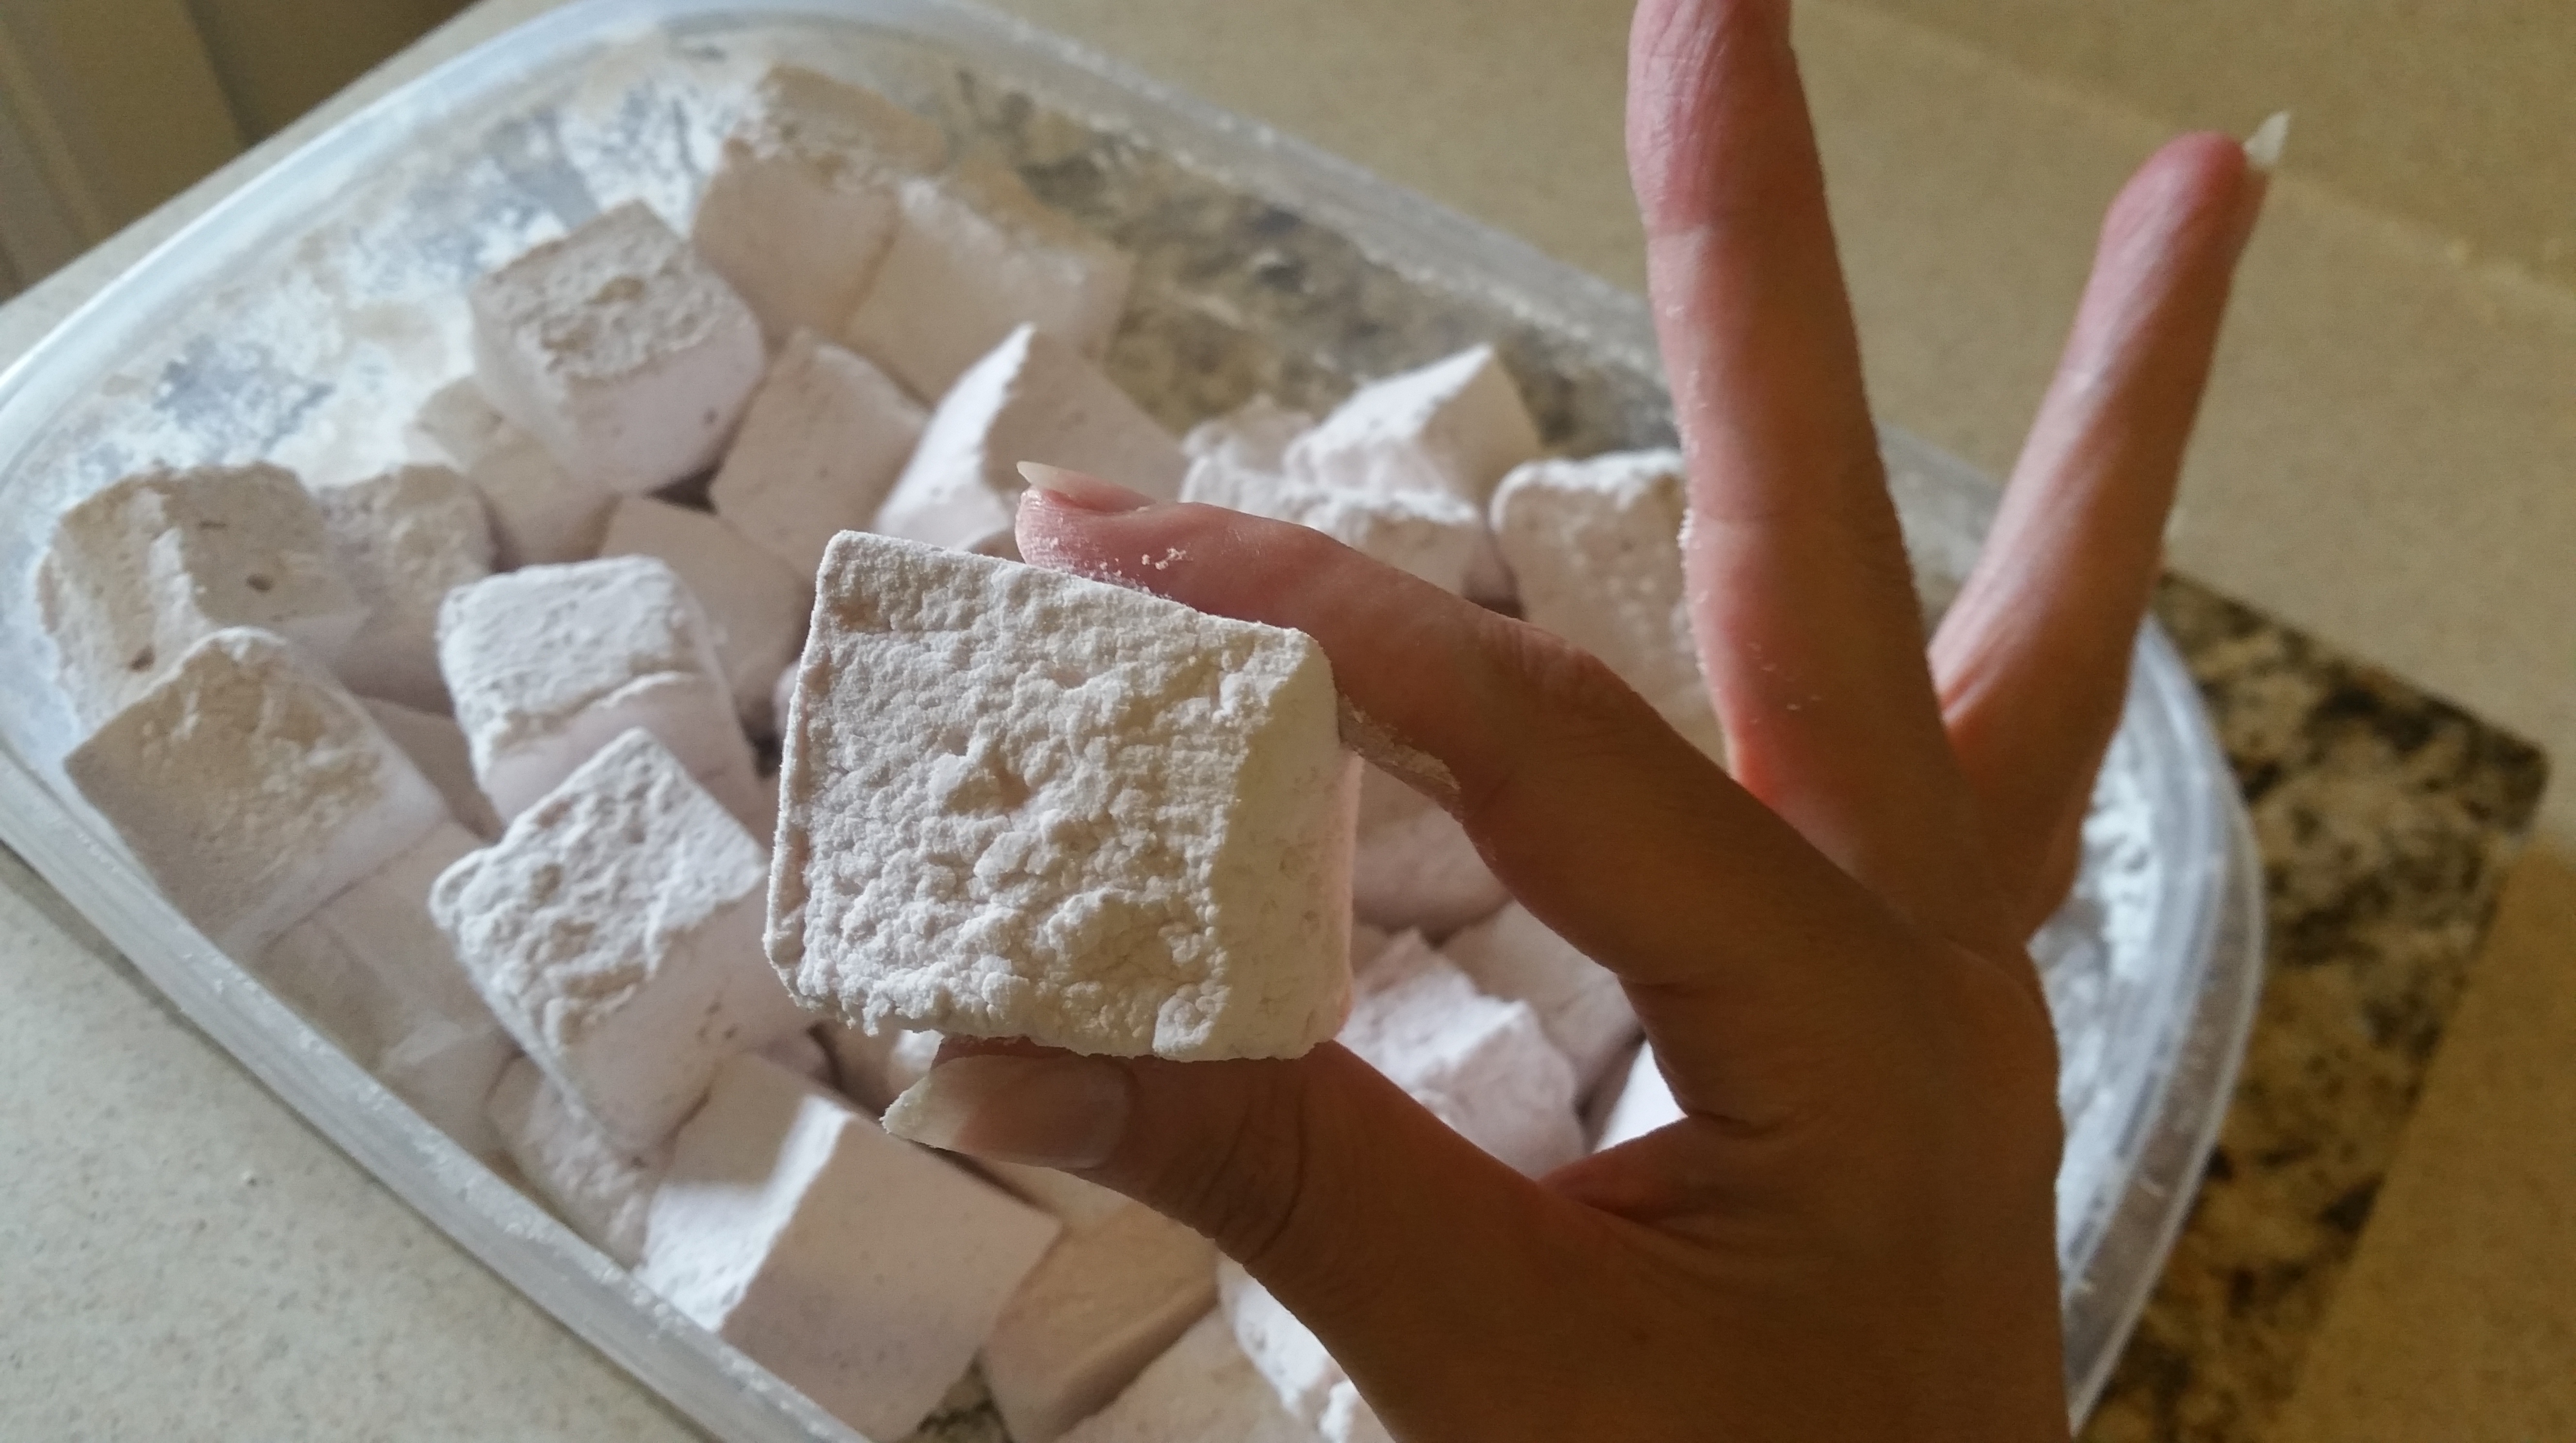
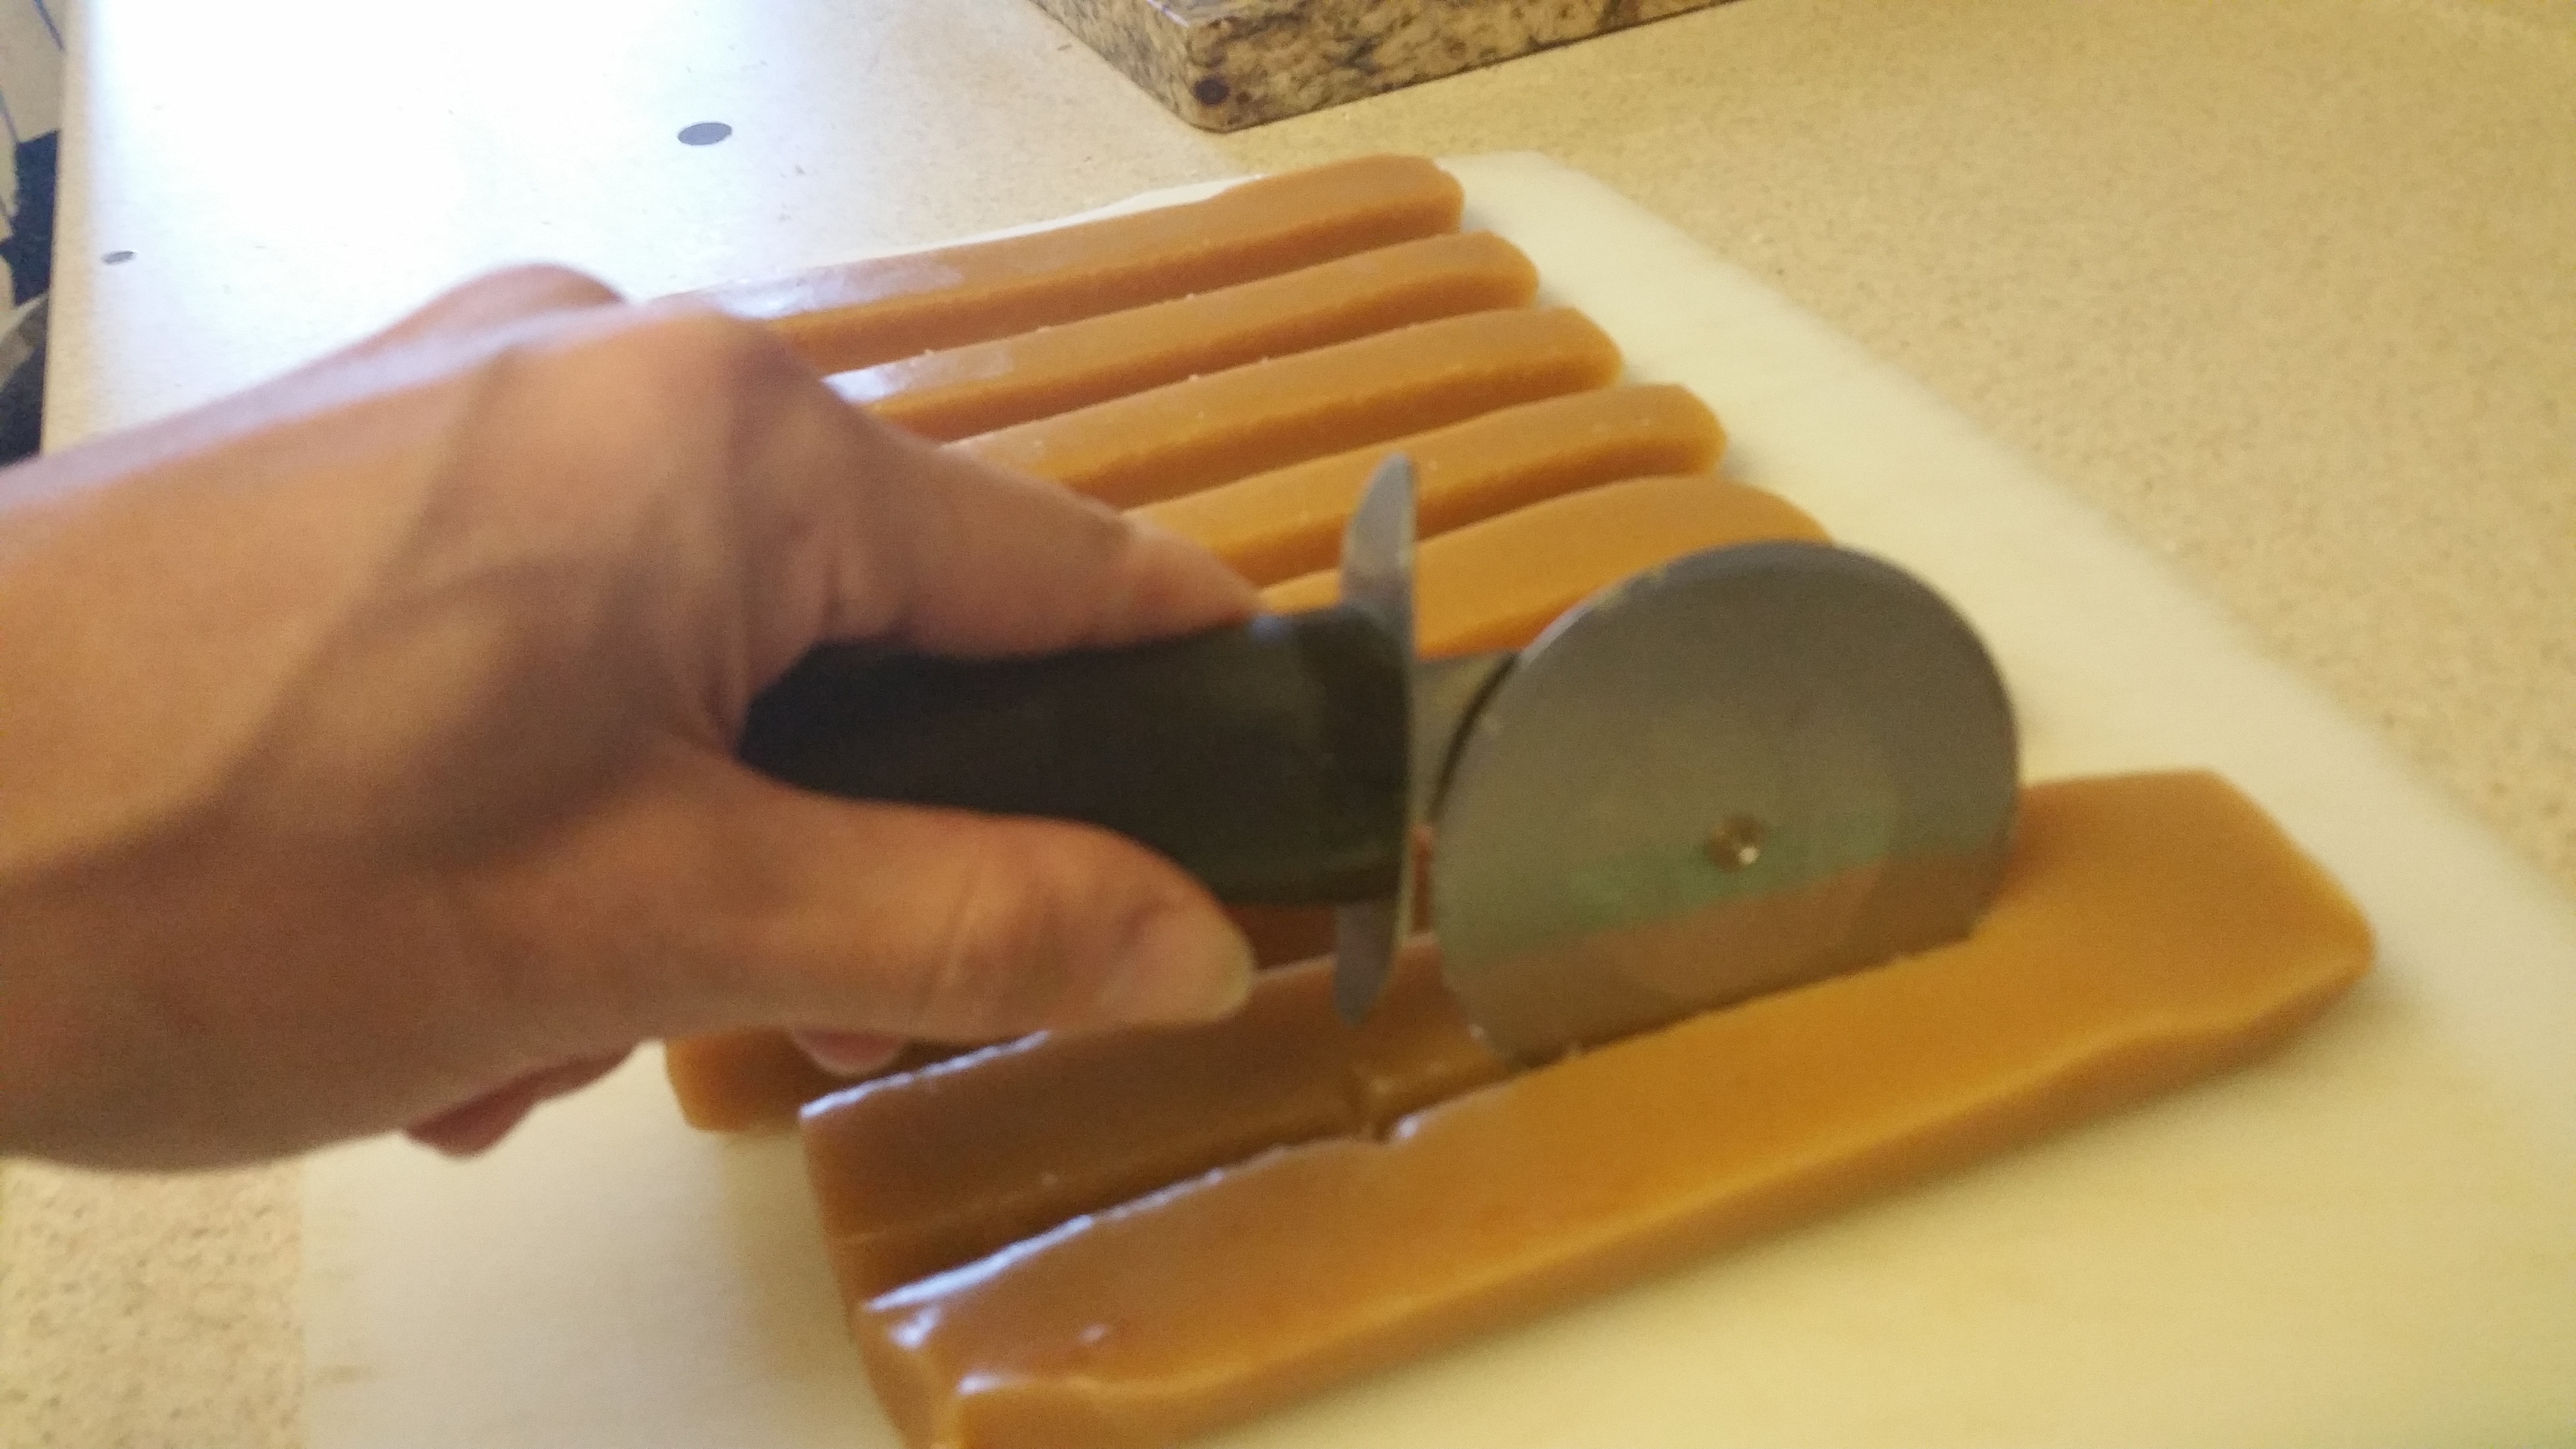
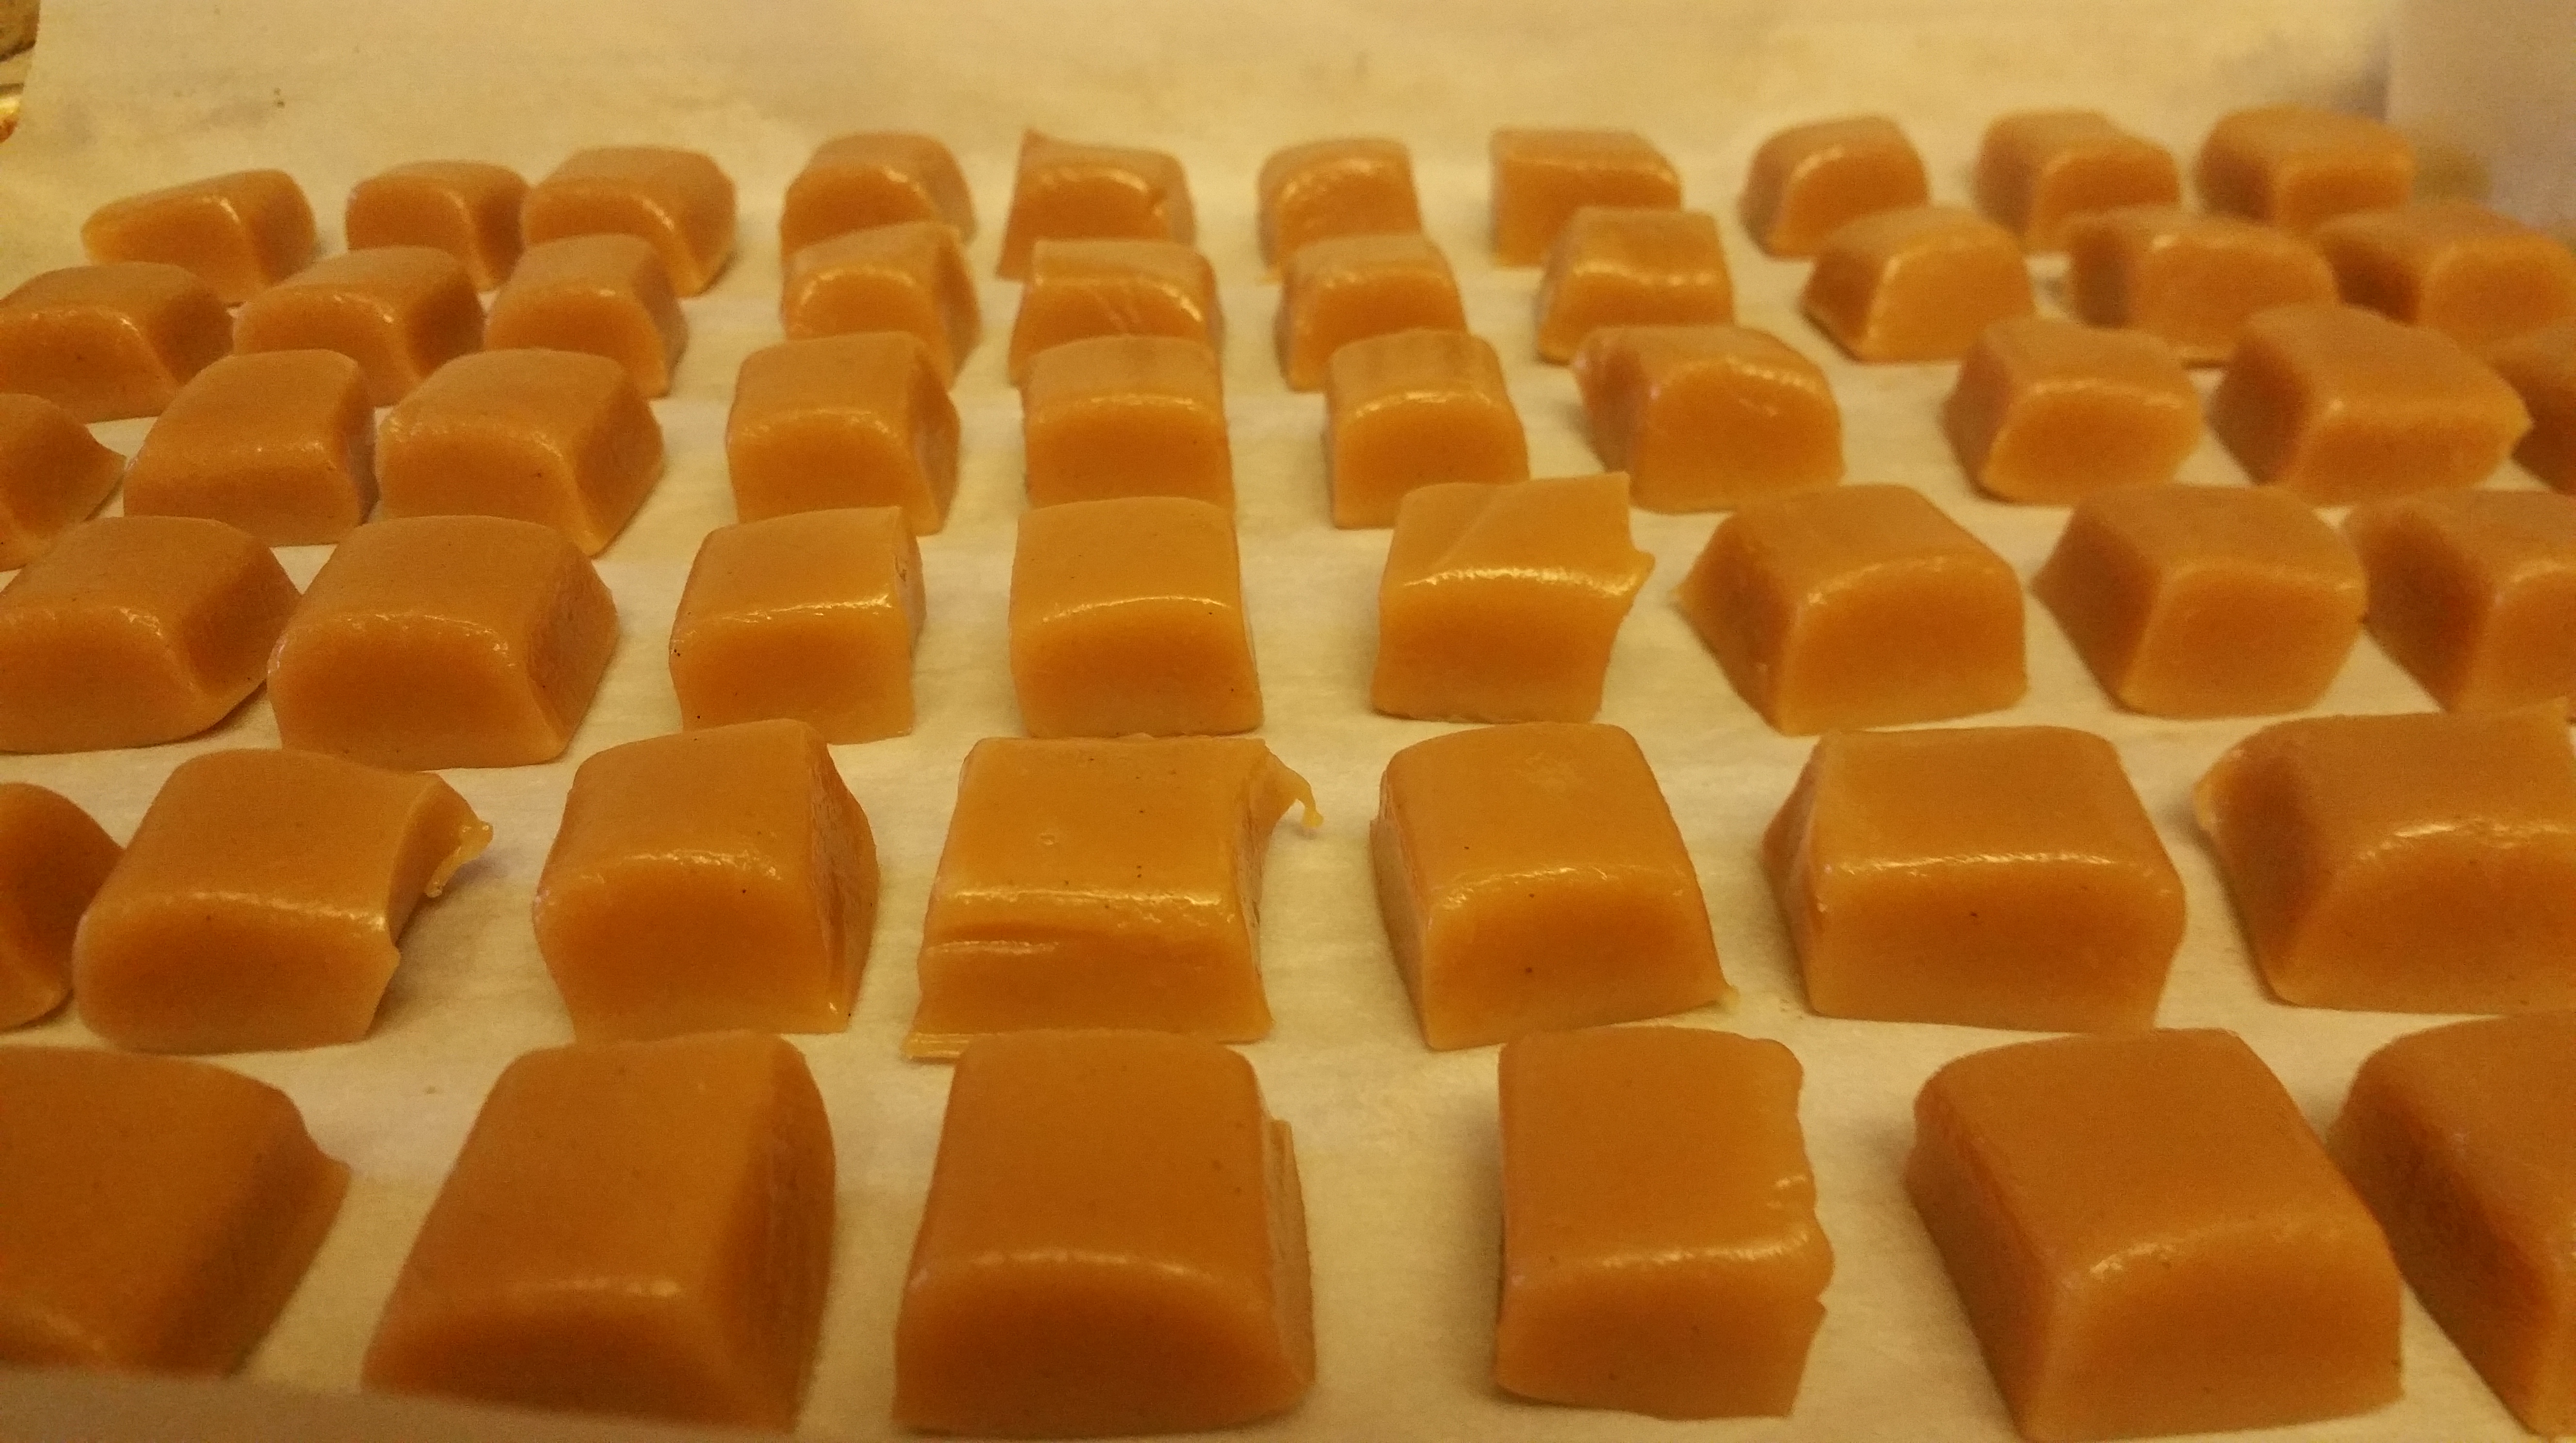
Generally, I cut the cooled caramel into an 8×8 grid, but you can make these any size you like. The easiest way I have found to cut them without getting a knife stuck is to use a pizza wheel.

I buy small squares of wax paper to wrap them up, but you can use little pieces of parchment paper too.
These are wonderful for sharing. Super soft, creamy, with just a little bit of saltiness to balance out the sugar. Every time I make a batch, I throw a bunch of them in a plastic freezer bag and have them on-hand to give to anyone whose day could use brightening. I’ve given them out to Lyft drivers, yoga teachers, classmates, doctors…you’d be surprised at how delighted you can make someone with just a few pieces of homemade candy. Sure, some people might think it’s odd, but even if you give one person a smile, it’ll make you both feel really great. The taste of these is beautiful, but the real joy is in the happiness they carry in those little wrappers.
Ciao for now,
Neen