I love carrots. They’re like the candy of the vegetable world, really. There’s always a bag of them in my refrigerator and I eat them with such consistency that Joe doesn’t even ask me to put them on the shopping list anymore. Much like coffee, he just assumes I’m running low and buys more.
If I’m waiting for something to bake or cook in the kitchen, I’m usually also leaning against the counter dipping carrot pieces in hummus or peanut butter. So it’s kind of weird (now that I think of it) that I’ve never once blogged about carrot cake. Probably because I’m the only one in this household that likes it and I just can’t eat a whole cake by myself.
So when I got the opportunity to make one for a friend’s son’s birthday recently, I HAD to jump at the chance. The natural sweetness of carrots blended into and a soft, tender cake full of warm spices is absolutely a treat. Wrap that up in some rich, decadent cream cheese frosting and we are definitely talking celebration-worthy. And plus, no one can say you didn’t eat your vegetables, right? Let’s make some cake!
T’s Carrot Cake
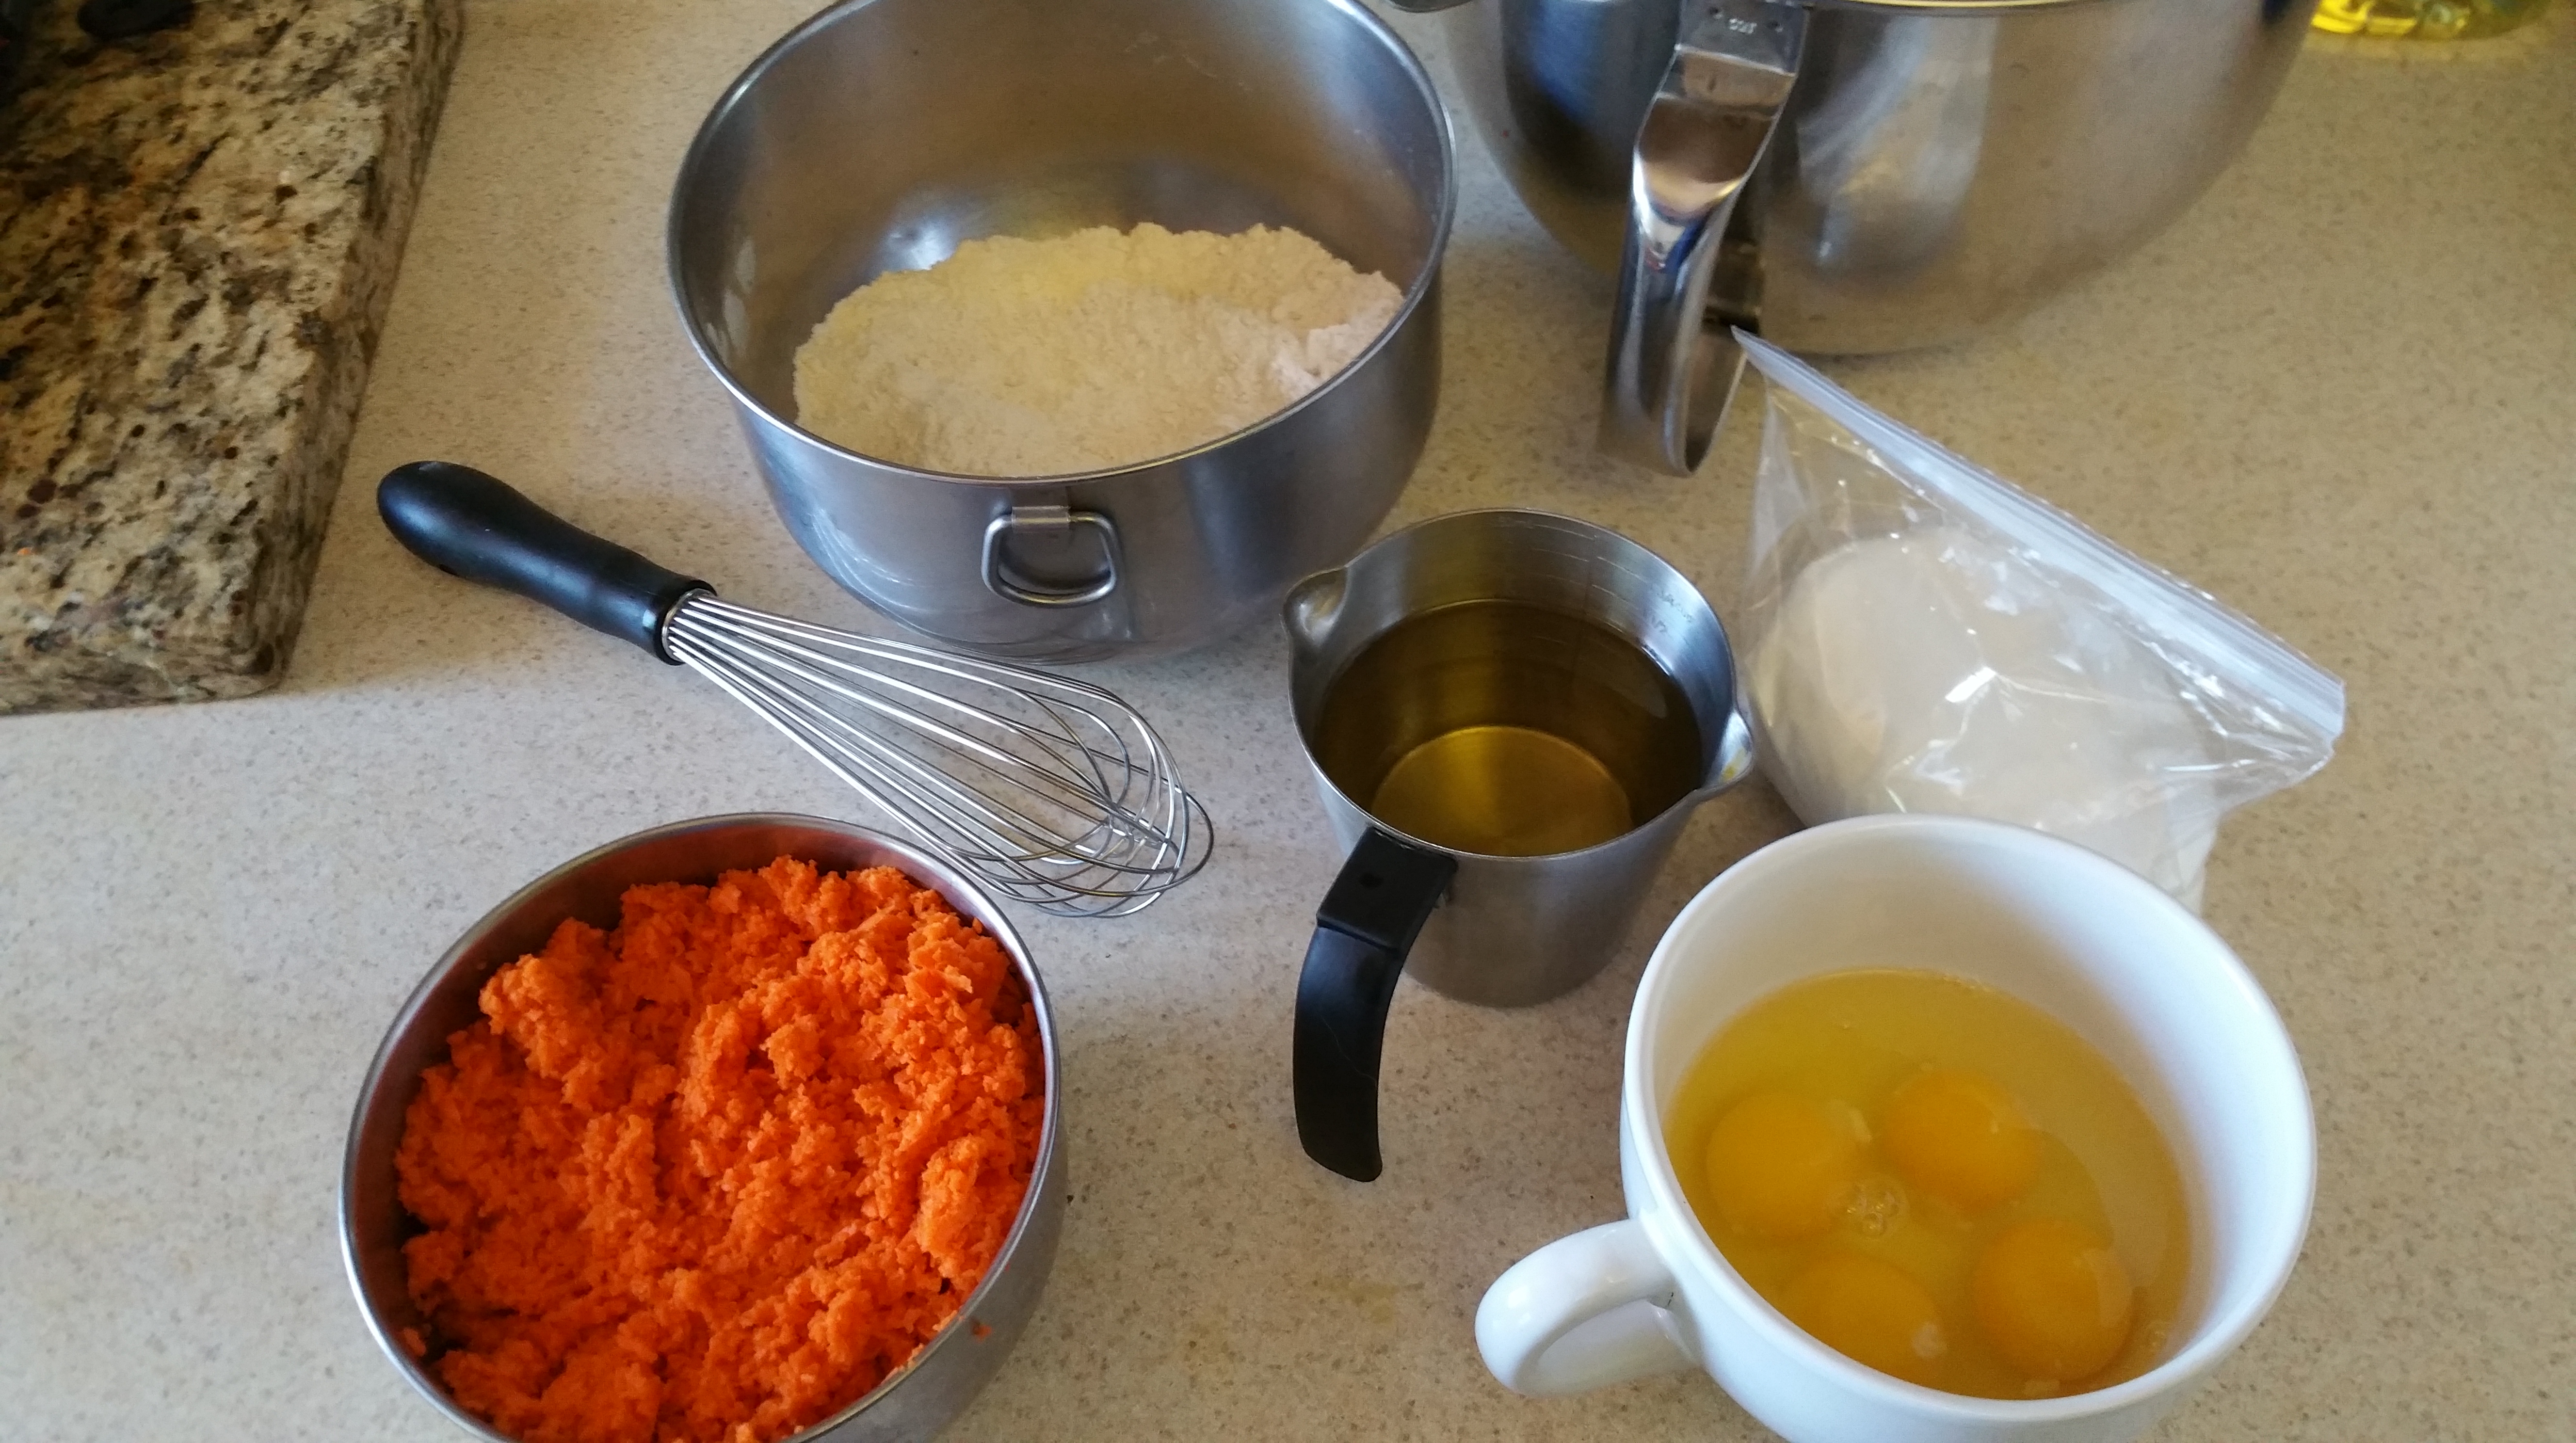
- 2 cups all-purpose flour
- 2 tsp. baking soda
- 1 tsp. kosher salt
- 2 tsp. ground cinnamon
- 1 tsp. ground ginger
- 1/2 tsp. fresh ground nutmeg
- 2 cups granulated sugar
- 1 1/4 cups canola oil
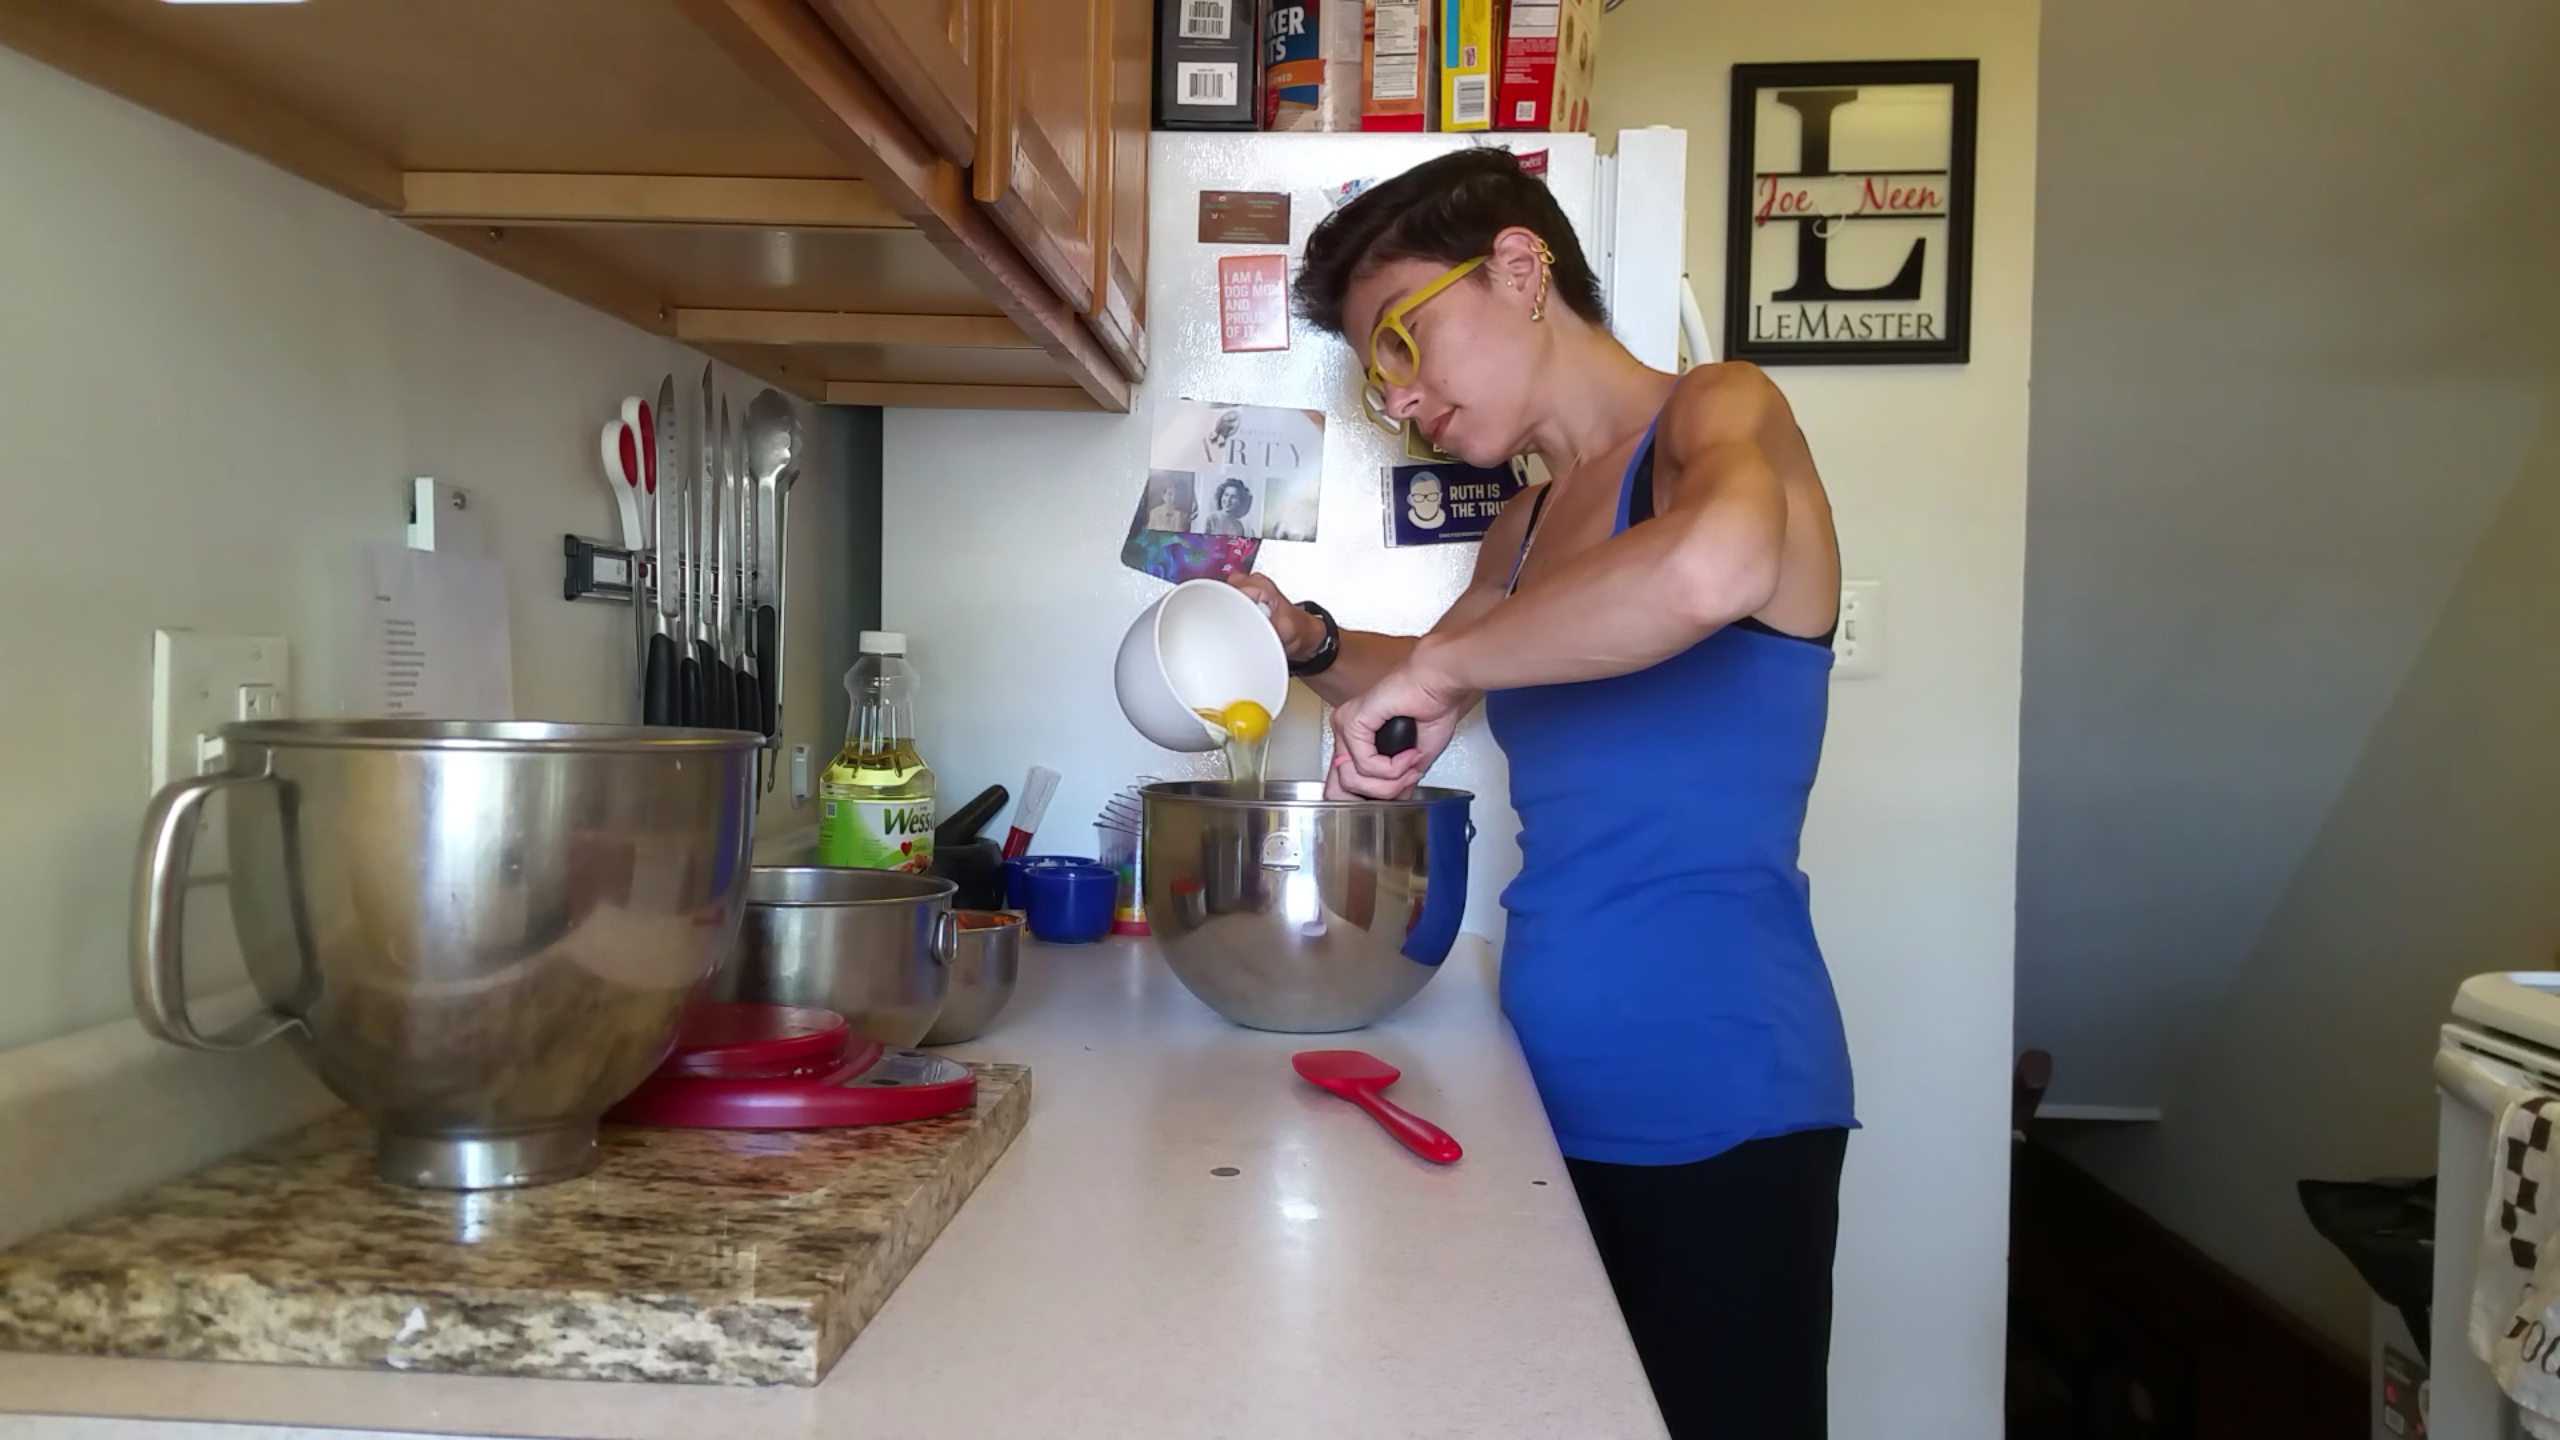
- 4 large eggs, room temperature
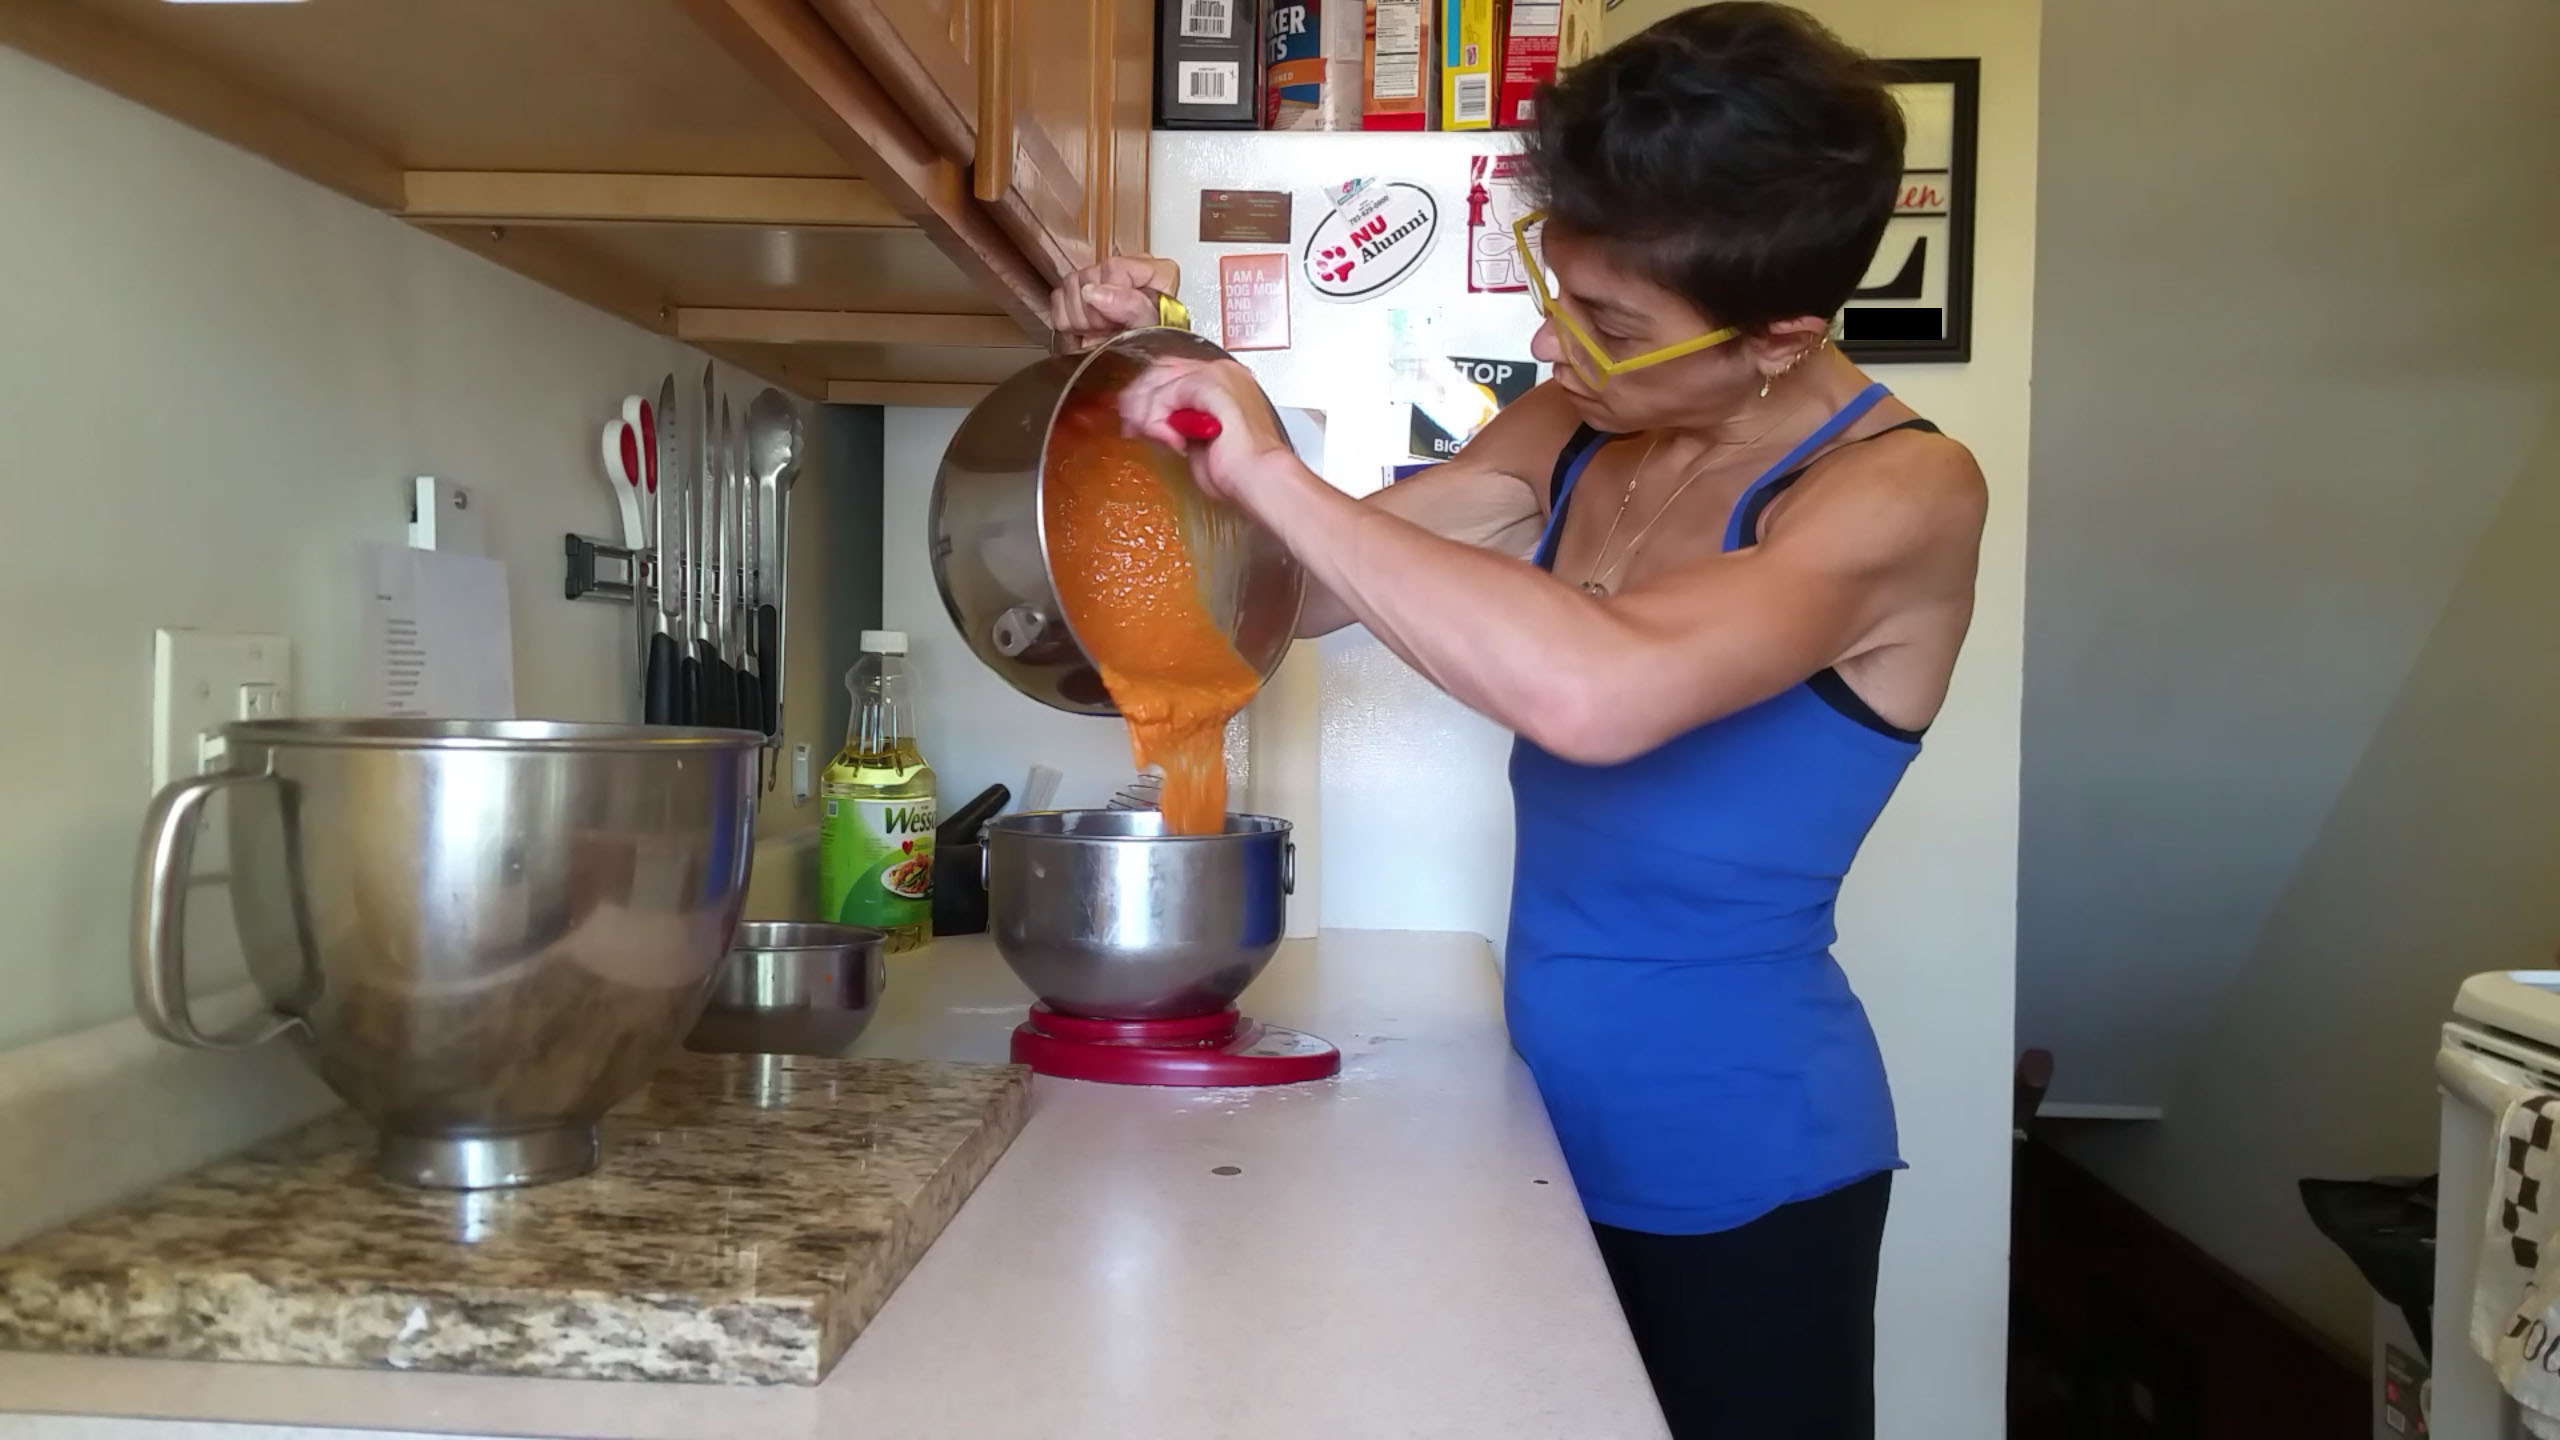
- 3 cups peeled and grated carrots
Cream Cheese Frosting
- 16 oz. cream cheese, softened
- 4 oz. butter, room temperature
- 2 cups powdered sugar
- 1 tsp. vanilla extract
- 1 tsp. finely grated lemon zest
- Pinch of salt
Candy Decorations
- 6 oz. green candy melts
- 6 oz. orange candy melts
- Orange and green sprinkles

Preheat the oven to 350 degrees F.
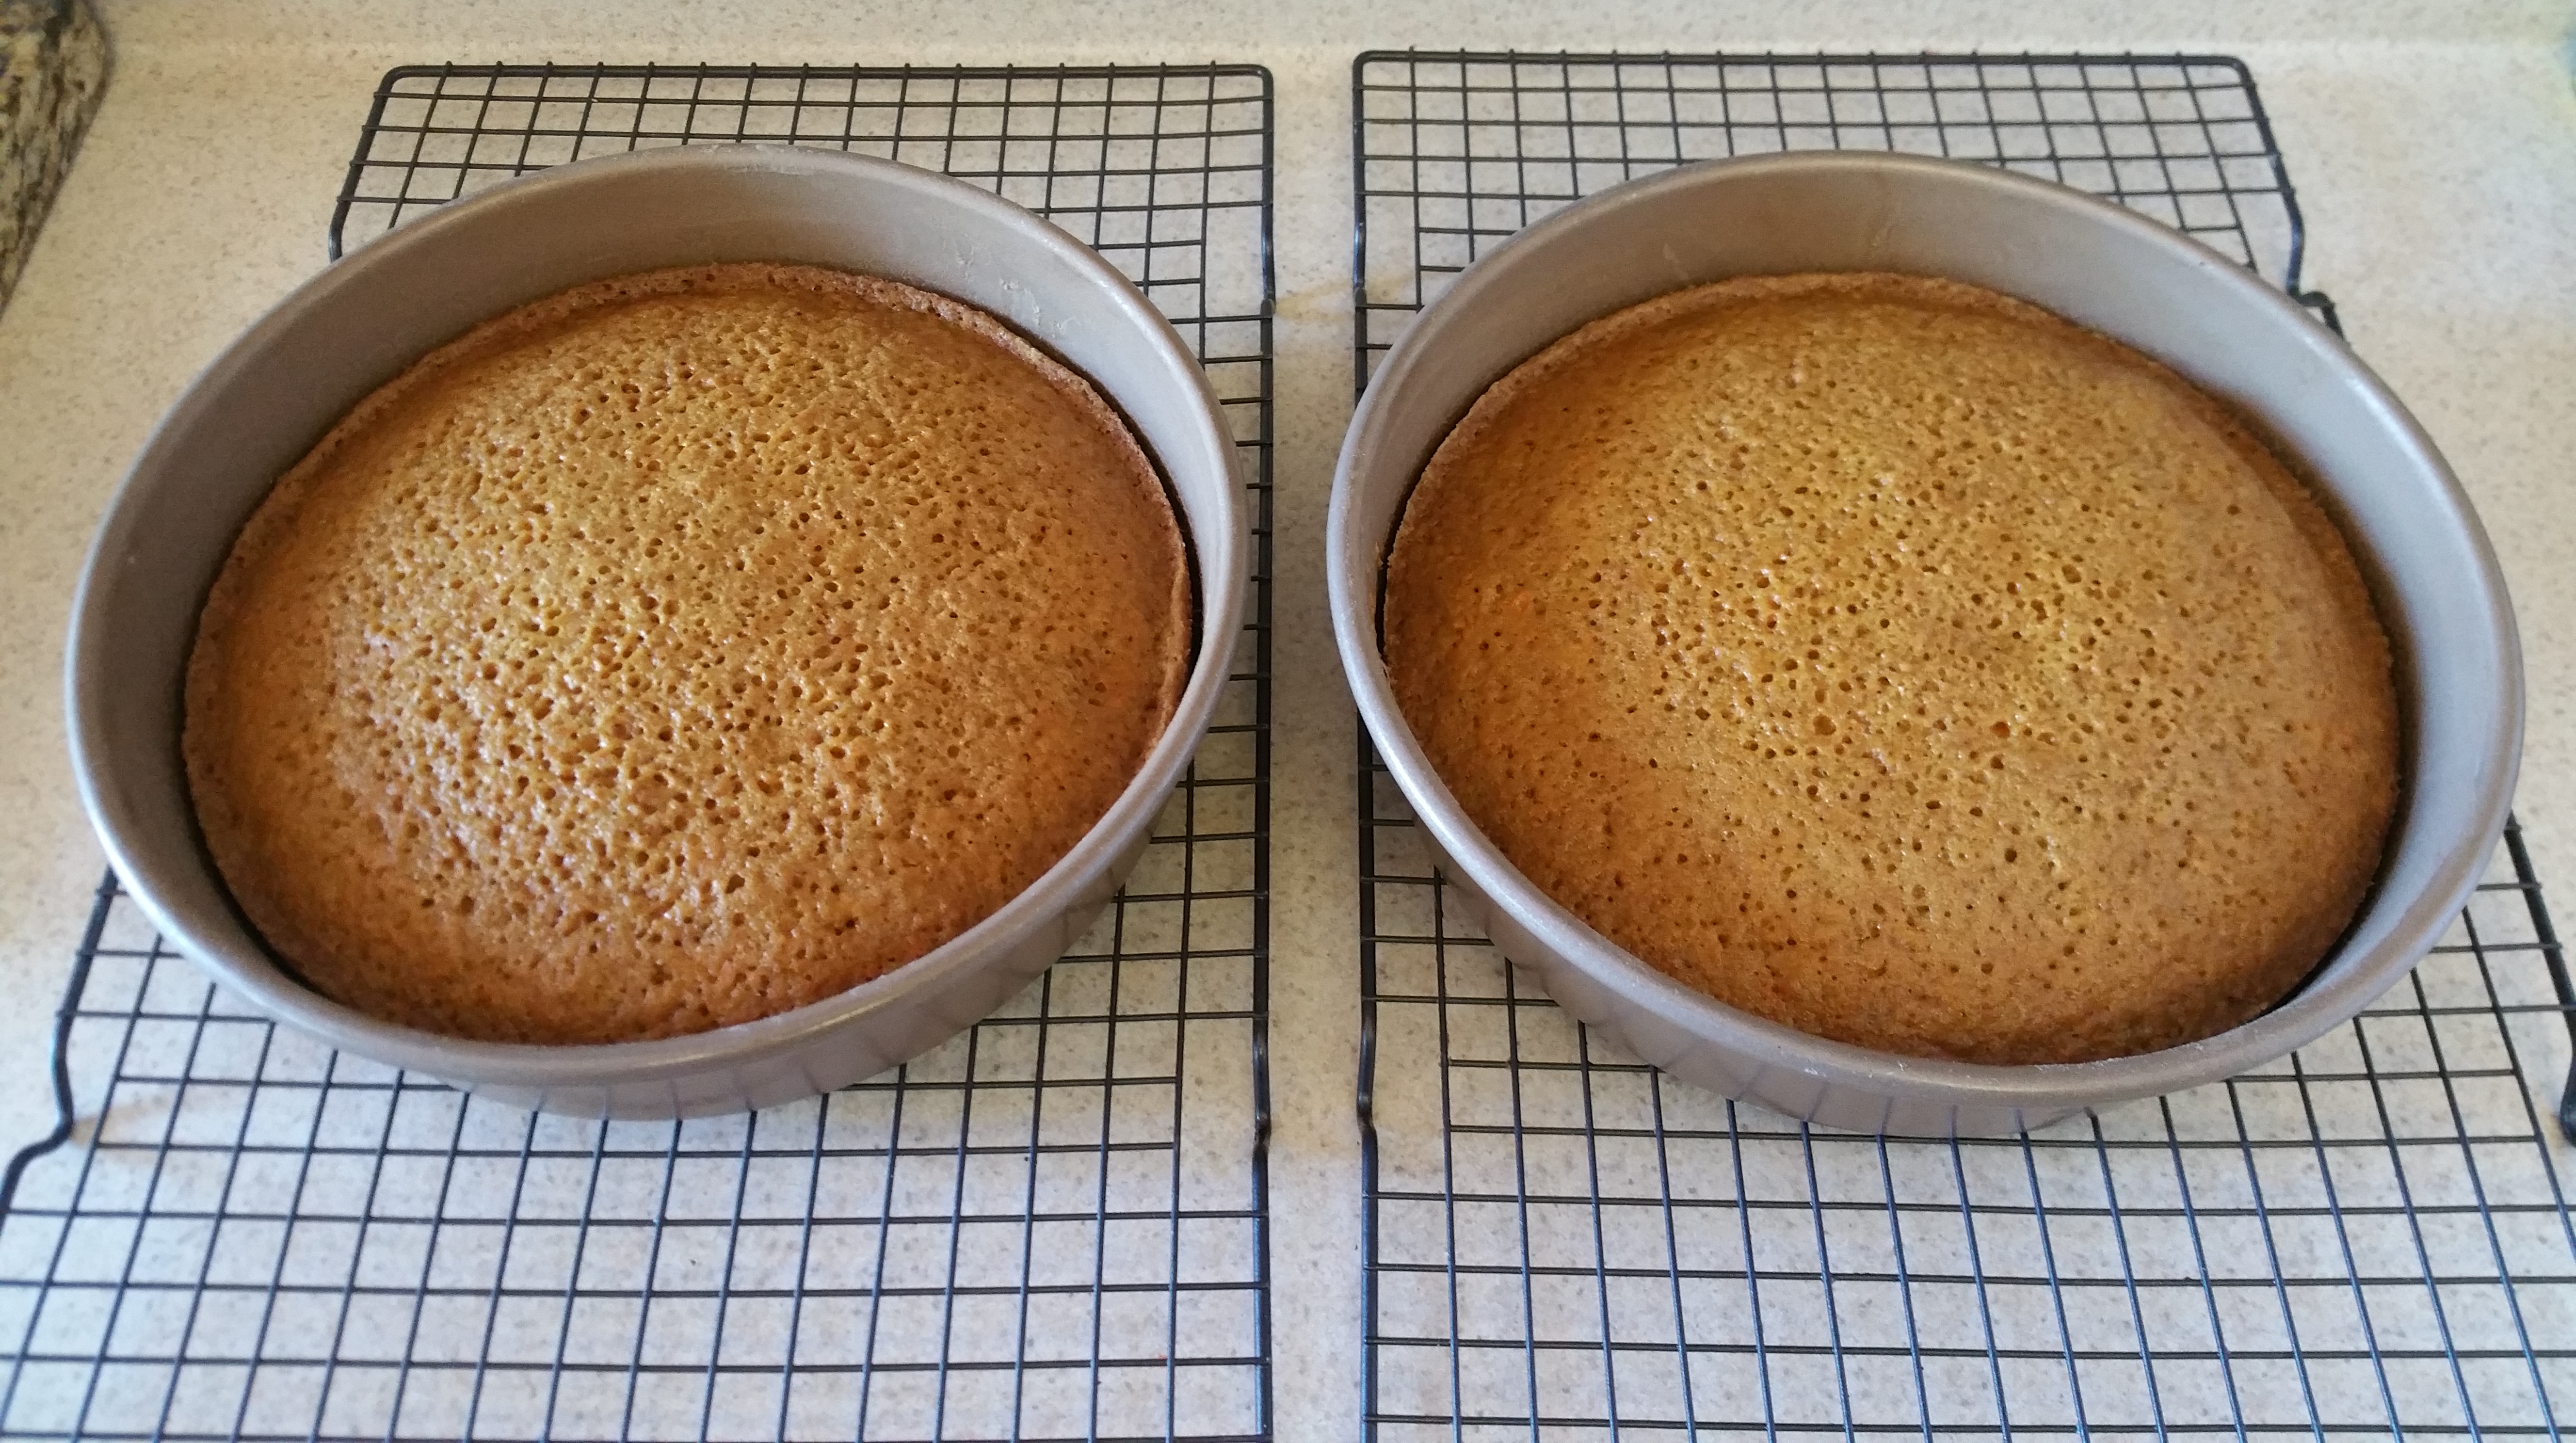
Butter, flour, and parchment-line two 9 in. round cake pans and set aside.
Whisk together the flour, baking soda, salt, cinnamon, nutmeg, and ginger in medium bowl.

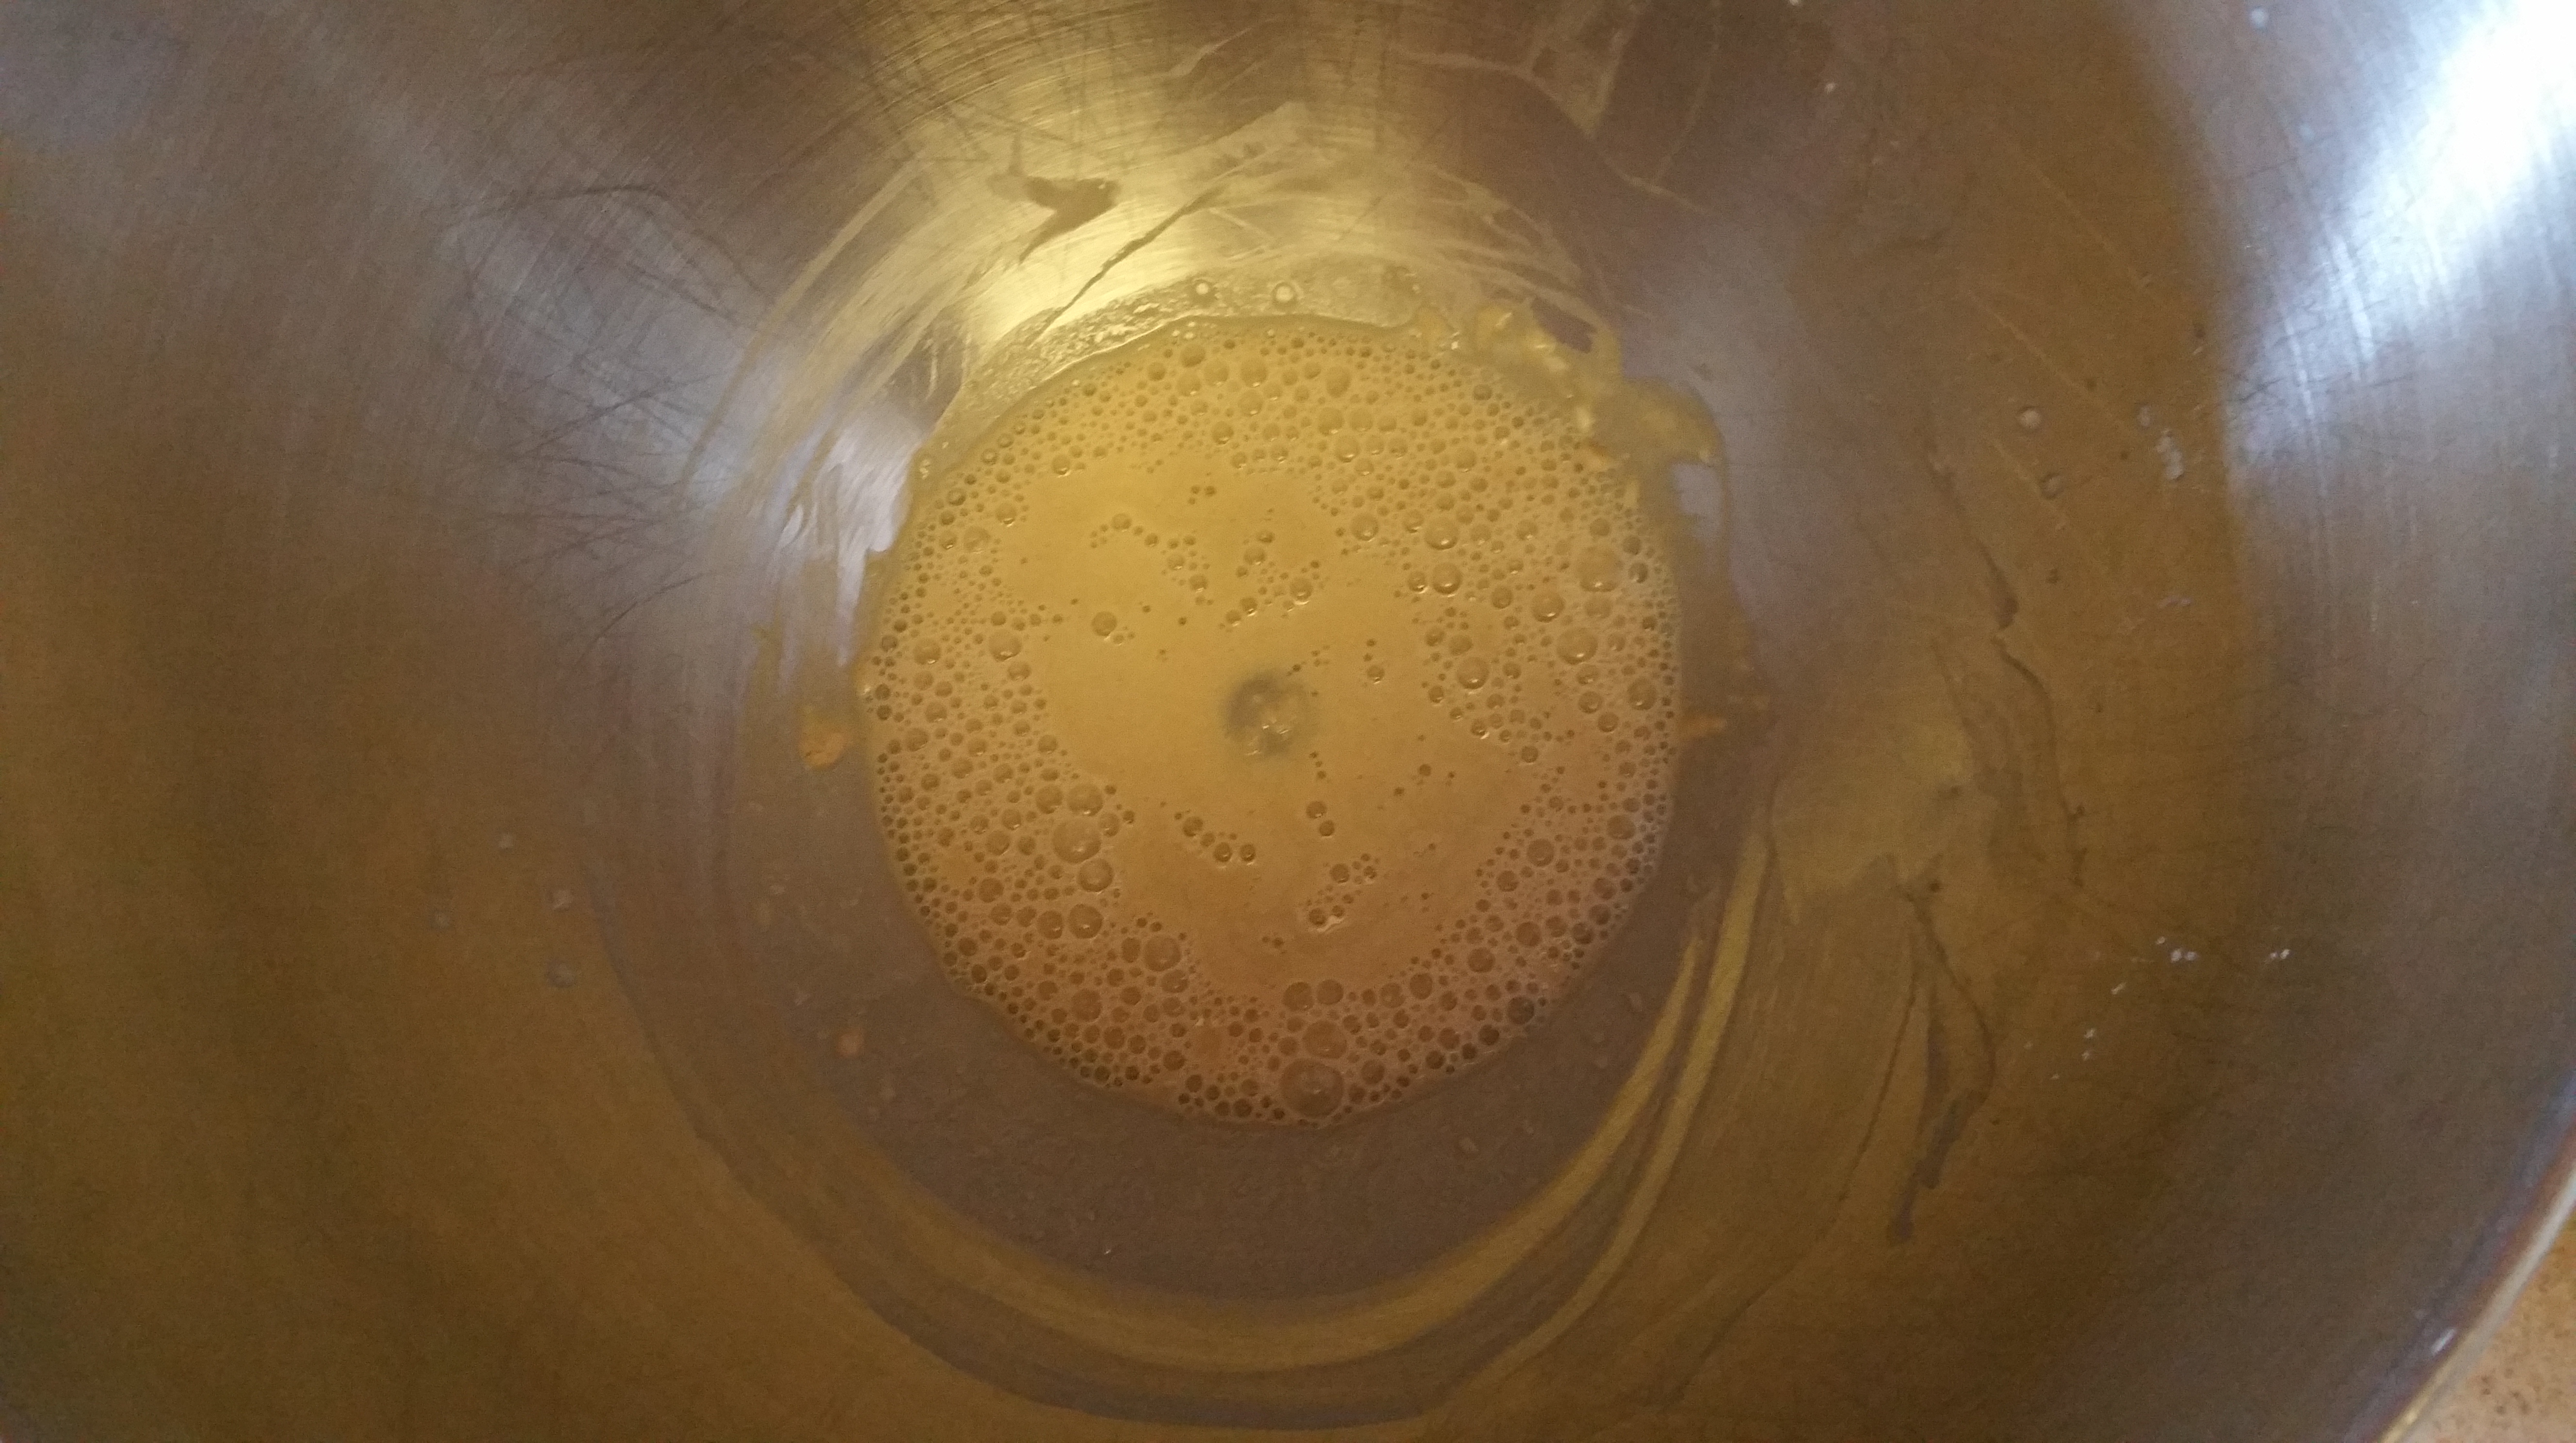
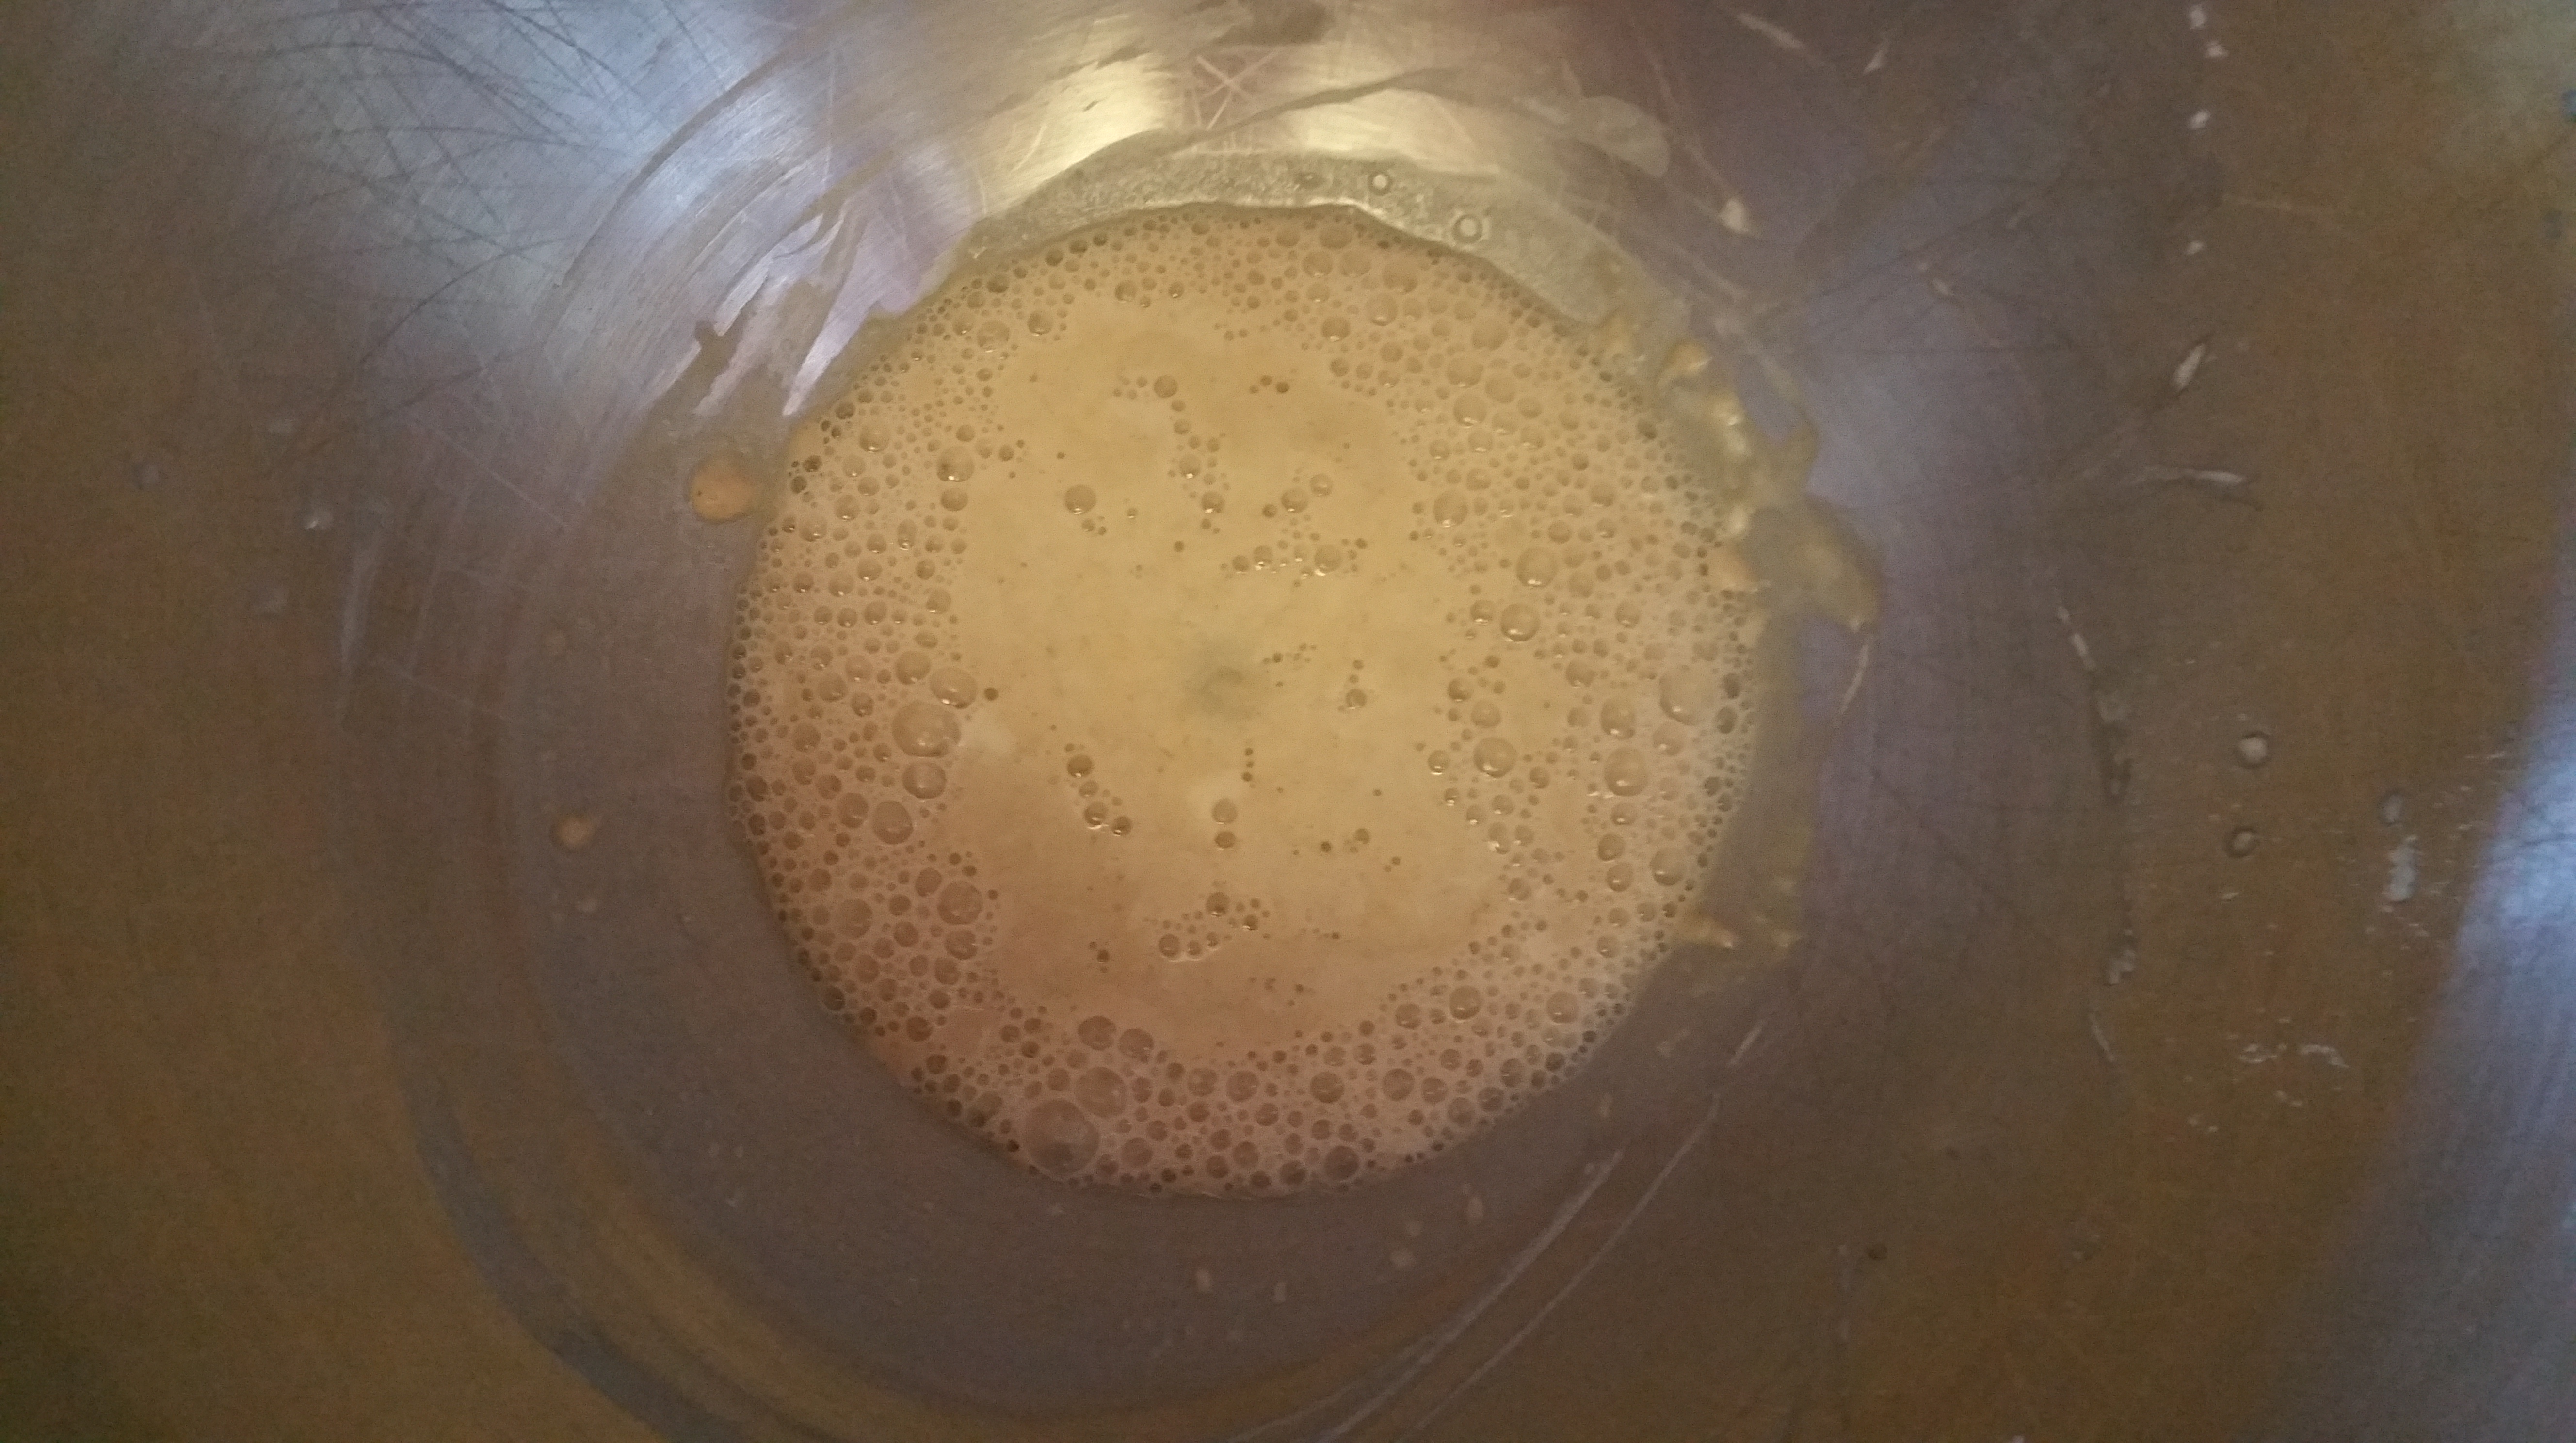
Whisk the sugar and oil in large bowl until well blended, and then add the eggs one at a time, beating between additions.

Add the flour mixture to the wet ingredients and stir until well-blended.

Stir in the grated carrots.

Divide the batter evenly between the prepared pans. I prefer to do this by weight rather than volume because it results in more even layers.


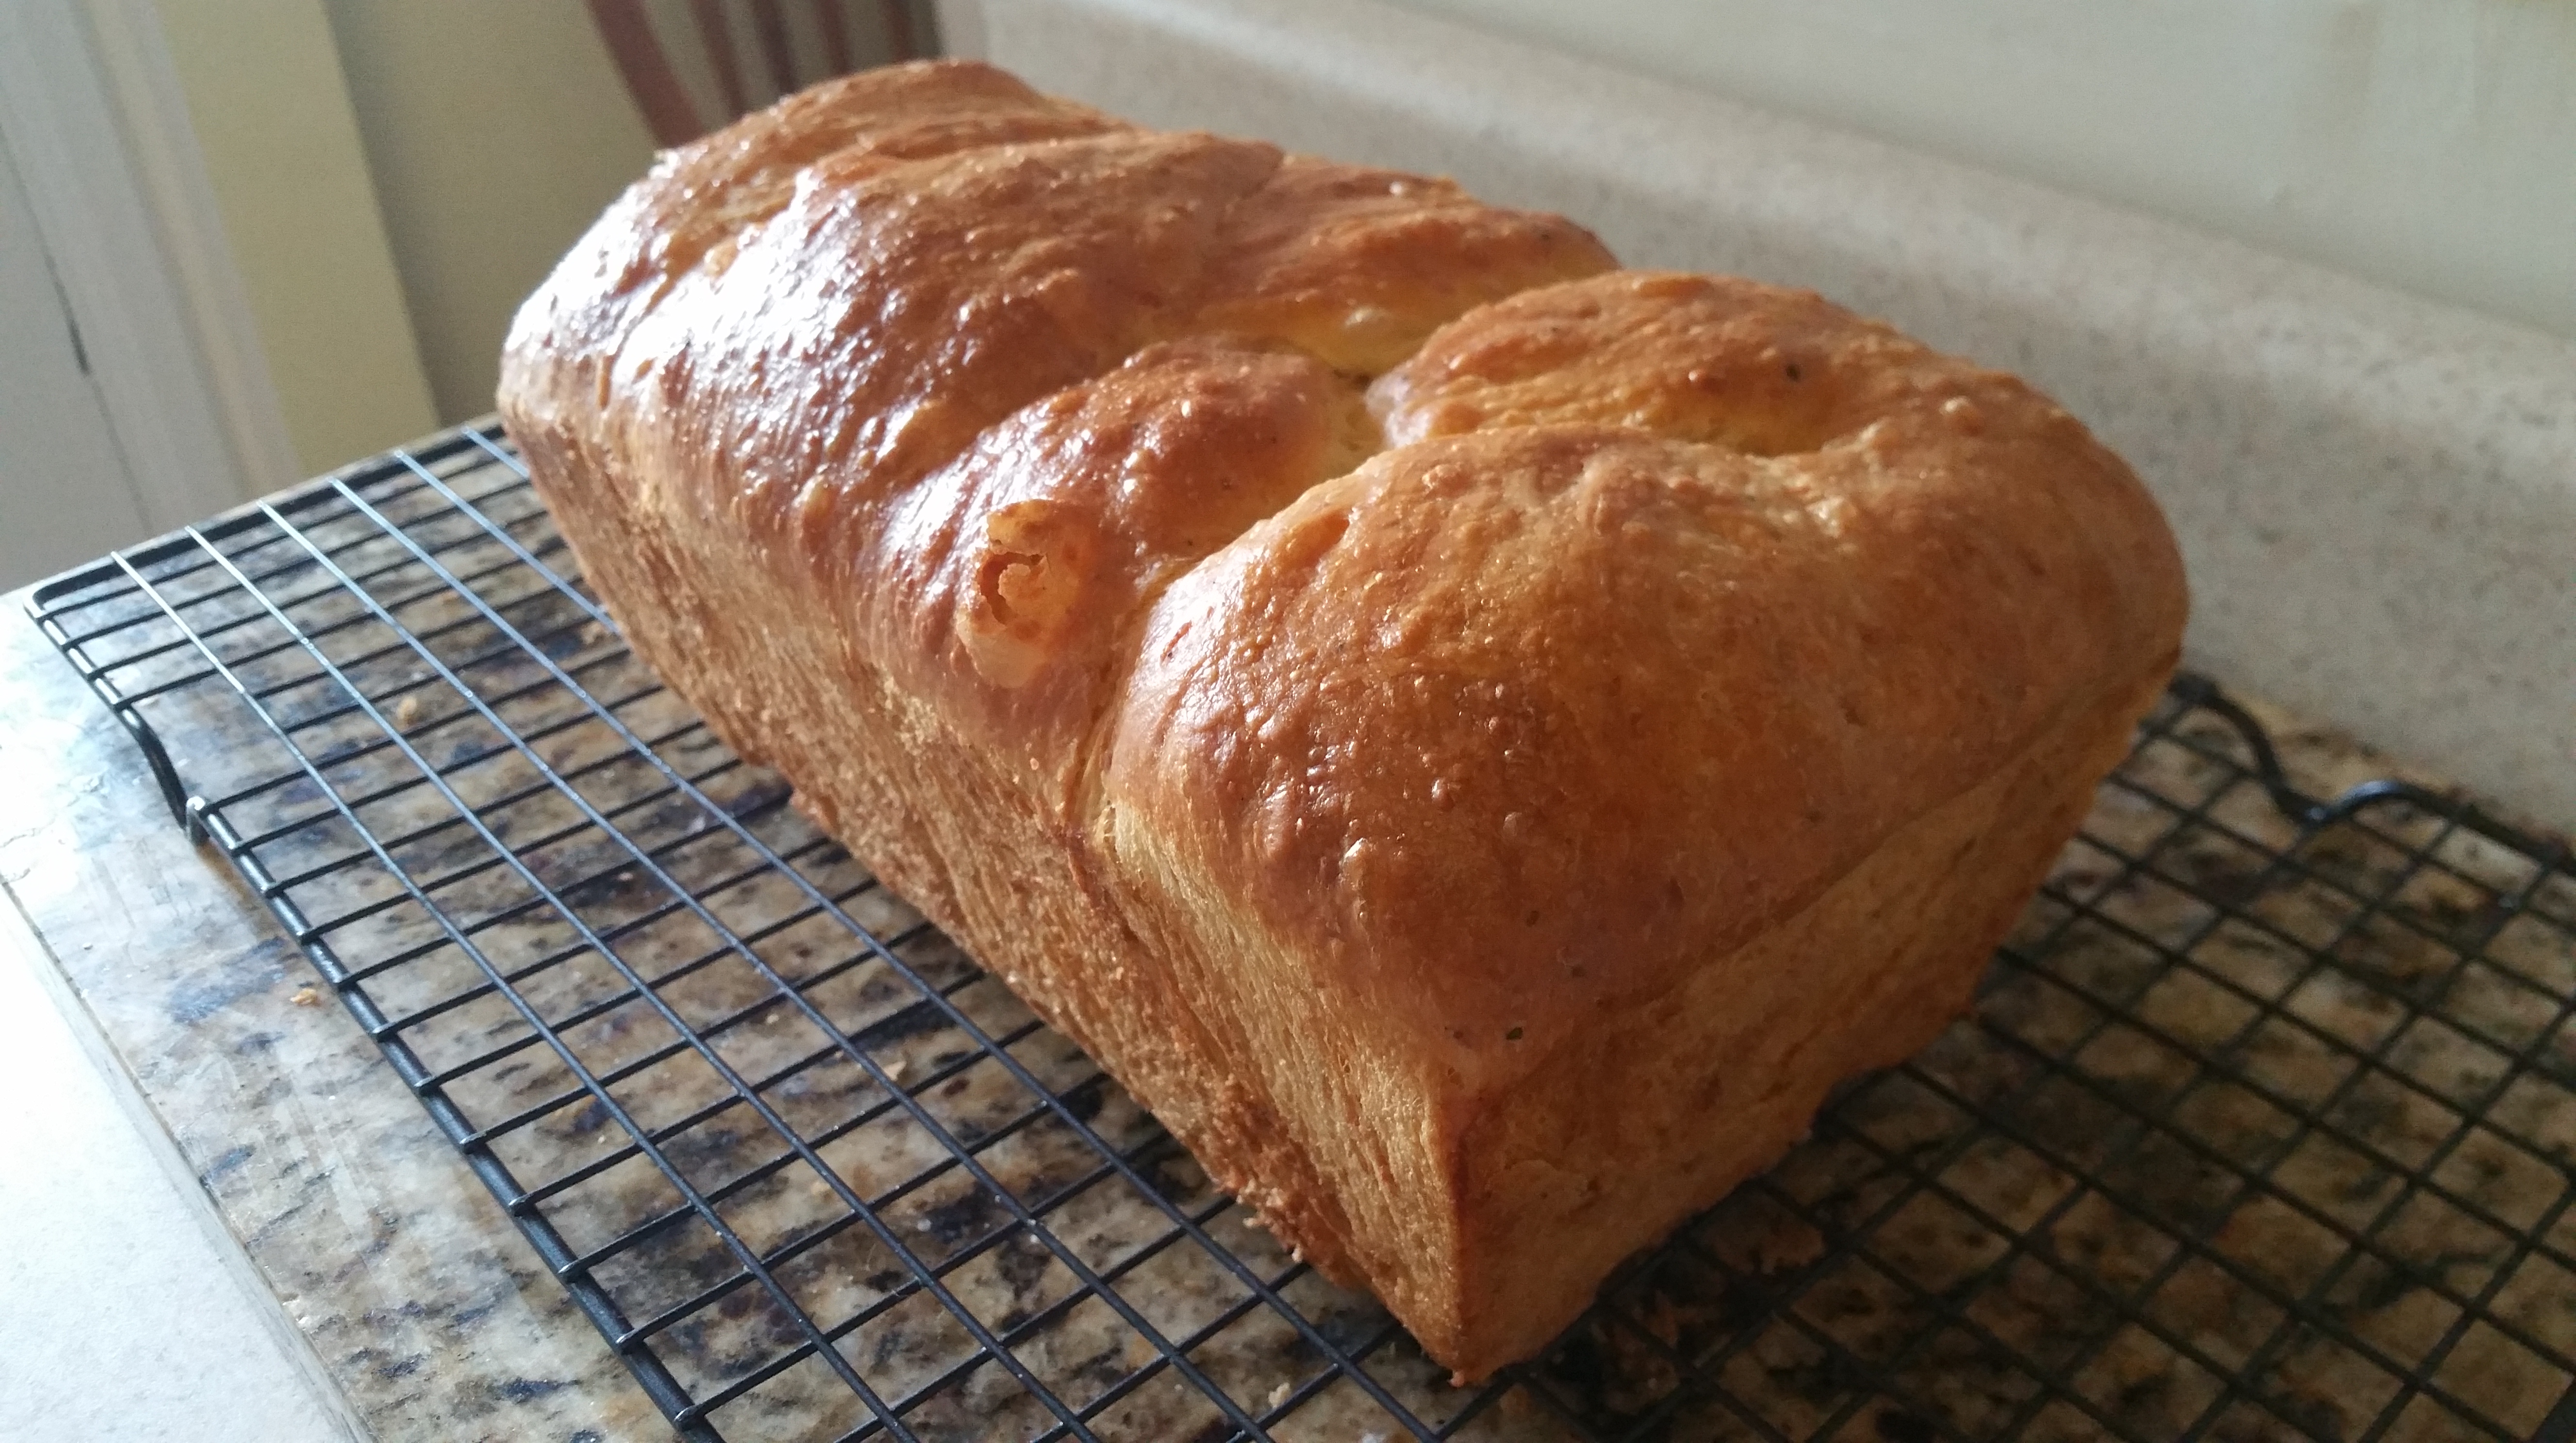
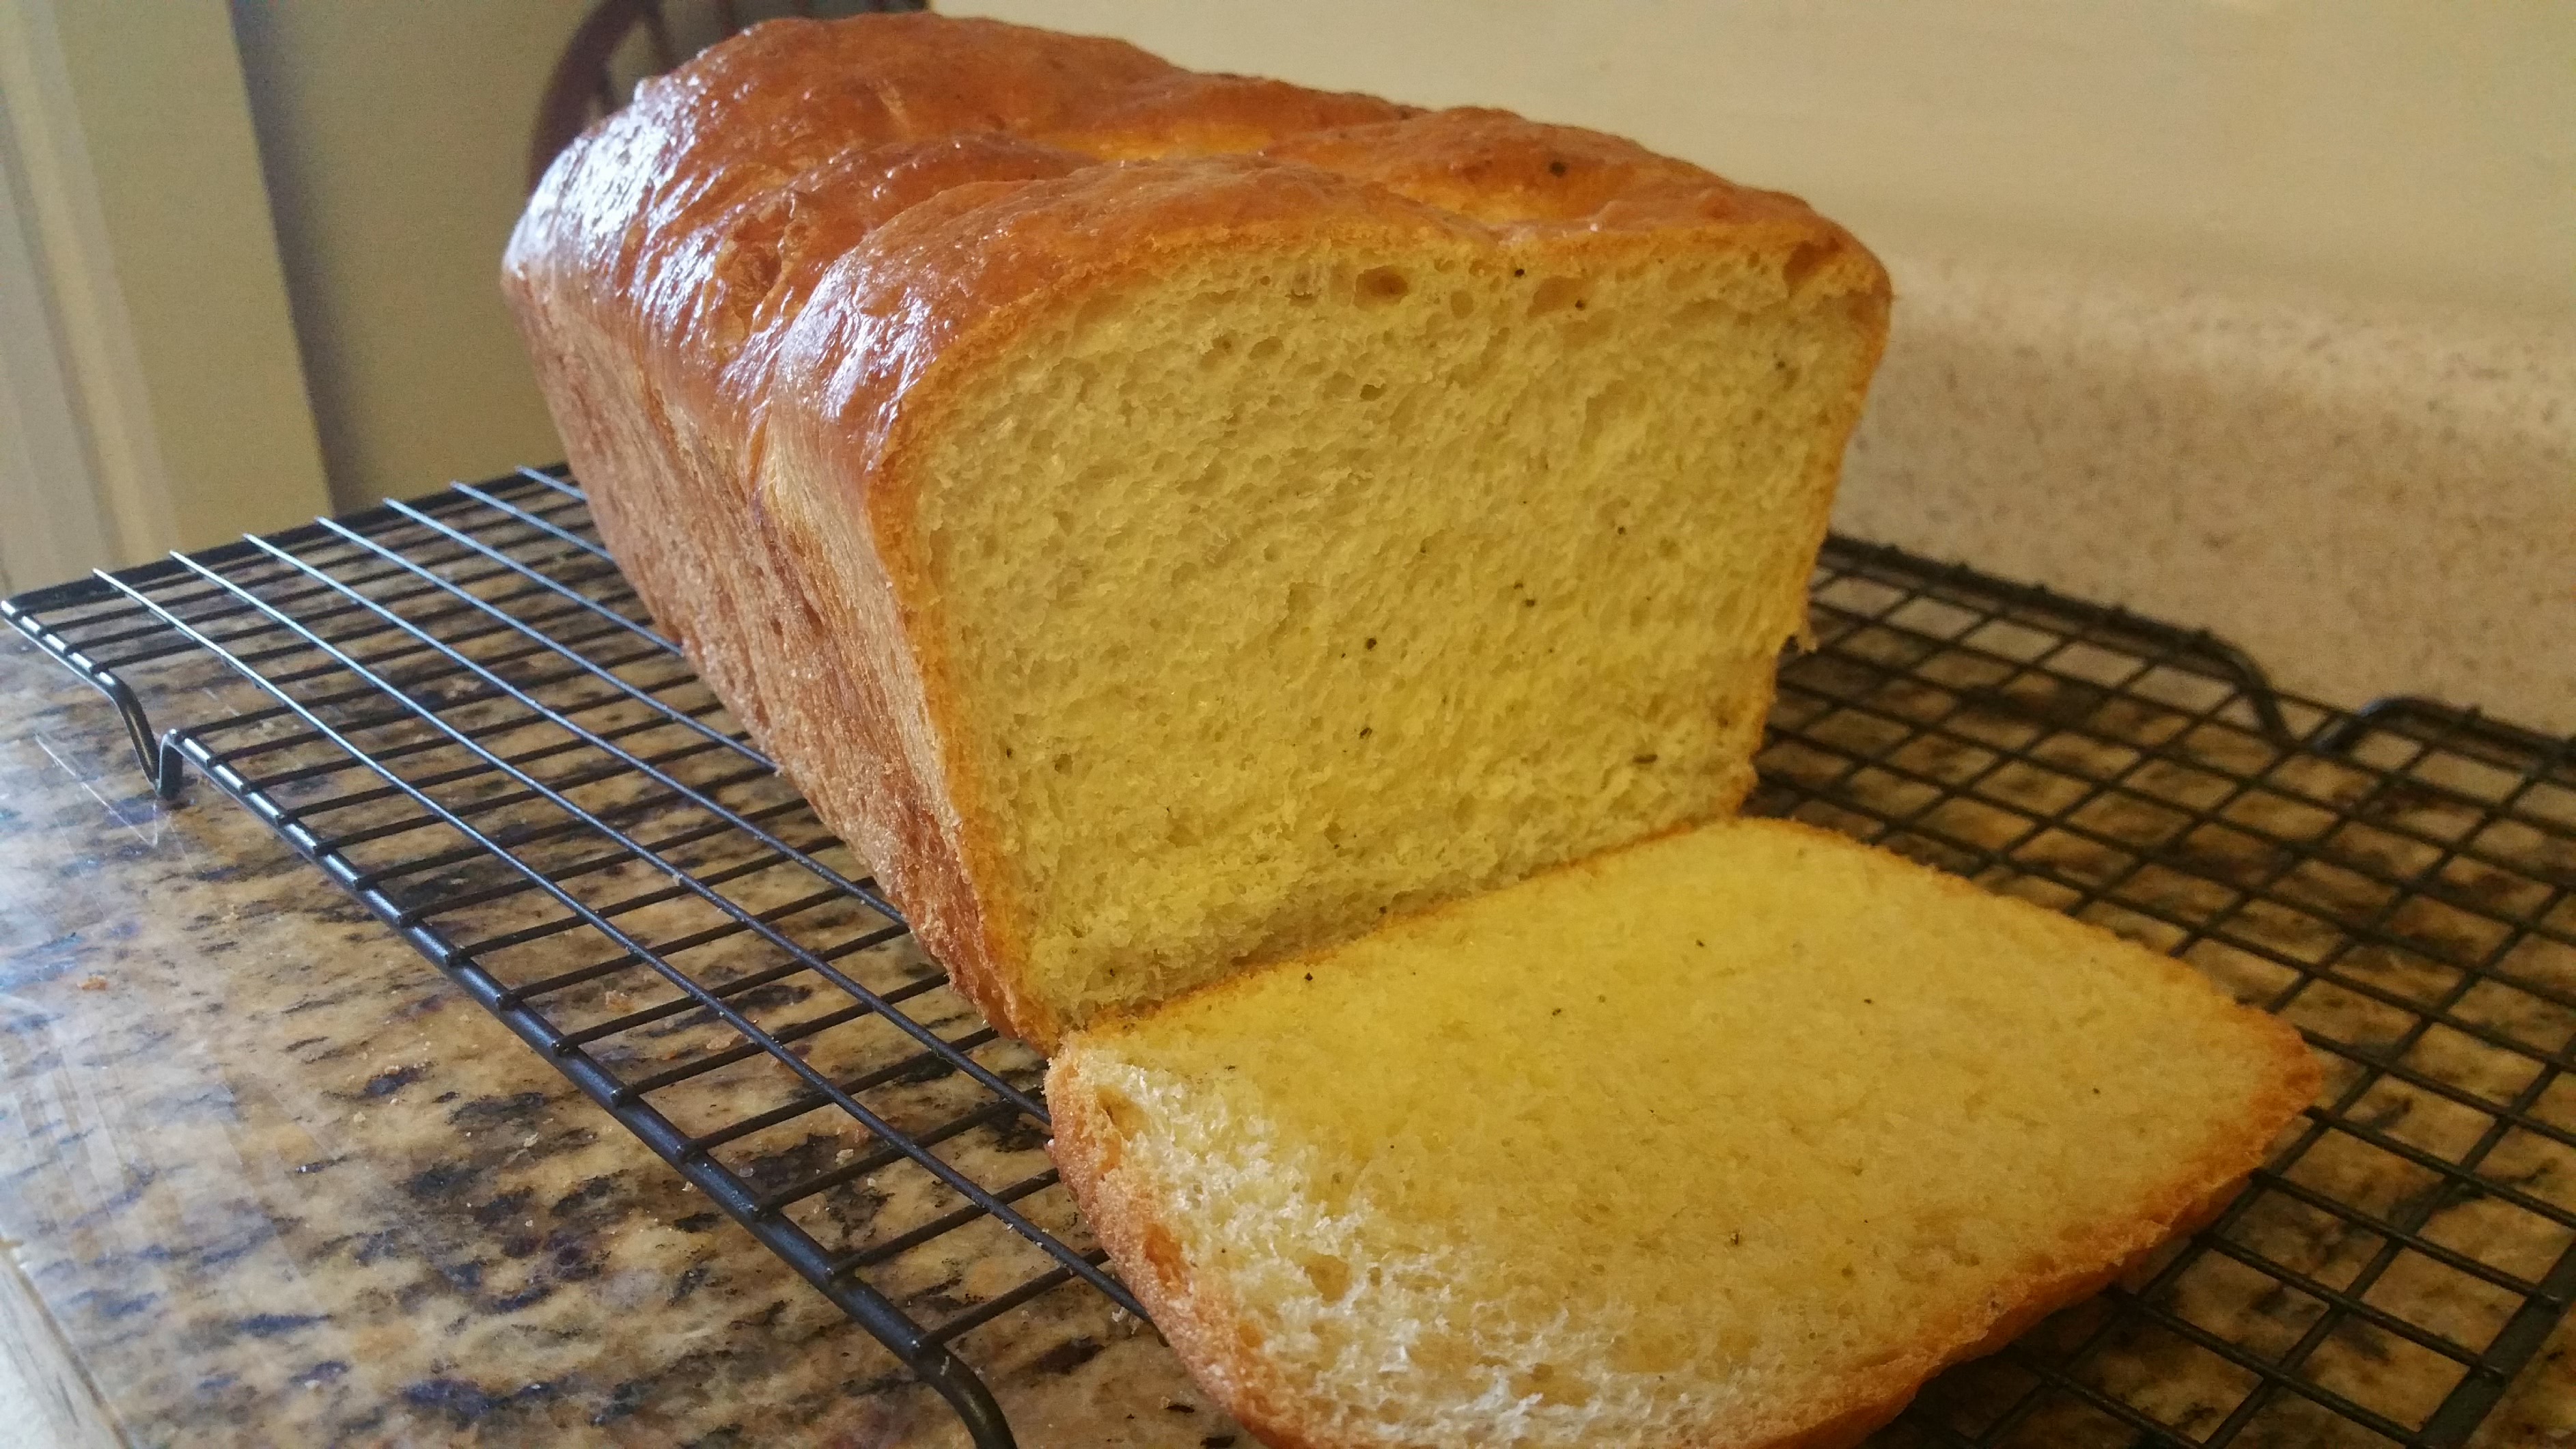
Bake the cake layers for about 40 minutes each, or until a tester inserted into center comes out clean. Allow them to cool in the pans for 15 minutes and then invert onto wire racks, peel away the parchment paper, re-invert and allow them to cool completely. The re-inverting is important because the tops of the cakes will be a little bit sticky, so you want the bottom-side on the cooling rack.


To make the frosting, beat the cream cheese and butter together on low speed until smooth. Gradually add the powdered sugar and beat on medium speed until fully incorporated and creamy.

Add the vanilla extract and lemon zest and beat until combined.

Taste the frosting and then decide whether or not to add the pinch of salt. Cream cheese brands can really vary salt content-wise, so you may or may not need it depending on your preference.
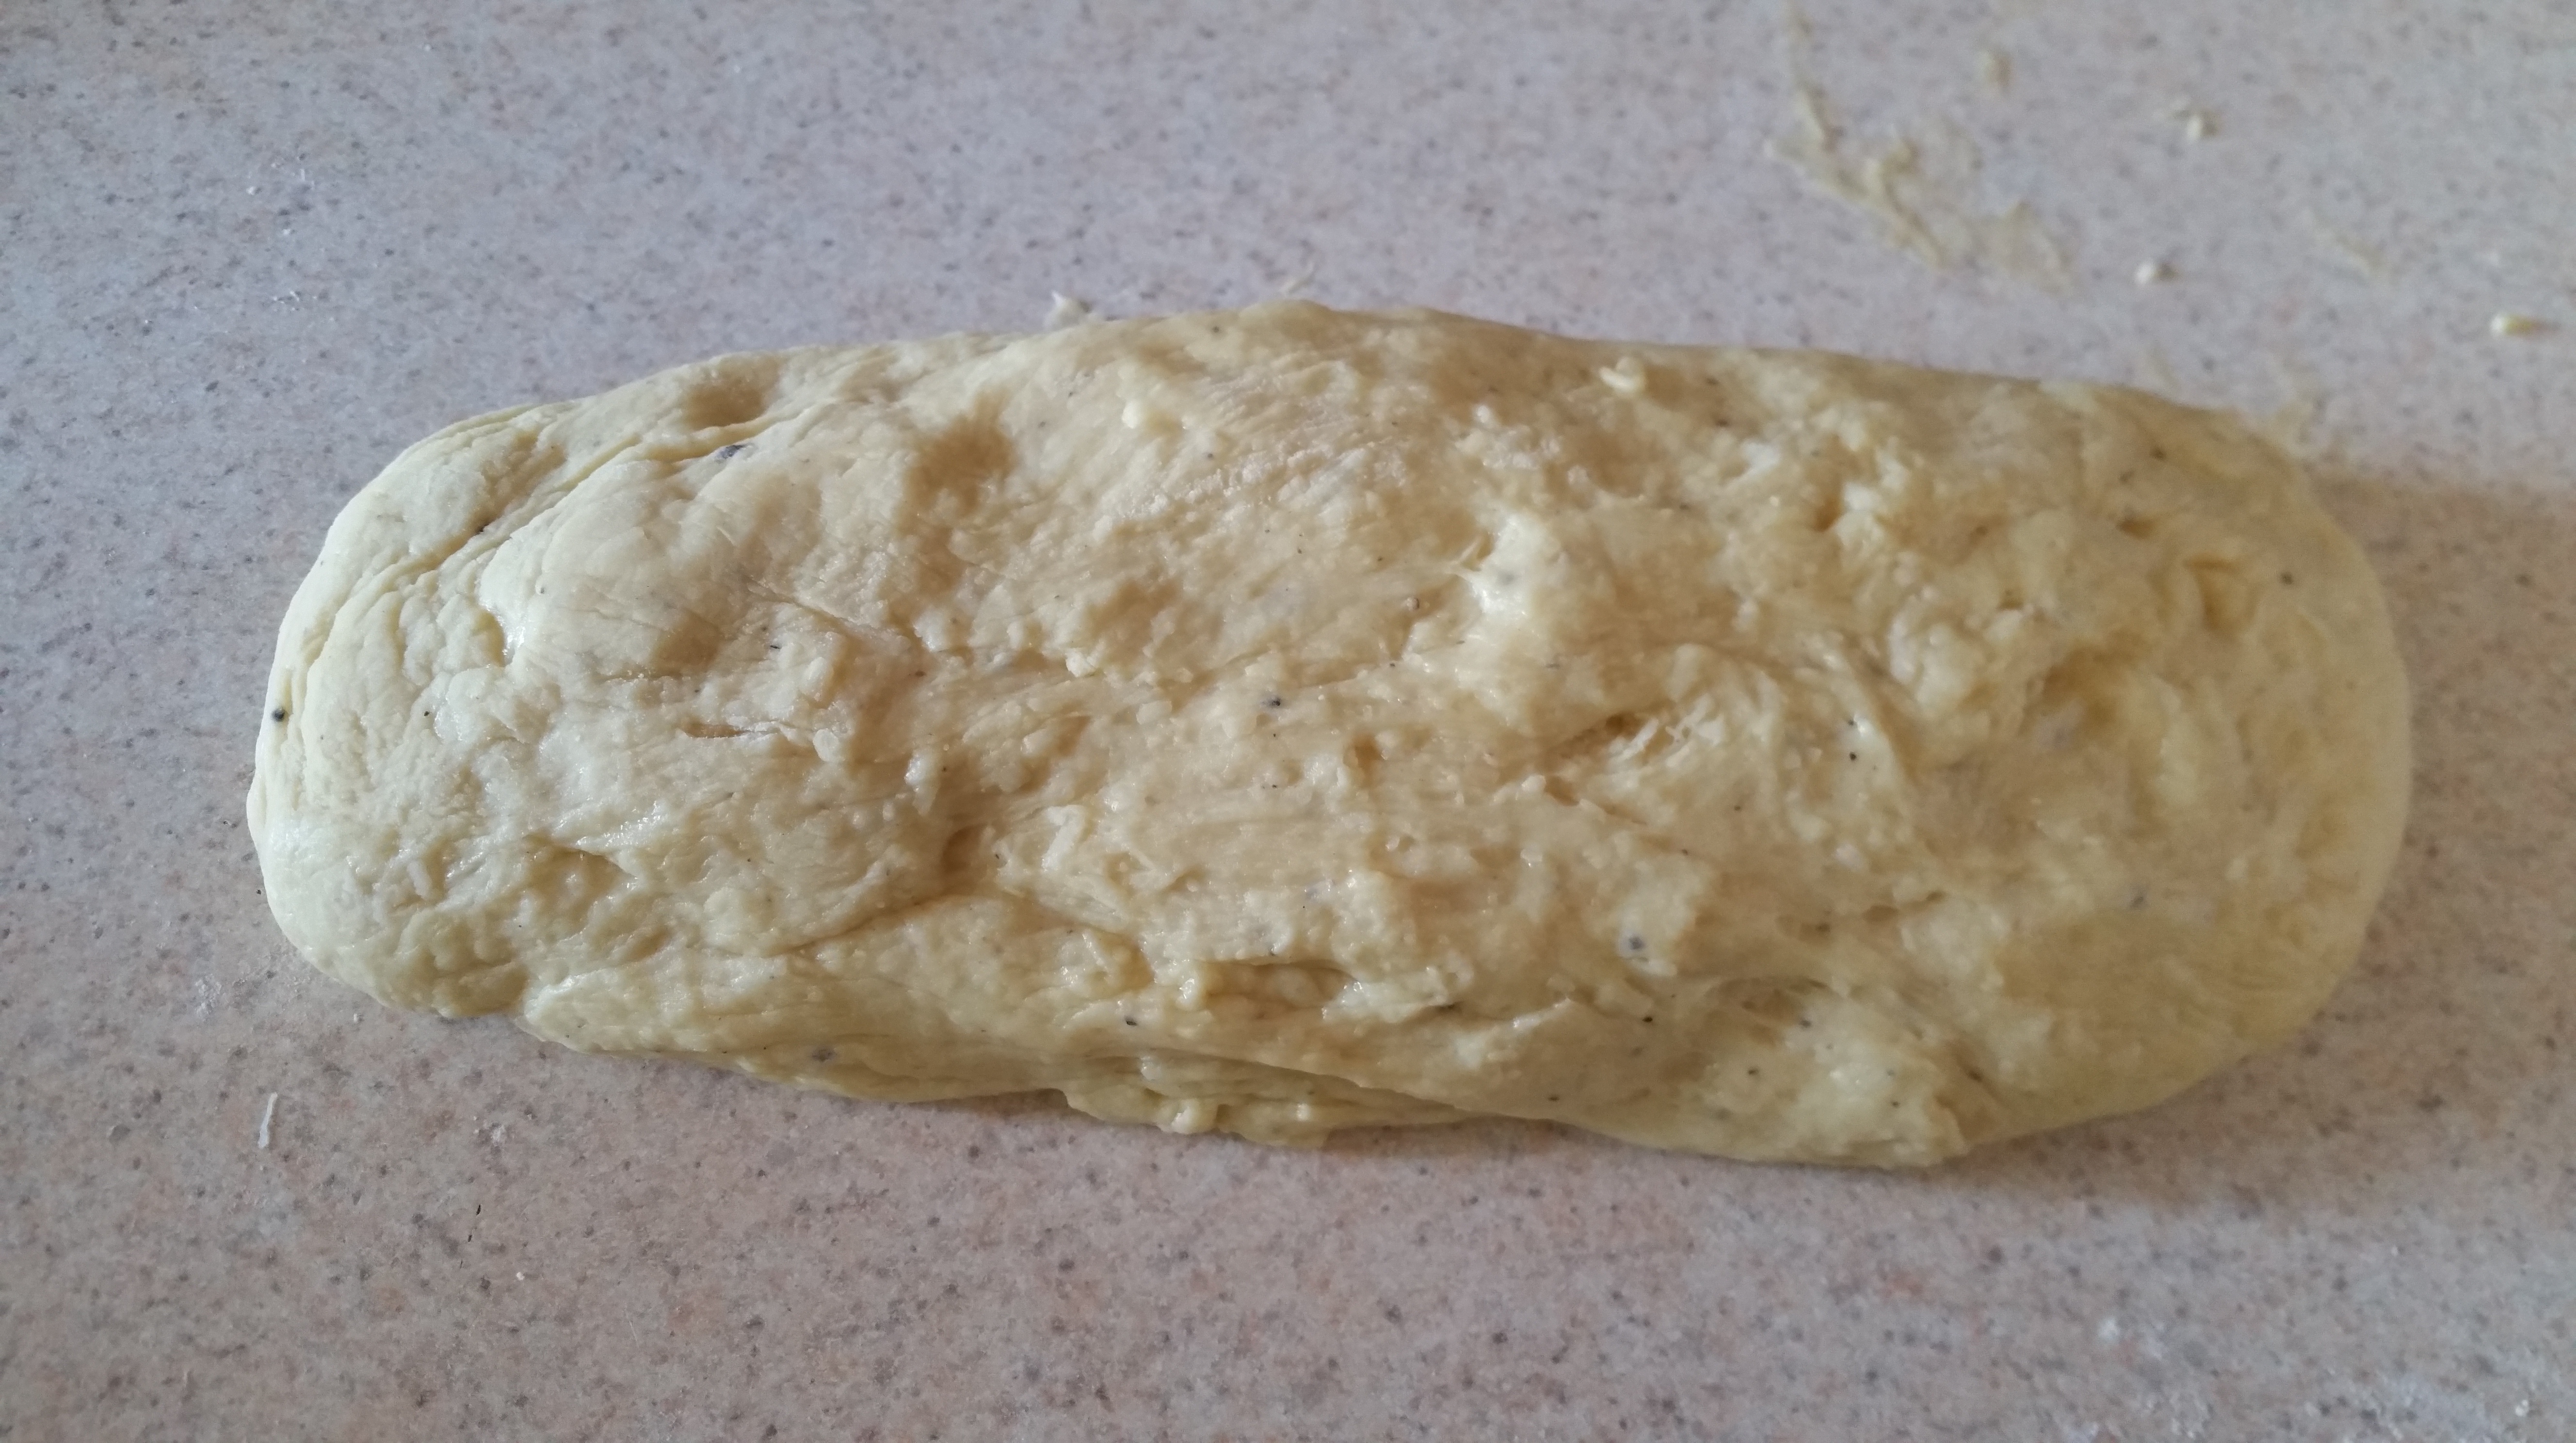
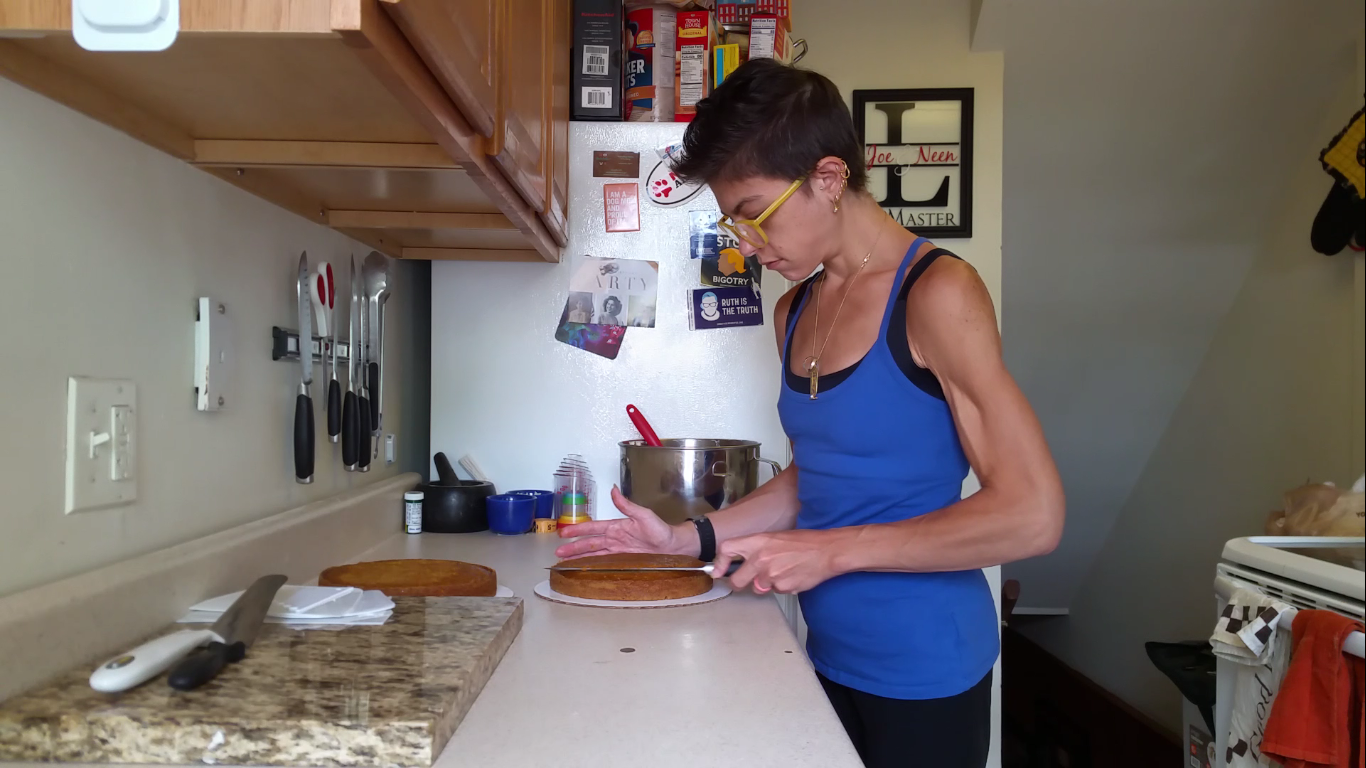
Now onto the fun stuff! I always think it’s easier to trim and frost a chilled cake, so I usually wrap and refrigerate layers for a few hours or overnight. Carrot cake has enough oil in it plus added moisture from the grated carrots that it won’t dry out at all as long as you wrap it up well.
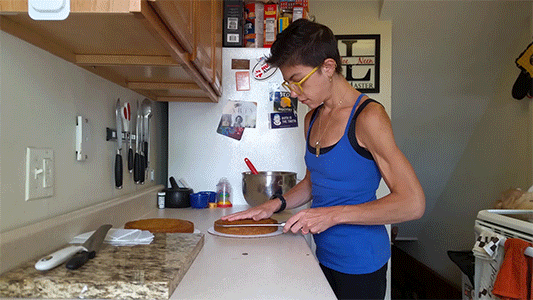
Take a look at your cake layers. If they’re even and flat, leave them alone. If you have any doming, it’s a good idea to trim them with a serrated knife.


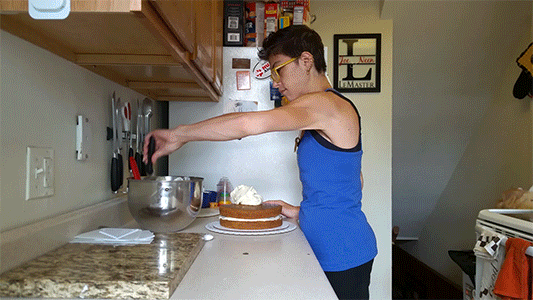
Put one layer on a cake board. If you have one, set that on a turntable. Place a layer of frosting on top of the cake layer (about ¾-1 cup of frosting) and then stack the second layer on top.

Then place a large dollop of frosting on top and frost the top and sides of the cake using a spatula or offset palette knife.

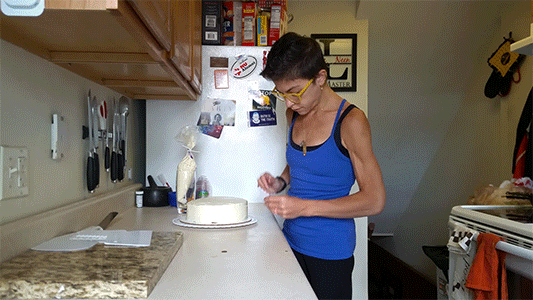
I have these cake scrapers to smooth the sides, but you can just as easily use the flat side of a knife, bowl scraper, bench scraper, or a plain old flat spatula.

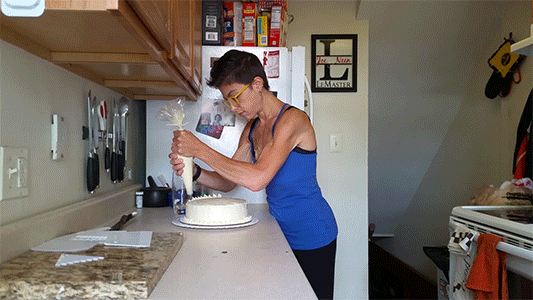
Once you have a nice even coat, put the rest of the frosting into a piping bag for decoration. You can also use a gallon sized plastic freezer bag with the corner cut off for this.
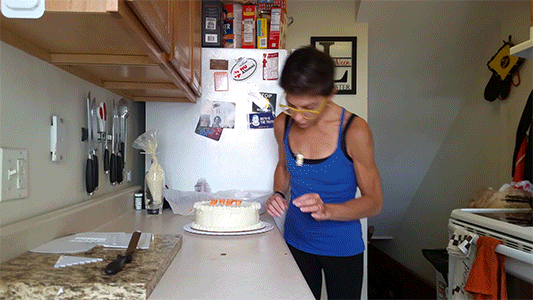
Don’t be intimidated! Keep it simple with small swirls of frosting around the top and bottom or go nuts with patterns. At this point, it’s going to be delicious no matter what. Play around a little. You can always scrape a decoration off and throw that frosting back in the piping bag. If your hands are warm and the frosting gets a little soft, refrigerate the piping bag briefly and return to work when it has cooled.


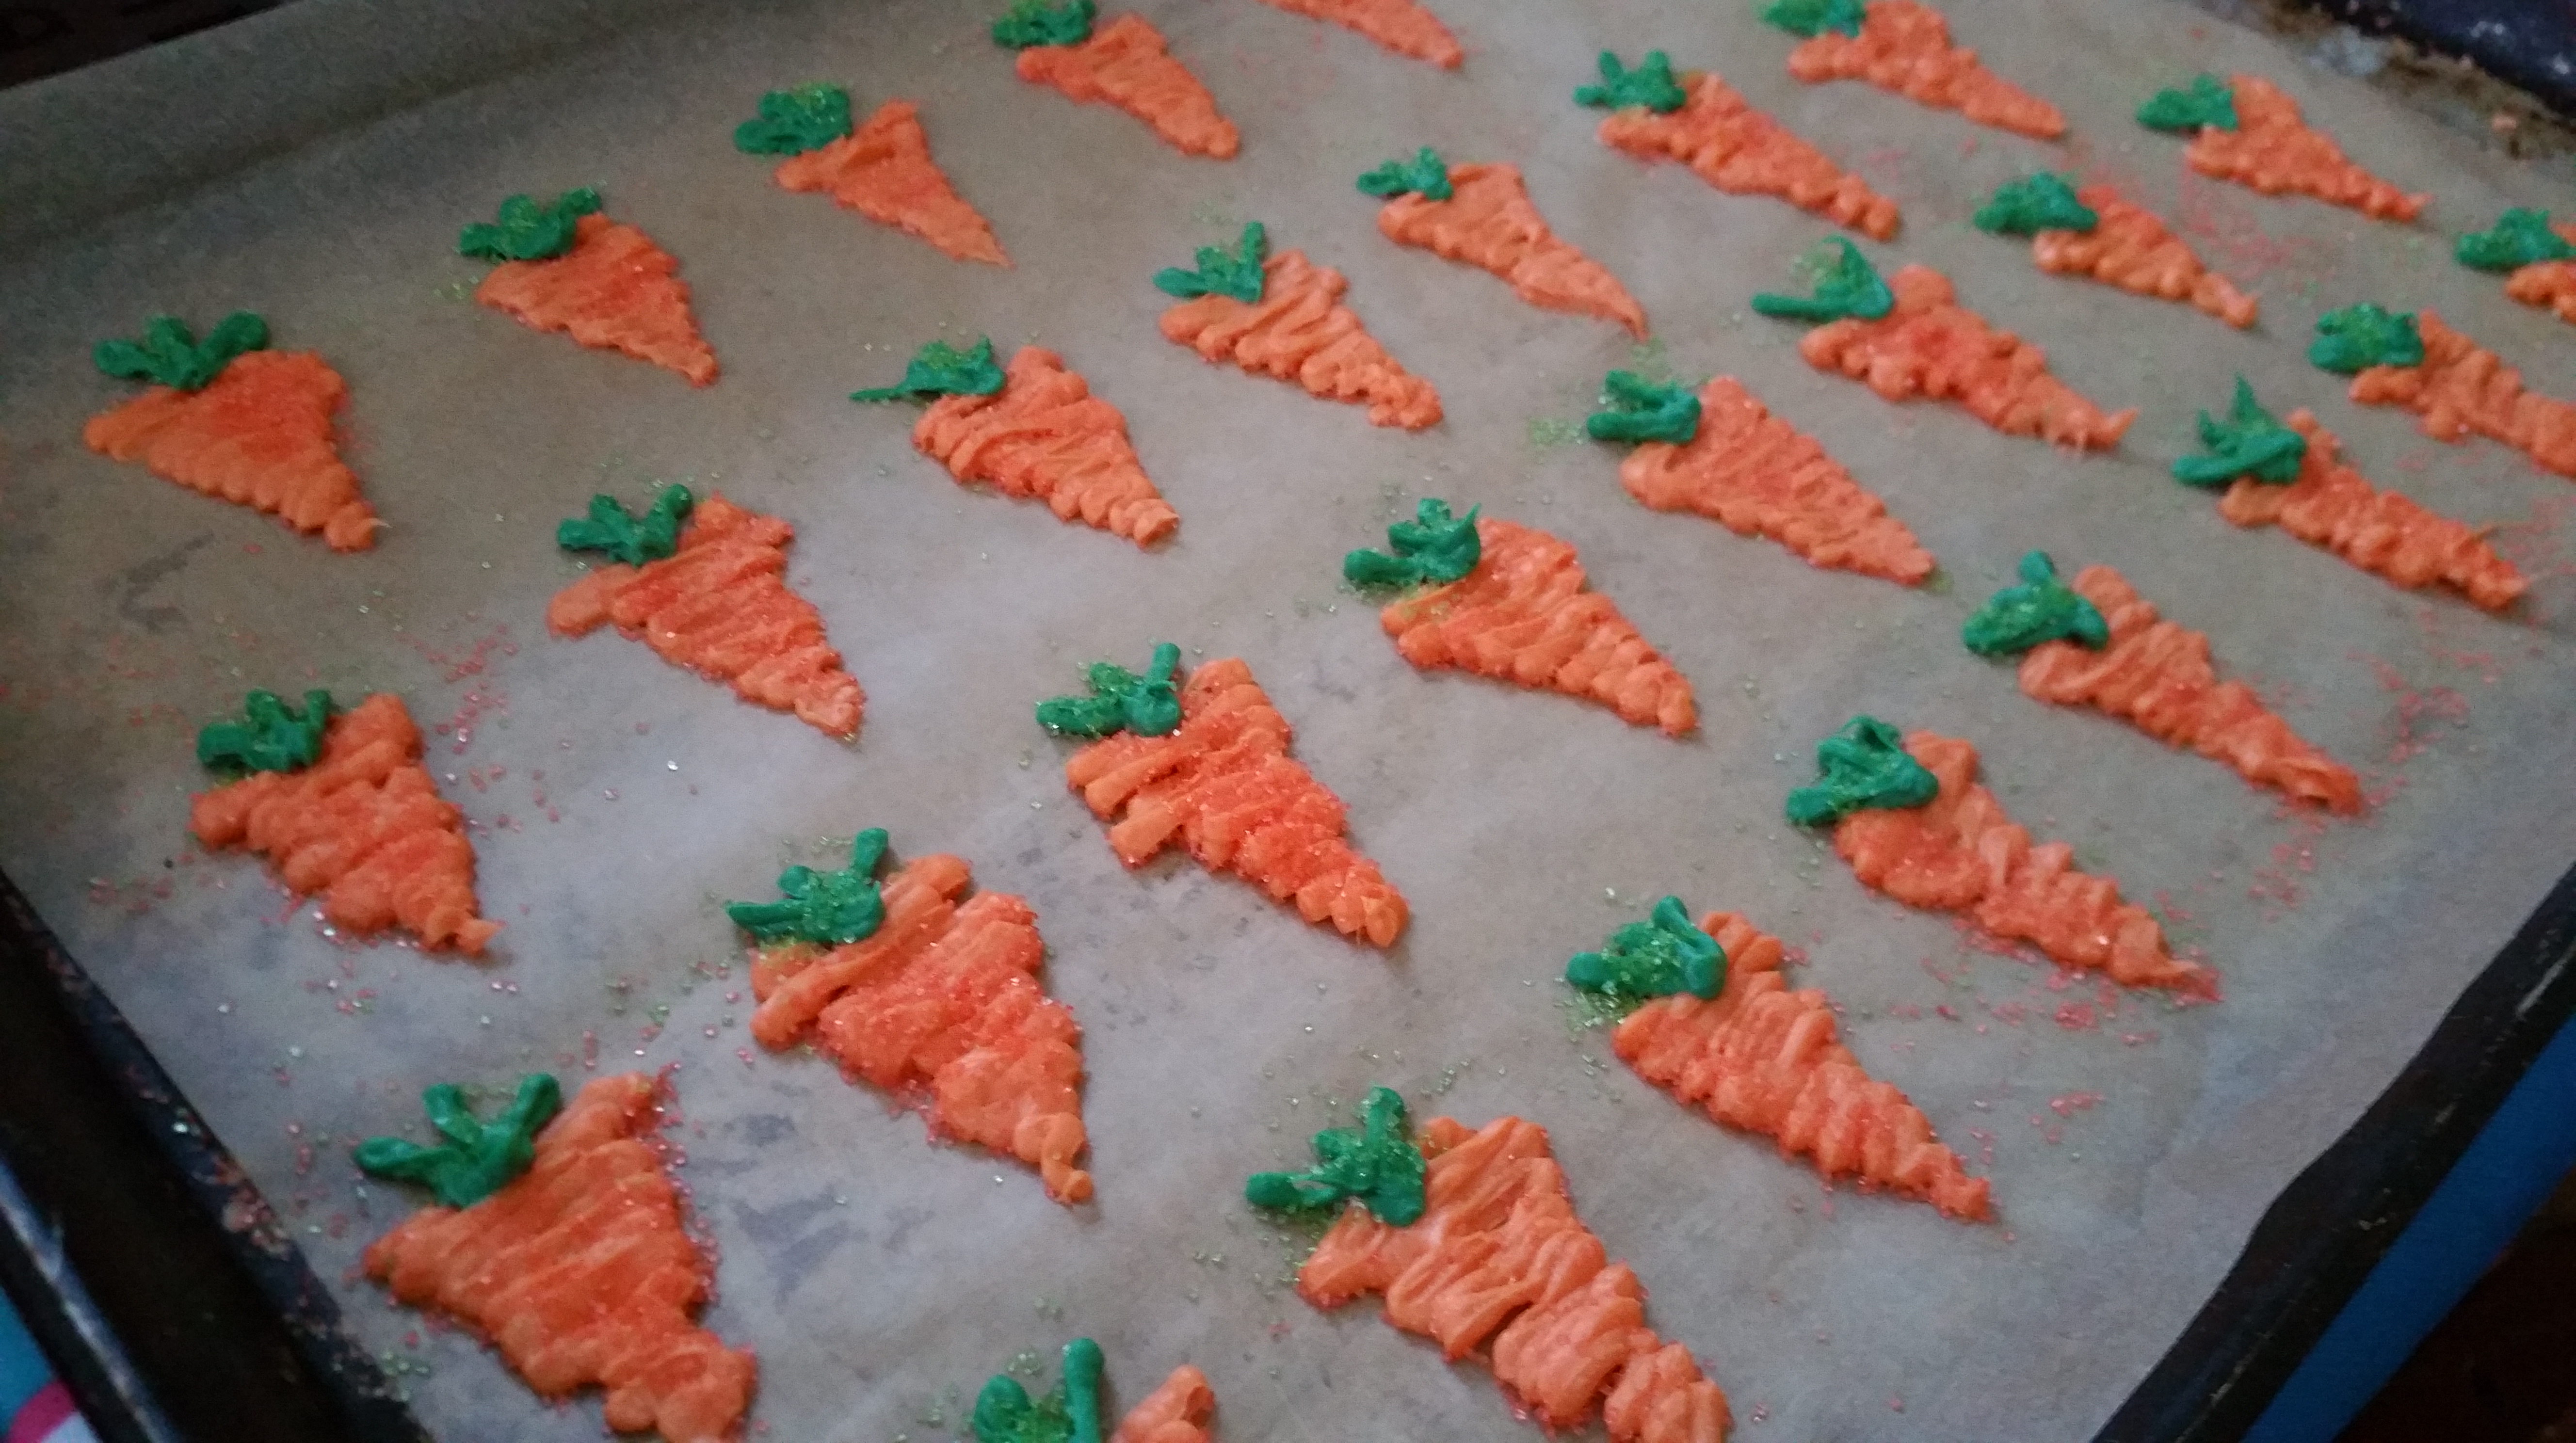
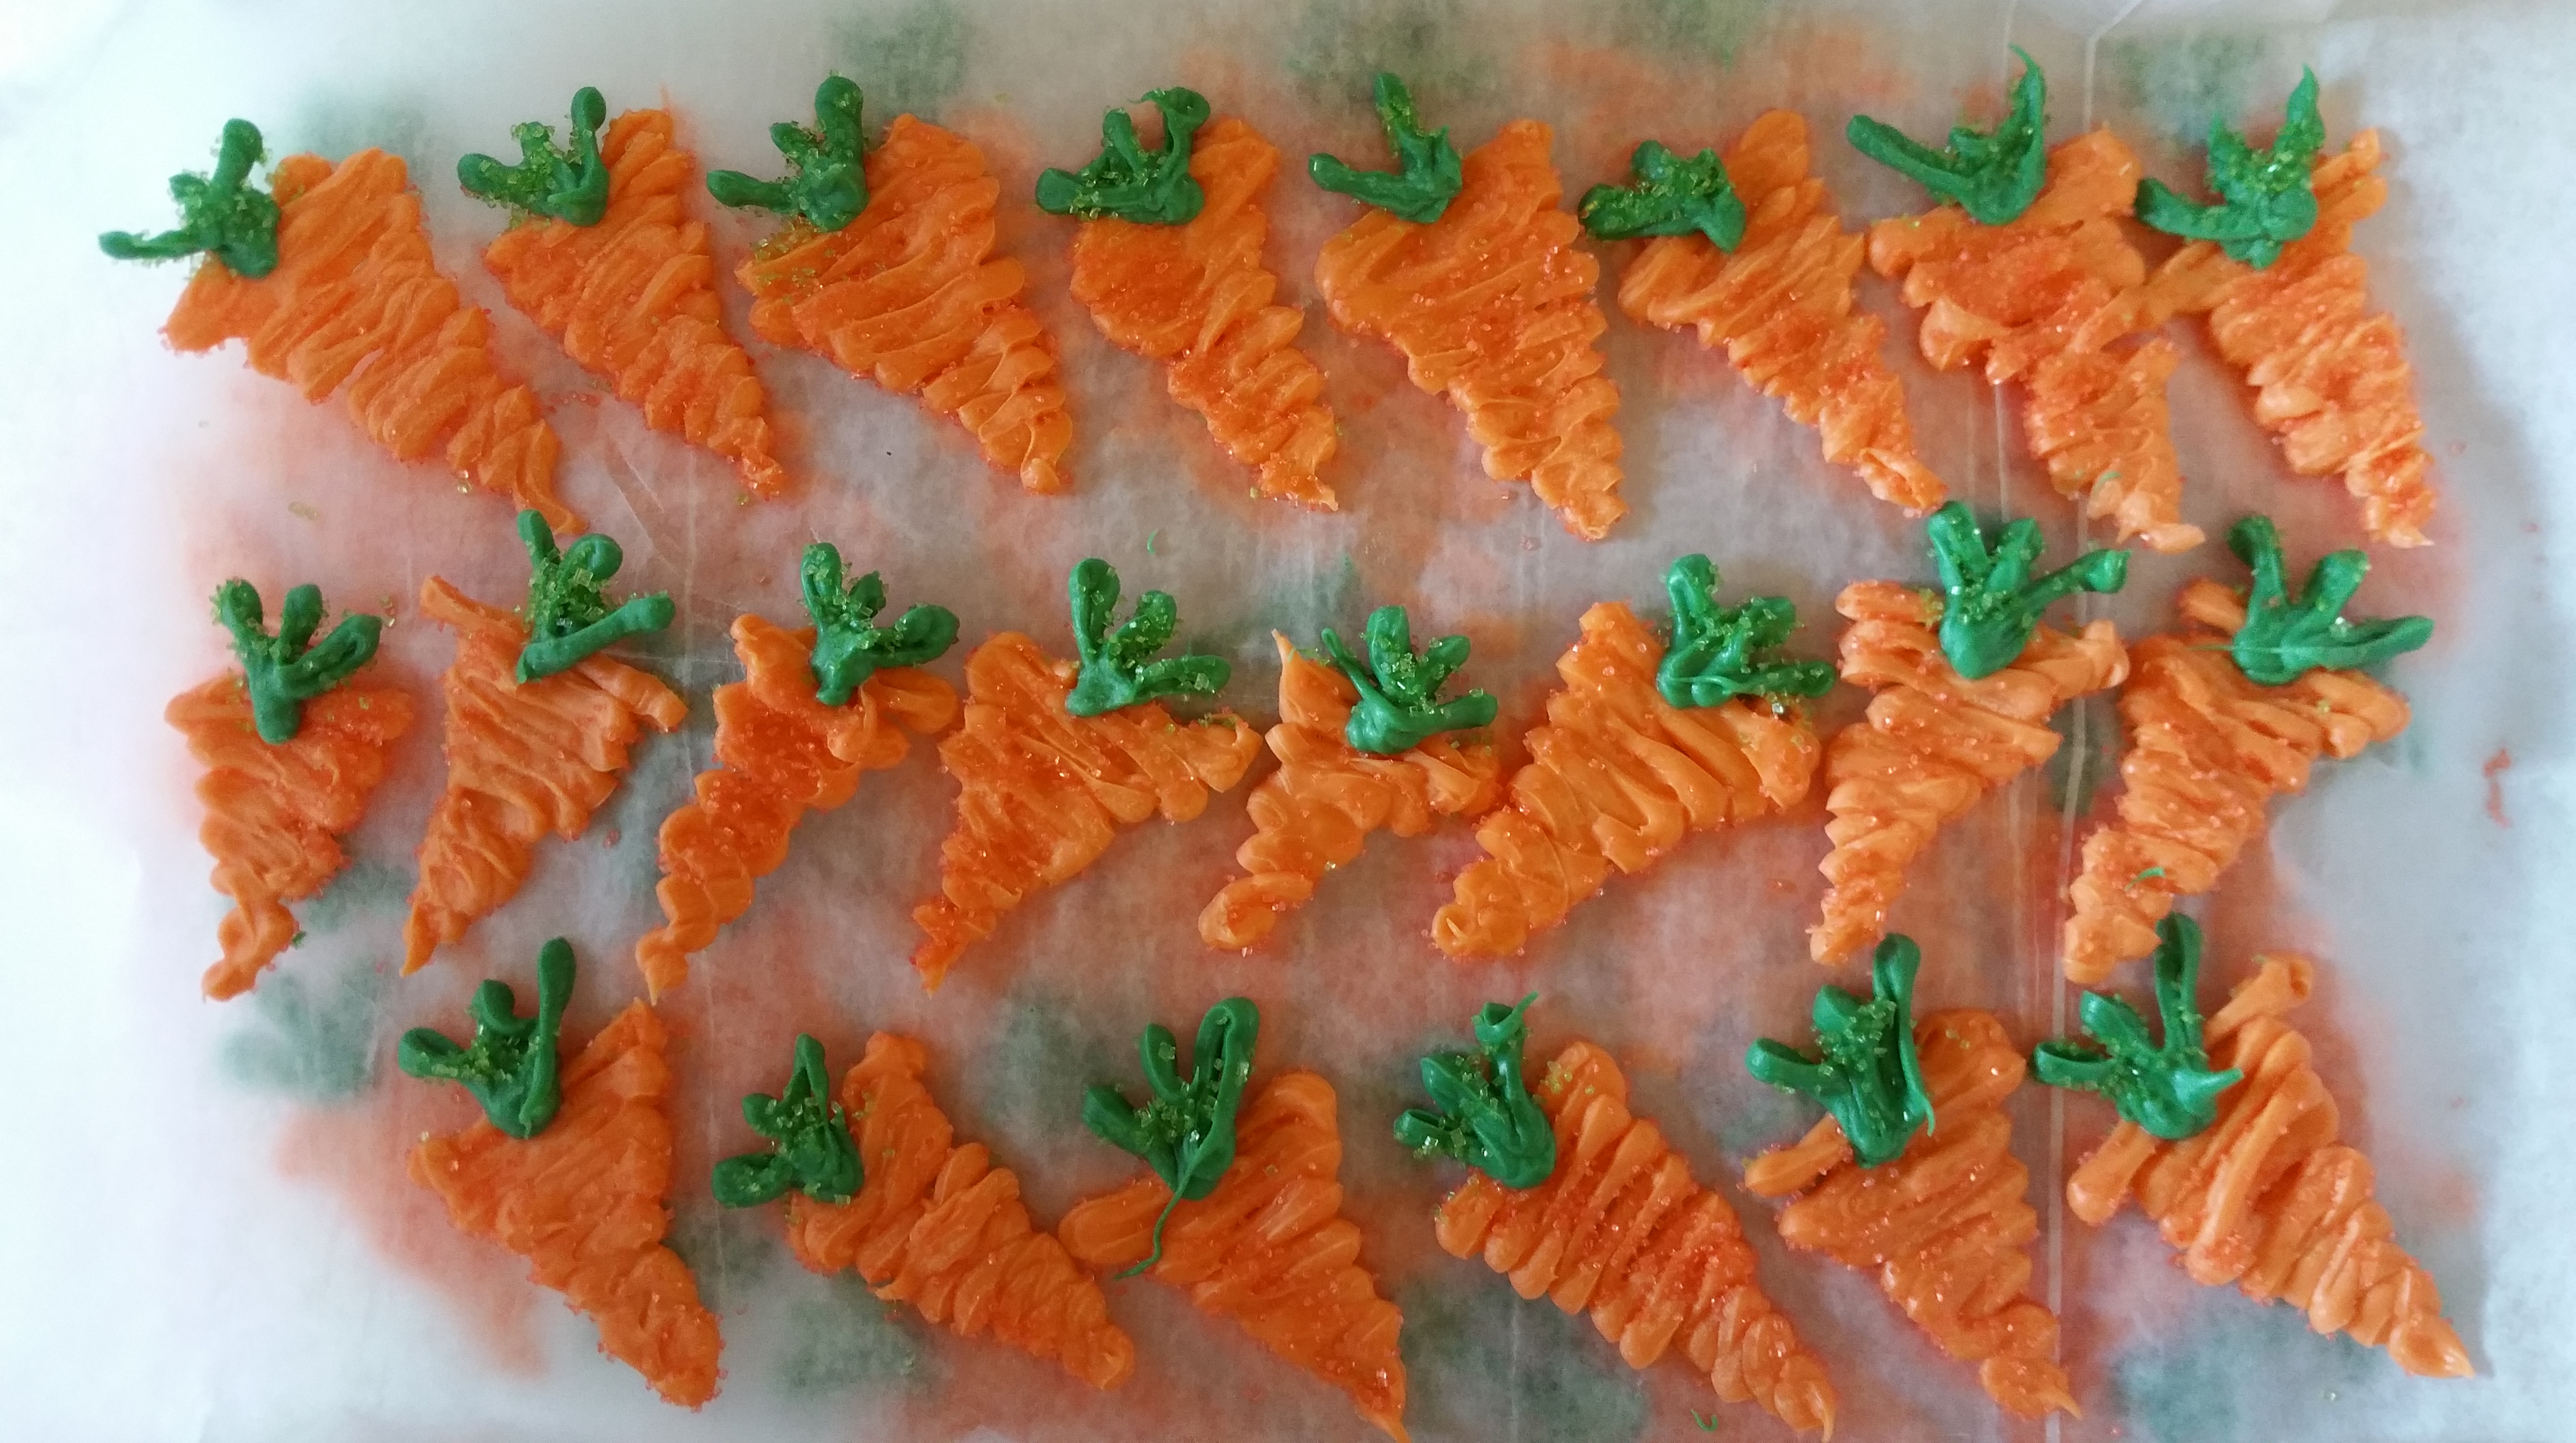
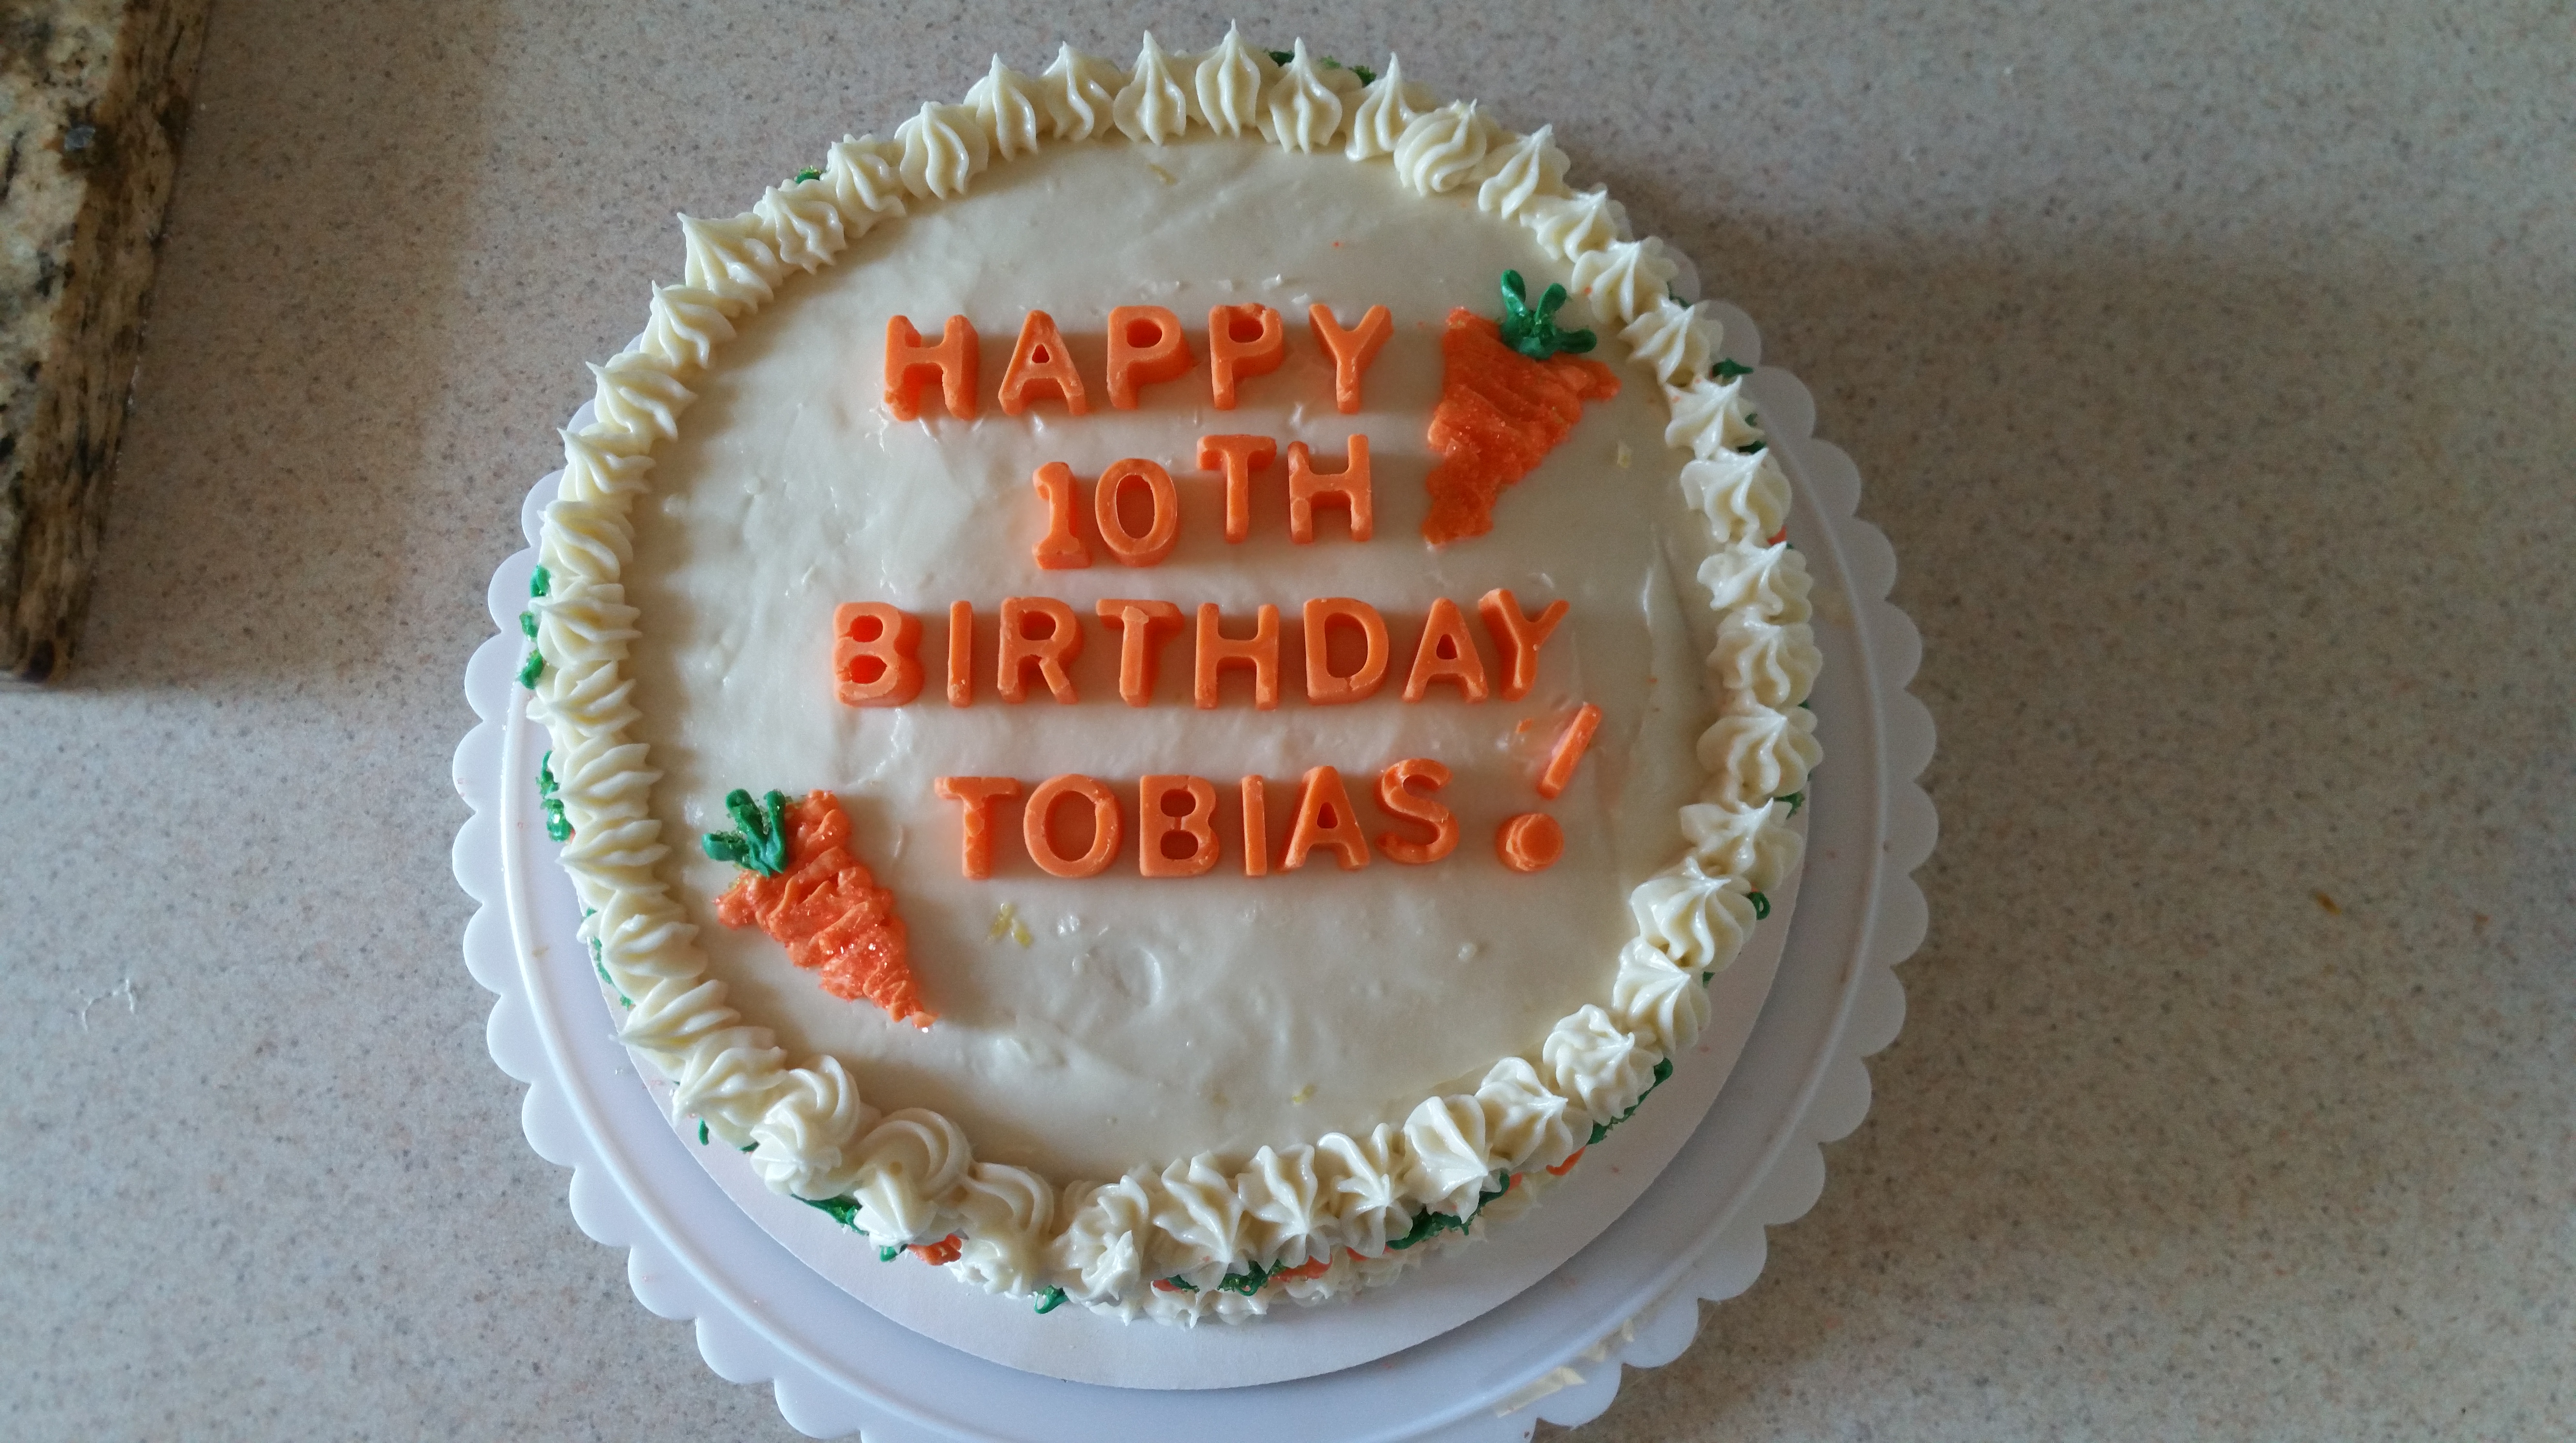
You can also decorate in a way that allows you to practice as much as you want by using some candy melts, which are just colored vanilla candy you can buy at most craft stores and also online. I melted about 6 oz. of green and 6 oz. orange melts and drew these little carrots on some parchment paper, then sprinkled them with colored sugar.


They set up quickly and stick easily to frosting, so it’s a relaxed way to do more intricate decorations. I also used candy for the lettering on this cake by pouring the melted candy into letter-shaped silicone molds.


Once you’ve decorated your cake, put it in the refrigerator to let all of the frosting and decorations firm up. You can leave it uncovered if you are serving it that day, or box it up if you need to store overnight.


This cake is warm, spicy, and sweet. The smooth, luxurious cream cheese frosting compliments the spices, especially the ginger (in my opinion) without being overwhelmingly heavy. The little candy decorations give a nice vanilla crunch that adds a lovely bit of texture to the whole dessert.
To see the smile on Tobias’ face as his mom opened the cake box was the ultimate reward. There is nothing better than helping to make someone’s special day even sweeter.
Happy cake baking!
Ciao for now,
Neen