It doesn’t take knowing me very long to realize that I’m kind of a nerd, a title I wear with pride. Let’s be real, I went to graduate school for library and information science, so reading and research are my jam. I’d say that a lot of this stems from having parents who read to me and who encouraged me to read from a young age.
One of the perks of being a kid who already LOVED to read was Book It!, a program that Pizza Hut has been running since 1984 to promote literacy. When I was a kid, you’d receive a badge and for every book you read, you’d get a sticker to put on it. Once it was full, you could present the completed badge at a Pizza Hut and get a free personal pan pizza. And man, was that an awesome reward in my mind. I loved those little pan pizzas. They were thick, super cheesy, and had awesome crispy edges from the cast iron pans they were baked in. I remember my cousins and I nearly emptying the shakers of parmesan cheese onto our pizzas and gleefully devouring them as we contemplated how to convince our parents to give us more quarters for the arcade machines in the front of the restaurant.
Adult-me still loves books (especially cookbooks!) and definitely still loves pizza. But I have my own beloved cast iron pan now, and my love of reading and research have most certainly led me to learn how to make that cheesy, chewy, crispy delight right in my own kitchen. And with a husband who has an extensive collection of video games, I don’t even need quarters to play games while I wait for my pizza.
Want to make one? Here’s how!
Pan Pizza
Dough:
- 1 ¾ – 2 cups bread flour
- ¾ cup warm (110-115 degrees F) water, divided
- 2 ¼ tsp. active dry yeast
- 2 tsp. olive oil
- 1 tsp. kosher salt
Sauce:
- One 15 oz. can tomato sauce
- 1-2 cloves garlic, minced
- 3 tsp. dried herbs (I like a mix of parsley, oregano, and basil)
Toppings:
- 9 oz. shredded mozzarella cheese
- Whatever you like on your pizza!
Pan:
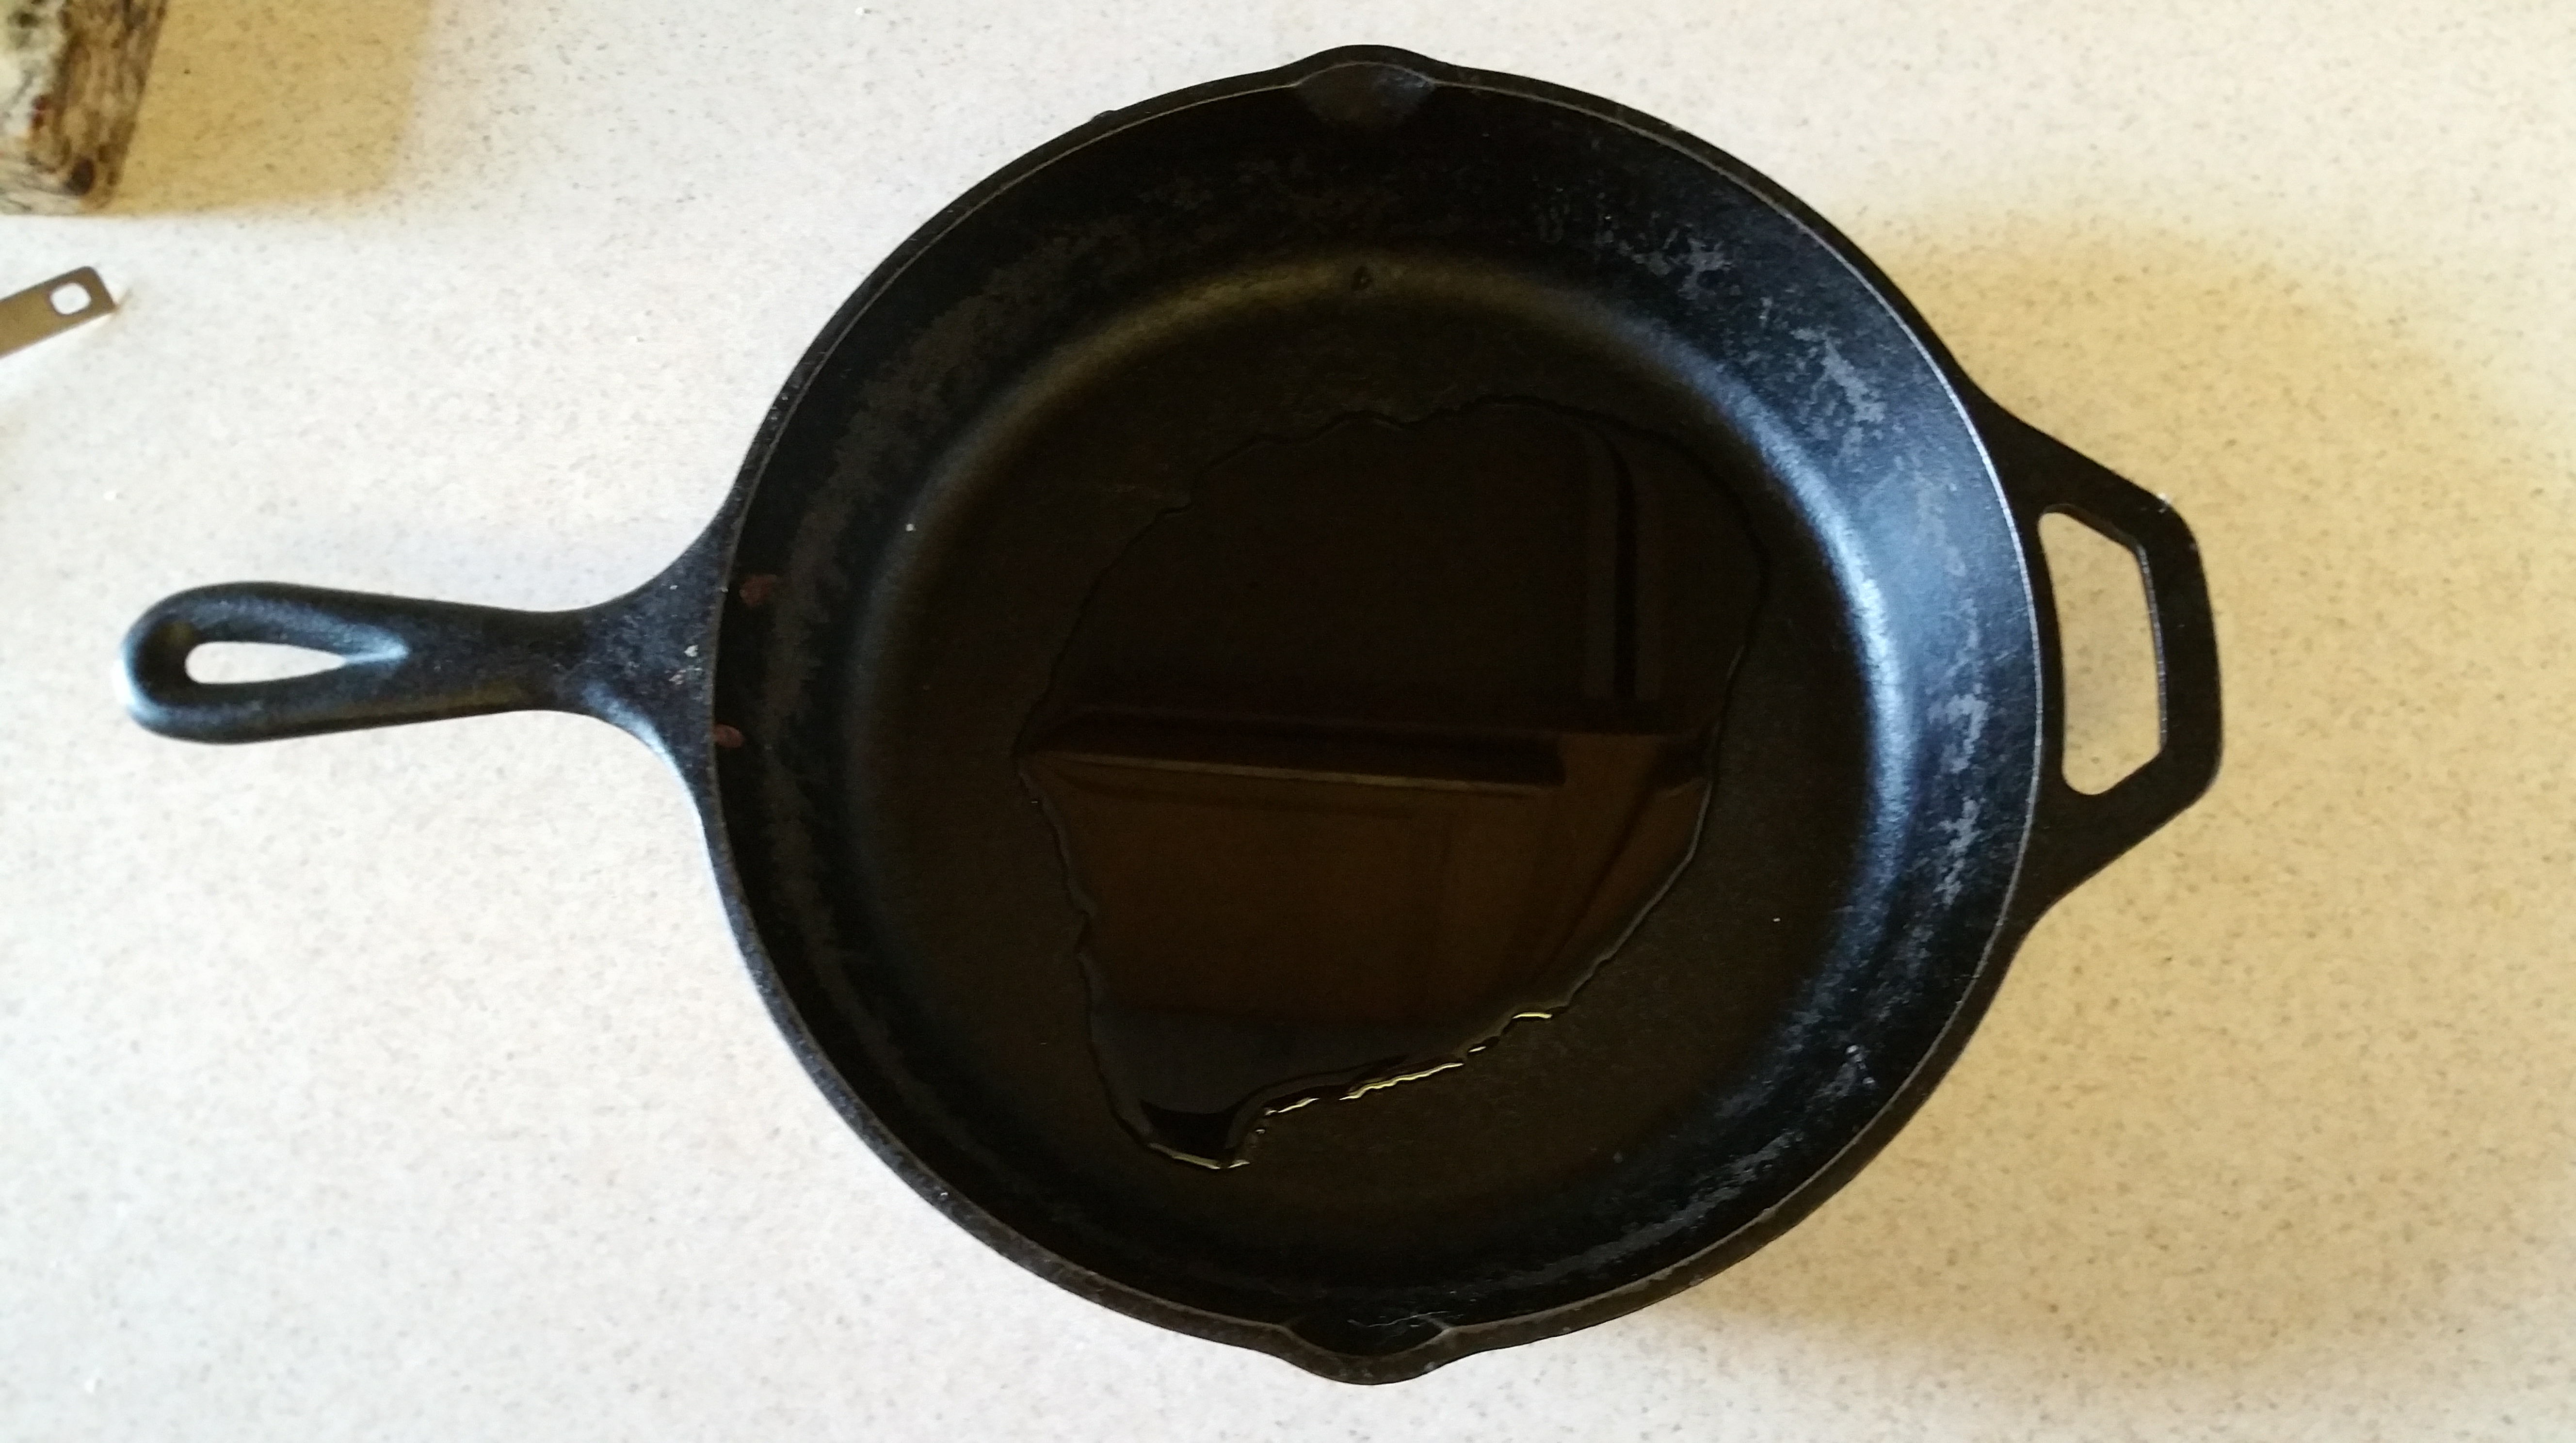
- 2 tbsp. olive oil
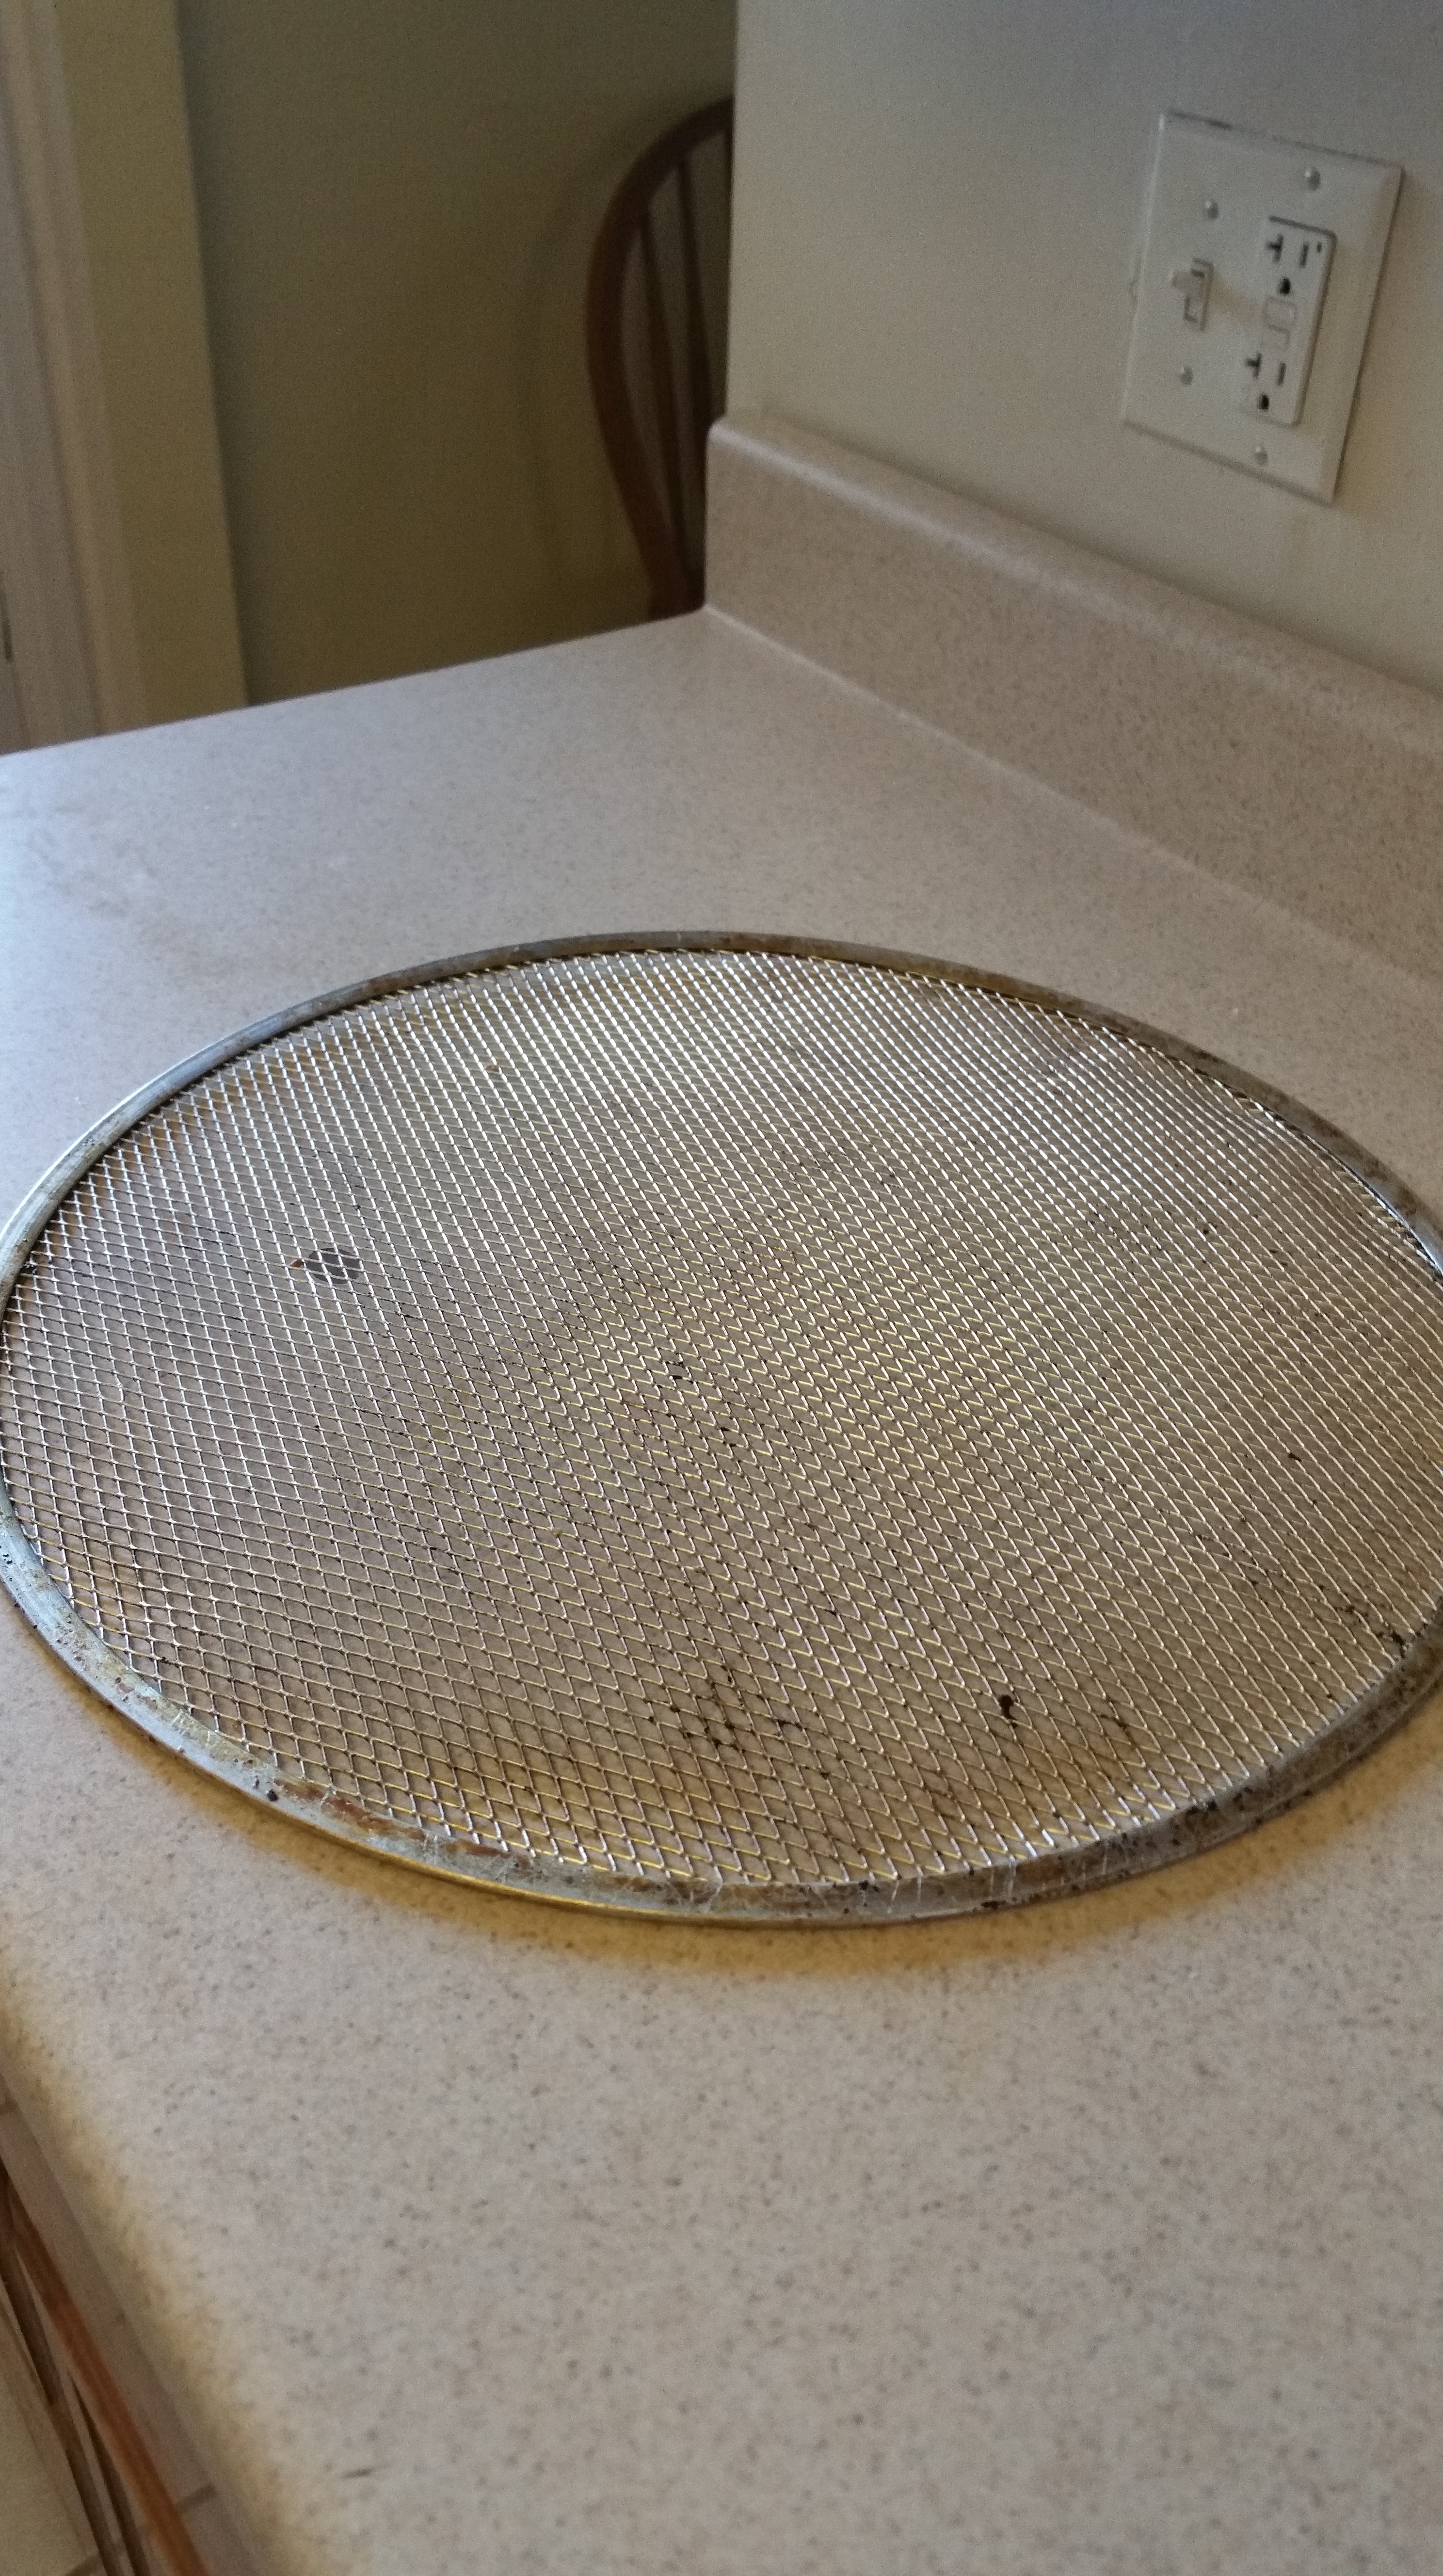
- 8-10 in. cast iron skillet
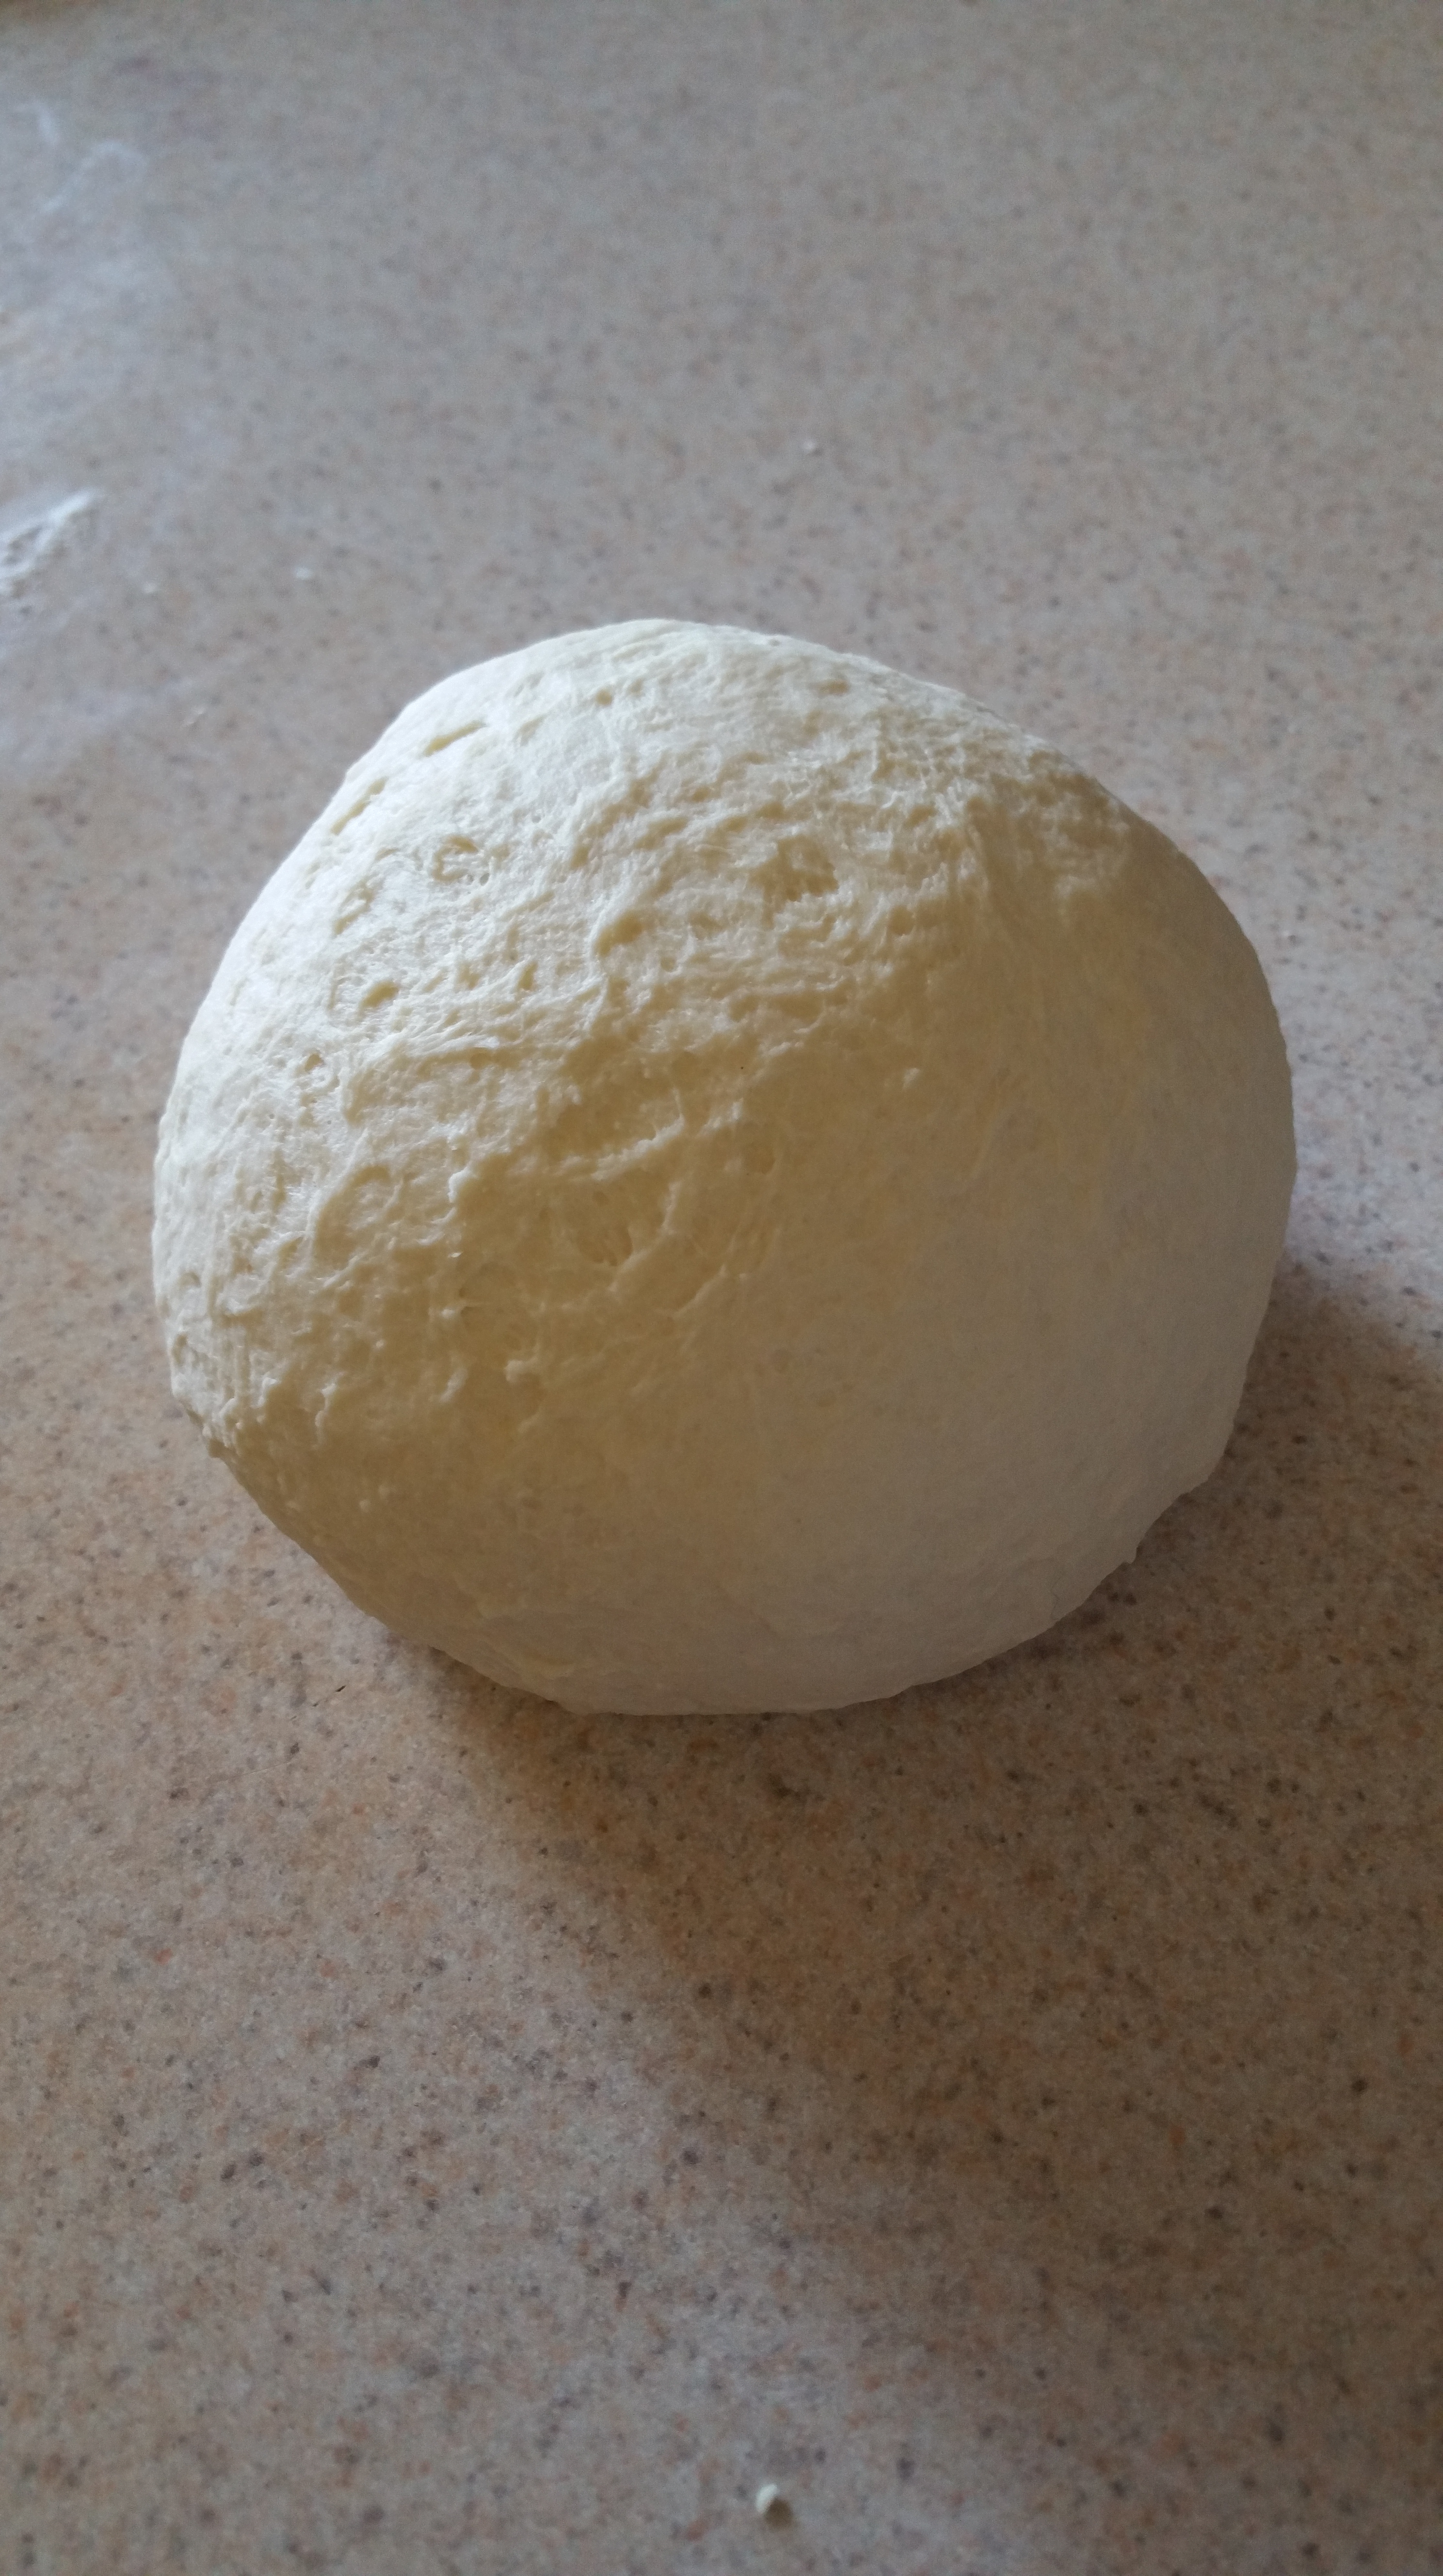
Begin by making the pizza dough.

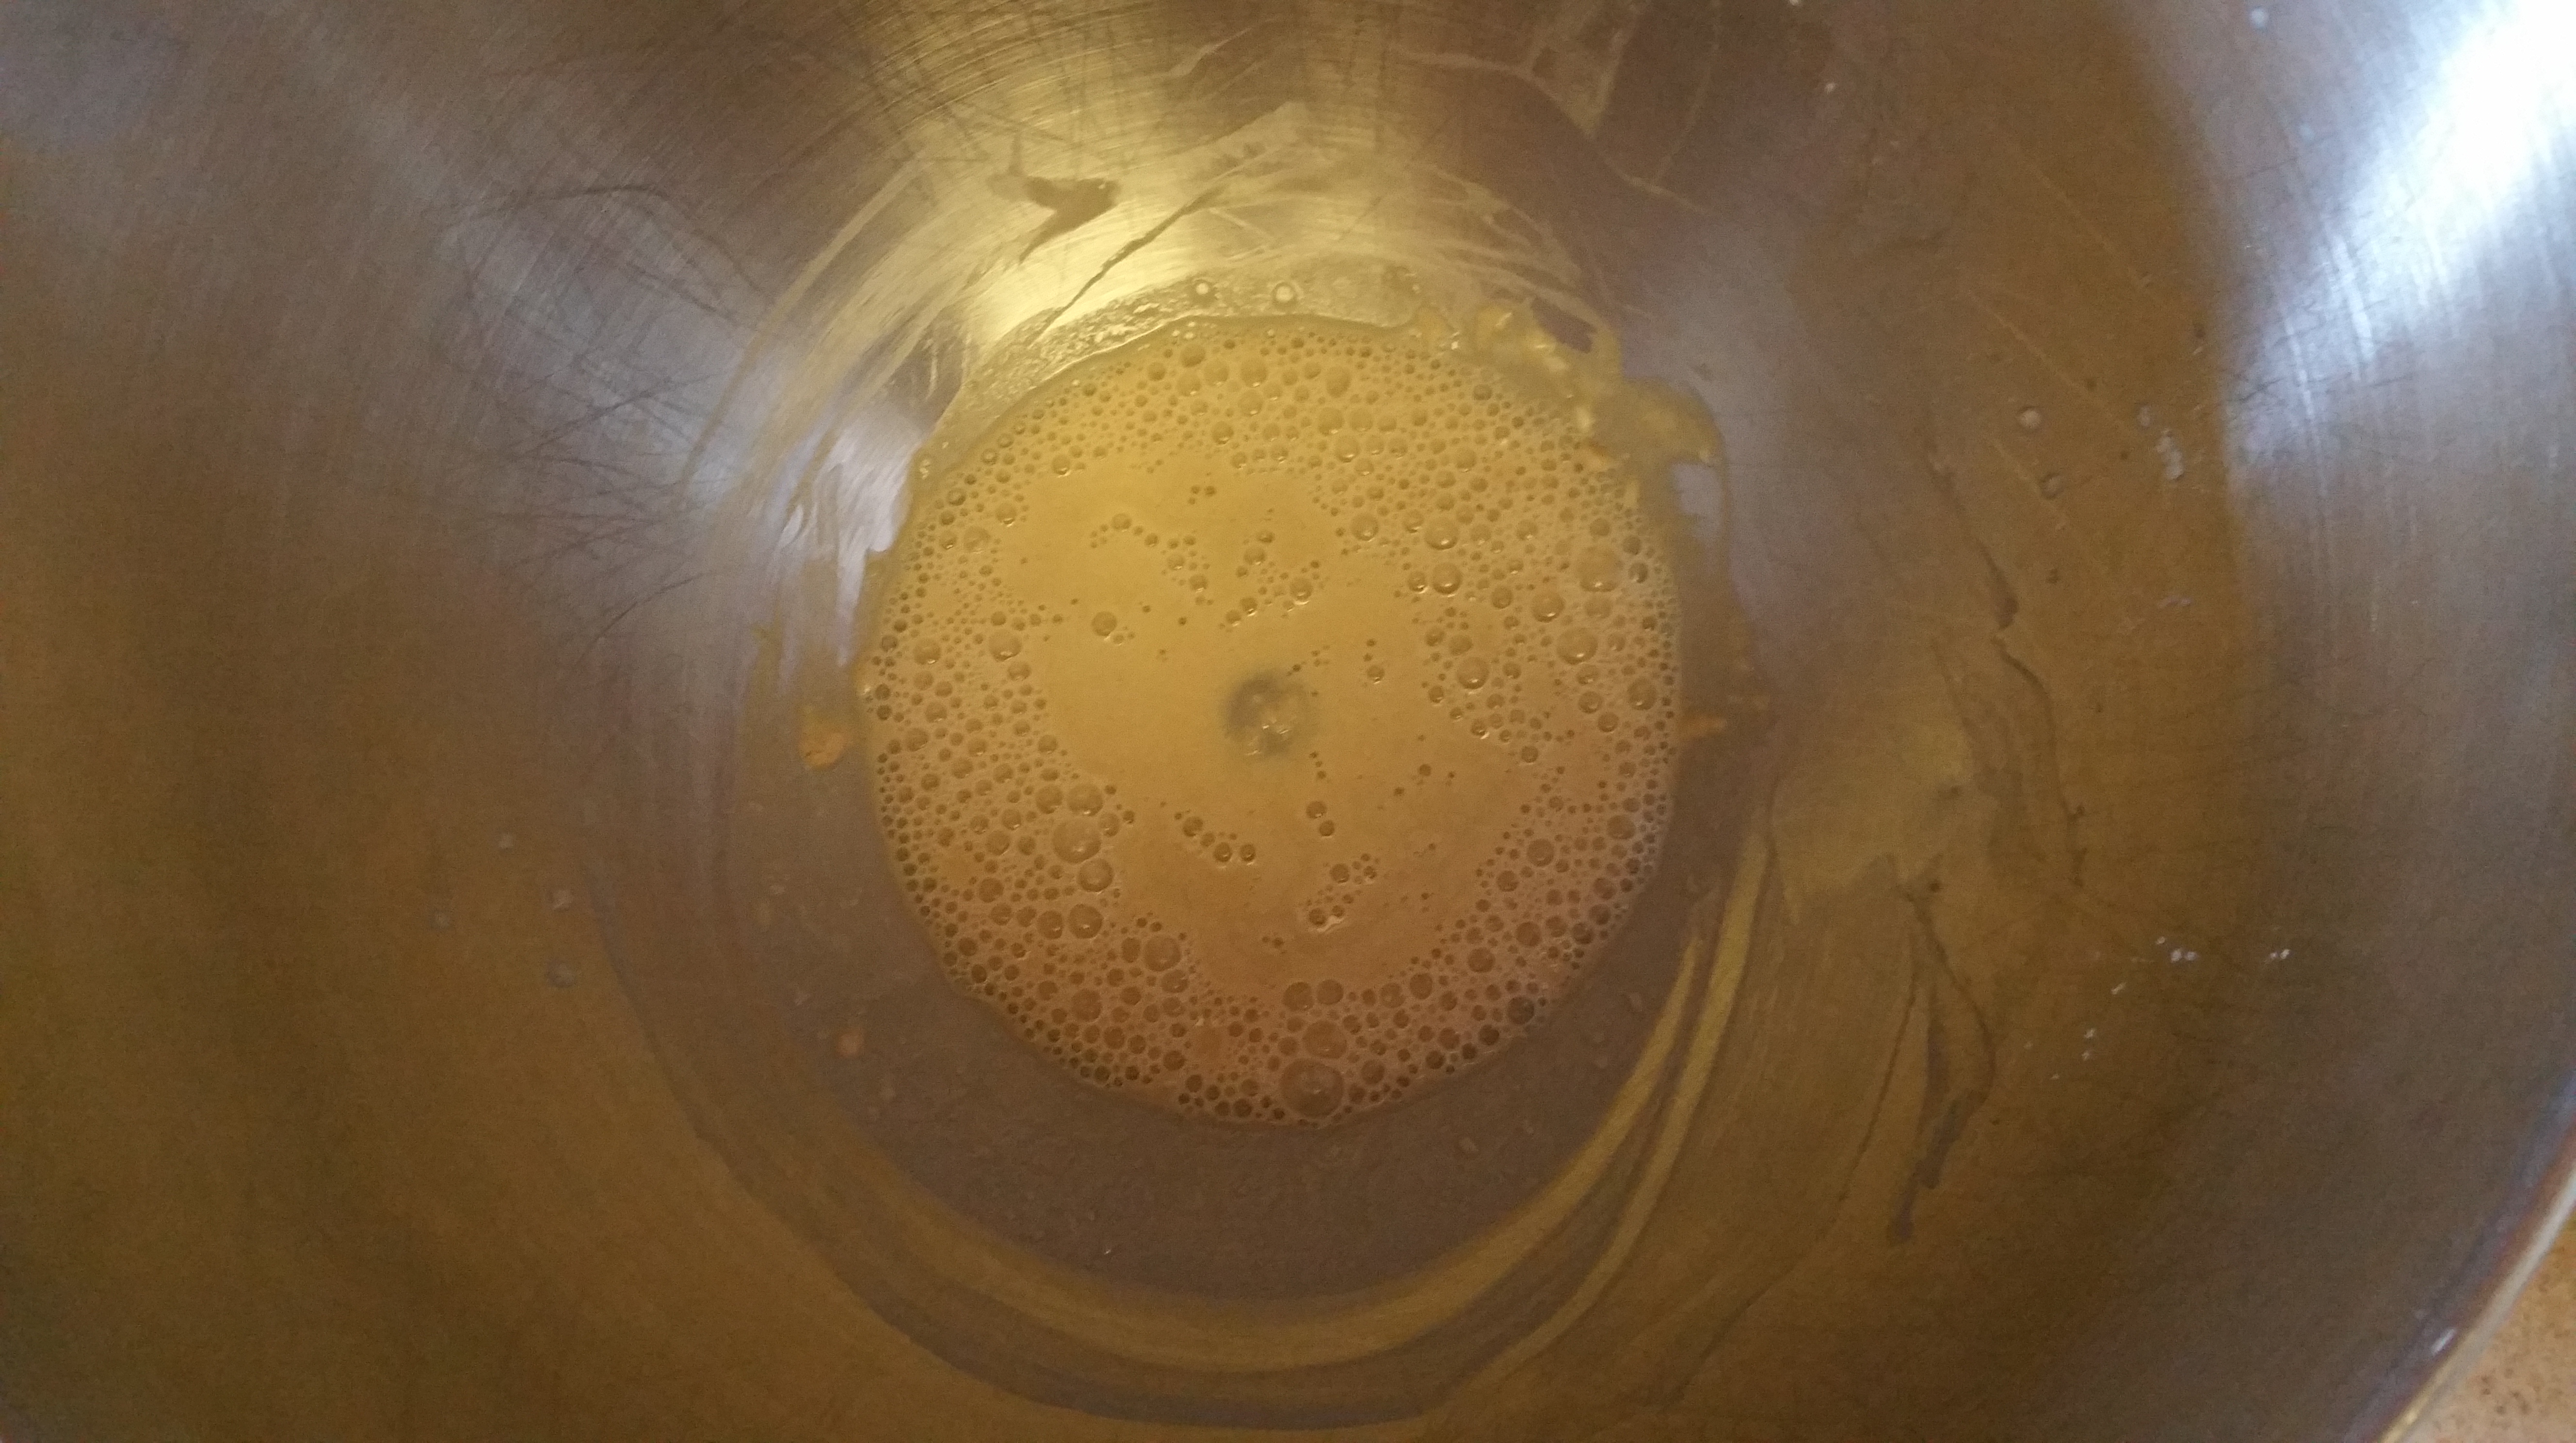
Combine 1 tbsp. of the flour, ¼ cup of the water, and the yeast in the bowl of a stand mixer and let sit for about 5 minutes, or until foamy.
Add the remaining 1/2 cup water, 2 tsp. olive oil, and salt and stir to combine.

Slowly add the flour ½ cup at a time until the dough pulls away from the side of the bowl.


Turn the dough out onto a lightly floured surface and knead until it is smooth and elastic.

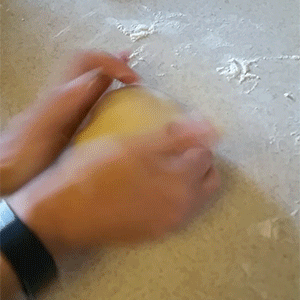
Roll into a tight ball and then place in an oiled bowl, turning to coat in the oil.
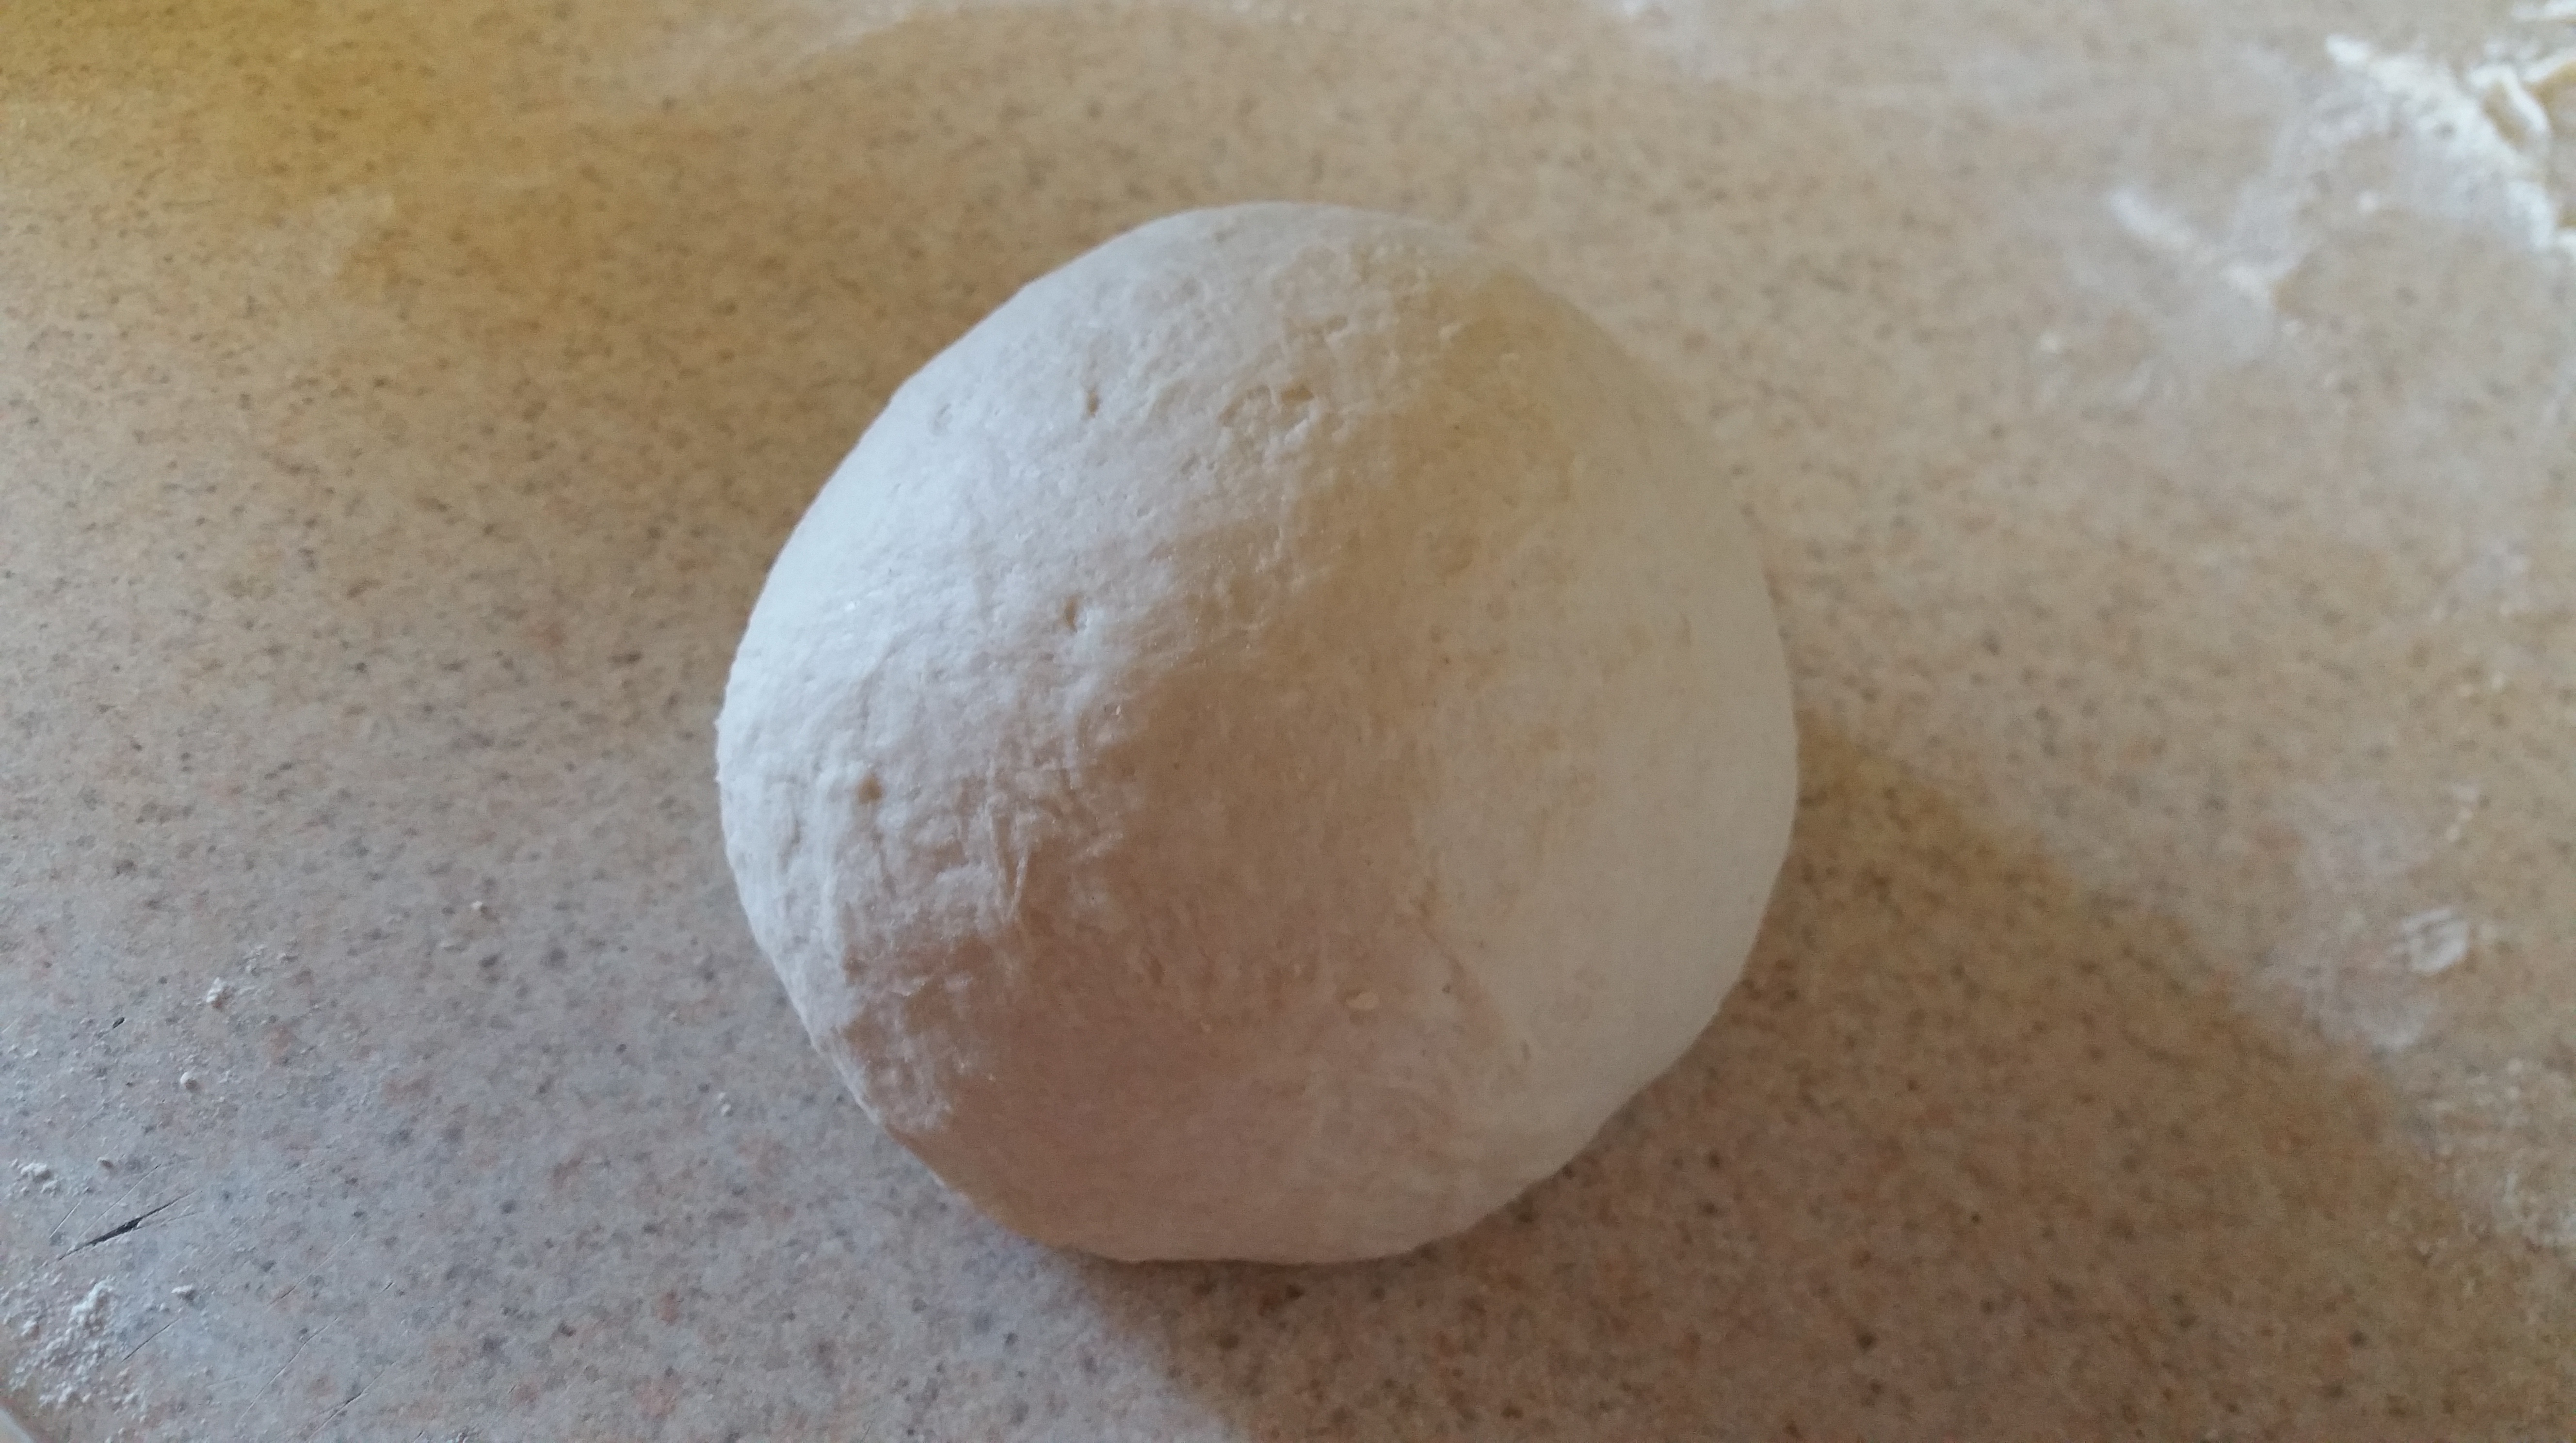

Cover the bowl with a clean towel or loosely with plastic wrap and place in a warm area until the dough ball doubles in size. It will take about an hour.
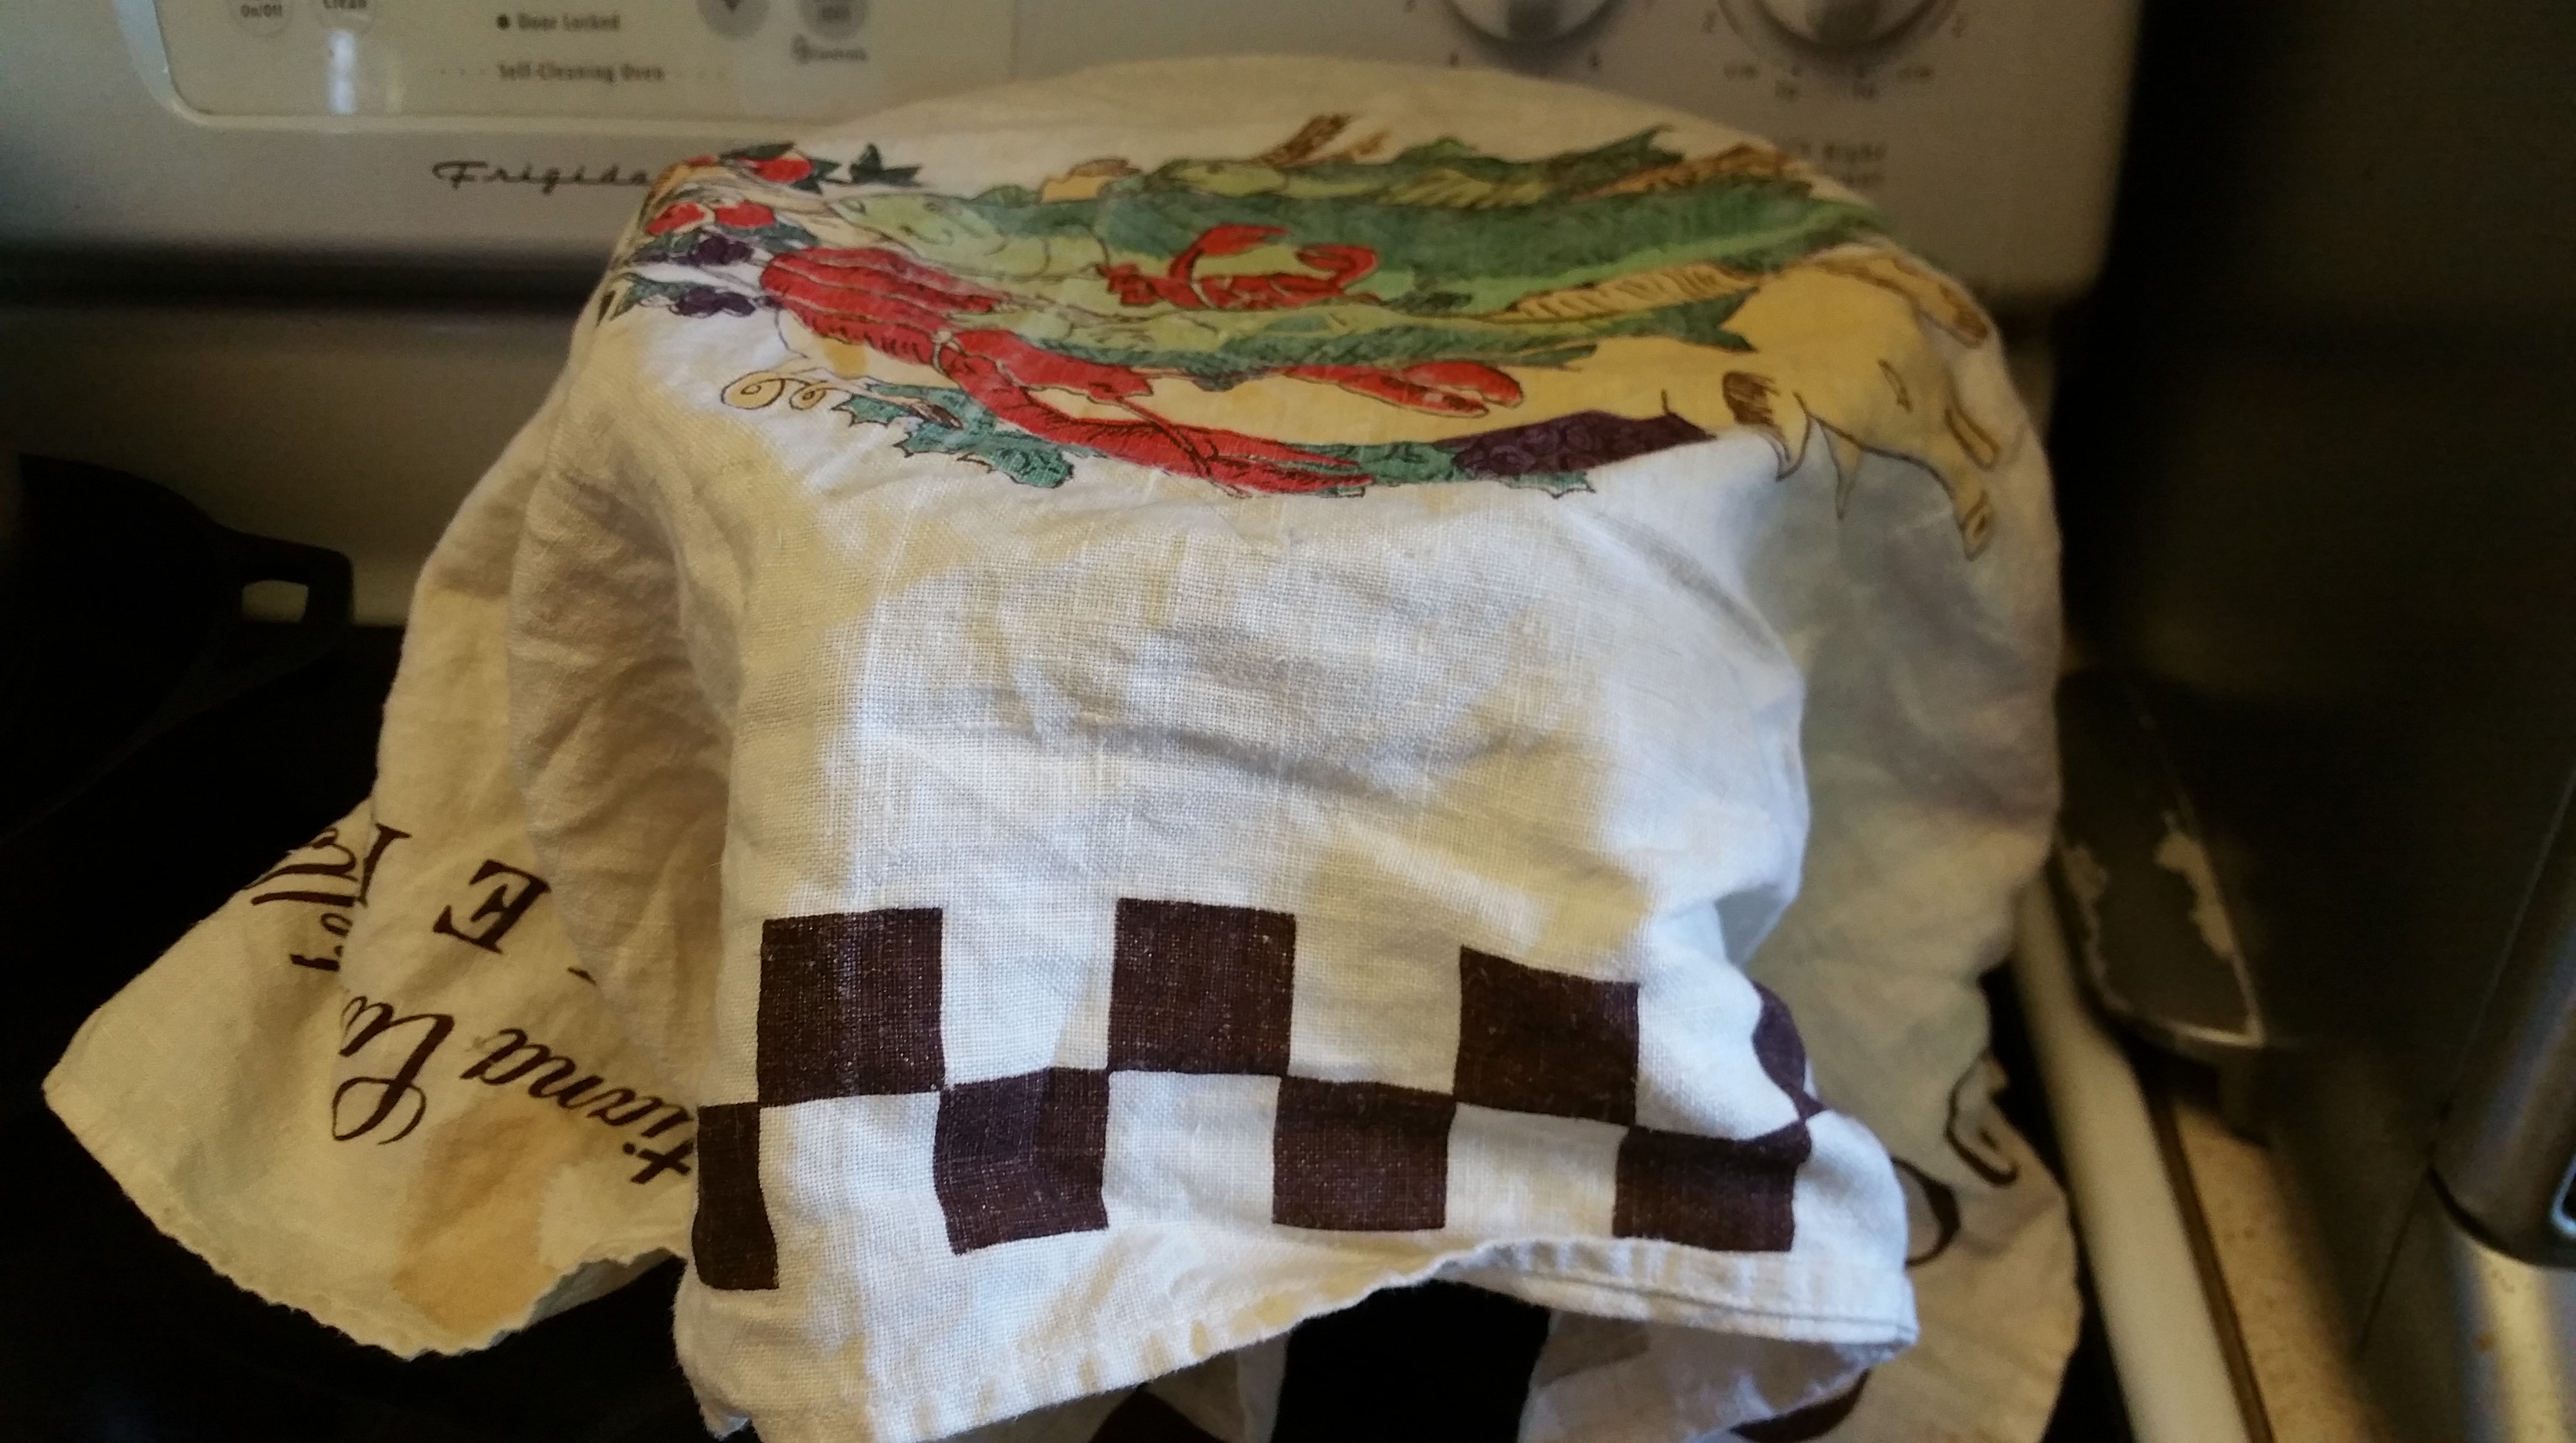

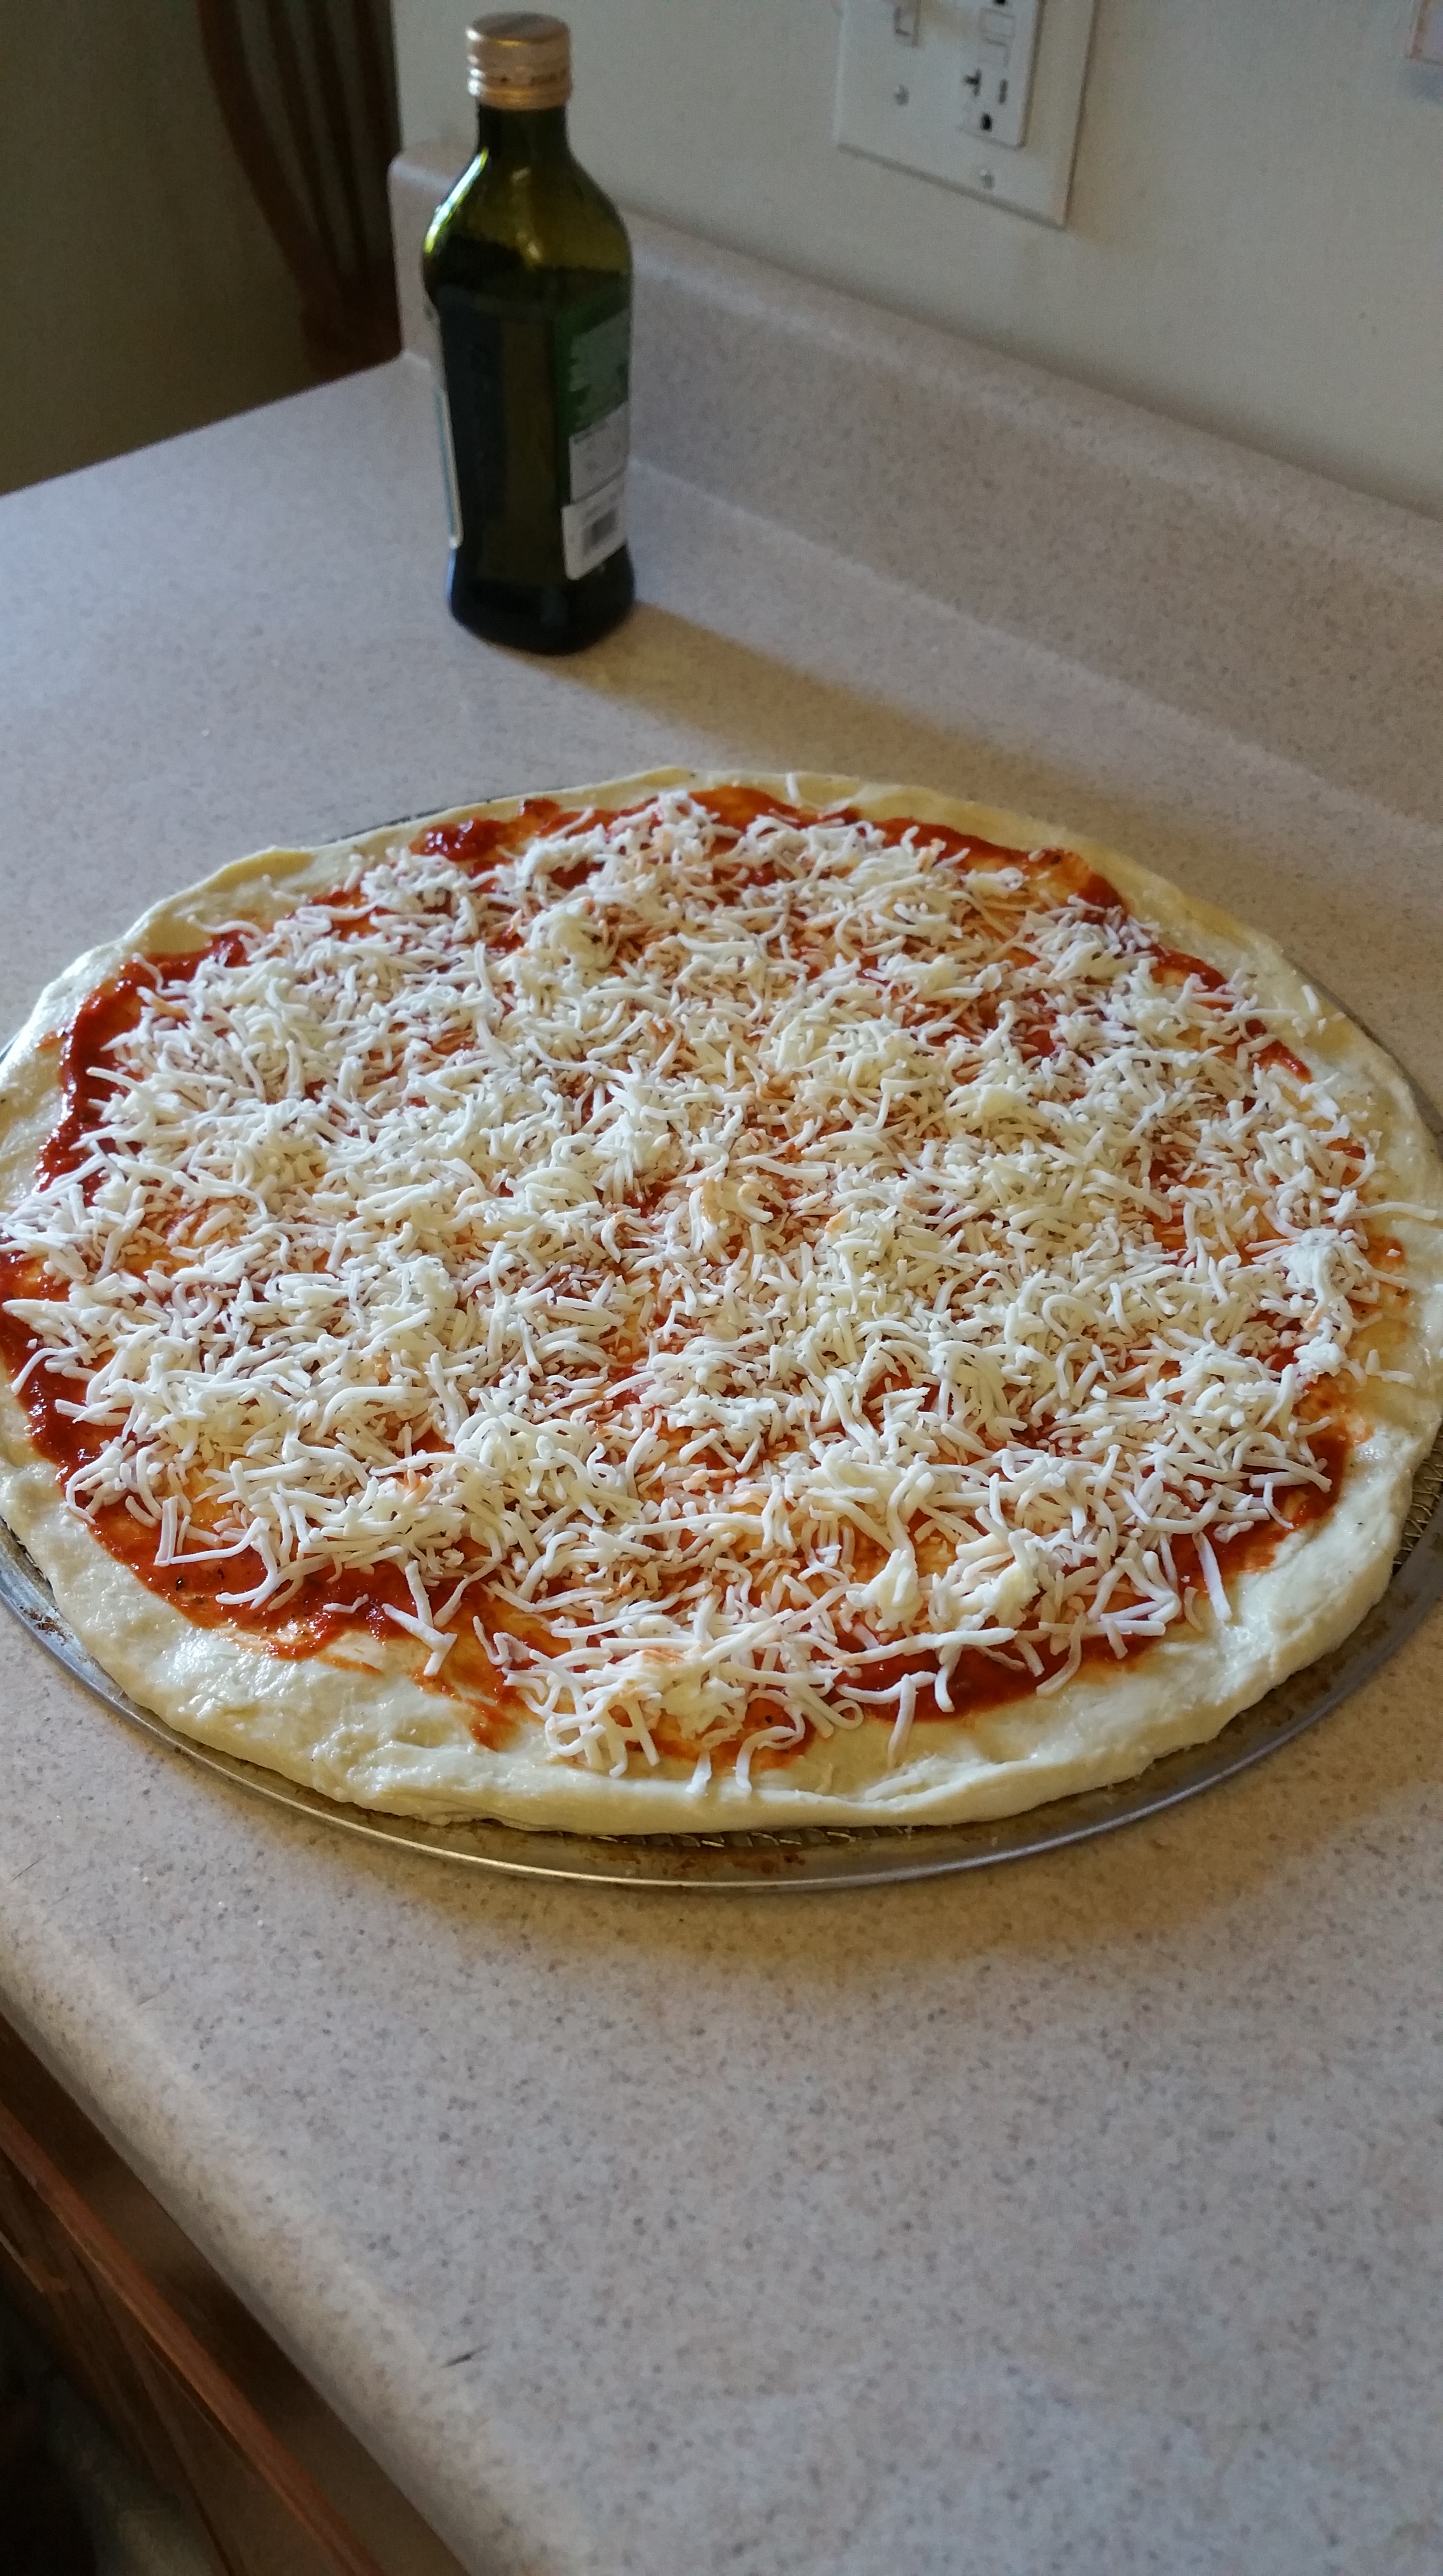
Pour 2 tbsp. of olive oil into the cast iron pan. Place the risen dough on top and then stretch it to the edges of the pan. Cover the pan with a clean towel or loosely with plastic wrap and allow the dough to rise for 2 hours.

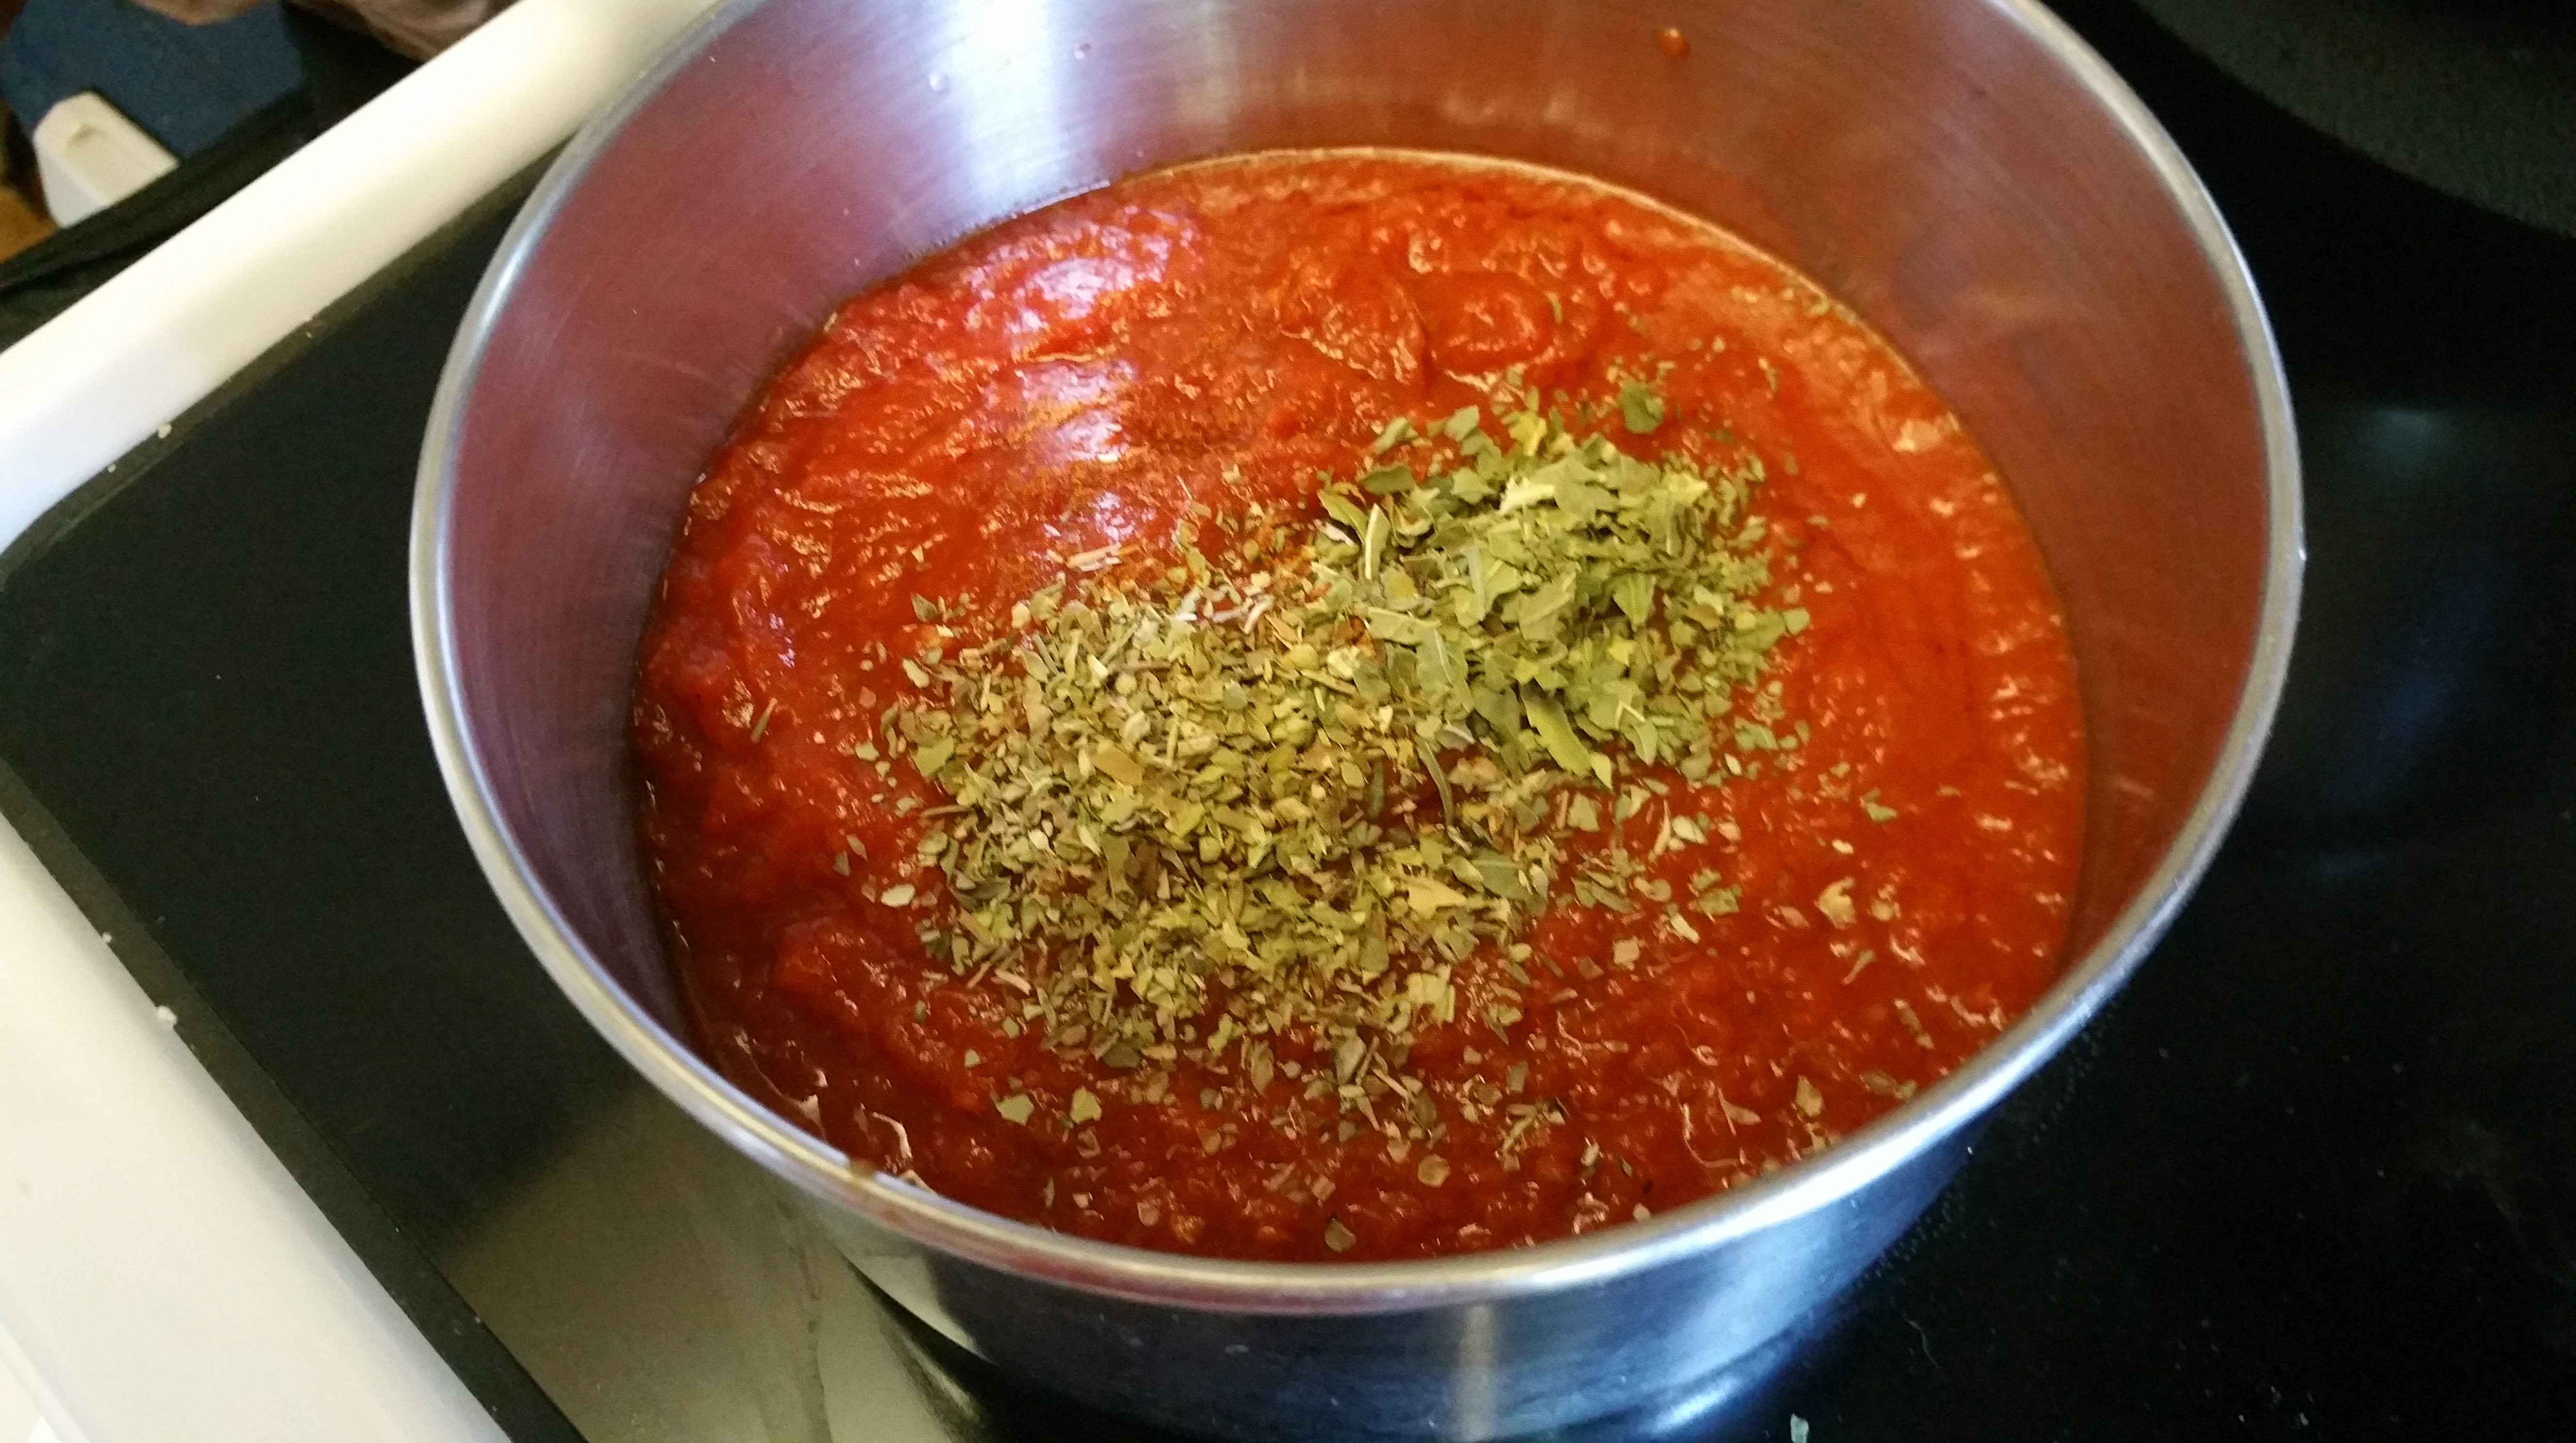
While the dough is rising, prepare the sauce. Combine all of the ingredients in a small saucepan over medium-low heat and simmer for 20 minutes. Set aside.
Preheat the oven to 550 degrees F.
Lightly press down on the dough in the pan to remove any large air bubbles, and then spread the sauce on top, going all the way to the edges.

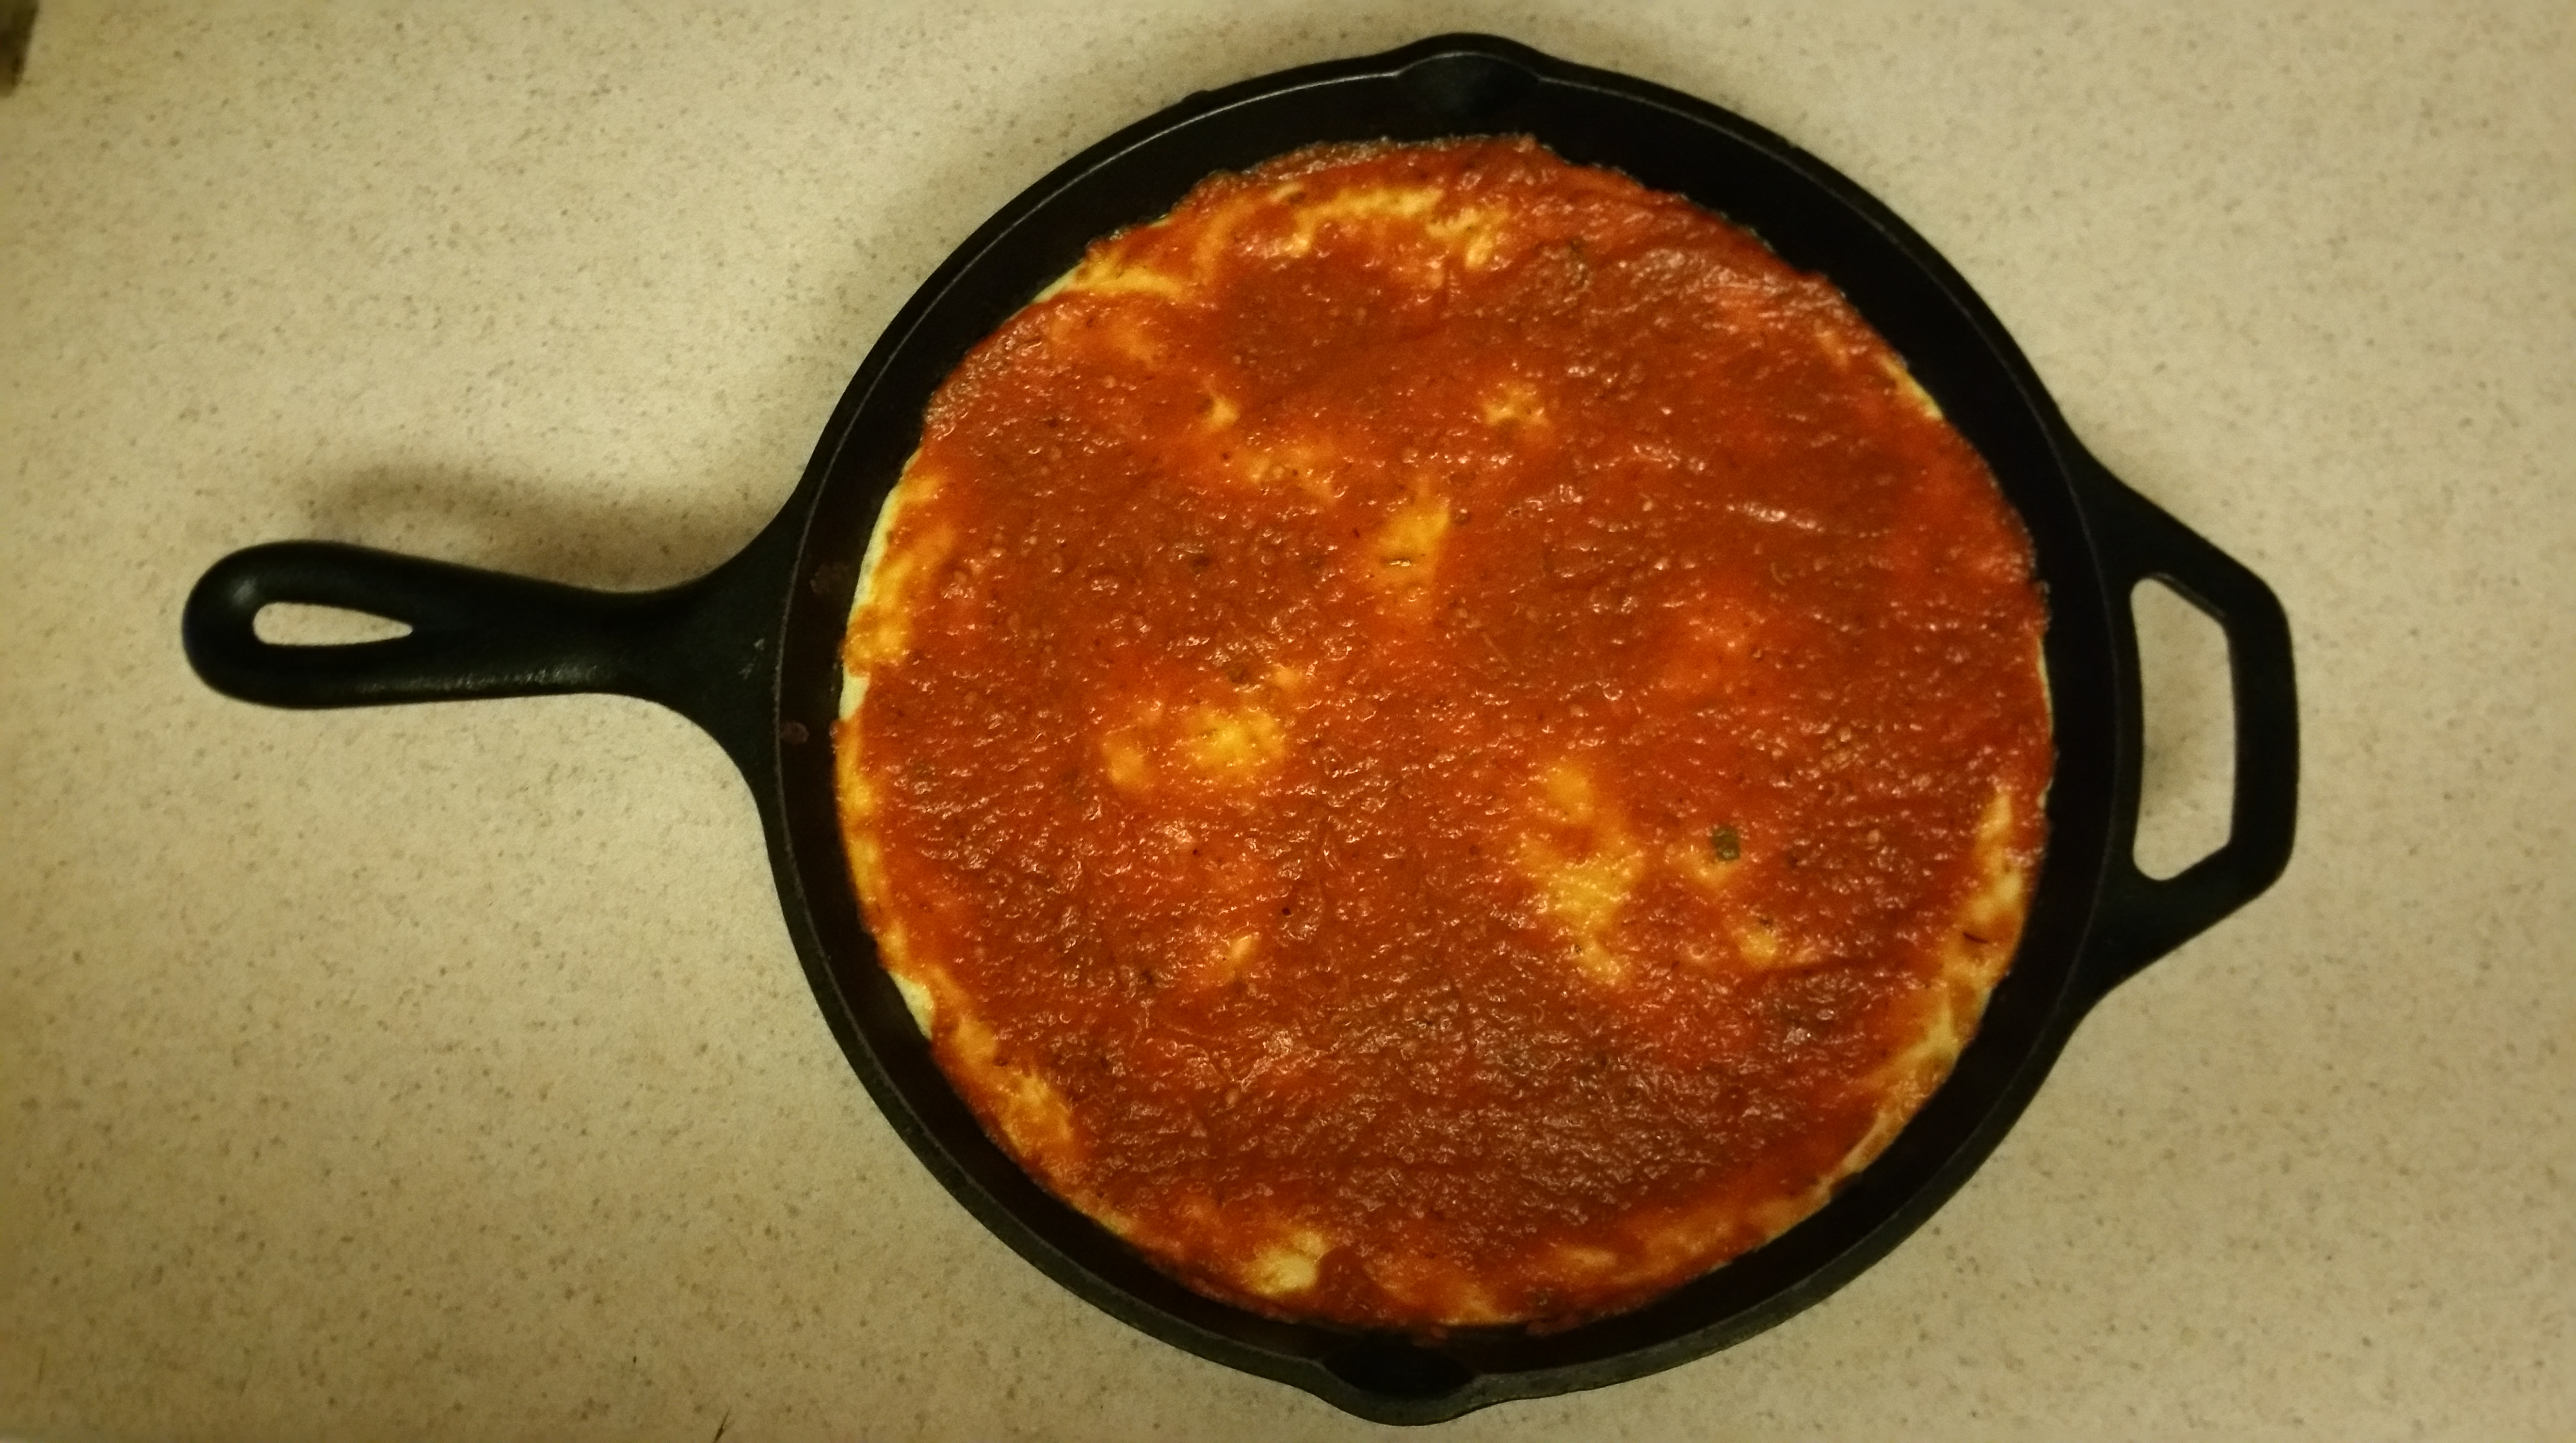
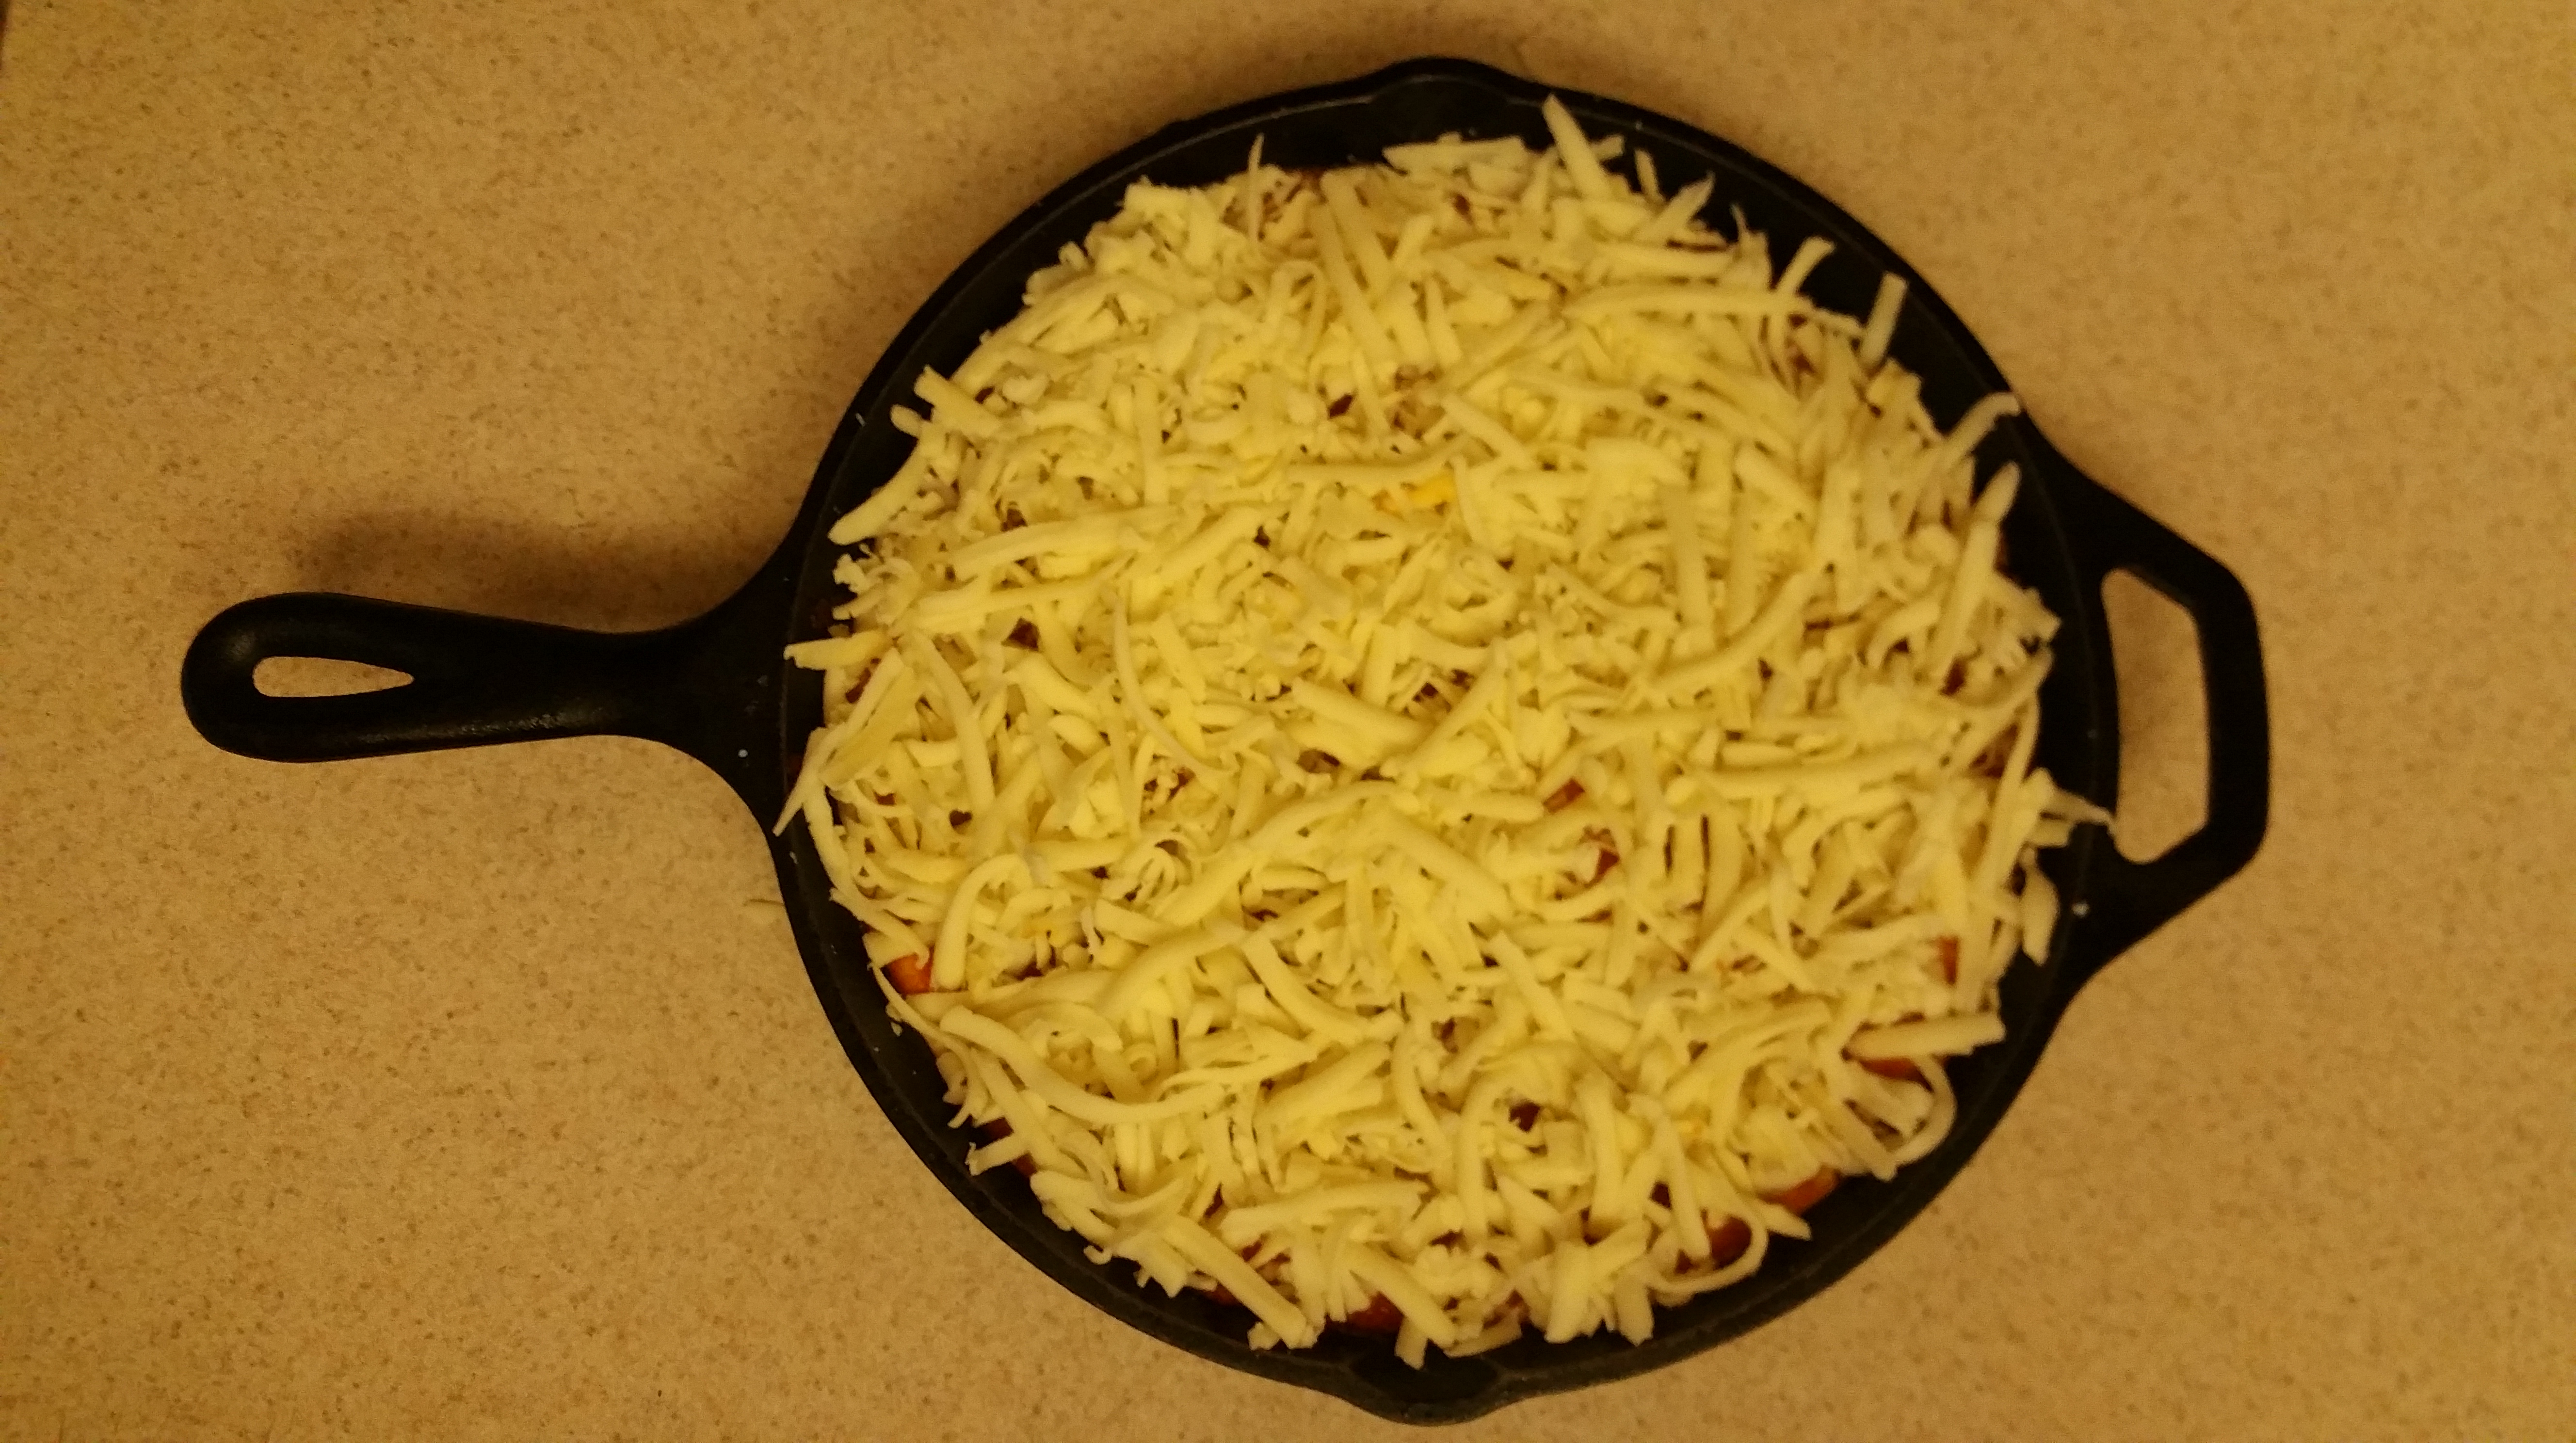
Top with the cheese and any other toppings you might wish to add.
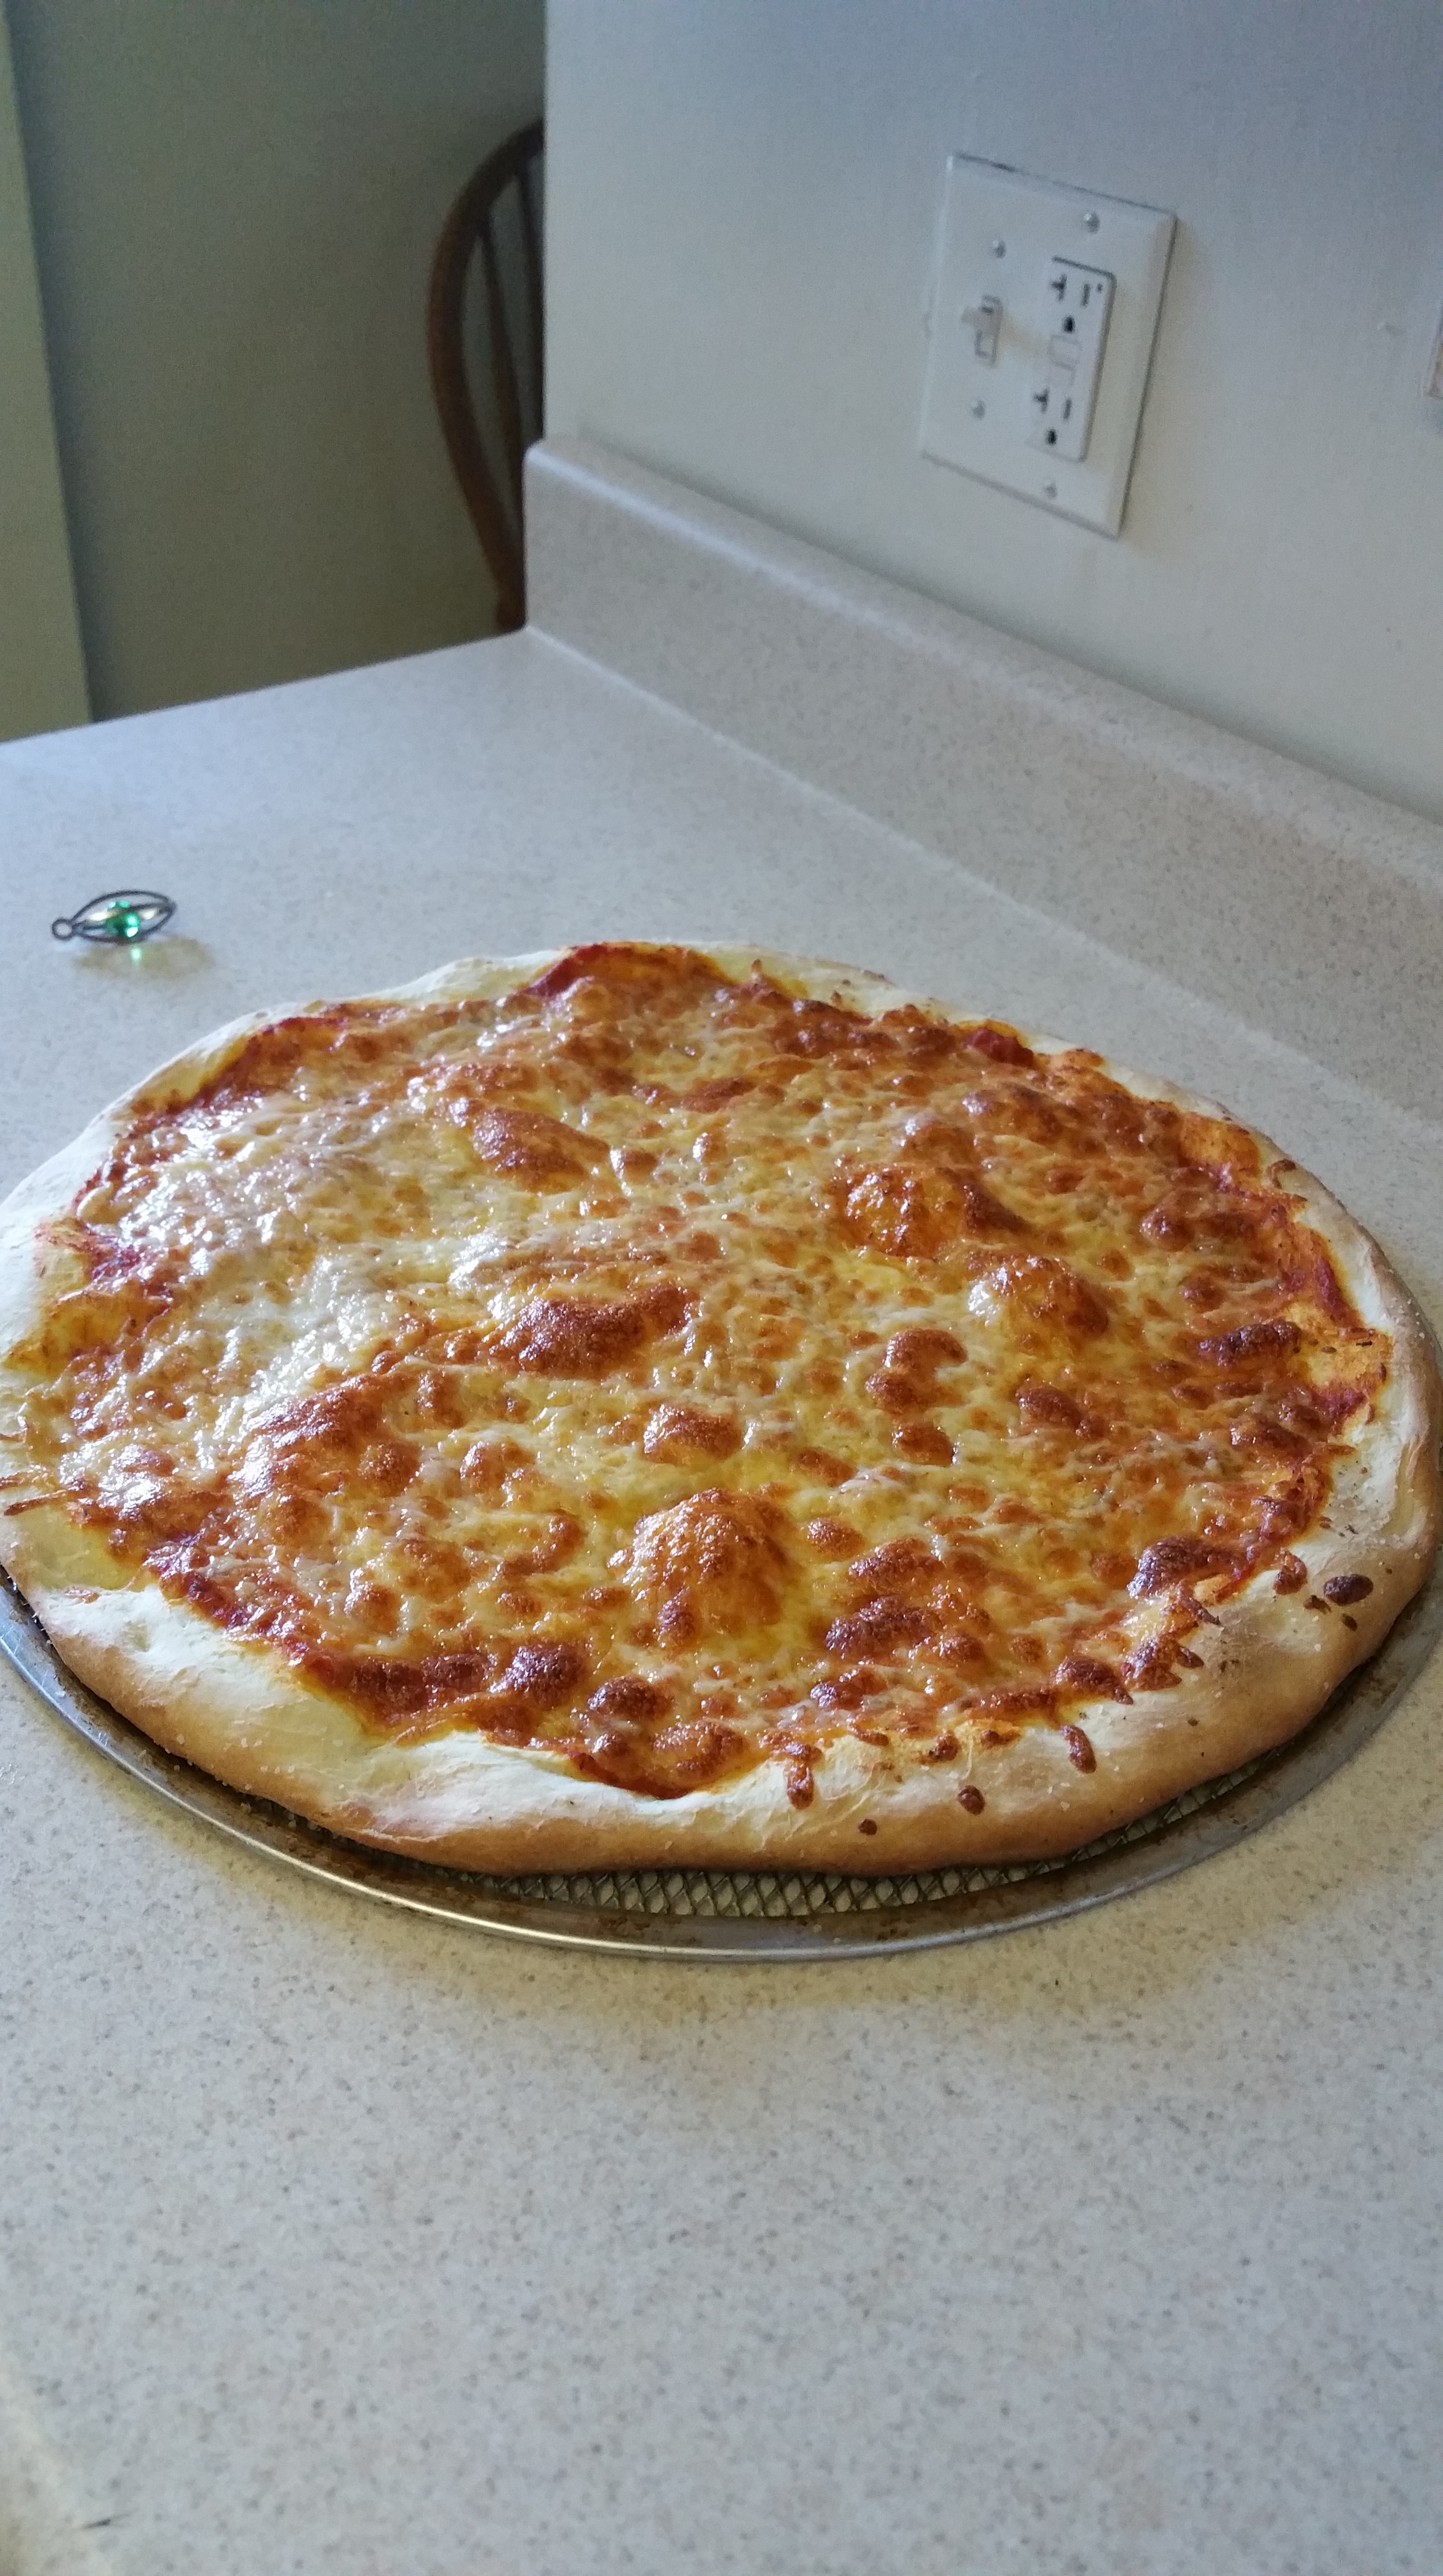
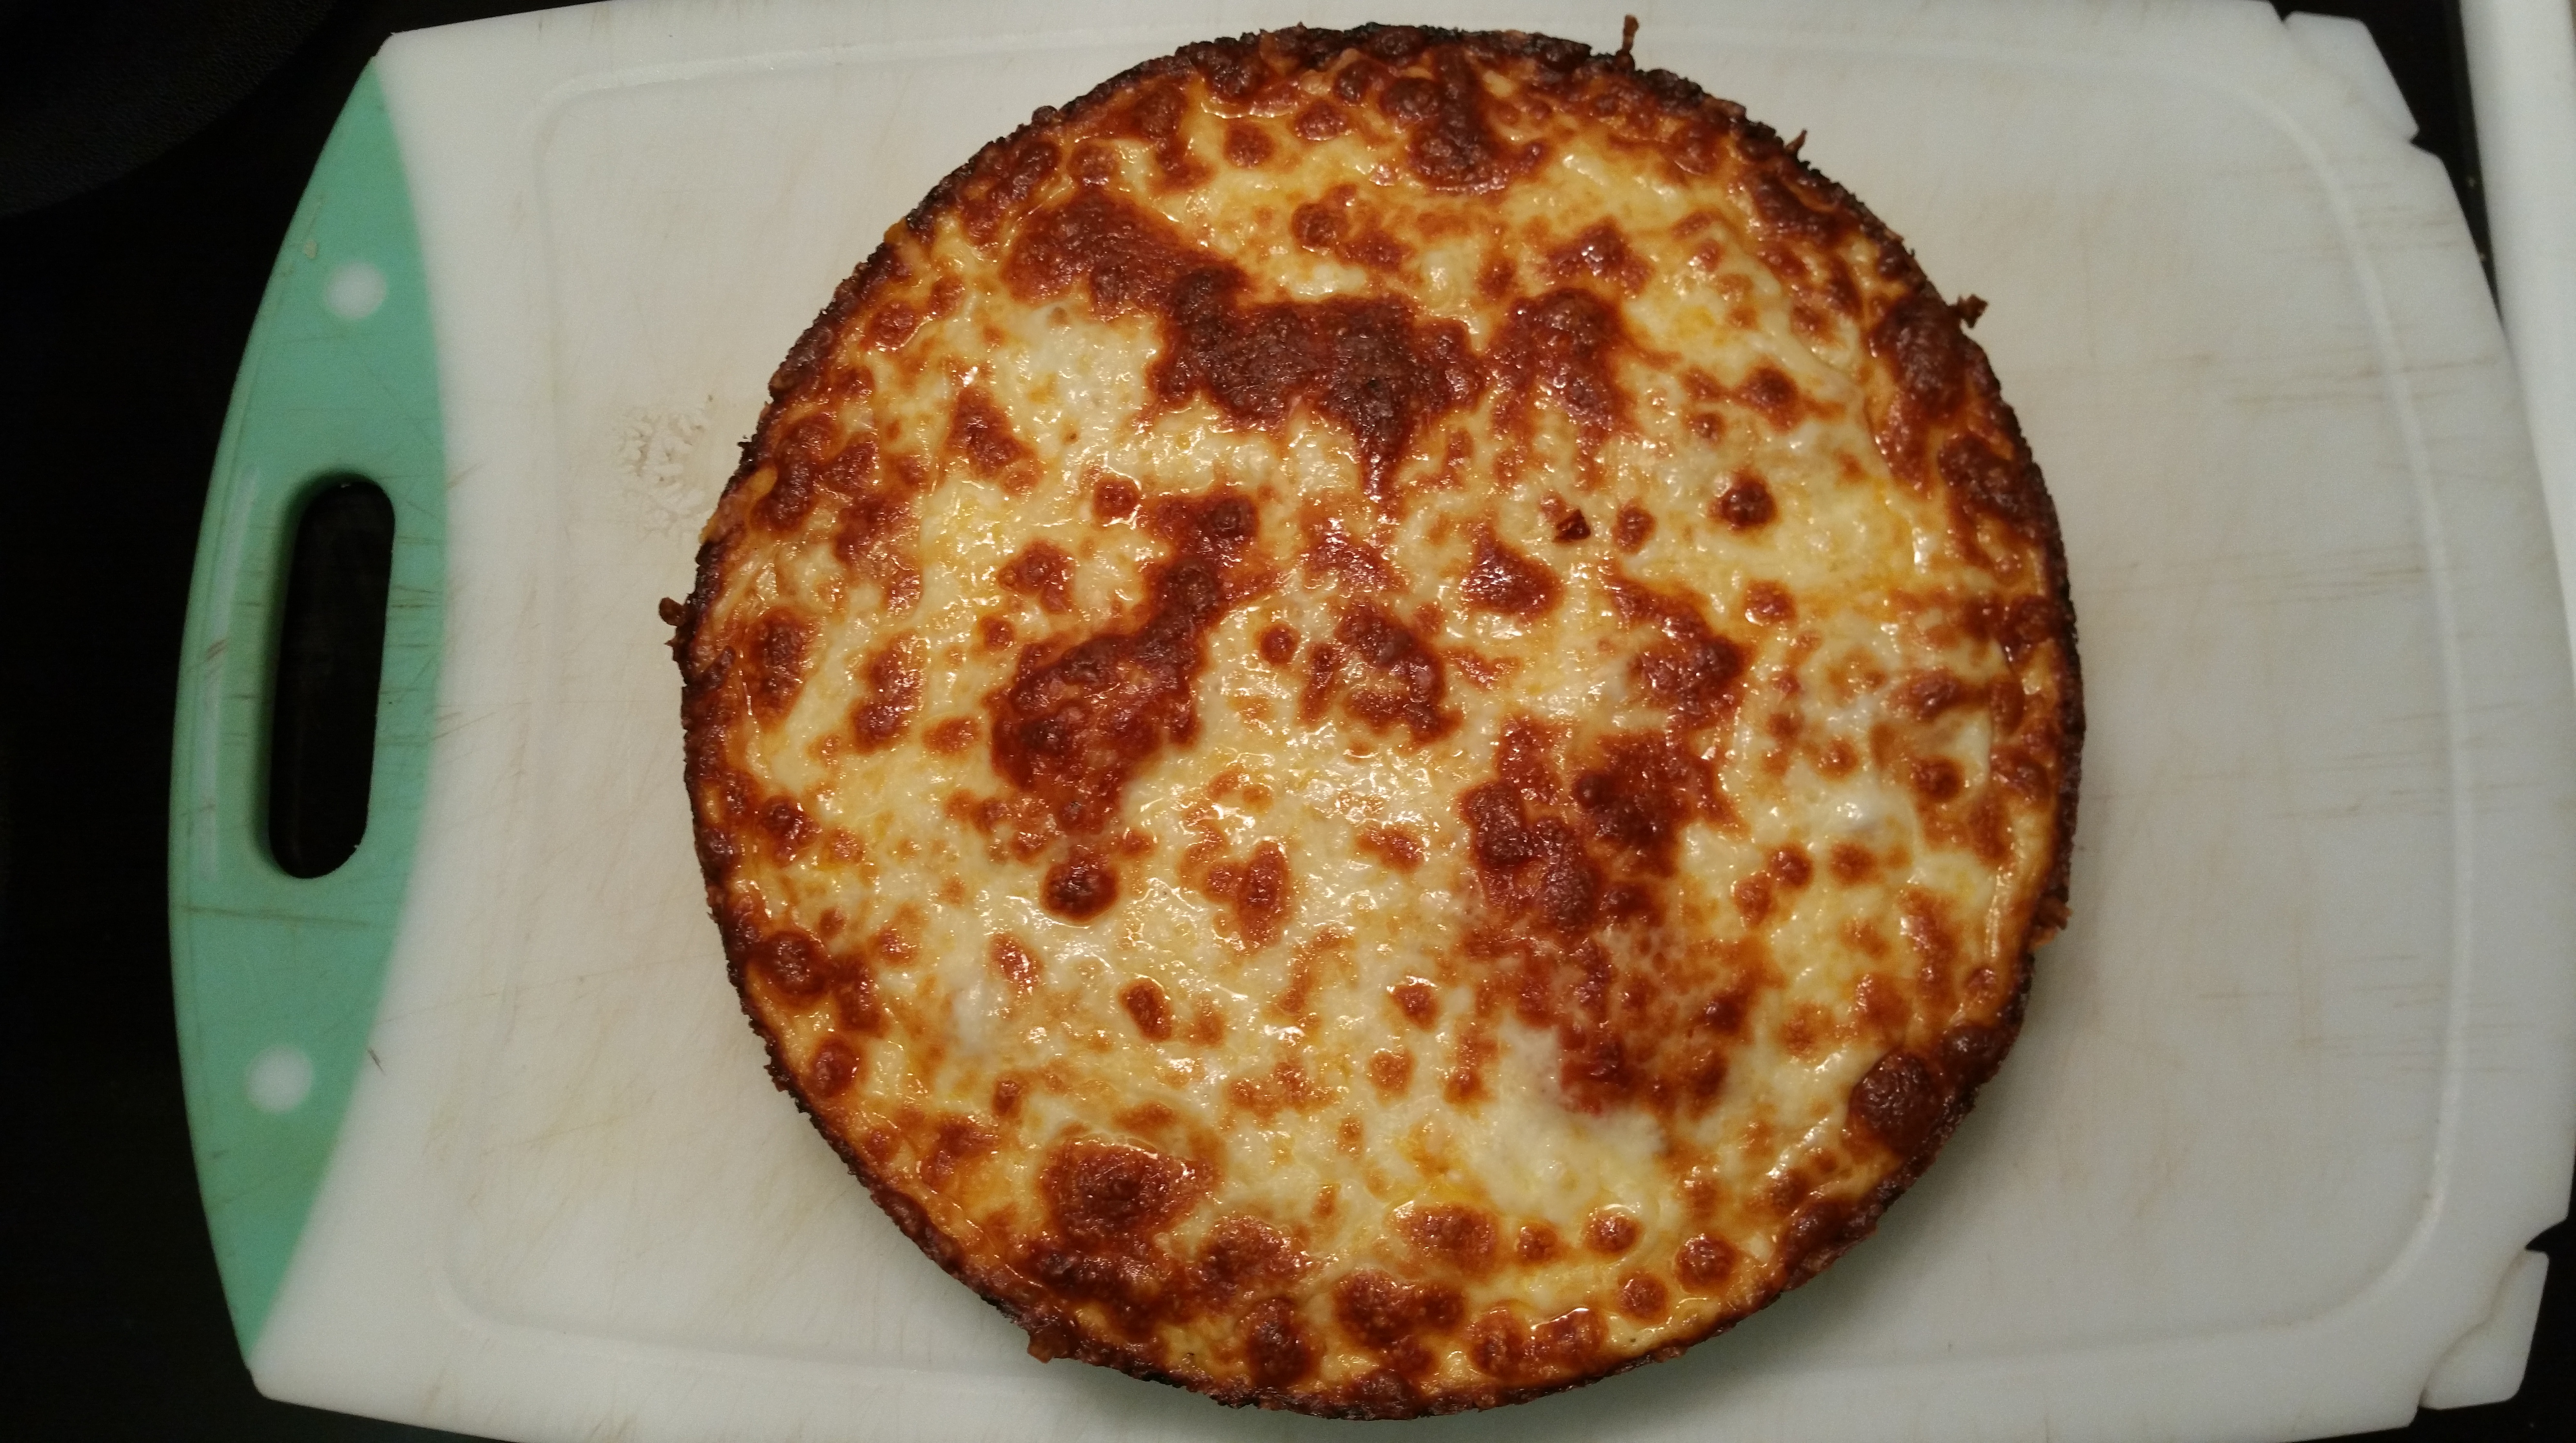
Bake the pizza for 15 minutes and then carefully remove from the oven and then cook on the stove top over high heat for 1 minute.

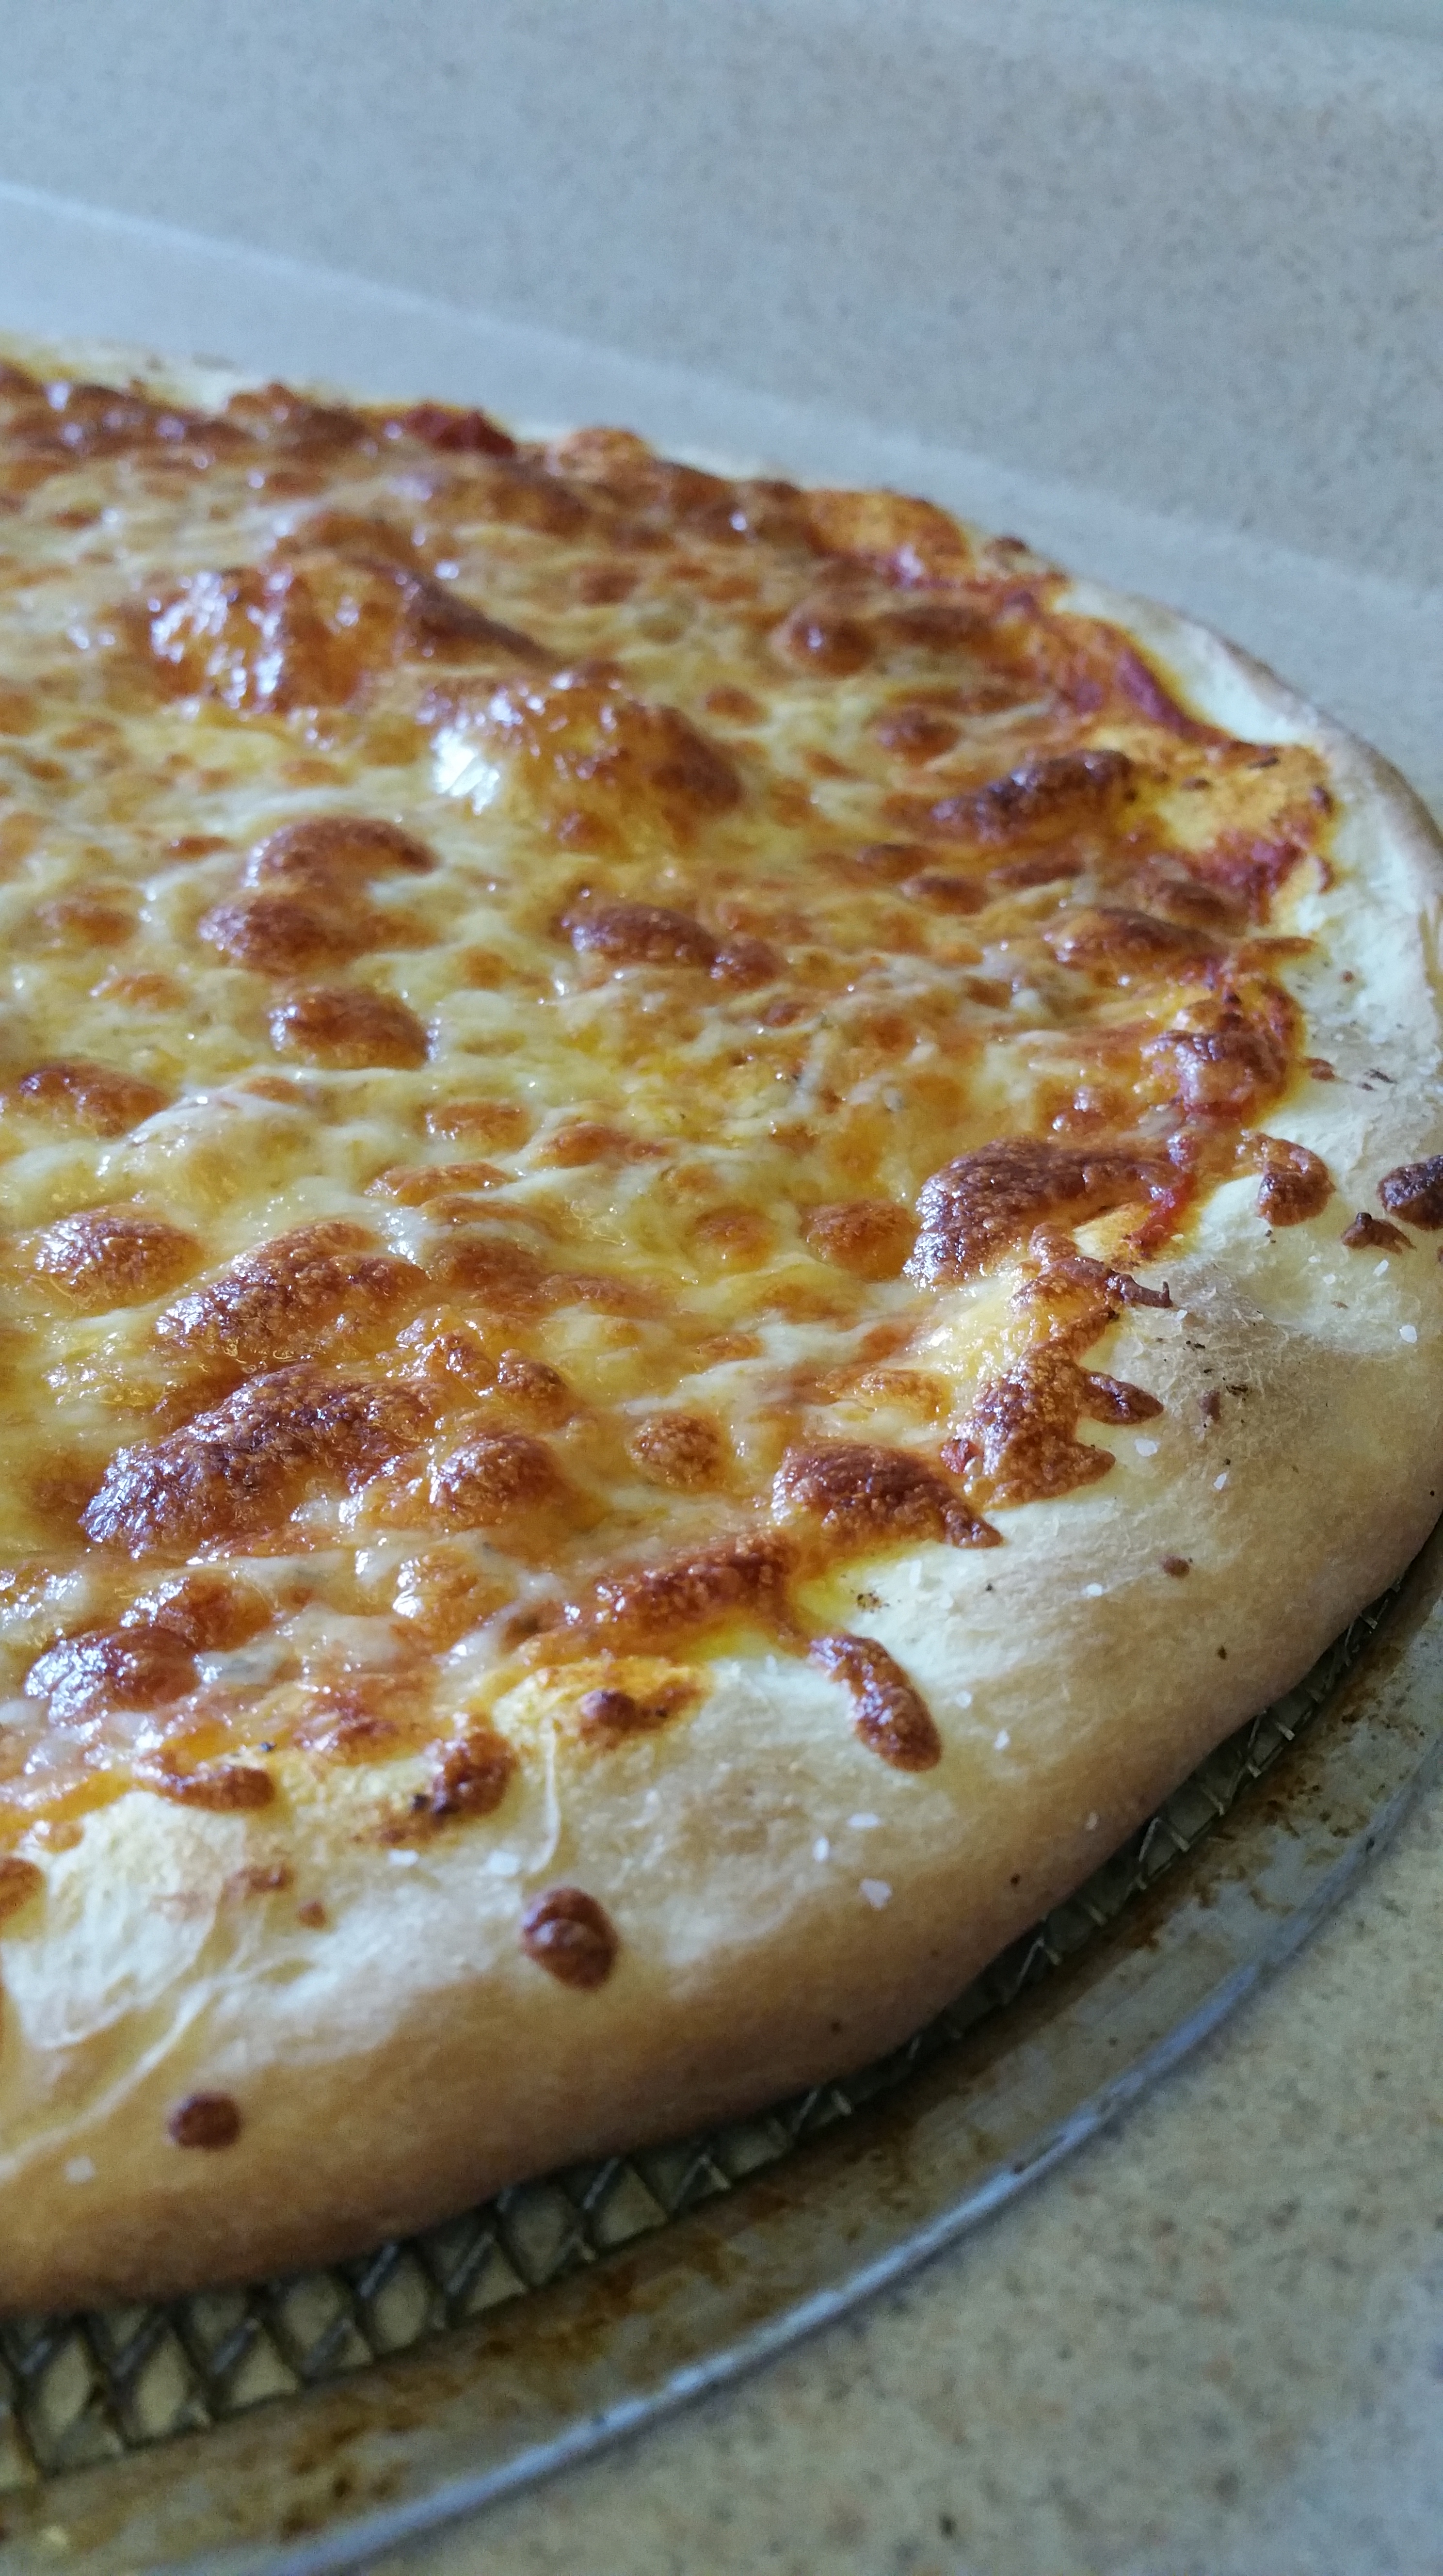
Just look at that cheesy goodness:

To remove the pizza from the pan, run a knife or palette knife around the edges, and then use a large palette knife, tongs, or a spatula to lever it out of the pan and onto a cutting board.

Allow the pizza to rest for 2-3 minutes before slicing.
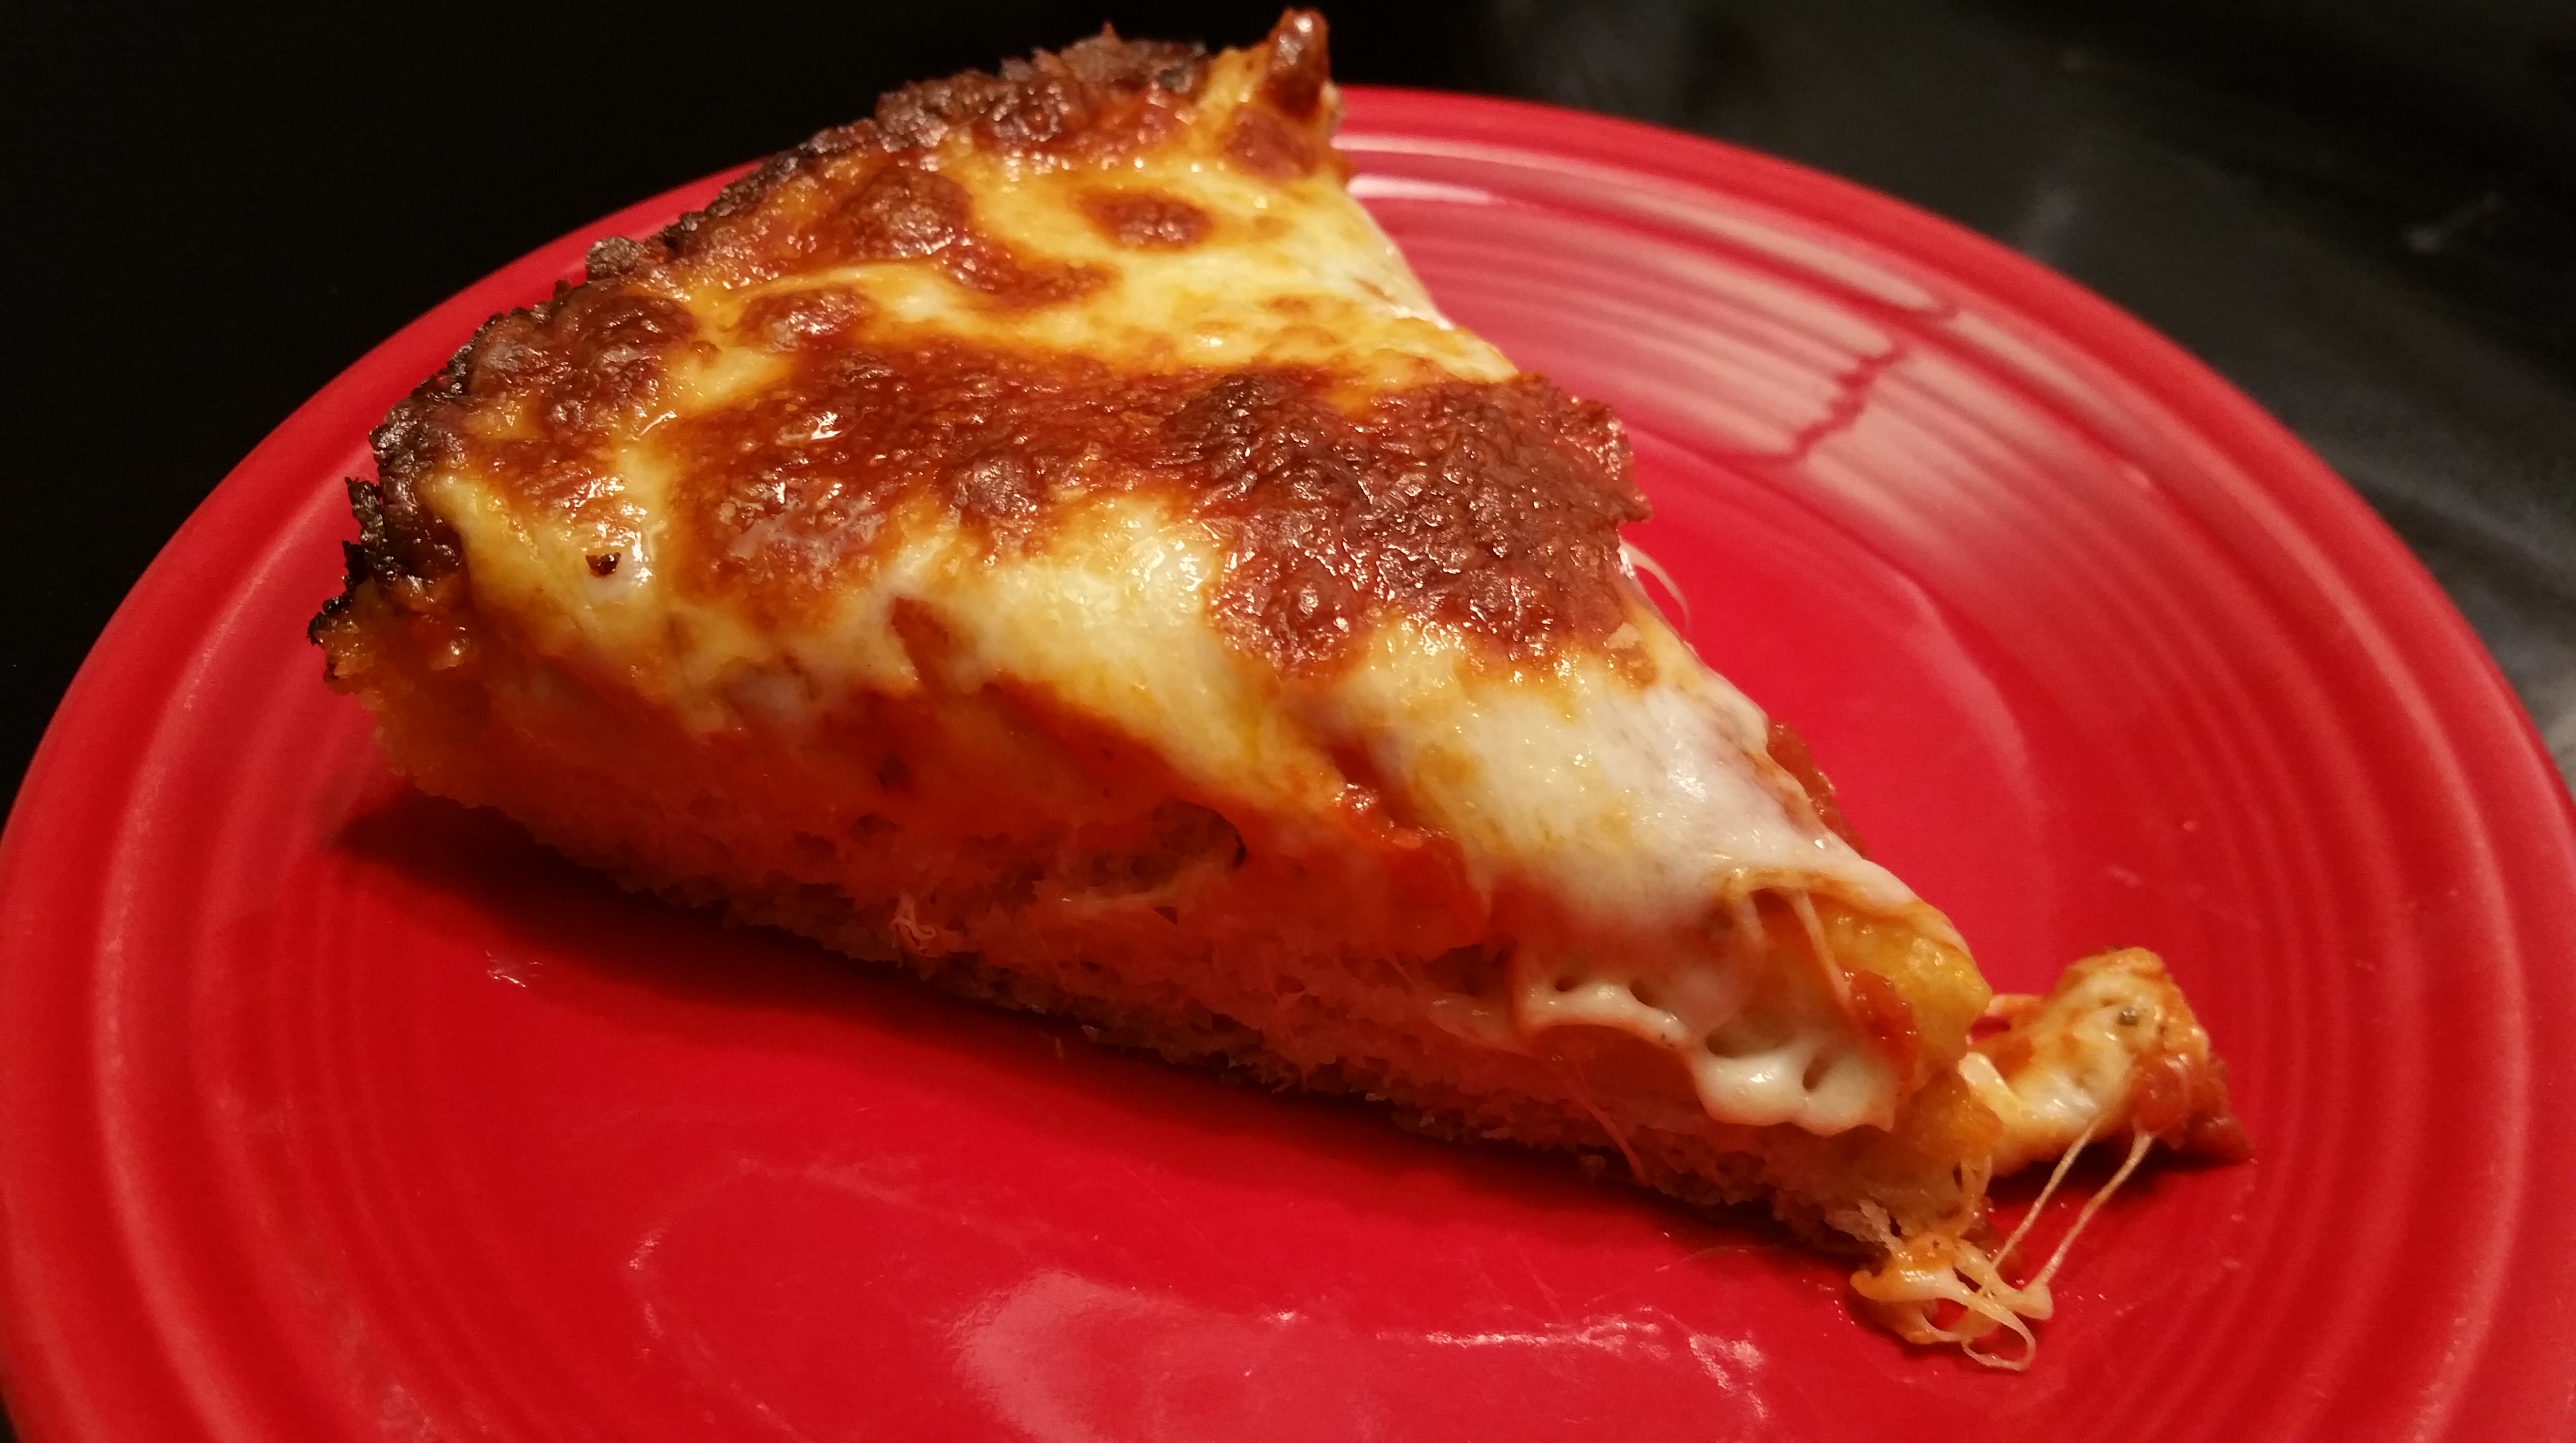
The crust is thick and chewy with crisp edges from the olive oil and high heat, and the cheese is beautifully broiled on top and gooey underneath. It’s a little decadent and a LOT delicious.
It just goes to show that if you bury your nose in a cookbook (or many), you too can always relish the rewards of reading.
Ciao for now,
Neen