Archive | Vegetarian RSS feed for this section

A Surprising Start: Roasted Cauliflower Steaks with Braised Chard, Beans, and Kalamata Olives

2 Jun

I often eat what some might call non-traditional breakfasts. The fact is, I usually work 11-7 or 1-9 shifts at the pharmacy, so mornings are when I have the most time to cook. So I like to experiment with different foods, and as long as it is healthy, filling, and delicious, who really cares if it’s not “breakfast food”? Since I’ve been encouraged to eat more vegetables in the morning, I’ve been browsing the farmers market a lot for what’s fresh and in-season to maximize the flavor in what I’m cooking.

This week I found some beautiful rainbow chard, sweet onions, and cauliflower. I think the best way to get the most out of cauliflower is to roast it, so I decided on some roasted cauliflower steaks and braised greens for a relaxed weekend breakfast. Not only did it make for an excellent start to the day, the leftovers were even more delicious later on.

Roasted Cauliflower with Tomato-Braised Chard, Beans, and Kalamata Olives
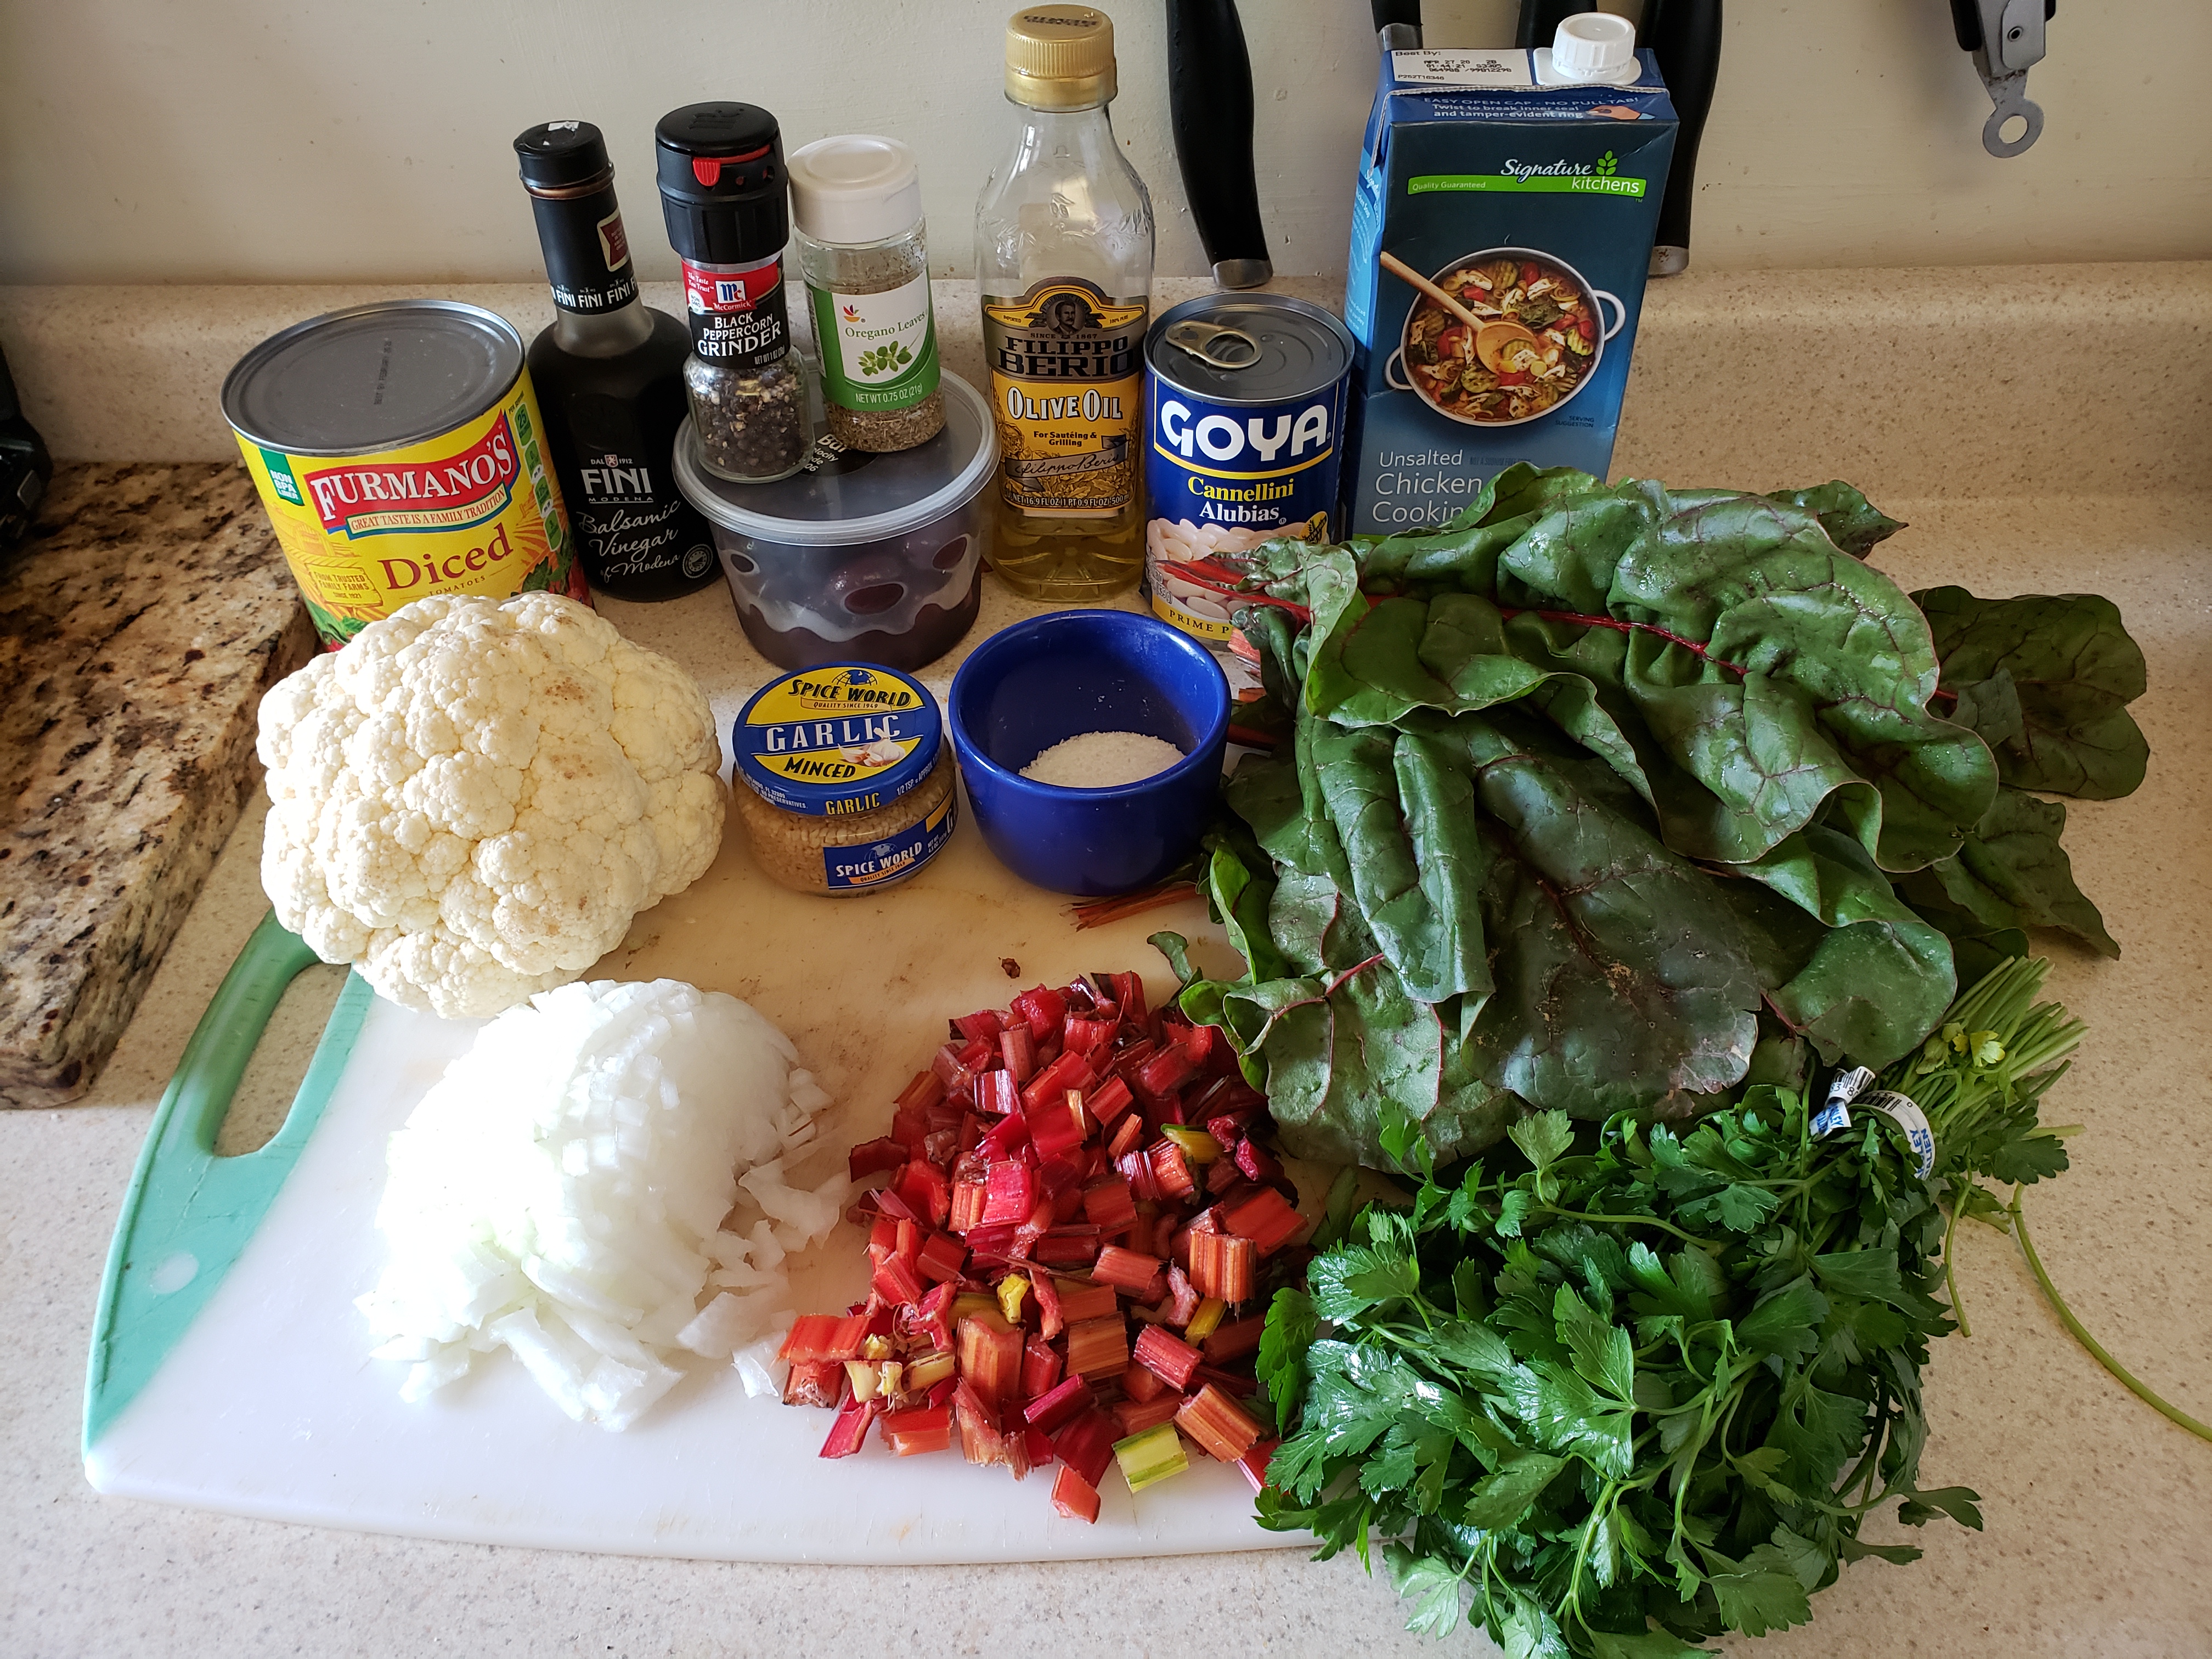
  • 1 head cauliflower
  • 3 cloves garlic, minced
  • 1 medium yellow onion, diced
  • One 15 oz. can of cannellini beans, drained
  • 1 cup canned diced tomatoes with juice
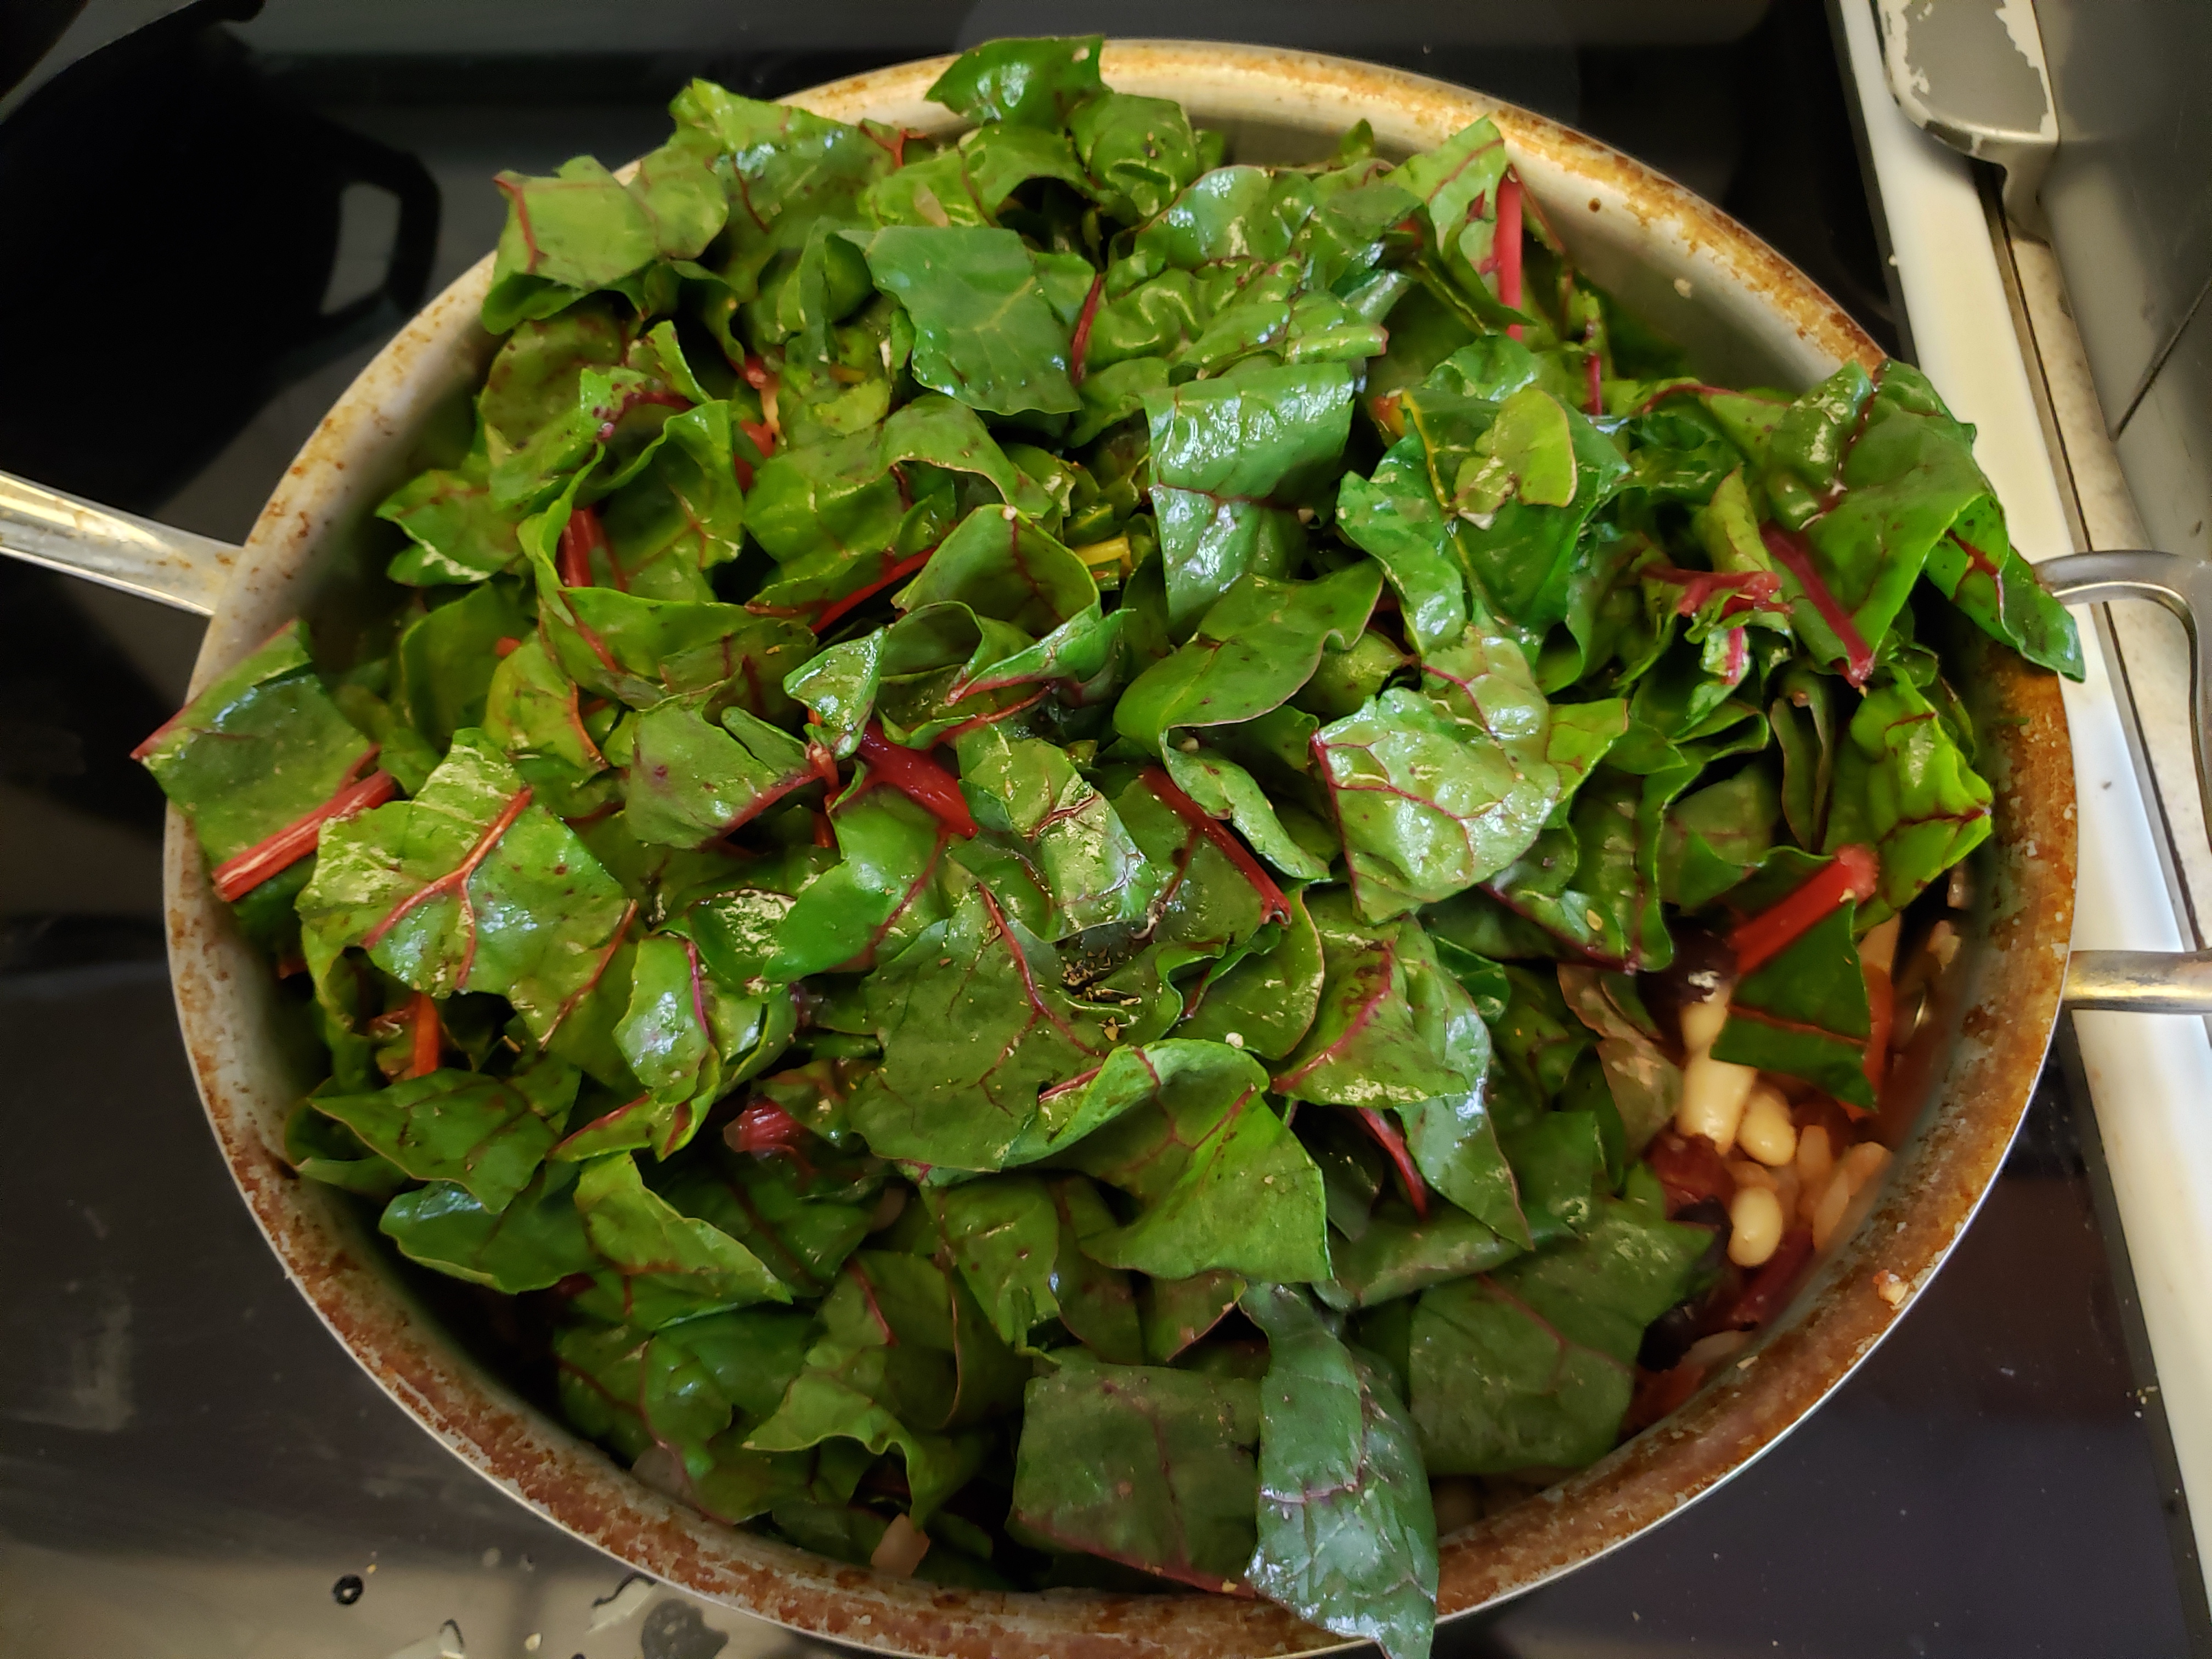
  • 2 bunches (about 20-24 oz.) rainbow chard, stems diced and leaves chopped into 2 in. pieces
  • 2 tbsp. balsamic vinegar, divided
  • ¼ cup Kalamata olives, pitted and sliced
  • ¼ cup low-sodium or no salt added chicken broth
  • ½ tsp. dried oregano
  • Olive oil
  • Salt and freshly ground black pepper

Preheat the oven to 450 degrees F and line a baking sheet with parchment paper. Place one rack in the upper third oven the oven and one in the lower third.

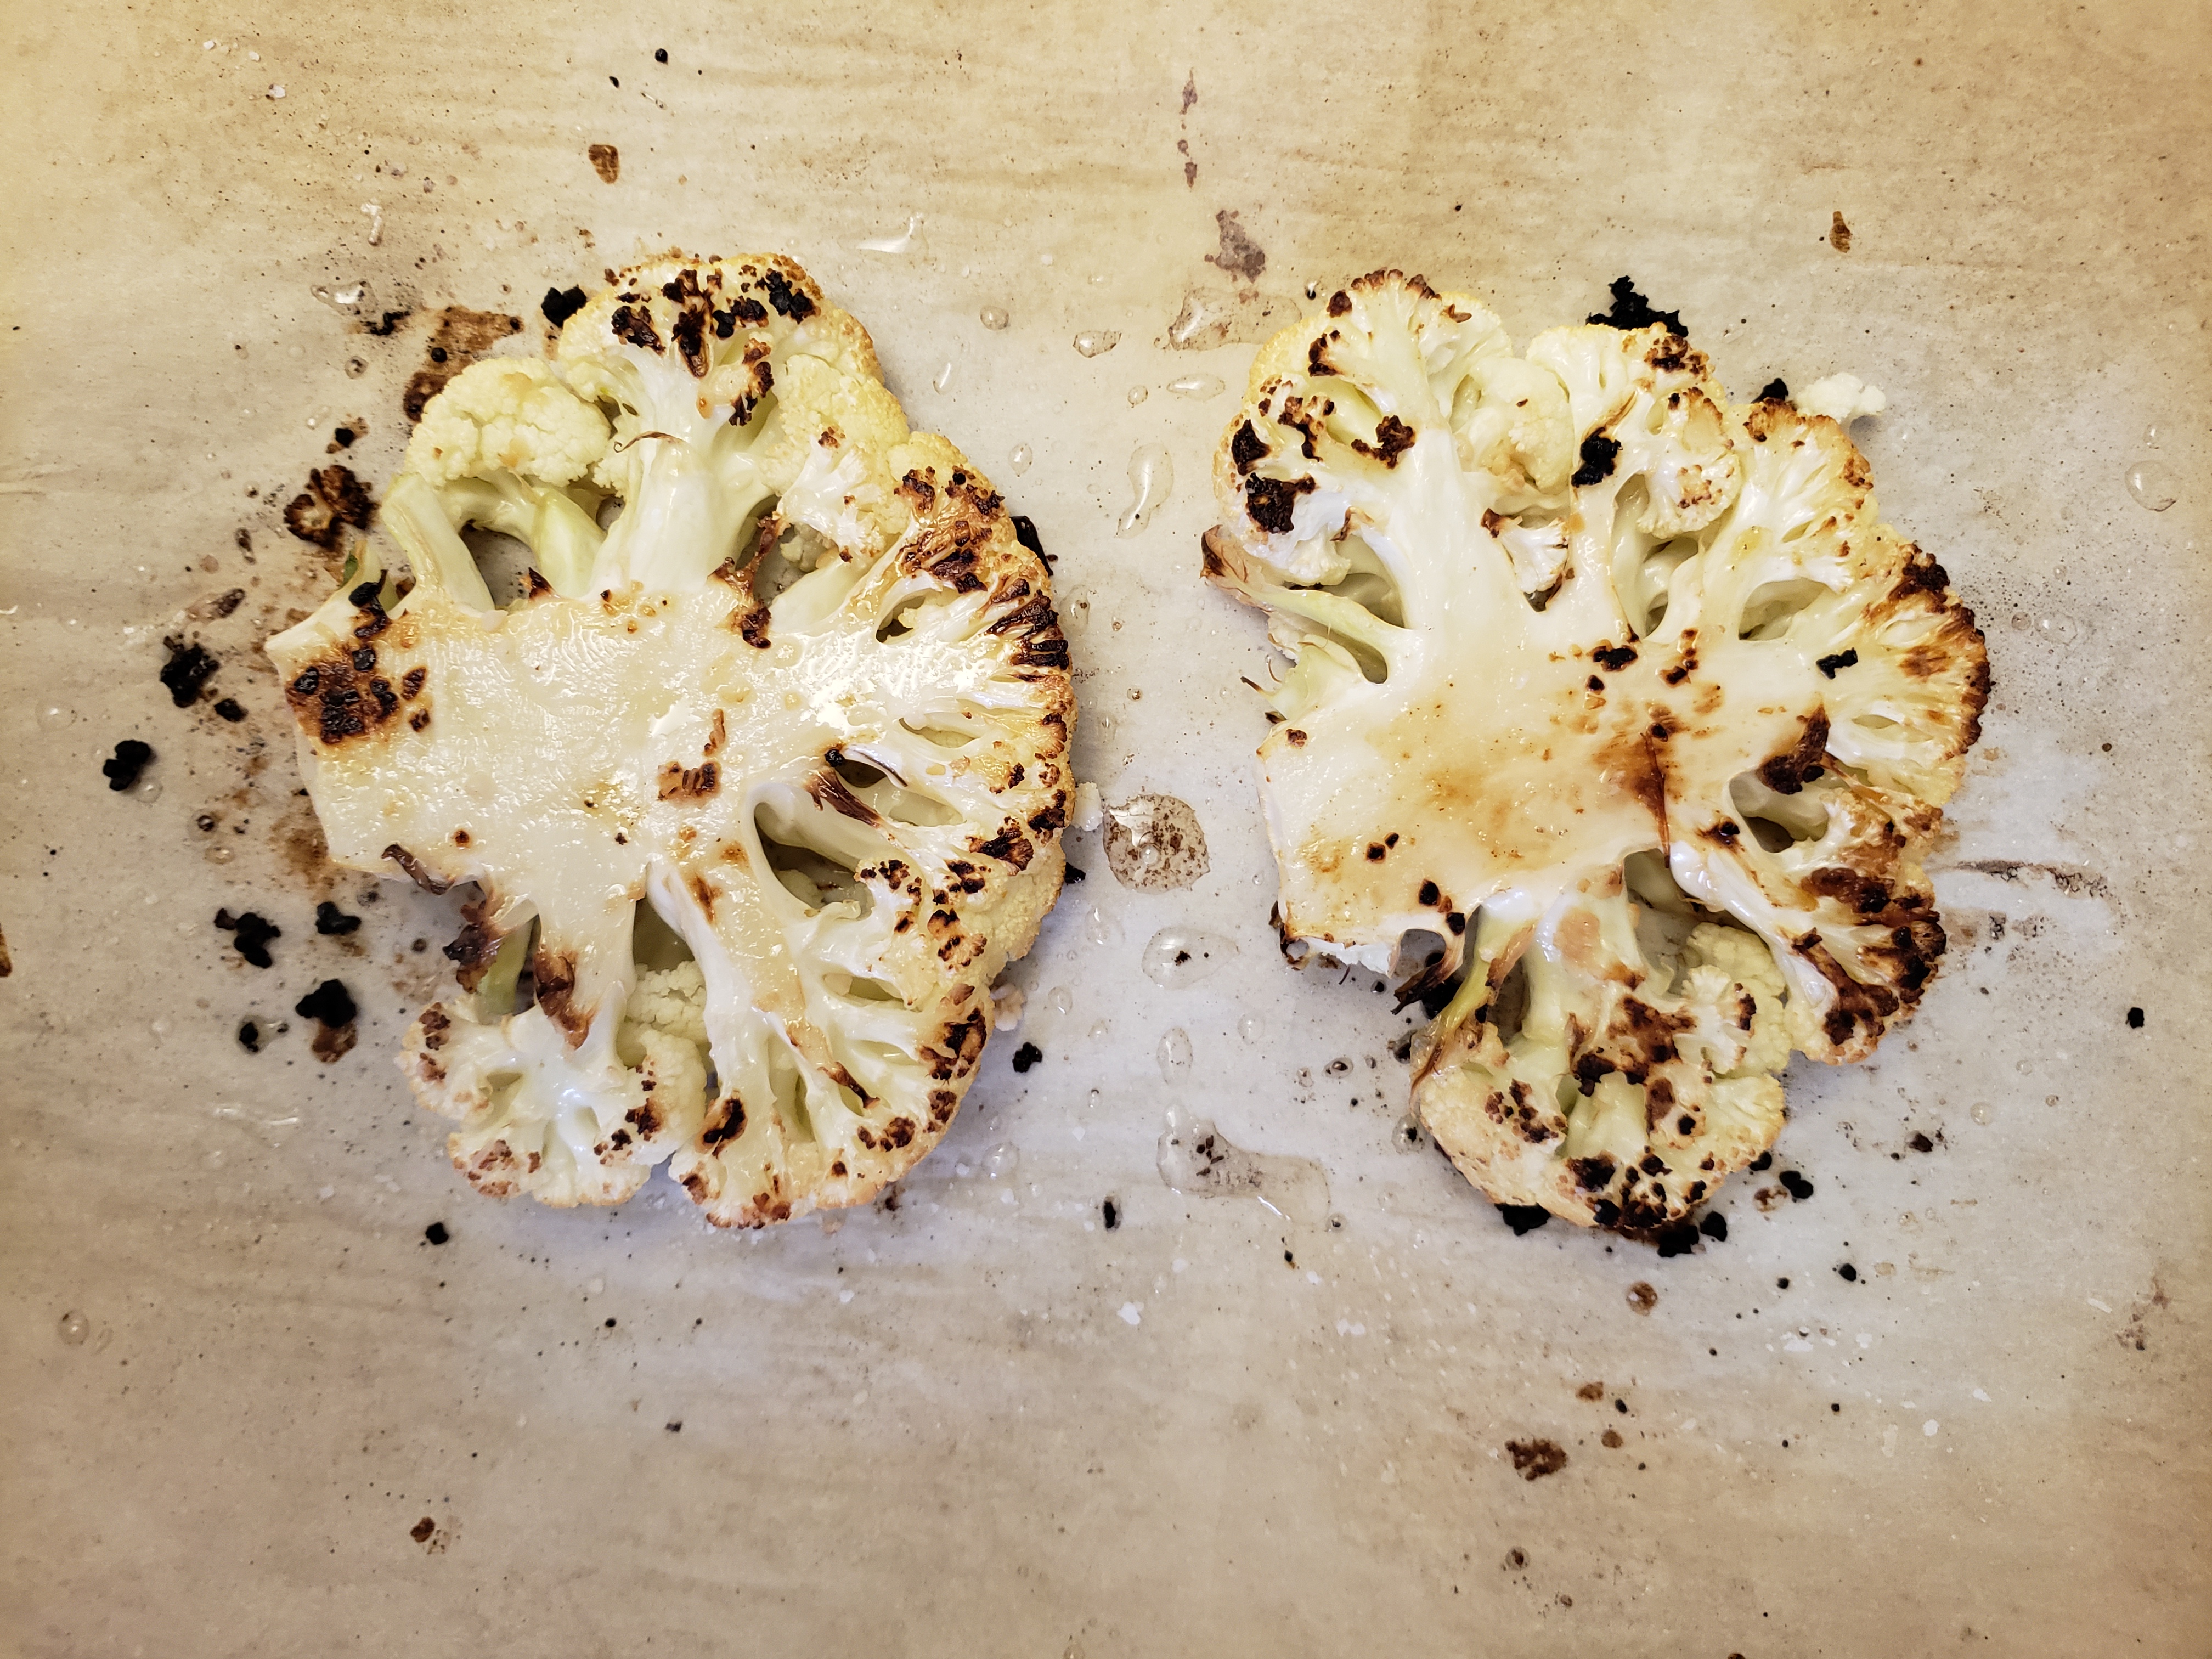
Slice the core of the cauliflower so the head will sit flat. Then cut two 1 in. slices from the center and reserve the remaining florets for another recipe.

Lay the cauliflower on the prepared baking sheet. Brush the cauliflower steaks with olive oil and season each with a clove of minced garlic, salt, and pepper on both sides.

Roast on the upper rack for 15 minutes and then turn and roast on the bottom rack for 5 minutes more.

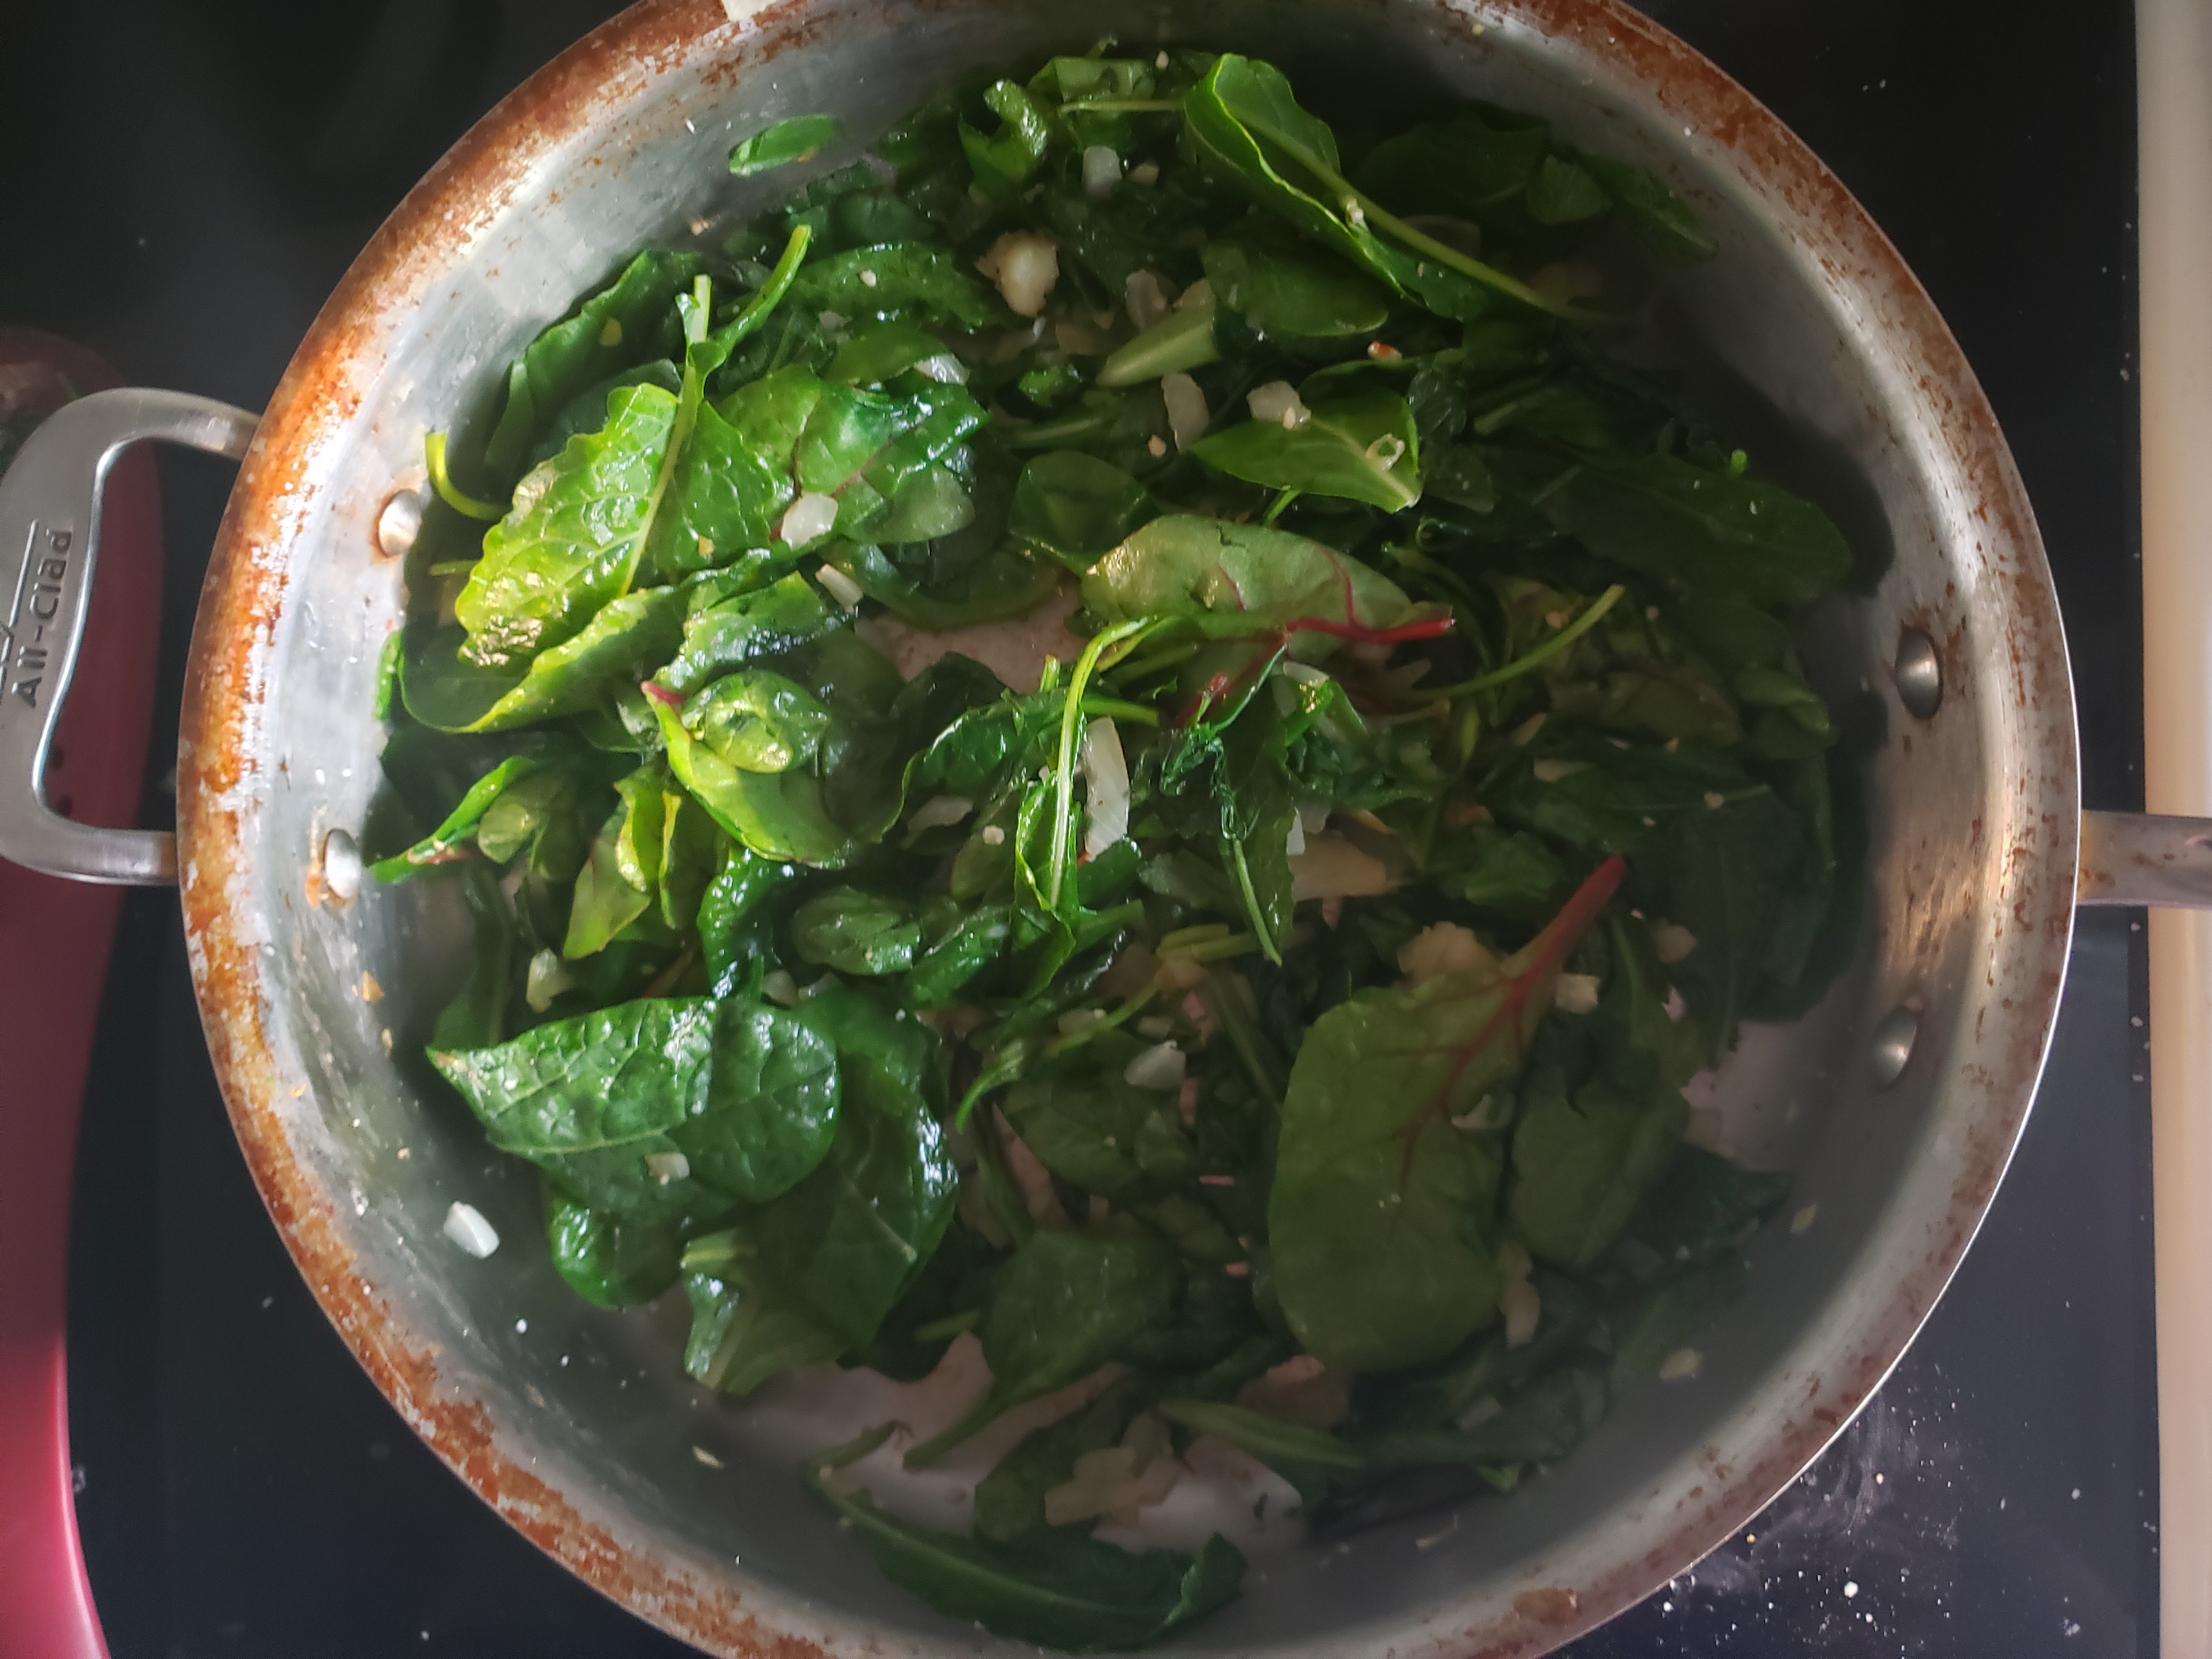
While the cauliflower is roasting, heat about a tbsp. of olive oil in a large saute pan over medium heat. Saute the onion for 2-3 minutes or until slightly softened.

Add the rainbow chard stems and cook2-3 minutes or until crisp-tender.

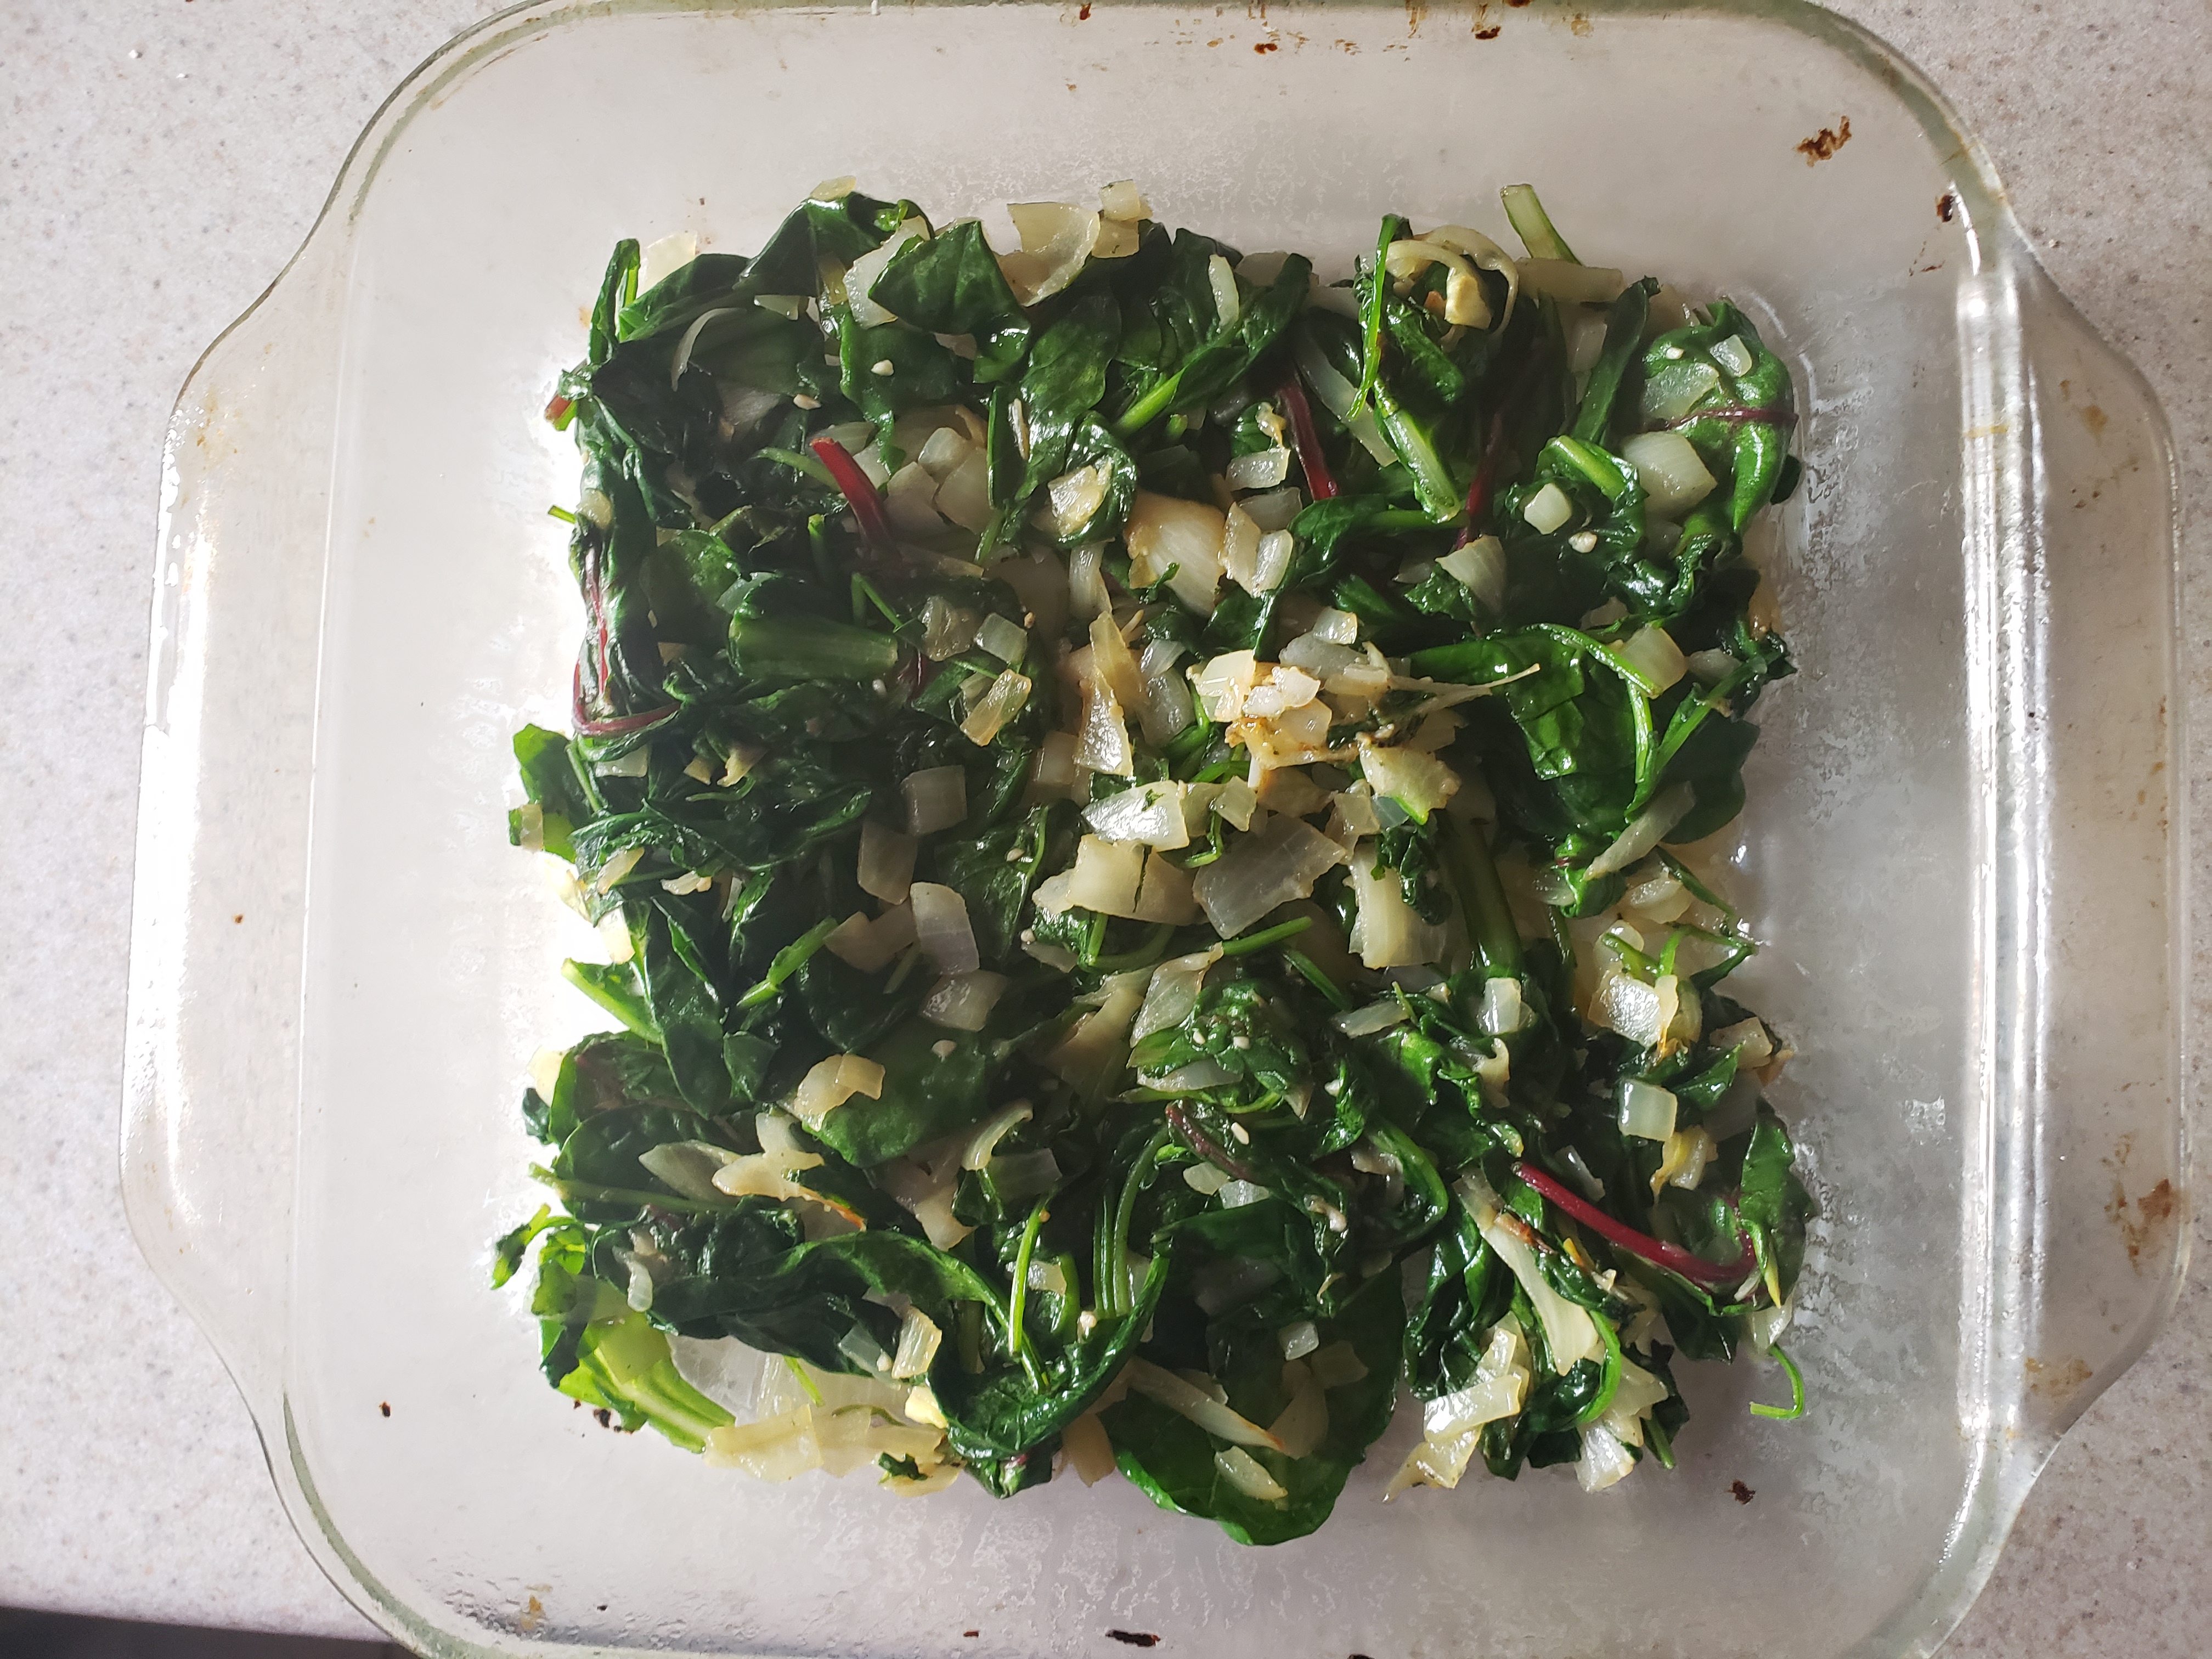
Add the broth, tomatoes, beans, Kalamata olives, chard leaves, oregano, and 1 tbsp. balsamic vinegar to the pan and saute for 4-5 minutes or until the chard is wilted. Taste and season with salt and pepper as needed.

To serve, place a generous portion of the braised vegetables in a bowl or on a plate. Place a cauliflower steak on top and drizzle with the remaining balsamic vinegar.

The roasted cauliflower retains a slightly firm texture and has wonderful caramelization from its quick roast. The greens are well balanced with sweet tomatoes, briny olives, and a little pop of acid from the balsamic vinegar. It’s a dish that wakes up the palette with a variety of textures and flavors. It’s also packed with everything you need to start your day with a filling, energizing, but not heavy meal.

Of course this is a great lunch or light dinner too, but don’t be afraid to step out of your breakfast comfort zone. Make your morning meal a little exciting—something to look forward to! Ask yourself what you’re really hungry for and you’ll find a new world of inspiration waiting.

Ciao for now,

Neen

Restaurant Riff: Roasted Eggplant with Crispy Chickpeas and Garlic-Yogurt Sauce

26 May

Often, when my parents come to visit me we go to this great Lebanese restaurant in Arlington that serves small plates meant for sharing. It’s an awesome way to enjoy a meal because we get to taste lots of different things and try new dishes every time.

But there are definitely some items that are regular favorites. One is a variation of a dish called fatteh; roasted eggplant with a garlic-yogurt sauce and crispy chickpeas. It’s sooo good we order it twice in the same meal sometimes. I was craving it this week and decided to see if I could create a variation at home.

This recipe requires only a few simple ingredients, but it turns into something magical as the roasted components in combination with the creamy sauce create a range of different flavors and textures.

Roasted Eggplant with Crispy Chickpeas and Garlic-Yogurt Sauce

Crispy Chickpeas

  • 2 cans chickpeas, drained and patted dry
  • Olive oil
  • 1 tsp. salt
  • ½ tsp. paprika
  • ½ tsp. cumin
  • ½ tsp. curry powder
  • ½ tsp. coriander
  • Pinch cayenne pepper (or more if you like spicier food)

Roasted Eggplant

  • 2 small eggplant (I used graffiti eggplant, but Chinese eggplant would work well)
  • 3 cloves garlic, minced
  • Olive oil
  • Fresh parsley or sumac

Garlic-Yogurt Sauce

  • ¾ cup plain yogurt (any fat content works)
  • 2 cloves garlic, minced
  • ½ tsp. salt

Preheat the oven to 400 degrees F.

Spread the drained chickpeas on a sheet pan lined with aluminum foil and dry-roast for 30 minutes.

Remove from the oven and toss with a small amount of olive oil (maybe a tsp. or two), then add the cumin, coriander, curry powder, paprika, cayenne pepper, and salt and stir to coat the chickpeas.

Return the chickpeas to the aluminum foil-lined sheet pan and roast for 30 more minutes, shaking the pan every 10 minutes to prevent burning.

Remove from the oven and set aside to cool.

Now onto the eggplant! Cut the eggplants in half length-wise and then score with a diamond pattern, taking care not to cut through the skin.

Drizzle the eggplant with the olive oil, then rub on the minced garlic, and sprinkle with salt.

Roast for 30 minutes or until the flesh is soft.

While the eggplant is roasting, combine the yogurt, garlic, and salt in a large bowl and stir well to combine.

To assemble the dish, place the eggplant, cut side up on a serving plate. Drizzle on the yogurt sauce and then top with the crispy chickpeas and chopped parsley or sumac. Finish with a sprinkle of kosher salt. Serve warm or at room temperature.

The roasted eggplant is sweet and soft, the yogurt creamy and tangy, and the chickpeas add a perfect salty crunch. It’s a dish that hits all the notes for sure.

As an added bonus, the crispy chickpeas in this recipe make a great snack. I keep them in a jar behind the counter at the pharmacy and grab some every few hours as a quick pick-me-up.

I love being inspired by other chefs and am excited to have created my own riff on something I enjoy so much. (Now I can have it anytime, woohoo!) Hope you try this one out—maybe even see how it tastes with different spices on the chickpeas. Take my spin, make it your own, and enjoy it soon.

Ciao for now,

Neen

Crisper Clean-Out: Vegetable and Feta Frittata

25 May

Can you tell I’m on an egg kick? The nutritionist I’m working with has really emphasized the importance of eating vegetables and protein at breakfast. During the week, I usually have leftovers from dinner, but on the weekends I like to cook something fun. Today I took the opportunity to clear out some small quantities of vegetables I had in my refrigerator from making other dishes and put together a truly tasty vegetable frittata. You can mix and match your own combinations of vegetables, leftover meats, and cheeses, but this is my favorite variation.

Most frittata recipes I find call for a dozen eggs, which is kind of excessive when you are only one person who doesn’t want to put all of her eggs into one dish. This is a smaller, but super filling frittata that will comfortably serve a generous slice for 4 people or a side-dish style slice for 6. This stovetop-and-oven method provides a nice, crispy bottom that makes this easy to slice and serve.

Vegetable and Feta Frittata

  • 6 large eggs
  • 1-2 tbsp. light cream
  • 2 cups rainbow chard, chopped, leaves and stems separated
  • 2 cups broccolini, chopped
  • 8 oz. mushrooms, sliced
  • 1 leek, chopped
  • 2 oz. feta cheese, crumbled
  • 1 tbsp. olive oil
  • ½ tsp. dried oregano
  • Salt and fresh ground black pepper to taste
  • Fresh parsley to garnish

Preheat an oven to 425 degrees F.

Beat the eggs, oregano, and light cream together in a large bowl and season with salt and fresh ground black pepper.

Heat the oil in an 8 in. cast-iron or nonstick pan over medium heat. Add the leeks and saute for 2-3 minutes or until they begin to soften.

Add the mushrooms and cook another 2-3 minutes or until they give up their juices.

Add the broccolini and chard stems to the pan and saute 4-5 minutes or until they are bright and begin to get tender.

Finally, add the chard and cook just until wilted, about a minute or two.

Pour the egg mixture over the vegetables and stir briefly to combine. Top with the crumbled feta and cook for 1 minute.

Carefully place the pan in the oven and bake for 7-10 minutes or until set and golden brown around the edges. Sprinkle on fresh parsley.

Slice, serve, and enjoy!

The leeks are sweet and there is a wonderful variety of textures and flavors from the broccolini, mushrooms, and chard. The feta adds a salty, creamy kick that finishes the dish beautifully.

I hope you have a happy and relaxing Memorial Day weekend. It’s farmers market season so go get inspired by what you find and make your own special frittata creations!

Ciao for now,

Neen

A Perfect Start: Spanikopita Egg Casserole and Garlic Roasted Radishes

20 May

For the last few months, I’ve been fundraising for the Arthritis Foundation’s Walk to Cure Arthritis and this weekend the event finally took place! After a lot of rain here recently, we got an absolutely gorgeous day for the walk. My mom, dad, Joe, and my cousin Alyssa came to support me and hear me sing the National Anthem.

Of course, I had to make us a delicious breakfast before our morning exercise so we had oatmeal, yogurt and a protein and vegetable packed egg casserole that turned out really great. This morning I reheated a piece and enjoyed it along with some garlic-roasted radishes—too good to not share!

Spanikopita Egg Casserole

  • 8 large eggs
  • 5 oz. greens (I used a baby kale, chard, and baby spinach mix)
  • 1 tbsp. olive oil
  • 1 onion, diced
  • 2 cloves garlic, minced
  • ½ cup light cream or half and half
  • ½ cup ricotta cheese
  • ½ cup feta cheese, crumbled
  • ¼ cup fresh parsley, finely chopped
  • ½ tsp. kosher salt
  • A few grinds of black pepper

Garlic-Roasted Radishes

  • 8 oz. radishes, quartered (or halved if small)
  • 2 cloves garlic, minced
  • 1 tbsp. olive oil
  • Salt and pepper to taste
  • 2 tbsp. fresh parsley, finely chopped

Preheat an oven to 350 degrees F and lightly grease an 8×8 in. baking dish.

For the egg casserole, begin by sautéing the onion in the olive oil for 4-5 minutes or until slightly softened. Add the garlic and cook 1 minute more.

Add the greens and cook just until wilted, about 1-2 minutes.

Transfer the mixture to the baking pan, spreading it evenly along the bottom.

In a large bowl, whisk the eggs and light cream together.

Then add the ricotta, feta, and parsley and mix well.

Pour the egg mixture evenly over the spinach mixture and stir gently.


Bake the casserole for 40-45 minutes or until set and golden around the edges. You’ll get 6 generous slices from this recipe.

For the radishes, preheat the oven to 425 degrees F. Toss the radishes with the oil, salt, and pepper, and then spread evenly on a foil-lined baking pan.

Roast for 25 minutes, tossing once, until lightly caramelized. Stir in the garlic and roast for 2-3 minutes more. Remove from the oven and toss with the parsley.

This really makes for a filling breakfast. The egg casserole tastes rich and creamy, and the slightly sweet roasted radishes make for a perfect accompaniment.

We really had a great time at the walk this weekend. It was so inspiring to meet others battling the various types of arthritis and hear their stories. For all the challenges we face, the event was uplifting and overwhelmingly positive. Hope you enjoy these dishes and share them with your support team soon!

Ciao for now,

Neen

Shared Experiences: Santorini Fava

19 Oct

One of the best things you can bring back from a trip is a recipe. I’m excited when I or others try something delicious ­and learn how to make it. Sharing food traditions is special and important. My parents recently went on a trip to Santorini, where they tried a dish called fava, which has precisely nothing to do with fava beans. The hero here is a different fava, the humble yellow split pea, which has been growing on Santorini for over 3,500 years. With these peas and relatively few other ingredients, we create an incredibly earth, hearty, and smooth dip or spread that is popular in the local tavernas there.  Think of it as an alternative to hummus that can be served warm, room temperature, or even chilled.

Santorini Fava

  • 250g yellow split peas, rinsed
  • 1 red onion, chopped
  • 3-5 sprigs thyme
  • 1 clove garlic, chopped
  • 4 tbsp. olive oil, divided
  • 2 cups warm water
  • Juice of one lemon
  • Salt and pepper

Heat 1 tbsp. olive oil in a large saucepan over medium-high heat. Add the onions, thyme, and a pinch of salt, and saute until the onions begin to soften and turn translucent, 5-6 minutes.  Add the garlic and saute one minute more.

Stir in the split peas and then add the water and olive oil, reduce the heat to medium and cover.

Cook until the peas are mushy, 35-45 minutes.

Add the mushy peas and lemon juice to the bowl of a food processor and puree until smooth. Taste for seasoning and adjust as needed.

I like to serve this room temperature with a spoonful of cold plain yogurt, caramelized onion, and chopped fresh parsley to garnish.

The combination of textures and temperatures is just excellent. Fried capers would be more than welcome here, I just didn’t have any on-hand.

I’m so glad my parents took the time to get this recipe and passed it along to me. It’s the perfect quick snack alongside some warm pita or crisp, cool vegetables. And I never would have heard of it if not for their travels! One savory little way to taste a part of their experience.

Ciao for now,

Neen

Leftover Treasures: Arancini

12 Aug

There are a lot of clever ways to revive leftovers, but one of my favorites makes a new dish that can be even better than the original. I am talking of course, about arancini, Sicily’s perfect little fried rice balls.

The name translates from Italian and Sicilian to mean “little oranges” for the shape and color of the finished product. They’re said to have originated in 10th century Sicily, and later gained popularity as a food eaten on the feast of Santa Lucia. “Arancini are a traditional food for the feast of Santa Lucia on 13 December when bread and pasta are not eaten. This commemorates arrival of a grain supply ship on Santa Lucia’s day in 1646, relieving a severe famine” [1]. Today, arancini are so popular that most food outlets in Sicily sell them year-round.

Though meat in tomato sauce (ragù) and mozzarella are a traditional filling, variants are sold all over Sicily. Like any good leftover application, they are malleable enough to accommodate what you have on hand. These deep-fried delights are the answer to “I made a full recipe of risotto and only needed to feed 1 or 2 people. What now?”

Risotto already has such a wonderful depth of flavor that we don’t need to do much at all to make it something special again. Arancini are simple to make, freeze well, and fry up in less than five minutes. Sound good? Let’s go for it.

Mushroom and Cheese Arancini

Ingredients

  • Well chilled leftovers from 1 recipe Mushroom and Romano Risotto (about 3 cups for me). You can certainly use other varieties of leftover risotto, just make sure you chill it well so that it’s firm.
  • 3 eggs (2 beaten in one bowl, 1 beaten in another)
  • 2 oz. mozzarella cheese (or other melting cheese), cut into ½ in. cubes
  • 1 cup all-purpose flour
  • 2 cups panko bread crumbs
  • Neutral oil such as peanut or canola for frying (enough to measure at least 2 in. deep in a saucepan)

Put the flour, 2 beaten eggs, and bread crumbs into separate bowls and arrange on the counter in that order. Line a baking sheet with parchment paper.

Beat one egg and mix it into the chilled risotto.

Take 2 tbsp. of the risotto and flatten it gently into your palm. Place a cube of mozzarella in the center and then gently close your hand to surround the mozzarella with risotto. I also roll the ball between my hands a few times to get a nice compact shape.

Dip the ball into the flour, shaking off excess.

Next, dip it into the beaten egg, letting the excess drip off.

Finally, roll the ball in the panko breadcrumbs and place on the parchment-lined baking sheet. I got 18 from 3 cups of risotto. (Yes, yes, there are only 17 in the picture. One was not-so-elegantly dropped.)

At this moment, I realized that I am one human with a somewhat small appetite and what on earth was I going to do with a dozen and a half arancini? Thankfully, these freeze well. If you need to do so, freeze them on a baking sheet until firm, and then move to a freezer bag. From frozen, fry 3-4 minutes and then put in a 350 degree F oven for 5-7 minutes to get the center piping hot. Win!

If not freezing, chill the arancini in the refrigerator for at least an hour before frying. They will hold their shape much better.

Prepare to fry by filling a saucepan with at least 2 in. of neutral oil. Clip a thermometer to the side of the pot and make sure the probe is at least ½ in. into the oil. This is important because greasy fried food is not what we’re after. Use an accurate thermometer, fry at the correct temperature, and the food will only absorb a very small amount of the oil. I’ve measured on a few occasions, and it’s usually only a few tablespoons total.

Bring the oil to 350 degrees F over moderate heat. You may be tempted to use high heat to get it there, but don’t. It will be harder to control the temperature later.

Fry the arancini 2-3 at a time to keep the oil temperature from dipping. They will cook in 2-4 minutes, depending on size. Remove when they are a deep golden brown. Bring the oil back to 350 degrees between batches.

Now you get a second course of your delicious risotto with added crunchy crust and gooey mozzarella center.

I mean, just check out that cheesiness:

They’re a great appetizer or lunch alongside a simple tomato salad. Now no delicious risotto leftovers need ever go to waste. And that feels pretty great.

Ciao for now,

Neen

1. Giuseppina Siotto, Vegetaliana, note di cucina italiana vegetale: La cucina vegetariana e vegana, 2014, ISBN8868101858, chapter 14