Archive | Cheese / Dairy RSS feed for this section

Overnight Success: Dreamy, Creamy Mascarpone Cheese

27 Aug

I have a tendency to over-buy ingredients. It’s this paranoid fear that I’m going to screw up a recipe, so I want to have enough of something on hand to restart the process if that happens. With pantry items, that’s not a problem, but with perishables it sometimes leaves me scrambling to think of what to do. When I was making candy recently, I ended up with several cups of leftover heavy cream and didn’t want it to go to waste.

Then I realized WOW, it’s been a long time since we made cheese together. Shame on me, because homemade cheese is extra fantastic and in a lot of cases does not require any sort of special equipment or ingredients. Ricotta, for example, can be made in under an hour with just milk, buttermilk, and a piece of cheesecloth. Make some lasagna with that and you might never want to go back to store-bought again.

While many cream-based cheeses require starters, mascarpone, Italy’s excellent cream cheese, requires little more than some heavy cream, powdered milk and a lemon to create. A cream cheese is a wonderful blank slate with all sorts of applications. Your time at the stove will be quick, I promise. It does have to set in the refrigerator for at least 8 hours, so start this one early in the morning or the day before you want to use it.

Mascarpone Cheese

  • 2 cups heavy whipping cream
  • 1/3 cup nonfat dry milk powder
  • Juice from one lemon (about 3-4 tbsp.)
  • Colander lined with a double layer of cheesecloth
  • Candy thermometer, probe thermometer, or instant read thermometer
  • A metal spoon

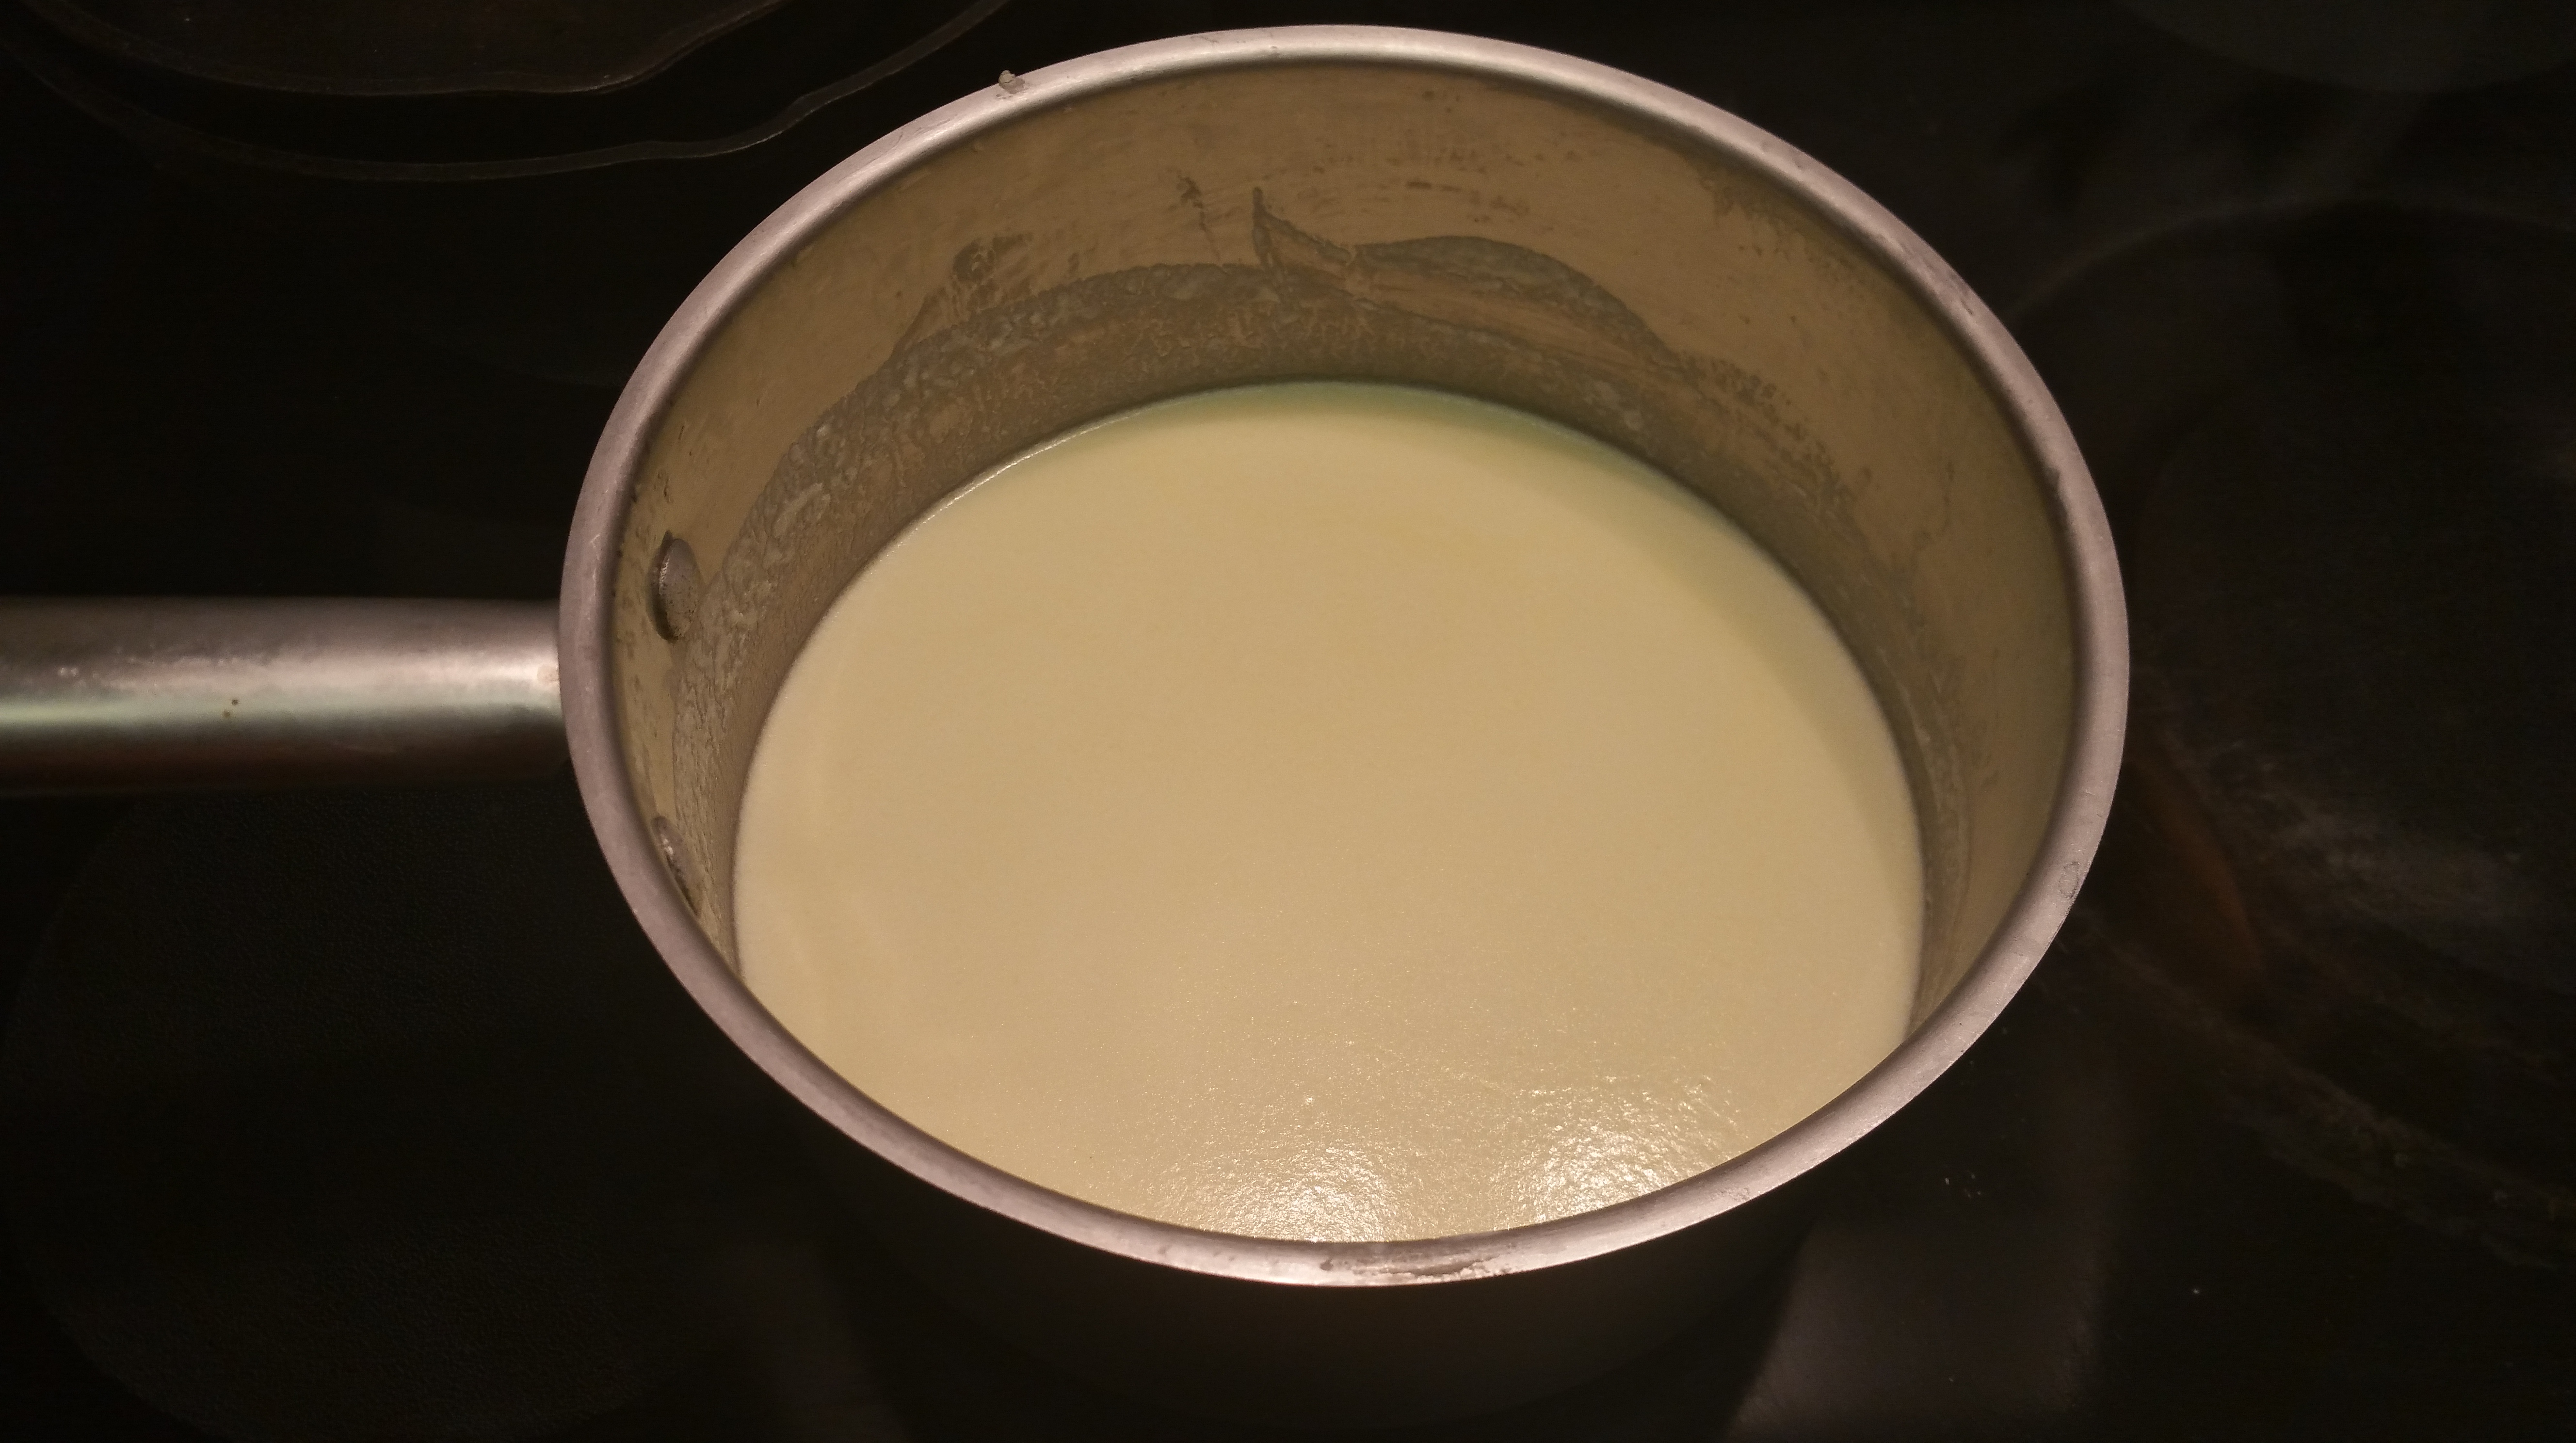
Whisk the heavy cream and milk powder together in a heavy-bottomed saucepan over low heat. Attach your thermometer and slowly bring the mixture to 180 degrees F, stirring regularly to prevent scorching.

Once the desired temperature is reached, remove the pan from the heat and switch to using the metal spoon if you are not doing so already. Stir in half of the lemon juice.

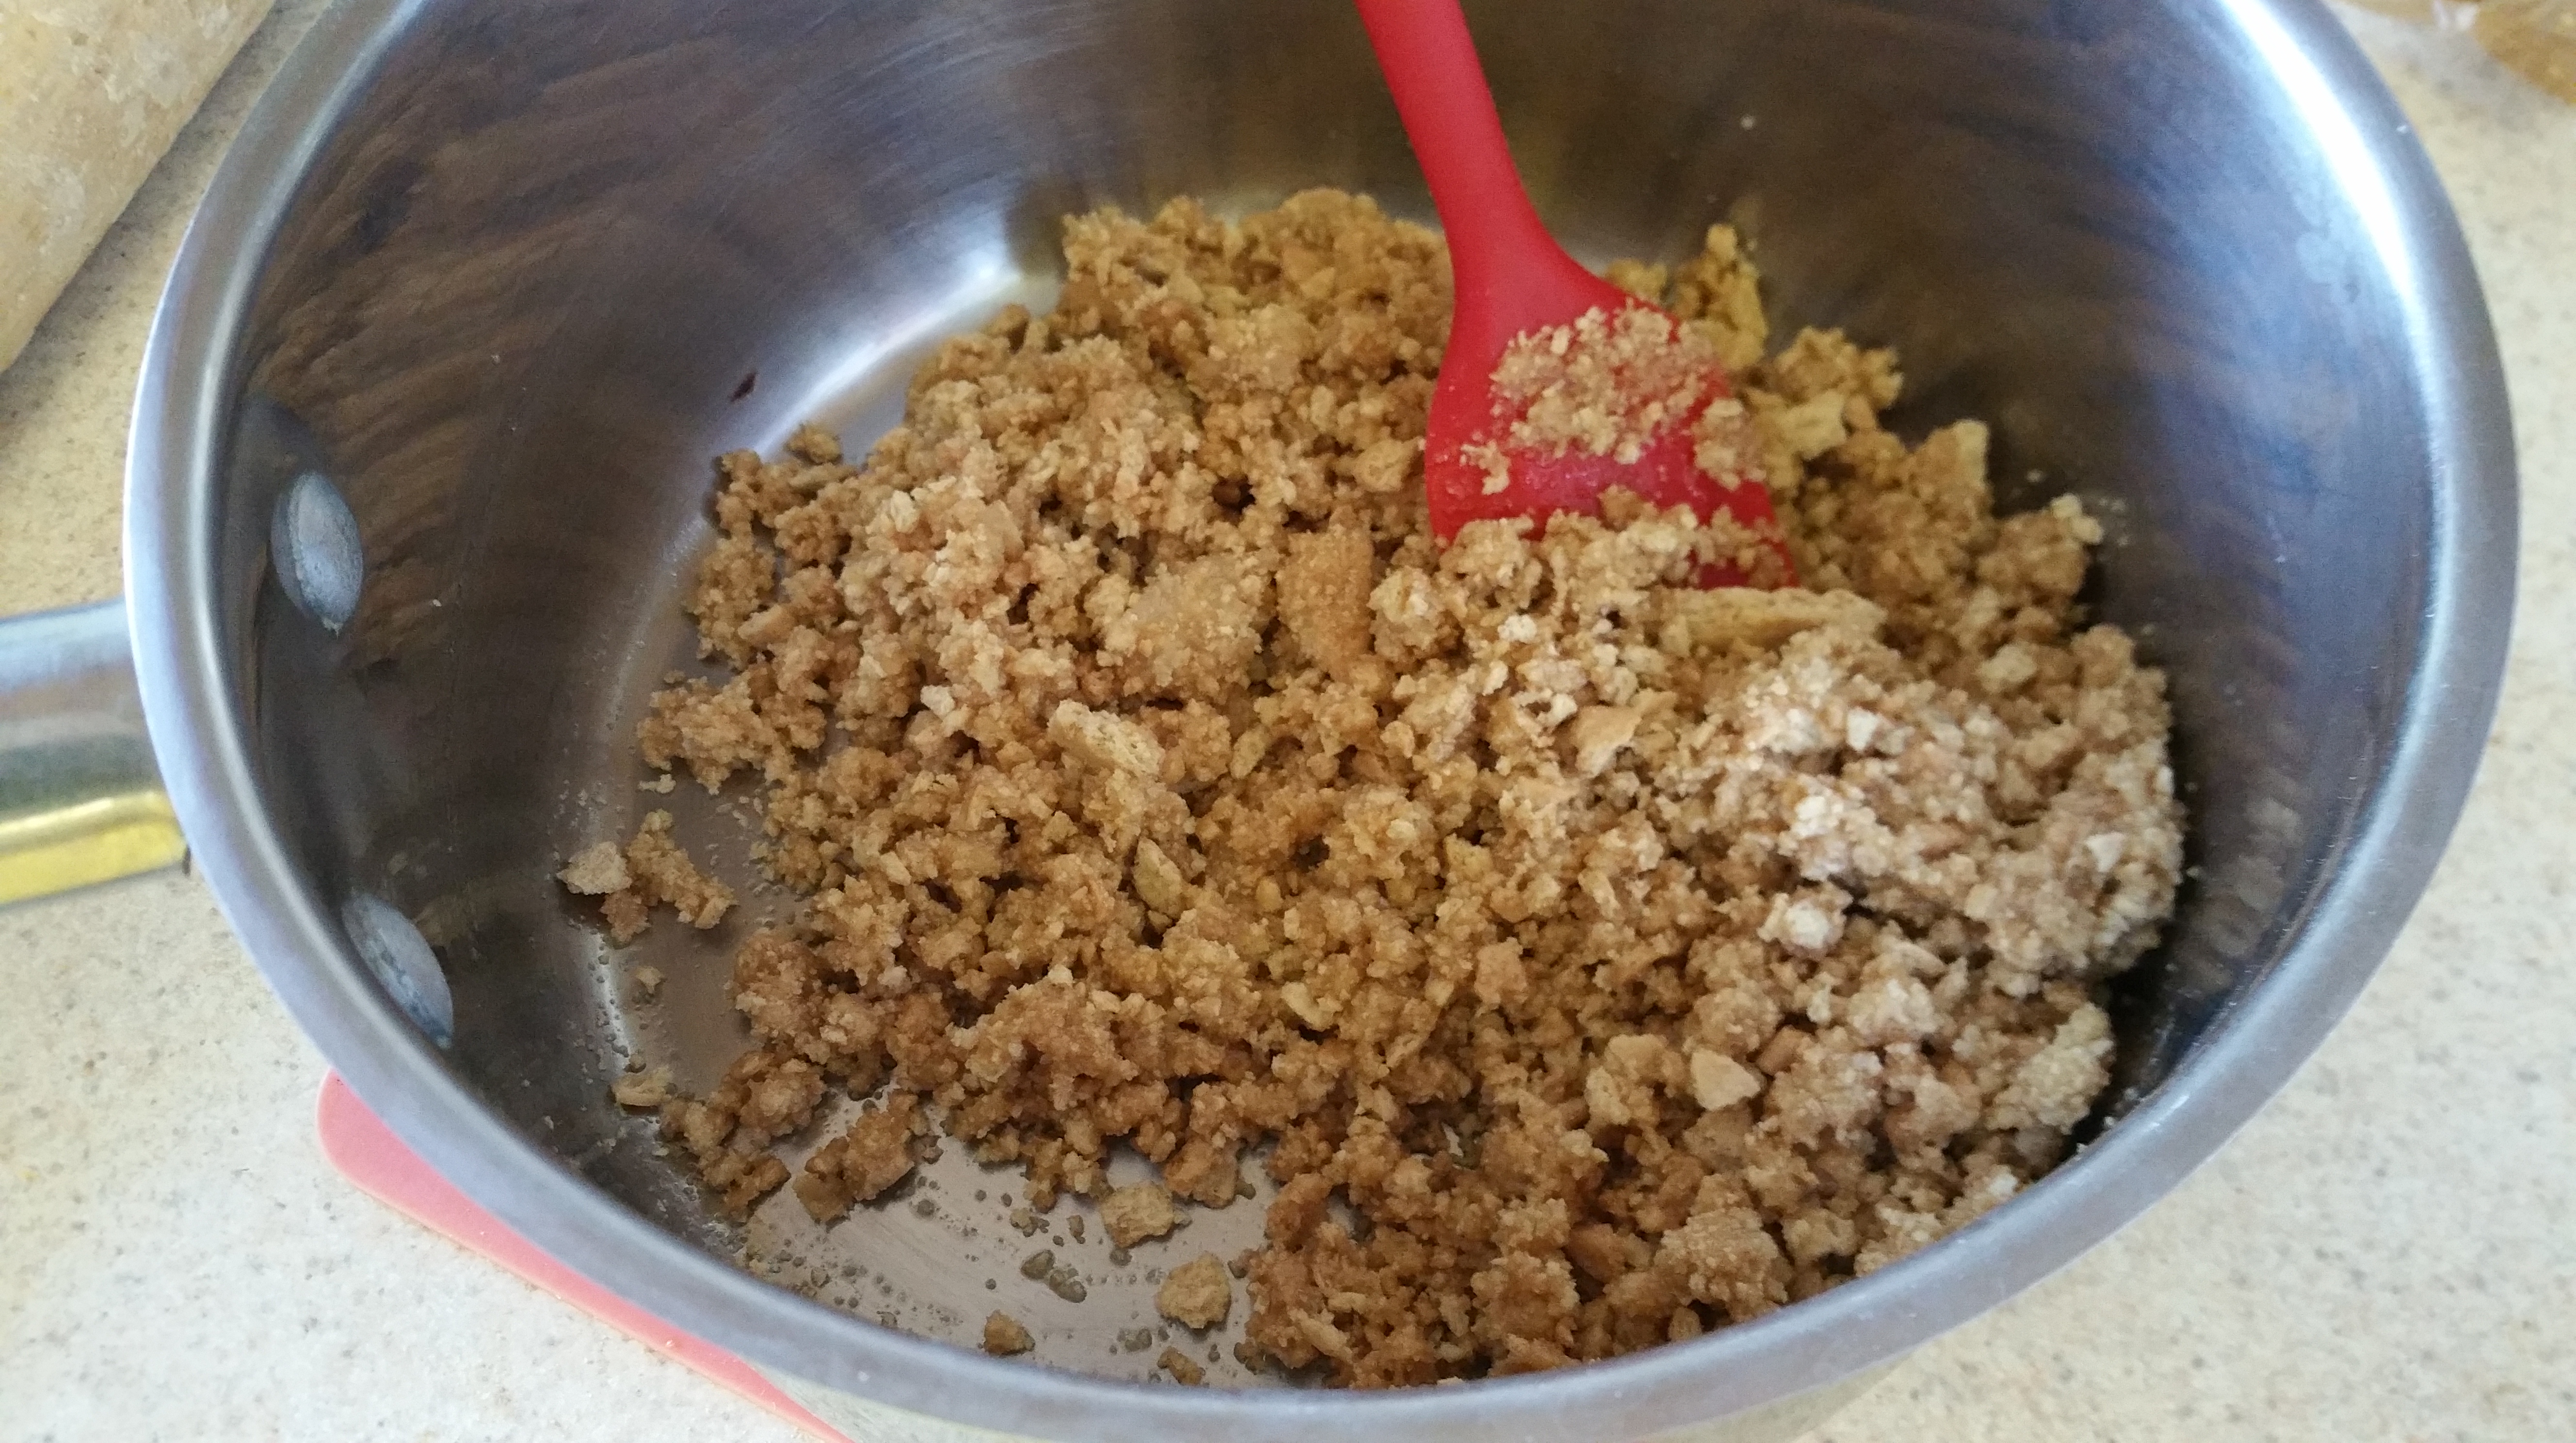
You will not see large curds separate from the whey, rather the mixture will begin to thicken. Watch for it to coat the back of the spoon and for some specks of solids appear in the mixture.

Add the remaining lemon juice and stir to combine. Cover the pot and refrigerate for 8 hours or overnight.

Once the mixture is firm to the touch, you are ready for the final step.

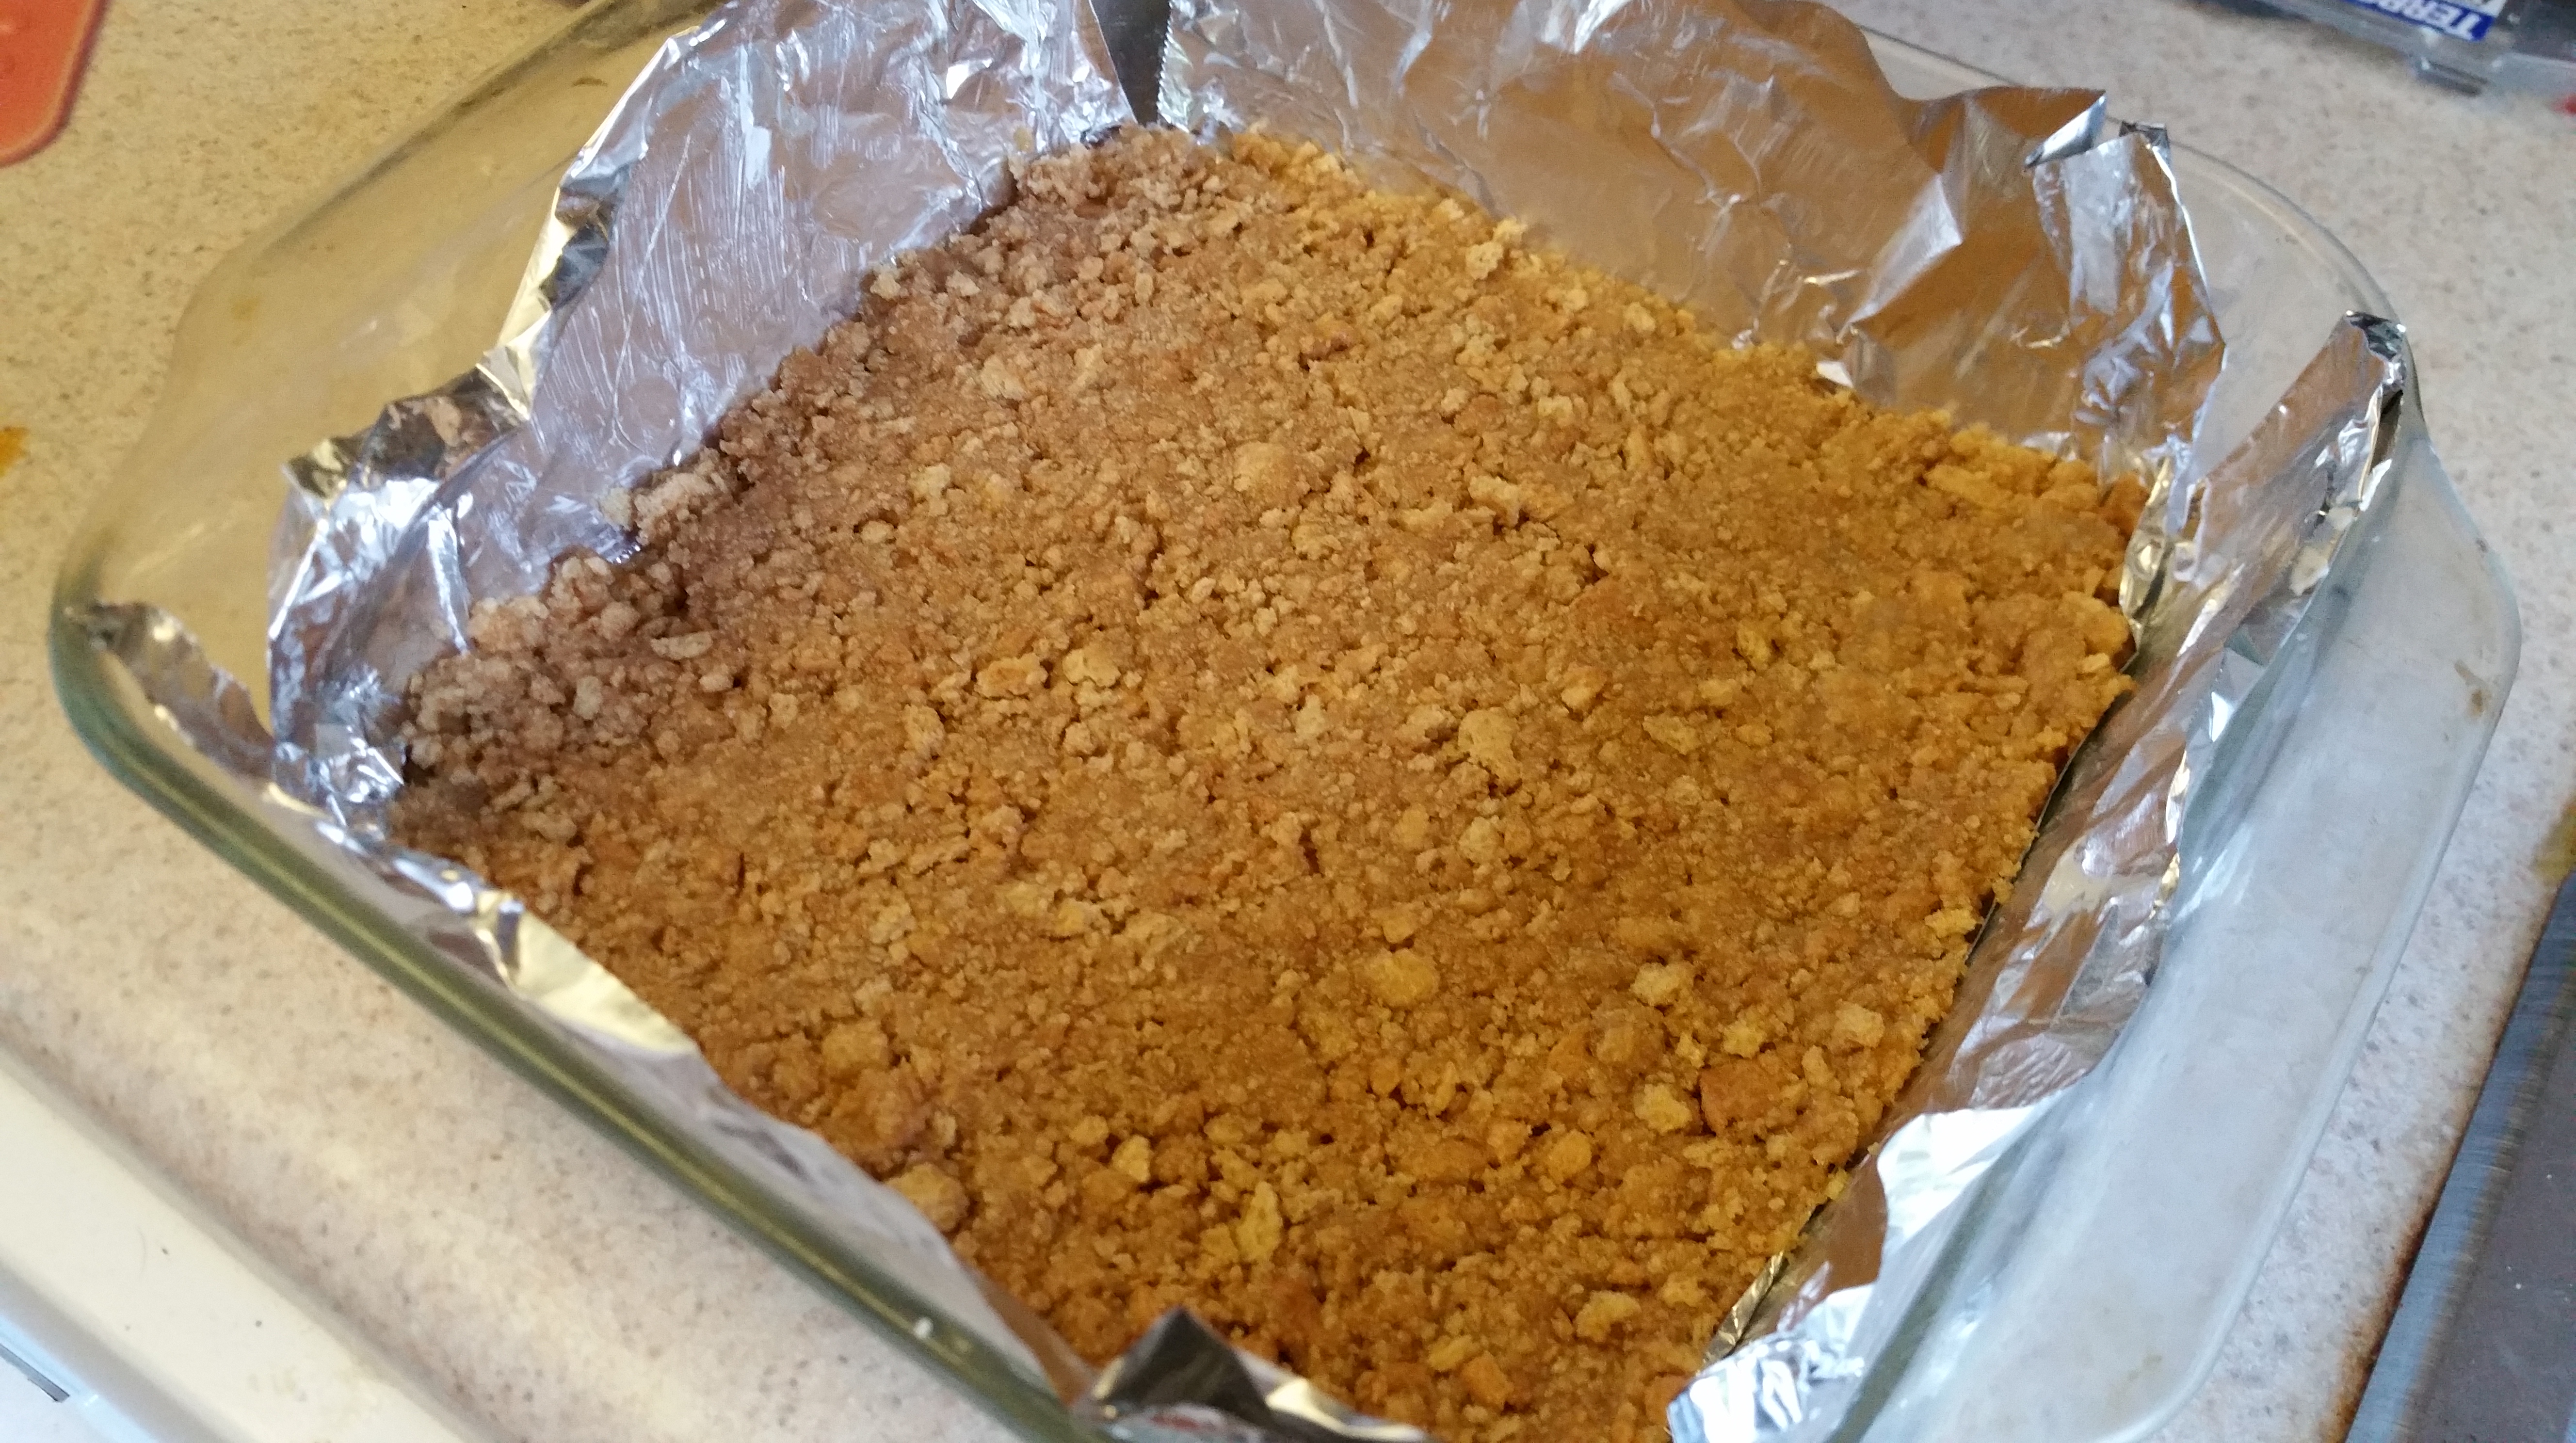
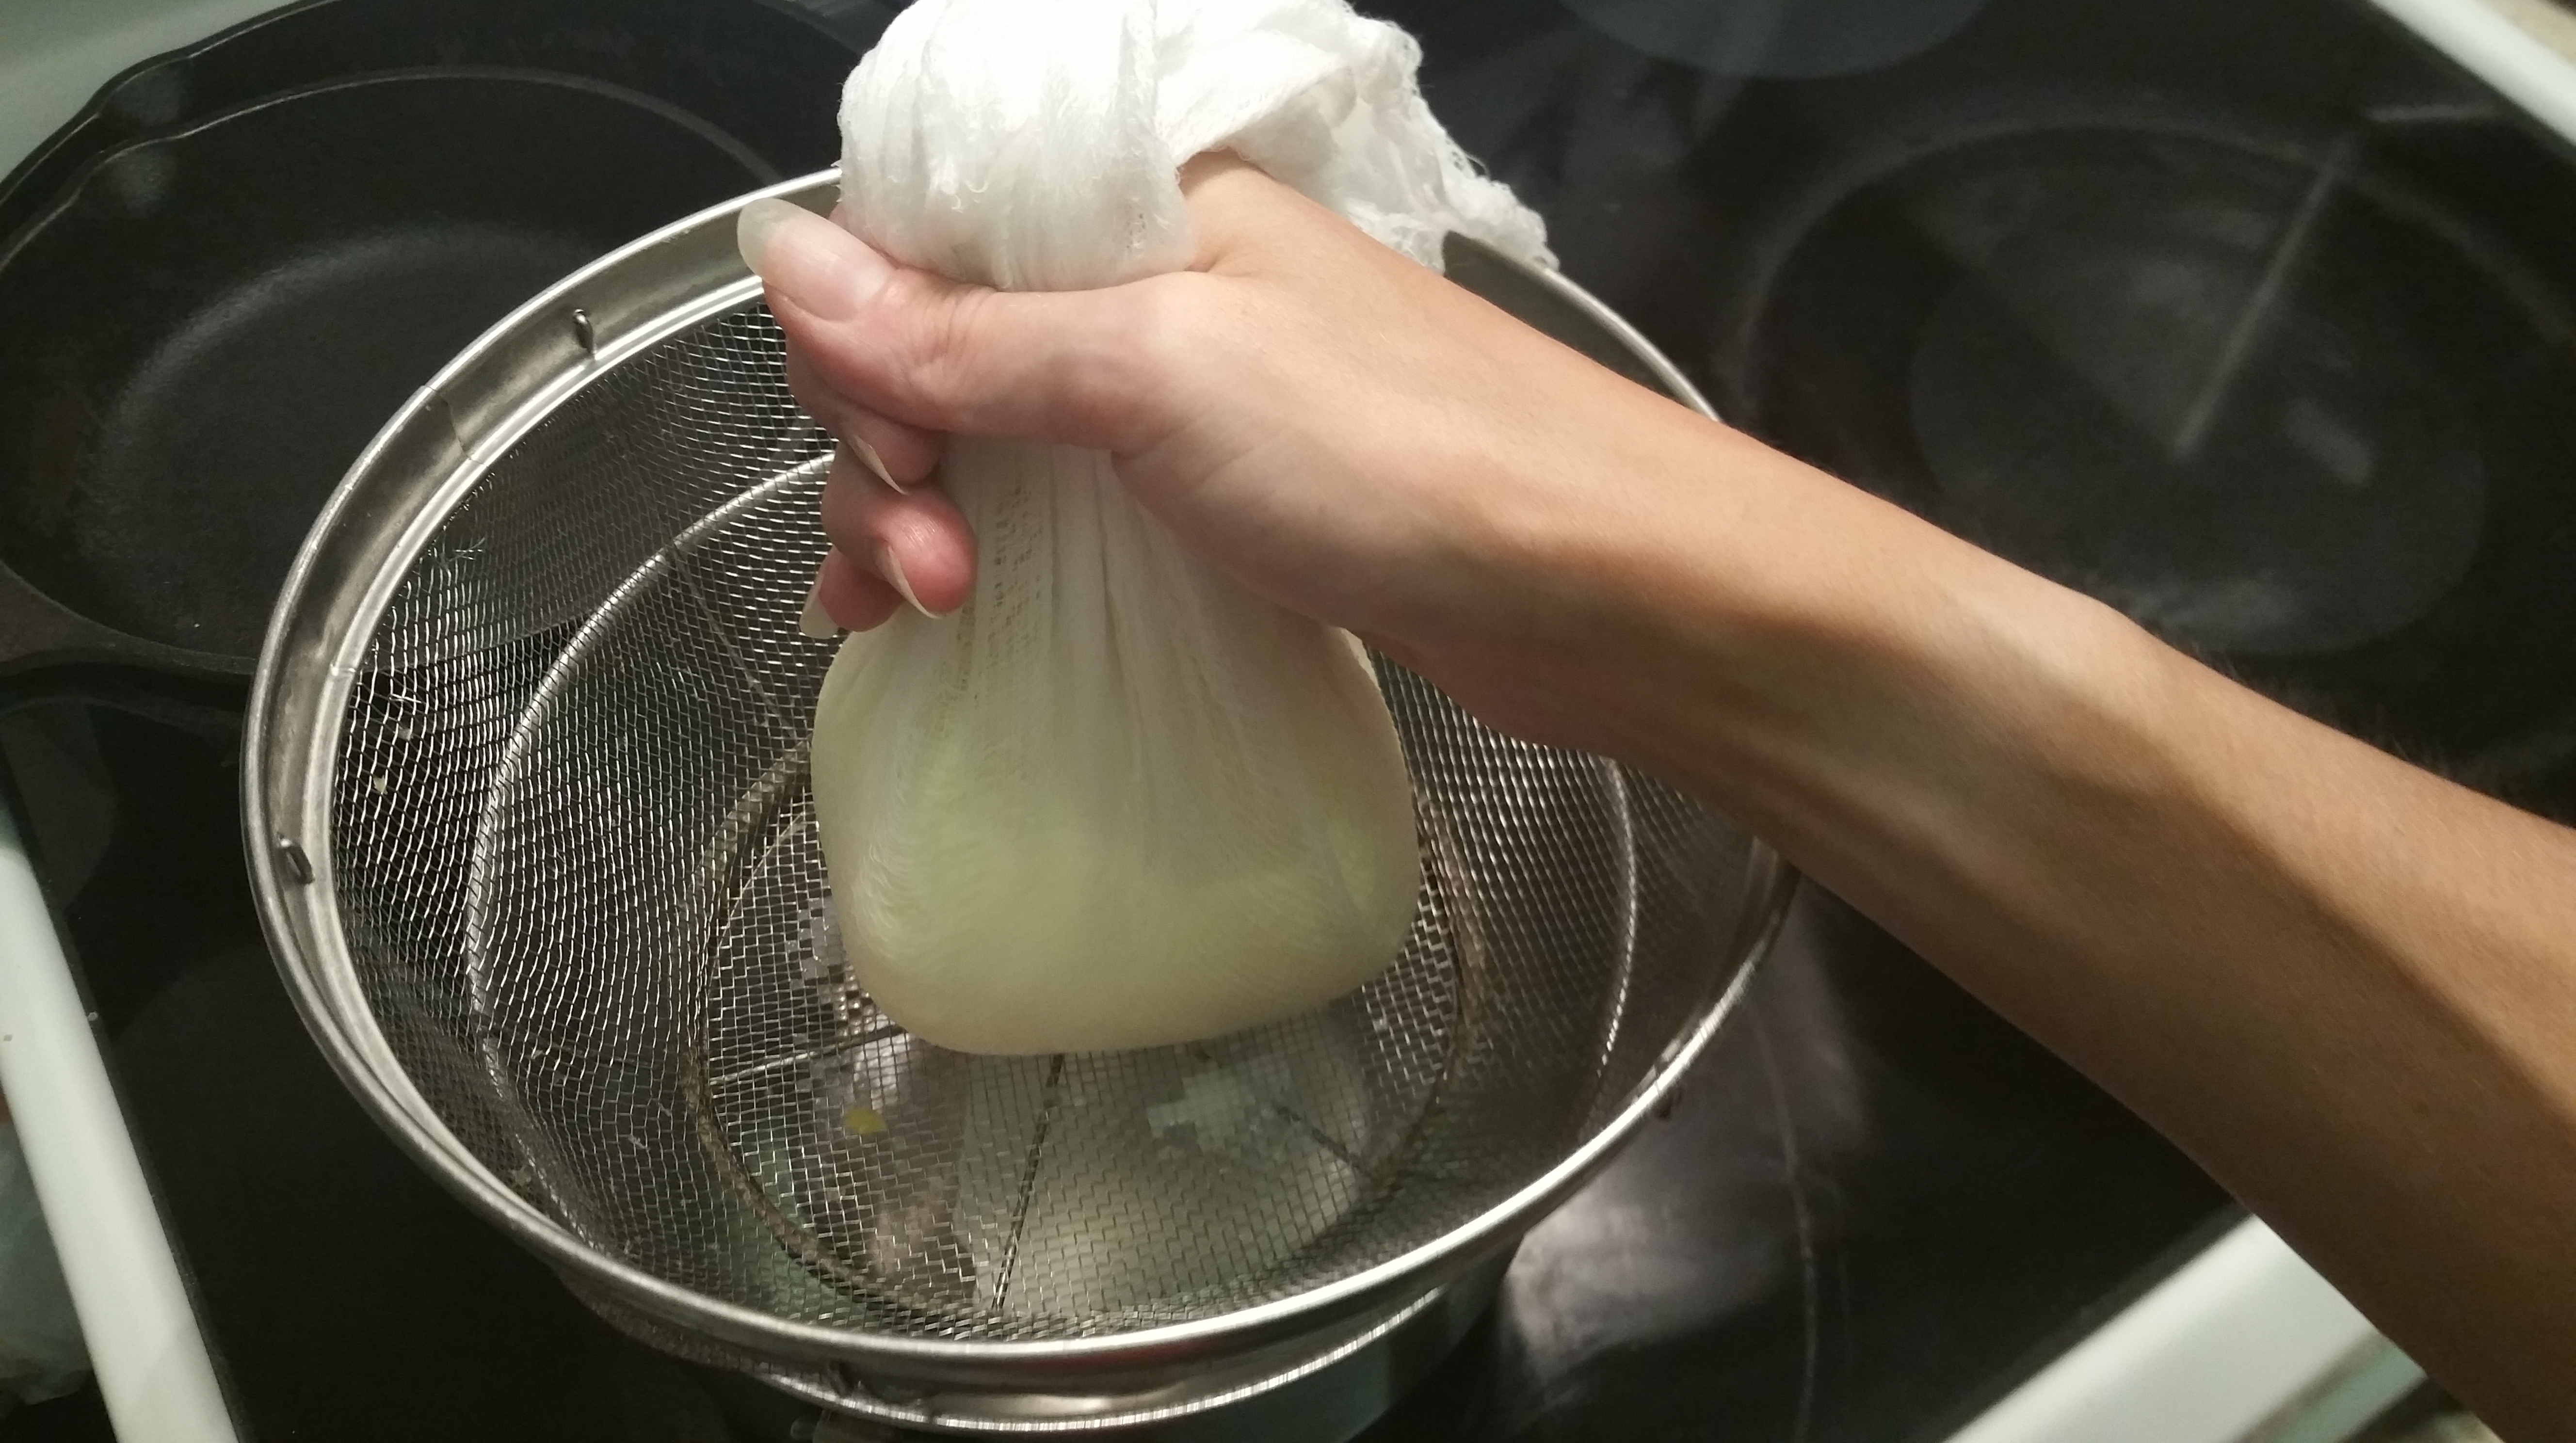
Dampen the cheesecloth and line the colander with it. Transfer the cheese to the cheesecloth-lined colander, pull the ends together, and squeeze firmly to remove the excess moisture. This will make the cheese thick and spreadable.

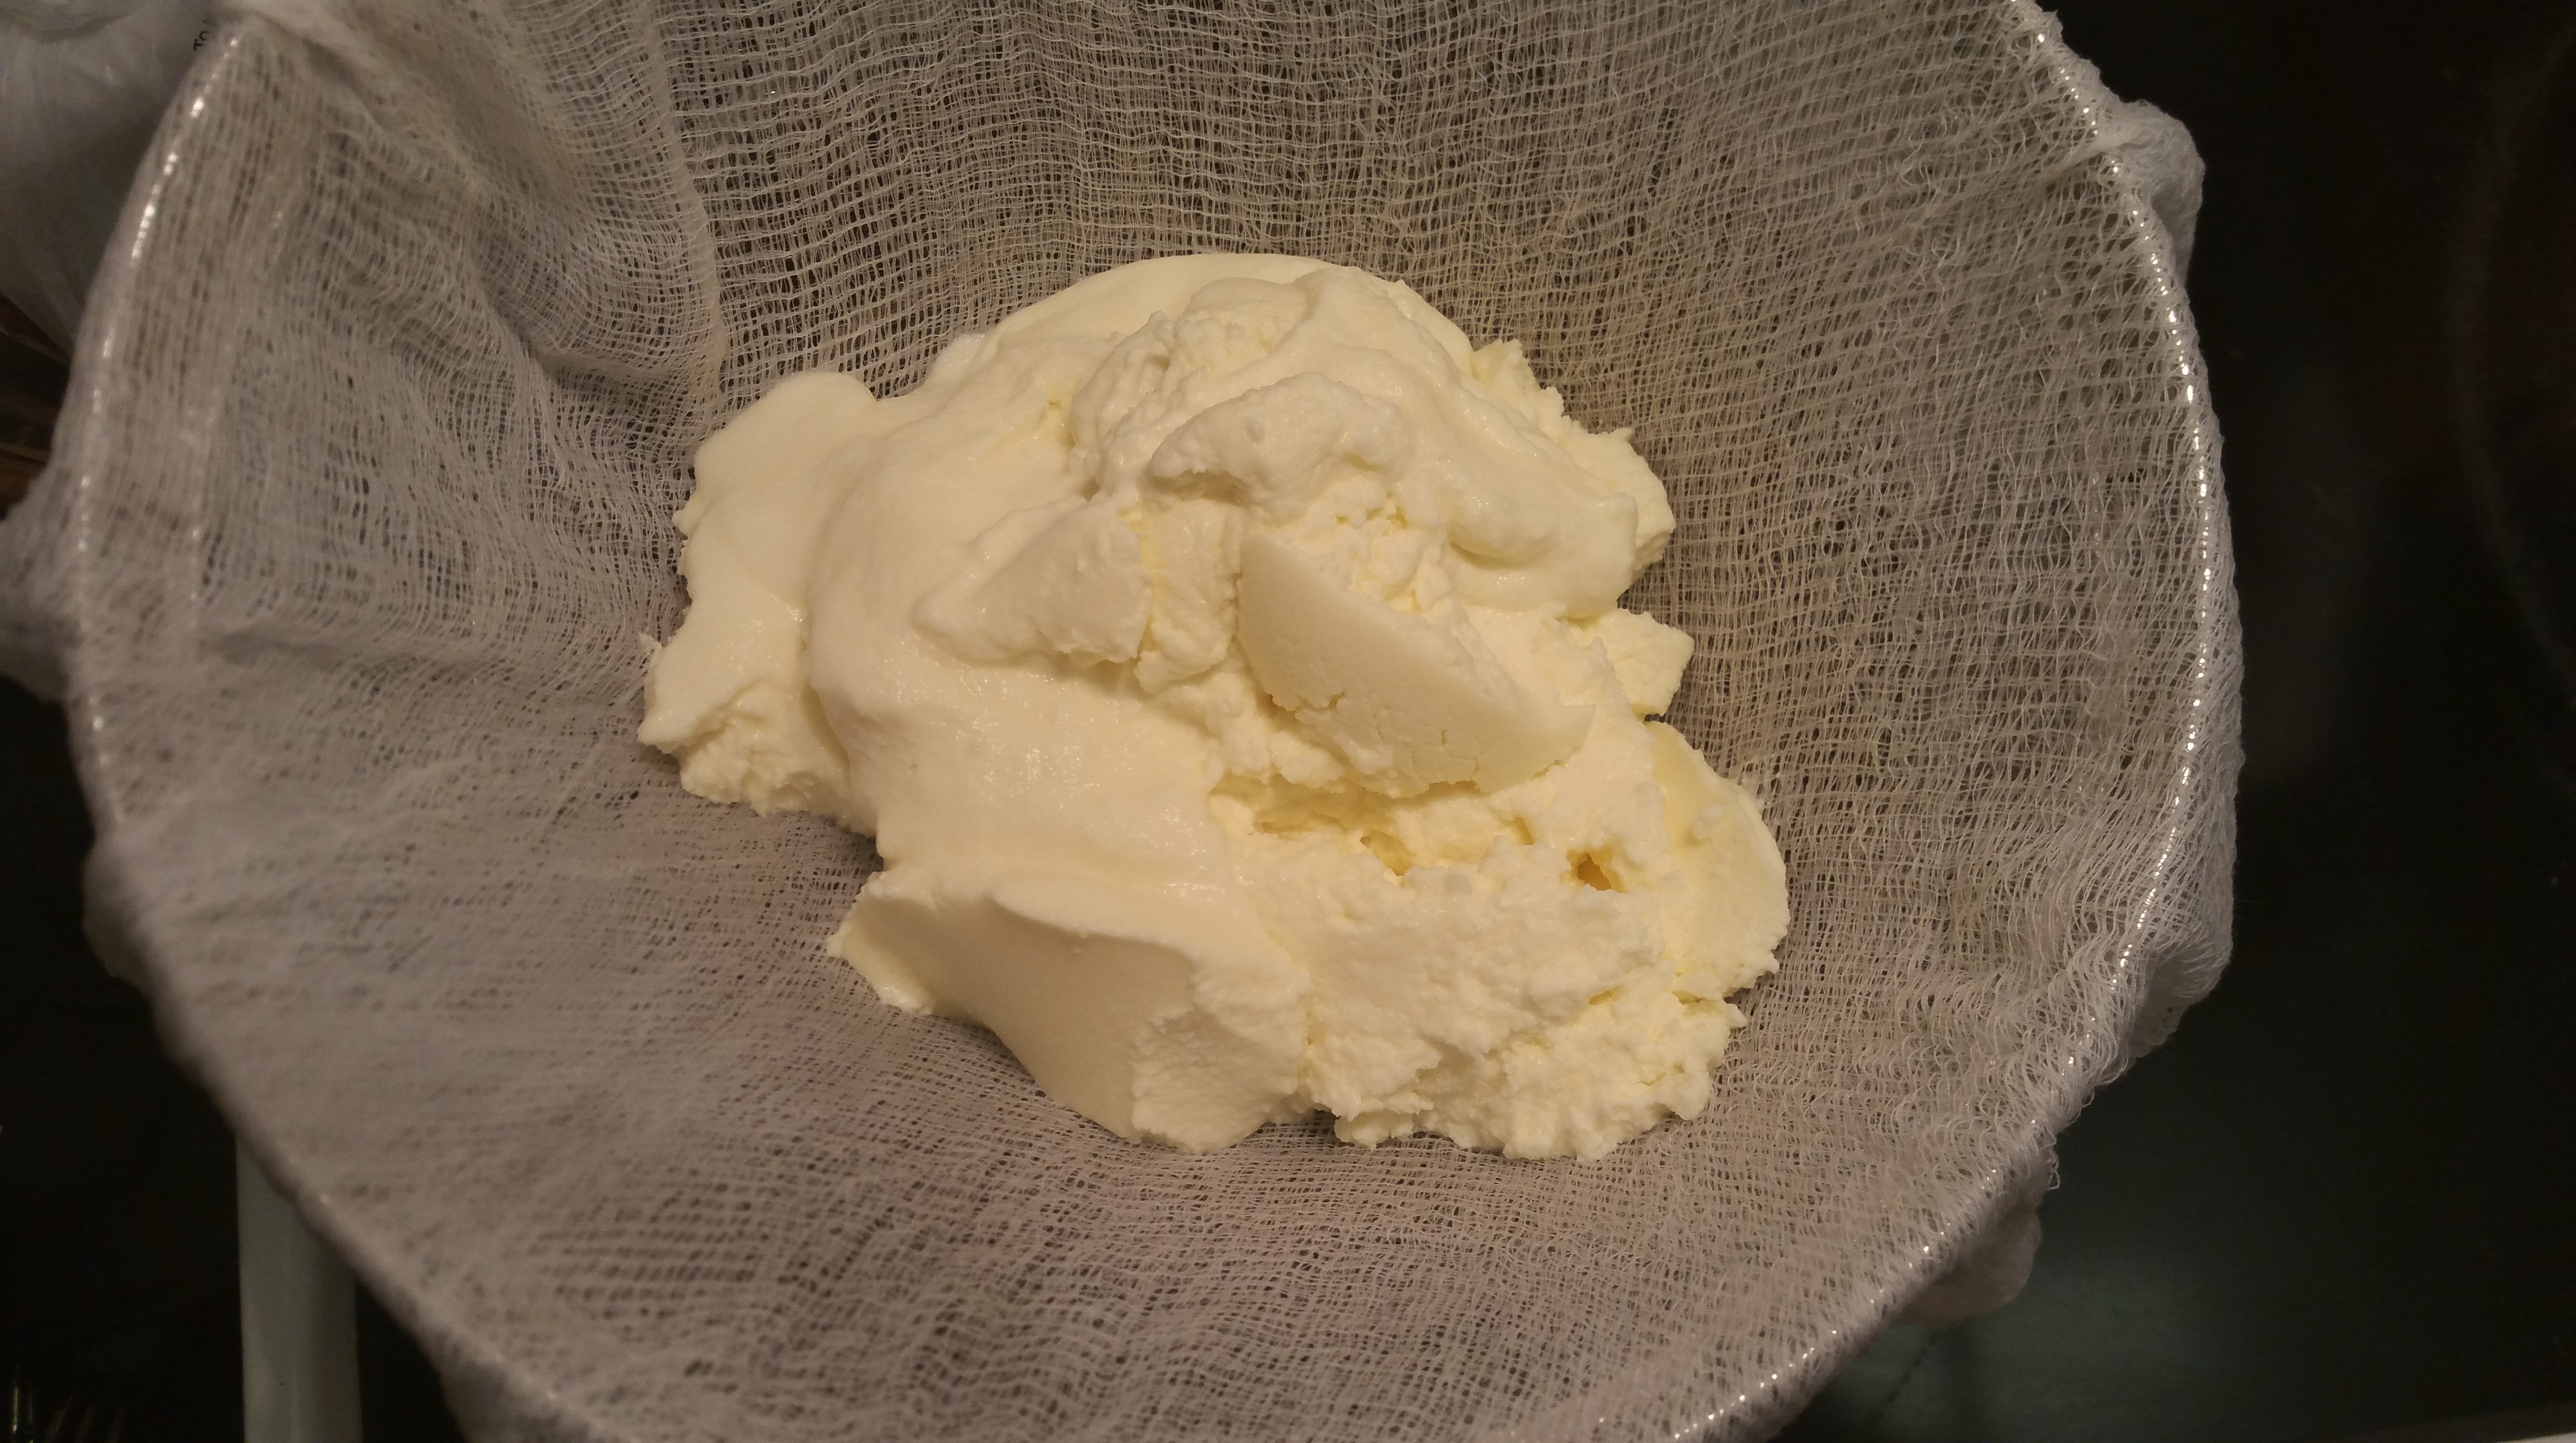
The mascarpone is ready to use, hooray! This recipe yields about 12 oz. of cheese.

While the most common application is tiramisu, mascarpone is great spread on toast, mixed into sauces, served with fruit, or even stirred in to finish risotto. You can also sweeten it and use it for cheesecakes, cake fillings, or as a substitute for whipped cream on top of cake or pie. So many uses you’ll probably want to make more. My favorite application is mascarpone-stuffed medjool dates with crushed pistachios, honey, and fruit. YUM.

If you aren’t going to use the cheese immediately, store it in a well-sealed container in the refrigerator and use within a week. With a few simple ingredients and some time, you’ll have enough on hand to play however you like.  Creamy, soft, and just a little bit lemony, it’s a treat you don’t want to miss.

Ciao for now,

Neen

Double Dessert: Strawberry Cheesecake Brownies with a Graham Cracker Crust

23 Jul

Let’s face it, you have enough difficult decisions to make on a day to day basis, yes? So when it comes to having your dessert at the end of a long day, why add one more challenging choice into the equation? This is precisely the thought that came into my head Sunday afternoon. I wanted these super fudgy brownies I made earlier in the week (that seriously satisfied my illicit obsession with “testing” brownie/cake batter), but also had a craving for creamy cheesecake. And yes, the classic marbled chocolate and cheesecake brownie seemed like the obvious answer, but there were a few sticking points I needed to address.

First of all, if you are going to call something a cheesecake, it needs a delicious crust. And second of all, fudgy brownie and cheesecake together cry out for something fruity or acidic to cut all of that richness. So what I started to imagine was a crunchy, sweet crust, gooey, rich brownie, and smooth decadent cheesecake with a little strawberry swirl. I wandered into the kitchen without a recipe and only my cravings to guide me. And a few hours later, I definitely had no difficult choices to make.

Strawberry Cheesecake Brownies with Graham Cracker Crust

Crust

  • 1 ½ cups graham cracker crumbs
  • 6 tbsp. unsalted butter, melted
  • 2 tbsp. sugar
  • 2 pinches of salt

Brownie Layer

  • 8 tbsp. unsalted butter, melted
  • 1 tbsp. cacao or cocoa butter,* melted
  • 1 cup sugar
  • 2 eggs
  • 1 tsp. vanilla extract
  • ½ cup all purpose flour
  • ½ cup cacao or cocoa powder*
  • ½ tsp. salt

*Cacao butter/powder are the raw versions of cocoa butter/powder. This just means that these products have not been processed at temperatures higher than 115 degrees F. Either will produce great results, I just like the flavor of the raw product. Can’t find cocoa butter? Any neutral cooking oil will do in a pinch.

Cheesecake Layer

  • 8 oz. cream cheese, softened
  • 1 large egg yolk
  • 1/3 cup sugar
  • 2 tbsp. strawberry preserves

Preheat the oven to 350 degrees F.

Line an 8×8 pan with aluminum foil and butter the foil.

Combine the graham crackers, sugar, salt and melted butter and mix well.

Press into the prepared pan in an even layer and bake for 12 minutes, or until just set. Move to a wire rack to cool slightly while you prepare the filling.

To make the brownie batter, combine the butter, cacao butter, and sugar and mix well.

Add the eggs and vanilla extract and beat until thick.

Stir in the dry ingredients, but do not overmix. Some lumps are fine.

Pour the brownie batter on top of the crust and set aside.

To make the cheesecake layer, blend the cream cheese, egg yolk, and sugar until smooth. I like to use a food processor for this.

Drop the strawberry preserves onto the cheesecake filling and swirl just slightly. Do not blend well.

Drop the cheesecake batter on top of the brownie layer in dollops and then use a butter knife to swirl the fillings together.

Bake for 35 minutes or until puffy and just set.

Allow the brownies to cool at room temperature for an hour, and then chill for 2 hours before cutting into 24 pieces. If you care about keeping it pretty, wipe down your knife with a warm, damp cloth between cuts.

This really is an awesome contrast of textures and flavors. You get that rich, fudgy brownie against smooth, creamy cheesecake with little swirls of strawberry to brighten it all up a little. Dessert need not be a difficult choice ever again. You’re welcome!

Ciao for now,

Neen

Back to Bread Baking: Rosemary Asiago Focaccia

7 Jun

So, it’s been a very strange two months.

The first week of April, I woke up suddenly with back pain so excruciating, Joe and I had to cancel our annual trip to Boston for PAX East. Things deteriorated from there. My joints swelled randomly and massively, there were weeks at a time when I could not walk, and I was in constant, excruciating pain. After a long two months of MRIs, x-rays, labs, and doctor appointments, I was finally diagnosed last week with rheumatoid arthritis. While things haven’t improved greatly (yet), I am much more comfortable and have a treatment plan to move forward.

Needless to say, I wasn’t doing much cooking. The last couple of weeks I’ve had a little more energy, my hands hurt a little less, and I have started to cook some meals and get back to baking. I’ve been going for a lot of comfort foods like meatloaf, soups, and homemade pasta. But what really feels like home to me is baking bread. So when my rosemary plant decided to offer this…

I knew a really good focaccia was on the way.

Let’s get back in the kitchen together!

Rosemary Asiago Focaccia

Bread:
2 tsp. active dry yeast
1 cup warm water (110-115 degrees F)
2 tbsp. sugar
3 1/2 to 4 cups bread flour
1 tbsp. kosher salt
1/4 cup olive oil
2 tbsp. fresh rosemary, chopped
1.5 oz. finely grated asiago cheese

Toppings:
2 tsp. fresh rosemary, chopped
1 oz. coarsely grated asiago cheese

Dissolve the salt in 2 tbsp. of water and set aside.

In the bowl of a stand mixer, combine the yeast, sugar, and water, and let stand until foamy, 5-10 min.

Turn the mixer on low speed and slowly add 3 1/2 cups of flour to the bowl. Add the salt water and olive oil, and once incorporated, add the chopped rosemary and finely grated asiago cheese.

Once the dough comes together, turn out onto a lightly floured surface and knead until smooth and elastic, about 10 minutes. (You can also knead this in a stand mixer fitted with a dough hook, I just enjoy doing it by hand.) Add flour as needed if the dough is sticky.

Form the dough into a ball and transfer to an oiled bowl, tossing to coat in the oil. Cover the bowl loosely with plastic wrap or a towel and allow the dough to rise until doubled in size, about 45 minutes.

Preheat the oven to 450 degrees F and adjust a rack to the lower third of the oven.

Lightly oil a baking sheet and turn the risen dough out onto it. Gently stretch the dough into an oblong shape about ½ in. thick.

Let rest, uncovered, for 15 minutes.

Gently dimple the dough with your fingertips. Brush the surface of the dough with olive oil, and then sprinkle on the coarsely grated asiago cheese and chopped rosemary.

Bake the focaccia for 13-15 minutes or until golden brown all over. Allow it to rest at least 15 minutes before slicing.

This bread reheats especially well in the toaster or conventional oven (if you don’t finish it all in one day!)

While I often find the road ahead daunting and uncertain, I am lucky to be surrounded by supportive people, and have hobbies like cooking and yoga that ground me and offer me a meditative space. And I’ll keep writing to you here as often as I can, because food is meant to be shared and I will always be happy to share with you.

Ciao for now,

Neen

Game Night Snacks: Pepperoni and Cheese Swirl Rolls

17 May

I had some pizza dough in the fridge recently that I needed to use and it got me thinking about creating a savory version of the Cinnamon Rosettes on this blog. The Stanley Cup Playoffs are also going on and the Pens are in the Eastern Conference Finals, so I’ve also got stadium snacks, bar food, and Pittsburgh on the brain. That led me to one natural conclusion. Let’s flip the script for…

Pepperoni and Cheese Swirl Rolls

Ingredients

  • 1 lb. pizza dough, homemade or store-bought. Recipe here!
  • 12-15 slices pepperoni
  • 4 oz. shredded mozzarella cheese
  • 1 oz. pecorino romano cheese
  • 3 tbsp. butter
  • ½ tsp dried thyme
  • ½ tsp. dried basil
  • ½ tsp. dried oregano
  • ½ tsp. garlic powder
  • Optional: ¼ tsp. cayenne pepper

Method

Preheat an oven to 350 degrees F. Grease a 12-cup muffin tin.

Roll out the pizza dough into a rectangle about 12 x 15 in.

Melt the butter with the herbs and spices, and then brush onto the pizza dough, leaving a small seam at the bottom.

Layer on the mozzarella cheese and most of the pecorino romano cheese (reserve some for the tops of the rolls).

Add a layer of pepperoni.

Roll the pizza dough toward you slowly, jellyroll style, and pinch the edges together to seal.

Place the roll seam side down on a cutting board and slice into 12 equal pieces.

Put each roll into a muffin tin cup and then sprinkle additional pecorino romano cheese on top.

Bake 25-27 minutes or until golden brown on top. Move the rolls to a wire cooling rack and serve warm with marinara sauce for dipping.

These are really delicious the day they are made, but they also reheat well. Just put them back in a 350 degree oven for 5-7 minutes.

Ciao for now (and let’s go Pens!),

Neen

Crispy, Chewy Thin Crust Pizza

20 Sep

I love all kinds of pizza. Thick squares covered in crushed tomatoes and romano cheese, thin floppy slices oozing with mozzarella, deep dish pieces, and yes, the slightly charred crispy Neapolitan-style pies.

My better half like his pizzas thin and crispy. I’ve spent YEARS cooking thin crust pizzas in my slightly under-powered oven and for a long time just wasn’t getting the result I wanted. Okay, sure, you can preheat a pizza stone in your oven for a while and probably get a pie that’s crisp and chewy, but let’s be realistic: Who has time to do that?

No, the real secret to a perfect crust, even for bread, is airflow. Yes, I defy all of you pizza stone experts, because unless you’ve got my dad’s fires-from-hell brick oven, there is a better, easier way to get the perfect pizza or bread crust at home.

First let’s deal with the dough itself. This recipe is an amalgamation of at least four other people’s recipes, but it is velvety, easy to work with dough with a beautiful flavor.

Perfect Pizza Dough (for one 16 in. pizza or two smaller pizzas)

  • 3 ½ cups all-purpose flour
  • 2 tbsp. sugar
  • 1 tbsp. salt dissolved in 2 tbsp. warm water
  • 2 ¼ tsp. active dry yeast
  • 1 cup warm water (about 110-115 degrees)
  • ¼ cup extra virgin olive oil

Combine the water, sugar, and yeast in the bowl of a stand mixer fitted with a paddle attachment and let it sit until the mixture is very foamy, about 5 minutes.

20160909_143823

20160909_144832

Add the flour to the yeast mixture, and then add the salt water. Finally, gently stream in the olive oil.

20160909_145047

Switch the paddle for a dough hook and knead until the dough is soft, smooth and pliable. I prefer to do this by hand and it takes about 10 minutes. Once you have a smooth dough, roll it into a tight ball.

20160909_150140

Oil a clean bowl and toss the dough ball to coat. Then cover the bowl lightly with plastic wrap, leave it in a warm spot, and allow the dough to rise until doubled in size, about one hour.

20160909_162612

After it has risen, gently punch the dough down and it is ready to use. Or store it in the refrigerator covered for up to a few days.

To bake, preheat an oven to 450 degrees F.

NOW, remember what I said earlier about airflow? You do not need an expensive pizza stone or a bunch of bricks on your oven rack, you need this:

20160909_180241

20160909_180246

This is a 16 in. pizza screen, but they come in all sizes. It cost about $10. This is how we achieve a golden brown and crisp bottom with a nice, chewy interior.

Lightly oil the pan and then oil your hands. Stretch the pizza dough across the screen until it is even, then brush the surface with olive oil and top as desired. This is a classic marinara and whole milk mozzarella pie.

20160909_181054

Place the screen on the bottom rack of your oven and bake for about 12-13 minutes. Check it at 12, because the bottom can start to char quickly!

20160909_182447

20160909_182454

Give the pizza a minute or two to cool, and then easily slide it off of the screen and on to your cutting board for slicing.


20160909_182510

Give this method a try on your next pie. You won’t be disappointed!

Ciao for now,

Neen

Weeknight Wonder: Baked Macaroni and Cheese

31 Aug

My teaching schedule can sometimes mean being gone at an awkward hour for trying to coordinate dinner, so I’ve learned a lot of crock pot, sous-vide, and make-ahead meals to keep Joe and myself from paying for take-out.

This baked macaroni and cheese recipe is one of my personal favorites, because it skips some of the fussier steps like making a roux and a cheese sauce. Nope, this one is for the evening you’d rather skip all of that and still have something hot, gooey, cheesy and delicious. Plus, it can be prepared well in advance. You can also double this recipe for a bigger crowd or even add vegetables or chopped meats to it.

Baked Macaroni and Cheese

  • 8 oz. dried pasta (I usually go with penne or elbows)
  • 1 cup half-and-half cream
  • 2 cups sharp cheddar cheese (or a mixture of cheeses! Great way to clean out the cheese drawer.)
  • 2 oz. cream cheese
  • 1 tbsp. Dijon mustard
  • 1 tbsp. flour
  • 1 tsp. kosher salt
  • ½ tsp. cayenne pepper
  • 1/8 tsp. freshly grated nutmeg
  • 1 cup panko bread crumbs or crushed crackers
  • 1 tbsp. butter

Preheat the oven to 350 degrees F.

Cook the pasta al dente, drain the water, and return the pasta to the pot. Add the cream cheese and stir until the pasta is lightly coated with cream cheese.

20160821_160915

20160821_161053

Combine the cream and spices in a measuring cup and then stir that into the pasta. Add the flour and Dijon mustard as well.

20160821_161004

20160821_161053

Finally, add the cheese, stirring to distribute as easily as possible. Move this mixture to a greased 8×8 in. baking dish. At this point, you can prepare it for the oven, or cover and refrigerate until ready to bake.

20160821_161218

20160821_161308

20160821_161348

Melt the butter and stir it into the bread crumbs. Spread the bread crumbs evenly over the macaroni and cheese and then bake for 25 minutes.

20160821_170512

20160821_180736

I also like to turn the broiler on for the last minute or two to brown the top. We get four servings out of this, and it reheats really well in the oven or toaster oven. Yum!