Archive | Fruit RSS feed for this section

Summer Sweets: Fresh Cherry Marshmallows

19 Aug

Have I mentioned lately how much I love summer? Okay sure, the other seasons have their benefits. The warm spices of autumn, the hearty meals of winter, and the sweetness of early spring vegetables are awesome. But summer has all sorts of fruit and vegetable gifts for me to play with in the kitchen. And their seasons are fleeting, so it’s important to make the most of them while they’re around. That’s why this is the first of TWO recipes utilizing one of my favorite quick-to-disappear delights: Fresh sweet cherries.

Now sour cherries are delightful too, but you only usually see those here in June. Deep, dark red sweet cherries carry on a little longer through the summer. And while my first choice is always to eat them fresh, I do love using them for jams, sauces, and baked goods as well.

Using them for candy-making, on the other hand is a bit more of a challenge. Fruit has a lot of water and some fruits have a great deal of their own pectin. Those factors (and others, like acidity) can really throw off a candy recipe. So I did two things. First, I decided to update my marshmallow recipe. As they do, my methods and techniques have evolved since I first posted it several years ago. Second, I did some research to find out how, where, and when adding some fruit puree to the recipe made the most sense. And very soon, I had a batch of fluffy, fragrant marshmallows with a gentle cherry flavor.

Let’s whip’em up!

Fresh Sweet Cherry Marshmallows

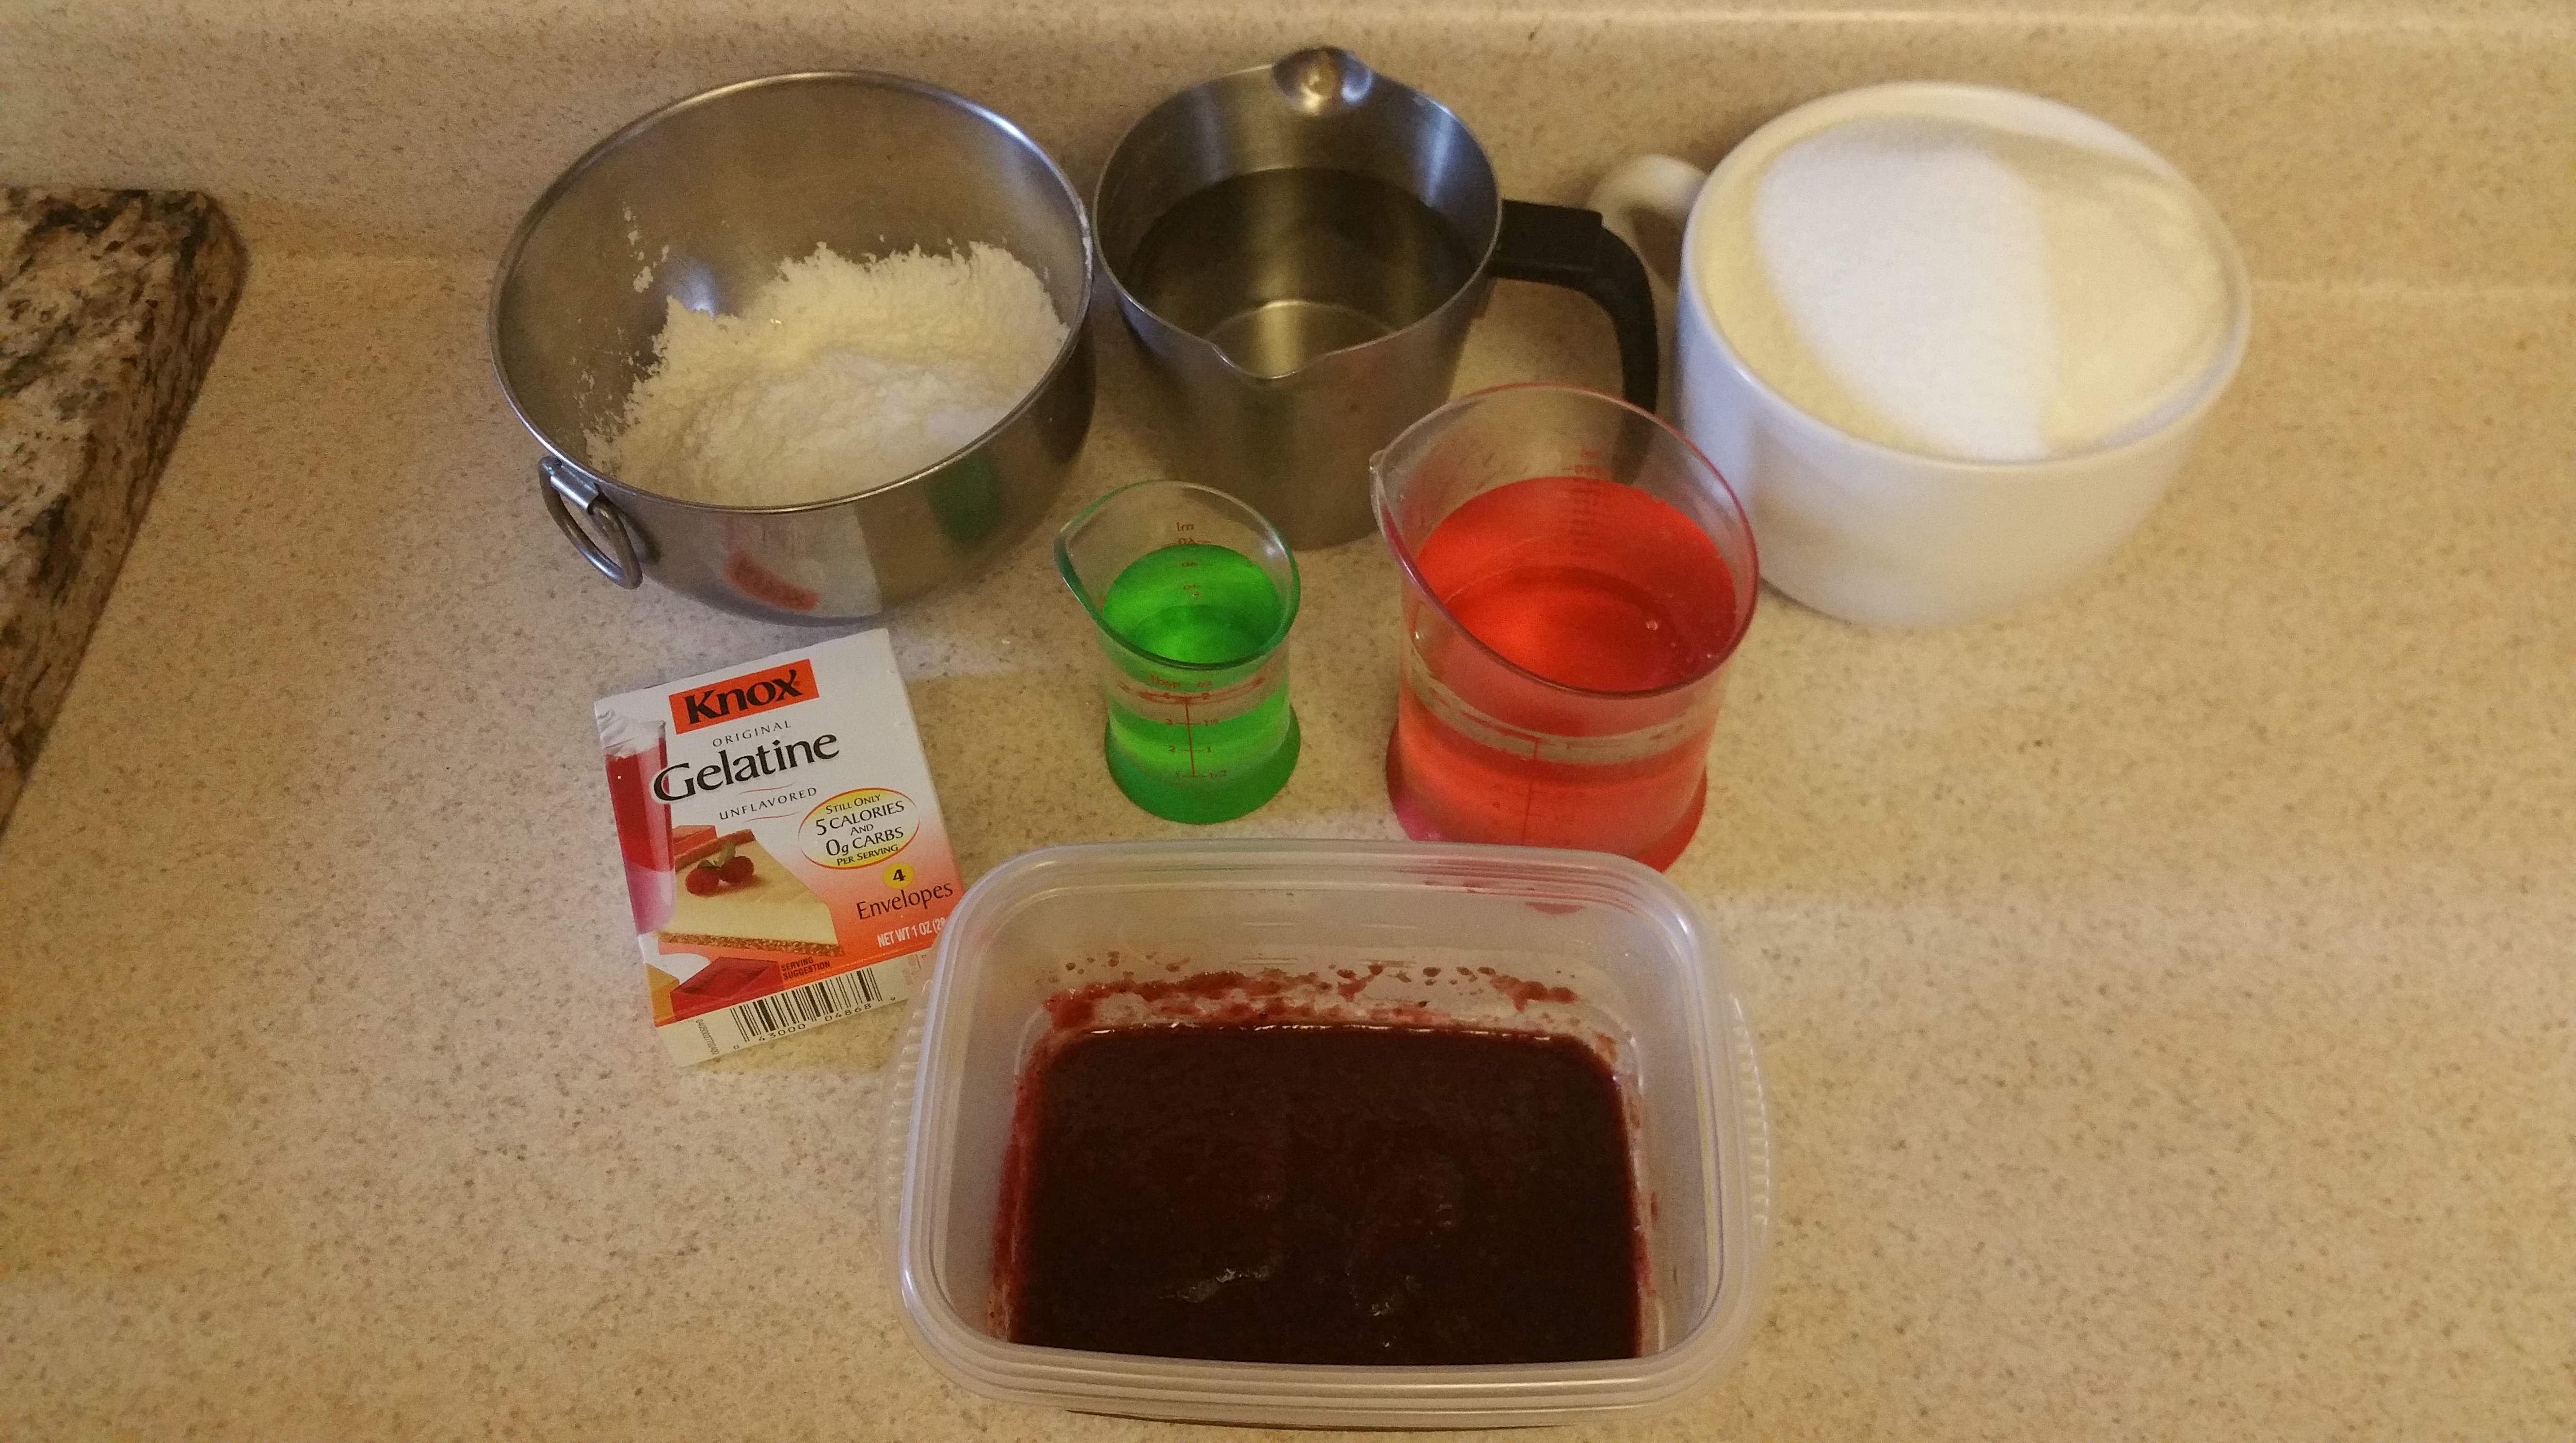
  • 1 1/4 cups water, divided
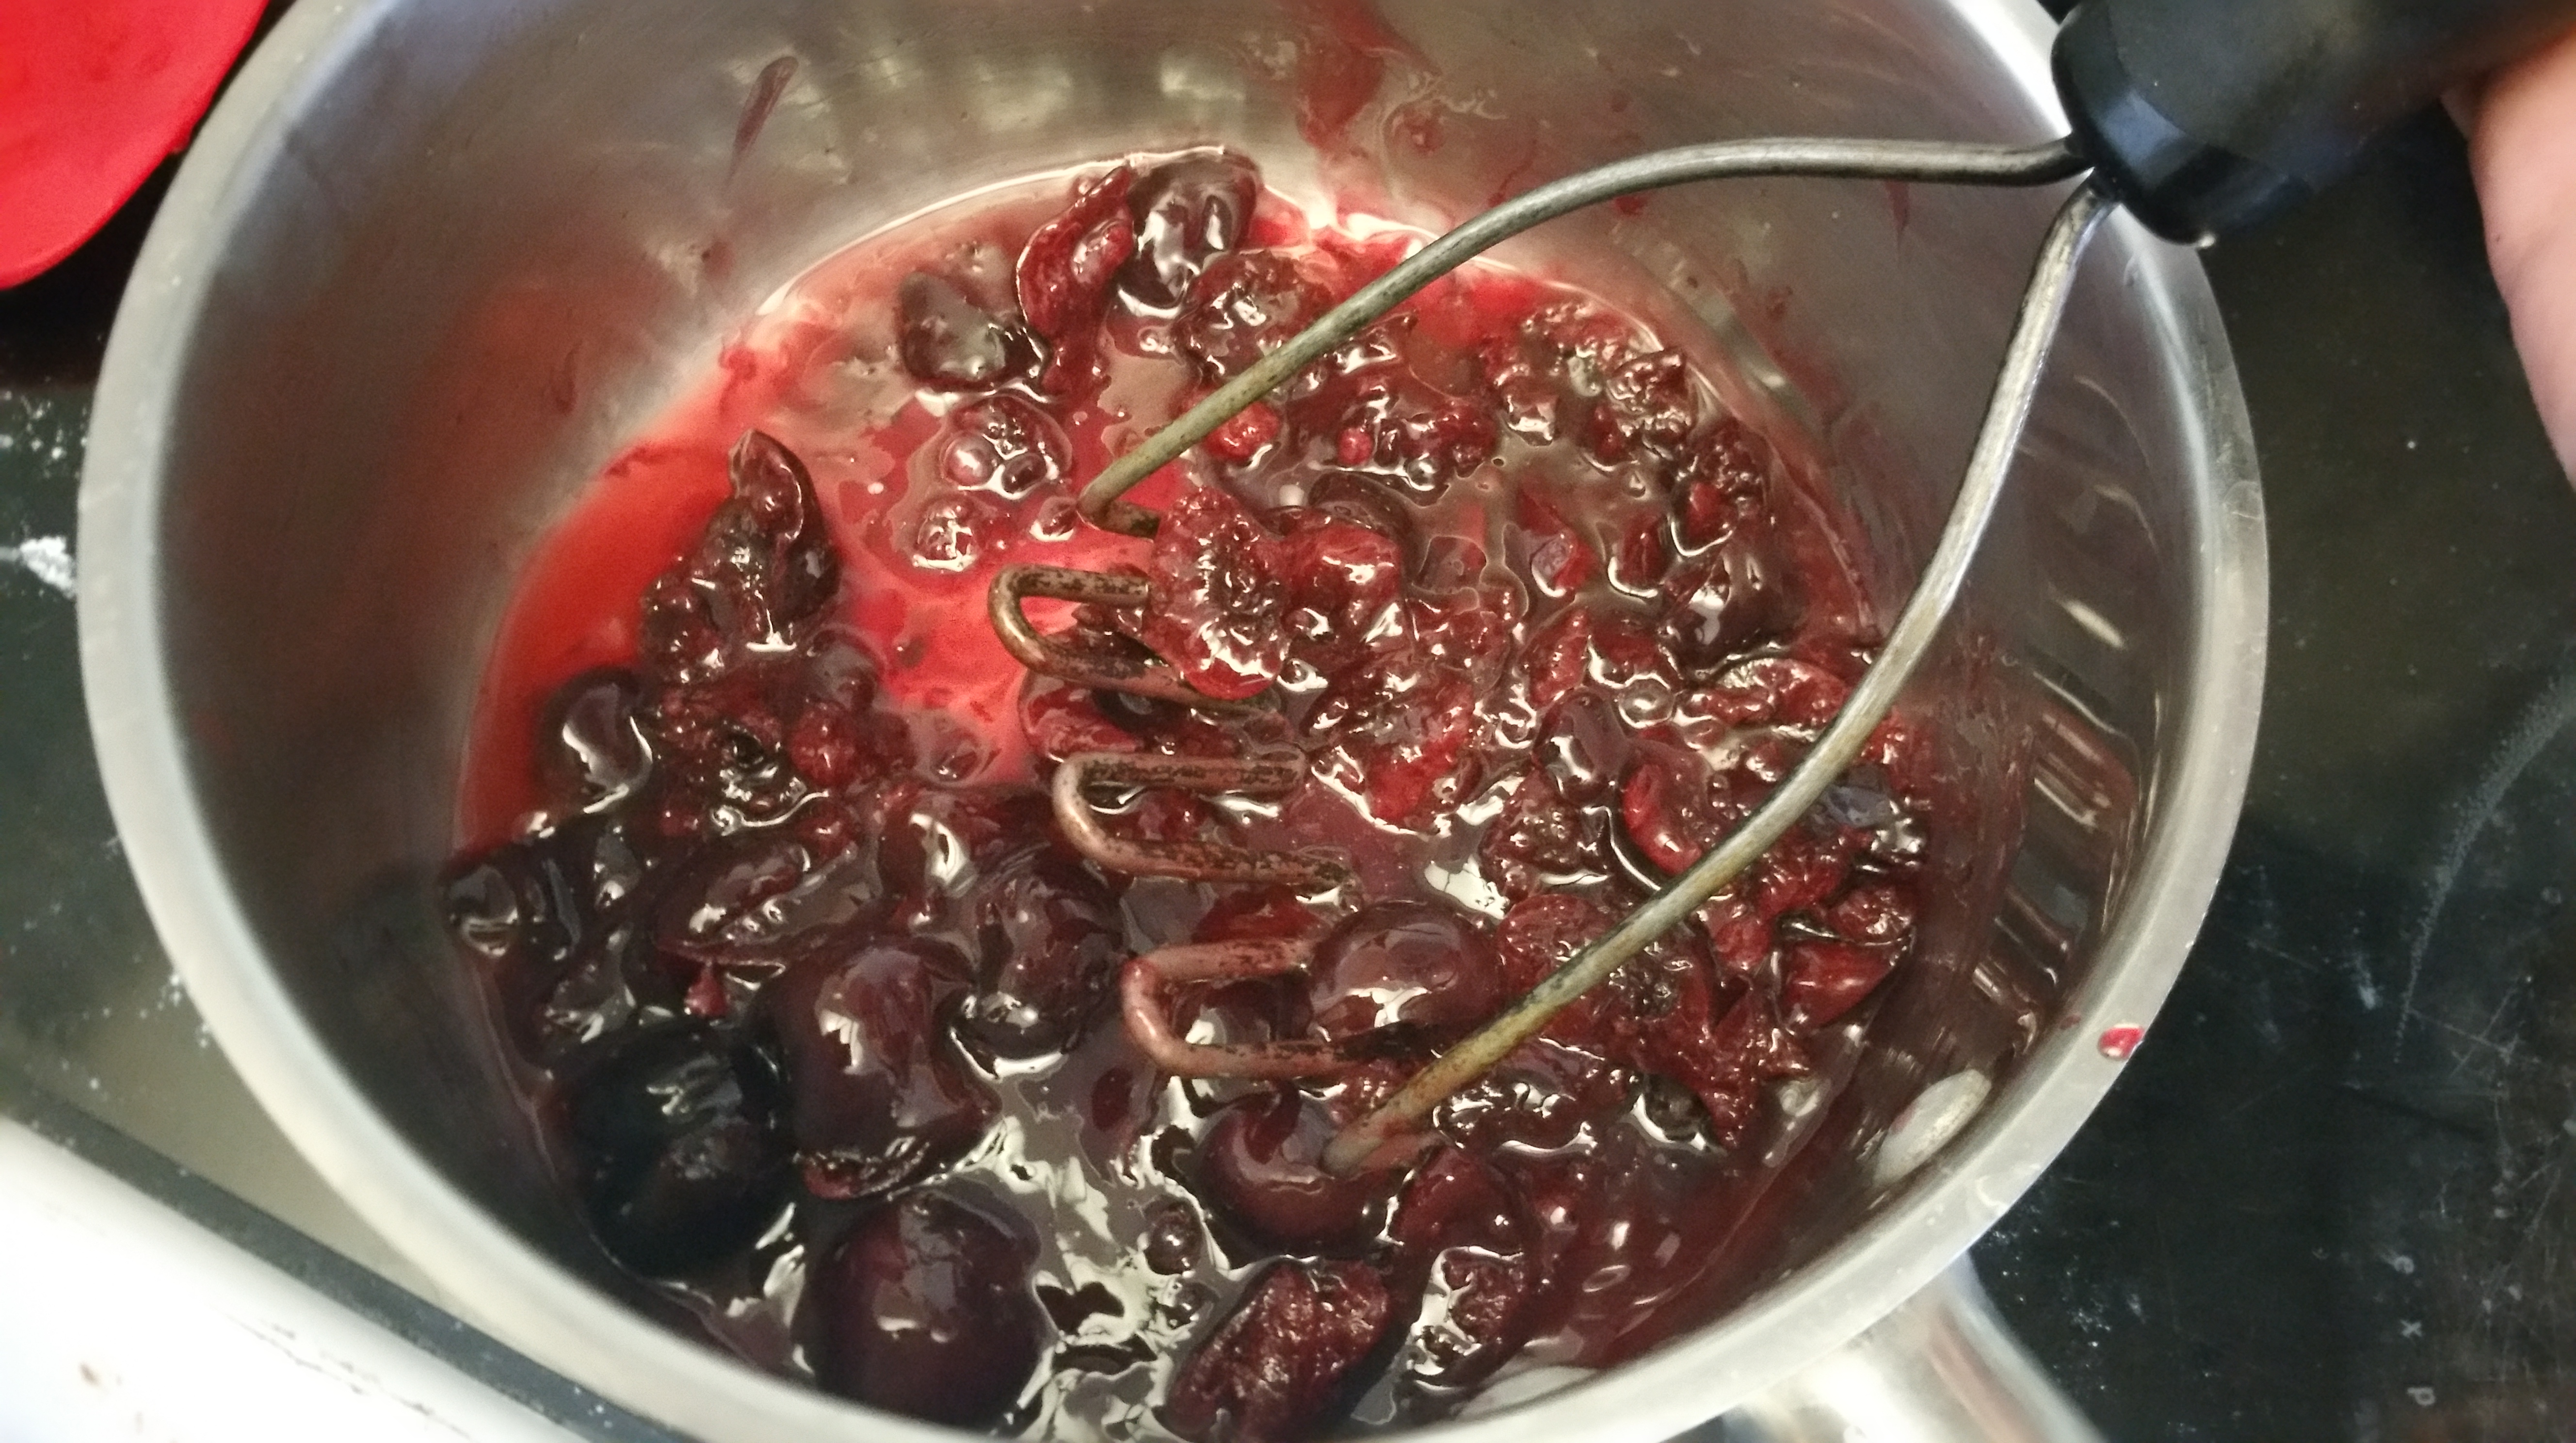
  • 1/2 cup cherry puree (from 1 heaping cup fresh cherries)
  • 4  ¼ oz. envelopes unflavored powdered gelatin (about 3 tbsp. + 1 tsp.)
  • 3 cups granulated sugar
  • 1 1/4 cups light corn syrup
  • 1/2 cup powdered sugar
  • 1/2 cup cornstarch

Sift the powdered sugar and cornstarch together in a bowl and set aside. You will need this mixture a few times throughout the process, so have it standing nearby.

Grease a 9×13 in. pan and give yourself some extra insurance by lining the bottom with parchment paper. Then grease the parchment and dust the whole pan with the powdered sugar/cornstarch mixture. Make sure it’s totally coated.

Grease a spatula or a large offset palette knife and set it aside.

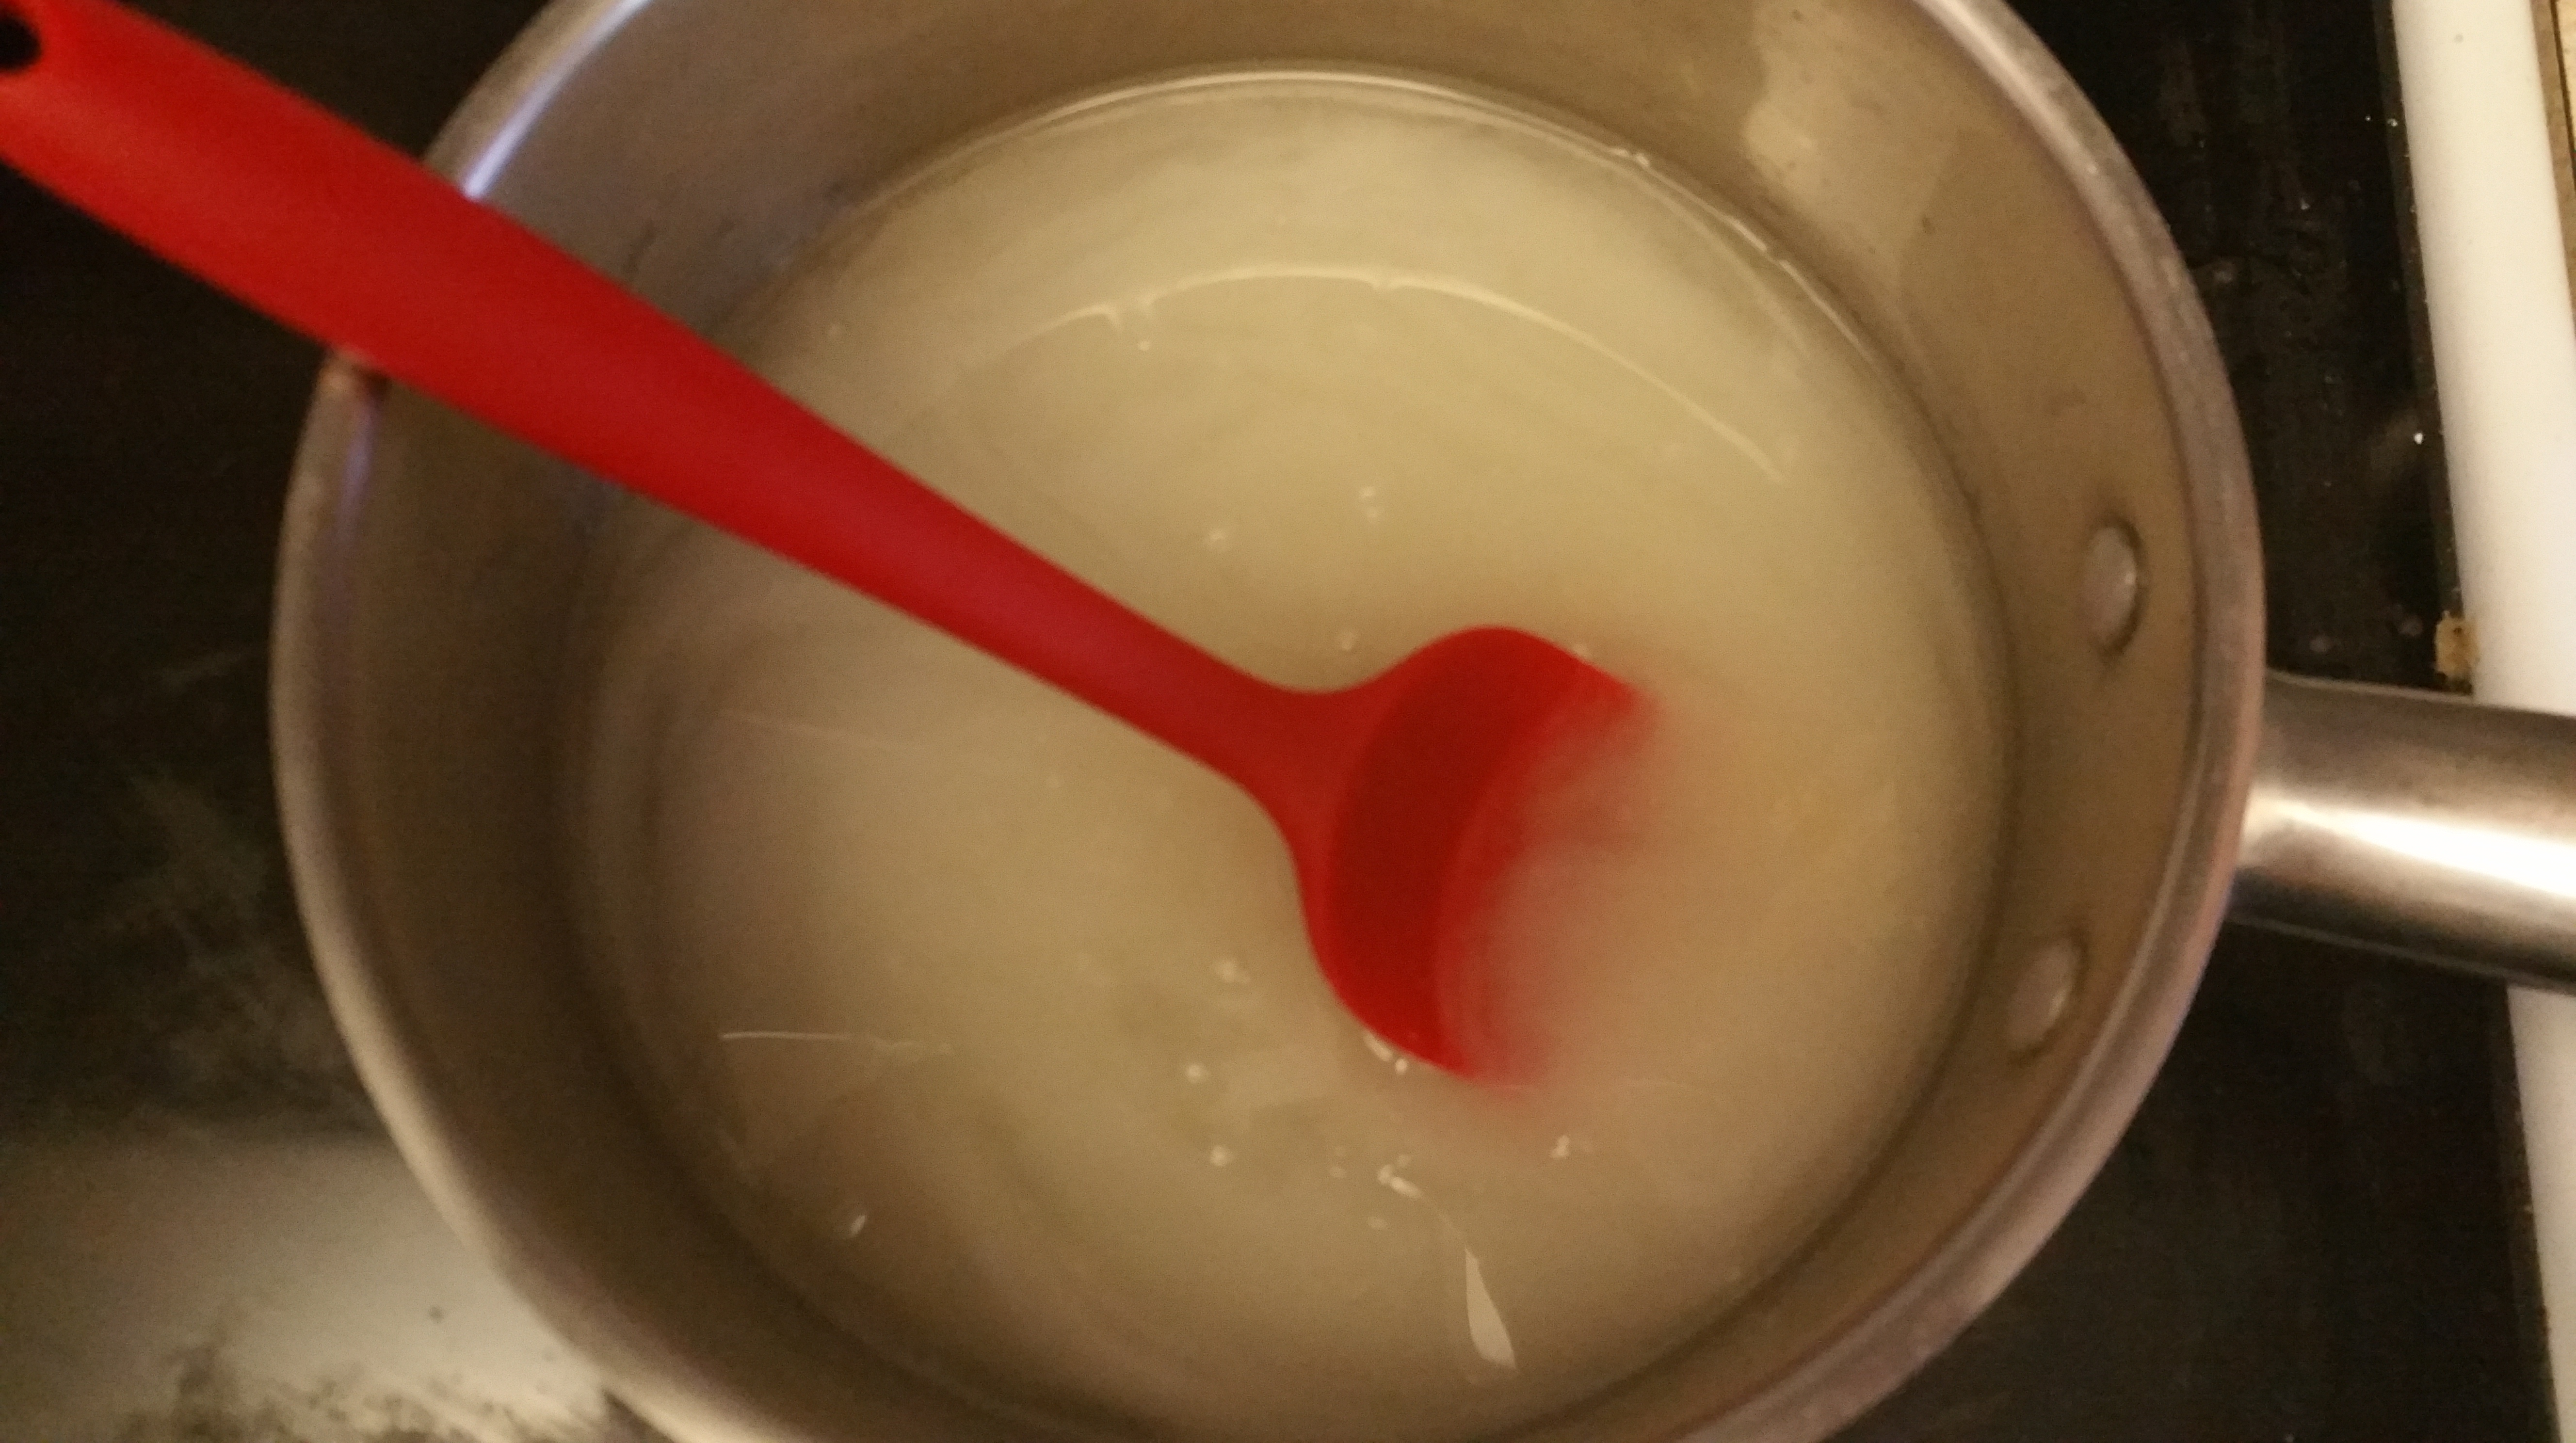
In the bowl of a stand mixer fitted with a whisk attachment, combine the cherry puree with ½ cup of the water. Sprinkle the unflavored gelatin on top and briefly stir to combine. Let it sit for at least five minutes.

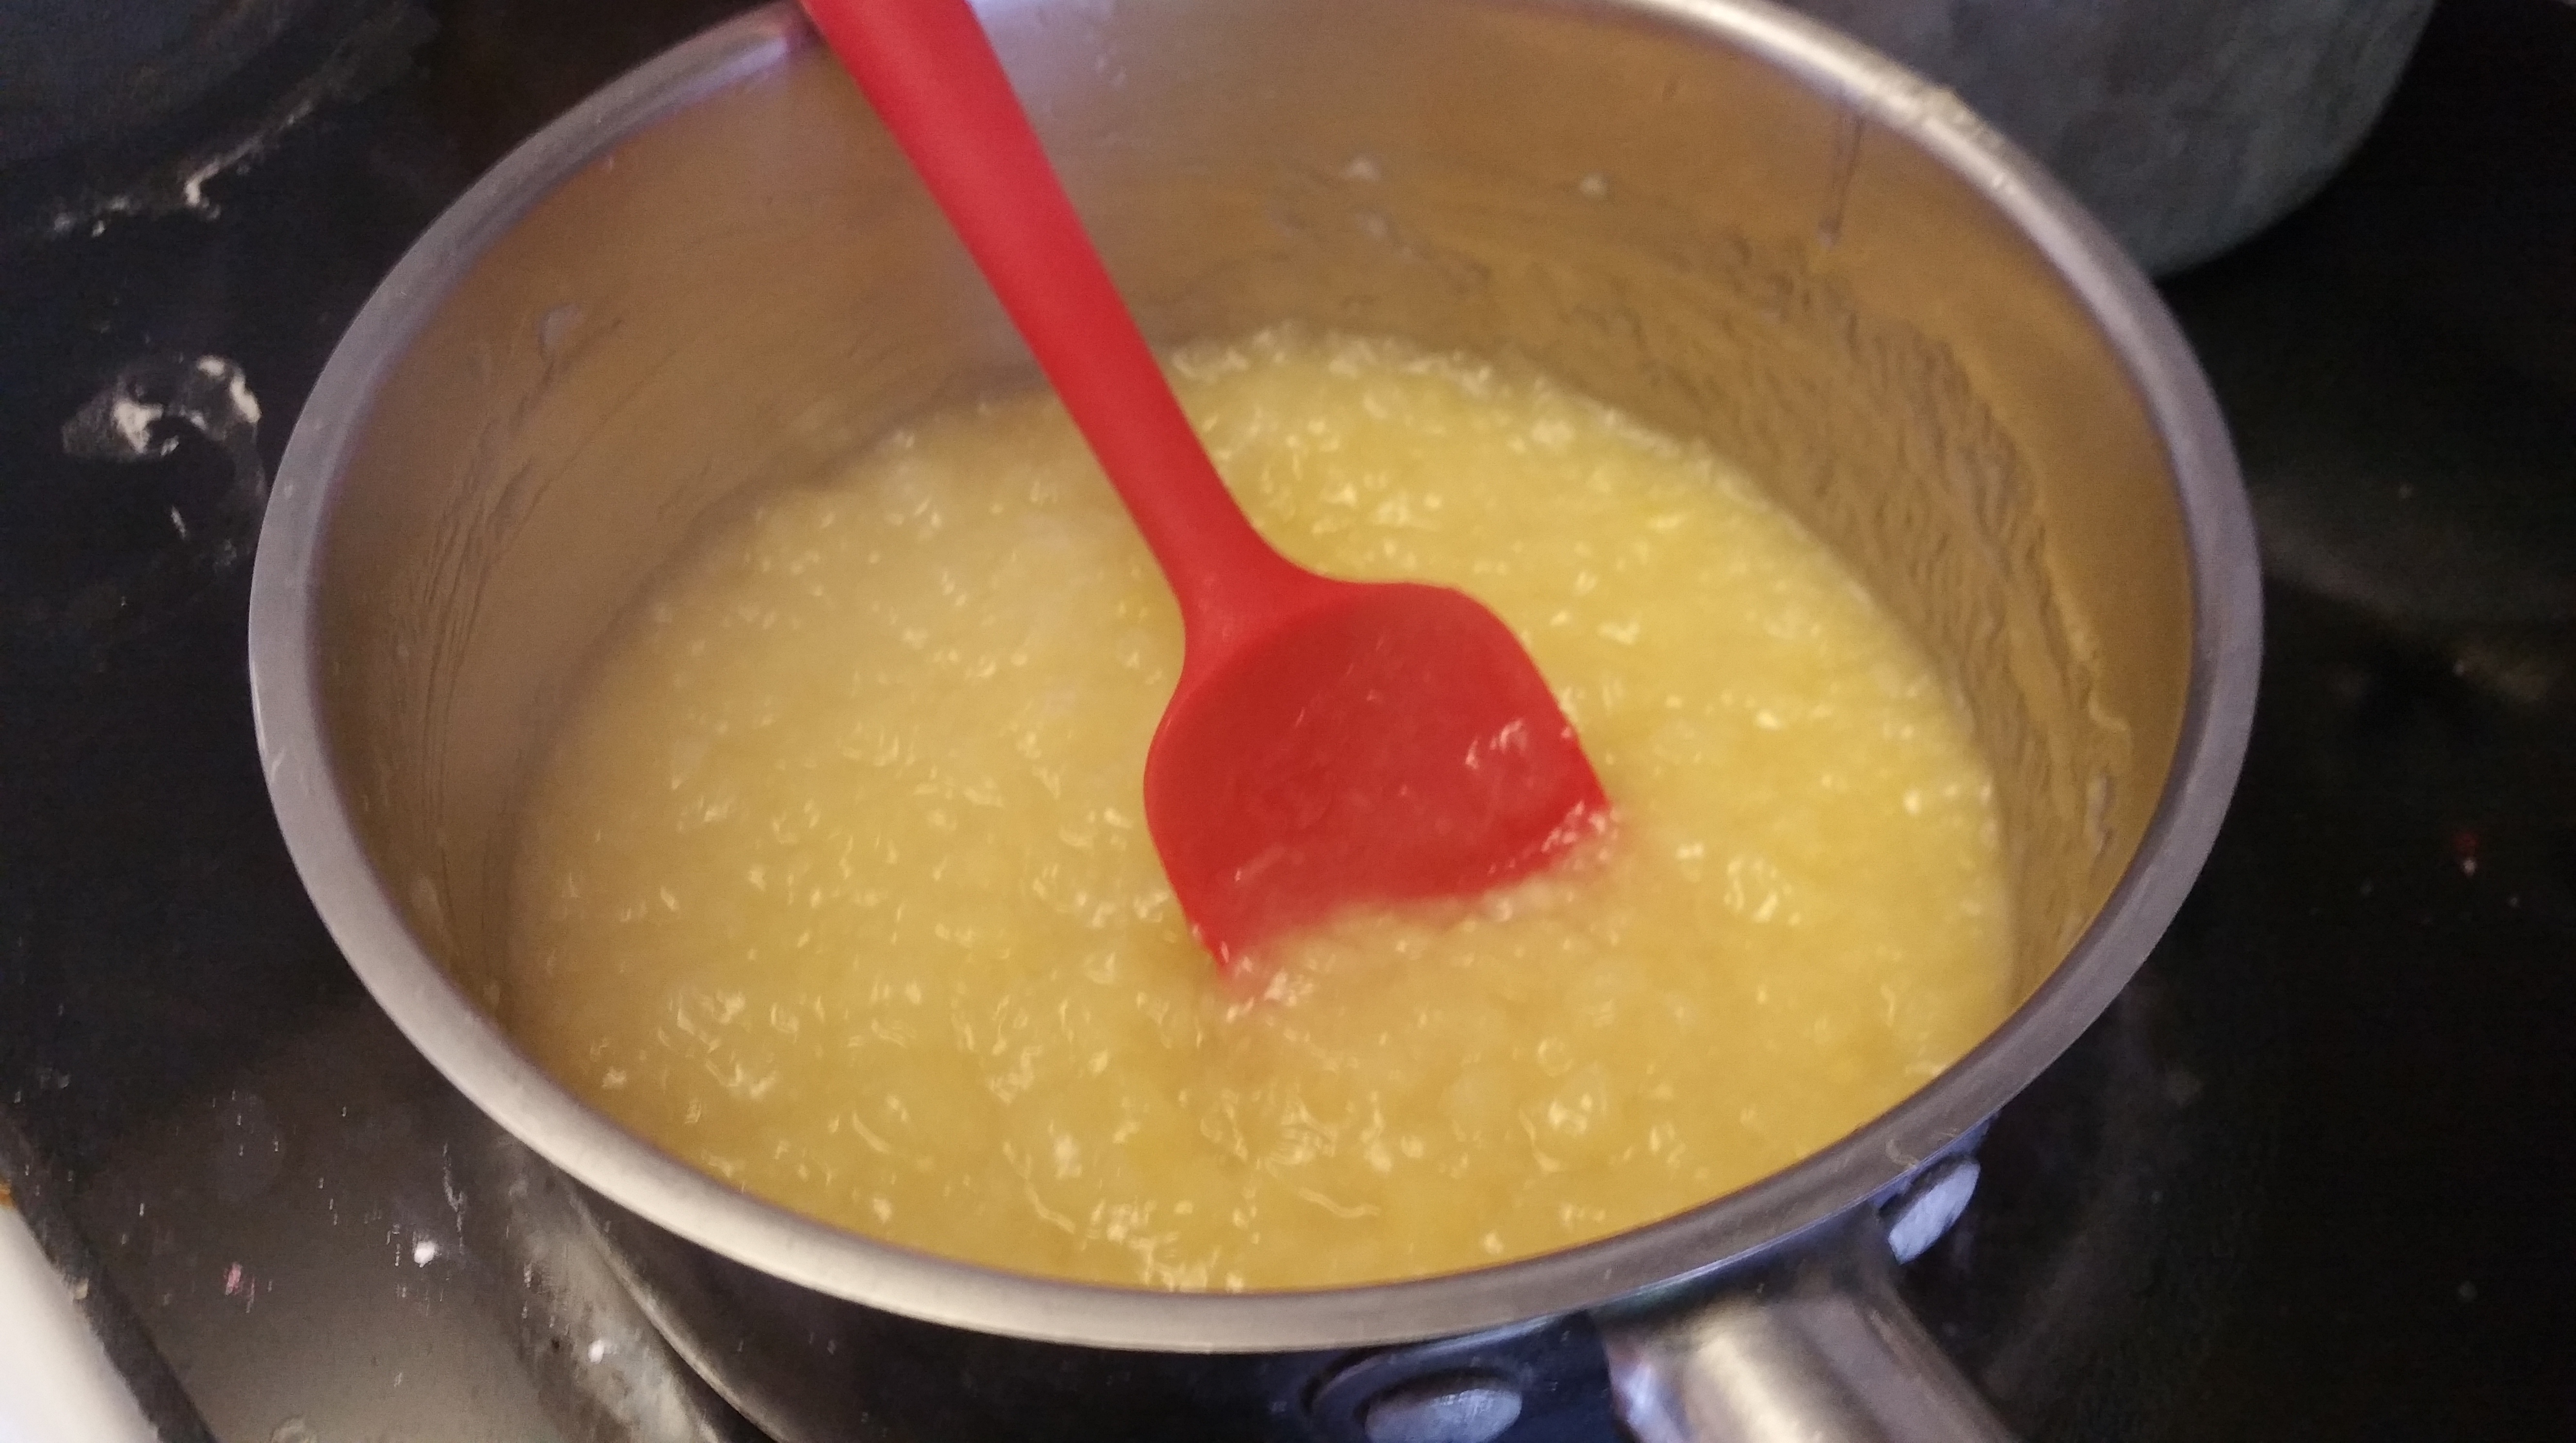
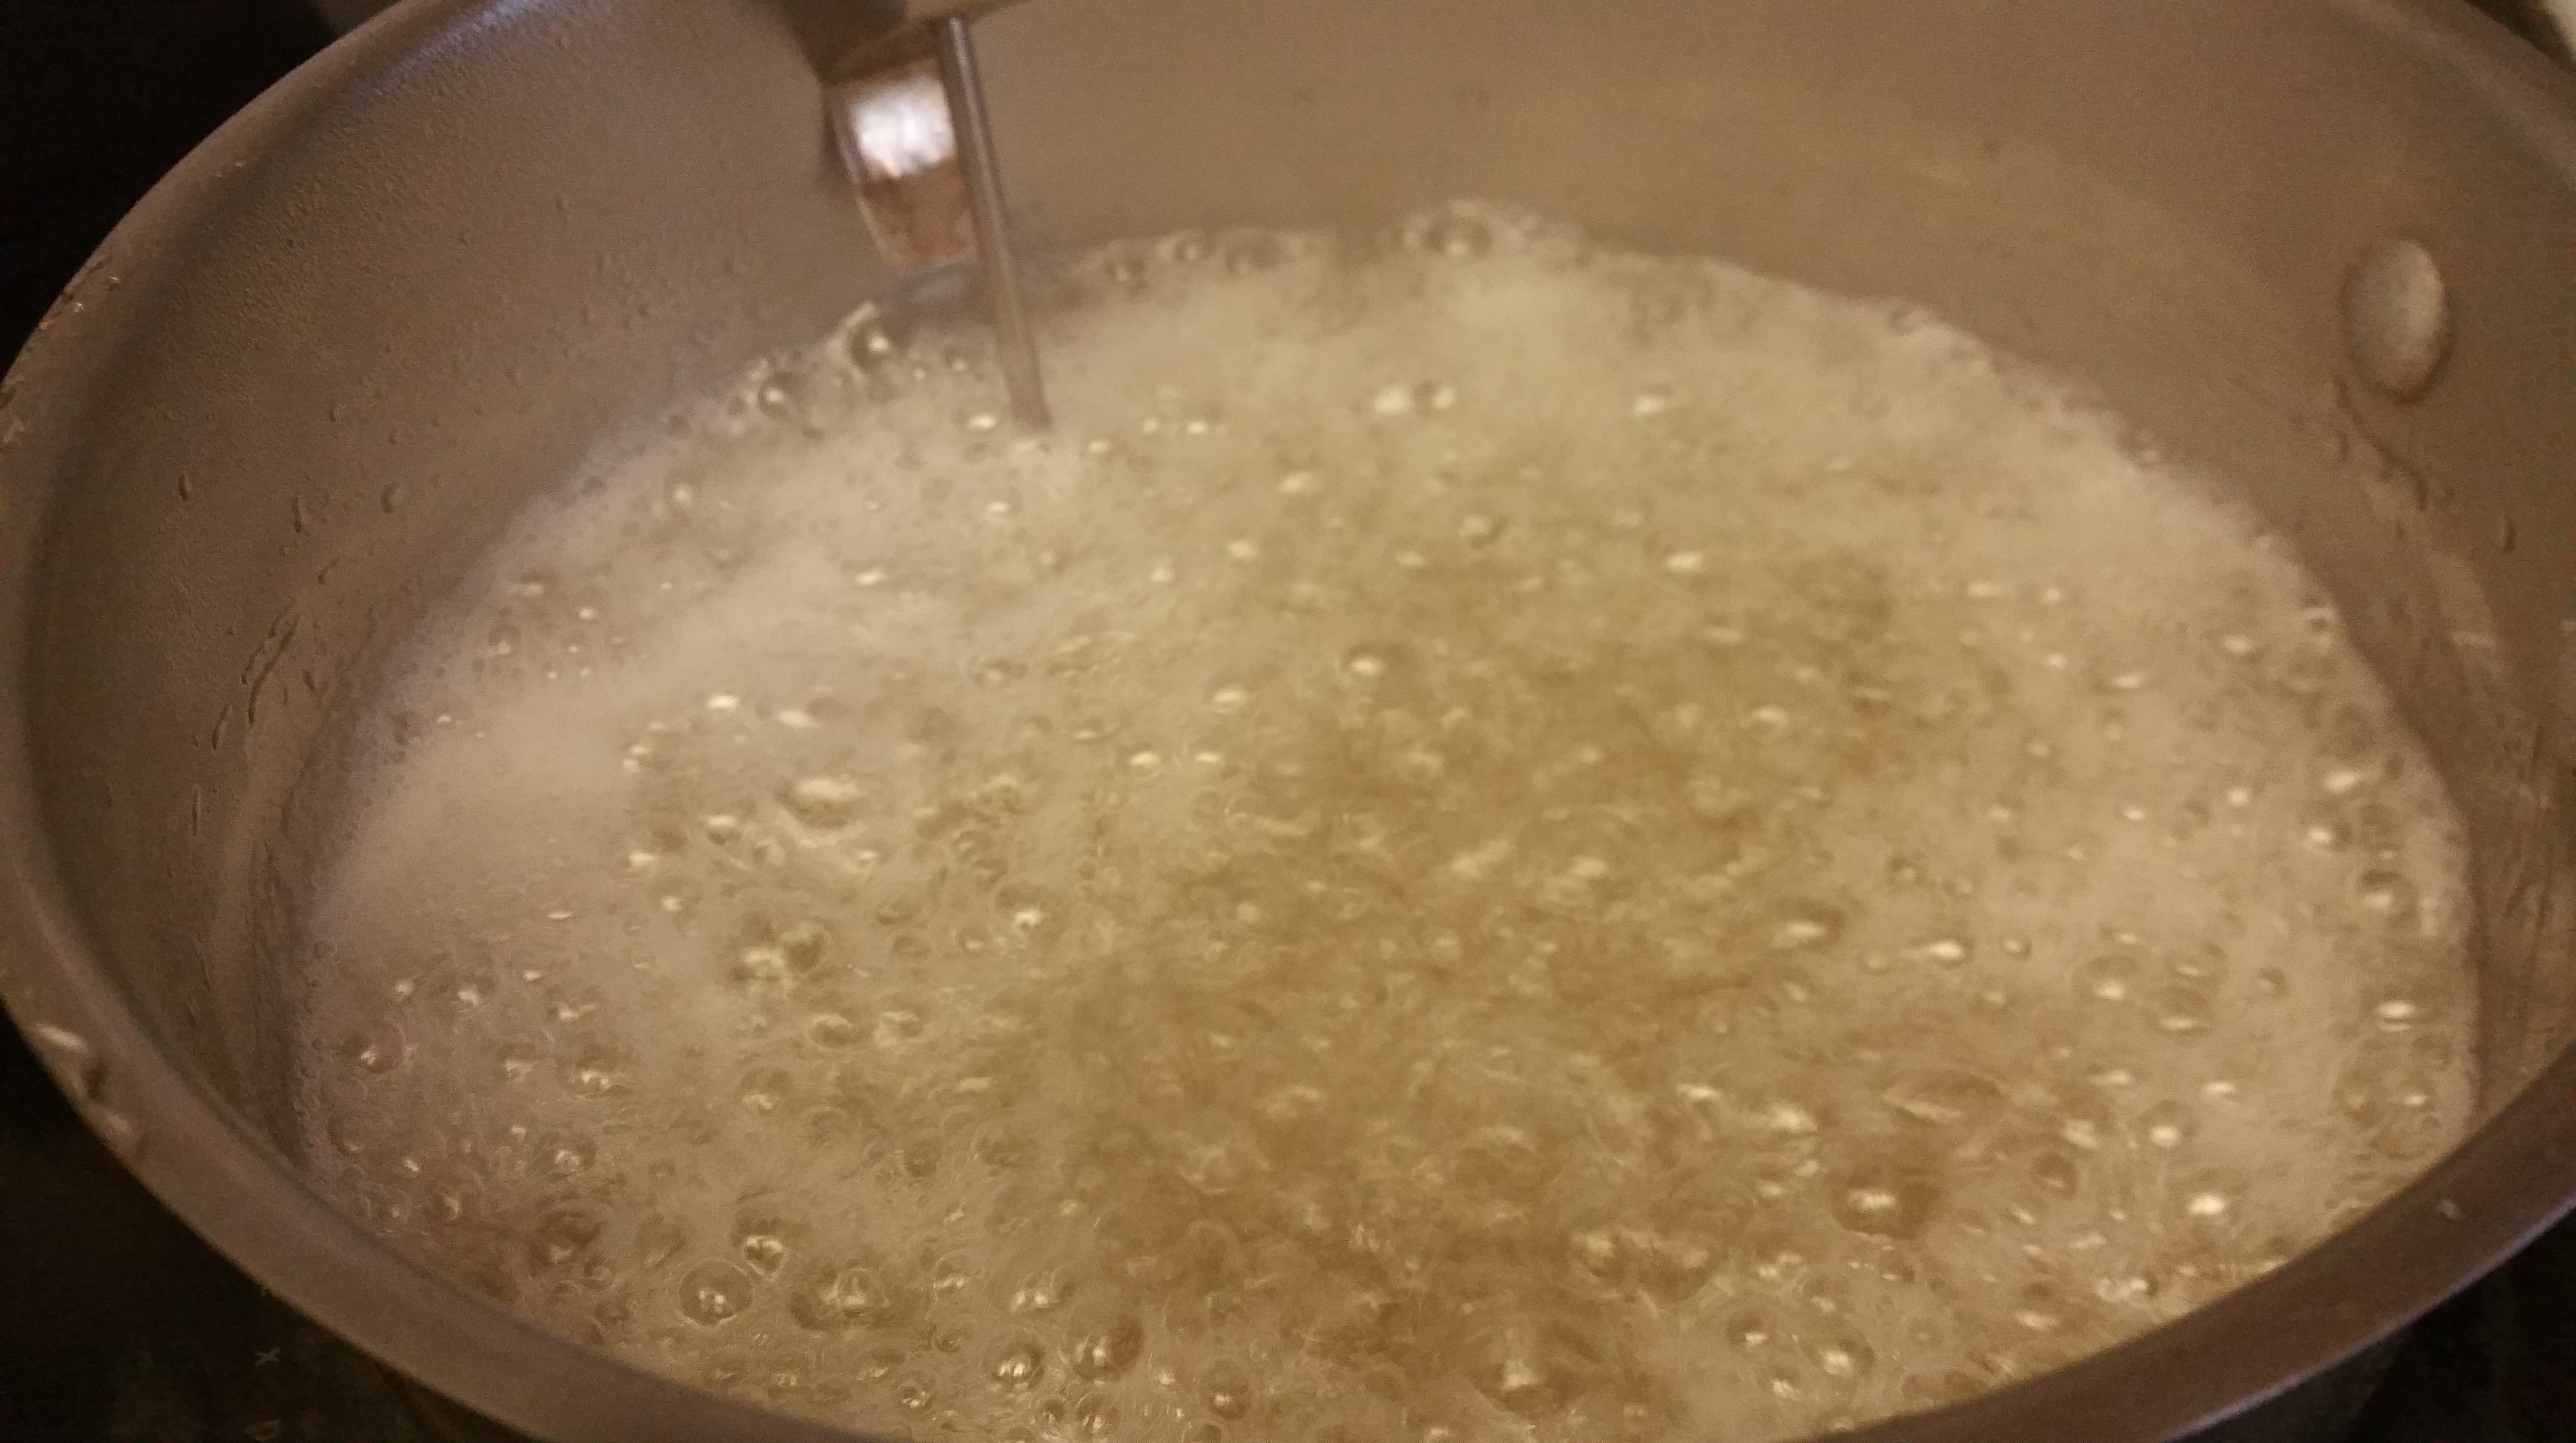
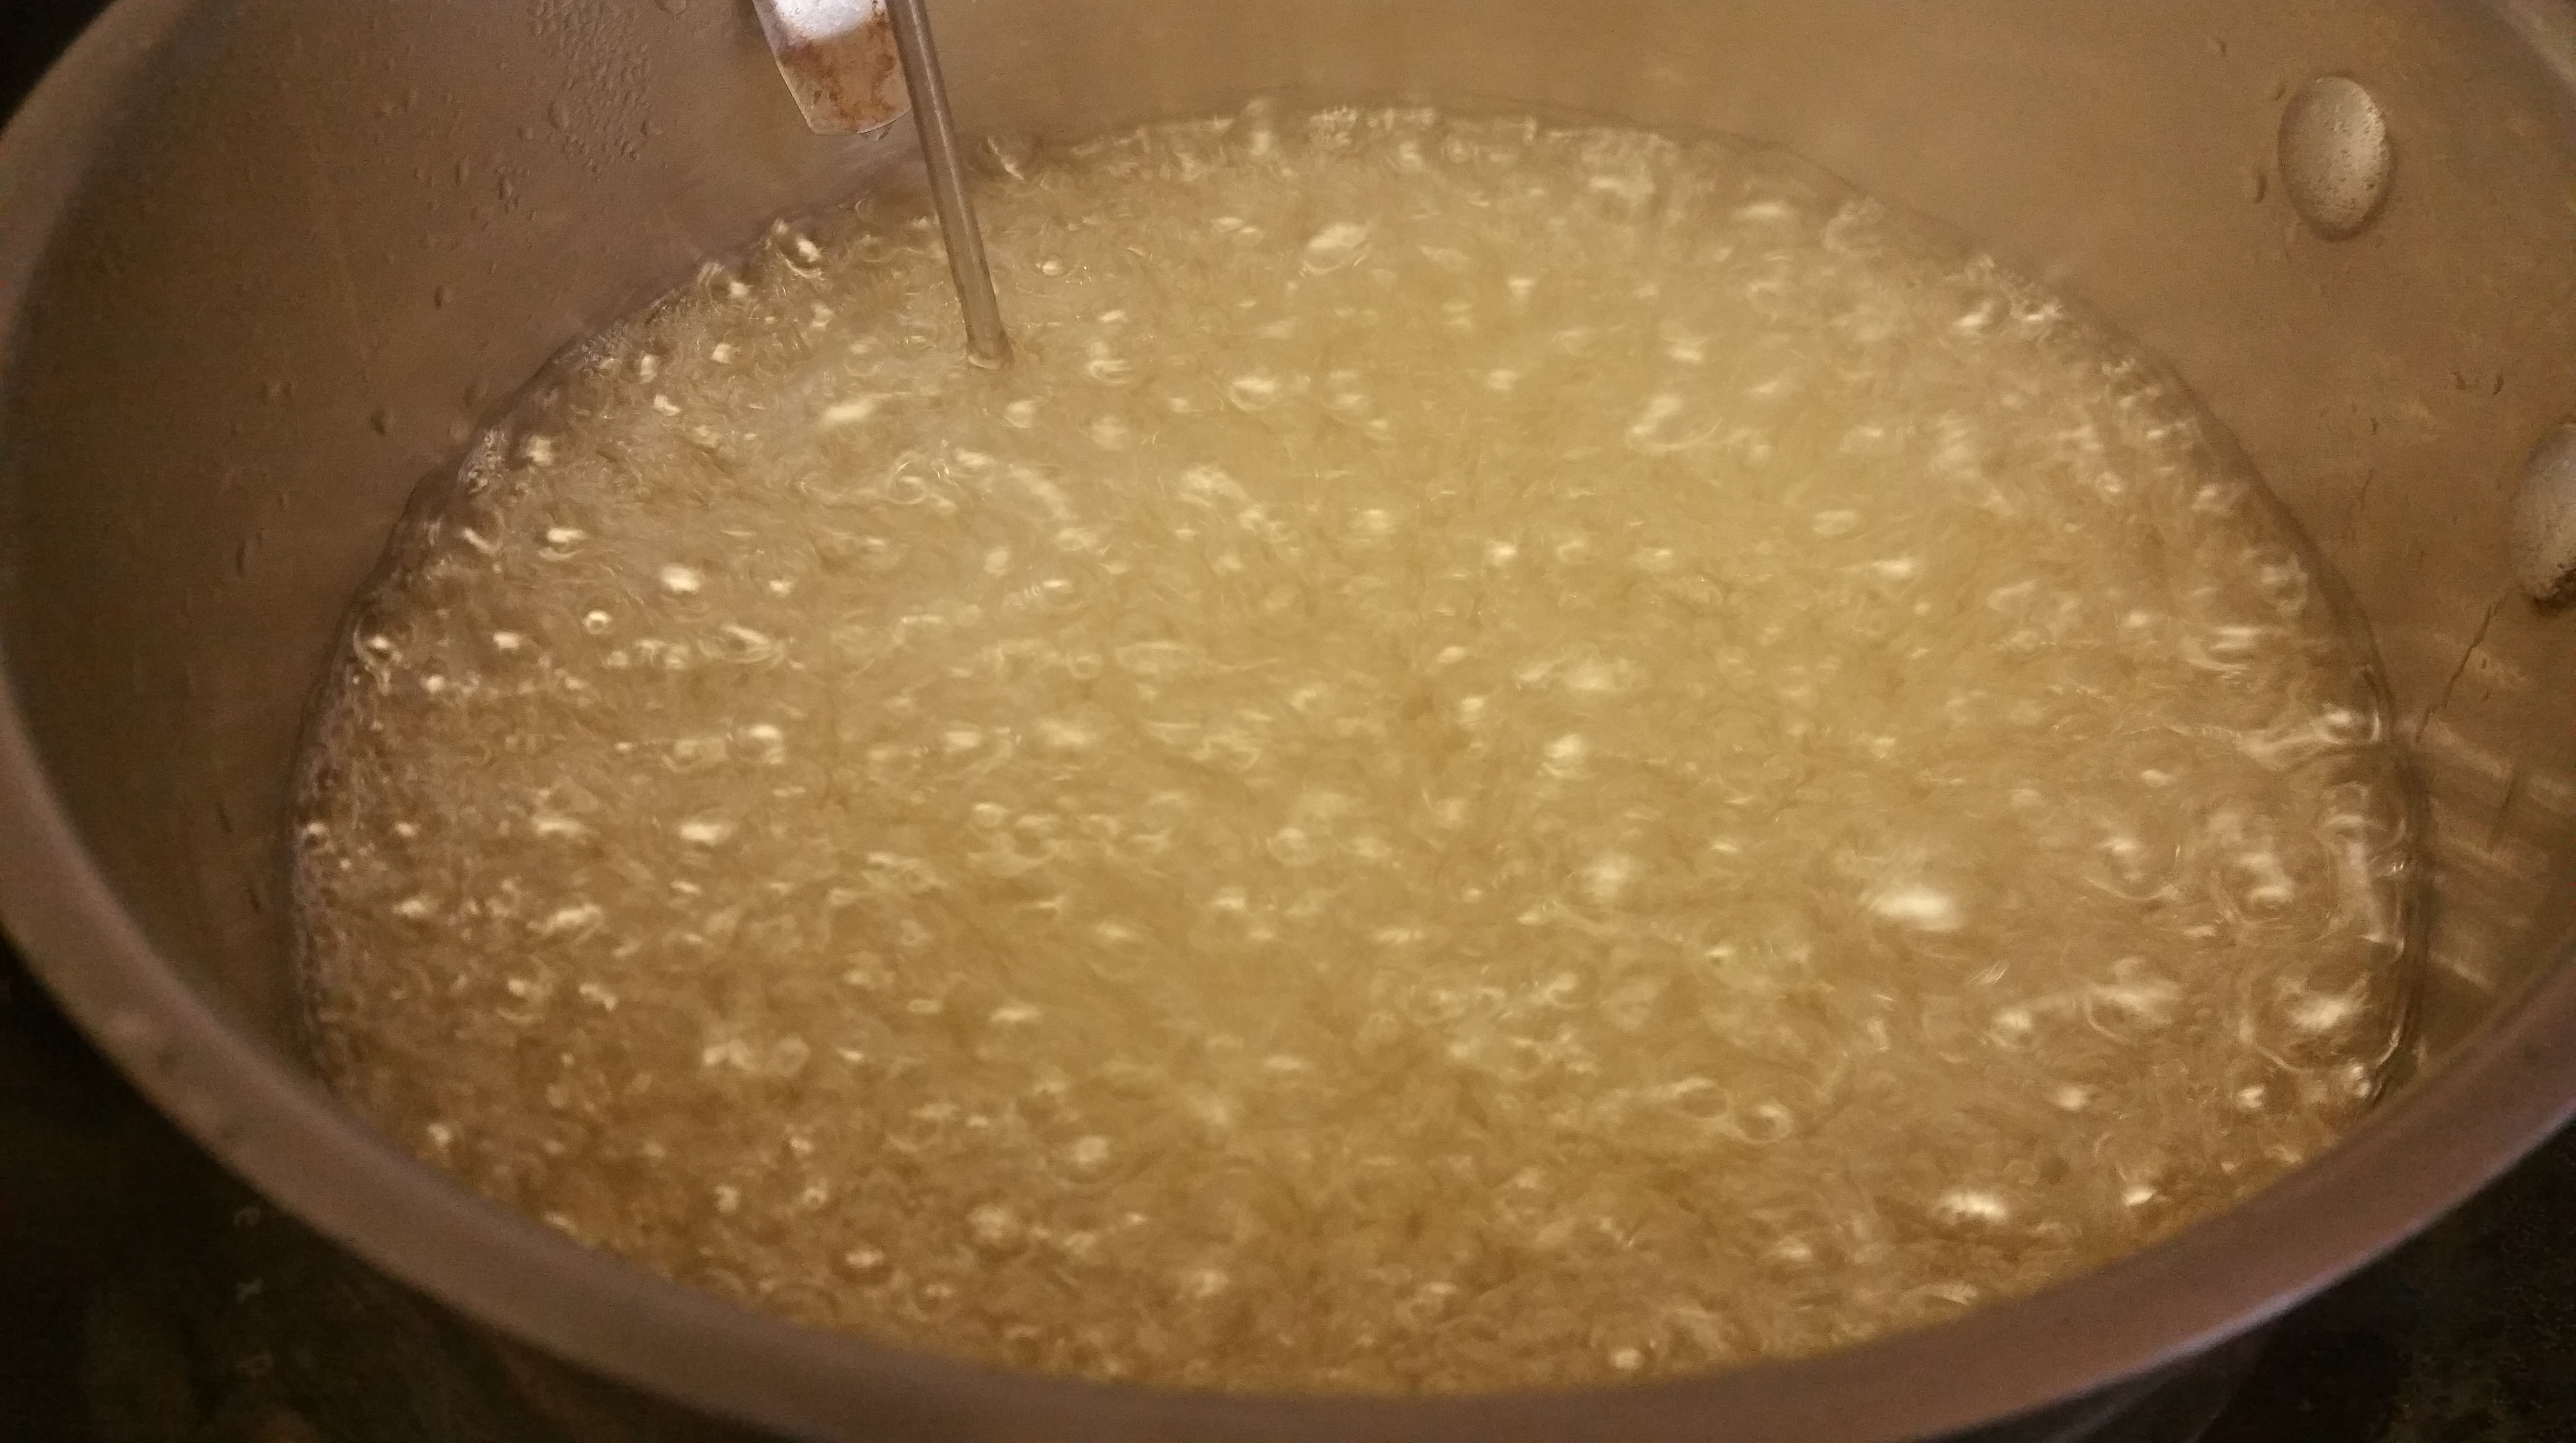
Prepare the syrup by combining the remaining water, sugar, and corn syrup in a saucepan over medium-high heat. Stir until the sugar dissolves, and then attach a candy thermometer and cook without stirring until the syrup reaches 240 degrees F.

While the syrup is cooking, give the fruit puree/gelatin mixture a stir to make sure the gelatin is well-distributed.

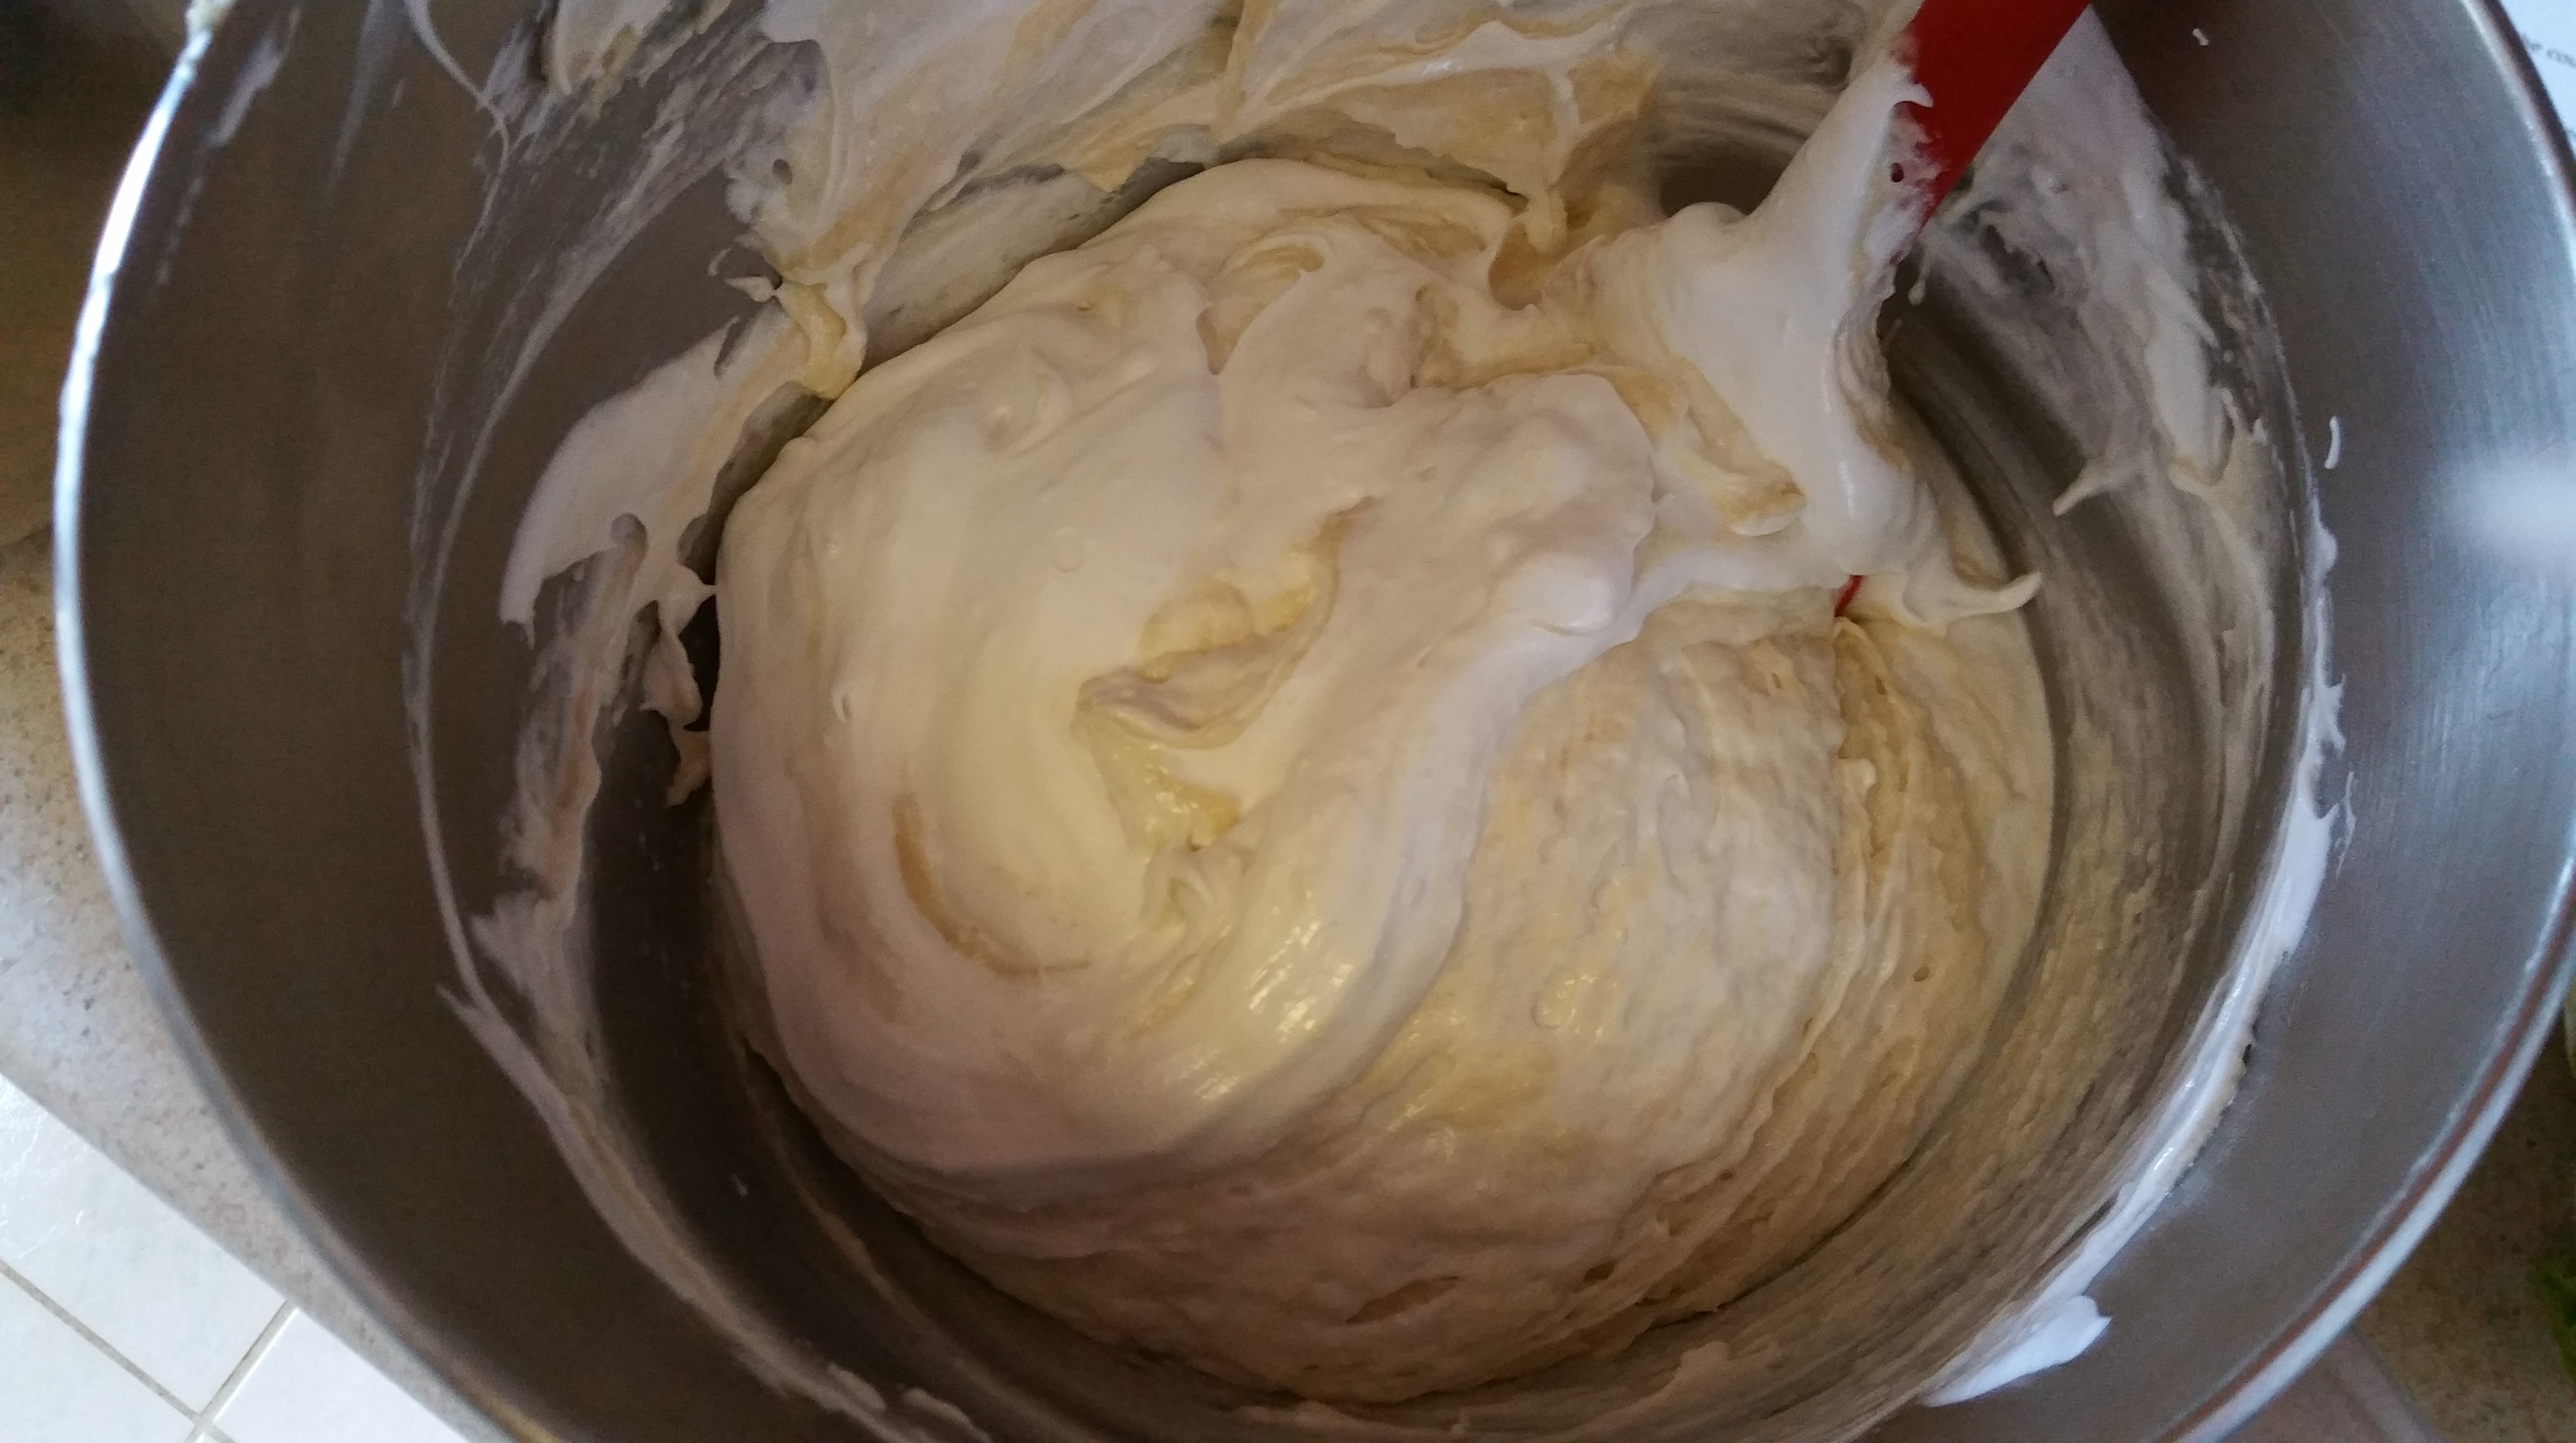
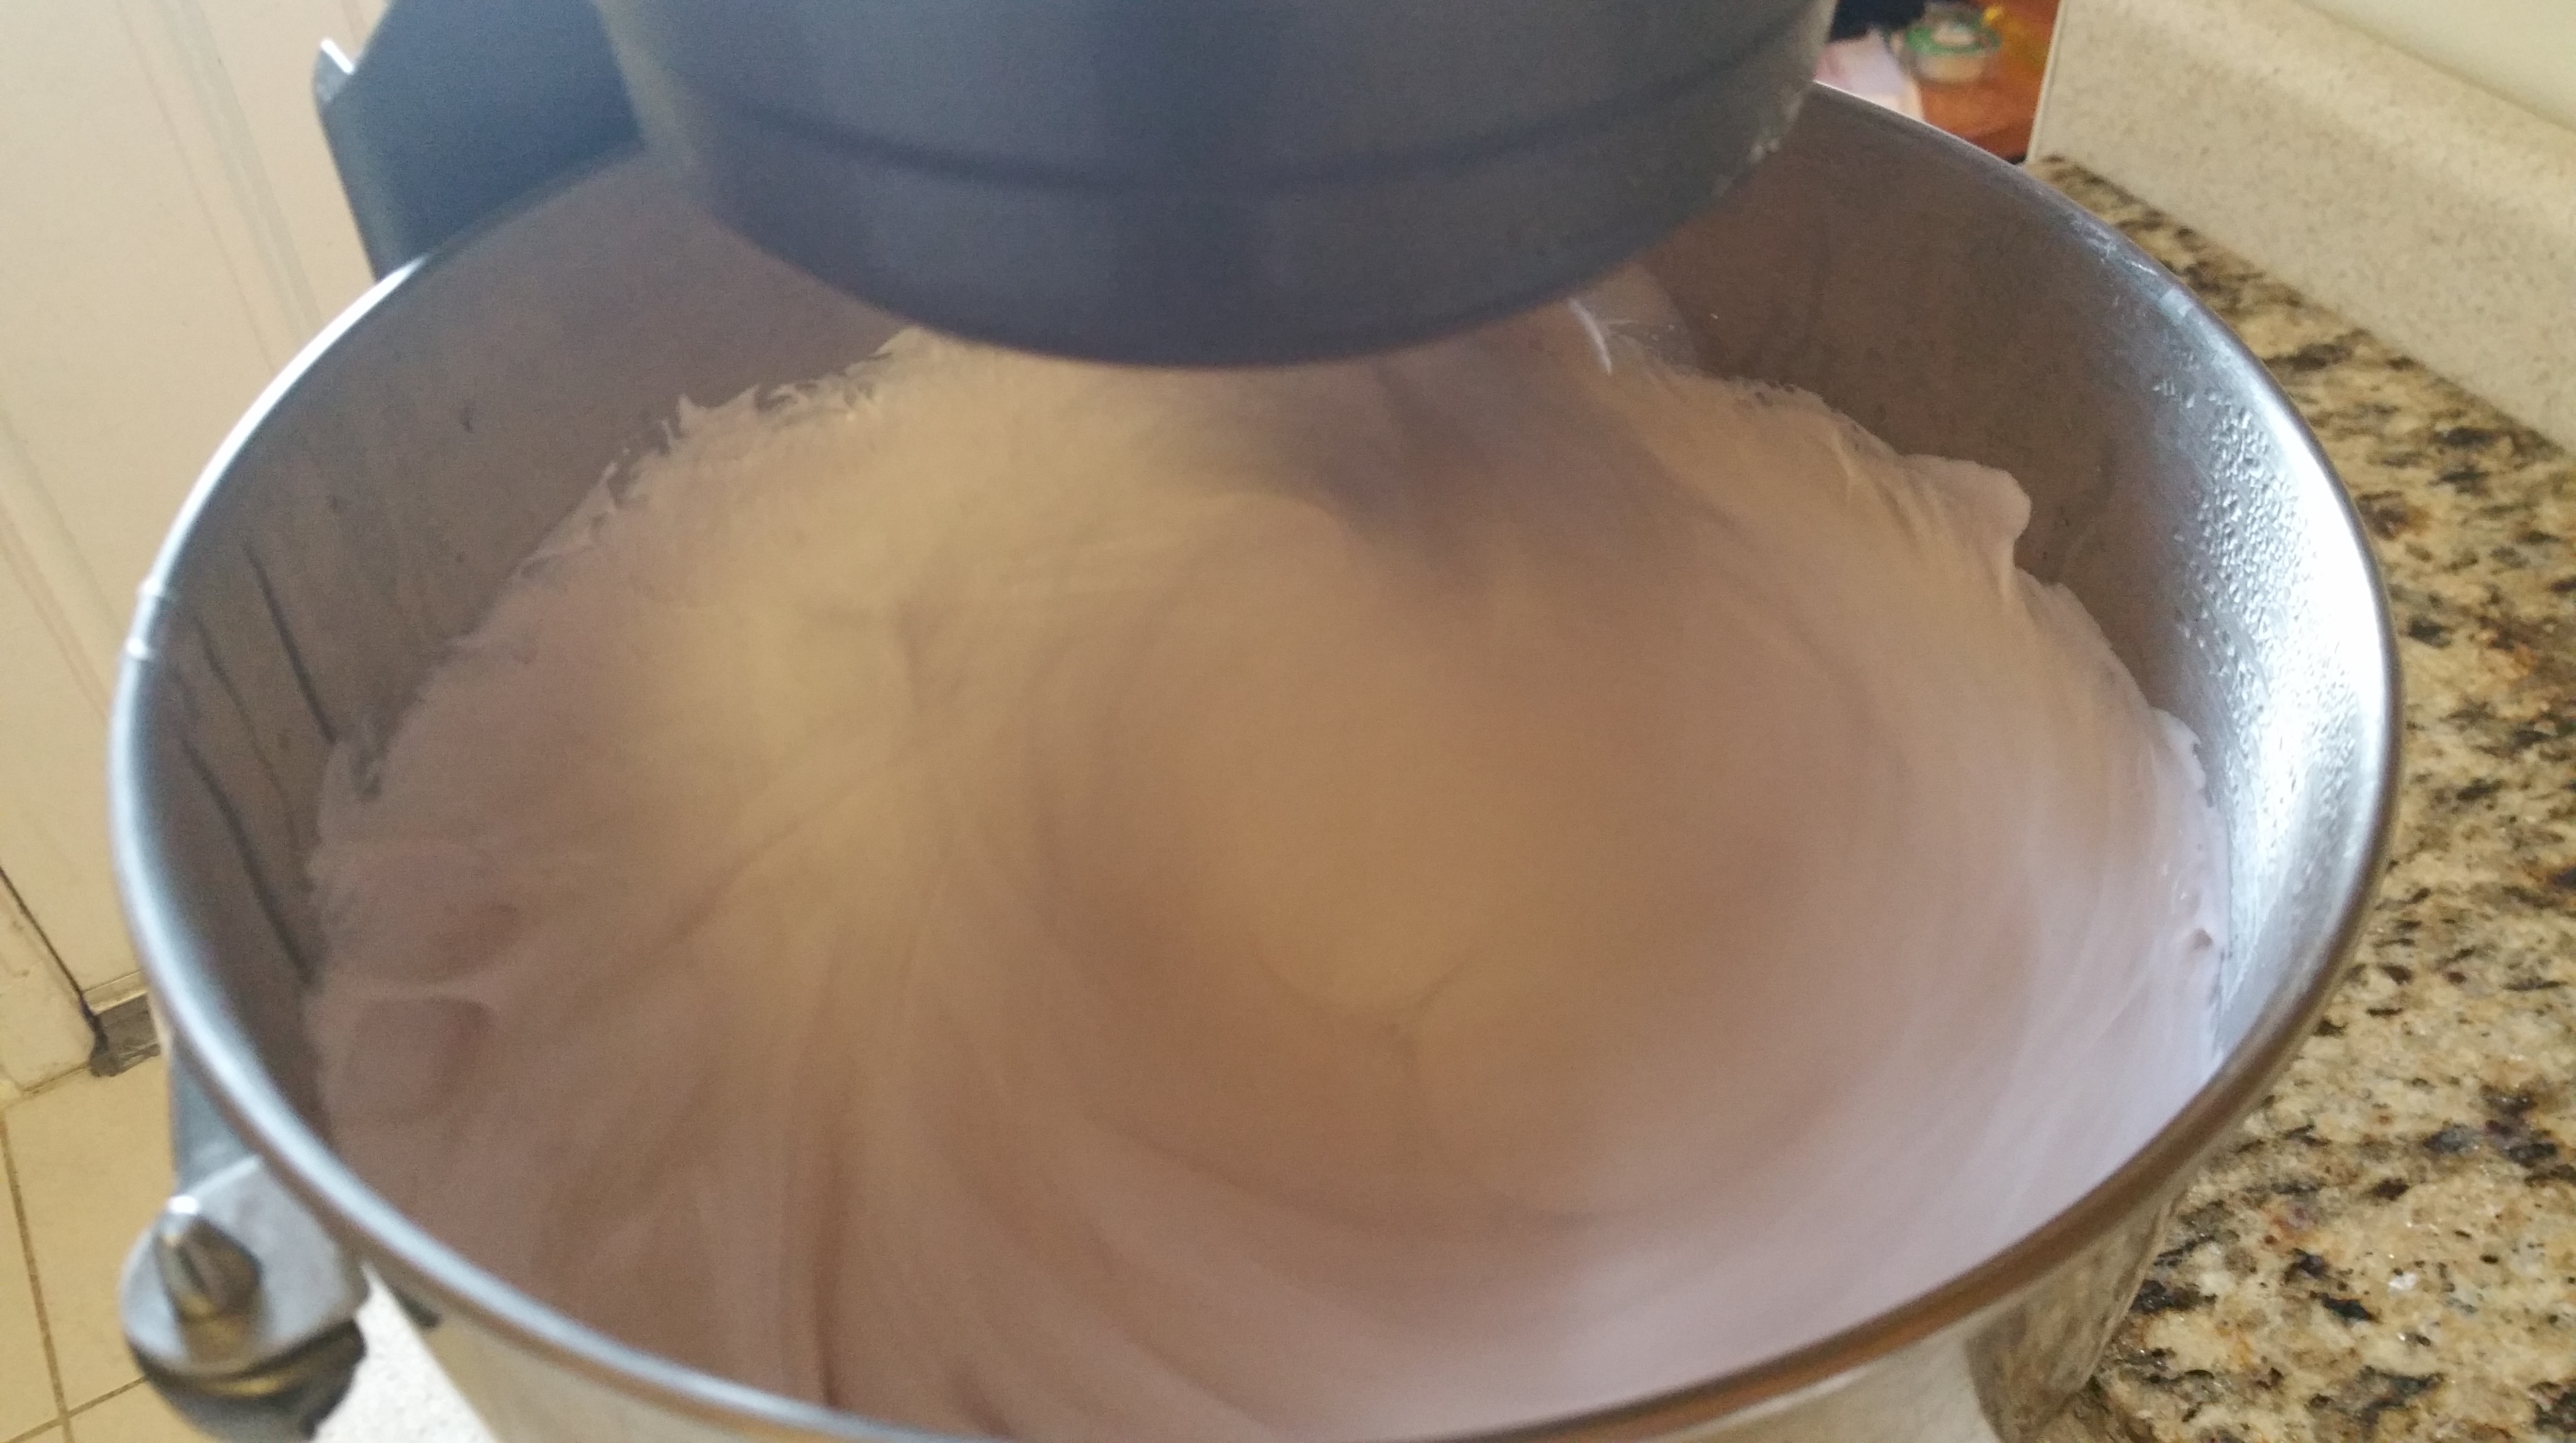
Once the syrup reaches 240 degrees F, turn the stand mixer on low speed and slowly stream in the sugar syrup. Once you’ve poured it all in, slowly increase the speed to its highest setting and whip for 11 minutes.

The mixture will cool down, greatly increase in volume, and slowly turn from syrup into fluffy marshmallow.

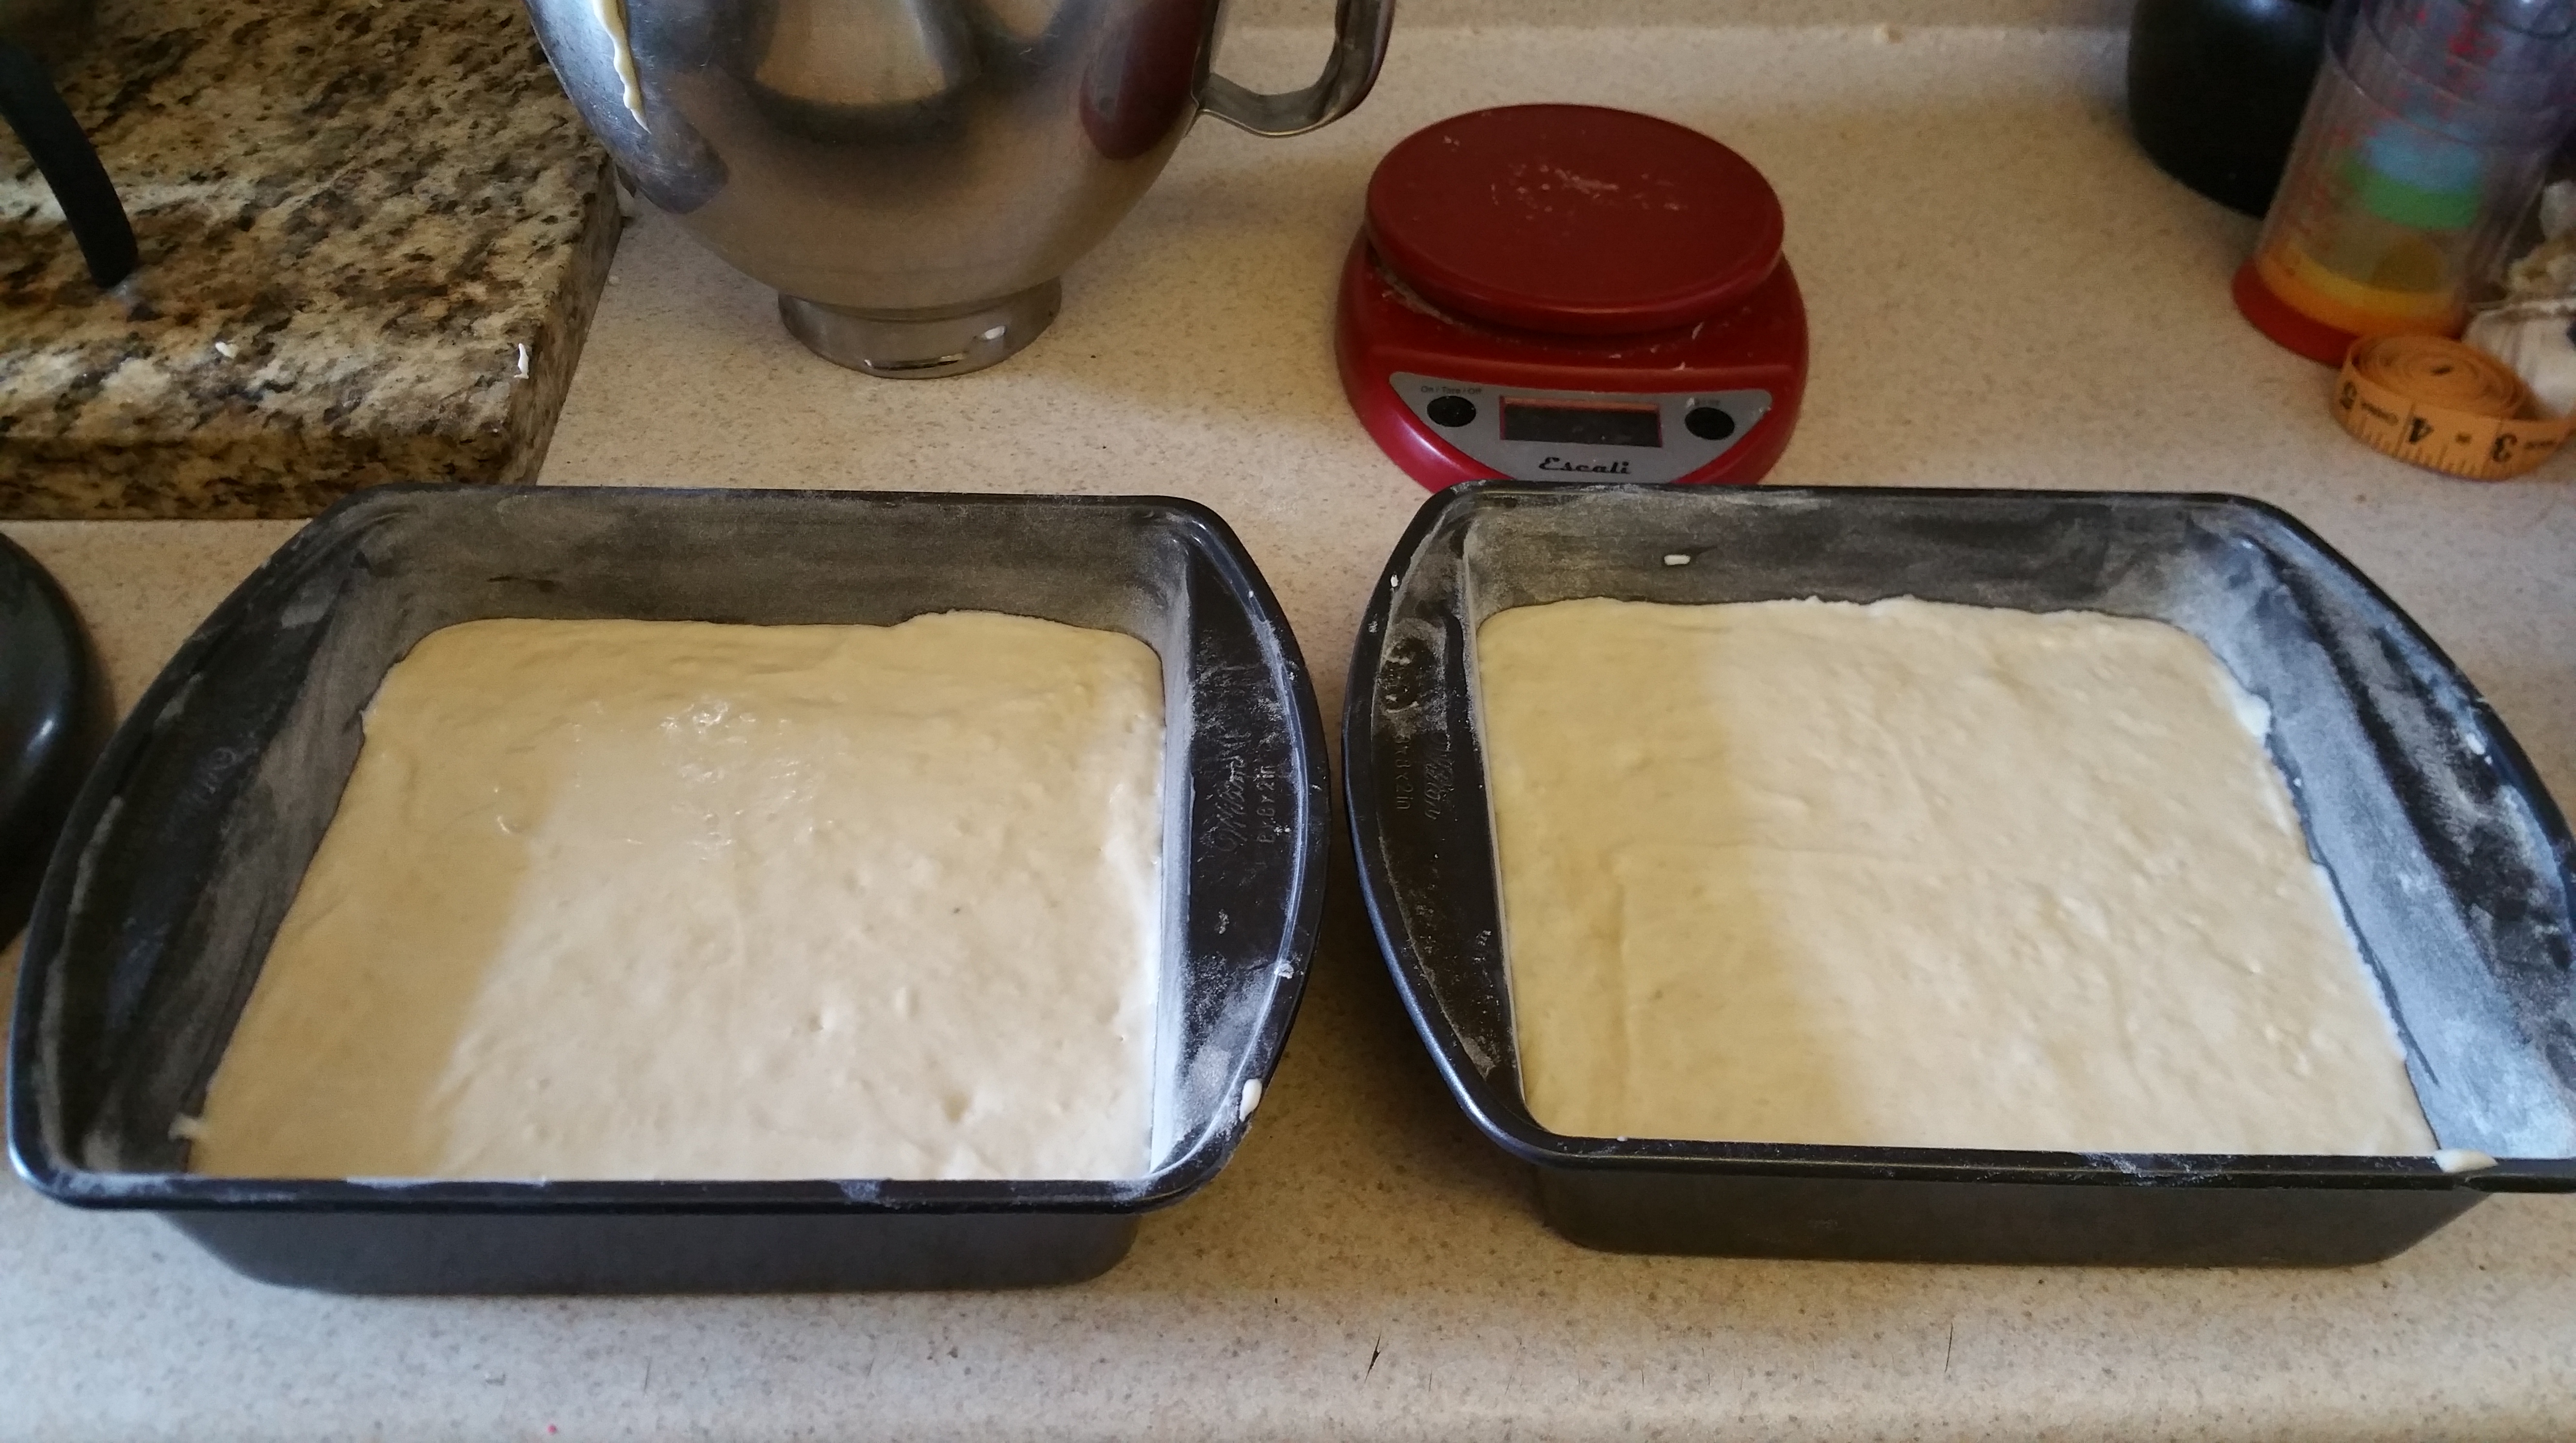
After the mixture is whipped, use your oiled spatula/palette knife to spread it into the prepared 9×13 in. pan and smooth the top. Dust the top with more of the cornstarch and powdered sugar mixture and let the marshmallows set for 8 hours.

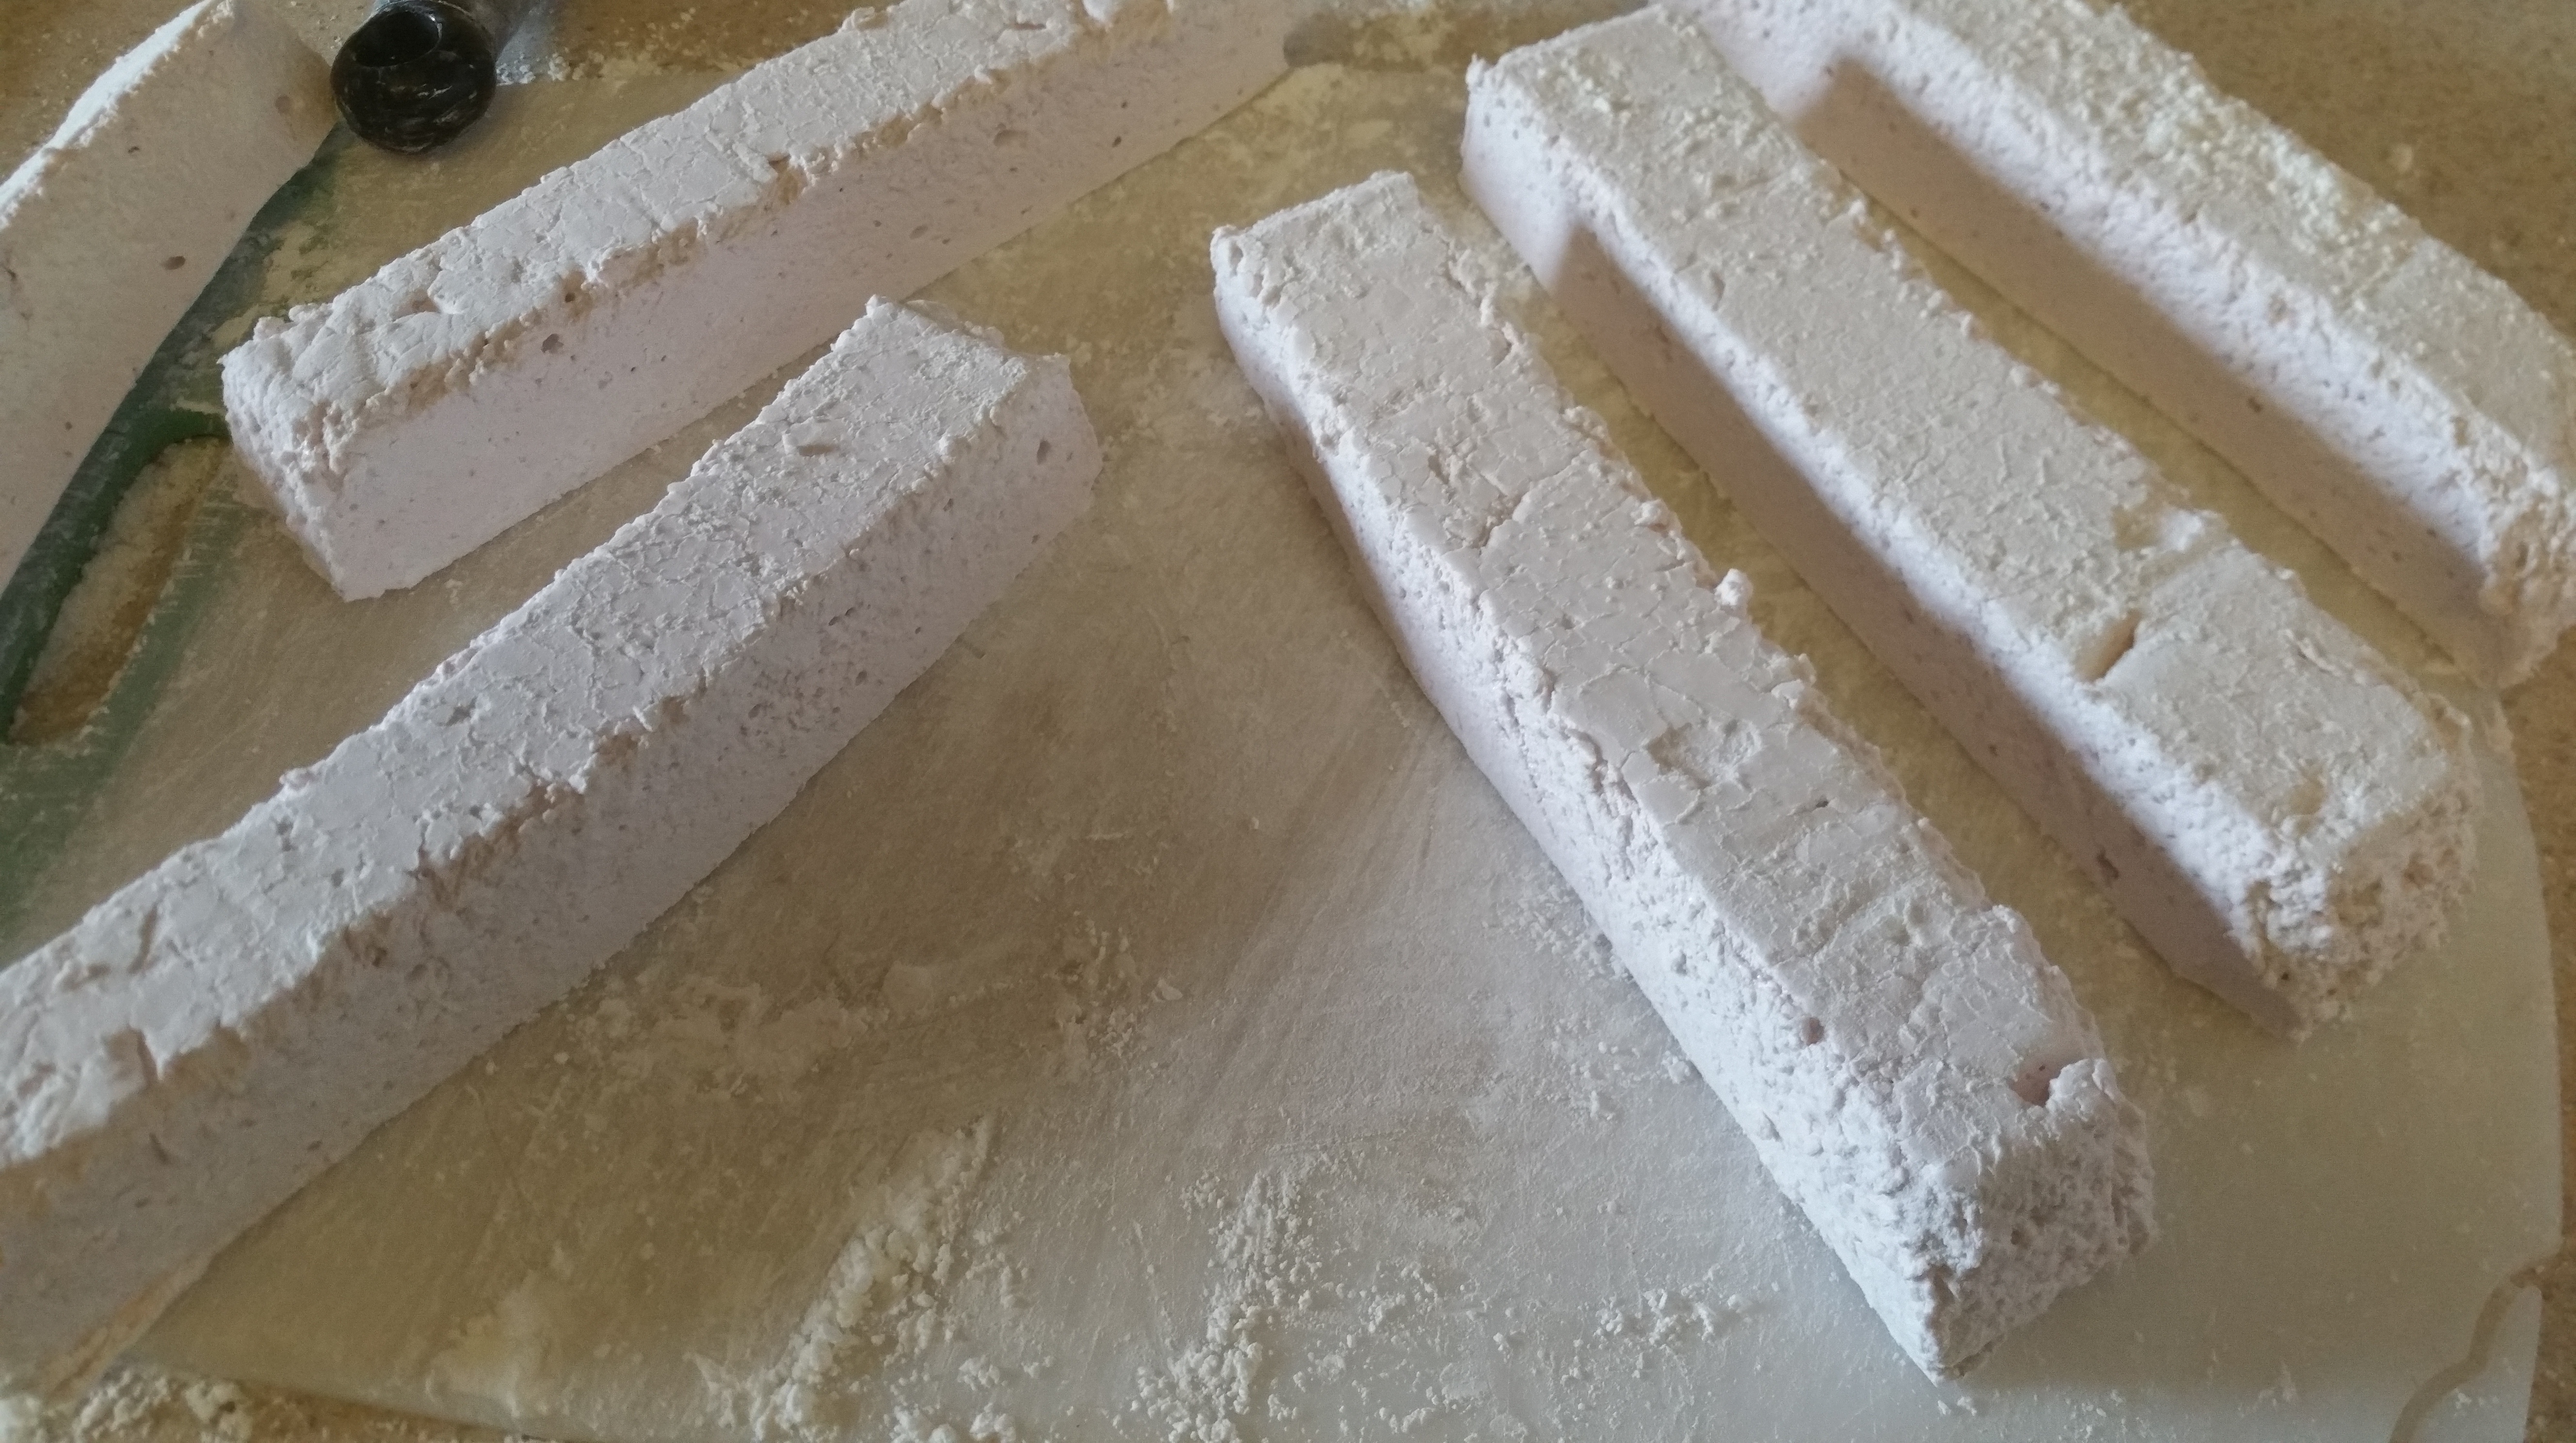
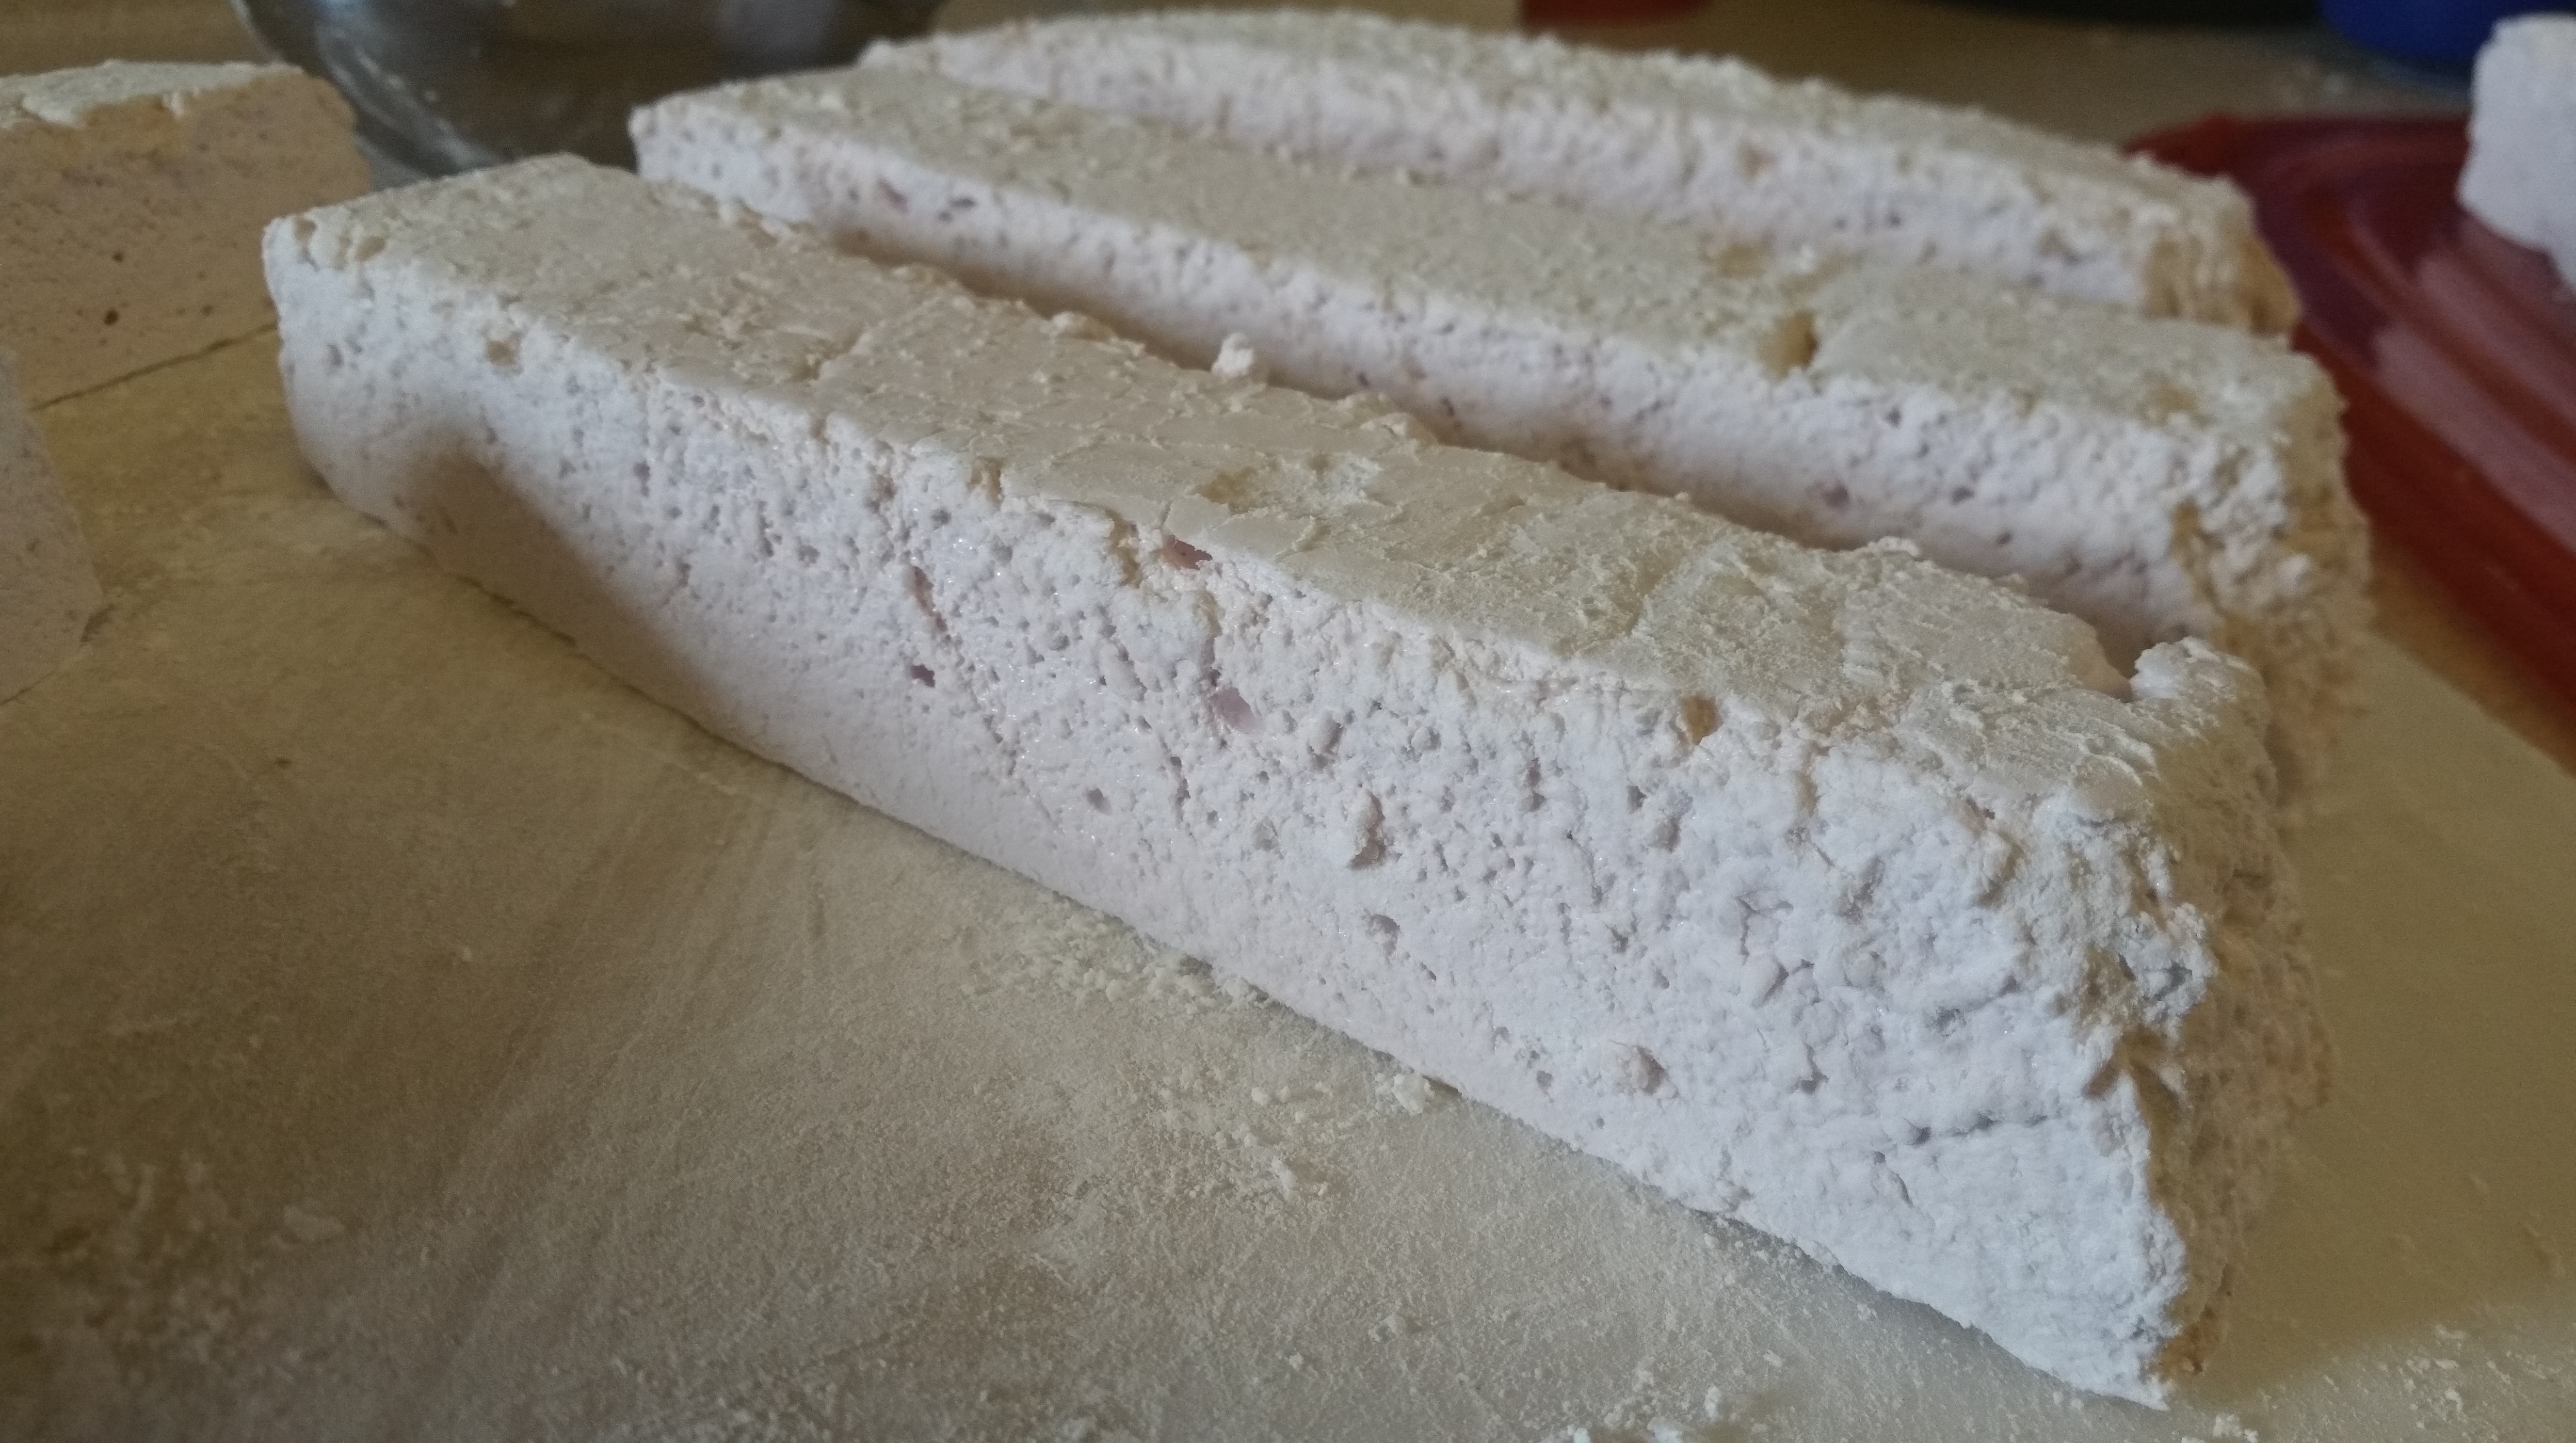
Turn the slab of marshmallow out onto a cutting board and peel back the parchment paper.

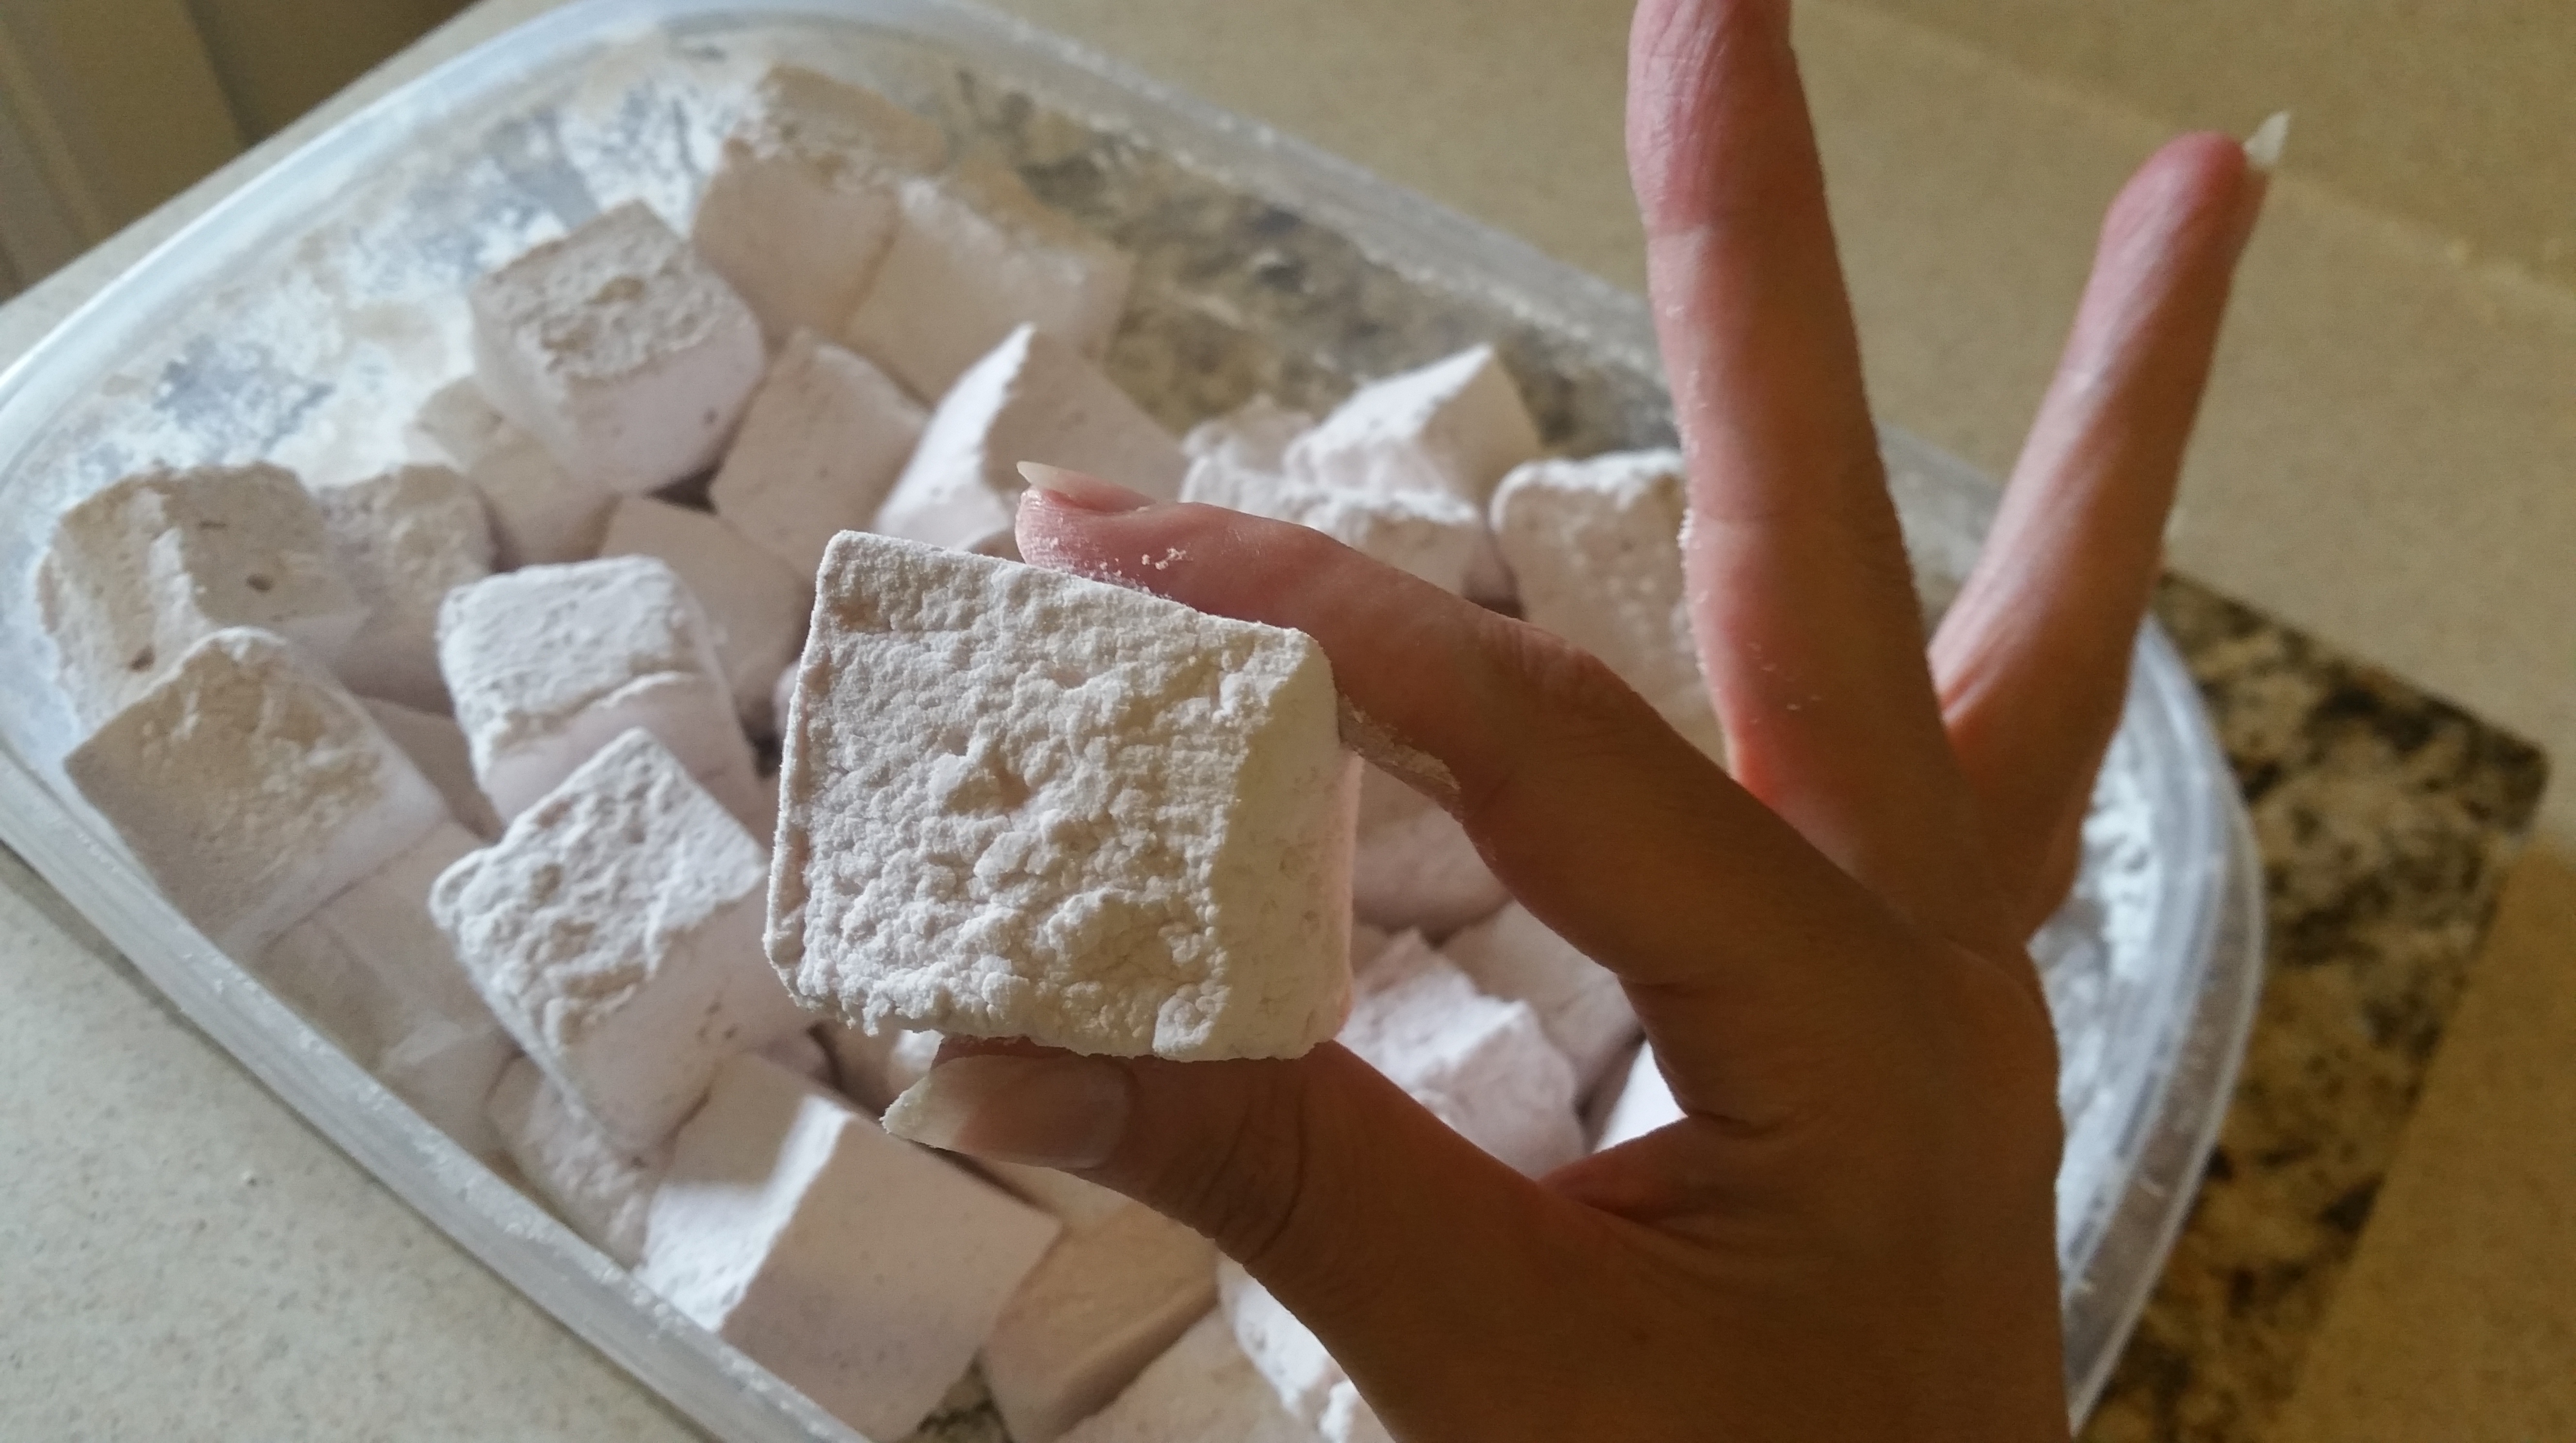
Cut into squares of any size using a pizza wheel or an oiled bench scraper. I find that it helps to dip the pizza wheel into the cornstarch and powdered sugar mixture after cutting each row. Your cuts will be much neater.

As you cut, toss the squares in the cornstarch/powdered sugar so that all sides are coated. This keeps the marshmallows from sticking together.

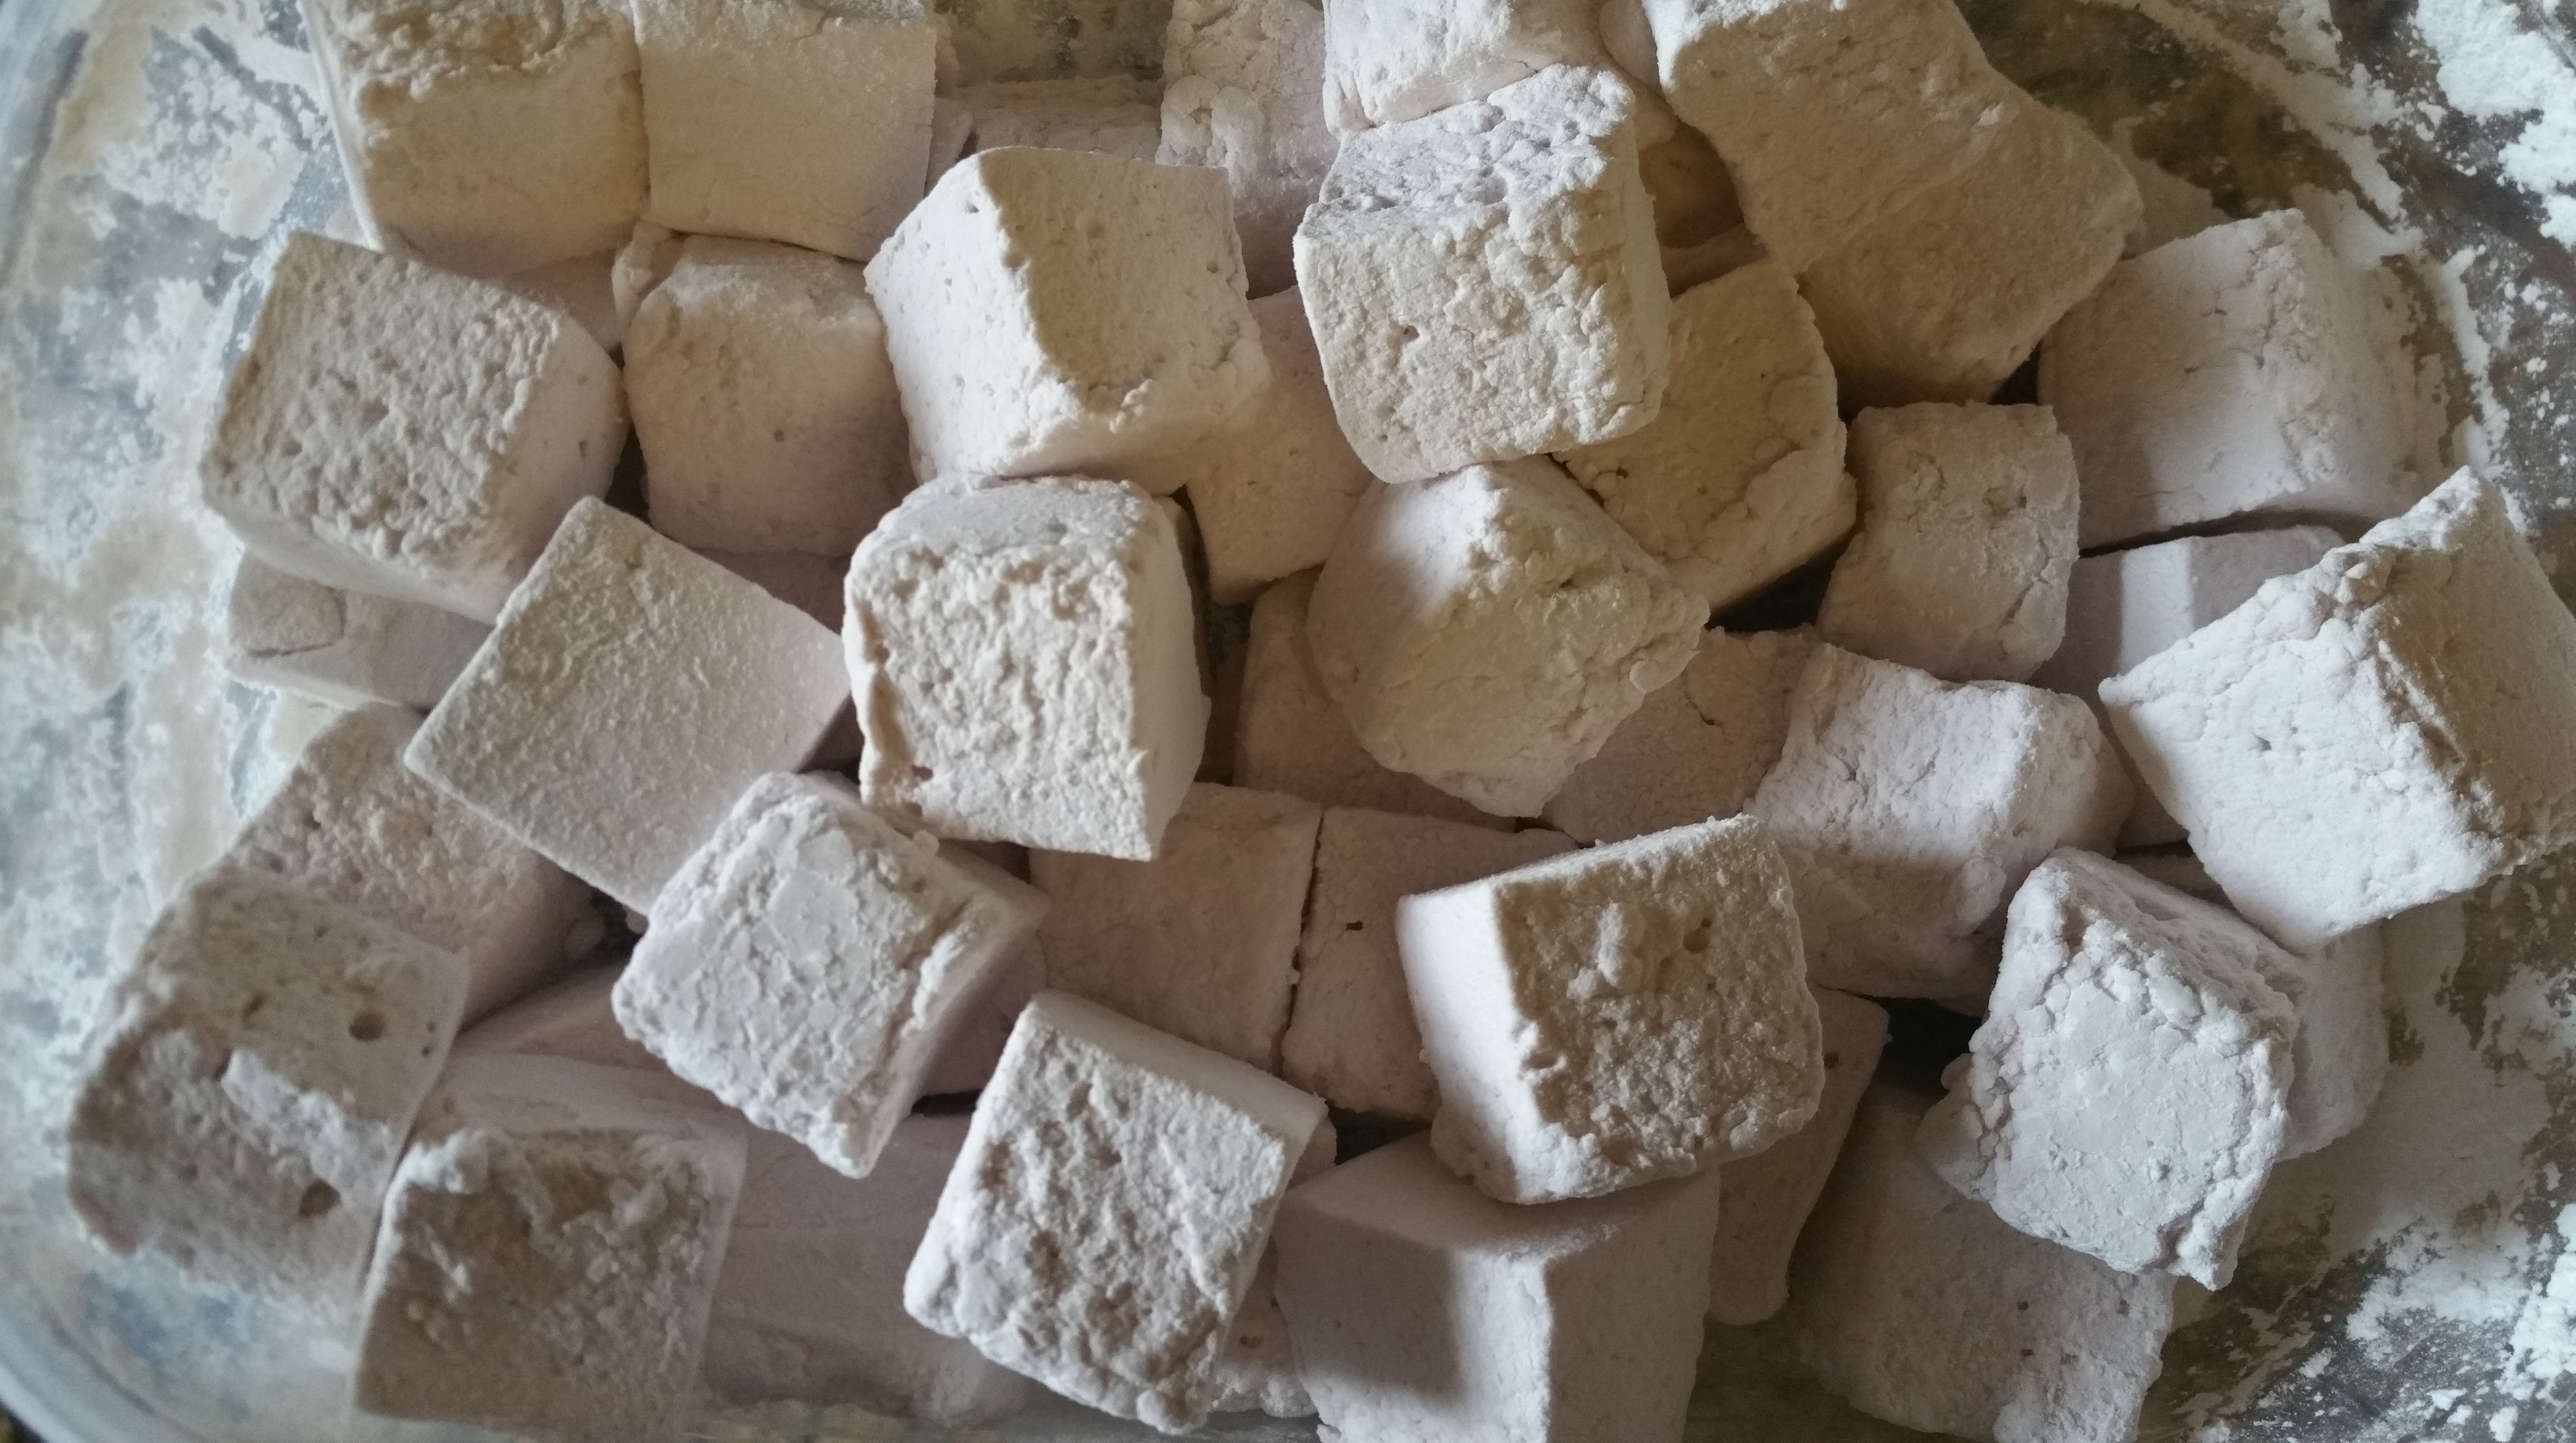
Store in a sealed container away from heat and humidity, and start thinking about all of the great cherry s’mores you are going to make.

The fragrance of these is just incredible, not to mention the soft, creamy texture when you bite into one.

Not a cherry lover? That’s alright! Strawberry and blueberry purees also make great marshmallows. And if you’re looking for something more traditional, simply omit the fruit puree, use 3 envelopes of gelatin instead of 4, and add a tsp. of vanilla extract when there is about 1 minute of whipping time left. That will get you the classic, bright white vanilla marshmallow that’s ready for a skewer and a bonfire.

I hope you find some of your own sweet tastes of the season to whip into this tasty confection. Keep your eyes peeled for another cherry delight here soon!

Ciao for now,

Neen


Reimagining Ribbon Cake

4 Aug

My grandmother turned 90 years old last week! For her birthday cake, we turned to an old recipe that my dad said she used to make frequently. It was a cake I’d never heard of that definitely doesn’t turn up in a basic or reverse Google Image Search, called Ribbon Cake. It’s a two layer white almond cake with white frosting, topped with piped ribbons of cherry and pineapple fillings, sprinkled with a layer of finely chopped walnuts, and finished with a final lattice of frosting to top it all off. It turned out pretty well, though I wasn’t crazy about the all-shortening frosting. And while I liked the fruit fillings, they were more sweet than fruity and were just a touch runny for easy cake topping.

Tradition is great, but I thought the recipe could benefit from an update. I really believe that recipes are live documents that morph over time as trends, ingredient availability, and food tech change. So for this version, let’s frost that fluffy white almond cake with an equally luxurious vanilla-almond buttercream. And while we’re at it, let’s make the fruit fillings from scratch too, for fruitier flavor and to help control the thickness for piping and standing at room temperature. Depending on where you live, you might even be able to make them completely fresh. My dad, mom, and I also learned a few lessons while frosting and decorating the cake that definitely helped make the second go at it a smoother process.

Reimagined Ribbon Cake

White Almond Cake

  • 3 cups all-purpose flour
  • 2 teaspoons baking powder
  • 3/4 teaspoon kosher salt
  • 6 oz. unsalted butter, softened
  • 2 1/2 cups granulated sugar, divided into two 1 ¼ cup portions
  • 1 tsp. vanilla extract
  • ½ tsp. almond extract
  • 1 1/4 cups whole milk
  • 6 egg whites at room temperature

Quick Buttercream Frosting

  •  6 cups powdered sugar, sifted
  • 16 oz. unsalted butter, softened
  • ½ tsp. salt
  • 1 ½ tsp. vanilla extract
  • ½ tsp. almond extract

Cherry Topping

  • 7 oz. cherries, pitted
  • ¼ cup sugar
  • 1 heaping tbsp. cornstarch
  • 1 tbsp. lemon juice
  • ¼ cup water

Pineapple Topping

  • ½ cup + 1 tbsp. sugar
  • 1(20 ounce) can crushed pineapple, packed in its own juice or 2 cups mashed pineapple and 1 cup pineapple juice
  • 3 tbsp. cornstarch
  • 3 tablespoons butter

Walnut Topping

  • ½ cup walnuts, finely chopped

I made this cake over the course of two days, so I’ll describe that process here.

To make the cake, preheat the oven to 350 degrees F. Prepare two 8 in. square pans by lining the bottoms with parchment paper and then greasing and flouring the pans. Alternatively you can use a baking release spray, but I would still recommend lining the bottoms with parchment paper.

In a large mixing bowl, sift together the flour, baking powder, and salt. Set aside.

In the bowl of a stand mixer, cream the butter and 1 1/4 cups of the sugar until light and fluffy. Mix in the vanilla and almond extracts.

Add the dry ingredients in three additions, alternating with the milk, until everything is combined. Transfer back to the large mixing bowl.

Clean and dry the stand mixer bowl thoroughly. Use the whip attachment for this next step.

Add the egg whites and a pinch of salt to the stand mixer bowl. Whip on high speed until the egg whites are frothy, and then very slowly add the remaining 1 ¼ cups of sugar. Whip until the meringue is thick, glossy, and holds stiff peaks.

Fold 1/3 of the meringue into the batter to lighten it, and then gently fold in the rest just until evenly incorporated.

Divide the batter evenly among the two prepared pans.

Bake the cakes for 33-37 minutes, or until pulling away from the sides of the pan. A toothpick inserted in the center should come out clean.

Allow the cakes to cool in the pans for 10 minutes, and then turn out onto wire racks to cool completely.

Next, make the fruit toppings.

To make the cherry topping, combine all of the ingredients in a saucepan over medium-low heat.

Mash the cherries while the mixture heats up.

Stir constantly until the mixture bubbles and thickens. It should be shiny and thickly coat a spoon. Cool and then move to a plastic container and store in the refrigerator.

To make the pineapple topping, combine all ingredients in a saucepan over medium heat and cook until mixture comes to a boil, stirring constantly.

Continue stirring until the mixture is thick and loses its milky look.

Remove the pan from the heat and stir in the butter.

Let cool and then move to a plastic container and store in the refrigerator.

At this point I wrapped the cakes tightly and stopped for the day. The next morning I began by making the buttercream.

Beat the butter on medium speed until creamy.

Gradually add the powdered sugar. Once it is all combined, add the salt and extracts and beat on high speed until thick and fluffy.

To assemble the cake, frost the first layer and stack the second on top.

Frost the cake with the buttercream, and then pipe a border around the top and the bottom of the cake. The top border is important as it acts as your frame for the fruit toppings. It can be as simple as a straight line if you prefer. I piped kisses using an open star tip.

Get out the fruit toppings and give them both a good stir. Transfer to piping bags with just couplers attached (no tips). Alternatively, use a plastic storage bag with the corner cut off. Pipe the first filling in diagonal lines about ½ in. apart.

Using the second filling, pipe lines in the spaces left between the first.

Sprinkle the walnuts over top of the fruit fillings.

Create the final layer by piping a lattice with lines spaced about 1 in. apart.

There you have it! My variation of grandma’s Ribbon Cake. The cake is moist and light, the buttercream silky smooth, and the fruit fillings are nice and bright. Saving most of this one for a visit from my parents. Maybe it will be a new tradition!

Ciao for now,

Neen

Double Dessert: Strawberry Cheesecake Brownies with a Graham Cracker Crust

23 Jul

Let’s face it, you have enough difficult decisions to make on a day to day basis, yes? So when it comes to having your dessert at the end of a long day, why add one more challenging choice into the equation? This is precisely the thought that came into my head Sunday afternoon. I wanted these super fudgy brownies I made earlier in the week (that seriously satisfied my illicit obsession with “testing” brownie/cake batter), but also had a craving for creamy cheesecake. And yes, the classic marbled chocolate and cheesecake brownie seemed like the obvious answer, but there were a few sticking points I needed to address.

First of all, if you are going to call something a cheesecake, it needs a delicious crust. And second of all, fudgy brownie and cheesecake together cry out for something fruity or acidic to cut all of that richness. So what I started to imagine was a crunchy, sweet crust, gooey, rich brownie, and smooth decadent cheesecake with a little strawberry swirl. I wandered into the kitchen without a recipe and only my cravings to guide me. And a few hours later, I definitely had no difficult choices to make.

Strawberry Cheesecake Brownies with Graham Cracker Crust

Crust

  • 1 ½ cups graham cracker crumbs
  • 6 tbsp. unsalted butter, melted
  • 2 tbsp. sugar
  • 2 pinches of salt

Brownie Layer

  • 8 tbsp. unsalted butter, melted
  • 1 tbsp. cacao or cocoa butter,* melted
  • 1 cup sugar
  • 2 eggs
  • 1 tsp. vanilla extract
  • ½ cup all purpose flour
  • ½ cup cacao or cocoa powder*
  • ½ tsp. salt

*Cacao butter/powder are the raw versions of cocoa butter/powder. This just means that these products have not been processed at temperatures higher than 115 degrees F. Either will produce great results, I just like the flavor of the raw product. Can’t find cocoa butter? Any neutral cooking oil will do in a pinch.

Cheesecake Layer

  • 8 oz. cream cheese, softened
  • 1 large egg yolk
  • 1/3 cup sugar
  • 2 tbsp. strawberry preserves

Preheat the oven to 350 degrees F.

Line an 8×8 pan with aluminum foil and butter the foil.

Combine the graham crackers, sugar, salt and melted butter and mix well.

Press into the prepared pan in an even layer and bake for 12 minutes, or until just set. Move to a wire rack to cool slightly while you prepare the filling.

To make the brownie batter, combine the butter, cacao butter, and sugar and mix well.

Add the eggs and vanilla extract and beat until thick.

Stir in the dry ingredients, but do not overmix. Some lumps are fine.

Pour the brownie batter on top of the crust and set aside.

To make the cheesecake layer, blend the cream cheese, egg yolk, and sugar until smooth. I like to use a food processor for this.

Drop the strawberry preserves onto the cheesecake filling and swirl just slightly. Do not blend well.

Drop the cheesecake batter on top of the brownie layer in dollops and then use a butter knife to swirl the fillings together.

Bake for 35 minutes or until puffy and just set.

Allow the brownies to cool at room temperature for an hour, and then chill for 2 hours before cutting into 24 pieces. If you care about keeping it pretty, wipe down your knife with a warm, damp cloth between cuts.

This really is an awesome contrast of textures and flavors. You get that rich, fudgy brownie against smooth, creamy cheesecake with little swirls of strawberry to brighten it all up a little. Dessert need not be a difficult choice ever again. You’re welcome!

Ciao for now,

Neen

Bite-size Sweets: Mini Strawberry Pies

30 Jun

It may be obvious from some of the recipes on this blog, but I love miniaturizing foods or making single servings. Little cookies or cakes that are a few bites at most are perfect to me, as is anything that can be frozen and revived without much loss of quality. A lot of this comes from a practical place. Neither Joe nor I have a particularly huge appetite, so making a whole cake or pie often means a lot goes to waste. It’s easier to make cupcakes or logs of cookie dough that can be frozen and portioned out when we want them. Right now there’s a bag of cinnamon rosettes, some of those chocolate and vanilla striped cakes, and a handful of flaky layer biscuits too. The point is, I really hate wasting food, so a lot of my cooking reflects that.

I was thinking about what to do with a fresh jar of strawberry preserves and immediately thought of this jam tart, which is one of my all-time favorite recipes. I knew though that we’d each have a piece or two and then we’d get a little bored of eating it. But I was kind of stuck on the idea of pie, and remembered that hand pies reheat pretty well from the freezer. So I decided to size them down a little further and make these cookie sized, a perfect few bites of rich pastry and sweet strawberry filling. And the best part is that you can store them in the freezer and toast or warm in a 350 degree oven for a few minutes and have them just as good as fresh.

Mini Strawberry Pies

Crust:

  • 1 ¼ cups all-purpose flour
  • ½ tsp. kosher salt
  • ½ tbsp. sugar
  • 2-3 tbsp. ice water

Filling:

  • 2-3 tbsp. strawberry preserves

Egg wash:

  • 1 egg beaten with 1 tbsp. water

Method

You can find the method for making the pastry crust here, in my apple pie recipe. Follow the instructions just until the part where the ice water is added and the pieces are pressing together.

Turn the dough pieces out onto a sheet of parchment paper and press them together. Place another sheet of parchment on top and roll out to 1/8 in. thickness. Place on a baking sheet and refrigerate for 30-60 minutes, or until very firm.

Using a 2 in. round cookie or biscuit cutter, cut out 24 circles. If the dough gets soft while working with it, just put it in the freezer for 5 minutes. You may have to re-roll and re-chill the dough to get 24 circles. Place the circles on a parchment-lined baking sheet.

Top half of the circles with a rounded ½ tsp. of strawberry preserves.

Brush the edges of each circle with the egg wash and then place another dough circle on top, pressing the edges to seal, and then crimping the edges with the tines of a fork. Use a sharp knife to poke vent holes in the top of each pie.

Place the pies in the refrigerator and preheat the oven to 350 degrees F.

When the oven is preheated, brush the top of each pie with the egg wash and sprinkle with granulated sugar (if desired).

Bake for 25 minutes, or until the bottoms and edges are golden.

Serve warm or room temperature. Store in a sealed container at room temperature for a few days. For longer storage, freeze on a baking sheet and once they are firm, move them to a freezer bags and seal.

These are delicious little bites that you could certainly make with other fruit preserves. Treat yourself to something sweet and then save the rest for when you’re really craving them again. It’s like baking for yourself a bunch of times all at once. Awesome!

Ciao for now,

Neen

Un-puzzling Apple Pie

30 Nov

I’ve been after the perfect apple pie for a while. There are so many variables: What kind of fat in the crust? Cooked or uncooked filling? Cornstarch or flour? What kind of apples?

And I’ve encountered all of the usual problems too: Under-baked crust, melted or broken crust, mushy apples, watery filling. With every pie I’ve baked, I’ve had a chance to learn a little bit more about what works and what doesn’t.

The good news is that I’ve combined several methods that turn out a pie with a flavorful, flaky crust, and a filling that’s sweet-but-not-too-sweet and that holds together when sliced.

Here we use a pretty traditional all butter pastry, but stay mostly hands-off and also chill it several times throughout the process to keep it workable and stable. For the inside, I wanted to avoid a watery filling, but pre-cooked ones make the apples too mushy by the time the pie is baked, so we’ll instead take time to extract some juice from the apples, make it into a syrup, then toss the apples with that and cornstarch to create a filling with the perfect consistency.

Let’s do it to it!

Apple Pie

Crust:

  • 2 ½ cups unbleached, all purpose flour
  • 2 tbsp. sugar
  • 1 tsp. salt
  • 8 oz. (2 sticks) unsalted butter, cut into chunks and chilled in the freezer for 10-15 minutes)
  • ¼ – ½ cup ice water

Filling:

  • 3 lbs. apples (Good varieties that will not break down are Honeycrisp, Fuji, Granny Smith, Macintosh, or Cortland). I used 3 large Honeycrisp and 3 Granny Smith for a balance of tart and sweet.
  • ¼ cup sugar
  • ¼ brown sugar
  • 1 tsp. cinnamon
  • ½ tsp. salt
  • 1/8 tsp. fresh ground nutmeg
  • 2 tbsp. butter
  • 2 tbsp. cornstarch

Prepare the crust by combining the flour, sugar, and salt in a food processor and mixing.

Add the butter in chunks, pulsing between additions, until the mixture is a sandy, pebbly texture.

Slowly add ice water while pulsing, until the dough holds together when pressed between fingers. Do not overmix.

Turn the mixture out onto a countertop and gather into a ball. Divide the dough in two pieces and flatten into discs. These weighed about 12.5 oz. each. Wrap these in plastic wrap and chill for 30 min – 1 hour.

To make the filling, peel, core, and slice the apples. I also quarter my slices.

Toss the apple slices with the sugars, cinnamon, nutmeg, and salt and allow this to sit for at least 30 minutes, but up to an hour is fine.

Meanwhile, roll out one pie dough disc into a 12 in. circle, fit it into a pie pan, and trim the edges. Cover with plastic wrap and refrigerate.

Roll the other dough disc into a 12 in. circle, place on a parchment-lined baking sheet, cover with plastic wrap and refrigerate.

Then place a strainer over a bowl and pour in the apples. Allow them to drain for 30 minutes, or until ½-3/4 cup of juice has accumulated.

Take the pie dough circle on the baking sheet out of the refrigerator before you begin the next step to allow it to get slightly pliable.

Put the juice and the 2 tbsp. of butter in a small saucepan over medium-high heat and boil until it reduces to about 1/3 cup and is syrupy, about 7-10 minutes.

In a bowl, toss the apples with the cornstarch and then toss with the reduced syrup.

Fill the pie crust with the apple mixture.

Gently wet the edges of the crust and place the top crust over the filling. Trim the edges and then crimp with a fork. Cut 5 slits in the top. Wrap the pie in plastic wrap and refrigerate.

Preheat an oven to 425 degrees F and place an aluminum foil-lined baking sheet on an oven rack placed on the lowest setting.

Once the oven is preheated, unwrap the pie and cover the edges with an aluminum foil ring to prevent the crust from overbrowning. Bake the pie for 45-55 minutes or until the fruit is bubbling and tender when poked through one of the slits. Remove the foil ring during the last 10 minutes of baking.

Allow the pie to cool for at least 4 hours before slicing.

Hope you have a chance to try this one during the holidays. It’s sure to make them merrier!

Ciao for now,

Neen

Cure for a Cold Snap: Curried Butternut Squash and Apple Soup

13 May

Howdy readers, I’m back. It’s been an interesting few months to say the very least, but needless to say I wasn’t doing as much cooking as I do normally. And when I was cooking, I was feeling stuck in a little bit of a rut. Not as if there aren’t endless sources of inspiration in books and online, I just wasn’t in that head space. It was hard to be out of the groove, but as I’ve started feeling more like myself, getting back into the kitchen and just experimenting has made me really happy again.

I’ve been on a soup and stew kick this week. That might seem like a little bit of a head-scratcher for this time of year, but if you were in Arlington this week, it’s been in the 50s, overcast, and rainy. So my local friends might understand why I’ve wanted nothing but warming foods.

This soup is spicy-sweet, creamy, and really delicious. It can also be made vegan if you swap out the chicken stock for vegetable stock or even water with a stick of kombu in it. Let’s have at it!

Curried Butternut Squash and Apple Soup

Ingredients

  • 1 lb butternut squash, cubed
  • 1 apple, cored and cubed
  • 1 red onion, diced
  • 3-4 cups unsalted chicken stock or broth
  • ½ cup whole or light coconut milk
  • 2 tbsp. olive oil
  • 1 tbsp. curry powder
  • 1 tsp. salt (less or more to taste)
  • ½ tsp. cayenne pepper (less or more to taste)
  • ½ tsp. toasted ground coriander
  • Optional: Toasted, salted pistachios

Method

Heat the olive oil in a deep, straight-sided saute pan over medium heat. Add the onions and cook until soft and a bit sweet.

Add the chopped apple, squash, and spices to the pan and cook everything over medium heat for 5-7 minutes or until the squash and apples begin to cook down and release liquid.

Add enough broth to the pan to cover the vegetables and fruit, then turn the heat to high and bring to a boil. Then reduce the heat back to medium and allow the soup to simmer, uncovered, until the squash is tender. The liquid will also start to reduce.

Using a traditional or immersion blender, puree the soup. If using a countertop blender, you may need to do so in batches to keep the hot liquid in check. Once the soup is pureed, add the coconut milk and blend it in. Check the seasoning, add salt and pepper as needed, and then blend again.

Serve hot with the toasted pistachio garnish and enjoy!

Hopefully I’ll be back a little more quickly this time. There’s a lot I know I’ll want to make once the farm markets are back in full swing for the summer, so keep your eyes peeled for new recipes. Until then…

Ciao for now,

Neen