Almost a year after quietly fading away, here I am. So what happened?
Life.

Yoga Teacher Training Graduation, March 2014.
Okay, you want details. After I finished yoga teacher training at the end of March 2014, there was a void. It was a steady, dull ache that huddled in my heart and reminded me constantly of how much I missed the long weekends learning about yoga with kind souls. I grasped at every opportunity I could to take classes from my friends (now amazing yoga teachers!), but I couldn’t get grounded. Things at work were really challenging. The organization where I worked had gone through huge transitions in procedures and leadership, and the growing pains got more palpable with time. Every time one fire started to die out, another blazed in its place. There was sadness within me that I couldn’t shake, but I did my best to keep grinding forward.
As we do each spring, Joe and I made our grand return to Boston for PAX East in April and that was when everything started to change. While we were away, two local studios emailed me and offered me yoga teaching jobs, and one of them offered to hire me to do some writing work for their website and blog. That night I was sitting at a panel event hosted by the team from Giant Bomb. All of the panelists and their guests were having fun—they’d found a way to take their joy and make a living doing it. I decided that night to leave my office job.

In Boston for PAX 2014, the weekend it all began!
The next few months were an insane experiment. At the beginning, I only had one or two classes a week that were permanent, so I took substitute teaching positions as often as possible. I spent the rest of my time writing about yoga for a studio blog, and studying therapeutic yoga as a way to expand and continue my training. I wrote class plans, built a website, found a graphic designer to create a logo, started developing a social media presence on Instagram and YouTube, and began to teach myself the ways of Adobe Premiere Pro for video editing (oh we have a ways to go together). And I read. I devoured yoga books, always looking for things to share with my students.
It was not and is not a linear experience. In July, the studio that hired me to write for their blog decided to take their student outreach in a different direction, and at the same time another studio cancelled two of my classes because of low attendance. I was crushed. Maybe I’m not actually cut out for this. I was having some health issues too, and felt frustrated and overwhelmed by everything.
I started to really question myself and did some serious svadhyaya (self-reflection in yoga practice). They say comparison is the thief of joy, but it is also the creator of doubt. I saw my friends in crazy arm balances and strength poses that I didn’t have in my practice and thought, “I can’t offer that to my students. How can I possibly be a good yoga teacher?”
The answer came quietly: You do you.
Instead of focusing on what wasn’t there, I remembered my friends during teacher training telling me that they wished they could just lay in savasana and listen to my voice. It is round, rich, and warm. It is probably my favorite quality about my physical self. So I started using that—sharing a soft chant while students were in a restorative pose or reading a poem during our break between standing and seated poses. People smiled. They thanked me for an experience.
I reminded myself of the importance of maintaining a beginner’s mindset. I was intimidated when I came to yoga by all of the strength and flexibility around me. The teachers I returned to were those who took that away, the ones who offered variations so everyone could try something, and who encouraged students to own their practice. Those are the people I thought, and still think of, when I stand at the front of the room. I decided (rather radically for me) to love myself unconditionally. I looked in the mirror and said aloud, “I love you.” Nothing else needed to be said.
When I let go of trying to be what I thought I needed to be, my confidence grew. I was me when I stood up, and not anyone else. Sure, teachers beg, borrow, and steal cues from one another all the time. That’s the amazing thing about yoga—there is always, always, always something more to learn. Part of the reason I love social media is because the Instagram community is chock full of talented, smart yogis who share their journeys. It makes me feel so connected and whole knowing that we are all in this together, all working together.
And here it is, 2015. I finished my graduate certificate in nutrition in the fall, I’m teaching yoga seven days a week, and have learned to just ride this wave. Classes will ebb and flow, but there is always more to learn and there is always an outlet to share it with others. I’m making my own way and living life on my own terms. It is not always easy and I do still feel twinges of doubt or the urge to control, but more and more I am learning to breathe through it. Life happens one moment at a time.
The universe has put me exactly where I need to be, and I trust that. I have faith. I am welcoming it in, and I hope you’ll join me.
And because this is, after all, Neen’s Notes, I also have cookies!
Over 6 years of Notes, and I never shared my favorite cookie recipe with you: Shortbread. Shame on me.
How lame is that? The truth is that it’s such a simple recipe that I never thought to share it. And then I was making a batch last week and thought that of all the things I make, it is pretty much the embodiment of those words: You do you. (Well, me doing me, but that sounds strange.)
Why? A few reasons. First of all, it’s pretty much pie dough with a slightly different method. And if you know anything about this blog, you know my love for pastry dough runs deep. Secondly, it’s four ingredients that I always have in the house. That’s it. And third of all, in encapsulates my loves of recipe manipulation and kitchen science, because I tried a whooooooole lot of shortbread recipes (tough job), and then made up my own based on knowing exactly what I was trying to achieve in terms of texture and flavor. For me, the perfect shortbread is crisp, but flaky on the inside.
Let’s do it.
Crisp Shortbread Cookies
Ingredients:
- 4.5 oz. (9 tbsp.) unsalted butter, cut into cubes
- 1 cup all-purpose flour
- ½ cup granulated sugar
- Heavy ½ tsp. kosher salt
- *Optional: 2 tbsp. corn starch. Adding cornstarch to your flour will make these ultra-snappy and crispy. Especially ideal if you want to use these as sandwich cookies or plan to ice them. It gives them sturdiness without making them tough.
- *Optional: Sprinkles!

Team Shortbread
Method:
Preheat an oven to 325 degrees F.
Combine the flour and salt (and cornstarch if using it) in a bowl and set aside.
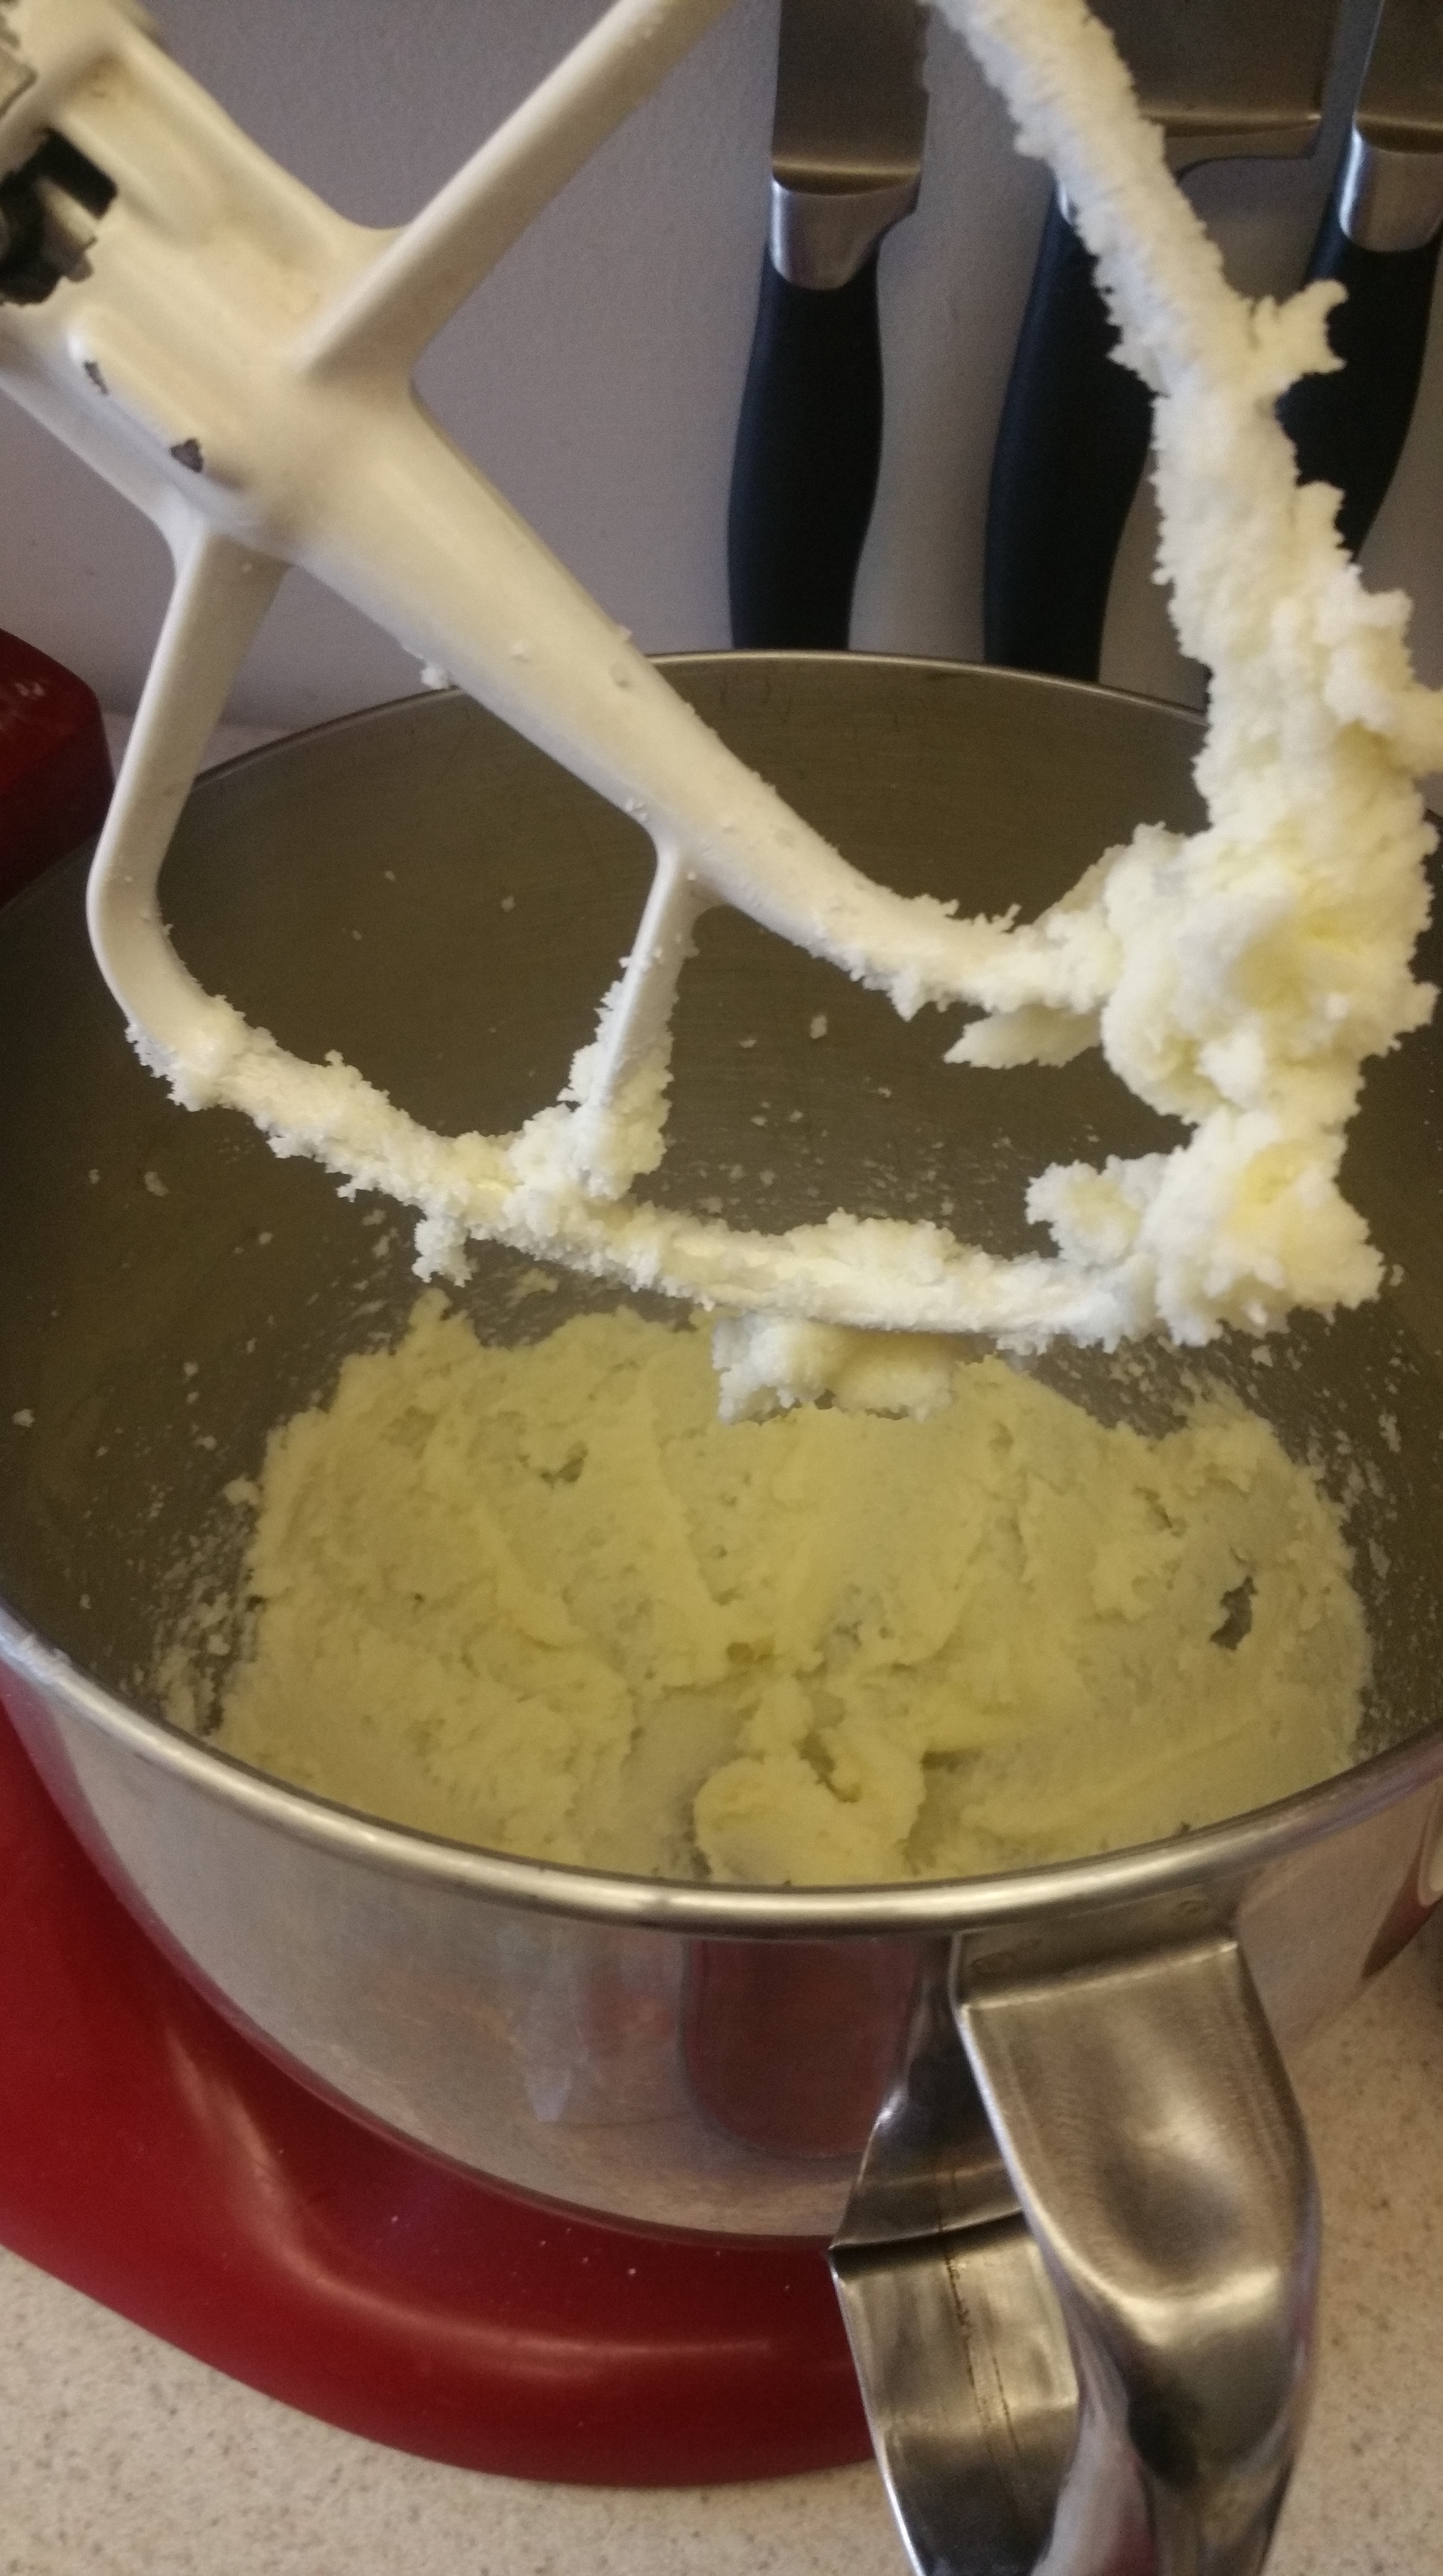
In a mixing bowl, cream the butter and sugar together until fluffy and smooth.

Nice and fluffy, buy you can taste to be “sure”.
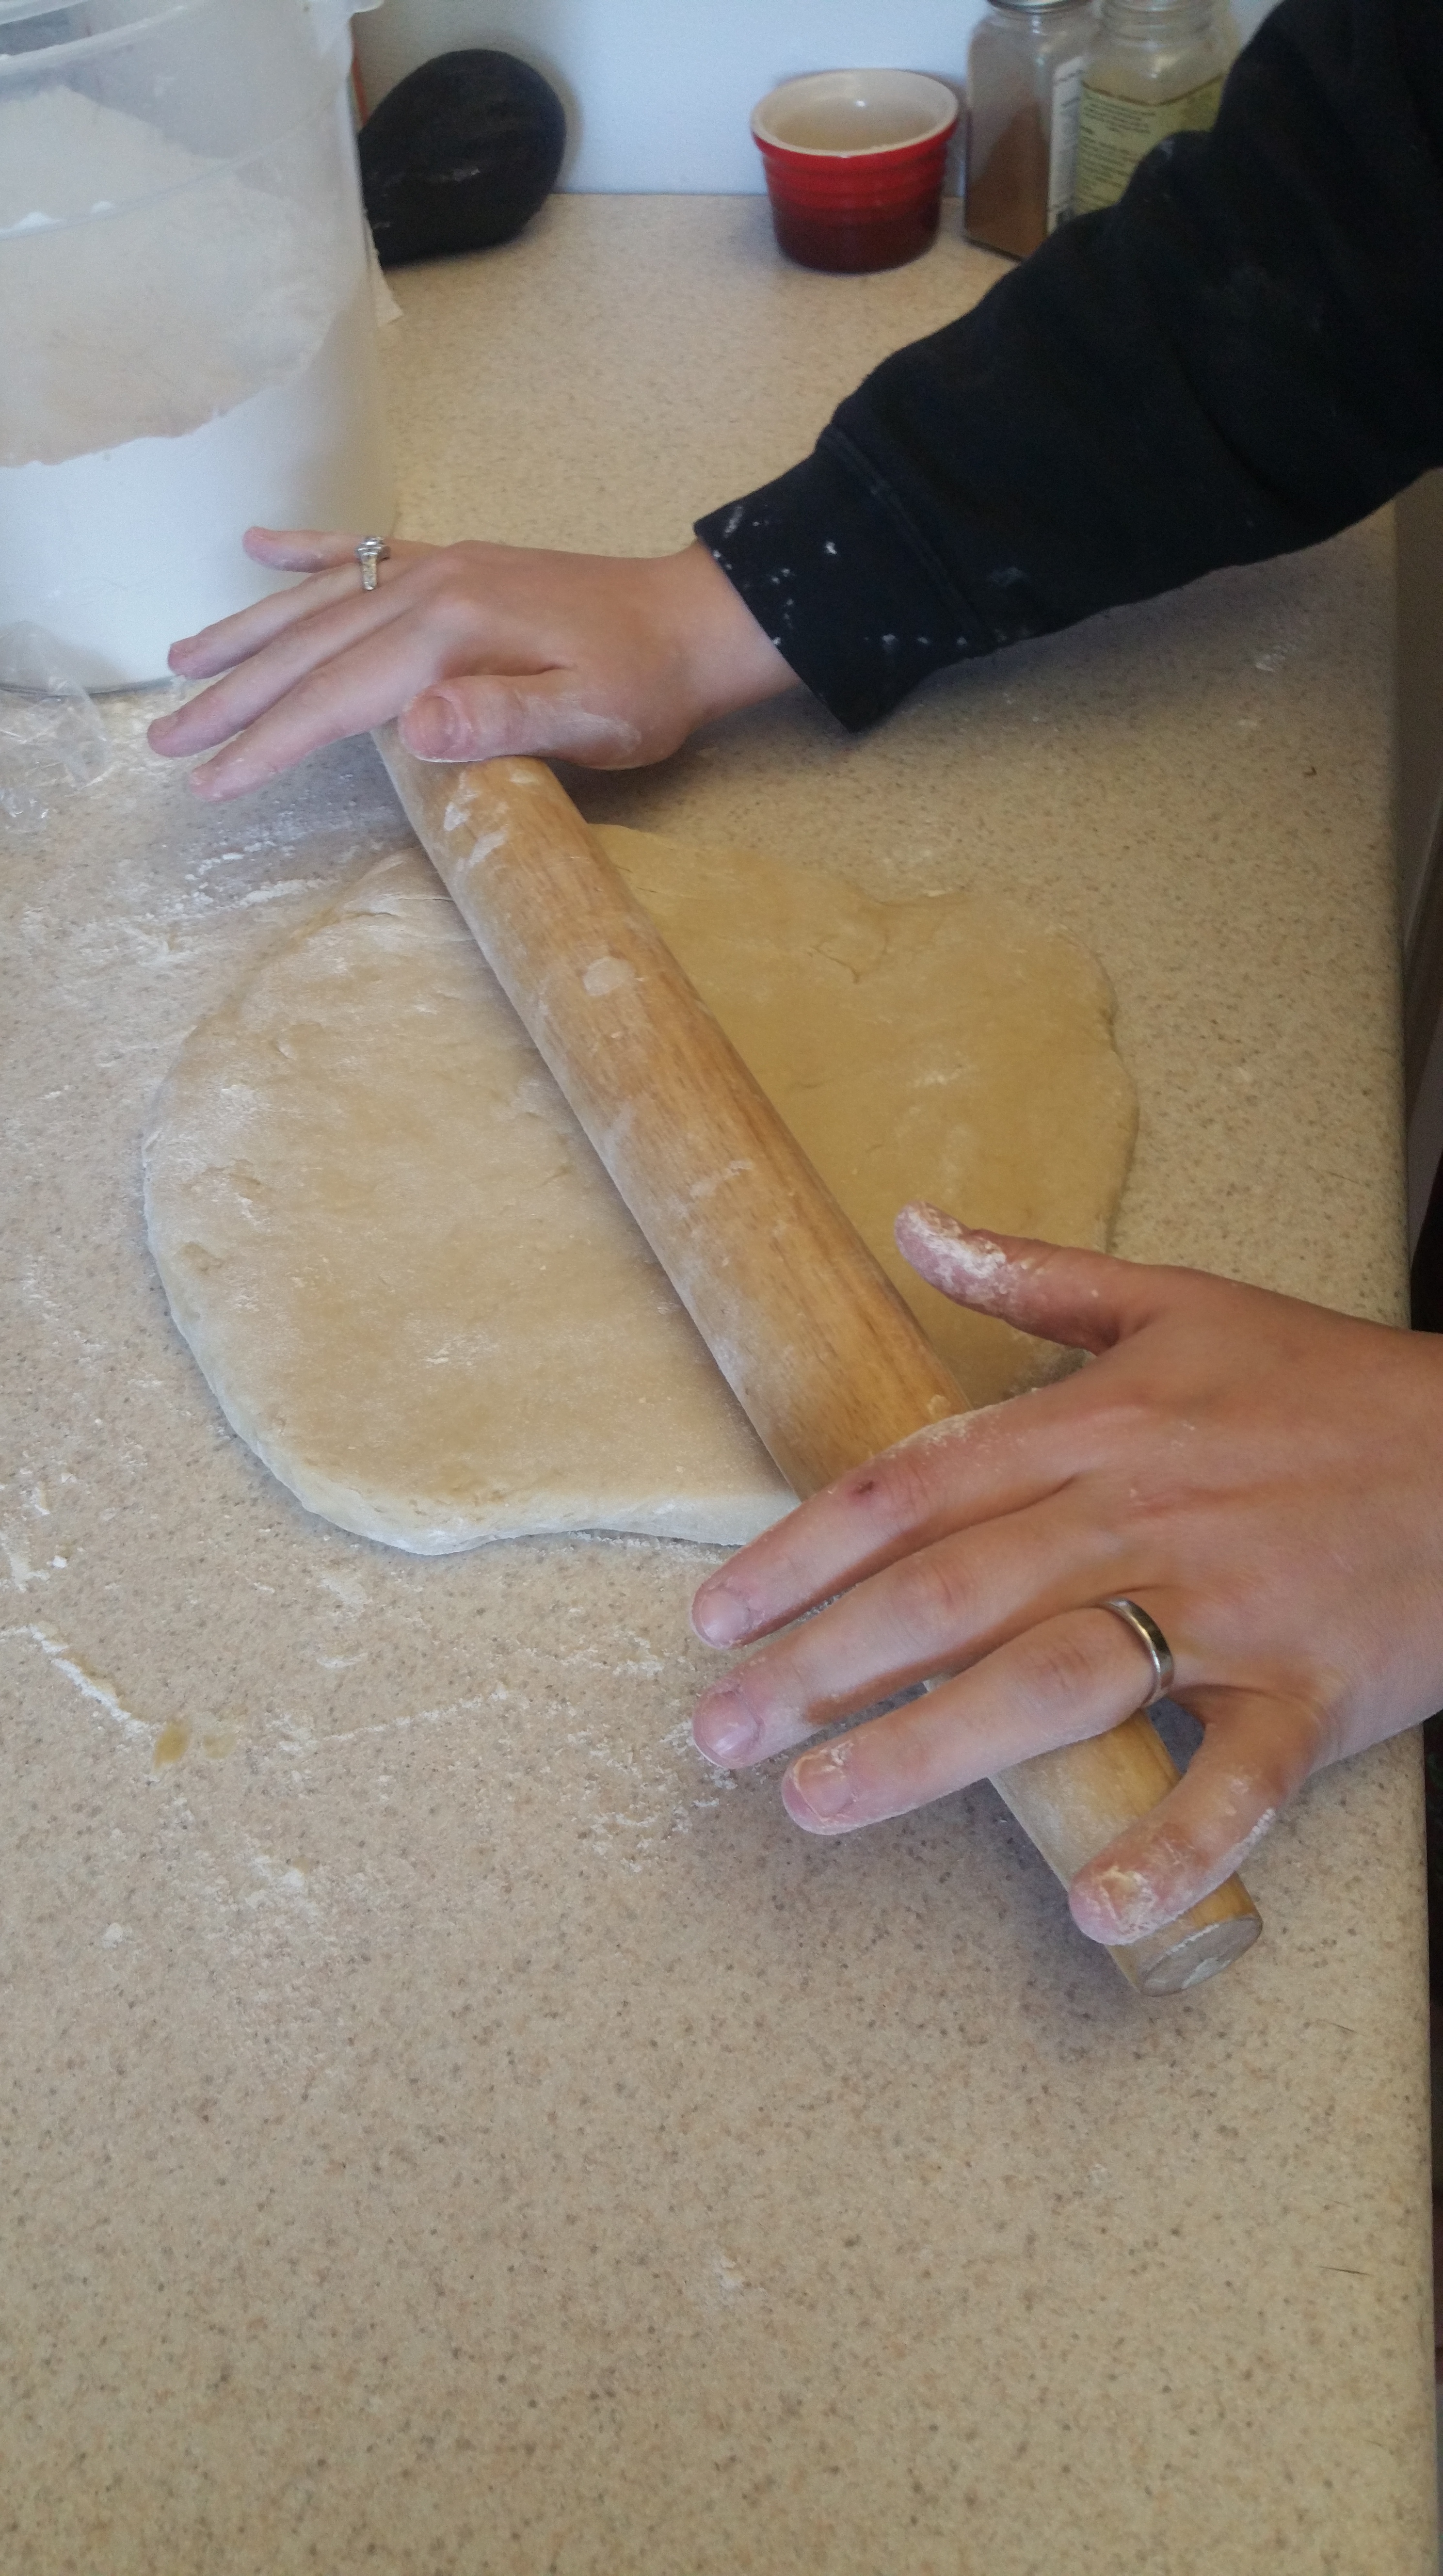
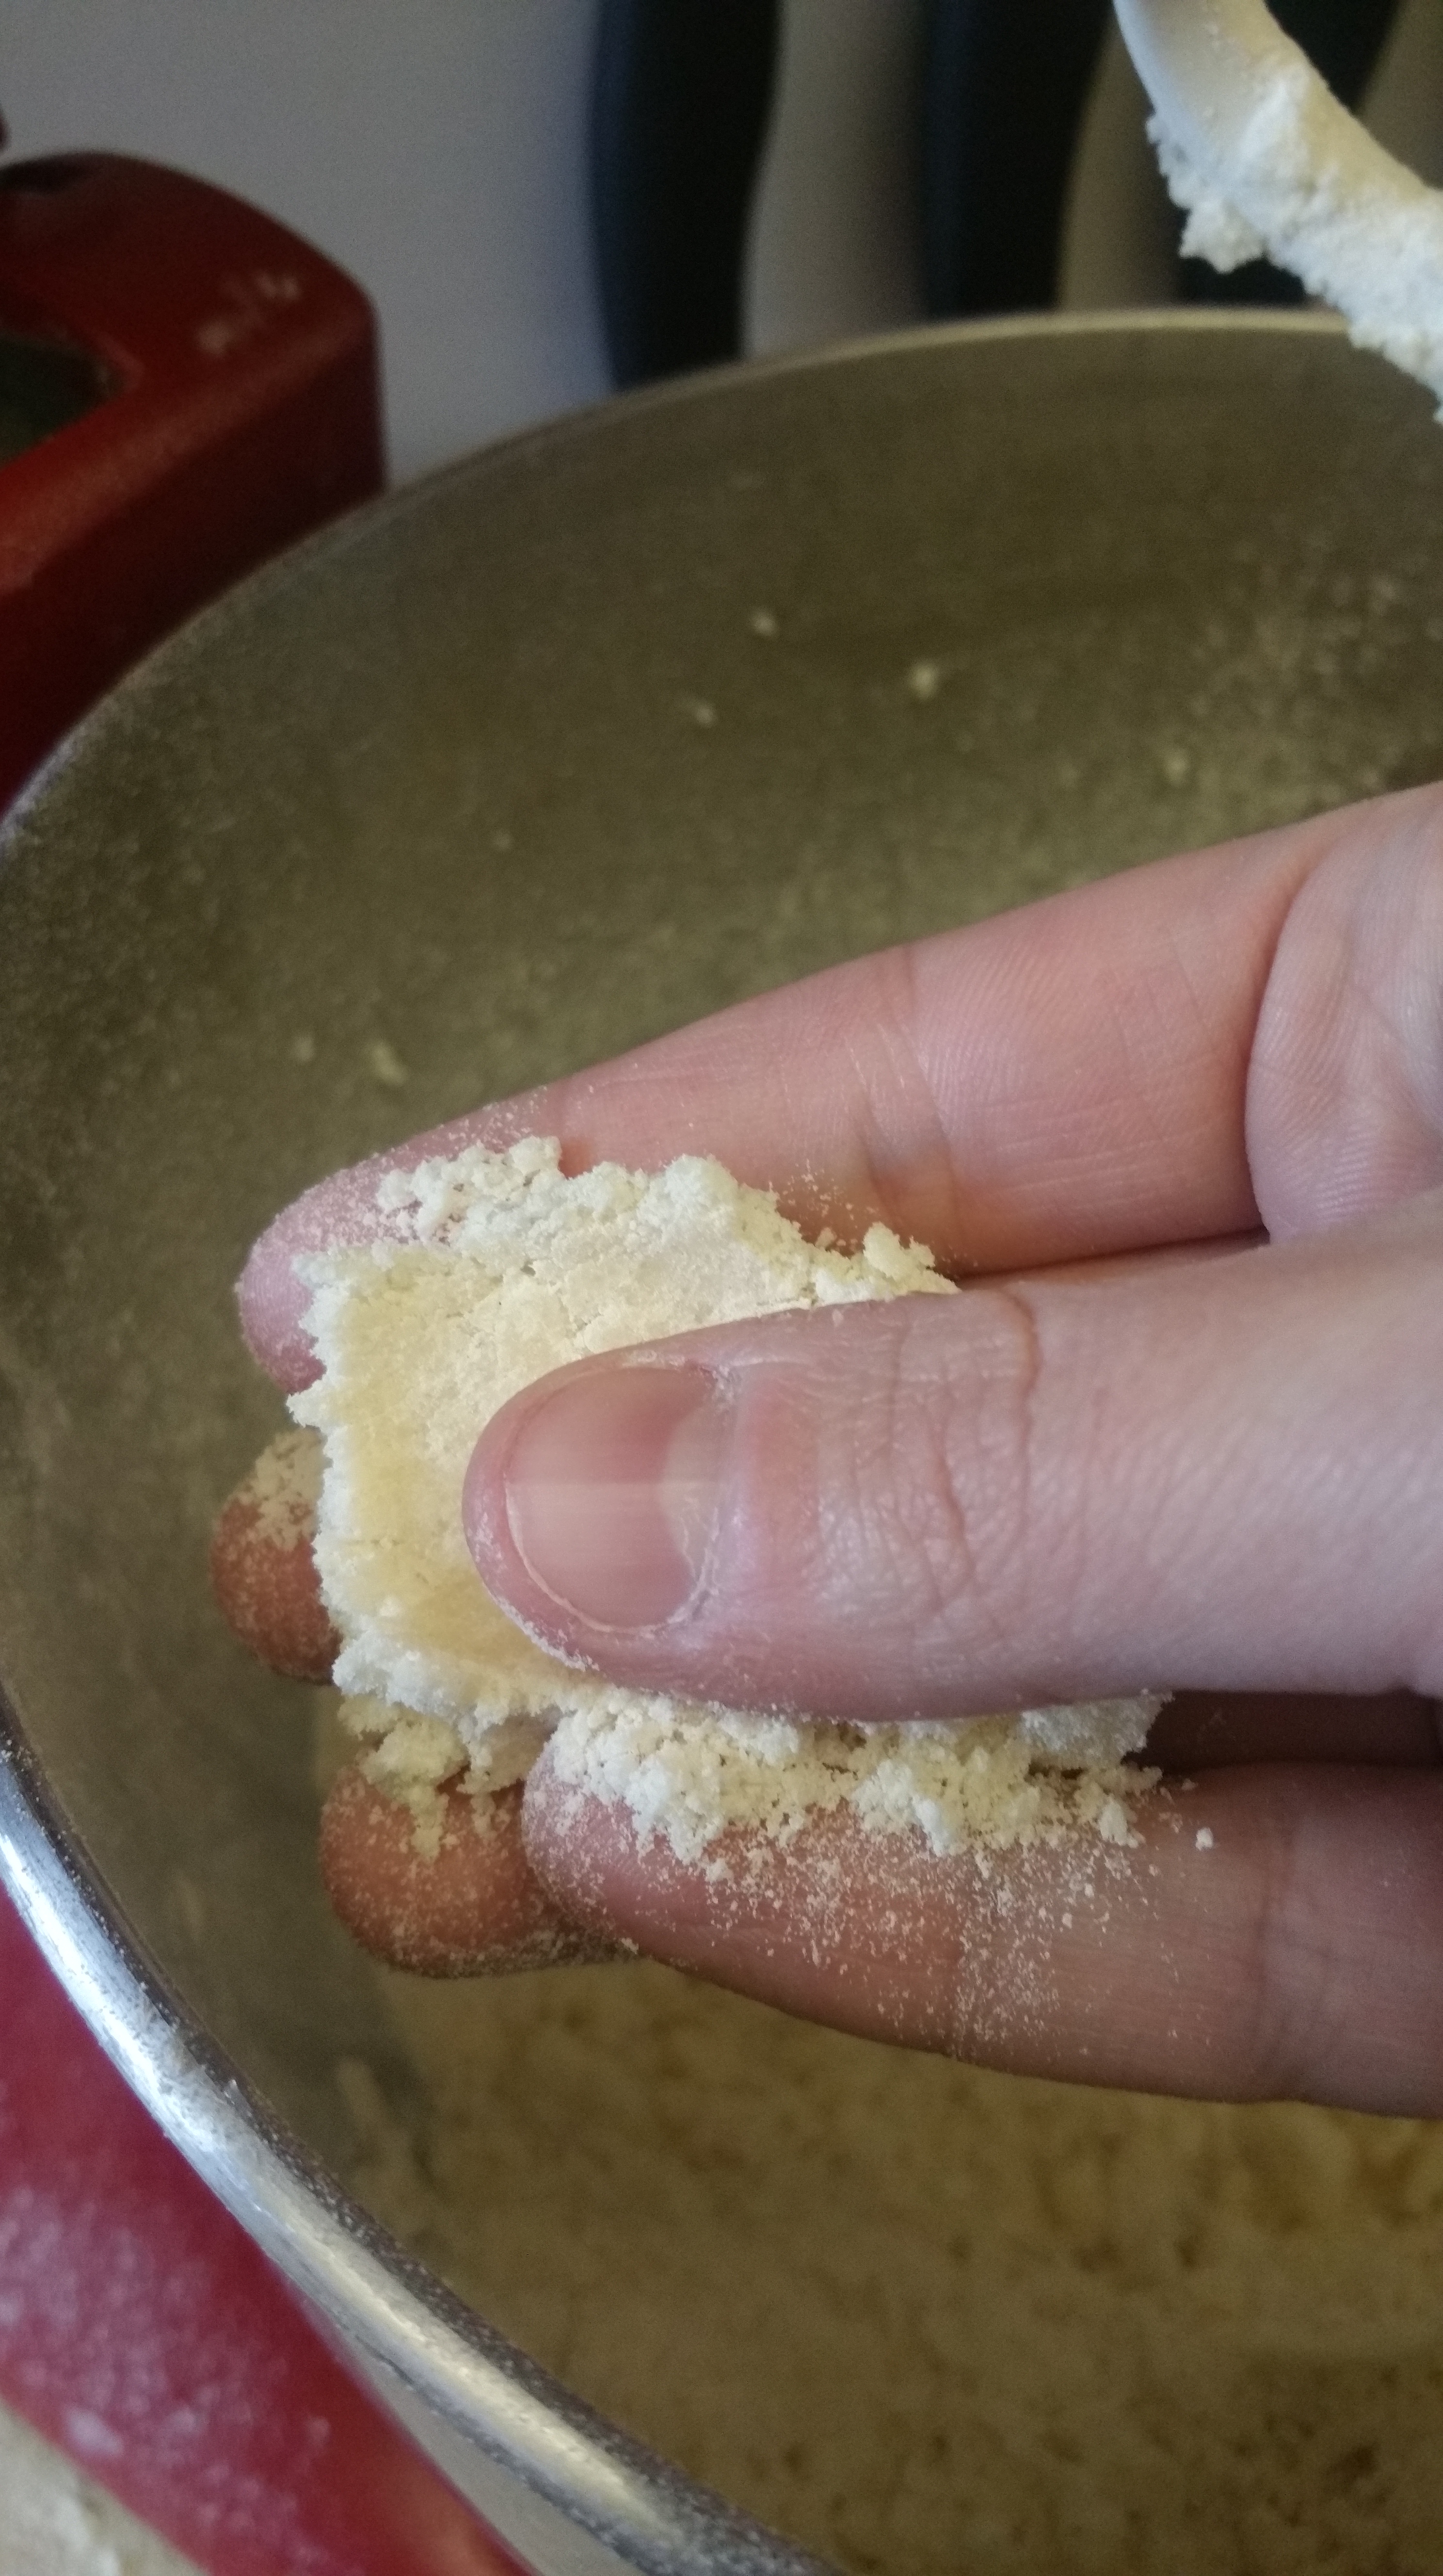
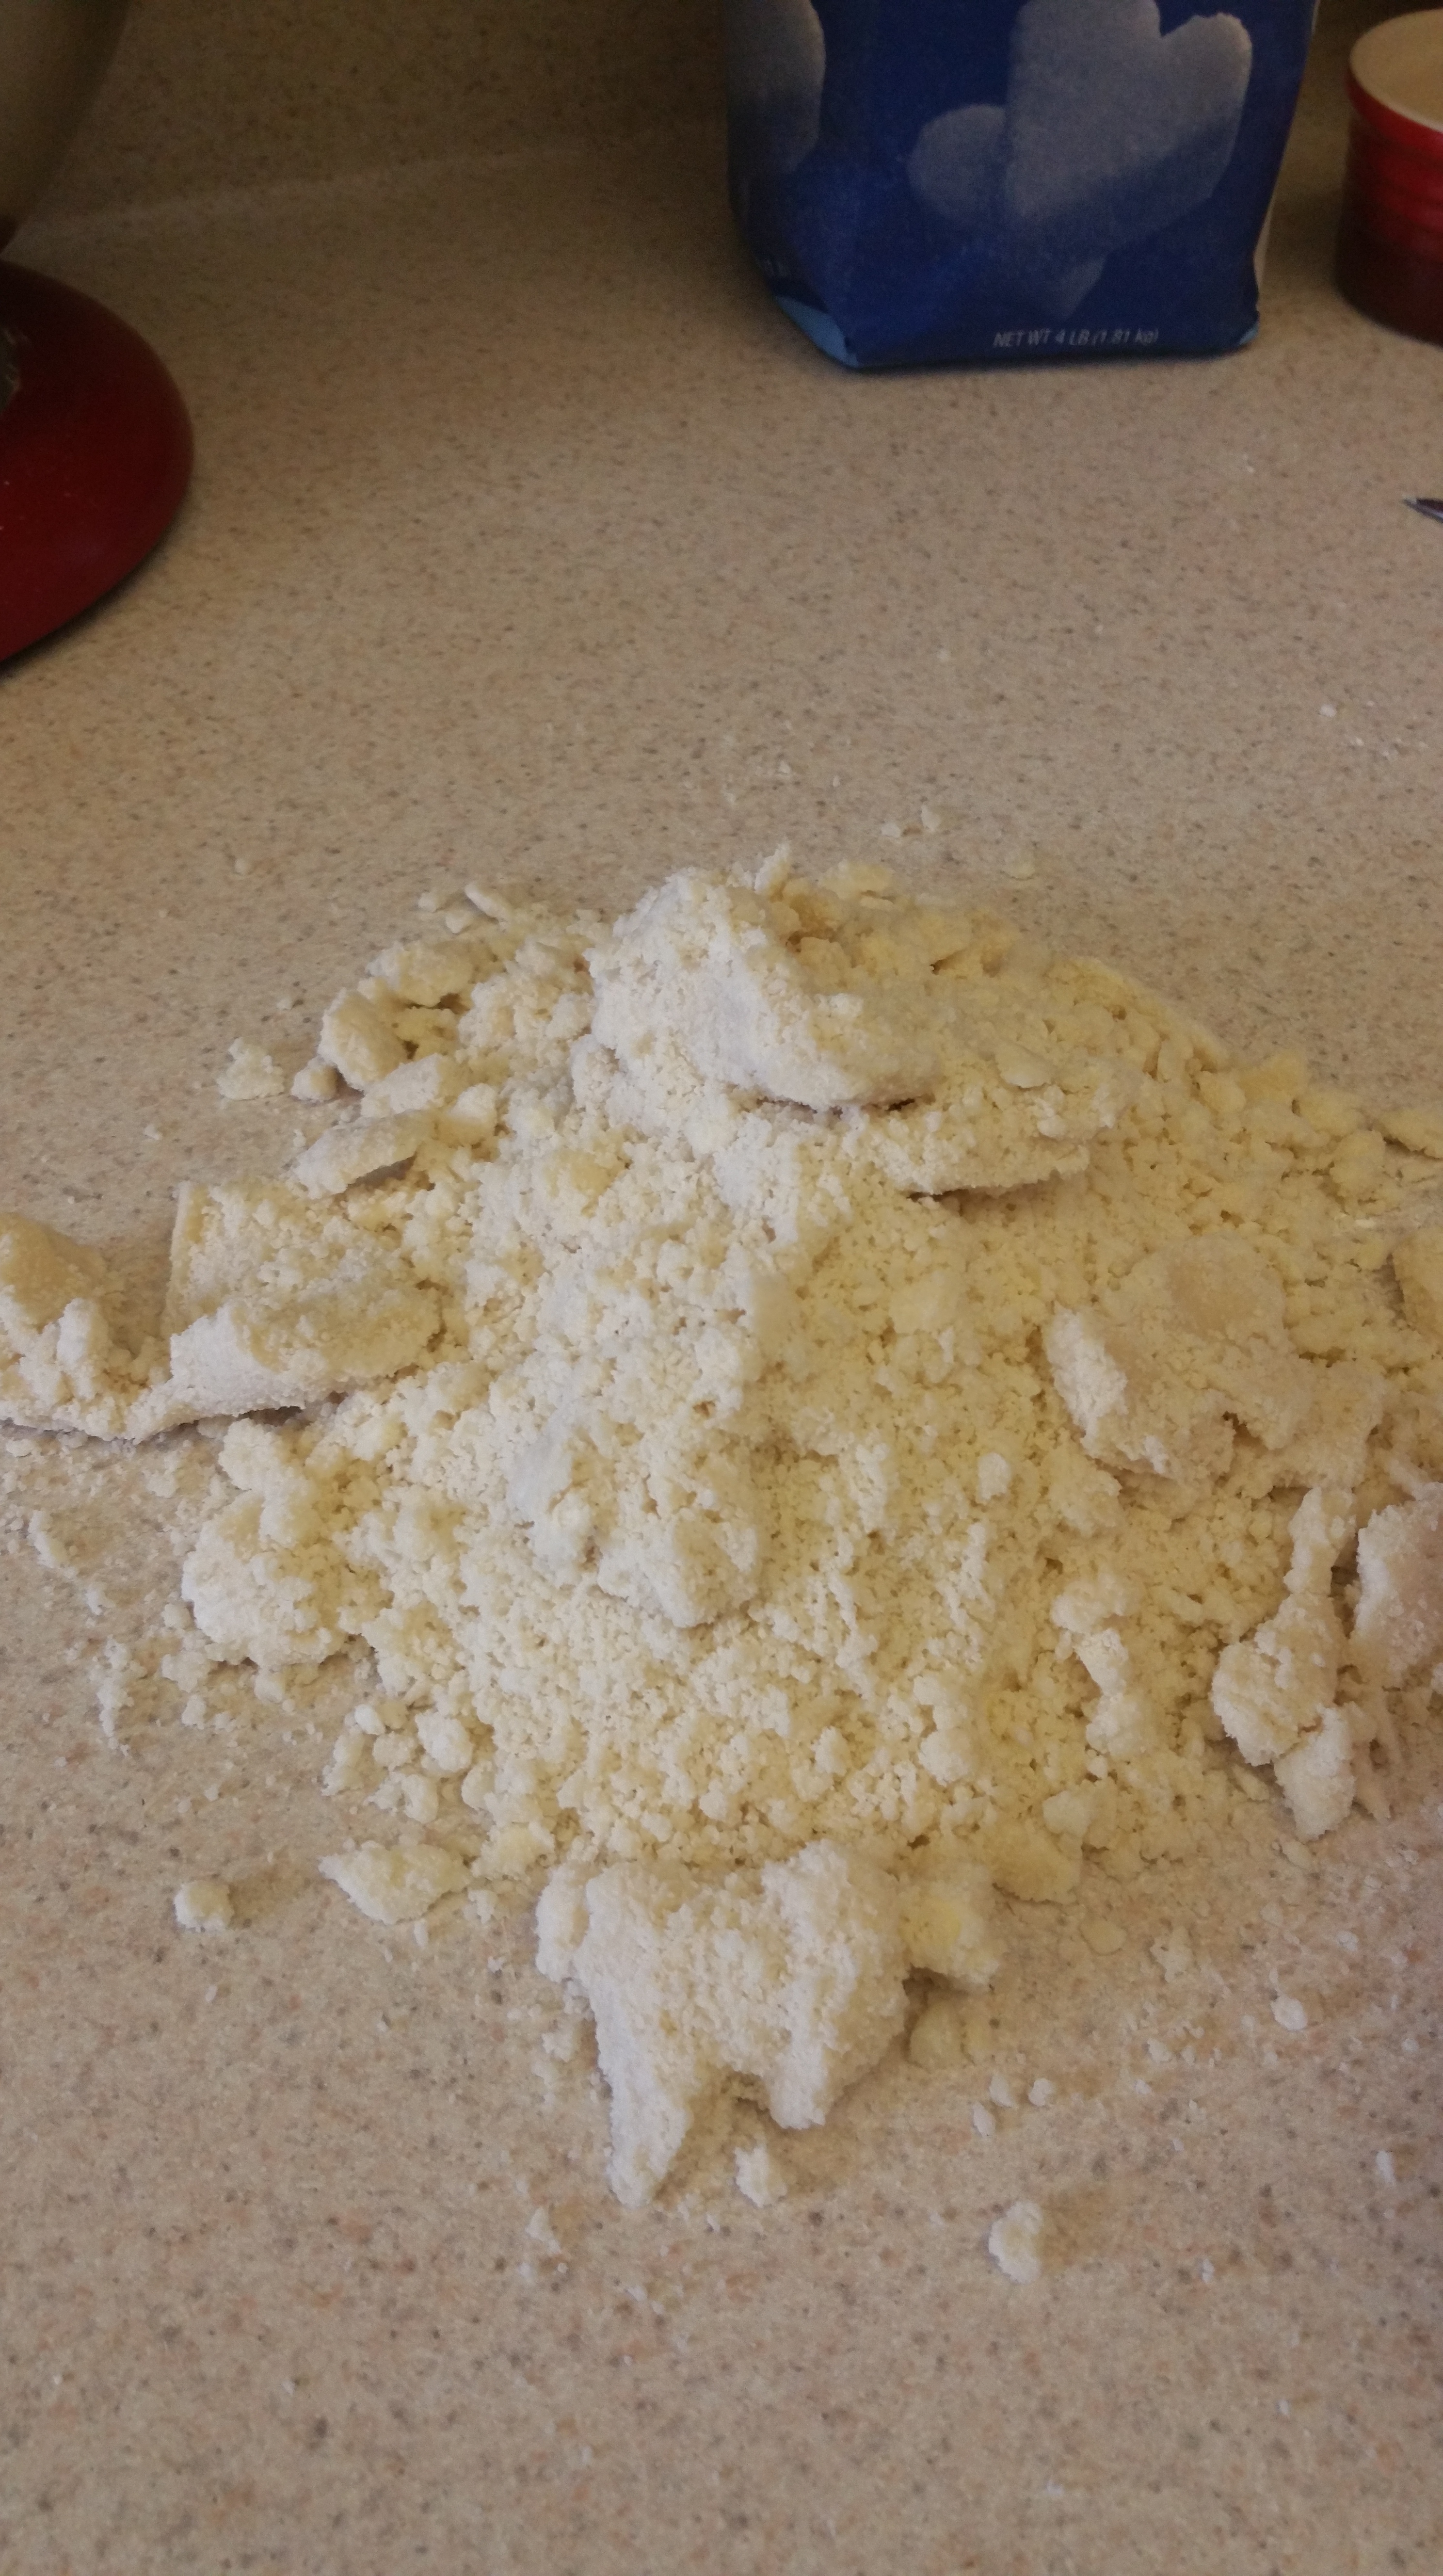
Slowly add the flour mixture to the creamed butter and sugar, mixing slowly and just until pieces of dough start to adhere together. Pour this on to a clean surface.


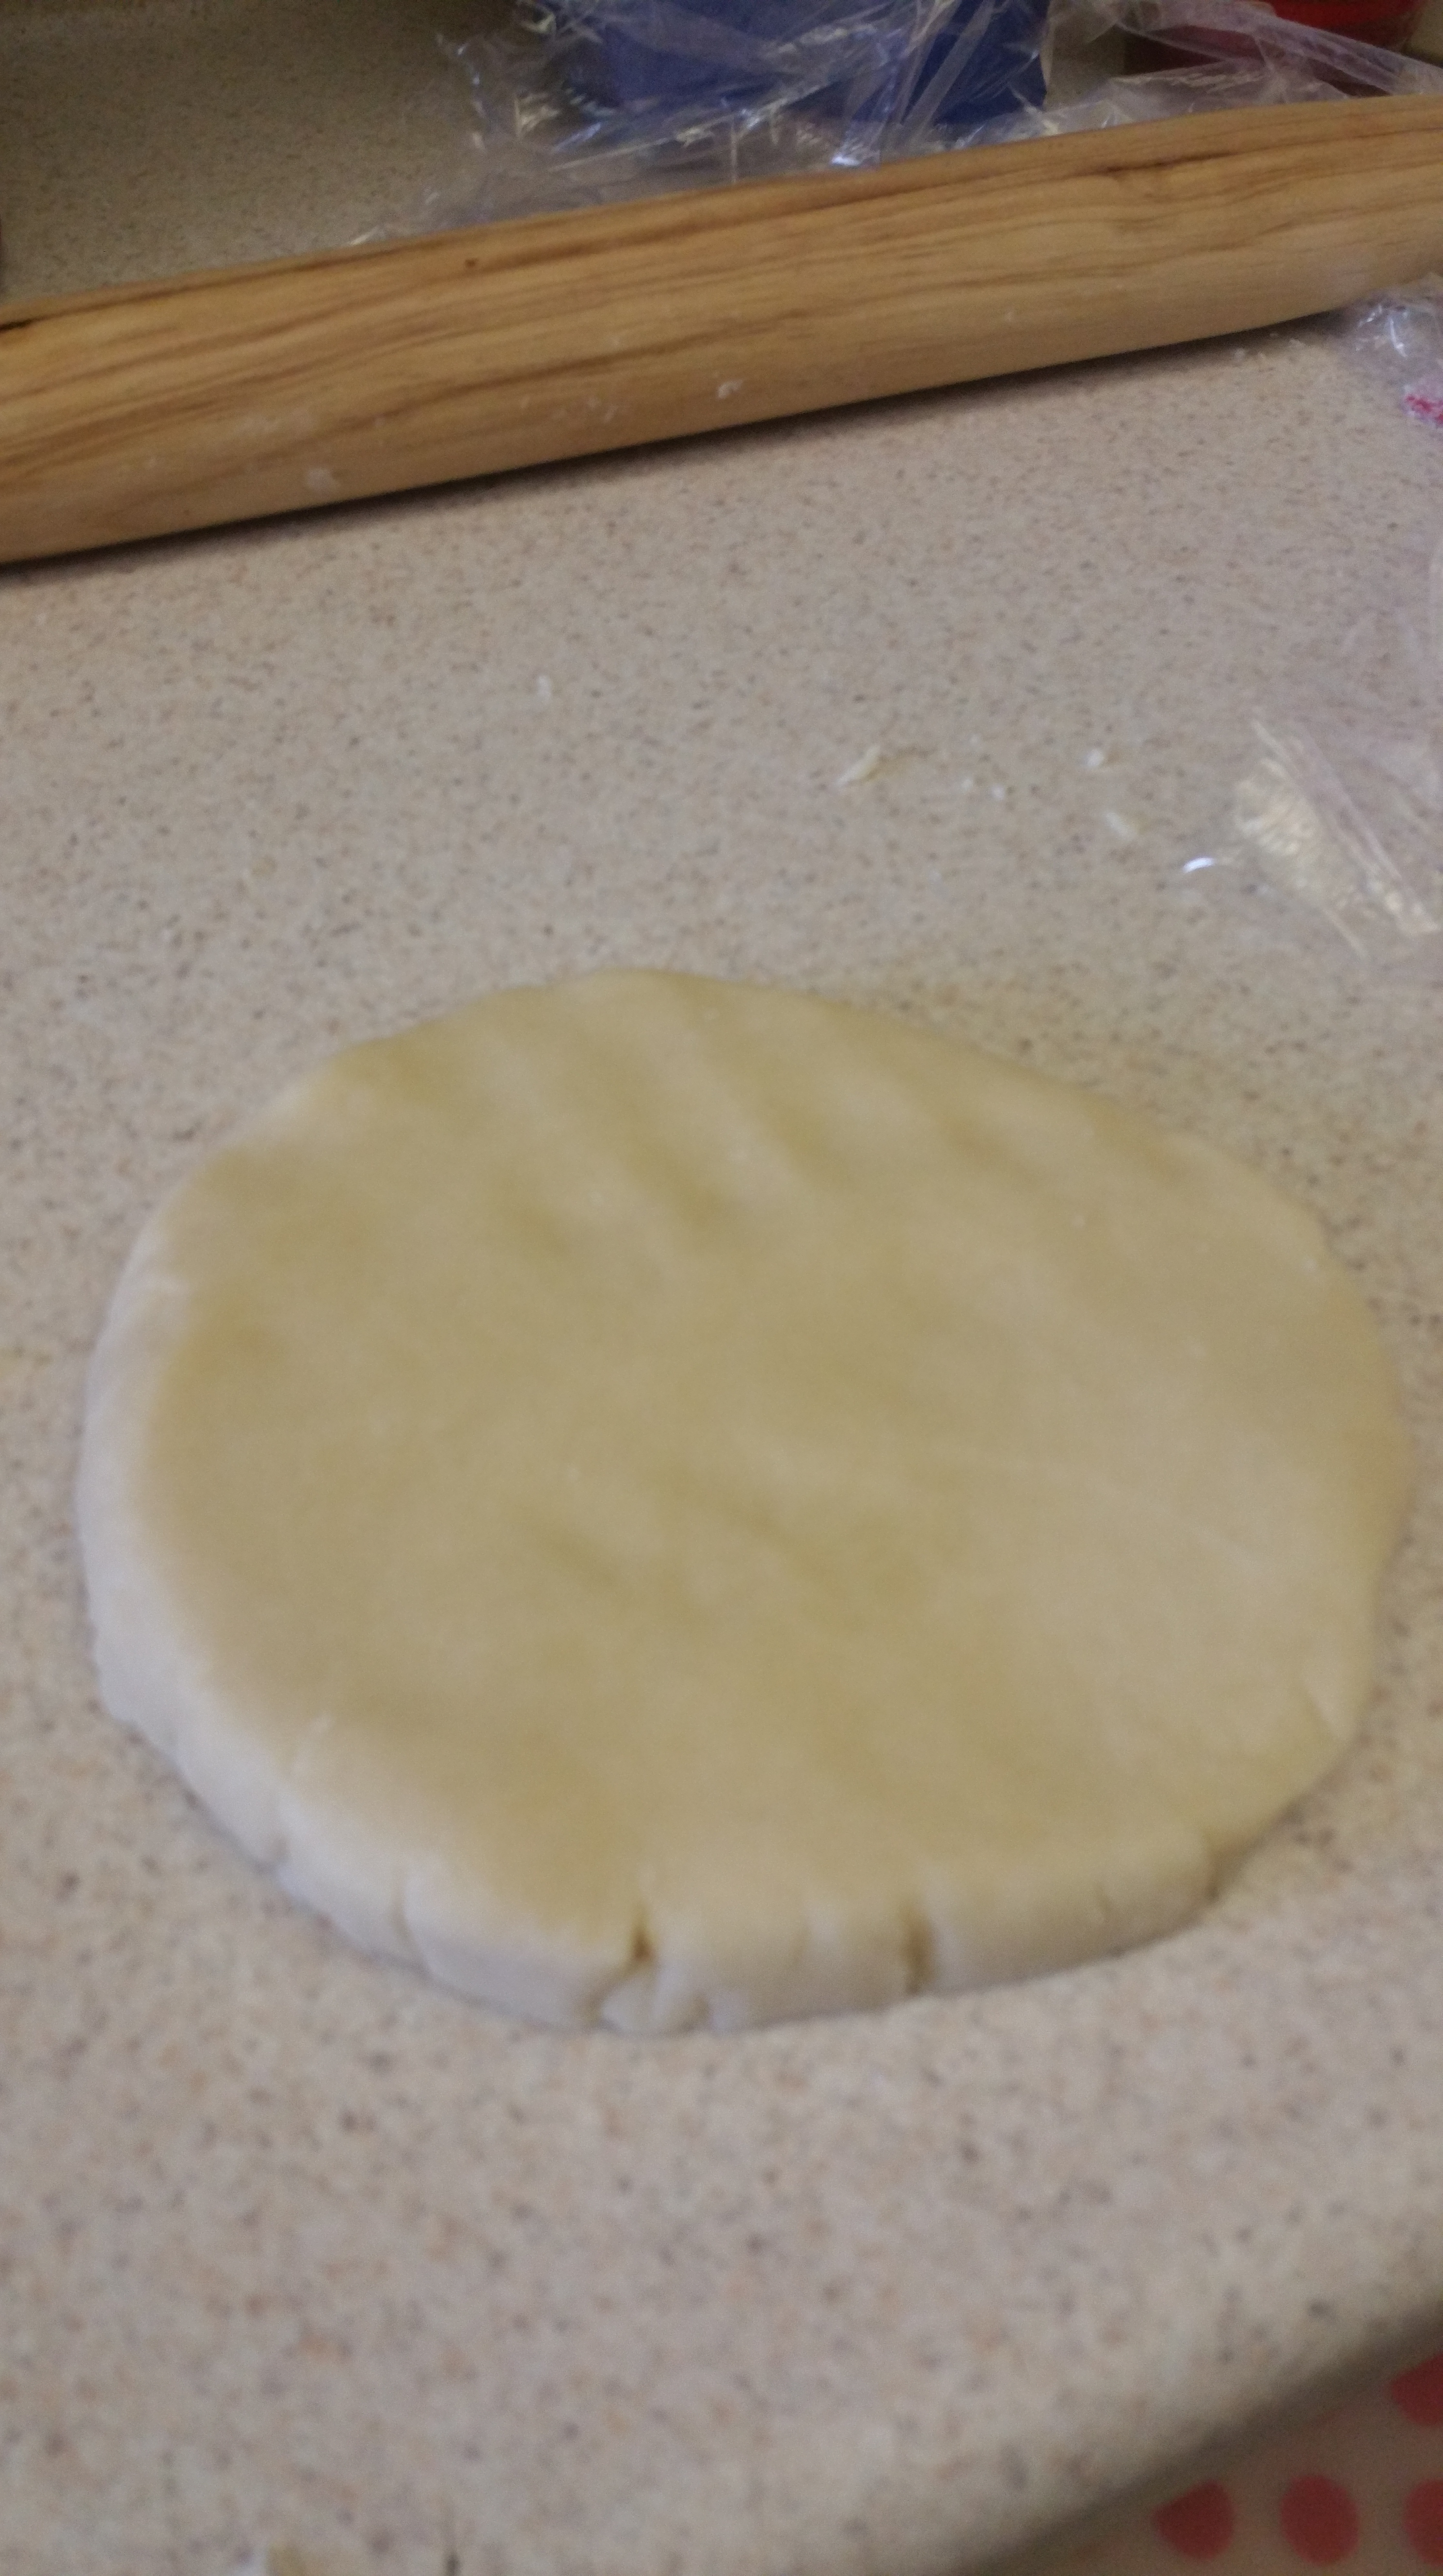
Bring the dough together with your hands and knead just until smooth. Wrap in plastic wrap and rest the dough in the refrigerator for 20 minutes.

Smooth and ready to wrap/roll.
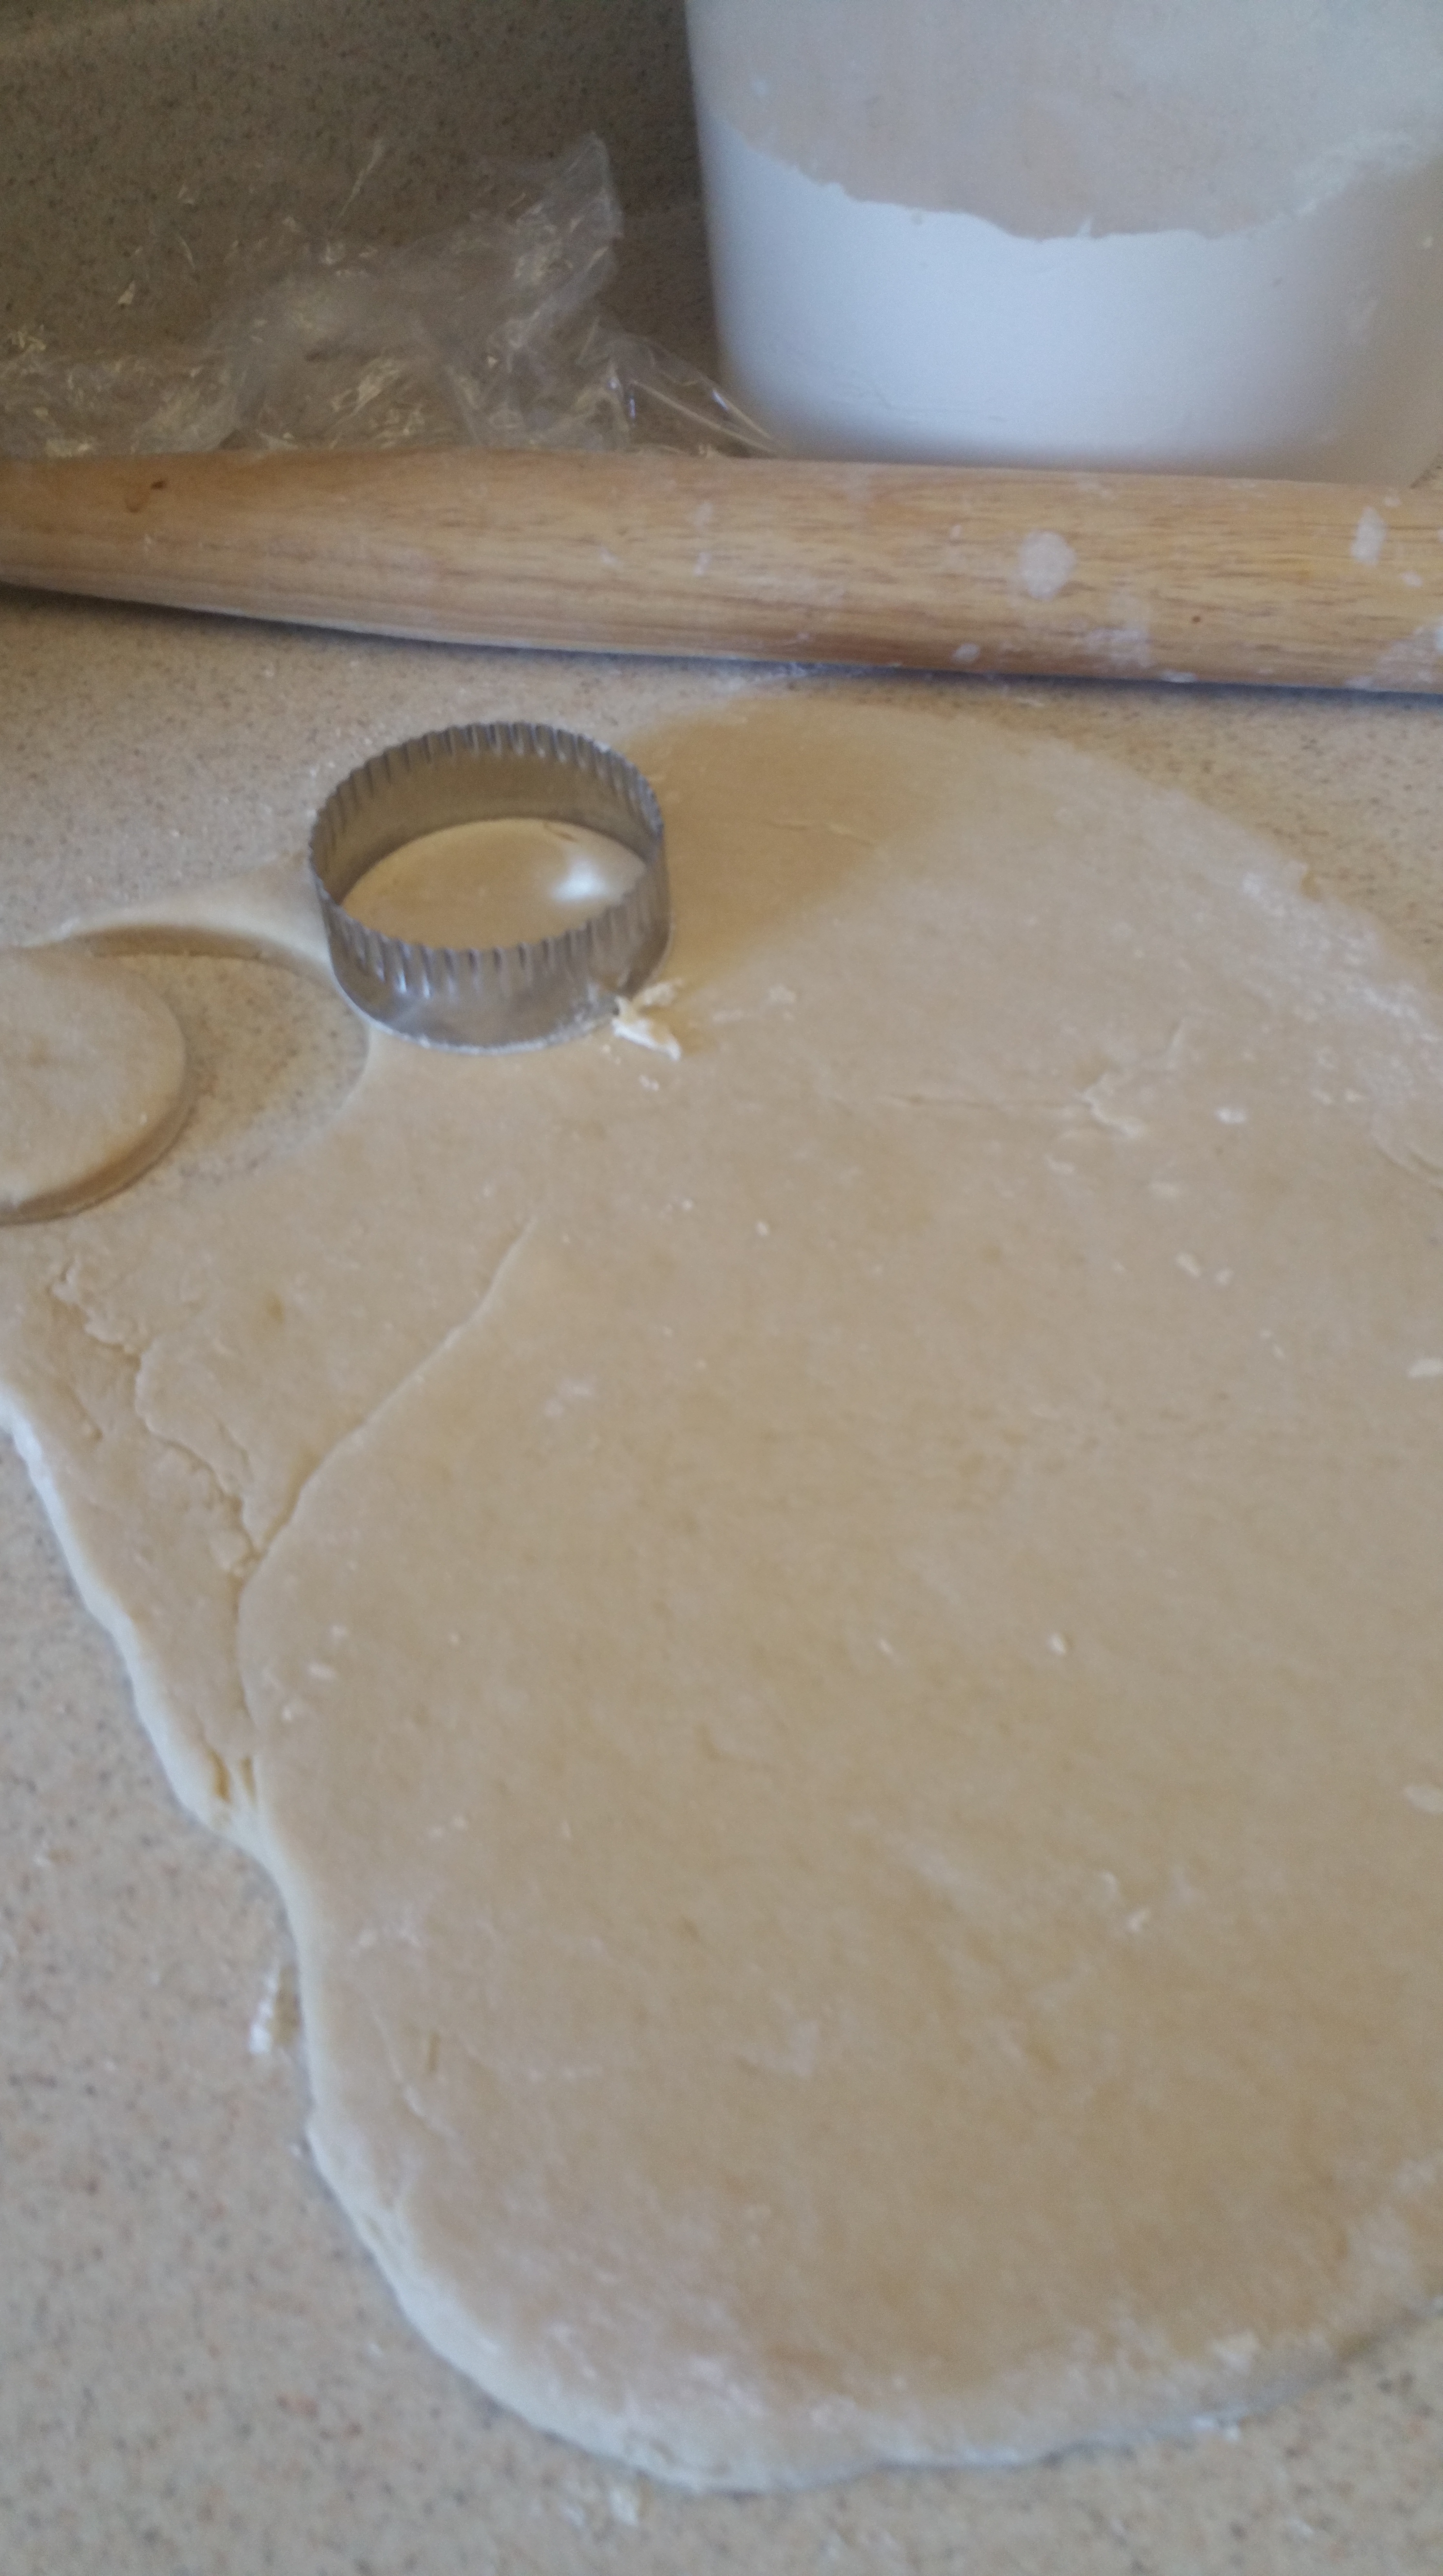
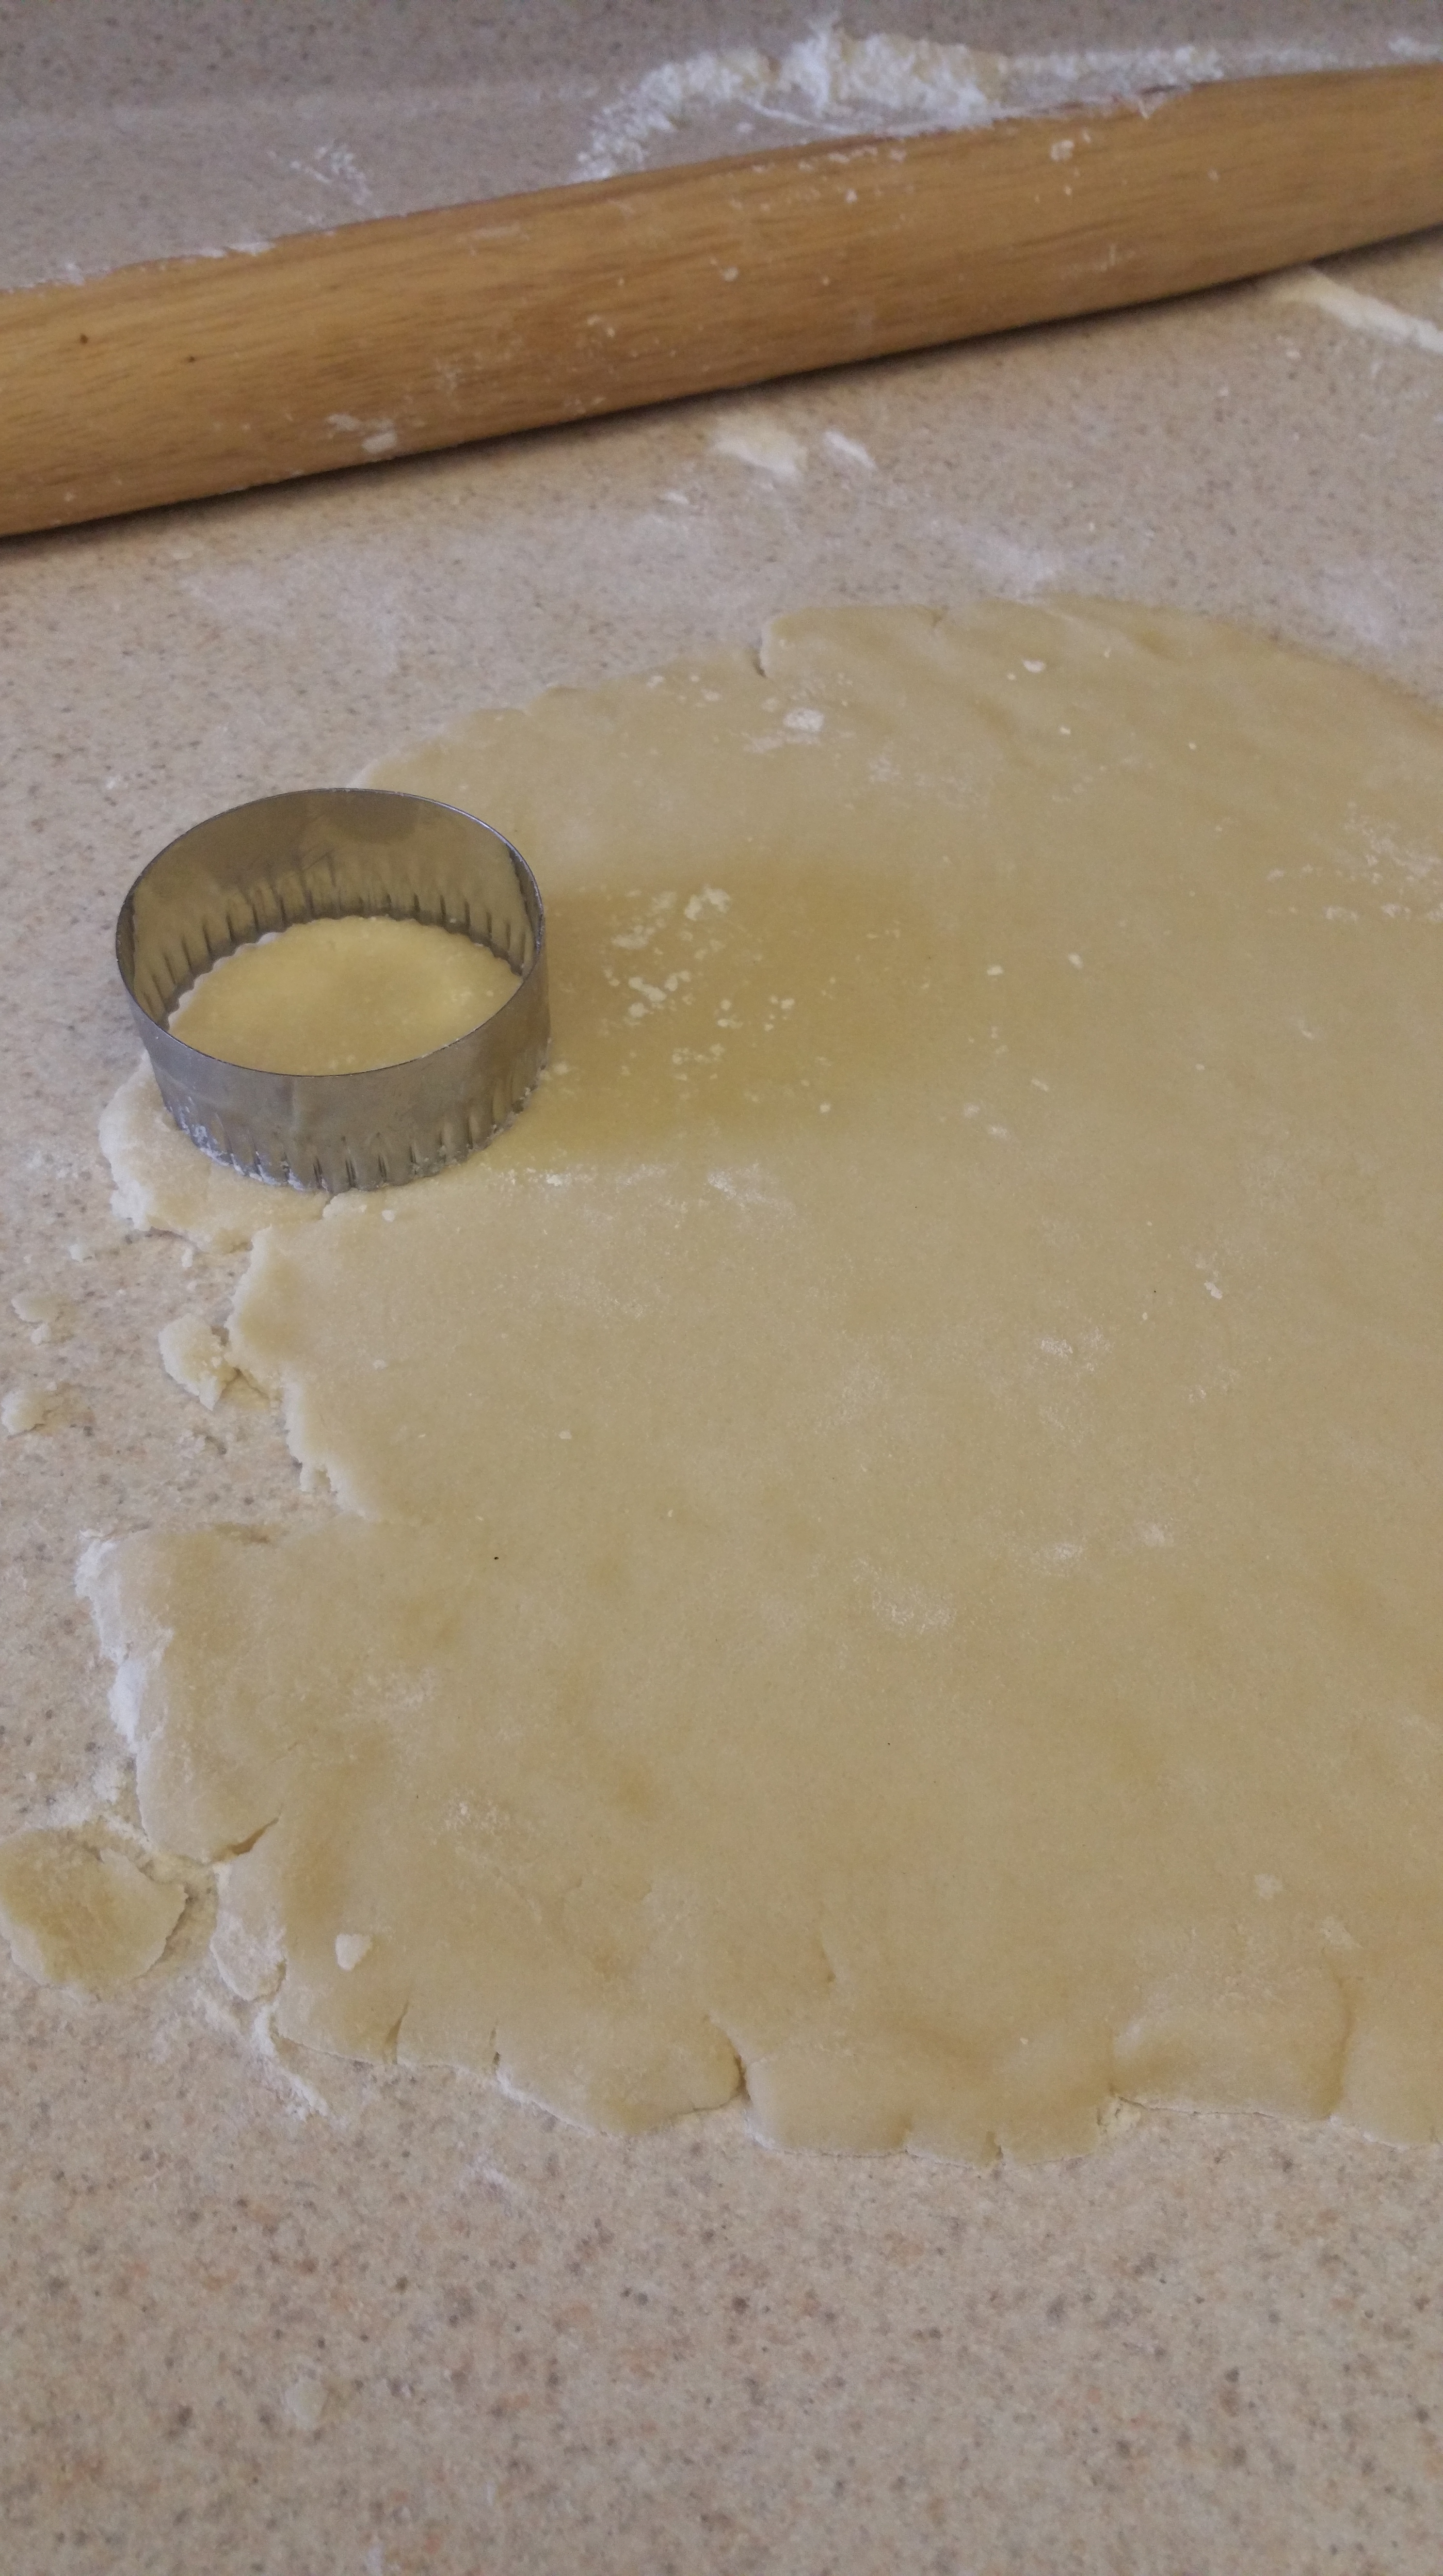
Lightly flour a counter and roll the dough out until it’s about a 1/4 in. thick, and cut out shapes as desired. I used a fluted 1 ½ in. biscuit cutter and got 2 dozen cookies.

Any shape will work, but if there are a lot of fine edges, roll the dough a bit thicker.
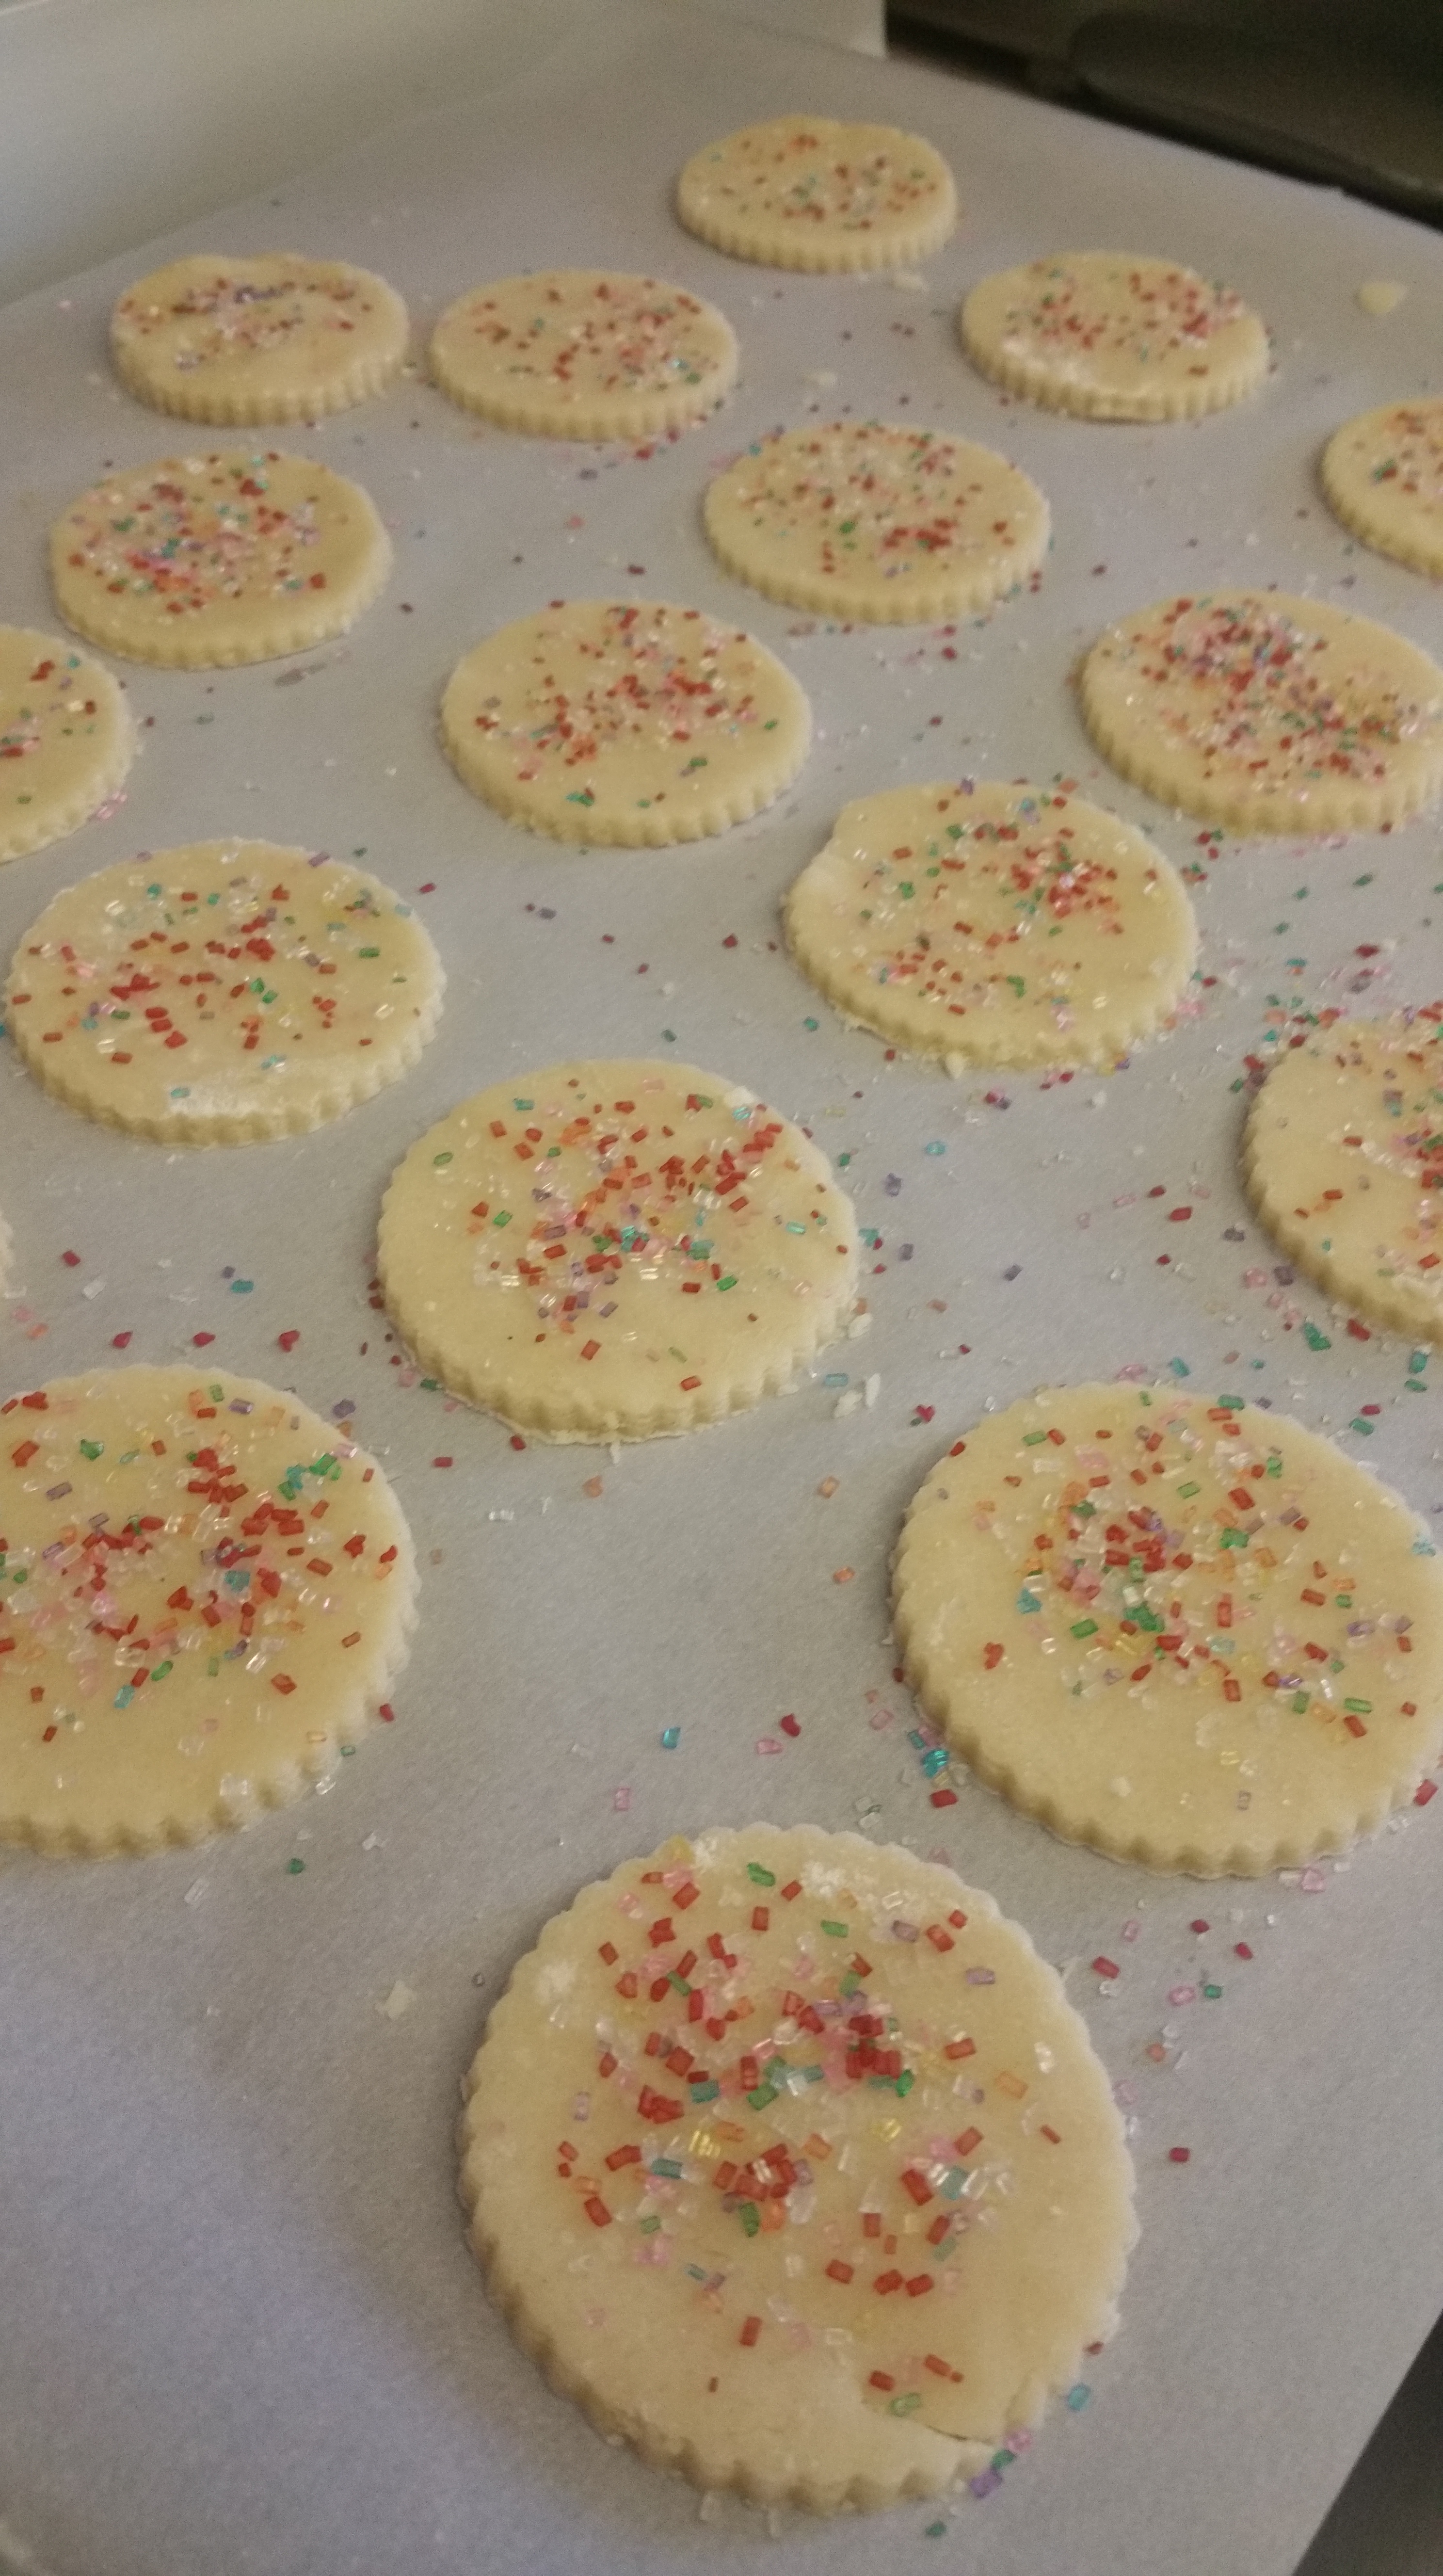
Put the cookies on a baking sheet with about ½ in. of space between them. They won’t spread very much. Here you can add sprinkles if you like.

Ready to bake.
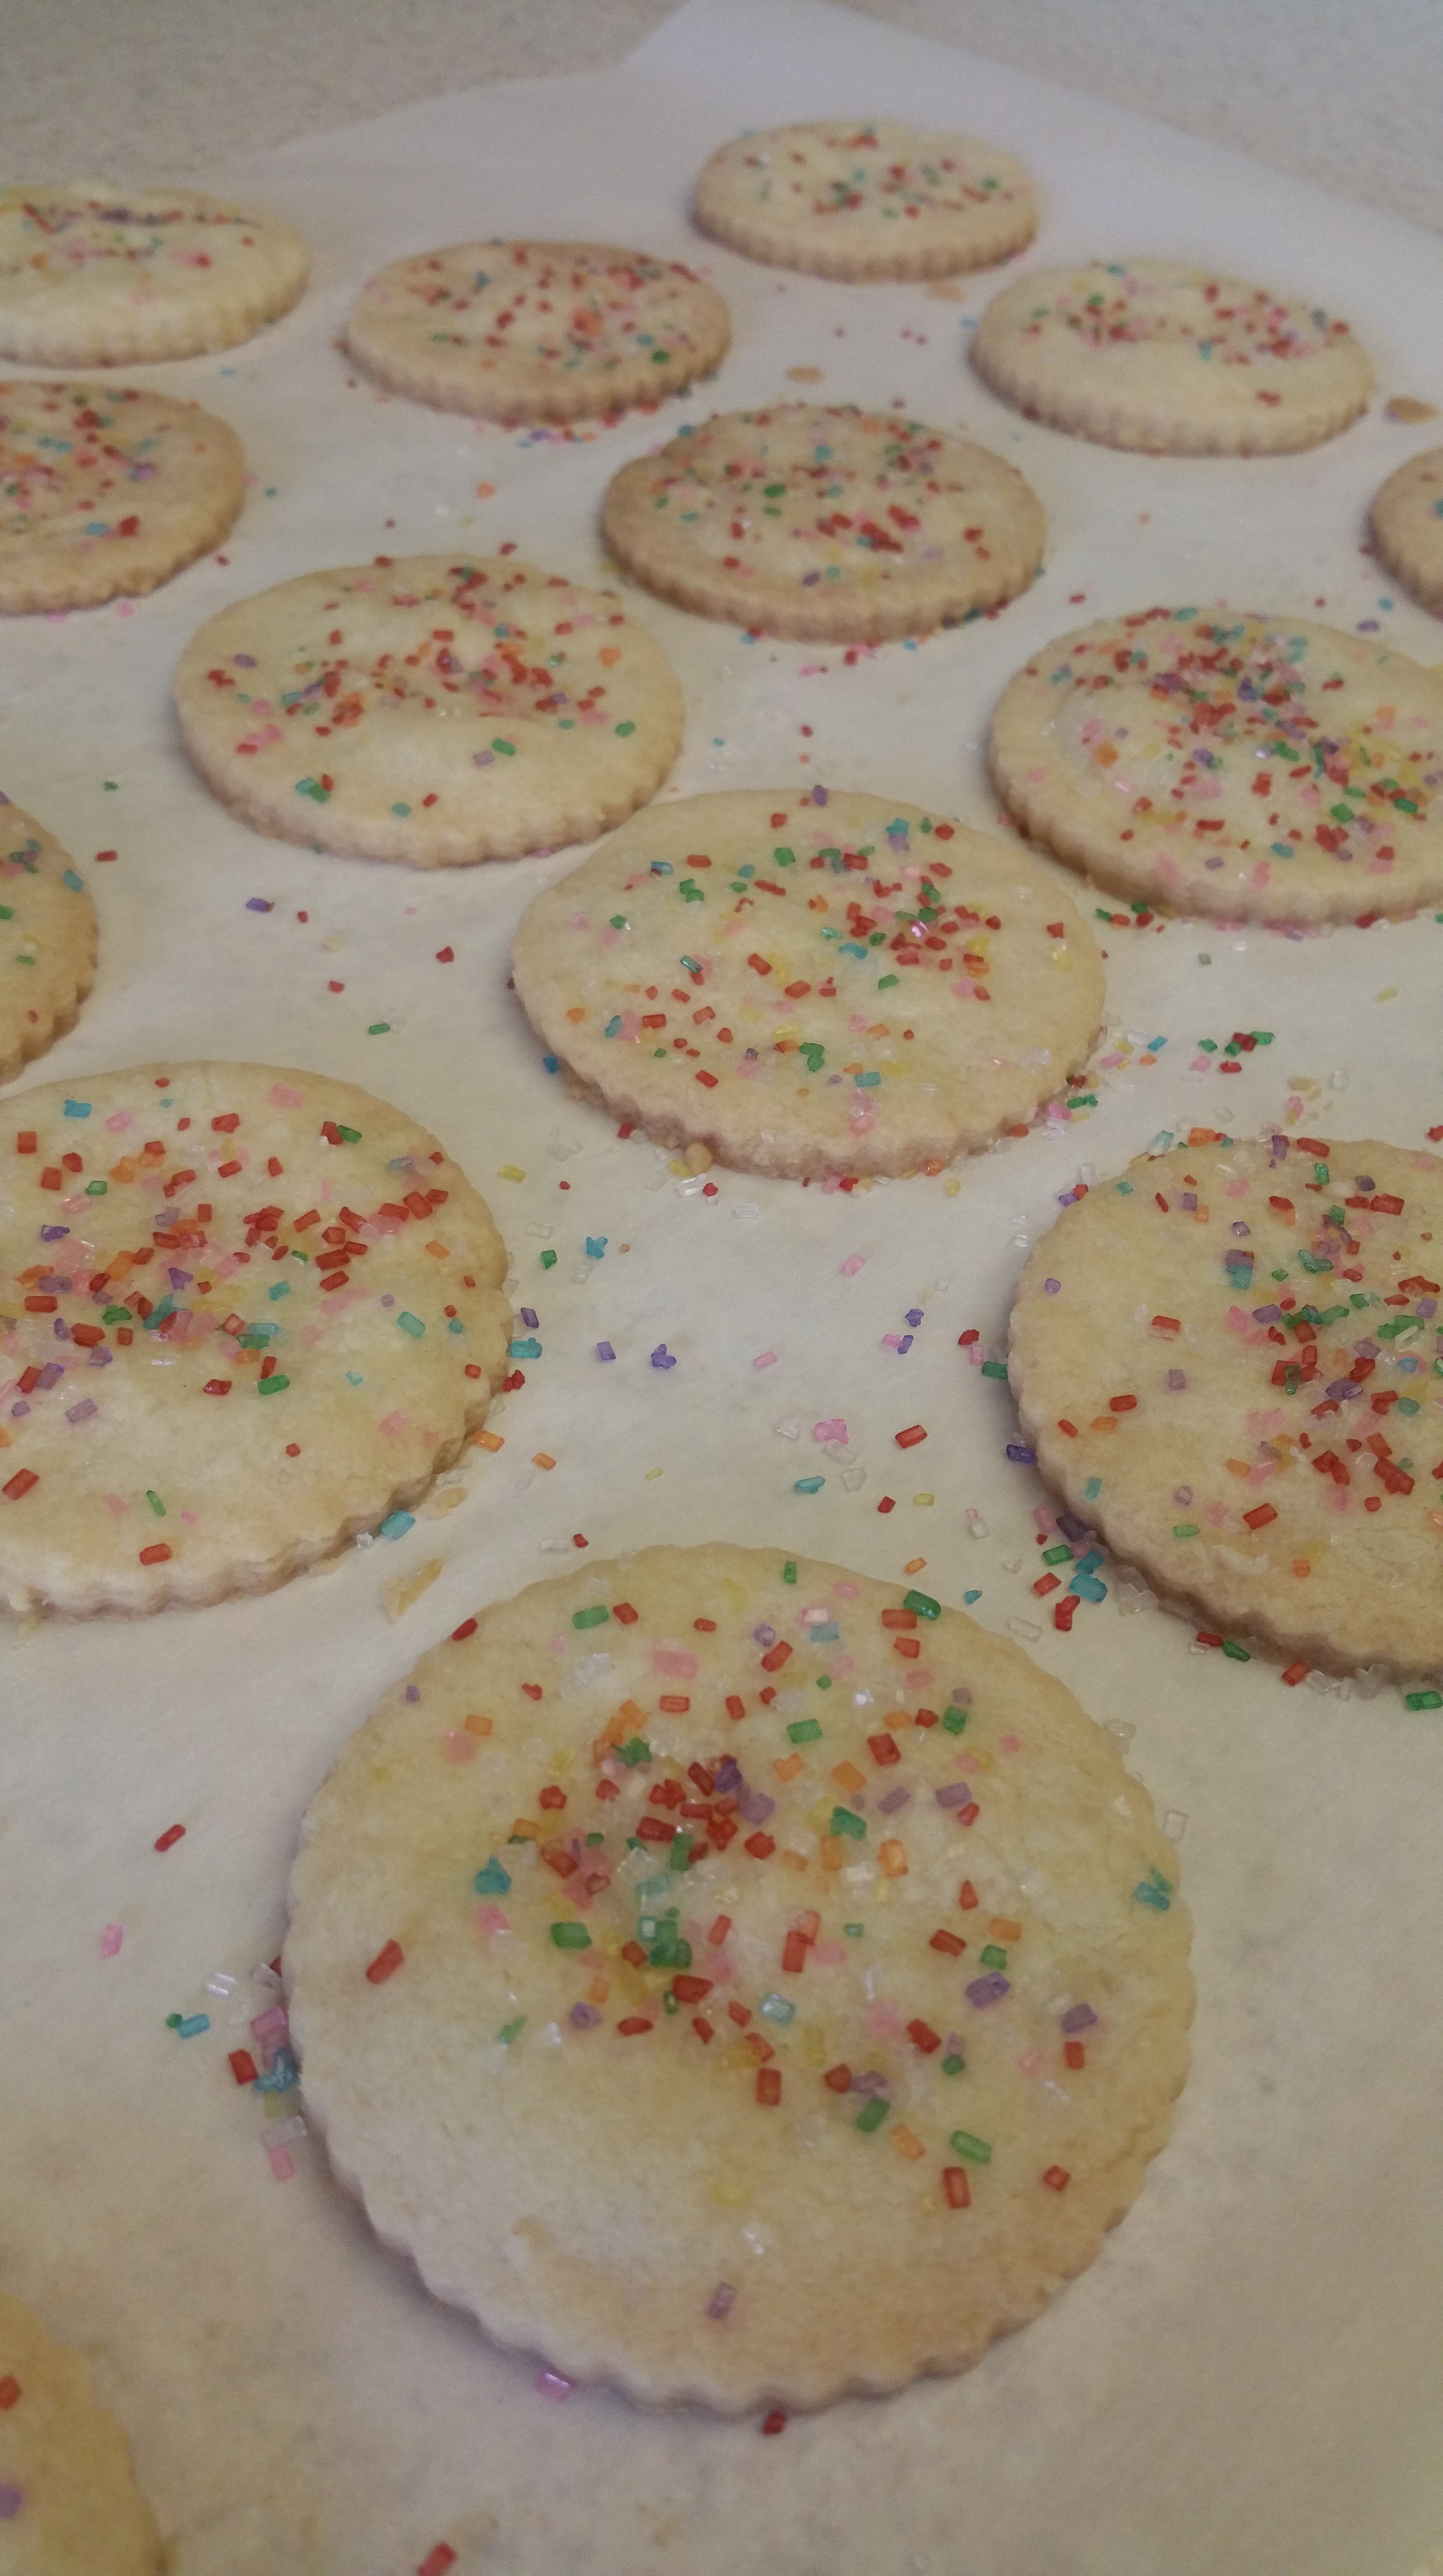
Bake the cookies on a rack in the middle of the oven for about 17 minutes, or until the edges are lightly golden.

Ta-da!
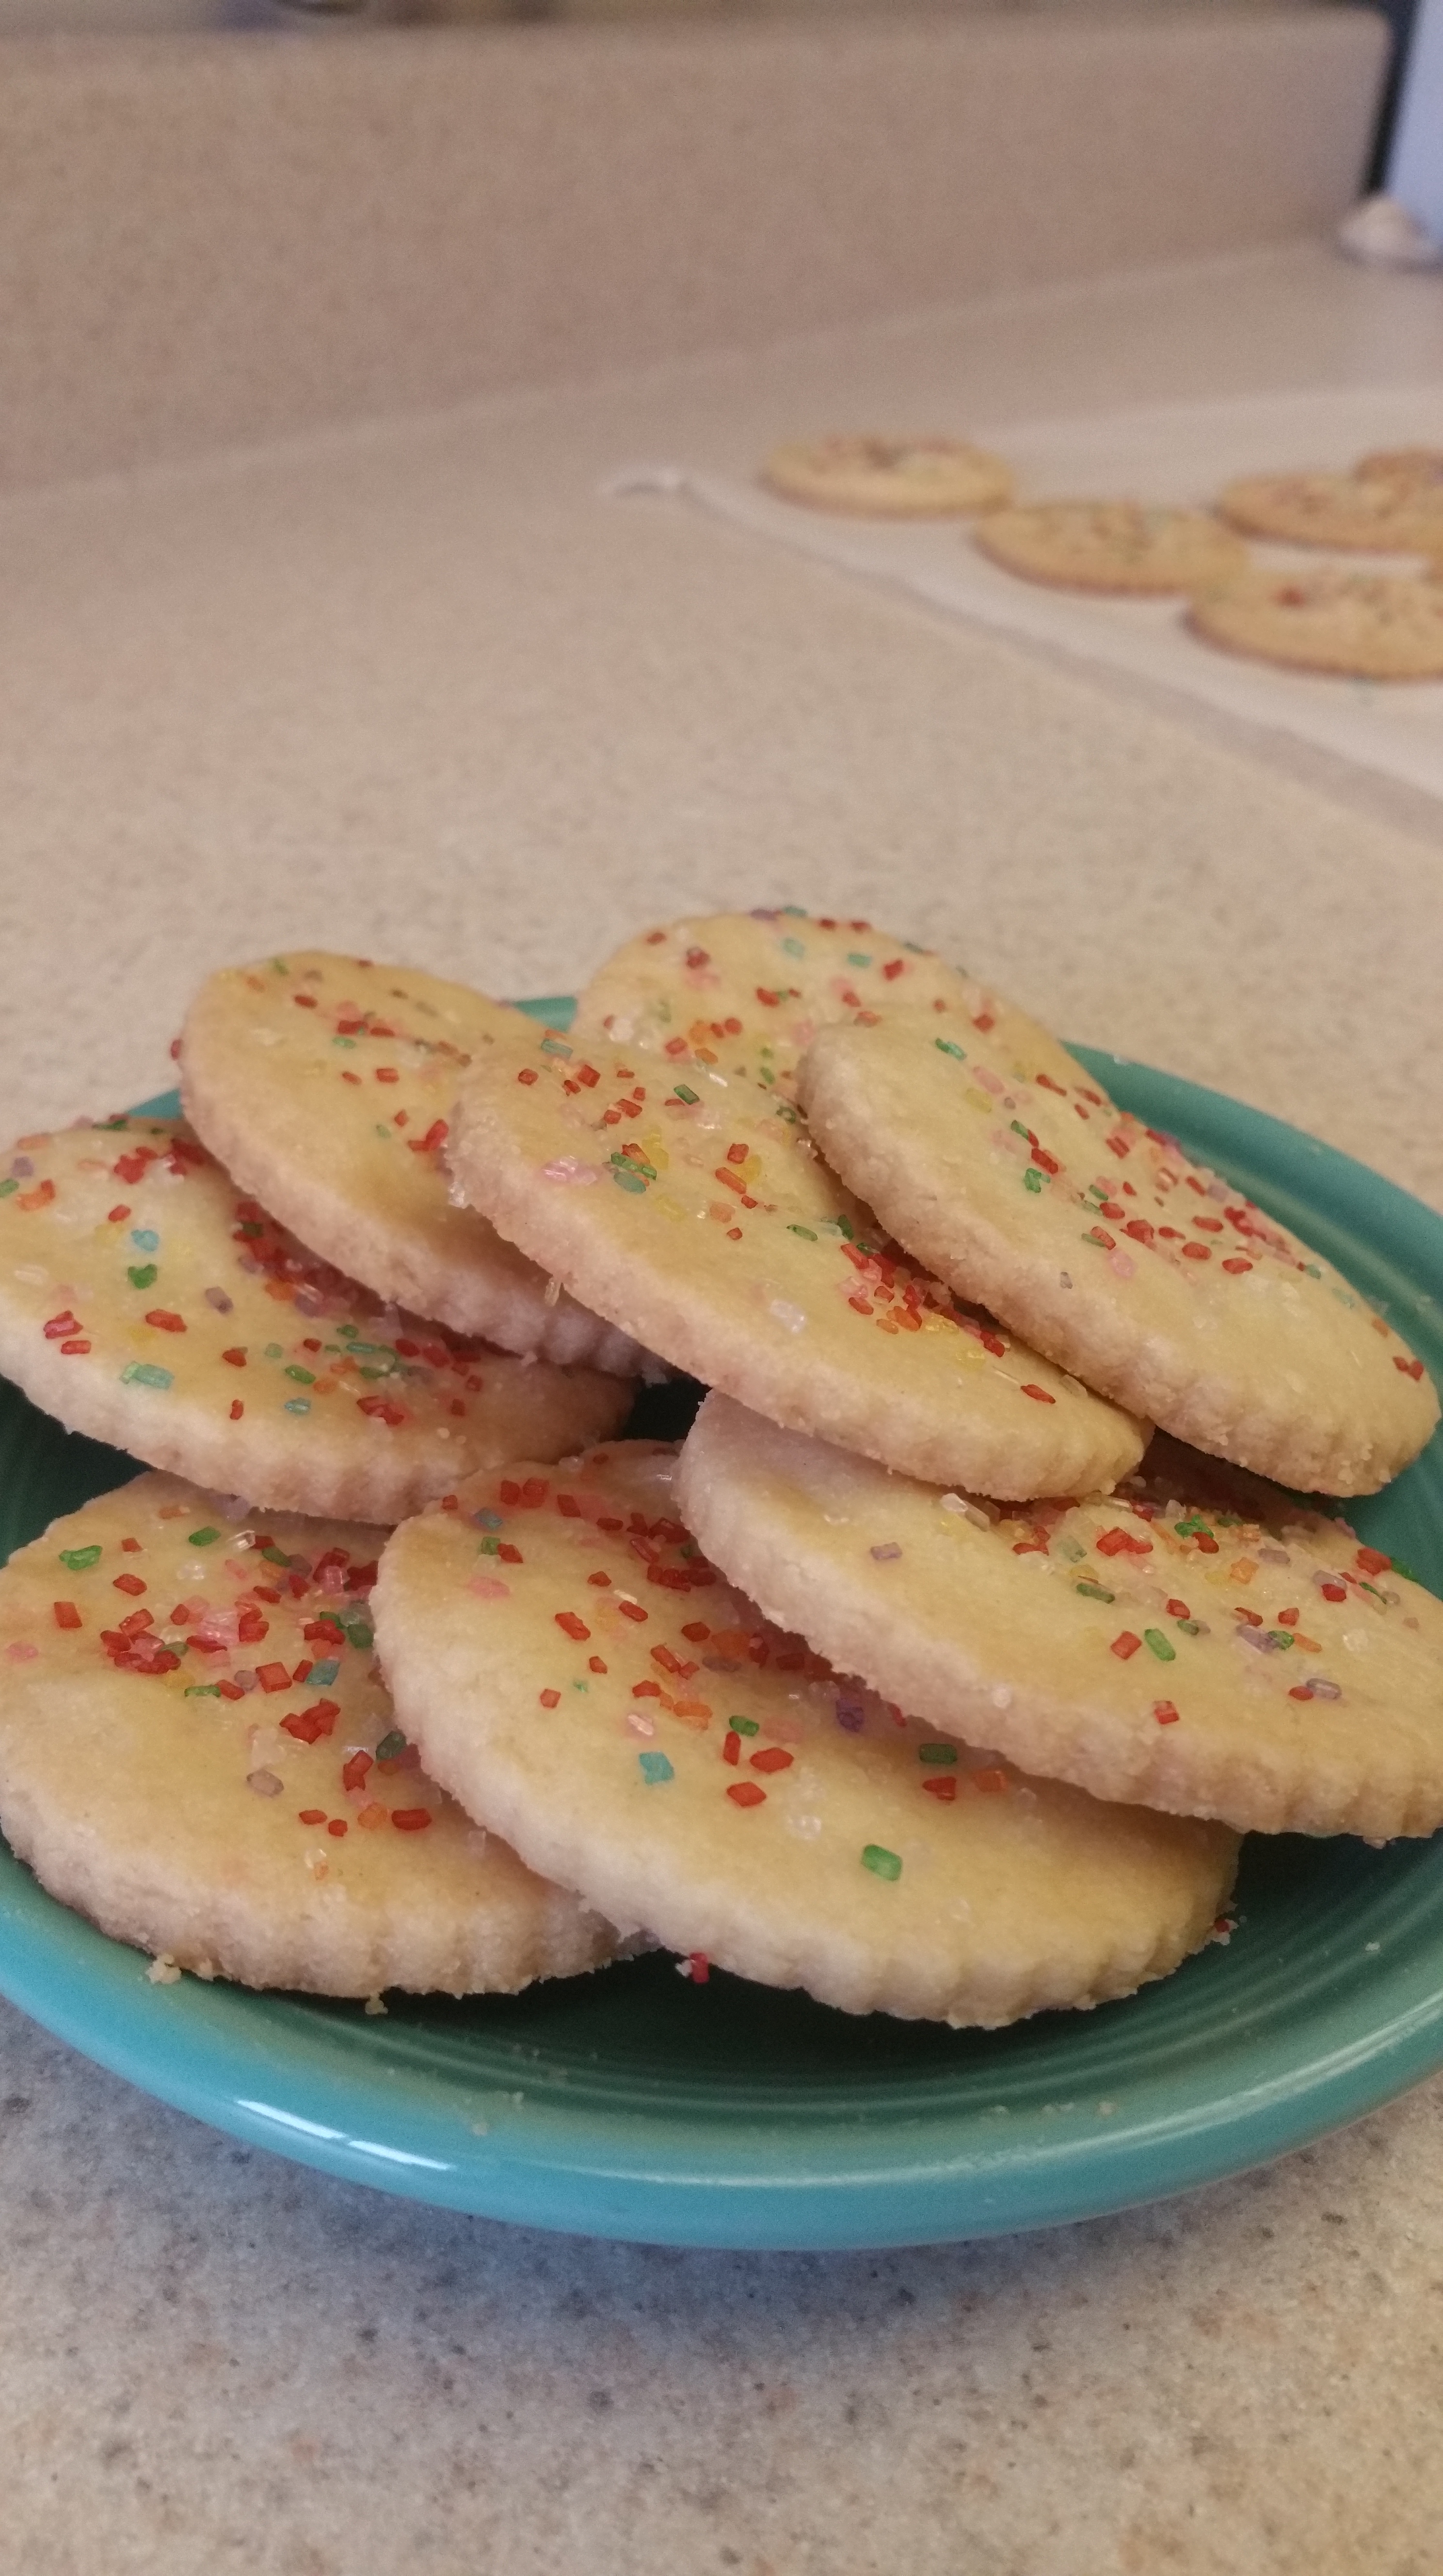
Enjoy!

Sparkling shortbread, yum.
![20150114_154541_001[1]](https://neensnotes.com/wp-content/uploads/2015/01/20150114_154541_0011.jpg?w=168&h=300)
Mmm, so flaky inside.
And that is the delicious, and dare I say very happy, return of Neen’s Notes. It’s good to be back.
Ciao for now,
Neen


![20150114_154541_001[1]](https://neensnotes.com/wp-content/uploads/2015/01/20150114_154541_0011.jpg)