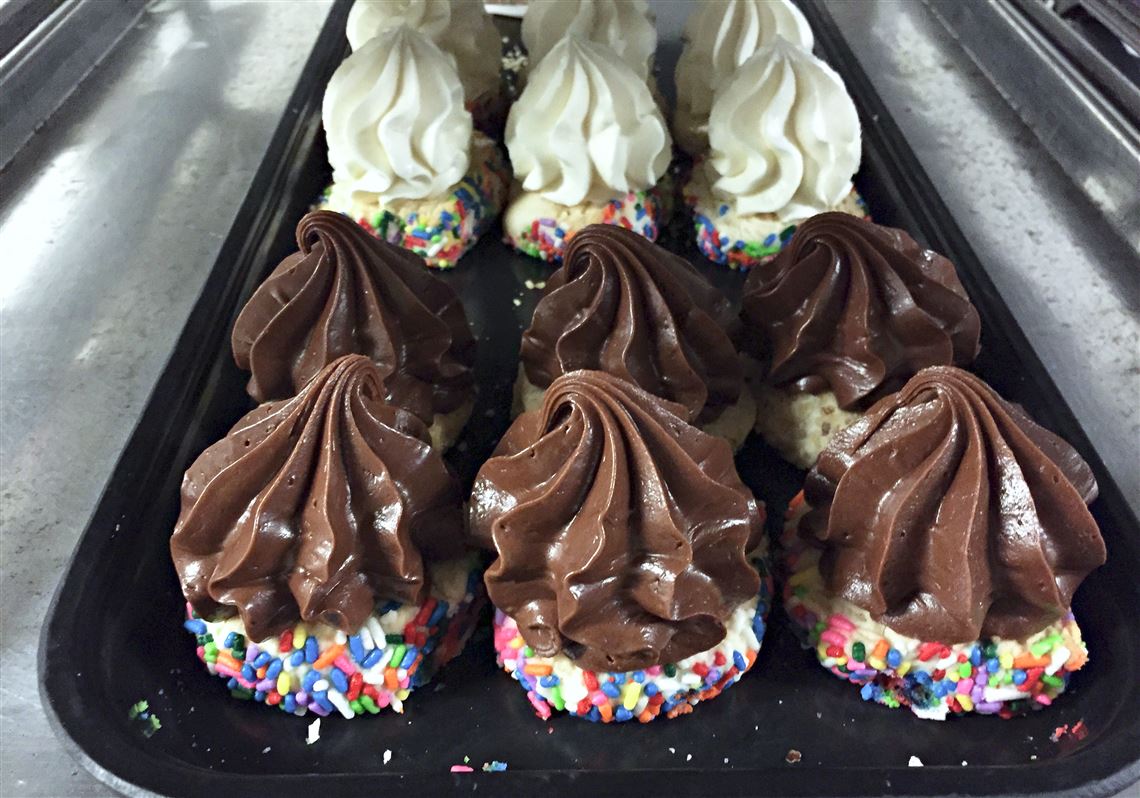
I made some pecan turtles recently. For the uninitiated, turtles are groups of 5 pecans topped with caramel that glues them together, that are then covered with melted chocolate to create the “shell.” They are so, SO good.

While they were exceptionally delicious, they were, well…a bit of a task. First of all, you need a lot of space to put together all of the little clusters of nuts on sheet pans, then you need to not only cook the caramel to a precise temperature, but also shock and cool it down to a specific temperature. Then you can glue the nut clusters together with said caramel, wait, melt the chocolate, and put the shells on. It’s a messy process that left dribbles of caramel and melted chocolate all over my counter tops, and also left me looking for somewhere to store multiple sheet pans of drying candy.
There’s a better way. For REAL. Literally the only benefit to doing the process that way is that they look like little turtles when they’re done. There is a far simpler way to get all of the same textures and flavors while removing a lot of the steps and pans. Much less candy thermometer stress too. And they’ll still be pretty…not that your taste buds will care. They will be far too busy enjoying the fruits of your not-so-hard labor.
Turtle Caramels
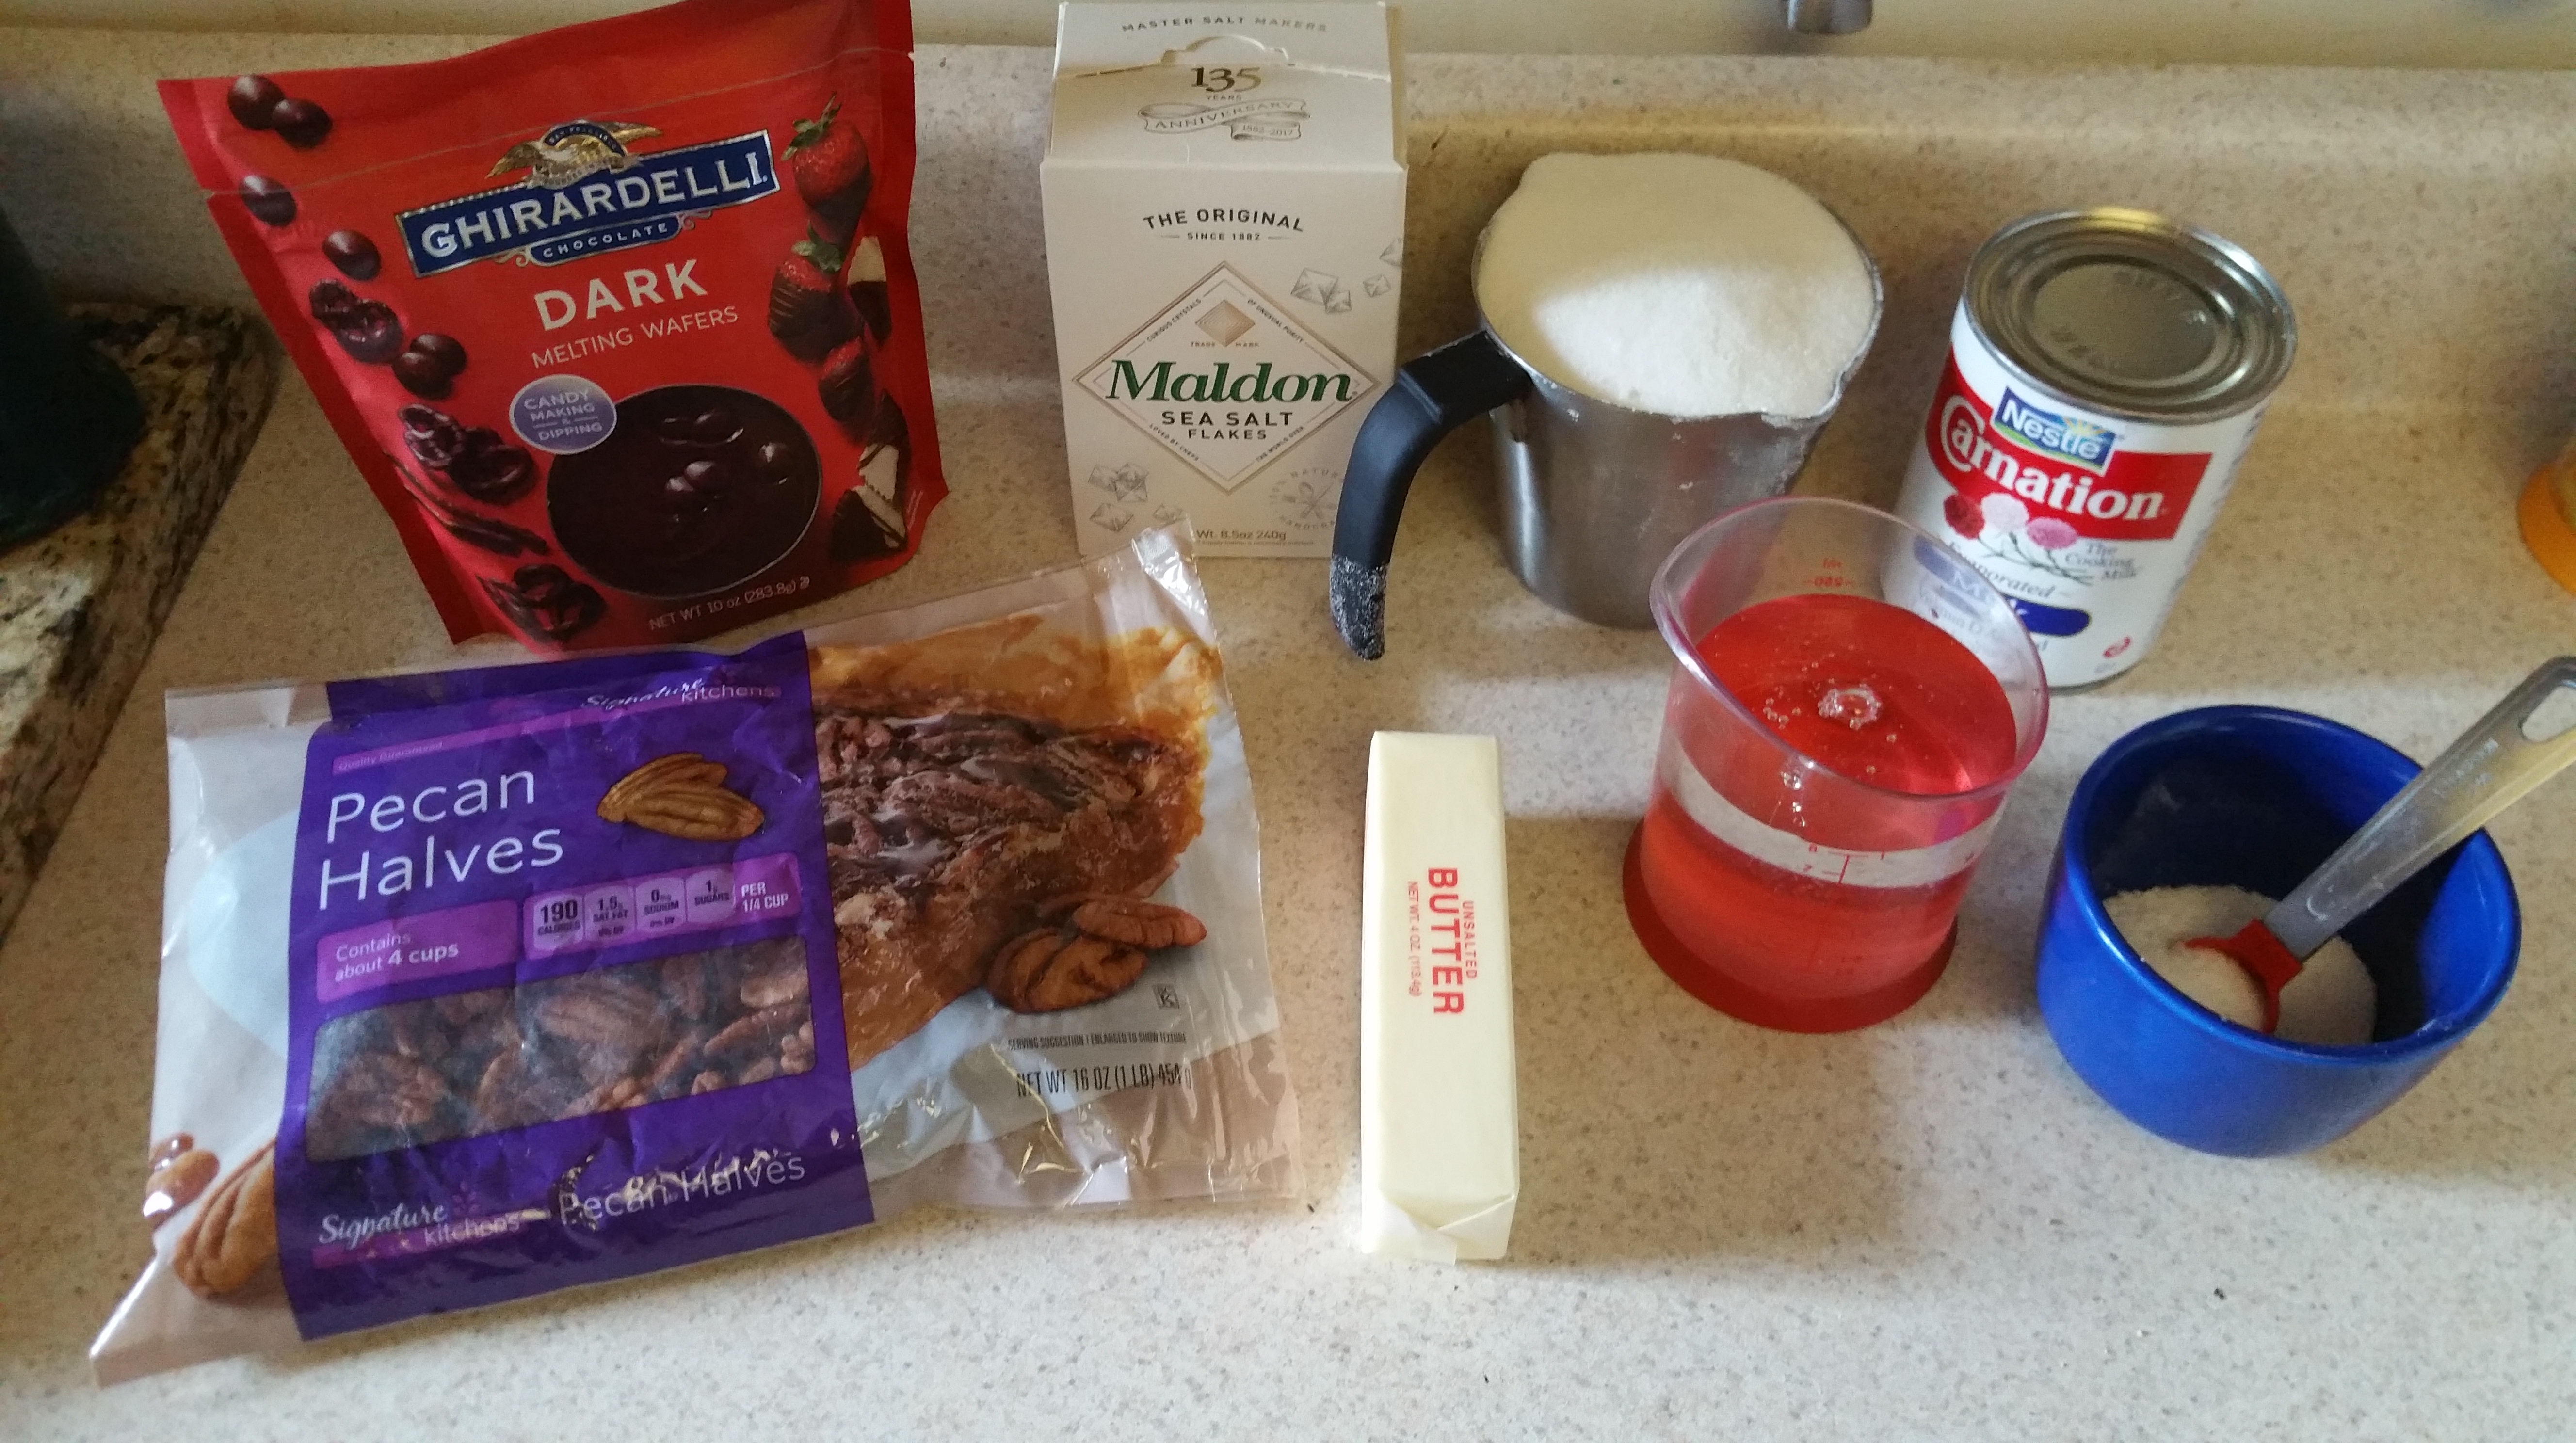
- 2 cups sugar
- 4 oz. (8 tbsp.) unsalted butter
- 1 cup light corn syrup
- ½ tsp. kosher salt
- One 12 oz. can evaporated milk
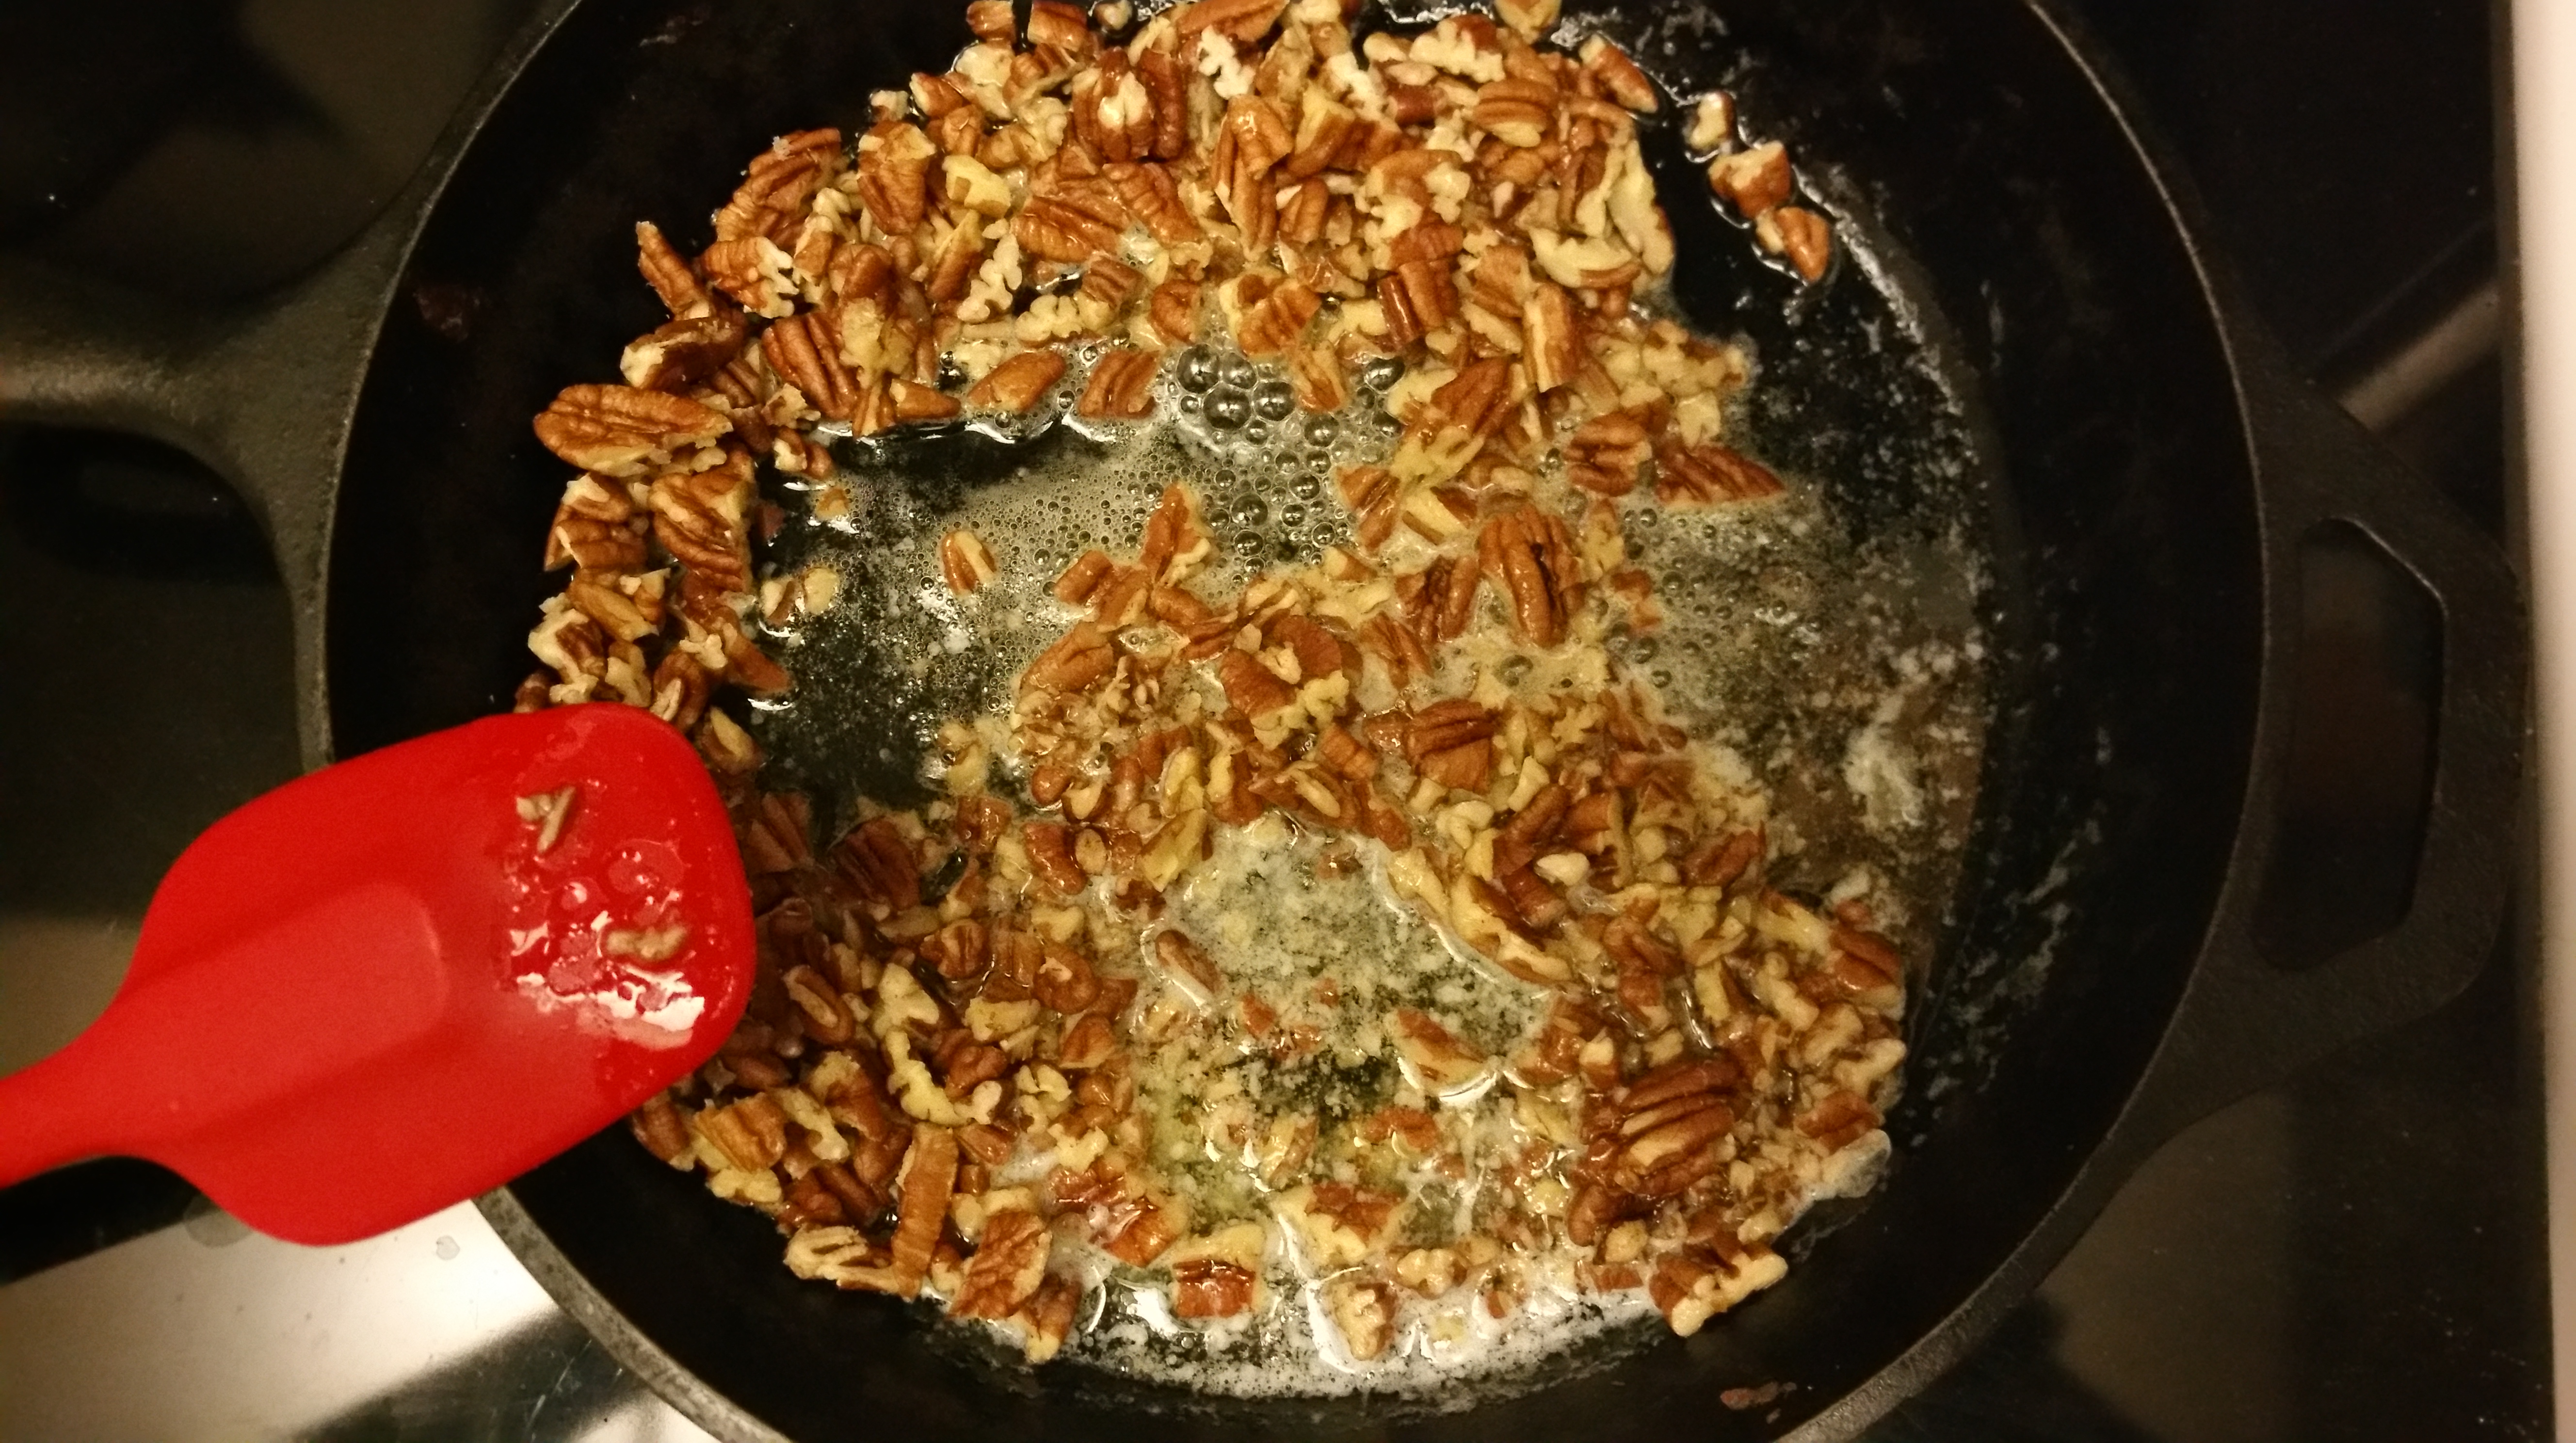
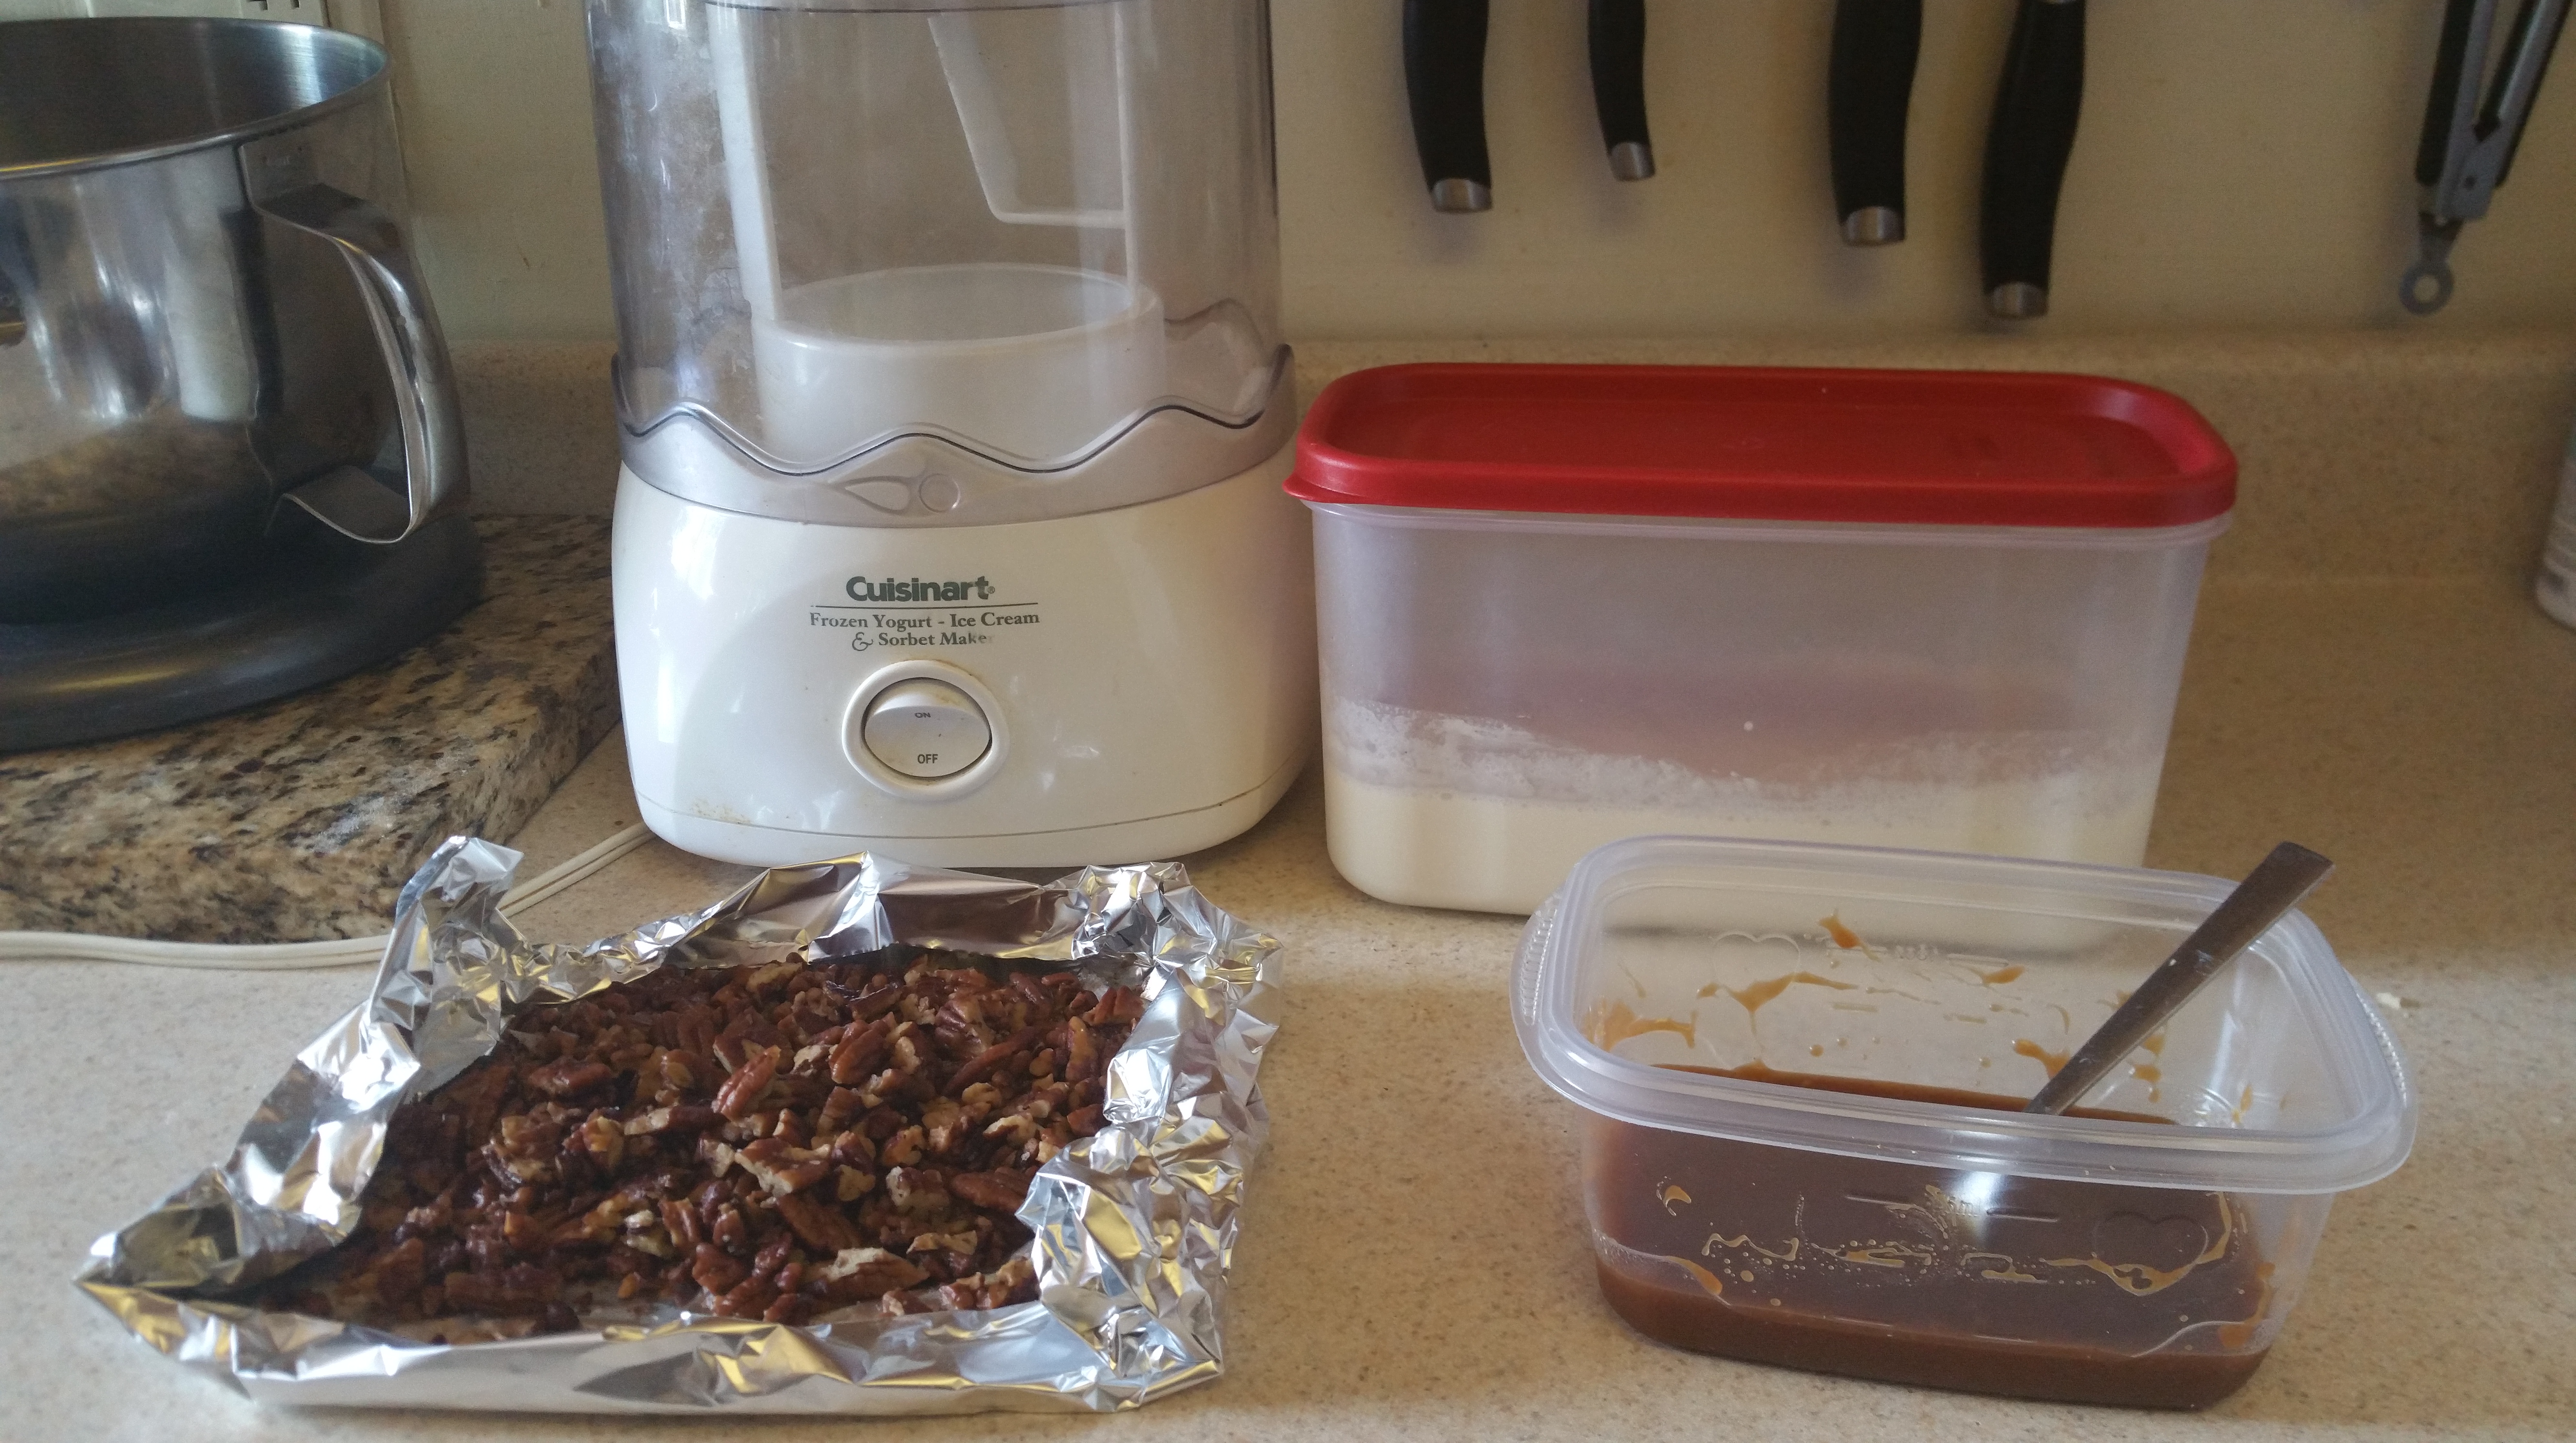
- 6 oz. pecans, toasted and roughly chopped
- 16 oz. dark chocolate OR dark chocolate compound coating. I used Ghiardelli Dark Chocolate Melting Wafers for this batch because it is VERY humid and I didn’t feel like tempering chocolate. Not as shiny of a finish, but equally good in flavor. Wilton Candy Melts work well too and can be easily found at craft stores.
- Sea salt flakes (optional, but tasty!)
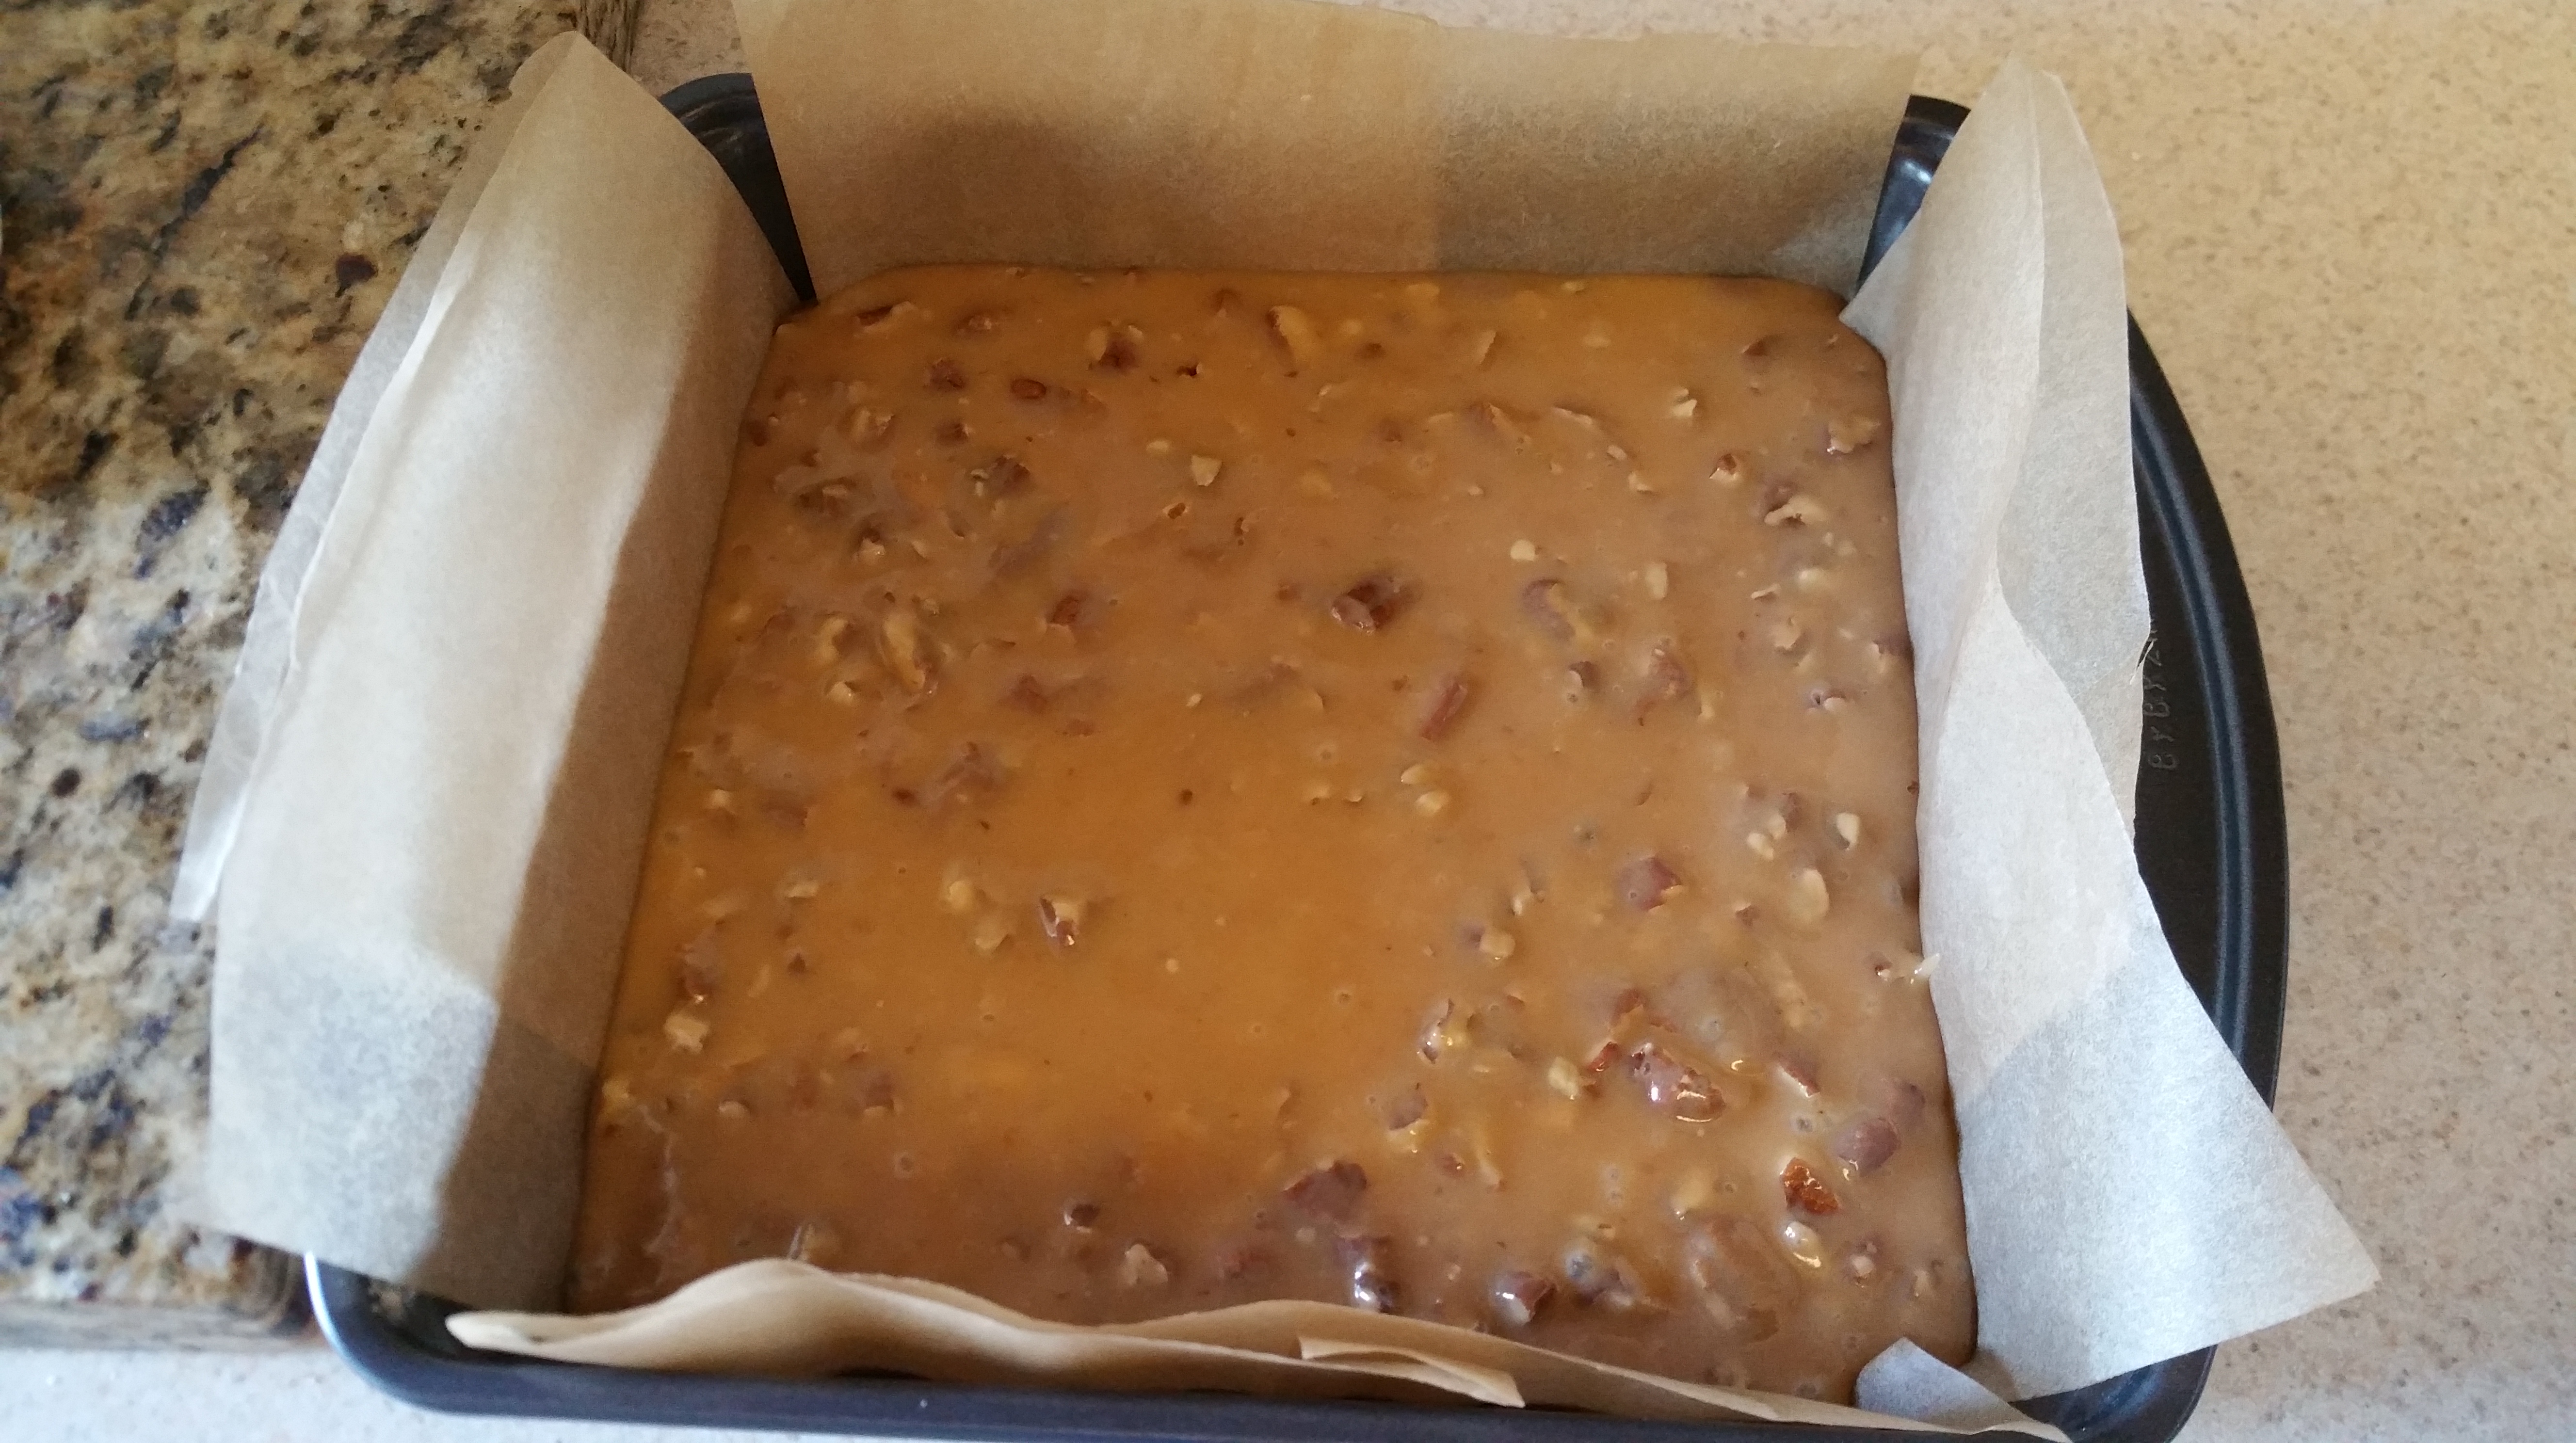
Line an 8×8 in. baking pan with parchment paper so that there is an overhang on all sides. Set aside.

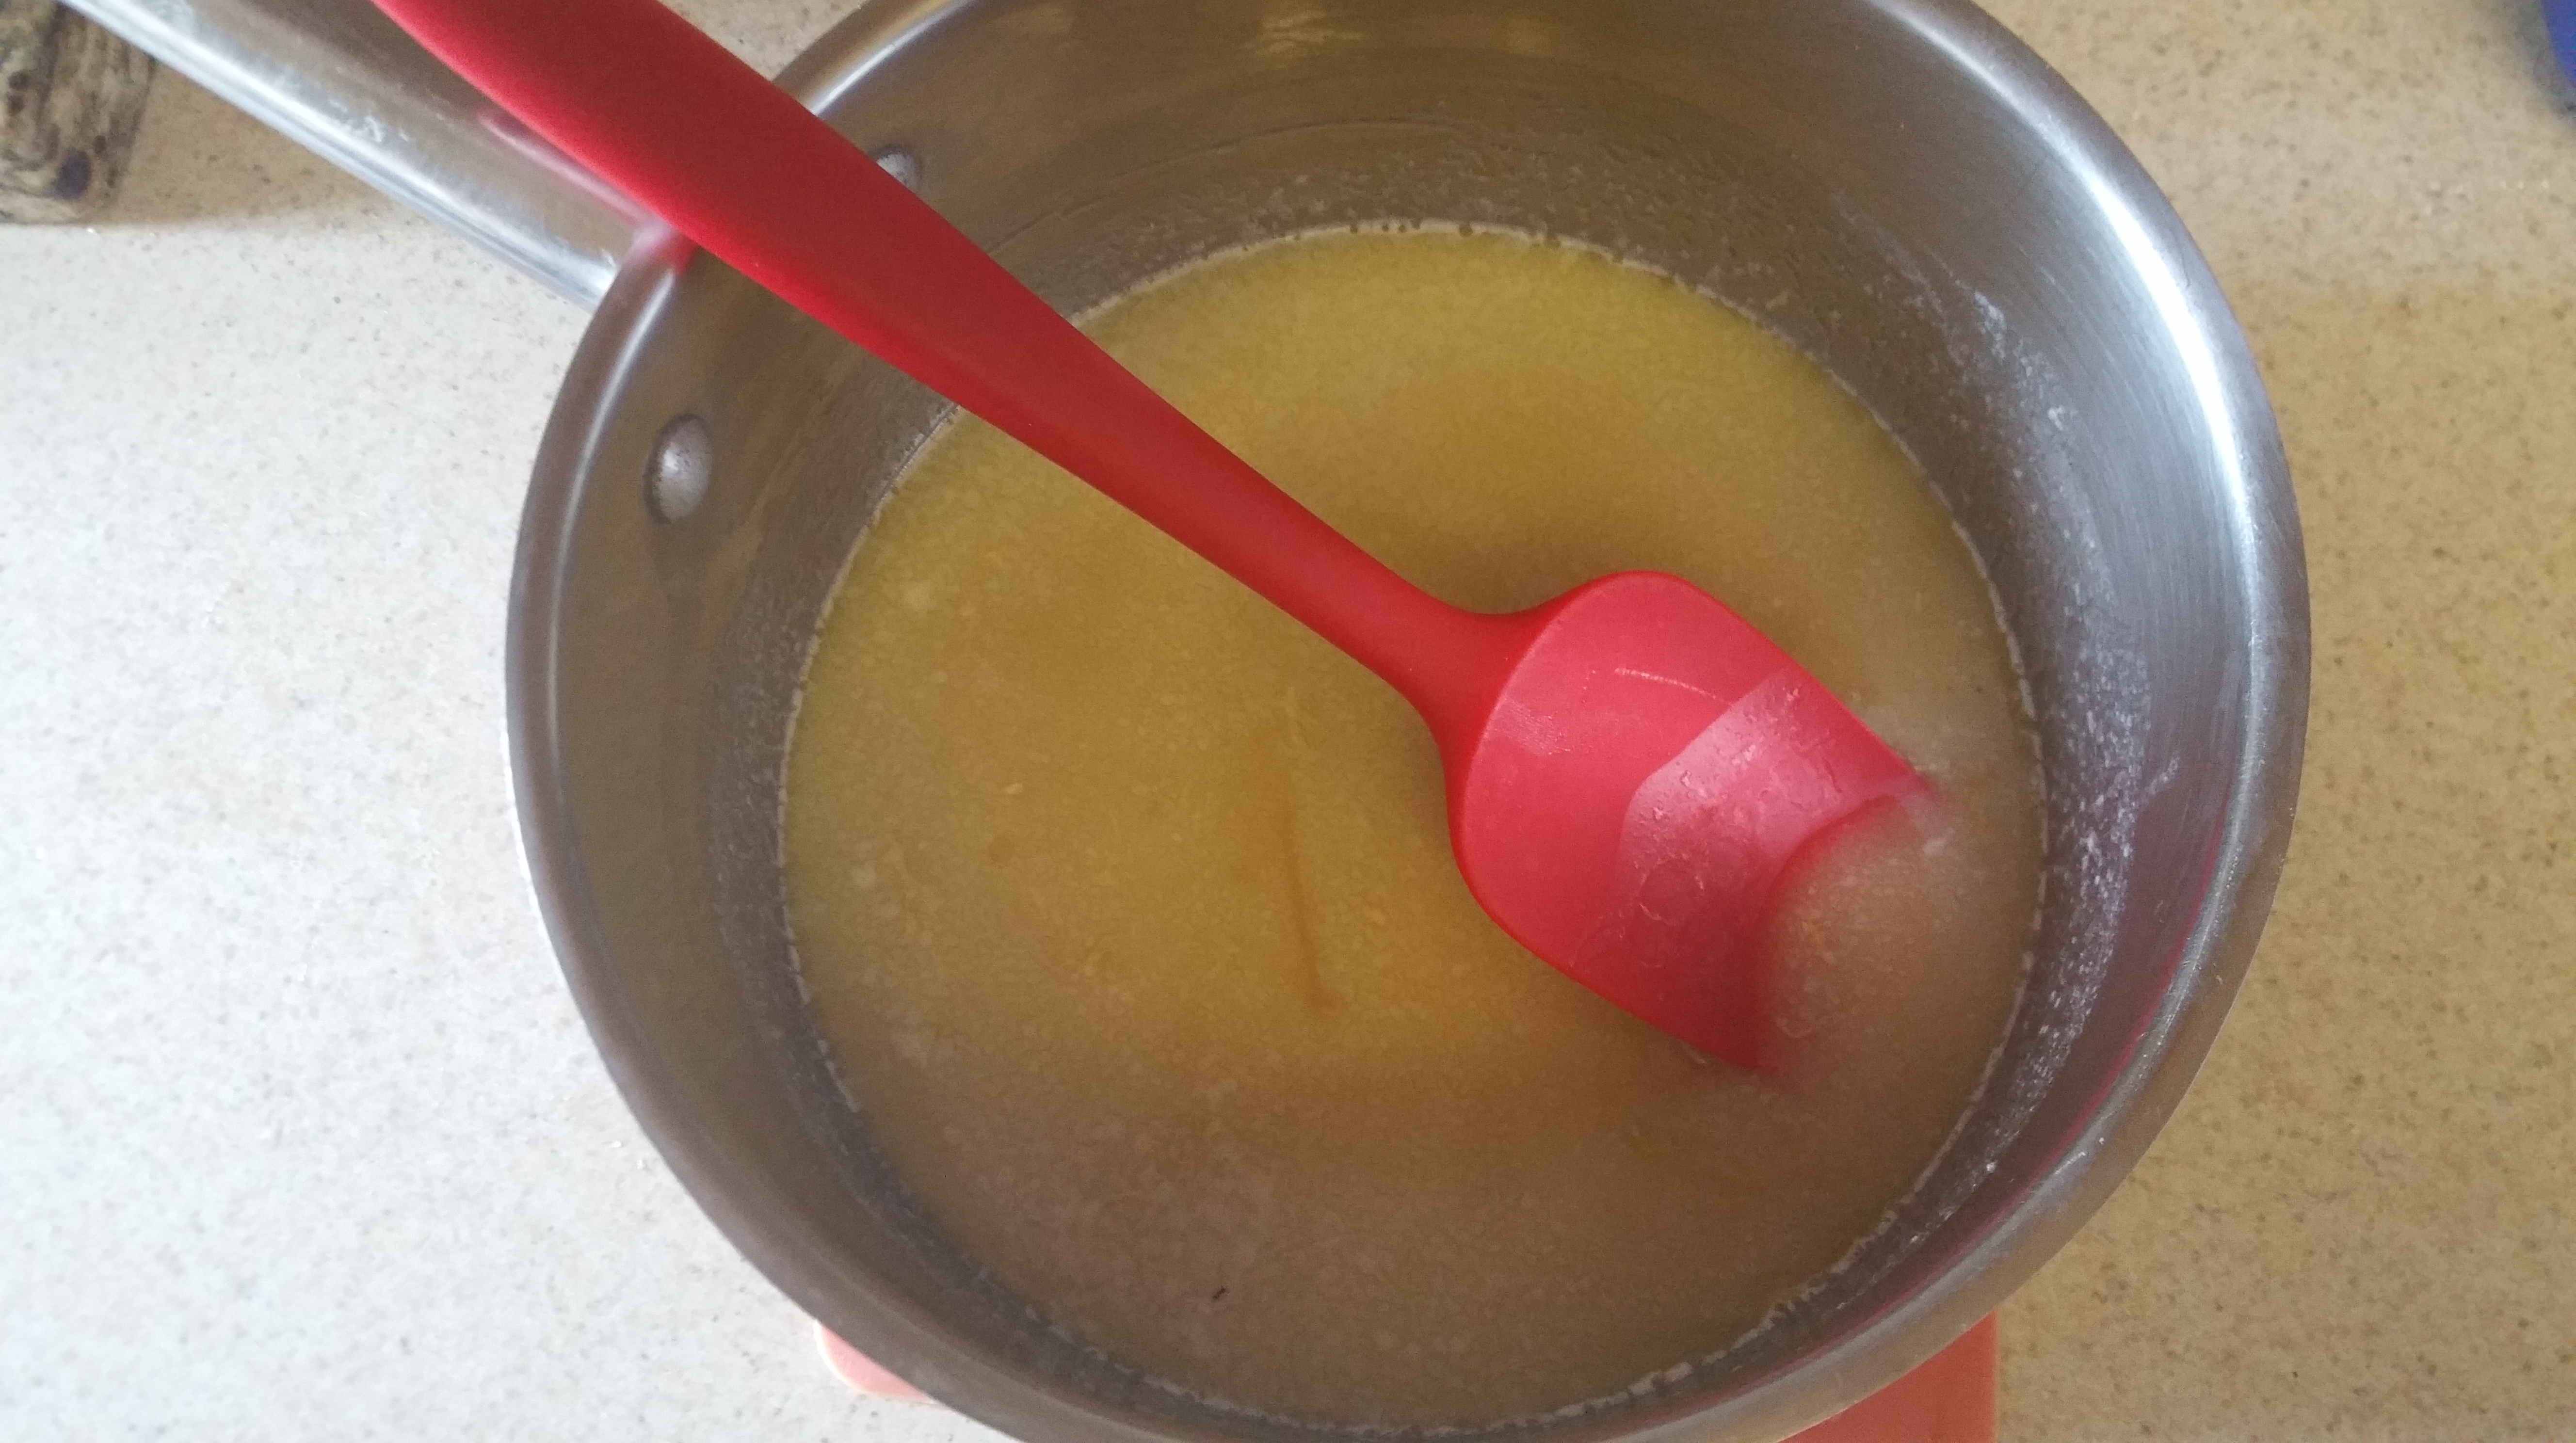
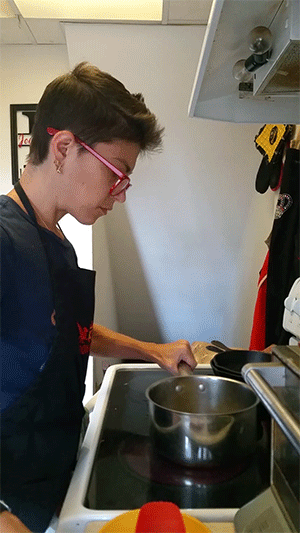
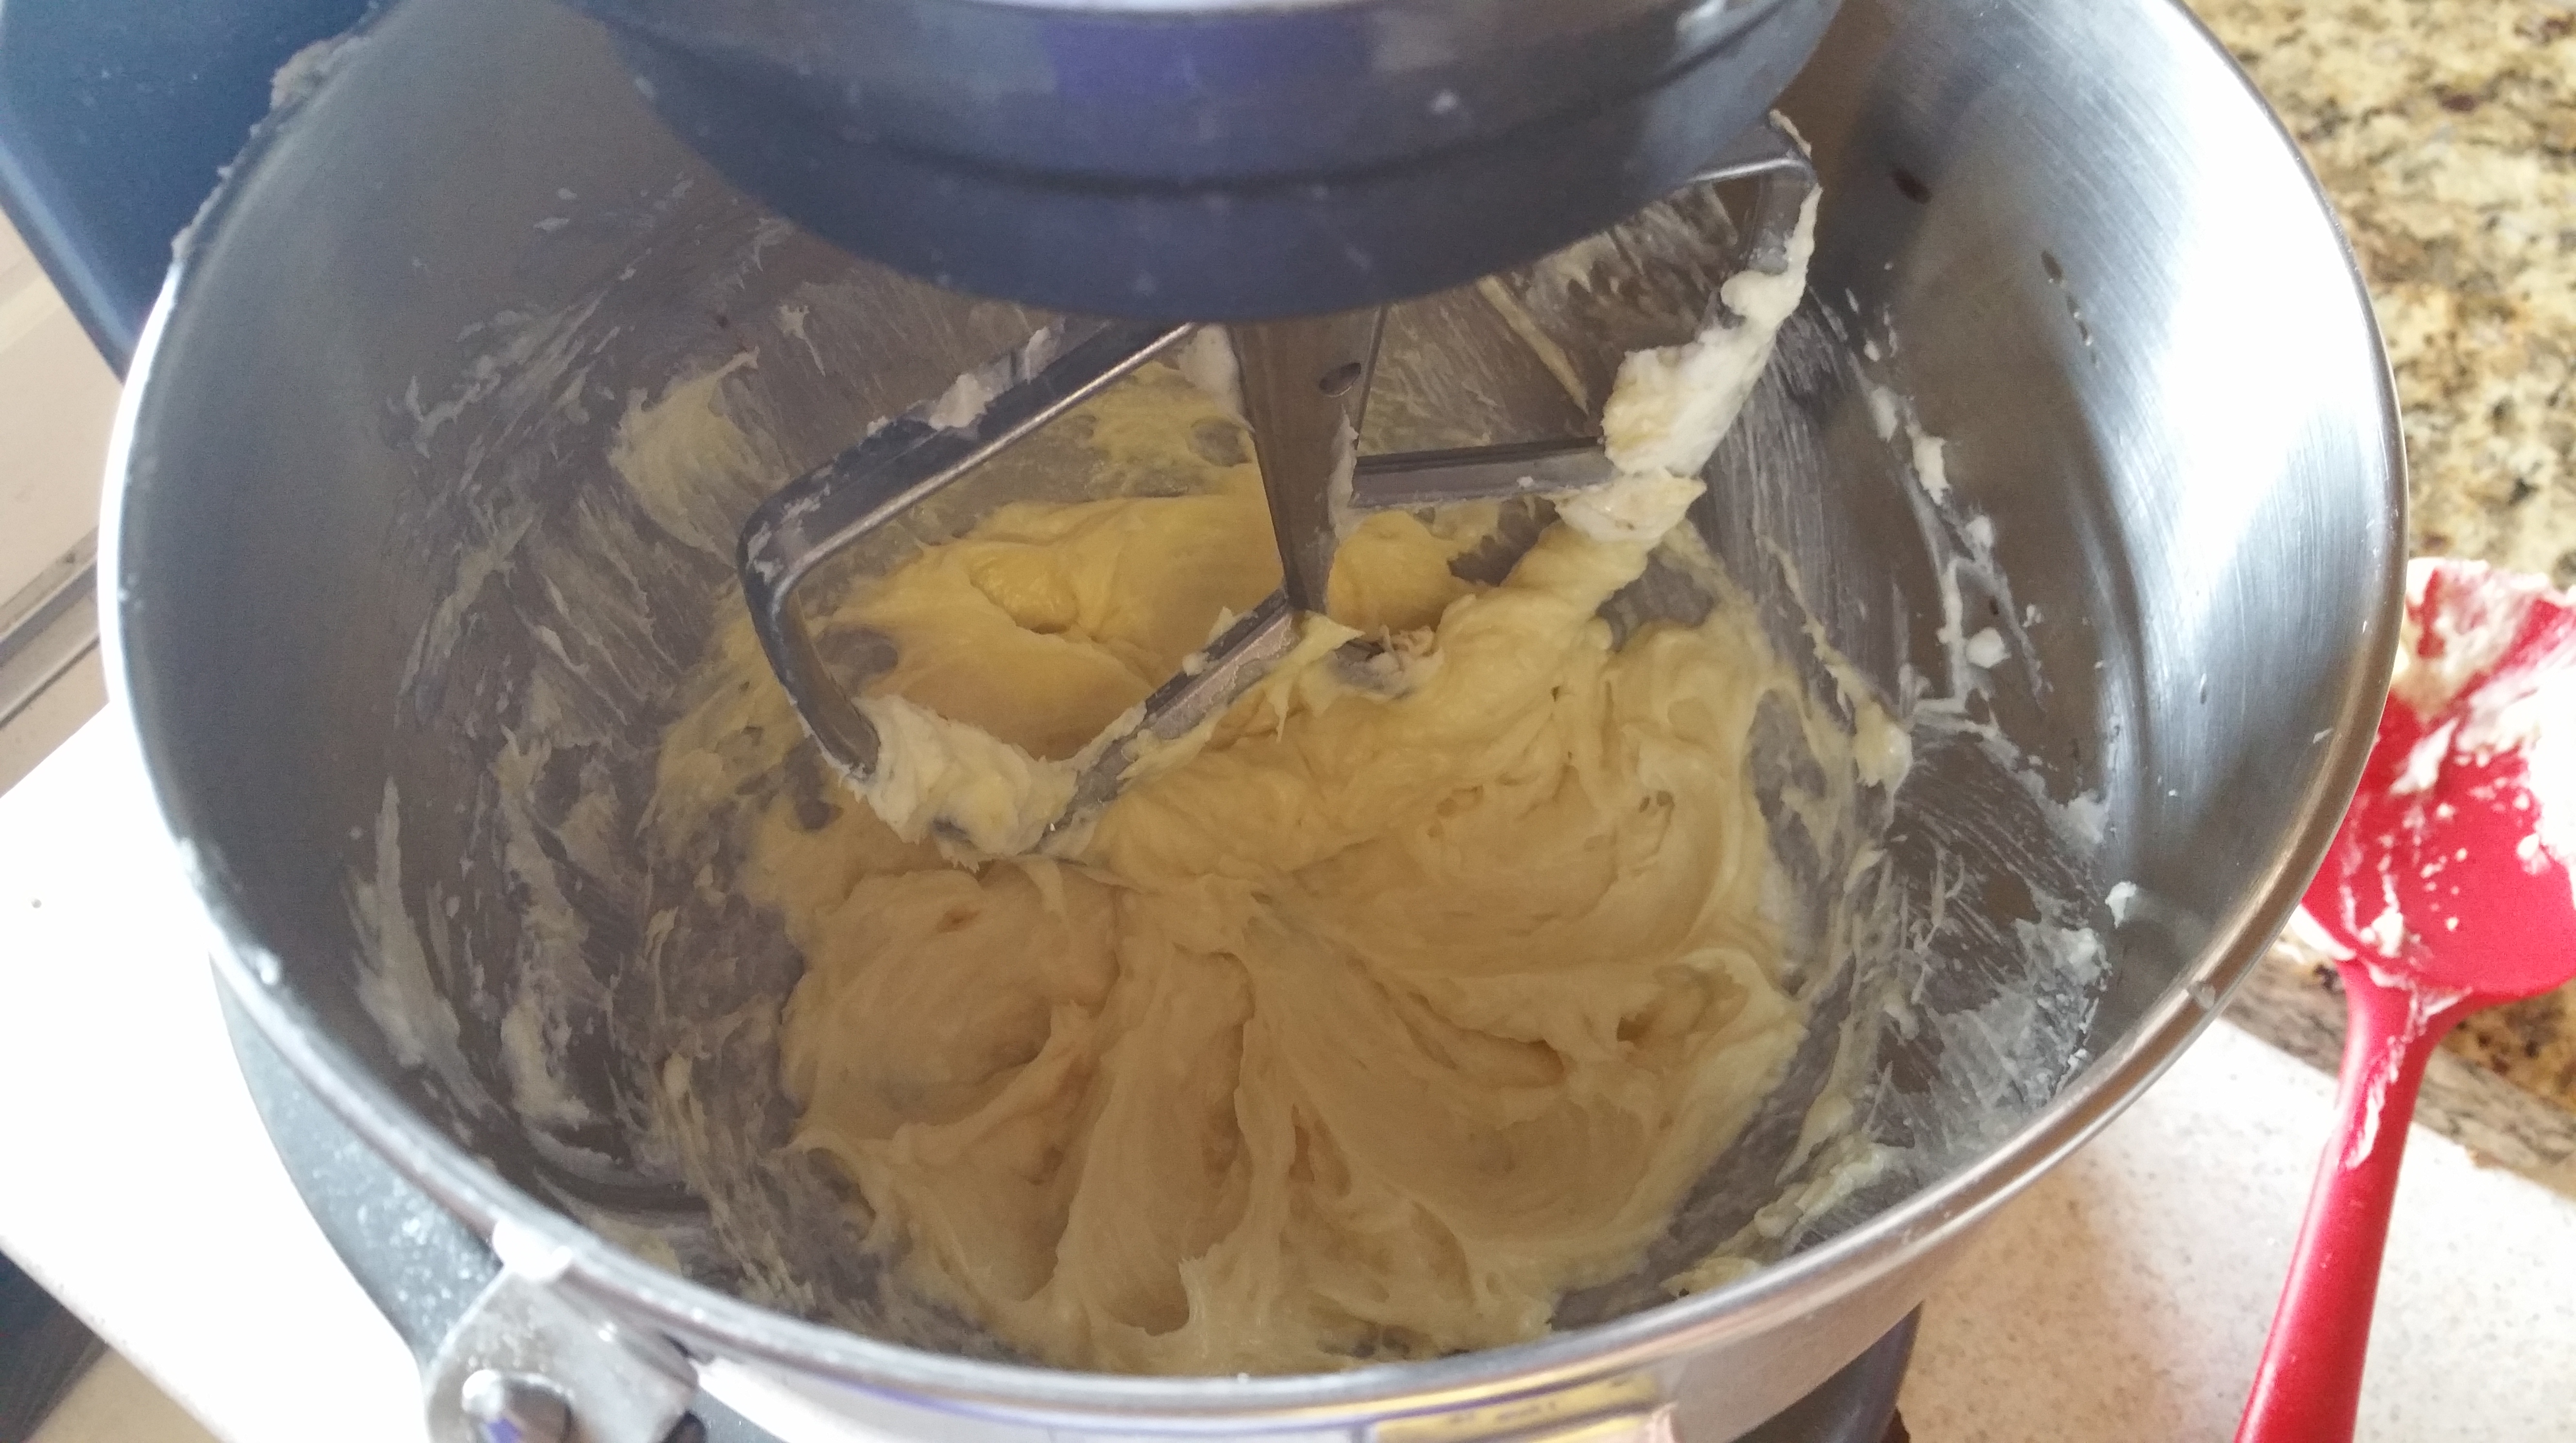
To make the caramel, combine the sugar, butter, corn syrup, and kosher salt in a saucepan over medium heat and bring the mixture to a boil.

Once boiling, add the evaporated milk slowly, a little bit at a time over the course of 10 minutes. It’s going to bubble and hiss after each addition, which is why it is important to take your time.
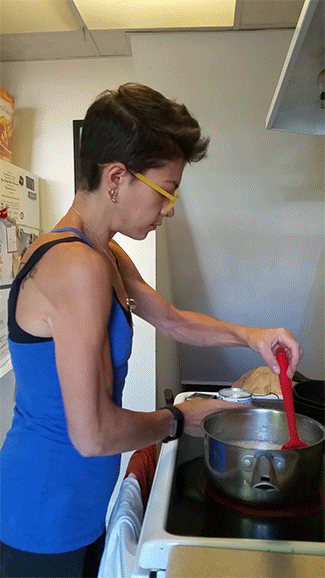
After all of the milk has been added, cook while stirring constantly until the mixture reaches 240 degrees F.
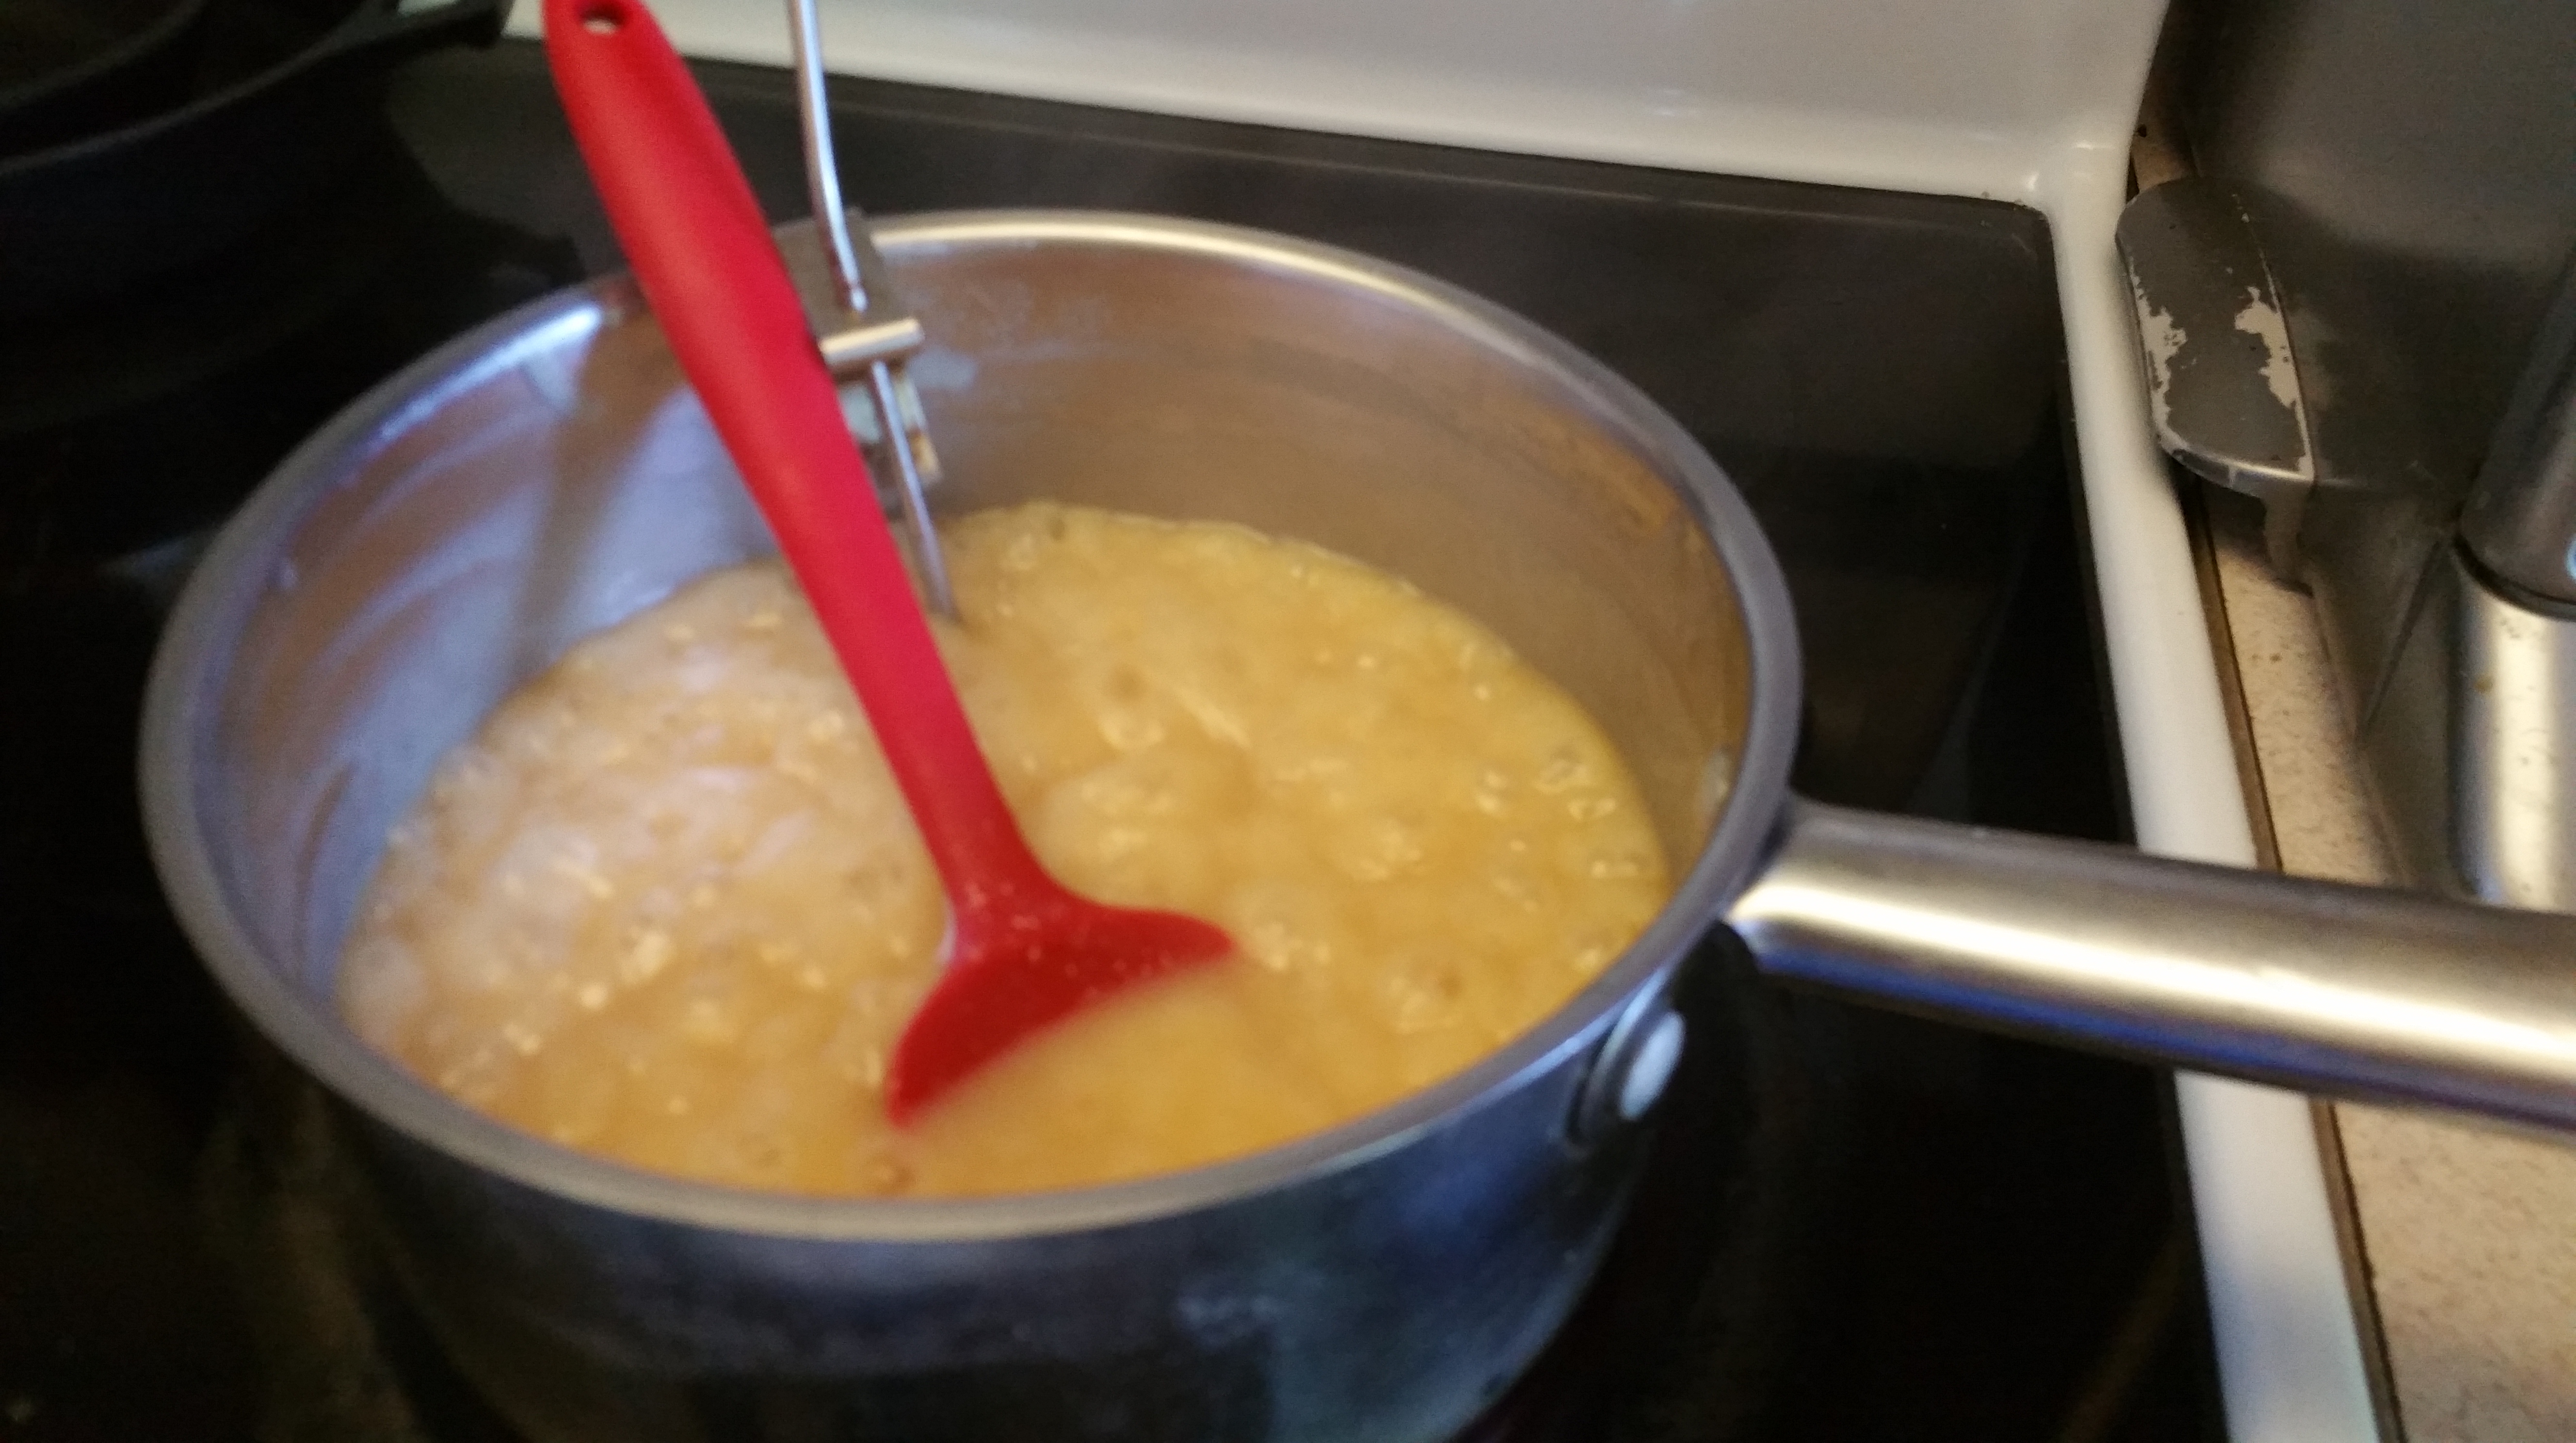
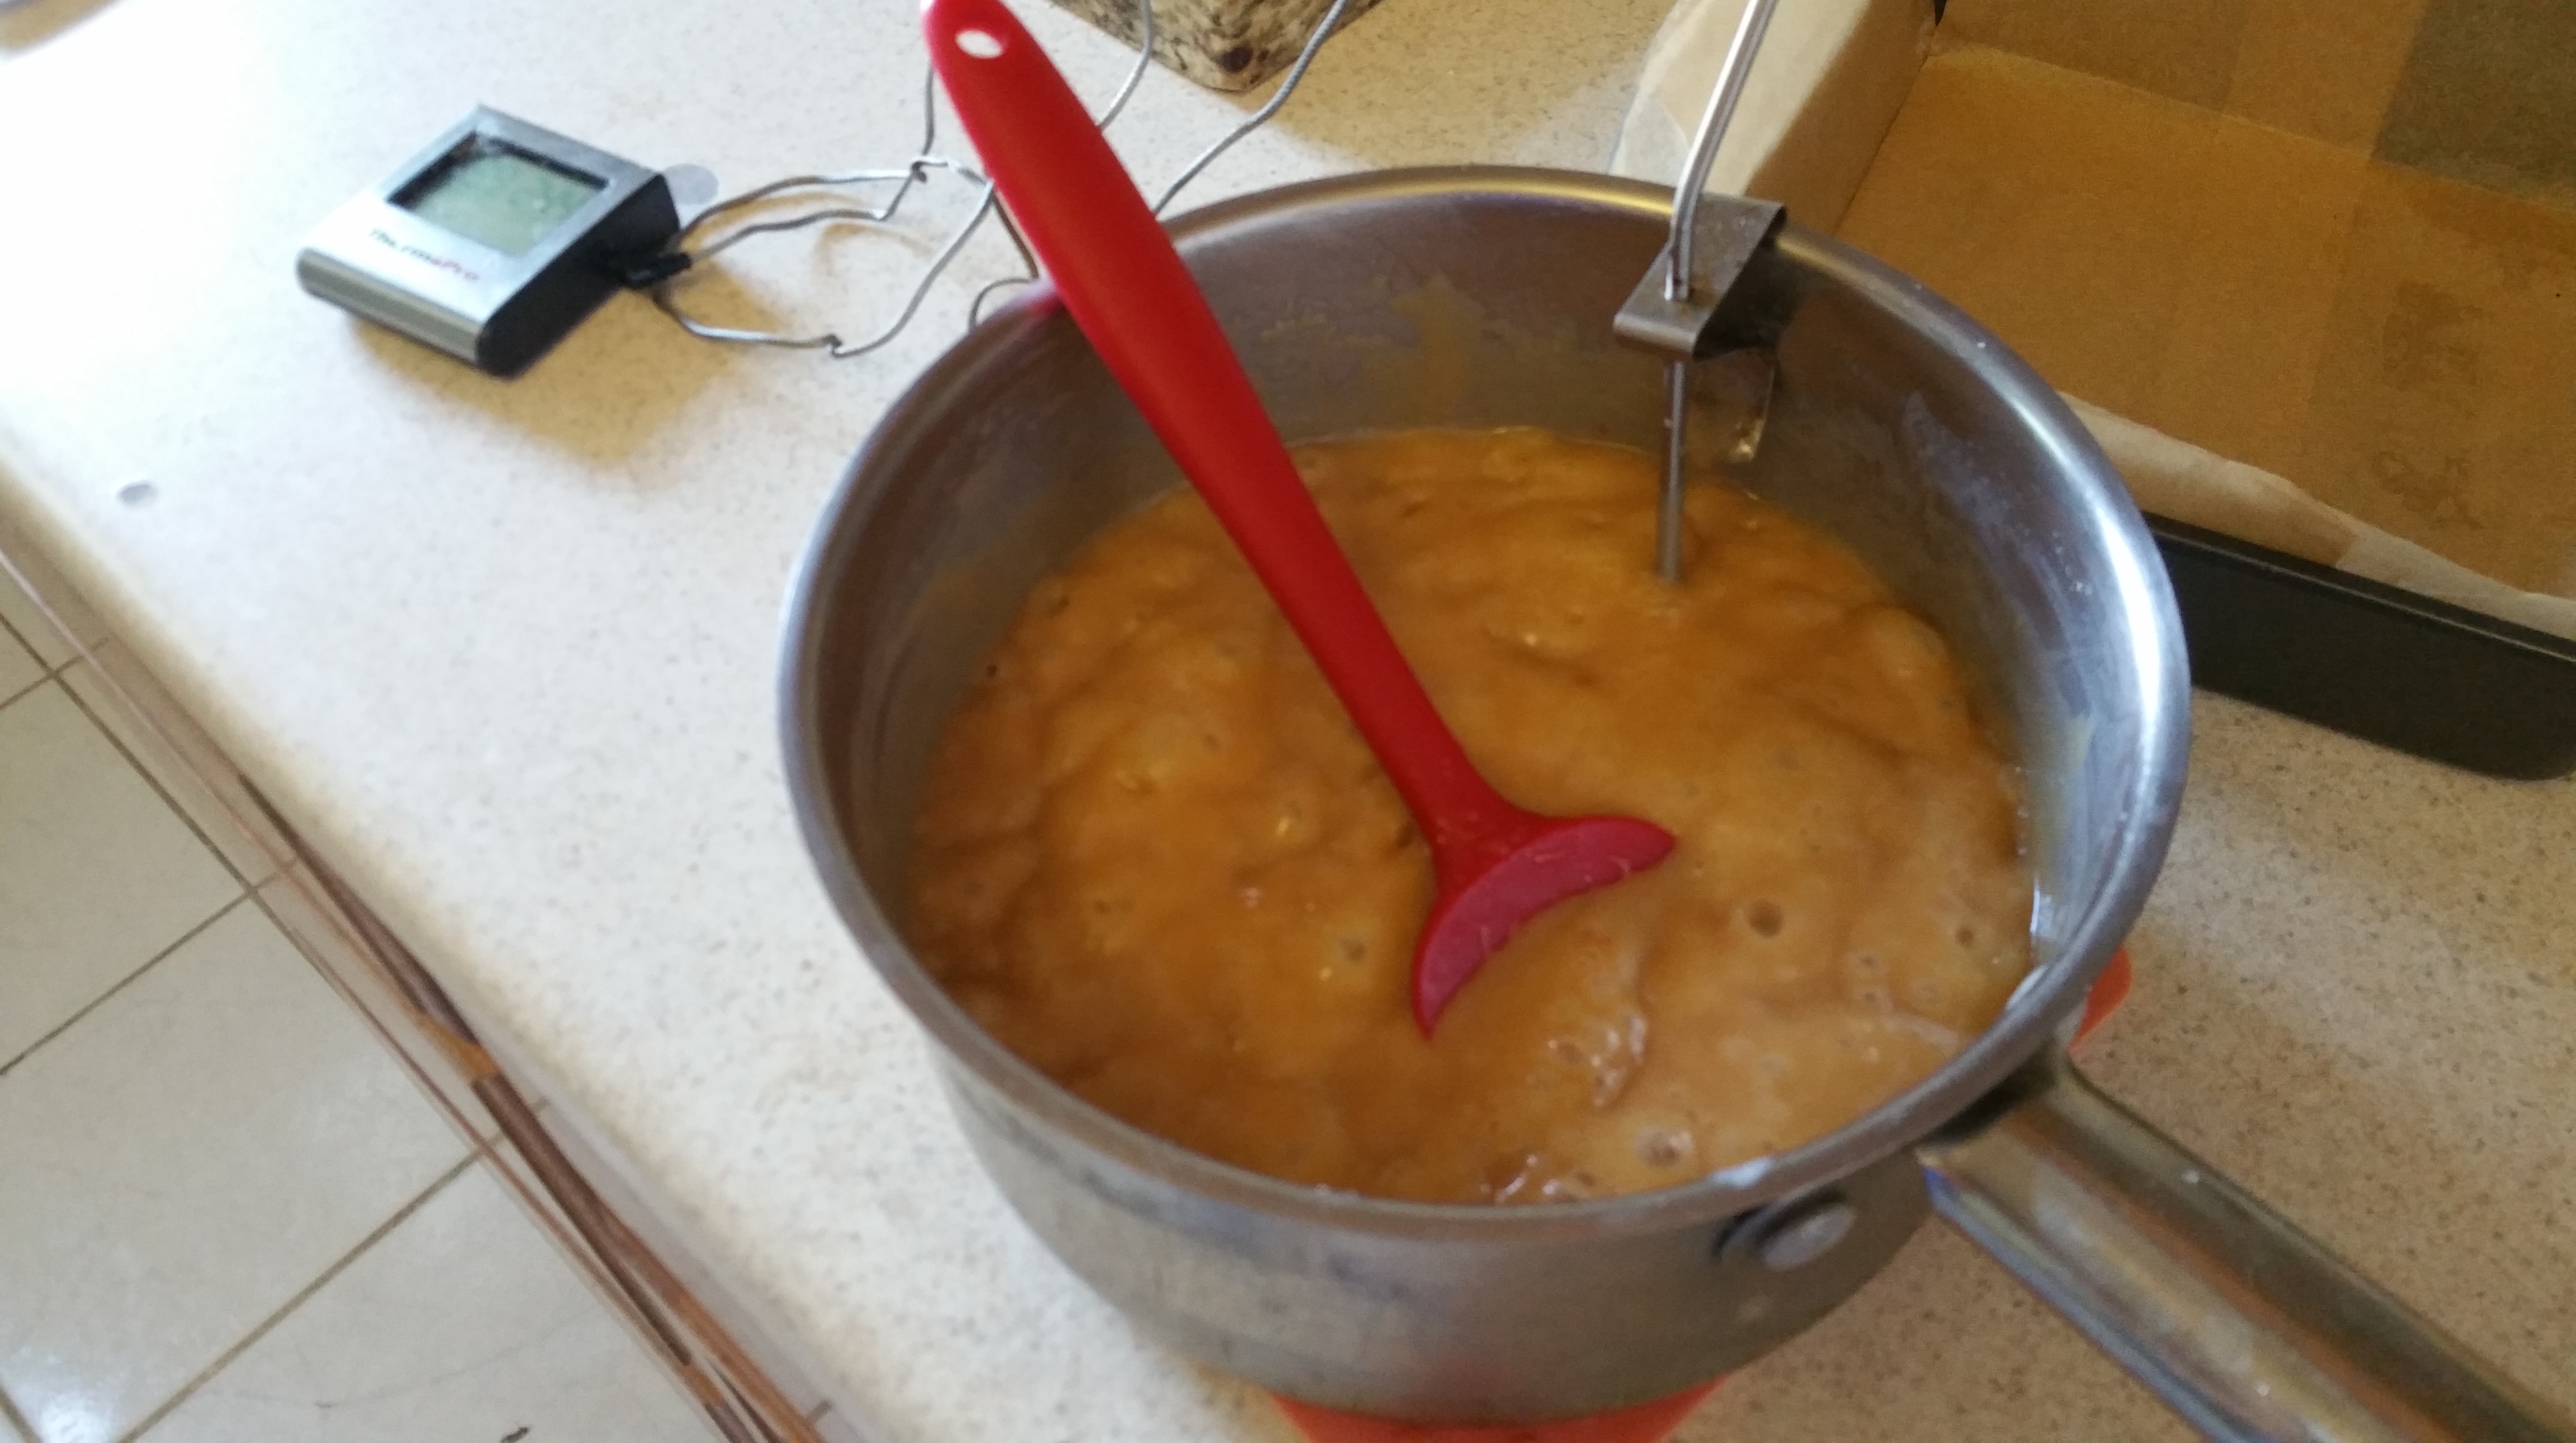
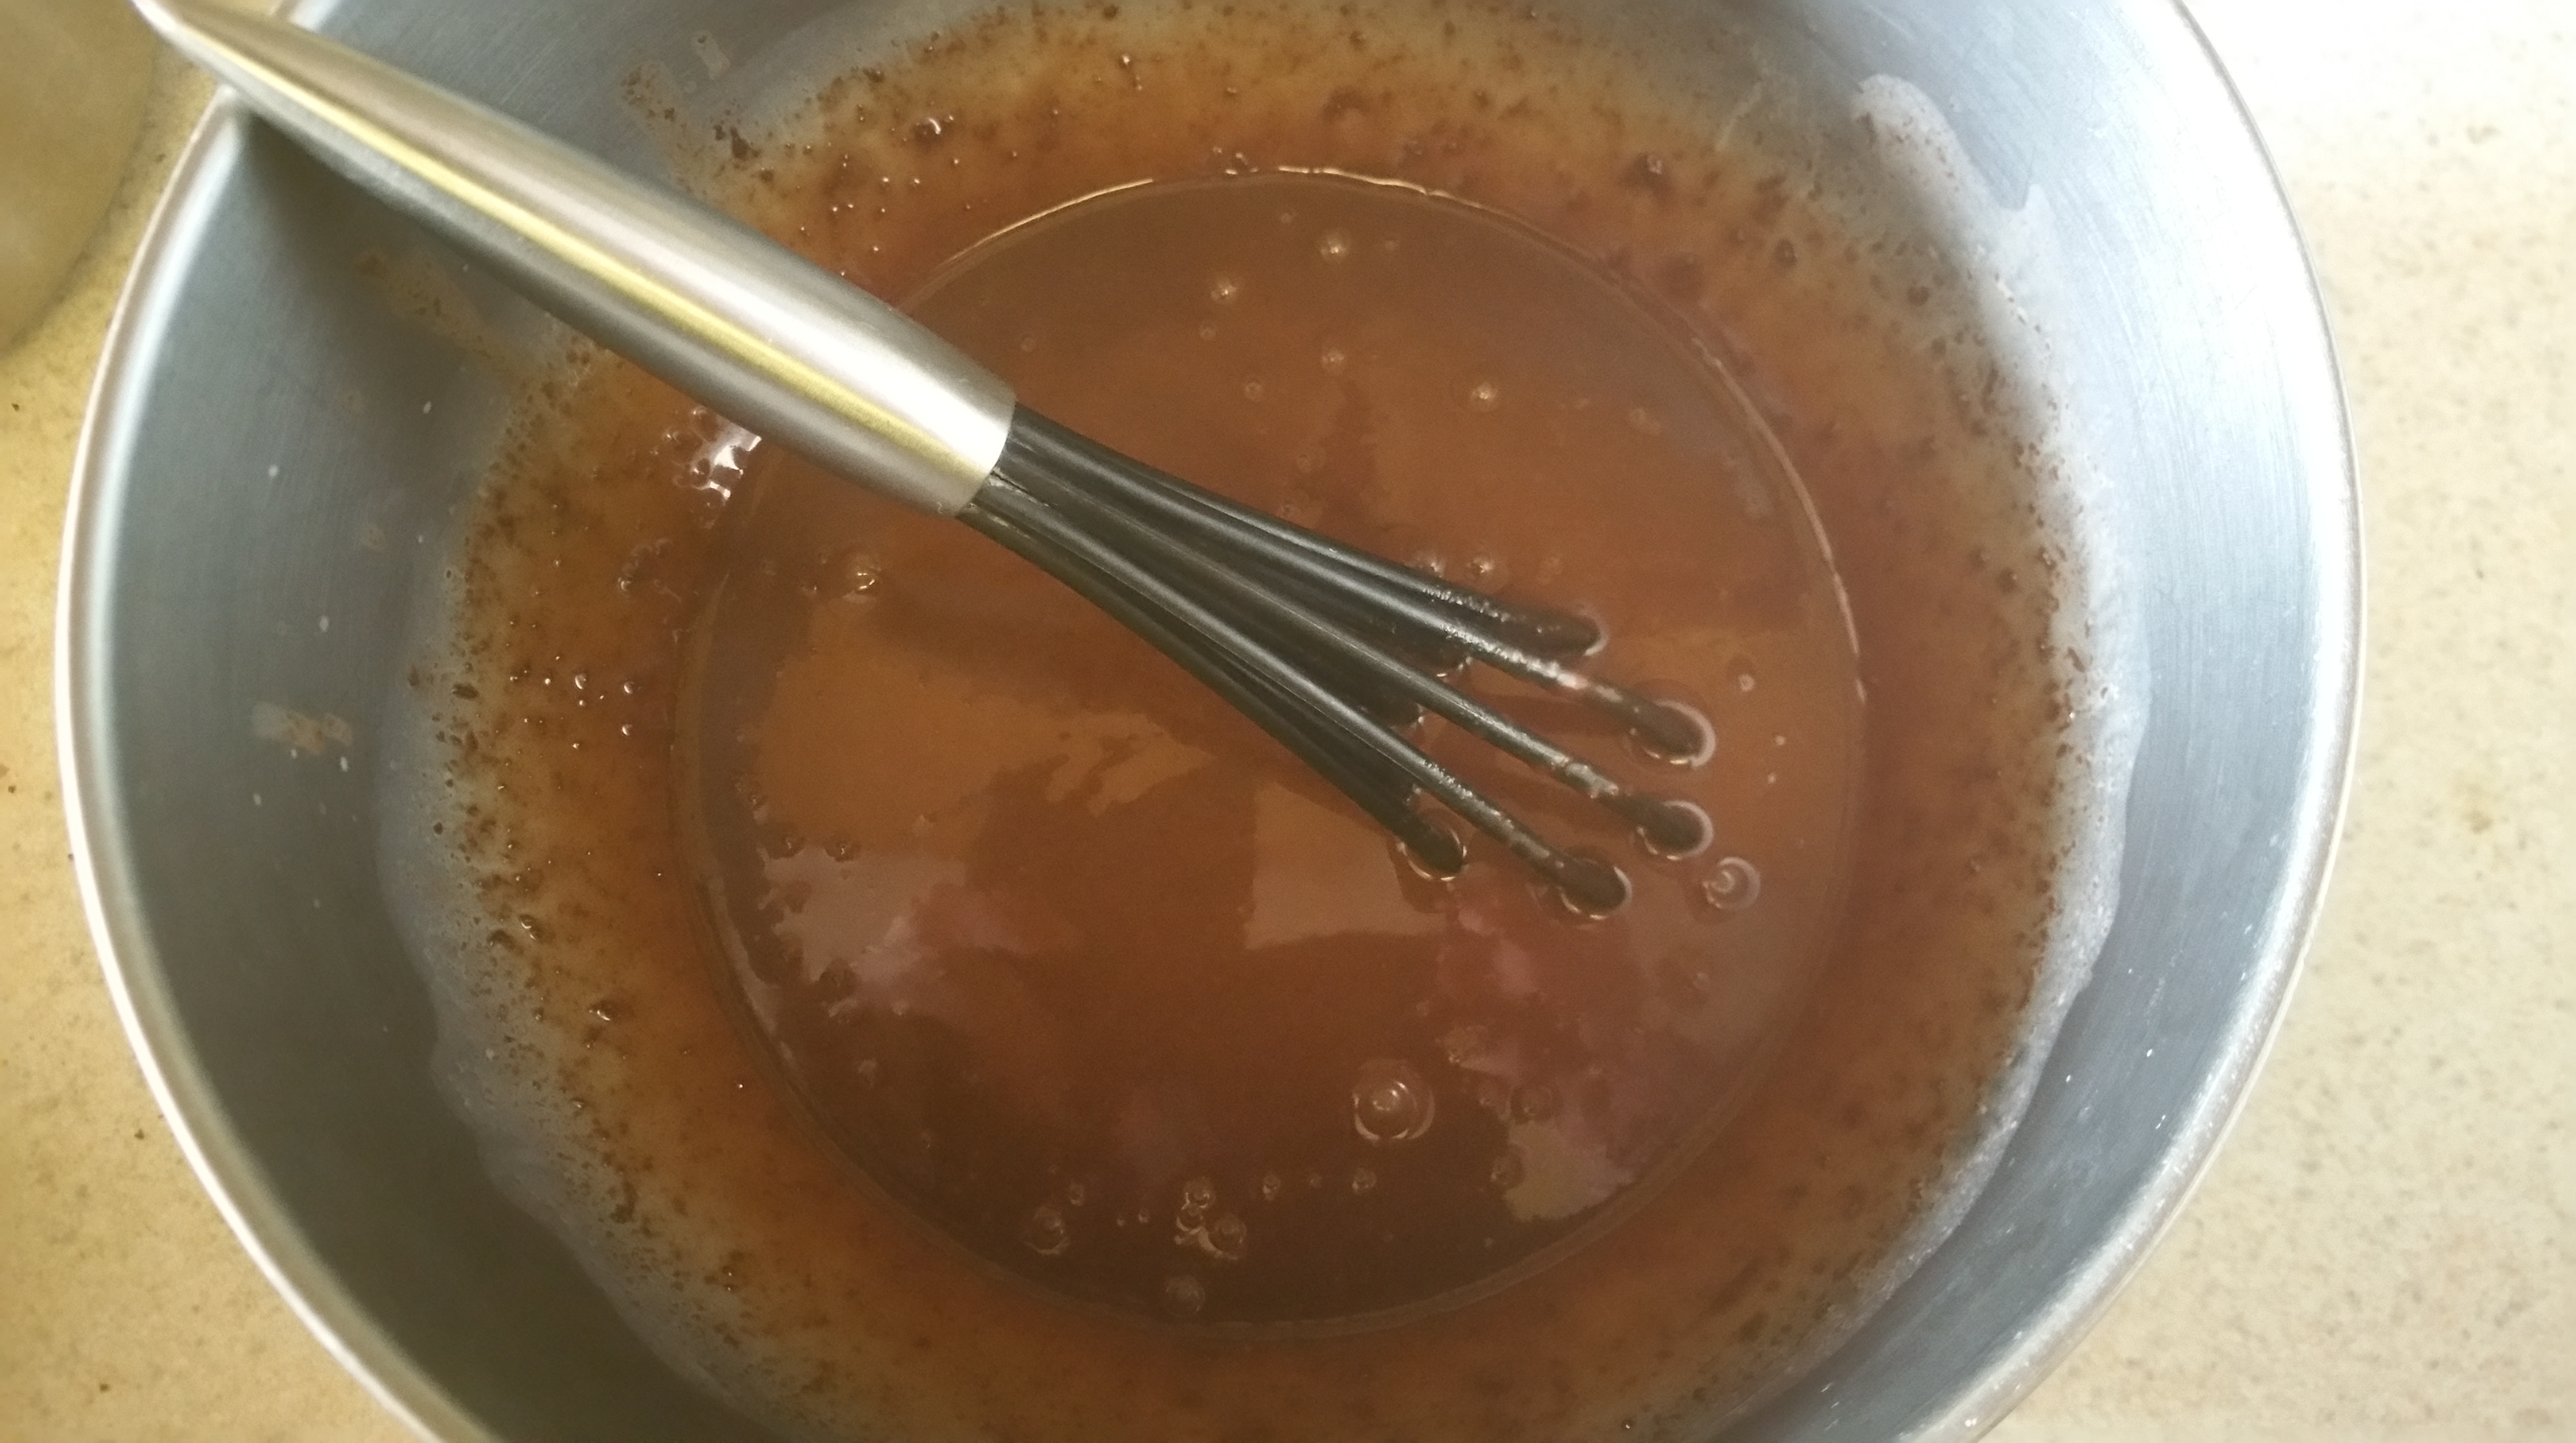
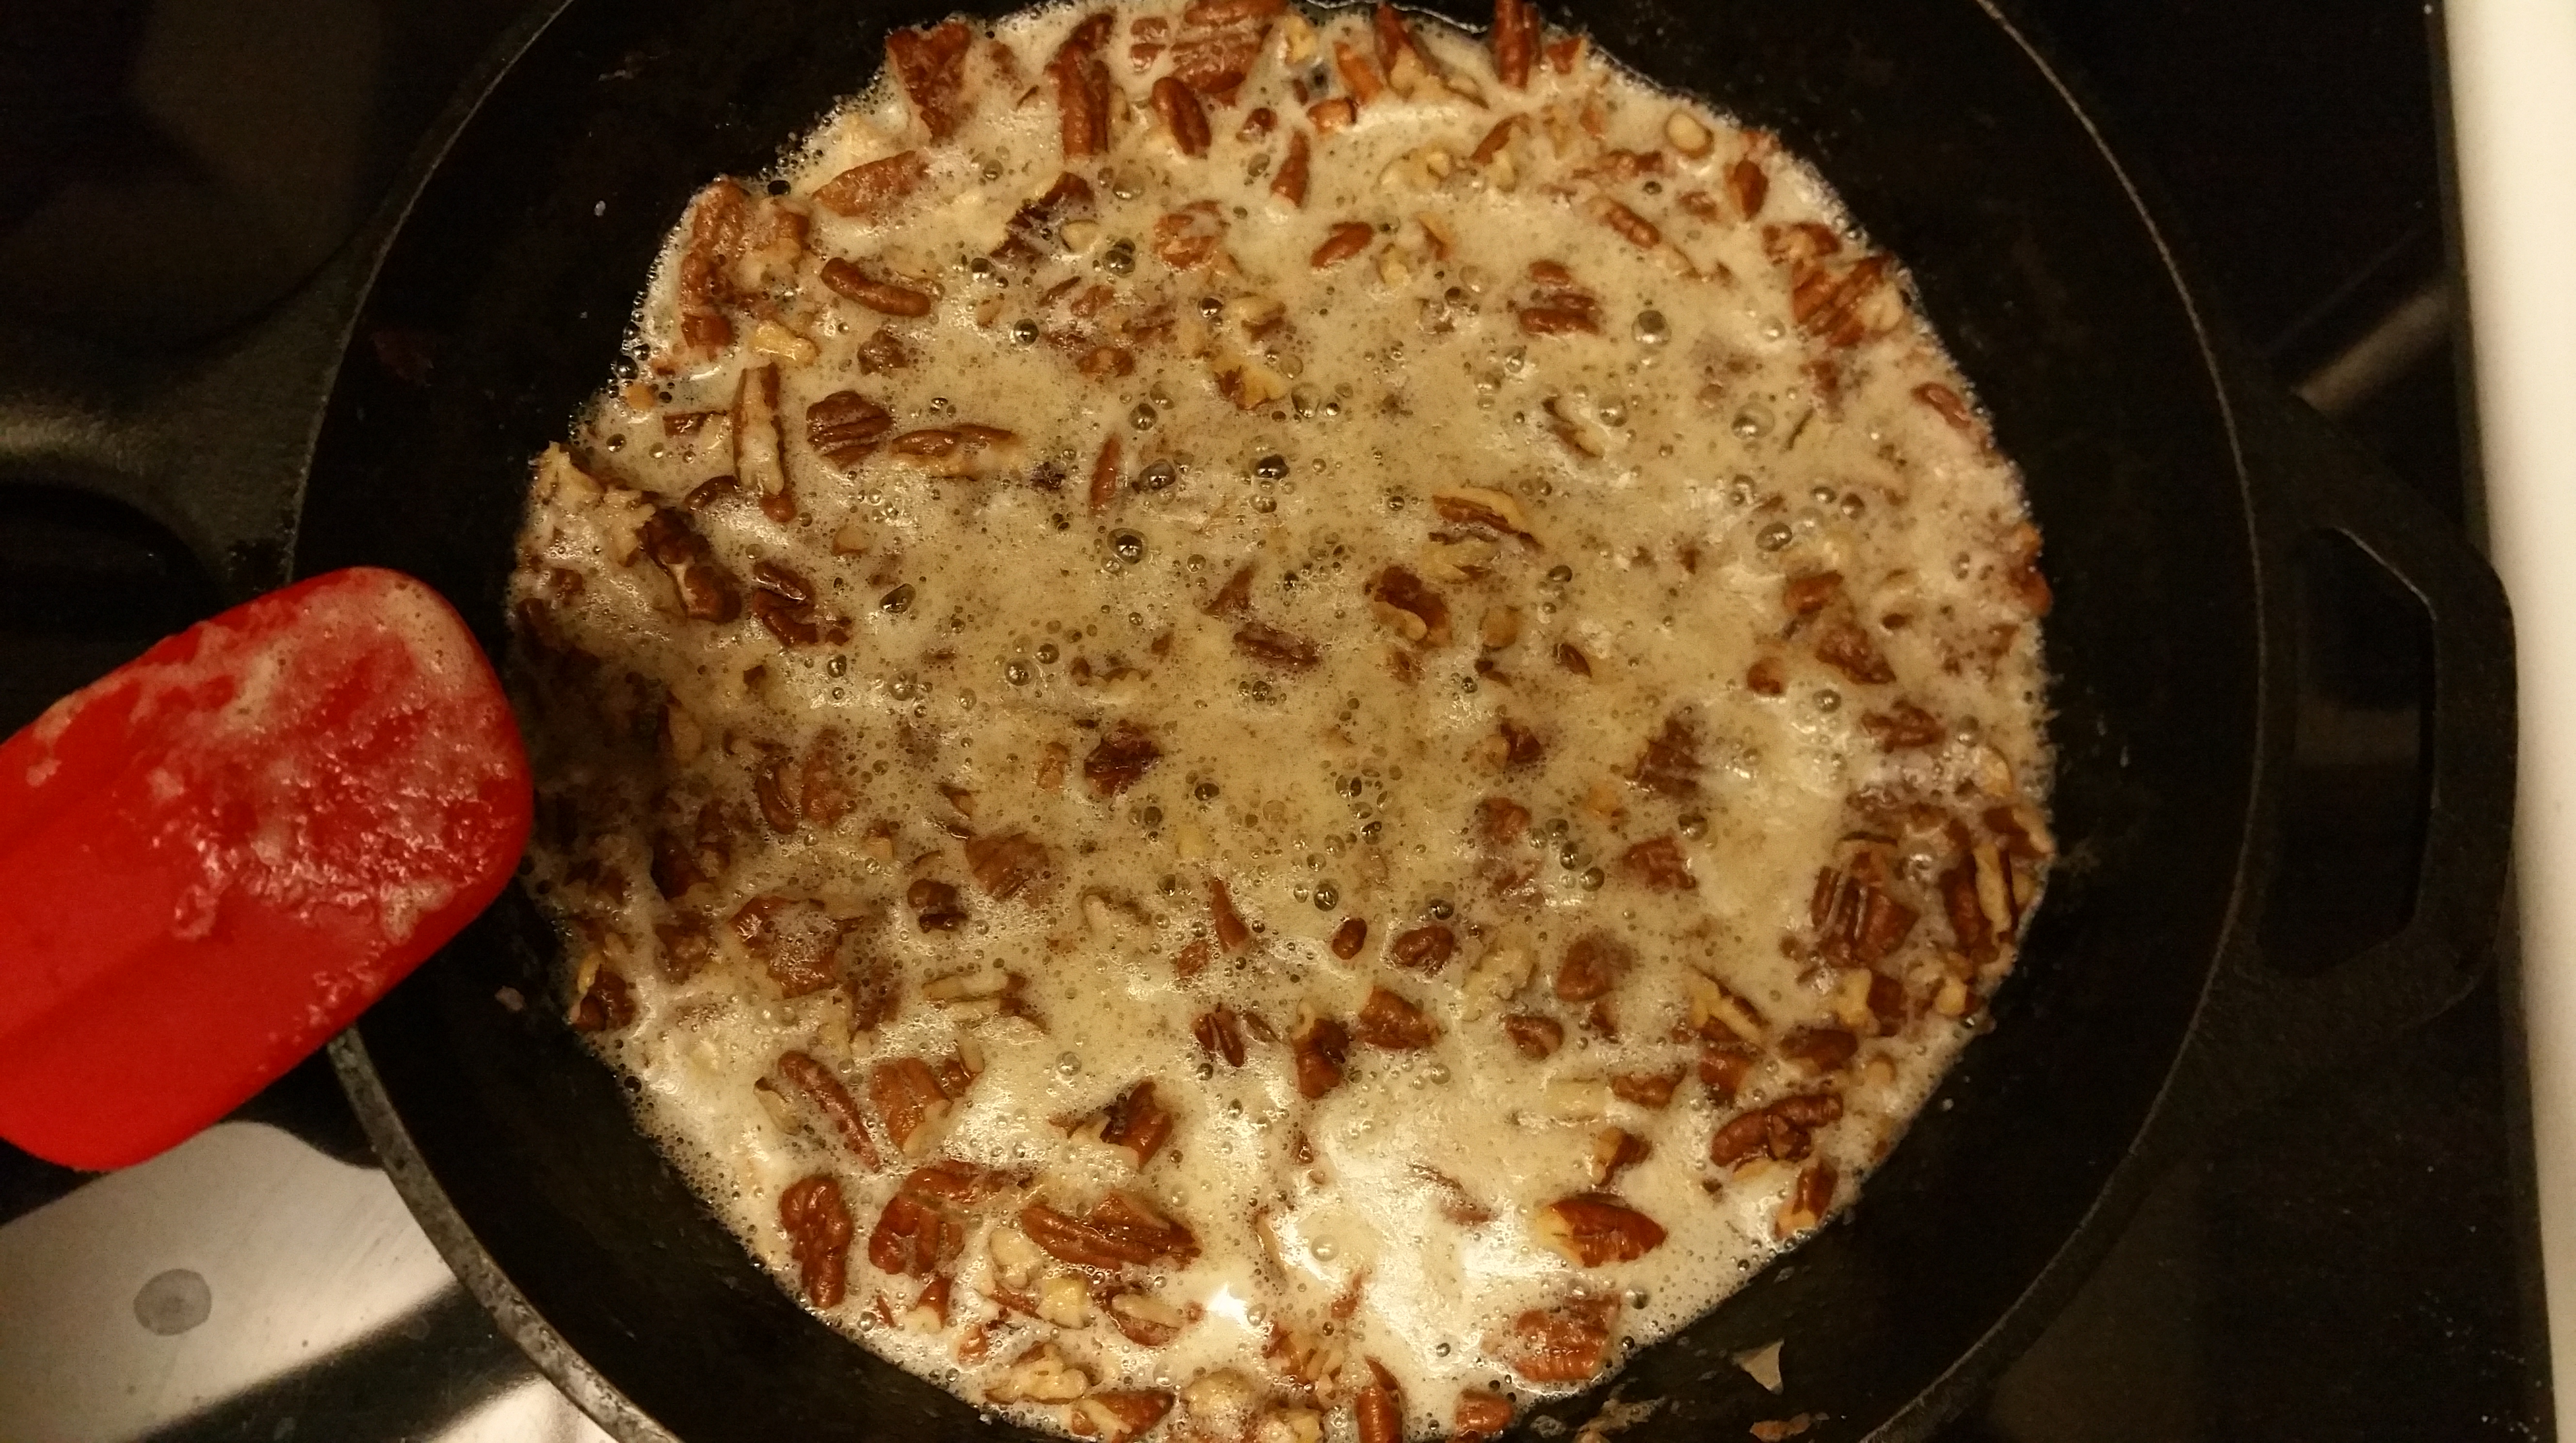
Remove the pan from the heat and stir in the chopped pecans.

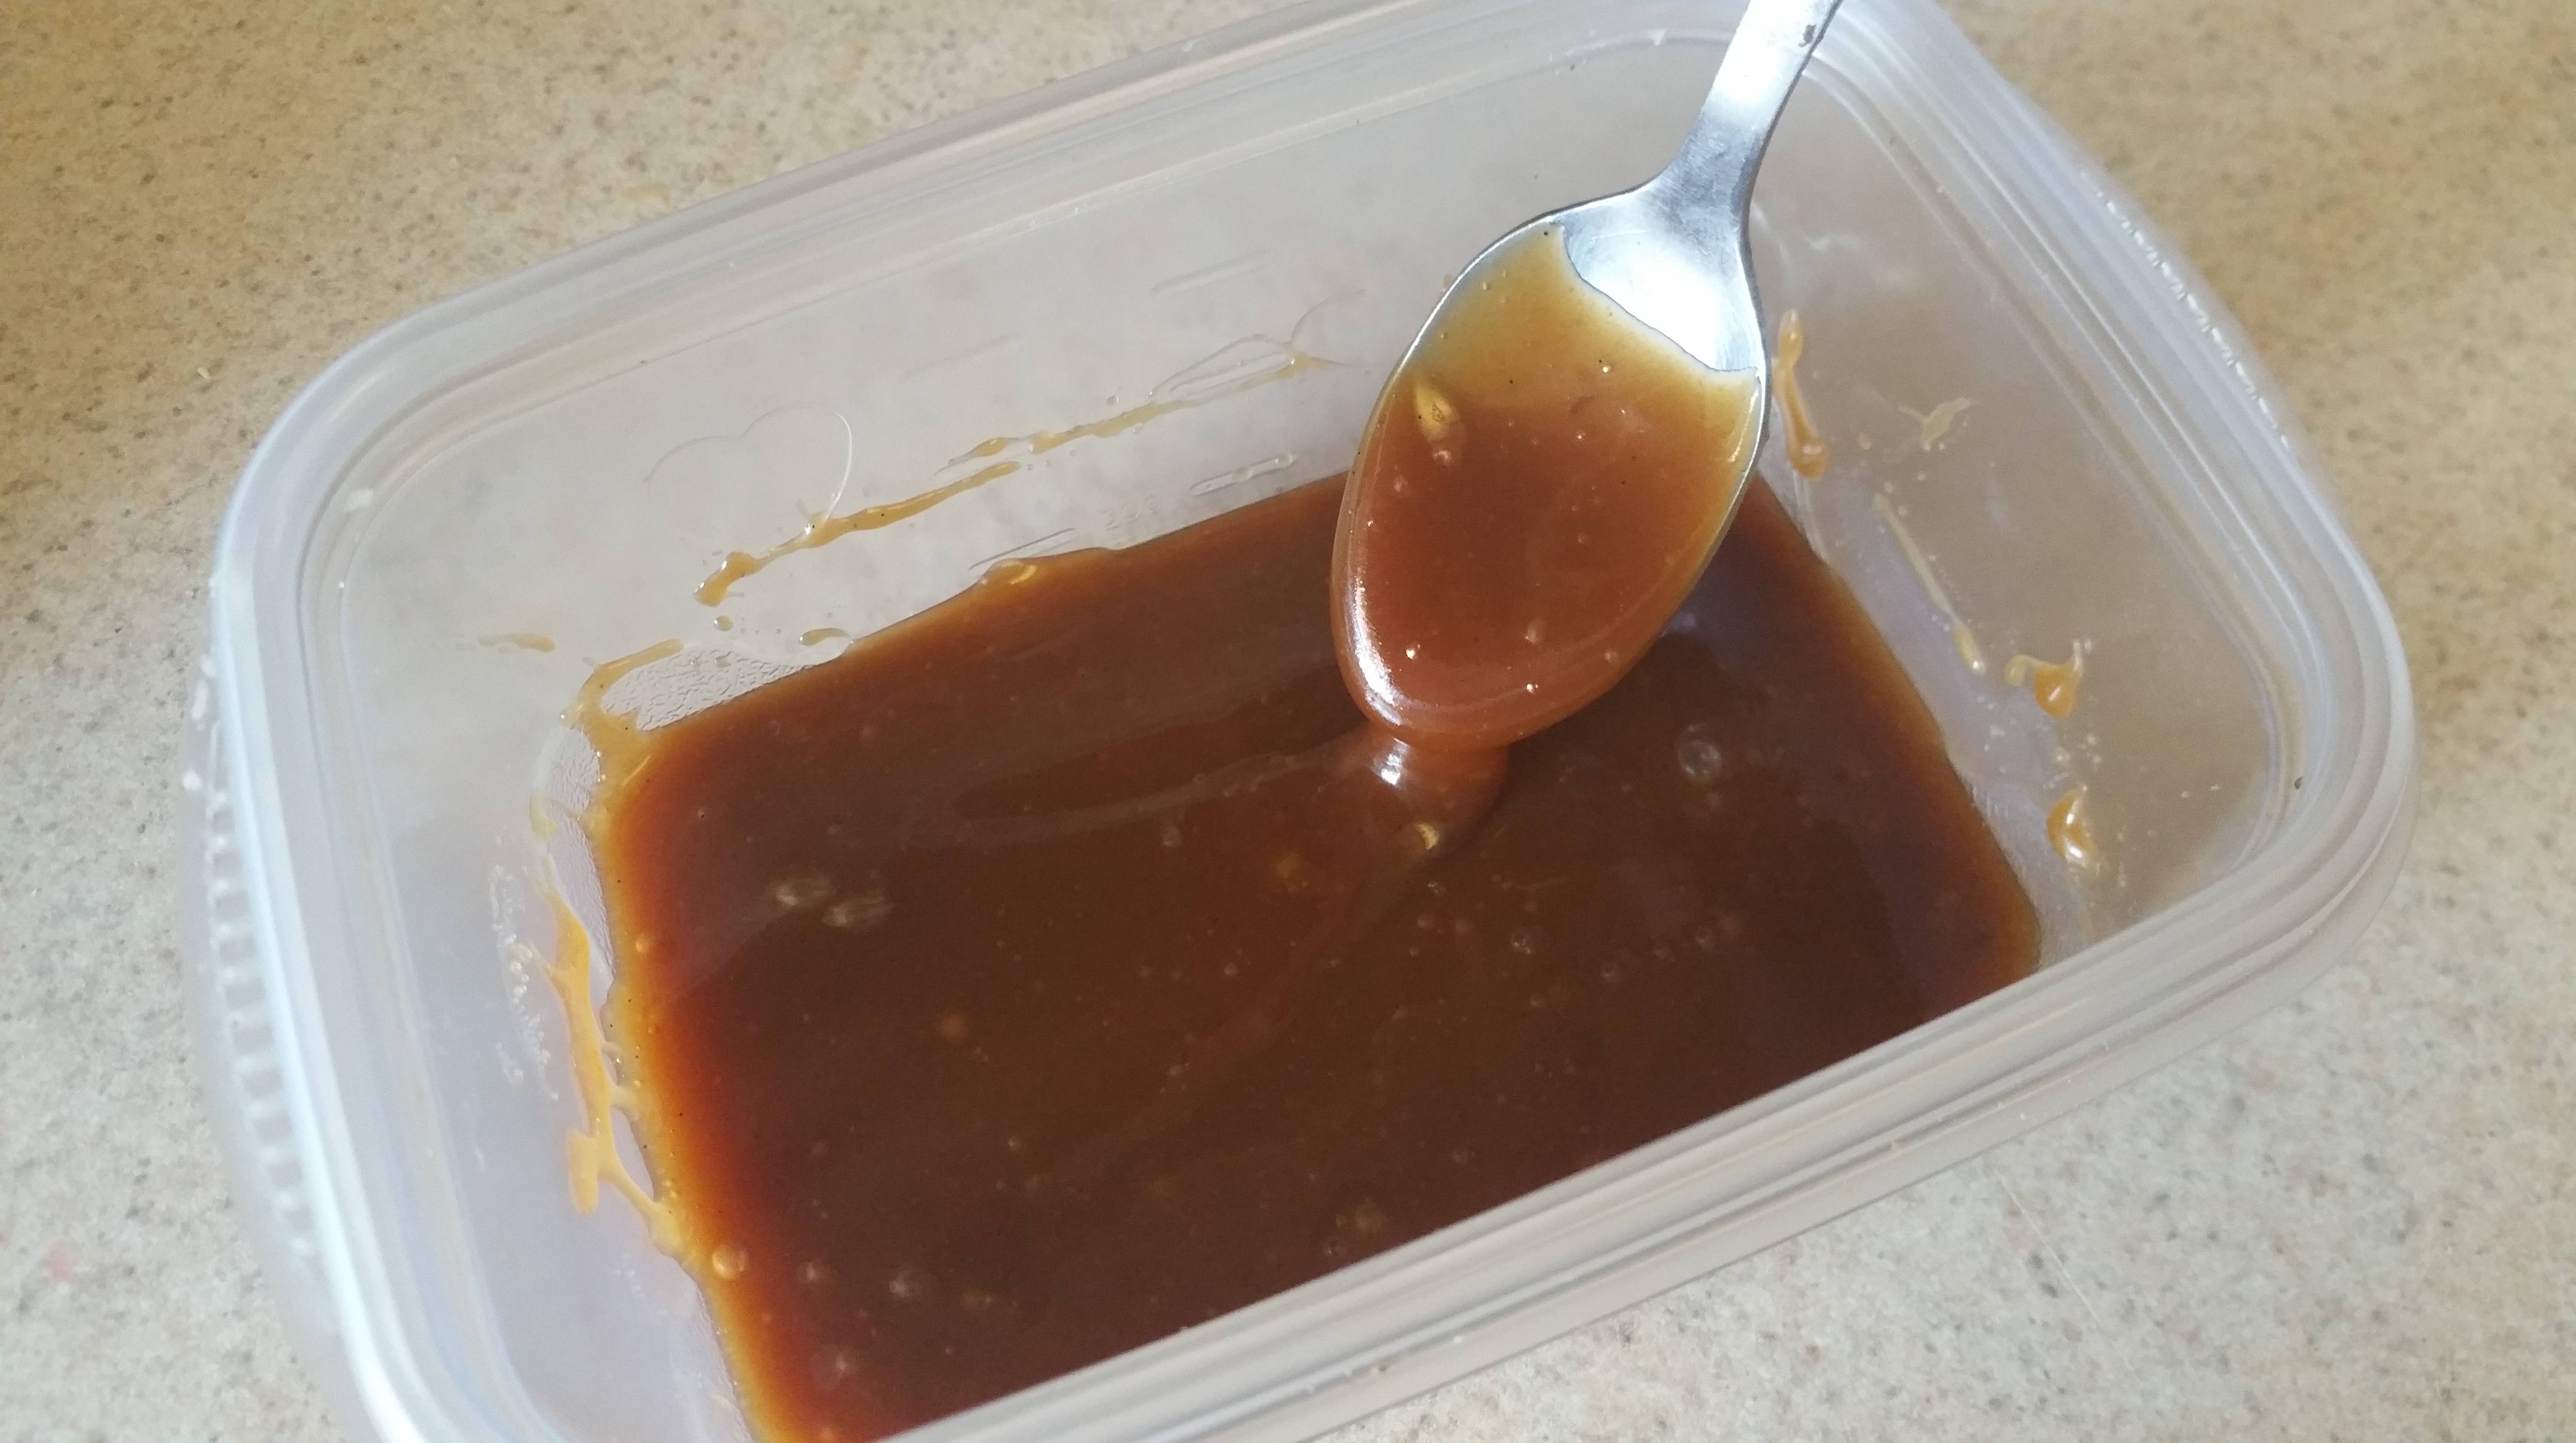
Pour the mixture into the prepared 8×8 in. pan and let cool completely. It will take several hours.
Line a baking sheet with parchment paper.
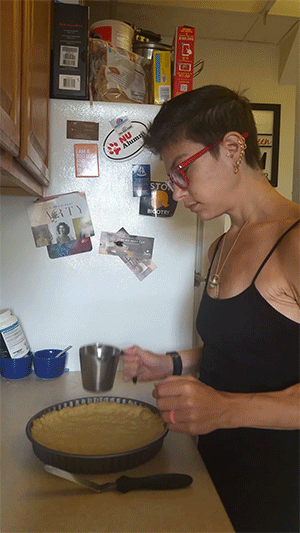
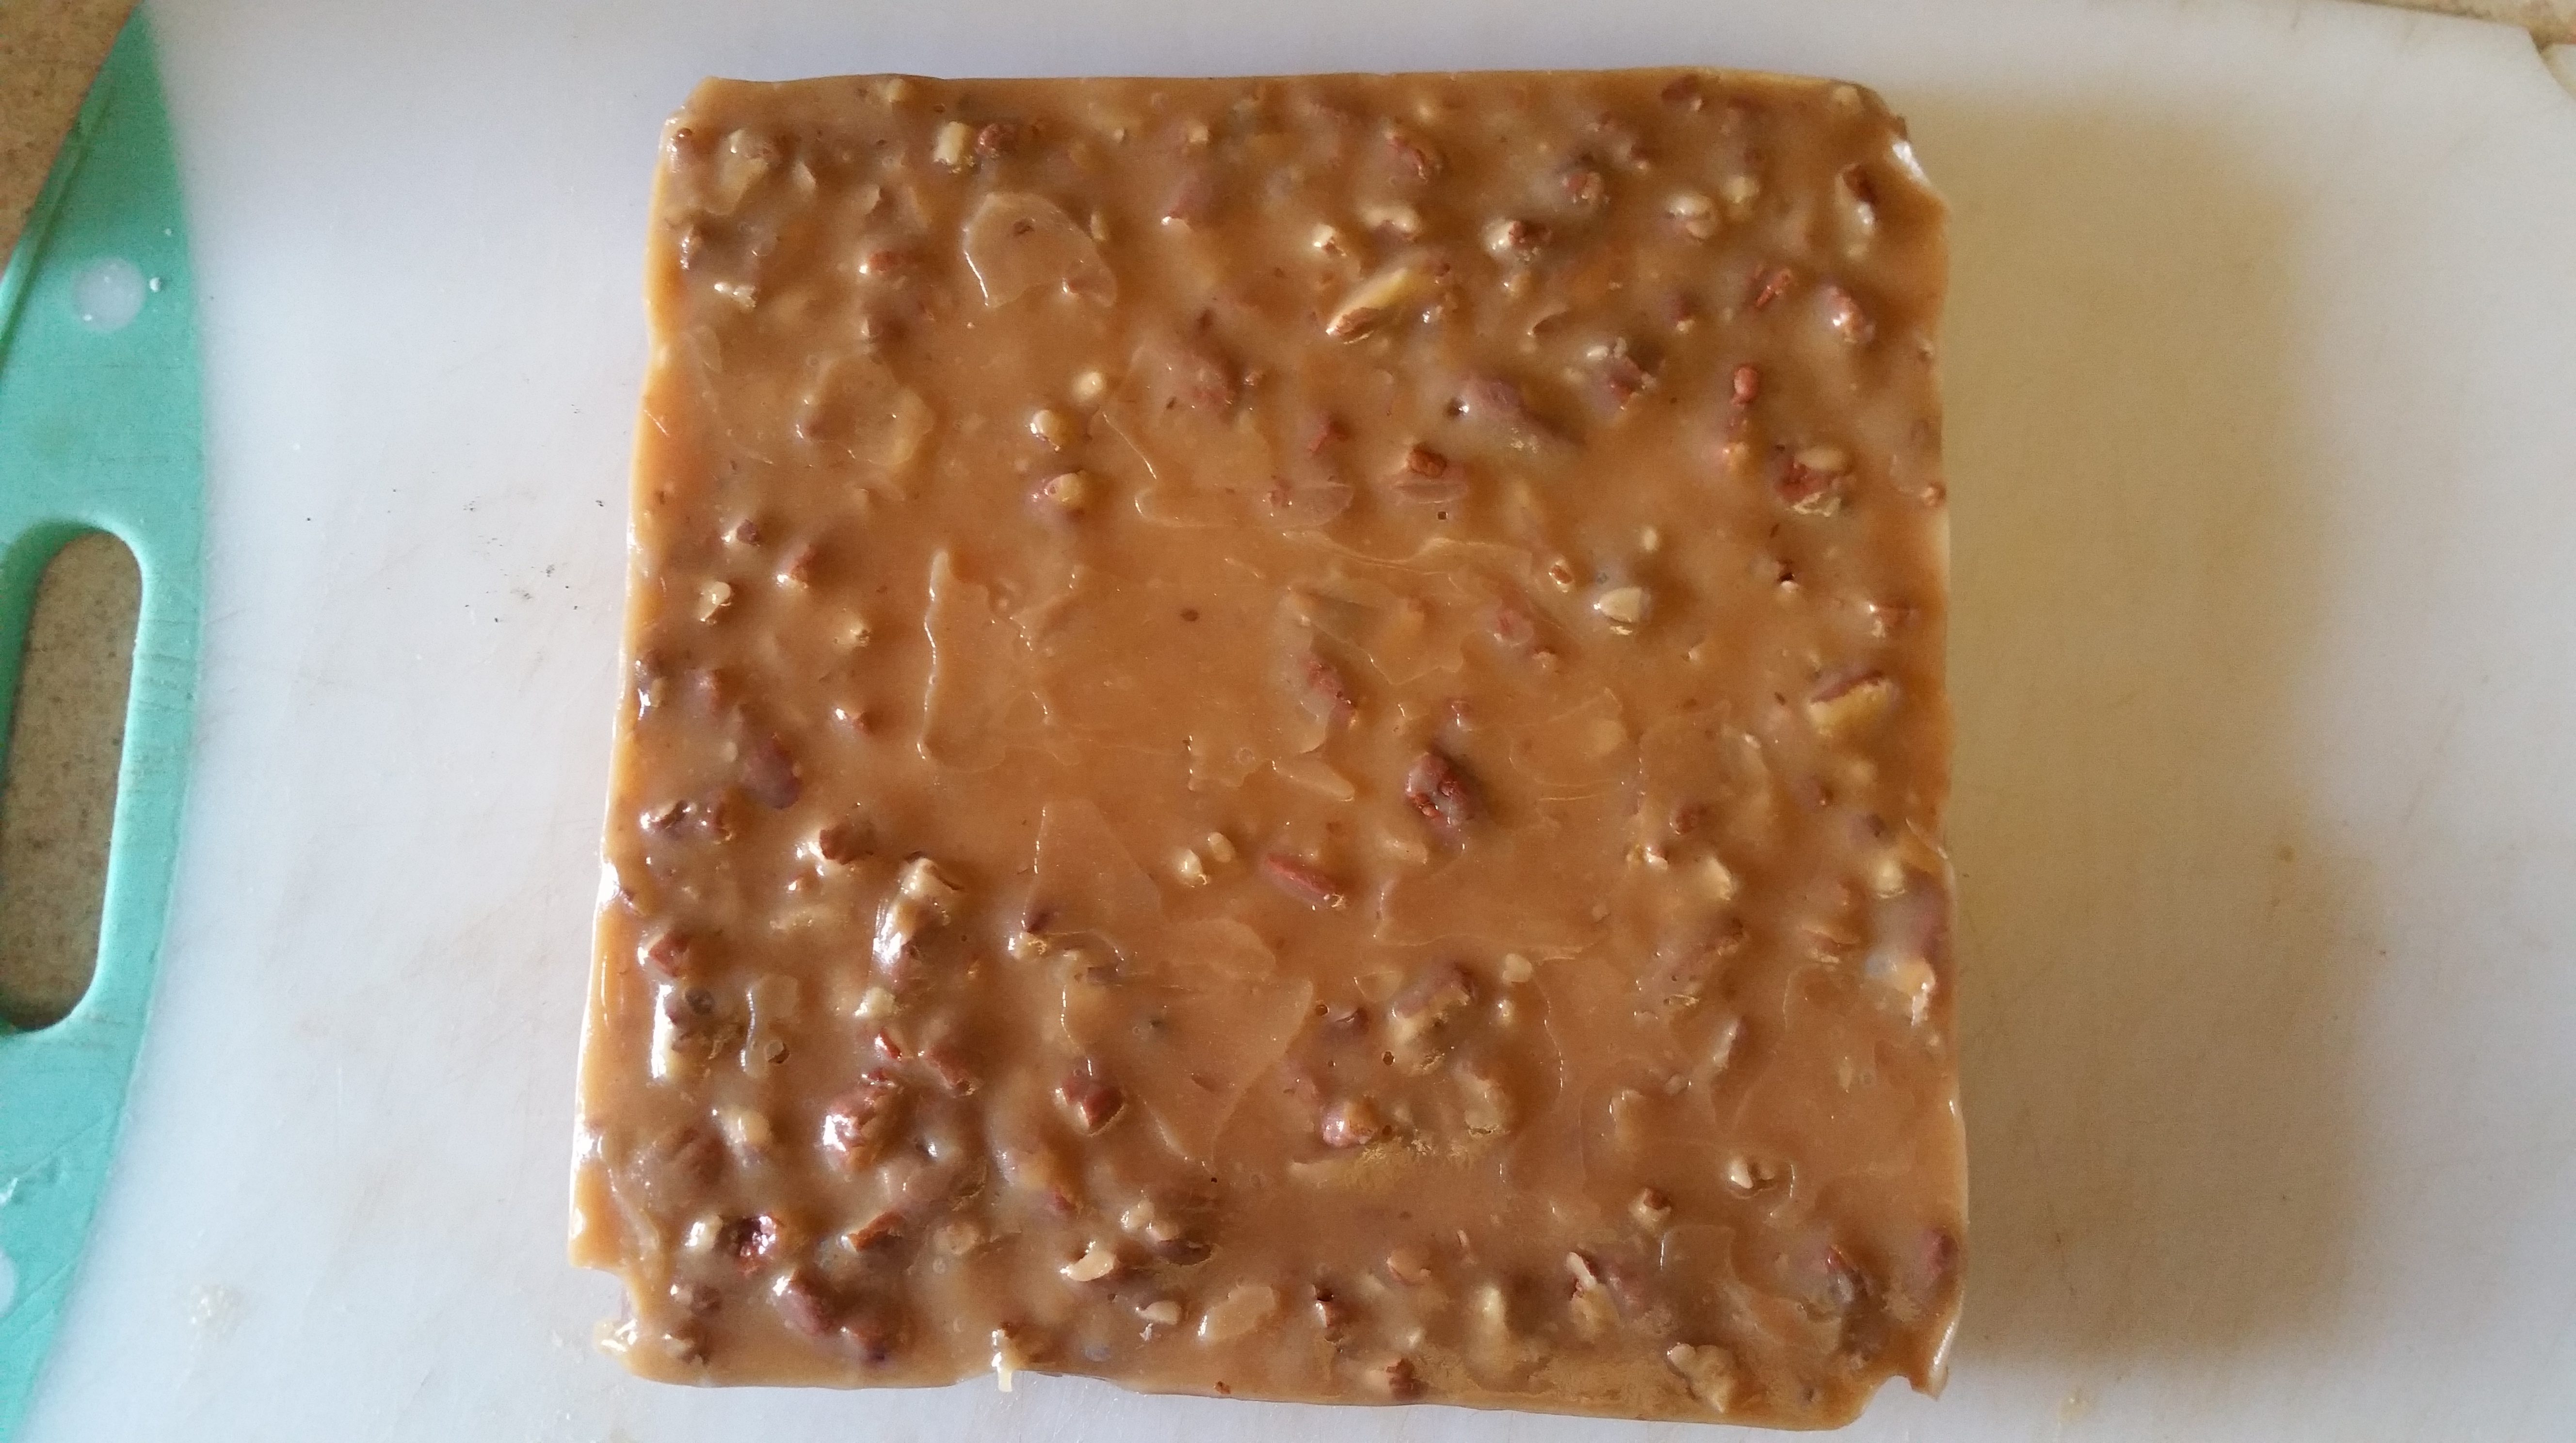
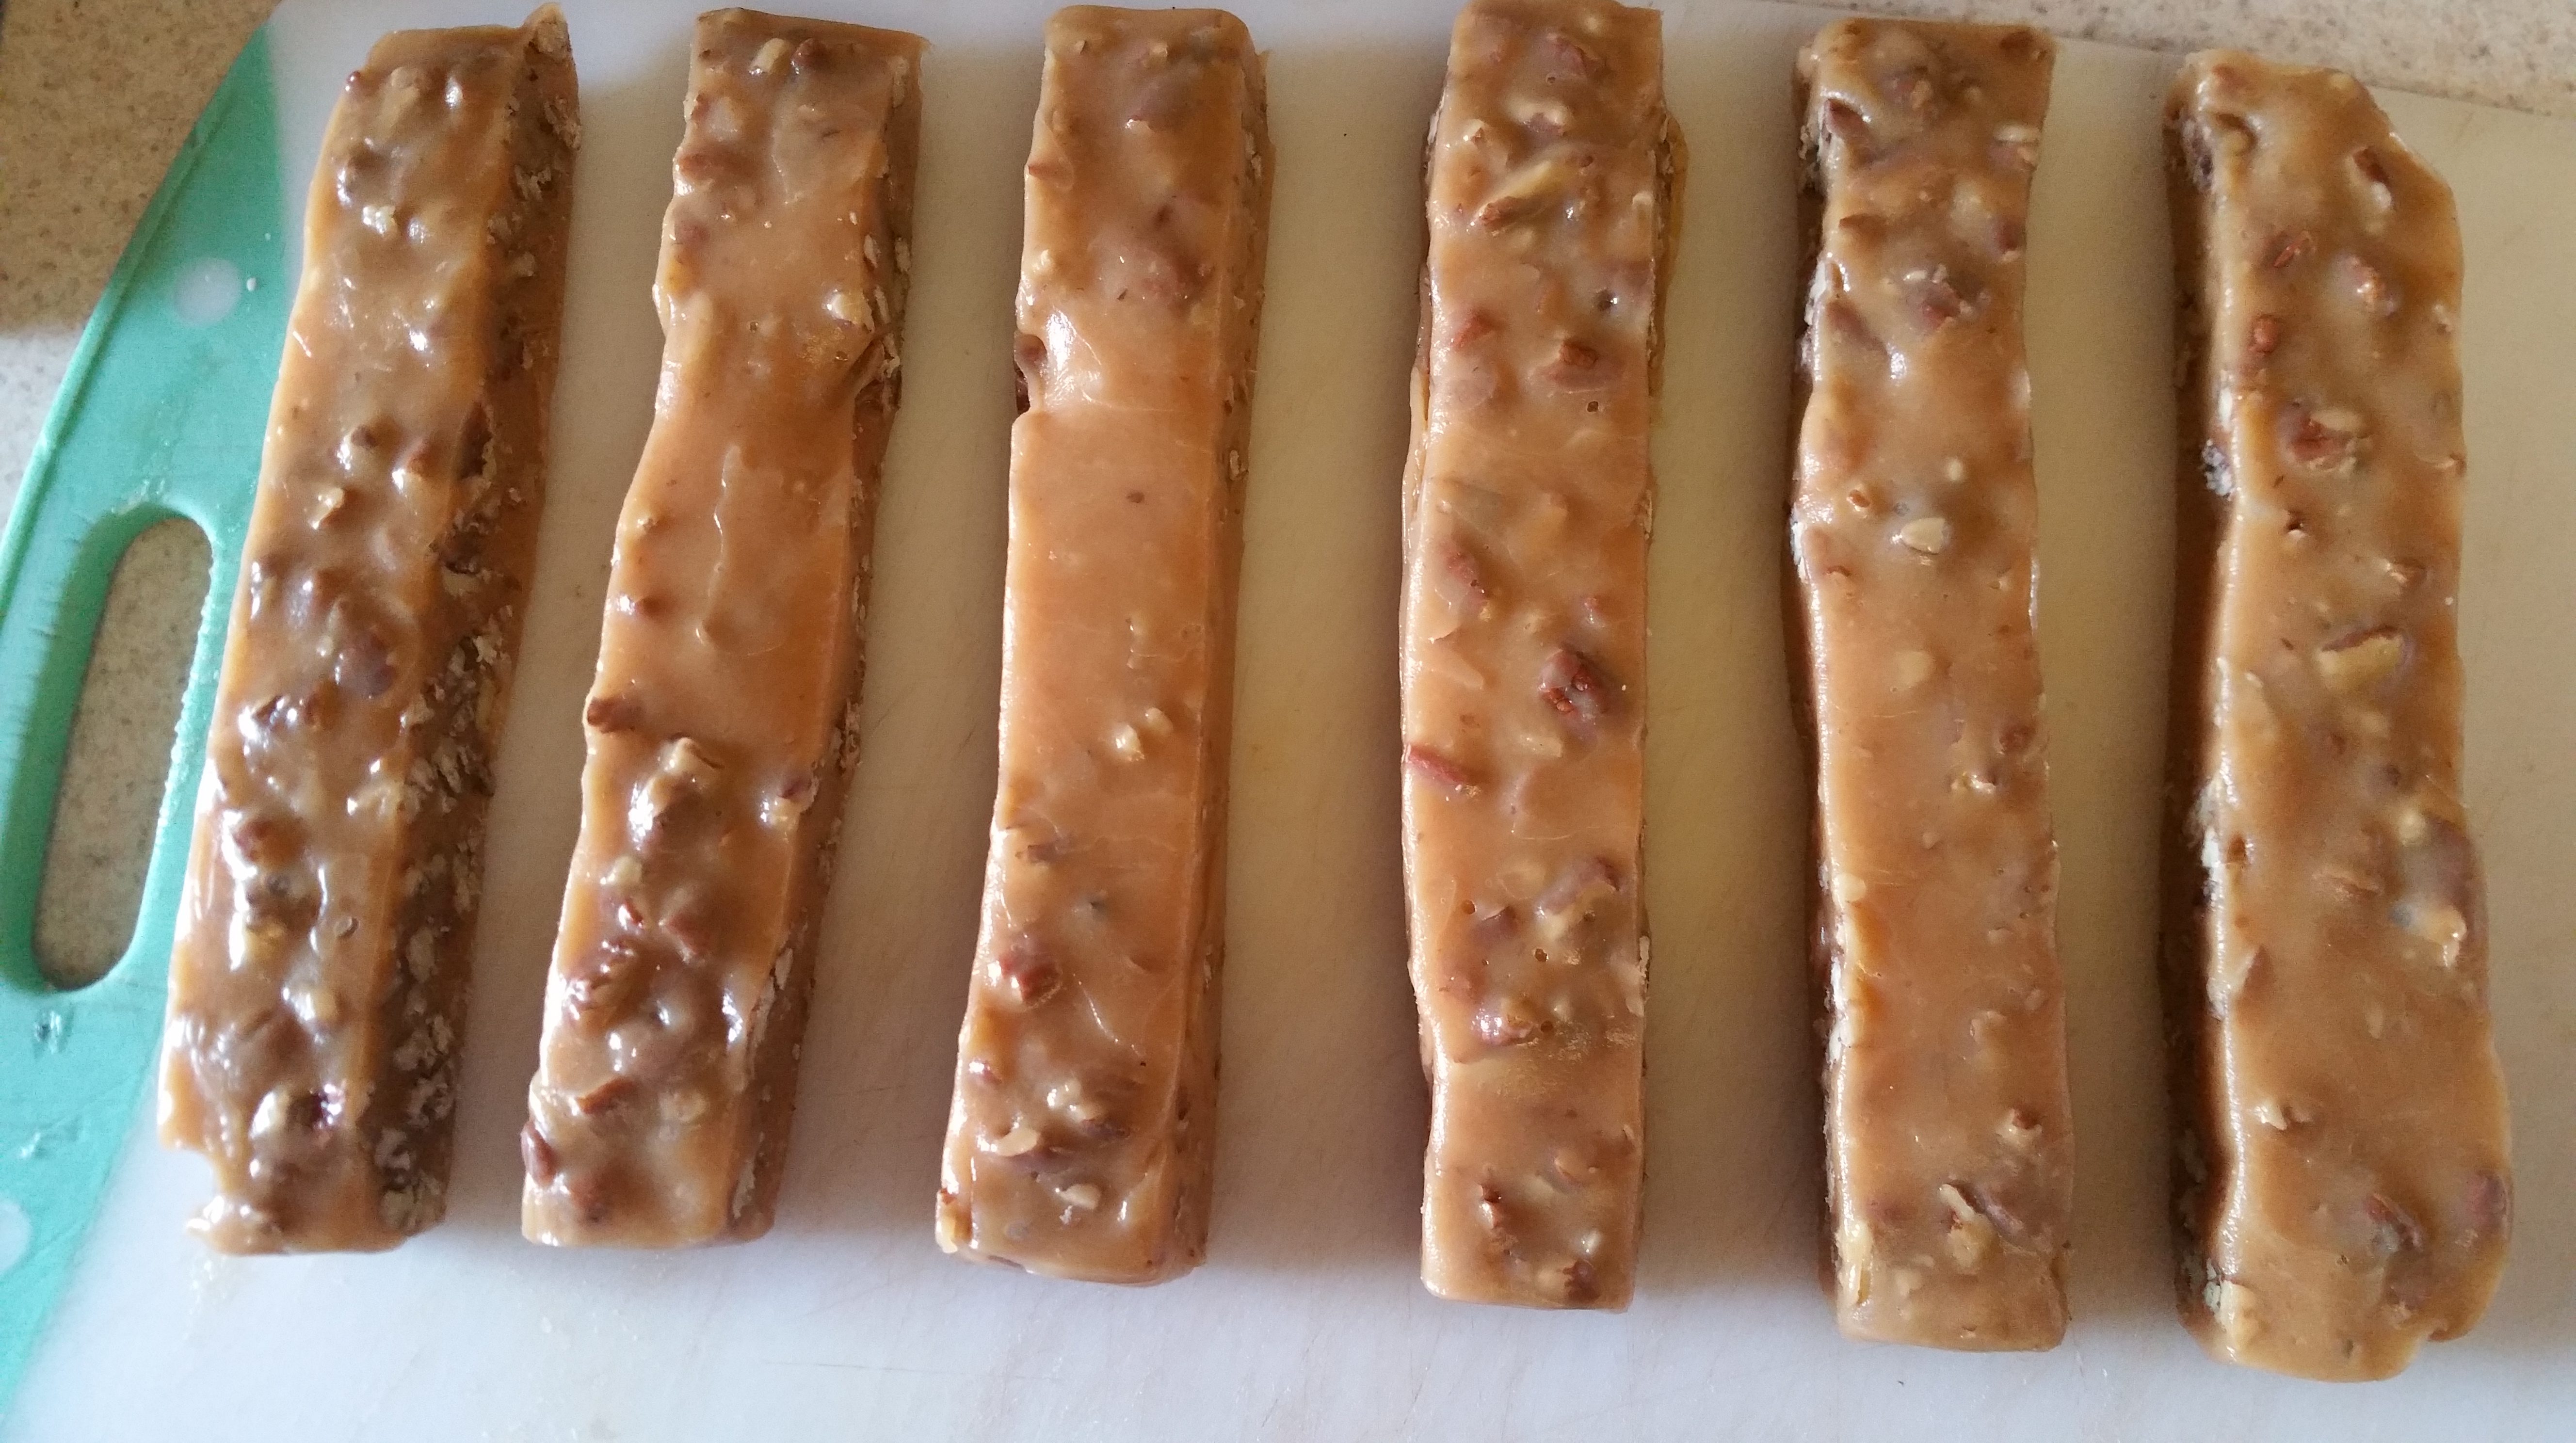
Once cool, cut the pecan caramels into squares using a pizza wheel or very sharp scissors.

Next, it’s time to coat the caramels. If you are using dark chocolate, melt 75% of it over a double boiler over low heat and then add the remaining 25% off the heat. Stir until all of the chocolate is melted. If you are using the melting wafers or other compound coating, simply melt all of it in a double boiler over low heat while stirring. Don’t have a double boiler? Neither do I. I use a mixing bowl set in a steamer insert over a few inches of water that is not touching the bottom of the bowl.

Put one square of pecan caramel on a fork and dip it in the chocolate, coating it completely. Shake the fork gently to allow the excess to drip off and then carefully move it to the prepared baking sheet. Sprinkle with a few sea salt flakes (if using).

Repeat until you have coated all of the caramels.

Once the chocolate has set, you can store the squares in an airtight container between layers of parchment or wax paper.

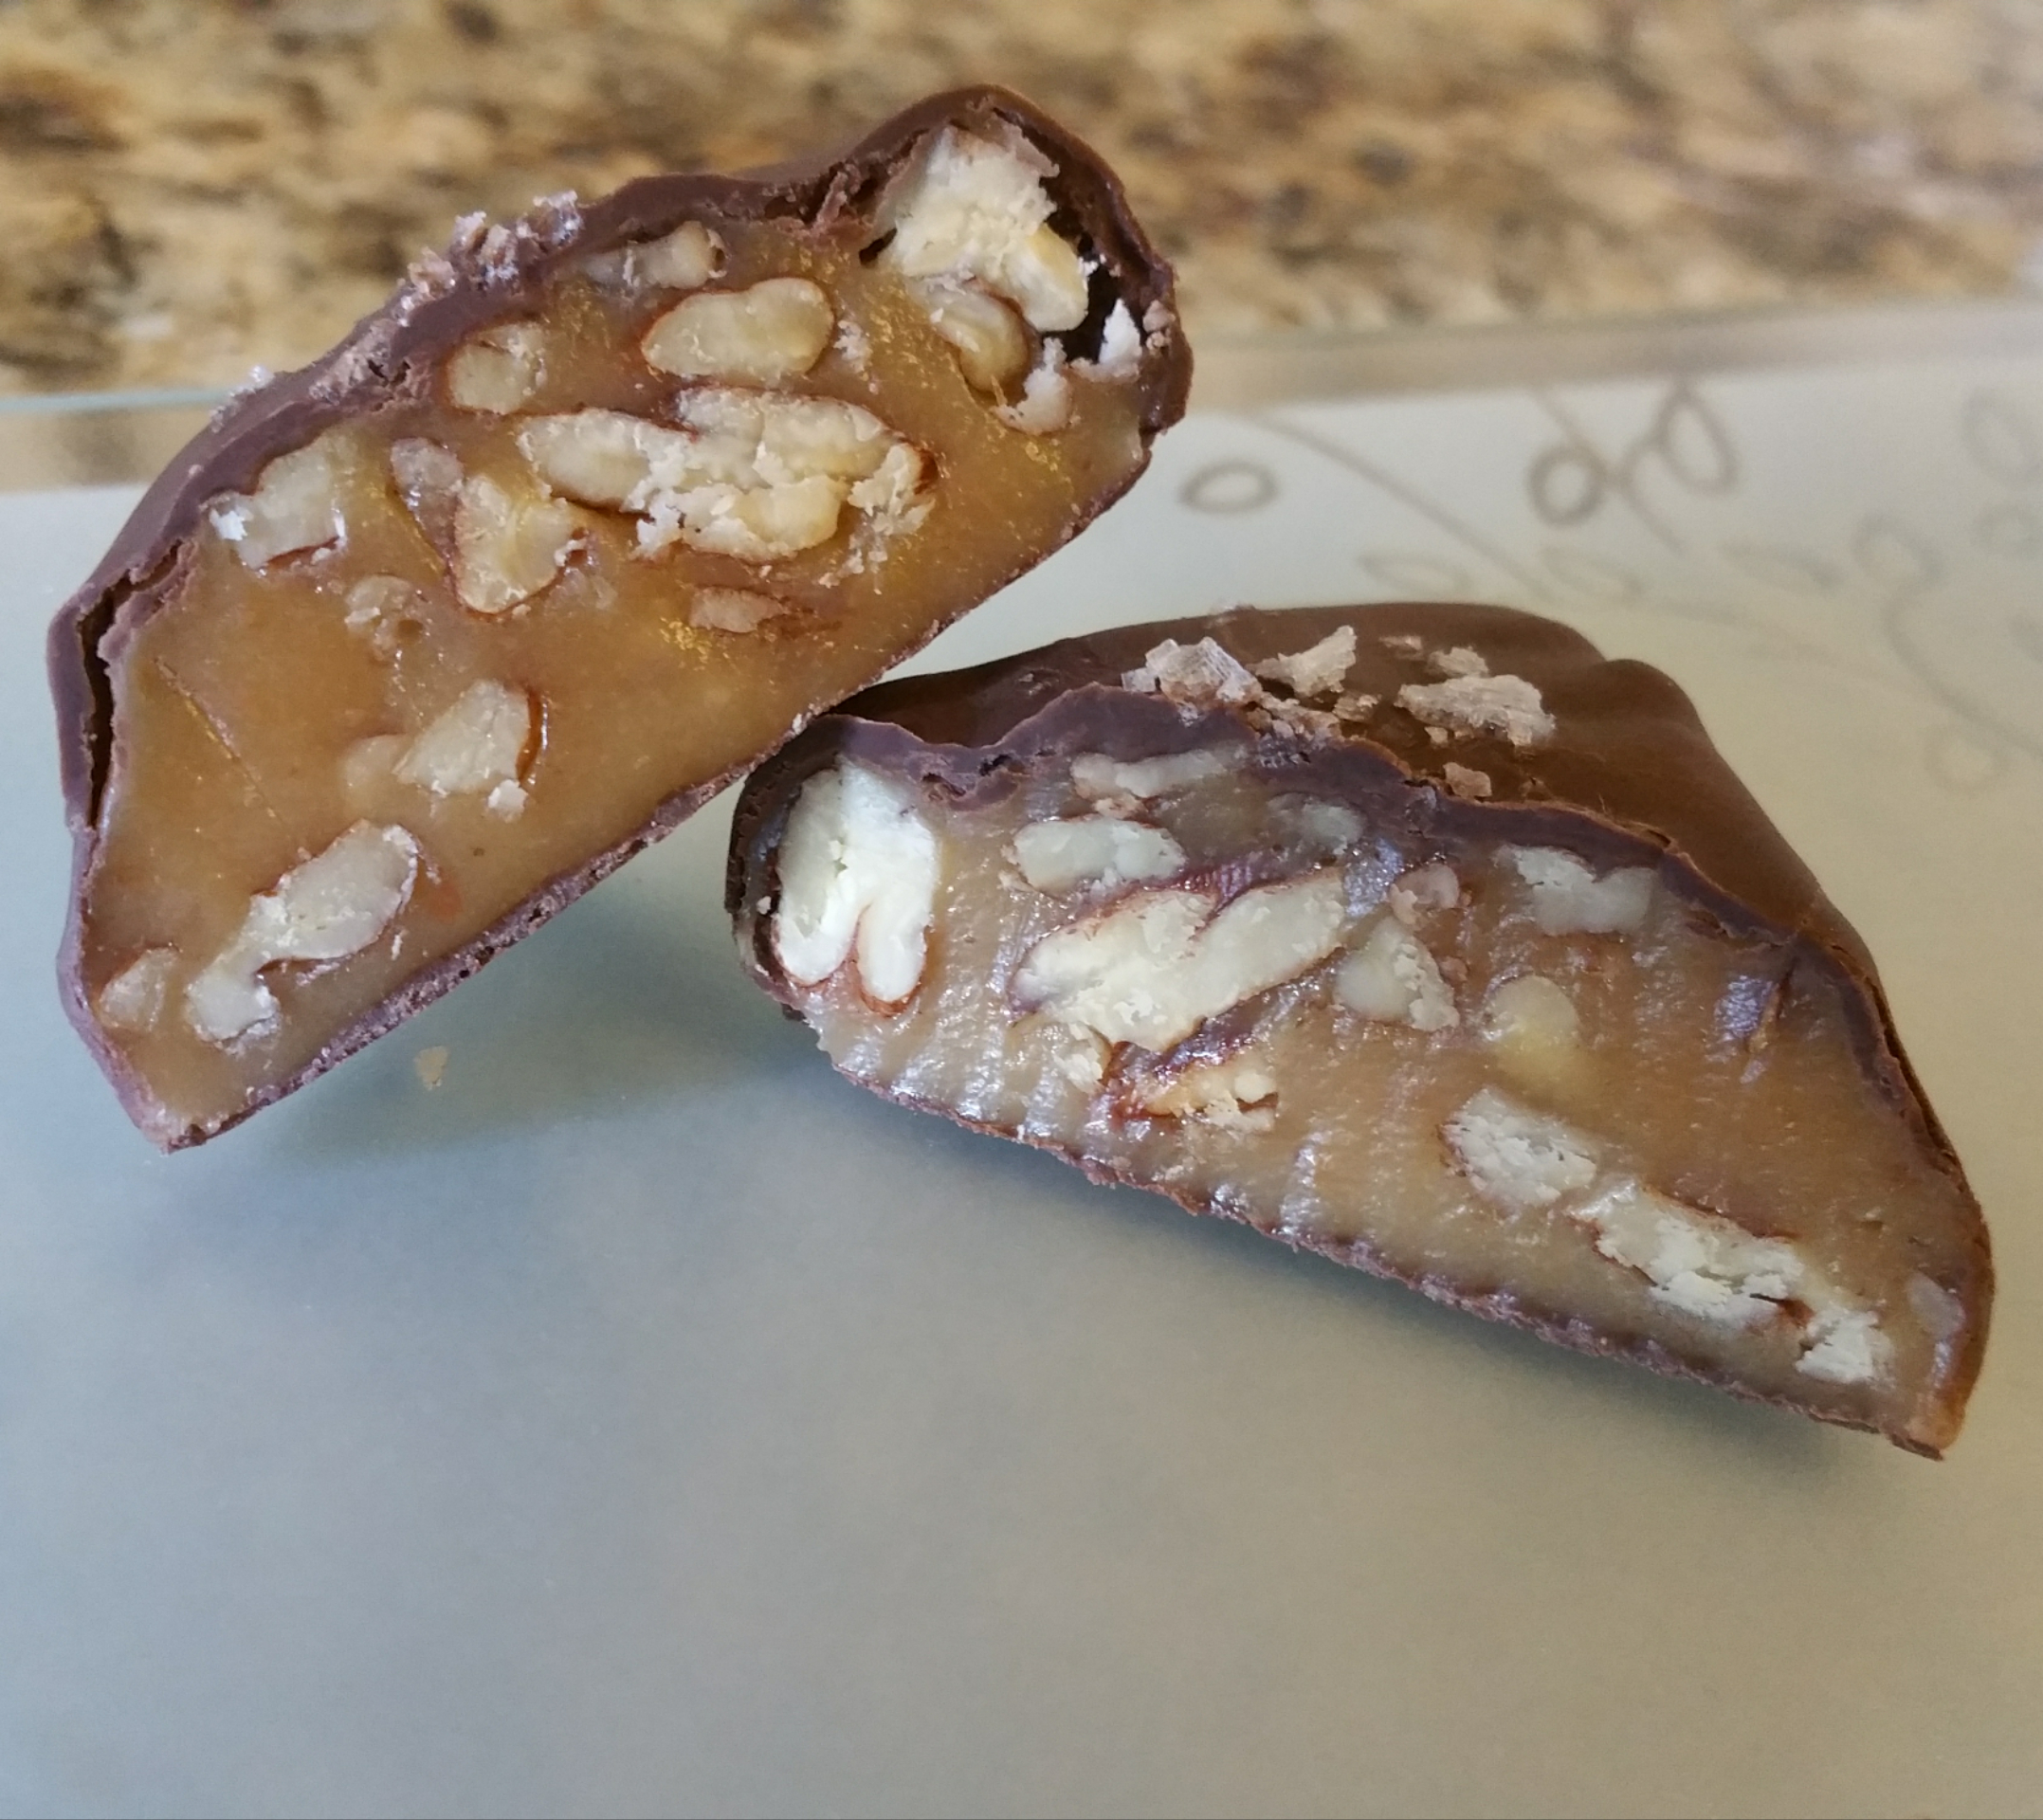
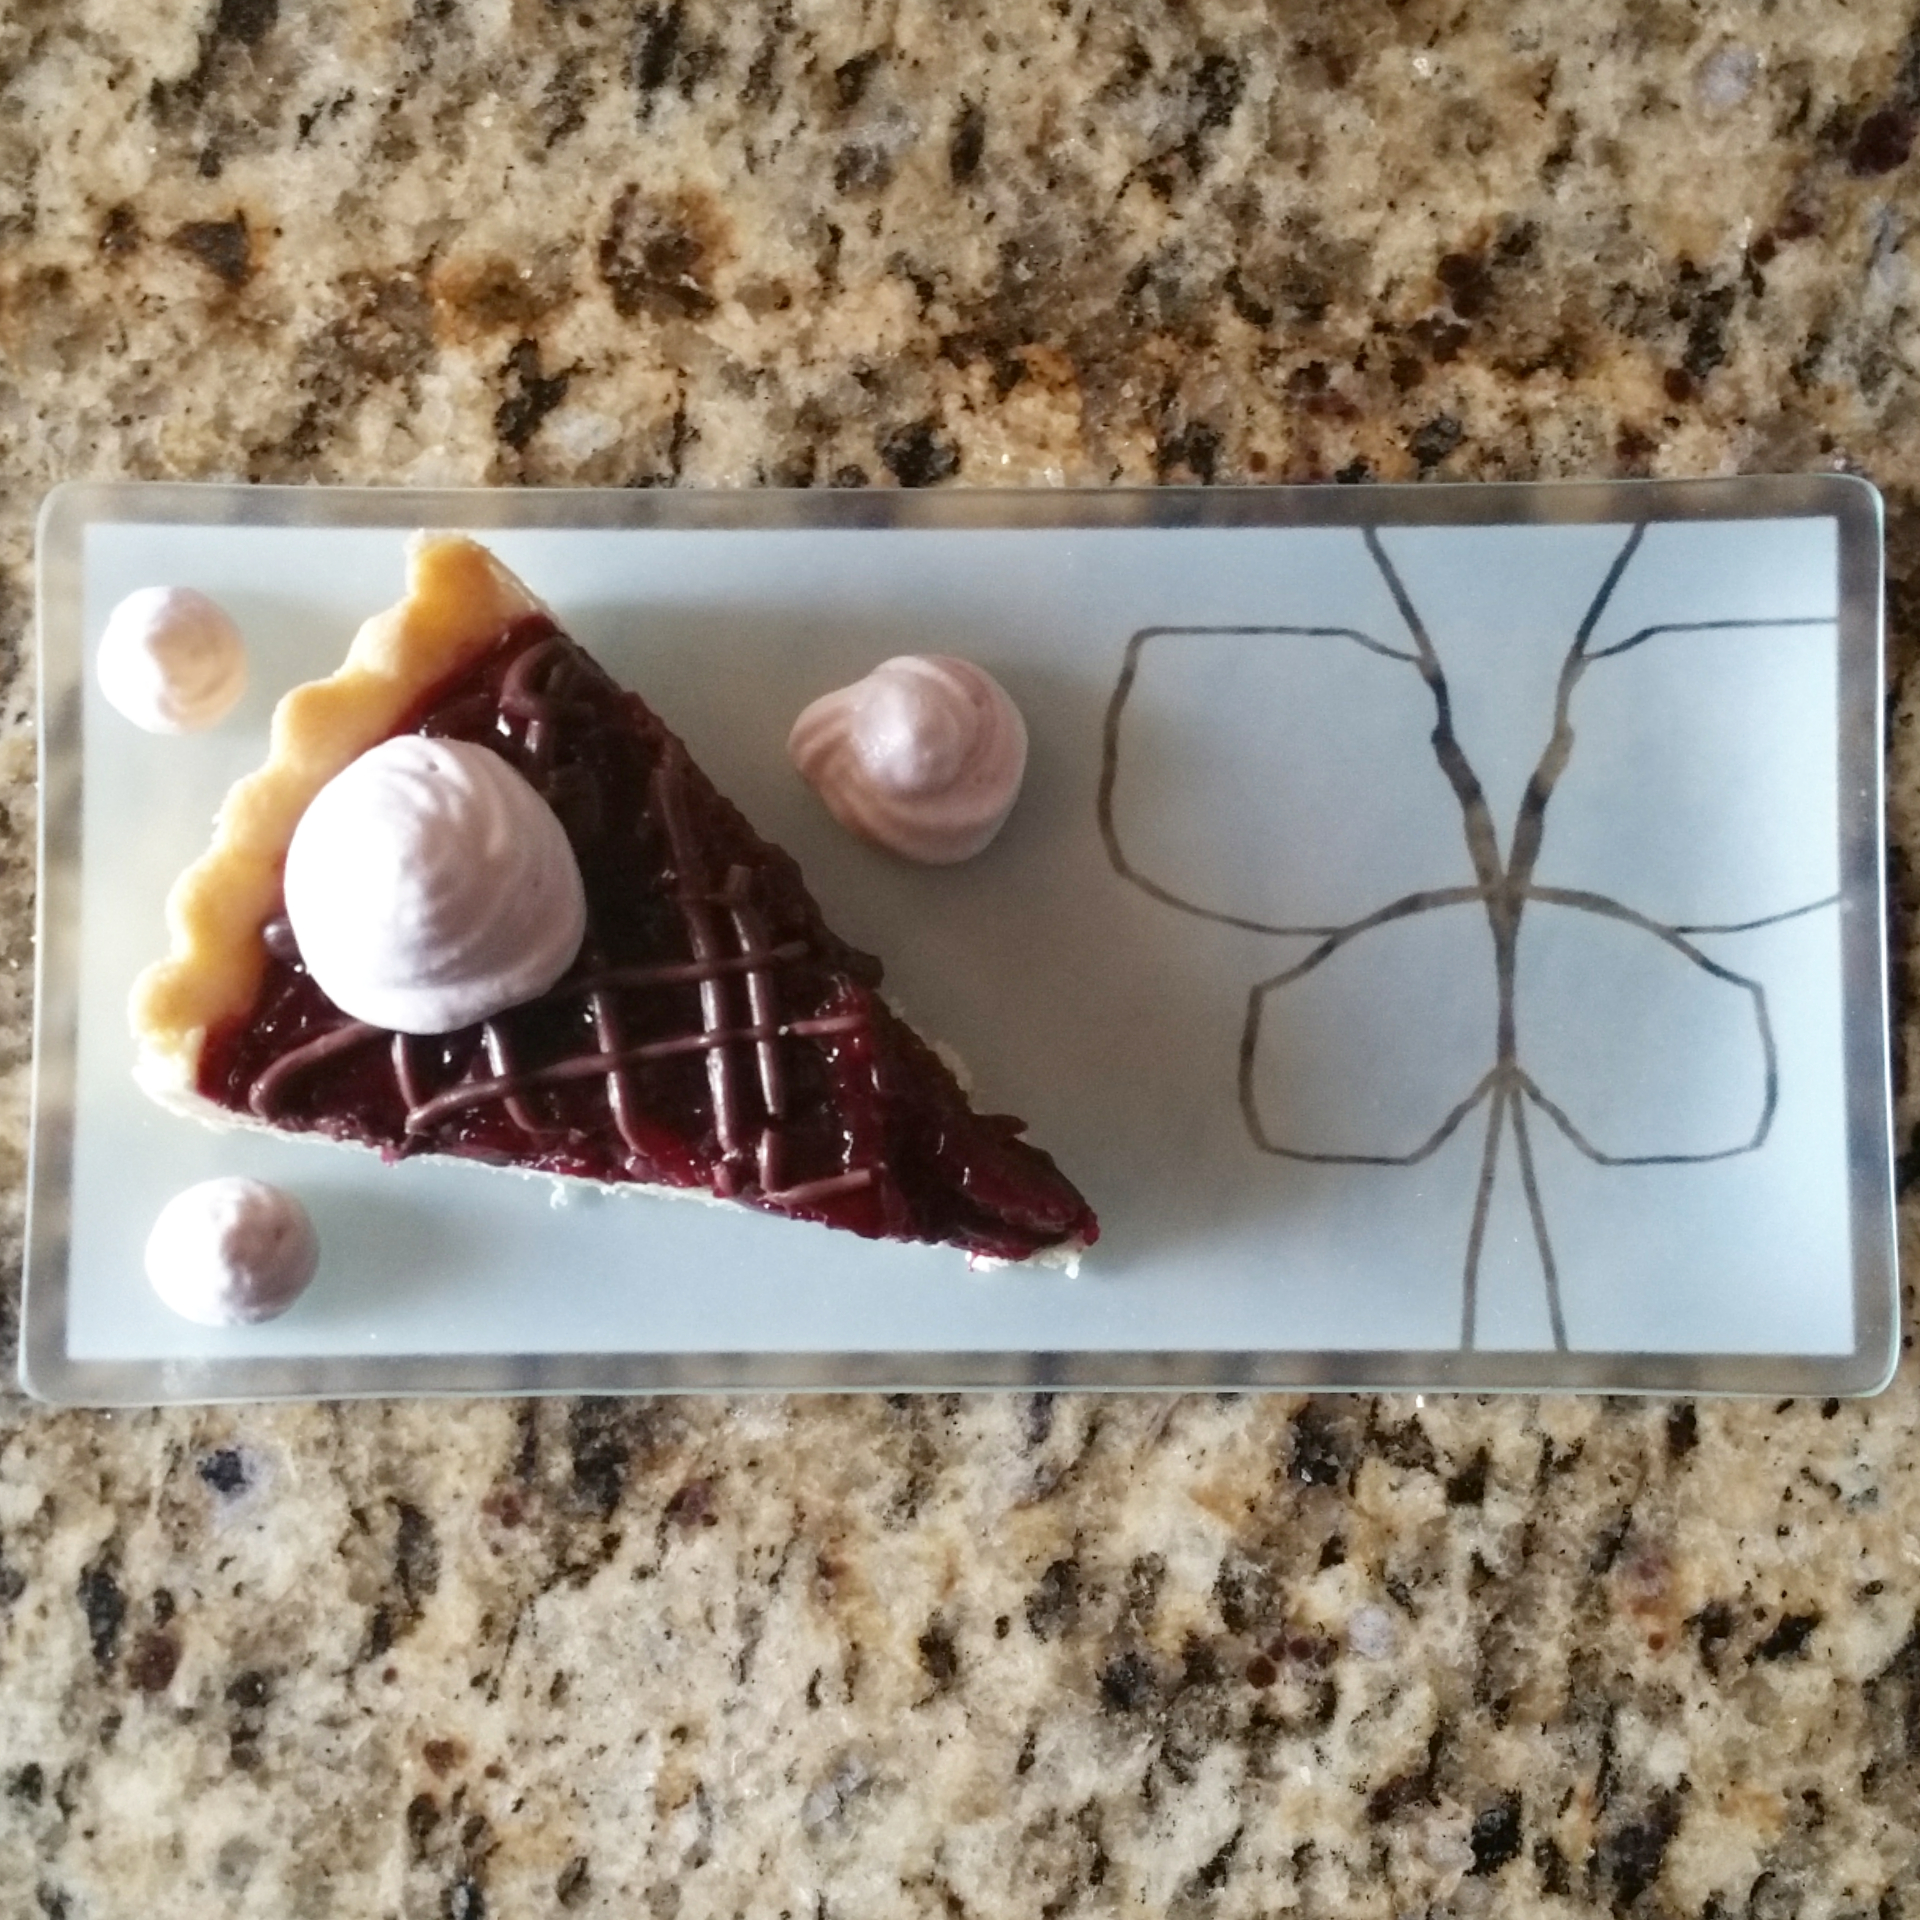
Crunchy toasted pecans suspended in rich, creamy caramel all wrapped up in a chocolate shell, and finished with just a touch of salt to balance the sweetness. All the delicious goodness of a turtle with half of the steps and pans. And this way, you get some of everything in each bite.
Simplified for sooner sharing, these undercover turtles are sure to bring smiles all around. And that’s the part of the process that really matters anyway.
Ciao for now,
Neen