Each winter I go completely overboard and cook a bizarre amount of food in the span of 2-3 days for the Folger Recycled Arts and Crafts Annual Show (FRACAS). The Green Committee holds the event each December and displays creative art pieces made from recycled objects by Folger employees, family, and friends.
After I’m home from the first ingredient run, I have a brief “you are out of your mind” moment, get that five minute panic out of the way, and then move forward. Once prep lists are made and I’ve worked out what needs to be done when / how things should be stored, it’s go time.
I may not be a trained chef, but I’ve been cooking for groups since I was old enough to reach the counter. One of the benefits of being the location of choice for most family holidays was / is getting to spend days in the kitchen working on party food with my family. We put on music, everyone picks a task, and sometimes a bottle of wine even starts floating around. Sometimes grandmothers or aunts even appear, ready to help. We’ve been a pizzelle factory, ravioli assembly line, cookie shapers, manicotti fillers and just about everything in between.
It’s different to do it alone. Fortunately, I never feel alone, because when I’m in the kitchen my family is with me whether they’re physically there or not. There may be several less pairs of hands, but all of their experience sticks right with me. So when this once-a-year madness comes around I go at it with everything I’ve got.
This year, the FRACAS tasting plates were primarily influenced by dishes from France and the Mediterranean. I was inspired by the spirit of our Green Committee to think about being a responsible steward of the earth and used each ingredient in as many ways as possible. I also considered the sustainability and seasonality of what was planned and consulted with friends from the local Arlington County Farmer’s Market in order to prepare a thoughtful, respectful group of dishes. My most sincere thanks go to those purveyors for making available the many local herbs, meats, vegetables, and preserved foods (i.e. dried cherries and strawberry jam). Special thanks to the fine folks at Smith Meadows, Cibola Farms, Toigo Orchards, and Twin Springs.
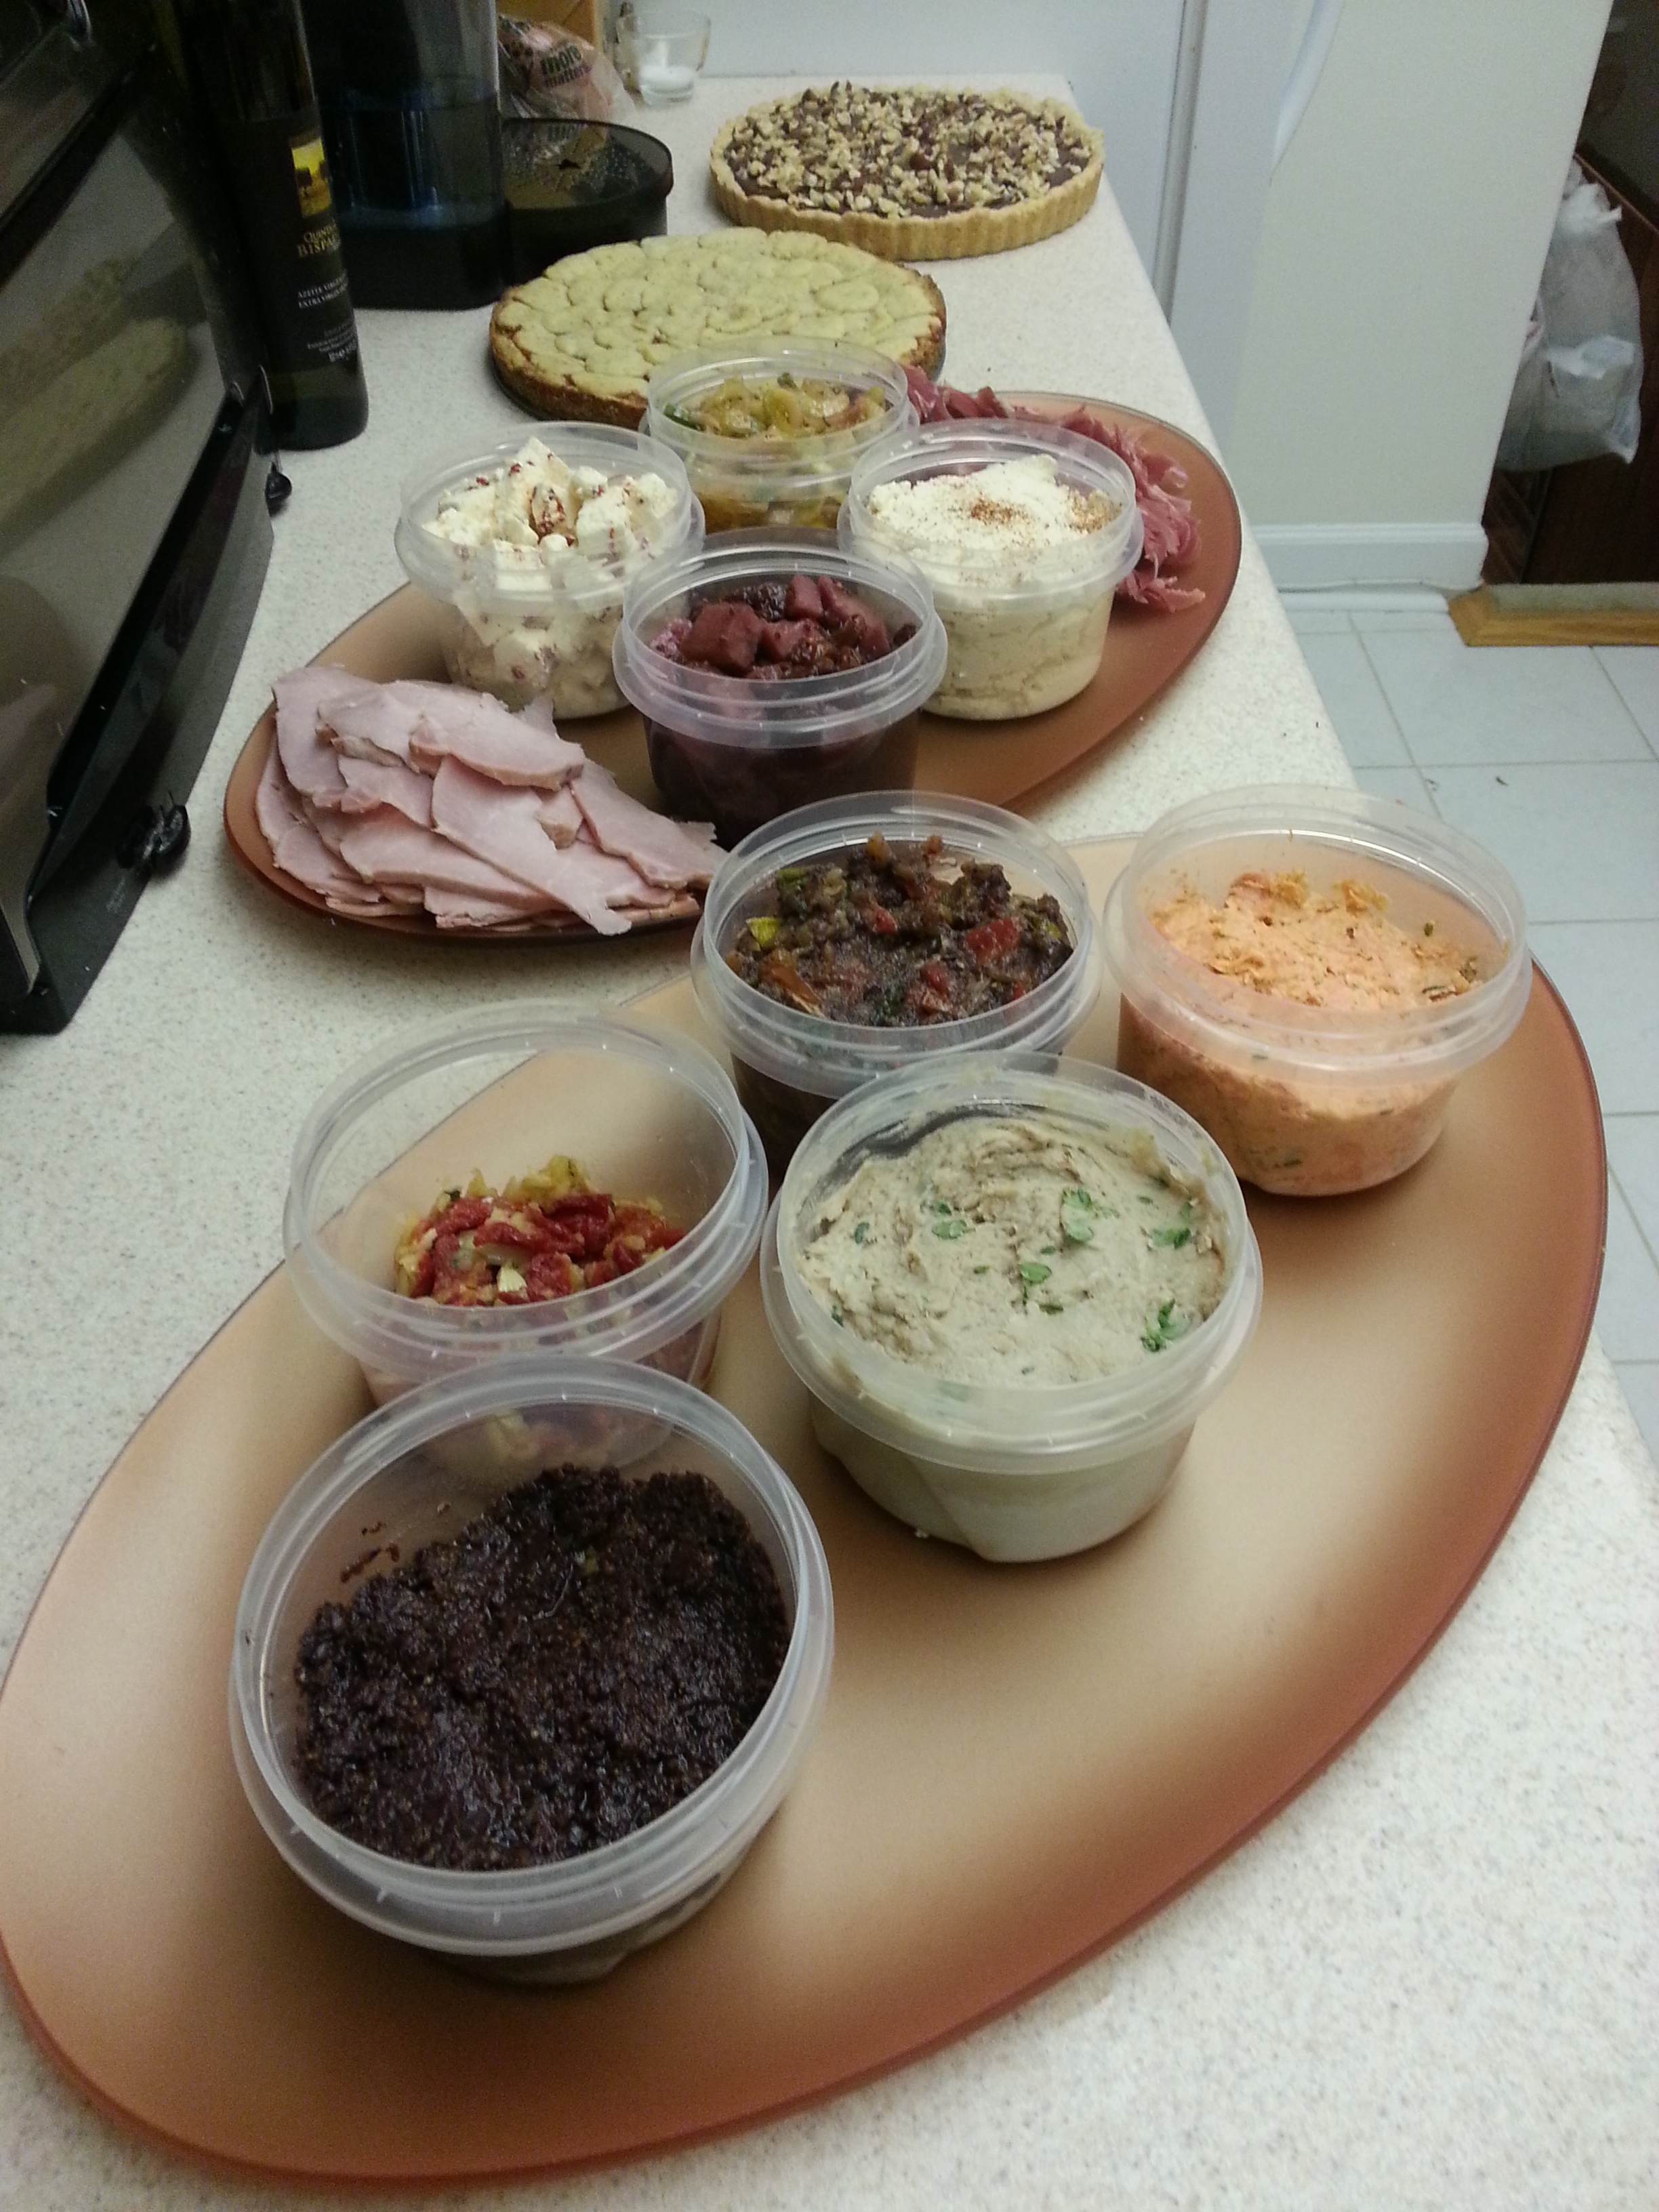
We begin with the plate of tapenades, spreads, and rillettes…
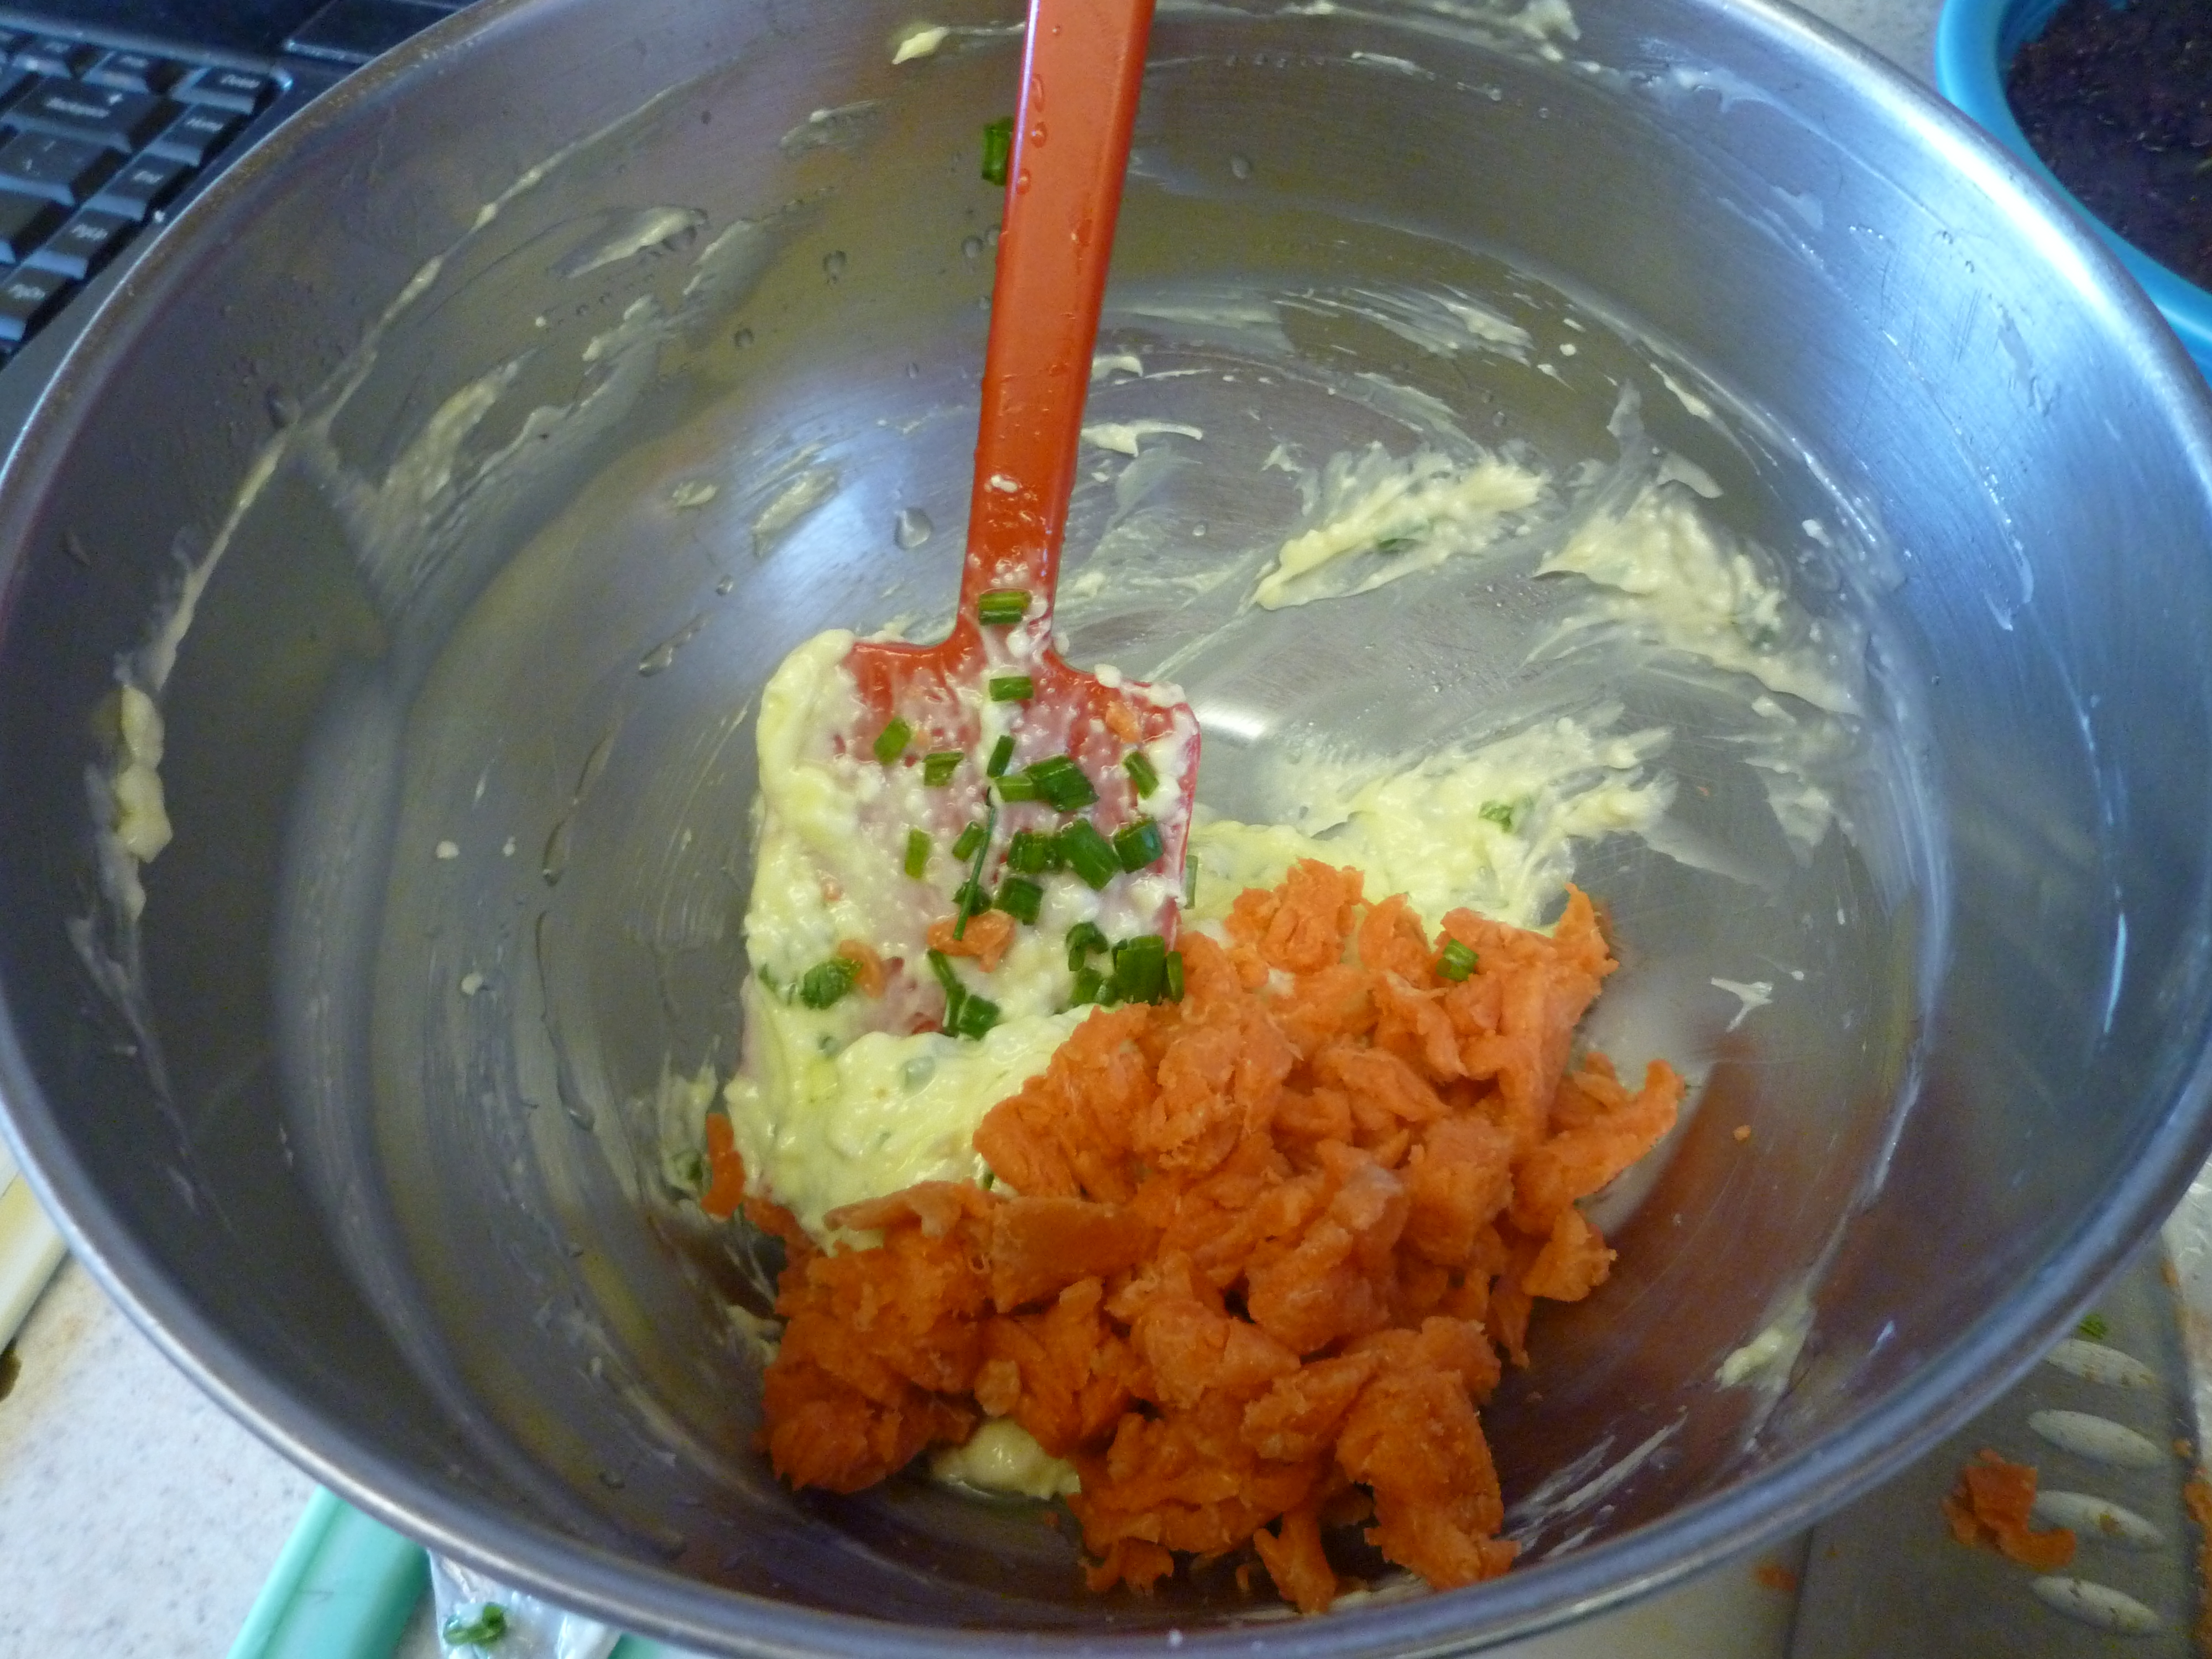
Smoked Salmon Rillettes
adapted from David Lebovitz
- 8 oz. wild salmon filet, bones removed.
- 5 tbsp. unsalted butter
- 1 tbsp. olive oil
- Juice of half of one lemon
- 2 tbsp. fresh chives, chopped.
- 4 oz. of smoked salmon, cut into thin strips and then diced.
- ¼ tsp. smoked paprika
Season the fresh salmon lightly with salt and steam for 8 minutes or until cooked through. Set aside to cool. In a medium-sized bowl, mash together the olive oil and butter until very smooth and then stir in the lemon juice, chives, and smoked salmon.

Remove the skin and flake the cooked, fresh salmon over the top of the mixture then fold it in gently until well combined. Season with chili powder and salt if needed. My smoked salmon was quite salty and so I did not add any extra salt.
Cover and chill for at least two hours. Allow the rillettes to come to room temperature before serving them. They will stay fresh covered in the refrigerator for up to three days or tightly wrapped in the freezer for up to two months.

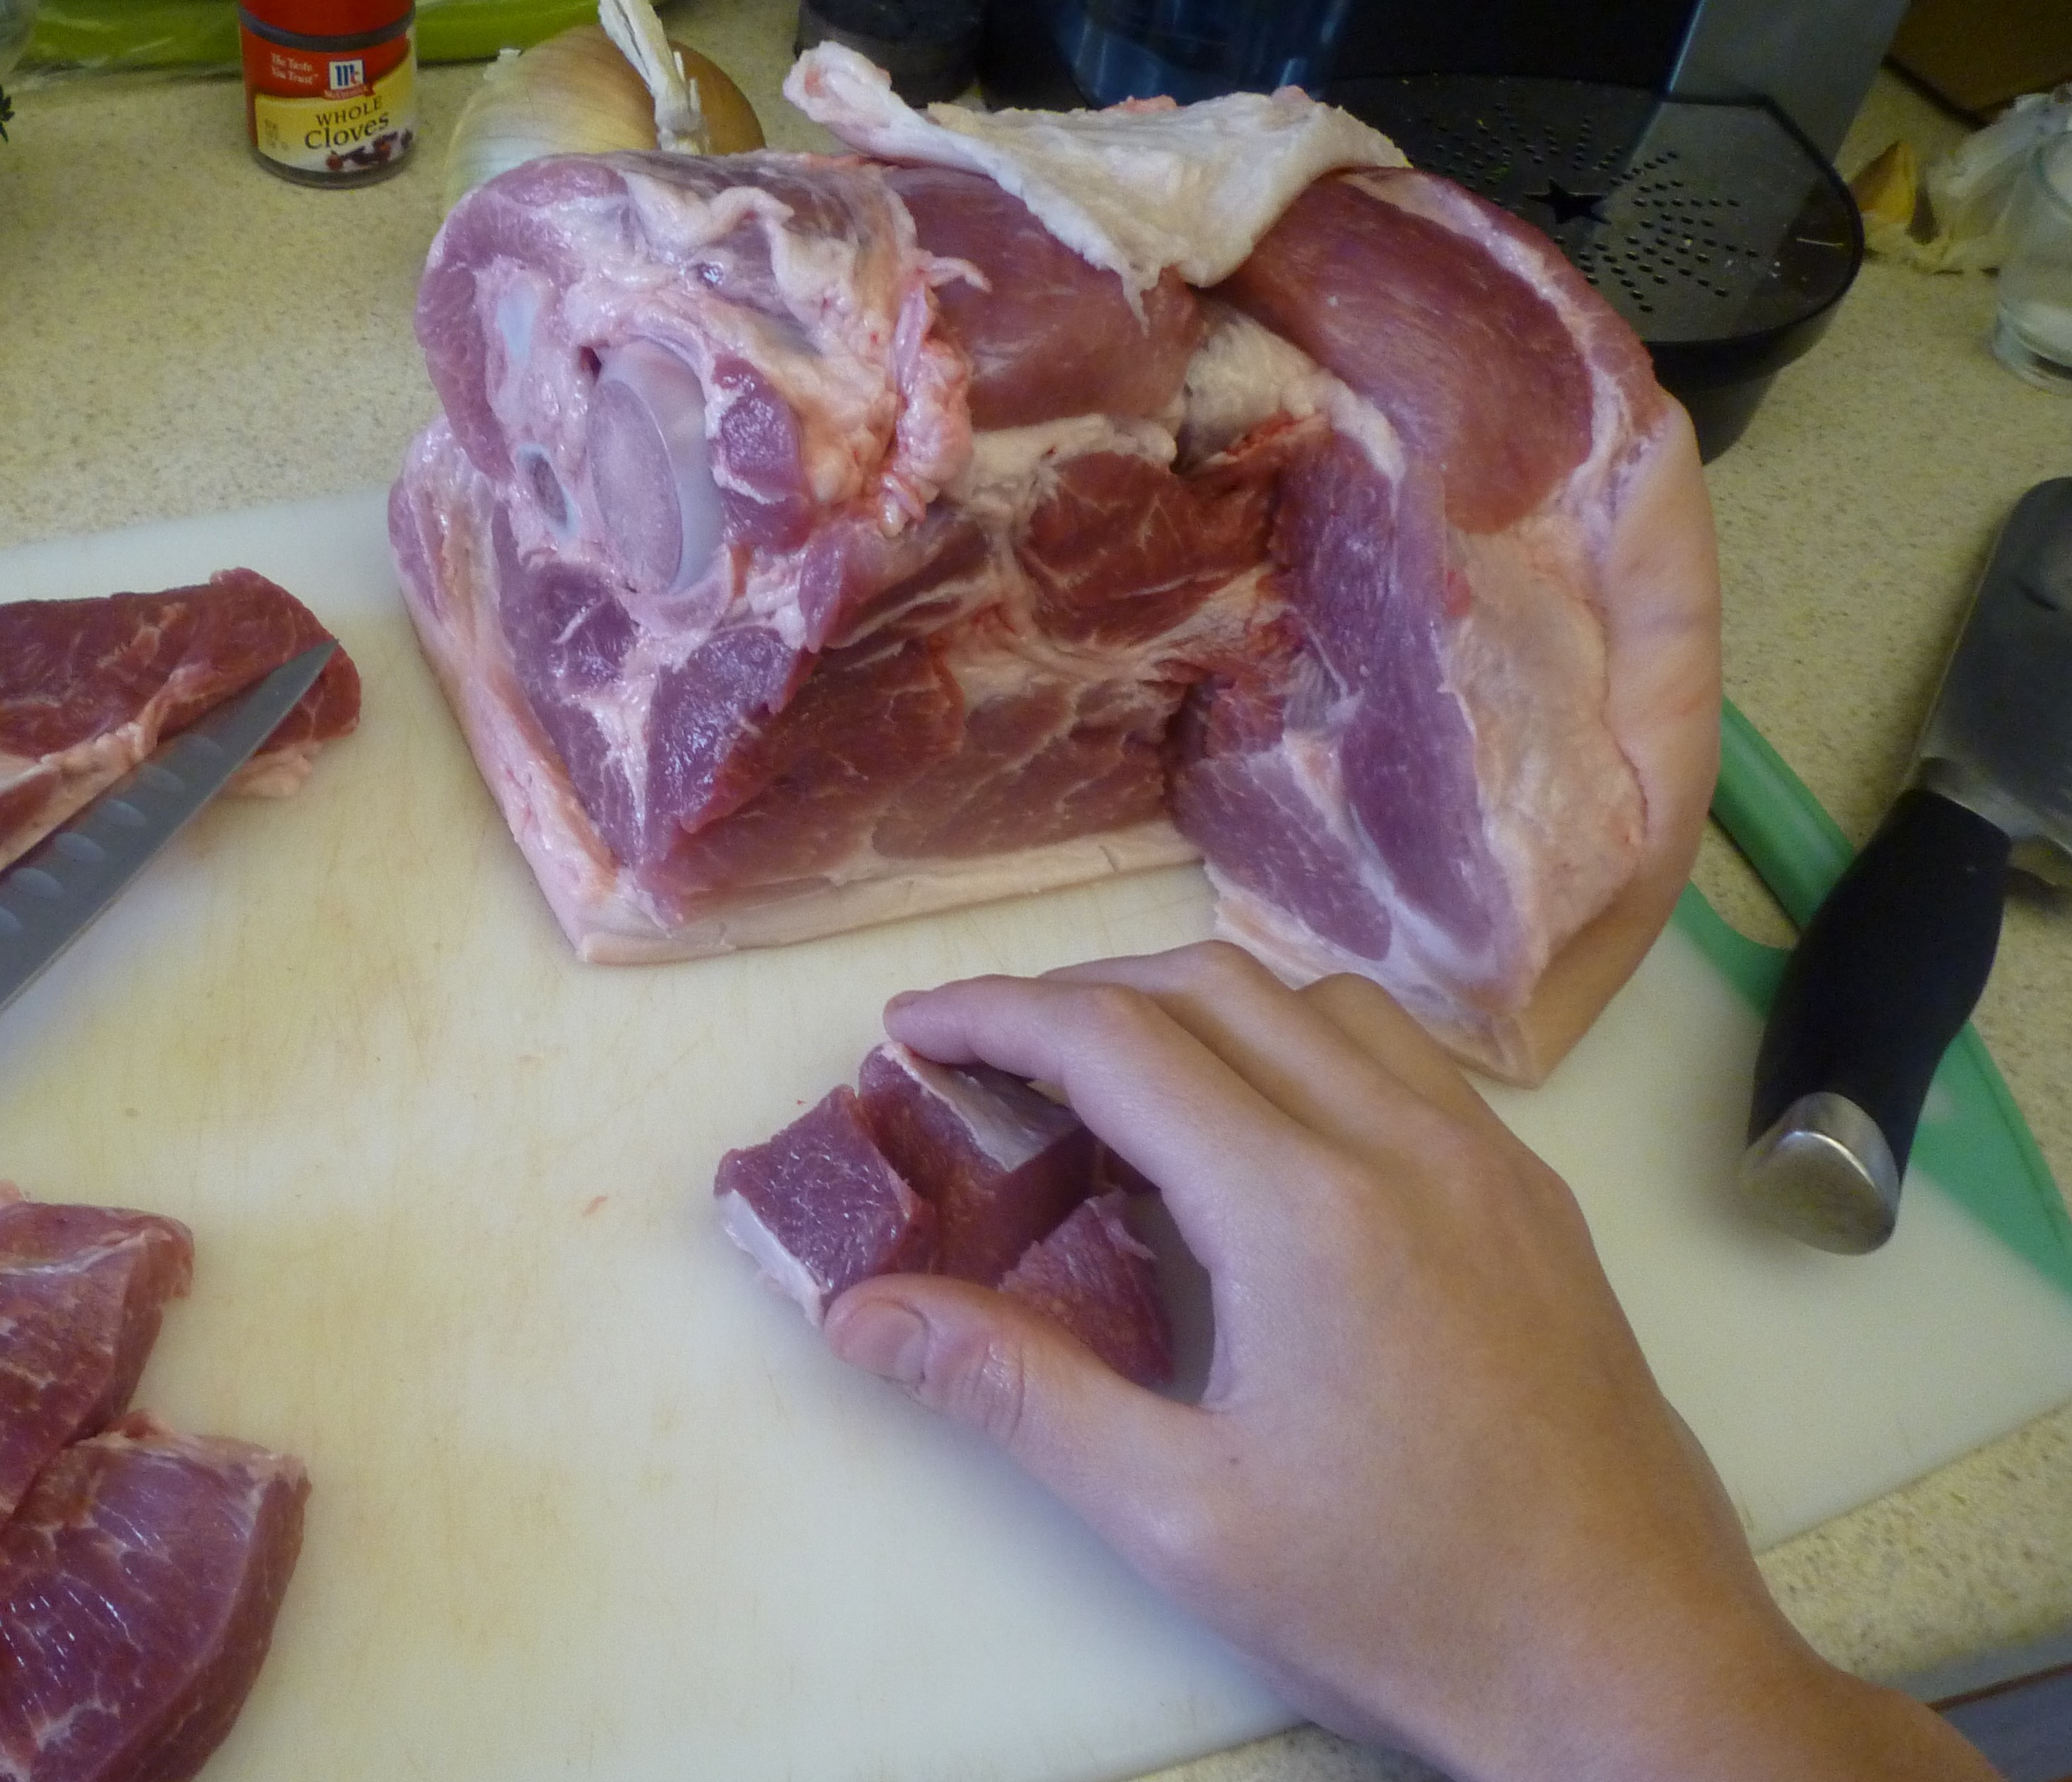
Pork Rillettes
adapted from Michael Ruhlman
- 3 lbs. fatty pork shoulder
- 8 oz. rendered pork fat (lard)
- 1 leek, thoroughly washed and split lengthwise, leaving one inch intact at the root end.
- 1 celery stalk
- 1 small bunch fresh thyme
- 3 fresh bay leaves
- 1 yellow onion
- 5 cloves
- 2 qt. water or veal stock
Preheat the oven to 300 degrees F.
Dice the pork into 1 in. cubes and place in a pot. Cover with water by 2 in., bring to a boil, and drain the pork. Return the pork to the clean pot.

Stuff the thyme and bay leaves into the split leek. Take the celery stalk and put it alongside the leek, then tie everything together with a piece of cotton twine. This is called a bouquet garni.
Stud the onion with the cloves.

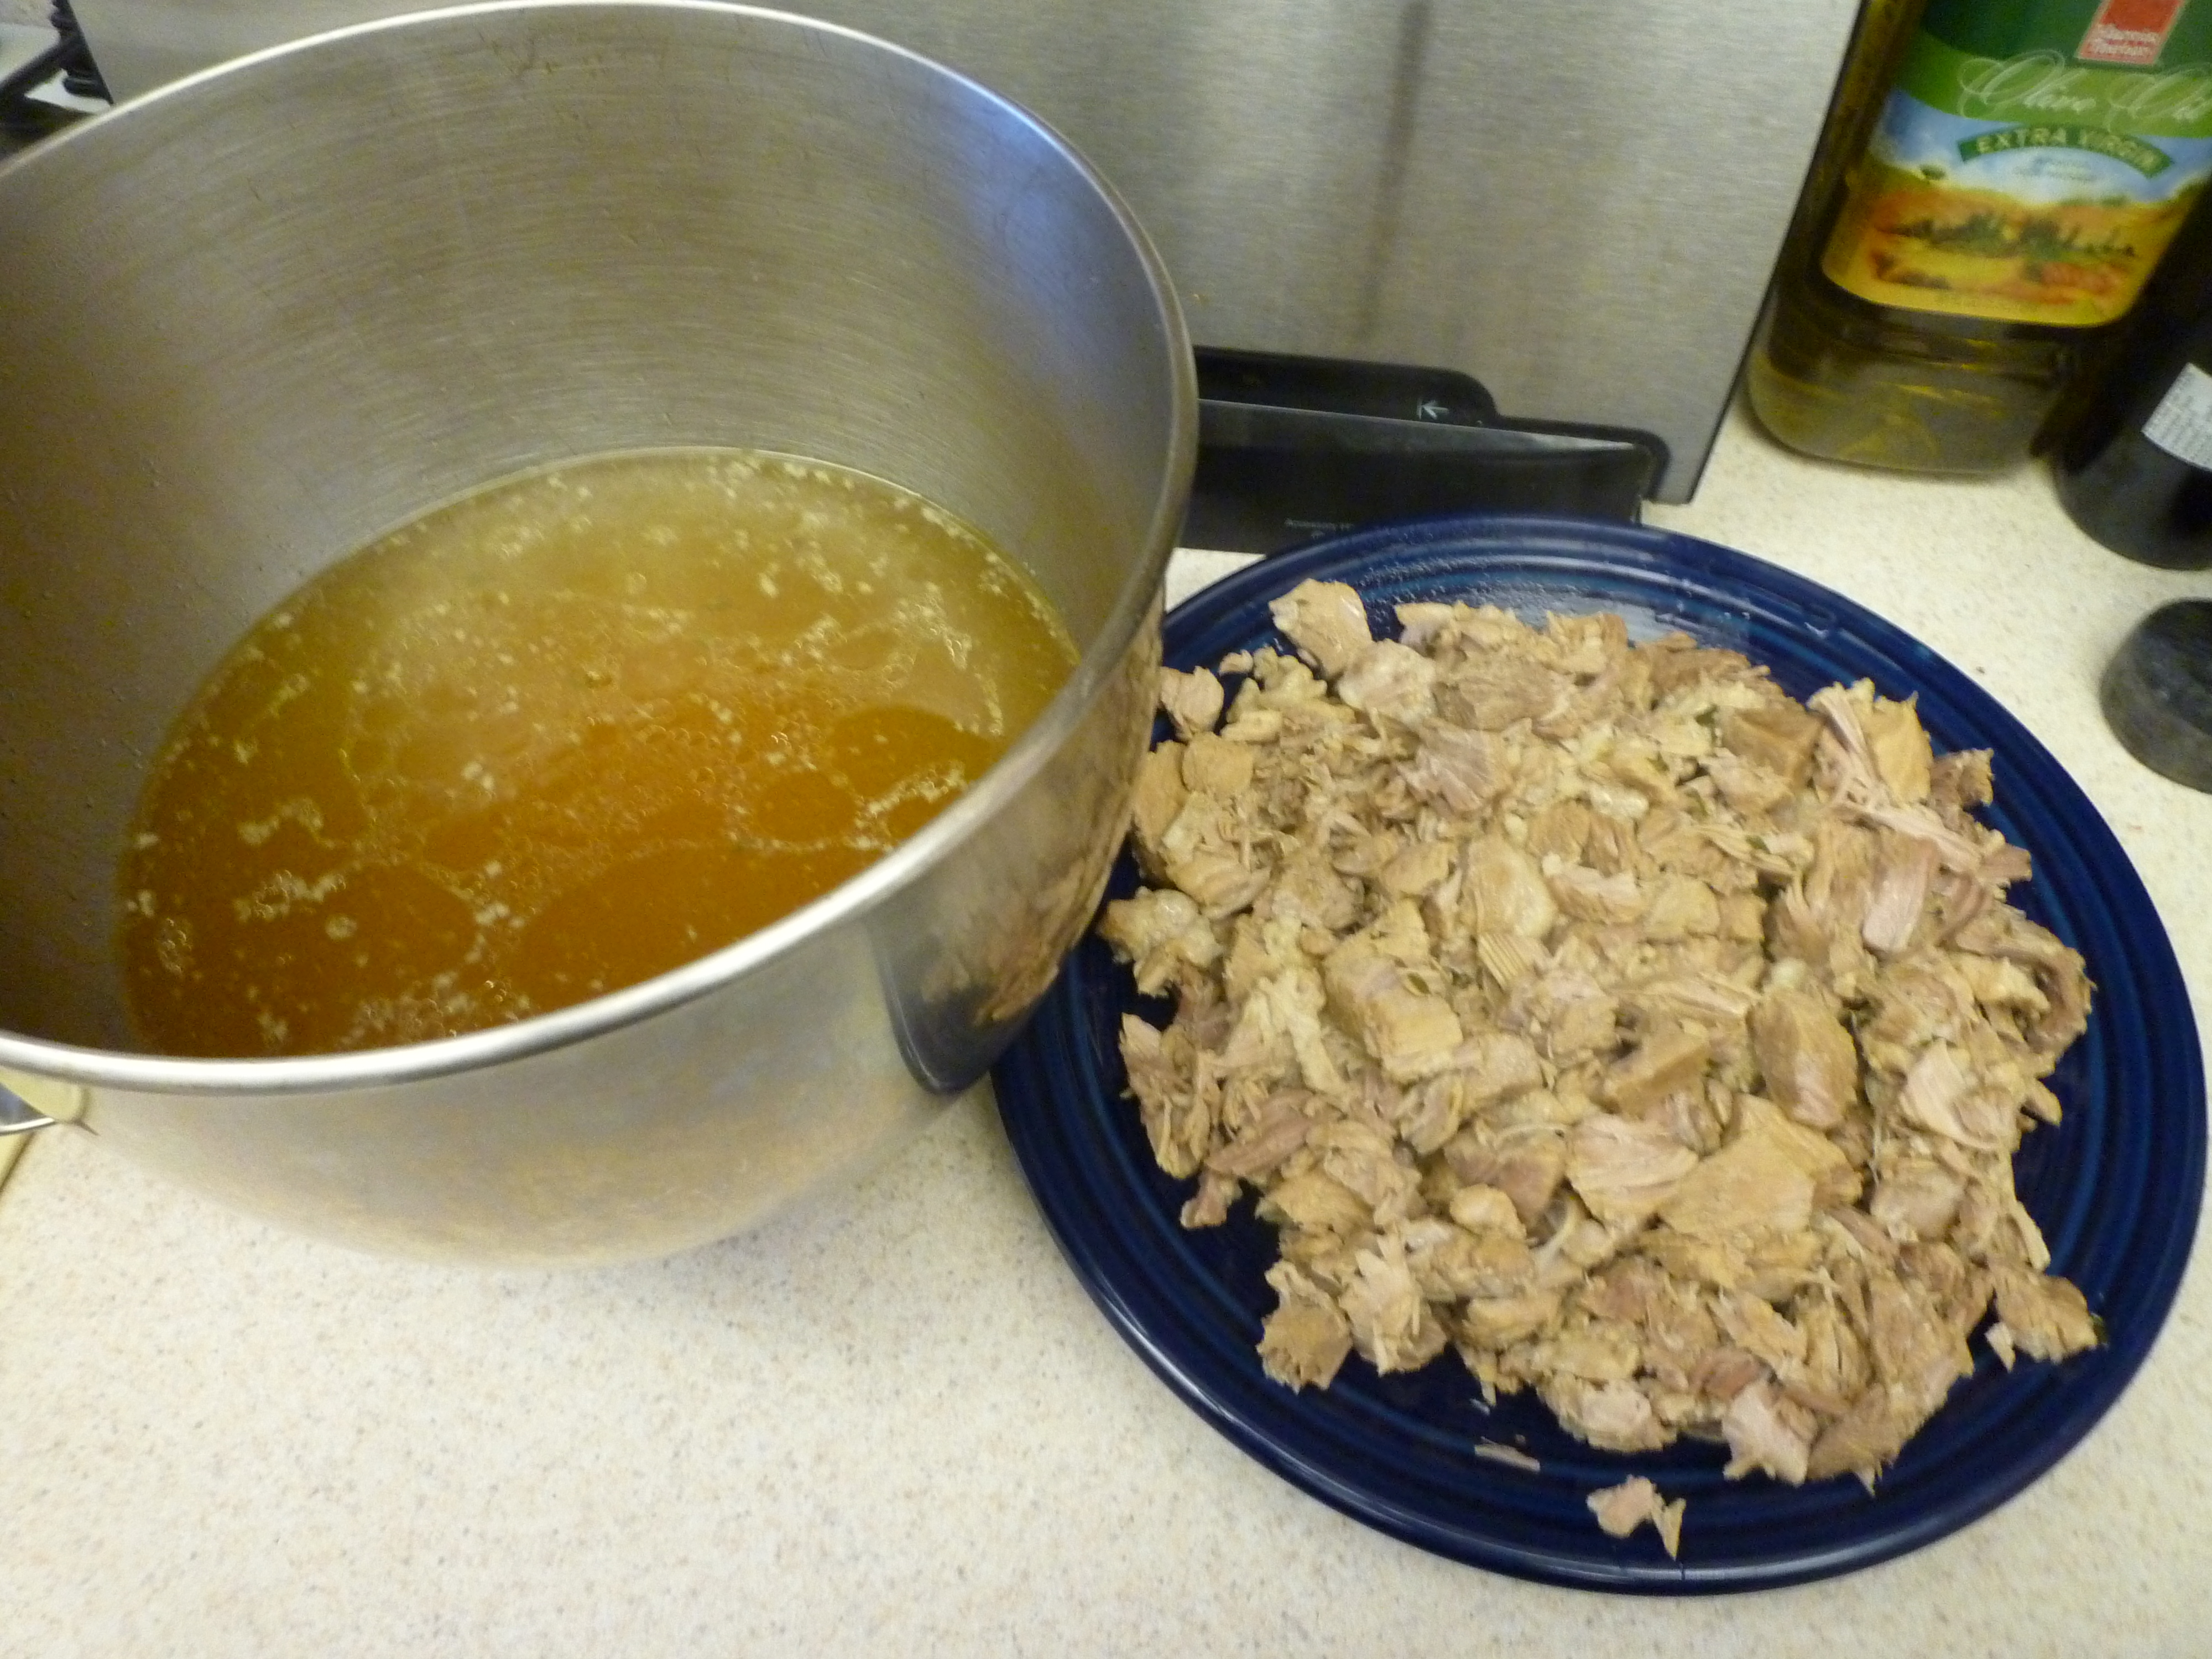
Add 2 qts. of water or stock to the pot with the pork in it, add the bouquet garni and clove studded onion, then bring to a simmer over medium heat. Cover the pot and place it in the oven. Cook until the pork is very tender and falls apart when poked with a fork.
Remove the pork from the cooking pot and transfer it to a plate to cool. Strain the cooking liquid into a bowl and set aside.

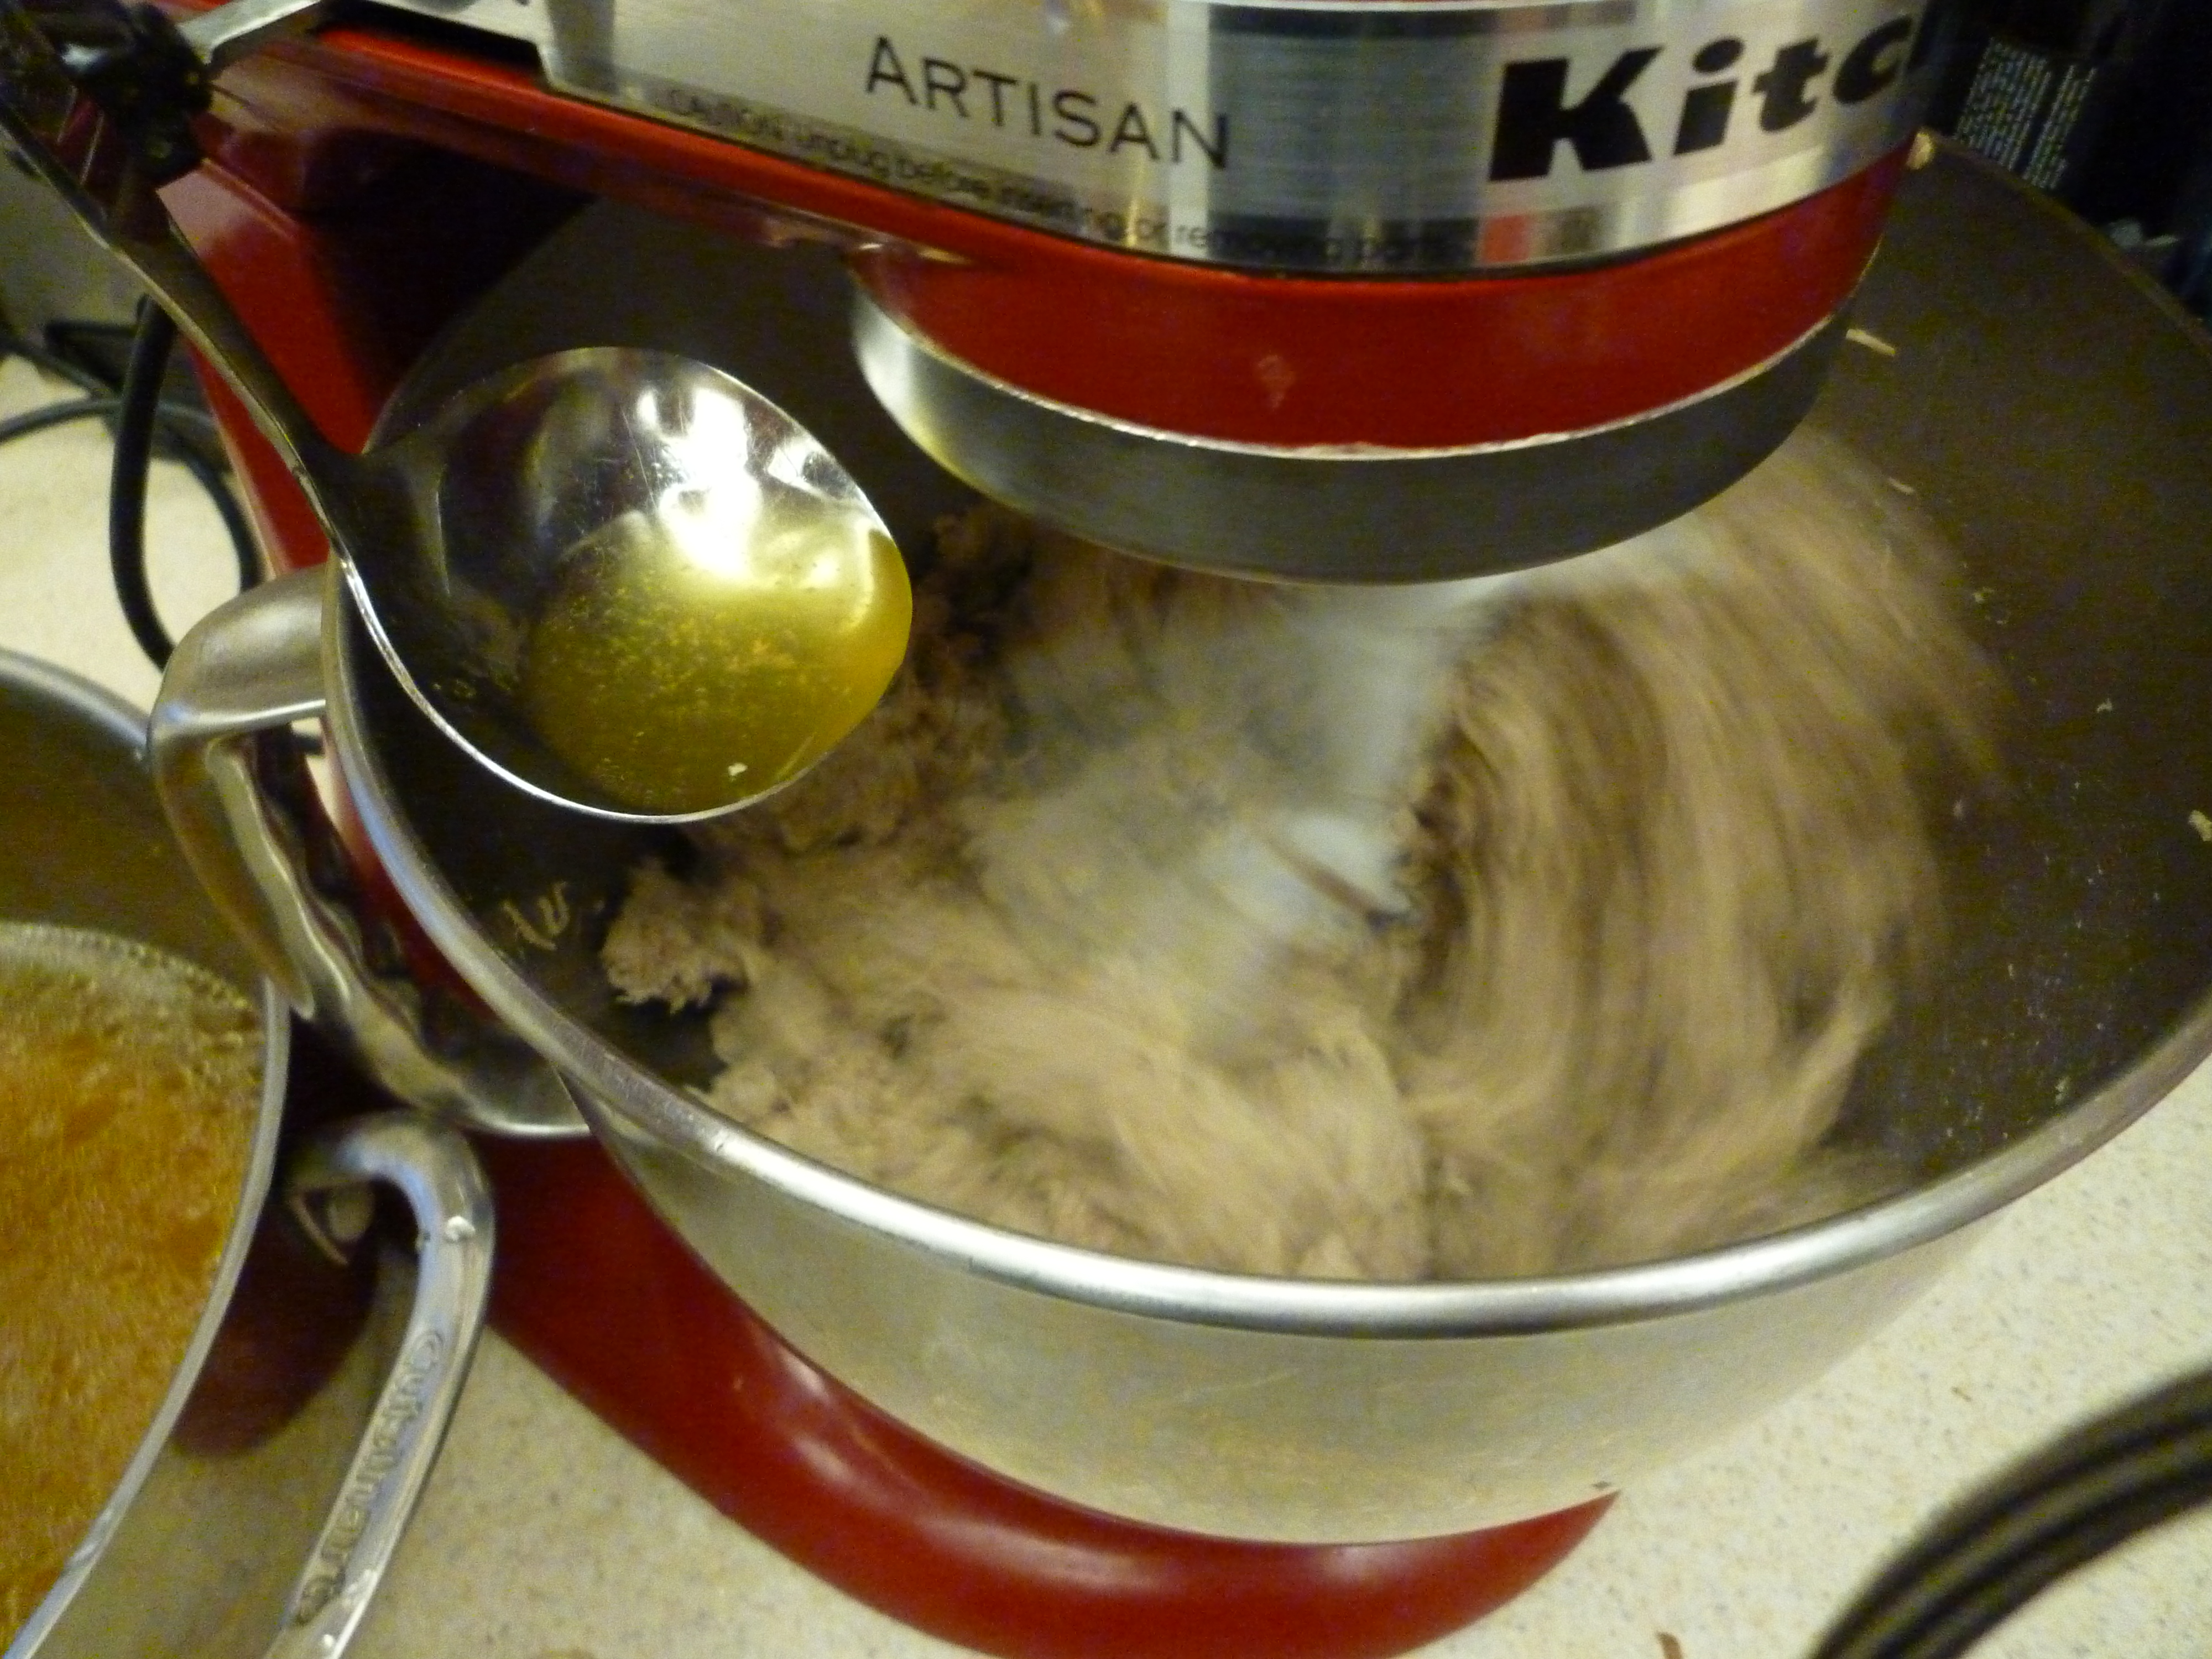
Once the pork has cooled to slightly above room temperature, put it in a mixing bowl and mix on low speed, adding reserved cooking liquid as needed until it is a smooth, spreadable consistency. Season with salt and black pepper to taste.

Put the spread into individual containers and refrigerate until chilled.

Melt the lard over low heat and then pour a 1/8 in. layer of it on top of each container of rillettes. This seals the containers and keeps the rillettes fresh. Put the rillettes back into the refrigerator and chill until the layer of fat has solidified. Remove from the refrigerator two hours before serving.
Covered, they will keep in the refrigerator for up to a week and in the freezer for up to a month.
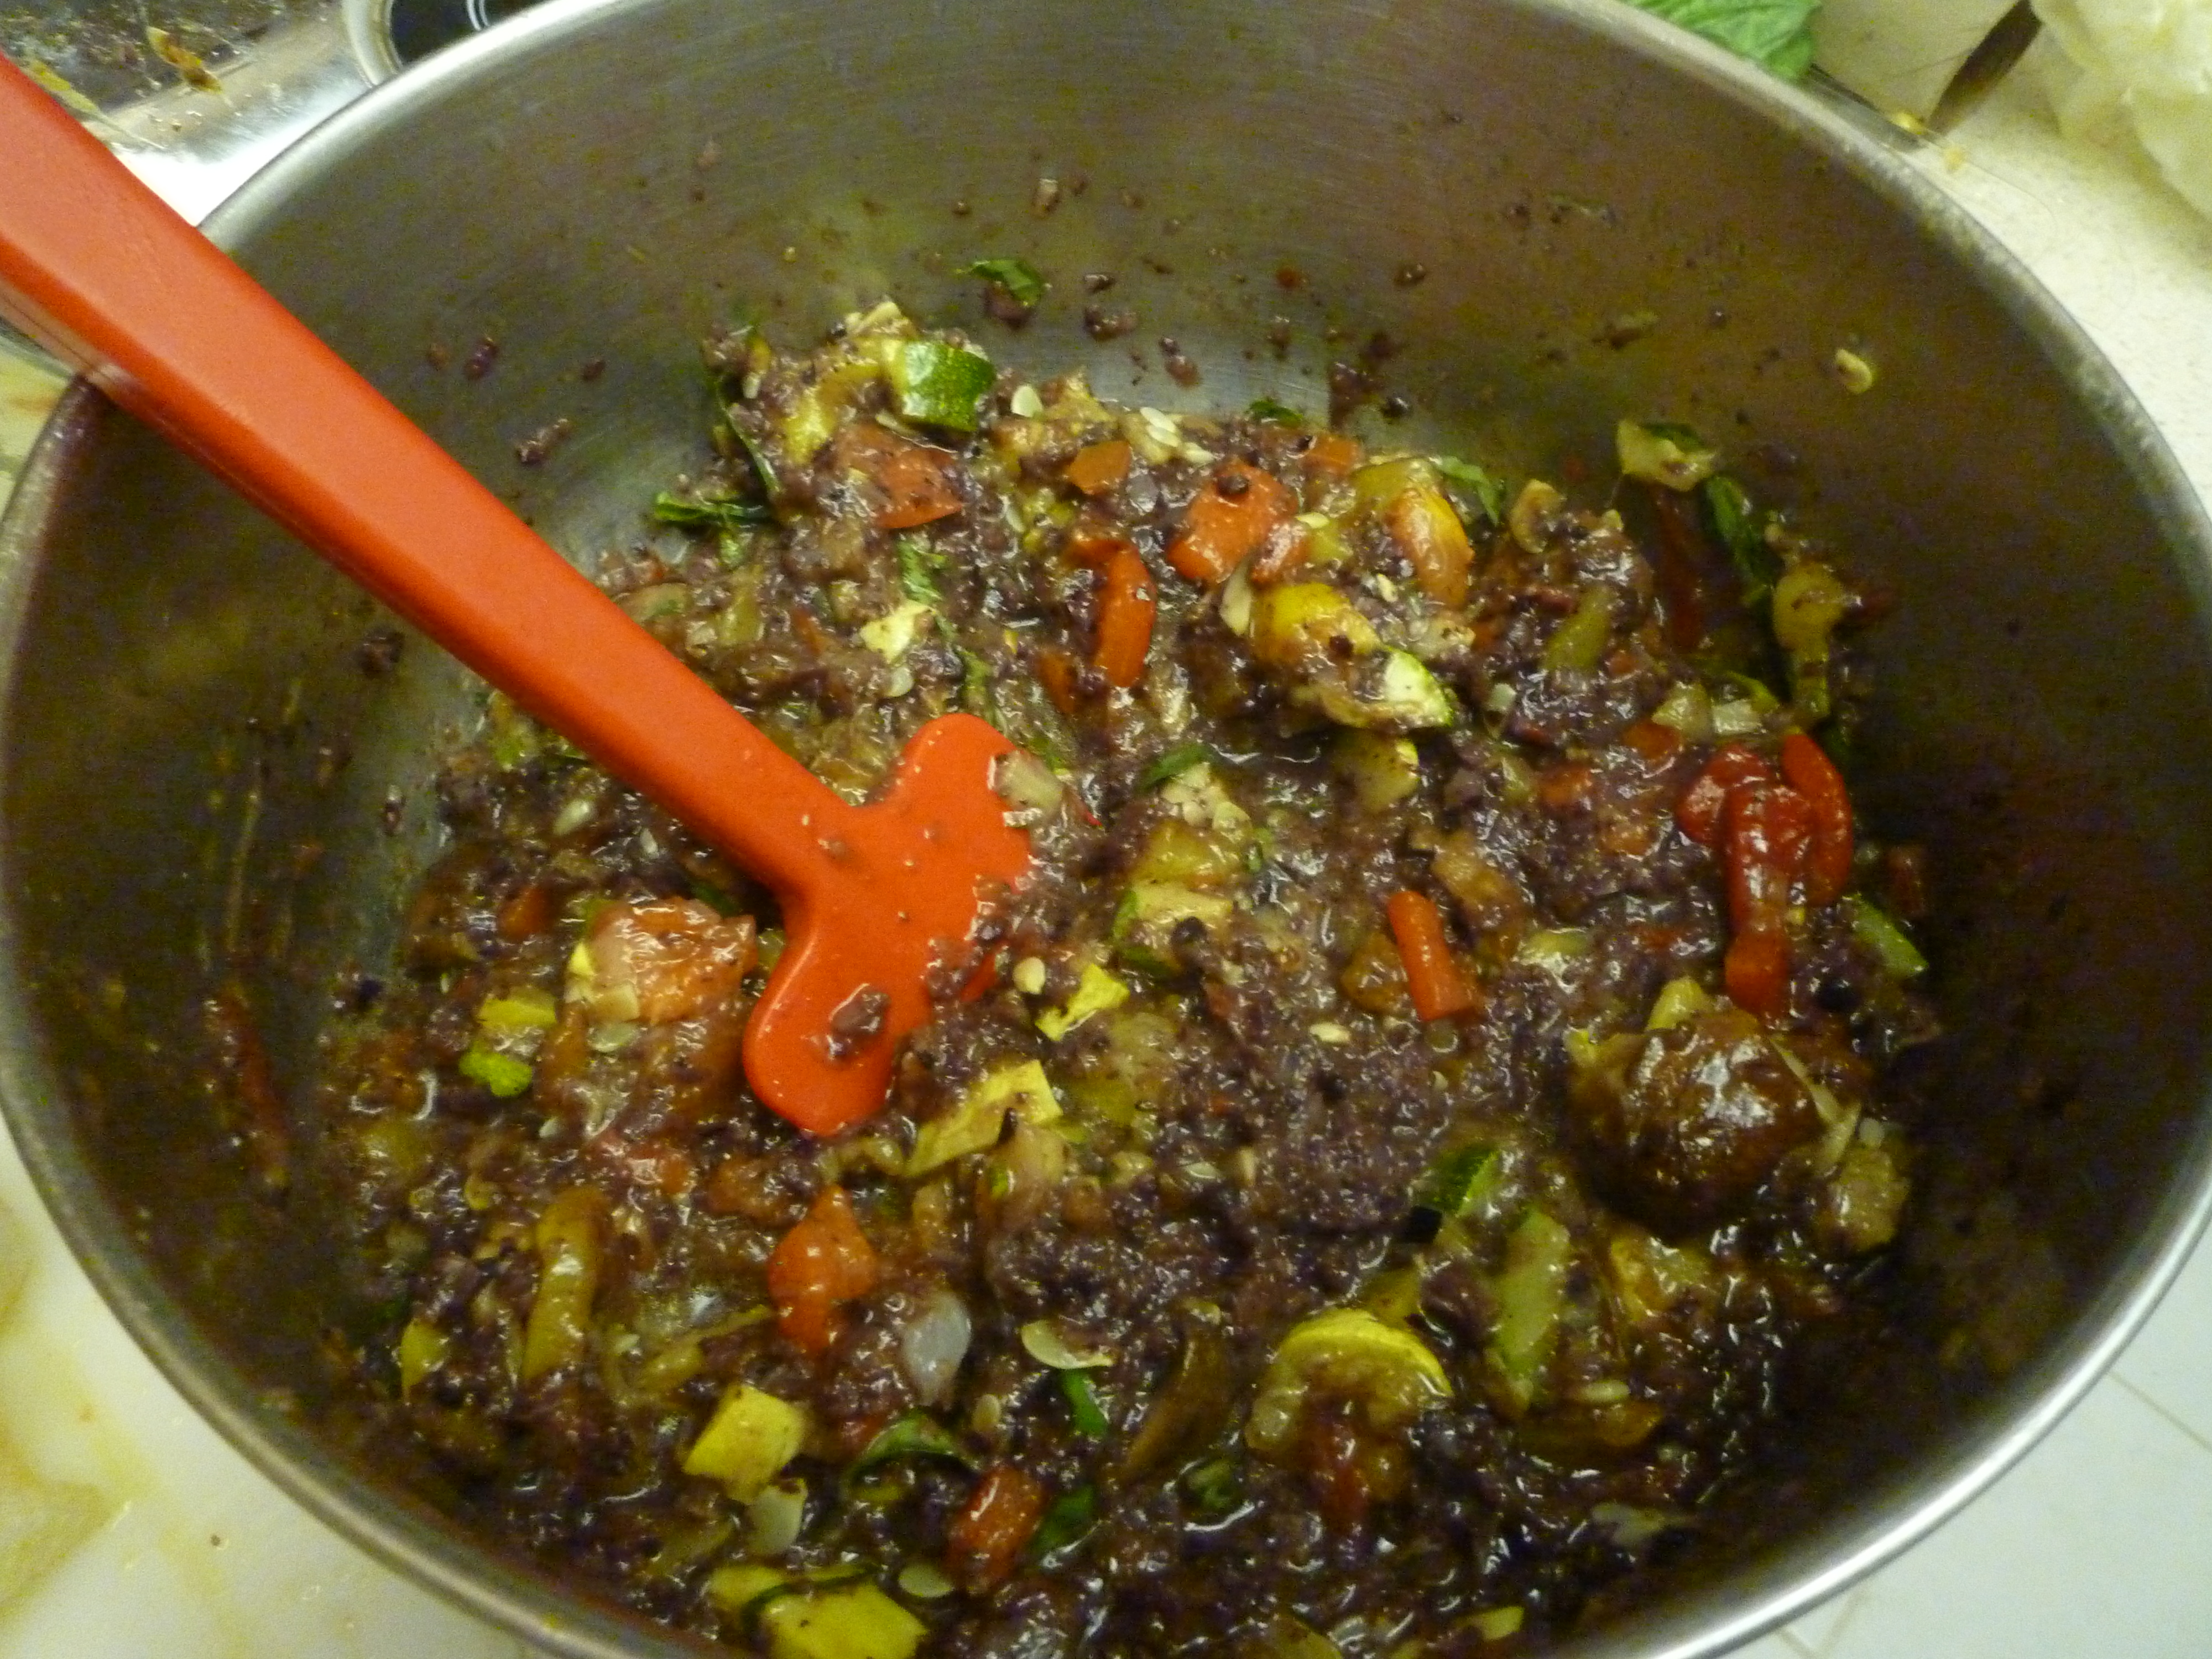
Mediterranean Olive and Vegetable Rillettes
adapted from Michael Ruhlman
- 1 zucchini, cut into ½ in. discs.
- 1 yellow squash, cut into ½ in. discs.
- 4 oz. mushrooms, quartered.
- 2 medium sized tomatoes, quartered and seeded.
- 1 yellow bell pepper
- 1 red bell pepper
- 1 cup kalamata olives, pits removed.
- 1 onion, diced.
- 2 garlic cloves, minced.
- ½ cup olive oil
- 2 tbsp. balsamic vinegar
- ¼ cup basil, chiffonade cut.
- Salt and black pepper
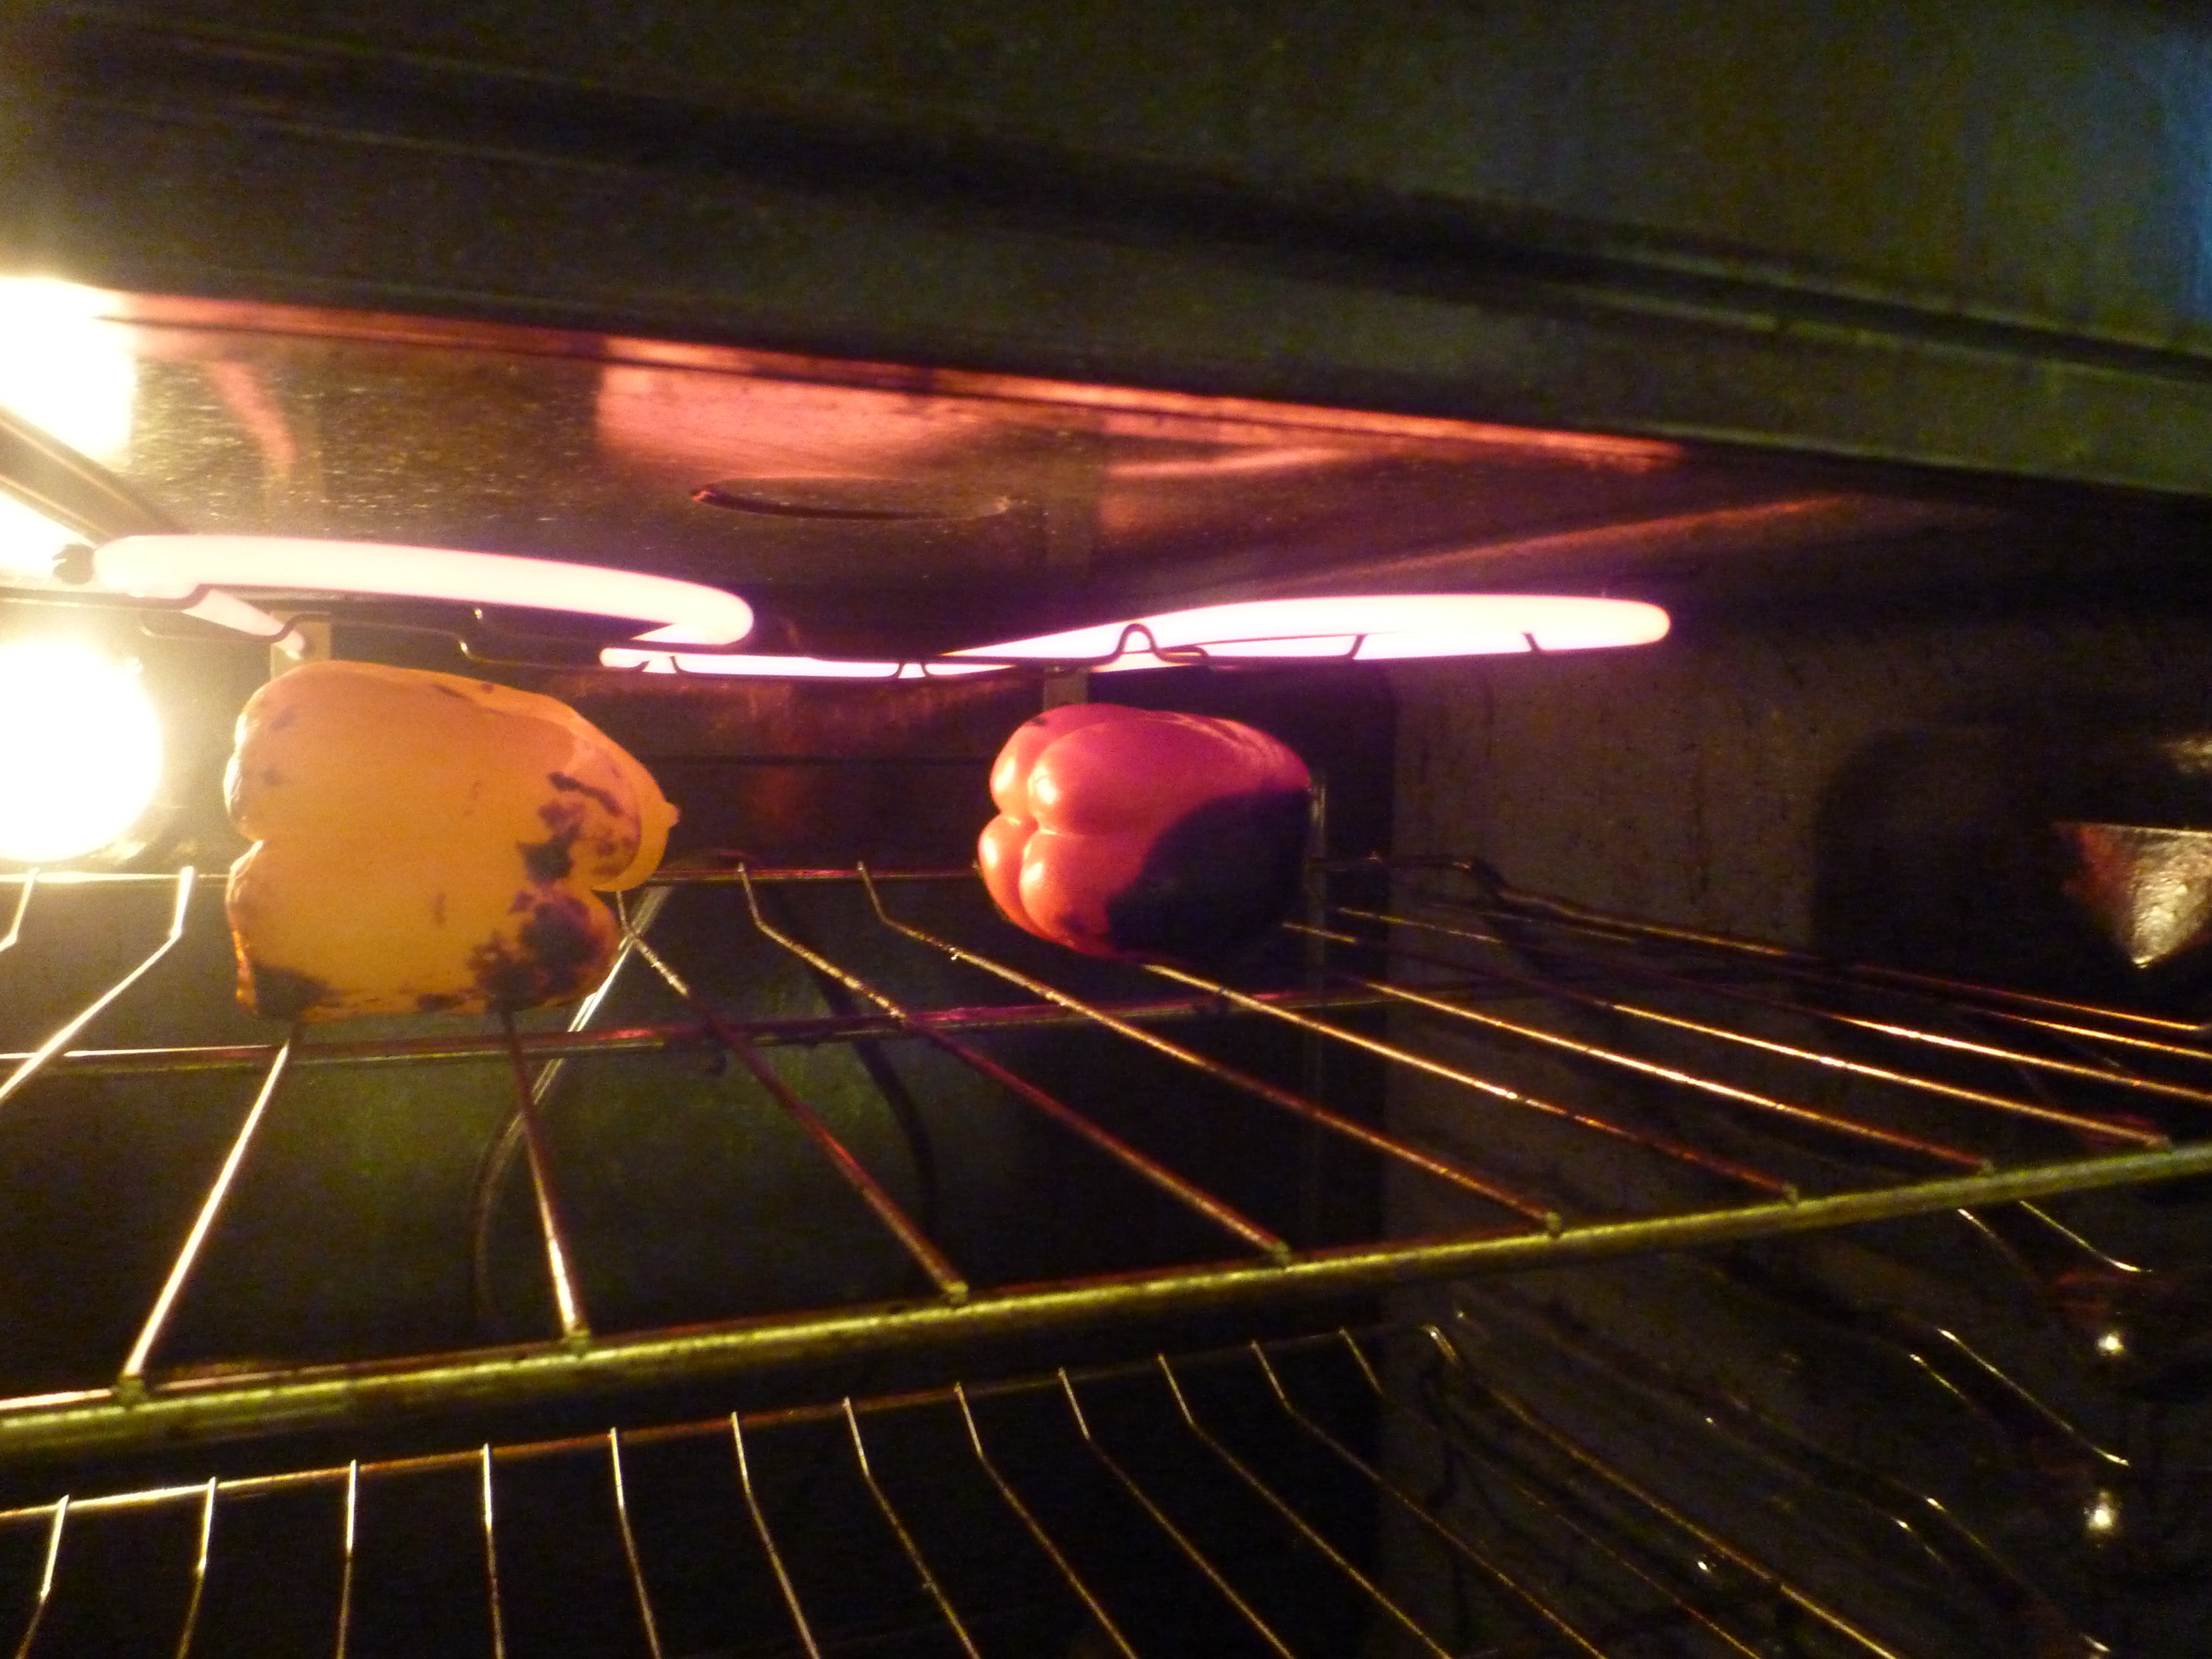
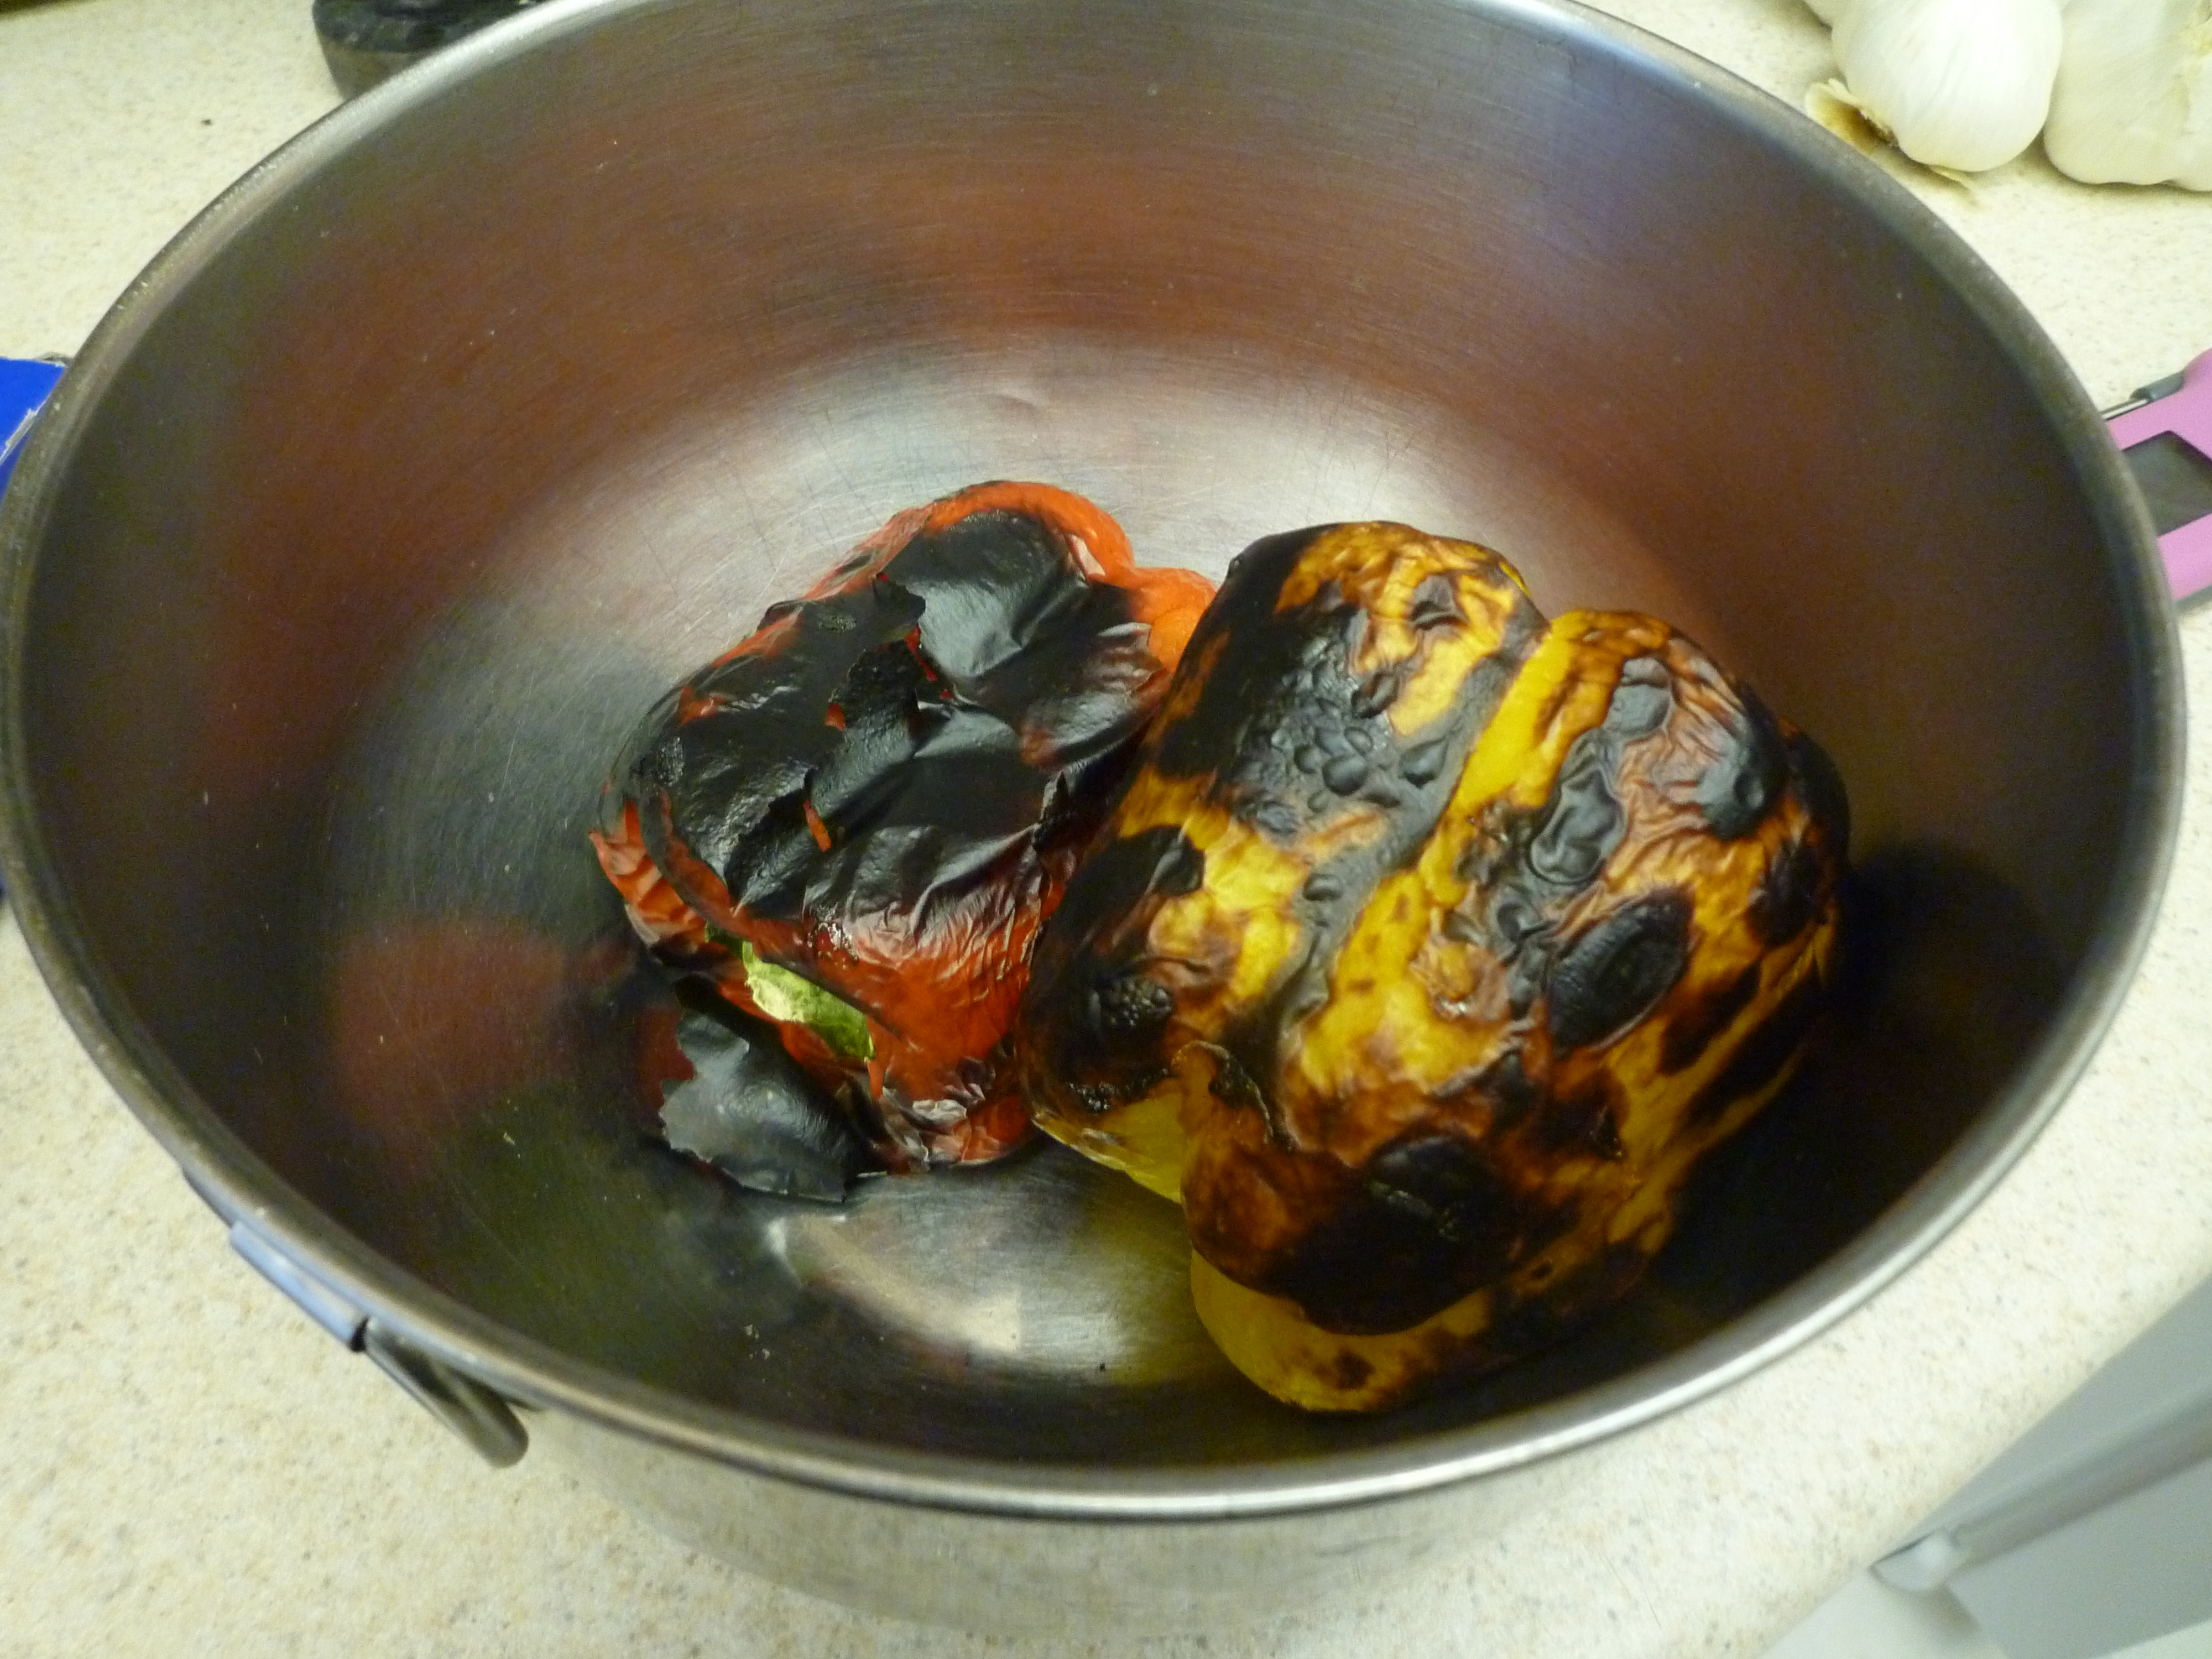
Broil or grill the red and yellow peppers until the skin is black all over. Put them in a bowl, cover with plastic wrap and allow them to cool.


Once cool enough to handle, remove the skin, core, and seeds and then ½ in. dice.
Preheat the oven to 400 degrees F. Toss the zucchini, yellow squash, mushrooms, and tomatoes with ¼ cup olive oil, spread on a baking sheet and roast for 20 minutes.
Saute the onion and garlic in 2tbsp. of the olive oil until soft, but not browned and then set aside to cool slightly.
Process the olives, garlic, and onions into a puree. Fold in the balsamic vinegar, roasted vegetables, peppers, and basil.

Season to taste. Cover and refrigerate for up to a week.
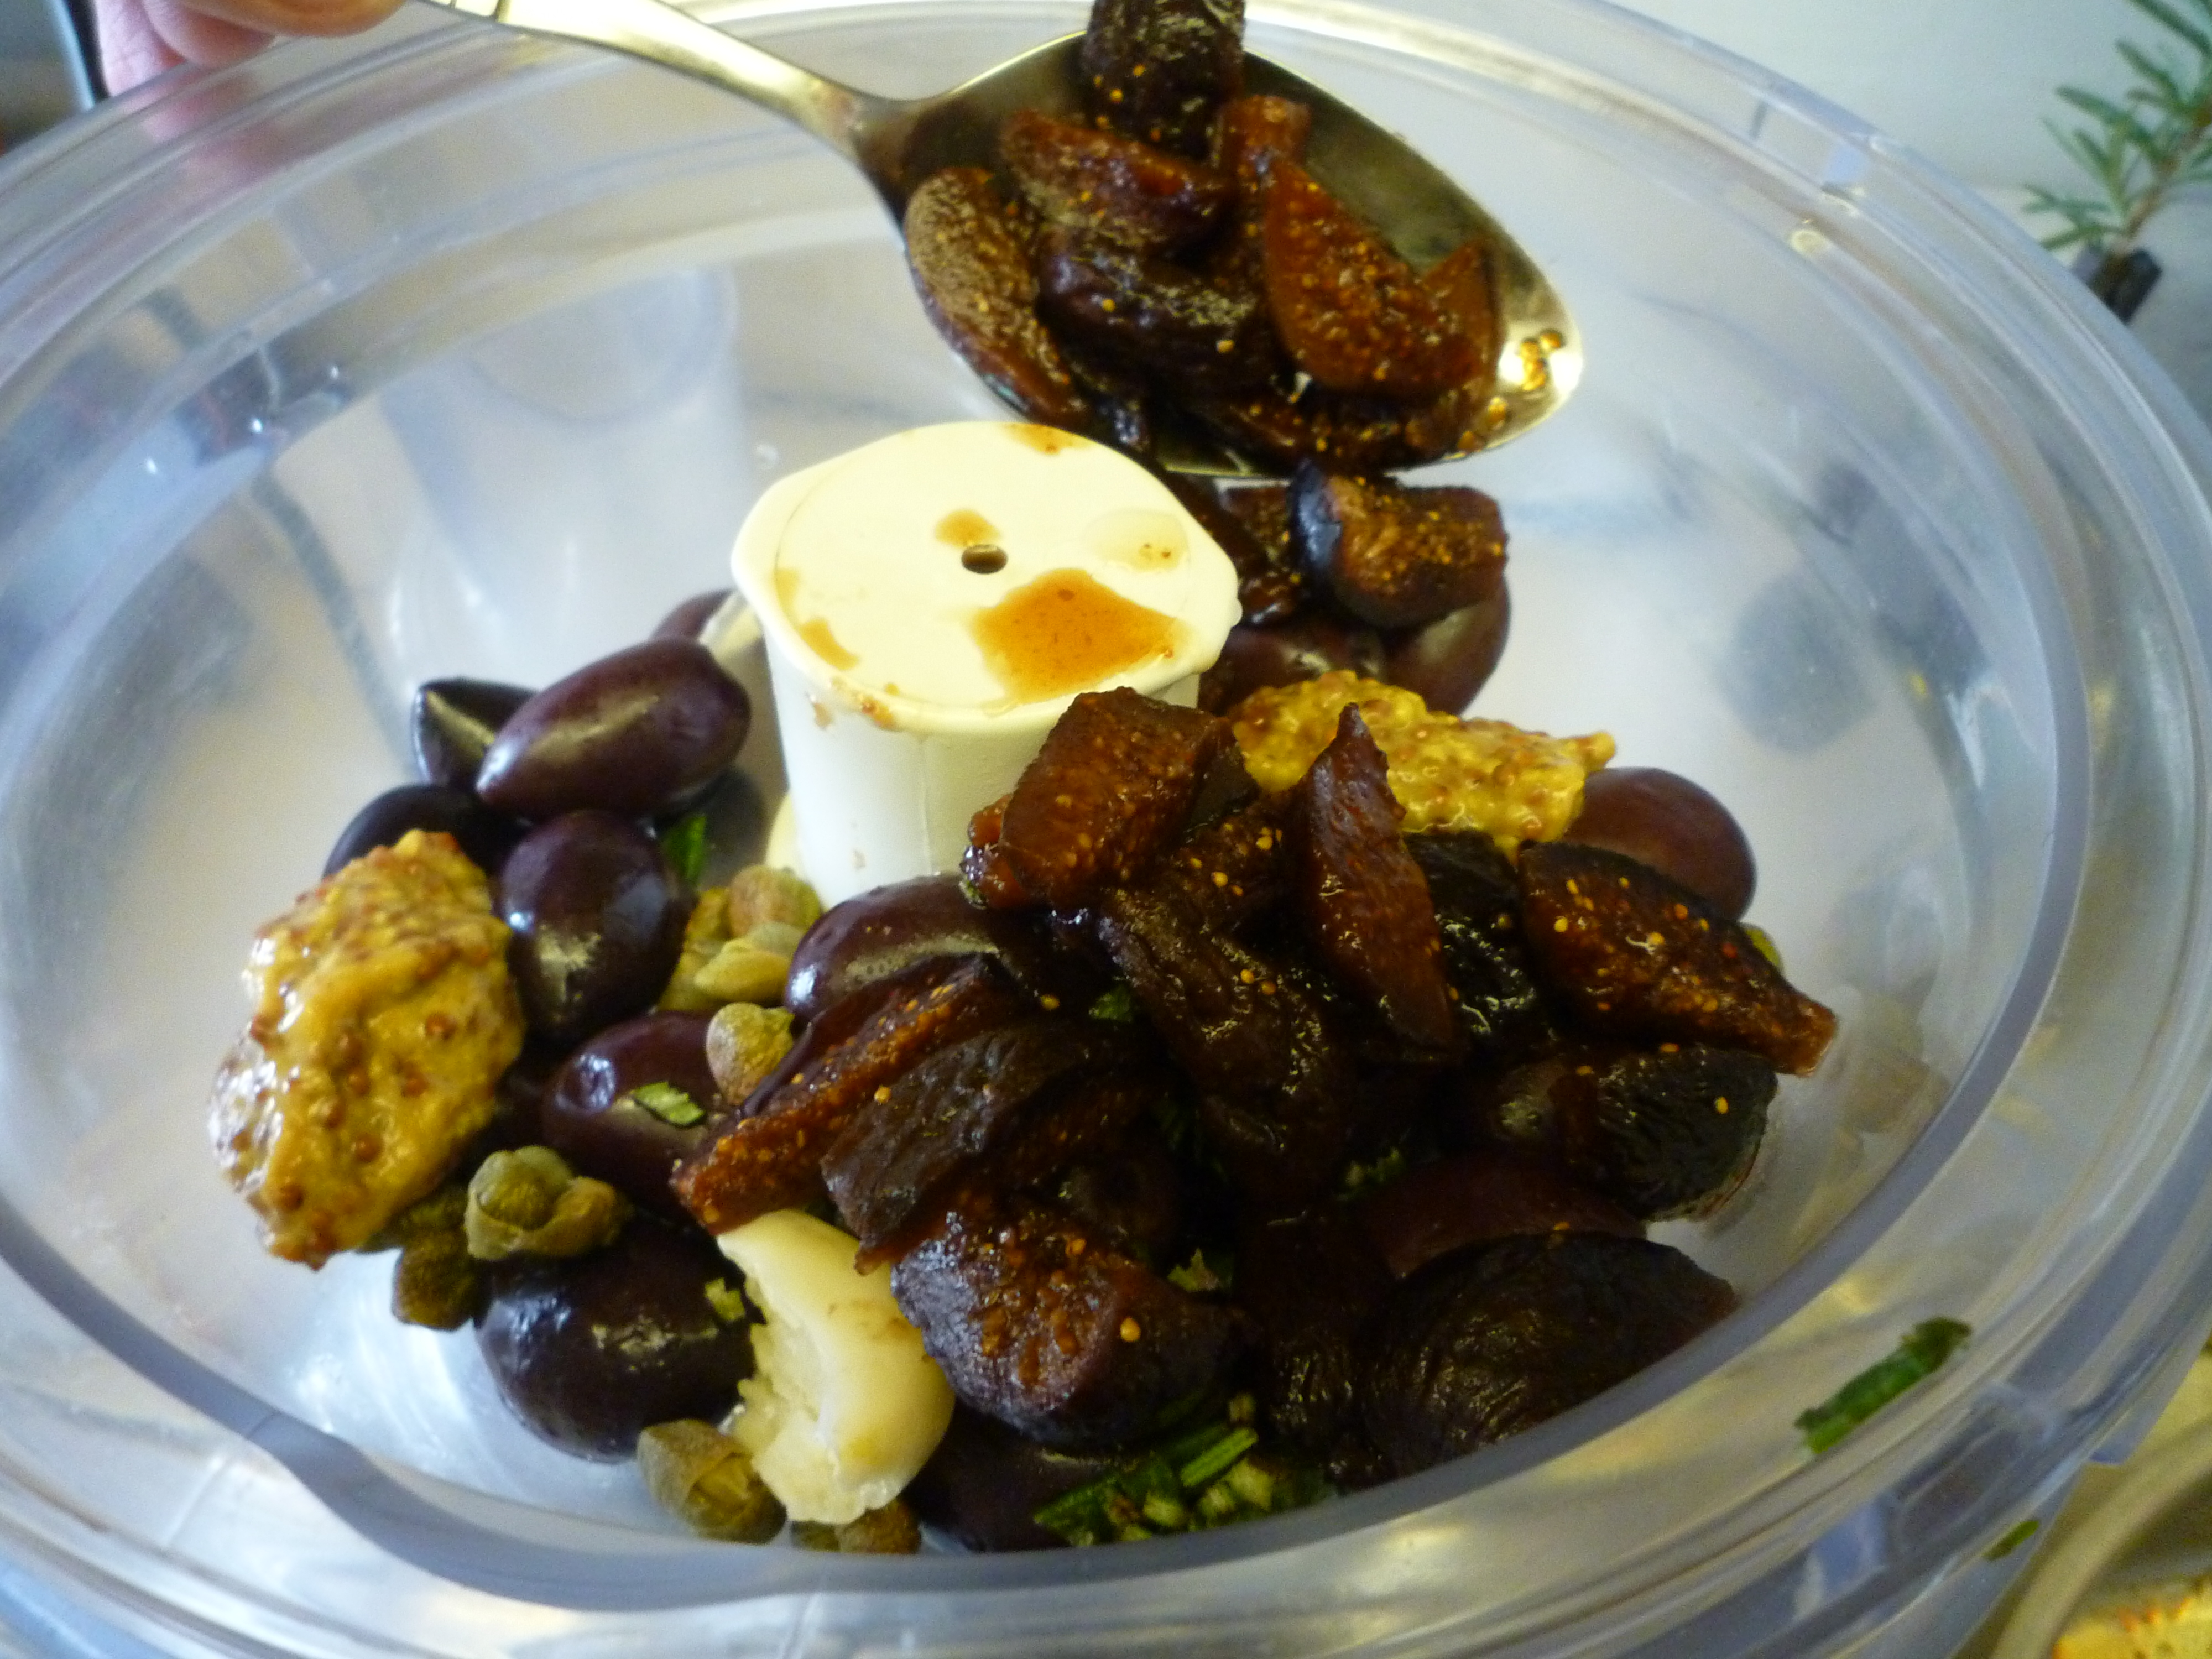
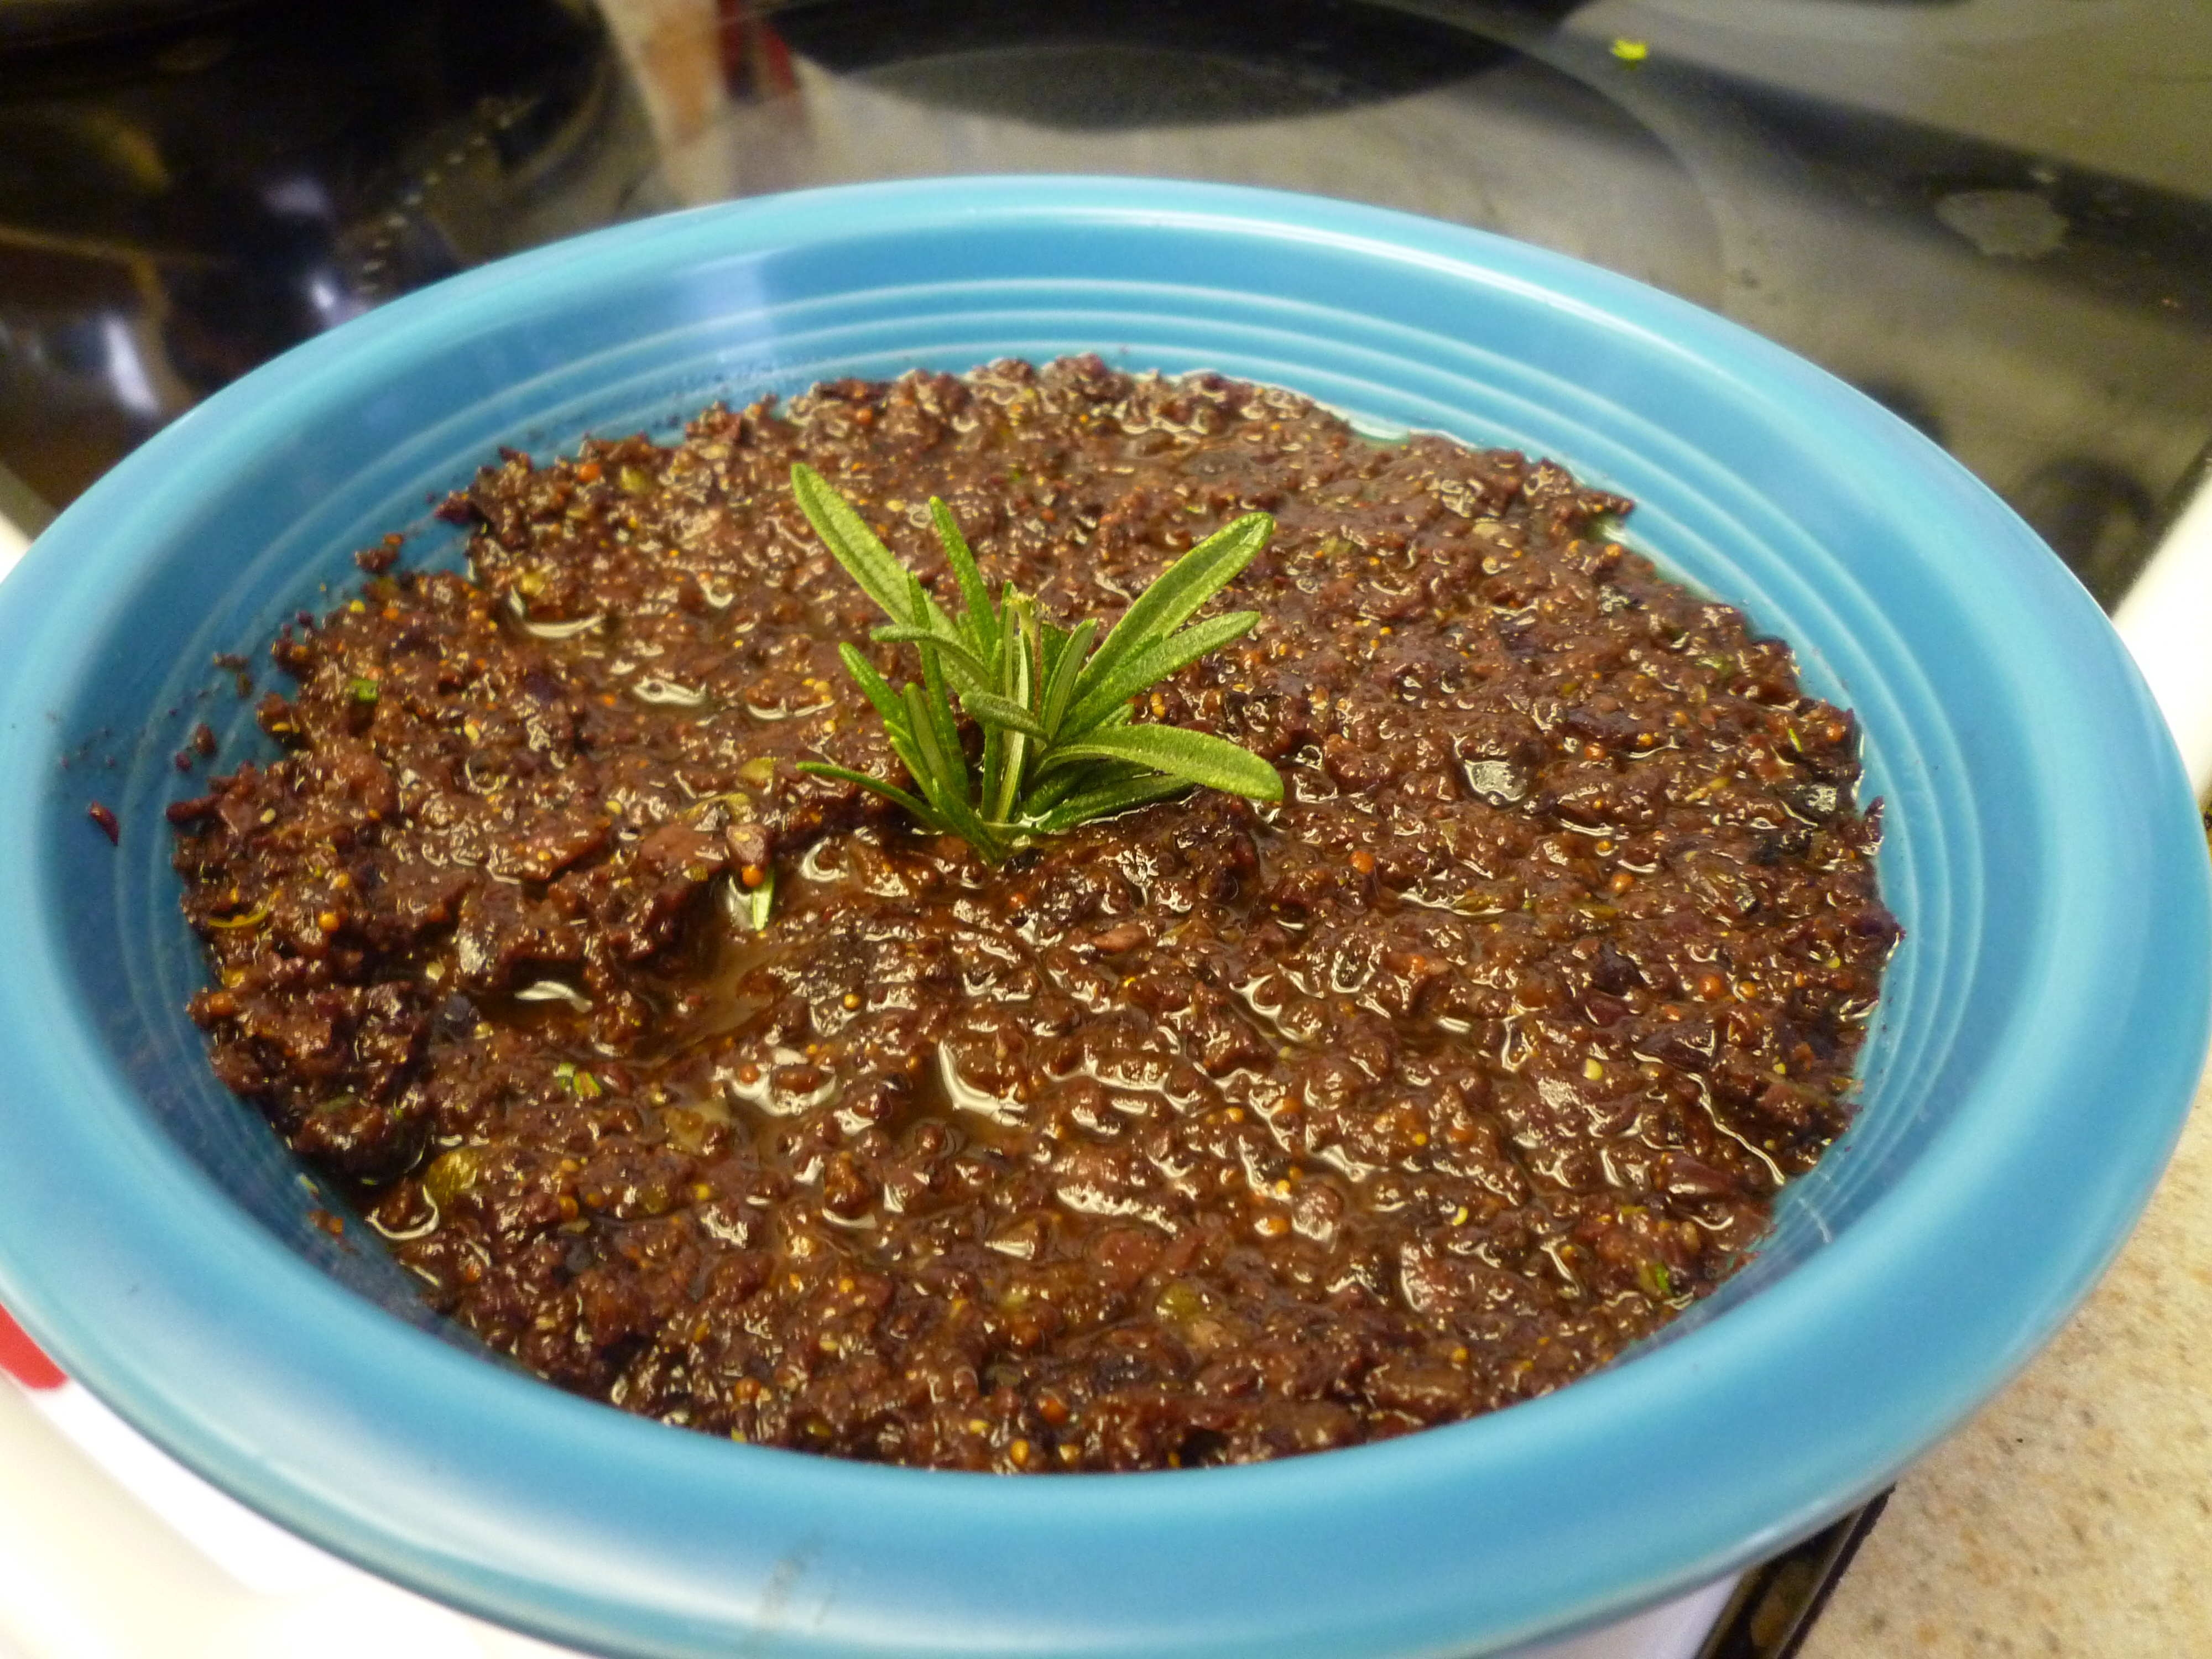
Fig and Olive Tapenade
adapted from David Lebovitz
- 1/2 cup dried black mission figs
- 1 cup water
- 1 cup nicoise or kalamata olives, rinsed and pitted.
- Juice of half a lemon
- 2 tsp. stone ground mustard
- 1 small garlic clove, peeled and smashed.
- 1/2 tablespoon capers, rinsed and patted dry.
- 1 tsp. finely diced rosemary
- 1/2 cup olive oil
Salt and black pepper
In a medium-sized pot, simmer the figs in the water until they are soft and the cooking liquid becomes syrupy. Remove the figs from the water with a slotted spoon and reserve the excess cooking liquid.

In a food processor, pulse together the olives, mustard, lemon juice, garlic, figs, capers, rosemary until a chunky paste forms. Add the olive oil until the mixture is spreadable.


The reserved liquid from the figs can be used to thin the spread if needed. Season to taste. Refrigerate for at least one day prior to serving. Covered, it will keep in the refrigerator for up to a week.
Roasted Garlic with Marinated Dried Tomatoes
- 1 cup dried tomatoes
- ½ cup olive oil
- 1 tbsp. fresh lemon juice
- 2 heads garlic
- 2-3 sprigs fresh thyme
- Salt and black pepper
Combine the tomatoes and olive oil and set aside for at least 30 minutes or until the tomatoes have softened slightly. If you have trouble getting the tomatoes to soften, you can put the mixture over very low heat for 5 minutes.
Preheat the oven to 375 degrees.
Split the heads of garlic in half horizontally and drizzle olive oil on each half. Put the garlic back together and bundle tightly in aluminum foil. Roast the garlic for 40-45 minutes or until soft and lightly caramelized. Set aside to cool.
Squeeze the softened garlic out of the peel and mash in a bowl. Drain and roughly chop the tomatoes, then mix them into the garlic with the lemon juice and thyme. If you like a chunky texture, stop and season here. If you prefer more of a spreadable consistency, you can puree this in a food processor. Season to taste. Cover and store in the refrigerator for up to 2 weeks.

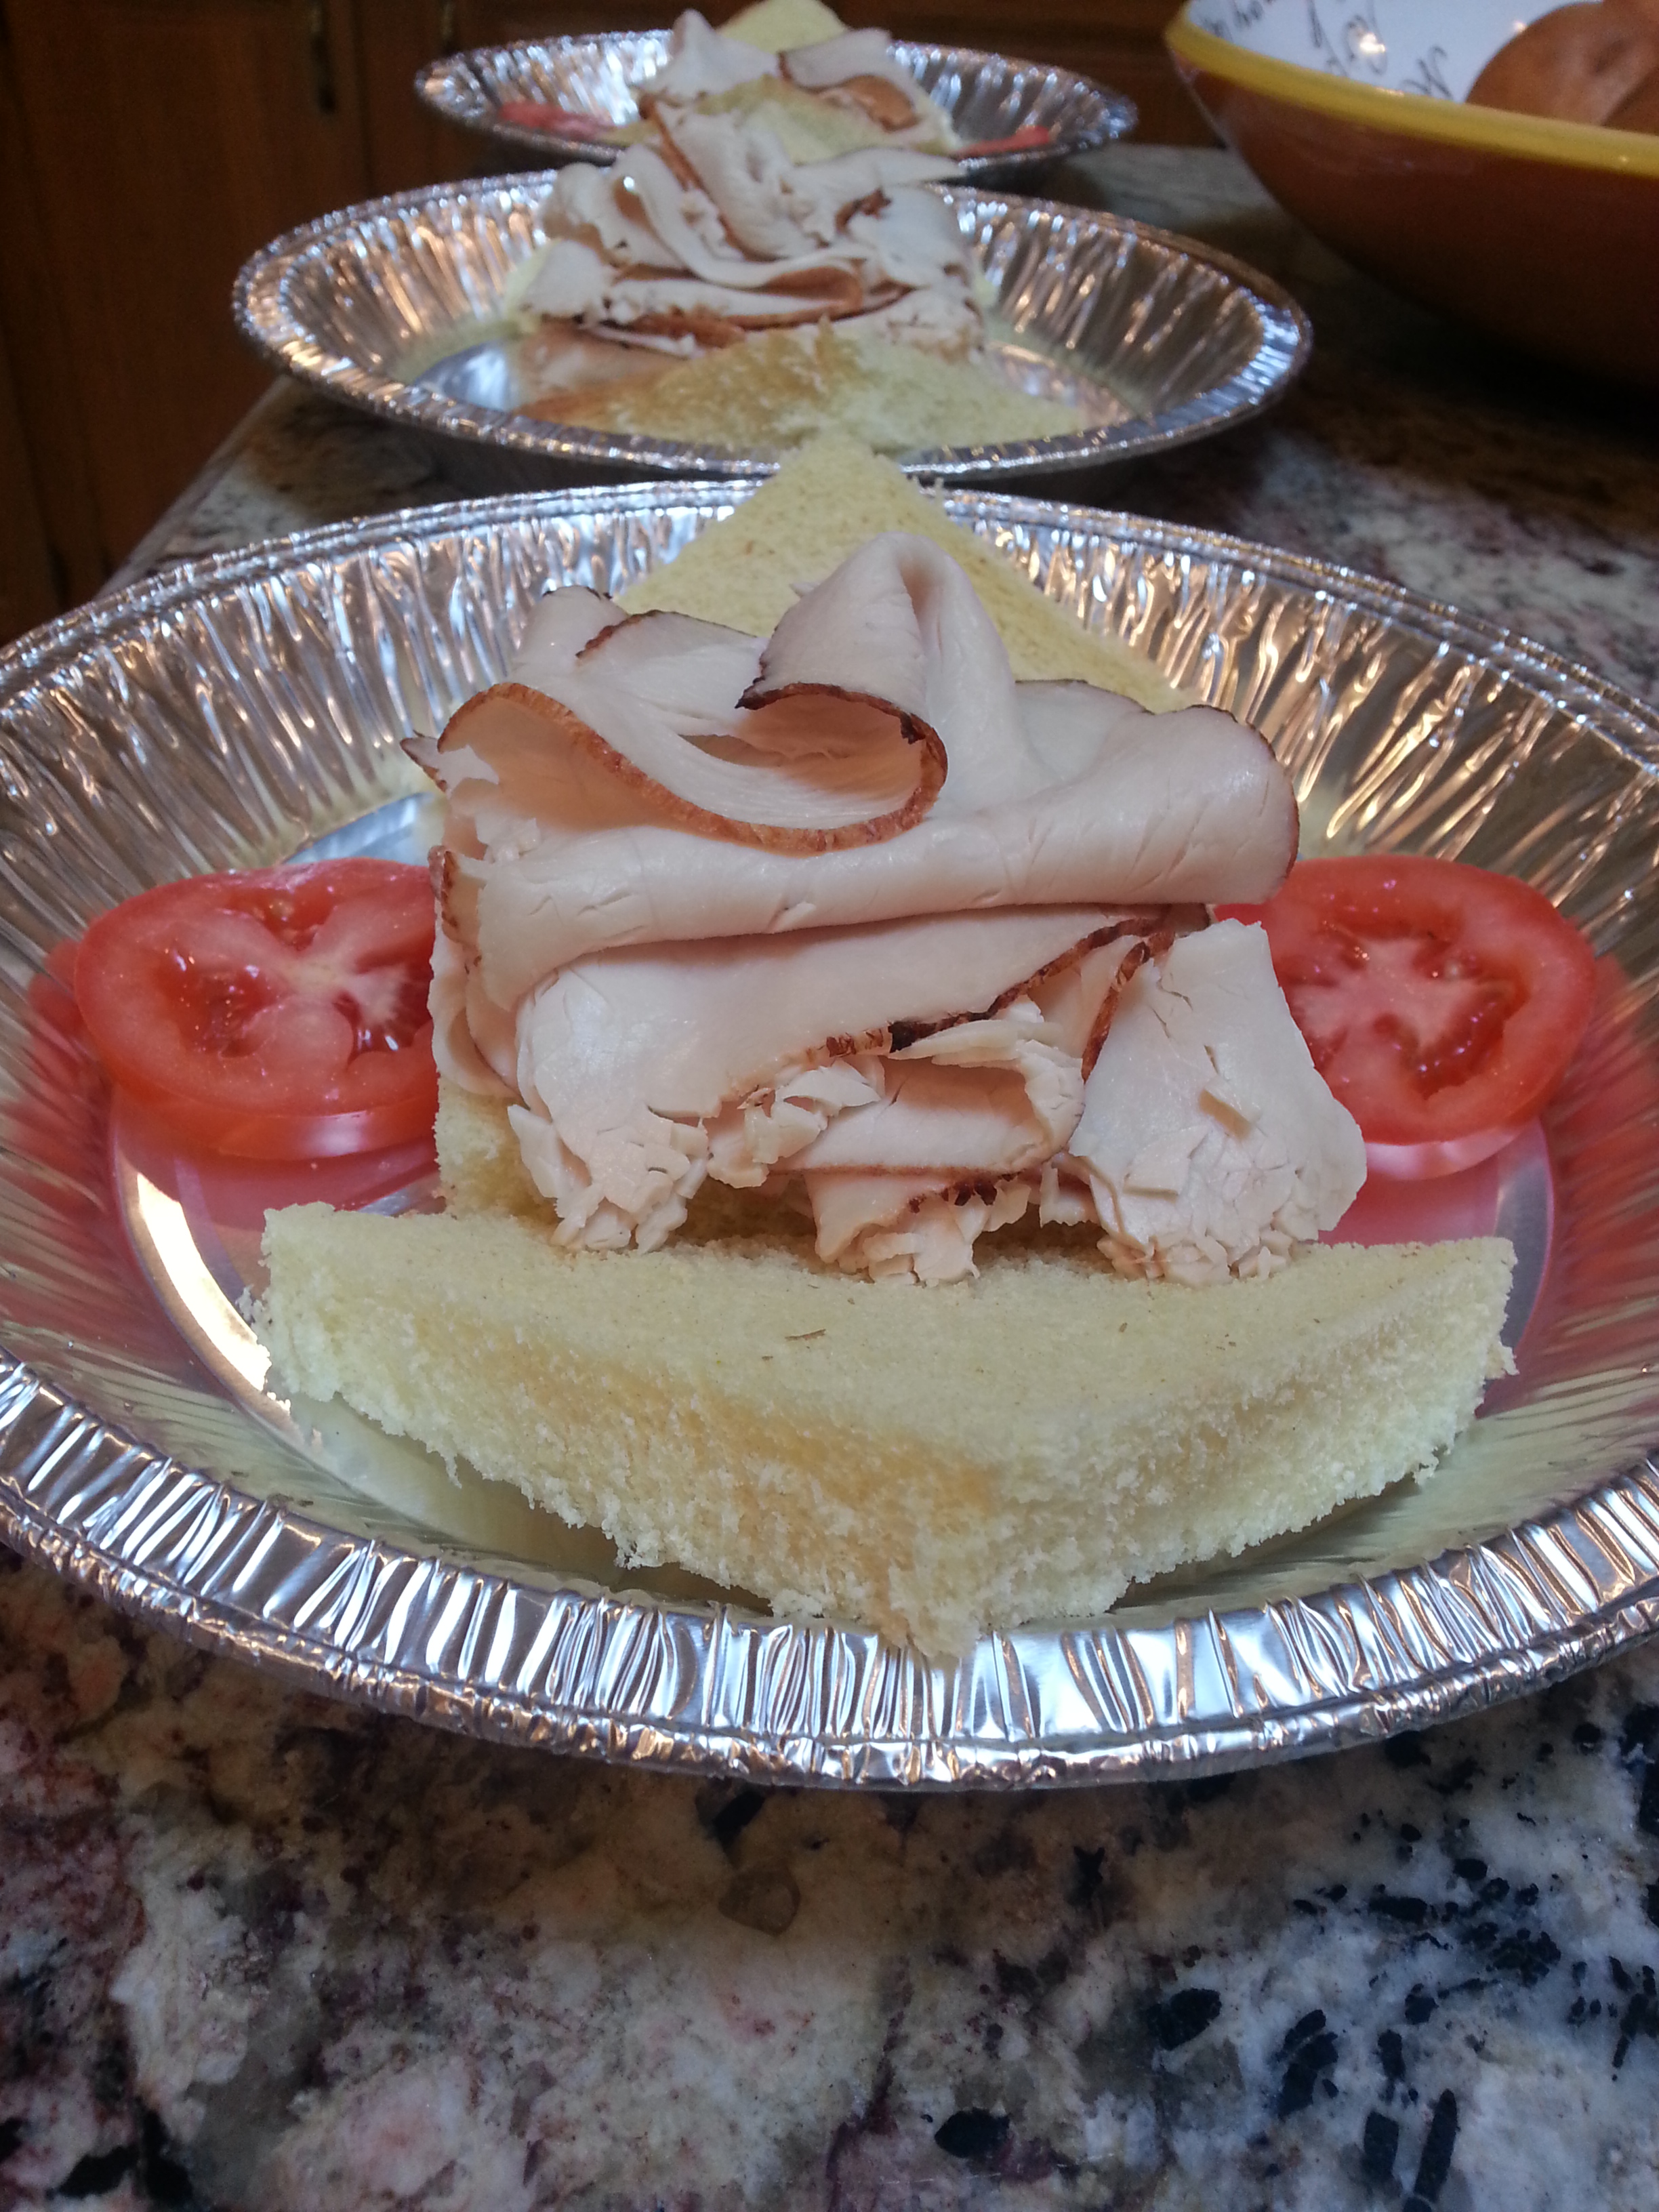
…The second plate was full of cured pork tenderloin and parma ham accompanied by a few young cheeses and special condiments to brighten everything up. Everything here mixes and matches pretty well, but my favorite was a toast topped with the cured tenderloin and mustard fruit. Salty, sweet, and a little tangy, yum!
Sage and Thyme Cured Pork Tenderloin
- 4 lb. pork tenderloin, trimmed of fat and sinew.
- ½ gallon water
- 1 cup salt
- 5 tbsp. DQ Cure #1, also known as pink salt or Instacure
- 1 cup sugar (you can use a mixture of brown and white)
- 1 bunch fresh thyme
- 1 bunch fresh sage
Combine the water, herbs, salt, curing salt and sugar in a pot and bring to a boil. Set aside and chill until cold in a container large enough to hold the tenderloin.
Add the pork to the container of brine and place a plate on top of it to keep it submerged. Allow this to sit in the refrigerator for 48 hours.
Remove the pork from the brine, rinse and pat dry. Set it on a wire rack over a baking sheet and refrigerate uncovered for 12 hours.
Preheat the oven to 375 degrees F.
Roast the pork until it reaches an internal temperature of 150 degrees, rest, and then wrap and chill. Slice thin on the bias to serve.

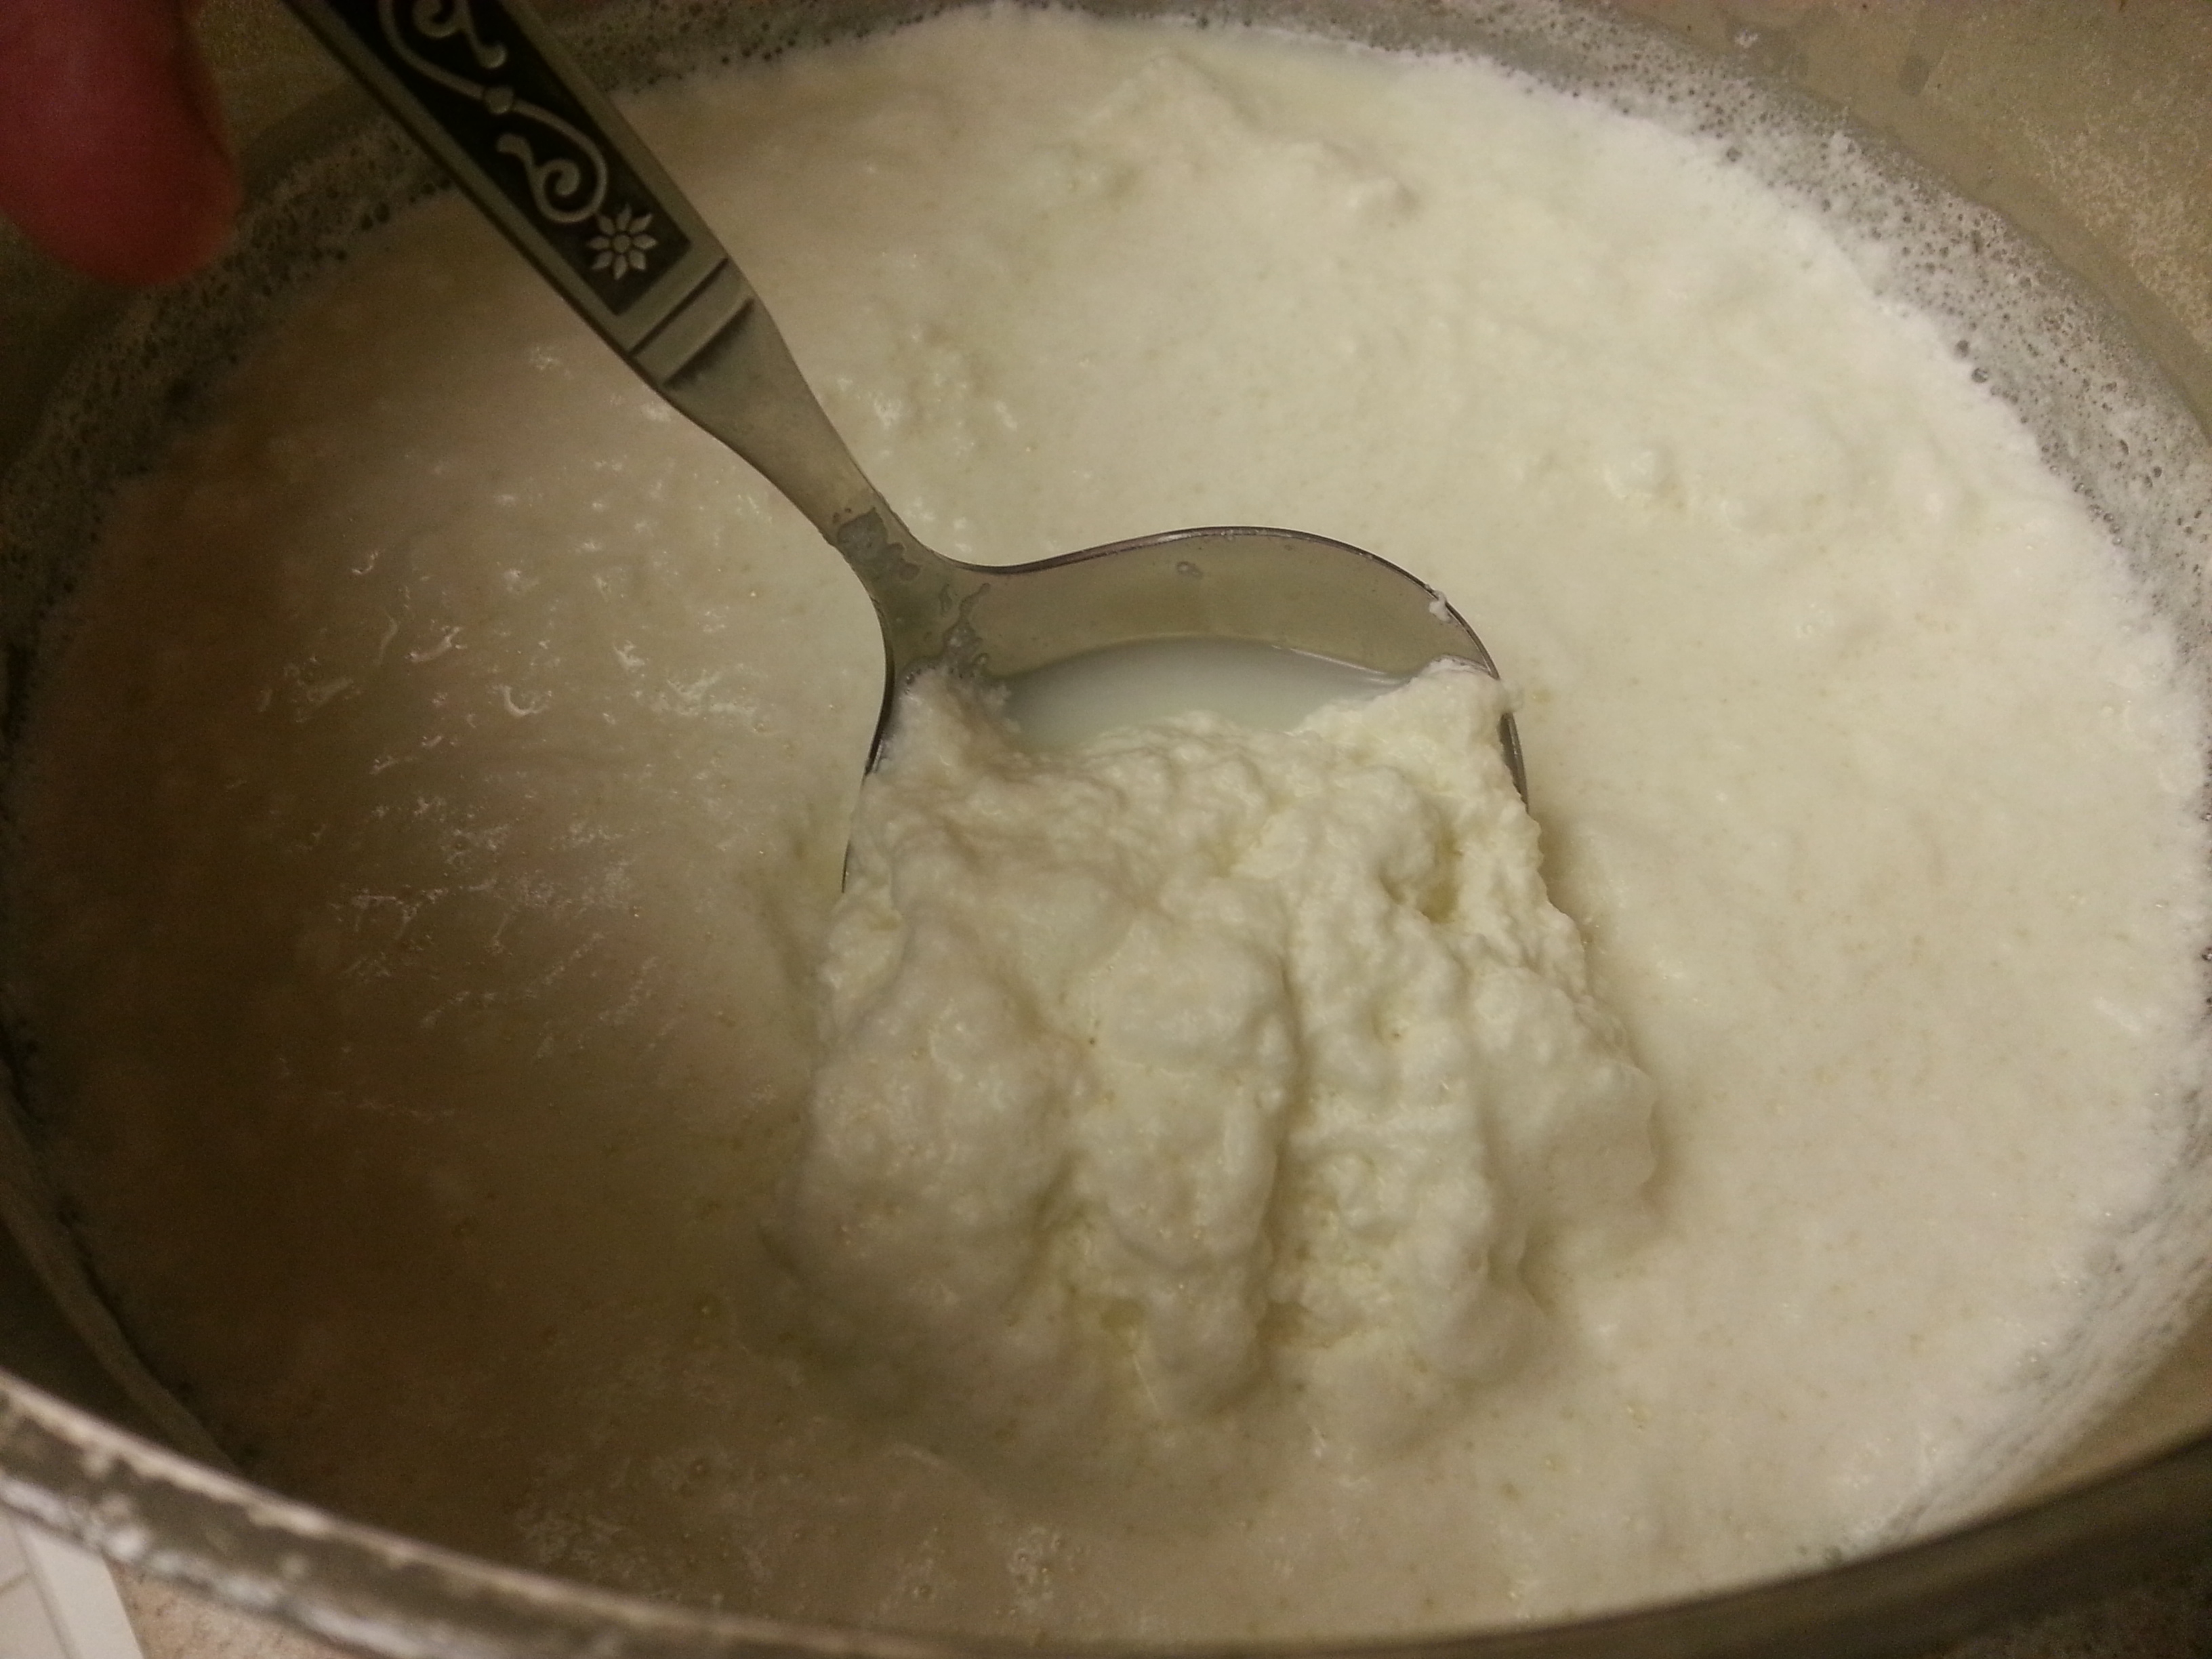
Ancho Chile Spiced Ricotta
Follow the recipe found here for making homemade ricotta. Once the curds have drained, add 1 tsp. ancho chile powder and mix thoroughly. Store covered in the refrigerator for up to a week.

Queso Blanco with Roasted Piquillo Peppers
Follow the recipe found here for making homemade queso blanco. Prior to pressing the cheese, fold in 1/3 cup diced roasted piquillo peppers. Store well wrapped in the refrigerator for up to 2 weeks.

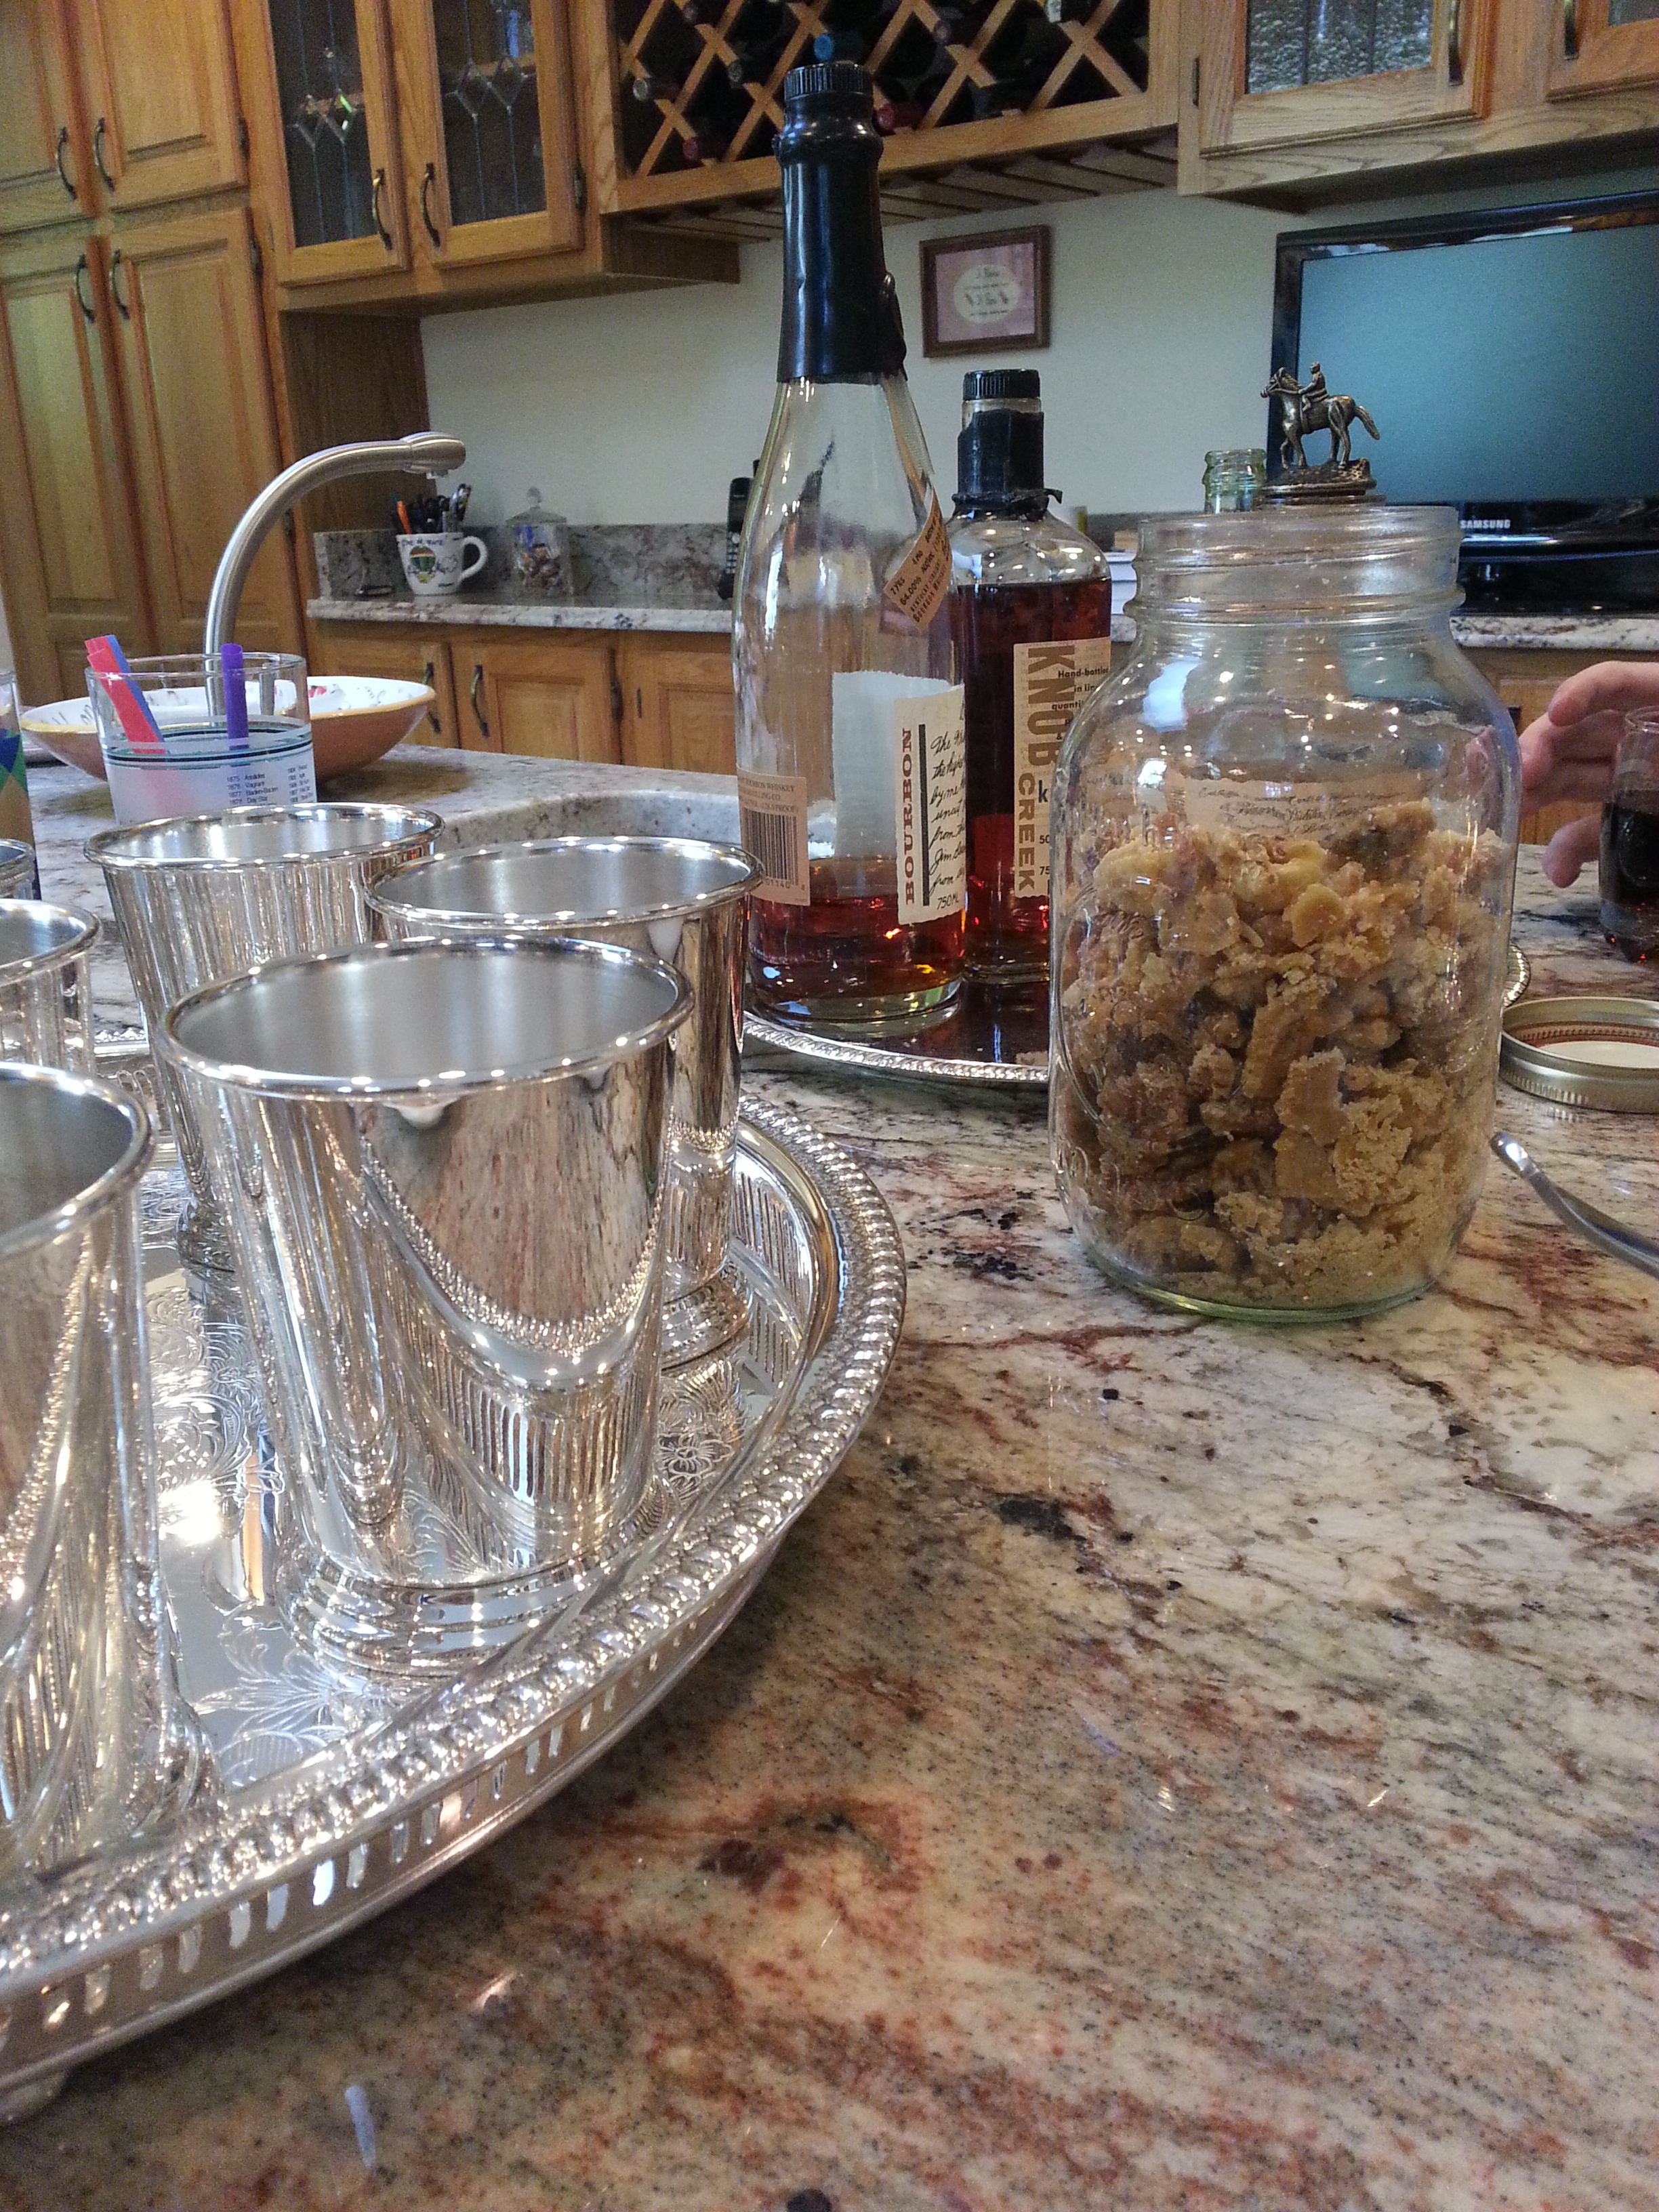
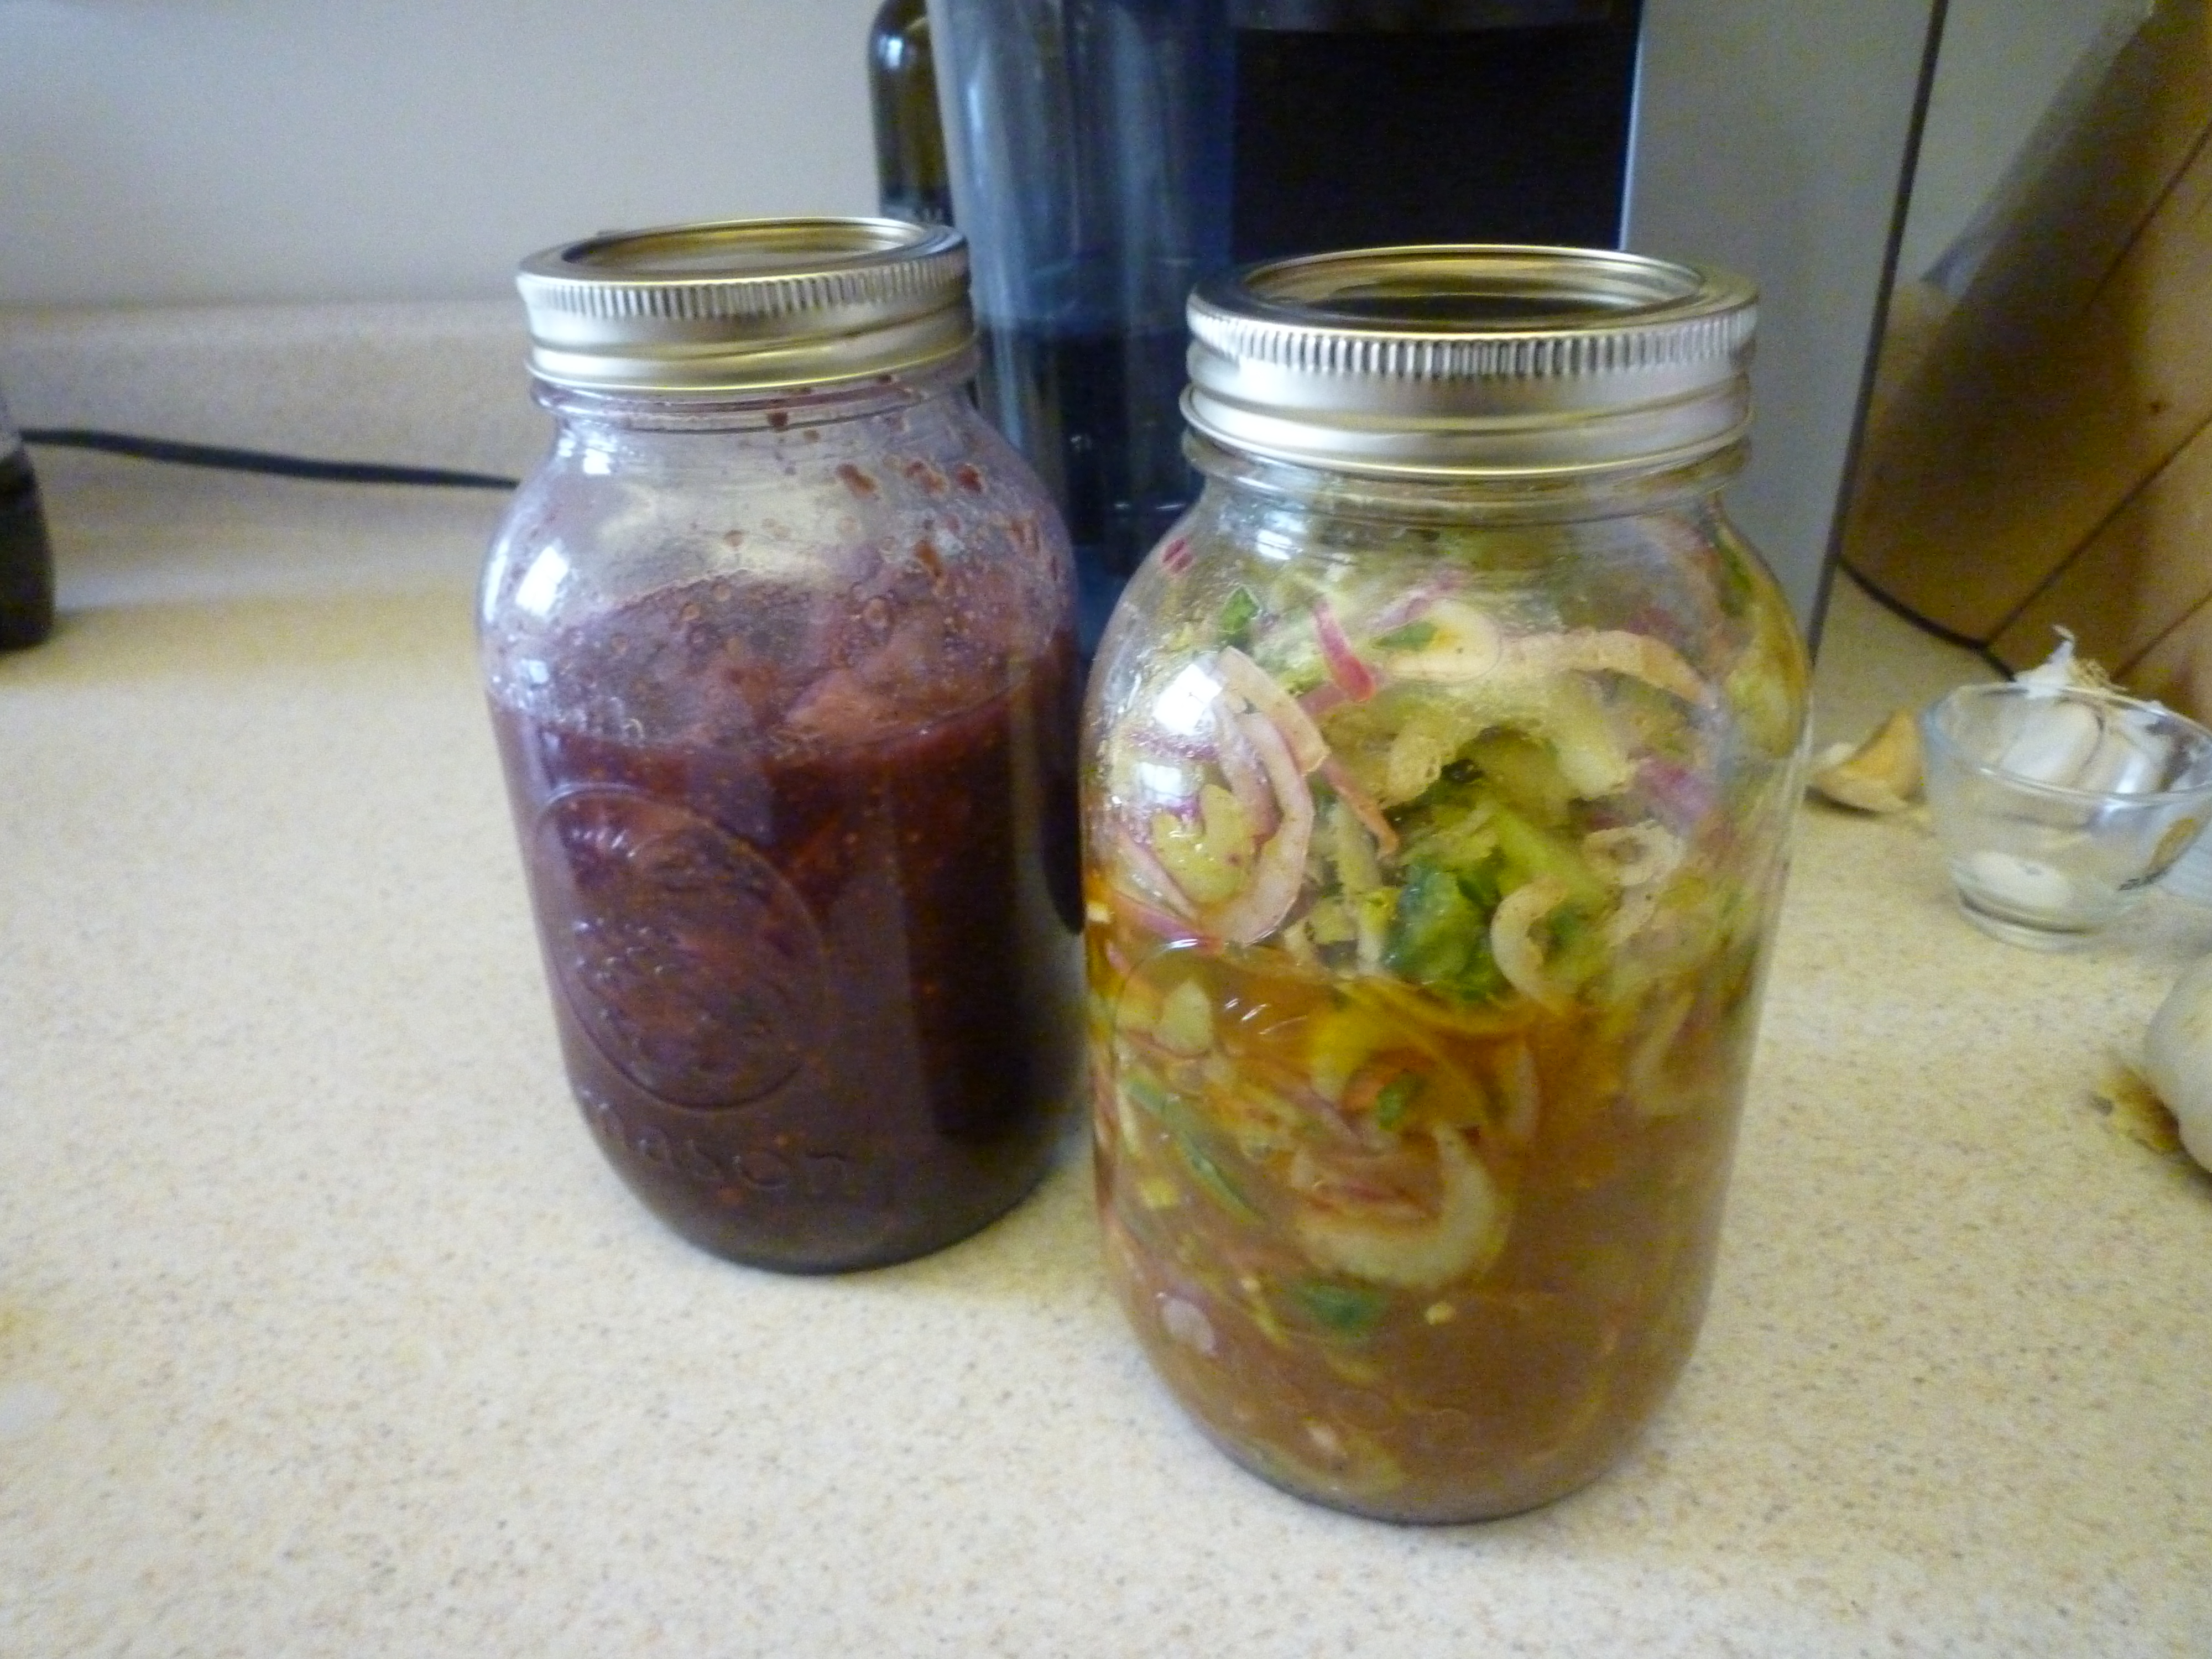
Mustard Fruit
adapted from Michael Symon
- 1 cup dry red wine
- 1/2 cup white sugar
- 1/4 cup red wine vinegar
- 1 tsp. salt
- 1/3 cup stone ground mustard
- 1/2 tsp. yellow mustard seeds
- 1 pear, peeled, cored, and chopped into ½ in. cubes
- 1 dried sour cherries
Place the dried cherries and chopped pears in a clean, quart-sized mason jar and set aside. Cover and shake to mix.
Combine the wine, sugar, vinegar and salt in a medium-sized saucepan and bring to a boil. Stir in the mustard until thoroughly blended and then mix in the mustard seeds.
Gently pour the hot liquid over the fruit in the jar, cover, and shake gently to distribute the liquid. It should generously cover the fruit. Store in the refrigerator for at least two days and up to one month. The longer it is stored, the more pronounced the flavors will become. The dried cherries will also plump up a little bit and they are delicious.
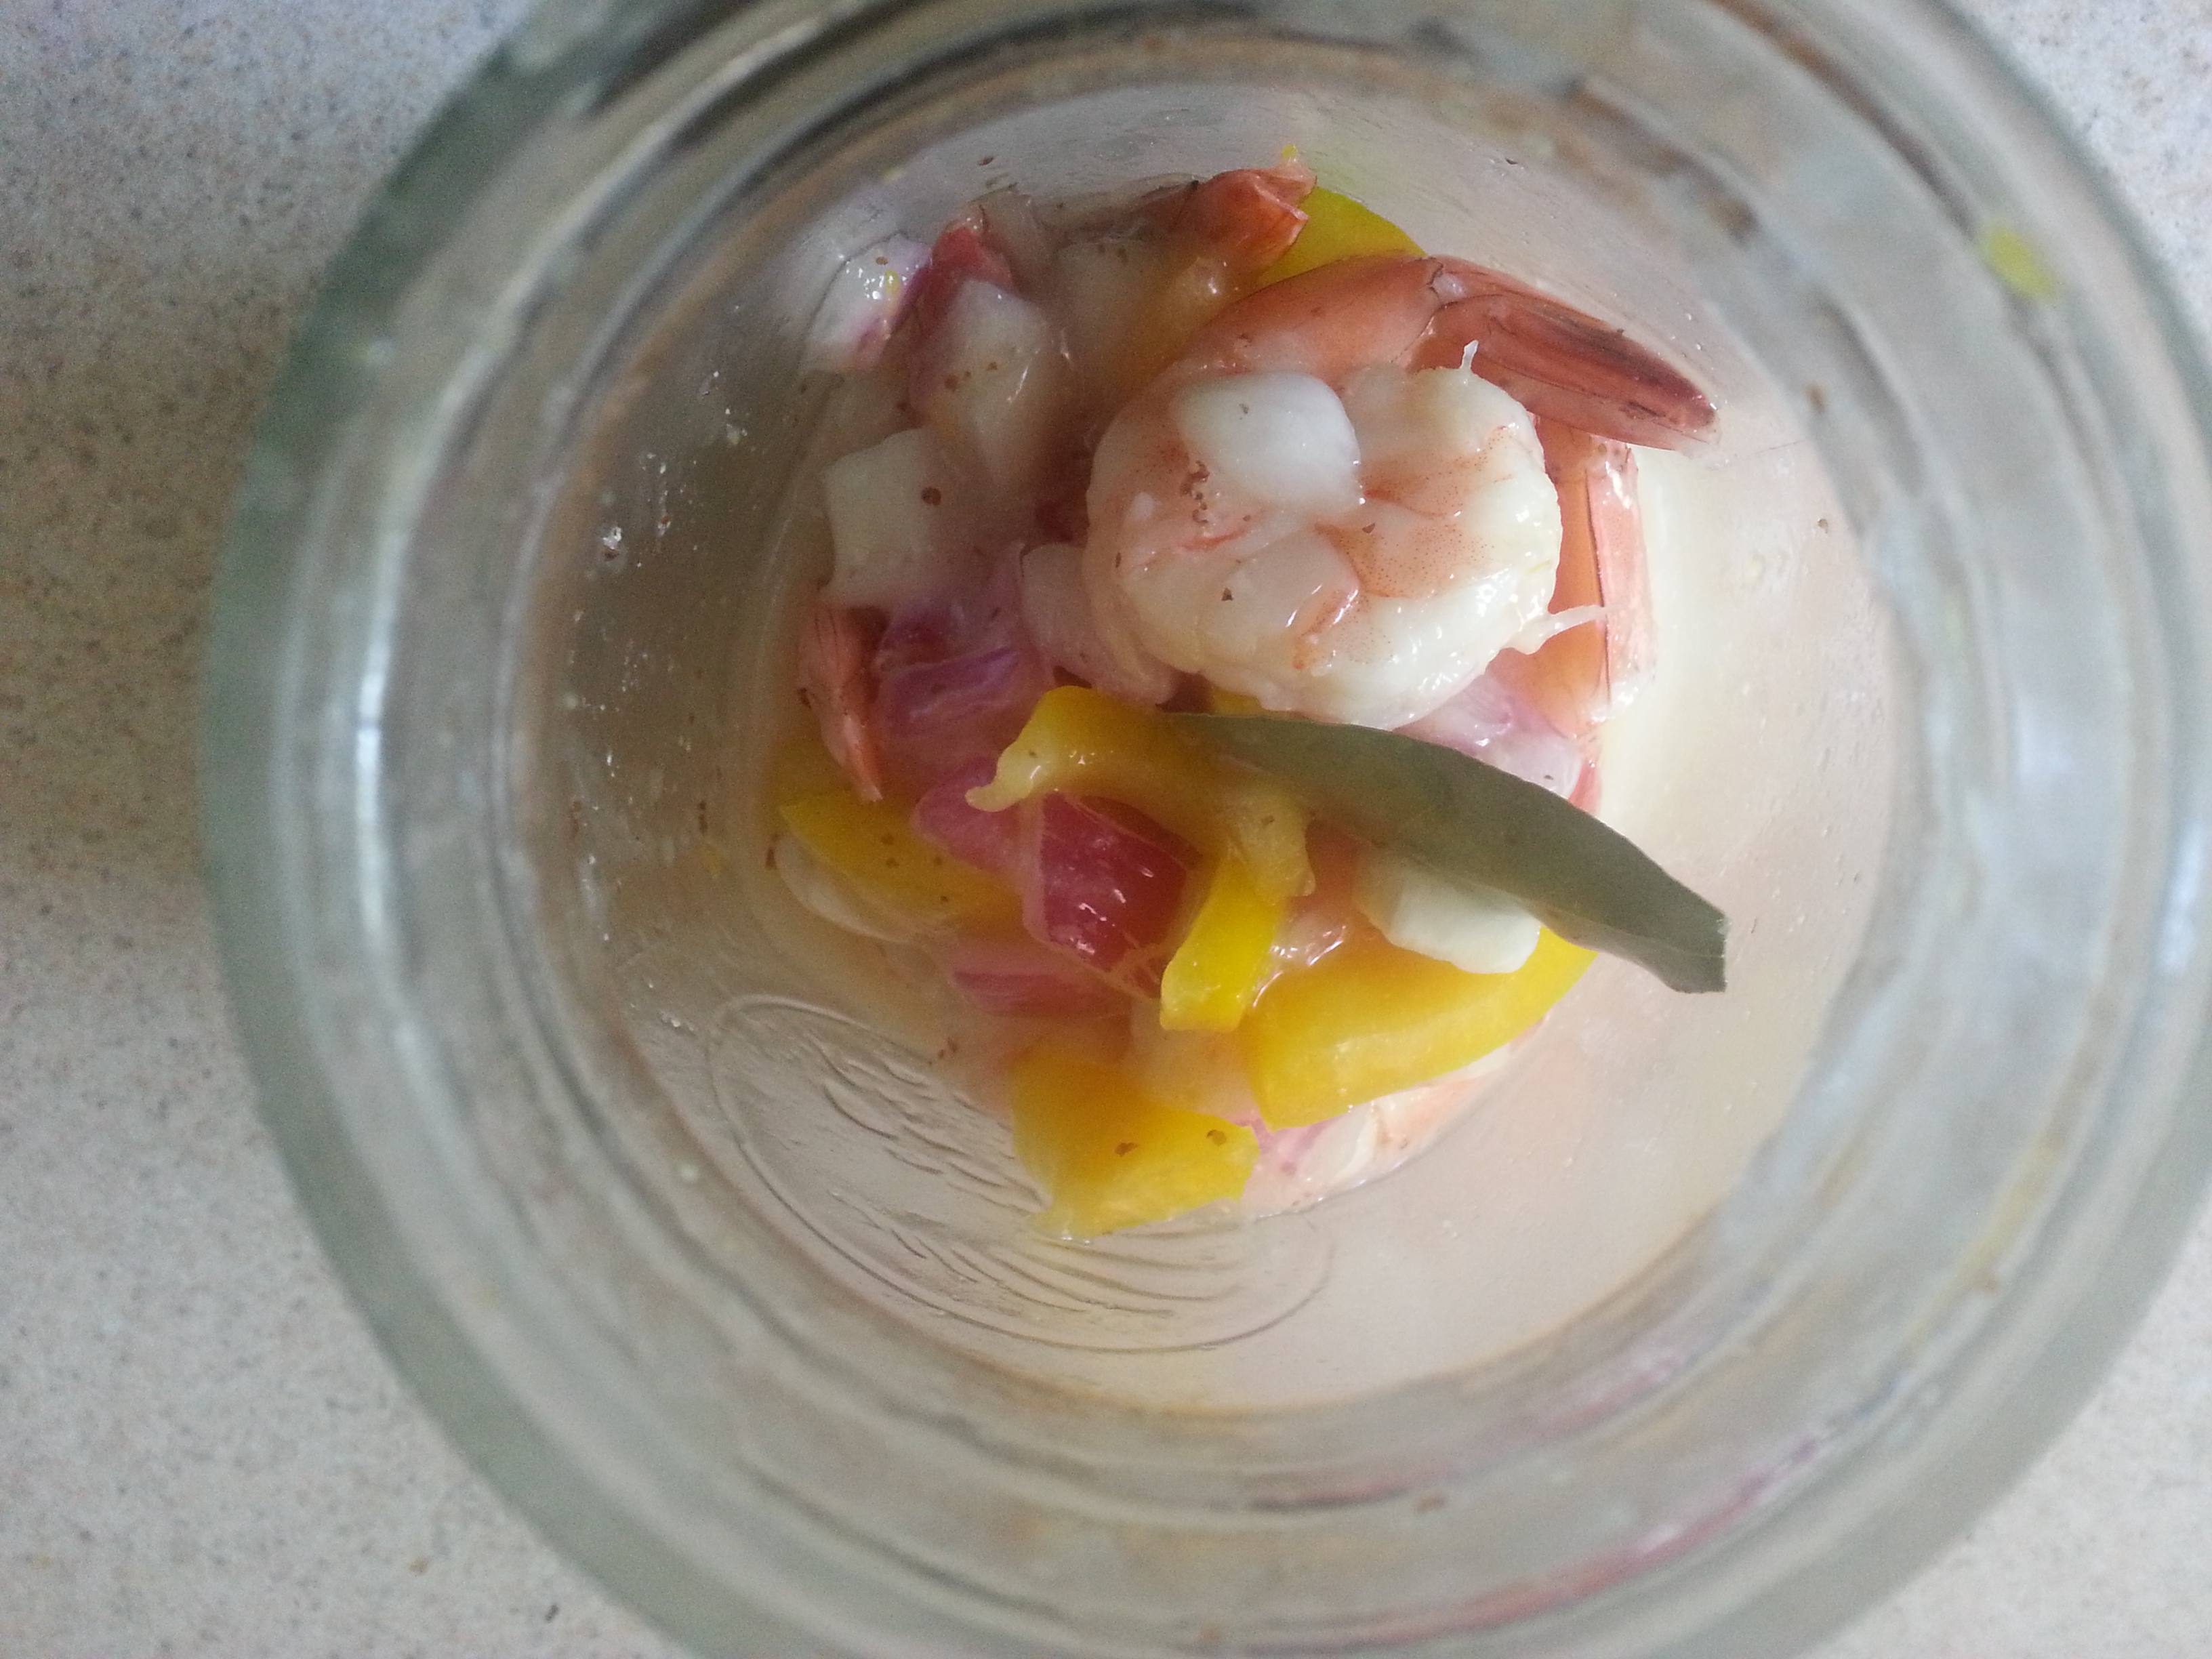
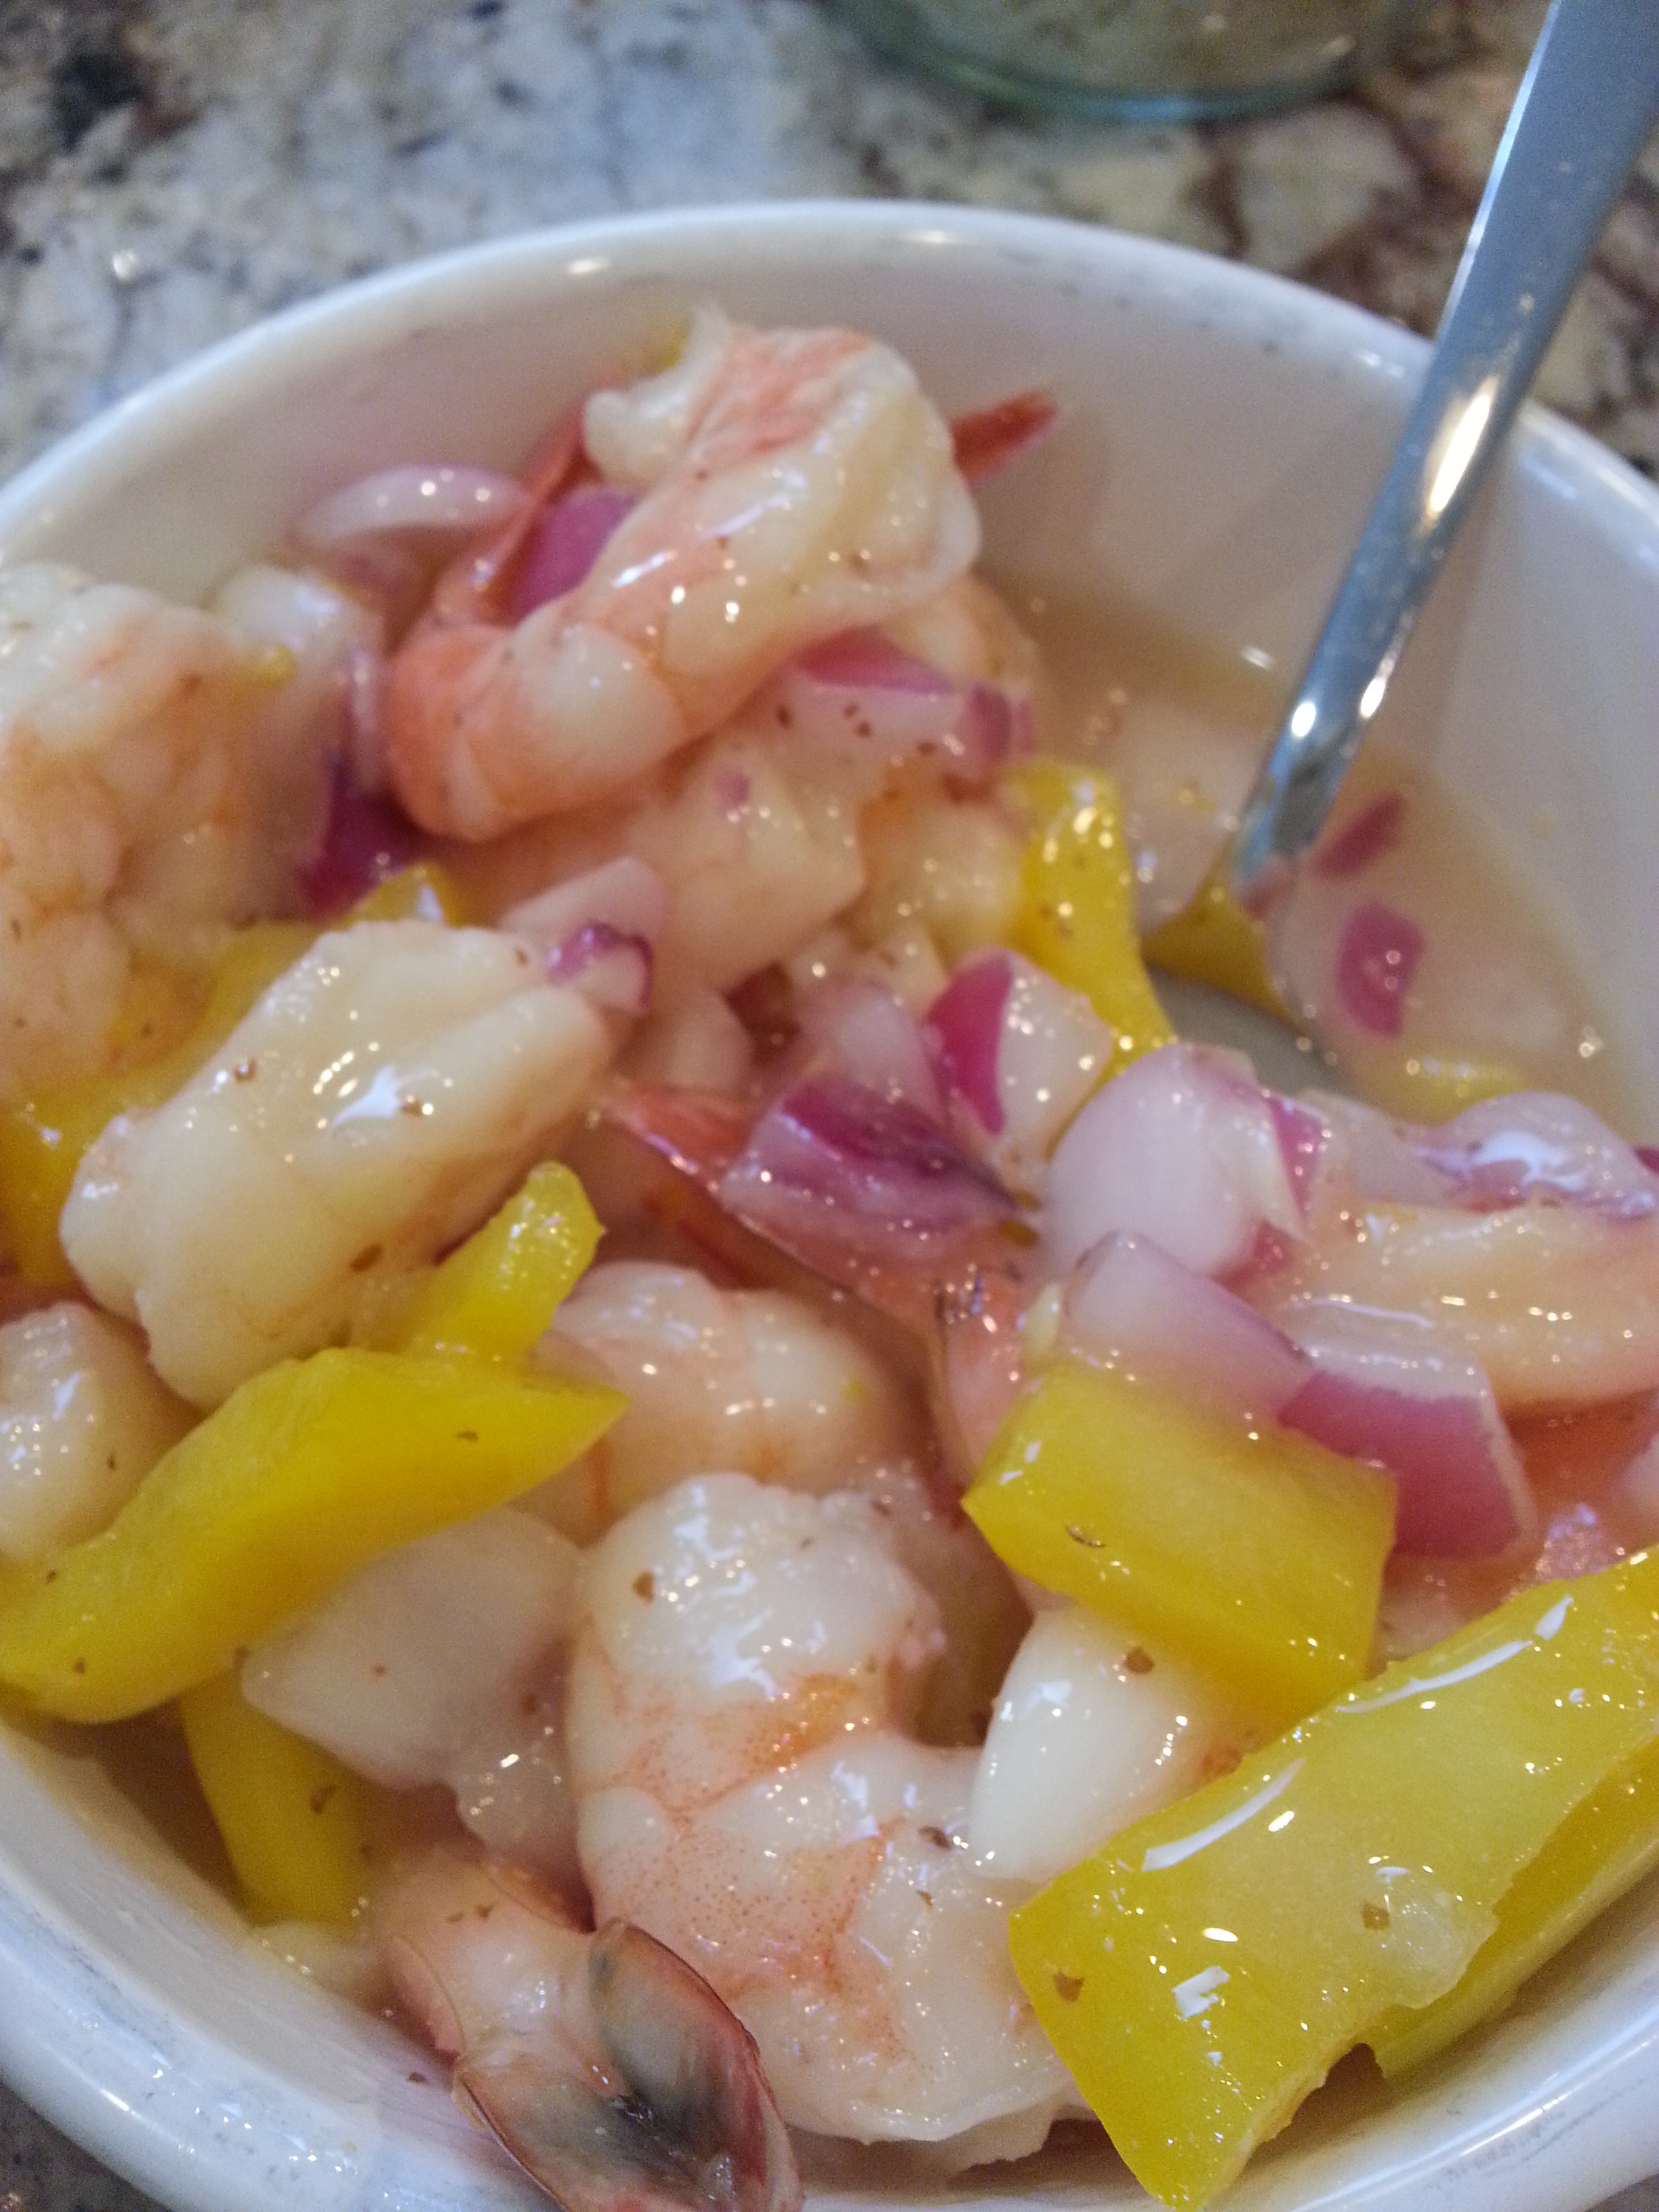
Giardiniera
adapted from Michael Symon
- 1 pound celery, peeled and sliced thin.
- 2 jalapeño peppers, cut into thin rings.
- 2-3 cherry peppers, diced.
- 2 cloves garlic, minced.
- 1 red onion, quartered and sliced thin.
- 1 tsp. ancho chile powder
- 1 tsp. salt
- 1 tsp. toasted, ground coriander
- 1/4 cup flat leaf parsley, chopped.
- ½ cup red wine vinegar
- ½ cup olive oil
Combine all ingredients in a large mixing bowl and mix thoroughly. Pack into a 1 quart mason jar. Store in the refrigerator for up to a month, shaking gently every so often to redistribute the liquid.

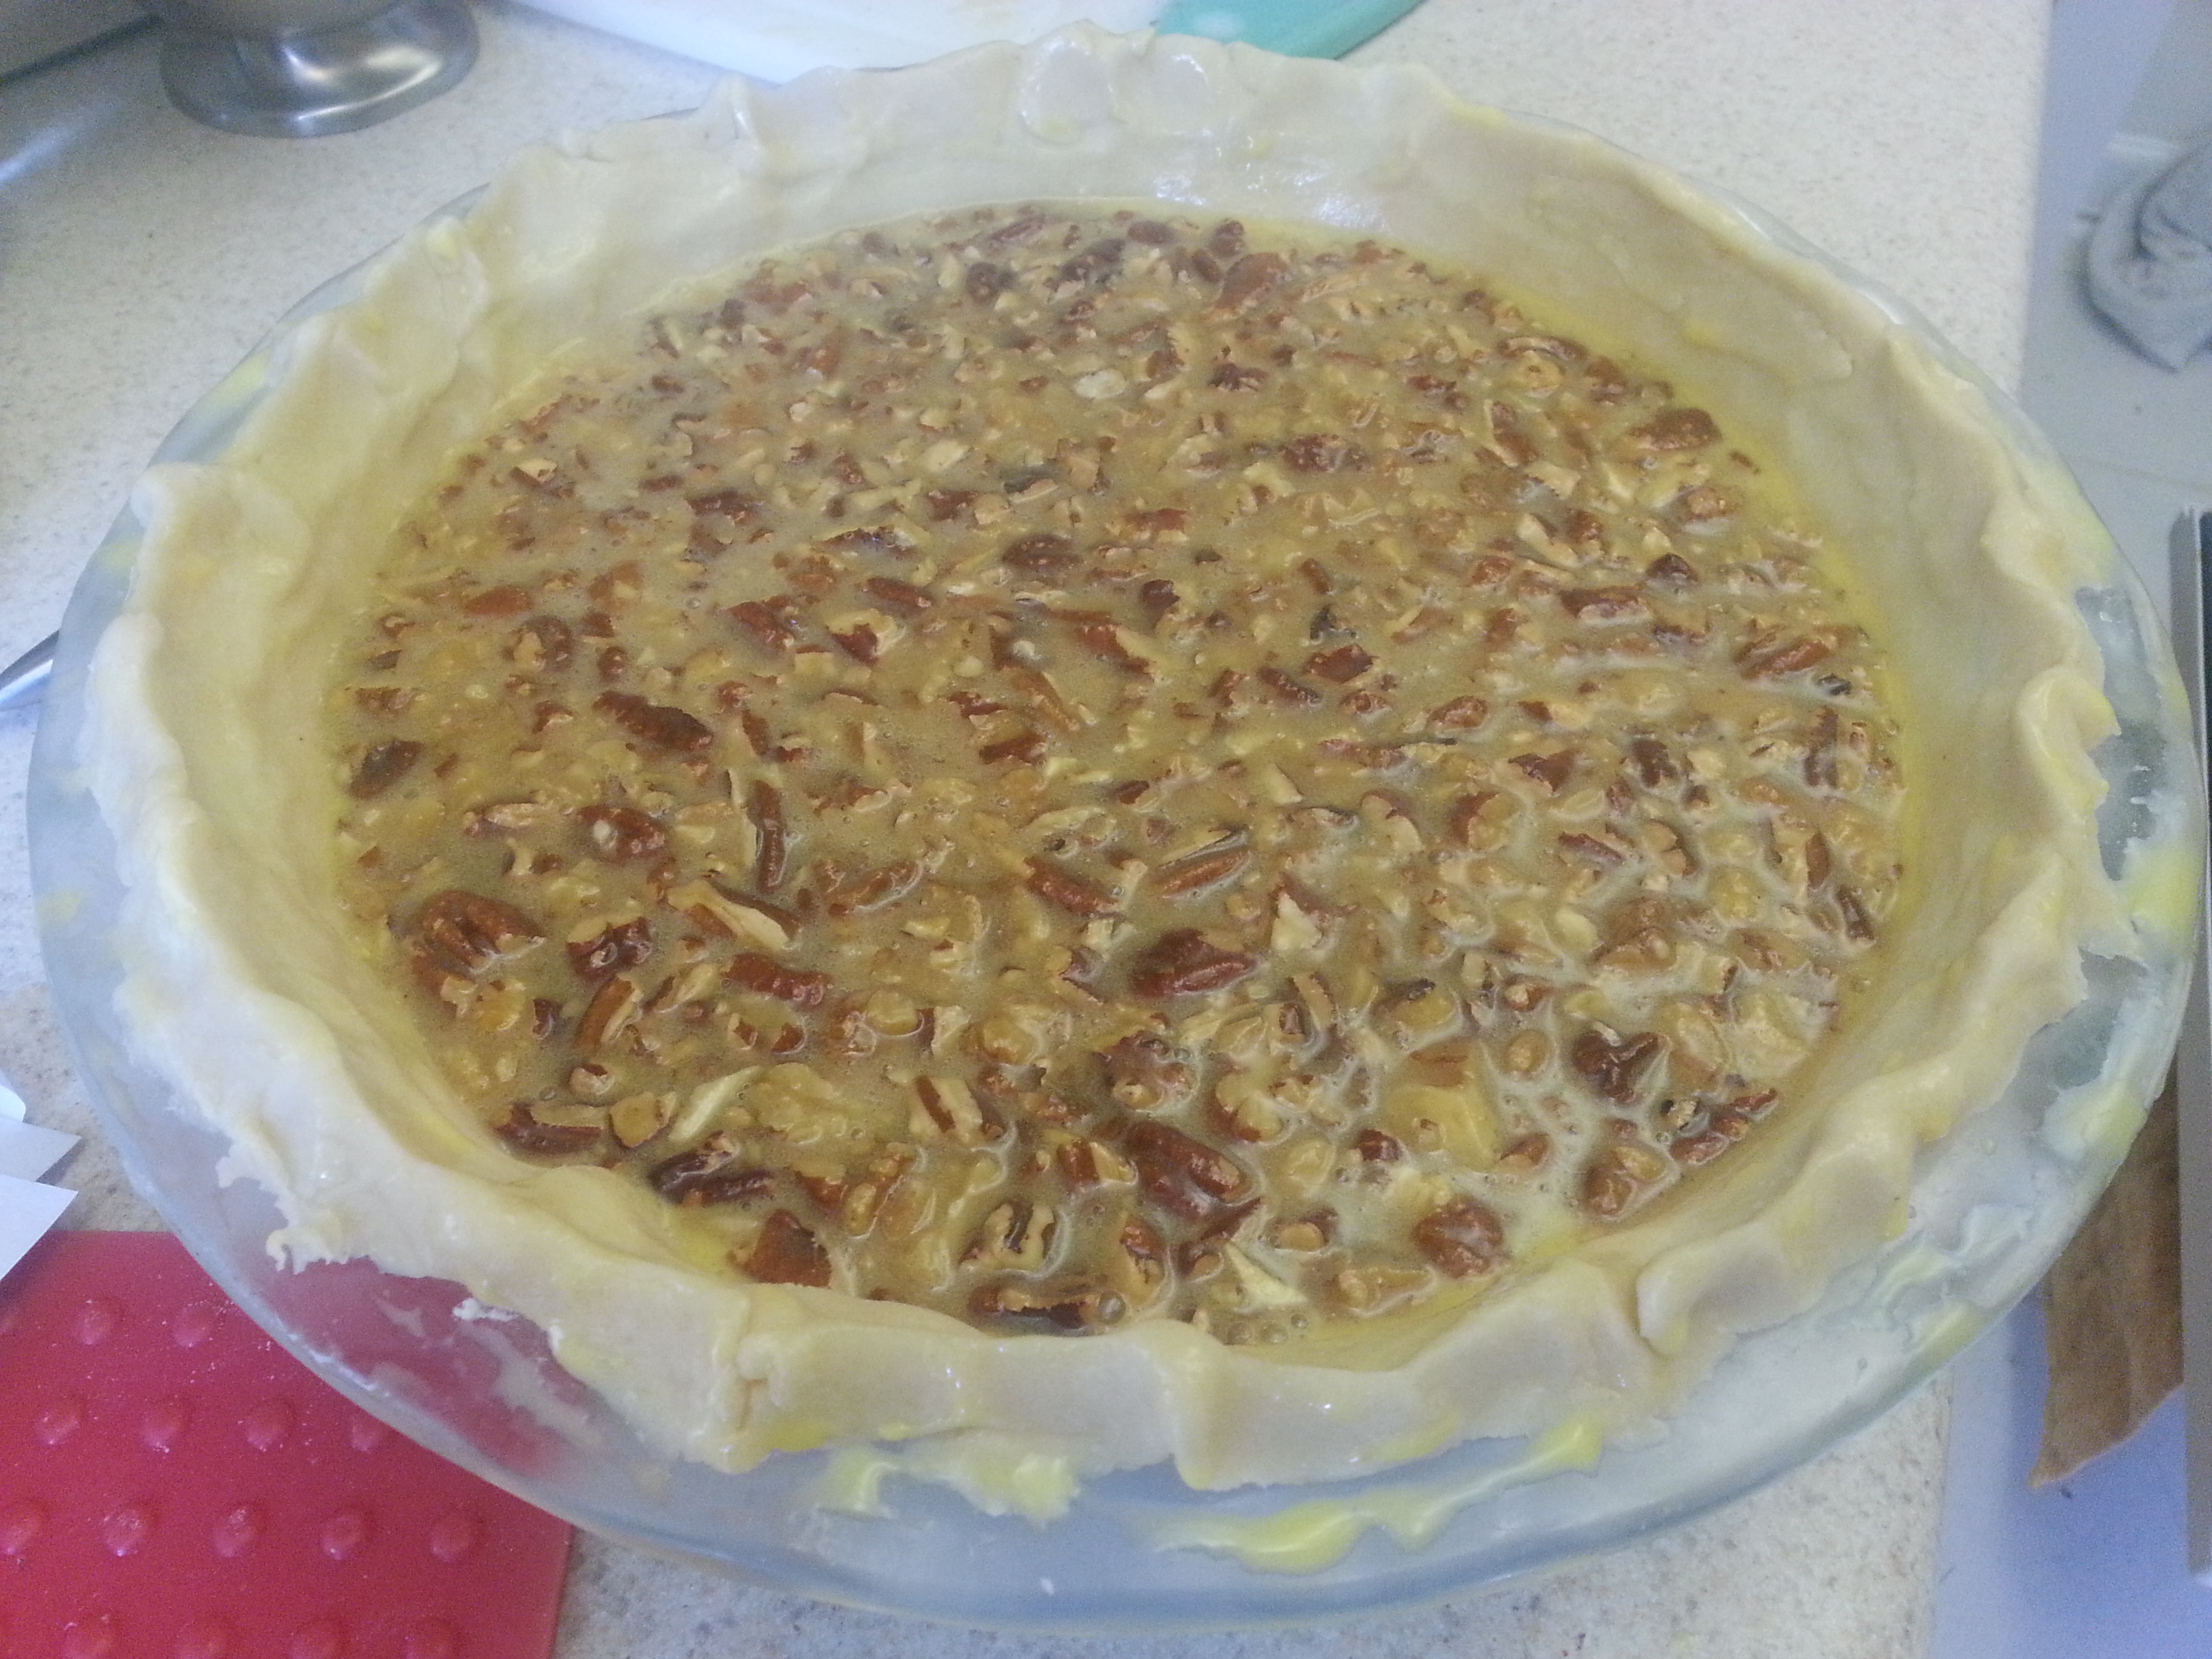
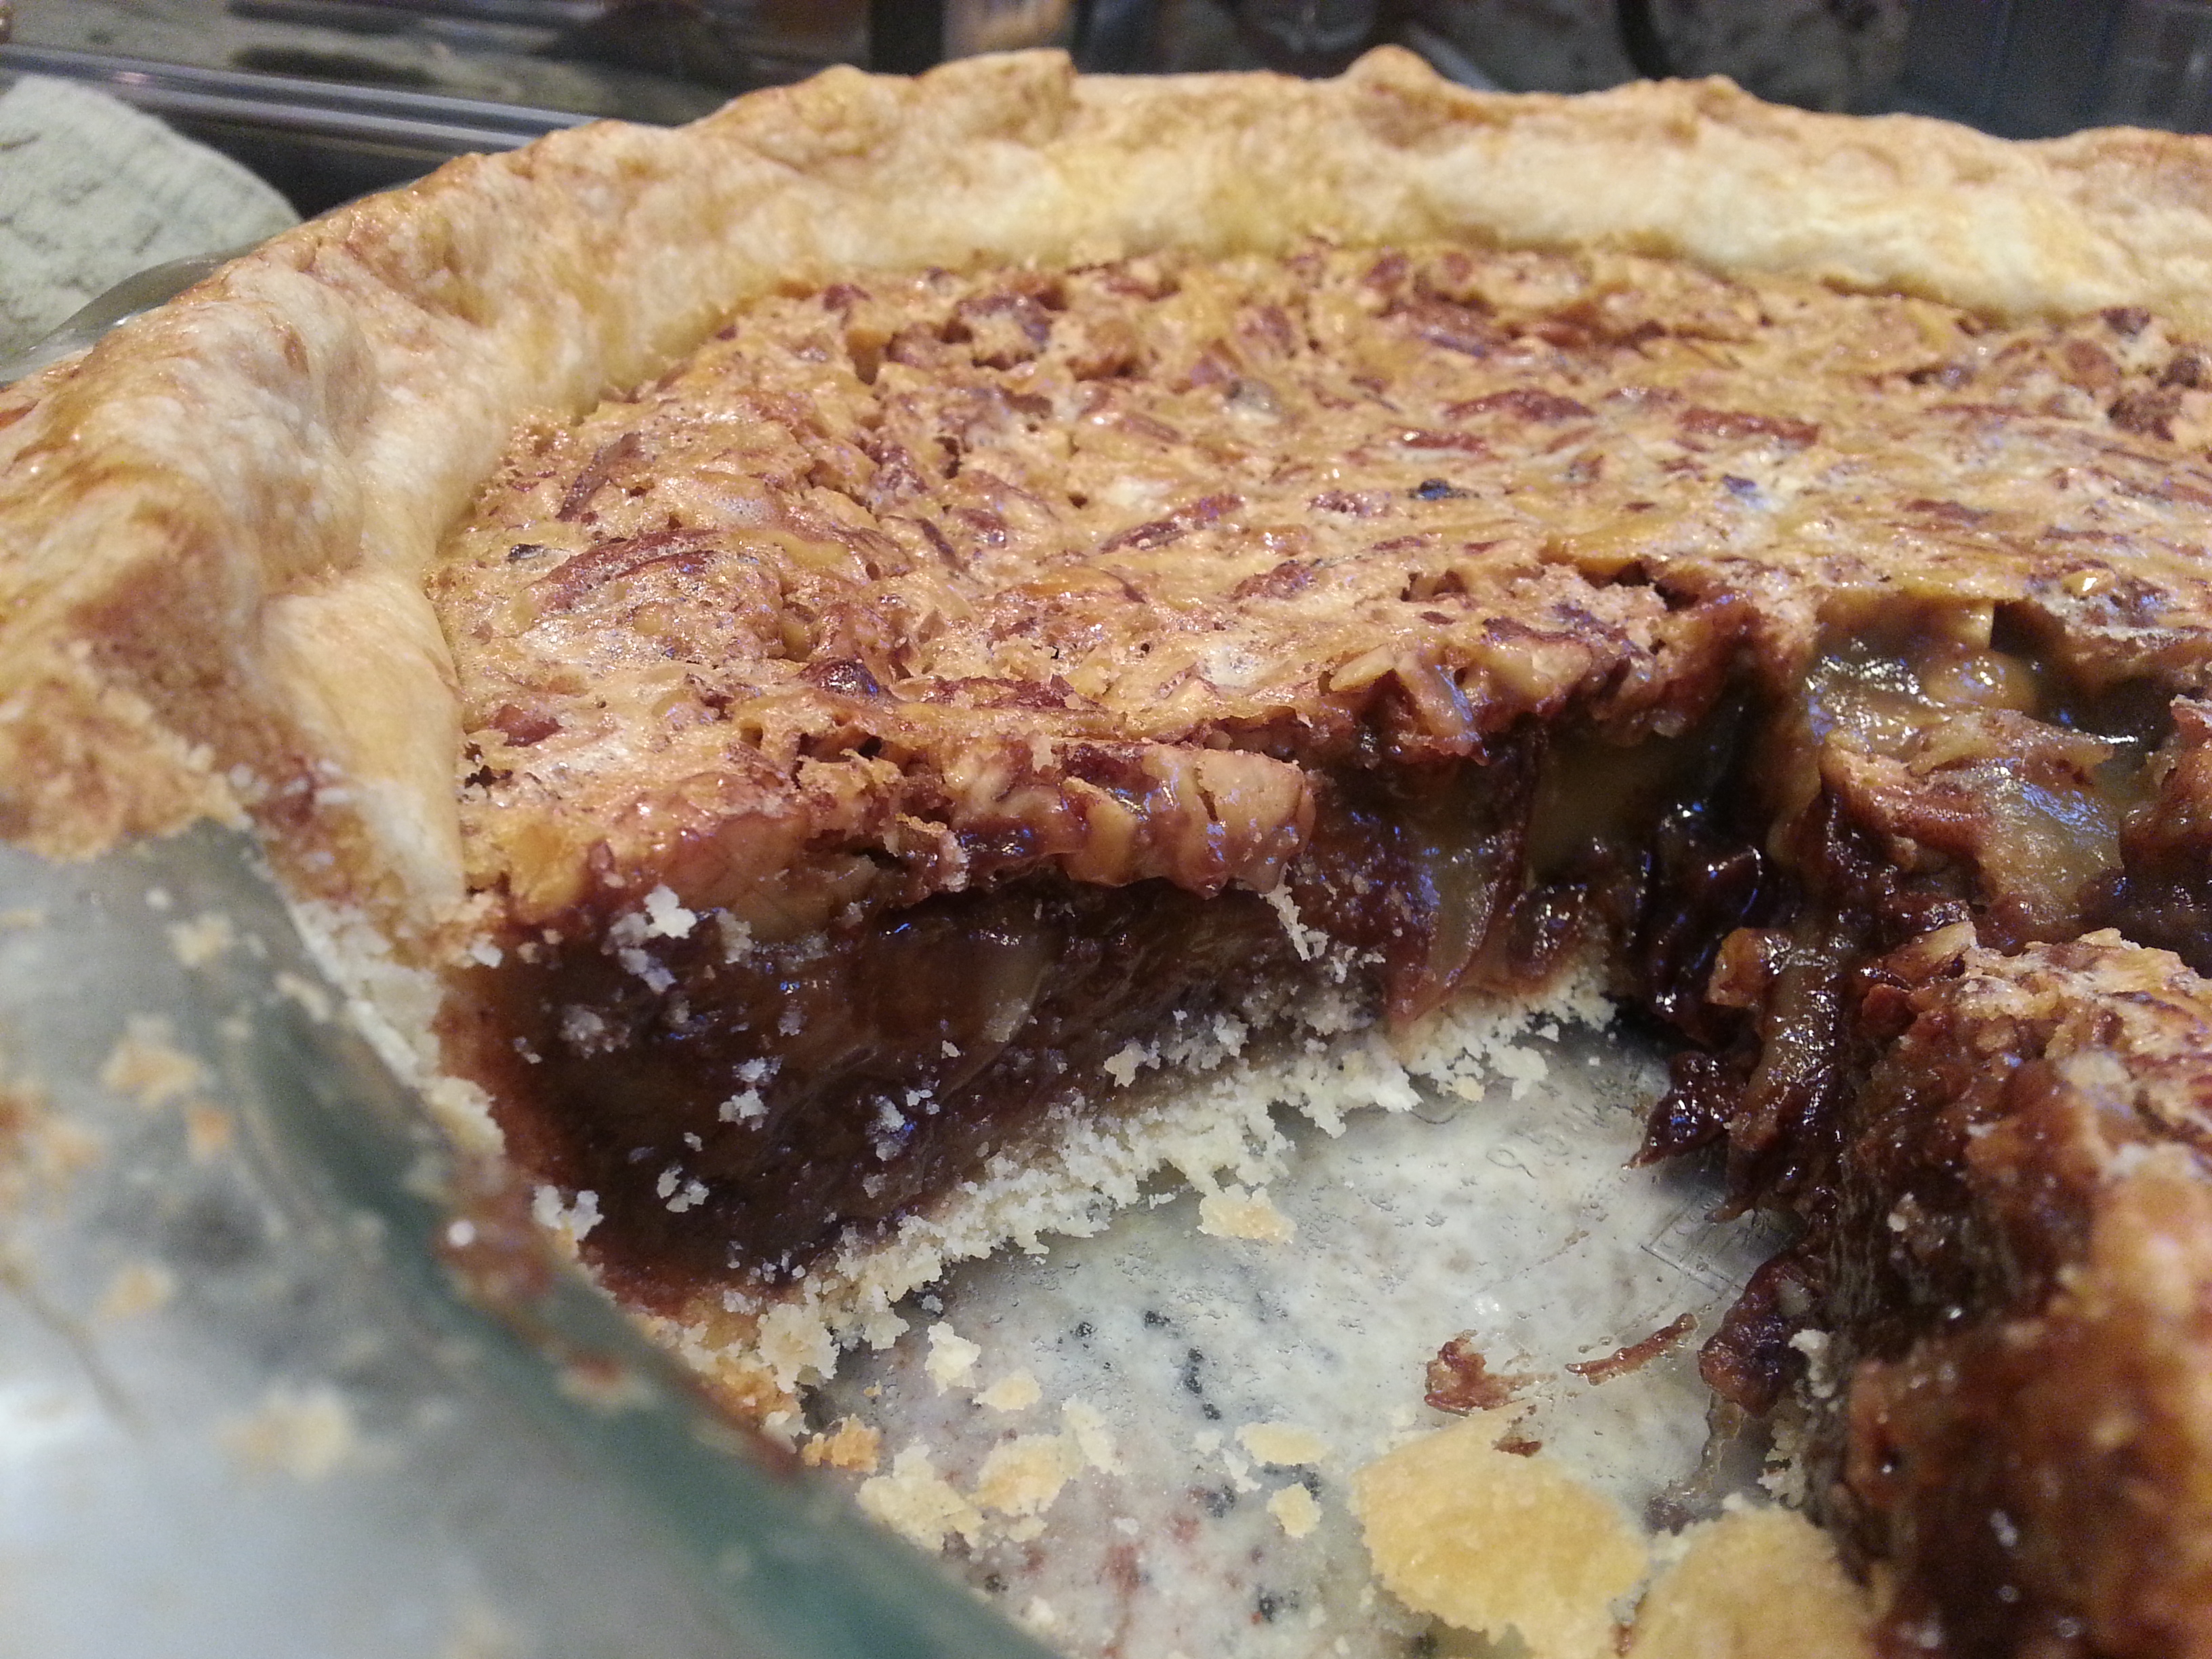
Strawberry Jam Tart with Walnut Crust
Follow the recipe found here for making a strawberry jam tart, but replace the cornmeal with ½ cup finely ground walnuts.

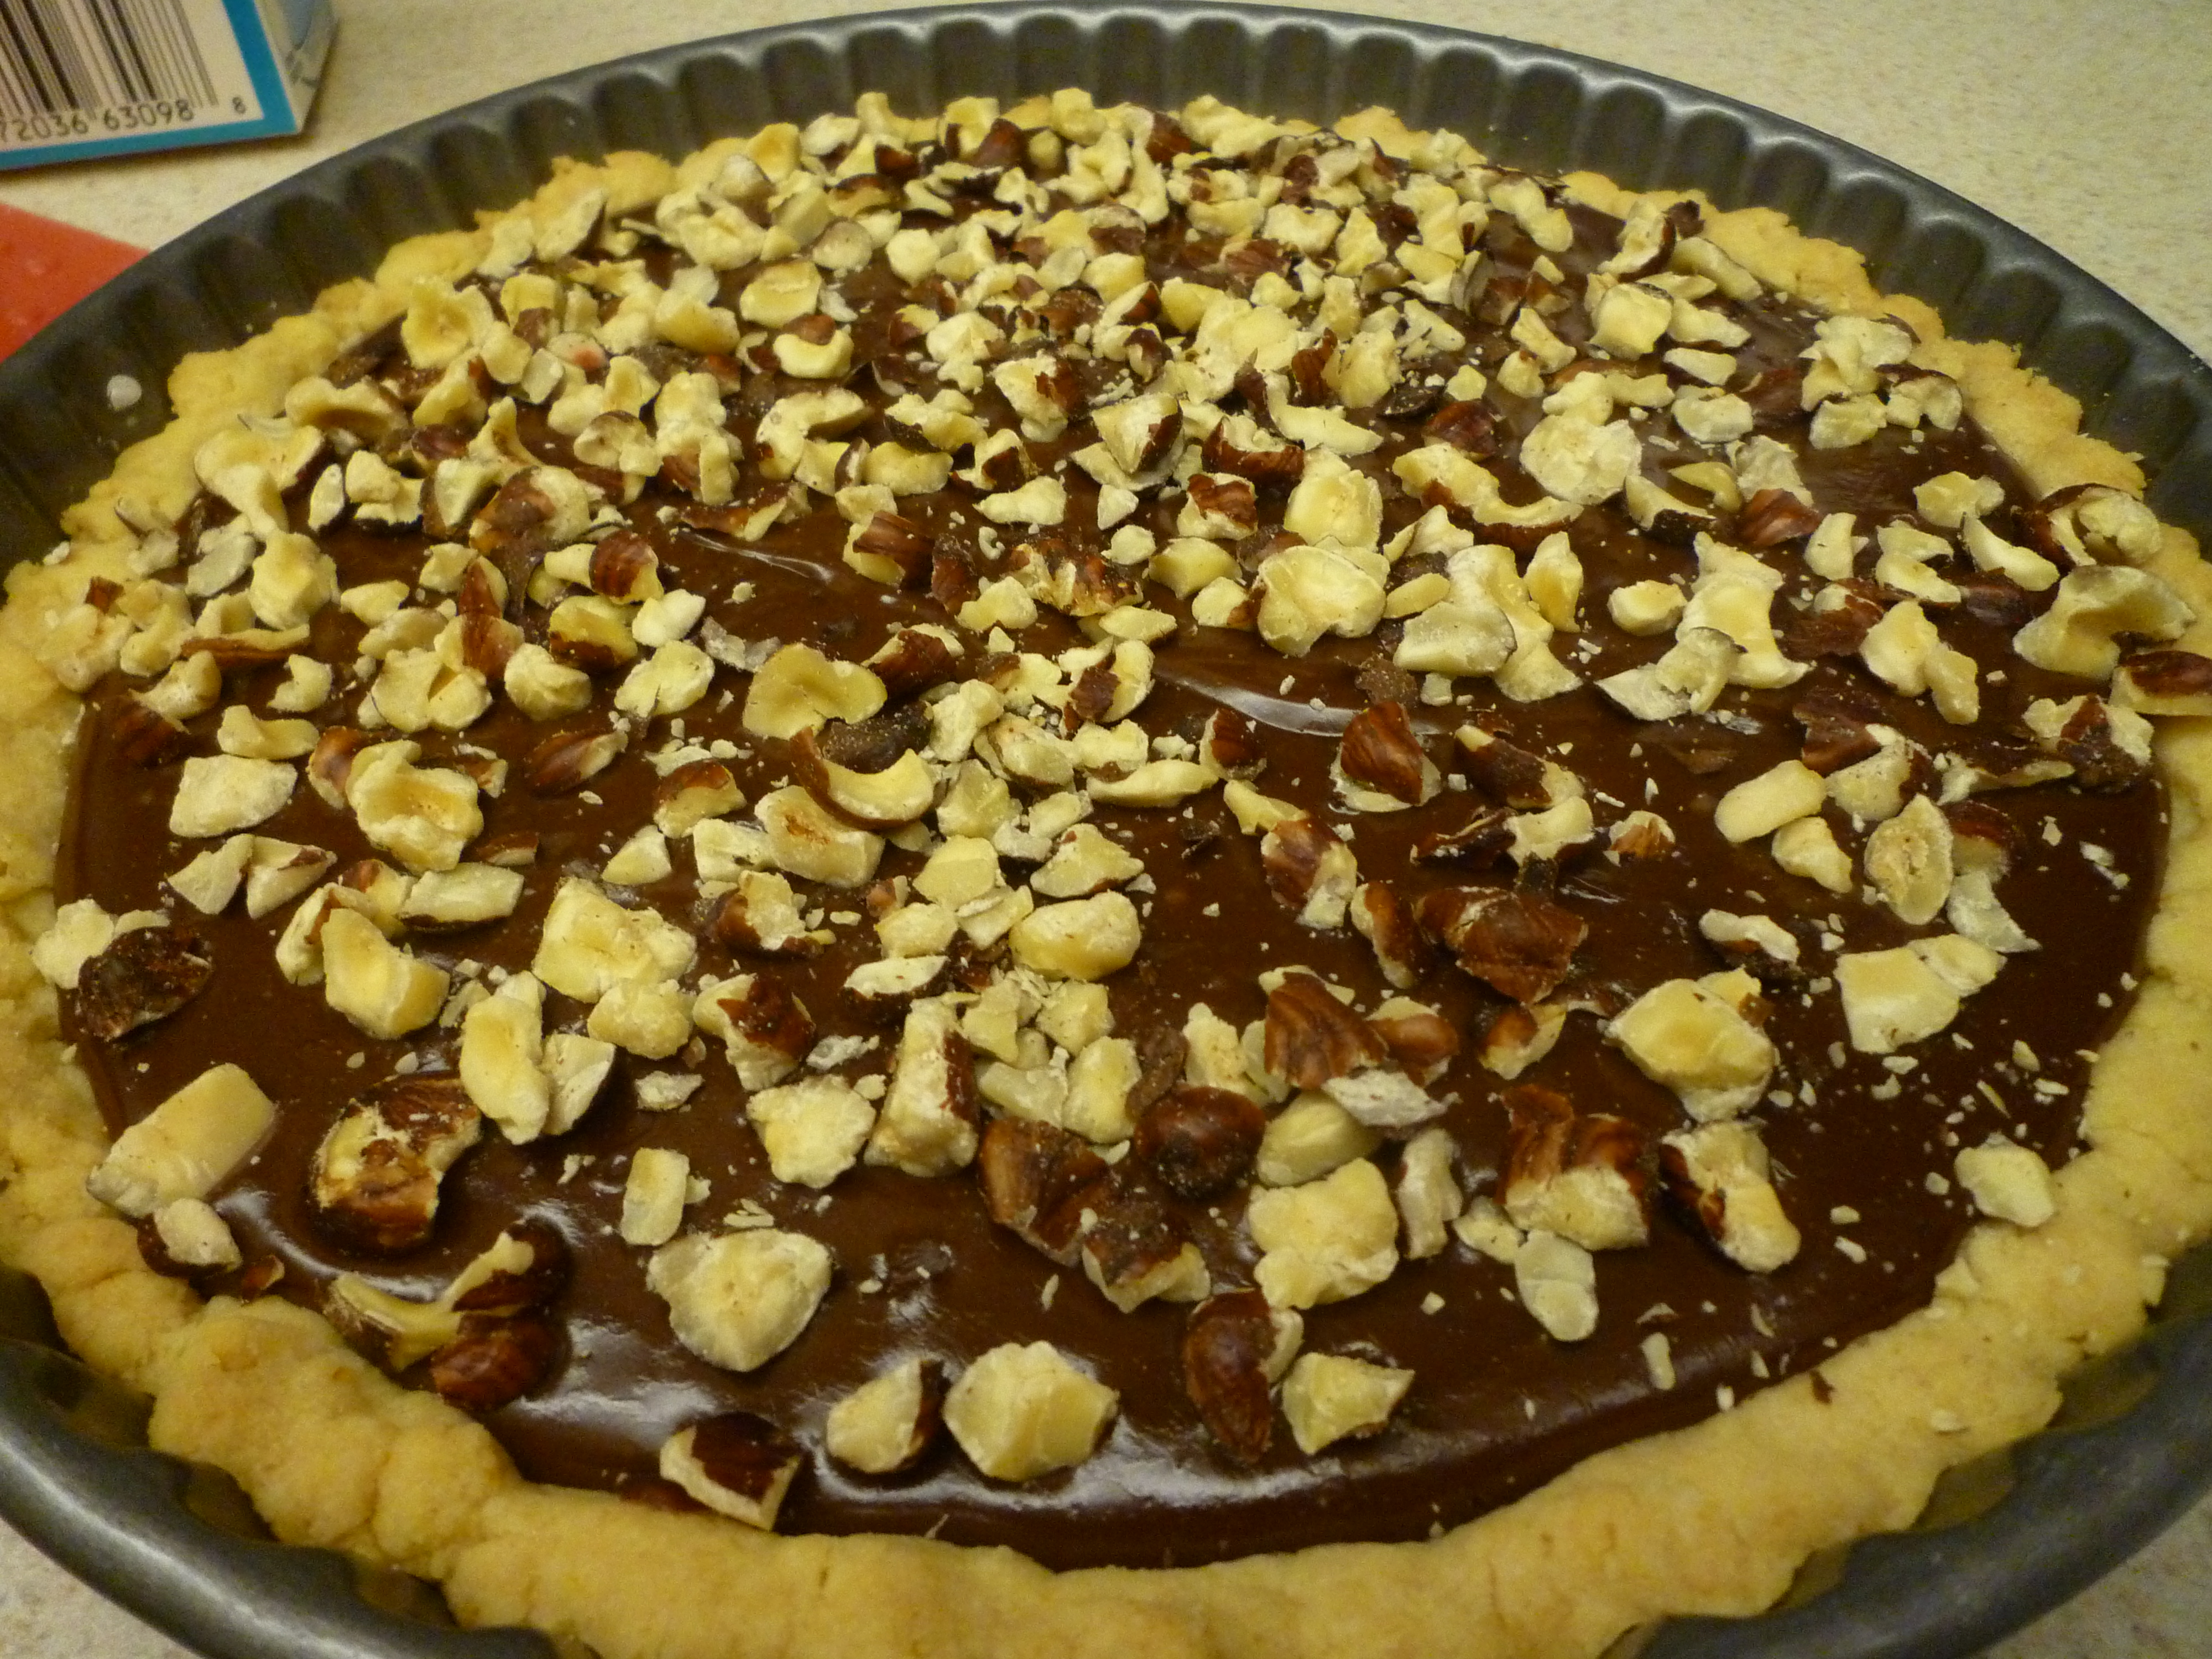
Chocolate Hazelnut Tart
adapted from the Noble Pig
Tart shell:
- 12 tbsp. unsalted butter
- 2 cups flour
- 1/2 cup sugar
- 1 tsp. vanilla extract
- 1/2 tsp. kosher salt
- Zest of one large orange
Filling:
- 2 tbsp. cornstarch
- 2 cups heavy cream
- 3/4 cup Nutella or other chocolate-hazelnut spread
- 1/2 tsp. vanilla
- 1/8 teaspoon salt
- Chopped hazelnuts to garnish
Preheat the oven to 325o F.
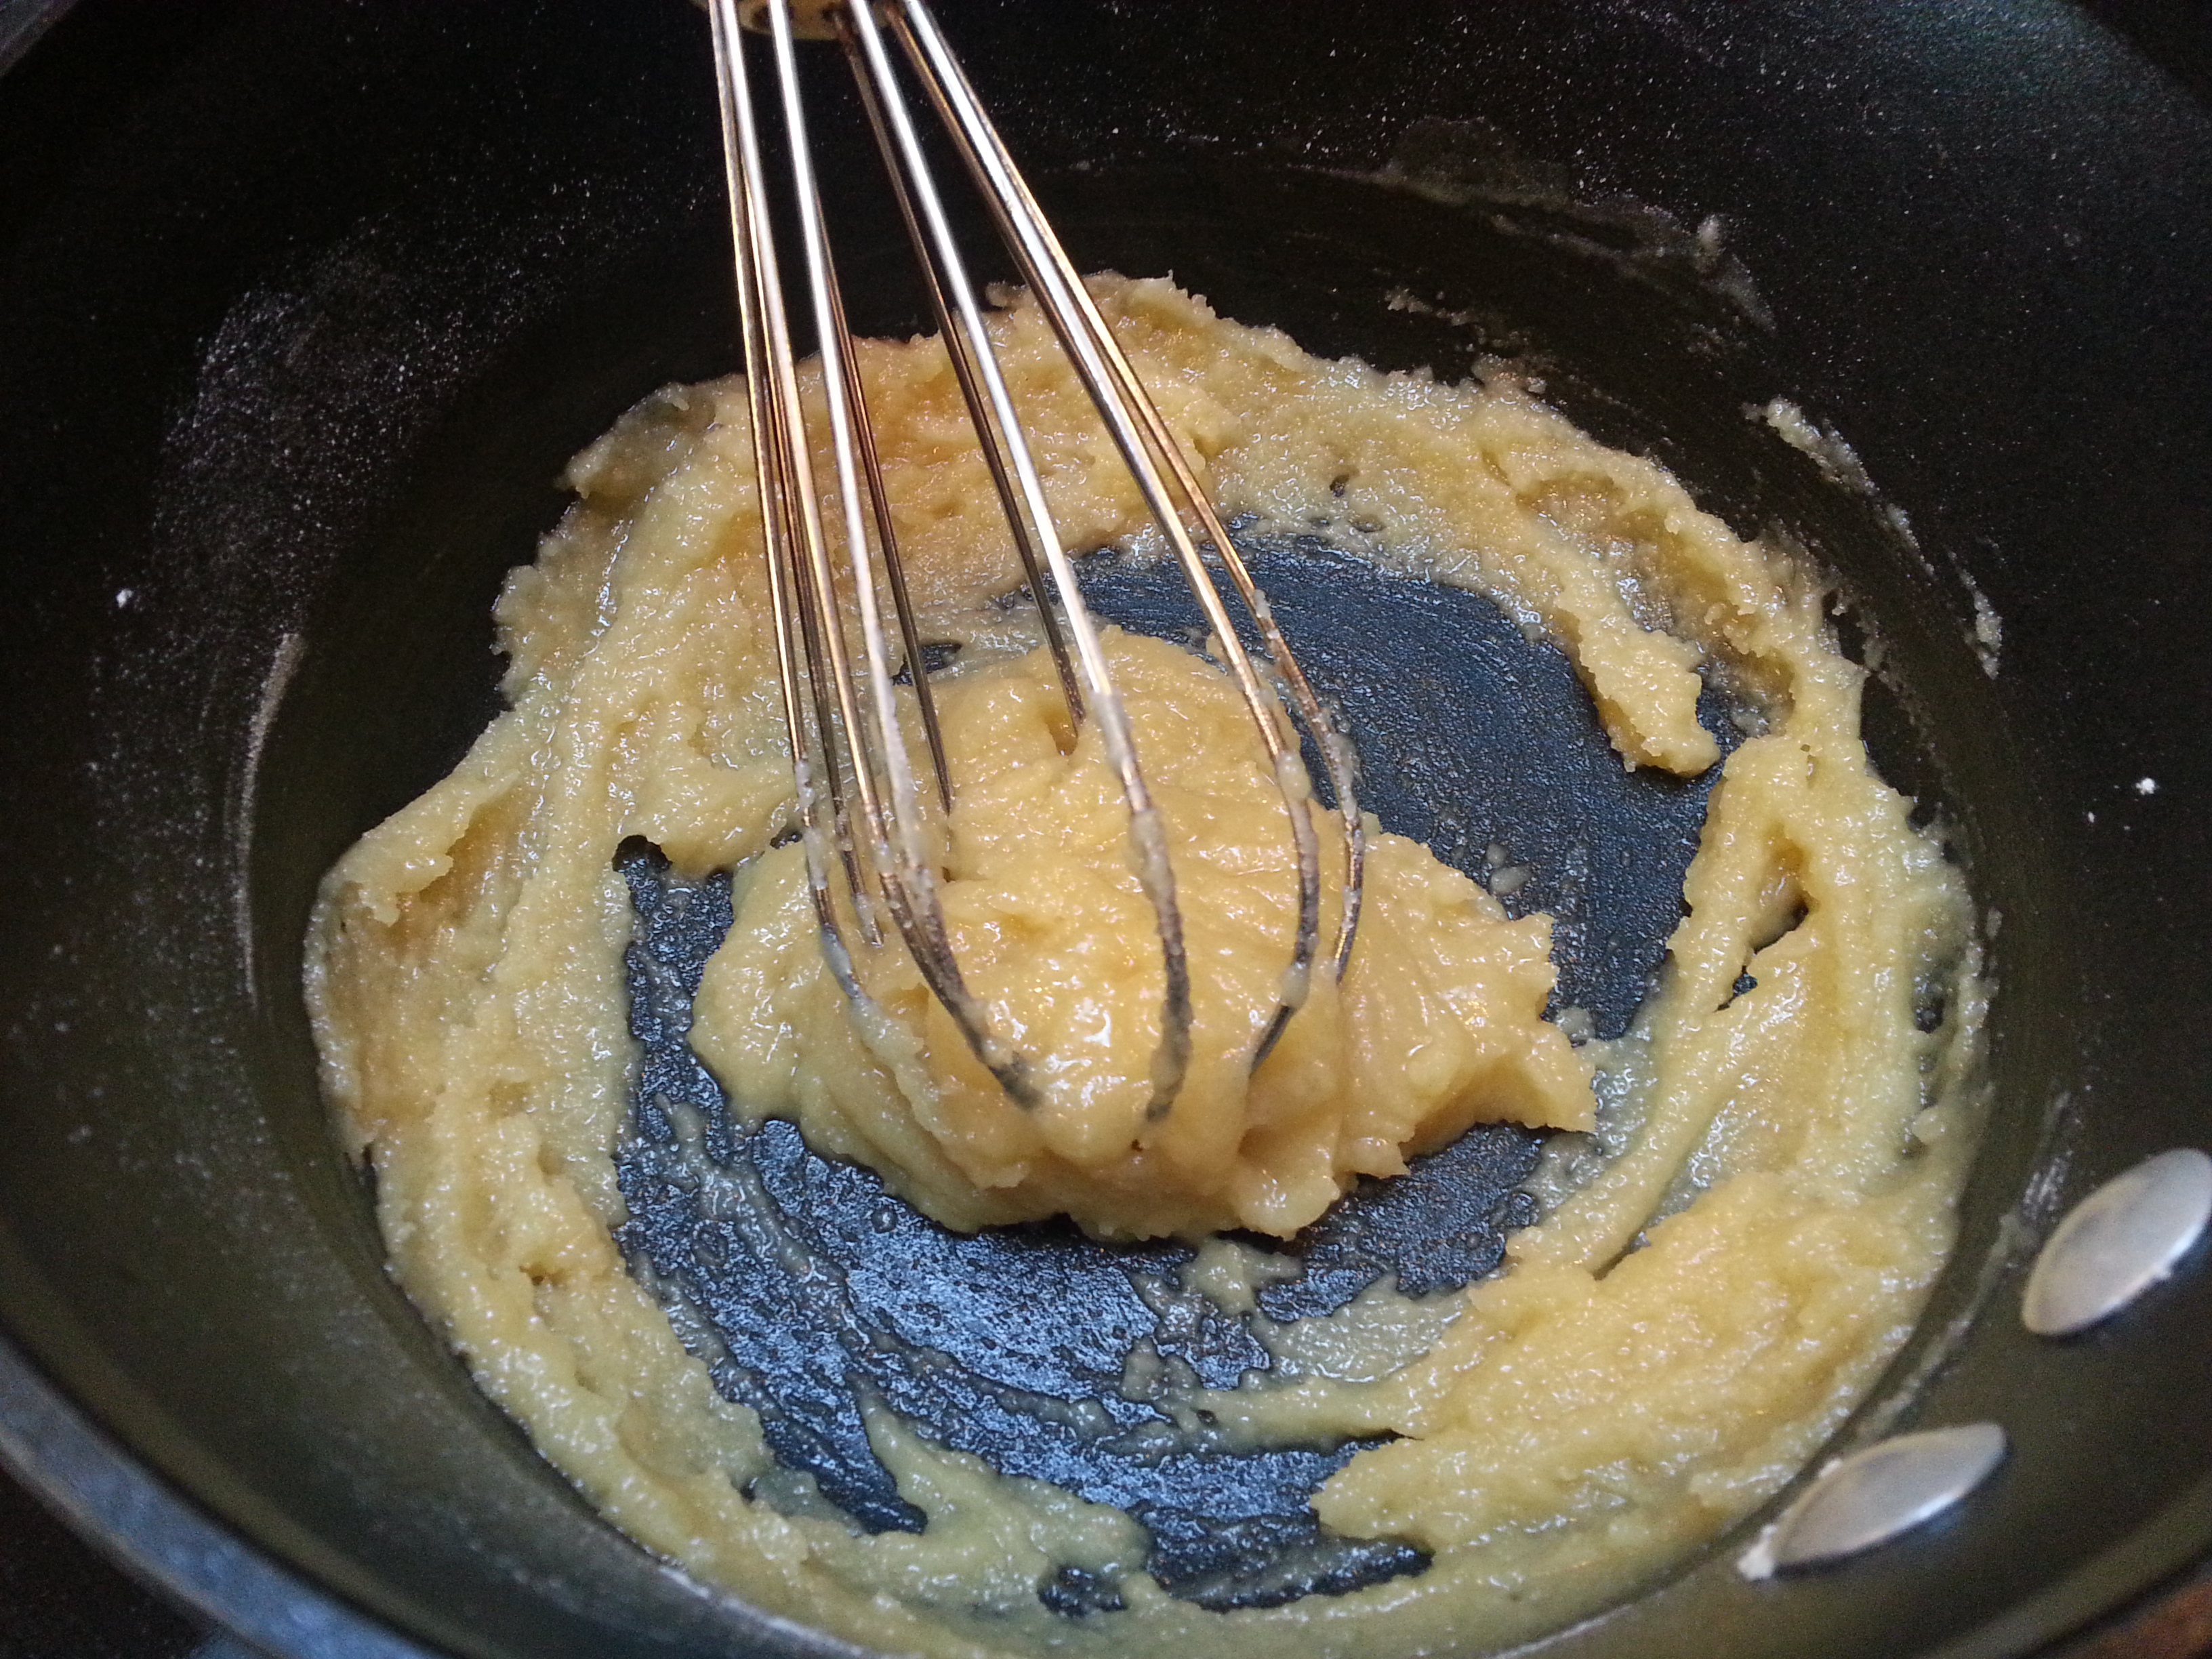
Melt the 12 tbsp. of butter in a medium-sized pot over medium-high heat and brown just a touch. Remove the pot from the heat and stir in the sugar, vanilla, salt, and orange zest until the sugar is mostly dissolved.

Put the flour in a large bowl and add the butter mixture. Mix until a soft dough forms.


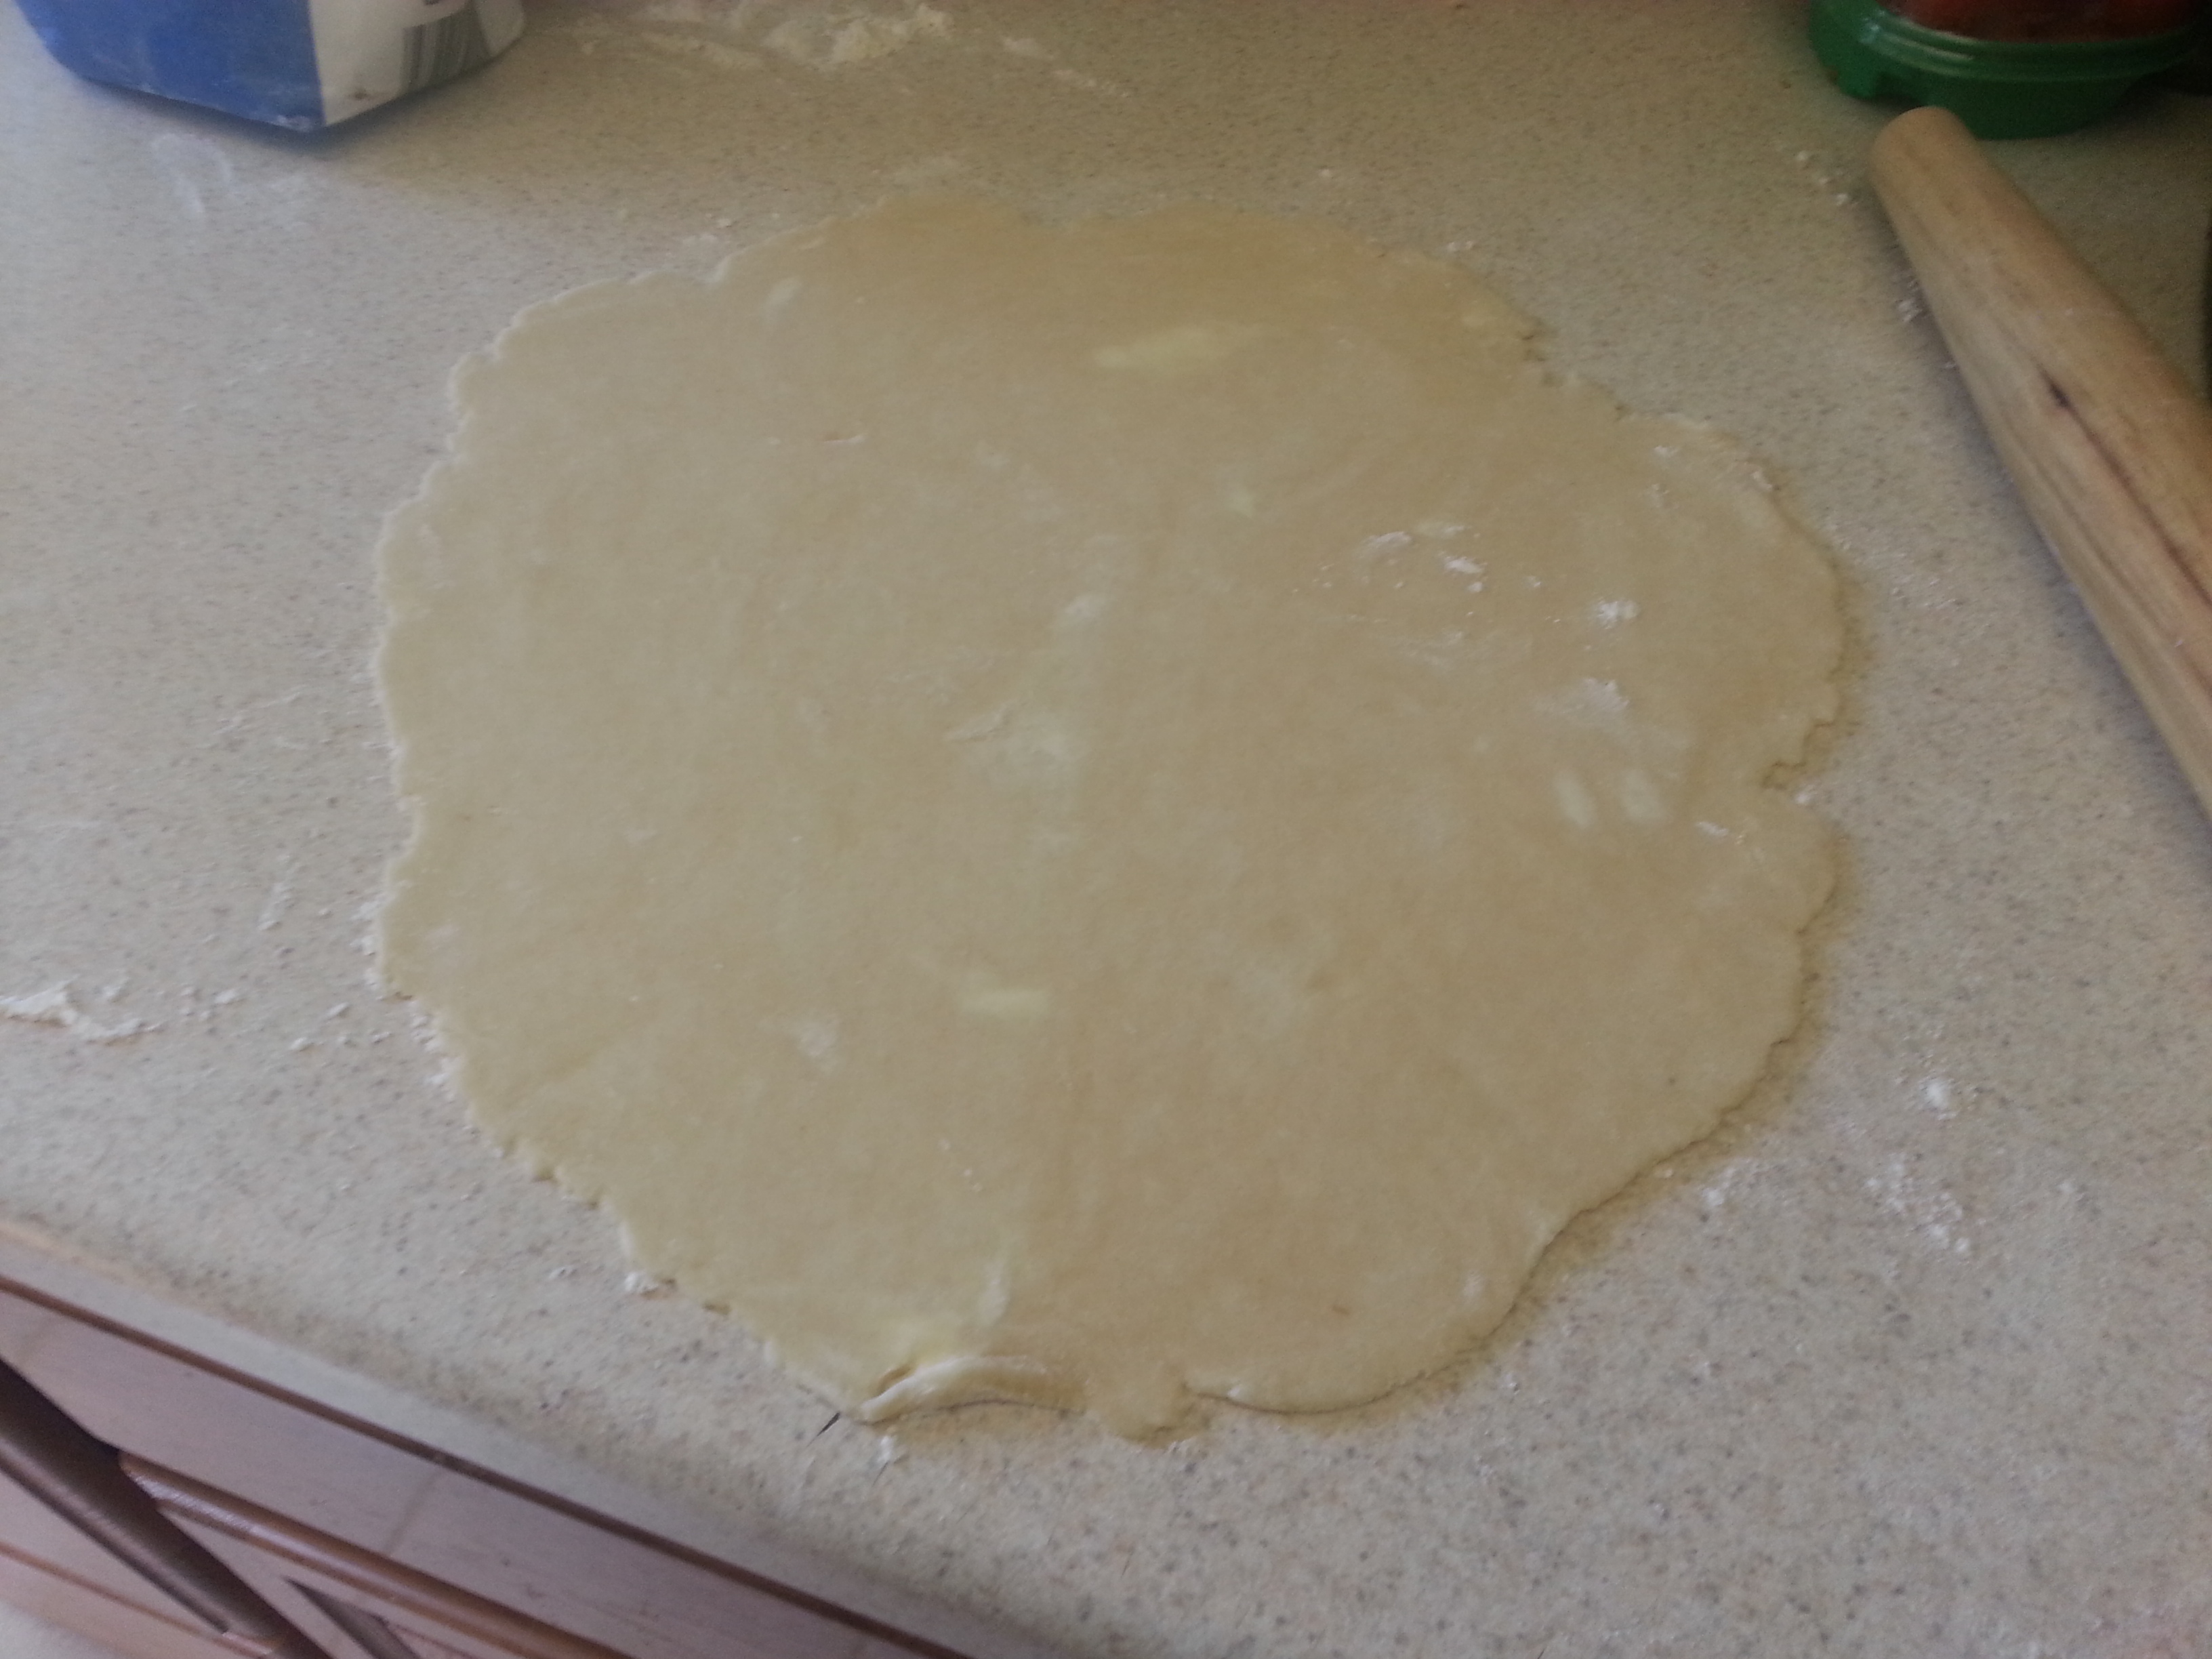
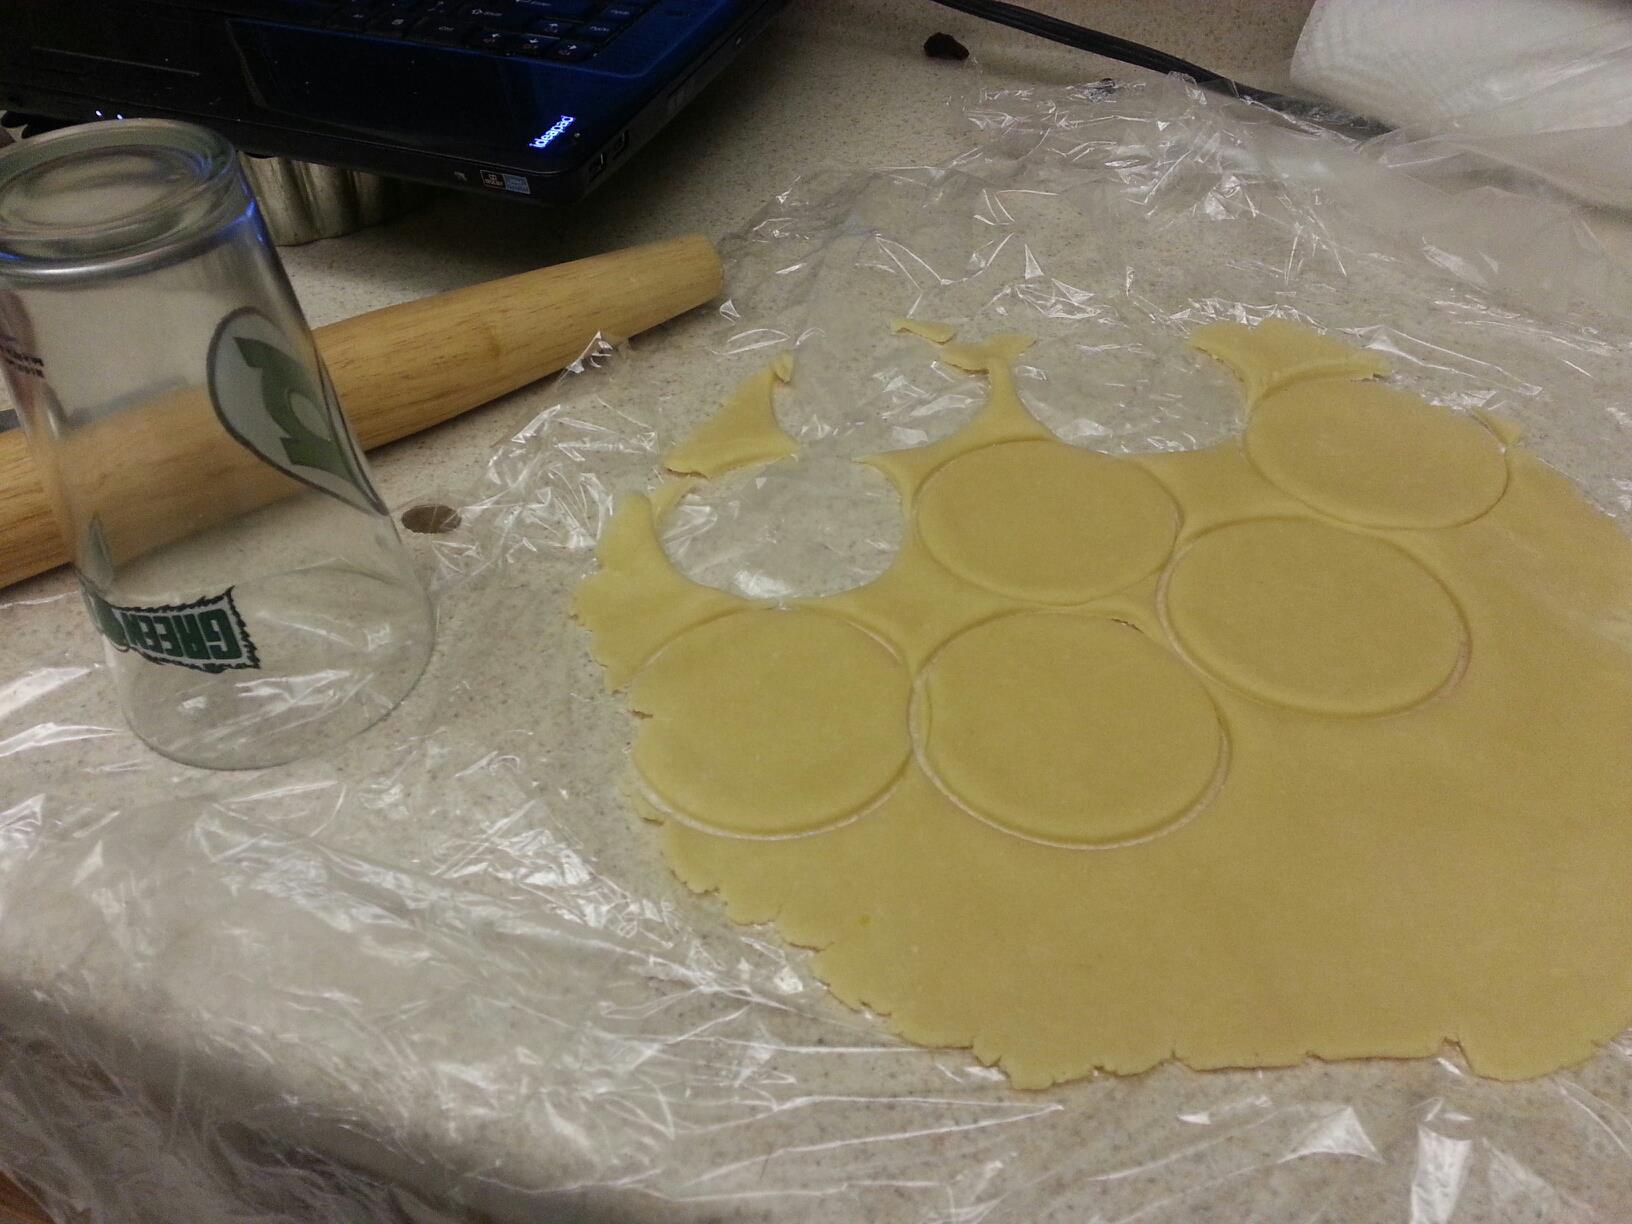
To form the crust, roll the dough into a ball and then press it into an ungreased 10 in. tart pan with a removable bottom using the heel of your hand. Push the crust approximately ½ in. up the sides of the pan.

Freeze the crust for 15 minutes and then bake it for 25 minutes or until the edges are just becoming golden. Set aside on a wire rack to cool slightly. Unlike many tart recipes, the crust does not have to be completely cool before the filling is added. It can be warm, but you should be able to touch the sides of the pan.

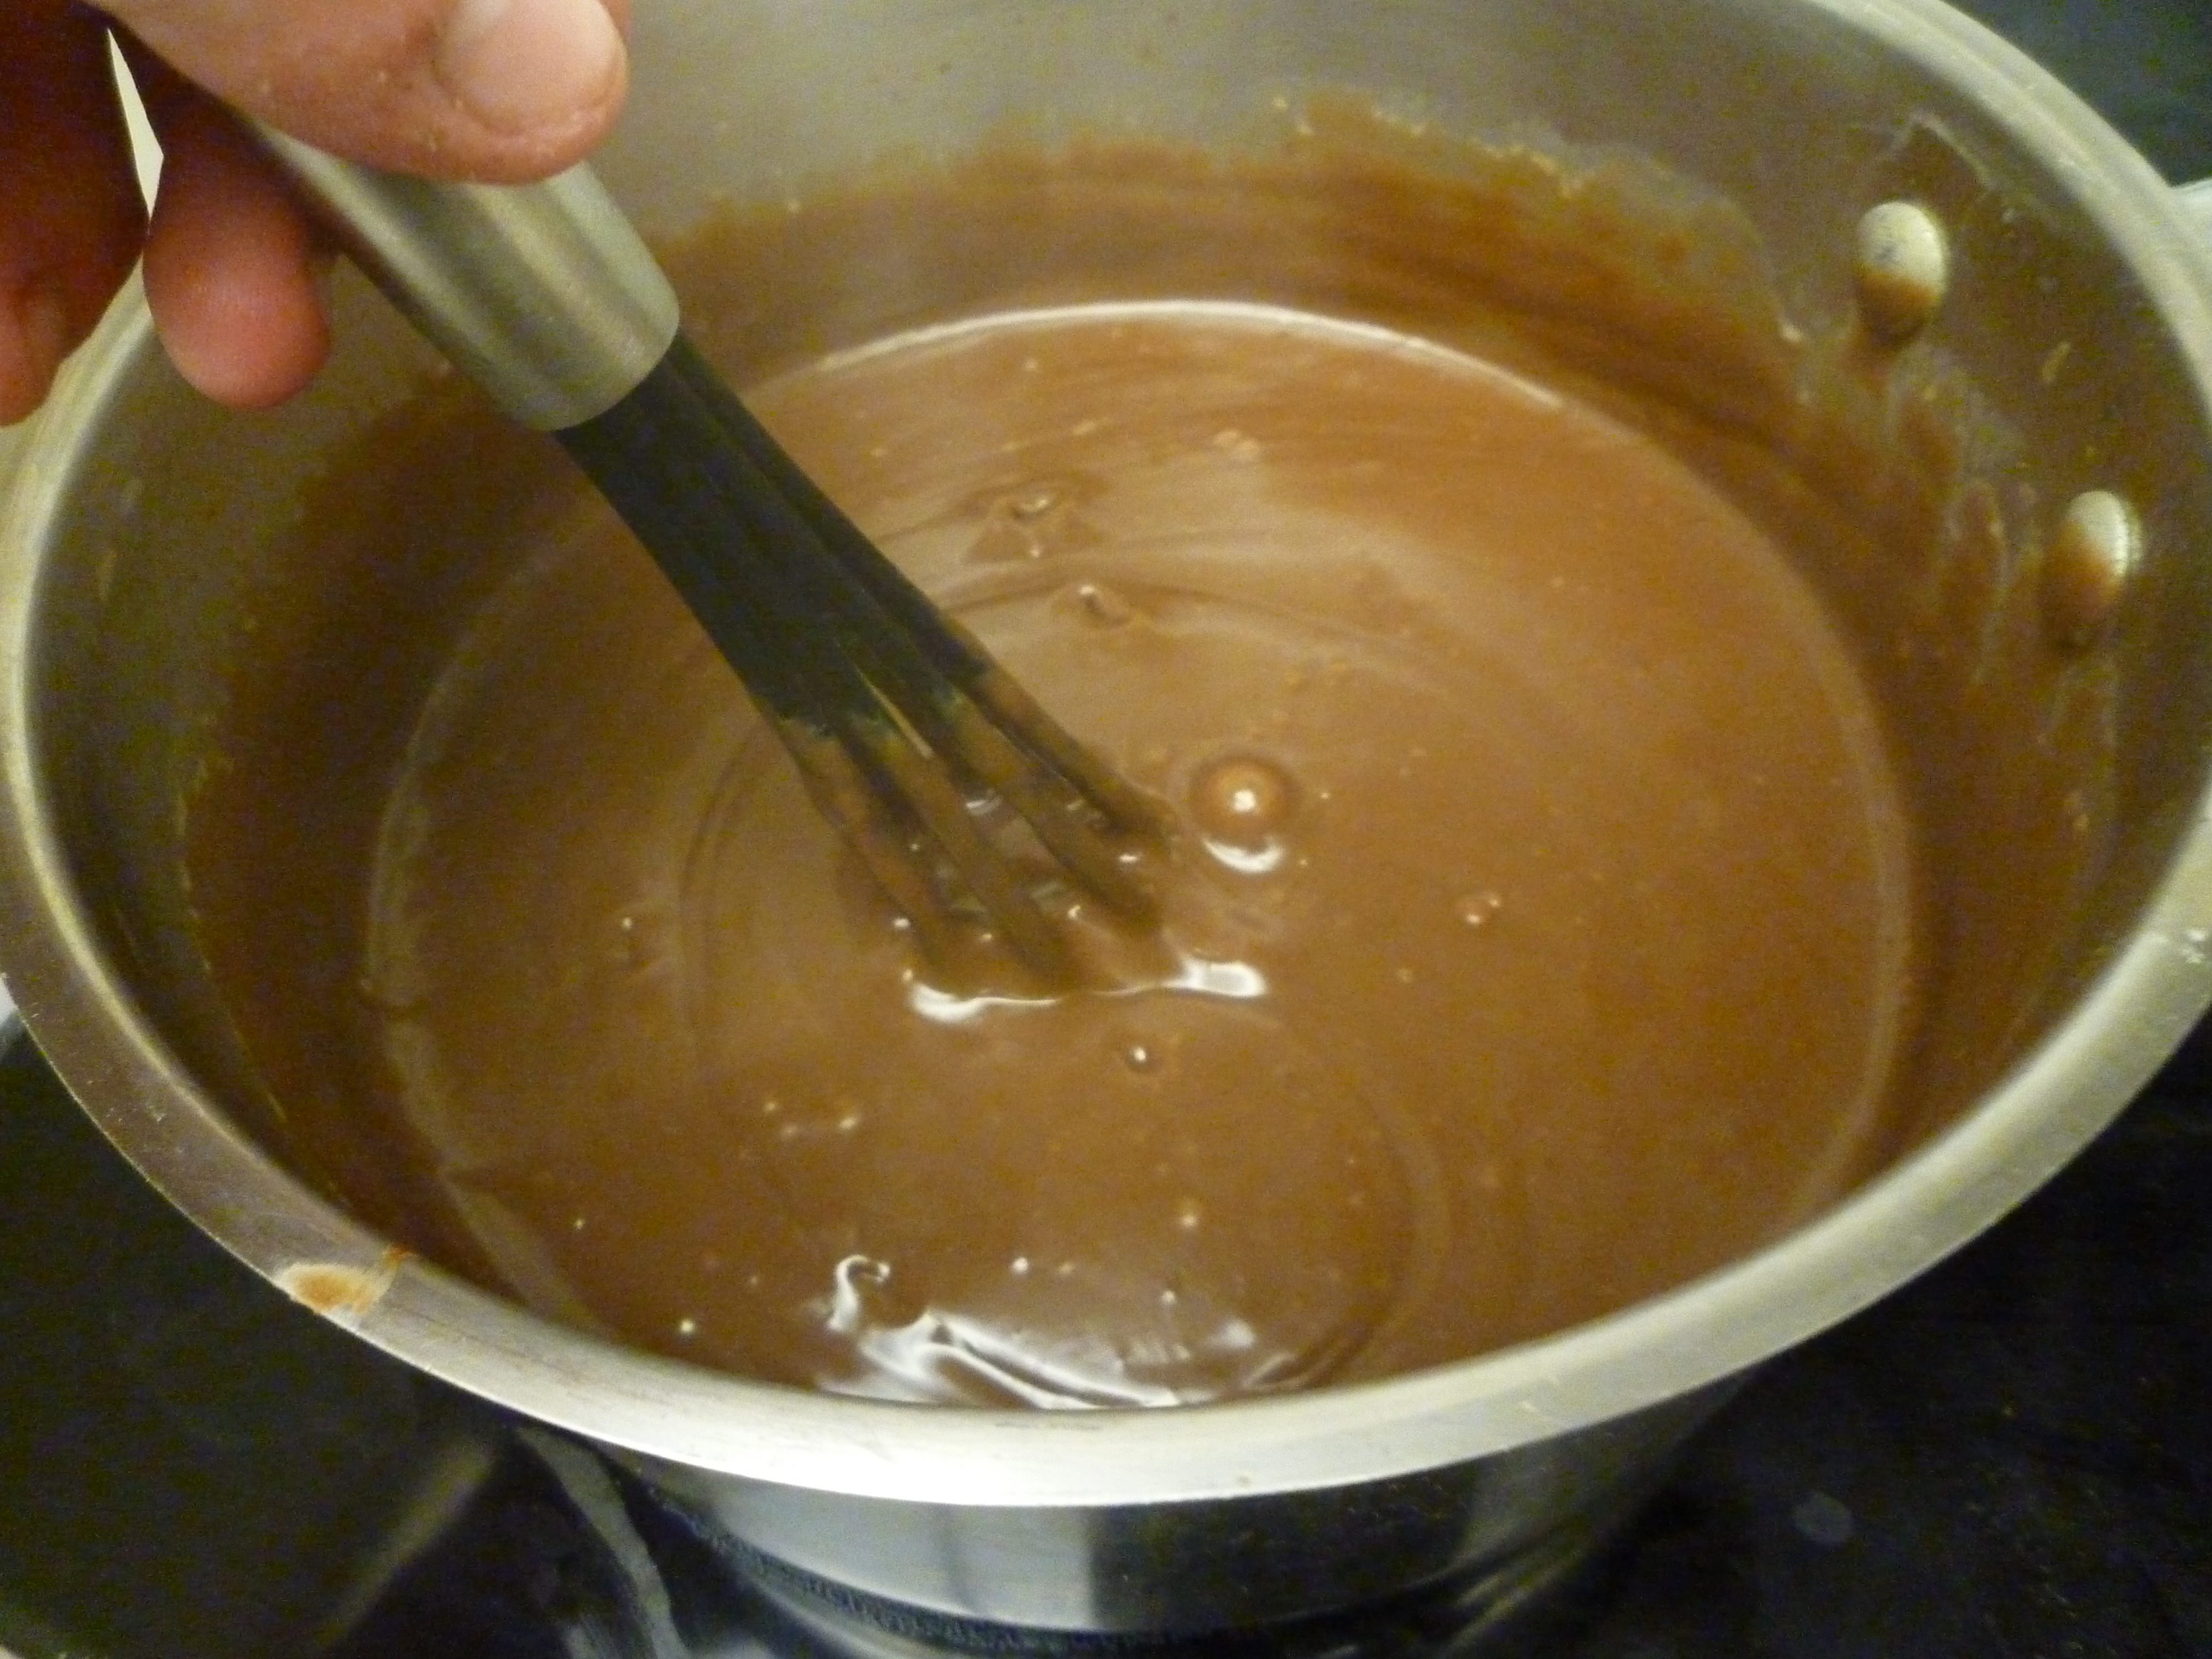
Whisk the cornstarch with ¼ cup of the heavy cream. Make sure the cream is cold when you do this.
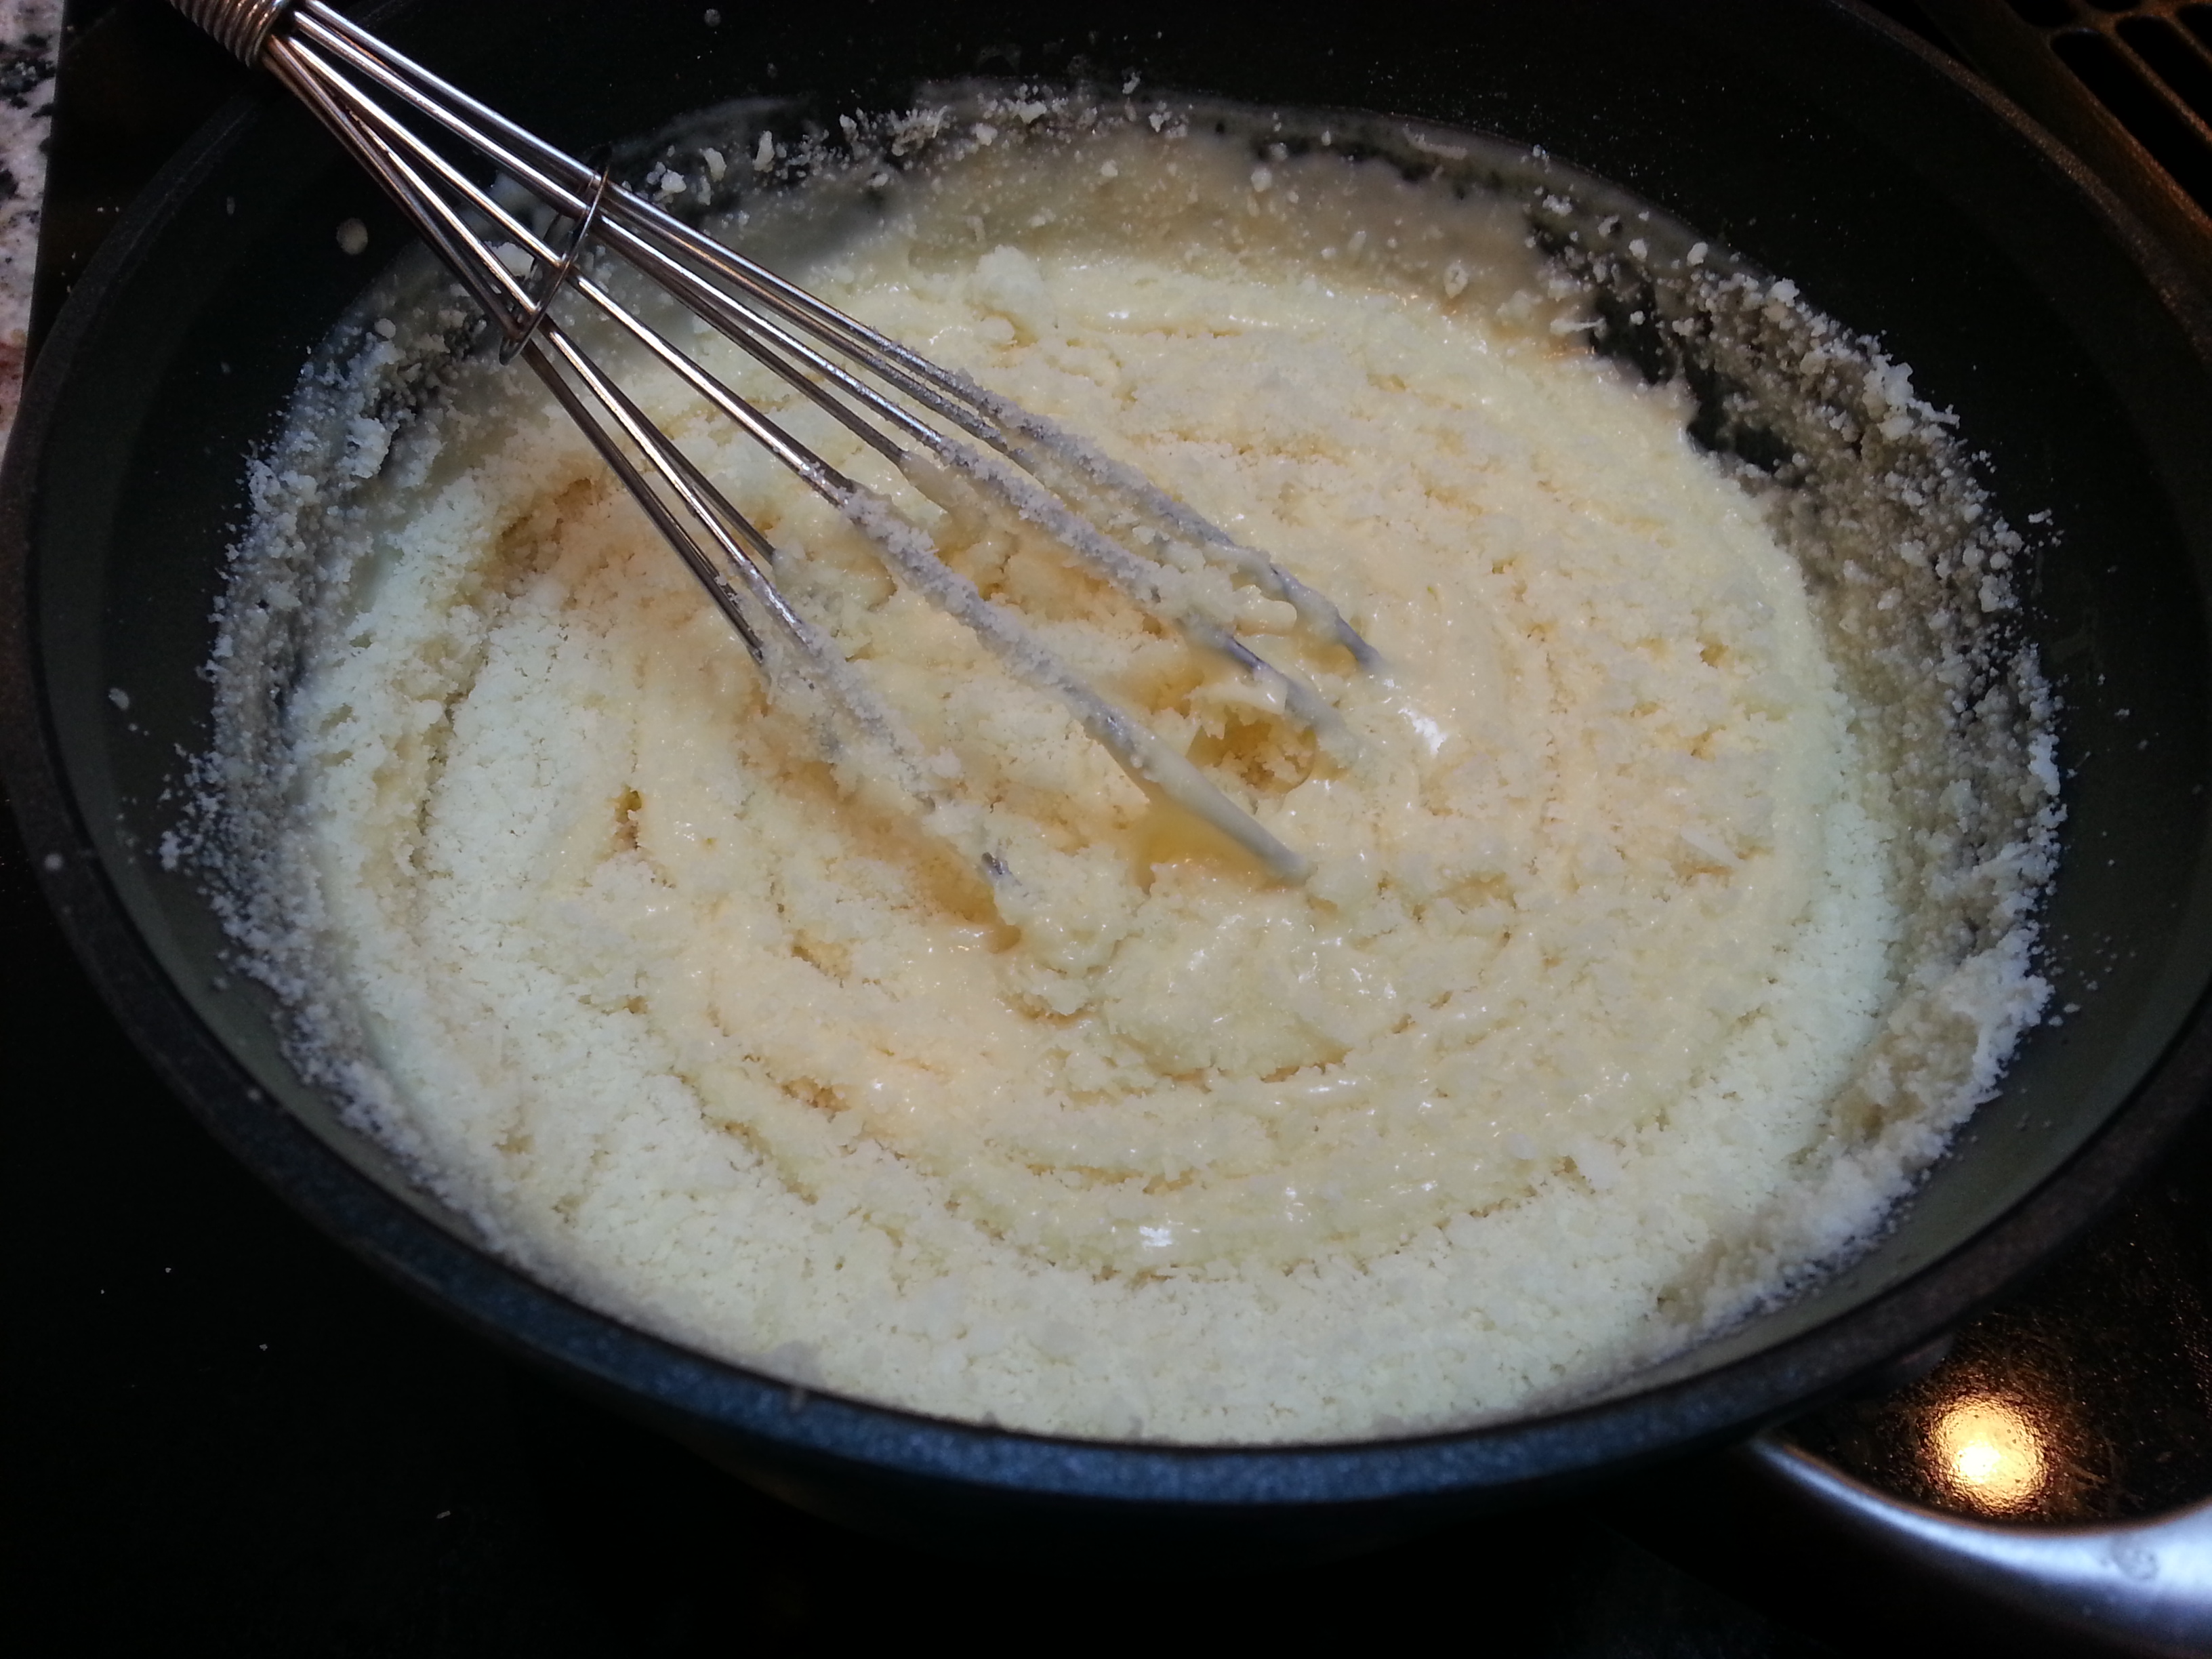
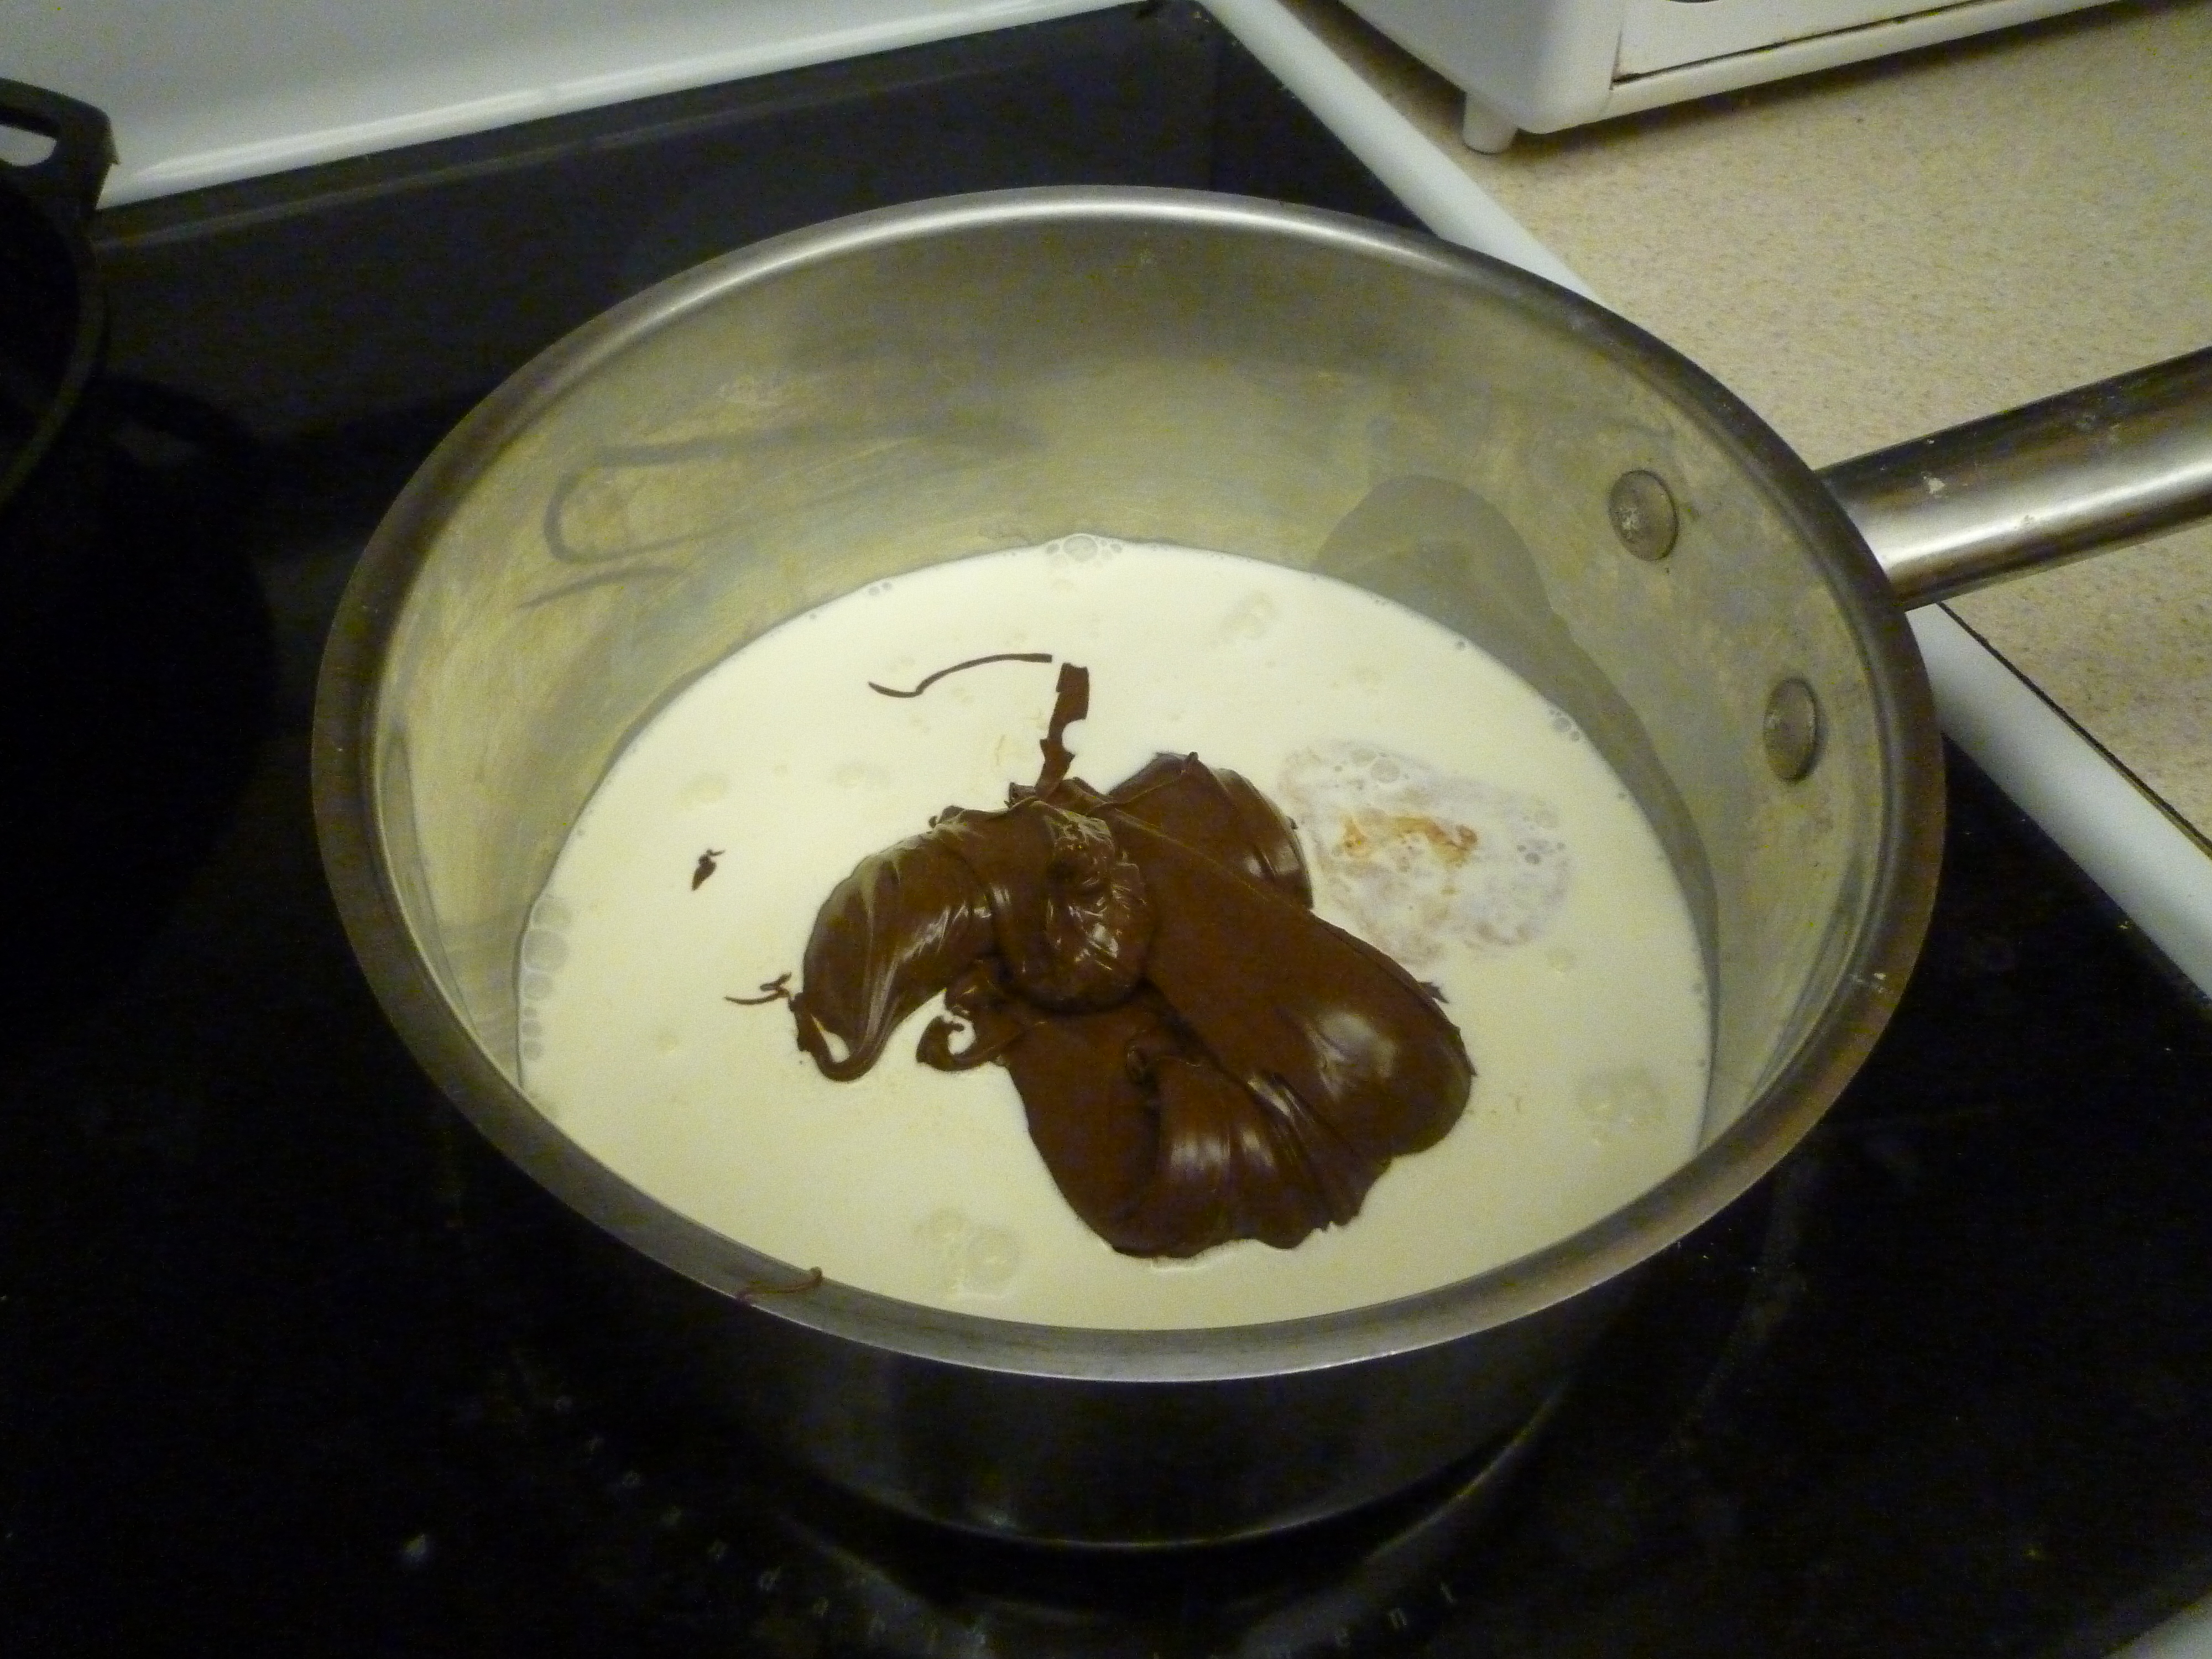
Combine the remaining 1 ¾ cups cream, chocolate-hazelnut spread, vanilla, and salt in a saucepan over medium heat. Add the cornstarch mixture and mix thoroughly.

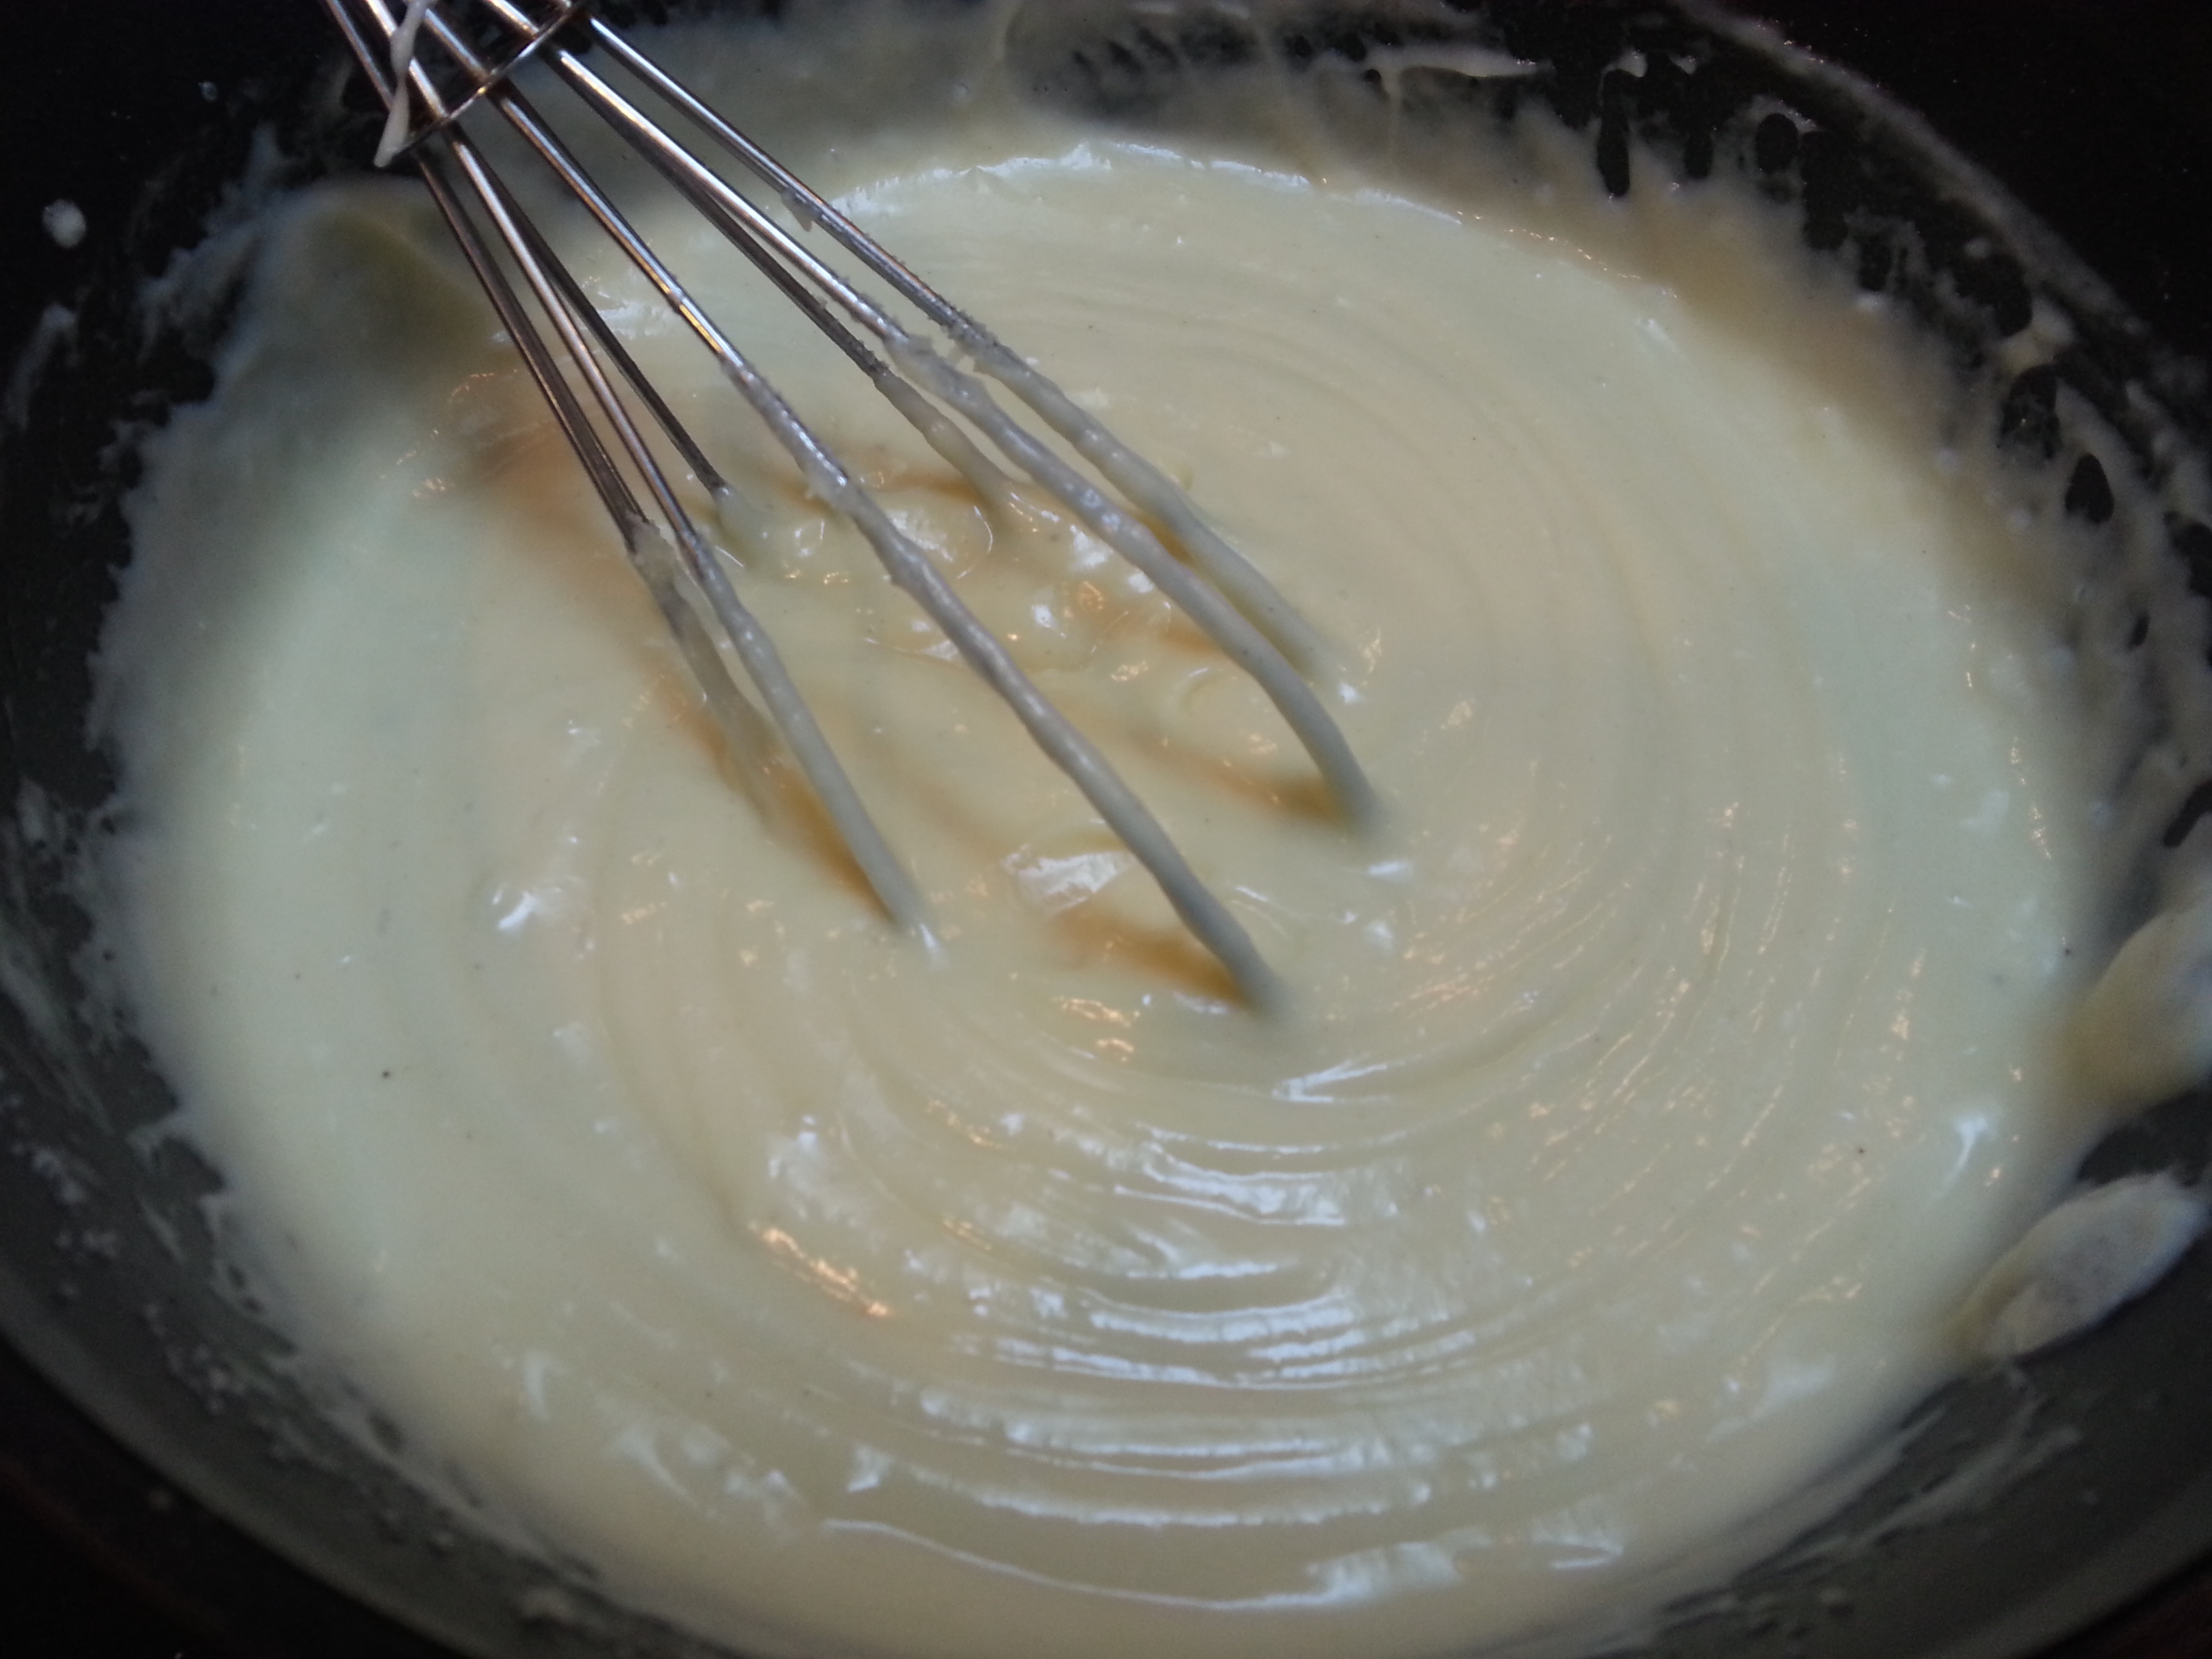
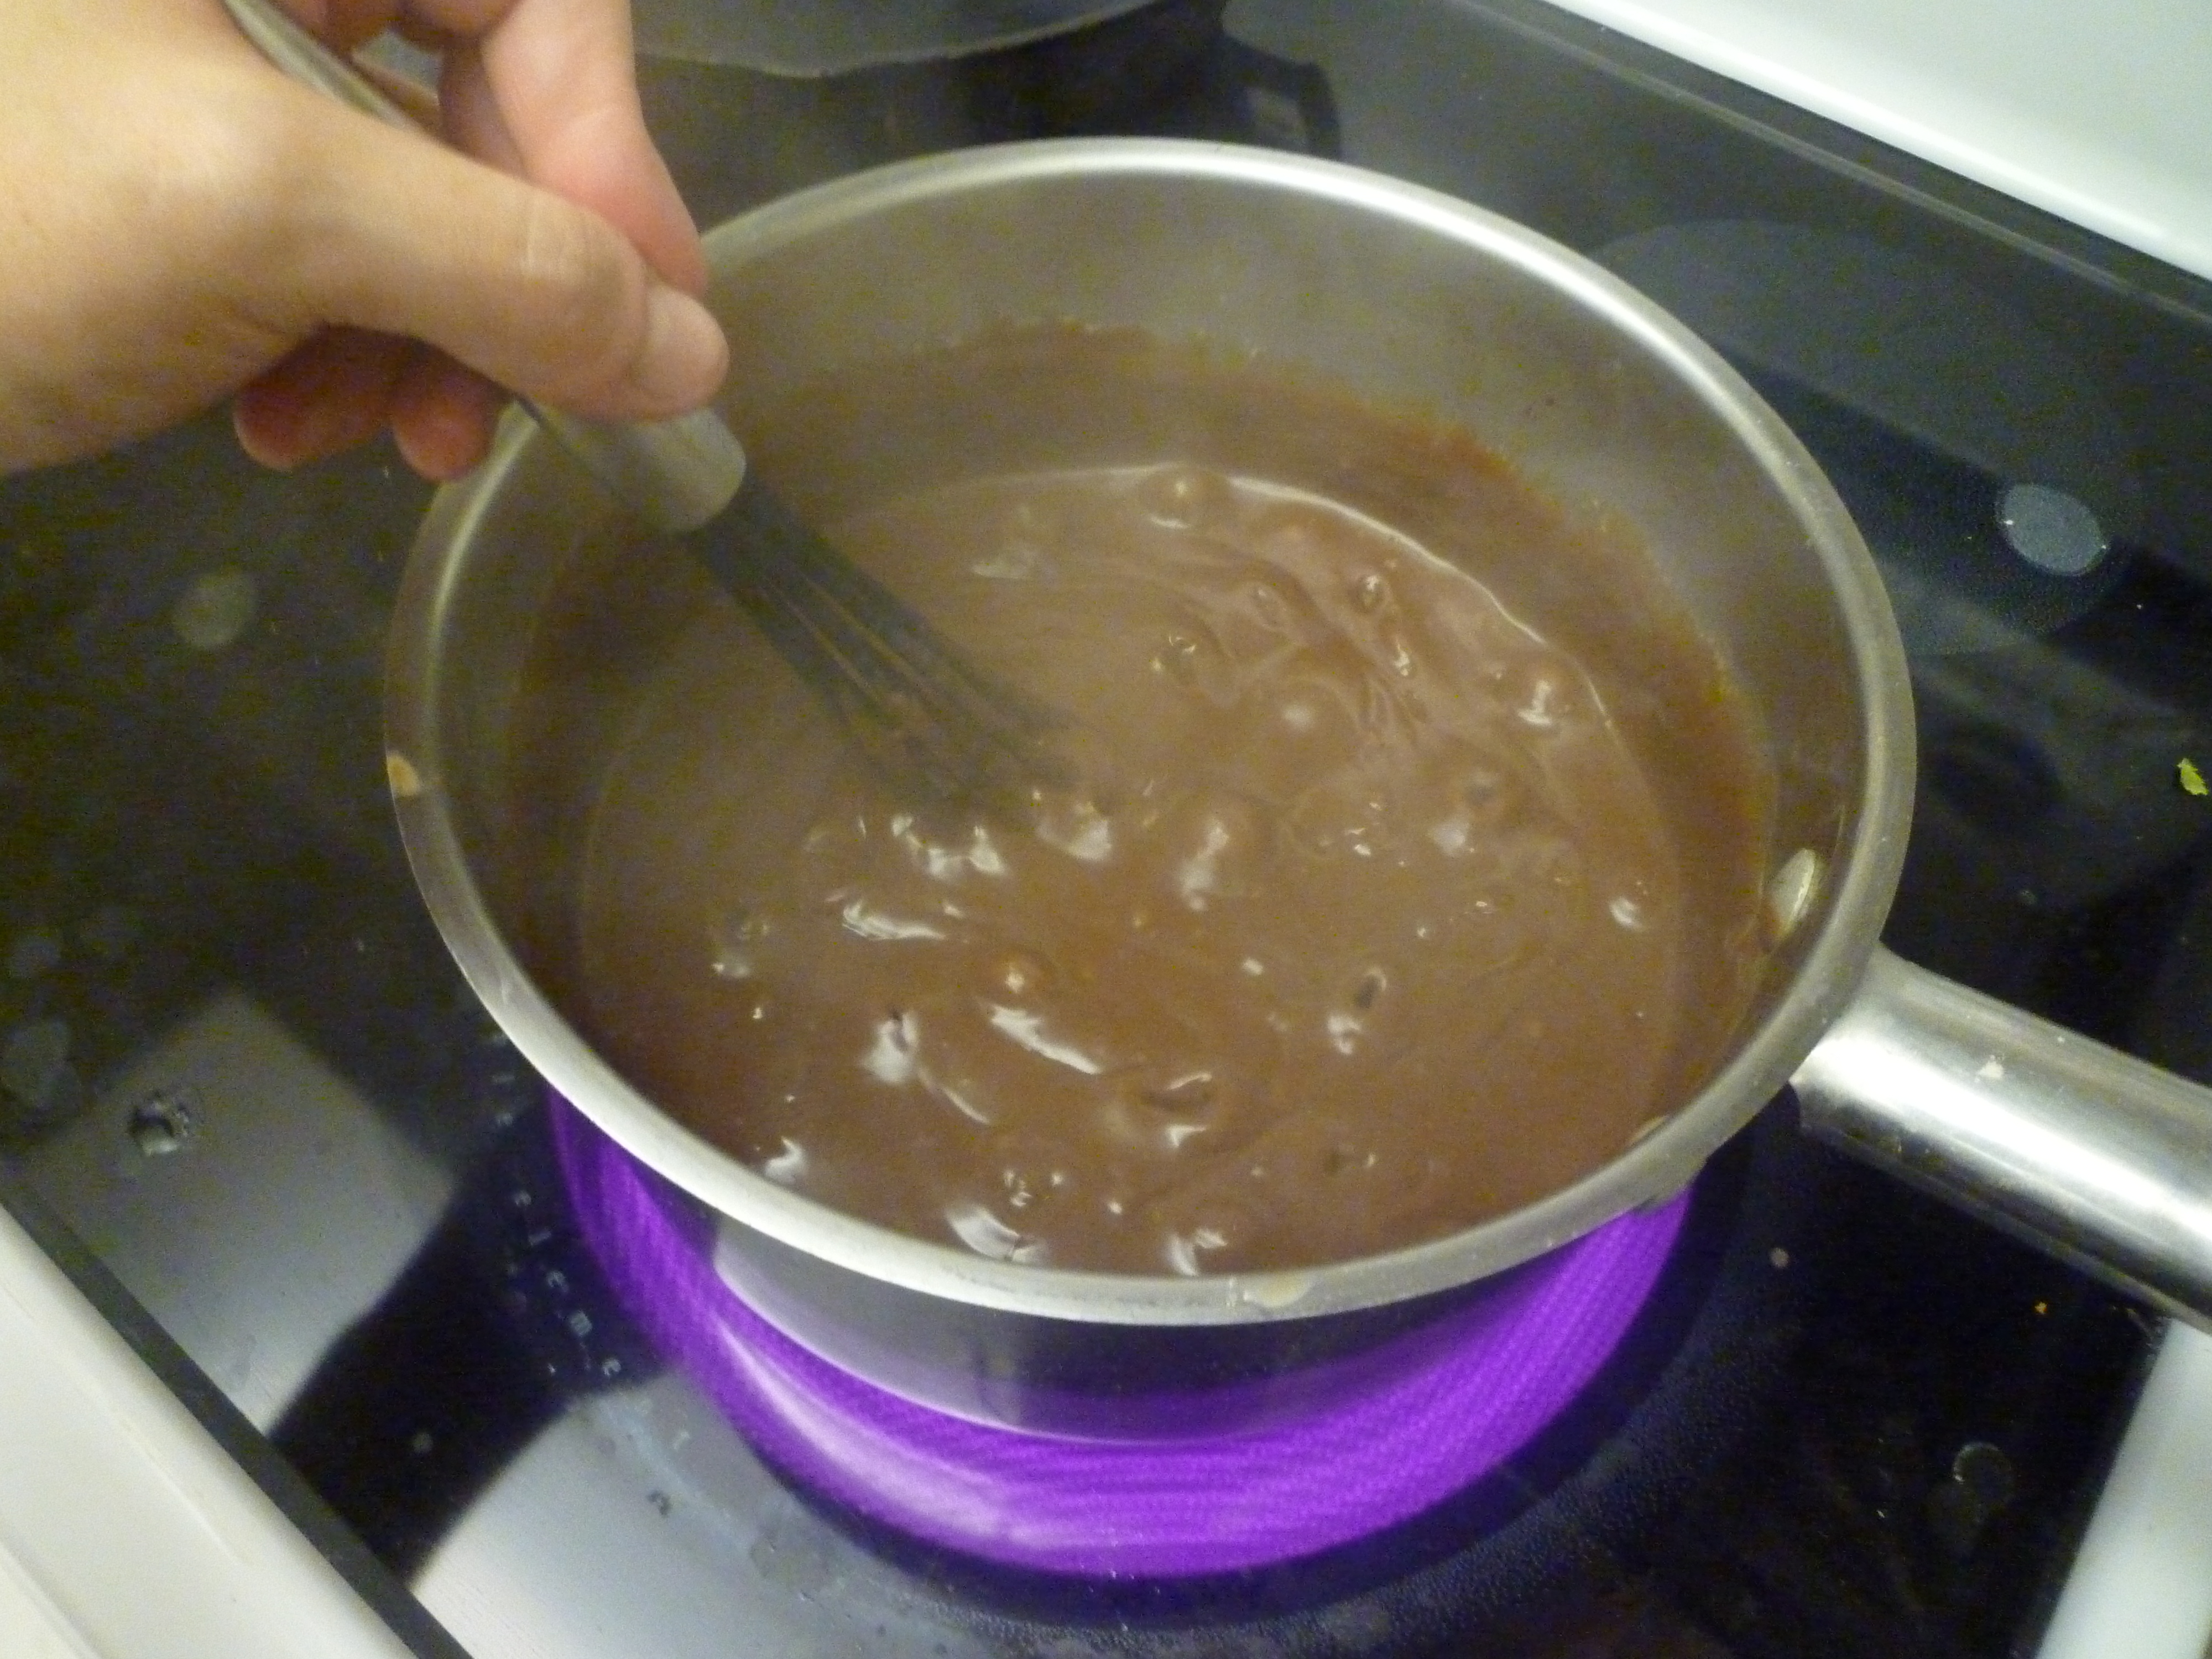
Whisking constantly, bring the filling to a boil and boil for one minute or until it thickens considerably.


Pour the filling into the tart shell.

Top with chopped hazelnuts and refrigerate until set for at least two hours before serving. Chilling it overnight is ideal for the very easiest cutting serving. Covered, the tart will keep for 2-3 days in the refrigerator.

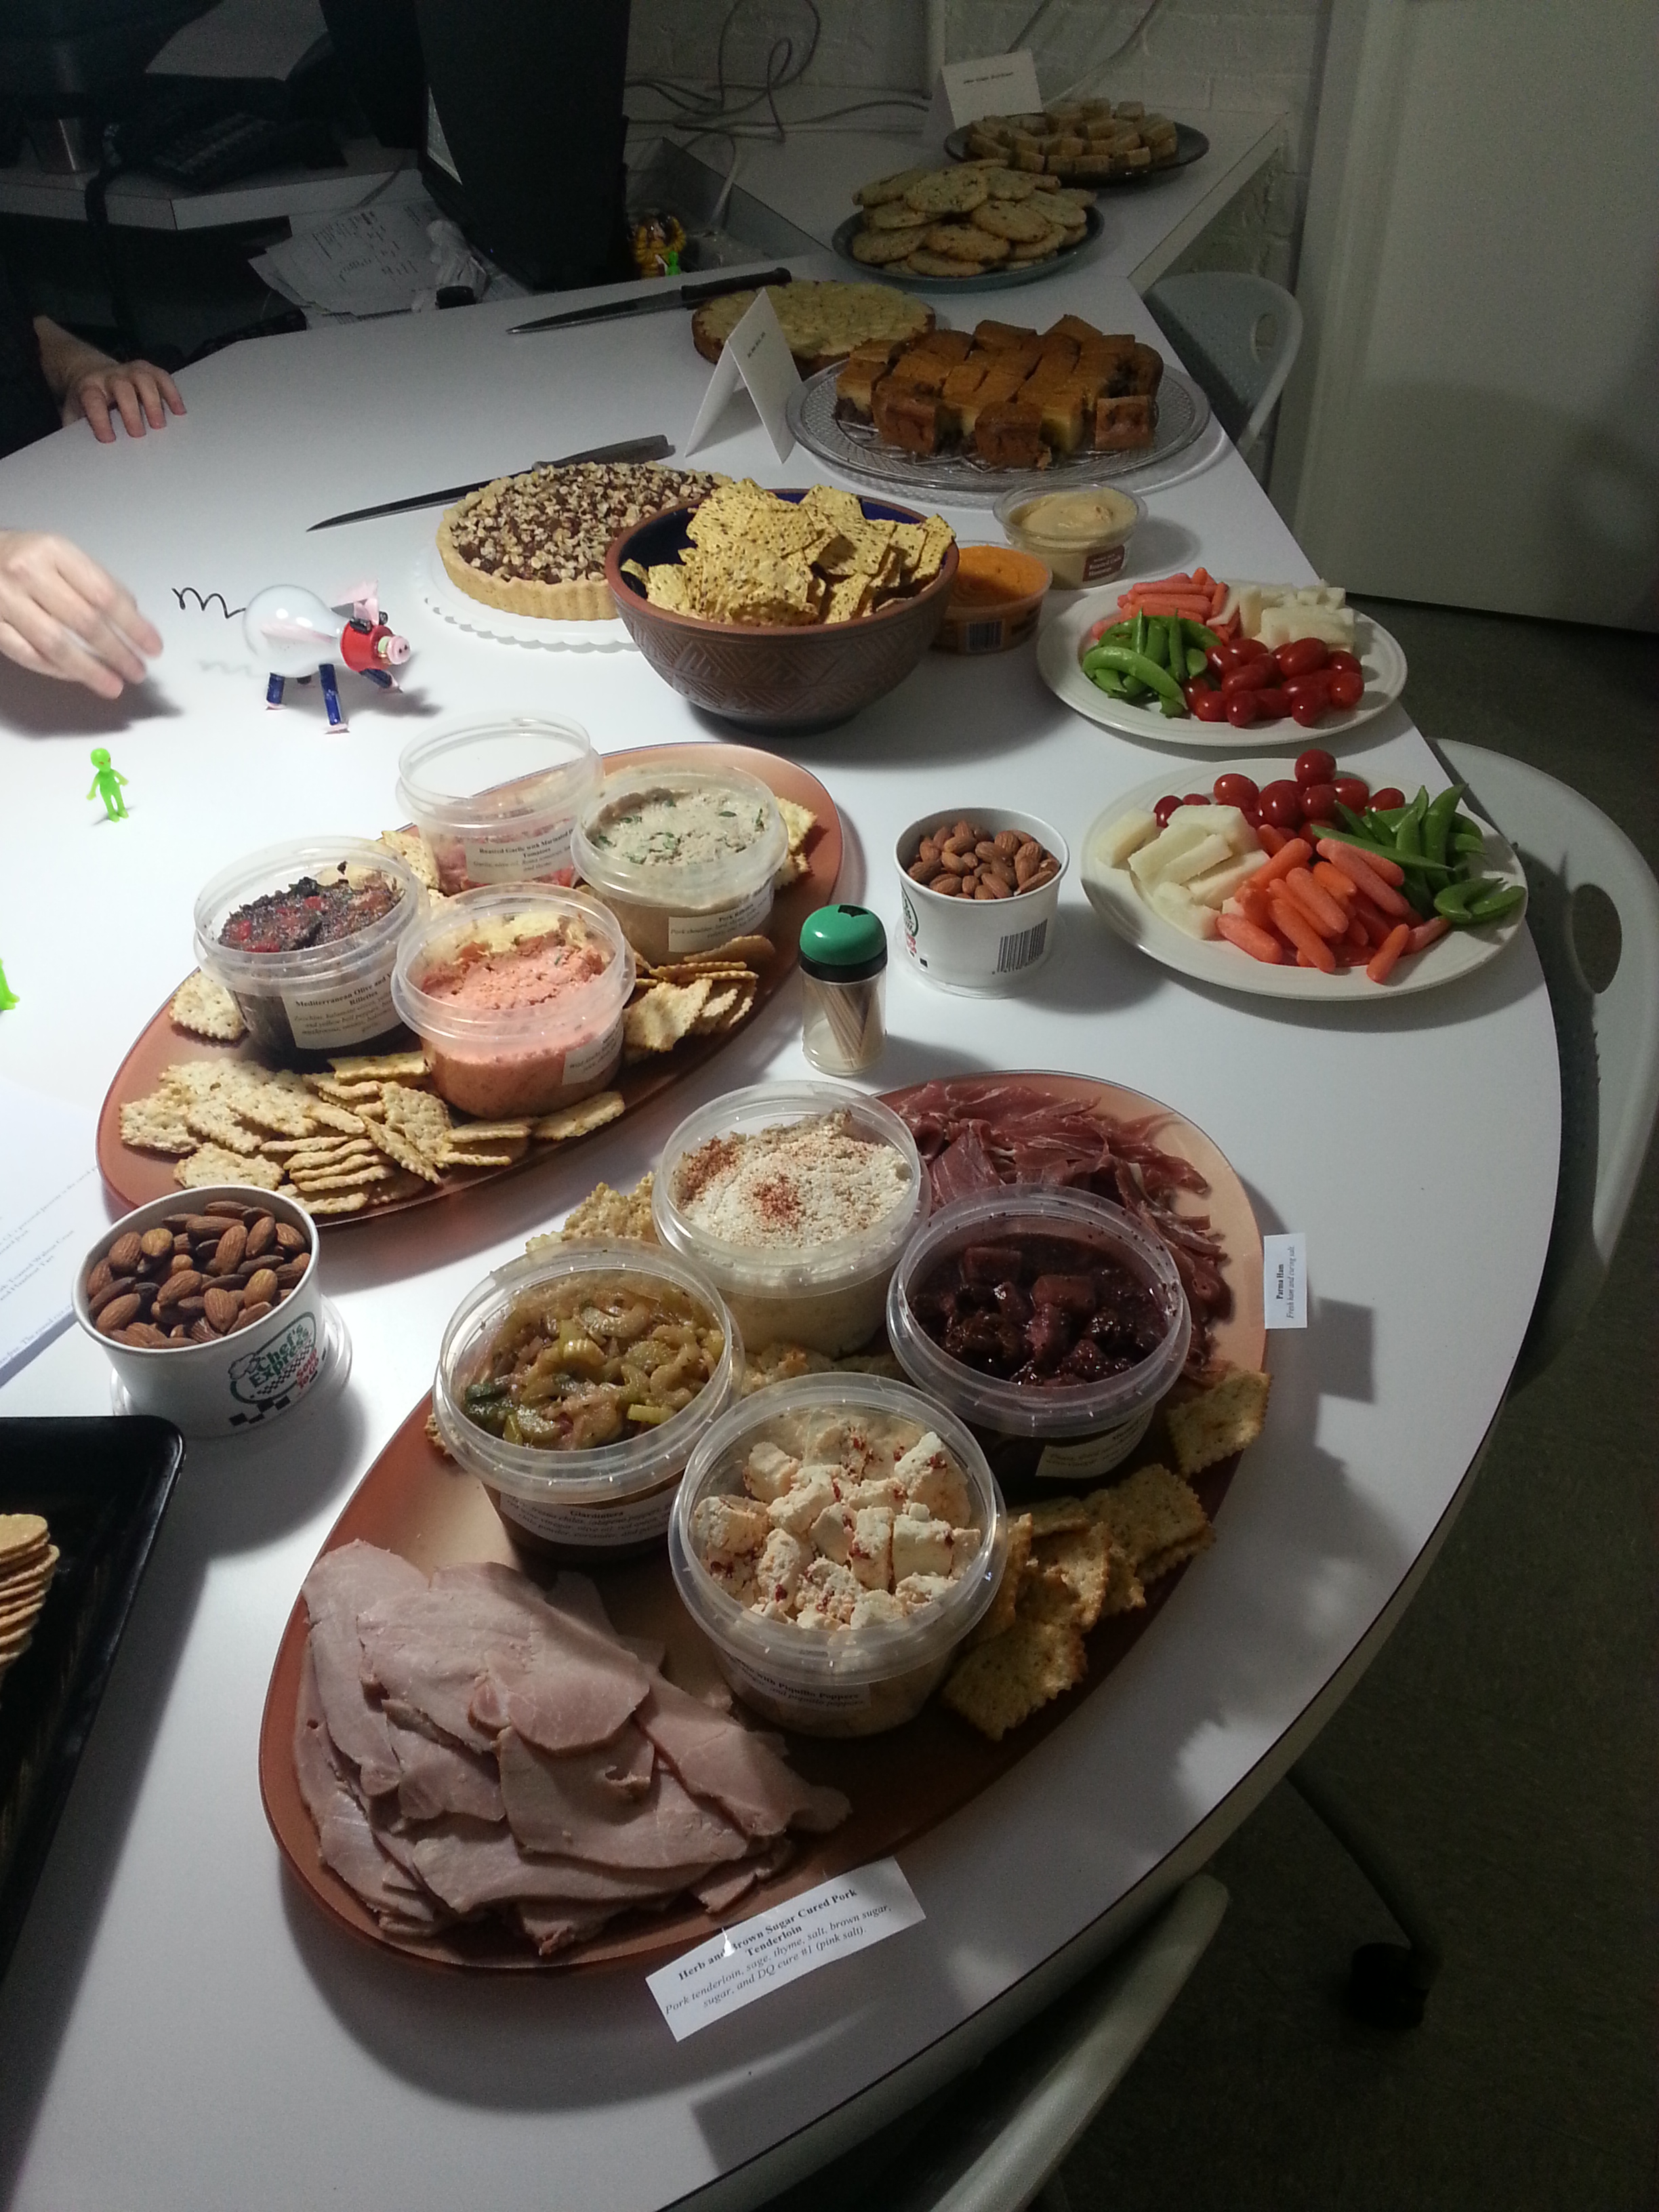
Here’s the whole spread waiting to be enjoyed in our photography department. As you can see, I was not the only one contributing delicious goodies. We have a very talented staff, what can I say?

And that doesn’t even include all of the truly special artwork that was created for the event. Tote bags, planters, wreaths, mobiles, frames, dioramas, models, origami…you name it, my colleagues thought of a creative way to make it. A personal favorite was a giant paper crane made out of a proposed engineering plan. He was pretty cool looking. For my own FRACAS piece I wanted to find a way to save all of the beautiful greeting cards Joe and I received at our wedding, so I made this wreath out of those, fabric scraps left over from making a skirt, a bow from the groomer which Dioji no longer cared to wear, and a broken embroidery ring:

Well, I hope that this post will sustain you through December, since I’m fairly sure that I’ll go MIA during Christmas baking season. (Dare I try to break the record of 114 dozen treats?) All I’ll say is that a certain grandma gave me a pizzelle iron at my bridal shower and that it’s been calling to me from the cupboard ever since I deemed it acceptable to begin thinking about Christmas.
Warmest holiday wishes to all of you. Remember that what you always have is what you carry in your heart and head, so make it something fun!
Ciao for now,
Neen
 Roger’s two joys in one; a red wine chocolate cake enrobed in bittersweet chocolate ganache…
 Joe’s sunny lemon cake with blueberry filling, lemon cream cheese frosting, and candied lemon peel…
 A rather decadent chocolate-coconut-macadamia tart with an almond-coconut crust that was both gluten-free and vegan…
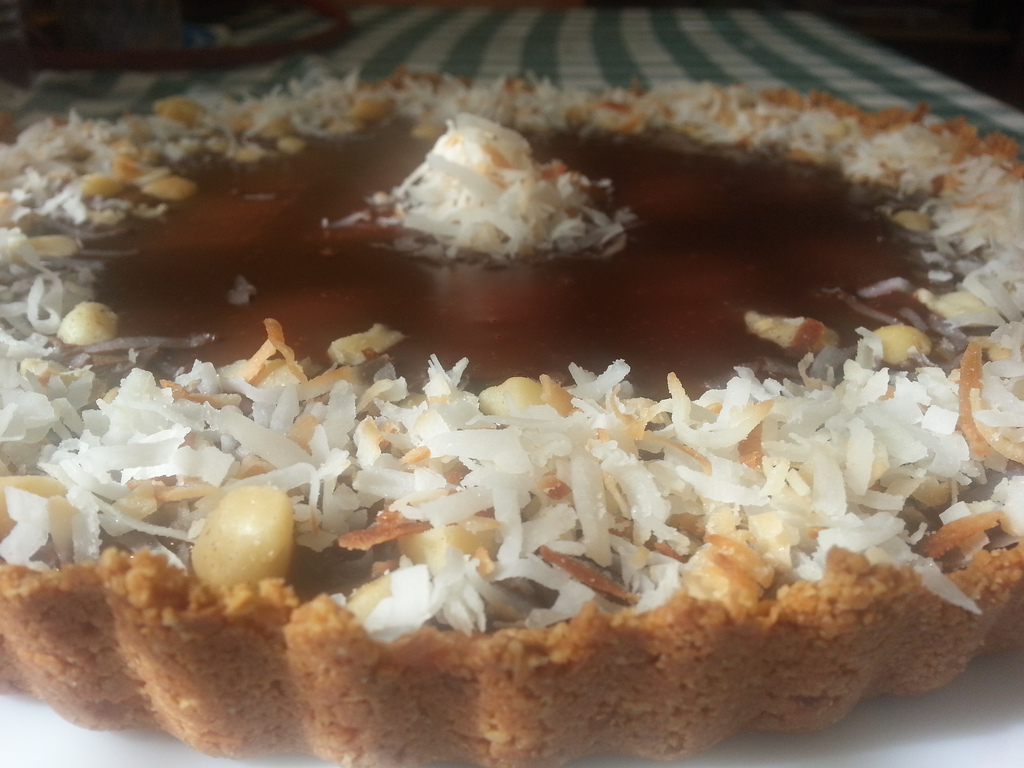 And a tribute to my love of all things breakfast, this little number…
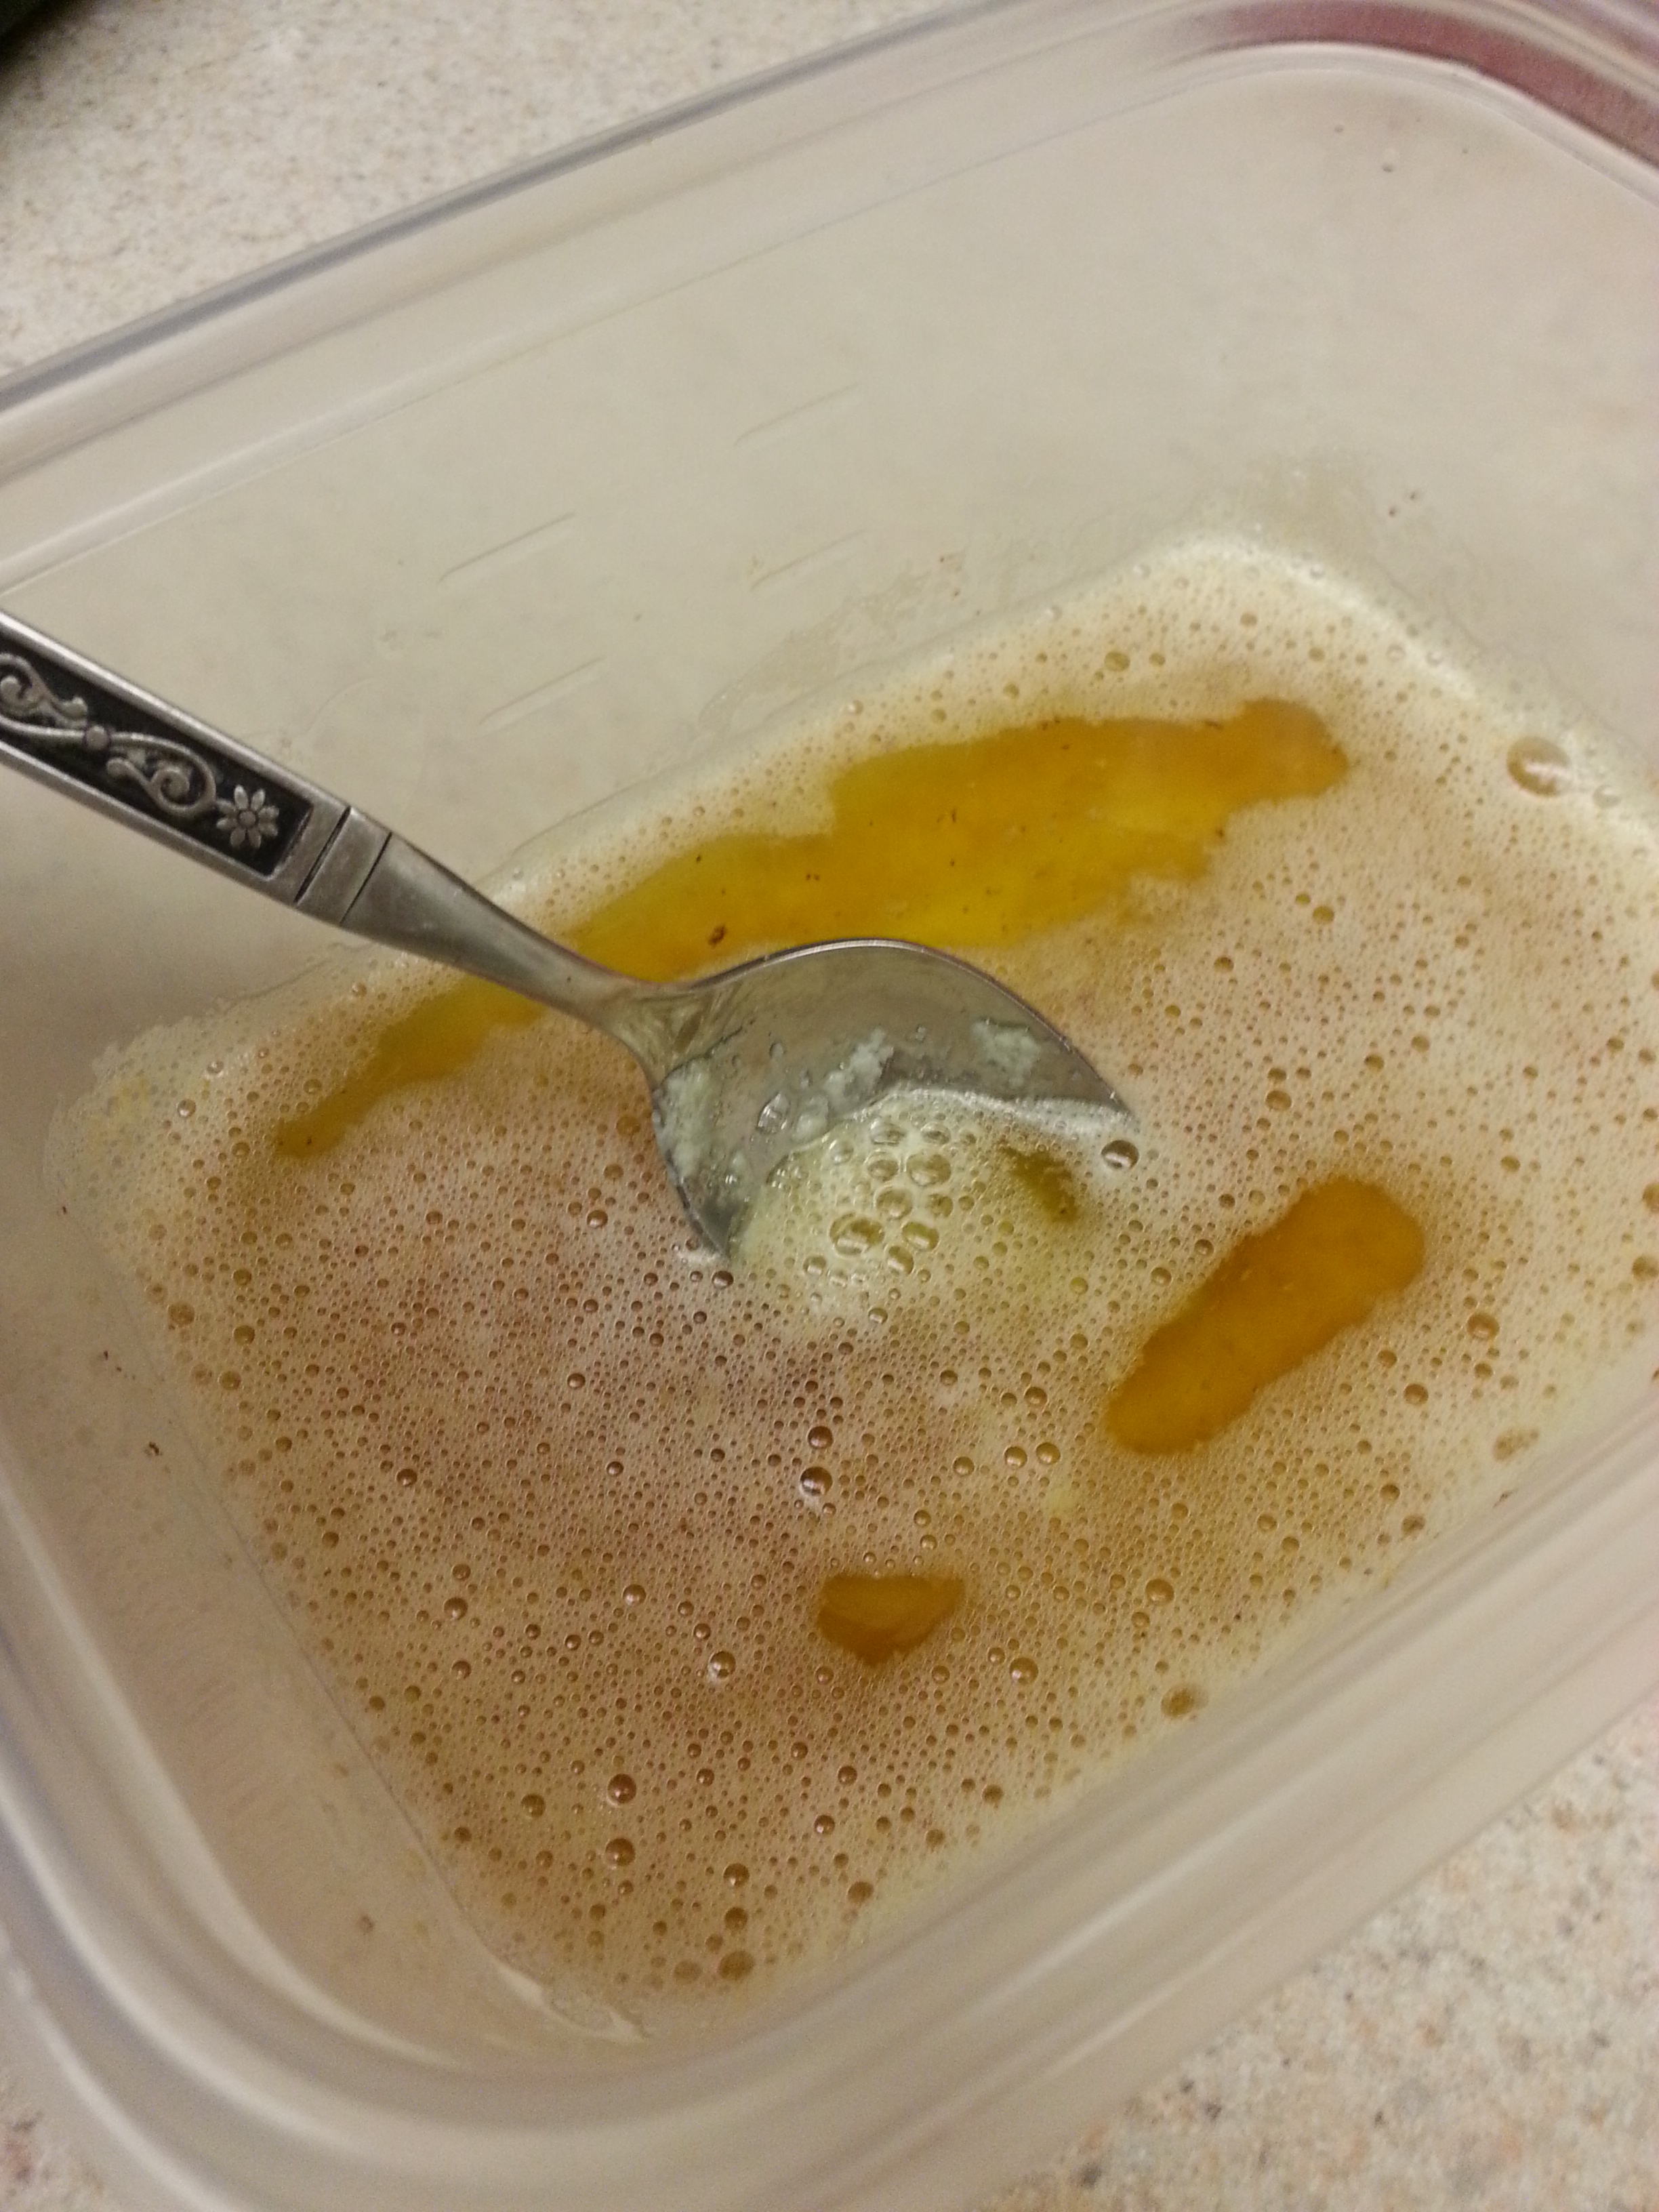
 Preheat oven to 350 degrees F and butter and flour two 12-well cupcake tins (or use paper liners).
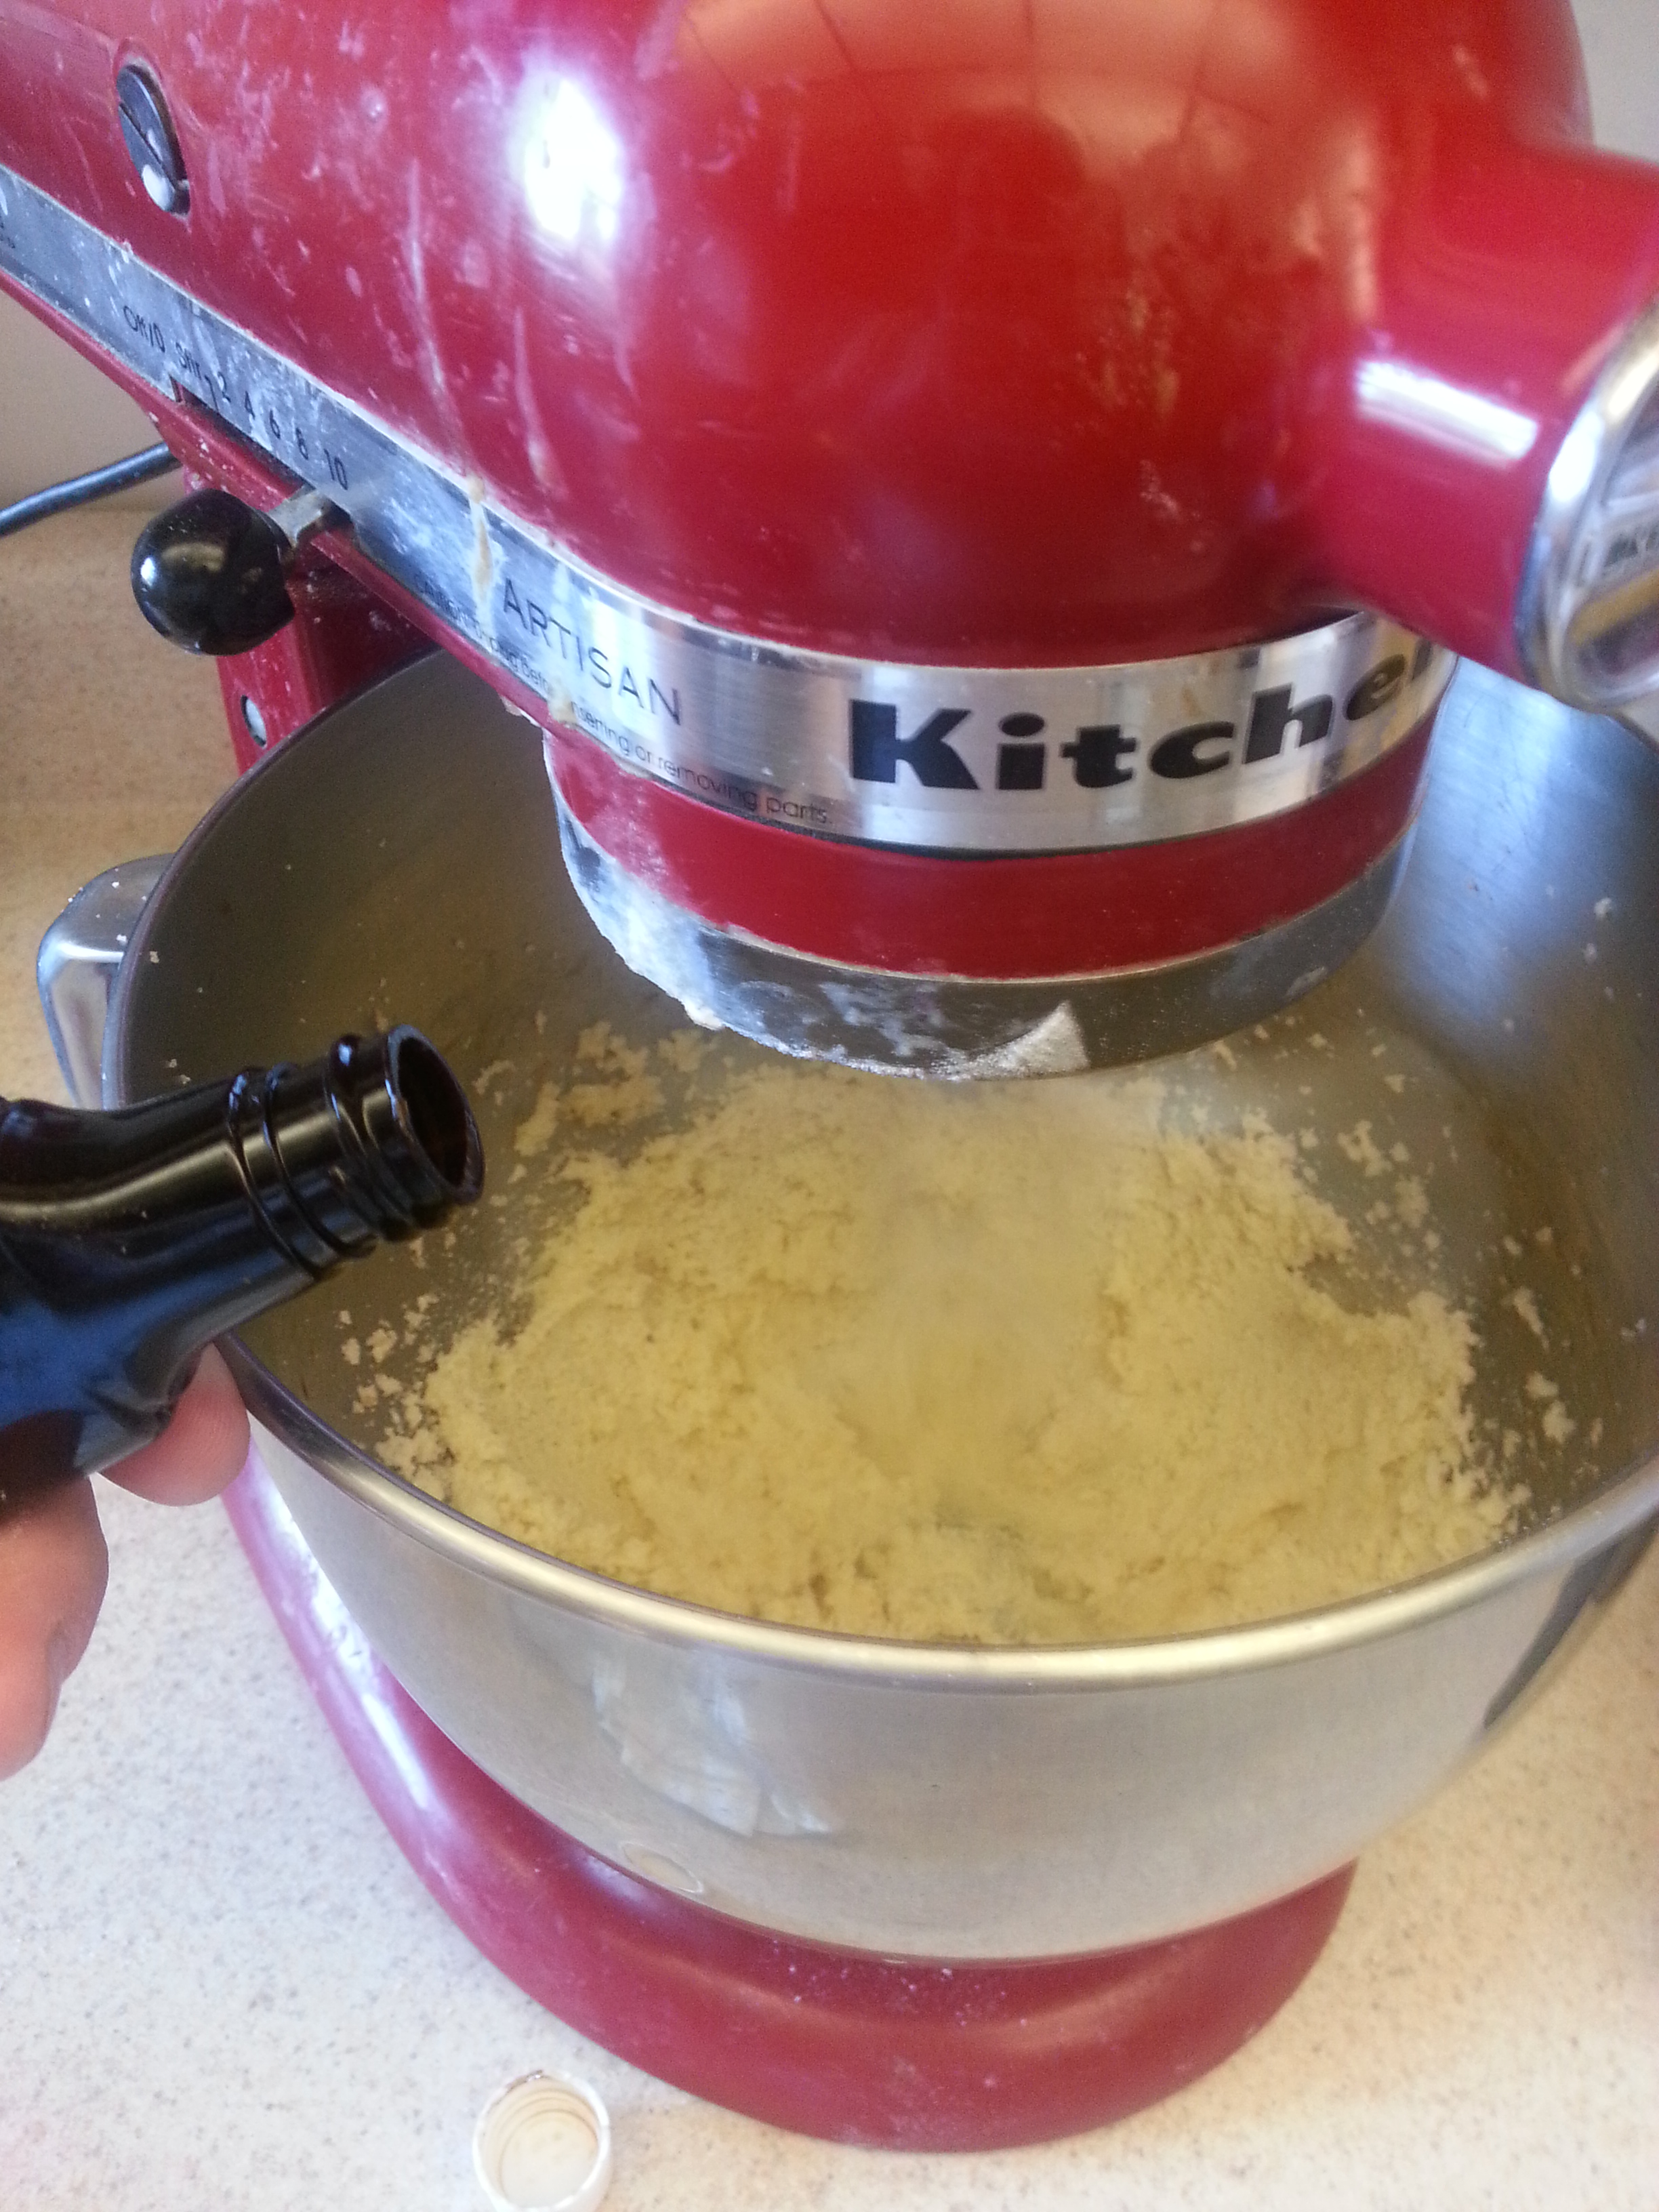
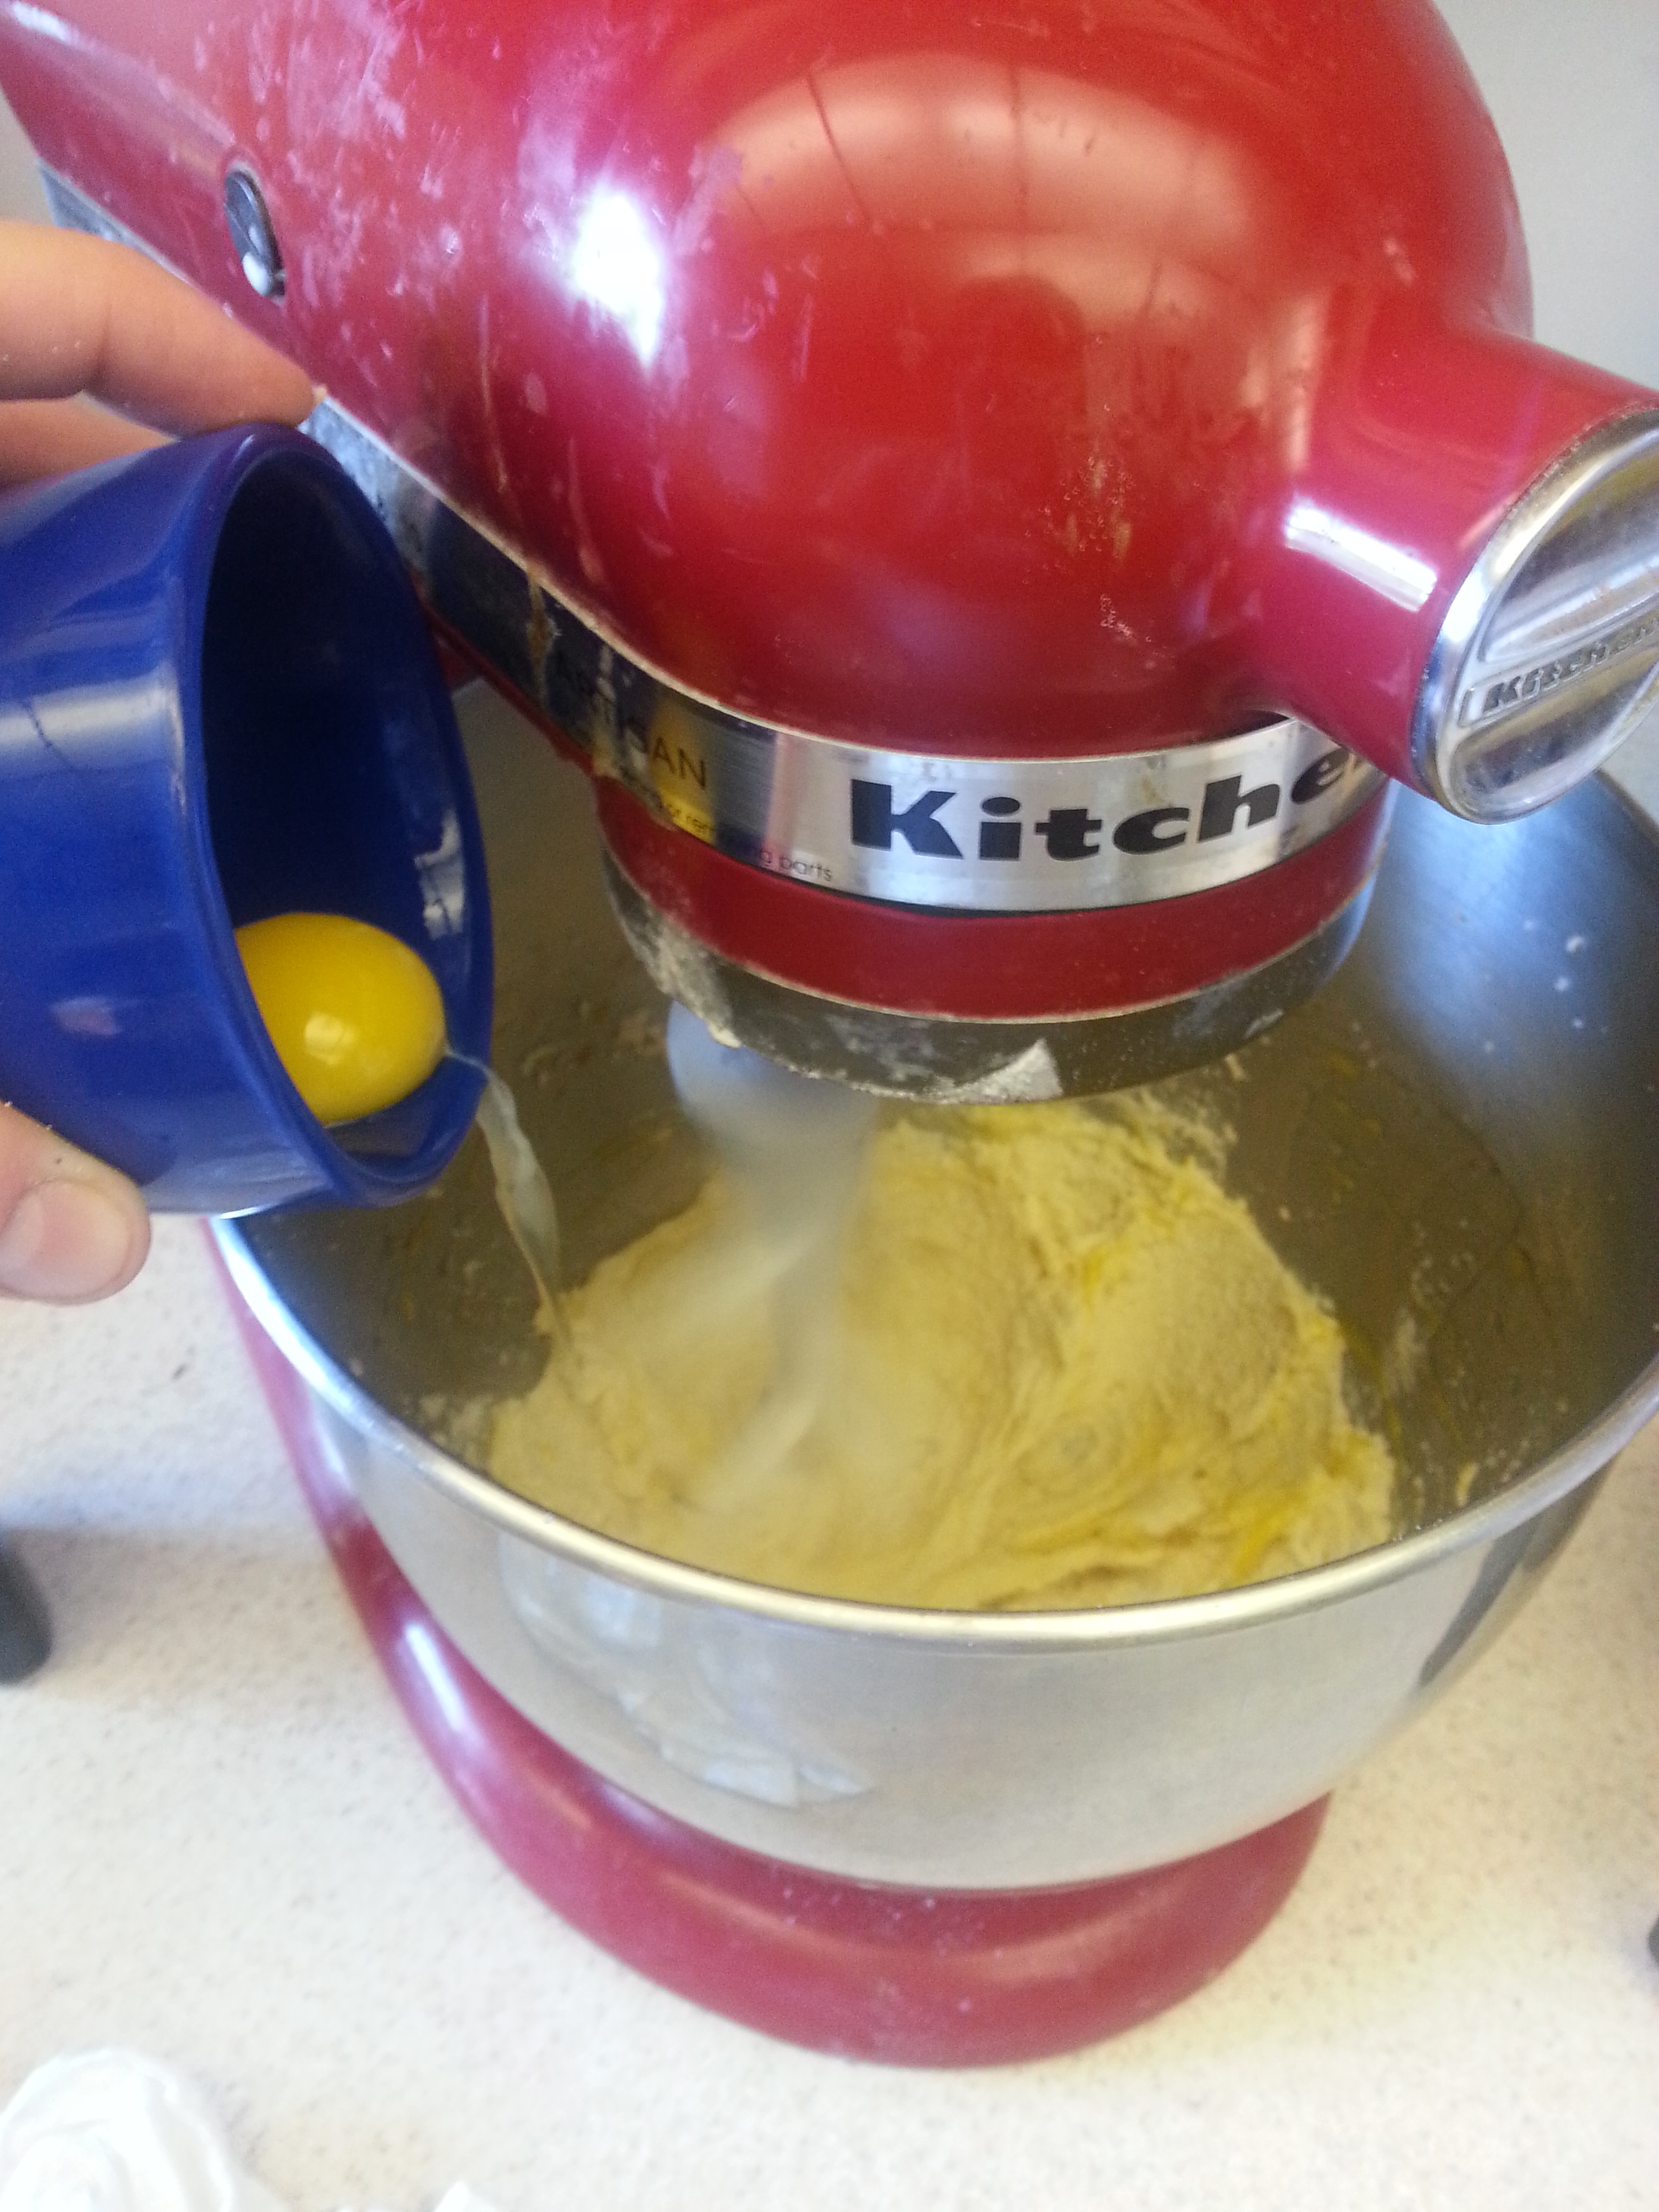 With the mixer on low speed, alternately add the flour mixture (in three additions), and milk (in two additions), beginning and ending with the flour.
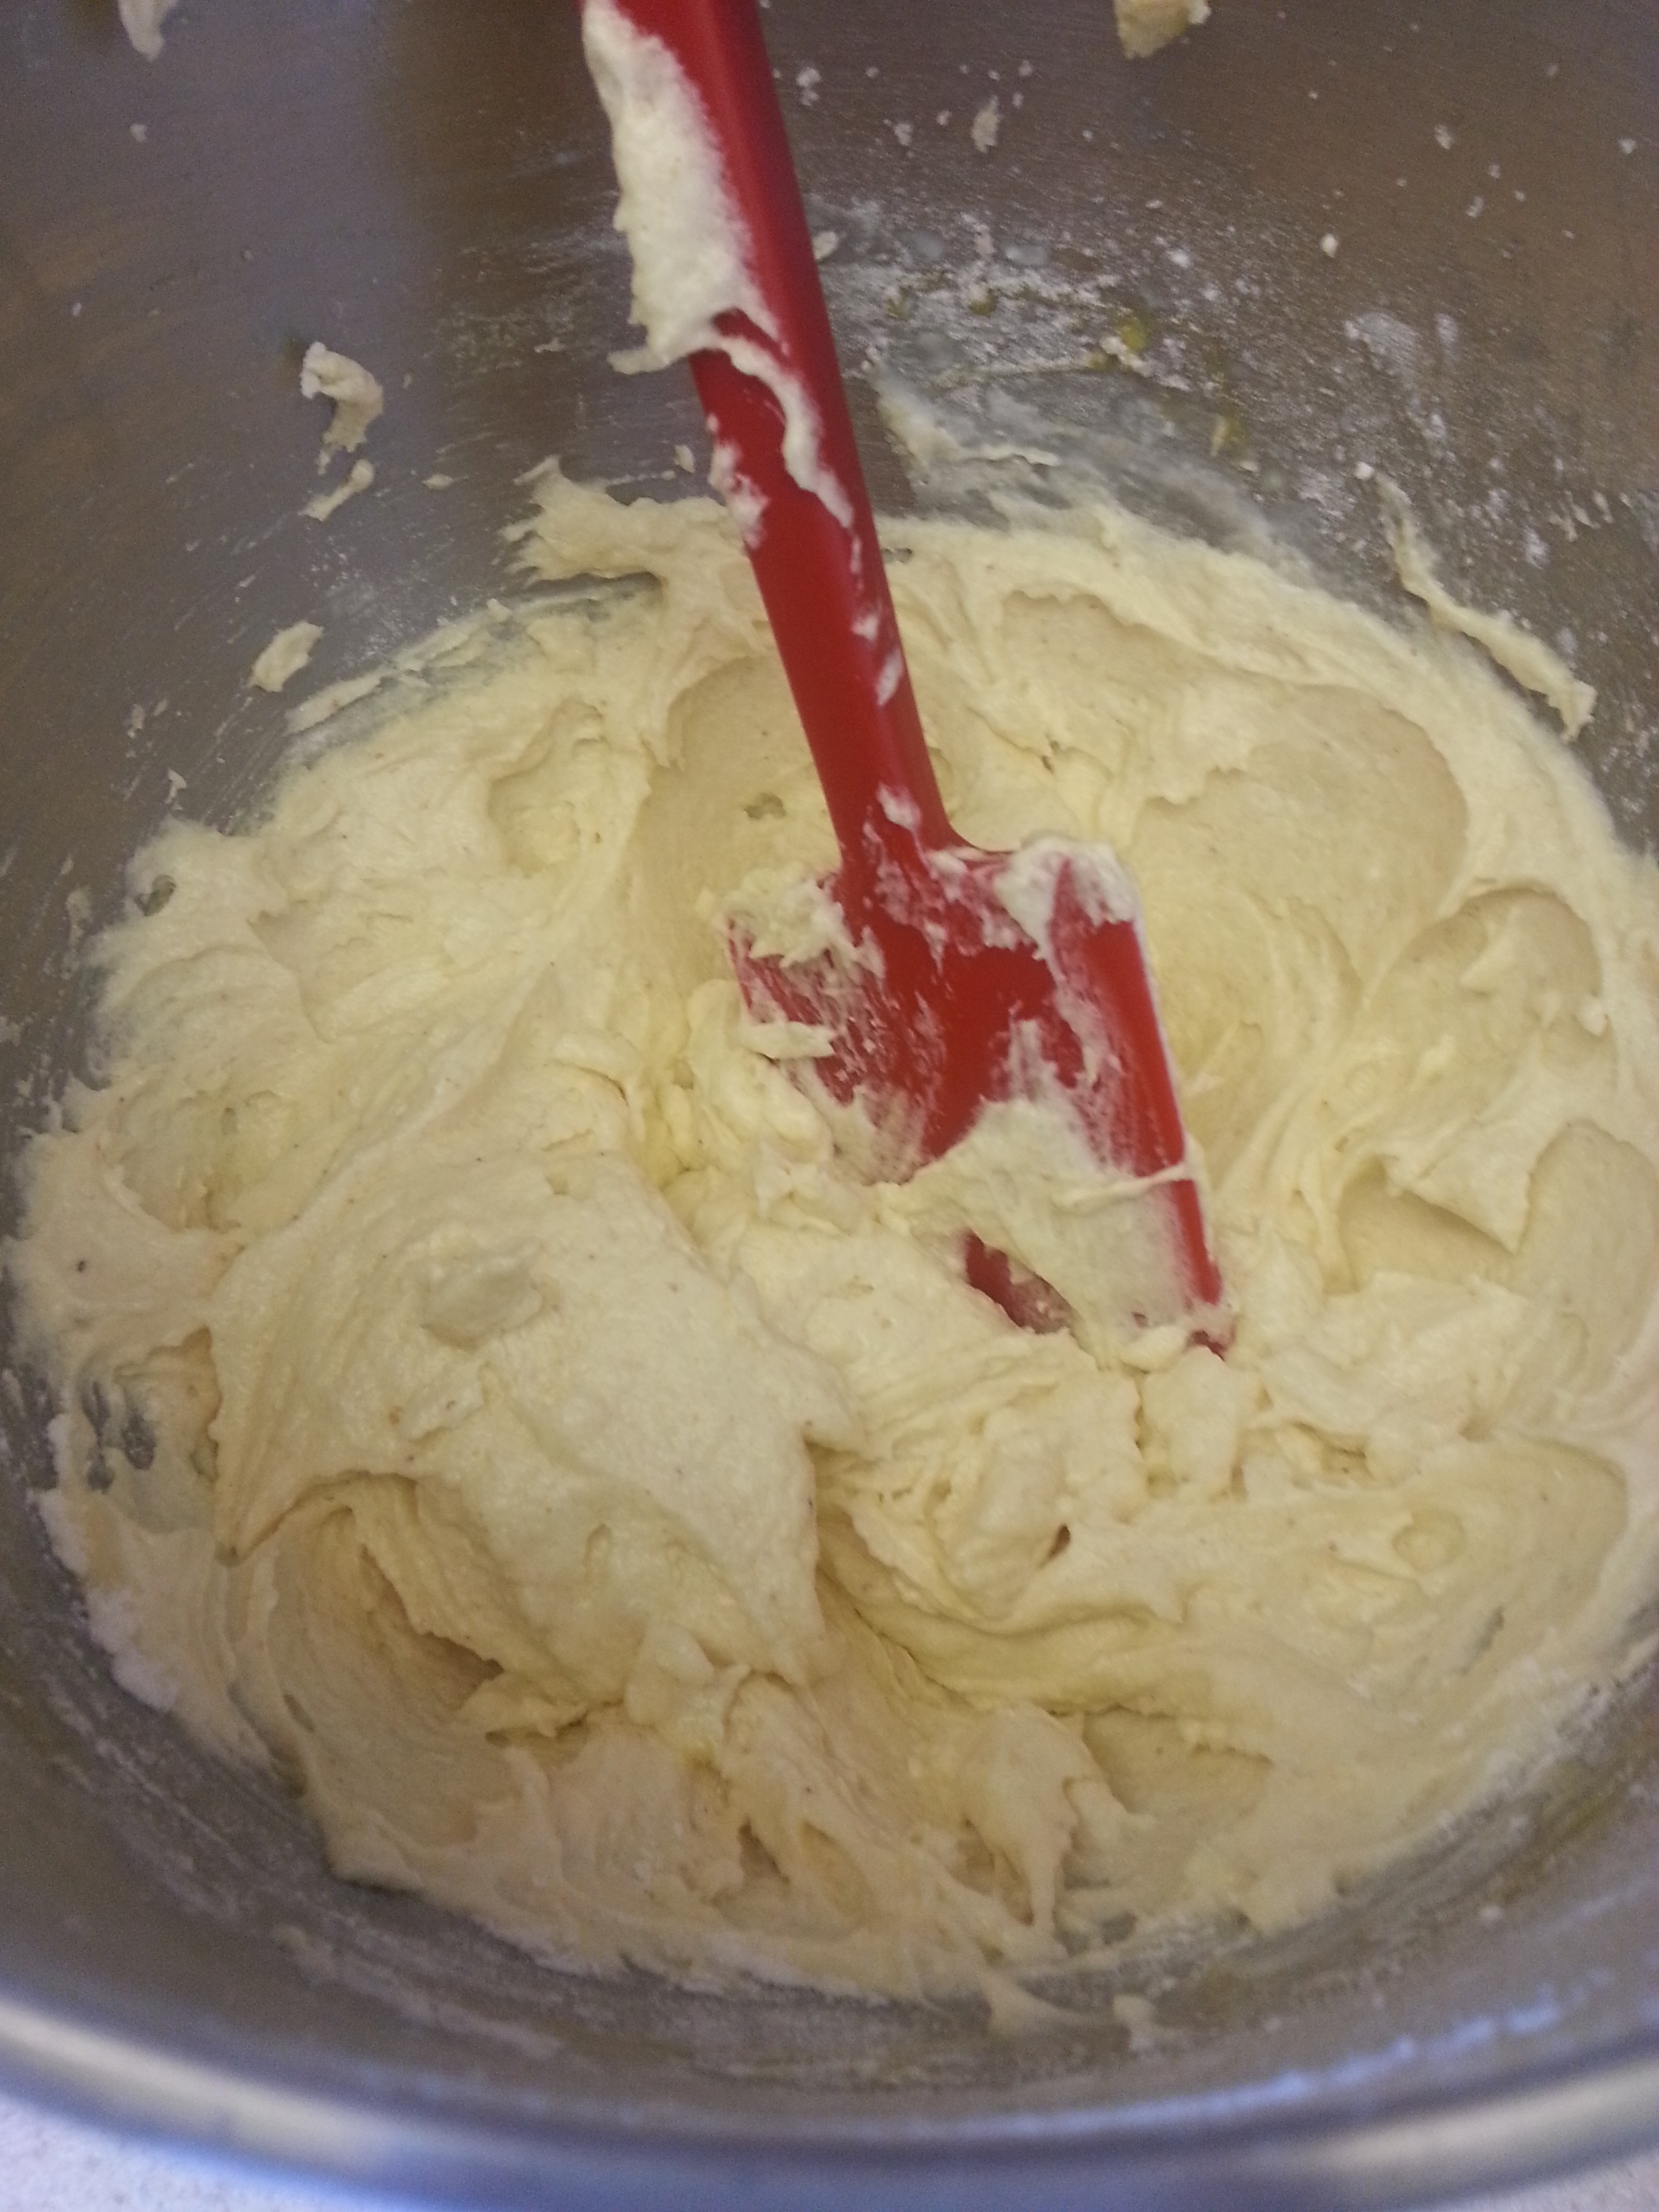 Evenly divide the batter between the prepared pans, and then tap the pans gently on a counter to remove excess air bubbles.
 Bake 23 to 25 minutes or until they are golden on top, and a slightly darker golden brown at the edges. They’ll have wonderfully crispy edges a la the pancakes at the ultimate palace of flapjacks, Pamela’s. Do not argue with me about Pamela’s pancake supremacy, you will not win. Important note: These do not rise a lot–they will not have high domes. The cake is still fluffy and moist inside, I assure you. If you really want the extra lift, you can add another tsp. of baking powder.
 Praline Bacon
 Remove the bacon from the oven and sprinkle the brown sugar / pecan mixture on the slices, pressing down lightly to make it adhere. Return the bacon to the oven and cook until crisp, about another 10 minutes.
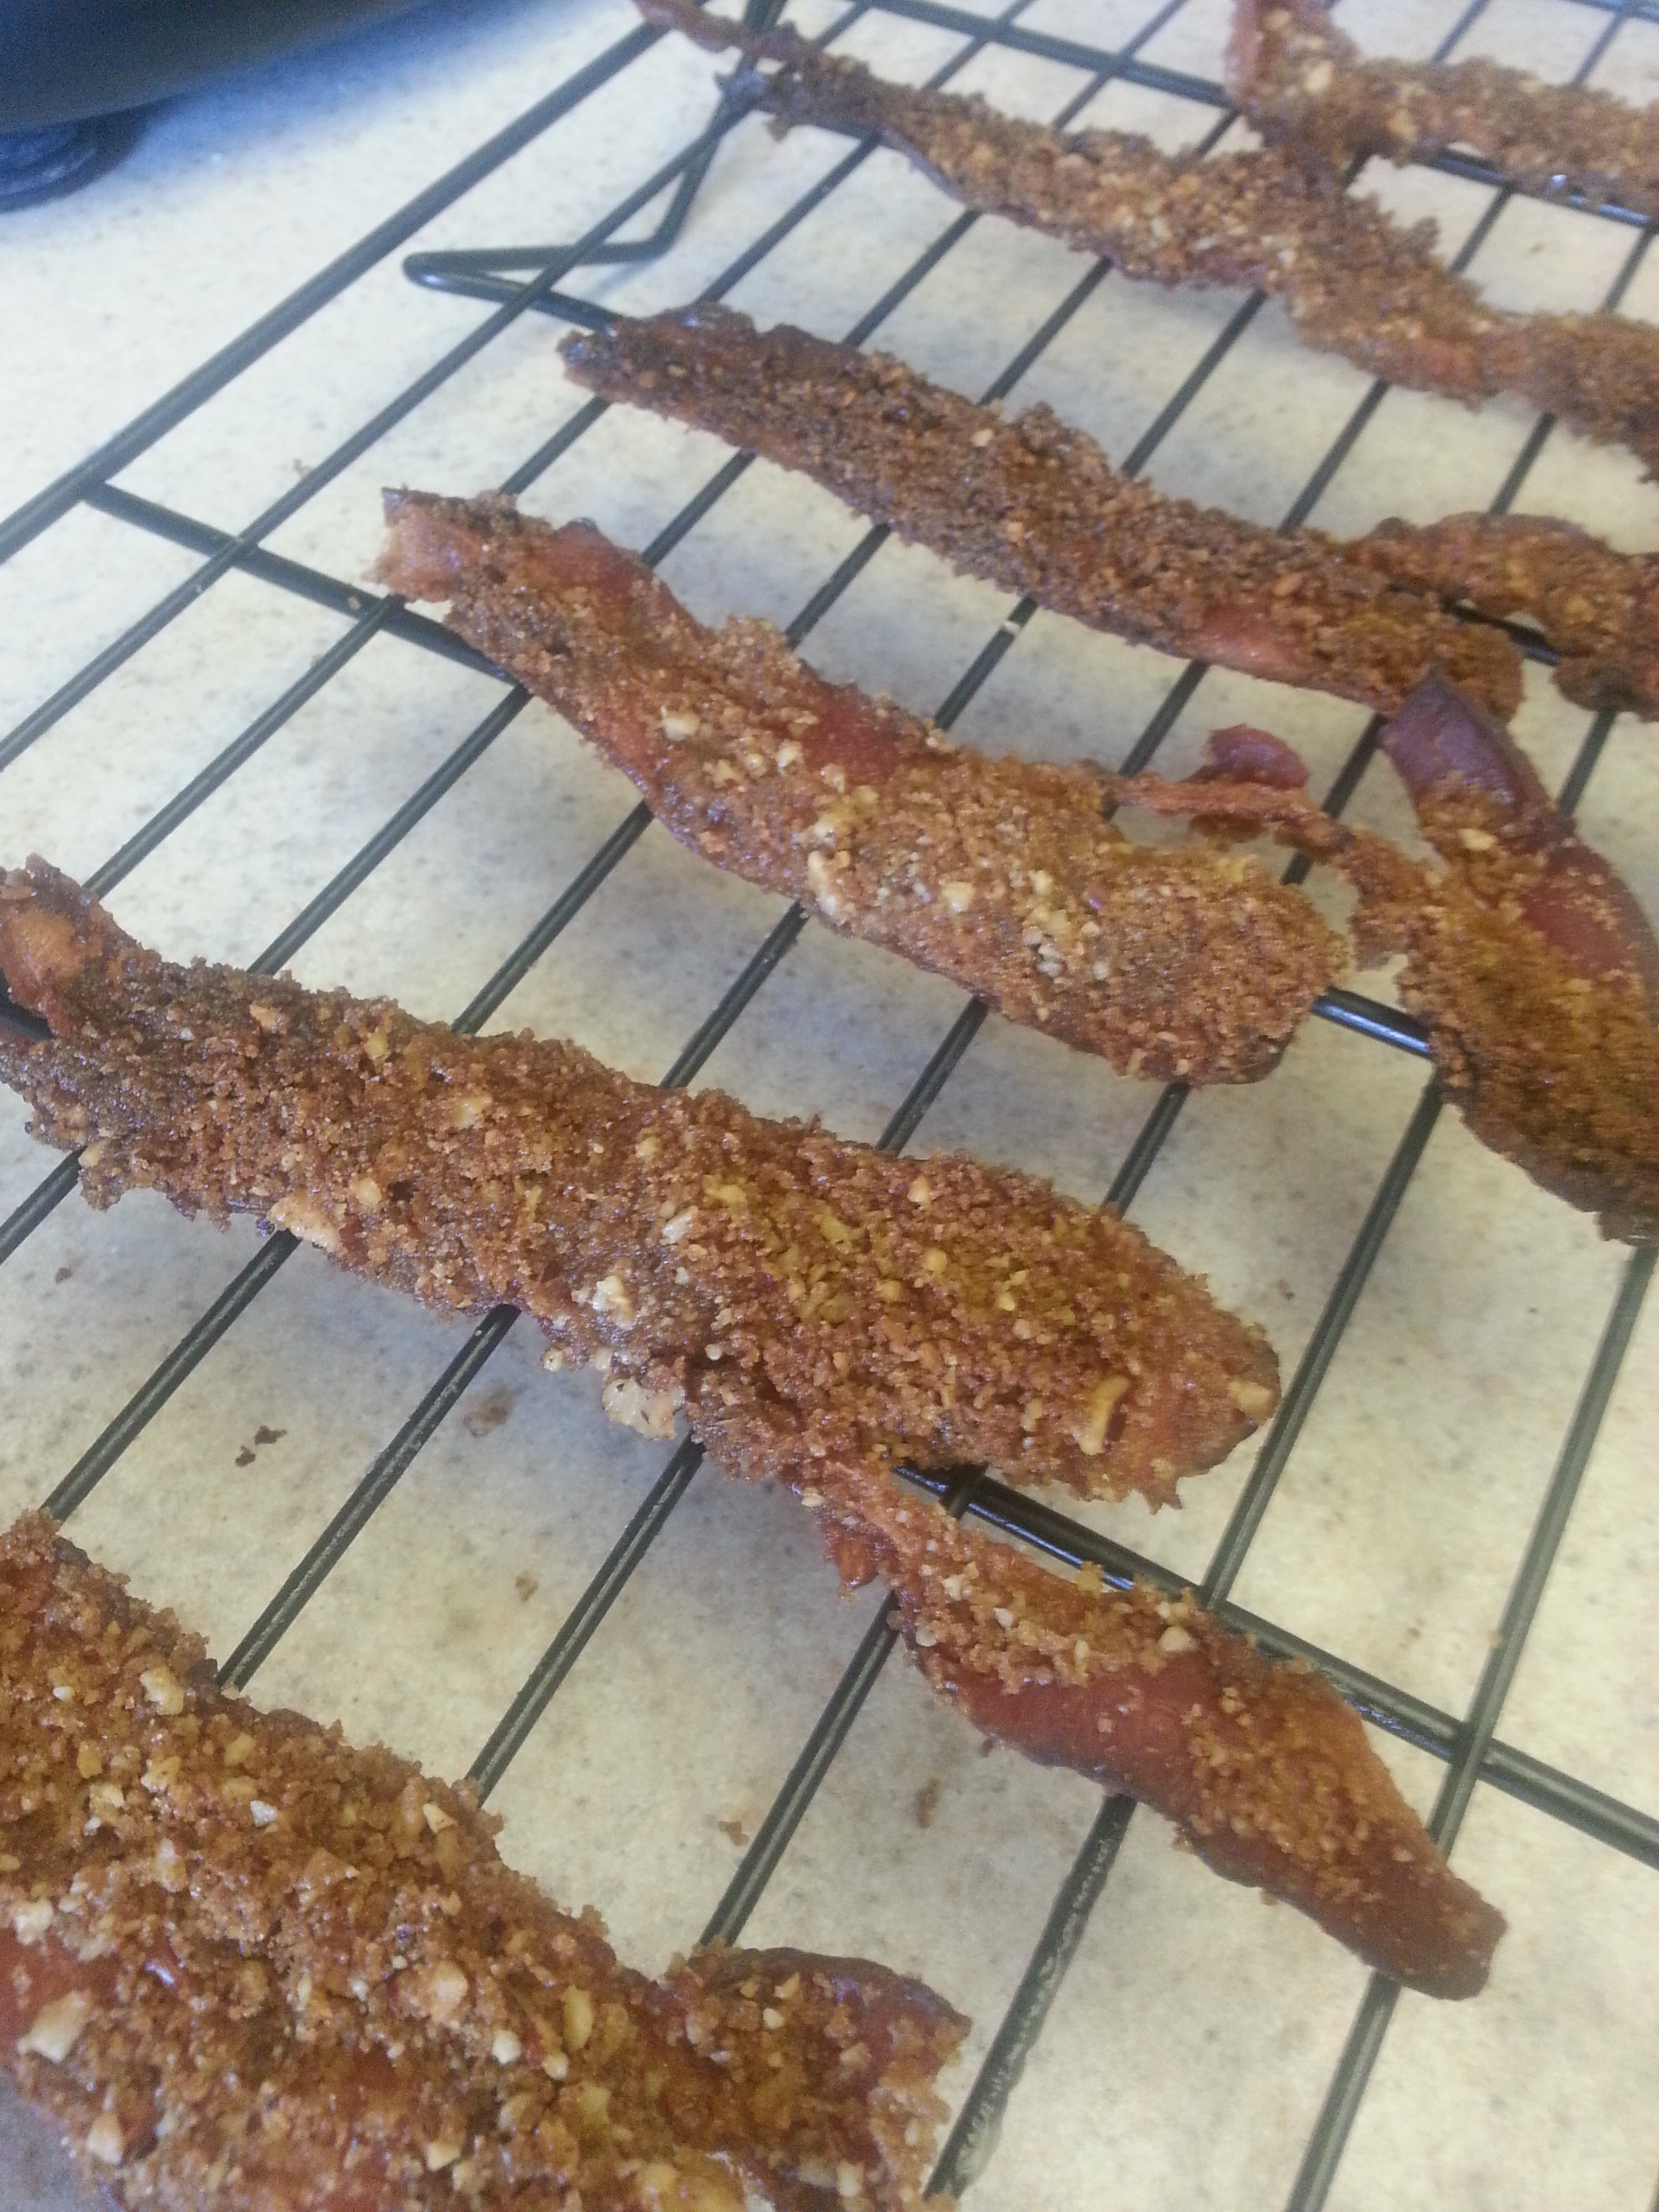 Allow the bacon to cool completely before breaking into small pieces.
 It really is like eating pancakes with maple syrup and bacon…only better!