Stop for Science (again!): Gluten-Free Soft Pretzels

6 Nov

Regular readers of this blog will recall my Home Alone style dash through the Frankfurt airport, induced by the scent of warm soft pretzels (laugenbrezel!), and the subsequent foray into the chemistry that gives us this glorious bread. Ah yes, we donned our gloves and surgical masks together, avoided recreating any particularly cringe-worthy scenes from Fight Club, and discovered that sometimes you have to be a little brave to make the magic happen.

It appears that suddenly the rest of the world has discovered that pretzels are that good, because it seems like every restaurant is offering sandwiches on pretzel buns now. The nerve! Yes, restaurant industry, thanks for waiting until I went gluten-free to shove advertisements for pretzel rolls in my face at every turn. But it’s like they say: Don’t get mad, get even.

And I found the perfect opportunity on a chilly Sunday over the weekend to do just that. With leftover mornay sauce from the previous night’s macaroni and cheese just begging to be reheated as cheese dip, clearly, it was time to take back the pretzel.

The process for making gluten-free pretzels is pretty similar to making traditional pretzels. There are some differences in the dry ingredients in order to add more acid and give the dough that chewy tenderness, but the main difference I found is purely tactile. The gluten-free dough feels much less stiff, so it took more care and a lighter touch to roll it out. I’d recommend keeping a little bowl of sweet rice flour nearby to flour your hands with, because it’s pretty likely that the warmth from your hands will make the dough stick to them otherwise. The other main difference is kind of awesome: only one rise! So basically, you get your pretzels twice as fast. Hallelujah!

Gluten Free Soft Pretzels

  • 3 1/4 cups gluten-free flour blend (here’s mine!), plus ¼ – ½ cup extra
  • 1 1/2 tsp. xanthan gum
  • ½ cup dry buttermilk powder
  • 1 package rapid-rise or instant yeast
  • 1/4 teaspoon cream of tartar
  • 1/4 teaspoon baking soda
  • 1 tbsp. dark brown sugar or barley malt syrup
  • 1 tsp. kosher salt
  • 1 tsp. rice vinegar or cider vinegar
  • 2 tbsp. unsalted butter, softened
  • 2 egg whites
  • 1 ½ cups warm water, about 110 degrees
  • 1 oz. food grade lye
  • Coarse salt or pretzel salt
  • Plastic gloves, safety goggles, vinegar, and nonreactive pans and utensils.

Line two baking sheets with parchment paper and set them aside.

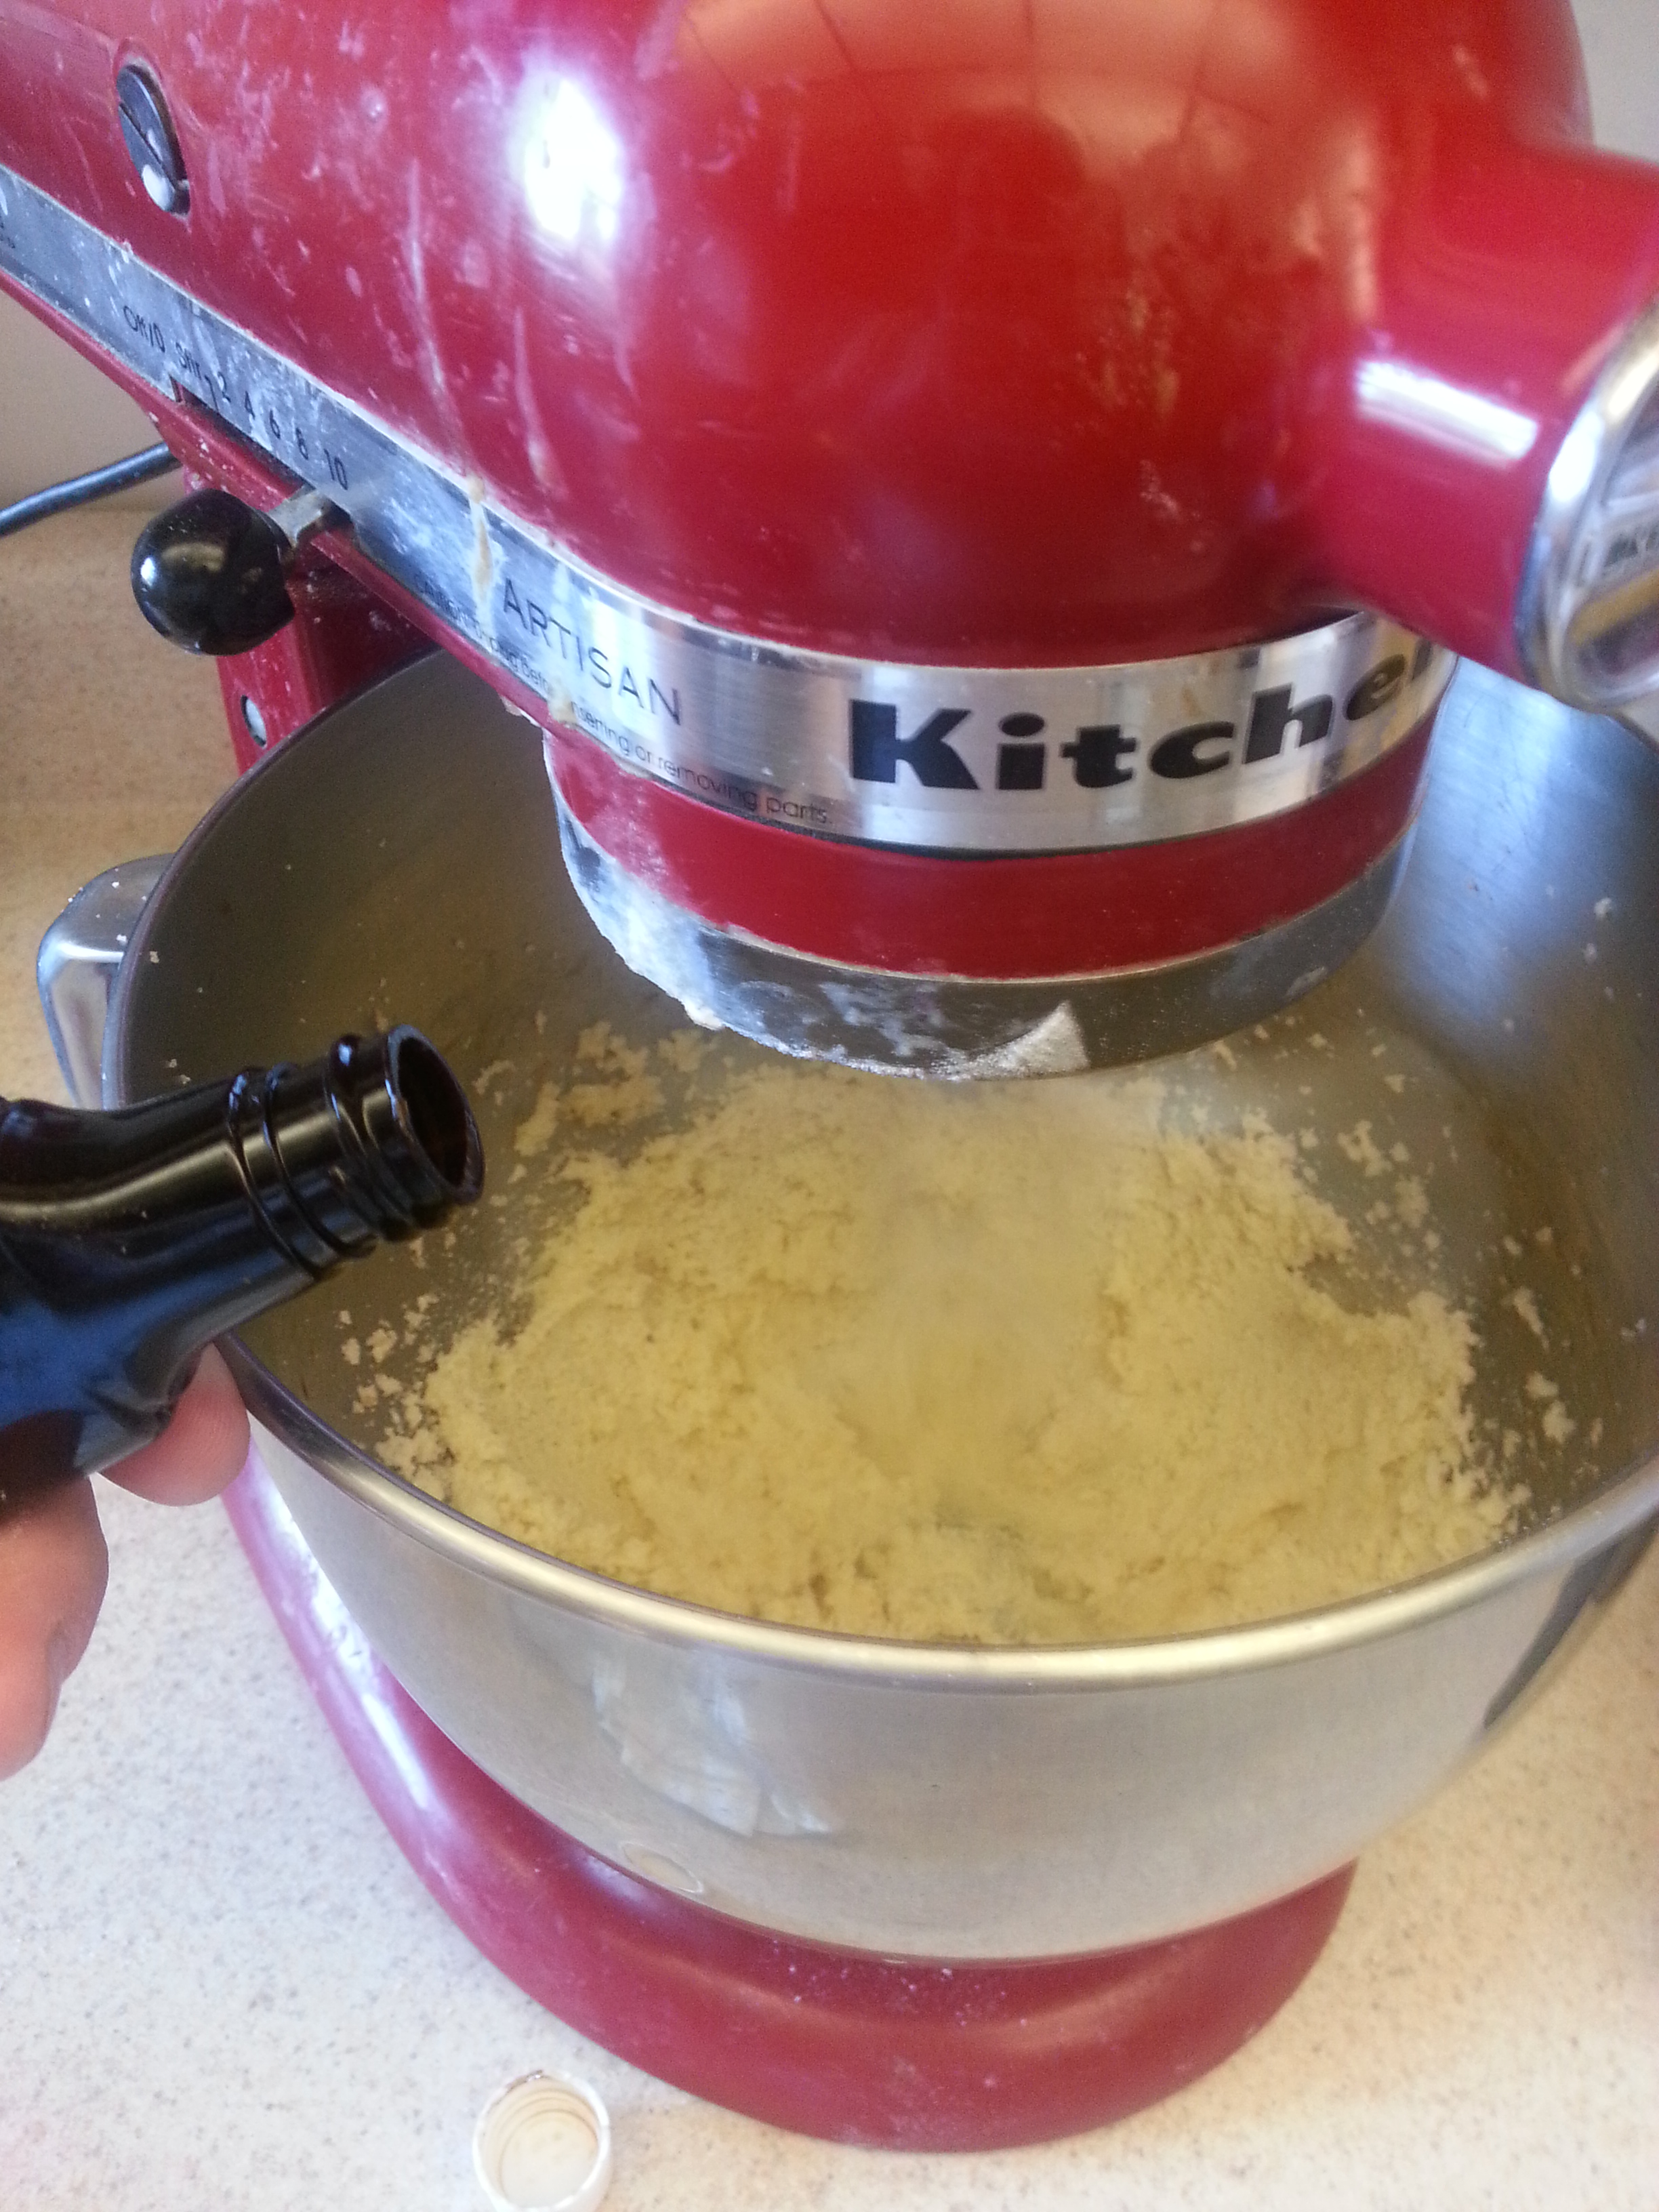
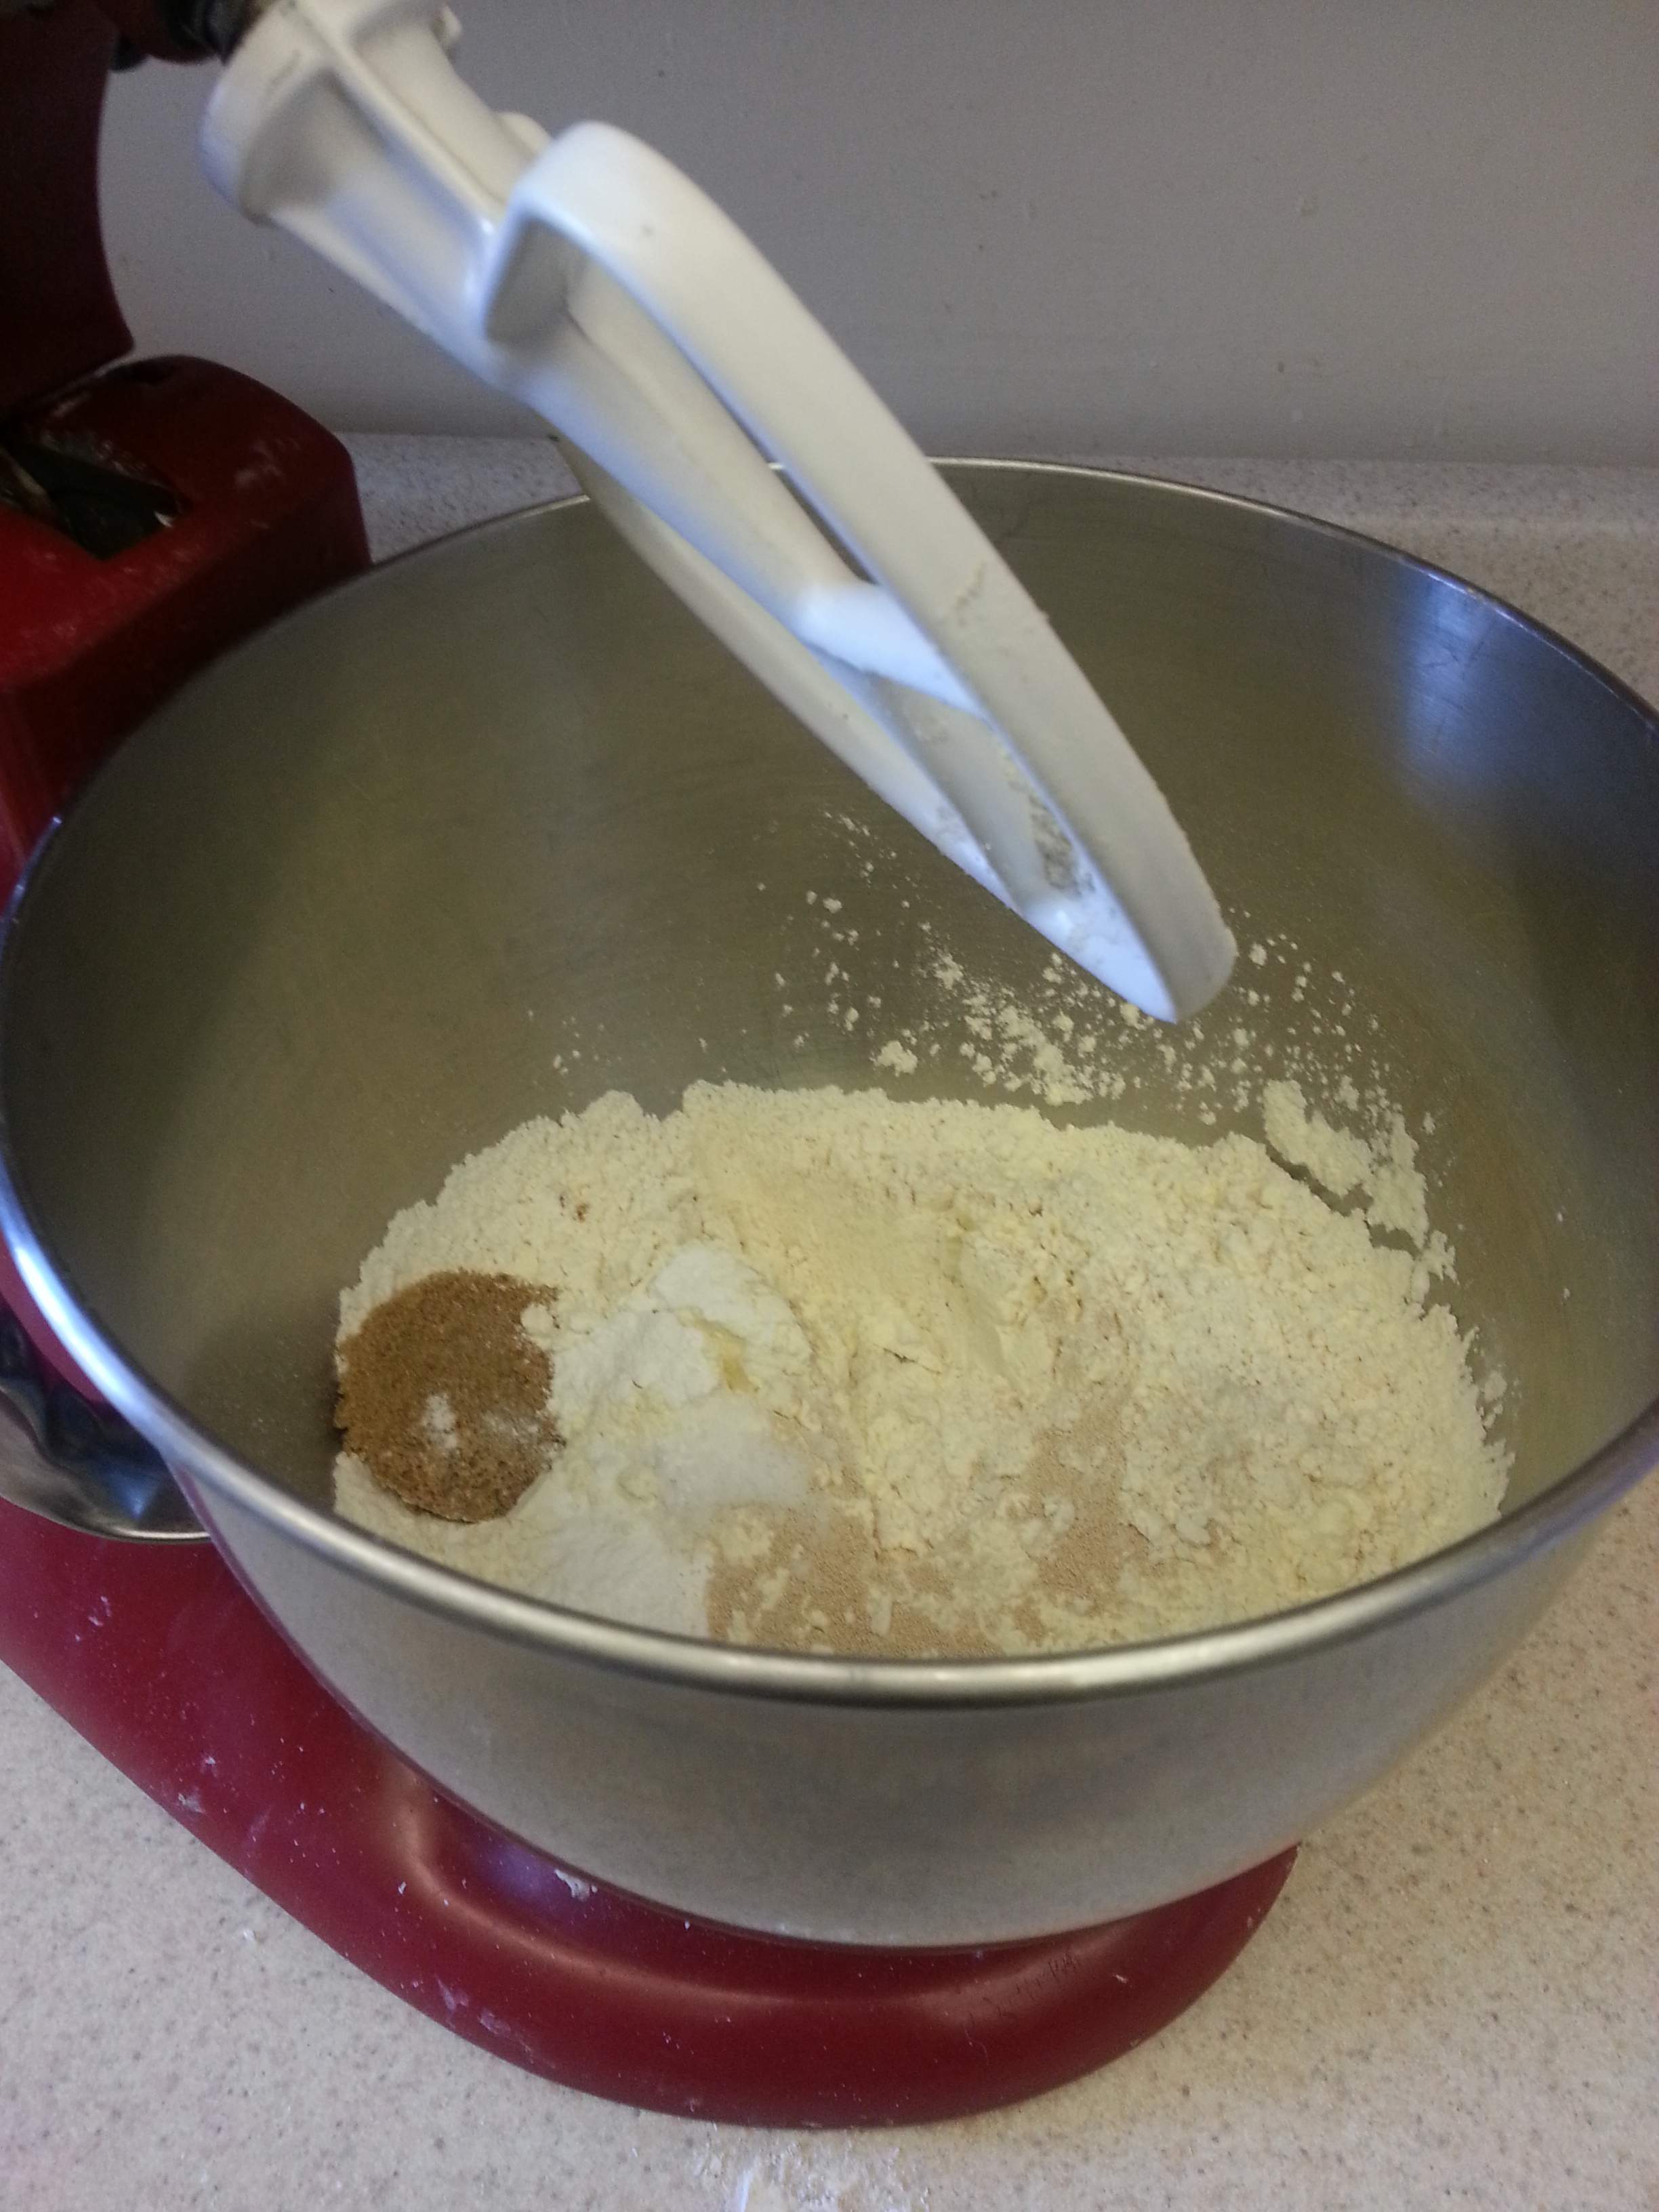
Combine the flour blend, xanthan gum, buttermilk powder, yeast, cream of tartar, baking soda, brown sugar, and salt in a large bowl and mix well.

20131103_074135
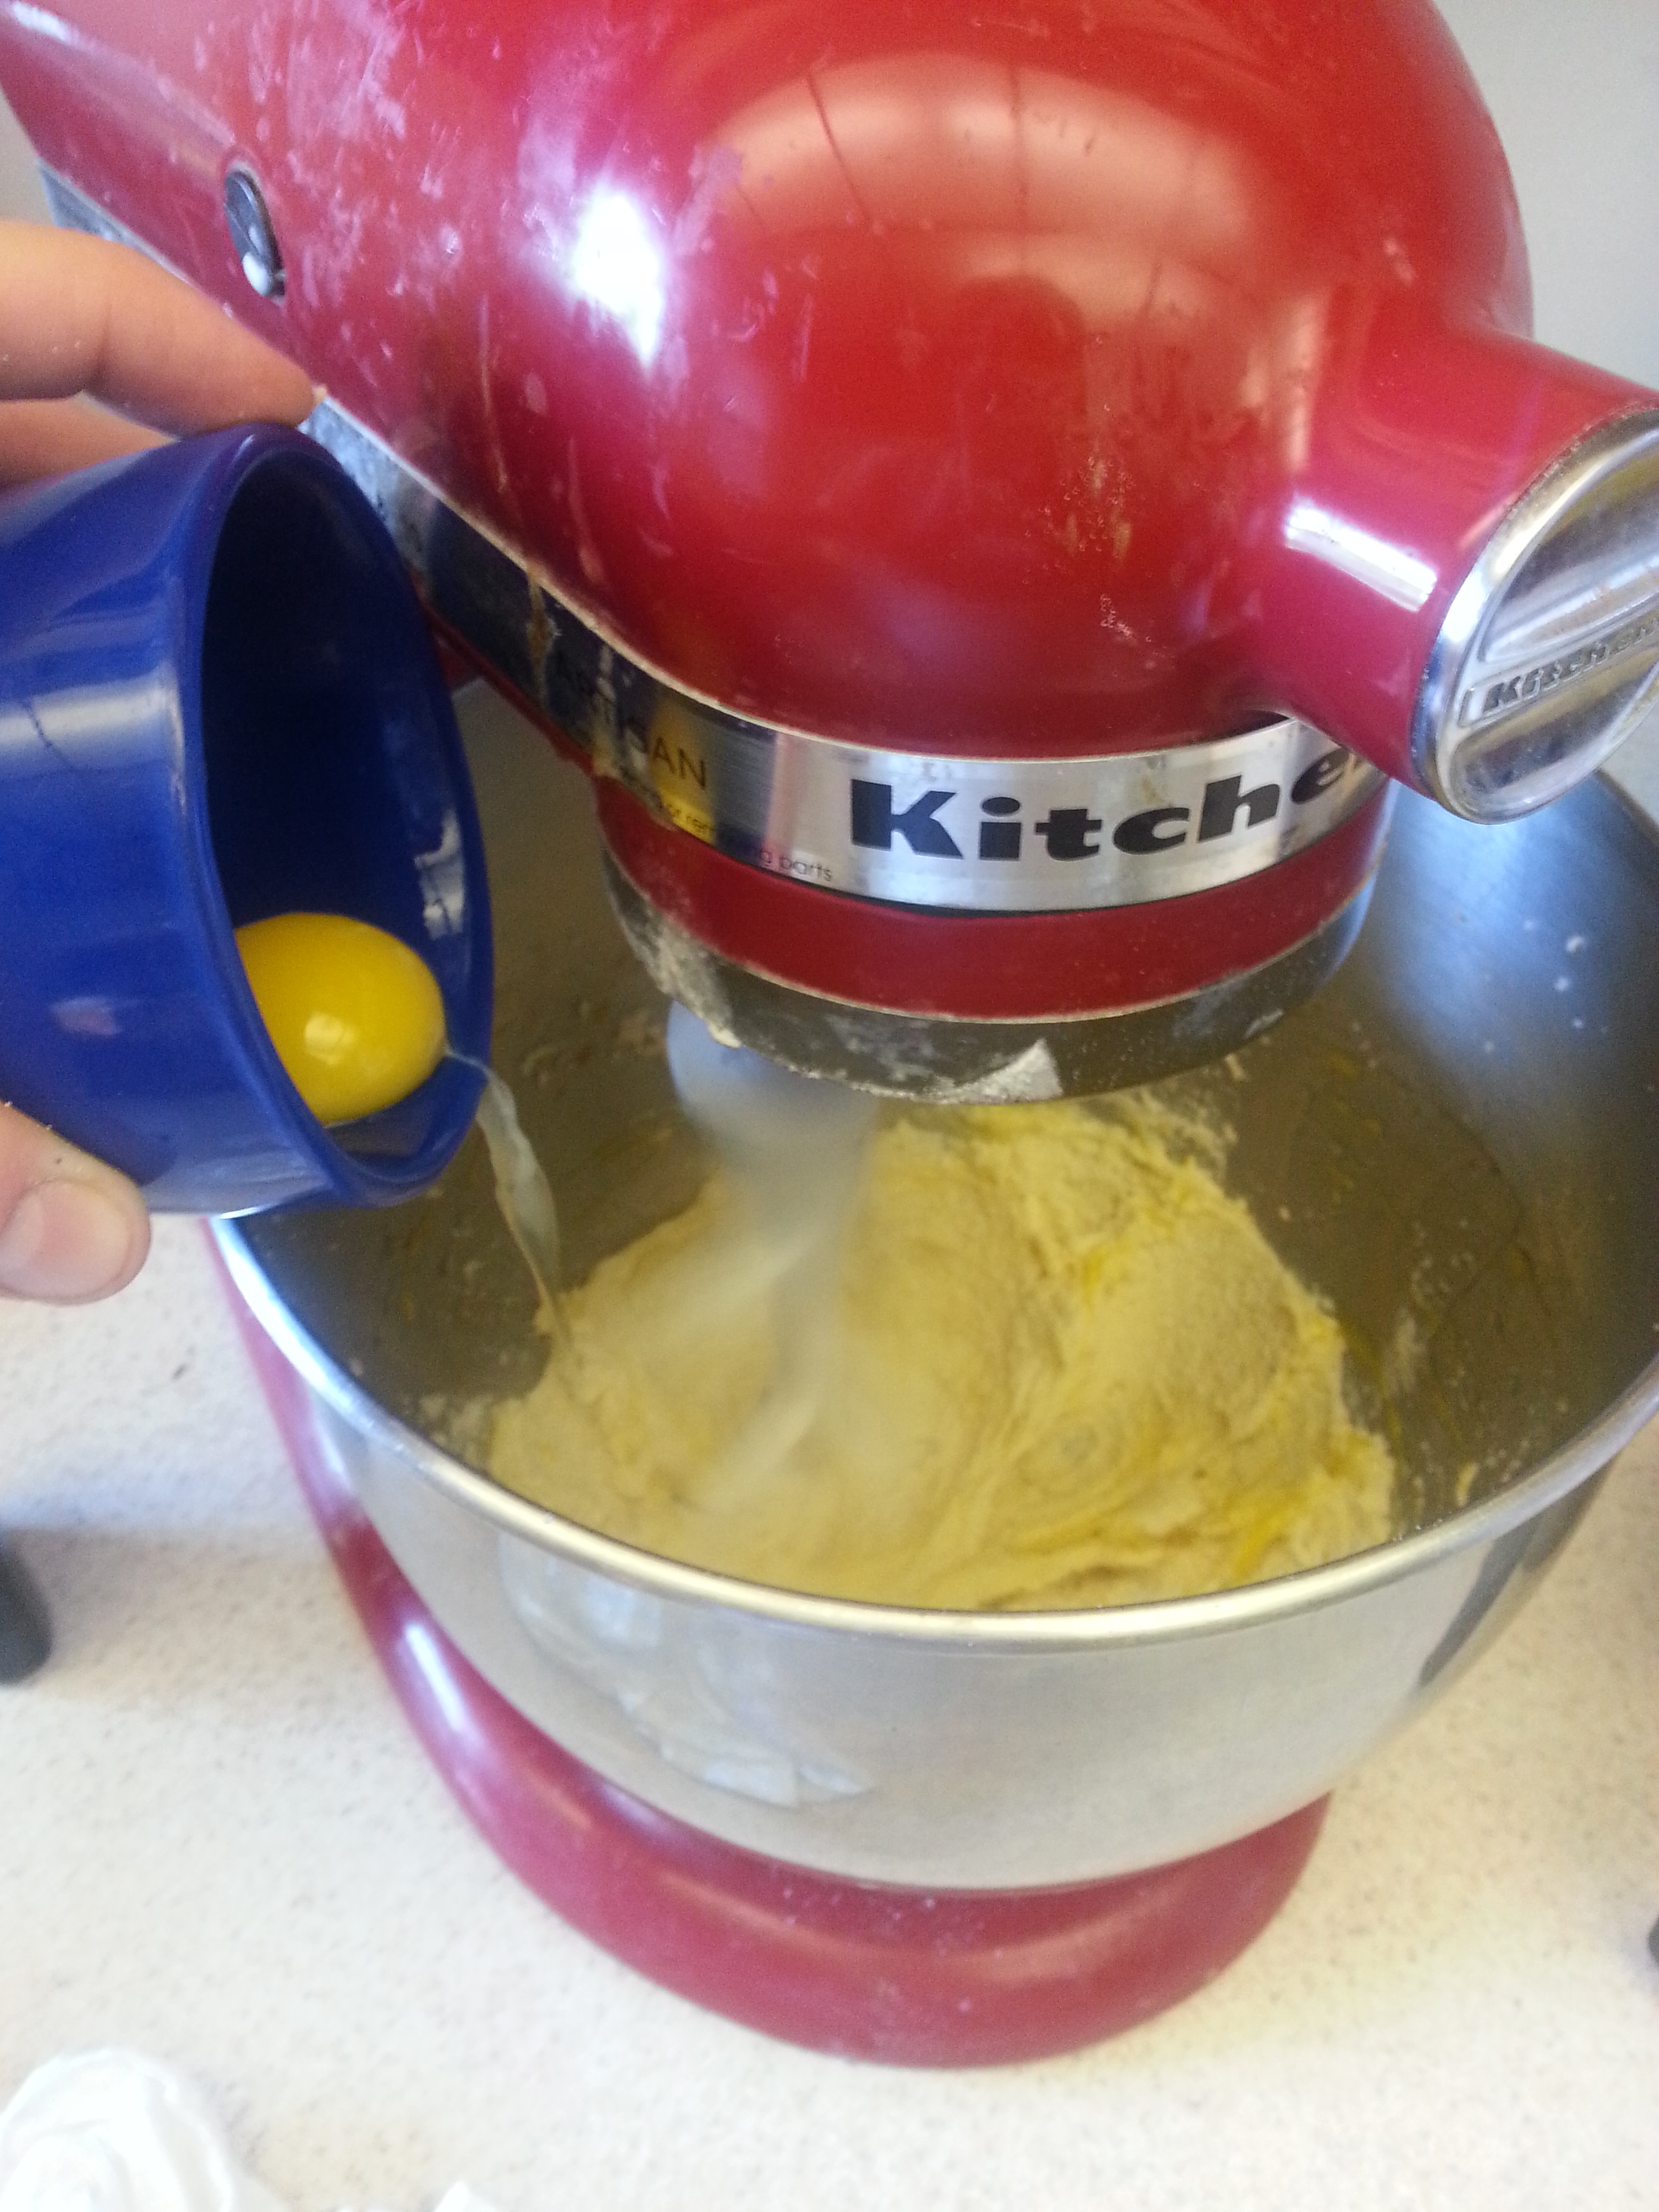
Add the vinegar, butter, and egg whites to the dry ingredients and mix well, then add the water in a slow steady stream. Once all of the water has been added, turn the mixer to a high speed and mix for 2-3 minutes. The dough will be loose and wet.

20131103_075122
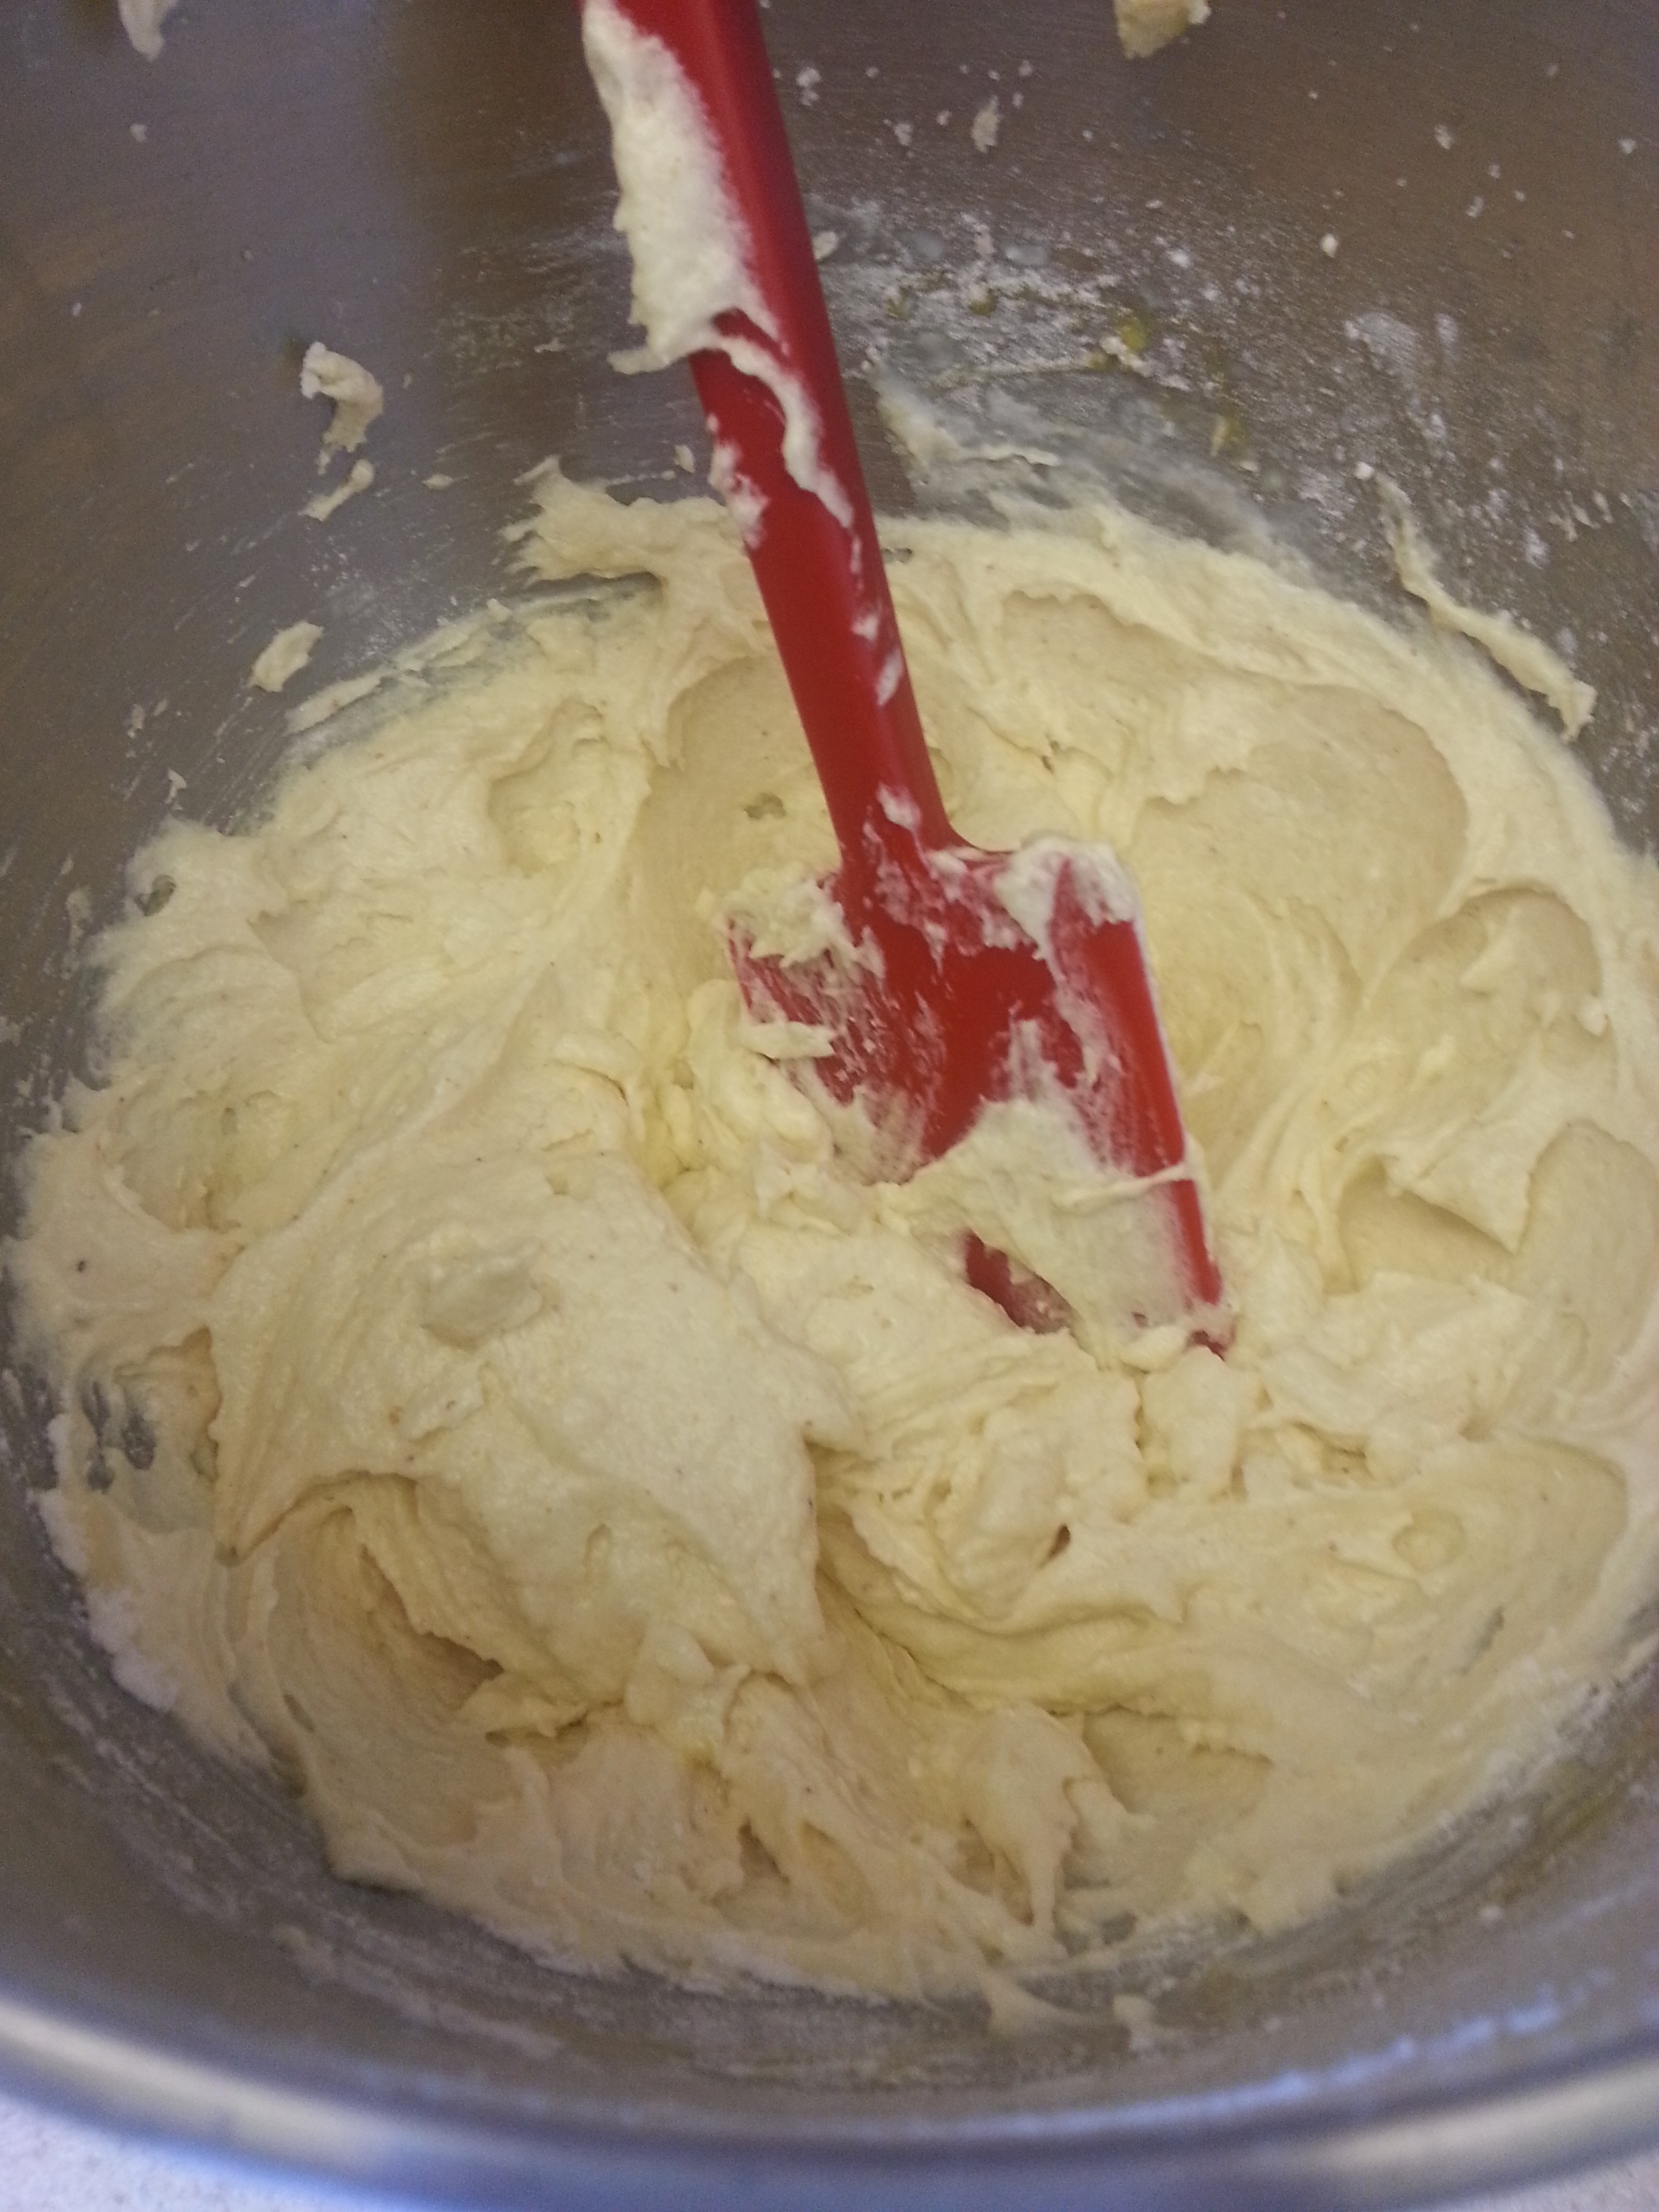
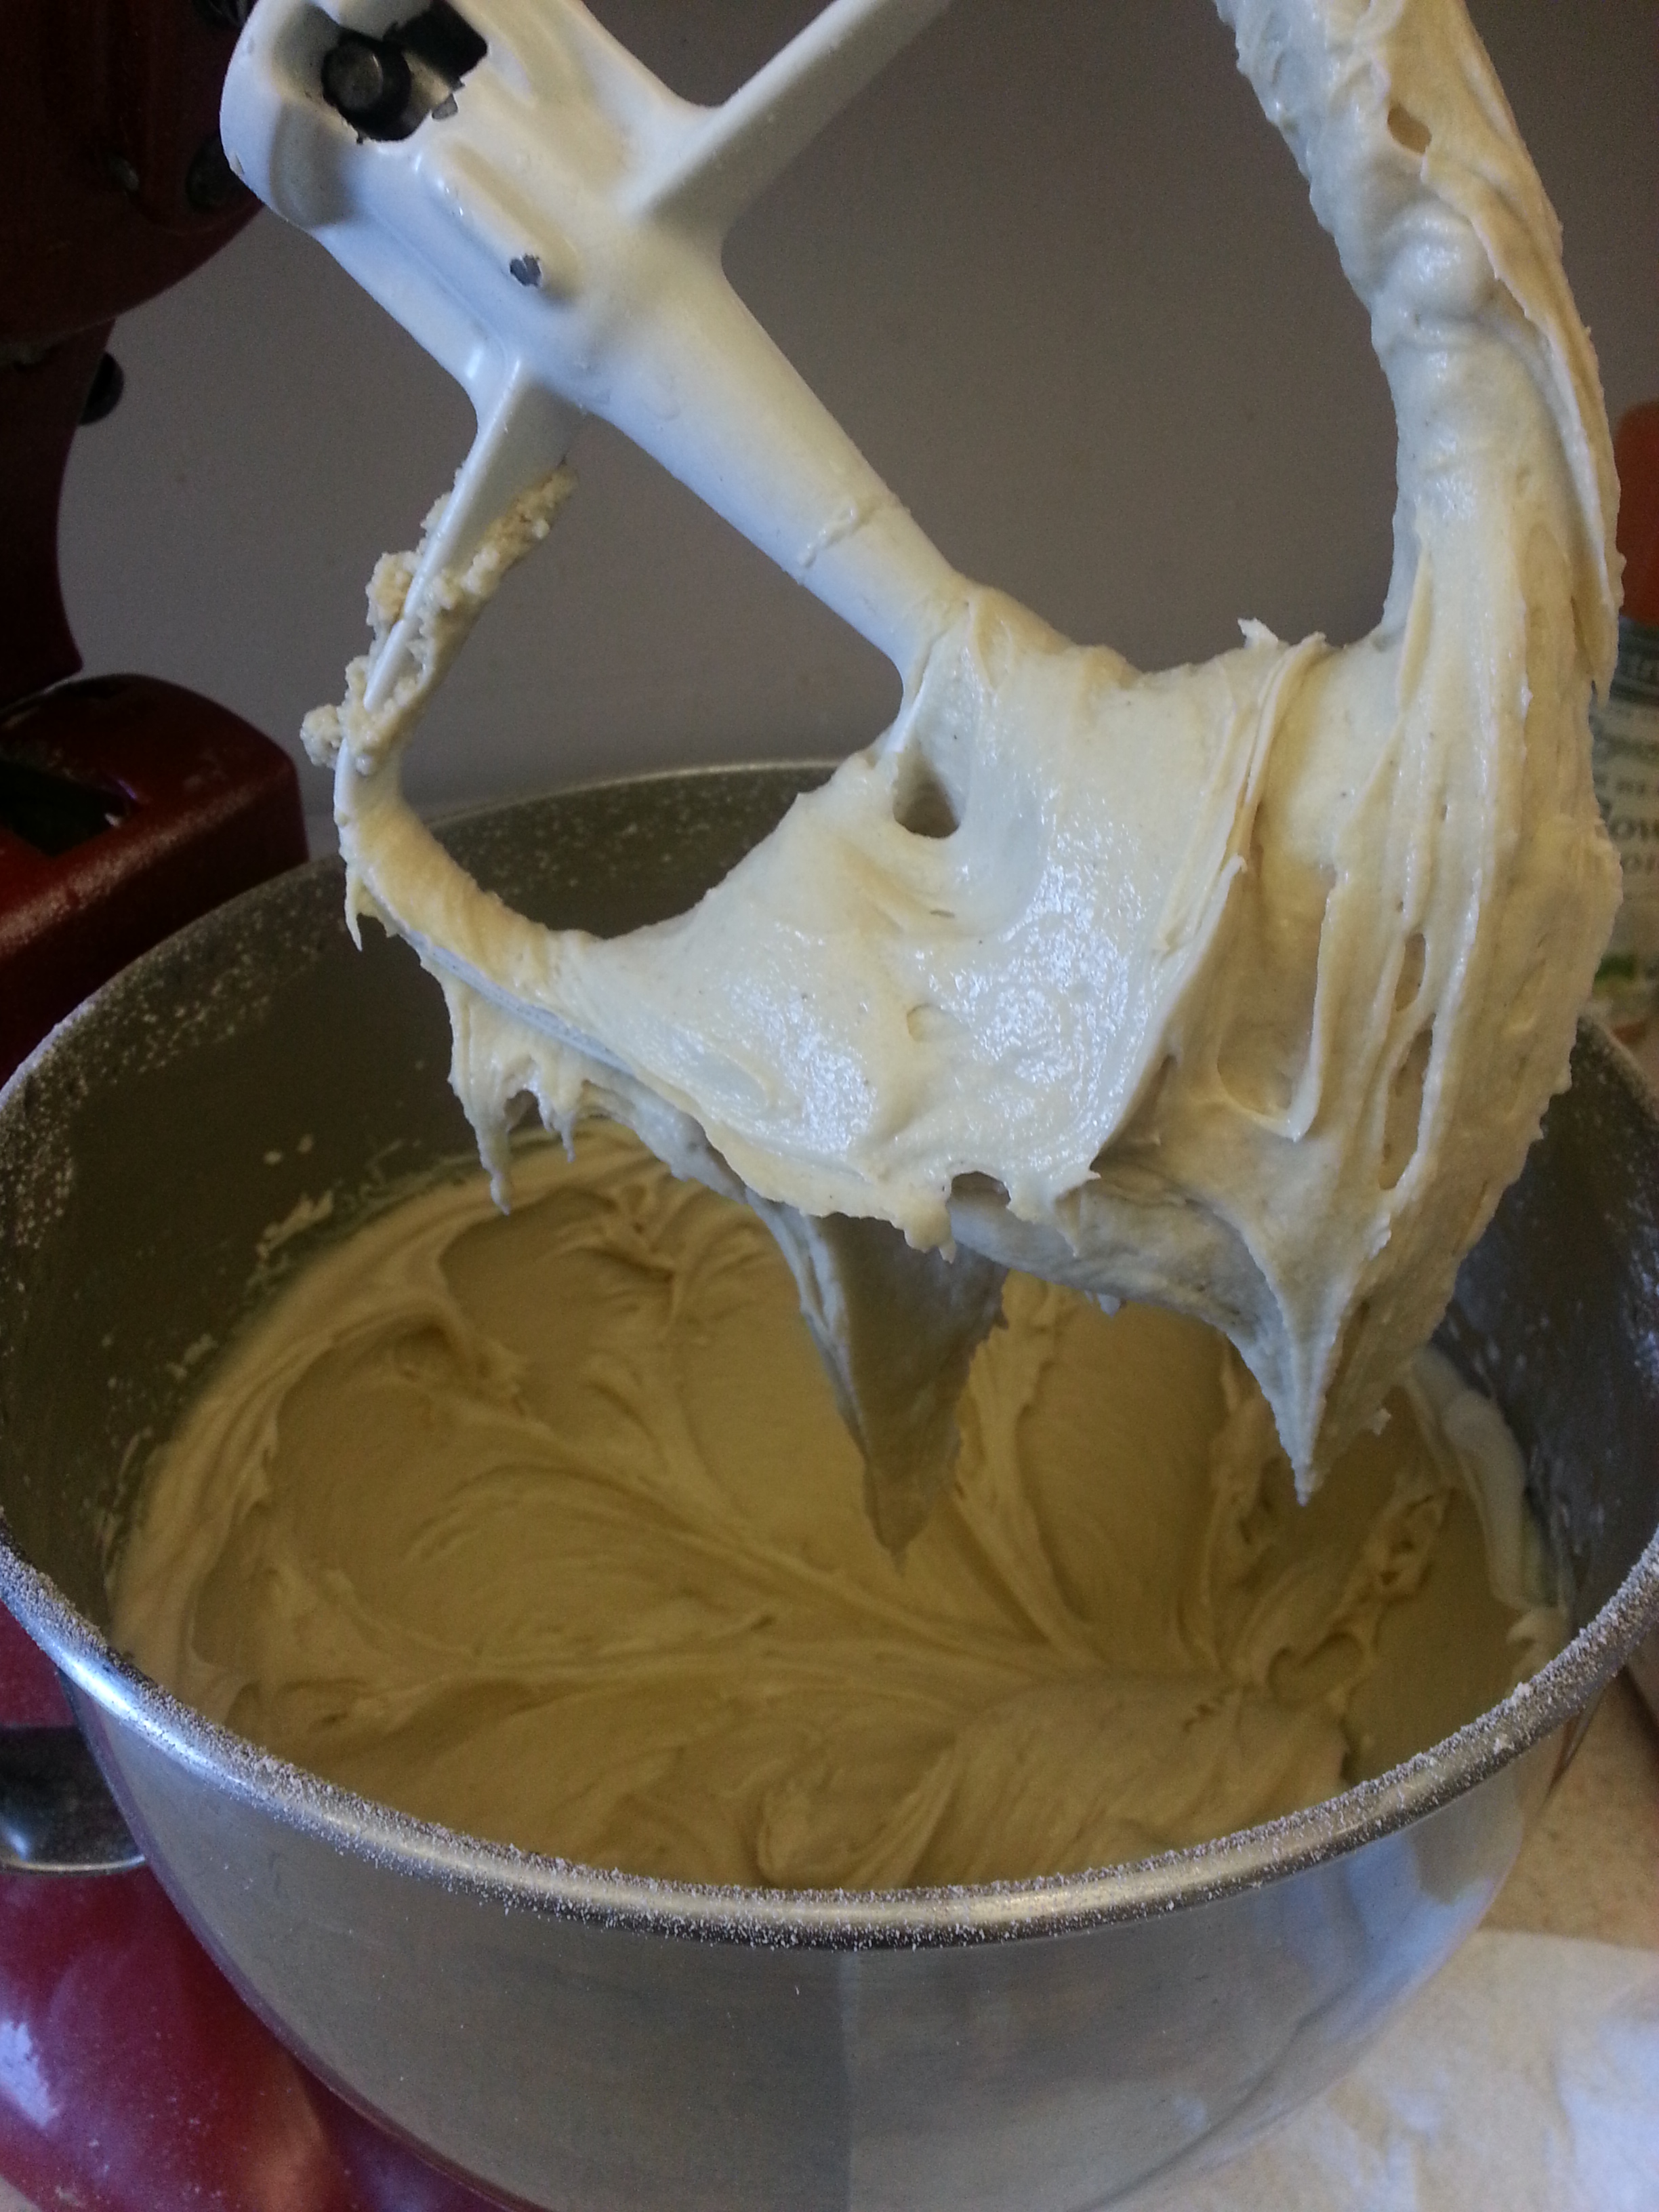
Turn the mixer speed down to low and add flour 1 tbsp. at a time just until the dough begins to pull away from the sides of the bowl. It will still be quite tacky. Use a dough scraper to turn the dough out onto a silpat or lightly floured board, then knead lightly until smooth. Divide it into 12-16 equal pieces, depending on how large you would like the rolls to be. From here, you can either roll the dough into balls OR roll out into thin ropes and form into the traditional pretzel shape.

20131103_08033420131103_08041120131103_080414Set the rolls onto the prepared baking sheet, cover lightly with plastic wrap, and allow them to rise in a warm place for 45 minutes. They will puff up, but will not quite double in size.

Now it’s time for the lye bath. Put on your gloves and safety goggles, and wipe down the surface of your workstation with plain white vinegar. Keep a small glass of vinegar nearby to neutralize any spills of the lye solution.

20130807_115440
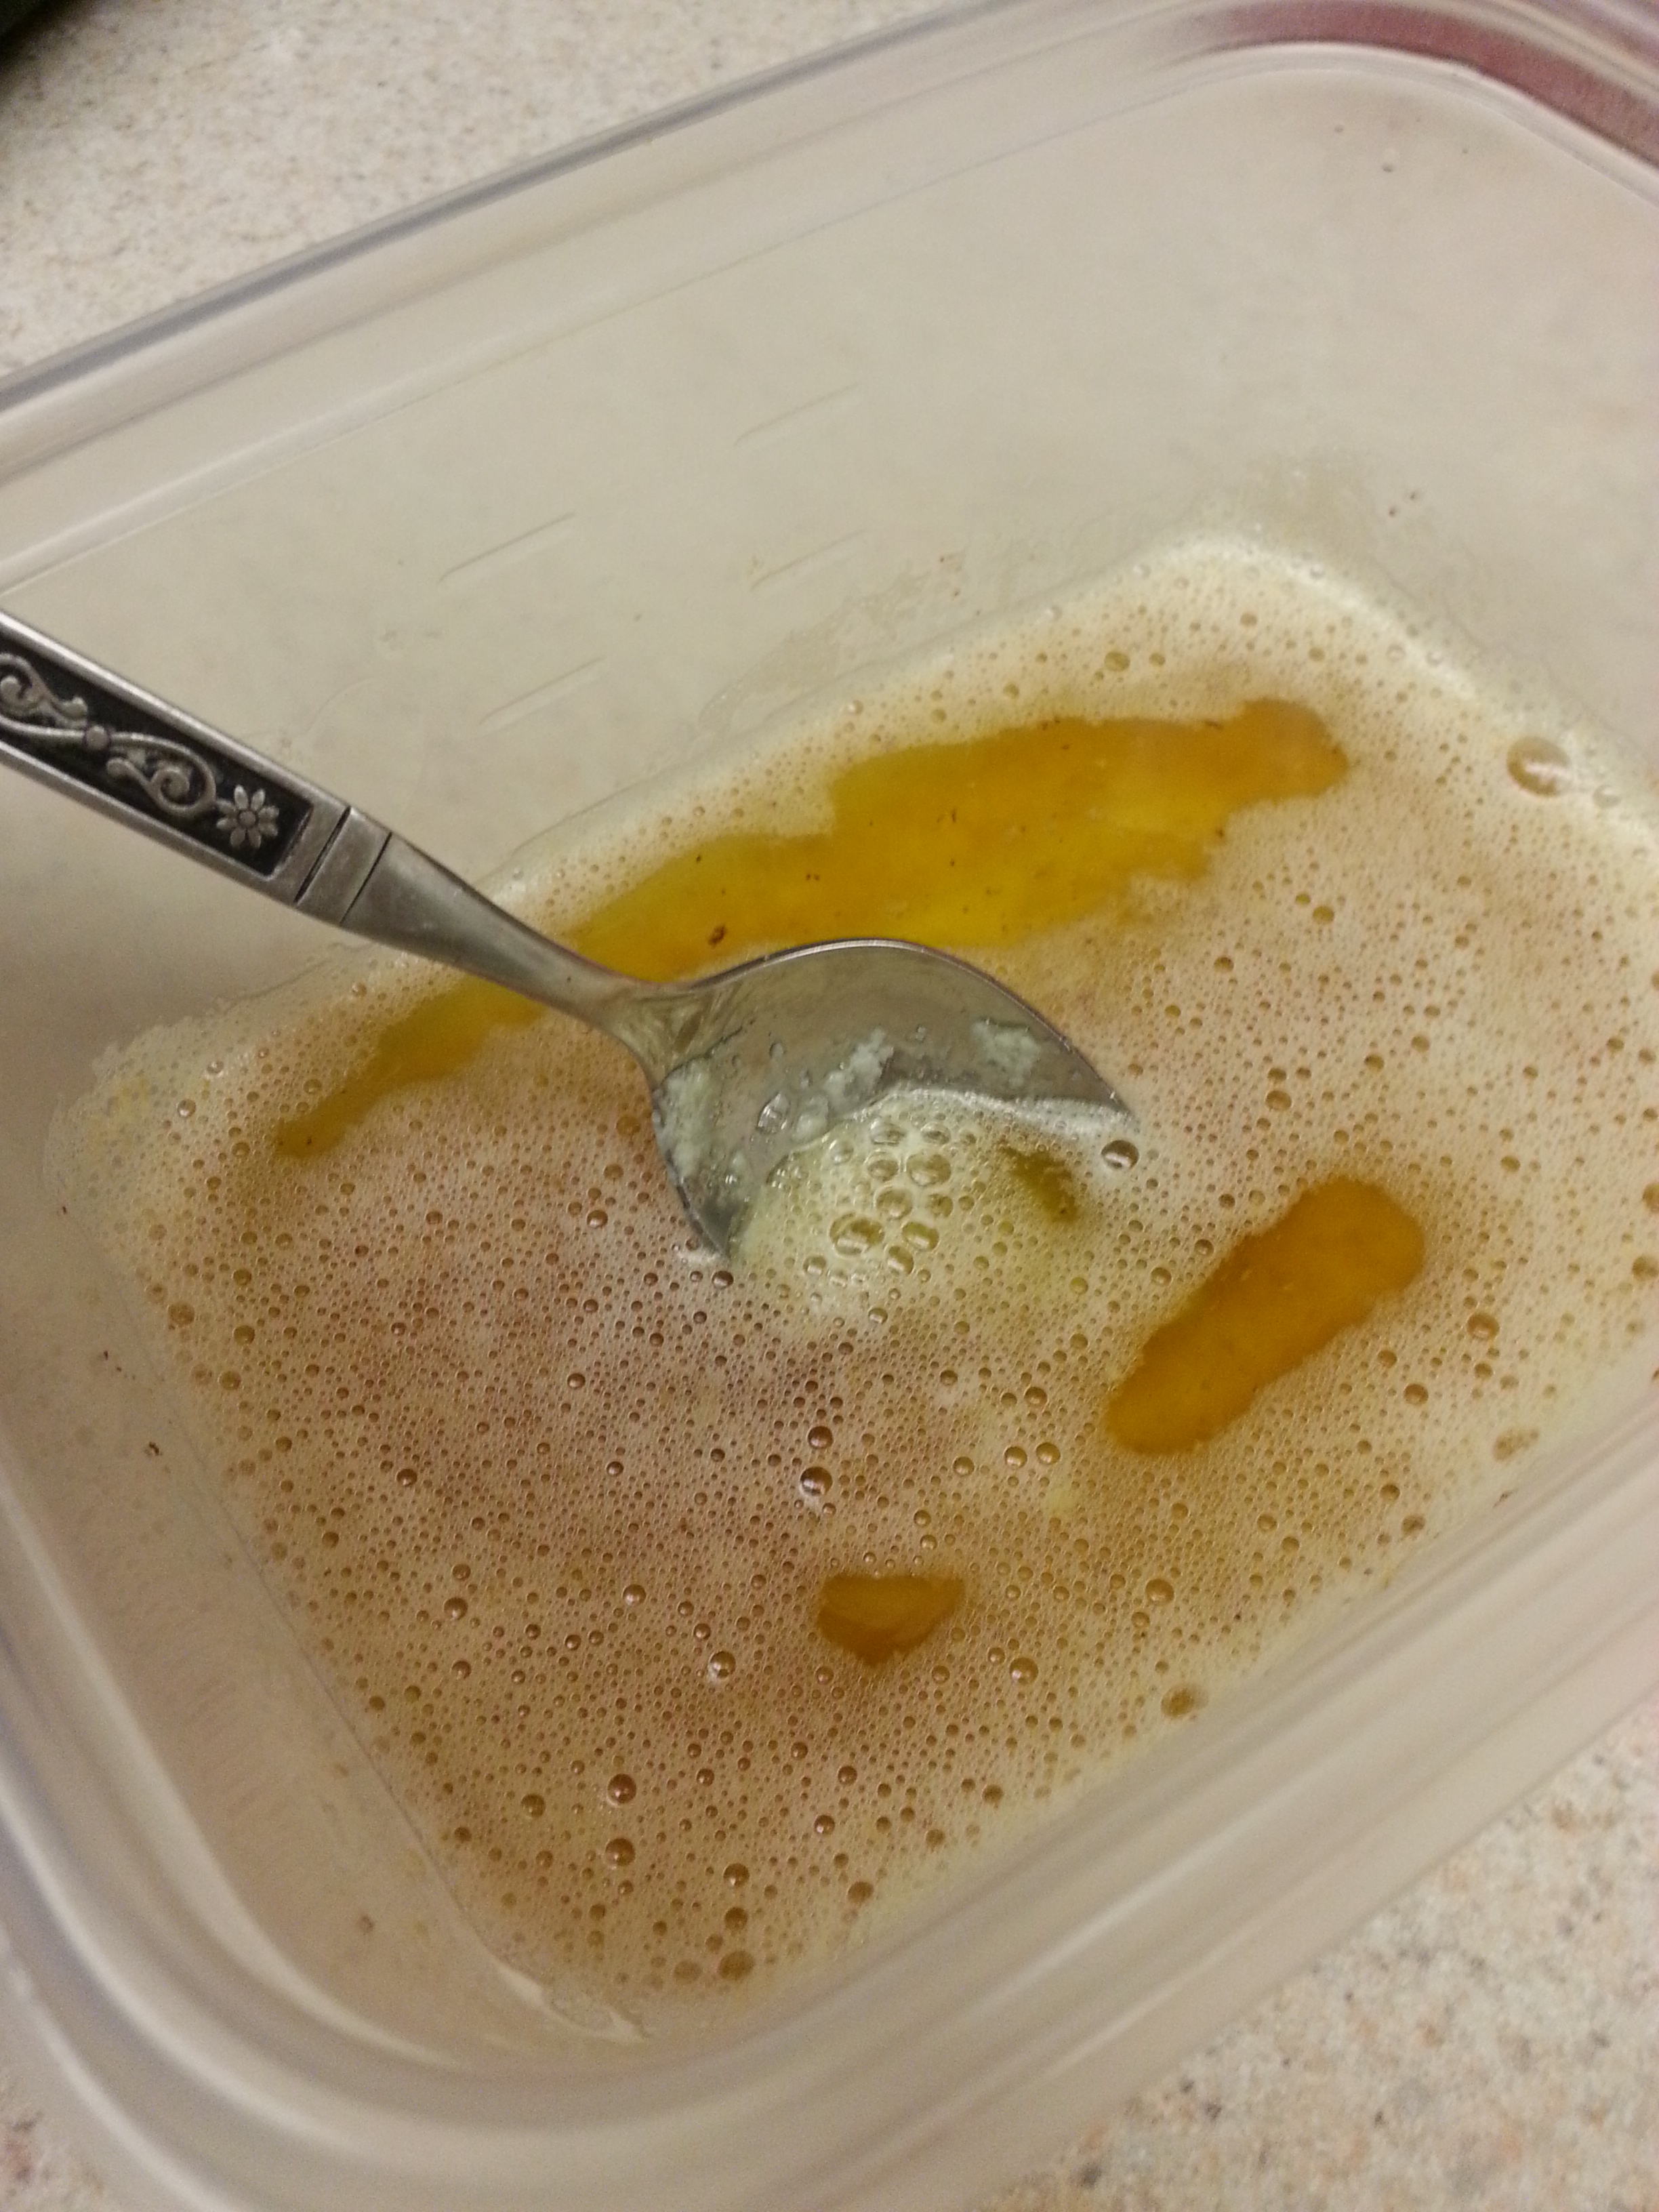
Measure one quart of cool water into a nonreactive saucepan. Slowly add one ounce of food grade lye and stir gently to dissolve. ALWAYS add the lye to the water and not the water to the lye. Doing it the other way around may cause the lye to react and combust.

20130807_131512Dip each pretzel in the lye solution for 30 seconds and then place back on the parchment-lined baking sheet using a slotted spoon. When finished, wipe down any surfaces that may have come into contact with lye with a vinegar soaked rag, and then with warm soap and water.

Sprinkle the pretzels with coarse salt and then let them rest while the oven is preheating.

Preheat the oven to 375 degrees F. Bake the pretzels for 20-30 minutes or until they are a deep golden brown.

20131103_09294320131103_09295220131103_093145 
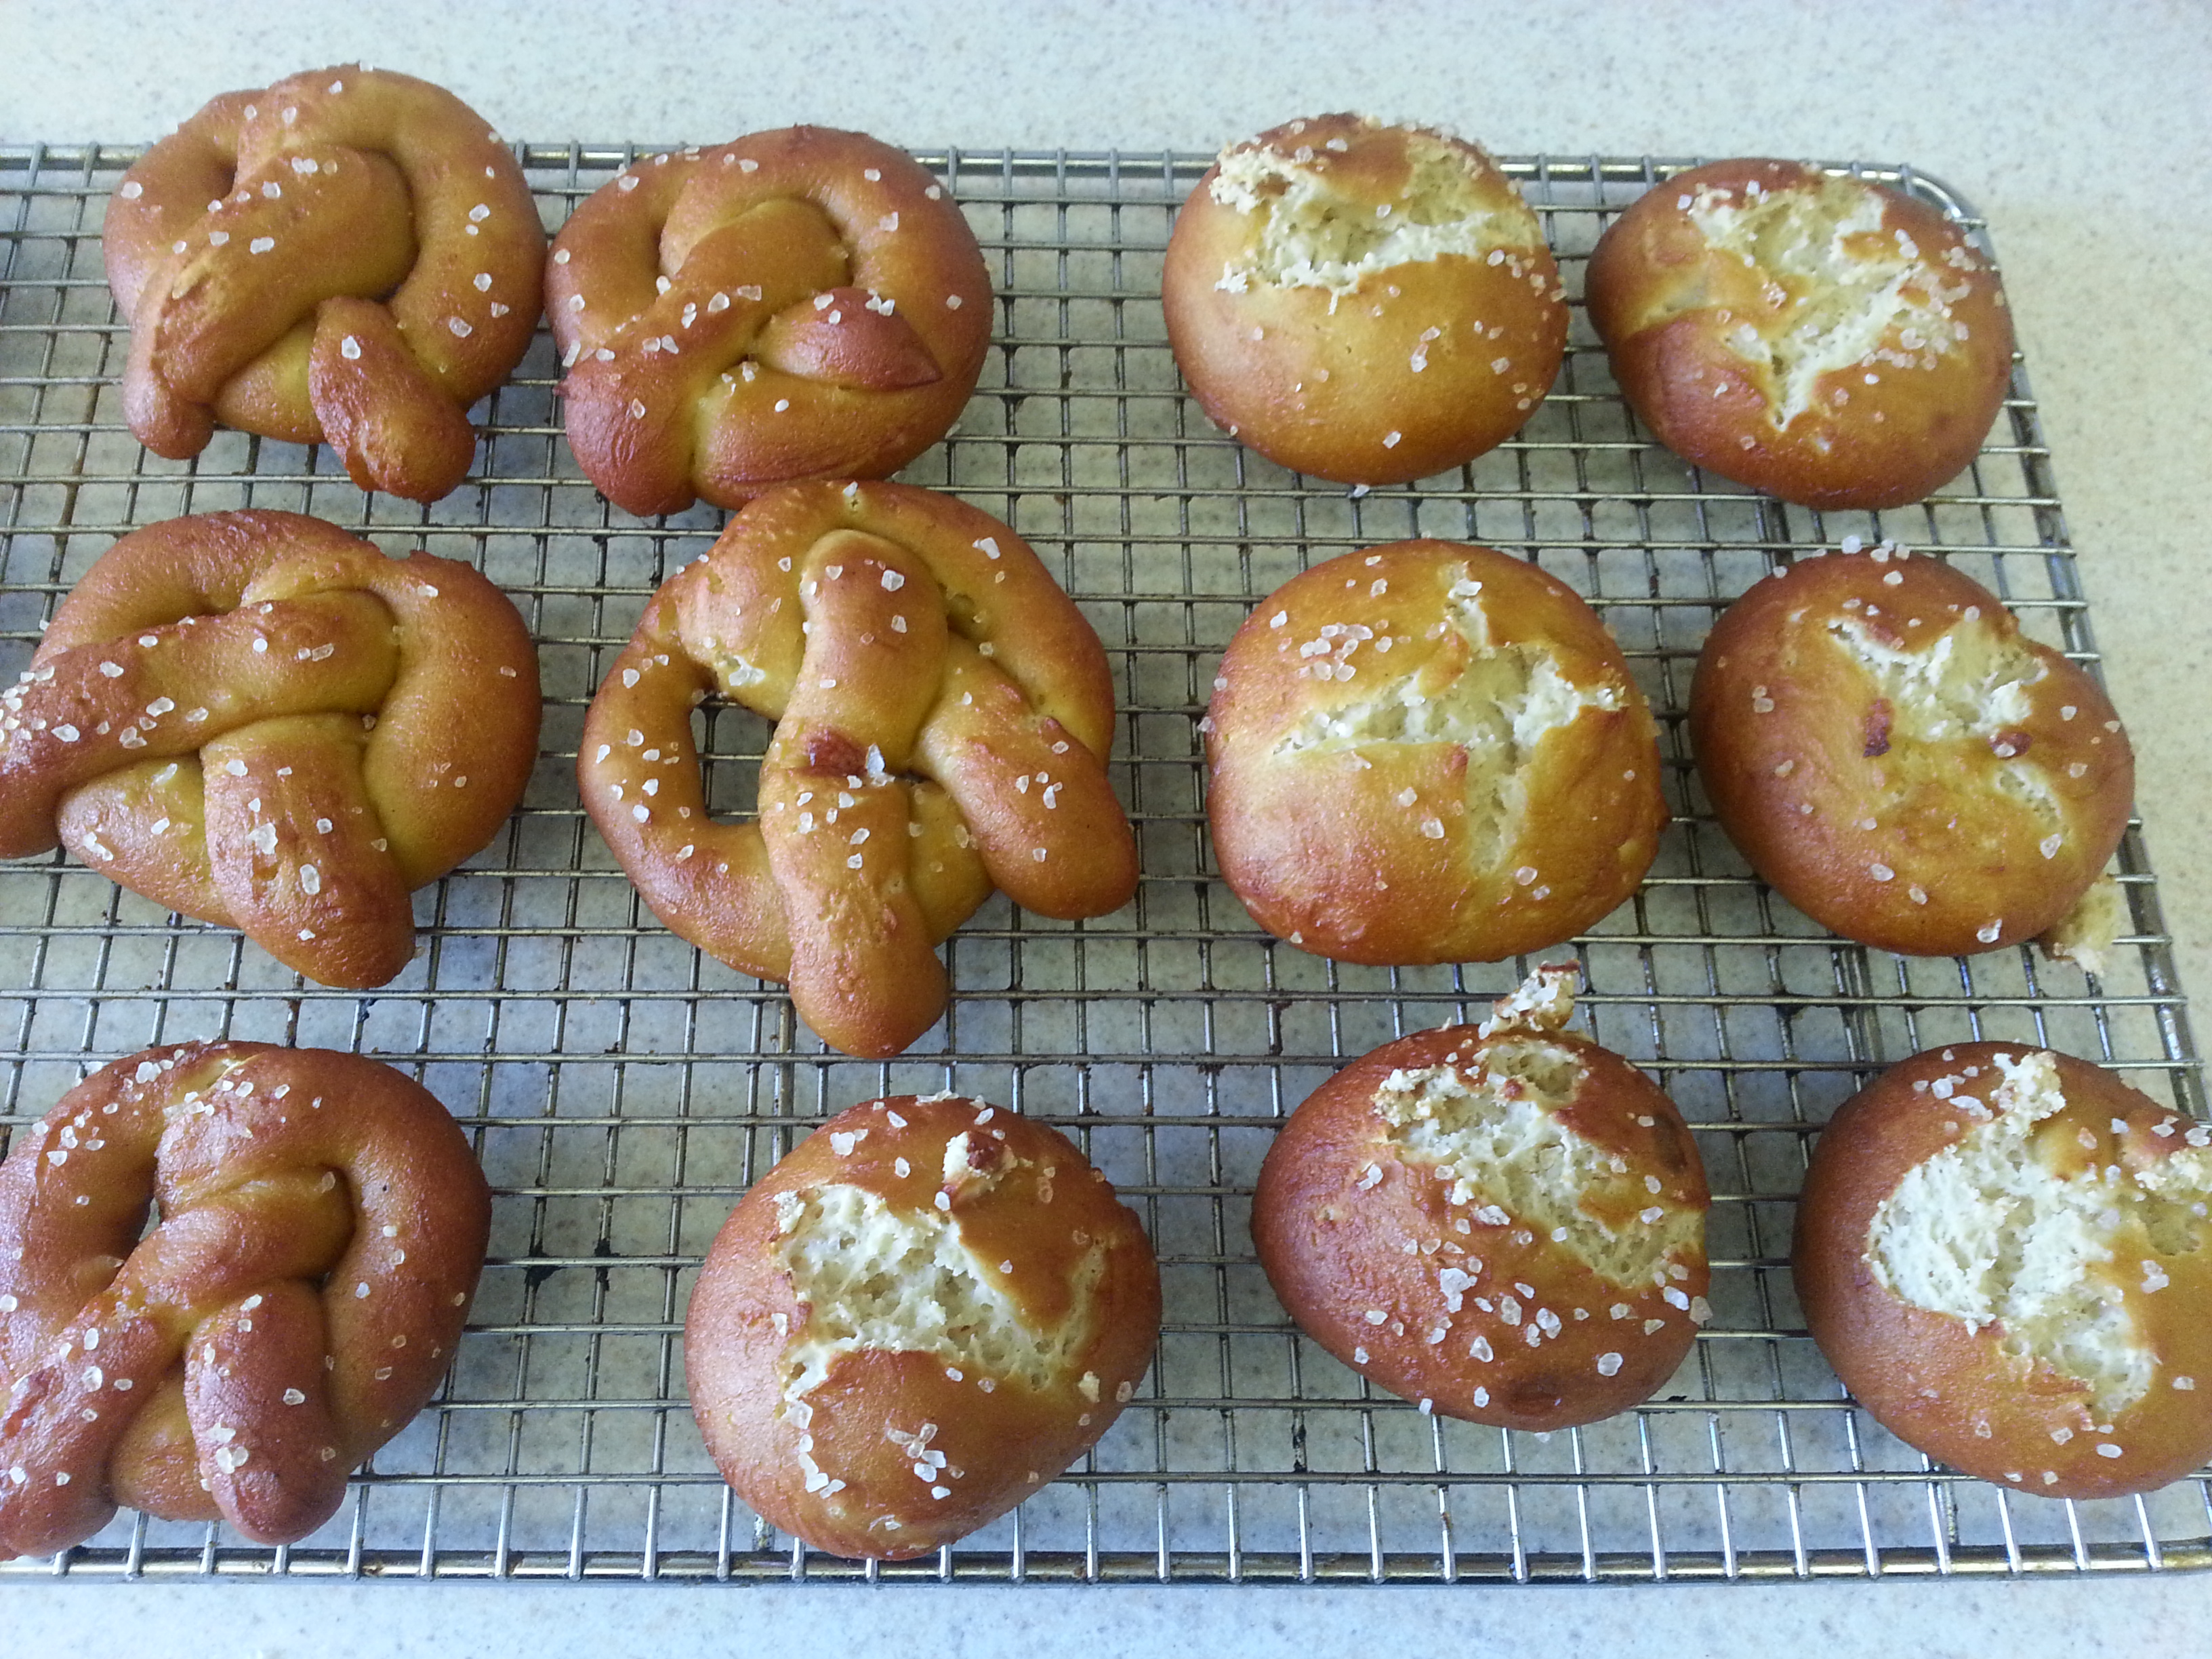
Cool completely on a wire rack prior to storing.

To save pretzels for later enjoyment, wrap individual pretzels in plastic wrap and then put them in a zip-top bag in the refrigerator or freezer. These reheat beautifully in the toaster or toaster oven, so you don’t have to worry about the leftovers going to waste. Perfect for slider-style sandwiches, cheese dip, mustard, or just alongside a cup of coffee, they are a hit out of the park.

So the next time some chain restaurant’s advertisement comes blaring through your television or radio praising their “artisan,” “hand-crafted,” or “revolutionary” pretzel buns… remember that you’ve totally got the power to make them even better.

Ciao for now,

Neen

Back in the Saddle: Nutty Blondes

30 Oct

One of the concepts that I think is the most difficult for me and my ego to accept is the idea that just because I have done something well once does not mean that I will do it well every time I attempt it. At a point, we like to thing we have a particular task mastered, right? Sure, I can reliably get into halasana (plough pose) 99% of the time, but there are some days where my back just says, “NO.” I’m getting better at listening to the mental cues, but they are always humbling. In a way, they are the messengers I dislike the most, and probably the ones I need the most at the same time.

It’s been that way with baking a lot lately. For a long time, baking was just that thing for me that I was reliably “good at.” But with going gluten-free, I’ve spent a lot of time lately feeling like a complete amateur. Every batter and dough is foreign, and every attempt is hopeful scientific experimentation mixed with prayers to the divine forces. This has been frustrating because for the first time in years, I haven’t been able to just wander into the kitchen and start throwing things together. I’ve had to measure and think about it all.

I felt so much resistance to it, because it felt like my sanctuary had been stolen. My ego kept throwing internal temper tantrums, wanting to stray from every recipe and make it my own. But just like learning to cook and bake the first time around, I kept reminding myself that you have to create the solid foundation before you can start playing with the details.

And though my ego still pouted in the corner, I began to feel the joy and excitement of the unknown return to my kitchen endeavors. In letting go of needing to maintain the identity of “a good baker,” I afforded myself the opportunity to really learn from the gluten-free cooking resources I’d gathered. I discovered that (at least so far), I don’t care much for sorghum flour in cookies, millet flour adds the perfect crunch to pizza dough, brown rice pasta dough needs more xanthan gum and some tapioca to give it the right tackiness for rolling, bean flour gives things an odd smell, and that at the end of the day…it’s still all about ratios (Thanks, Michael Ruhlman!).

Last night, I really felt like I was home again. Back in the saddle, just doing what I do. I took a moment and said I brief “thank-you” to the universe, because I know that I have a long way to go. This recipe is a special victory, because it’s the first gluten-free cookie recipe I’ve developed on my own. It’s also the first one I’ve taken a bite of and said, “I could open a bakery tomorrow and sell these.”

Yeah, they’re that good. For those of you reading from the Folger or who donated to me for Warrior Dash, these might sound familiar. The version I made then was full of pecans, coconut, and M&M candies. This version nixes the M&Ms, but only because I didn’t have any on hand and (gasp) wasn’t in the mood for chocolate. I have no doubt they’d be a welcome addition.

Brown Butter Pecan, and Coconut Cookies, aka “Nutty Blondes”

makes 2 dozen cookies

  • 1 ¼ cups Neen’s Gluten-Free Flour Blend for Cookies (recipe below)
  • ½ tsp. xanthan gum
  • ½ tsp. baking soda
  • 1 tsp. cream of tartar
  • ½ tsp. kosher salt
  • ¾ cup sugar
  • 90 grams unsalted butter (about 7 tbsp.)
  • 1 egg
  • 1 tsp. vanilla extract
  • ½ cup pecans, toasted and chopped
  • ½ cup unsweetened shredded coconut, toasted

Neen’s Gluten-Free Flour Blend for Cookies

Makes 9 cups

  • 2 ½ cups finely ground brown rice flour
  • 2 ½ cups super-fine sweet rice flour
  • 2 cups tapioca flour
  • 2 cups potato starch (not potato flour)
  • 1 tbsp. xanthan gum

Combine the flour, cream of tartar, baking soda, salt, xanthan gum, sugar, pecans, and coconut in the bowl of a stand mixer and set aside.

20131029_185542Brown the butter by placing it in a saucepan over medium heat. Stirring frequently, cook the butter until it is amber in color. Then move it to a small bowl and put in the freezer or refrigerator until it is still liquefied, but no longer hot to the touch.

20130906_233809With the mixer running, slowly add the egg, butter, and vanilla extract to the dry ingredients and mix until the batter is clumpy. If it feels dry, you can add a few drops of milk, water or egg white to get the dough to come together.

20131029_190424Scoop the dough out onto a piece of parchment paper and form into a log. Wrap in parchment paper and freeze or refrigerate until firm. I usually freeze the dough for 30 minutes to an hour. If you aren’t feeling particularly patient, you can make these as drop cookies, but the dough freezes exceptionally well. I like to make a bunch of dough logs, freeze them, and have them ready for holiday cookie baking and gift-giving.

20131029_19084920131029_191419Preheat the oven to 350 degrees F.

Slice the chilled dough into ½ in. thick discs and place them on a parchment-lined baking sheet with 1-2 in. of space in between them (they will spread slightly). Bake for 8-10 minutes or until the edges are just beginning to brown. Cool on a wire rack, eat, and share with friends for maximum enjoyment.

20131029_202026SNICKERDOODLES, too???

I thought that this dough would also make for excellent snickerdoodles, and since I was so determined to play, I approached it as I try to approach difficult arm or single-leg balances: If you fall and it’s ugly, at least you learned where the edge is! Fortunately, there was no such disaster and my intuition was right on in this case. To make these into sweet cinnamon-sugar delights, omit the pecans and coconut. In a small bowl, combine 3 tbsp. of sugar with 1 tsp. cinnamon. After freezing and slicing the dough log, toss the discs in the cinnamon sugar mixture and then bake on parchment-lined sheets. Voila! Now you have two distinctly different cookies from one simple method. Oh, the possibilities!

snickerdoodlesAnd suddenly, there it is. That inspiration and charge that sparks through me when I realize that there is something new and delicious to share with the world around me. The stress of “figuring it out” melts away and I remember why I love cooking: it’s a dare and a challenge, it’s a learning experience, it’s a love, and oh yes…

…it’s a joy.

Ciao for now,

Neen

Ask Why

15 Oct

October 10th was World Mental Health Day, a time to raise awareness about the stigma surrounding mental health issues, the serious challenges and problems with mental healthcare affordability and accessibility, and why we can—and should—do better for individuals suffering from conditions than can be debilitating.

The vast majority of the people I have known who suffer from mental illness are afraid to tell those around them. The reasons vary, but it generally boils down to judgment. Will others suddenly begin to treat you with kid gloves? Will they shy away from you? Will they fear that you could blow up or break down at any moment?

Of course, these questions are judgments in their own way. Immediately they judge the individual being told about the problem as someone who does not have the capacity for compassion or understanding. That is just as unfair as being judged over a disease.

About a month and a half ago, I began training to teach yoga. The first weekend was literally life-changing. I’ve honestly been kind of embarrassed at the zealousness I feel when I talk about it outside of the studio. There I am surrounded by a community where my self-consciousness all but disappears. Perhaps it was our teacher’s remark the very first night that our studio classroom was a safe space where there would be no gossip. We began that very evening to put our trust in one another along this journey.

Many people think that yoga is just about the asana practice, but it is so much more. Asana is a component of this science that helps us bridge the gap between what we know and what we understand. On an individual level, each time a breath is taken mindfully, we connect the intellectual and primitive centers of the brain. Yoga is a toolbox that we fill with knowledge of history, philosophy, anatomy, physiology, and ethics, and then take out into the world, hoping that we might share with others. Hoping that by bringing it off of the mat, we will break down the walls that prevent us from acting as witnesses and understanding the true Self. Understanding the commonality that exists between all things, and allowing that to yoke us to everything else that is.

The week after we began our journey together at teacher training, a depressive episode slapped me in the face. It’s always frustrating when it comes out of nowhere. When there’s no specific problem to point to and you’re just depressed, it’s laaaaaaame. There’s not a problem to solve that will achieve the desired result: contentment. I was gritting my teeth thinking of the sheer amount of money I’ve spent on pharmaceutical treatments for depression over the years, how many times I’ve accepted side effects as “tolerable,” and how many times I’ve settled for “okay.” Because okay is better than depressed or manic, right?

My depression. My anger. My frustration.

Then it hit me. Practice aparigraha. The yamas and niyamas are sort of like yoga’s ethical code. I have one of them tattooed on my ankle, the word ahimsa (non-harming). Aparigraha is another of these concepts, and translates to “not grasping,” which is interpreted many ways. Generally I’ve perceived it as not being greedy, not taking from others (or yourself), and not grasping for what is not yours. After all, you already have everything you need when you really think about it.

So why was I so intent on this being mine? My depression. My anger. My frustration. I don’t even want it, so why claim it? Why be greedy and hoard negative thoughts and feelings that do not serve my purpose on this earth. Why let my ego control the game?

A depression. An anger. A frustration.

At that moment, I was looking at these things through a window. We were no longer connected. It was not mine, and it never has been. By changing one tiny possessive pronoun, my whole perspective shifted. Although I felt the lingering of sadness, the ache to hold onto that dark place for comfort and familiarity, it was not mine. That place would not serve me in my quest to love myself and others.

Not a cure per se, but wasn’t this treatment every bit as valuable as the different kinds of medications I’ve been willing to pop into my mouth for the last fifteen years? Why did I consider pharmaceutical treatment the only option for treating a disease of the brain? I truly believe that every doctor who has treated me has been good-hearted. Doctors want to do something to help you. But at the end of the day, my diagnosis was always an educated guess at best. There’s no lab work that shows a quantitative improvement, just a series of vague symptoms entirely told from my own perspective. There are patterns if you look long and hard enough. But there’s no hard and fast way to label it. This isn’t me being all, “Down with medication!!!” because it’s a genuinely valuable tool. There are times in my life that it probably saved me from going down a dangerous path.

But it is just that—a tool. It is not a cure.

I simply realized that it wasn’t the right tool for me anymore. It was right a few years ago, but I am not the same and neither is the condition.

And so, standing in the MOMs getting brown rice from the bulk bin, I froze. My head understood something that my heart had been repeating over and over again:

This is not yours. You do not have to keep it. You do not need to keep it.

I did not flush my medication down the drain, but waited for my regular quarterly check-up with the doctor and told her how I felt. I expected resistance; after all, she has guided my medical treatment for five years. But she embraced my perspective and gave me the confidence and a reasonable pathway to slowly taper away from pharmaceutical treatment. We made our plan to follow up in four months and I left her office feeling a sense of independence. I had advocated for myself as a patient, and felt like I was on a path that’s right for where I am today, and not where I was four, eight, or fifteen years ago when I was first diagnosed with depression.

Again, I want to make it really clear that I’m not anti-medication in any sense. My point is this: Ask why. If you’re doing something and it’s not working, ask why you’re settling for that. Maybe it’s because a thousand other things are crowding your schedule / life and you don’t have time or energy to deal with that one dissatisfaction (for now), maybe you’re afraid because change could be worse than something that works half-way, or maybe you think that you haven’t given it a fair shot and want to see where it can take you long-term. Whatever it is, it’s worth a few moments of meditation, a few pages of journaling, and asking yourself honest questions. The answer might not be an “a-ha” moment, and it probably won’t come right away. That’s OKAY. Just observe it, and let yourself be where you are.

You are smarter, more resilient, and stronger than you believe.

You already have all of the best parts of yourself.

The littlest perspective changes can make a huge difference: “I can’t” becomes “I am currently unable to…,” or “I’m not there…yet.” There is always the capacity for positive change. As much as the source is silly (an old Nike ad), they got it right:

“All your life you are told the things you cannot do. All your life they will say you’re not good enough or strong enough or talented enough; they will say you’re the wrong height or the wrong weight or the wrong type to play this or be this or achieve this. THEY WILL TELL YOU NO, a thousand times no, until all the no’s become meaningless. All your life they will tell you no, quite firmly and very quickly. AND YOU WILL TELL THEM YES.”

Open your heart to possibility, realizing that change is available, it is not linear (ups and downs are a fact), and overcoming the fear is probably the most difficult part. Don’t stop asking questions. Don’t stop learning.

Ask why.

And then listen…really listen for what comes up.

Ciao for now,

Neen

Lessons in Problem Solving: Chocolate-Caramel Tart revisited

20 Sep

I recently went gluten-free. Yes, I’ll still be baking with wheat to share recipes with you on the blog, but for my own purposes, eliminating gluten from my diet has done a world of good. The benefits have been pretty staggering, and I’ve finally stopped feeling like “I’m just doing this because it’s the trendy thing.” Even under the advice of a doctor, I thought, “This is stupid.” I don’t have a wheat allergy, I don’t have celiac, how could a mild intolerance be an actual problem?  My brother was once given a pair of shoes for an opera performance and they were far too small. The costumer’s response? “Suffer for art!!” And cooking is my art, after all.

But the hemo-doc thinks it could have an effect on my iron levels, so I decided to be a compliant patient.

I was initially annoyed, and then decided to see the situation as an opportunity. I would try new foods, post new recipes, and just…play in the kitchen. My only rule was to avoid the gluten-free baking mixes or specialty pre-packaged cookies. The last thing I wanted was to incorporate a lot of potato and cornstarch into my diet instead of using more whole grains in general. After a few days of perusing and one or two brief experiments…something magical happened.

What would you think if I told you that I could make the best candy bar in the world without a drop of flour, butter, or refined sweetener? Perhaps you might run screaming in the other direction, but then you wouldn’t get any and that would be very, very sad. Because it is literally one of the best tarts I have ever made. It may even trump the Nutella tart. This is basically my favorite candy bar turned into a pastry that will truly knock your socks off. Caramel, chocolate, and nuts…what’s not to like? I must be on to something, because it disappeared before my eyes when shared with friends.

Date-Almond Butter Caramel and Chocolate Tart

For the crust:

  • 1 ½ cups finely ground almonds
  • ½ cup toasted, shredded, unsweetened coconut
  • 2 tbsp. grade b maple syrup
  • 2 tbsp. coconut oil, melted
  • Pinch of salt

For the caramel filling:

  • 10 medjool dates, pitted and soaked in warm water for 30 minutes
  • 6 tbsp. almond butter
  • 6 tbsp. grade b maple syrup
  • 4 tbsp. coconut oil
  • 1 tsp. vanilla extract
  • Pinch of salt

For the chocolate ganache

  • 4 oz. unsweetened chocolate
  • 1/3 cup light or regular coconut milk
  • Grade b maple syrup to taste (I used a 4-5 tablespoons)

Preheat the oven to 350 degrees.

Combine the dry ingredients for the crust in a food processor and blend well.

20130919_171346[1]Mix together the coconut oil and maple syrup and then drizzle into the dry ingredients. Pulse this mixture until it begins to clump.

20130919_171358[1]20130919_171448[1]Press the crust into the bottom of a greased 9 or 10 in. tart pan with a removable bottom. Bake for 14 minutes or until golden brown and fragrant.

20130919_171729[1]20130919_173215[1]Cool the crust completely on a wire rack. I usually just refrigerate it for 20 minutes or so.

Prepare the caramel by combining the almond butter, maple syrup, coconut oil, vanilla and salt in a food processor and blend well.

20130919_172624[1]Add the drained, soaked dates and process until smooth. It may take a  few minutes.

20130919_174943[1]For the ganache, chop the chocolate and place it in a small bowl.

20130919_174301[1]Heat the coconut milk until it simmers, and then pour it over the chocolate. Allow it to sit for 5 minutes and then whisk until smooth.

20130919_175652[1]20130919_180016[1]Assemble the tart by spreading the caramel into the crust in an even layer.

20130919_174927[1]Refrigerate for a half hour or until the caramel begins to firm up. It will still be sticky, but it should be cool. Drizzle the chocolate ganache on top and voila! Scrumptious, candy-like tart.

20130920_052754[1]And there you have it, a delicious surprise that you can share with all of your gluten-free, vegan, or paleo friends. Nothing fake, no special ingredients, just good stuff that happens to be pretty good for you. Sort of. 😉

This whole experience has reminded me of the importance of creativity and ingenuity. I was so thankful once I began looking at the situation it through a different lens, and even though I know there’s nothing that will stop me from baking bread or craving pizza every so often, I can accept that by remembering that I can always cook, have a taste, and share with others. What an energizing lesson!

Ciao for now,

Neen

Share the Love: Breakfast Cake

12 Sep

A former colleague of my husband’s once said to him that it was foolish of me to bake for my coworkers so often. She claimed that my colleagues would not take me seriously. They would see me as nurturing, mothering, and not as an asset to the company itself. Not a professional.

Huh.

I thought that was some managerial psycho-babble right there. What’s the point of being an asset and doing your best work if you aren’t good to the people around you? What kind of feelings do you build up in your life? What kind of environment do you create if you aren’t welcoming?

Still, that idea struck me when I got laid off earlier this year. Maybe she was right. All summer, I wondered what I would do when I finally found a new job. I fretted over the idea of not being taken seriously. Even though I consider the blog a fine example of my writing skills, I considered removing it from my resume and LinkedIn profile.

Then I thought of the butter tarts and the Nanaimo bars that gave one colleague memories of home. The Happy Camper and FRACAS where I got to share my favorite things with the whole staff. The boerewors I made for my former boss when he couldn’t find it anywhere in DC.  The cider doughnuts I got up early to fry at least once each fall when suddenly DC turned crisp, orange, and gold. The multitude of morning coffees shared with people reaching into the infamous “Giant Cookie Jar,” and leaving with a smile and a thank-you.

I decided then and there that I would embrace my whole self. Wherever I ended up, I’d work hard to be a productive and driven member of the team, AND continue to share what I love.

What is one of the first things we learn in preschool and kindergarten? Sharing. Our smallest selves are taught that if we share with one another, the community as a whole benefits. It’s an enormous ripple effect; joy multiplies when we share. Sharing bonds us and can bring groups together that might otherwise never communicate. It teaches us to think beyond our own personal existence and consider our place as a citizen of the planet.

In other words, sharing is really important. And if it isn’t considered a professional asset to be willing to share (whether it be knowledge, caring, office supplies, time…), then I think we need a serious change of culture.

I did find a new job. In fact, of the 60ish I applied for, I interviewed for, and got the one I wanted the most. And during my first week at the office, an invitation went out for an in-office bridal shower. The party planner happened to be in my office and was discussing the expense involved in buying cupcakes for the party.

“How many do you need?”

And so it began. Inspired by my family’s favorite birthday cakes, I made four varieties that I knew would bring an extra shot of delicious to a celebration. And a tart too, so as to not leave our gluten-free and vegan friends hungry.

A version of Lynn’s Triple Coconut Cake all filled up with tangy lime curd…

coconut cakeRoger’s two joys in one; a red wine chocolate cake enrobed in bittersweet chocolate ganache…

chocolateJoe’s sunny lemon cake with blueberry filling, lemon cream cheese frosting, and candied lemon peel…

lemon cakeA rather decadent chocolate-coconut-macadamia tart with an almond-coconut crust that was both gluten-free and vegan…

tartAnd a tribute to my love of all things breakfast, this little number…

“Breakfast in Bed,” or Brown Butter Cake with Maple Buttercream and Praline Bacon

  • 3 cups sifted cake flour
  • 3 1/2 tsp.  baking powder
  • 1/2 tsp. salt
  • ½ tsp. cinnamon
  • 6 oz. unsalted butter
  • 1 1/3 cups sugar
  • 6 large egg yolks
  • 1 cup cultured buttermilk
  • 2 tsp.  pure vanilla extract

First, melt the butter and allow it to brown lightly. Then return it to a small container and refrigerate until it has re-solidified completely. Do not skip re-solidifying! Adding melted butter to the cake batter will make for a very dense, sunken cake.

20130906_23380920130907_081156Preheat oven to 350 degrees F and butter and flour two 12-well cupcake tins (or use paper liners).

In a bowl, sift together the flour, baking powder, salt, and cinnamon.

In the bowl of a stand mixer, or using a hand mixer, cream the butter and sugar together until they are smooth and fluffy. Then add the egg yolks one at a time, beating well between each addition. Stir in the vanilla extract.

20130907_08162820130907_081724With the mixer on low speed, alternately add the flour mixture (in three additions), and milk (in two additions), beginning and ending with the flour.

20130907_082050Evenly divide the batter between the prepared pans, and then tap the pans gently on a counter to remove excess air bubbles.

20130907_082457Bake 23 to 25 minutes or until they are golden on top, and a slightly darker golden brown at the edges. They’ll have wonderfully crispy edges a la the pancakes at the ultimate palace of flapjacks, Pamela’s. Do not argue with me about Pamela’s pancake supremacy, you will not win. Important note: These do not rise a lot–they will not have high domes. The cake is still fluffy and moist inside, I assure you. If you really want the extra lift, you can add another tsp. of baking powder.

Place the cakes on a wire rack to cool in the pans for about 10 minutes, and then remove from the pan and allow them to cool completely before frosting.

Maple Buttercream

  • 8 oz. unsalted butter, at room temperature
  • 3/4 cup powdered sugar
  • 1 cup maple syrup
  • 2 tsp. vanilla extract
  • 1/4 tsp. kosher salt

To prepare the buttercream, combine all of the ingredients in a mixer on low speed until they are combined, and then beat on medium-high speed using a whisk attachment until creamy and fluffy. It will take 5-7 minutes.

20130908_08343220130908_084715Praline Bacon

  • 1 lb. sliced bacon
  • 1/3 cup dark brown sugar
  • 1 ½ oz. pecans, toasted and ground

Preheat the oven to 400 degrees F.

Arrange the bacon in a single layer on a wire rack set over a baking sheet lined with aluminum foil. Bake the bacon for 20-30 minutes, or until it begins to brown.

Mix together the brown sugar and toasted pecans.

20130908_085332Remove the bacon from the oven and sprinkle the brown sugar / pecan mixture on the slices, pressing down lightly to make it adhere. Return the bacon to the oven and cook until crisp, about another 10 minutes.

20130908_08535220130908_091416Allow the bacon to cool completely before breaking into small pieces.

Finally, assemble the cupcakes. Pipe or spread the maple buttercream onto the cupcakes and sprinkle on the candied bacon.

20130908_094153It really is like eating pancakes with maple syrup and bacon…only better!

The cupcakes went over very well at the party, and the best part is that sharing them helped me get to know my new coworkers better.

So what if people think you’re nurturing? The way I see it, if that’s the most negative thing someone can think of to say about you…you’re doing a pretty okay job on planet earth.

Ciao for now,

Neen

Reclaiming Picnic Fare: Hot Dogs

13 Aug

Anytime I attend a barbecue or a sporting event and someone is grilling hot dogs, there are inevitably one or two people who mention that they don’t eat them. It’s not because of vegetarianism or taste, “I’m just grossed out by what might be in there.”

Fair enough. Hot dogs are, after all, a meat emulsion. And if some cheap processor was feeling Sweeney Todd enough, he or she could put pretty much any part of the cow or pig into the sausage without the customer being much the wiser. And the sad fact is that even when the meat is of decent quality, processors often use a significant amount of filler. Consider that 3 oz. of short rib meat (separable lean) contains 26 grams of protein, and then look at a package of decent quality kosher beef hot dogs. Most are 2 oz., yet contain only between 6-10 grams of protein. What that tells me is that I’m eating mostly fat and filler…and we can do better, don’t you think?

Since Labor Day is coming up and it’s the perfect moment for a picnic, let’s rescue the humble hot dog and make it a sausage you’re proud to serve your guests. Plus, you’ll be the best friend of pregnant women everywhere who have been banned from eating pre-packaged hot dogs due to the risk of listeria and other bacteria.

The secret to hot dogs, as with most sausages, is getting the right ratio of meat to fat. Fortunately the cow in all of its glory has a cut that achieves this balance perfectly (and inexpensively in most cases): The short rib. And don’t discard the bones! They make excellent beef stock.

All Beef Hot Dogs

Adapted from Charcuterie, by Michael Ruhlman and Brian Polcyn

  • 2 ½ lbs. beef short rib meat (you’ll need about 4 lbs. of short ribs to get this amount), diced and chilled
  • ½ oz.  kosher salt
  • 1 tsp. pink curing salt
  • 1 cup ice water
  • 1 tbsp. dry mustard powder
  • 2 tsp. smoked paprika
  • 1 tsp. toasted ground coriander
  • ½ tsp. white pepper
  • 1 tbsp. finely minced garlic
  • 2 tbsp. light corn syrup
  • About 5 ft. worth of sheep casings, soaked in lukewarm water for at least a half hour

Begin by grinding the meat using the smallest dye you have.

Mix the ground meat with the salt, pink salt, and water, then mix by hand to distribute the salts throughout the meat. Cover and refrigerate this mixture for 24-48 hours.

Add the mustard powder, smoked paprika, coriander, white pepper, garlic, and corn syrup to the beef and salt, and mix well.

20130713_130519Spread the meat mixture onto a baking sheet in one even layer. Freeze for a half hour, or until the meat is stiff but not frozen solid.

20130713_130515Regrind the mixture and again spread it onto a baking sheet and freeze until the meat is stiff, about a half hour.

20130713_131252Now it’s time to process the mixture into a uniform paste. The most important part of this step is to not let the meat get too warm. I processed this amount of meat in two batches; use brief pulses until a smooth consistency is reached.

20130713_134903Find the opening at the end of the casing and rinse through with cool water. To stuff the sausages, I used the attachment for my mixer with the smallest tube (5/8 in.). Grease the tube with a small amount of oil and shimmy on the casing. Tie off the end and have a sterilized pin nearby to prick out any air bubbles or pockets that form during stuffing. For a detailed, photographic tutorial of sausage stuffing, see my earlier post on how to make boerewors.

Feed the hot dog mixture slowly into the casings, taking care not to overstuff. Go slowly enough to ensure even thickness throughout. Once you’ve filled the casing, go back and smooth out the rope of sausage, check for evenness, and twist into 6 in. links. How many links you get will depend on the diameter of the casing and the thickness of the sausage. Prick the casings all over with the pin.

20130713_143353Let’s get smooooooookin’! I used applewood chips in my stovetop smoker and hot smoked the hot dogs until they reached an internal temperature of 150 degrees. While the hot dogs are smoking, prepare an ice bath large enough to chill the whole batch. Once they have reached 150 degrees, move the hot dogs directly to the ice bath and chill completely. This step helps finalize that characteristic hot dog texture on the inside and gives the casing that nice *snap* when you bite into it.

I store hot dogs in vacuum sealed bags, but well-wrapped in wax paper they will last in the refrigerator for about a week. They also freeze well, but thaw completely before broiling, simmering, or grilling.

20130714_083339Joe and I are purists when it comes to hot dogs. We usually forgo the buns altogether and eat these with a few squirts of good old Heinz ketchup. Every once in a while though, I go full ballpark: Steamed bun, finely diced blanched onion, pickle relish, and mustard. Yum.

Oh, and fellow DC / NoVA residents…want a half-smoke? Simply replace half of the short rib meat with diced pork shoulder and amp up the spices with some chili powder, cayenne pepper, and hot paprika. You’ll feel like you’re on U Street or at Nationals Park in no time.

Be the genius at your Labor Day picnic when you say, “I’ll bring the hot dogs!” When friends get a taste of that perfectly emulsified sausage full of rich short rib meat, spices, and smoky flavor, they won’t be able to resist having one…or three. Plus, your well-fed guests receive a heap of protein and iron, making you a culinary hero all around.

Ciao for now,

Neen