Archive | Recipes RSS feed for this section

My Best Friend’s Favorite: Tea Cakes

25 Aug

If you ask people in different countries what a tea cake is, you are likely to receive surprisingly different answers. In England, it is a yeast-risen bun typically studded with dried fruit and generally served split and toasted. But if you ask for one in Scotland, you might receive a chocolate coated Italian meringue set on top of a biscuit. The Swedes’ tea cakes are lightly sweetened yeast breads often served with butter and jam or cheese, and Australia’s version is a heavy sponge cake served warm as an accompaniment to a cup of tea.

And then there are the tea cakes of the American southeast. Though the history is somewhat muddled, they are said to have originated in the rural south by slaves who used meager rations of simple ingredients to make the unpretentious pastry. These were a sort of rustic version of the delicate pastries served by affluent white women entertaining visitors. They are something of a cross between a scone and a cookie, and are thick, tender, and lightly sweet.

They are also beloved by my dear Joe. He doesn’t have the same insatiable sweet tooth that I do, so when he comes back for seconds of a baked good, I know it must be special. He especially enjoys them as a breakfast treat and has remarked on several occasions that they are his new favorite thing I make.

While the traditional tea cake is served plain, I like to finish mine with just a little bit of vanilla-almond buttercream for extra sweetness and flavor. These soft, wonderful treats are easy to make, take very few ingredients, and can be done quite quickly. That’s especially nice when you want to whip up something special for your sweetheart. So let’s get to sharing…

Tea Cakes

  • 4 oz. (8 tbsp.) unsalted butter, room temperature
  • ½ cup granulated sugar
  • 3 eggs, room temperature
  • 1 tsp. vanilla extract
  • 2 ¼ cups all-purpose flour
  • 2 tsp. baking powder (aluminum-free if possible)
  • ½ tsp. kosher salt

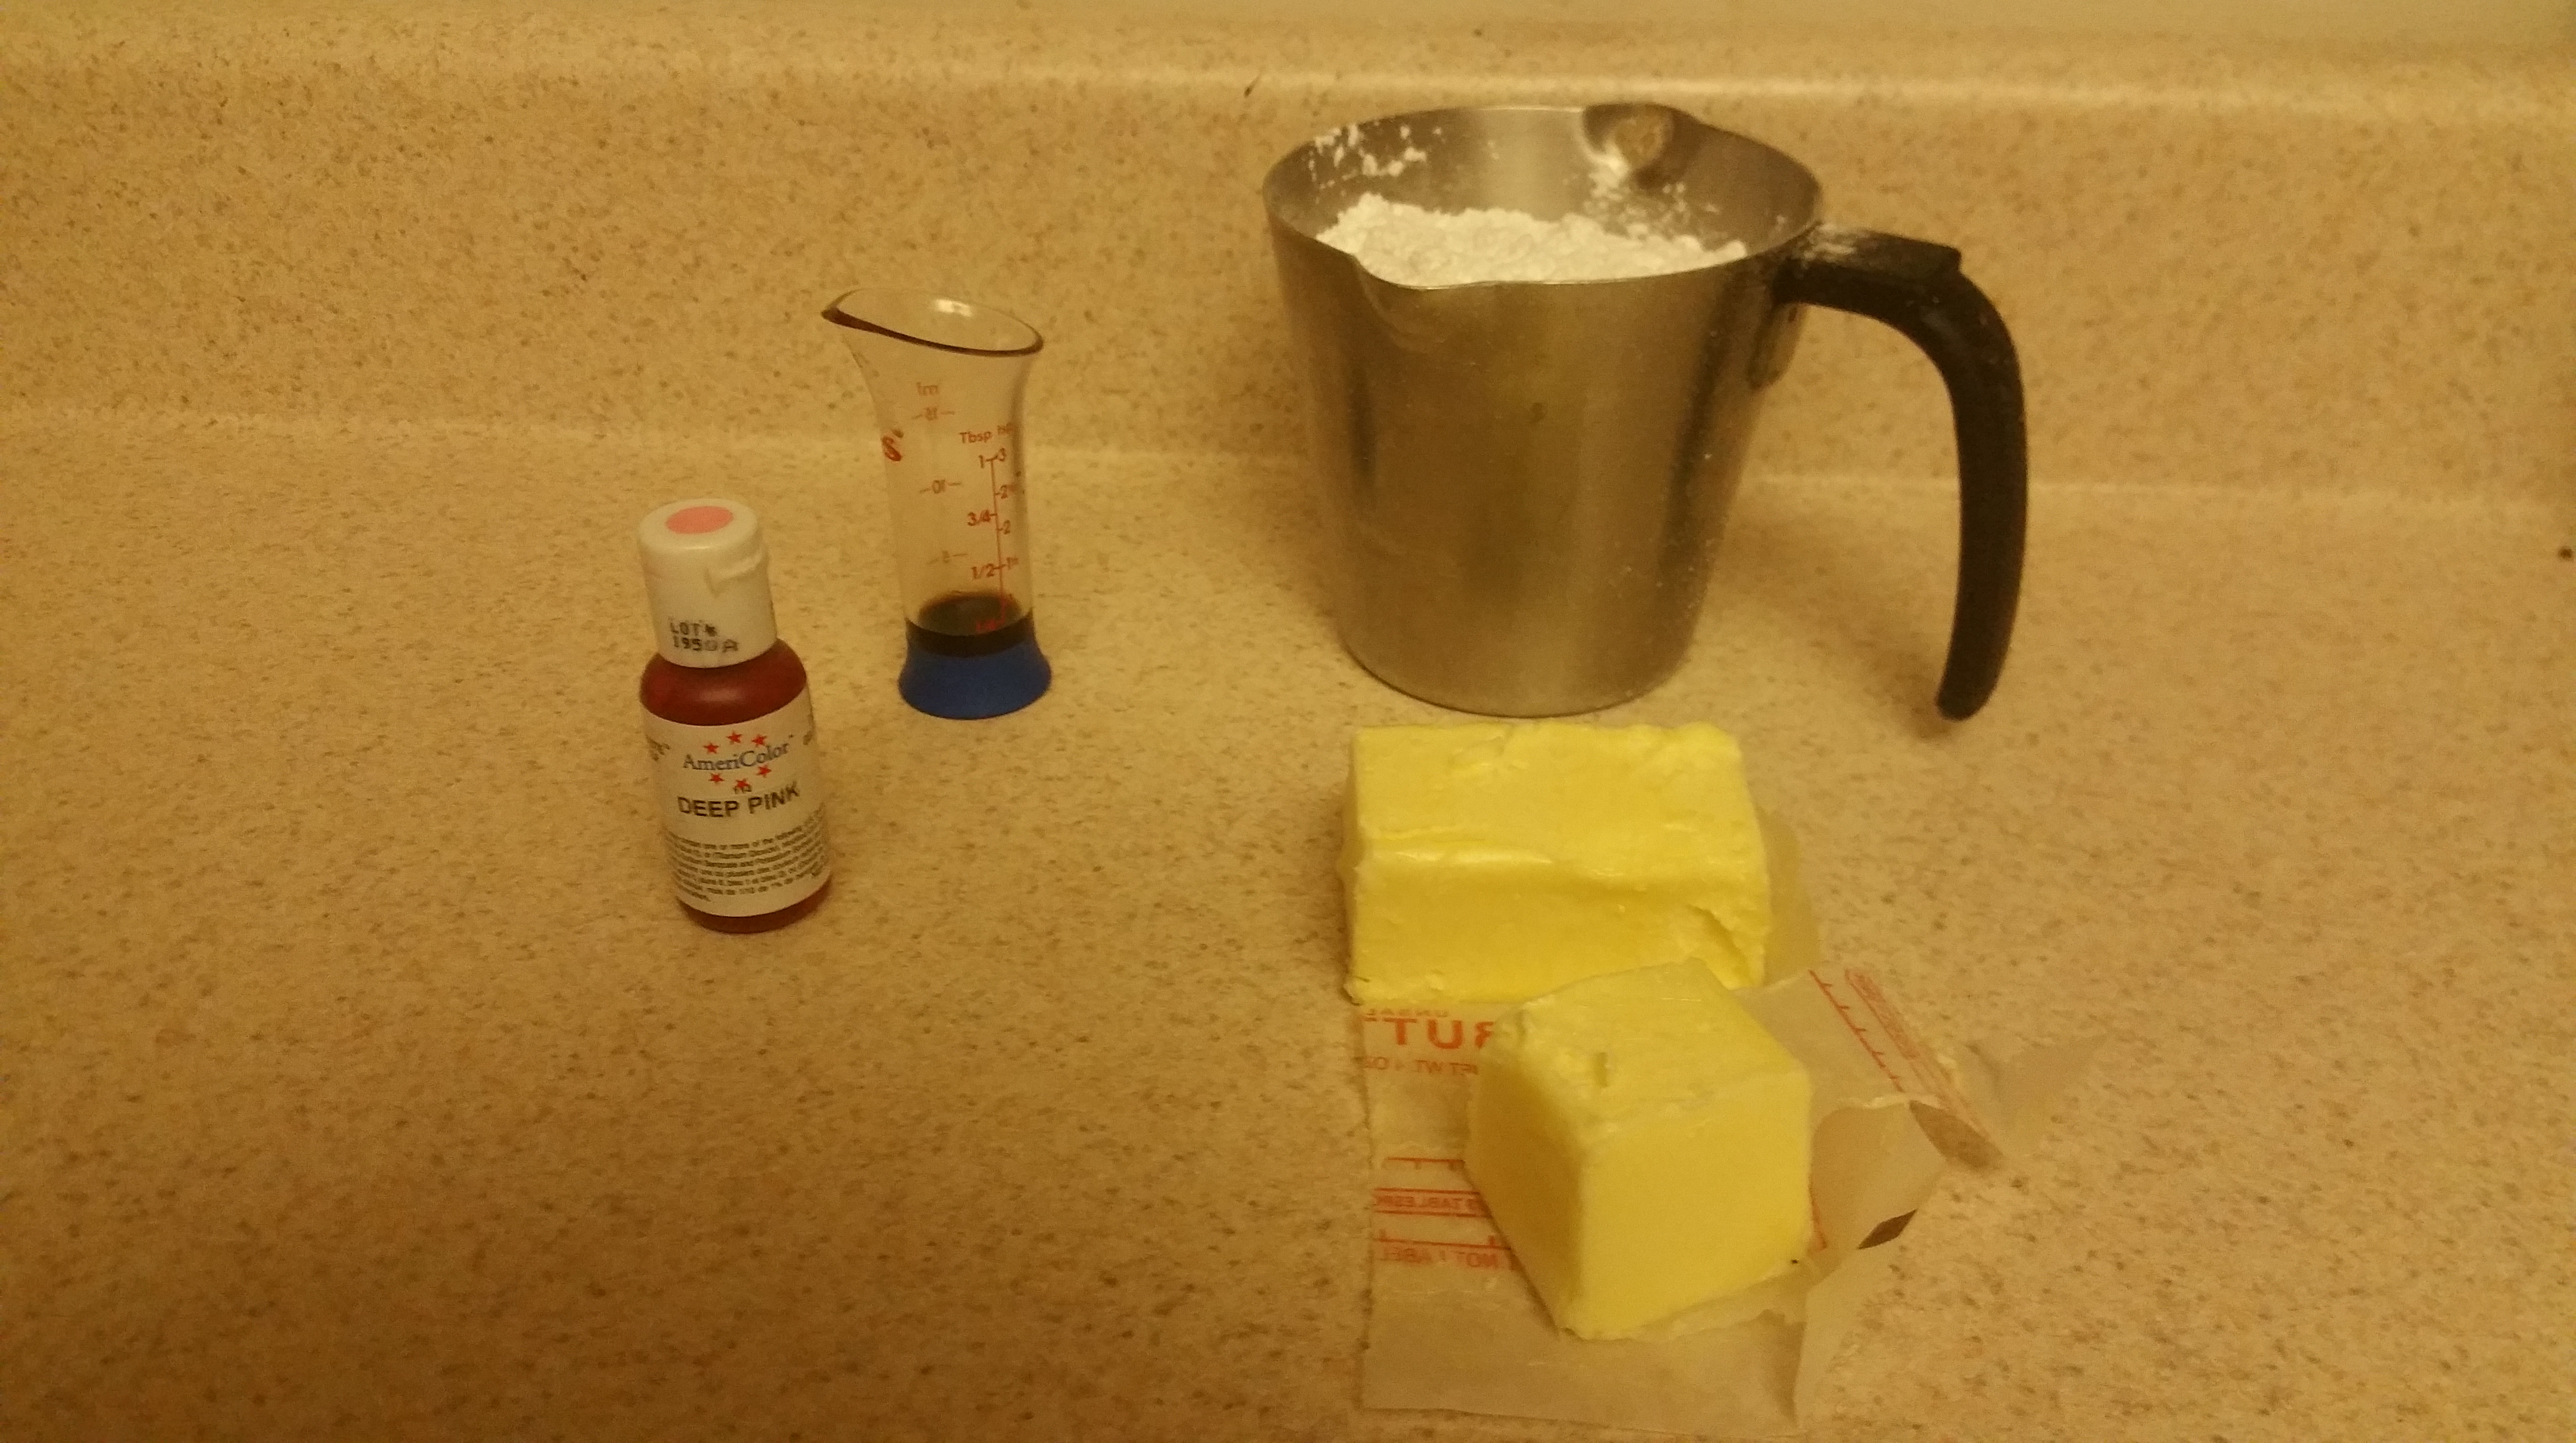
Vanilla-Almond Buttercream

  • 1 ½ cups powdered sugar
  • 3 oz. (6 tbsp.) unsalted butter, room temperature
  • ½ tsp. vanilla extract
  • ¼ tsp. almond extract
  • Food coloring (optional)

Preheat the oven to 350 degrees F.

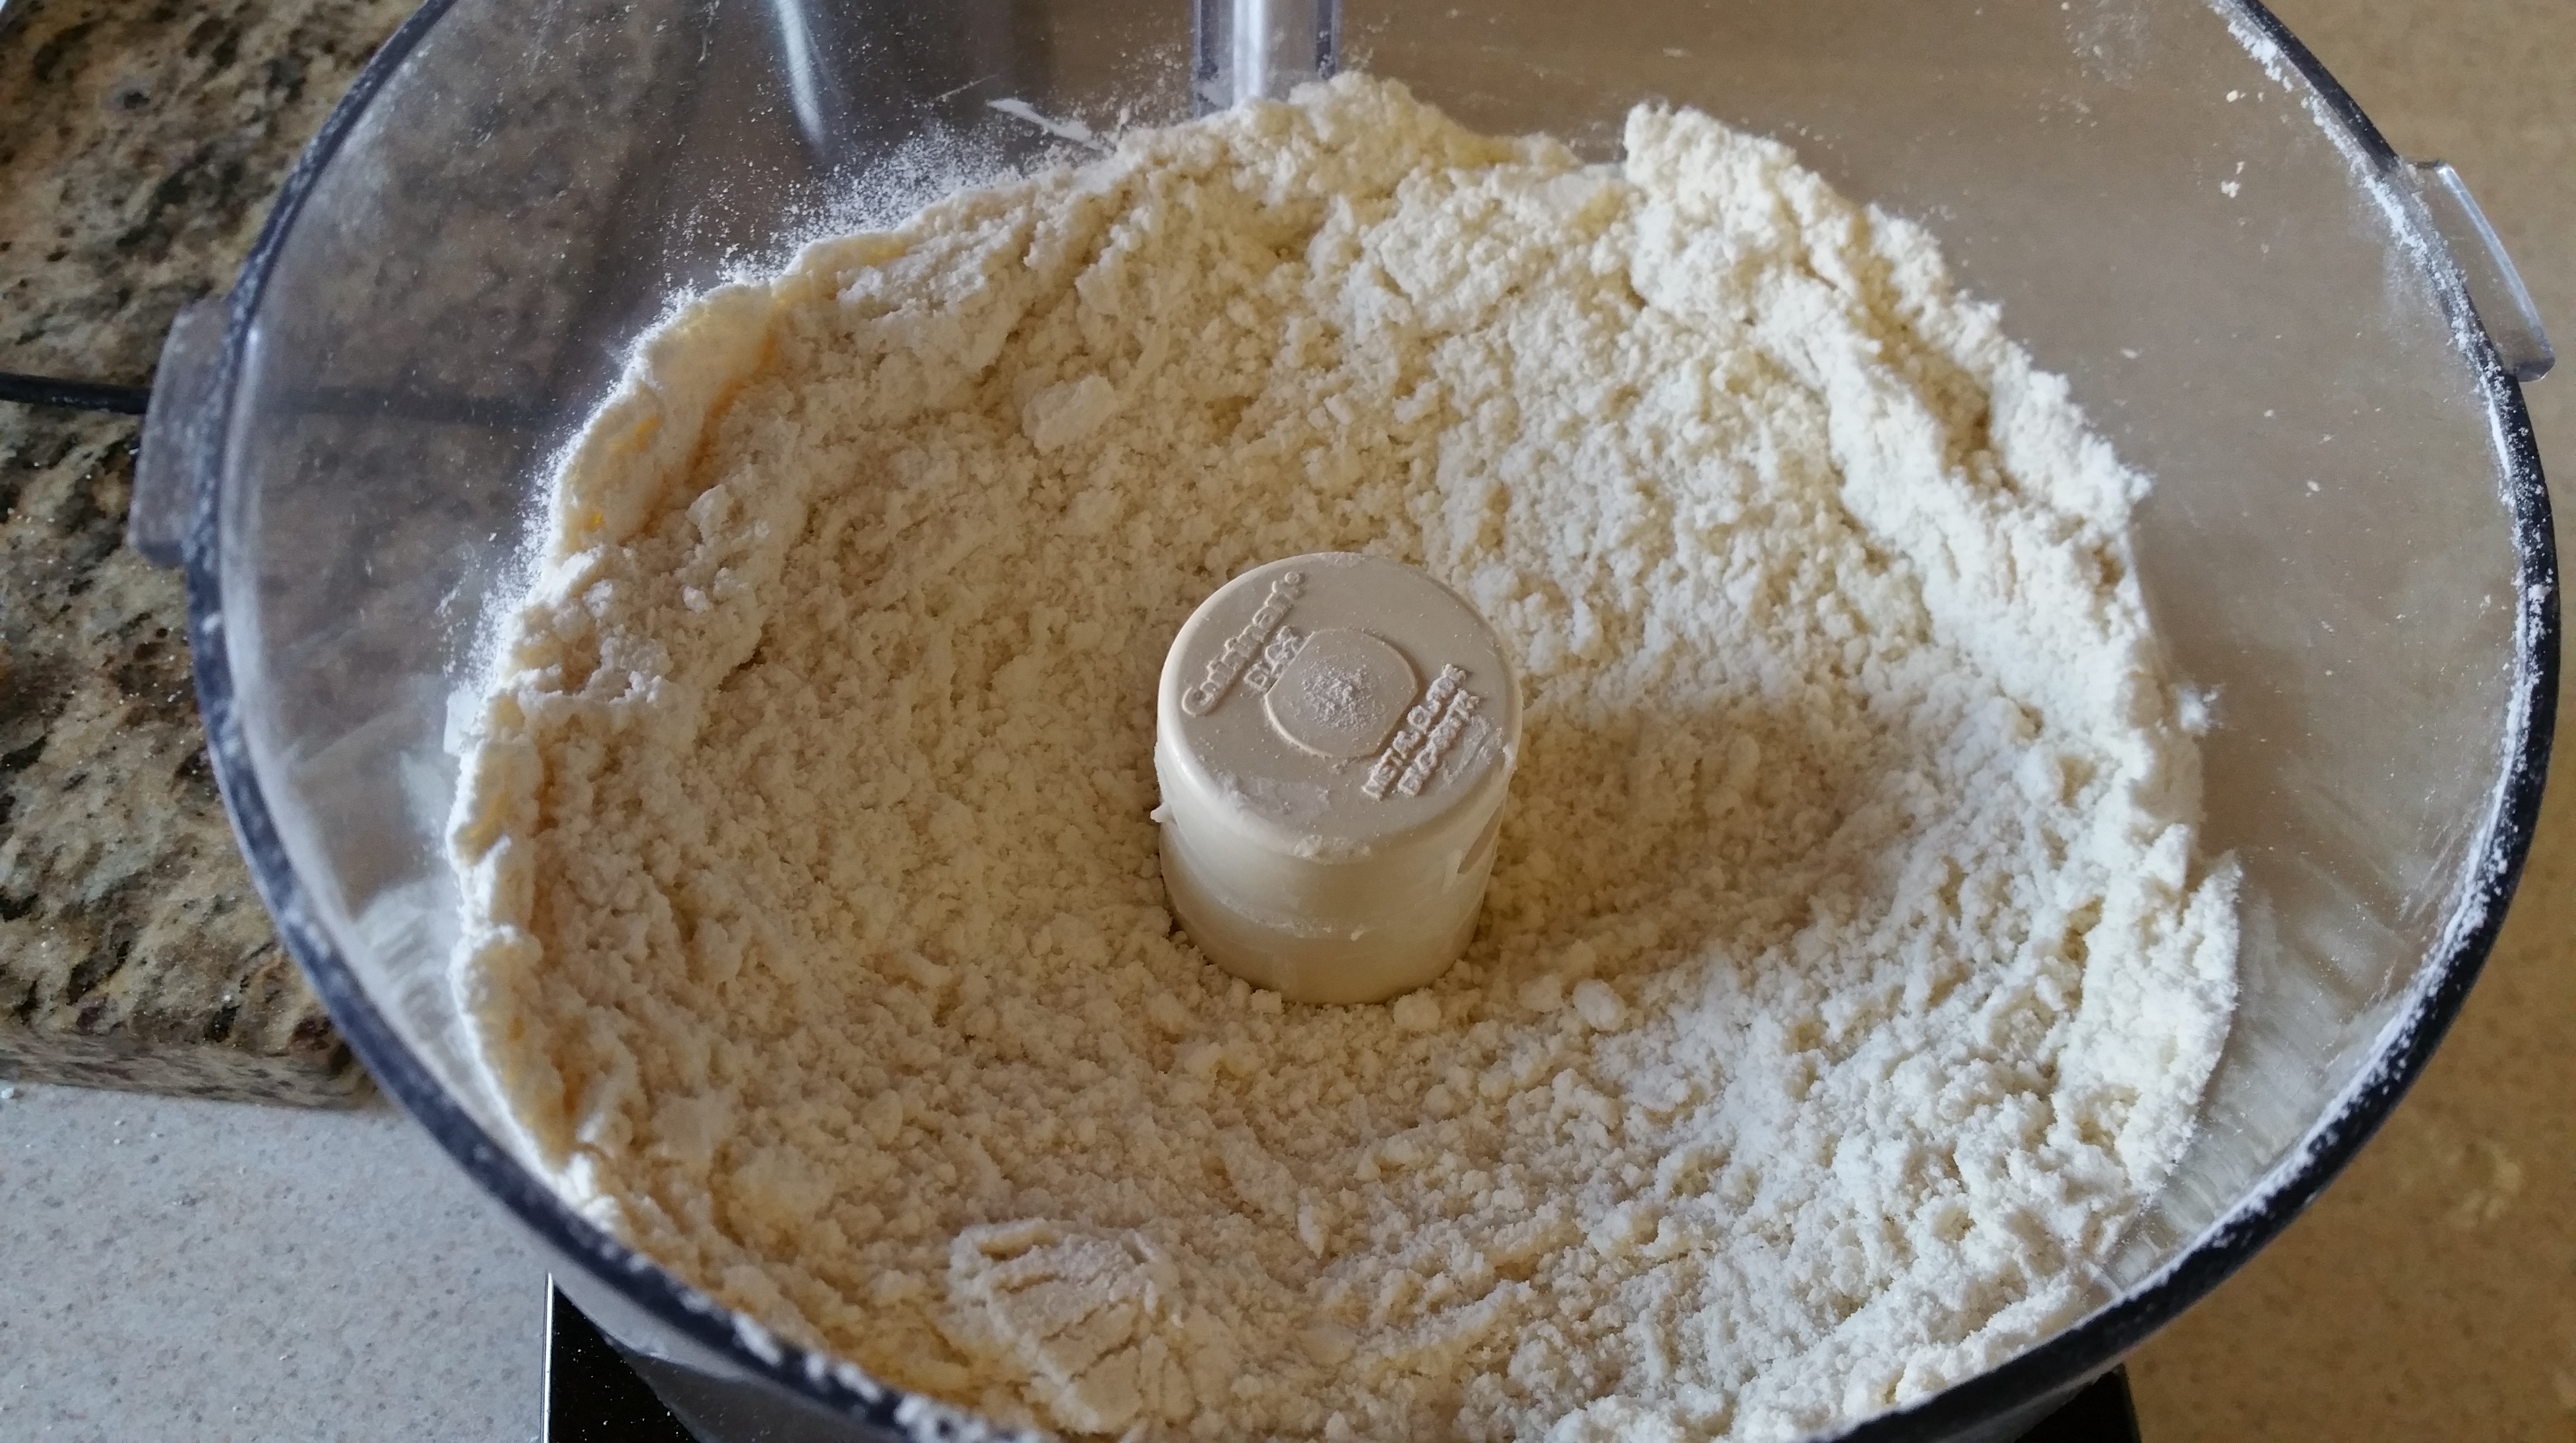
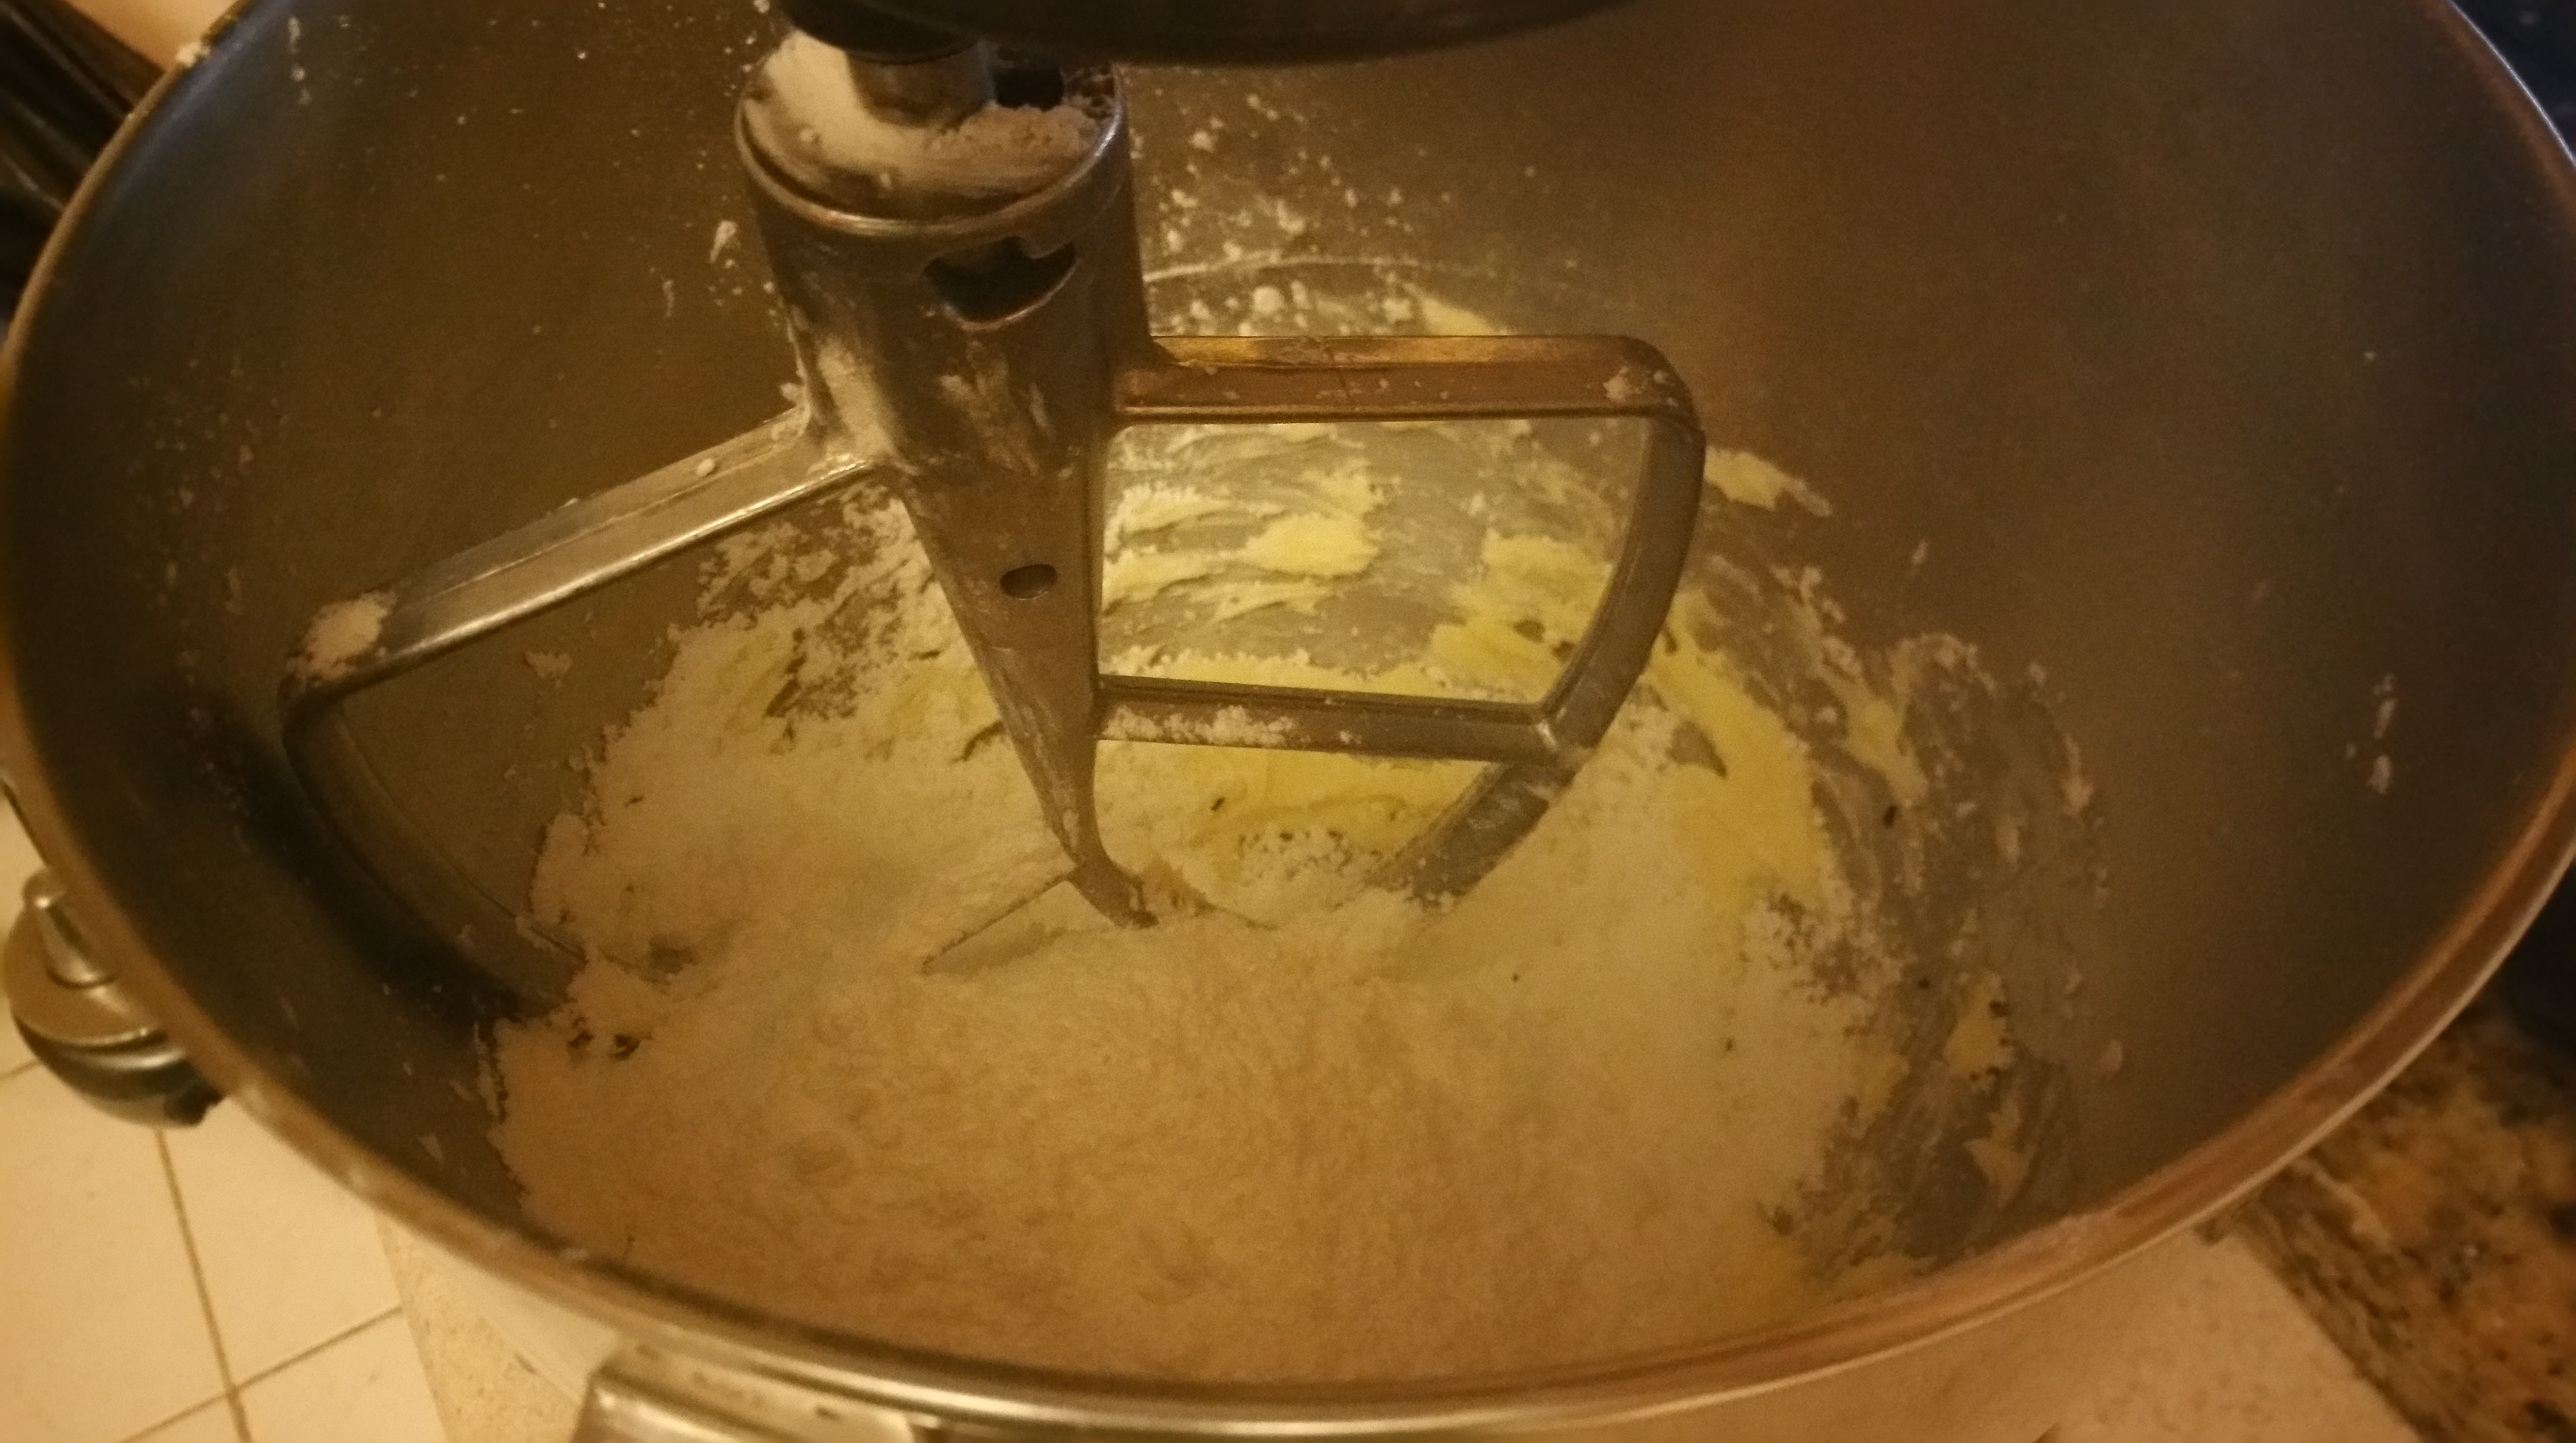
Combine the flour, baking powder, and salt in a bowl and set aside.

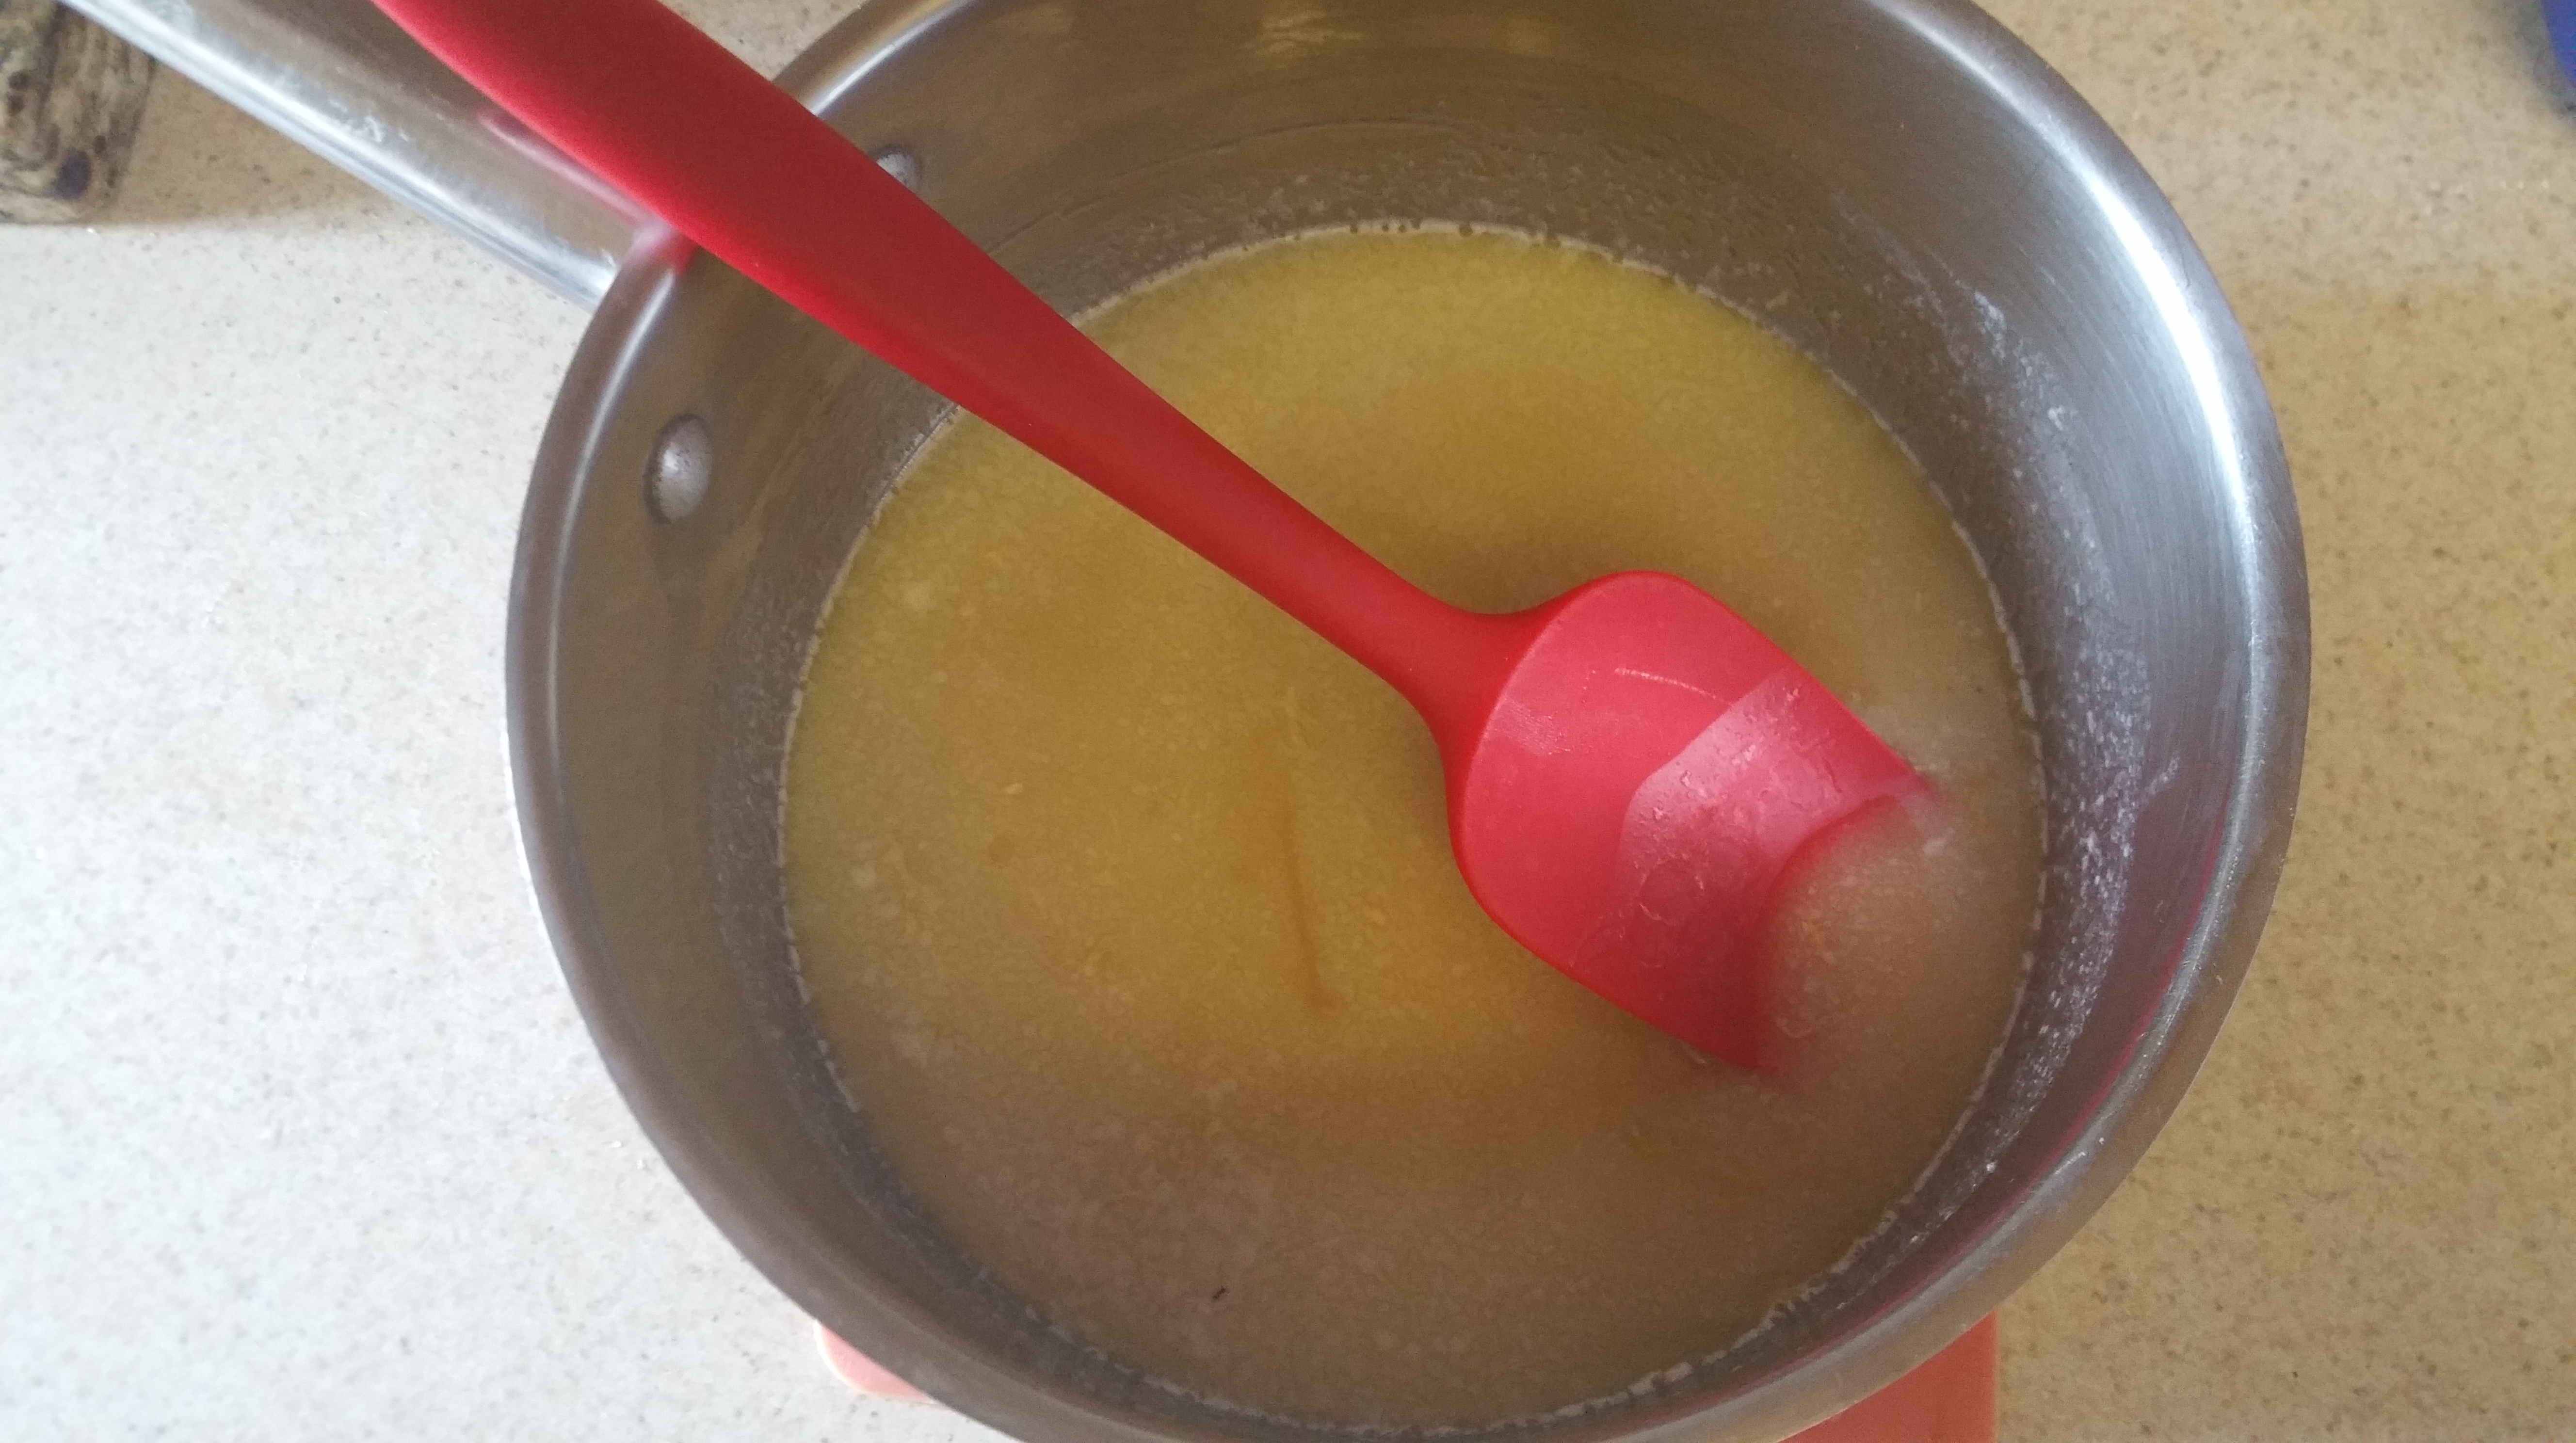
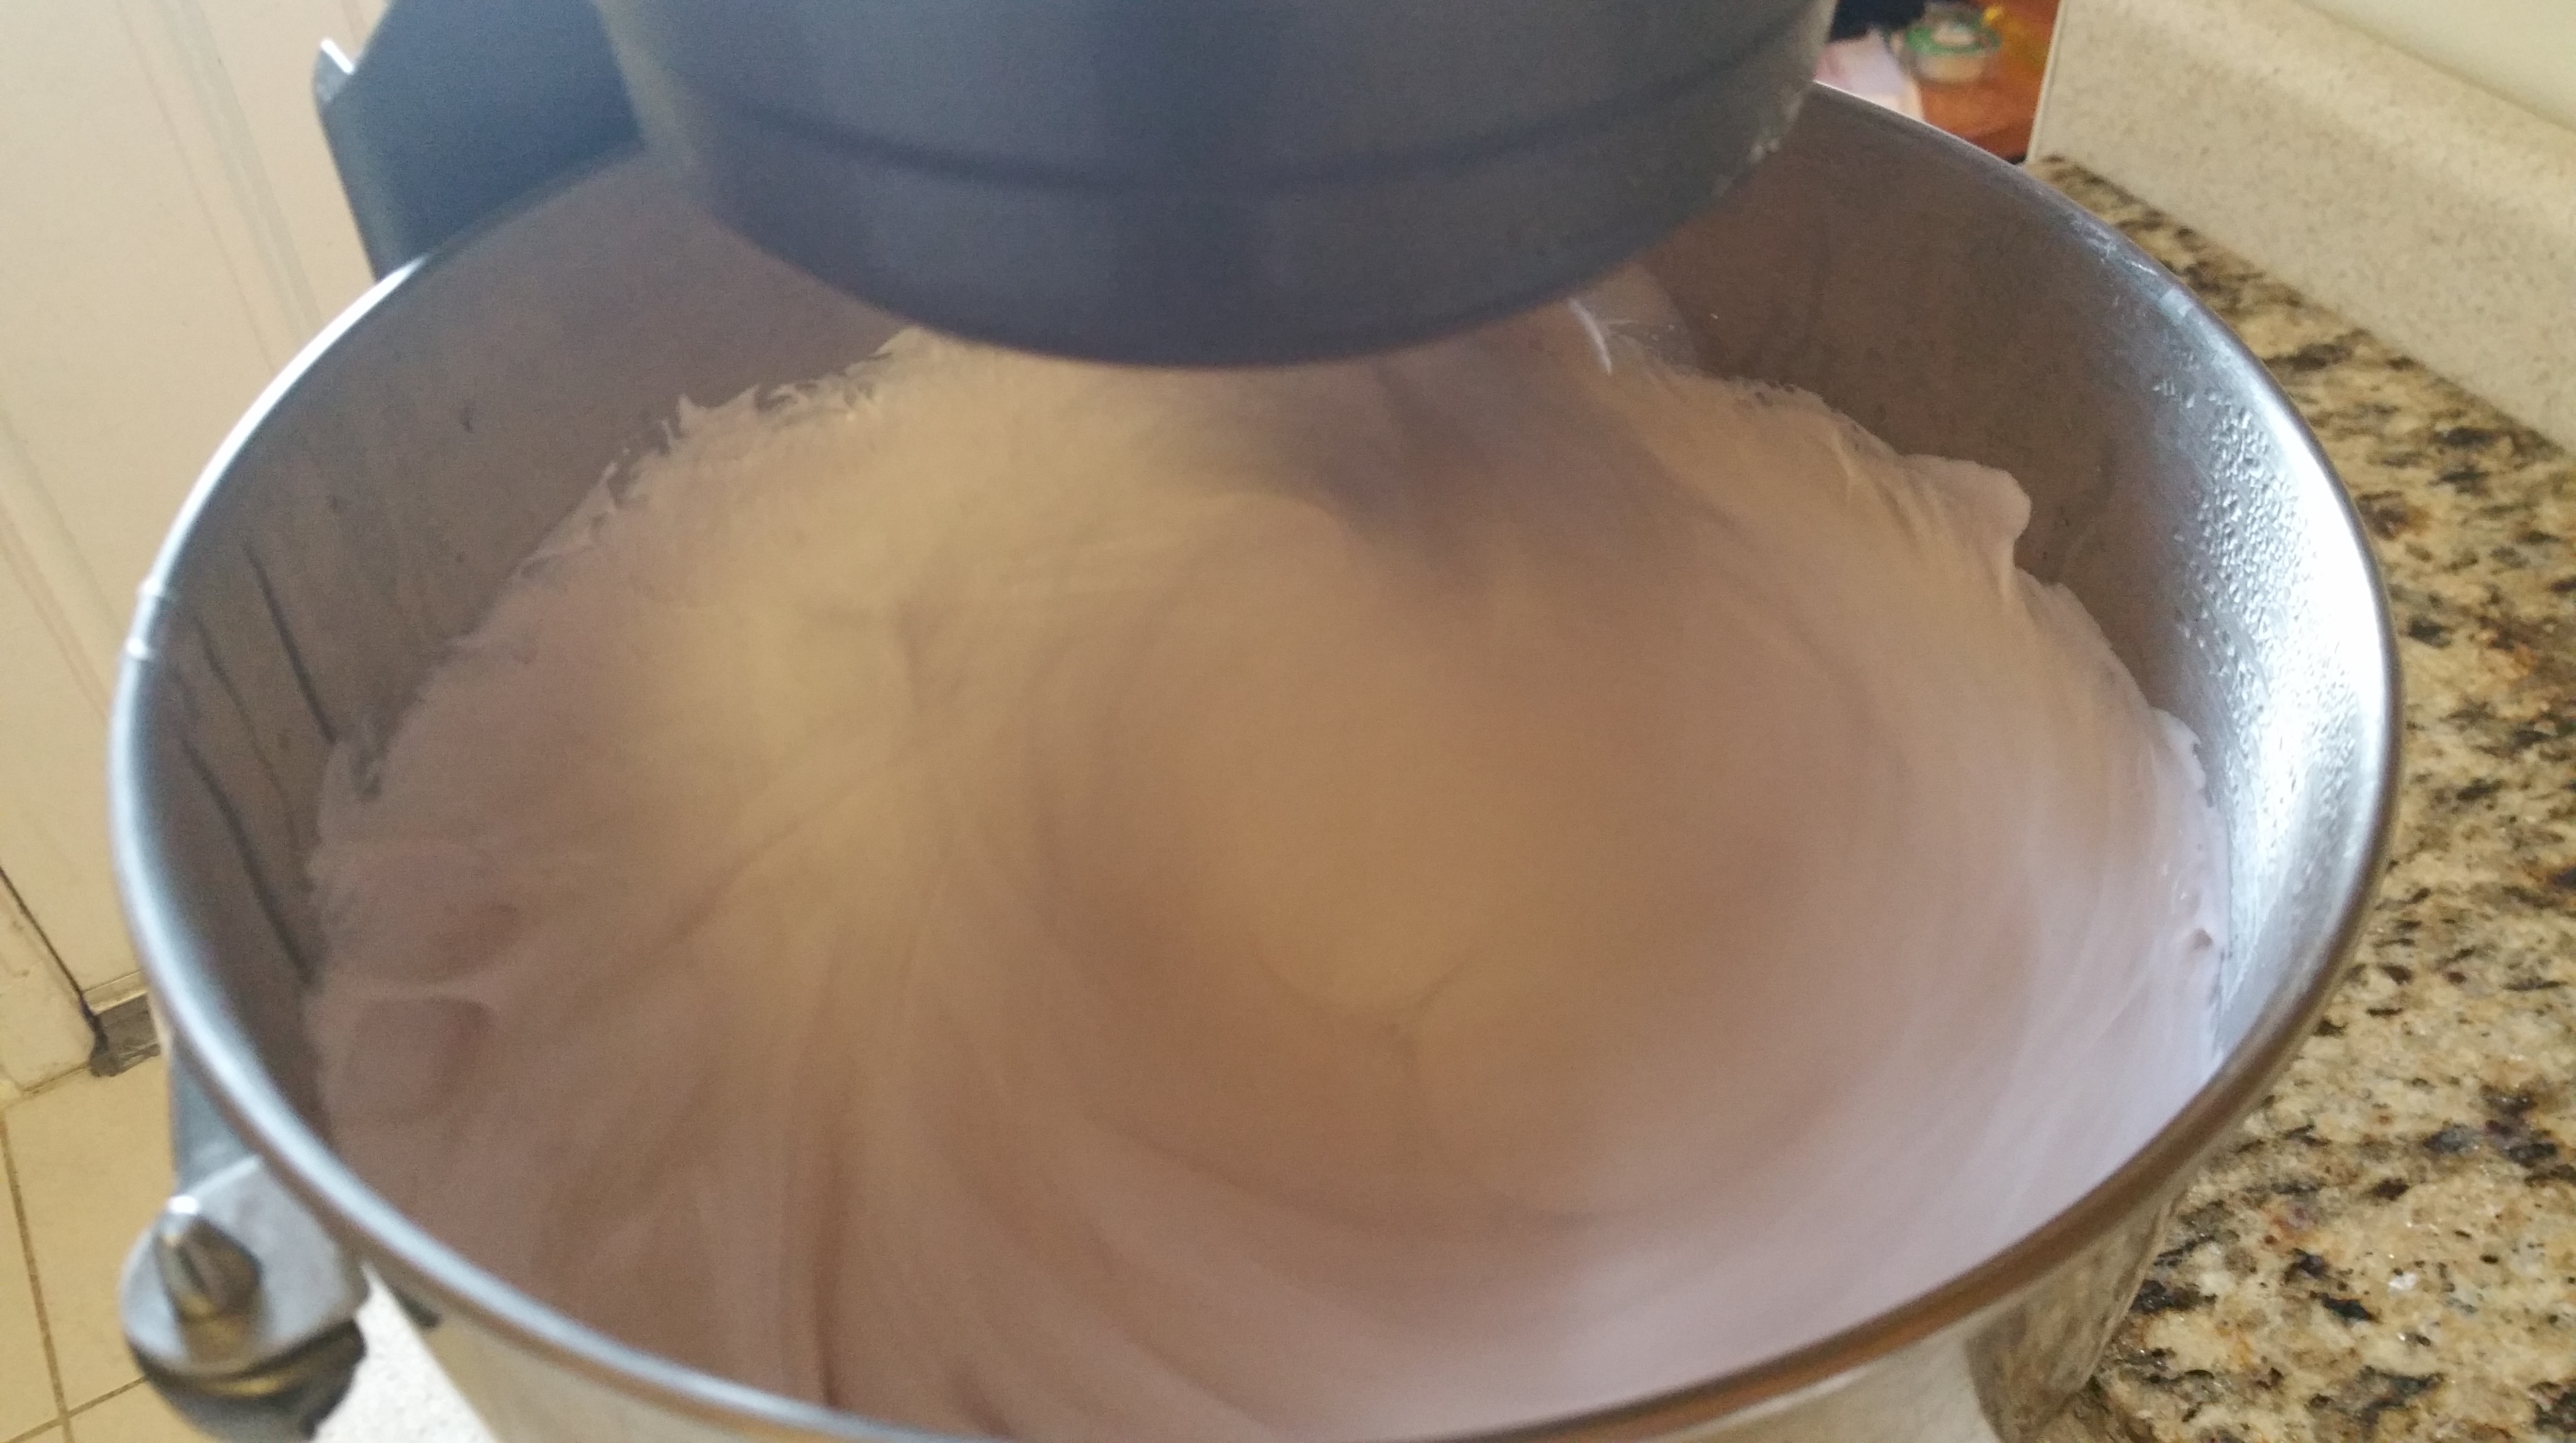
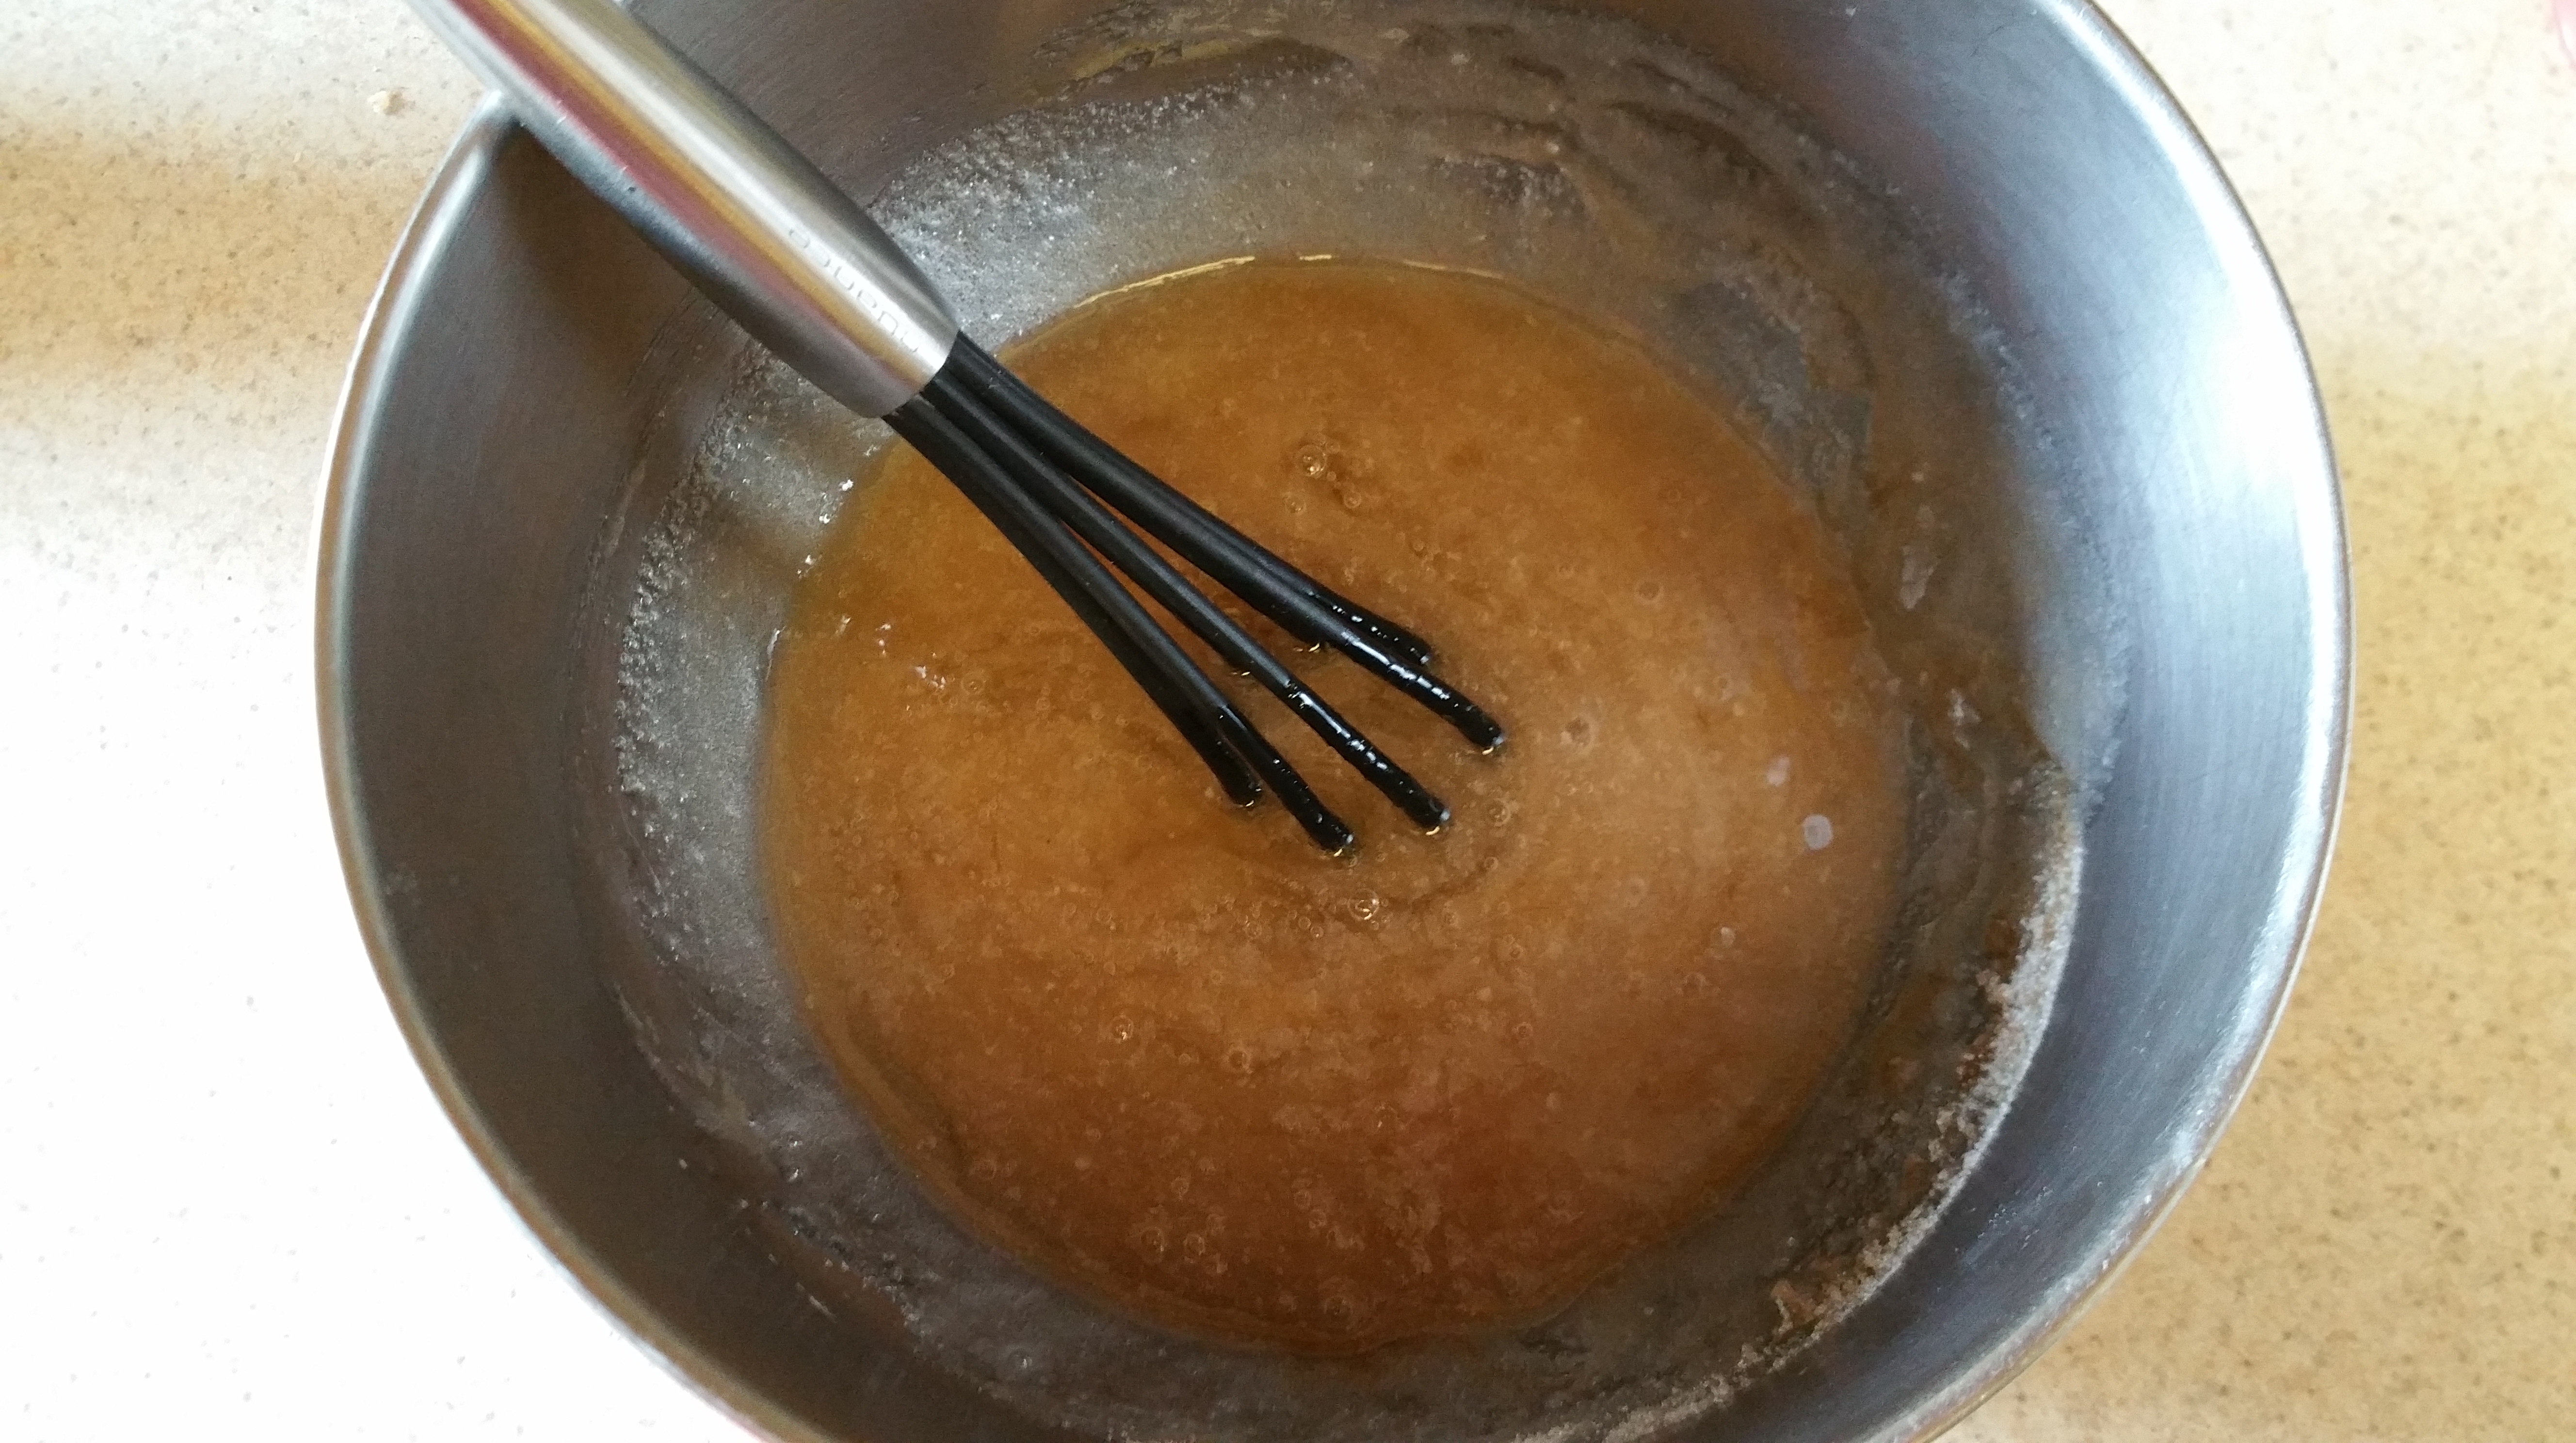
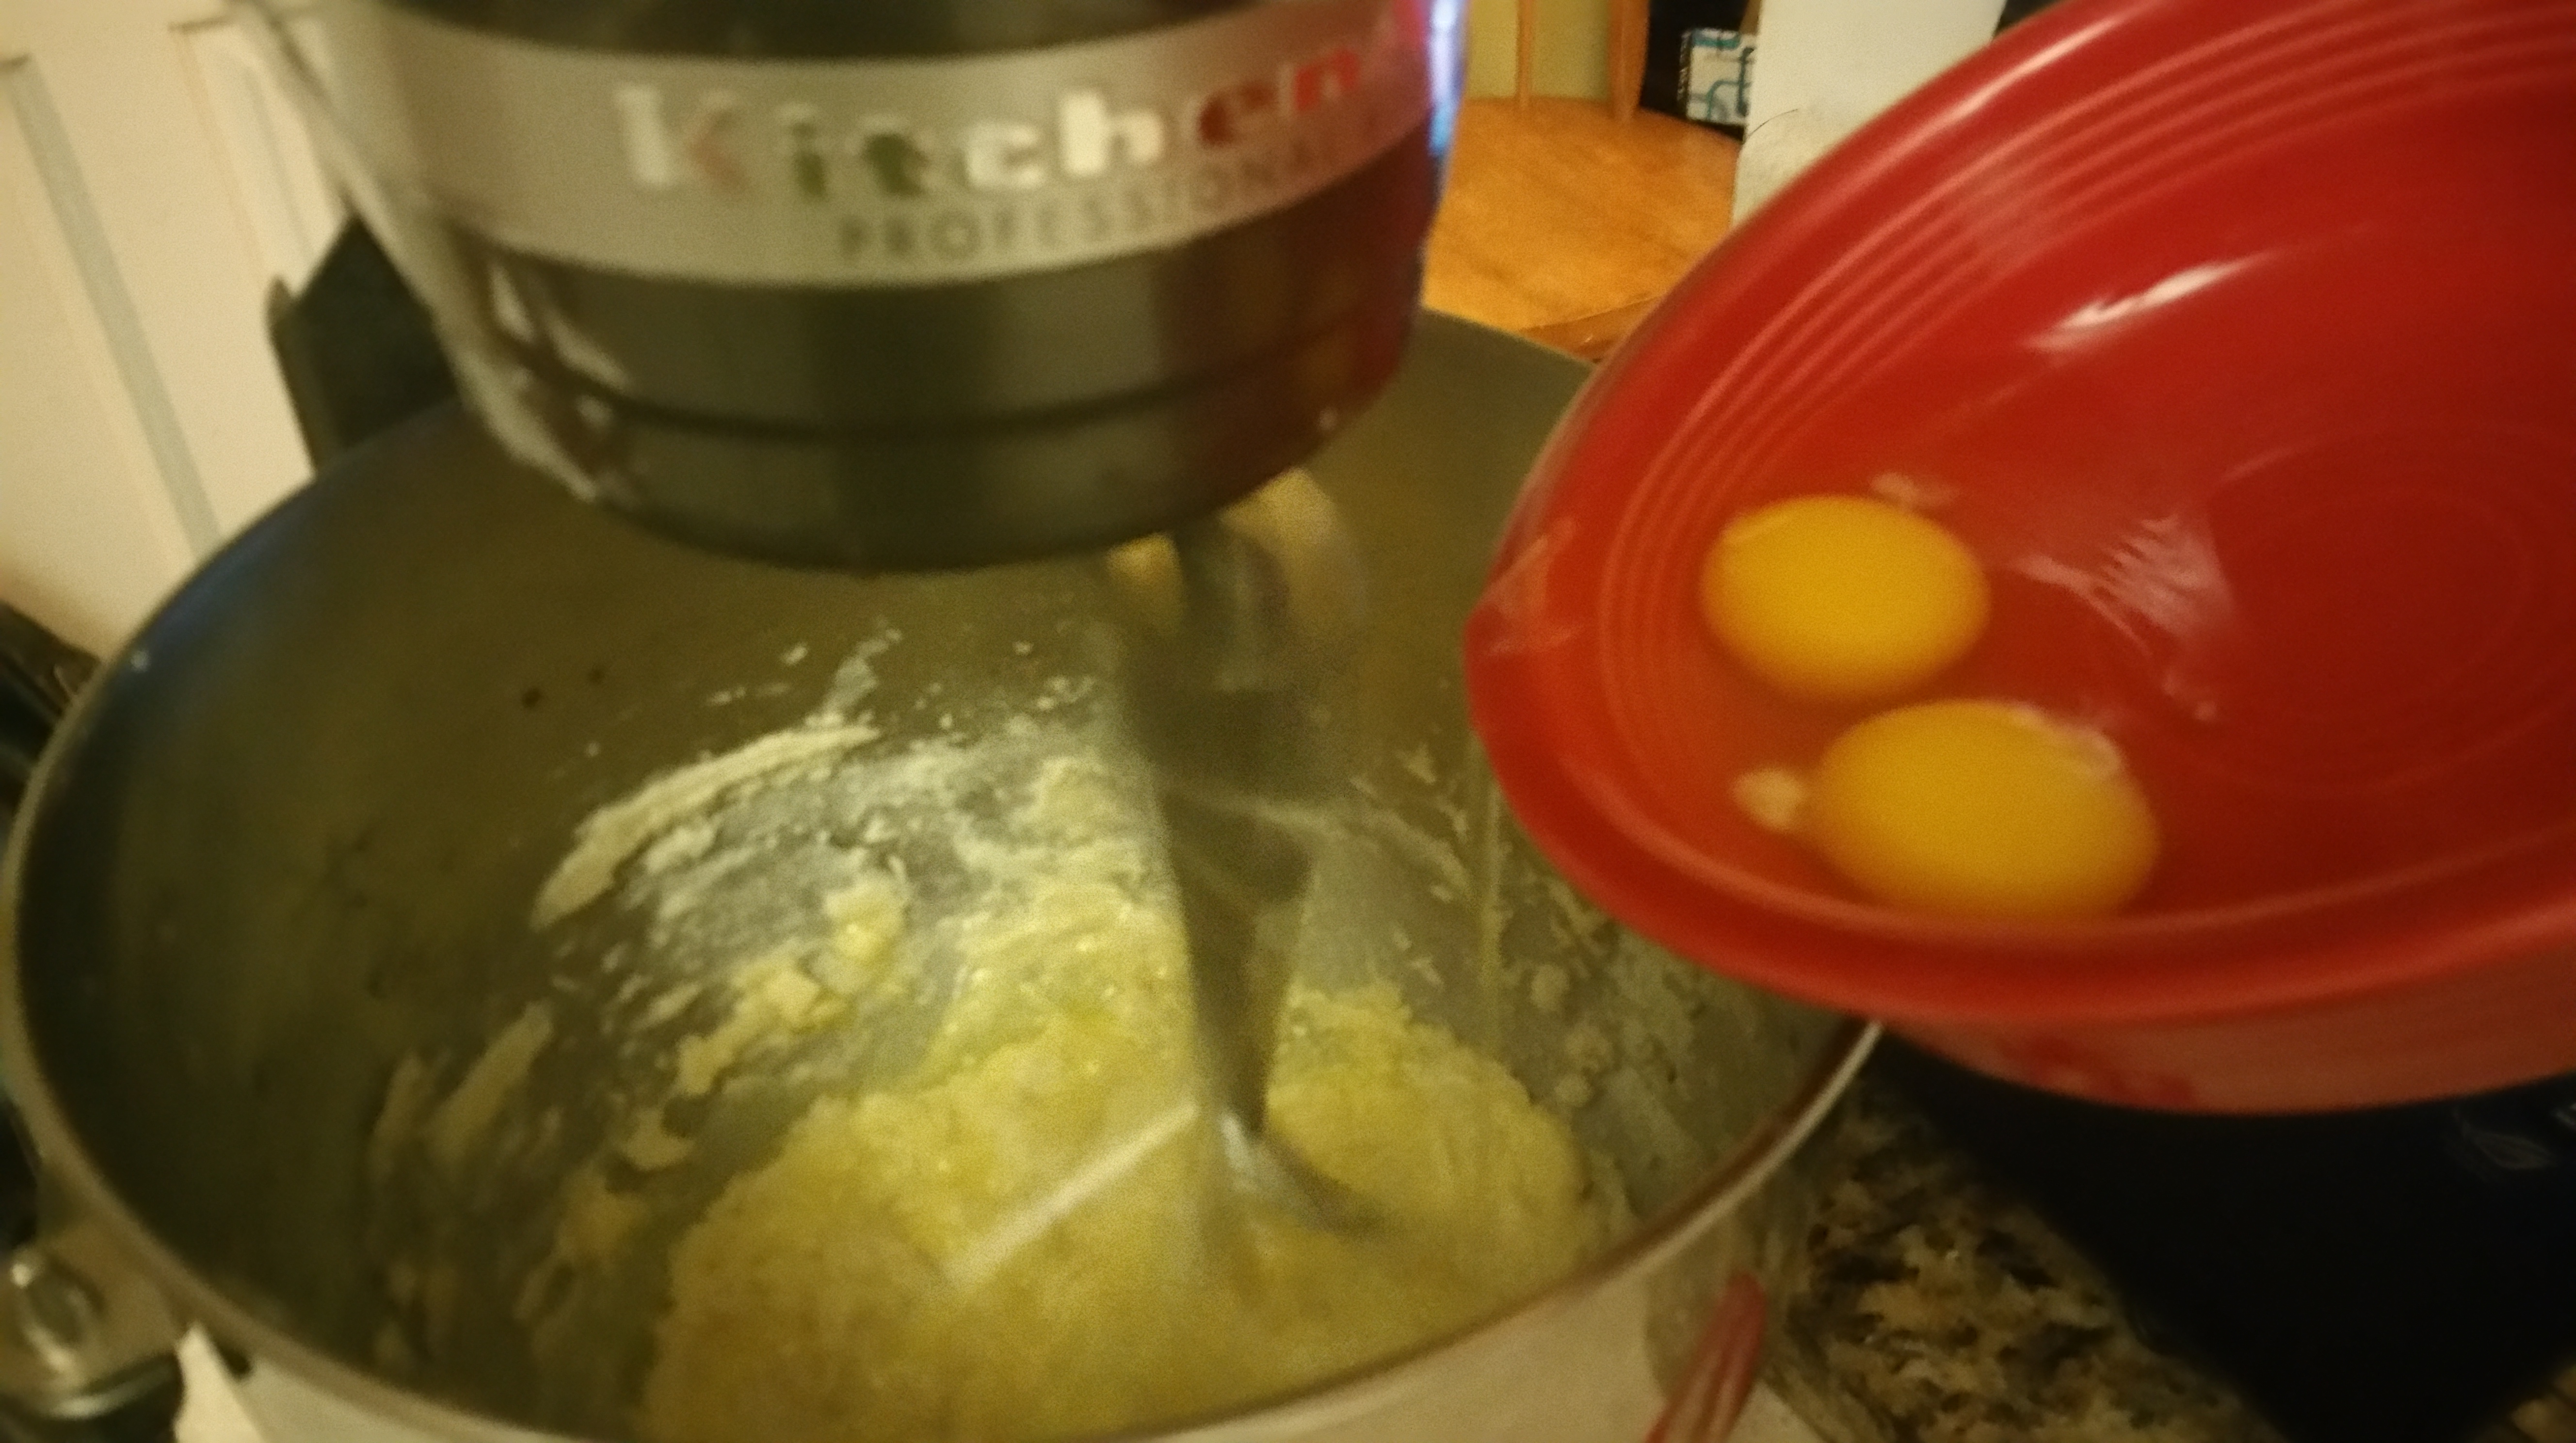
In the bowl of a stand mixer, beat the butter on medium speed until it is smooth and creamy. Add the granulated sugar and vanilla extract and beat until light and fluffy.

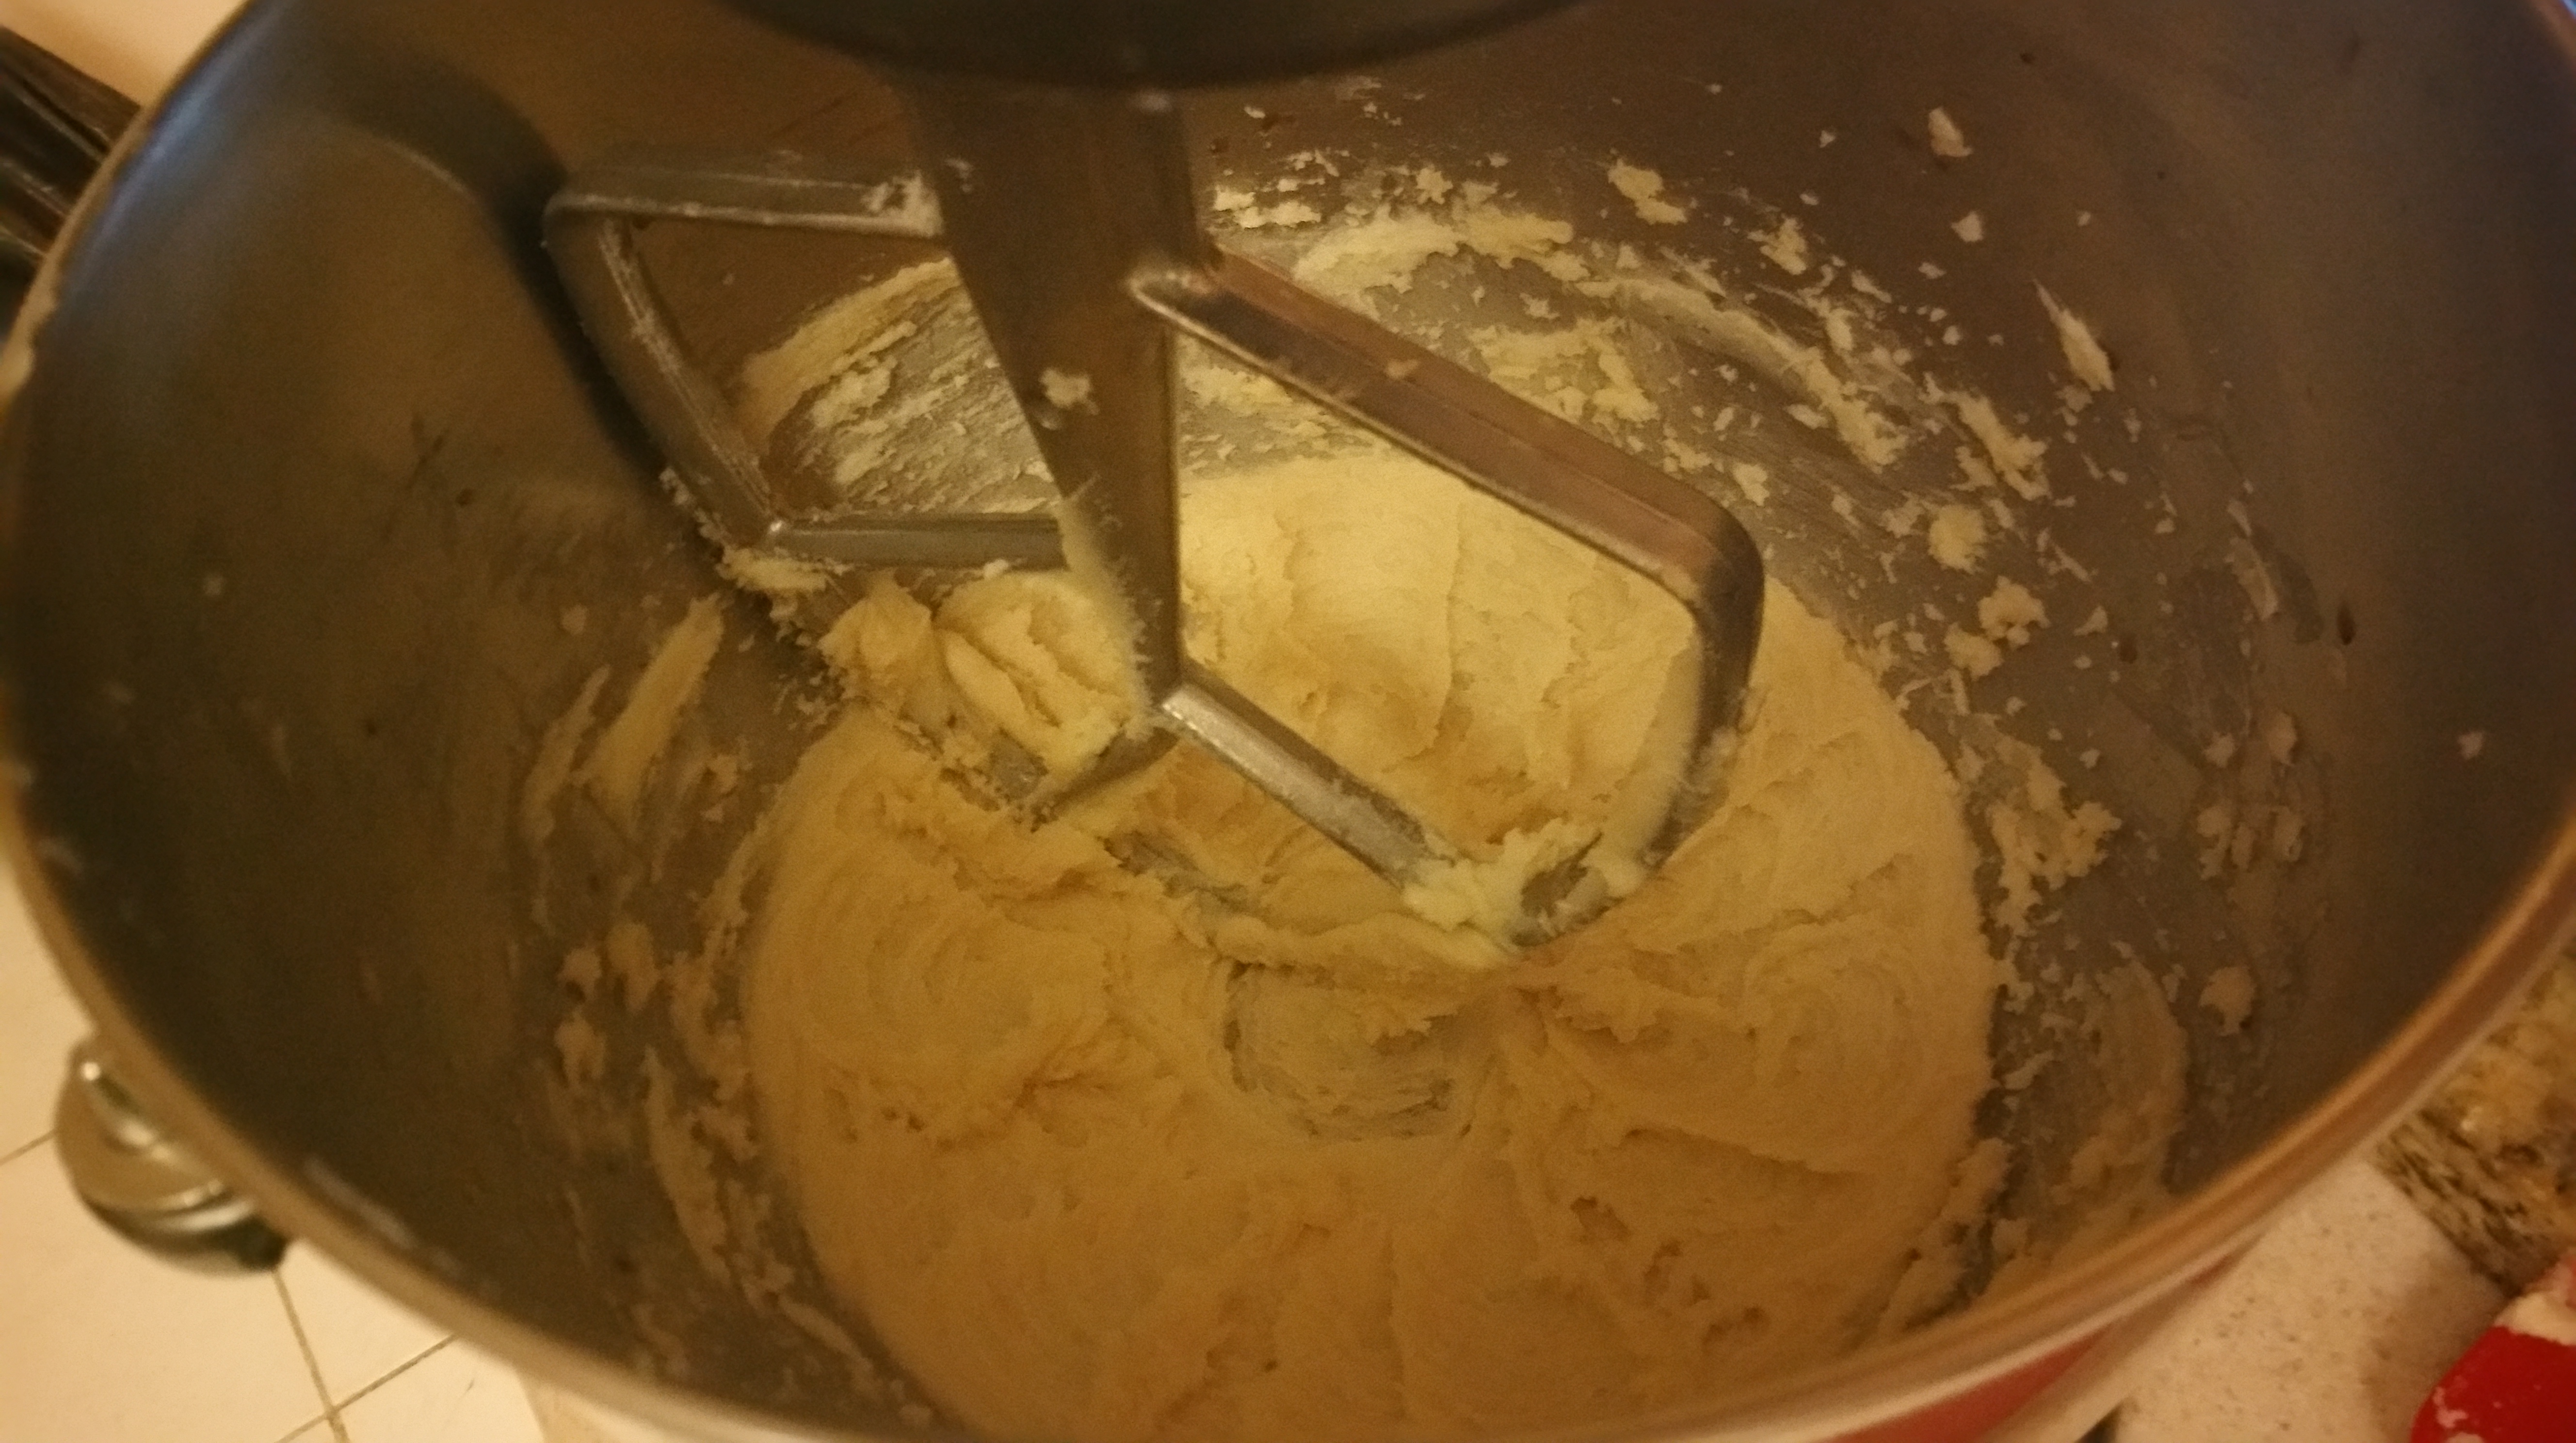
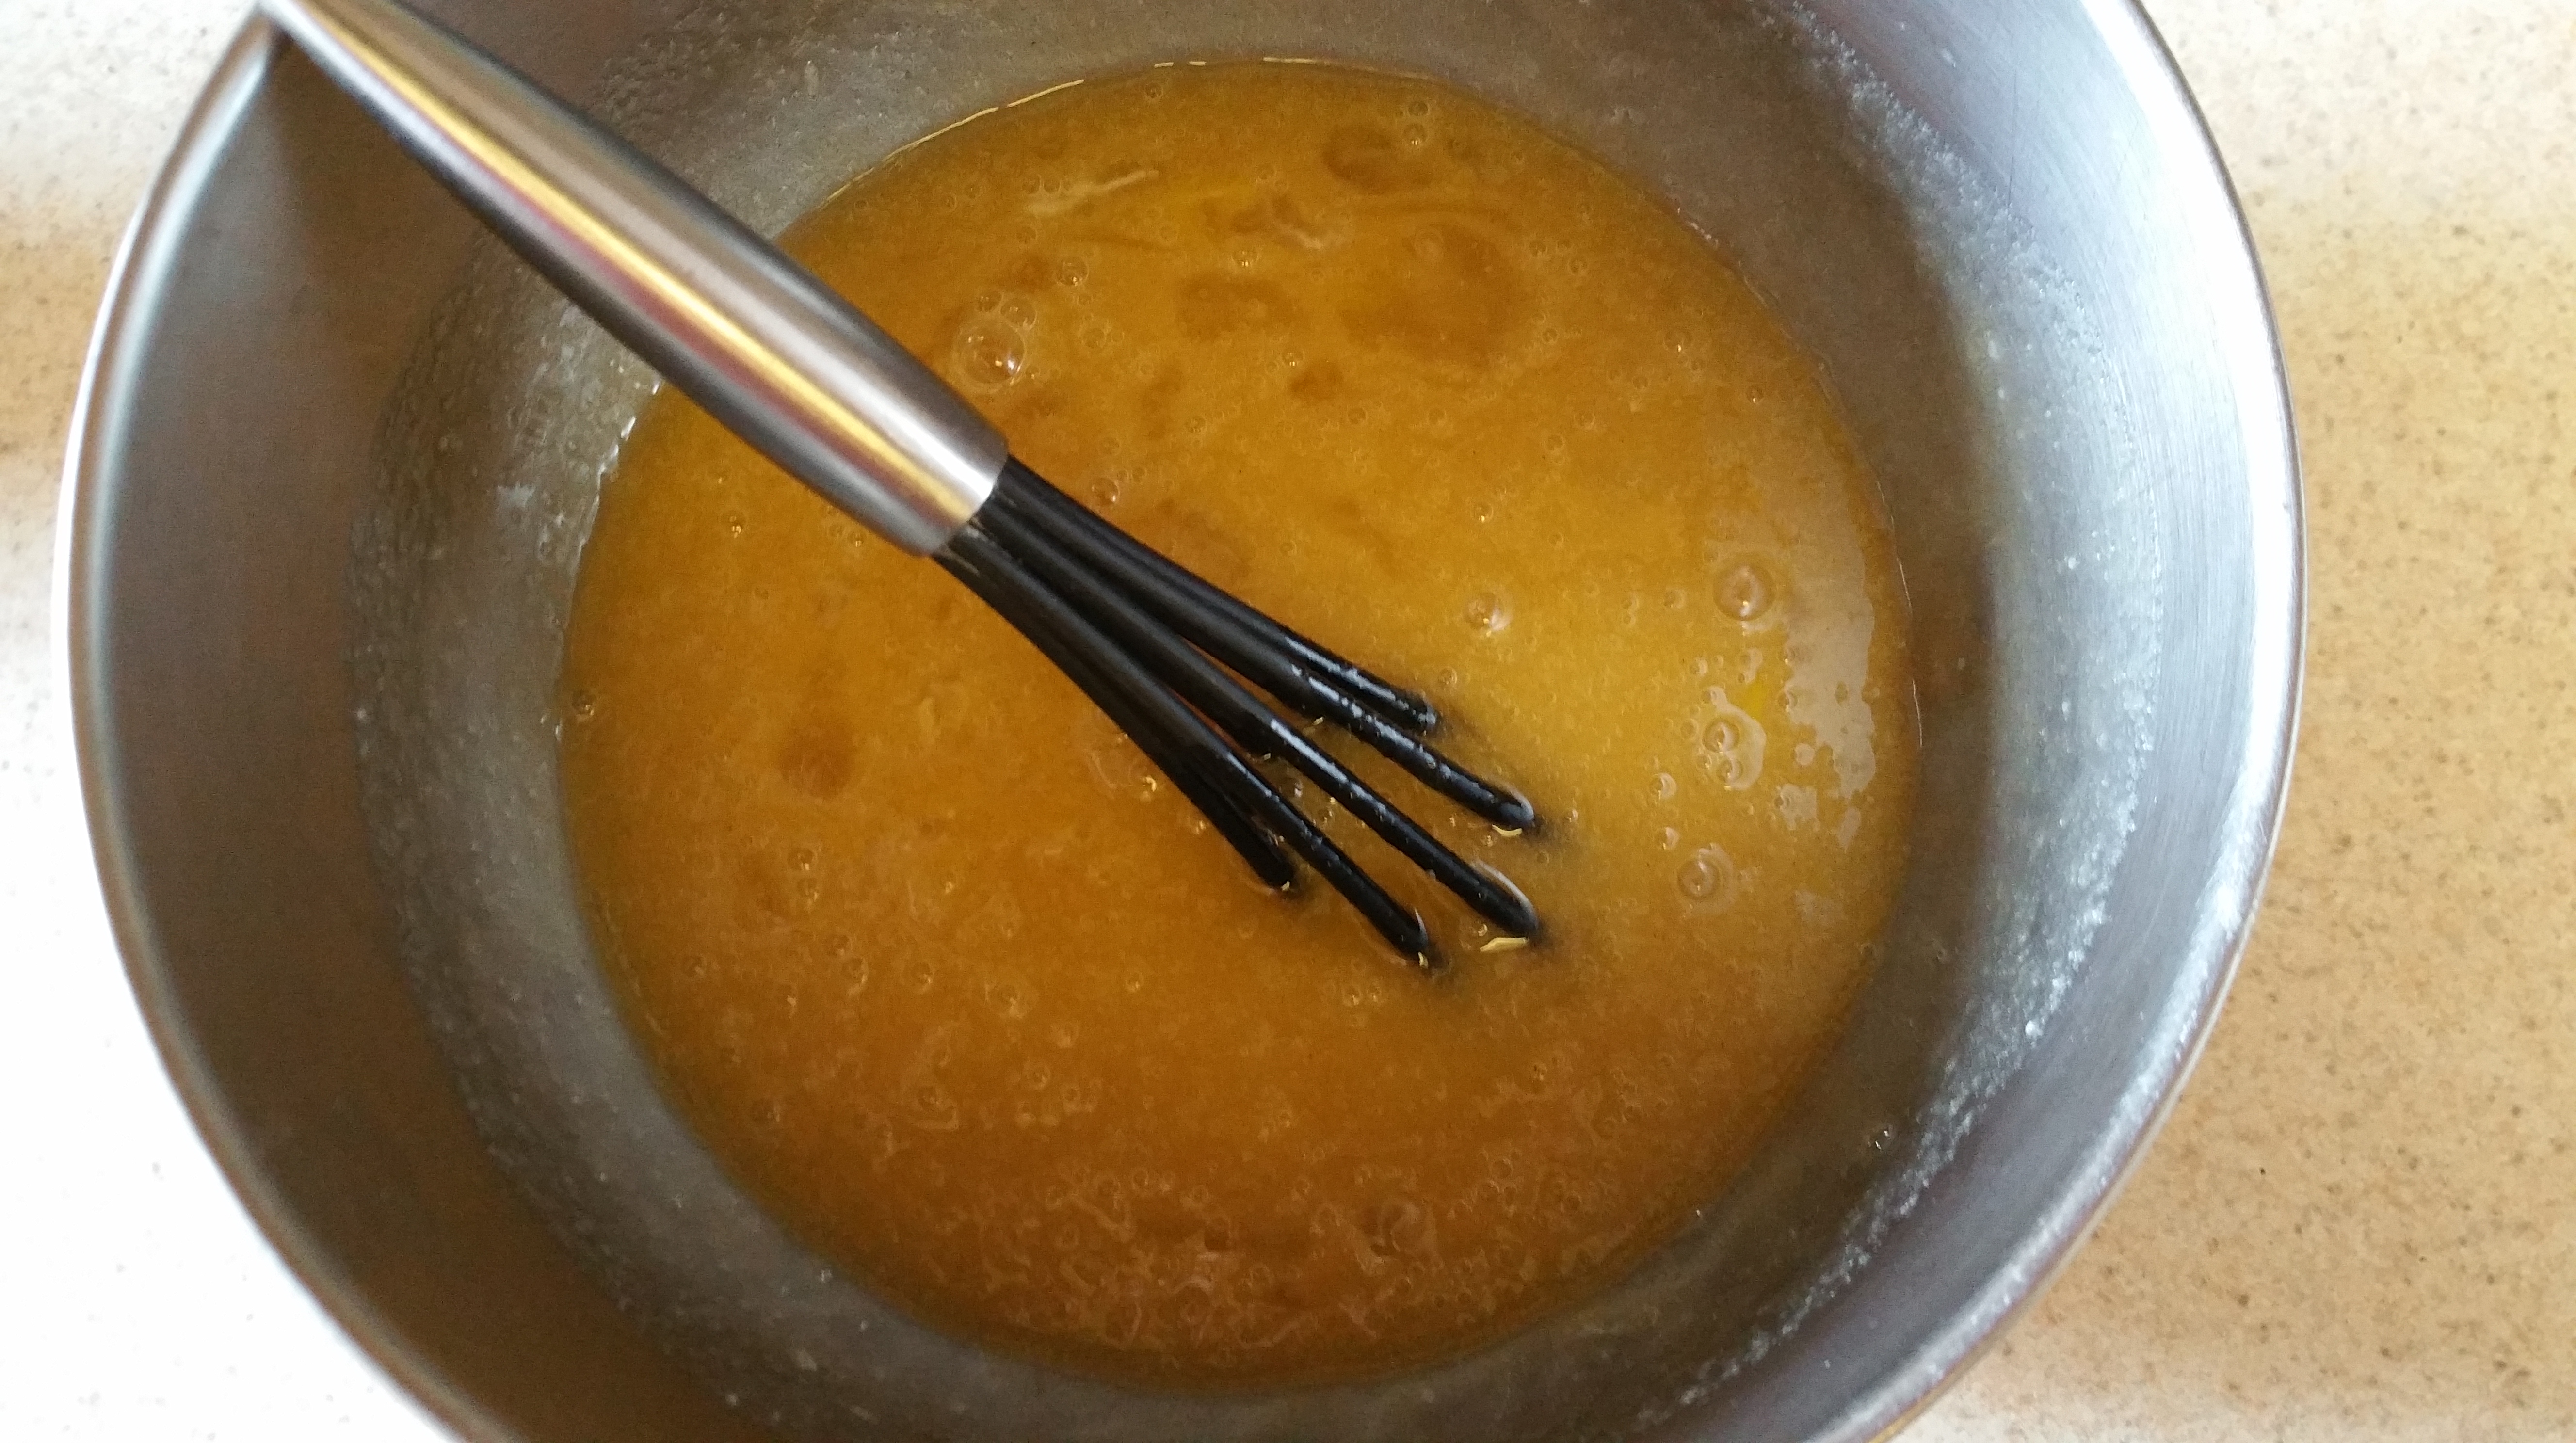
Add the eggs, beating well between each addition and scraping down the bowl as necessary.

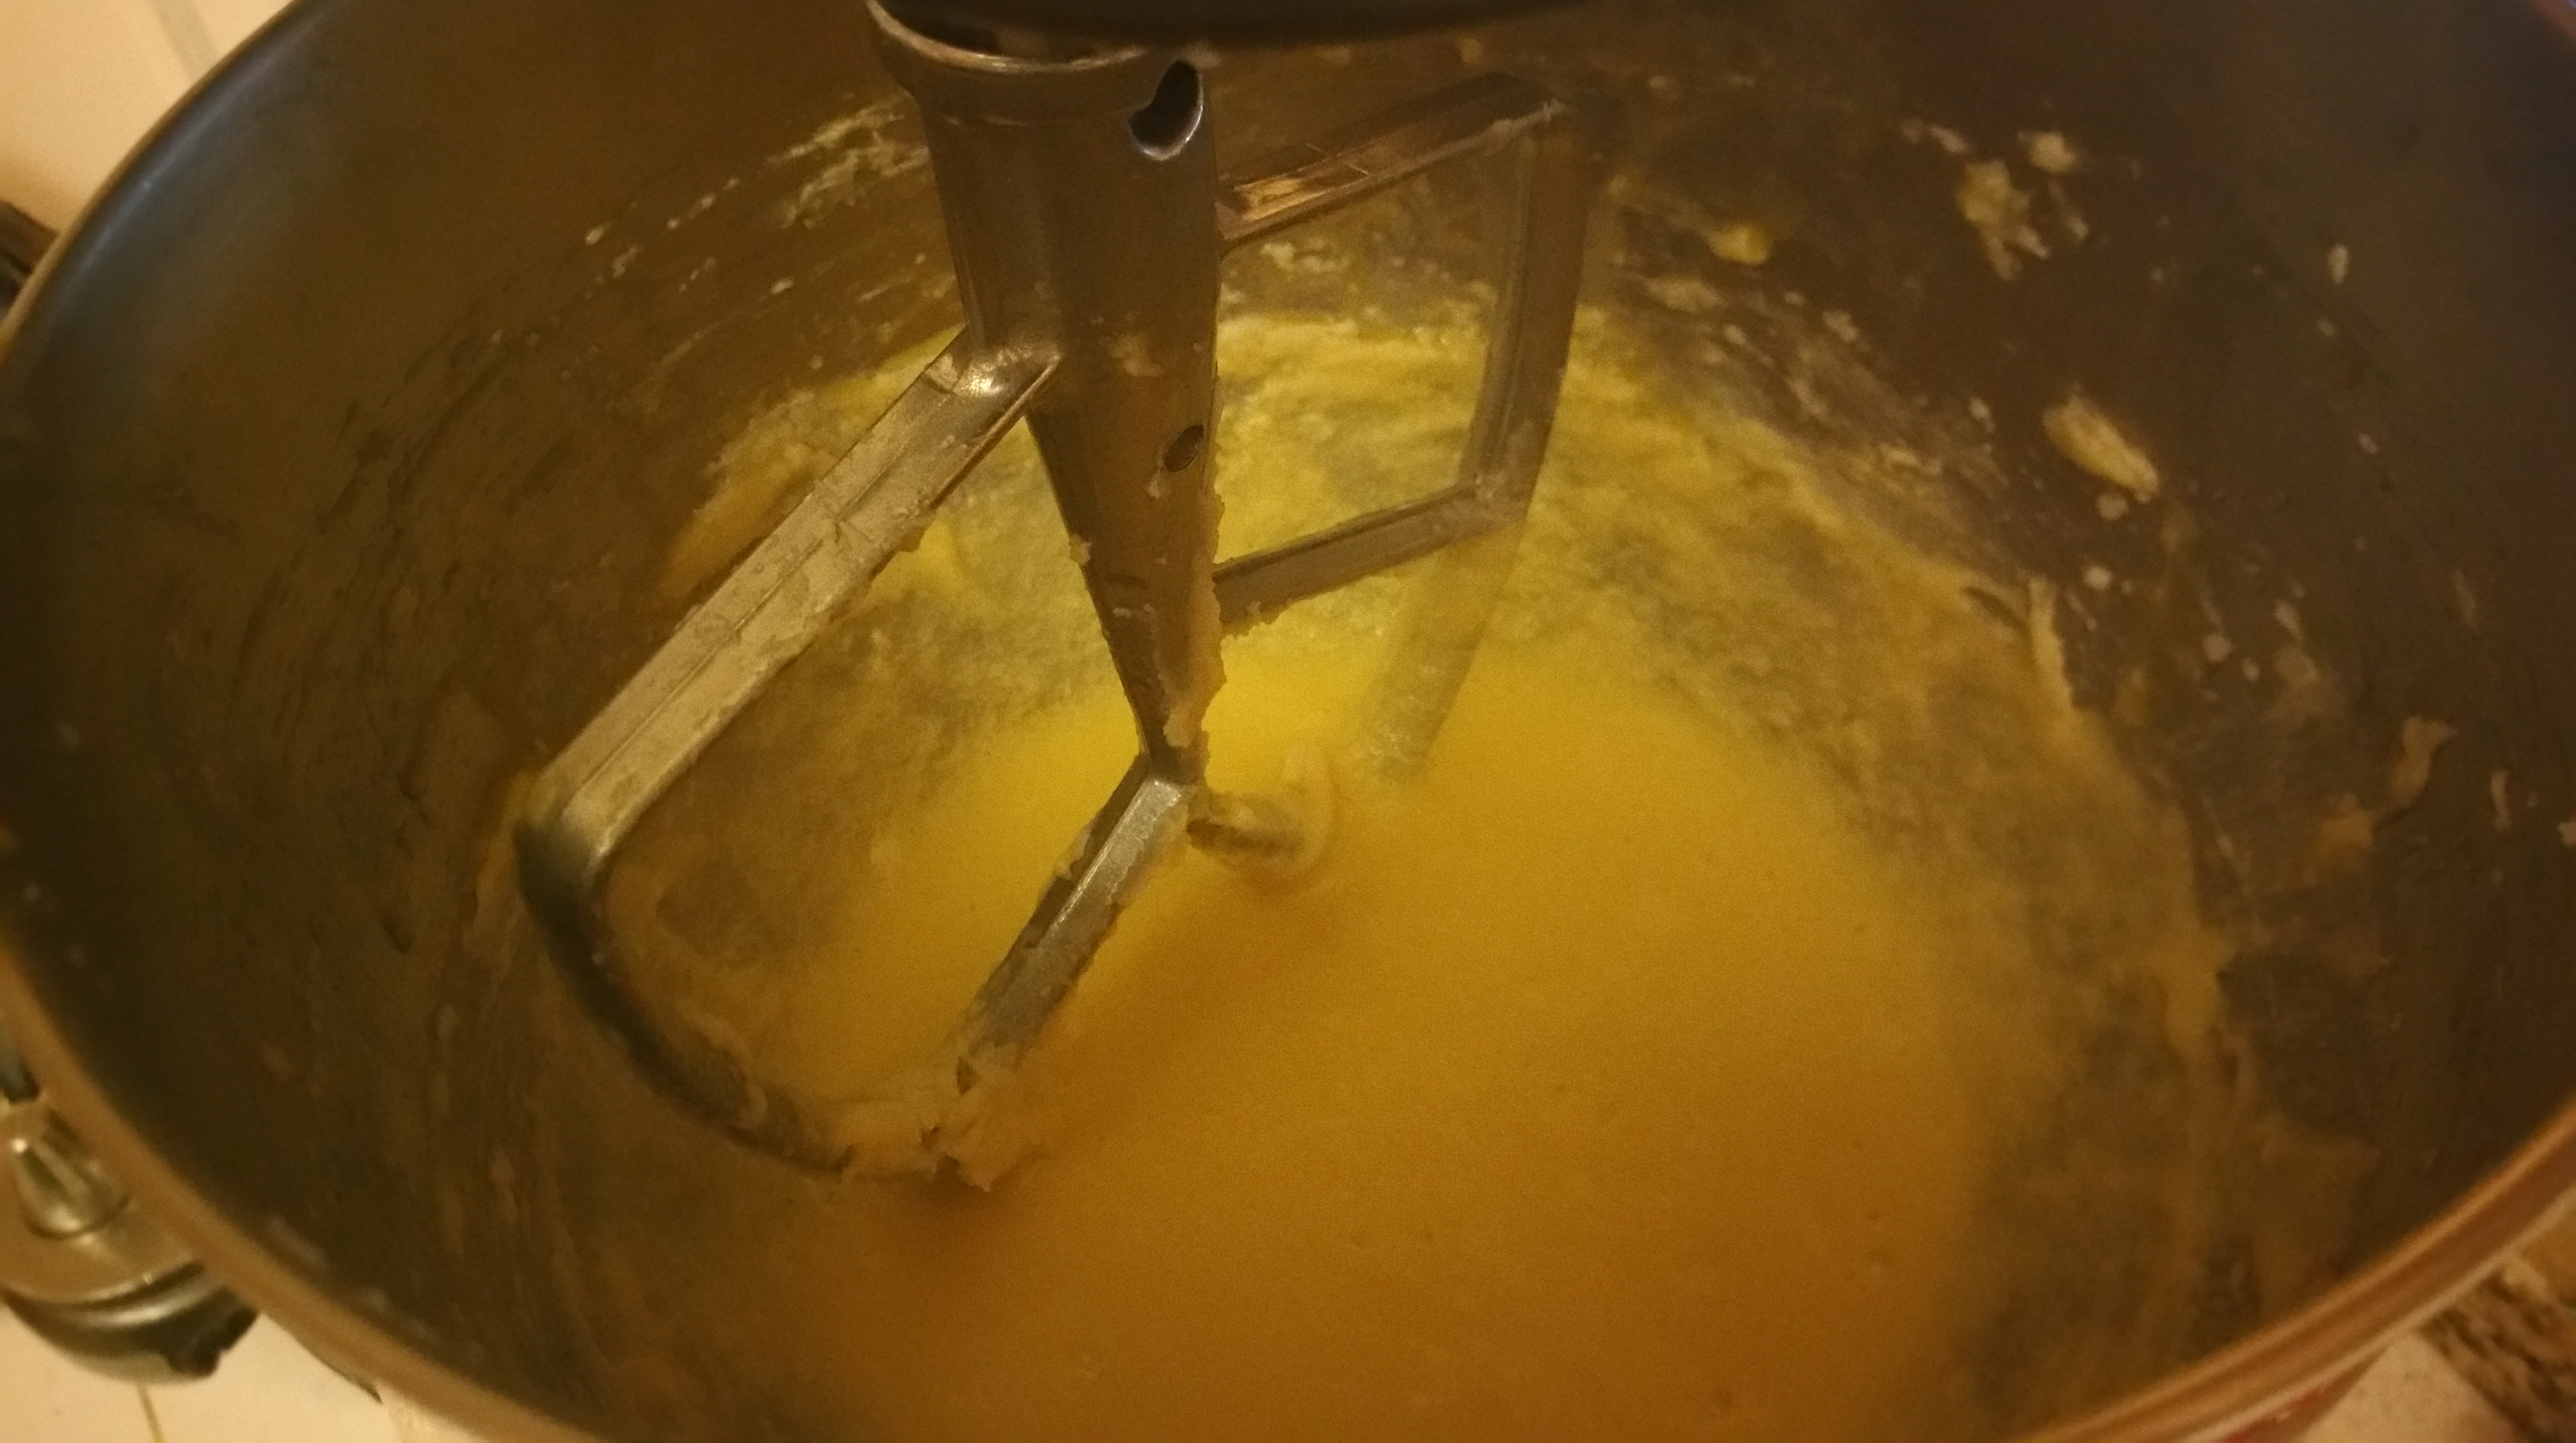
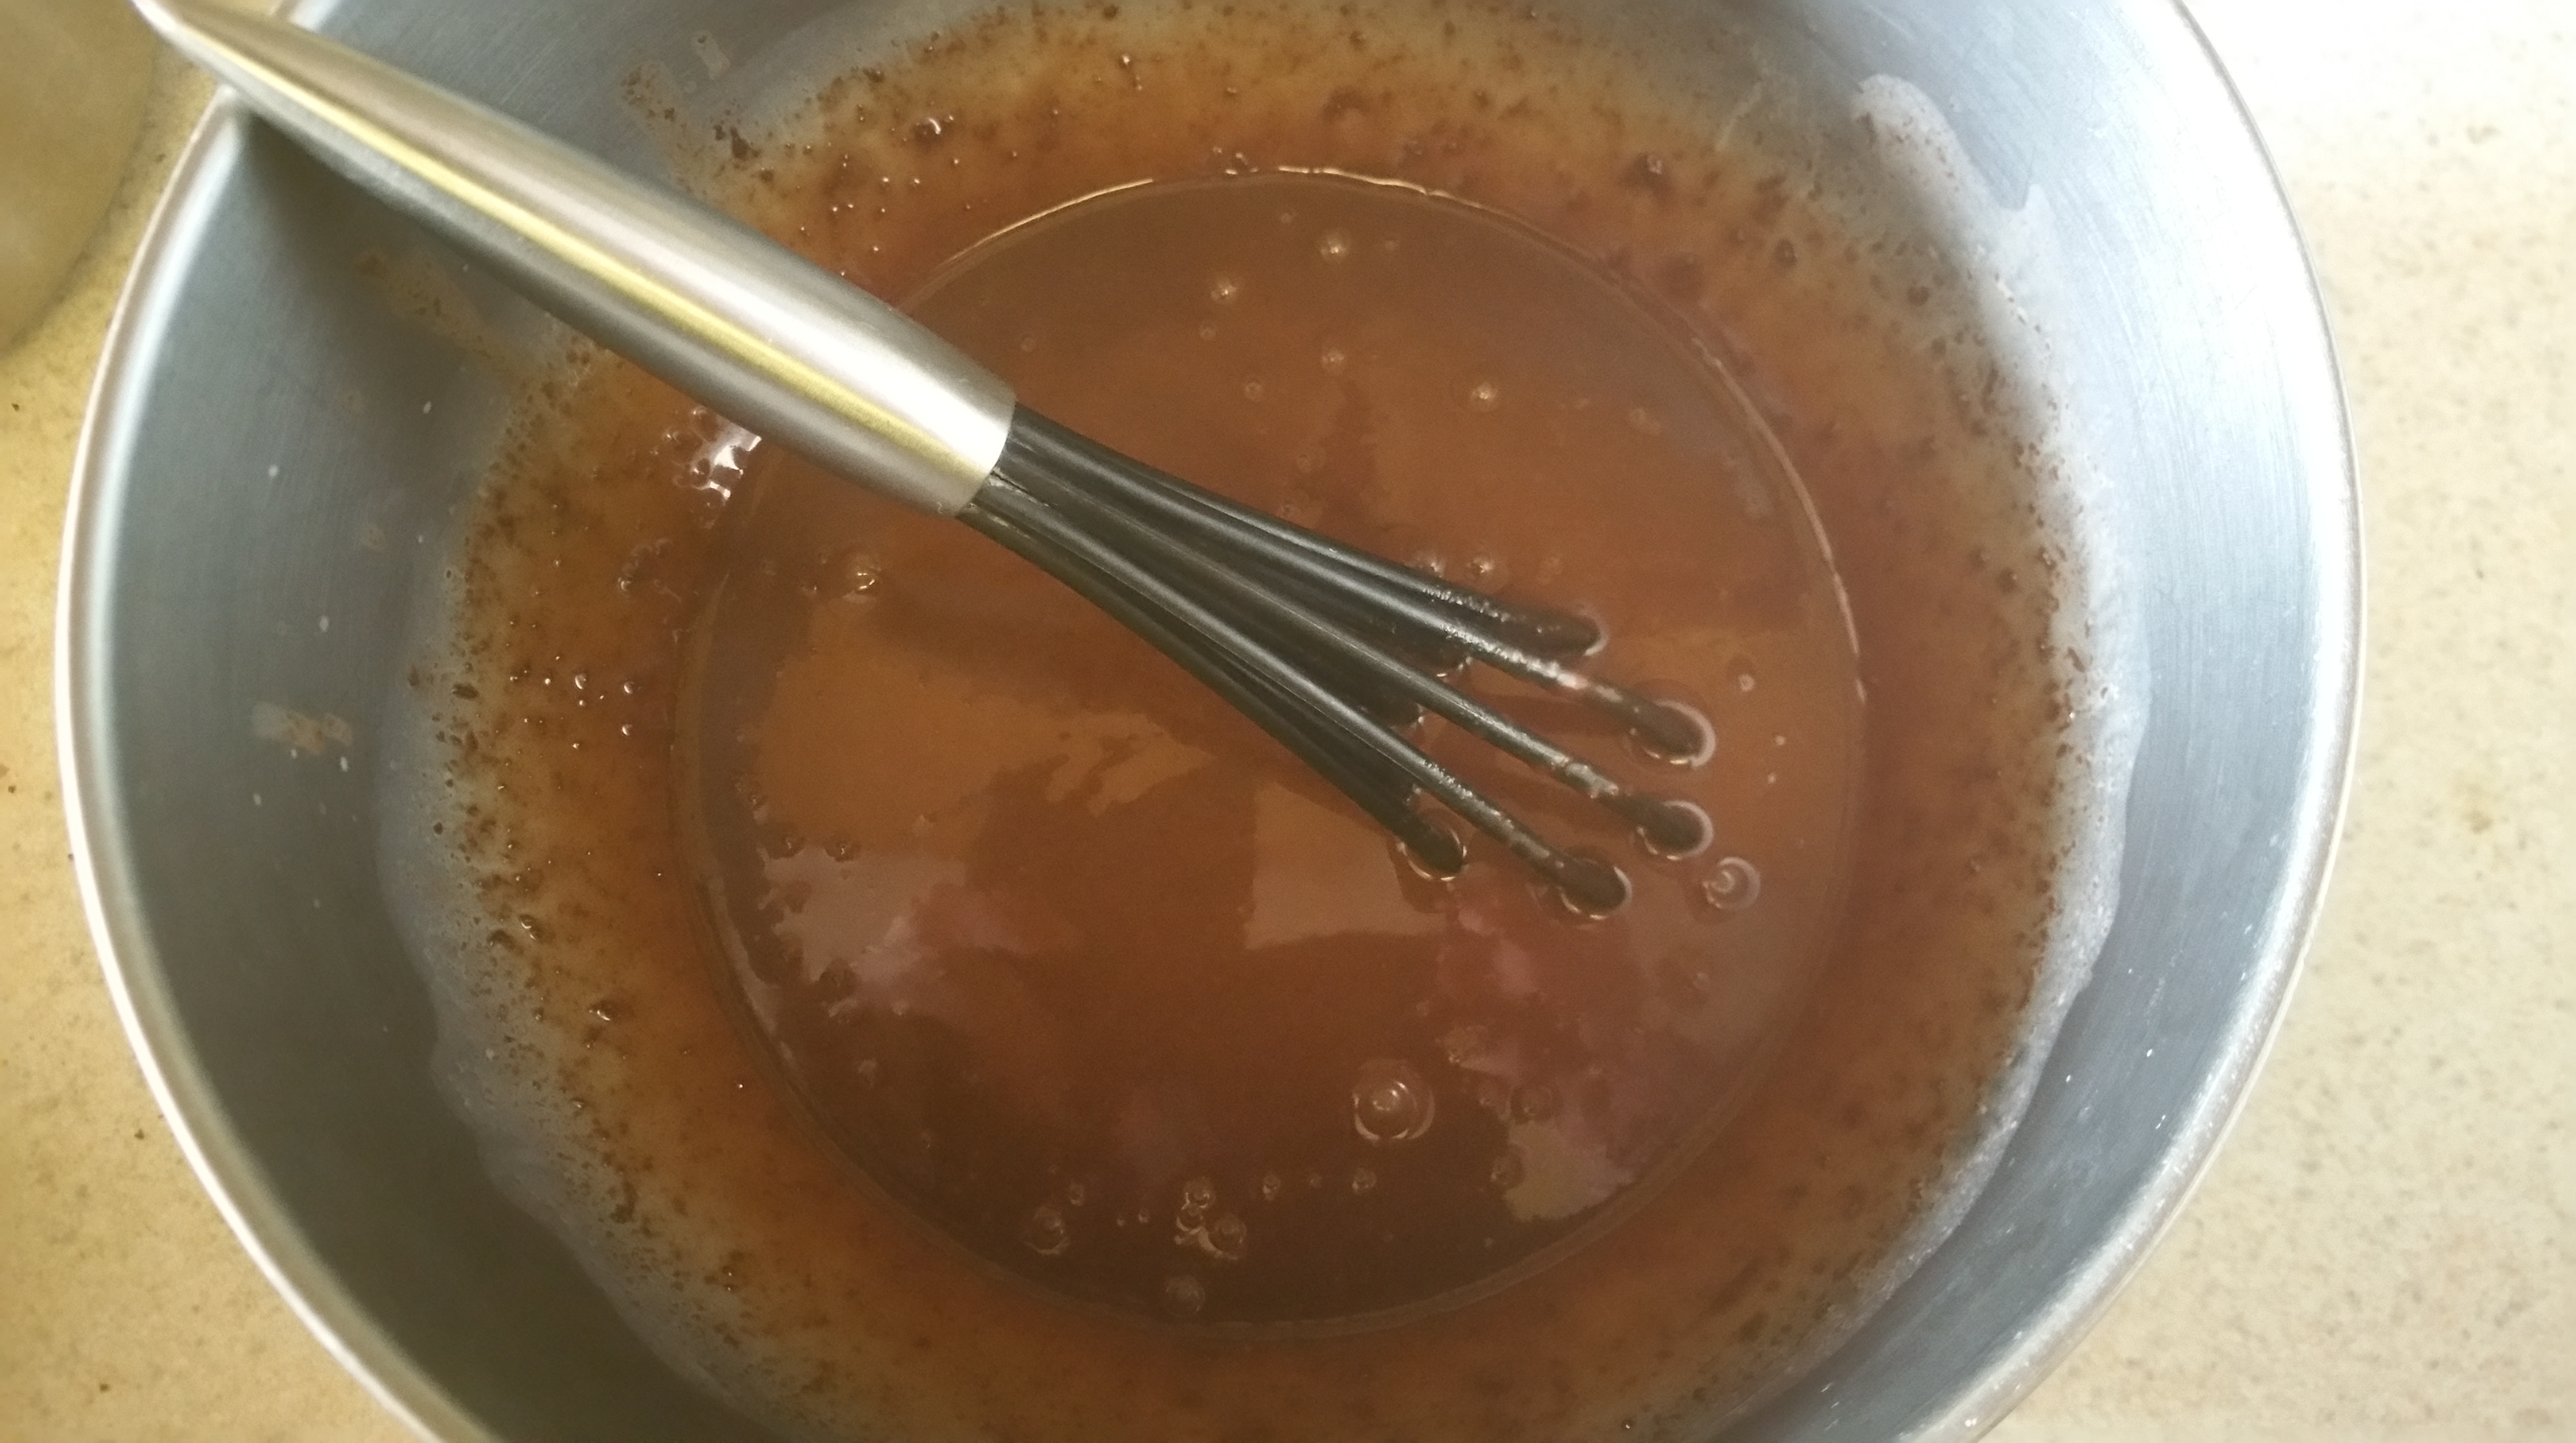
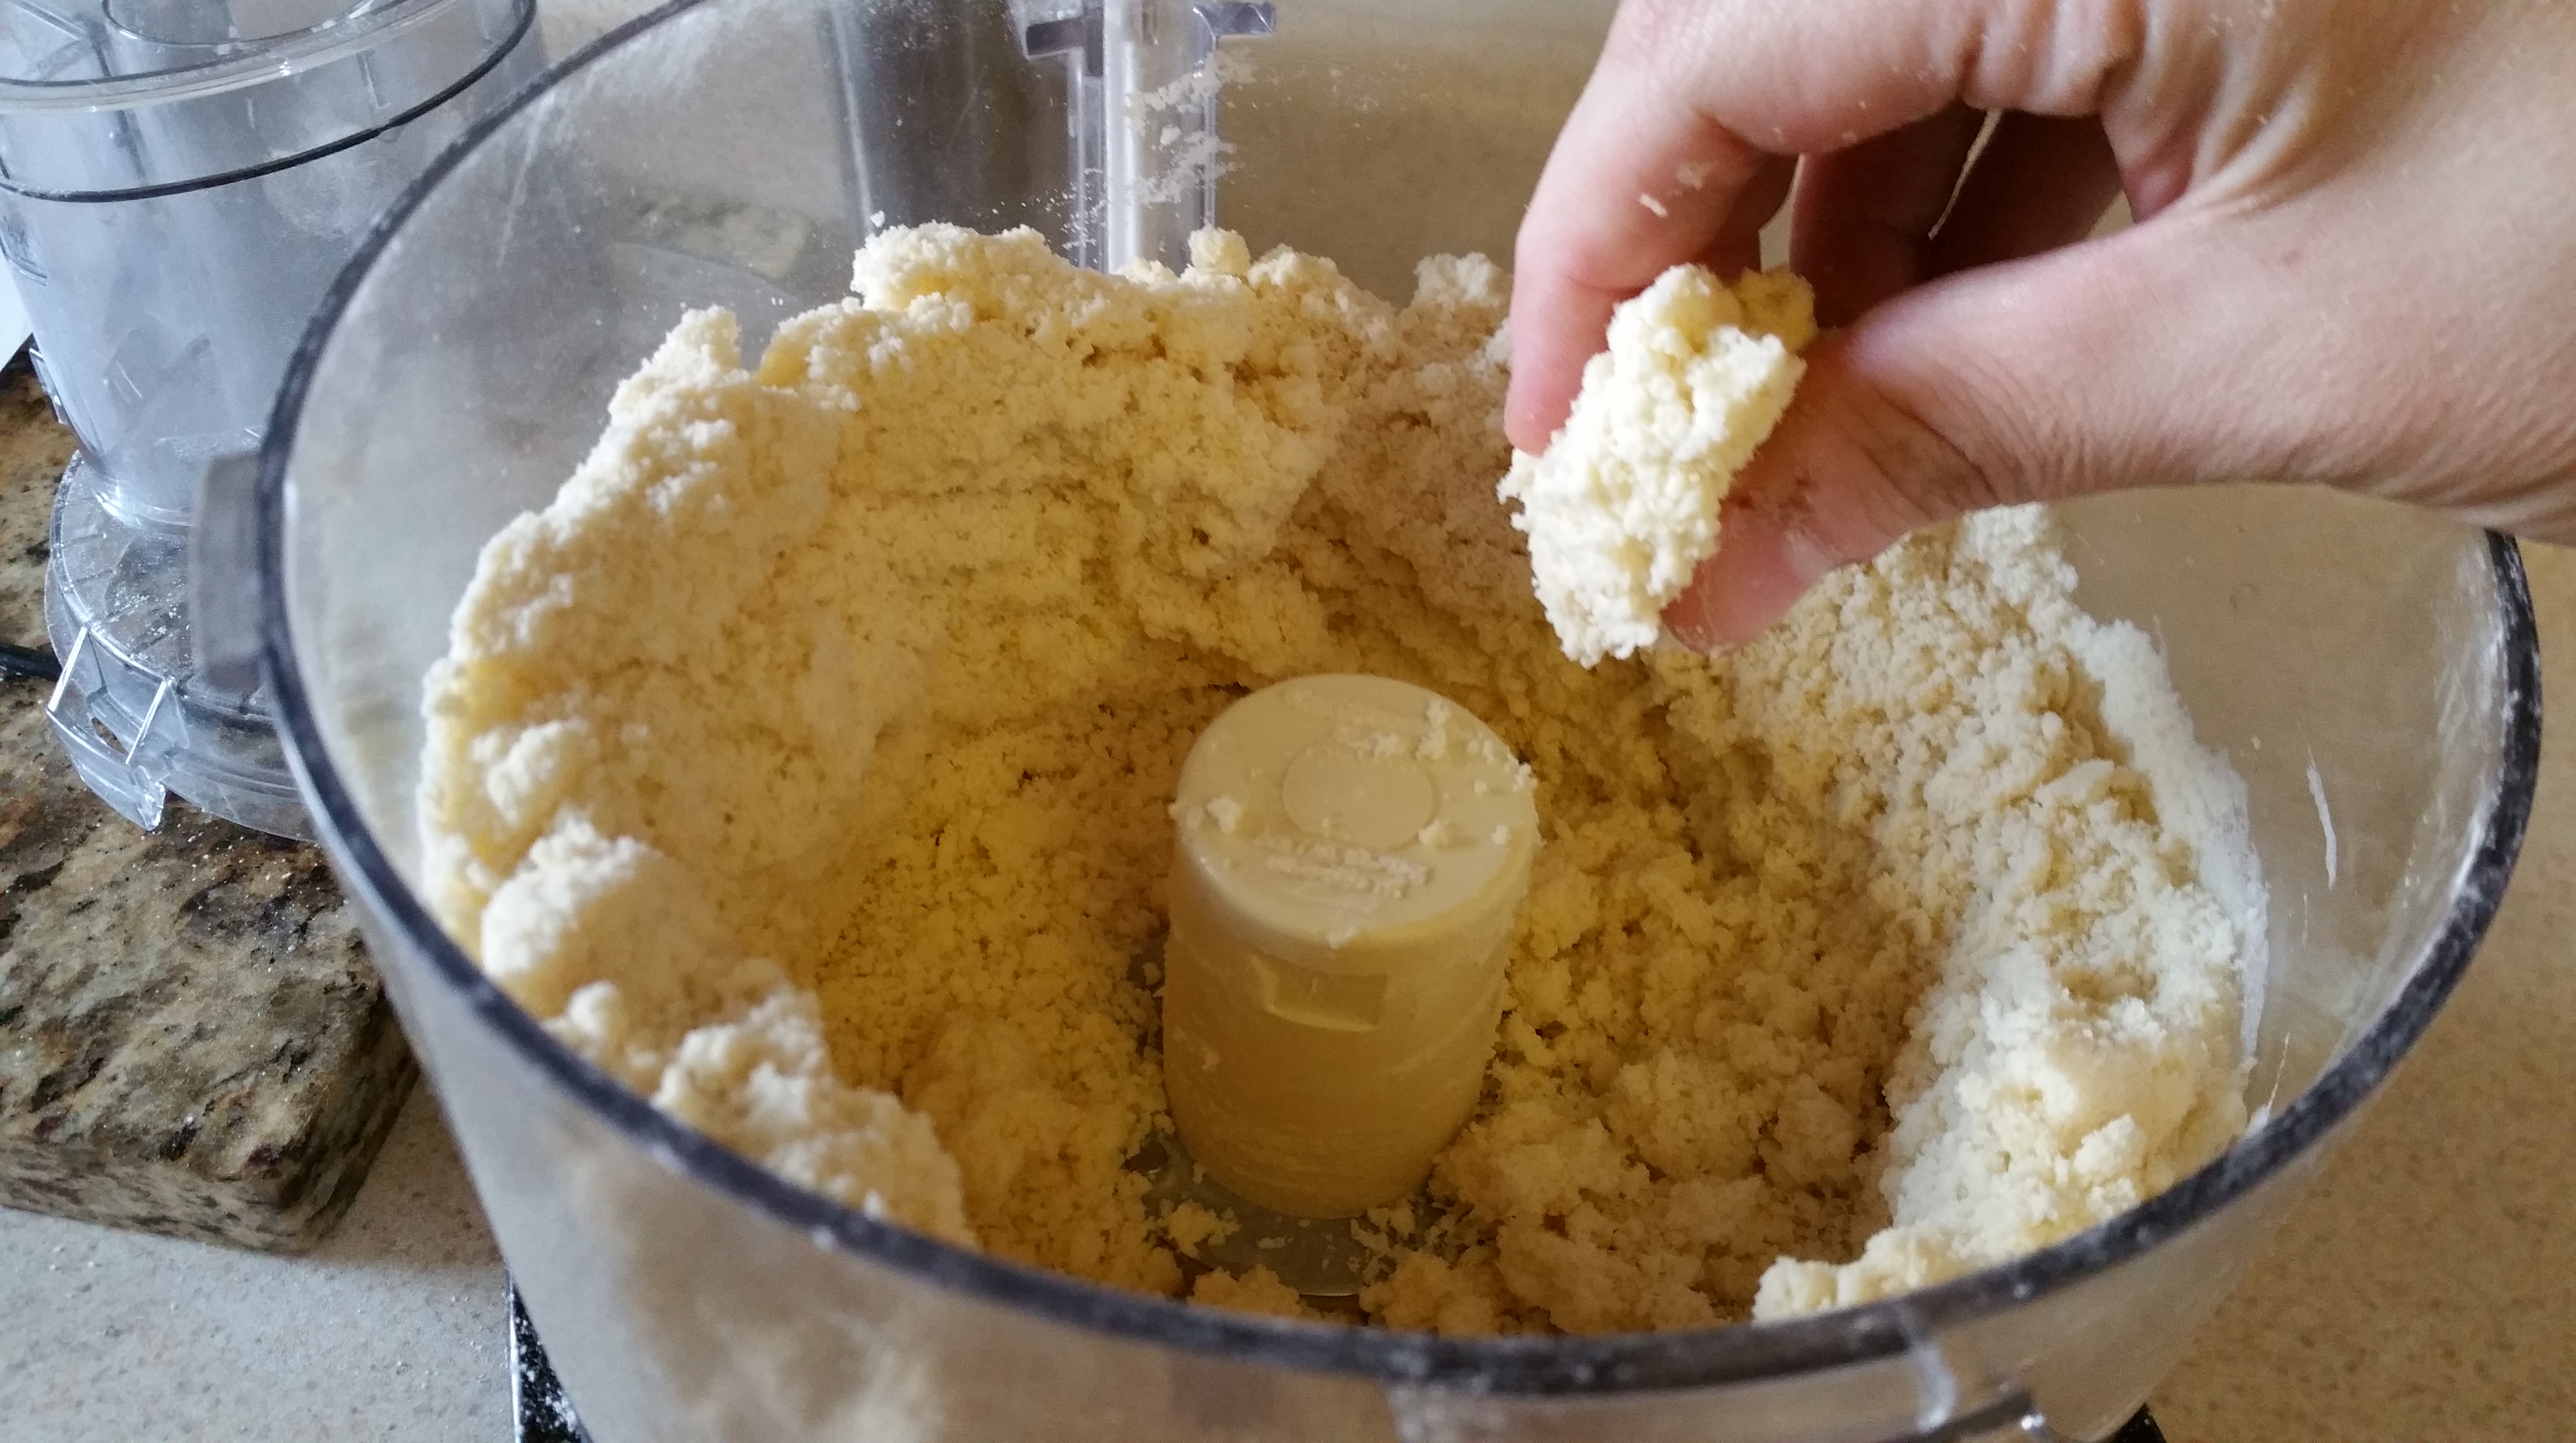
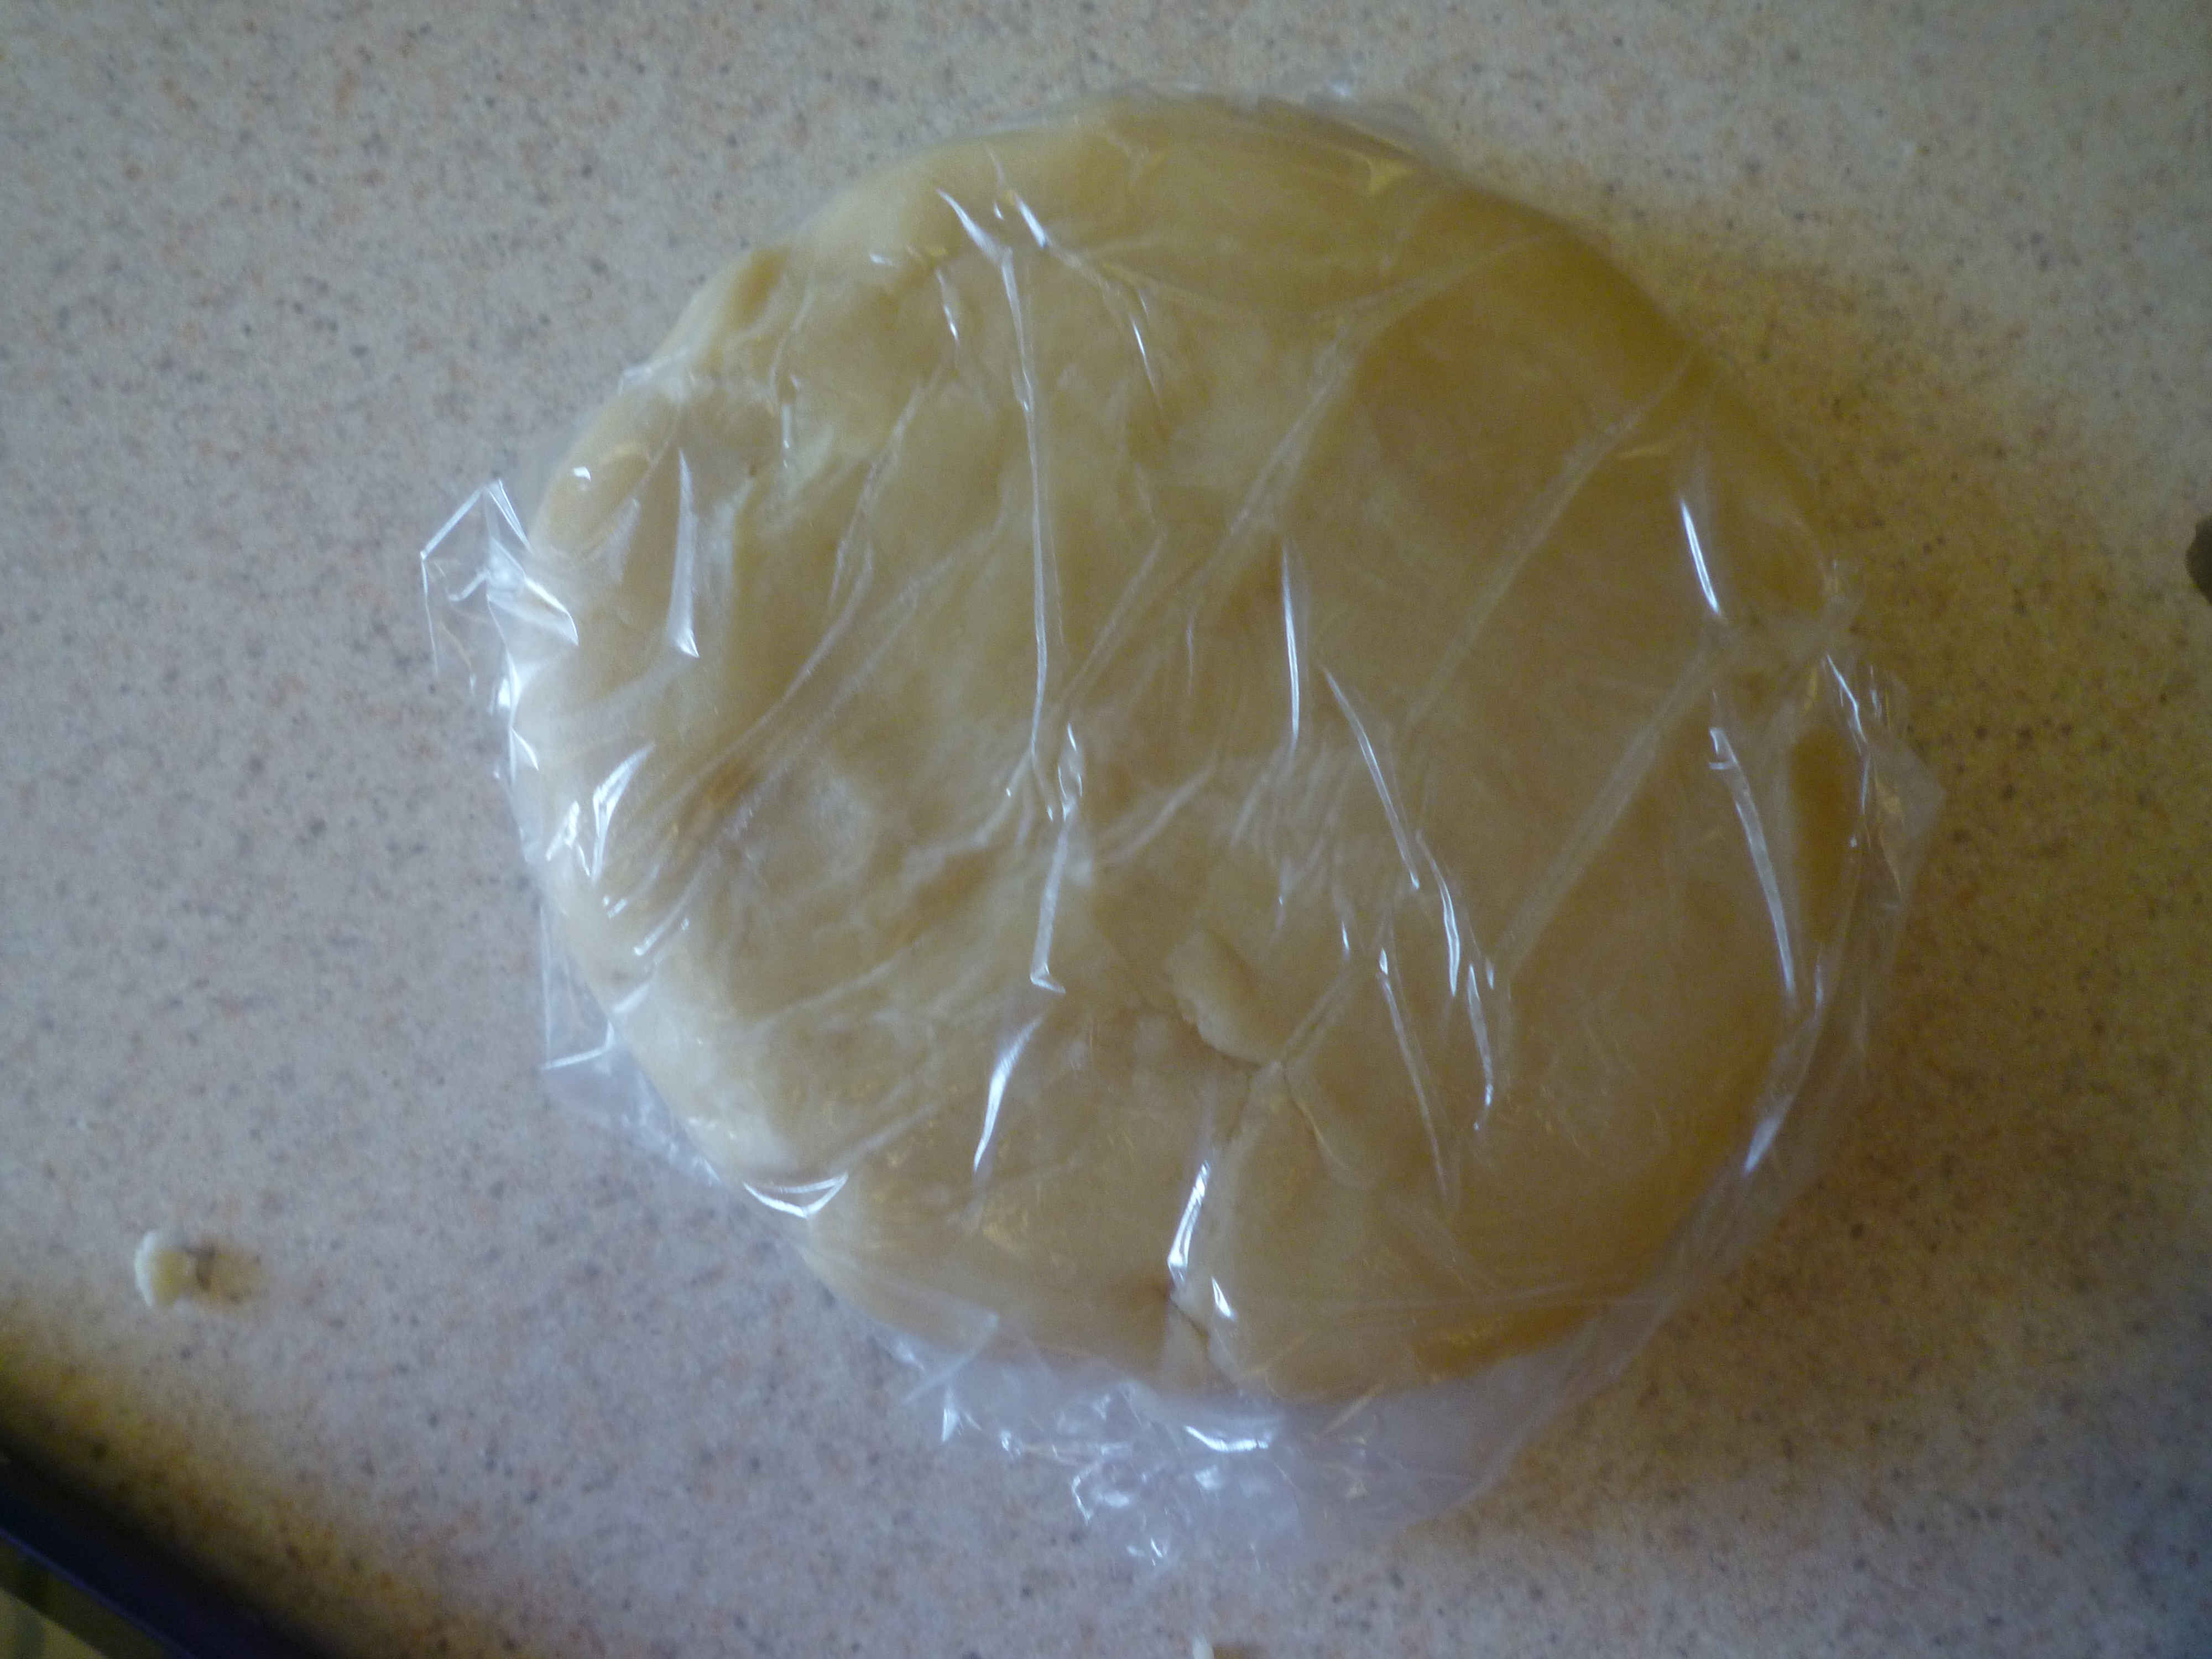
Add the flour mixture to the wet ingredients and mix until everything is combined.

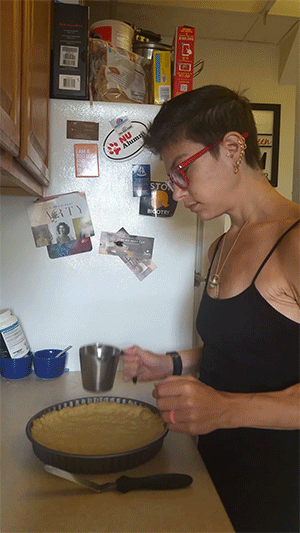
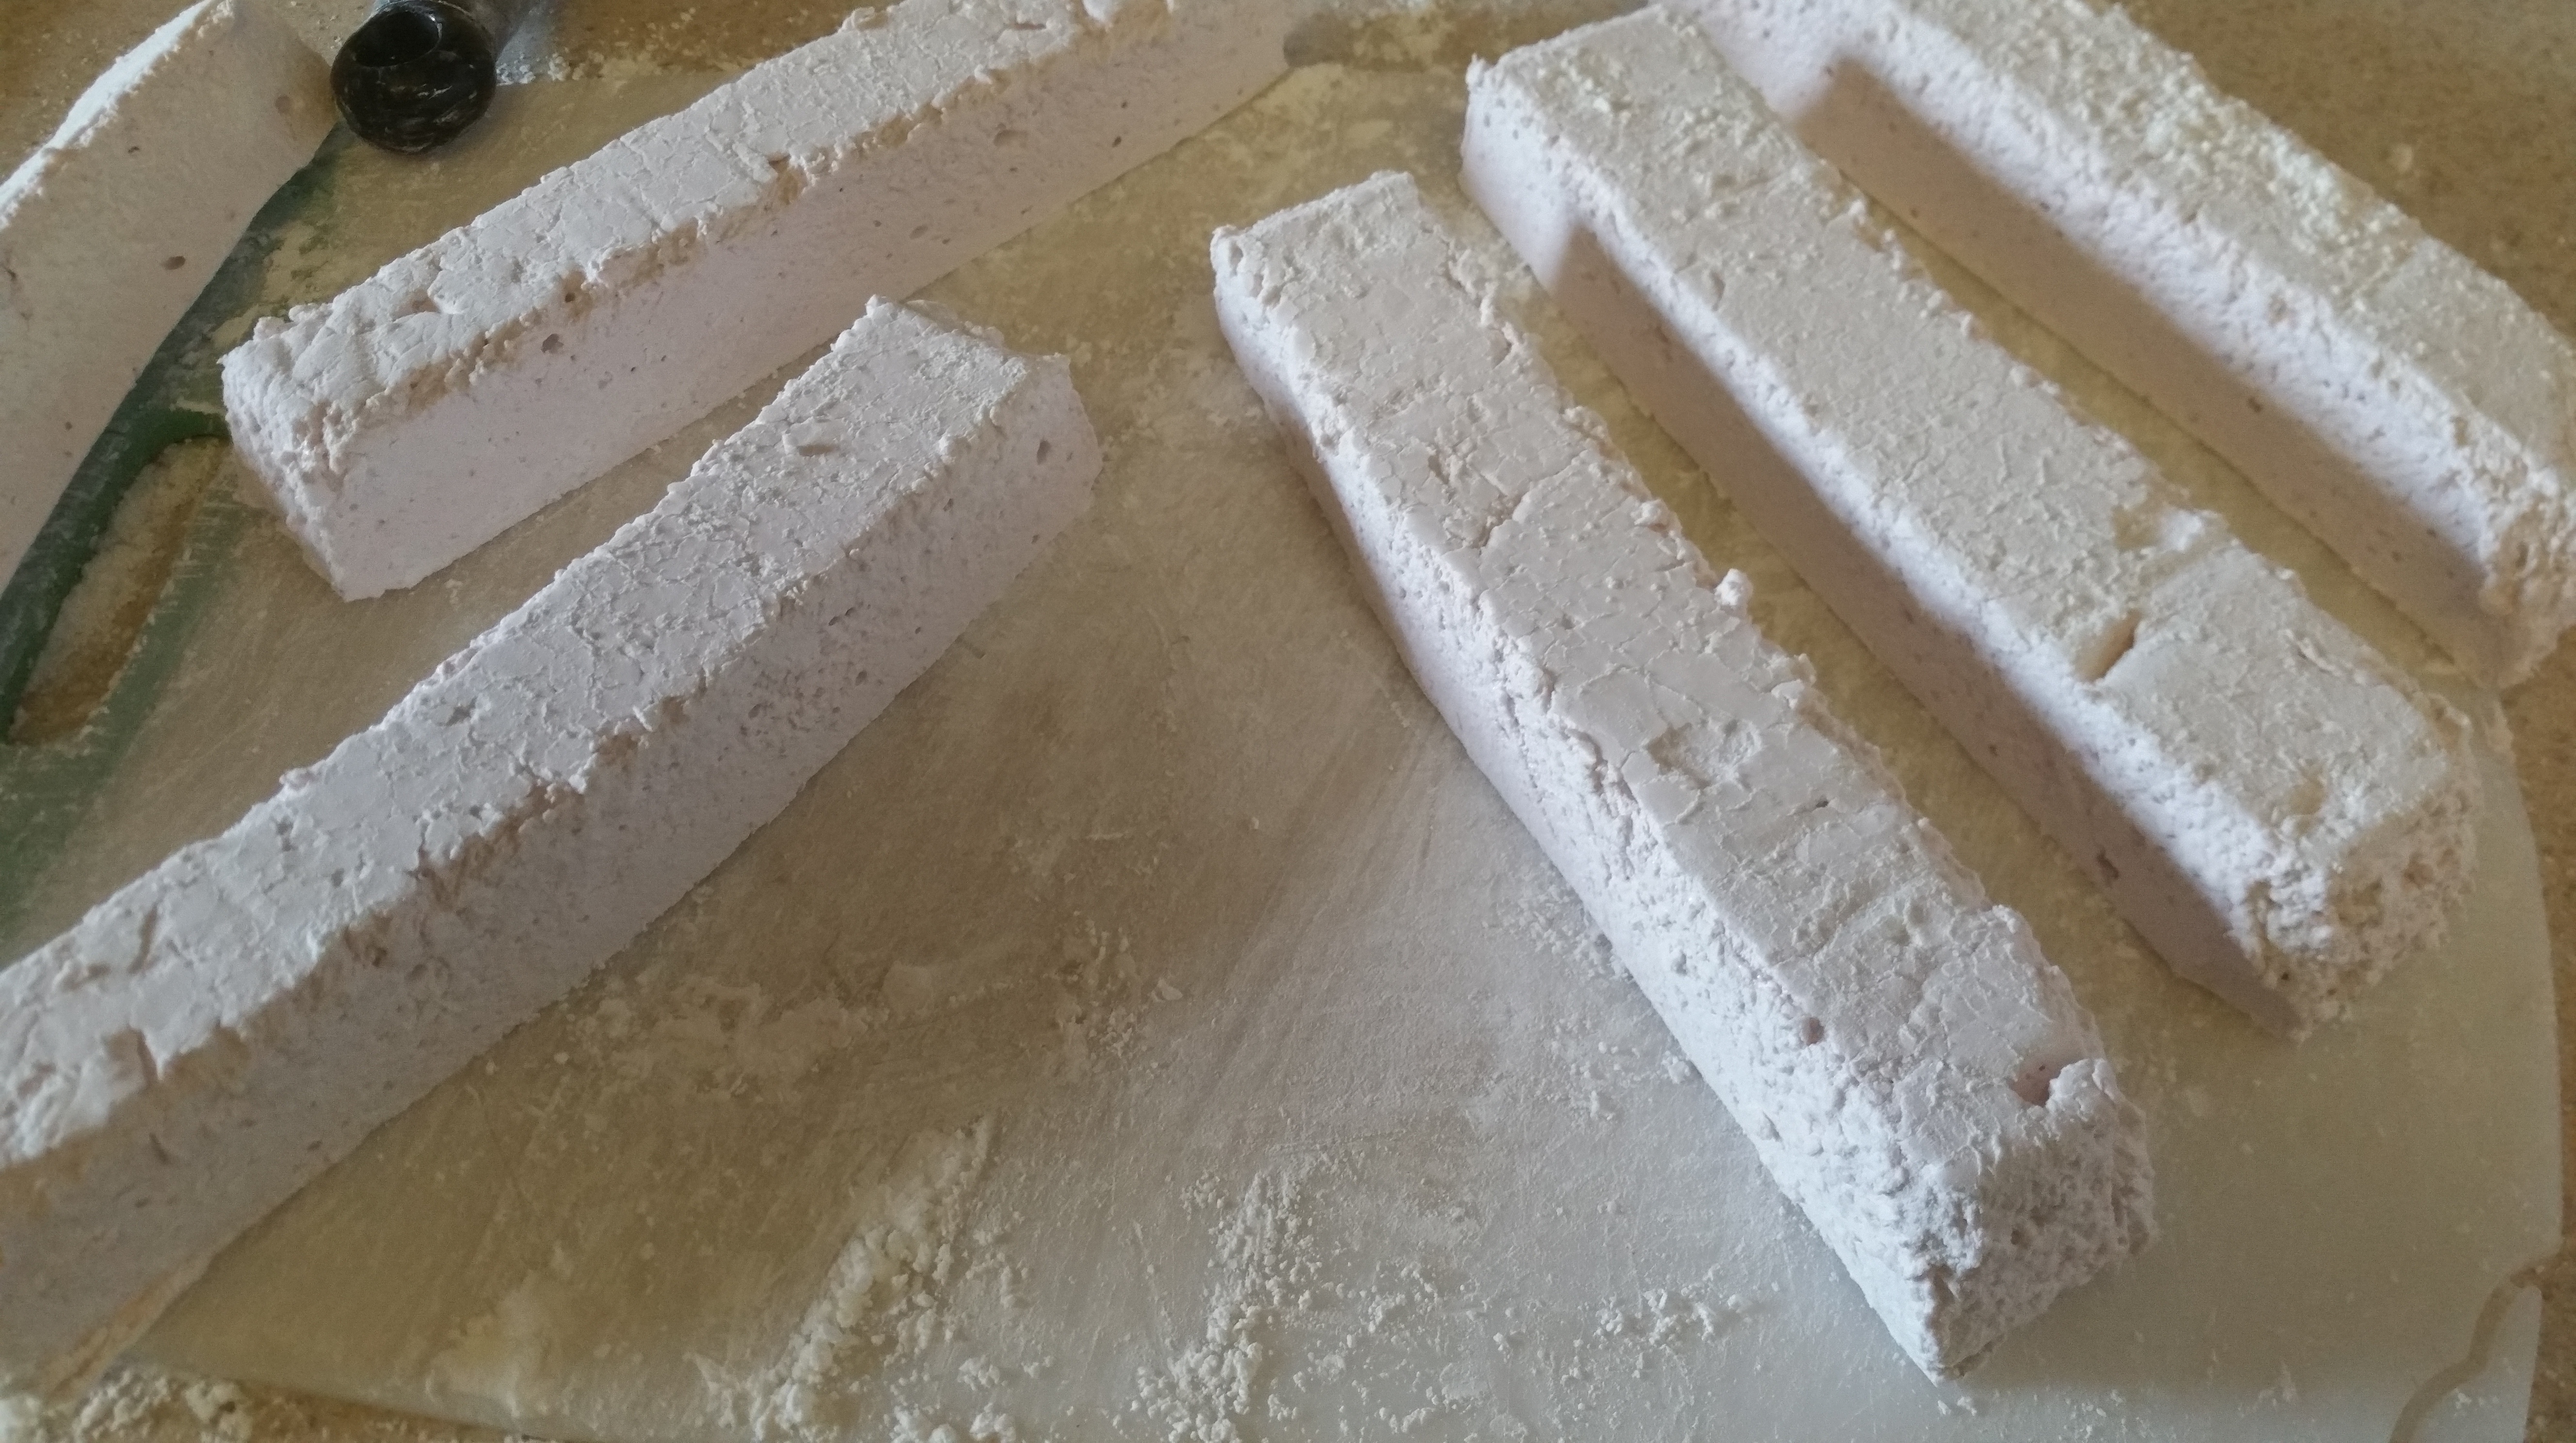
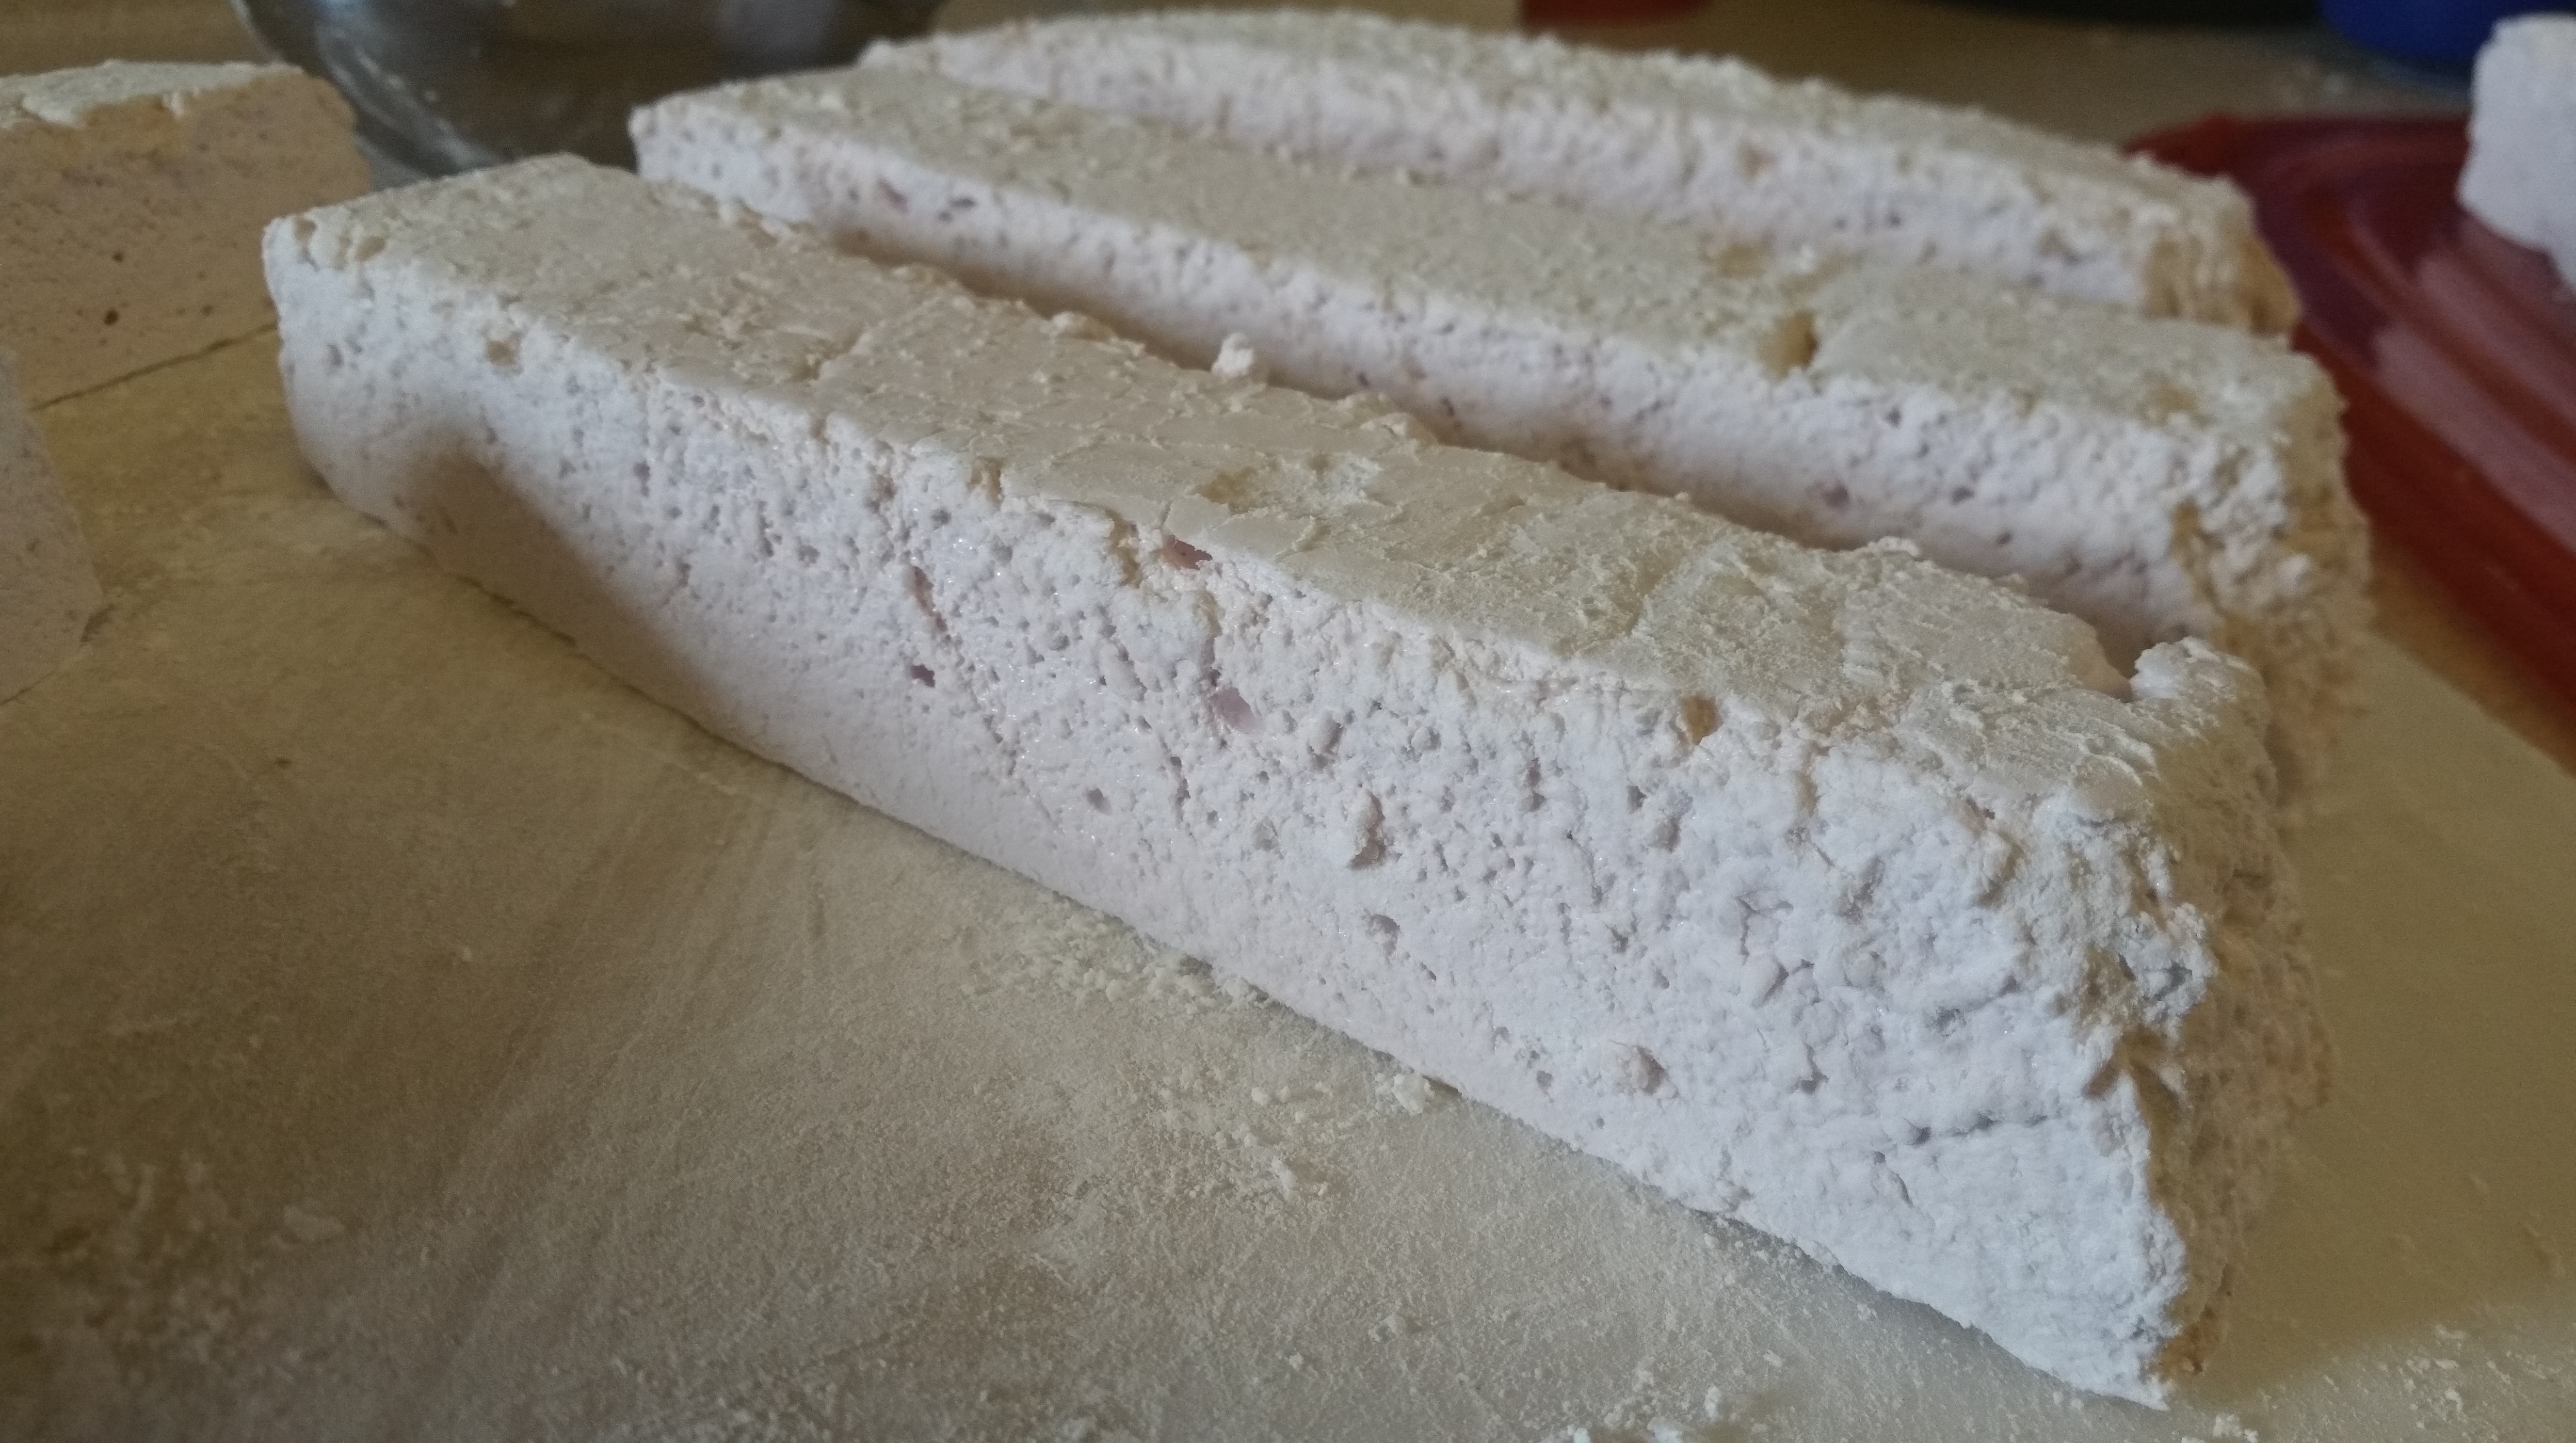
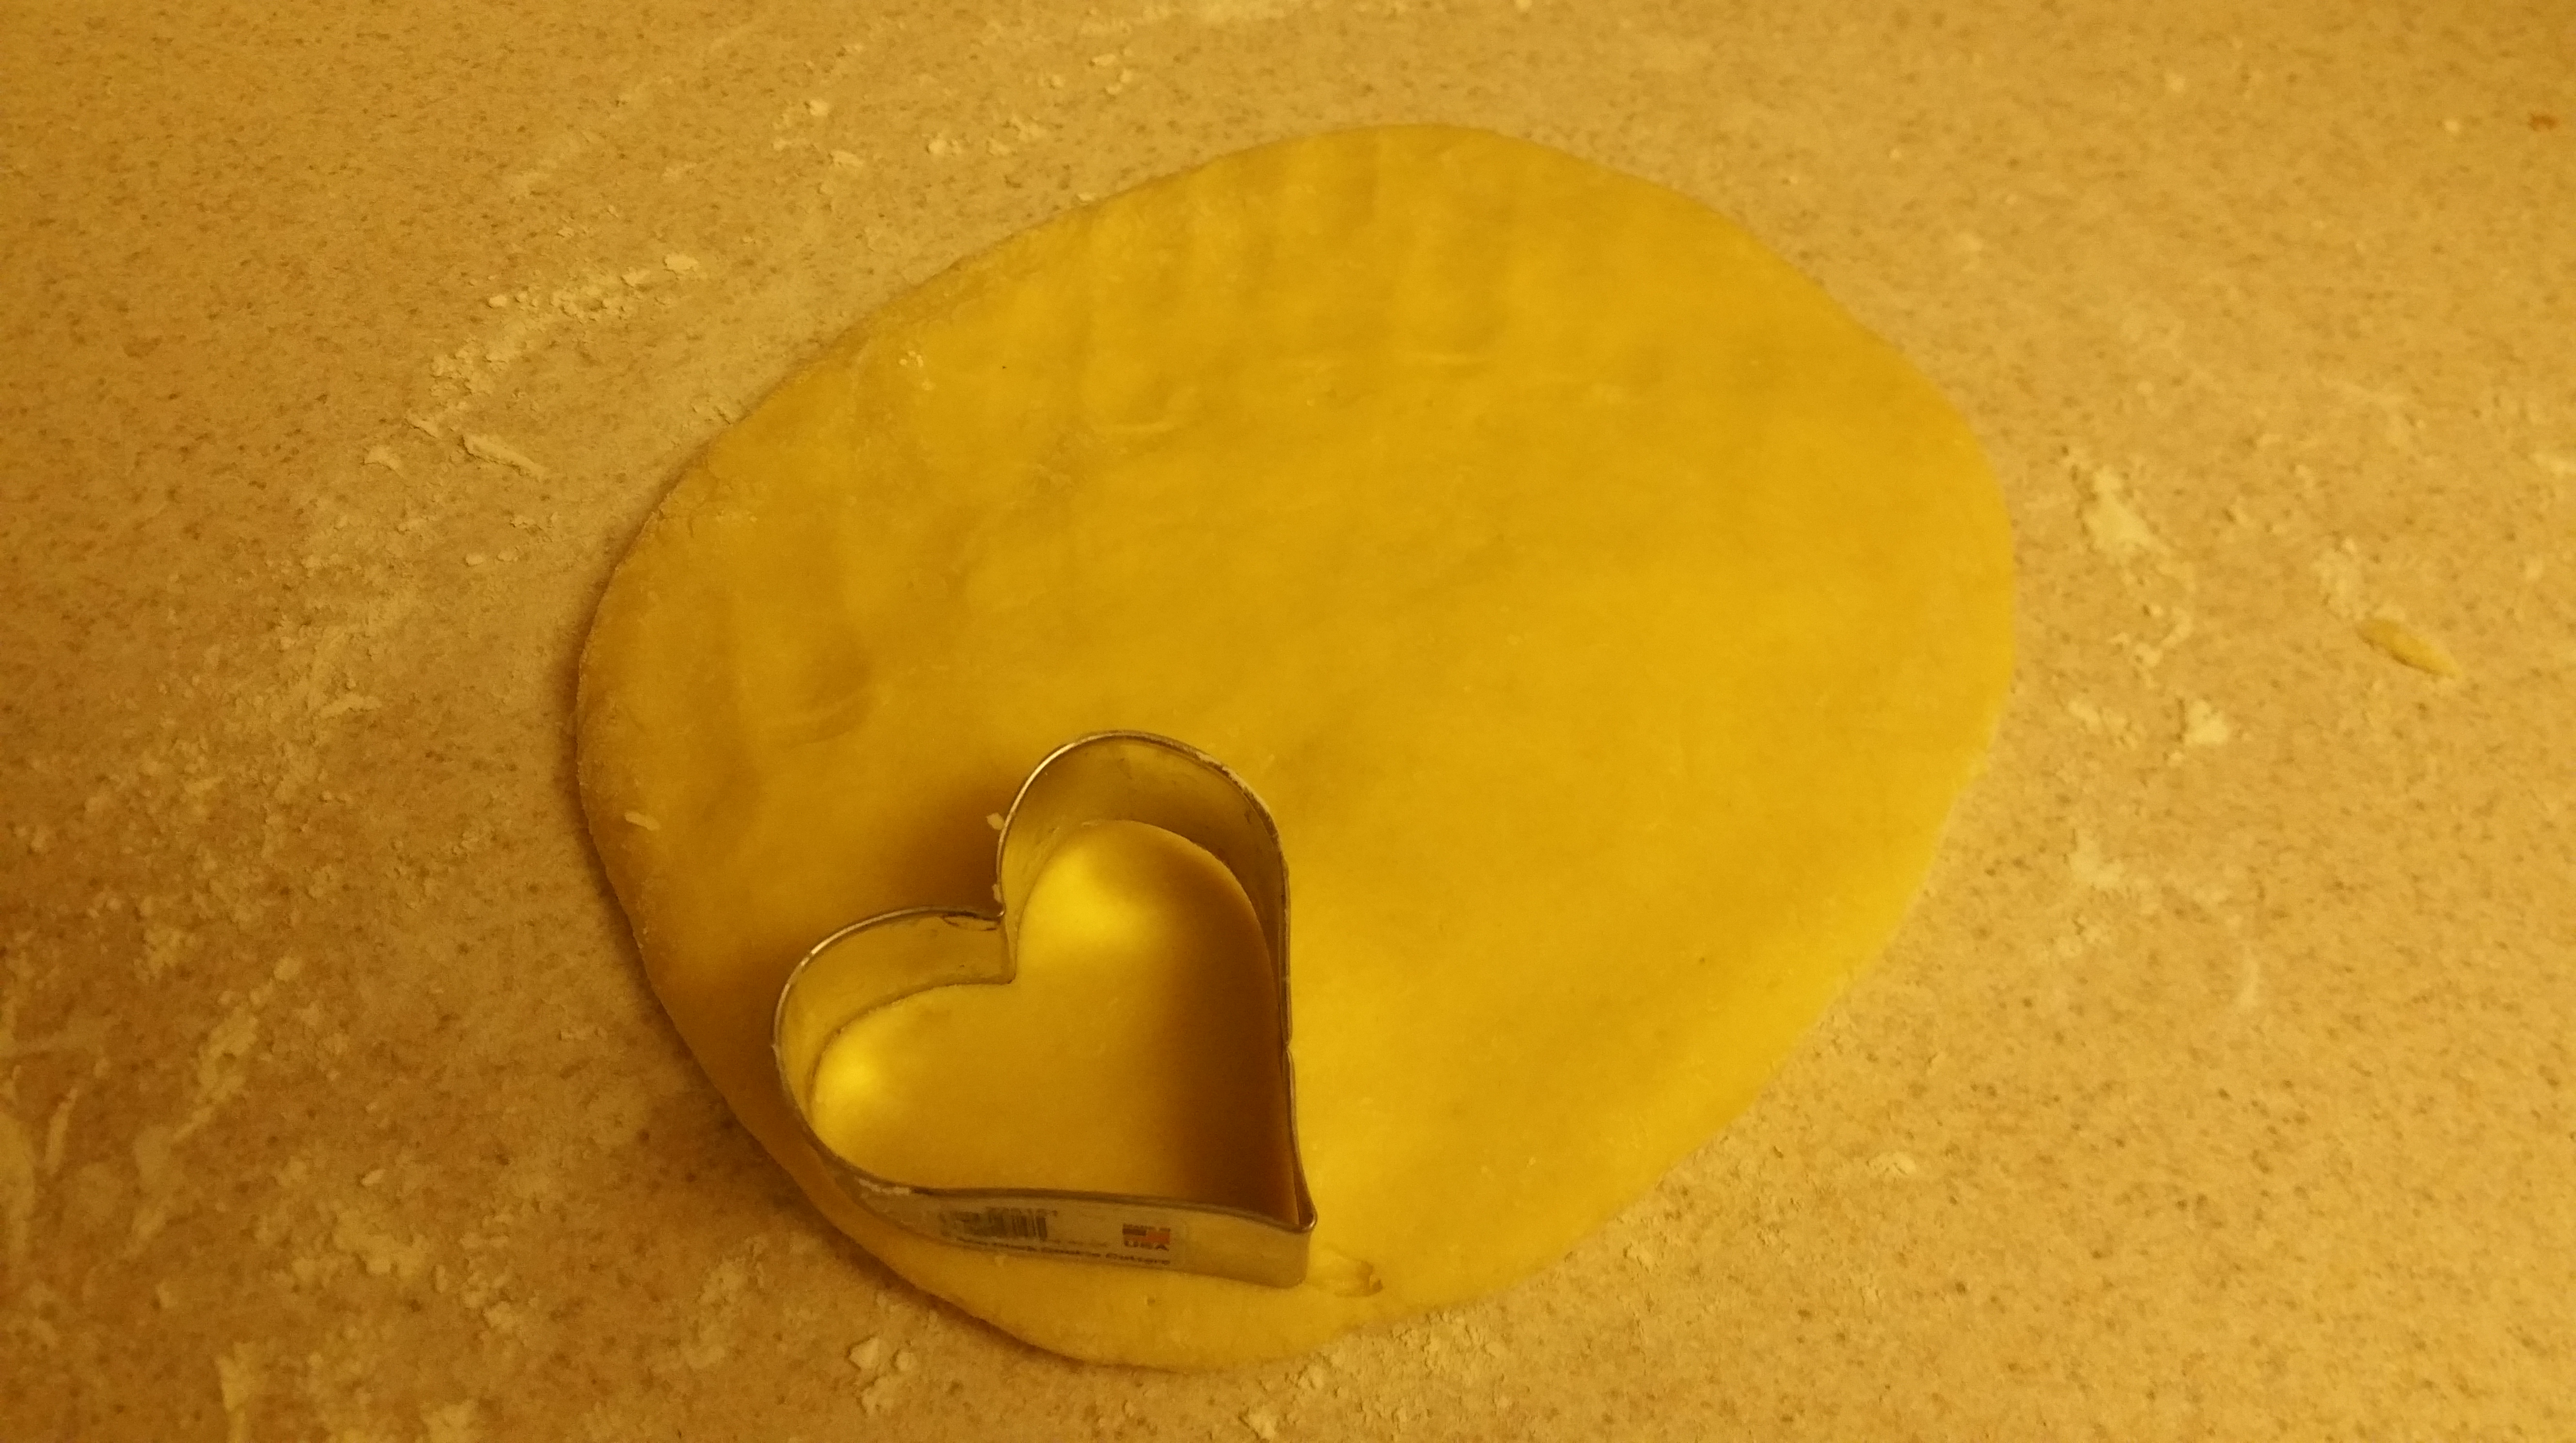
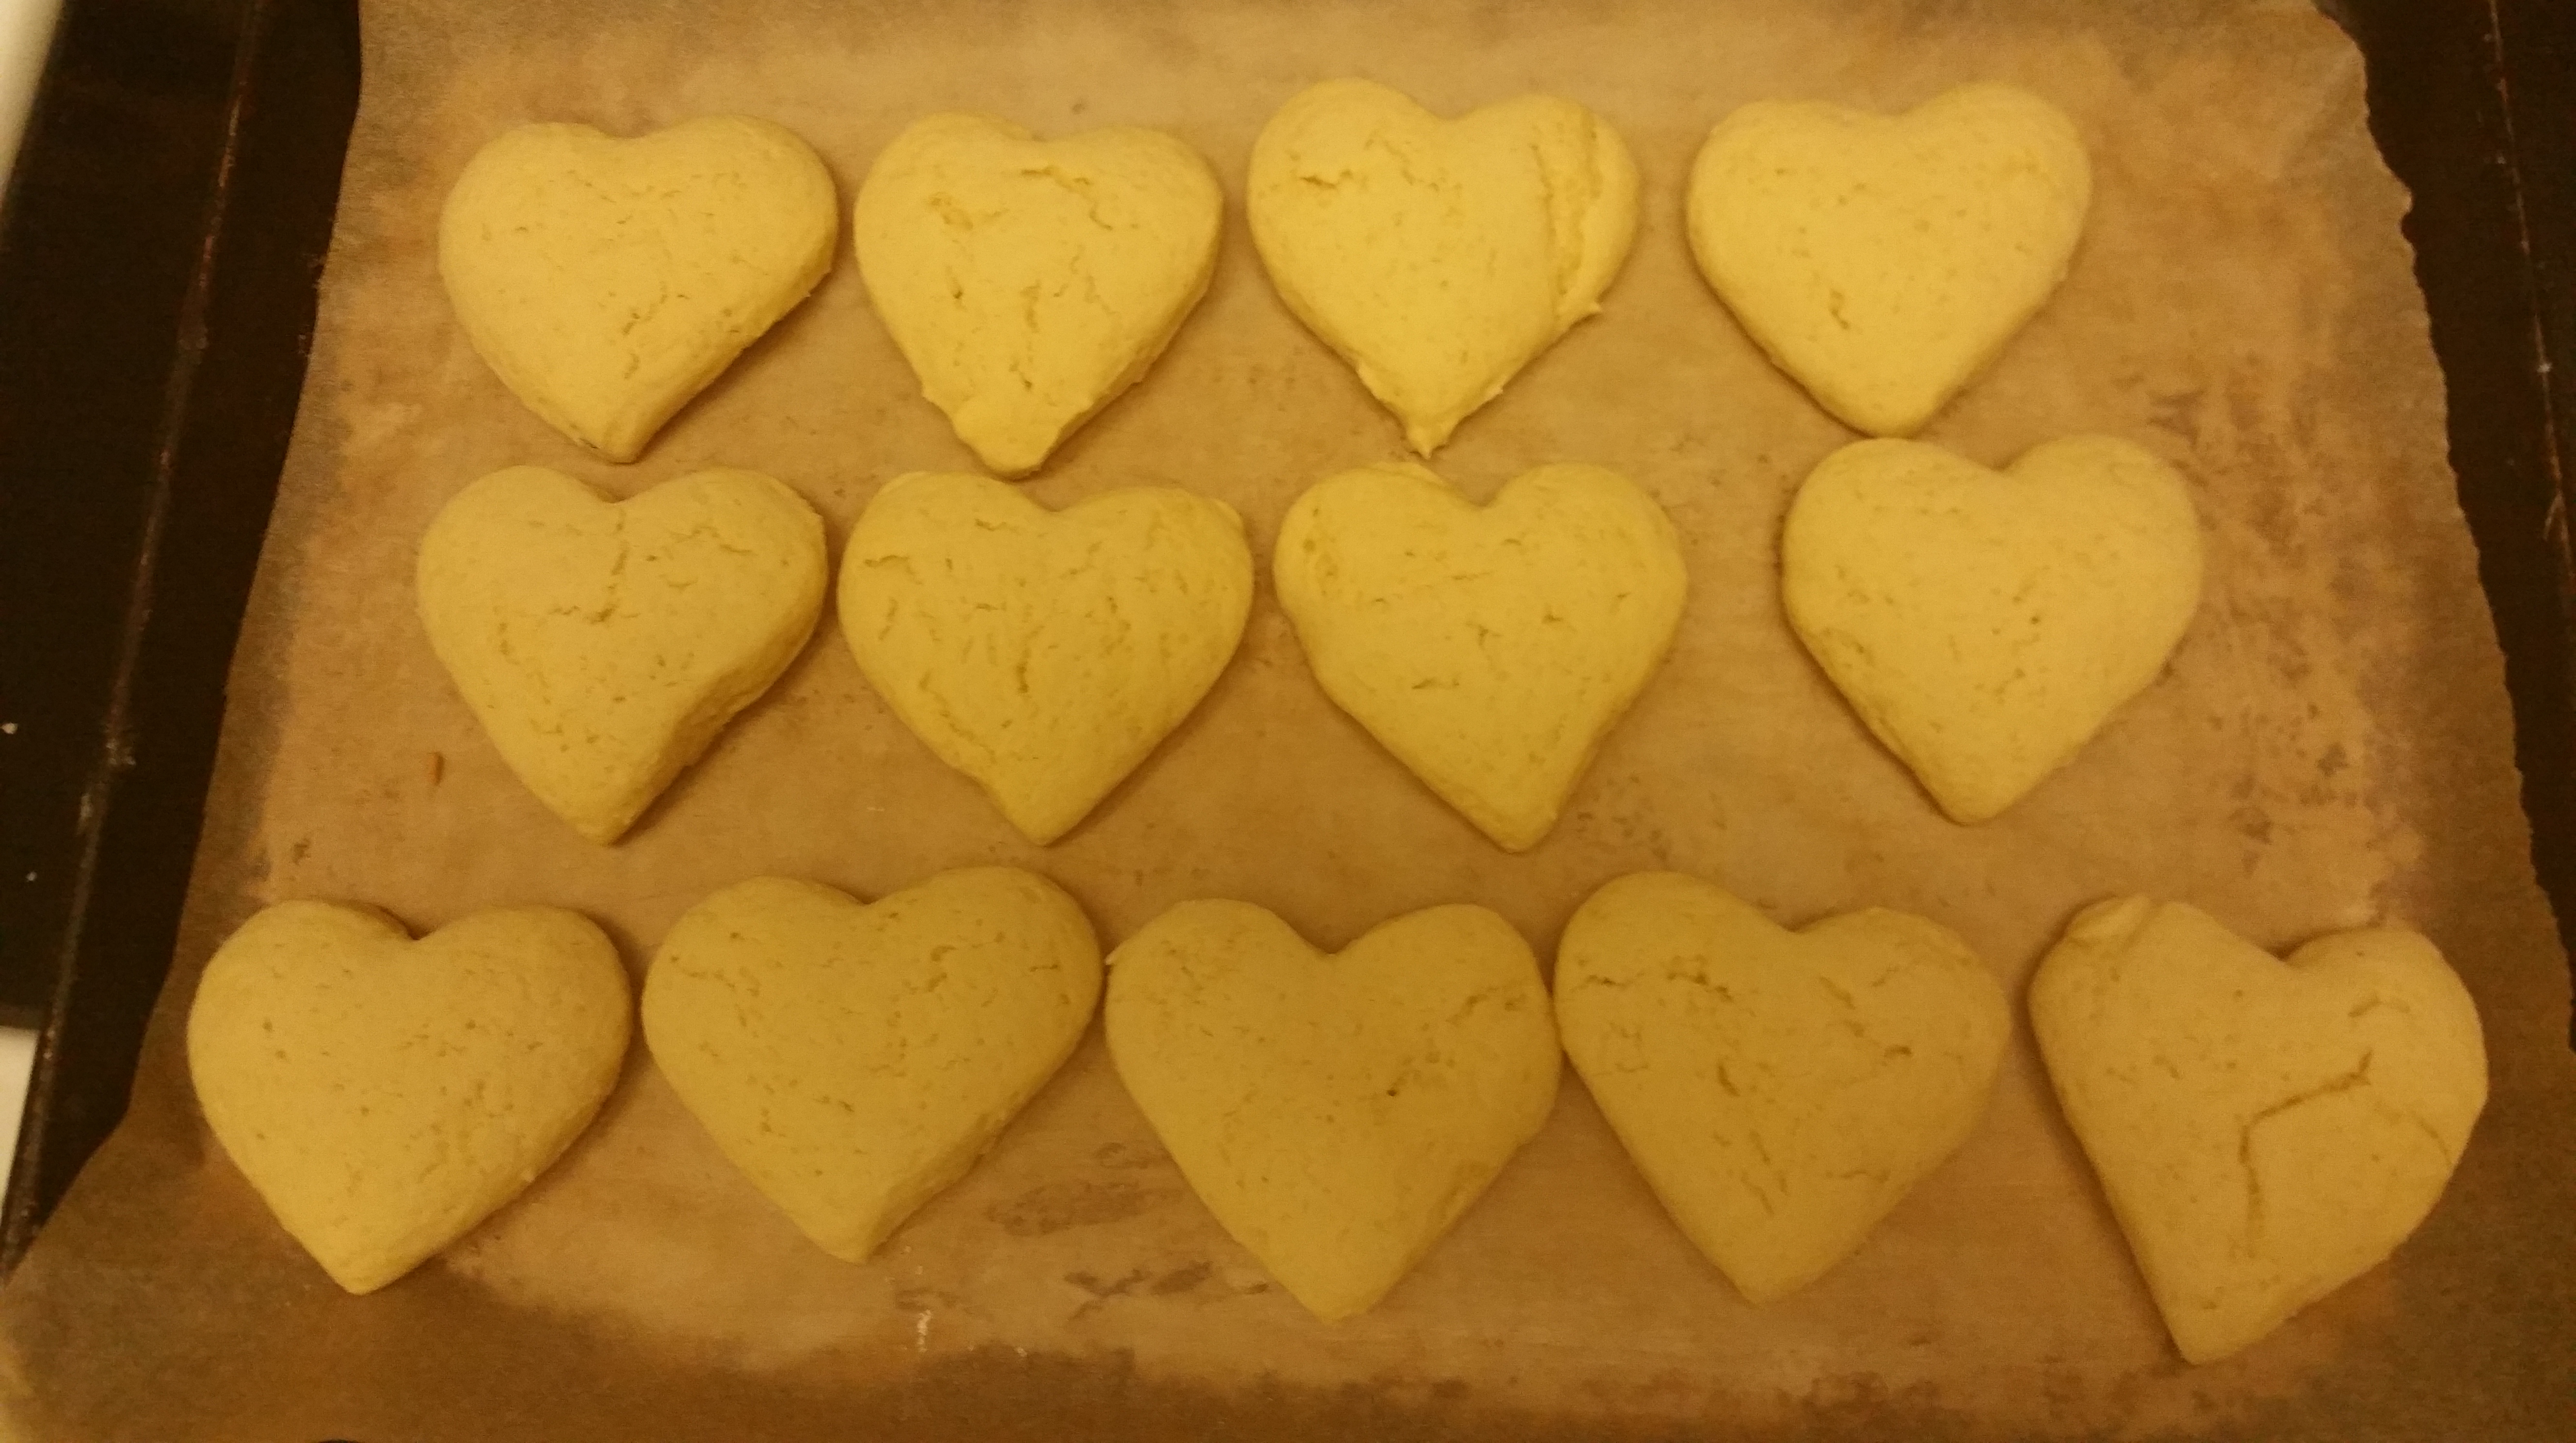
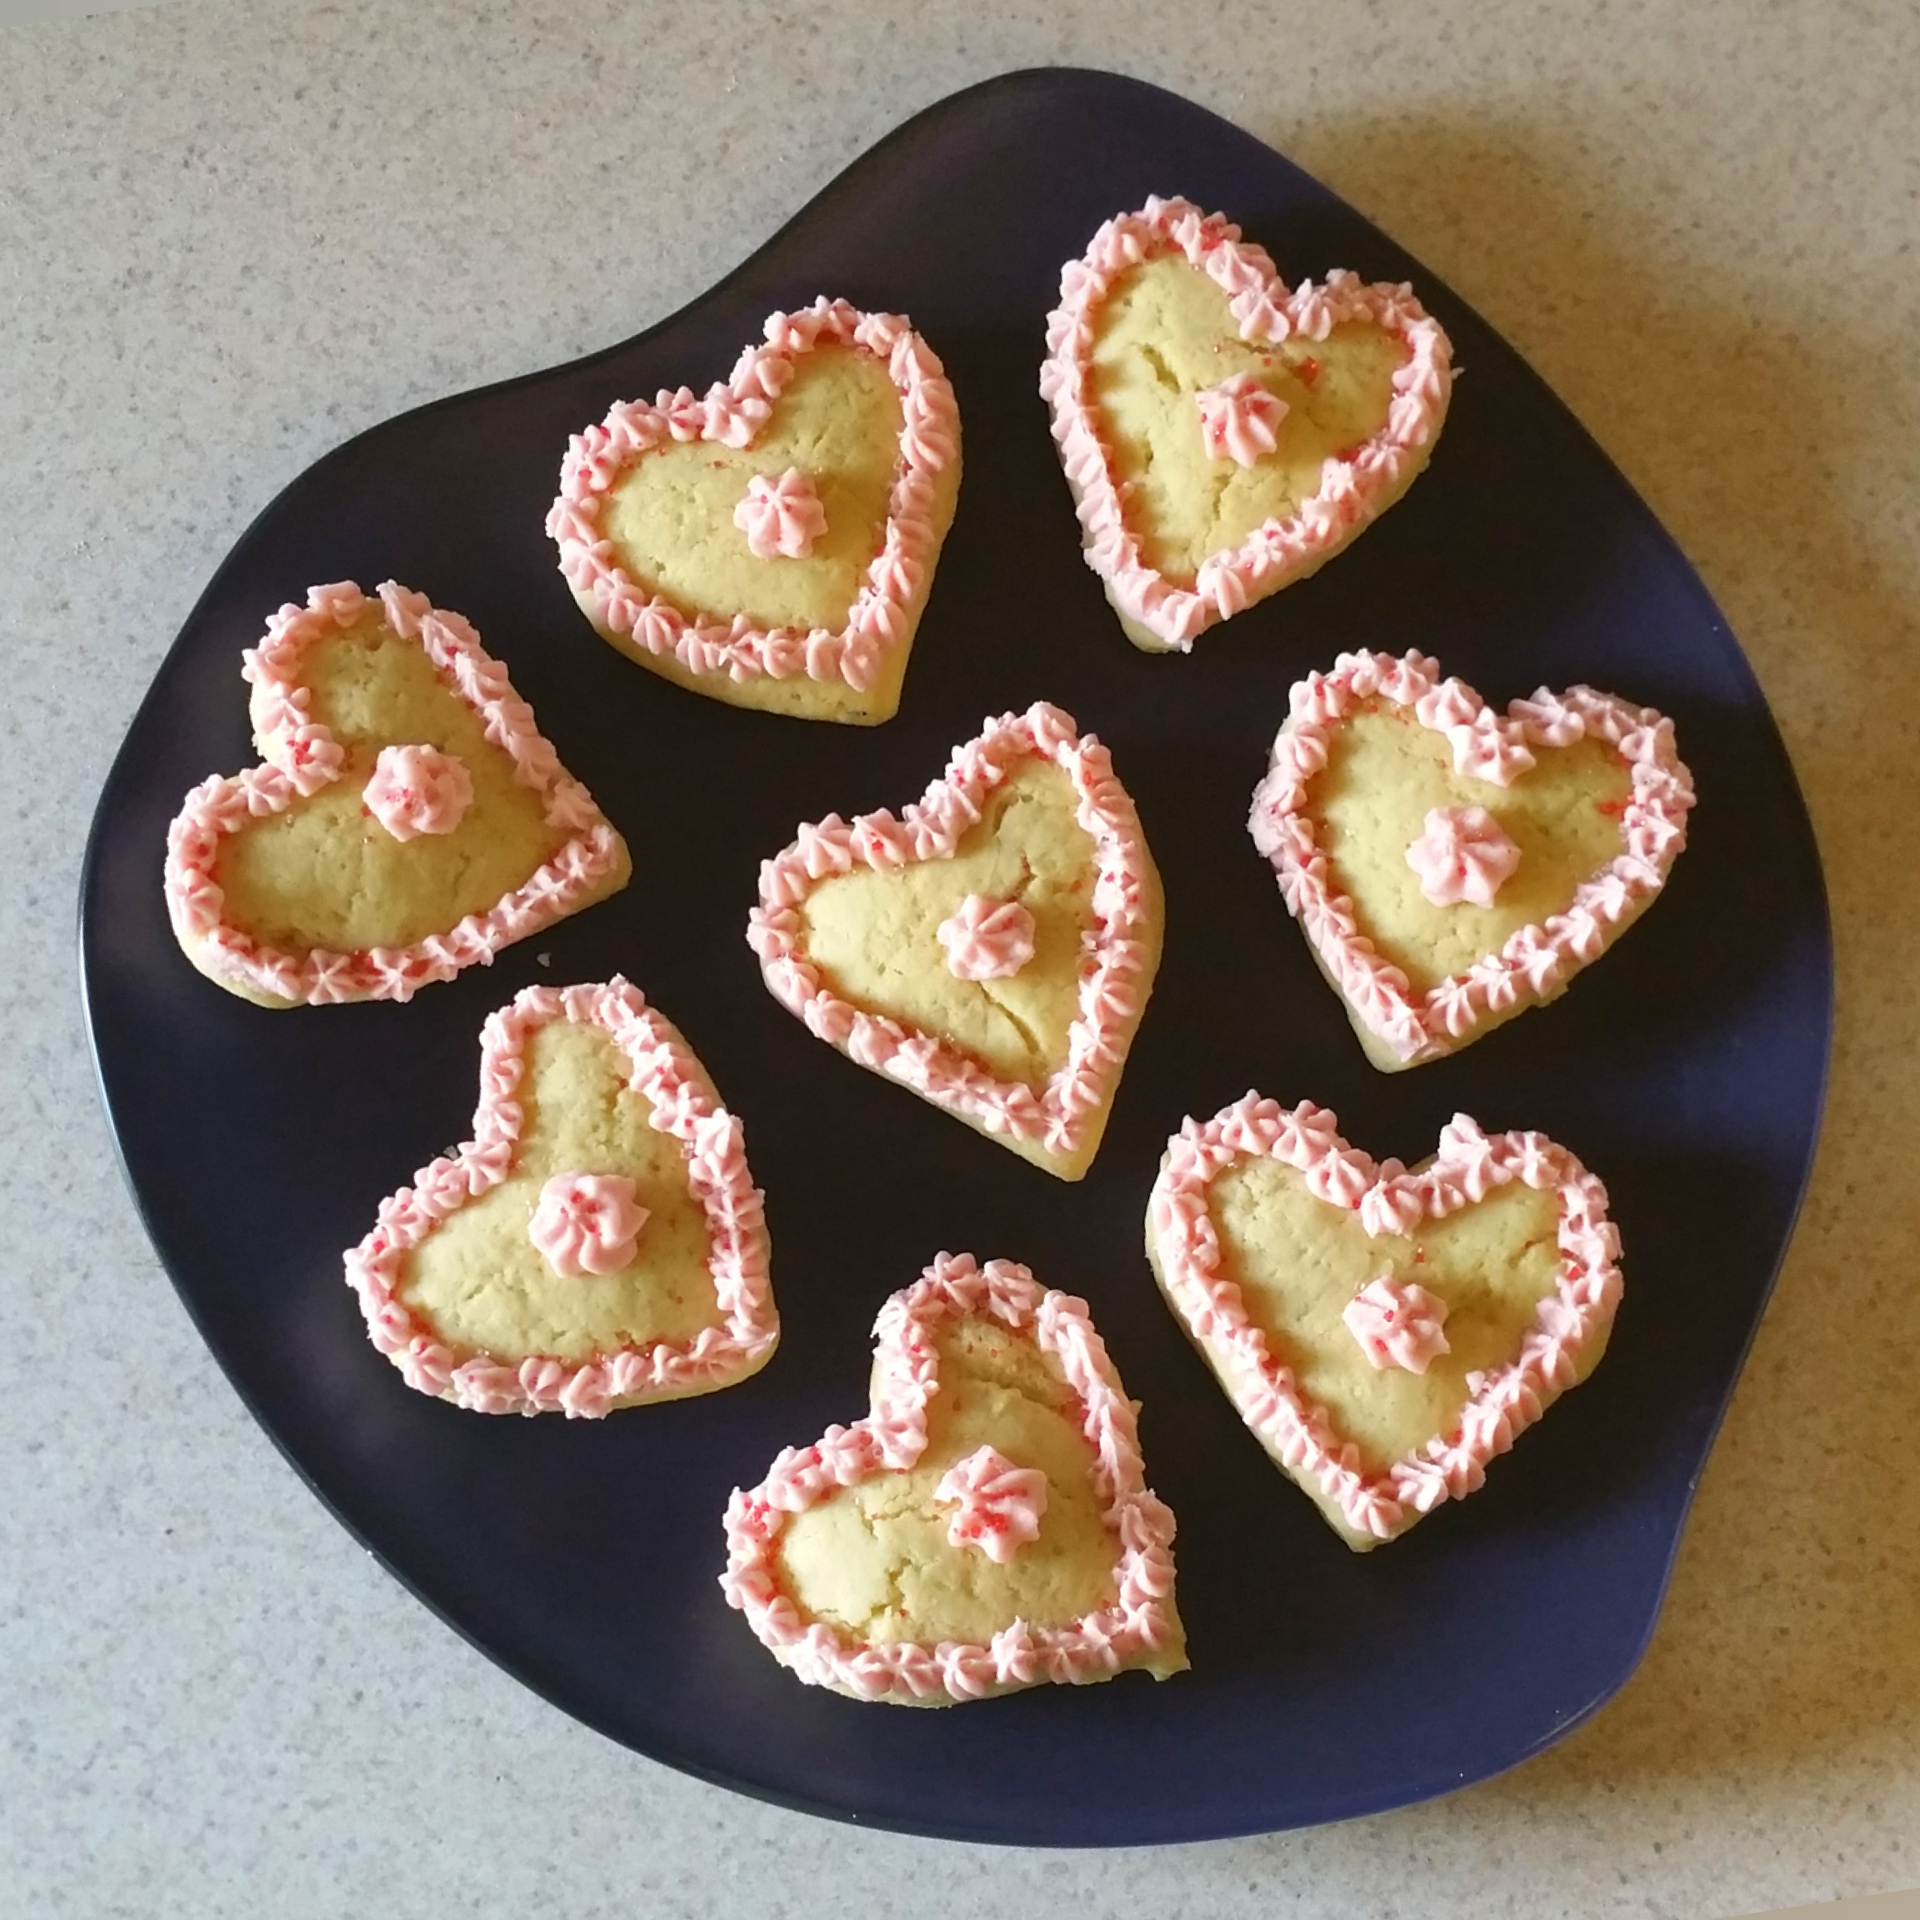
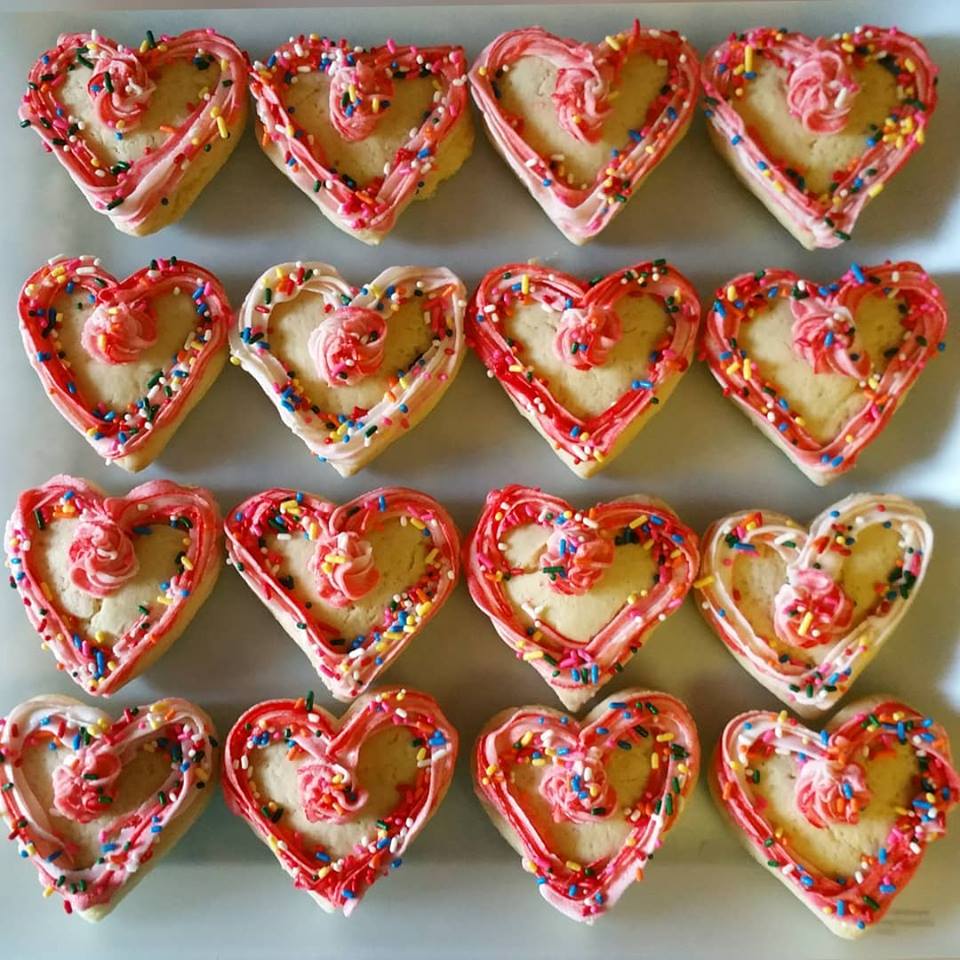
Turn the soft dough out onto a lightly floured surface and pat or roll it out to ½ in. thickness. Cut out the tea cakes in whatever shape you desire. I have used a 2 in. round cutter several times for this recipe, but I also love this 2 in. heart shaped cutter. Depending on the size cutter you use, you’ll get anywhere from 12-18 tea cakes.

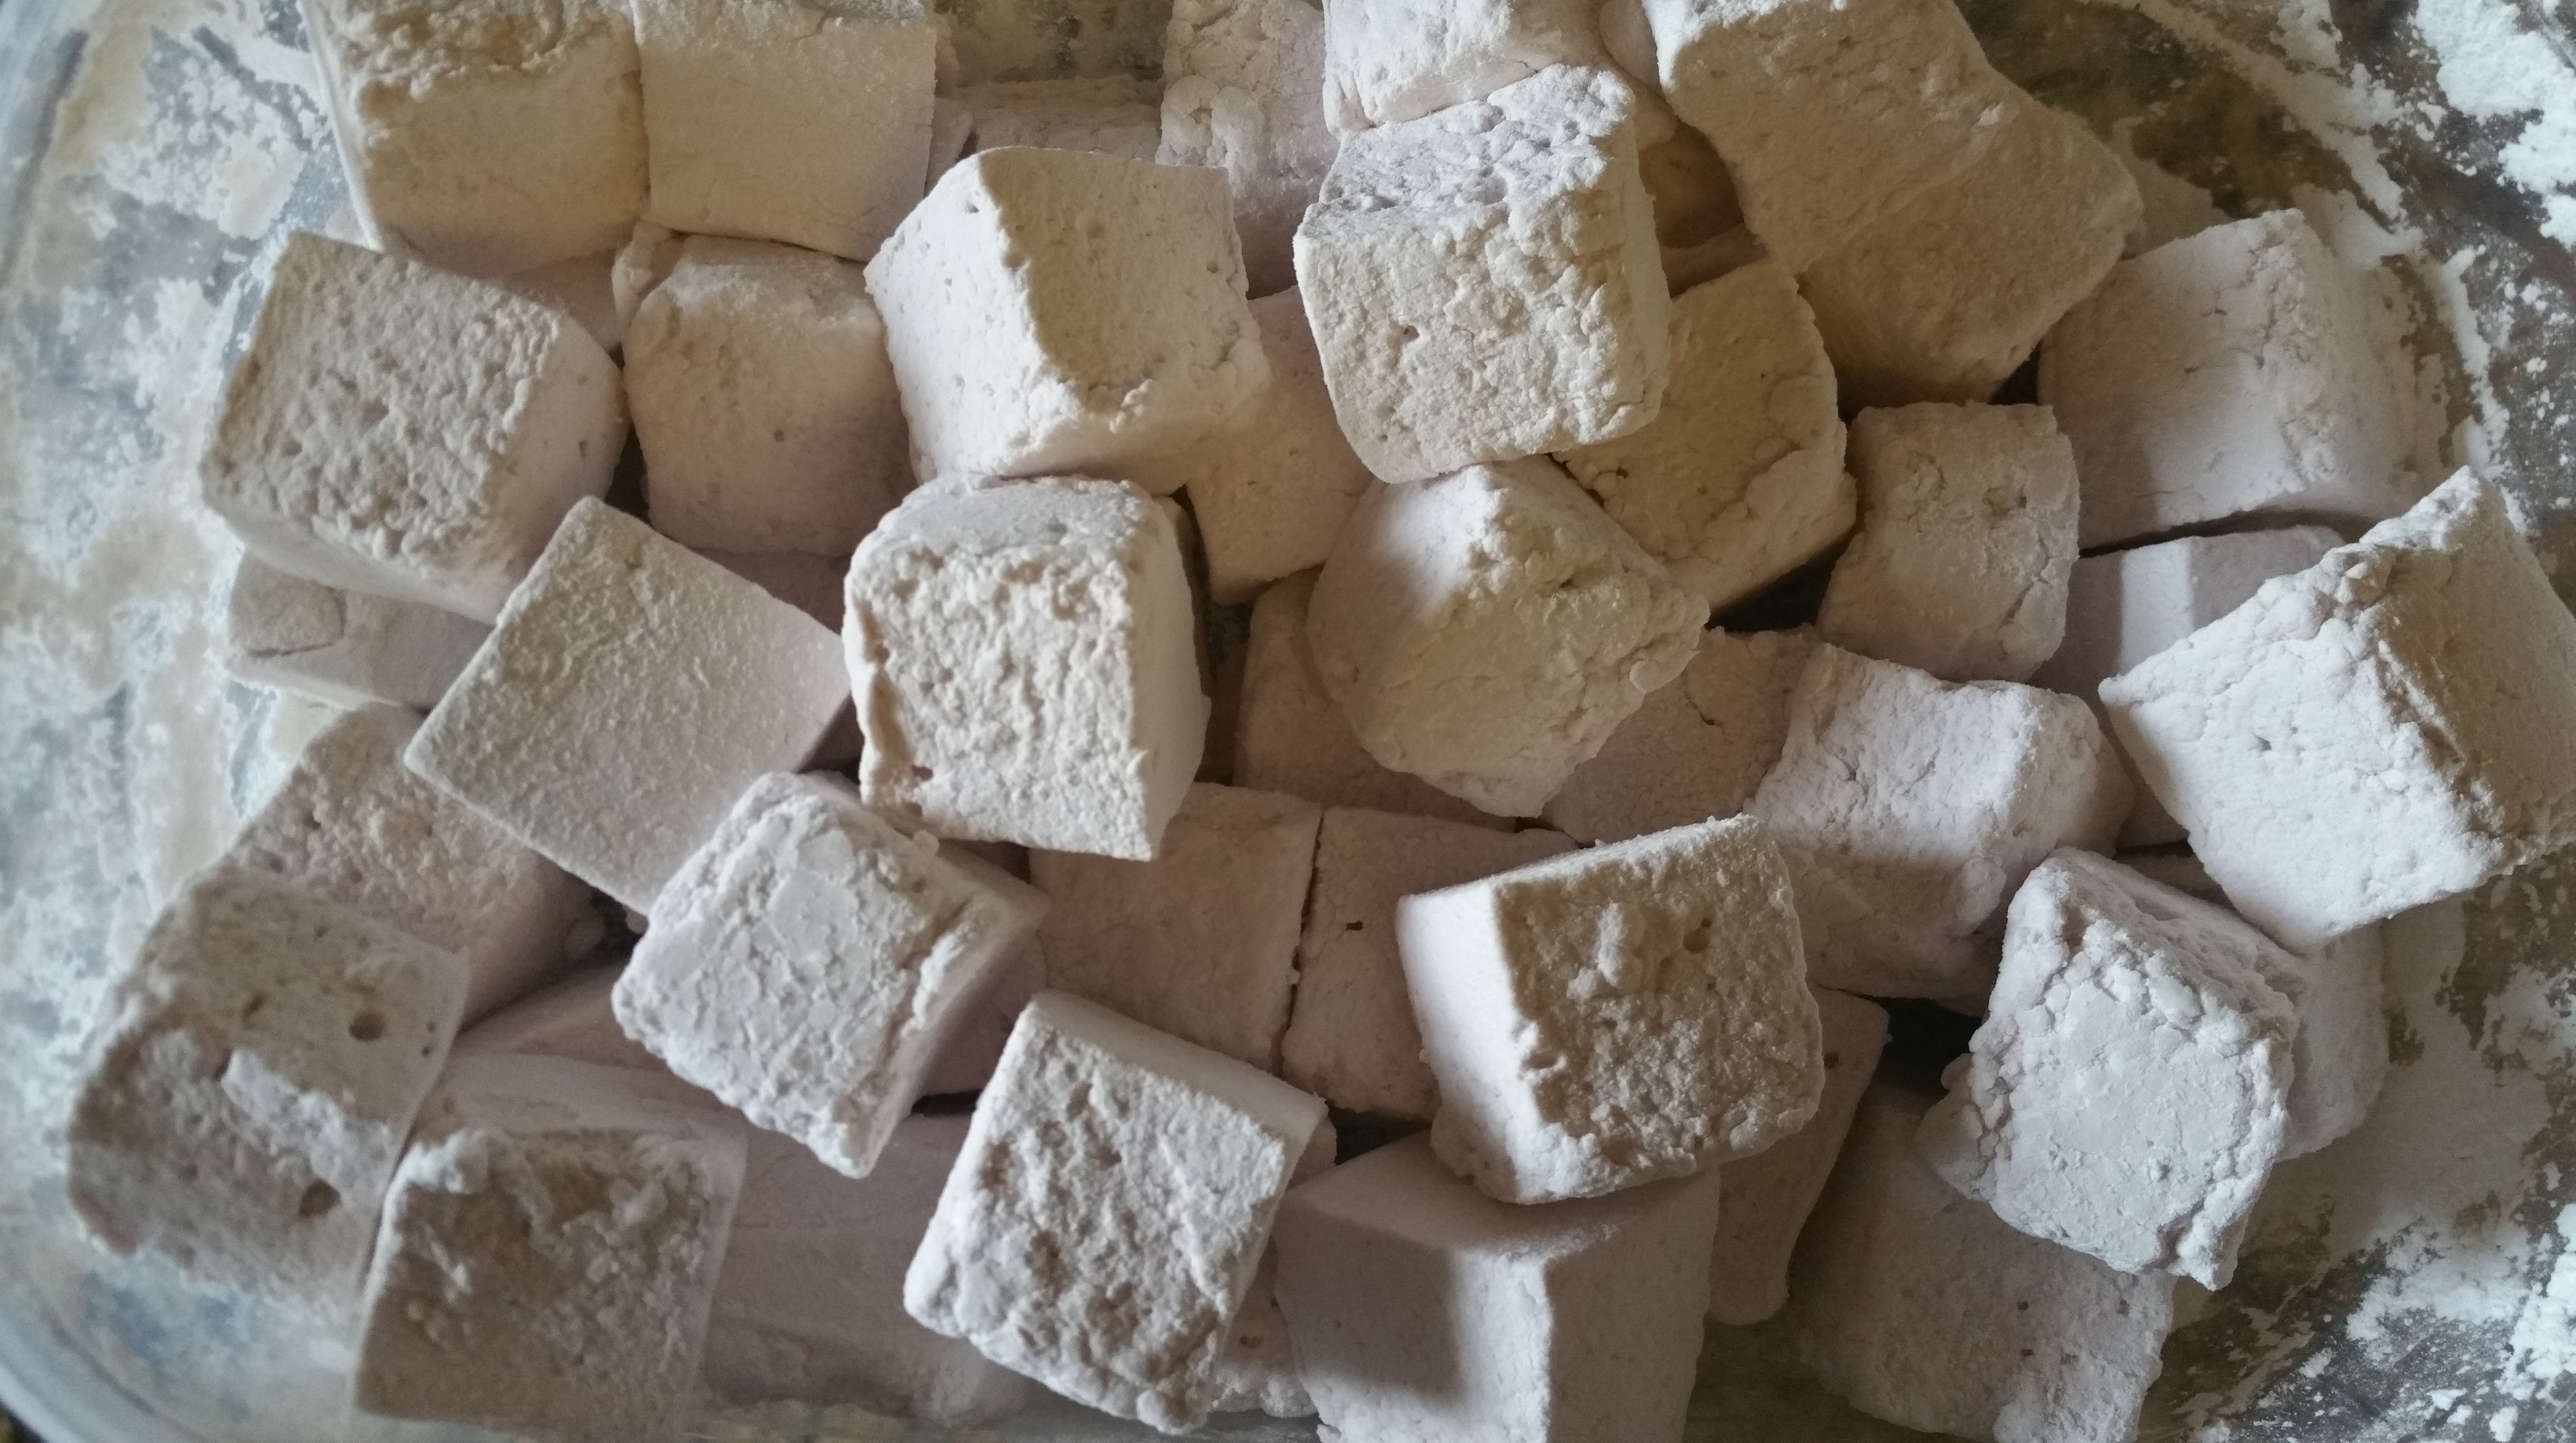
Place the tea cakes on a parchment-lined baking sheet. You don’t need to leave much space between them. They will rise up, but will not spread very much. Bake for 12-14 minutes or until lightly golden on the bottom.


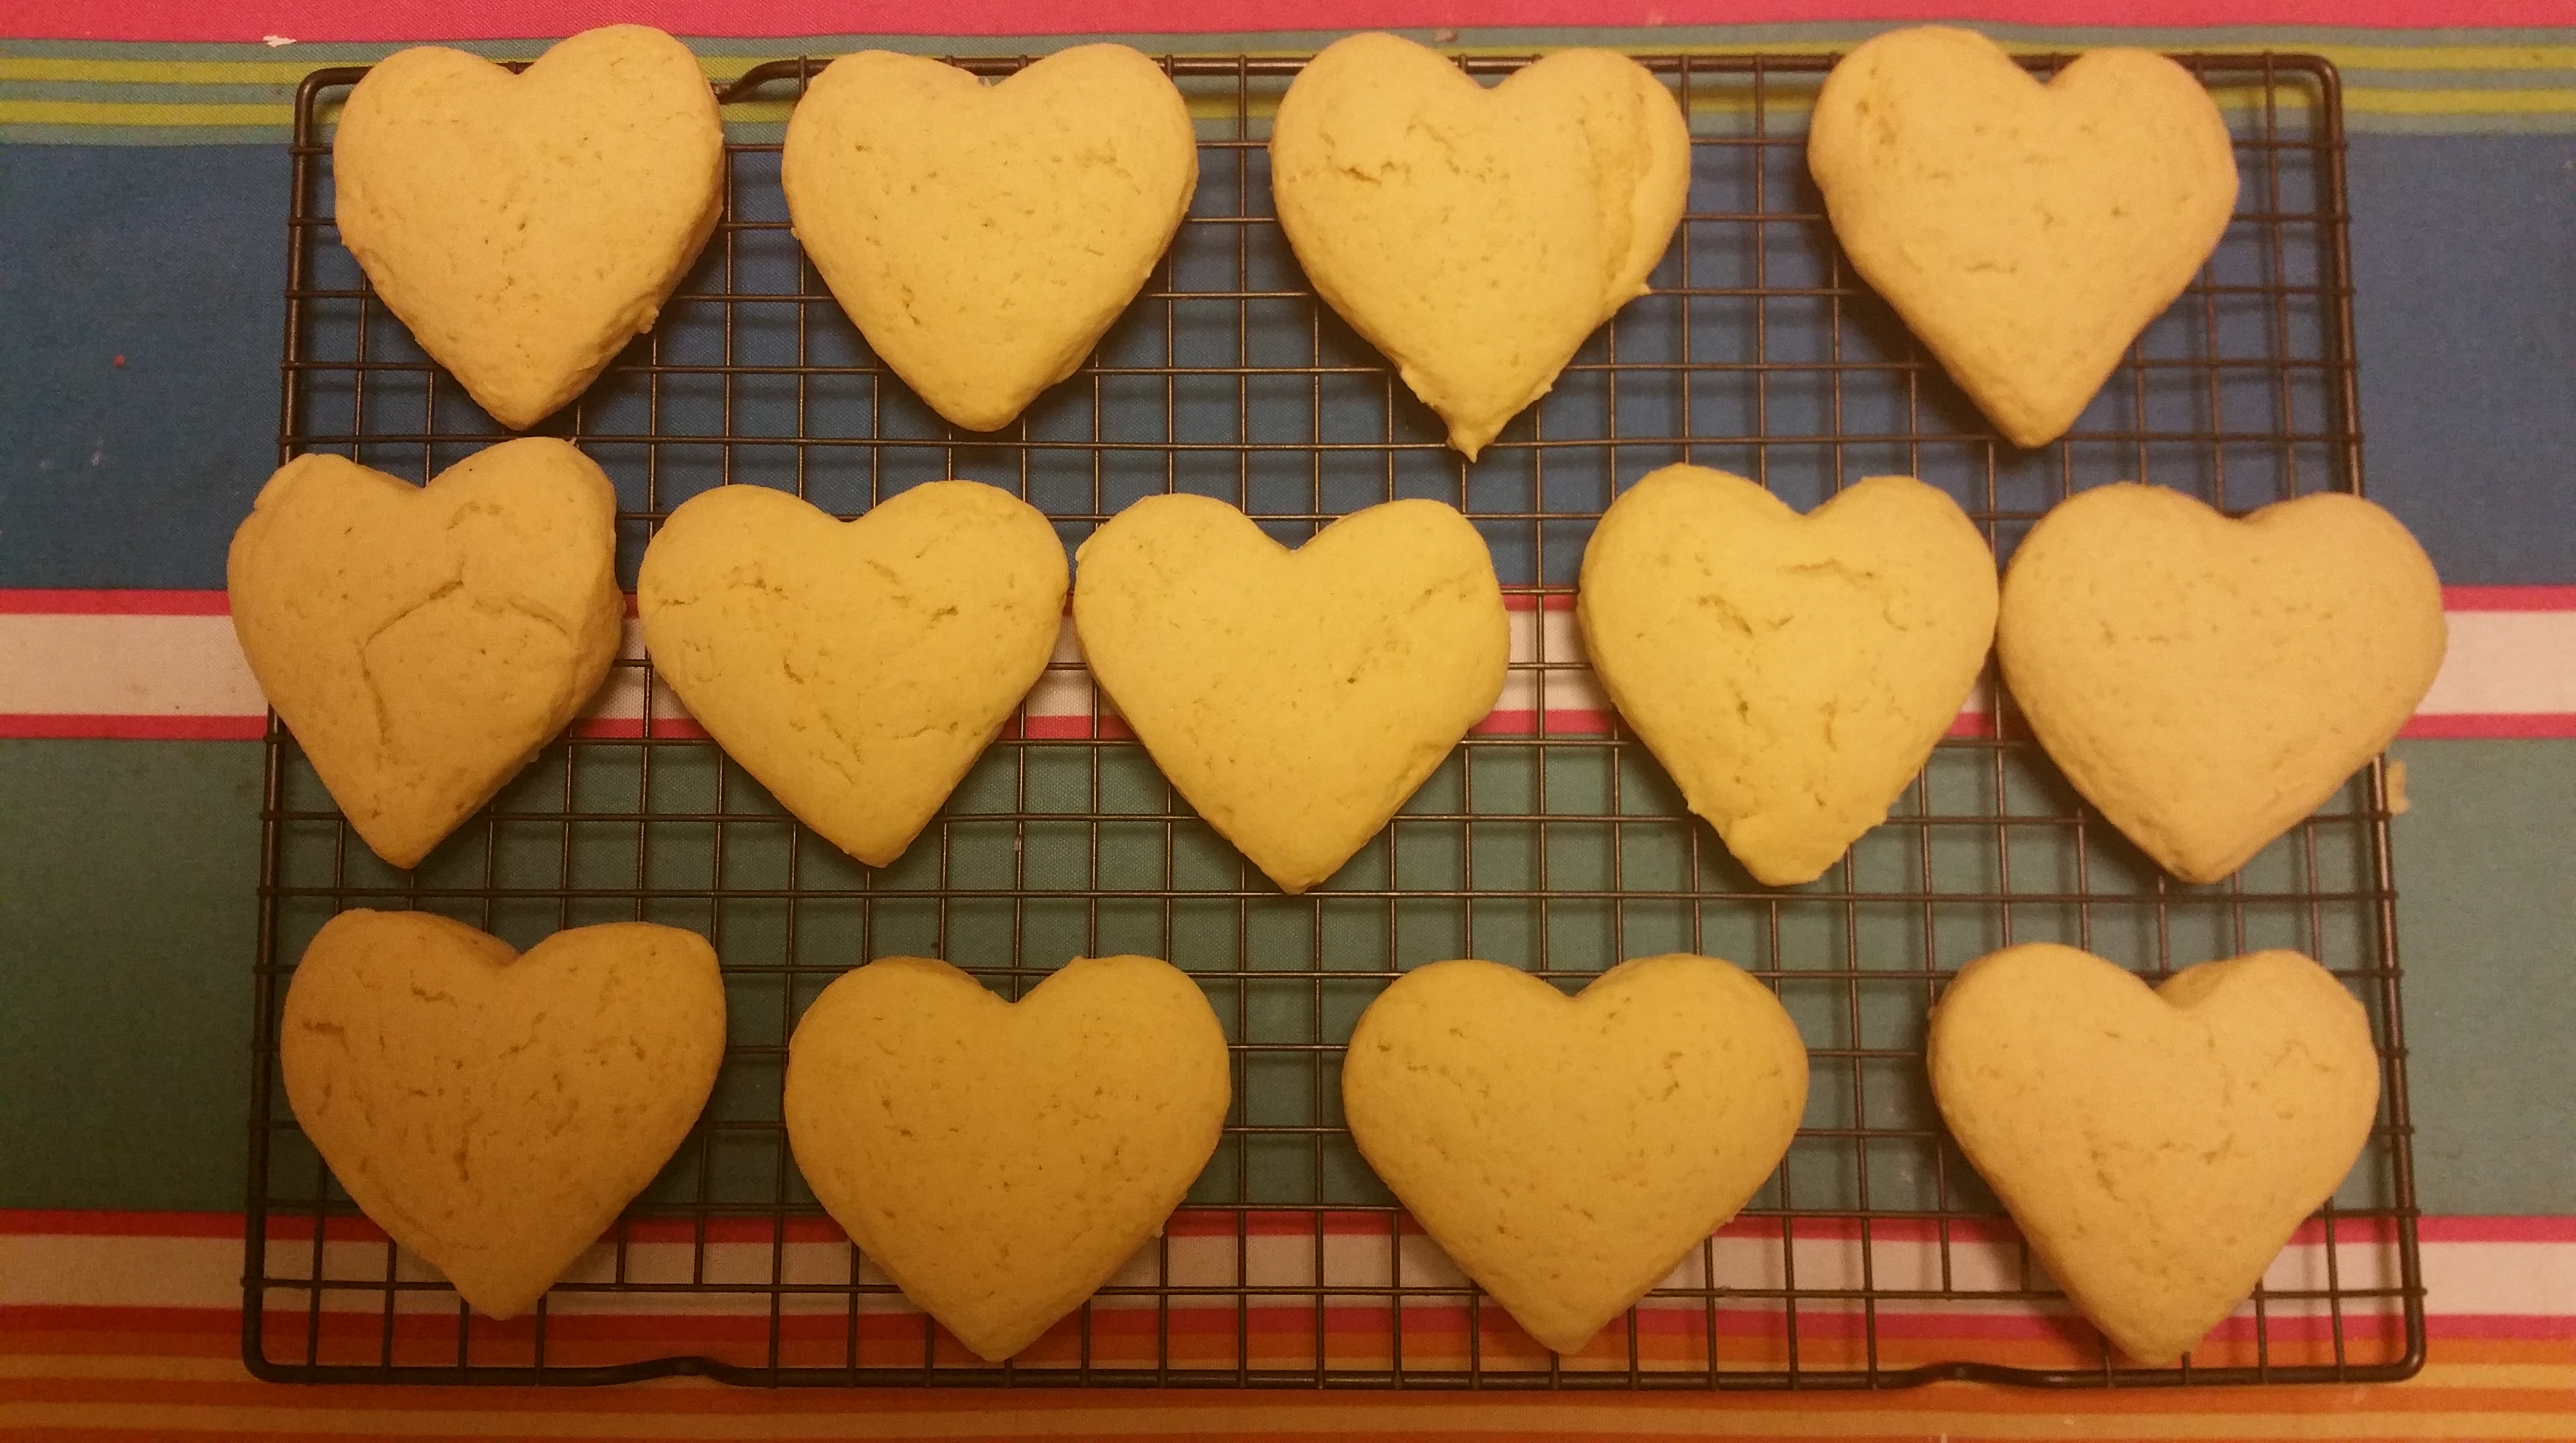
Move the tea cakes to a wire rack to cool while you prepare the buttercream.

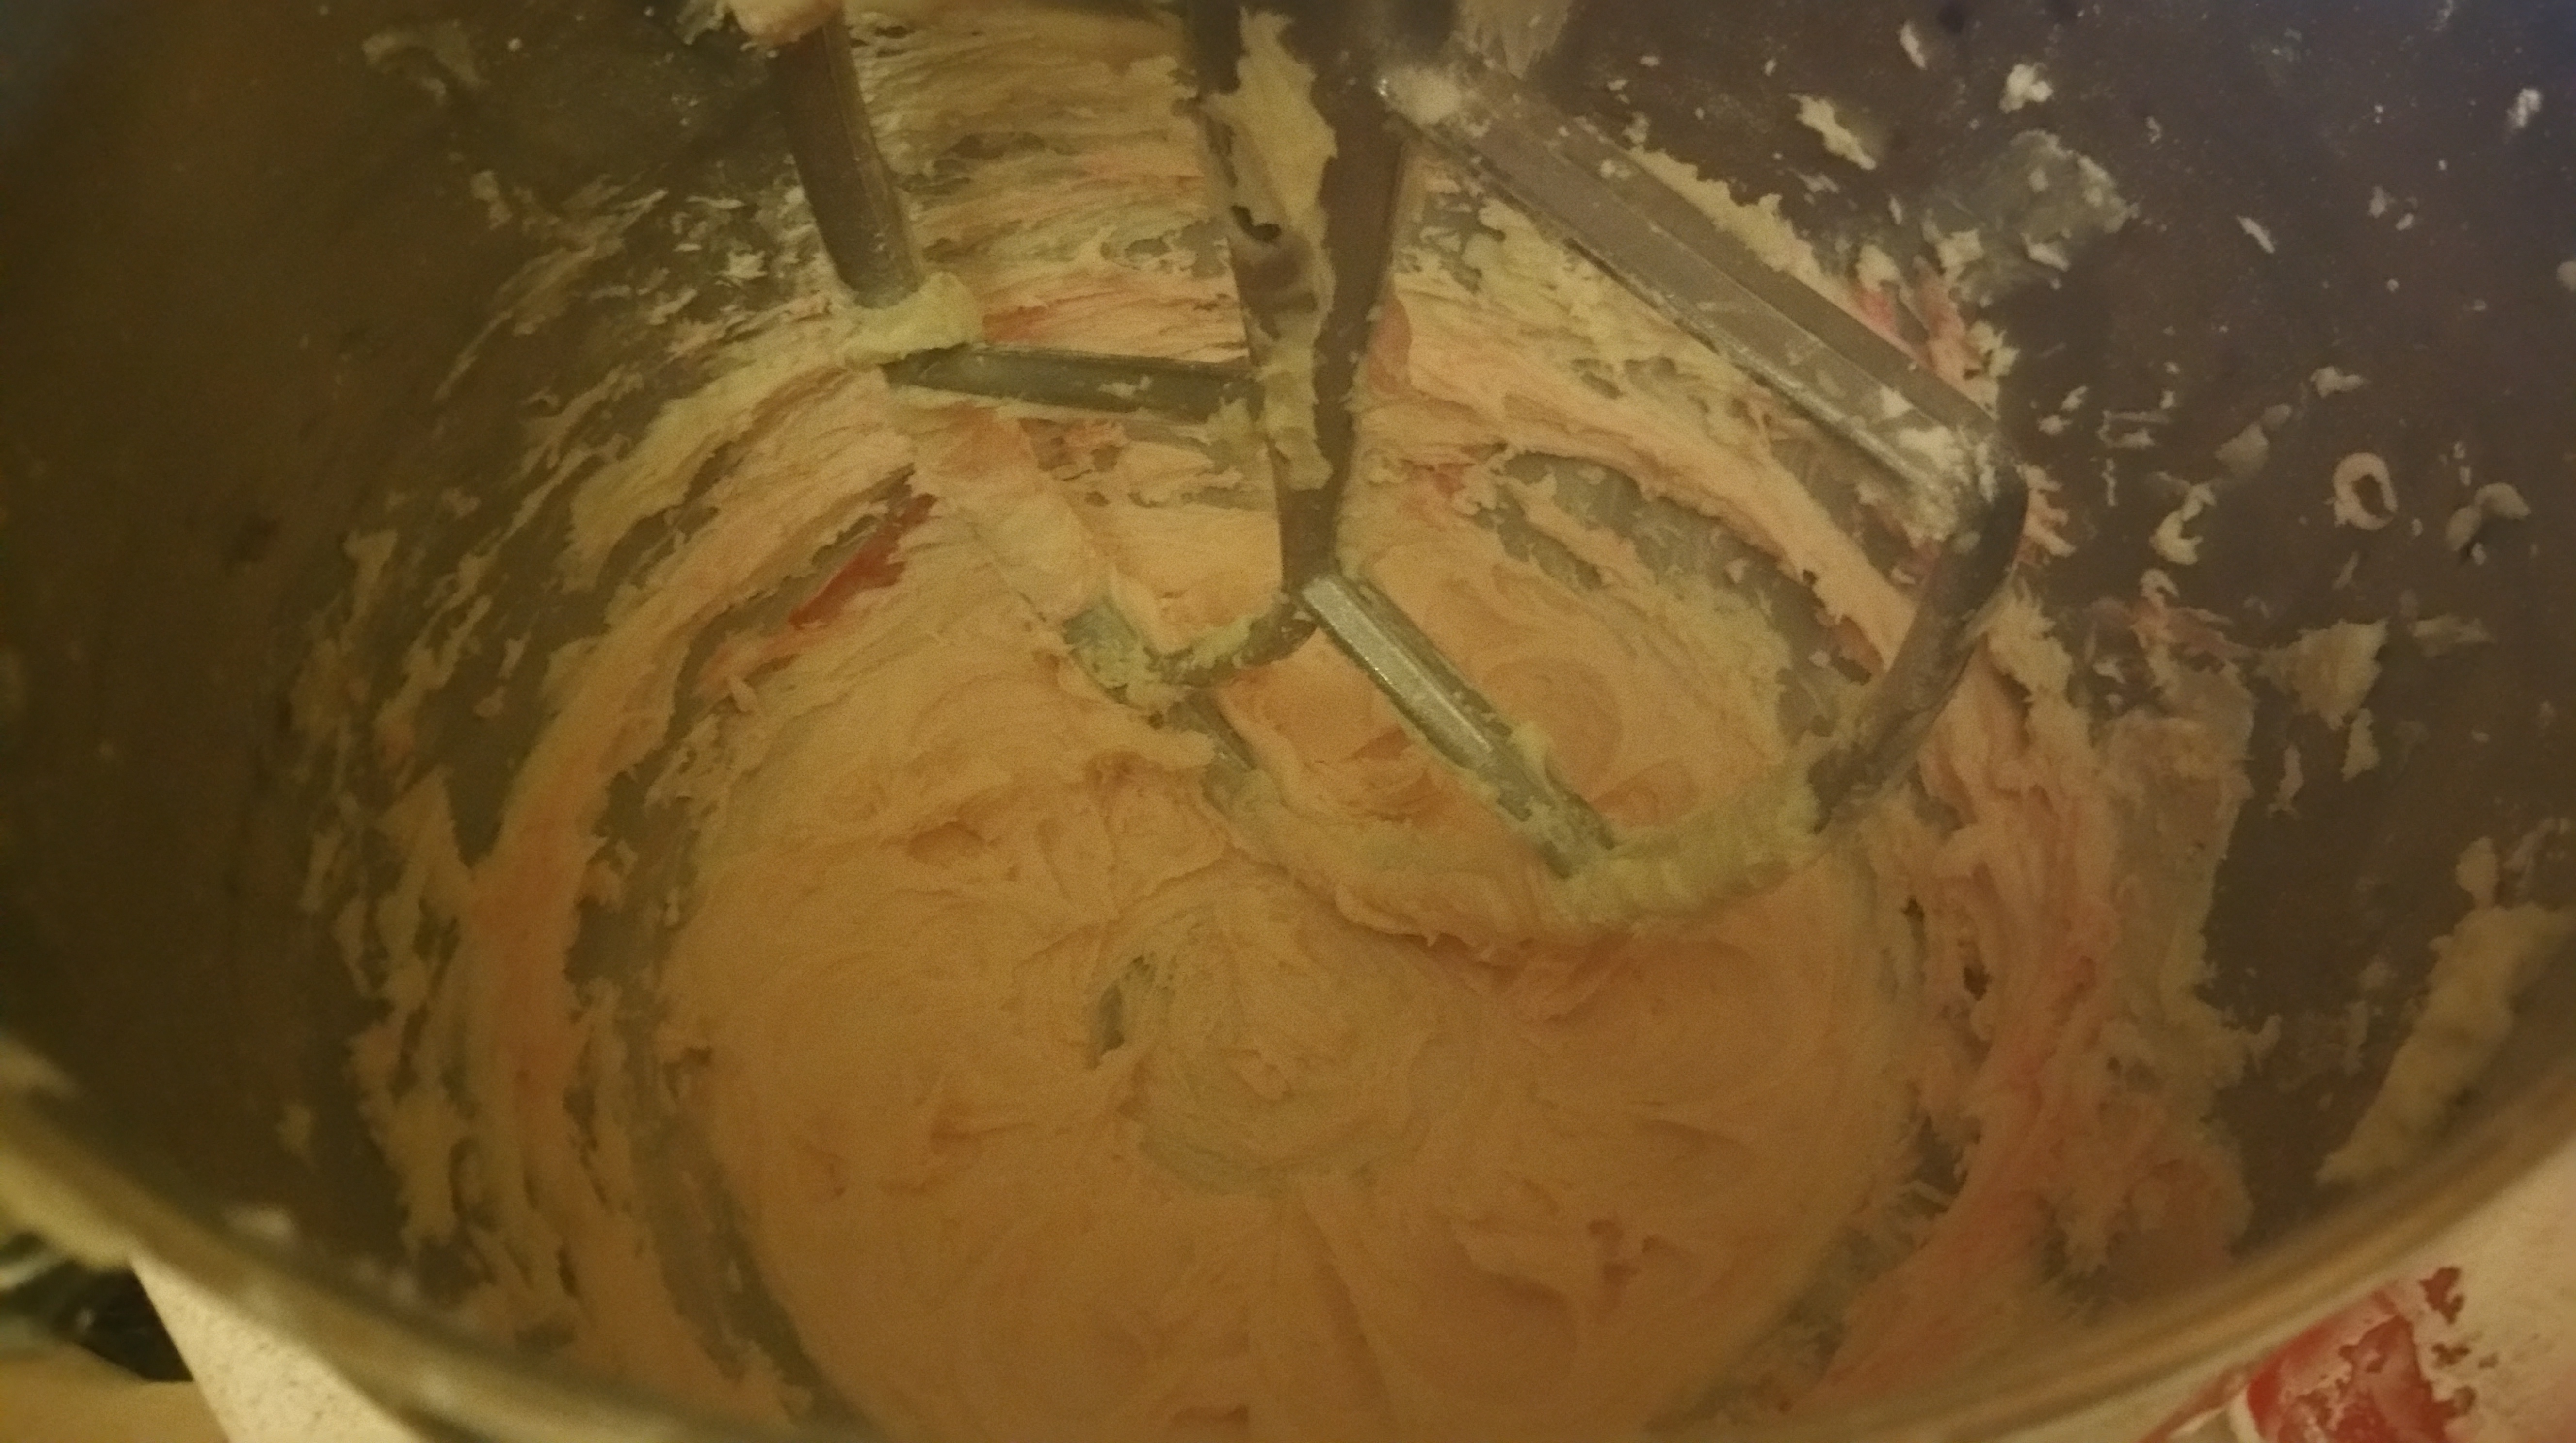
Place the soft butter in the bowl of a stand mixer and beat until creamy. Add the powdered sugar and extracts and beat until smooth and fluffy.

If you desire, you can tint the frosting with food coloring at this point and beat it until well distributed. I really like the Americolor gel food coloring for frosting.

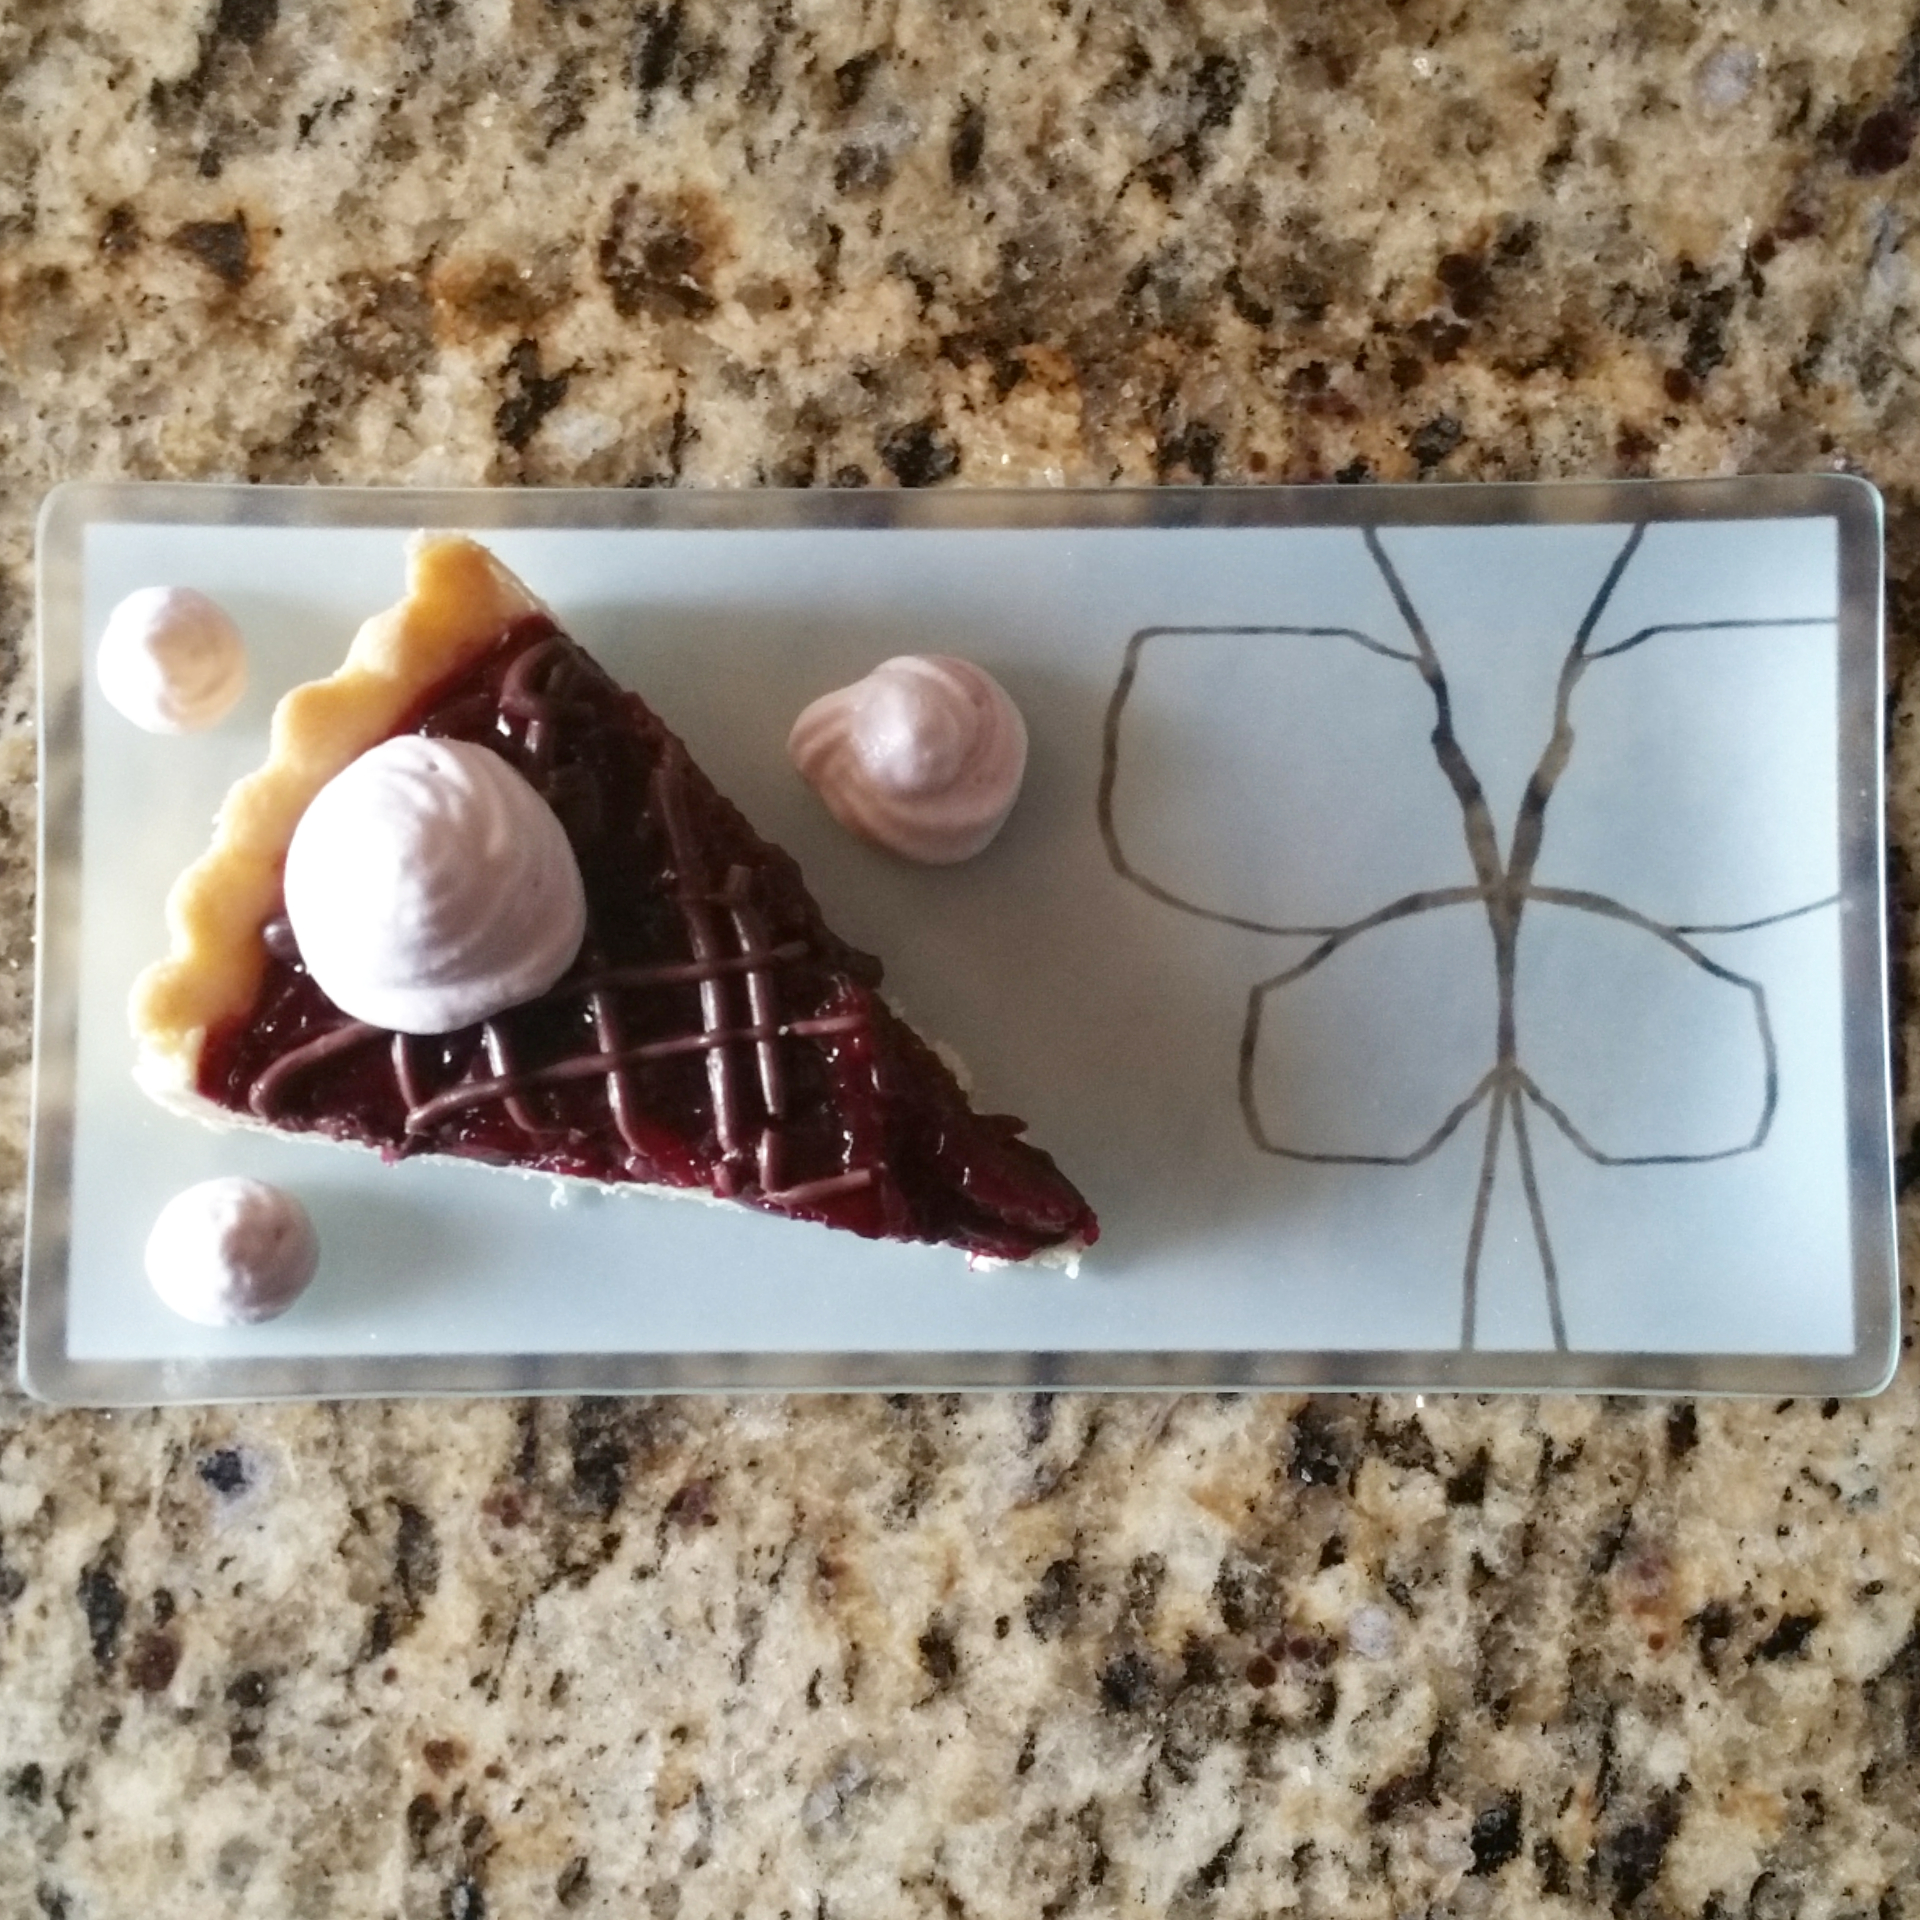
You can spread the frosting on the completely cooled tea cakes with a knife or pipe it on if you enjoy decorating. Of course I had to get a little fancy, these were for my very best buddy.

And that’s it! The tea cakes cool quickly, so you can have these done and ready to enjoy in about an hour. They are best enjoyed fresh, but kept in a well-sealed container at room temperature, they’ll keep for several days. Here are some other variations:

Food doesn’t have to be grand and complicated to be delightful. These treats were born out of a desire to make something special at a time when ingredients were slim. All that really matters is how much they’re enjoyed by the recipient, and the smile on Joe’s face told me everything I needed to know.

Ciao for now,

Neen

Pruning a Process: Turtle Caramels

23 Aug

I made some pecan turtles recently. For the uninitiated, turtles are groups of 5 pecans topped with caramel that glues them together, that are then covered with melted chocolate to create the “shell.” They are so, SO good.

While they were exceptionally delicious, they were, well…a bit of a task. First of all, you need a lot of space to put together all of the little clusters of nuts on sheet pans, then you need to not only cook the caramel to a precise temperature, but also shock and cool it down to a specific temperature. Then you can glue the nut clusters together with said caramel, wait, melt the chocolate, and put the shells on. It’s a messy process that left dribbles of caramel and melted chocolate all over my counter tops, and also left me looking for somewhere to store multiple sheet pans of drying candy.

There’s a better way. For REAL. Literally the only benefit to doing the process that way is that they look like little turtles when they’re done. There is a far simpler way to get all of the same textures and flavors while removing a lot of the steps and pans. Much less candy thermometer stress too. And they’ll still be pretty…not that your taste buds will care. They will be far too busy enjoying the fruits of your not-so-hard labor.

Turtle Caramels

  • 2 cups sugar
  • 4 oz. (8 tbsp.) unsalted butter
  • 1 cup light corn syrup
  • ½ tsp. kosher salt
  • One 12 oz. can evaporated milk
  • 6 oz. pecans, toasted and roughly chopped
  • 16 oz. dark chocolate OR dark chocolate compound coating. I used Ghiardelli Dark Chocolate Melting Wafers for this batch because it is VERY humid and I didn’t feel like tempering chocolate. Not as shiny of a finish, but equally good in flavor. Wilton Candy Melts work well too and can be easily found at craft stores.
  • Sea salt flakes (optional, but tasty!)

Line an 8×8 in. baking pan with parchment paper so that there is an overhang on all sides. Set aside.

To make the caramel, combine the sugar, butter, corn syrup, and kosher salt in a saucepan over medium heat and bring the mixture to a boil.

Once boiling, add the evaporated milk slowly, a little bit at a time over the course of 10 minutes. It’s going to bubble and hiss after each addition, which is why it is important to take your time.

After all of the milk has been added, cook while stirring constantly until the mixture reaches 240 degrees F.

Remove the pan from the heat and stir in the chopped pecans.

Pour the mixture into the prepared 8×8 in. pan and let cool completely. It will take several hours.

Line a baking sheet with parchment paper.

Once cool, cut the pecan caramels into squares using a pizza wheel or very sharp scissors.

Next, it’s time to coat the caramels. If you are using dark chocolate, melt 75% of it over a double boiler over low heat and then add the remaining 25% off the heat. Stir until all of the chocolate is melted. If you are using the melting wafers or other compound coating, simply melt all of it in a double boiler over low heat while stirring. Don’t have a double boiler? Neither do I. I use a mixing bowl set in a steamer insert over a few inches of water that is not touching the bottom of the bowl.

Put one square of pecan caramel on a fork and dip it in the chocolate, coating it completely. Shake the fork gently to allow the excess to drip off and then carefully move it to the prepared baking sheet. Sprinkle with a few sea salt flakes (if using).

Repeat until you have coated all of the caramels.

Once the chocolate has set, you can store the squares in an airtight container between layers of parchment or wax paper.

Crunchy toasted pecans suspended in rich, creamy caramel all wrapped up in a chocolate shell, and finished with just a touch of salt to balance the sweetness. All the delicious goodness of a turtle with half of the steps and pans. And this way, you get some of everything in each bite.

Simplified for sooner sharing, these undercover turtles are sure to bring smiles all around. And that’s the part of the process that really matters anyway.

Ciao for now,

Neen

Channeling Julia: Black Forest Tart with Cherry Pit Whipped Cream

20 Aug

At the top of my Instagram account in the “about me” section are these words: “Always a student, occasionally a teacher.”

I am deeply curious and love to peek behind the curtain at the processes behind finished products. One of the people I admire most, the goddess Julia Child, shared this love.

“Find something you’re passionate about and keep tremendously interested in it.”

Julia, and later in my reading, Michael Ruhlman taught me that once you know the process or know the ratio of ingredients in a given dish, you can become an artist in your own right. You barely need to think about a recipe, because as long as you know the basics, those variations on a theme come naturally. You can keep iterating again and again.

“The more you know, the more you can create. There’s no end to imagination in the kitchen.”

Do they always work out? No. But Julia had advice for that too.

“The only real stumbling block is fear of failure. In cooking, you’ve got to have a what-the-hell attitude.”

It can be hard as someone who suffers from bipolar depression to have confidence in myself. I lose my footing with that a lot, and that’s another reason I so look up to Julia Child. She wasn’t glamorous or pretentious, and she didn’t even start cooking until she was in her 30s. Every time I feel that I can’t do something because I didn’t start earlier in life, I think of her, and also of my brother. He decided after a career in vocal performance to then go to medical school and become a doctor.

When I walk into my kitchen without a plan, there is something so freeing and relaxing about the experience. To play, to just see what happens, to step into the unknown…

“Learn how to cook—try new recipes, learn from your mistakes, be  fearless, and above all have fun.”

Usually it starts from one point—a technique, an ingredient, a request from someone, and then the wheels start turning. And if it leads me to something I don’t know or am not sure of, I pull out my librarian skills and dive into research until an idea clicks. Then I’m off to the races.

As promised in my previous post, that inspiration was sweet, perfectly ripe cherries.

And what pairs better with cherries than silky dark chocolate? The idea of a black forest cake came to mind of course, but I was looking for more texture and something a little bit buttery and crisp to offset the creamy dark chocolate and sweet cherries. Balance is everything in cooking.

So how about a tart full of those black forest flavors? And even better, an application for the pile of cherry pits you’ll have after making it!

“Cooking is like love. It should be entered into with abandon or not at all.”

Let’s see what happens…

Black Forest Tart with Cherry Pit Whipped Cream

Tart Crust:

No shrinking, no cracking, no problem!

  • 6 oz. unsalted butter (12 tbsp.)
  • 2 cups all-purpose flour
  • 1/2 cup sugar
  • 1 tsp. vanilla
  • Zest of ½ lemon
  • 1/2 tsp. kosher salt

Chocolate filling:

  • 3/4 cup heavy whipping cream
  • 6 oz. dark chocolate, finely chopped (I used dark chocolate chips)

Cherry Filling:

  • 14 oz. cherries, pitted (reserve pits!!)
  • 1/2 cup sugar
  • 2 heaping tbsp. cornstarch
  • 2 tbsp. lemon juice
  • 1/2 cup water

Whipped Cream:

  • Pits from 14 oz. cherries
  • ½ cup heavy whipping cream
  • 2 tbsp. sugar
  • Pinch salt
  • Pinch cream of tartar (optional, but recommended)

Start with the whipped cream. Combine cherry pits and cream in an airtight container and refrigerate for at least four hours, though you can leave it for up to 24 hours. While the pits are soaking, prepare the rest of the tart.

Preheat an oven to 325 degrees F.

Melt the butter for the crust over medium-low heat. Remove from the heat and add the sugar, vanilla, lemon zest, and salt, stirring until smooth.

Blend the flour into the butter mixture with a rubber spatula.

Press the dough into a 10 in. tart pan. You want the dough to go about an inch up the sides of the tart pan.

Freeze the crust for 15 minutes and then bake for 25 minutes. Cool completely on a wire rack.

For the chocolate filling, bring the cream just to a boil and then remove from the heat and add the chocolate, stirring until smooth.

Spread one cup of filling into the prepared crust, reserving the rest. I left mine in a cup on the counter to thicken up a little.

Refrigerate the tart until the chocolate is firm, about an hour.

To make the cherry topping, combine all of the ingredients in a saucepan over medium-low heat.

Mash the cherries while the mixture heats up.

Stir constantly until the mixture bubbles and thickens. It should be shiny and thickly coat a spoon.

Set aside to cool. Once cool, but not firm, spread on top of the chocolate layer.

Place the tart in the refrigerator to set the cherry layer, about an hour.

Pipe or drizzle the reserved chocolate on top of the tart and refrigerate while you finish the whipped cream.

Strain the cream through a fine mesh sieve into the bowl of a stand mixer fitted with a whisk attachment. Add the salt and cream of tartar and begin to whip, adding the sugar slowly. Whip the cream until it has soft peaks and then store in an airtight container in the refrigerator. You should use it within a day, though the cream of tartar will stabilize it for a little bit longer.

Finally, slice, add a dollop of whipped cream, and serve!

The crust is rich and crisp, the chocolate ganache smooth and creamy, and the cherries are bright and sweet. Add the soft, lightly flavored whipped cream and you have one seriously spectacular bite.

But even though this recipe feels perfect right now, I am sure that as I keep learning I’ll come back to it. Because like Julia says…

“You’ll never know everything about anything, especially something you love.”

Ciao for now,

Neen

Summer Sweets: Fresh Cherry Marshmallows

19 Aug

Have I mentioned lately how much I love summer? Okay sure, the other seasons have their benefits. The warm spices of autumn, the hearty meals of winter, and the sweetness of early spring vegetables are awesome. But summer has all sorts of fruit and vegetable gifts for me to play with in the kitchen. And their seasons are fleeting, so it’s important to make the most of them while they’re around. That’s why this is the first of TWO recipes utilizing one of my favorite quick-to-disappear delights: Fresh sweet cherries.

Now sour cherries are delightful too, but you only usually see those here in June. Deep, dark red sweet cherries carry on a little longer through the summer. And while my first choice is always to eat them fresh, I do love using them for jams, sauces, and baked goods as well.

Using them for candy-making, on the other hand is a bit more of a challenge. Fruit has a lot of water and some fruits have a great deal of their own pectin. Those factors (and others, like acidity) can really throw off a candy recipe. So I did two things. First, I decided to update my marshmallow recipe. As they do, my methods and techniques have evolved since I first posted it several years ago. Second, I did some research to find out how, where, and when adding some fruit puree to the recipe made the most sense. And very soon, I had a batch of fluffy, fragrant marshmallows with a gentle cherry flavor.

Let’s whip’em up!

Fresh Sweet Cherry Marshmallows

  • 1 1/4 cups water, divided
  • 1/2 cup cherry puree (from 1 heaping cup fresh cherries)
  • 4  ¼ oz. envelopes unflavored powdered gelatin (about 3 tbsp. + 1 tsp.)
  • 3 cups granulated sugar
  • 1 1/4 cups light corn syrup
  • 1/2 cup powdered sugar
  • 1/2 cup cornstarch

Sift the powdered sugar and cornstarch together in a bowl and set aside. You will need this mixture a few times throughout the process, so have it standing nearby.

Grease a 9×13 in. pan and give yourself some extra insurance by lining the bottom with parchment paper. Then grease the parchment and dust the whole pan with the powdered sugar/cornstarch mixture. Make sure it’s totally coated.

Grease a spatula or a large offset palette knife and set it aside.

In the bowl of a stand mixer fitted with a whisk attachment, combine the cherry puree with ½ cup of the water. Sprinkle the unflavored gelatin on top and briefly stir to combine. Let it sit for at least five minutes.

Prepare the syrup by combining the remaining water, sugar, and corn syrup in a saucepan over medium-high heat. Stir until the sugar dissolves, and then attach a candy thermometer and cook without stirring until the syrup reaches 240 degrees F.

While the syrup is cooking, give the fruit puree/gelatin mixture a stir to make sure the gelatin is well-distributed.

Once the syrup reaches 240 degrees F, turn the stand mixer on low speed and slowly stream in the sugar syrup. Once you’ve poured it all in, slowly increase the speed to its highest setting and whip for 11 minutes.

The mixture will cool down, greatly increase in volume, and slowly turn from syrup into fluffy marshmallow.

After the mixture is whipped, use your oiled spatula/palette knife to spread it into the prepared 9×13 in. pan and smooth the top. Dust the top with more of the cornstarch and powdered sugar mixture and let the marshmallows set for 8 hours.

Turn the slab of marshmallow out onto a cutting board and peel back the parchment paper.

Cut into squares of any size using a pizza wheel or an oiled bench scraper. I find that it helps to dip the pizza wheel into the cornstarch and powdered sugar mixture after cutting each row. Your cuts will be much neater.

As you cut, toss the squares in the cornstarch/powdered sugar so that all sides are coated. This keeps the marshmallows from sticking together.

Store in a sealed container away from heat and humidity, and start thinking about all of the great cherry s’mores you are going to make.

The fragrance of these is just incredible, not to mention the soft, creamy texture when you bite into one.

Not a cherry lover? That’s alright! Strawberry and blueberry purees also make great marshmallows. And if you’re looking for something more traditional, simply omit the fruit puree, use 3 envelopes of gelatin instead of 4, and add a tsp. of vanilla extract when there is about 1 minute of whipping time left. That will get you the classic, bright white vanilla marshmallow that’s ready for a skewer and a bonfire.

I hope you find some of your own sweet tastes of the season to whip into this tasty confection. Keep your eyes peeled for another cherry delight here soon!

Ciao for now,

Neen


Practice and Patience: (Award-Winning!) Pecan Pie

16 Aug

One of the things I don’t mention enough on this blog is how many iterations recipes go through before I post them here. I want to make all of the mistakes and find better, more efficient ways to do things so that you don’t have to go through that process. There is so much clumsy struggle behind pretty results sometimes.

And that is the case with the pecan pie we’re going to make today. I have had it all happen. Melted crust, over-browned crust, greasy crust, soggy bottom crust, soupy filling, over-set filling, sunken top…you name it, I’ve been visited by it at some point. Every time I’d make this pie, there would be a dozen notes added to whatever caramel and butter stained piece of paper the recipe was printed on. One day, it came out just so. It sliced so beautifully, the filling set, but not too firm. The crust was delicate, but sturdy enough to accommodate the weight of the filling, and the whole crust was golden with not a burnt spot in sight. Immediately I made sure that the recipe was written down, complete with method notes. Obsessive? Maybe.

But it turns out a beautiful, delectable pecan pie every time. I’ve streamlined the process a lot, and though there’s a bit of time spent with the crust, it’s mostly just patiently waiting for it to chill between steps.

Let’s bake!

Pecan Pie

Crust  

  • 1 ¼ cups all-purpose flour
  • ½ tbsp. sugar
  • ½ tsp. salt
  • 8 tbsp. unsalted butter (very cold)
  • 2-3 tbsp. ice water

Filling

  • 1 cup granulated sugar
  • 1 cup light corn syrup
  • 1 tsp. vanilla extract
  • 1 tsp. salt
  • ½ tsp. ground cinnamon
  • 4 eggs (well beaten)
  • 8 tbsp. unsalted butter
  • 4 cups toasted pecan halves (chop 2 cups of these)


Preheat the oven to 400 degrees F.

In the bowl of a food processor combine the flour, sugar, and salt. Add butter and pulse until the pieces are pea sized and smaller.

Sprinkle on 2 tbsp. of the ice water and pulse the dough just until it adheres together when pinched between fingers.

If too dry, sprinkle on more water and pulse again. Gather dough into a ball, flatten into a disc, and chill for 30 min.

Roll dough out between 2 sheets of parchment paper into a 12” circle and then move to a baking sheet and chill for 10 min.

Peel back the top piece of parchment and gently fold the pie dough over a rolling pin. This will help you lay it in the pan without stretching.

Fit the dough into 9 in. pan and trim edges, flute or crimp as desired. Freeze the crust for 15 minutes to firm it thoroughly.

Line the pan with a piece of parchment and pour in a bag of dried beans to use as weights. Bake with weights for 15 minutes, then remove weights and parchment and bake for another 10 min. Move crust to a wire rack while you prepare the filling.

Reduce oven temperature to 350 degrees F.

Melt the butter over medium-low heat and then cook, stirring, until it is lightly browned and fragrant, about 5 minutes. Set aside to cool for 15 minutes.

In a medium bowl, whisk together sugar, corn syrup, vanilla, salt and cinnamon, then add eggs and whisk until smooth.

Slowly pour butter into the sugar mixture, and whisk to combine.

Stir the chopped pecans.

Pour the filling into pie crust.

Line the top of the filling with the remaining pecan halves in concentric circles. Cover the edges of the pie with aluminum foil or a pie shield to prevent over-browning.

Bake for about 50-60 min., or until the filling is just set. Start checking for doneness right at 50 minutes. The filling will jiggle a little bit but should not be sloshy. Cool completely before cutting.

Why no slice here? Well, this one was headed to the county fair, but I’ll try to get a picture of it cut when I go to the fair this weekend.

Update: This pie made me the GRAND CHAMPION of the baking competition at the 2018 Arlington County Fair!

The way I see it, all of this is play and creativity. And if you approach cooking that way, you’ll never stress over the messes, accidents, or mishaps. You’ll just write yourself a note and fix it next time. Just wait for it and always, always keep learning. Eventually, you’ll stumble upon that perfect bite. And it will be so worth it.

Ciao for now,

Neen

Leftover Treasures: Arancini

12 Aug

There are a lot of clever ways to revive leftovers, but one of my favorites makes a new dish that can be even better than the original. I am talking of course, about arancini, Sicily’s perfect little fried rice balls.

The name translates from Italian and Sicilian to mean “little oranges” for the shape and color of the finished product. They’re said to have originated in 10th century Sicily, and later gained popularity as a food eaten on the feast of Santa Lucia. “Arancini are a traditional food for the feast of Santa Lucia on 13 December when bread and pasta are not eaten. This commemorates arrival of a grain supply ship on Santa Lucia’s day in 1646, relieving a severe famine” [1]. Today, arancini are so popular that most food outlets in Sicily sell them year-round.

Though meat in tomato sauce (ragù) and mozzarella are a traditional filling, variants are sold all over Sicily. Like any good leftover application, they are malleable enough to accommodate what you have on hand. These deep-fried delights are the answer to “I made a full recipe of risotto and only needed to feed 1 or 2 people. What now?”

Risotto already has such a wonderful depth of flavor that we don’t need to do much at all to make it something special again. Arancini are simple to make, freeze well, and fry up in less than five minutes. Sound good? Let’s go for it.

Mushroom and Cheese Arancini

Ingredients

  • Well chilled leftovers from 1 recipe Mushroom and Romano Risotto (about 3 cups for me). You can certainly use other varieties of leftover risotto, just make sure you chill it well so that it’s firm.
  • 3 eggs (2 beaten in one bowl, 1 beaten in another)
  • 2 oz. mozzarella cheese (or other melting cheese), cut into ½ in. cubes
  • 1 cup all-purpose flour
  • 2 cups panko bread crumbs
  • Neutral oil such as peanut or canola for frying (enough to measure at least 2 in. deep in a saucepan)

Put the flour, 2 beaten eggs, and bread crumbs into separate bowls and arrange on the counter in that order. Line a baking sheet with parchment paper.

Beat one egg and mix it into the chilled risotto.

Take 2 tbsp. of the risotto and flatten it gently into your palm. Place a cube of mozzarella in the center and then gently close your hand to surround the mozzarella with risotto. I also roll the ball between my hands a few times to get a nice compact shape.

Dip the ball into the flour, shaking off excess.

Next, dip it into the beaten egg, letting the excess drip off.

Finally, roll the ball in the panko breadcrumbs and place on the parchment-lined baking sheet. I got 18 from 3 cups of risotto. (Yes, yes, there are only 17 in the picture. One was not-so-elegantly dropped.)

At this moment, I realized that I am one human with a somewhat small appetite and what on earth was I going to do with a dozen and a half arancini? Thankfully, these freeze well. If you need to do so, freeze them on a baking sheet until firm, and then move to a freezer bag. From frozen, fry 3-4 minutes and then put in a 350 degree F oven for 5-7 minutes to get the center piping hot. Win!

If not freezing, chill the arancini in the refrigerator for at least an hour before frying. They will hold their shape much better.

Prepare to fry by filling a saucepan with at least 2 in. of neutral oil. Clip a thermometer to the side of the pot and make sure the probe is at least ½ in. into the oil. This is important because greasy fried food is not what we’re after. Use an accurate thermometer, fry at the correct temperature, and the food will only absorb a very small amount of the oil. I’ve measured on a few occasions, and it’s usually only a few tablespoons total.

Bring the oil to 350 degrees F over moderate heat. You may be tempted to use high heat to get it there, but don’t. It will be harder to control the temperature later.

Fry the arancini 2-3 at a time to keep the oil temperature from dipping. They will cook in 2-4 minutes, depending on size. Remove when they are a deep golden brown. Bring the oil back to 350 degrees between batches.

Now you get a second course of your delicious risotto with added crunchy crust and gooey mozzarella center.

I mean, just check out that cheesiness:

They’re a great appetizer or lunch alongside a simple tomato salad. Now no delicious risotto leftovers need ever go to waste. And that feels pretty great.

Ciao for now,

Neen

1. Giuseppina Siotto, Vegetaliana, note di cucina italiana vegetale: La cucina vegetariana e vegana, 2014, ISBN8868101858, chapter 14