Archive | Recipes RSS feed for this section

Back to Bread Baking: Rosemary Asiago Focaccia

7 Jun

So, it’s been a very strange two months.

The first week of April, I woke up suddenly with back pain so excruciating, Joe and I had to cancel our annual trip to Boston for PAX East. Things deteriorated from there. My joints swelled randomly and massively, there were weeks at a time when I could not walk, and I was in constant, excruciating pain. After a long two months of MRIs, x-rays, labs, and doctor appointments, I was finally diagnosed last week with rheumatoid arthritis. While things haven’t improved greatly (yet), I am much more comfortable and have a treatment plan to move forward.

Needless to say, I wasn’t doing much cooking. The last couple of weeks I’ve had a little more energy, my hands hurt a little less, and I have started to cook some meals and get back to baking. I’ve been going for a lot of comfort foods like meatloaf, soups, and homemade pasta. But what really feels like home to me is baking bread. So when my rosemary plant decided to offer this…

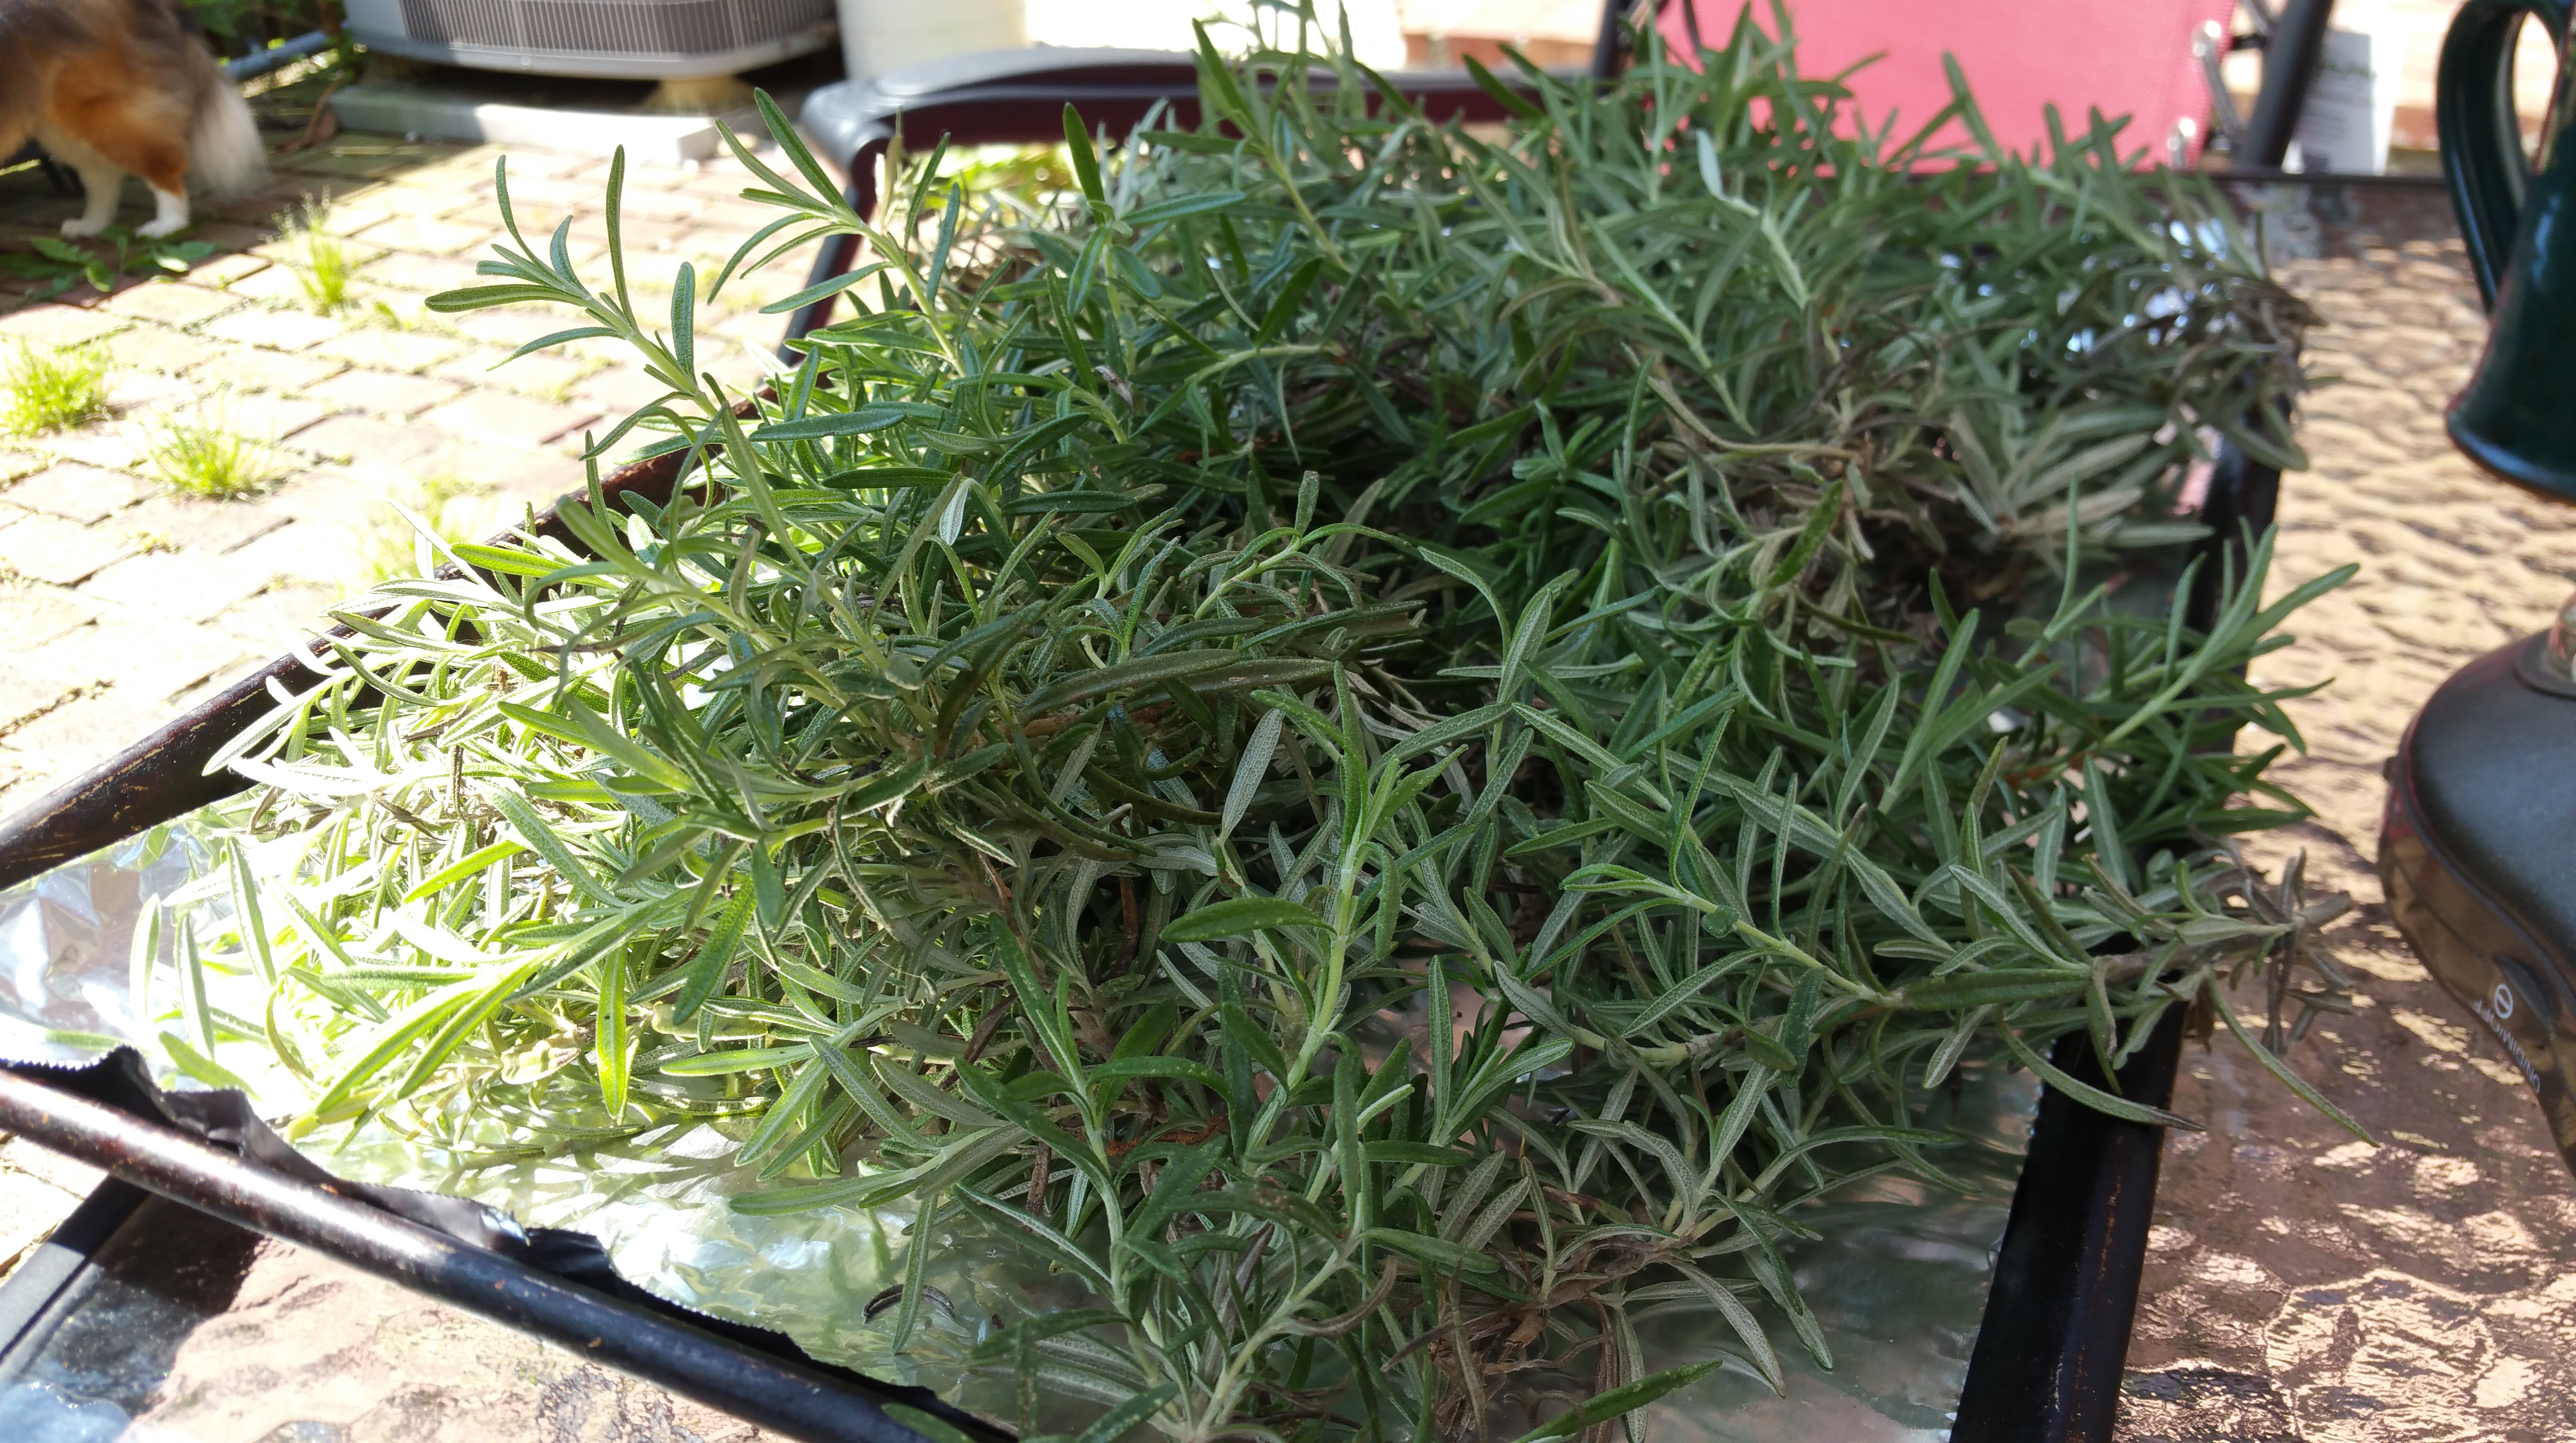
I knew a really good focaccia was on the way.

Let’s get back in the kitchen together!

Rosemary Asiago Focaccia

Bread:
2 tsp. active dry yeast
1 cup warm water (110-115 degrees F)
2 tbsp. sugar
3 1/2 to 4 cups bread flour
1 tbsp. kosher salt
1/4 cup olive oil
2 tbsp. fresh rosemary, chopped
1.5 oz. finely grated asiago cheese

Toppings:
2 tsp. fresh rosemary, chopped
1 oz. coarsely grated asiago cheese

Dissolve the salt in 2 tbsp. of water and set aside.

In the bowl of a stand mixer, combine the yeast, sugar, and water, and let stand until foamy, 5-10 min.

Turn the mixer on low speed and slowly add 3 1/2 cups of flour to the bowl. Add the salt water and olive oil, and once incorporated, add the chopped rosemary and finely grated asiago cheese.

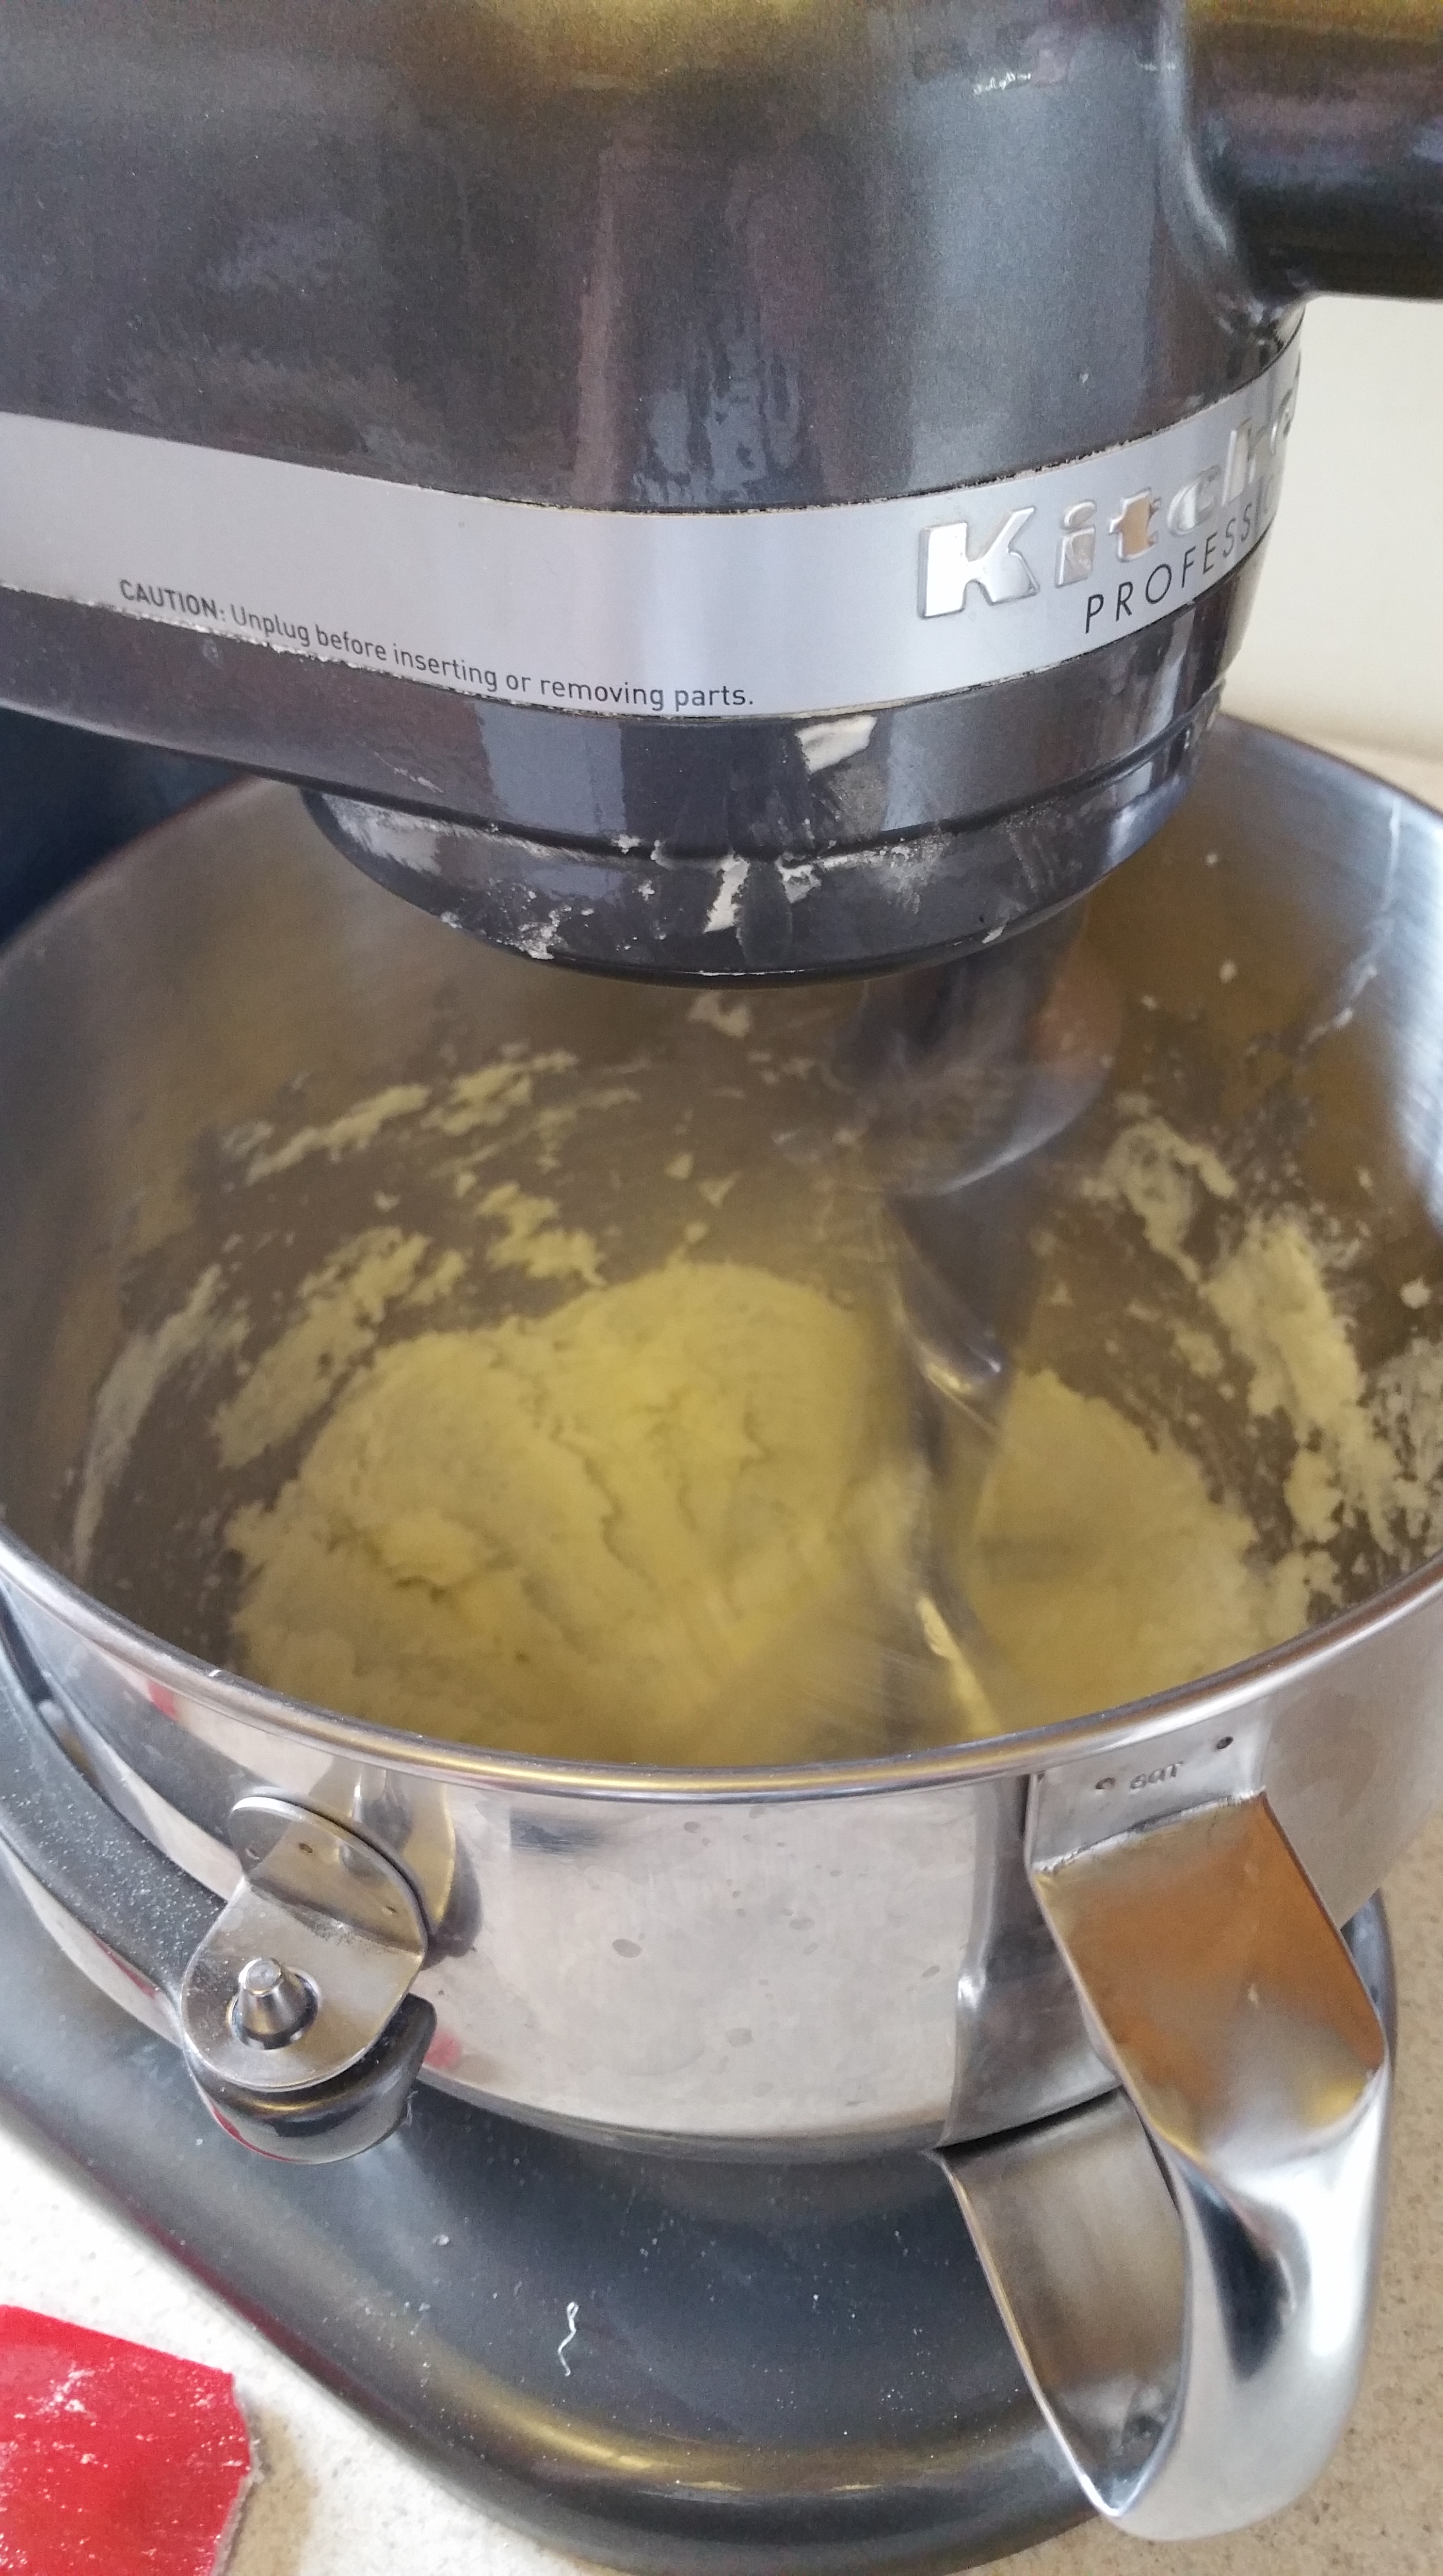
Once the dough comes together, turn out onto a lightly floured surface and knead until smooth and elastic, about 10 minutes. (You can also knead this in a stand mixer fitted with a dough hook, I just enjoy doing it by hand.) Add flour as needed if the dough is sticky.

Form the dough into a ball and transfer to an oiled bowl, tossing to coat in the oil. Cover the bowl loosely with plastic wrap or a towel and allow the dough to rise until doubled in size, about 45 minutes.

Preheat the oven to 450 degrees F and adjust a rack to the lower third of the oven.

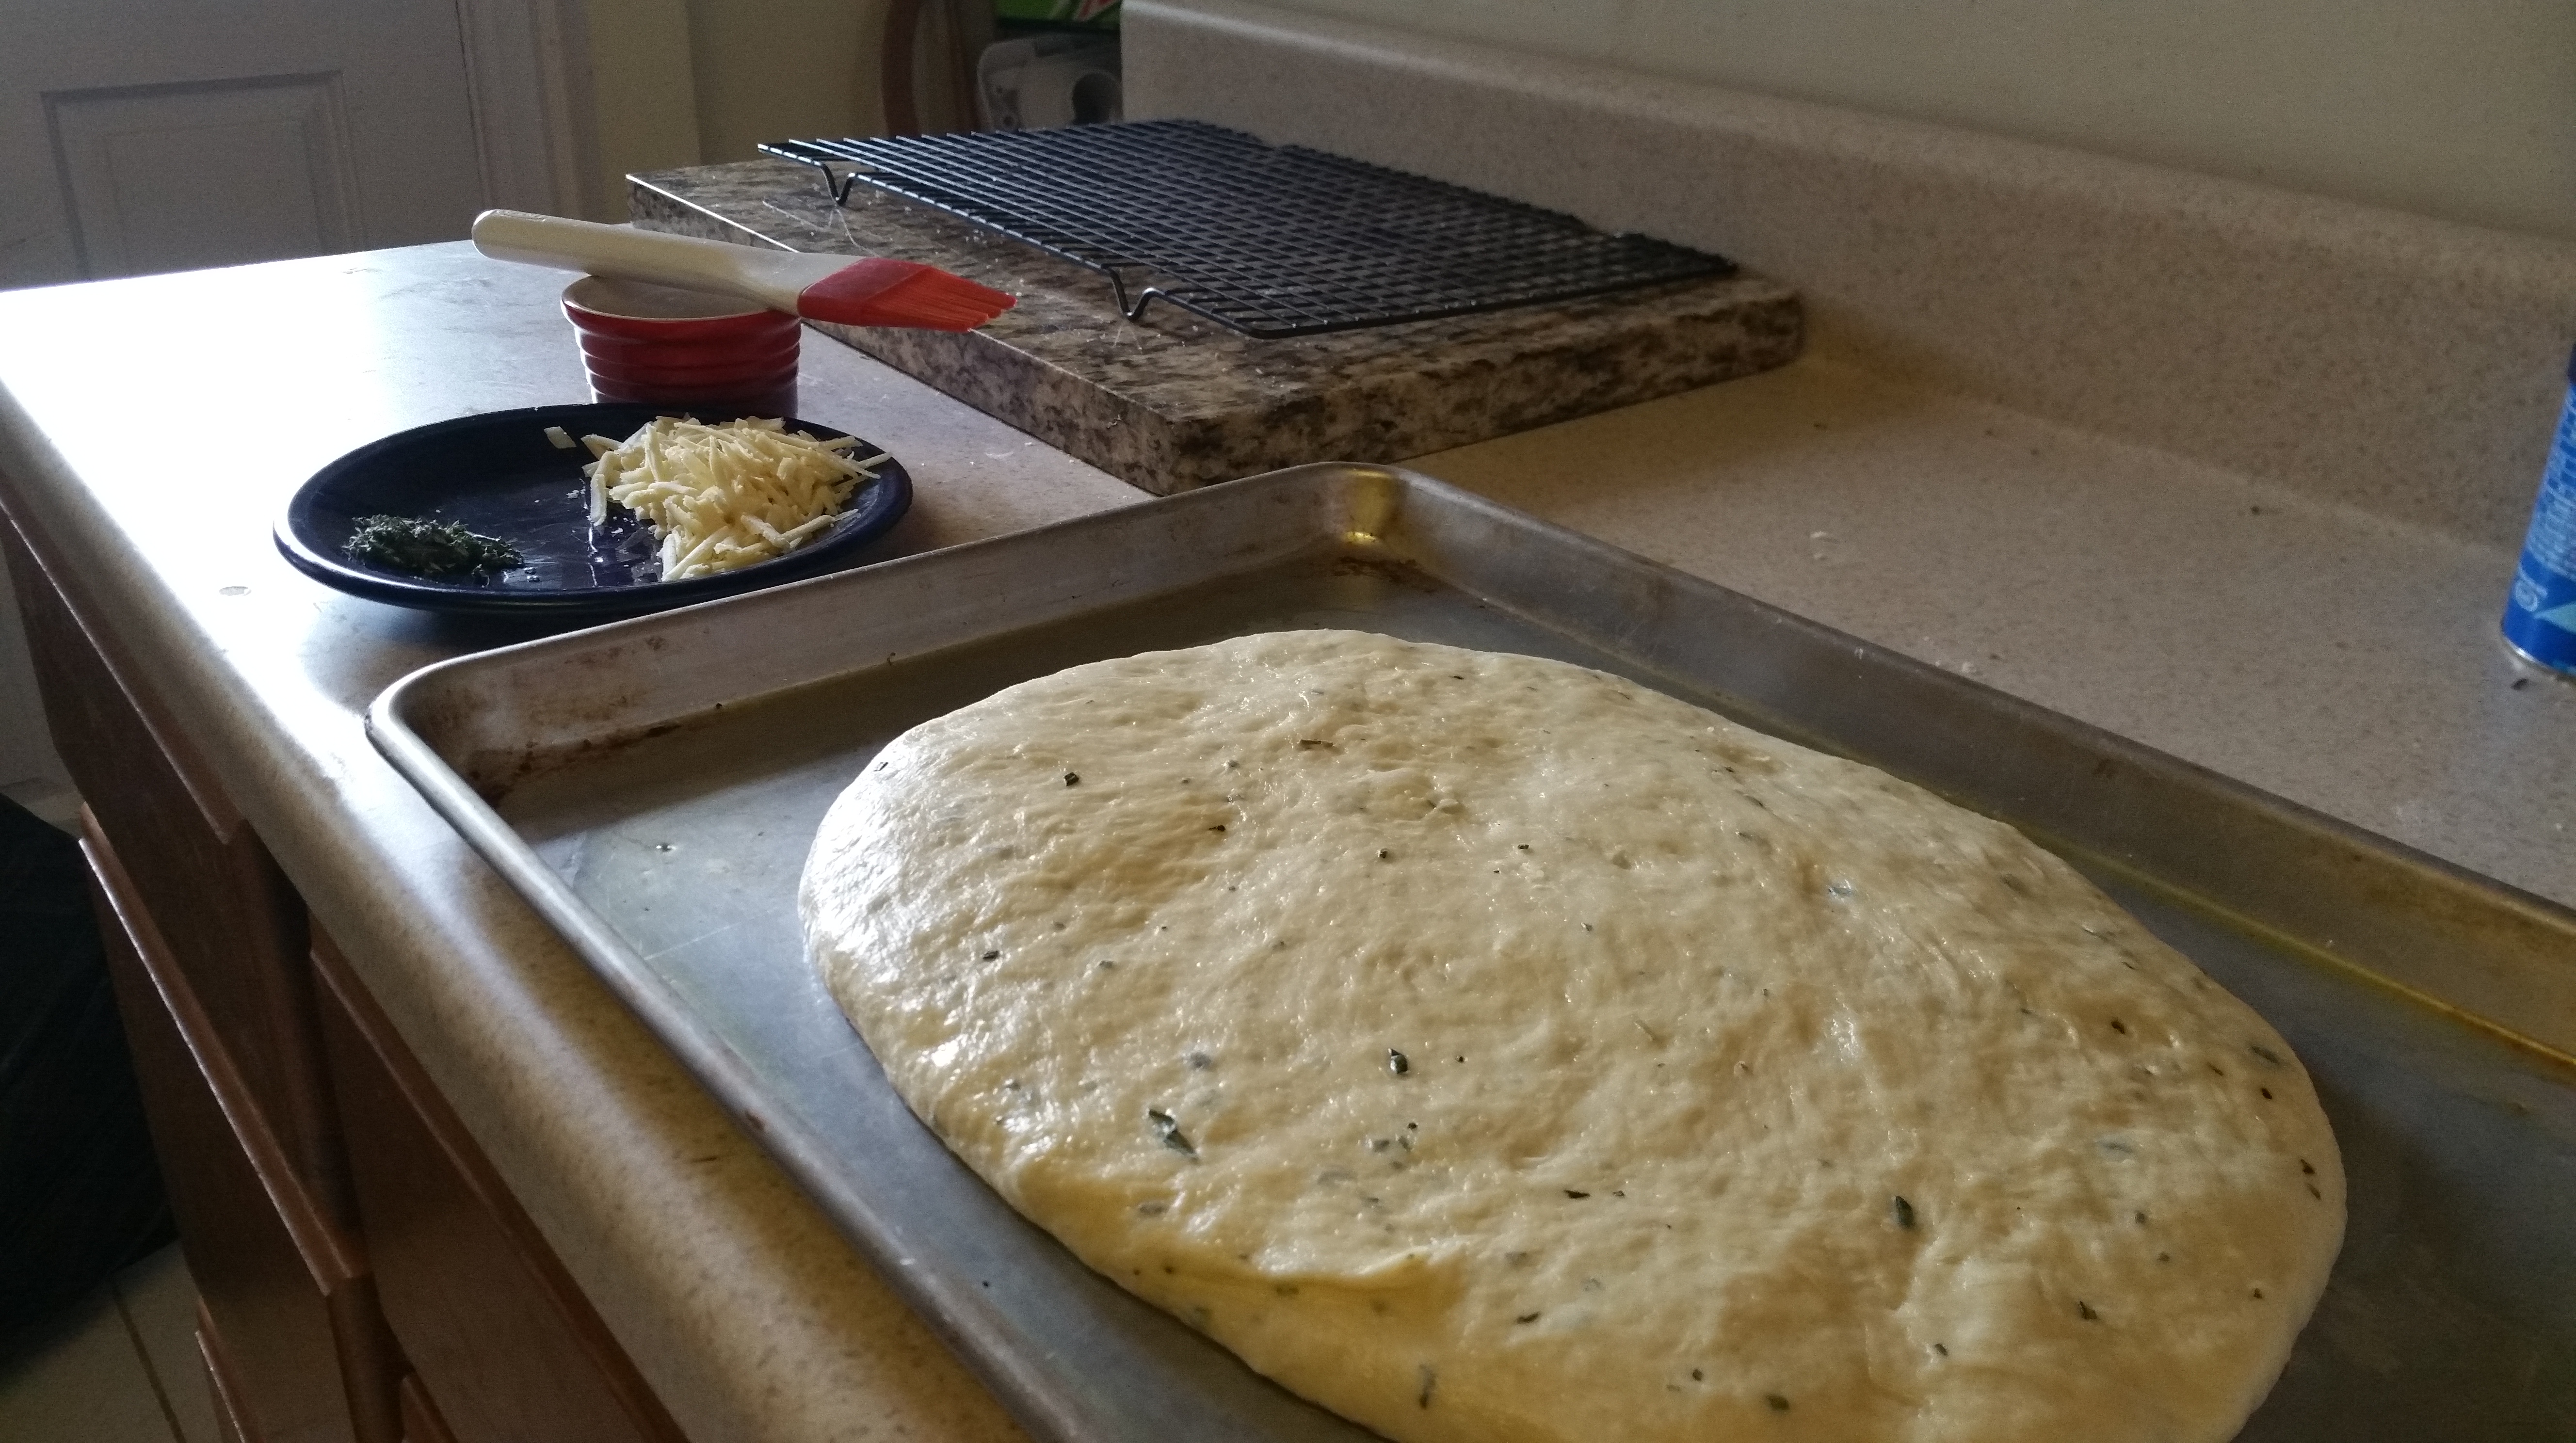
Lightly oil a baking sheet and turn the risen dough out onto it. Gently stretch the dough into an oblong shape about ½ in. thick.

Let rest, uncovered, for 15 minutes.

Gently dimple the dough with your fingertips. Brush the surface of the dough with olive oil, and then sprinkle on the coarsely grated asiago cheese and chopped rosemary.

Bake the focaccia for 13-15 minutes or until golden brown all over. Allow it to rest at least 15 minutes before slicing.

This bread reheats especially well in the toaster or conventional oven (if you don’t finish it all in one day!)

While I often find the road ahead daunting and uncertain, I am lucky to be surrounded by supportive people, and have hobbies like cooking and yoga that ground me and offer me a meditative space. And I’ll keep writing to you here as often as I can, because food is meant to be shared and I will always be happy to share with you.

Ciao for now,

Neen

The King’s Crispy Treats

26 Mar

I went on a granola bar making binge recently. First I had a friend who was traveling who I thought could use a snack, and then I was in a show with a lot of long hours and heavy lifting, so I made tons of bars for the whole cast.

Then Joe spoke up. He doesn’t like oats, or the texture of most dried fruit. What kind of bar could I make for him? I remembered a Kashi bar that he used to eat that had chocolate covered pretzels in it and a sort of crispy cereal base. I considered that banana chips weren’t chewy and so I added those to the equation, and that’s when it hit me. Add some peanuts and peanut butter and you have something approximating Elvis’ beloved fried peanut butter and banana sandwiches in breakfast bar form. With a little added chocolate because yes, please!

Elvis Bars

  • 3 ½ cups crispy rice cereal or puffed rice cereal
  • ½ cup roasted salted peanuts, roughly chopped
  • ½ cup banana chips, roughly chopped
  • ½ cup chocolate covered pretzels, roughly chopped
  • 1/3 cup brown sugar
  • ¼ cup unsalted butter
  • ¼ cup honey
  • 3 tbsp. peanut butter
  • 1 tsp. vanilla extract
  • ½ tsp. salt

Line an 8×8 in. square pan with parchment and set aside.

In a large bowl, combine the cereal, banana chips, and peanuts.

In a medium saucepan, combine the brown sugar, butter, honey, vanilla, and salt. Cook until the mixture just starts to bubble.

Remove the saucepan from the heat and stir in the peanut butter until smooth.

Add the peanut butter mixture to the cereal mixture and stir well to combine.

Wait 15 minutes for the mixture to cool slightly, and then add the chocolate covered pretzel pieces.

Pour the mixture into the prepared pan and press firmly into an even layer. Chill in the refrigerator for two hour before cutting into squares.

I wrap them individually in plastic wrap and store in the refrigerator.

Crispy, chewy, sweet, and salty. Delicious! Hope you enjoy these royal treats soon.

Ciao for now,

Neen

Pressed Perfection: Gram’s Pizzelles

6 Dec

I have introduced you to my Gram before, and shared with you her delicious stracciatella (you’re welcome). But there was in fact, a second recipe card she gave me at my bridal shower five years ago. A particular offering that appears on every Italian Christmas and wedding cookie tray, but seemingly only on those occasions, the pizzelle.

After my Gram passed away a few years ago, they stopped being a special occasion cookie only for me. They became a thing I made when I missed her and wanted to share her with people.  I pull out the pizzelle iron more than a few times a year, and most recently I brought it out right before Thanksgiving to share these with my students.

You’ll need one piece of special equipment, and that is the aforementioned pizzelle iron. There are many varieties, but this is the one I have. It bakes two cookies at a time.

Pizzelles

  • 3 eggs
  • ¾ cup sugar
  • ½ cup butter, melted and cooled*
  • 1 tbsp. vanilla or anise oil**
  • 1 ¾ cup flour
  • 2 tsp. baking powder
  • Pinch of salt

    *Gram’s recipe actually calls for margarine, I just never have it around
    **I use a combination of vanilla and almond extracts

Sift together the flour, baking powder, and salt.

In a large bowl, beat the eggs, and then beat in the sugar until smooth.

Add the melted butter and extracts and mix well.

Finally, whisk the flour mixture into the egg mixture until a batter is formed.

Drop the batter by spoonfuls (I use a 1 ½ tbsp. disher) onto a preheated pizzelle iron and bake for 30 seconds, or until just golden.

Move to a wire rack to cool completely.

Yield: 24 5-in. cookies.

I know that as the holidays approach, I’ll definitely make more pizzelles to add to cookie trays and gifts for people. There’s always a moment of delight when someone receives these so beautifully pressed, crisp, sweet little treasures. And for me it means my Gram is still right here baking and sharing with me.

Ciao for now,

Neen

Un-puzzling Apple Pie

30 Nov

I’ve been after the perfect apple pie for a while. There are so many variables: What kind of fat in the crust? Cooked or uncooked filling? Cornstarch or flour? What kind of apples?

And I’ve encountered all of the usual problems too: Under-baked crust, melted or broken crust, mushy apples, watery filling. With every pie I’ve baked, I’ve had a chance to learn a little bit more about what works and what doesn’t.

The good news is that I’ve combined several methods that turn out a pie with a flavorful, flaky crust, and a filling that’s sweet-but-not-too-sweet and that holds together when sliced.

Here we use a pretty traditional all butter pastry, but stay mostly hands-off and also chill it several times throughout the process to keep it workable and stable. For the inside, I wanted to avoid a watery filling, but pre-cooked ones make the apples too mushy by the time the pie is baked, so we’ll instead take time to extract some juice from the apples, make it into a syrup, then toss the apples with that and cornstarch to create a filling with the perfect consistency.

Let’s do it to it!

Apple Pie

Crust:

  • 2 ½ cups unbleached, all purpose flour
  • 2 tbsp. sugar
  • 1 tsp. salt
  • 8 oz. (2 sticks) unsalted butter, cut into chunks and chilled in the freezer for 10-15 minutes)
  • ¼ – ½ cup ice water

Filling:

  • 3 lbs. apples (Good varieties that will not break down are Honeycrisp, Fuji, Granny Smith, Macintosh, or Cortland). I used 3 large Honeycrisp and 3 Granny Smith for a balance of tart and sweet.
  • ¼ cup sugar
  • ¼ brown sugar
  • 1 tsp. cinnamon
  • ½ tsp. salt
  • 1/8 tsp. fresh ground nutmeg
  • 2 tbsp. butter
  • 2 tbsp. cornstarch

Prepare the crust by combining the flour, sugar, and salt in a food processor and mixing.

Add the butter in chunks, pulsing between additions, until the mixture is a sandy, pebbly texture.

Slowly add ice water while pulsing, until the dough holds together when pressed between fingers. Do not overmix.

Turn the mixture out onto a countertop and gather into a ball. Divide the dough in two pieces and flatten into discs. These weighed about 12.5 oz. each. Wrap these in plastic wrap and chill for 30 min – 1 hour.

To make the filling, peel, core, and slice the apples. I also quarter my slices.

Toss the apple slices with the sugars, cinnamon, nutmeg, and salt and allow this to sit for at least 30 minutes, but up to an hour is fine.

Meanwhile, roll out one pie dough disc into a 12 in. circle, fit it into a pie pan, and trim the edges. Cover with plastic wrap and refrigerate.

Roll the other dough disc into a 12 in. circle, place on a parchment-lined baking sheet, cover with plastic wrap and refrigerate.

Then place a strainer over a bowl and pour in the apples. Allow them to drain for 30 minutes, or until ½-3/4 cup of juice has accumulated.

Take the pie dough circle on the baking sheet out of the refrigerator before you begin the next step to allow it to get slightly pliable.

Put the juice and the 2 tbsp. of butter in a small saucepan over medium-high heat and boil until it reduces to about 1/3 cup and is syrupy, about 7-10 minutes.

In a bowl, toss the apples with the cornstarch and then toss with the reduced syrup.

Fill the pie crust with the apple mixture.

Gently wet the edges of the crust and place the top crust over the filling. Trim the edges and then crimp with a fork. Cut 5 slits in the top. Wrap the pie in plastic wrap and refrigerate.

Preheat an oven to 425 degrees F and place an aluminum foil-lined baking sheet on an oven rack placed on the lowest setting.

Once the oven is preheated, unwrap the pie and cover the edges with an aluminum foil ring to prevent the crust from overbrowning. Bake the pie for 45-55 minutes or until the fruit is bubbling and tender when poked through one of the slits. Remove the foil ring during the last 10 minutes of baking.

Allow the pie to cool for at least 4 hours before slicing.

Hope you have a chance to try this one during the holidays. It’s sure to make them merrier!

Ciao for now,

Neen

Eastern Shore Edition: Seafood Stock *and* Crab Bisque

20 Aug

Joe and I somehow got it into our heads last night that we could eat 2 lbs. of steamed snow crab legs. Several clusters in, we realized that our eyes were bigger than our stomachs. But there was no way I was going to let the remaining meat or the MOUNTAIN of shells go to waste. Seemed like the perfect opportunity to try my hand at making a creamy, delicious crab bisque and build it from the seafood stock on up. Let’s get to work, shall we?

Seafood Stock

Ingredients

  • Shells from 2 lbs snow crab legs
  • 1 onion, diced
  • 5-6 carrots, diced
  • 5-6 celery ribs, diced
  • 2 cloves garlic, minced
  • 3-4 sprigs thyme
  • ½ cup dry white wine
  • ¼ cup tomato paste
  • 2 tbsp. olive oil
  • 1 tbsp. black peppercorns

Method

Roast the crab shells in a 400 degree F oven for 10 minutes or until the edges begin to brown.

Place a stock pot over medium heat and add the olive oil. Once the oil starts to shimmer, add the onion, carrots, celery, and garlic and saute until the vegetables start to soften. Take a selfie maybe?

Add the shells, white wine, thyme, peppercorns, and tomato paste. Then add water until the shells are covered by about 1 inch.

Bring the stock to a boil and then reduce to a simmer and cook for 1 and a half hours. Skim the grease and foam from the surface every so often during the cooking process.

There will be a decent amount of evaporation. The first picture is the beginning of the cooking process, and the second is the end.

Strain the stock through a fine mesh sieve, pressing the solids to extract as much as possible. Yields about 2 ½ quarts

The stock is now ready to use for our delicious…

Crab Bisque

Ingredients

  • 2 ½ qts. seafood stock
  • 2 oz. butter
  • 1 onion, diced
  • 3 carrots, diced
  • 3 ribs celery, diced
  • 1 clove garlic, minced
  • ½ cup cooking sherry
  • ¼ cup tomato paste
  • 3-4 sprigs thyme
  • 2 bay leaves
  • ½ tsp. paprika
  • 1 cup heavy cream
  • 6 oz. crab meat (I used snow crab legs)
  • Juice from ½ lemon
  • Salt and pepper to taste
  • Fresh chives, chopped (for garnish)

Method

Melt the butter in a large pot over medium heat and then add the celery, carrot, and onion. Saute until the vegetables soften and give up their juices. Add the garlic and saute 2 minutes more.

Deglaze the pan with the sherry, and then add the tomato paste.

Add the seafood stock, paprika, thyme, and bay leaves.

Bring the soup to a gentle boil, and cook for 20 minutes.

Remove the pot from the heat and stir in the cream.

Puree the bisque in batches, and then return to the stove, season with salt, pepper, and the lemon juice.

I prefer to add the crabmeat to the individual bowls when serving, but you can add it to the pot of bisque if you like. Garnish the soup wish fresh chives and enjoy!

So next time you “accidentally” order too much shellfish, toss your shrimp, crab, or lobster shells in a pot and get that stock going. In addition to being a wonderful base for soups and sauces, it is also delicious cooking liquid for rice and other grains.

I might just have to let my eyes get too big more often. 😉

Ciao for now,

Neen


Belated Birthday Post: Cinnamon Cupcakes with Toasted Italian Meringue

1 Aug

When I woke up on my birthday last month, I had a strange lack of ingredients in the house. Less than a stick of butter, no powdered sugar, and no milk specifically. Not ideal for someone wanting to make birthday cake with frosting, but certainly by no means an impossible task.

What I came up with was actually pretty delicious and reminded me a lot of a cake I used to make for Joe a lot when we were first dating. As for the icing, normally I’m a buttercream kinda lady, but toasted Italian meringue may have won my heart over. It was light and crisp on the outside, and soft and marshmallow-y inside. A perfect companion for this warm, spicy cinnamon cake.

Cinnamon Cupcakes with Toasted Italian Meringue

Cake Ingredients:

  • 1 1/2 cups all purpose flour
  • 1 cup granulated sugar
  • 1 1/2 tsp. baking powder
  • 1 tsp. cinnamon
  • ½ tsp. salt
  • 3 oz. unsalted butter
  • 1 oz. cream cheese
  • 1 whole egg and two egg yolks
  • 1/2 tsp. almond extract
  • 1/2 cup whole milk yogurt

Italian Meringue Ingredients and Recipe Here

Method:

Preheat the oven to 350 degrees and grease 12 muffin cups or line with paper liners.

In a small bowl, combine the flour, salt, cinnamon, and baking powder and set aside.

In the bowl of a stand mixer or using a hand blender, cream together the butter, cream cheese, and sugar until light and fluffy.

Add the whole egg and egg yolks one at a time, mixing between additions and scraping down the bowl. Then add the almond extract.

With the mixer on low speed, alternate adding the yogurt and the dry ingredients to the wet ingredients, scraping the bowl between additions, until everything is just combined.

Divide the batter evenly among the cups.

Bake for 23-25 minutes or until a toothpick inserted in the center comes out clean. Cool completely.

To frost, spoon or pipe the meringue on top of the cupcakes and then place under a broiler for 15-30 seconds or use a blow torch to lightly brown the meringue.

These were a pretty delicious way to celebrate #32, I have to say. I bet they’d be great with other toppings too, like maple buttercream, or a crisp brown sugar and oat crumble. Give them a try soon!

Ciao for now,

Neen