State Specialties: Smith Island Cake

11 Aug

Chincoteague Island holds some of my favorite foods. The fried chicken and barbecue from Woody’s, scallops from Gary Howard, and crabs and hushpuppies from the aptly named Crab Shack. Not to mention the multiple farmer’s markets, a donut truck, and various small bakeries and ice cream shops.

It’s also the first place I discovered one of the tastiest regional specialties I have yet to try: Smith Island Cake. While they come in many flavors, the common theme among them is the towering number of individually baked (not split) layers, 8-14 of them as far as I’ve seen. The cake is officially designated as the state dessert of Maryland and the most popular variety features a cooked chocolate fudge frosting (though my mother-in-law would have made a strong argument for the coconut variety that she LOVED).

I shared a slice of one of these with my family on one perfect island day and it was a heavenly treat for sure. I’ve wanted to make one ever since, but kept putting it off because I just didn’t have the time. Then Joe went to Las Vegas for a weekend with his friends and I got bored, so things happened.

I’ve done my best to streamline the baking method. The batter and frosting are both pretty simple, you won’t even need a mixer for anything, just two big bowls and a saucepan. No splitting of layers, hooray! And you can take your time with this. The cake batter and frosting are both resilient, so don’t stress.

Smith Island Cake

Butter Cake

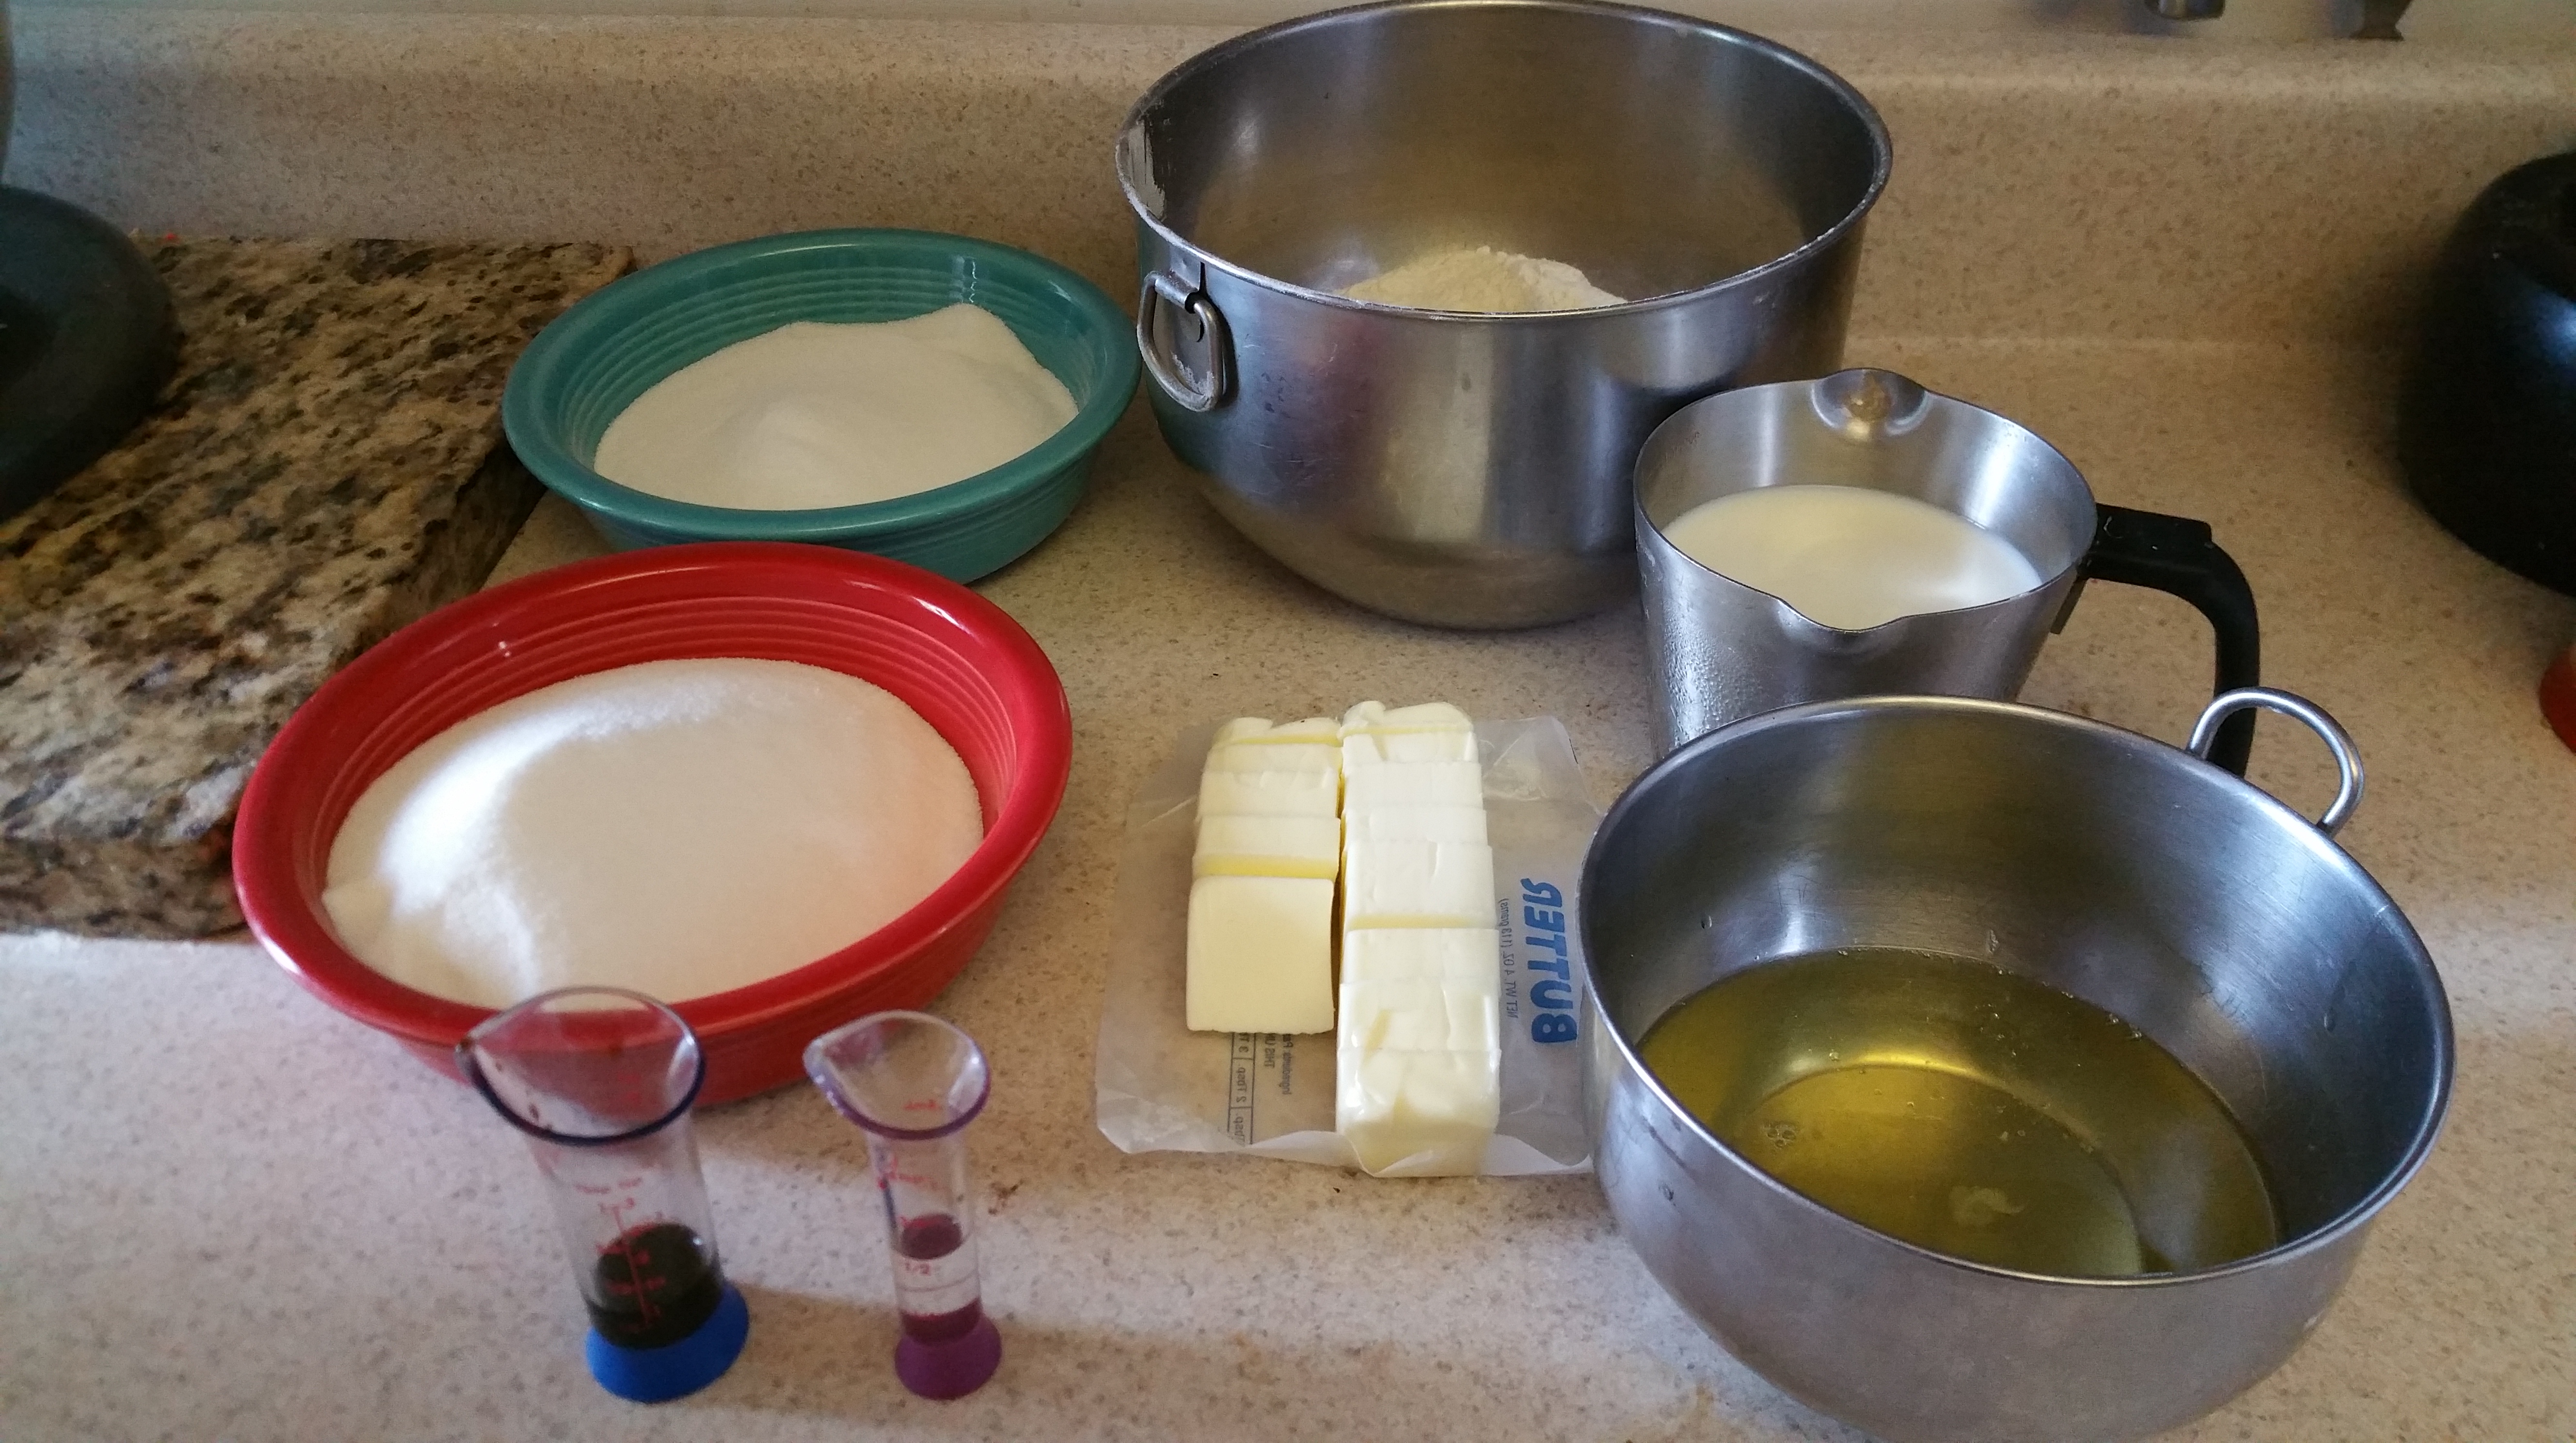
  • 24 tbsp. unsalted butter, melted
  • 3½ cups all-purpose flour
  • 4 tsp. baking powder (preferably aluminum-free)
  • 1½ tsp. kosher salt
  • 2¼ cups sugar
  • 2 cups whole milk
  • 2 tsp. vanilla extract
  • 6 eggs

Chocolate Fudge Frosting

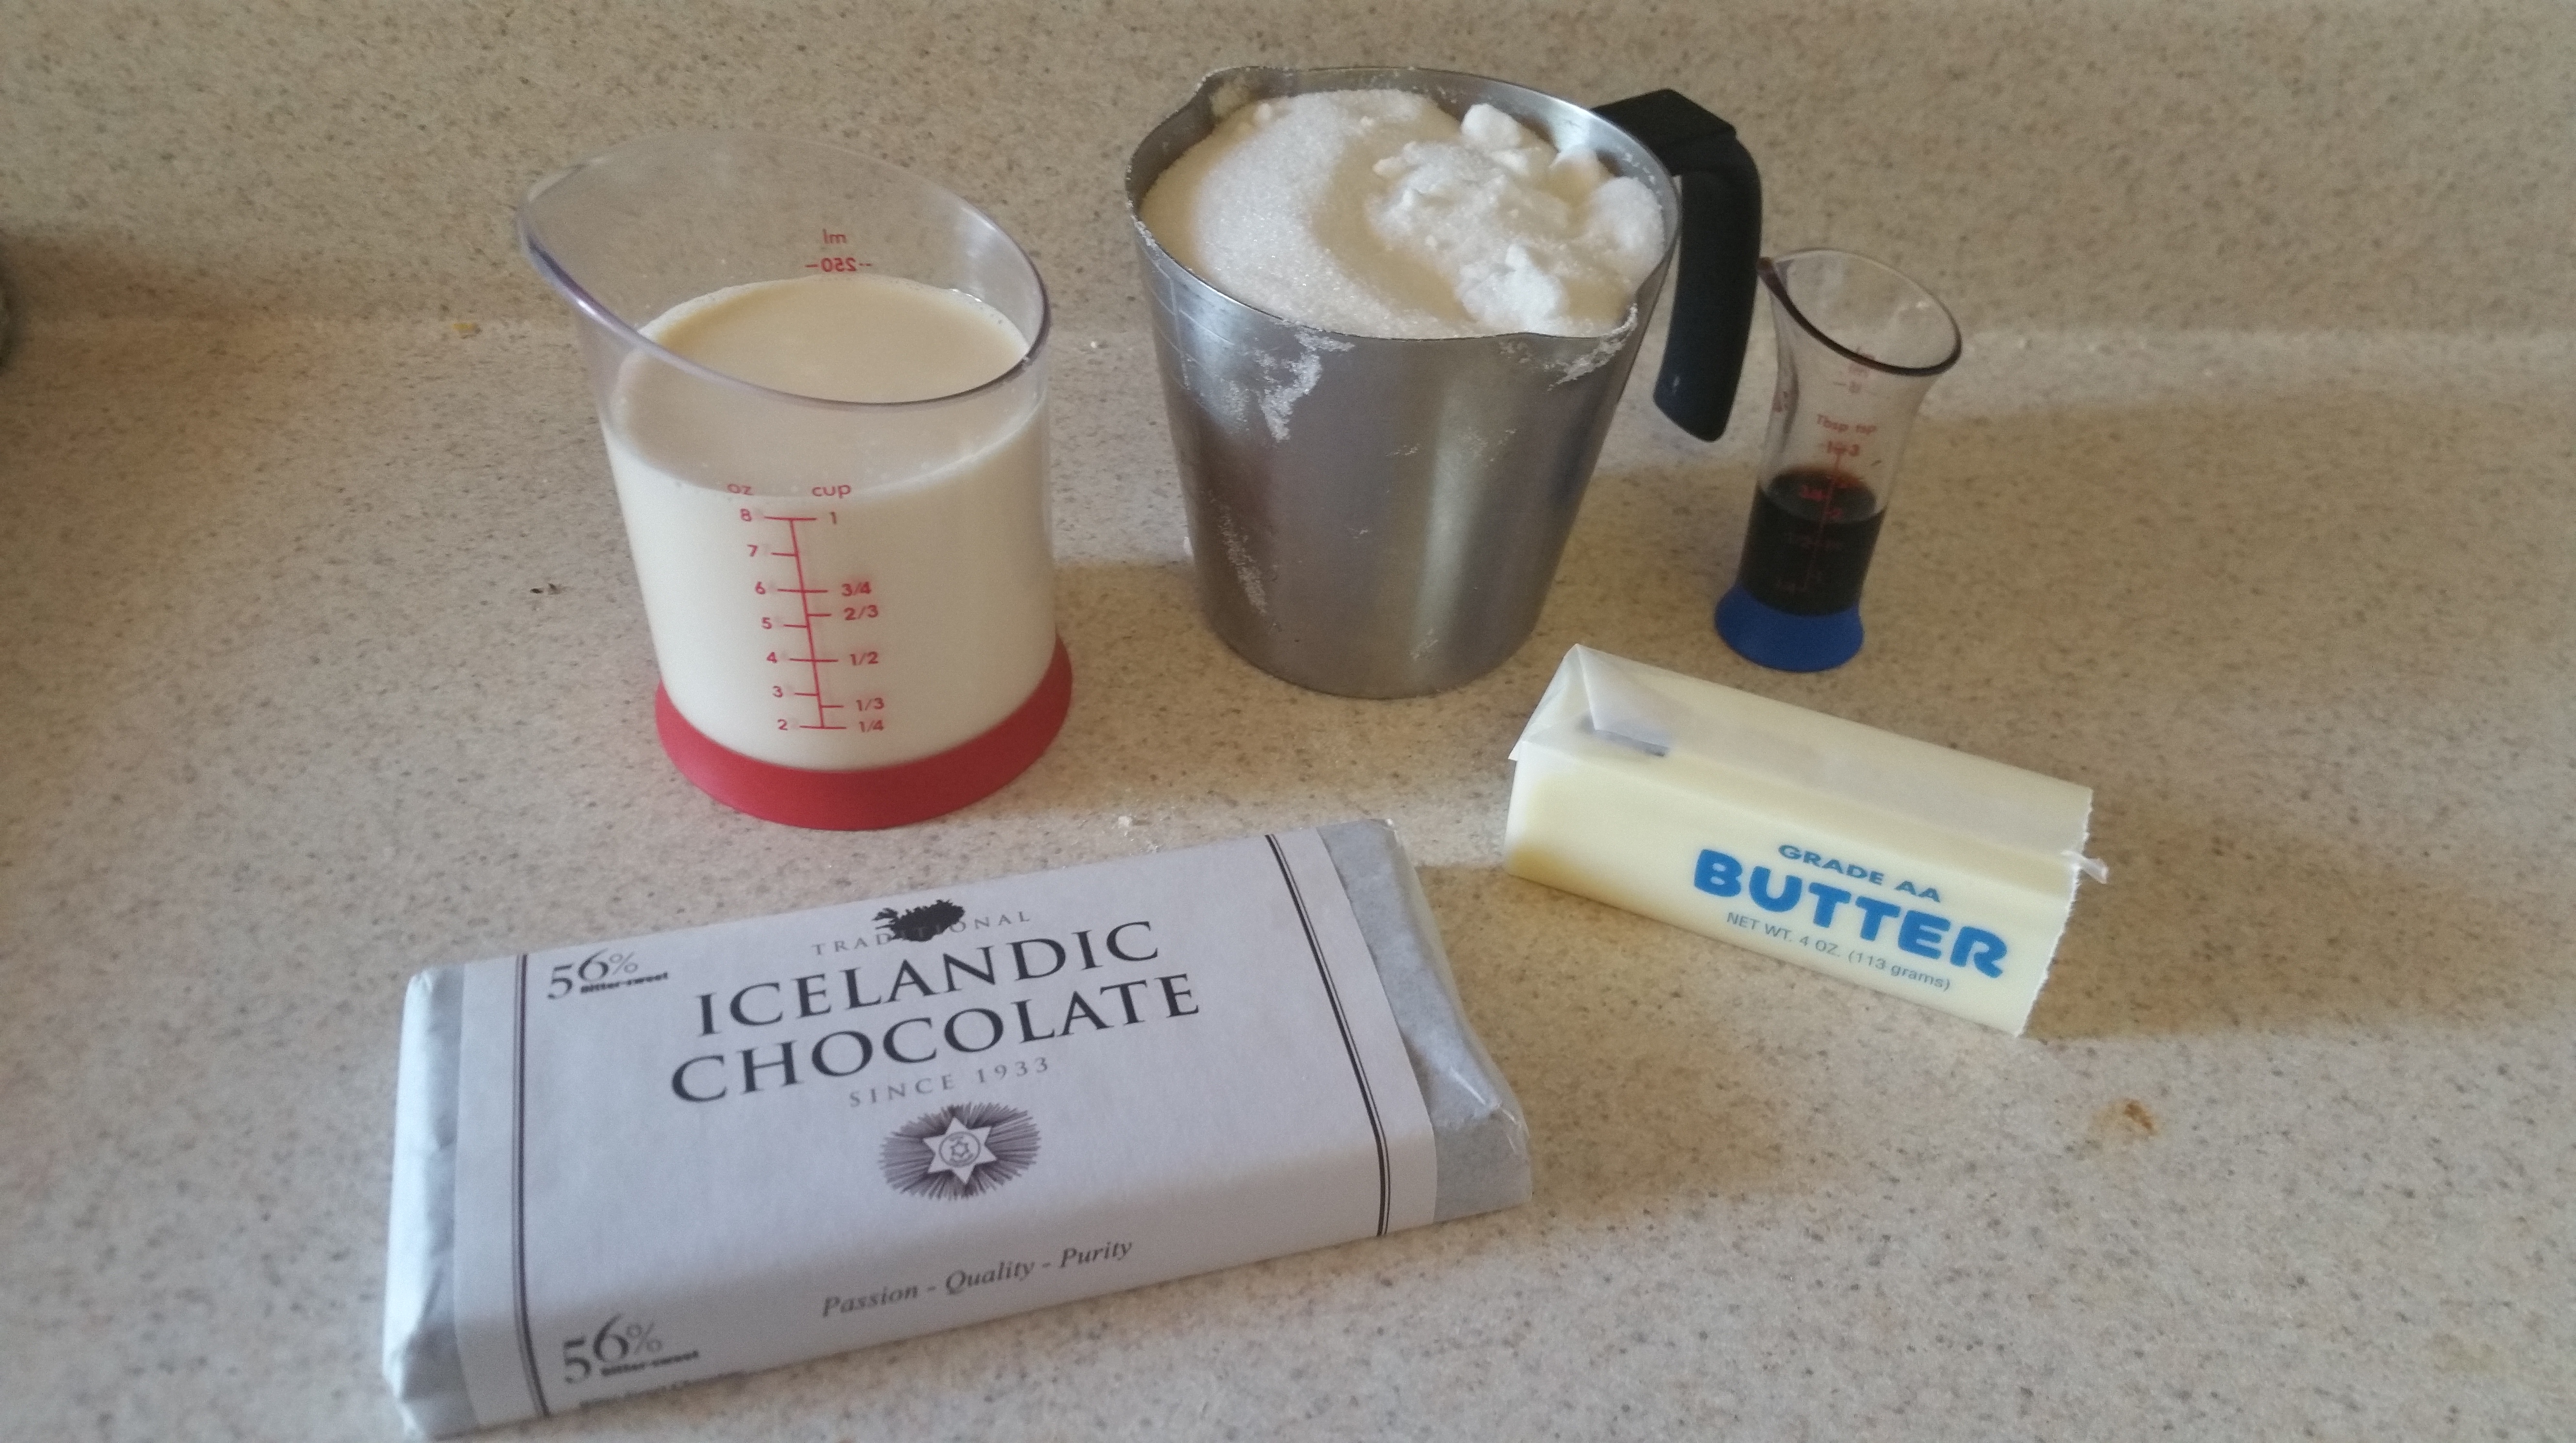
  • 6 oz. dark/bittersweet chocolate (I used 56%), chopped
  • 3 cups sugar
  • 1 1/2 cups evaporated milk (one 12 oz. can)
  • 9 tbsp. unsalted butter, melted
  • 2 tsp. vanilla extract
  • ½ tsp. kosher salt

Cut 8 circles of parchment paper to fit the bottom of 9 in. round cake pans. Grease, line with parchment, and flour as many 9 in. round cake pans as you have. Test to see how many pans will fit on the middle rack of your oven. Doing this in advance will let you know how many batches you’ll be making for 8 layers of cake. I have 5 pans, so I baked in 3 batches.

If you want to simplify dividing your batter among batches, weigh the bowl your final batter will be in.

Preheat the oven to 350 degrees F.

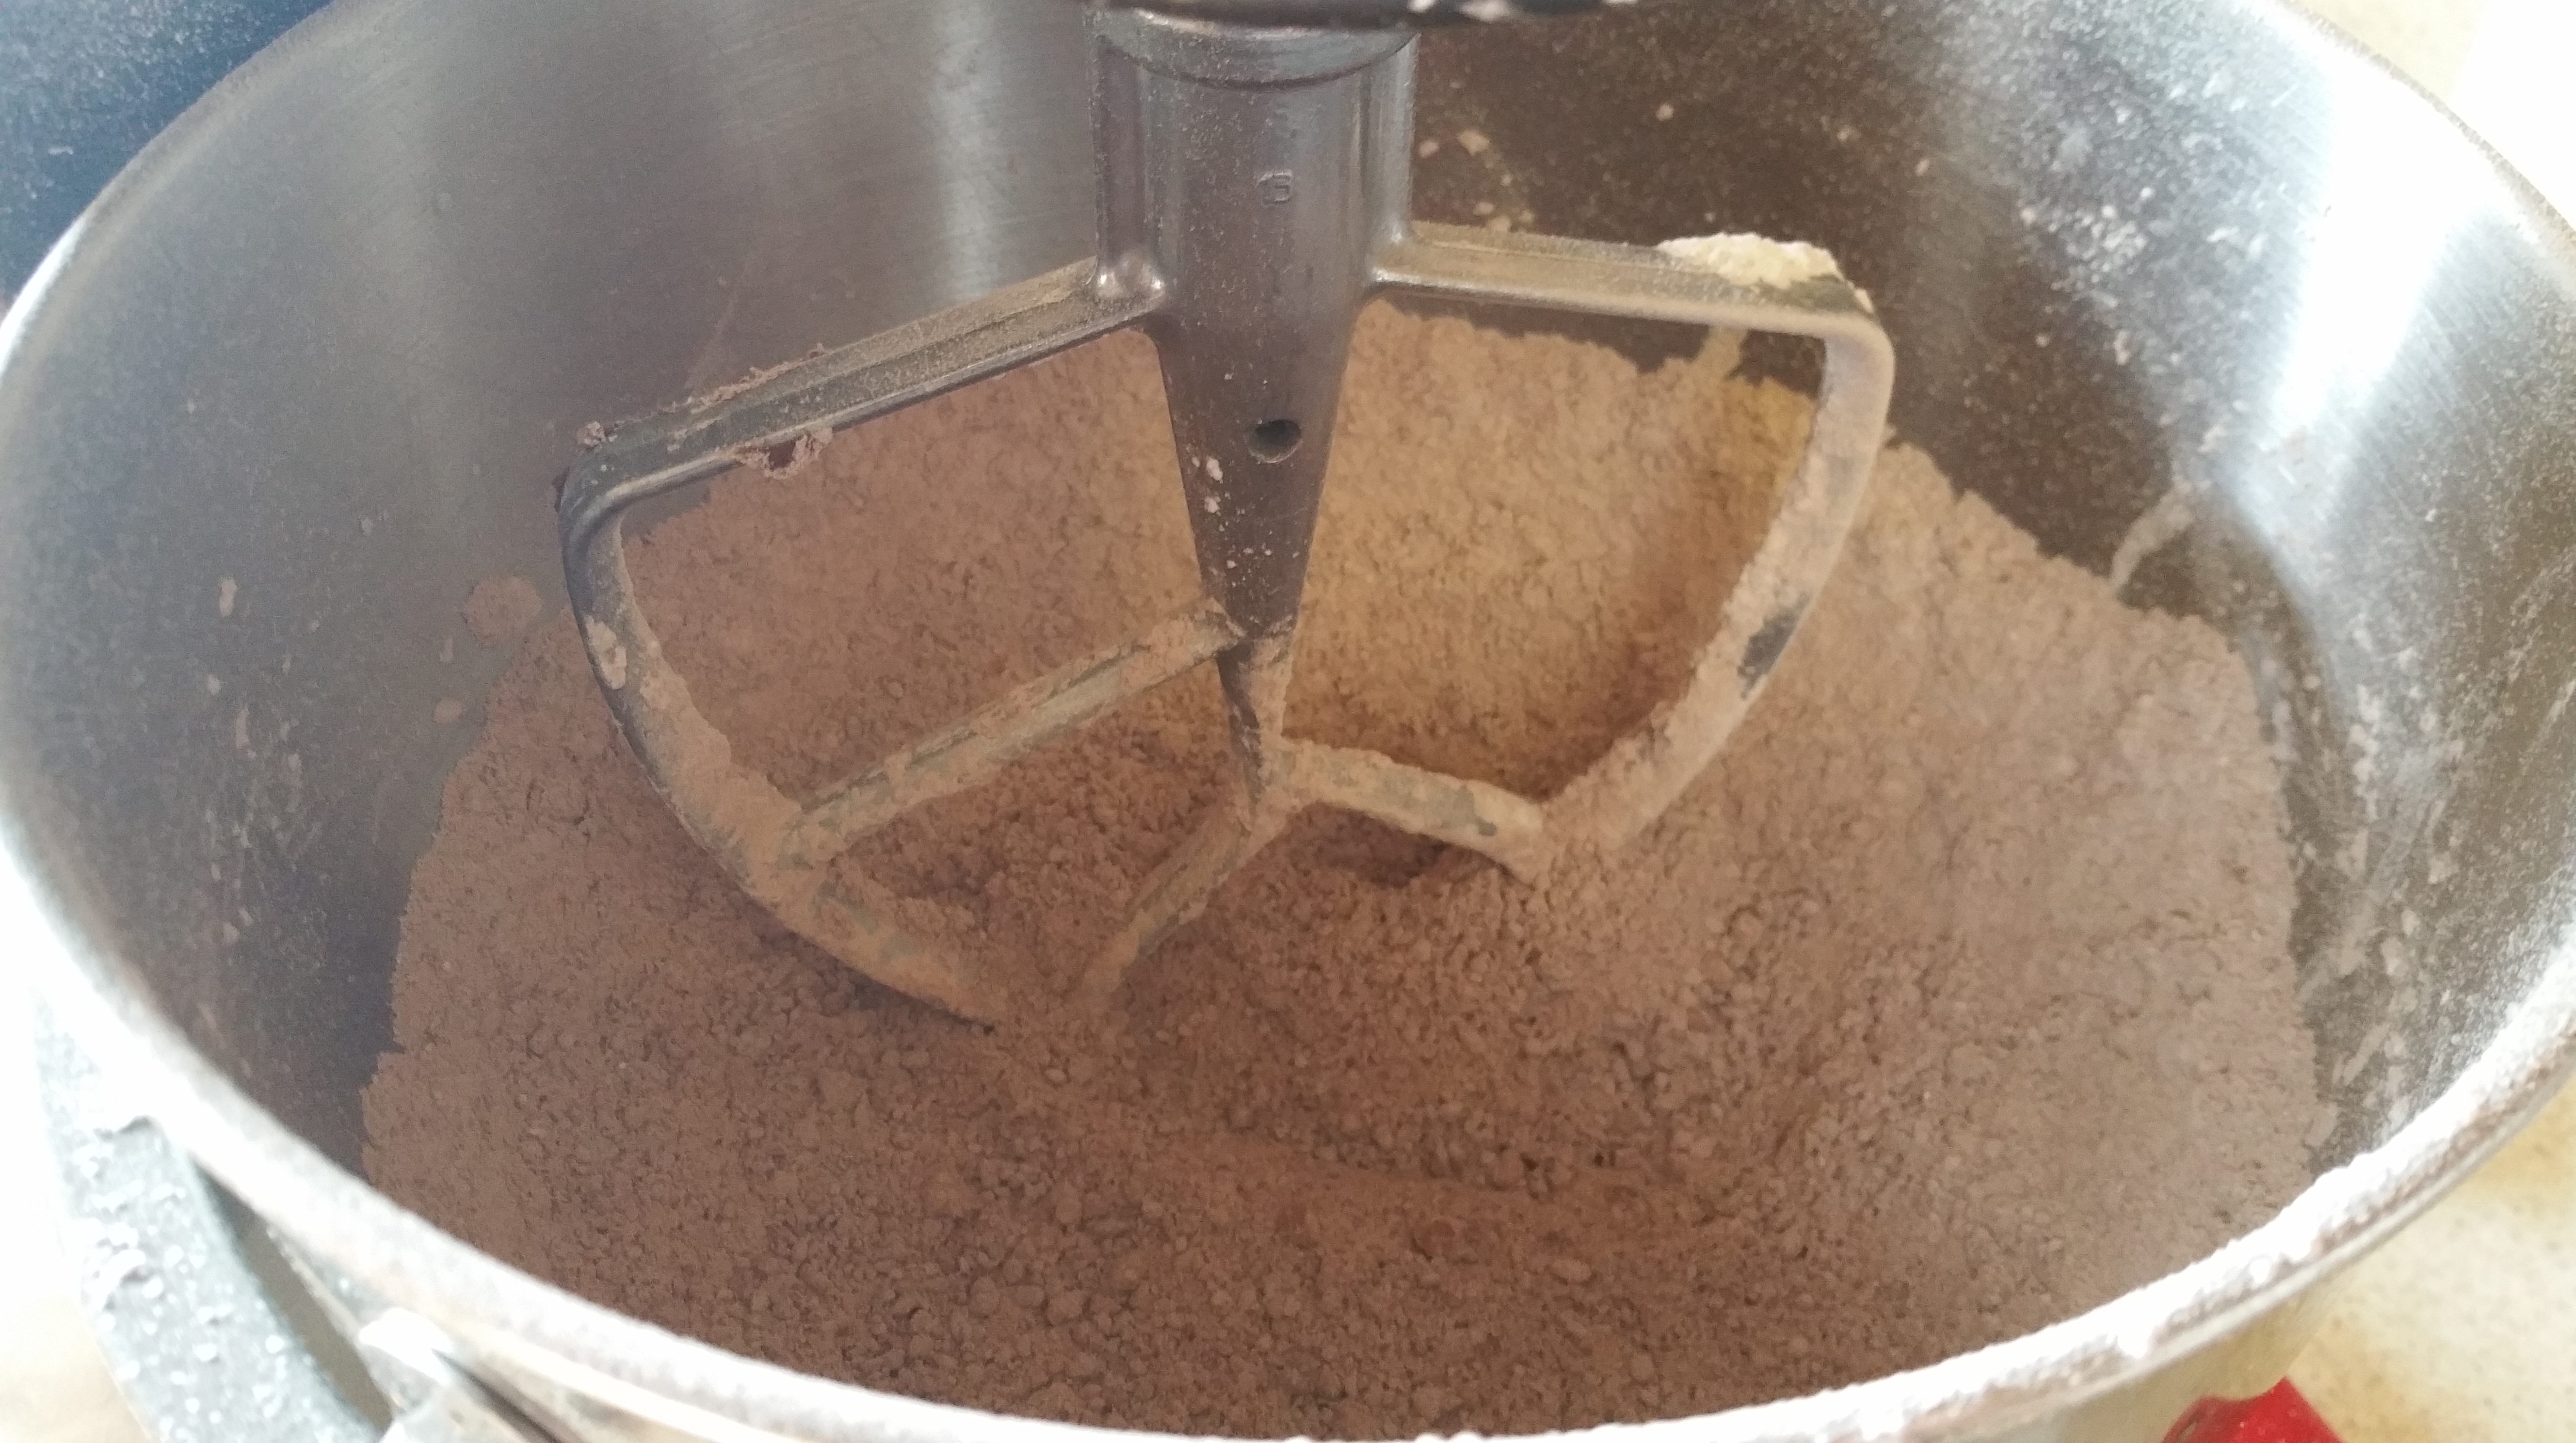
In a large bowl, mix the flour, salt, and baking powder. Set aside.

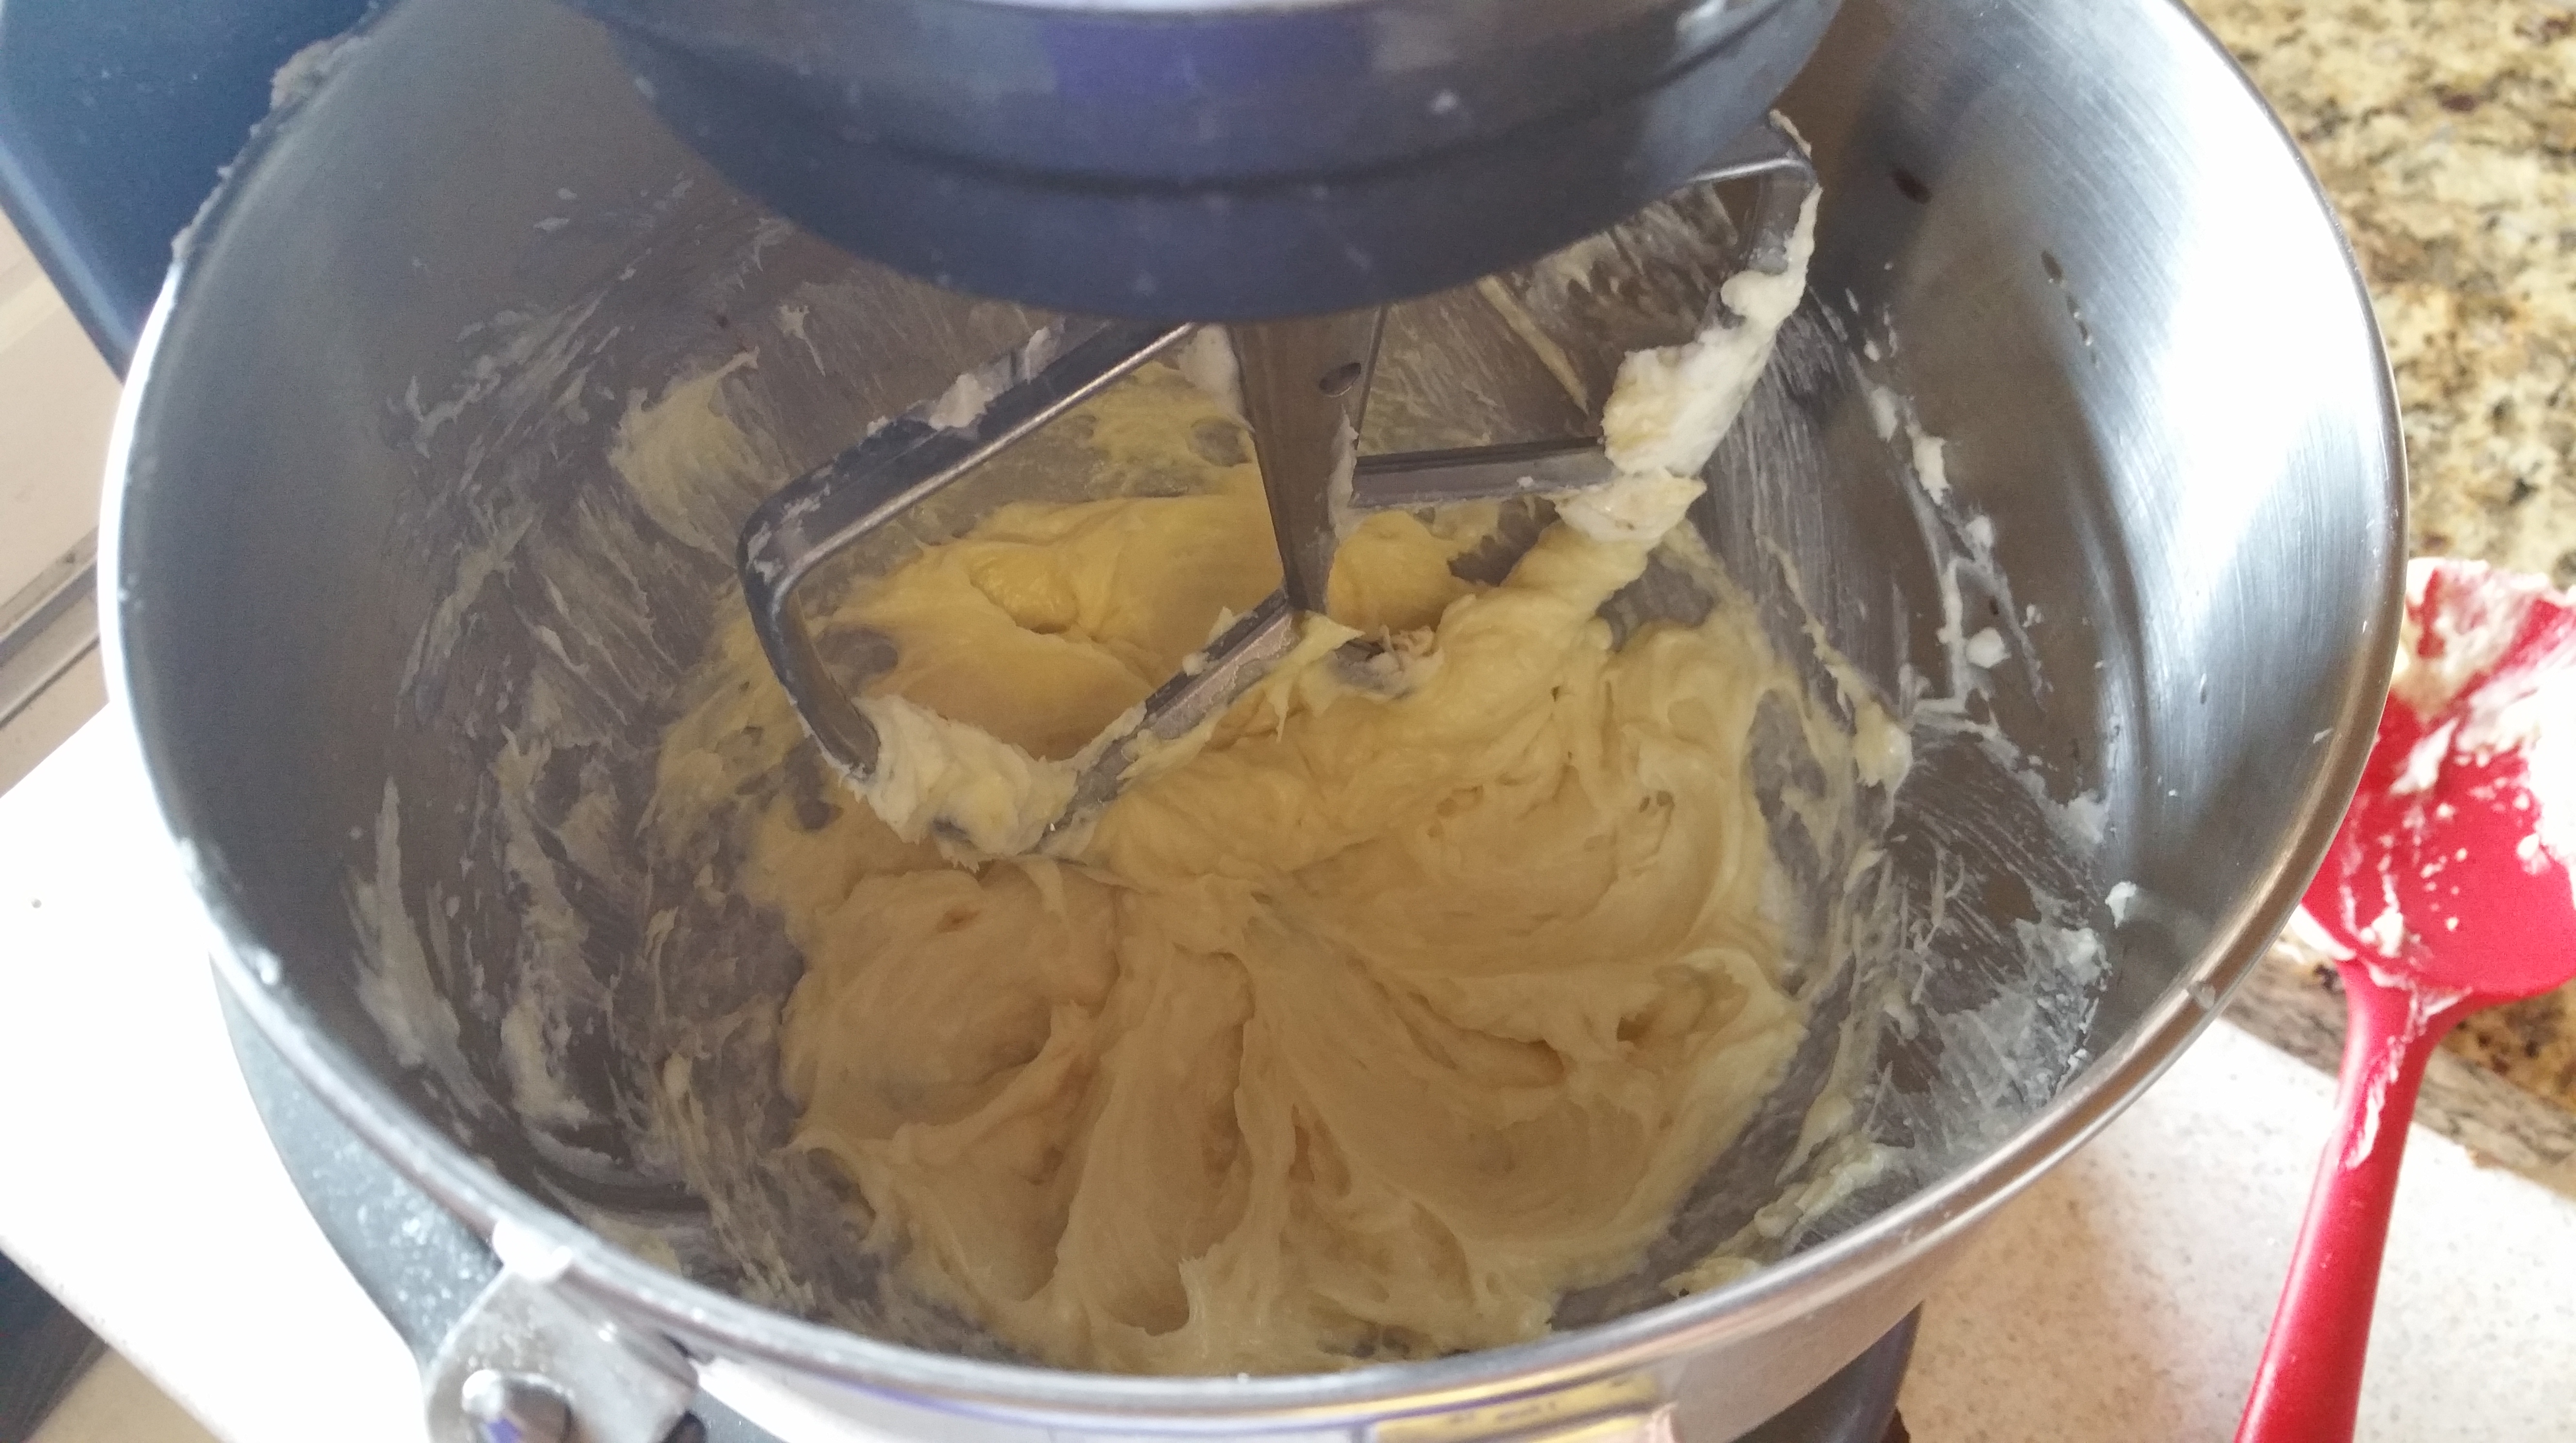
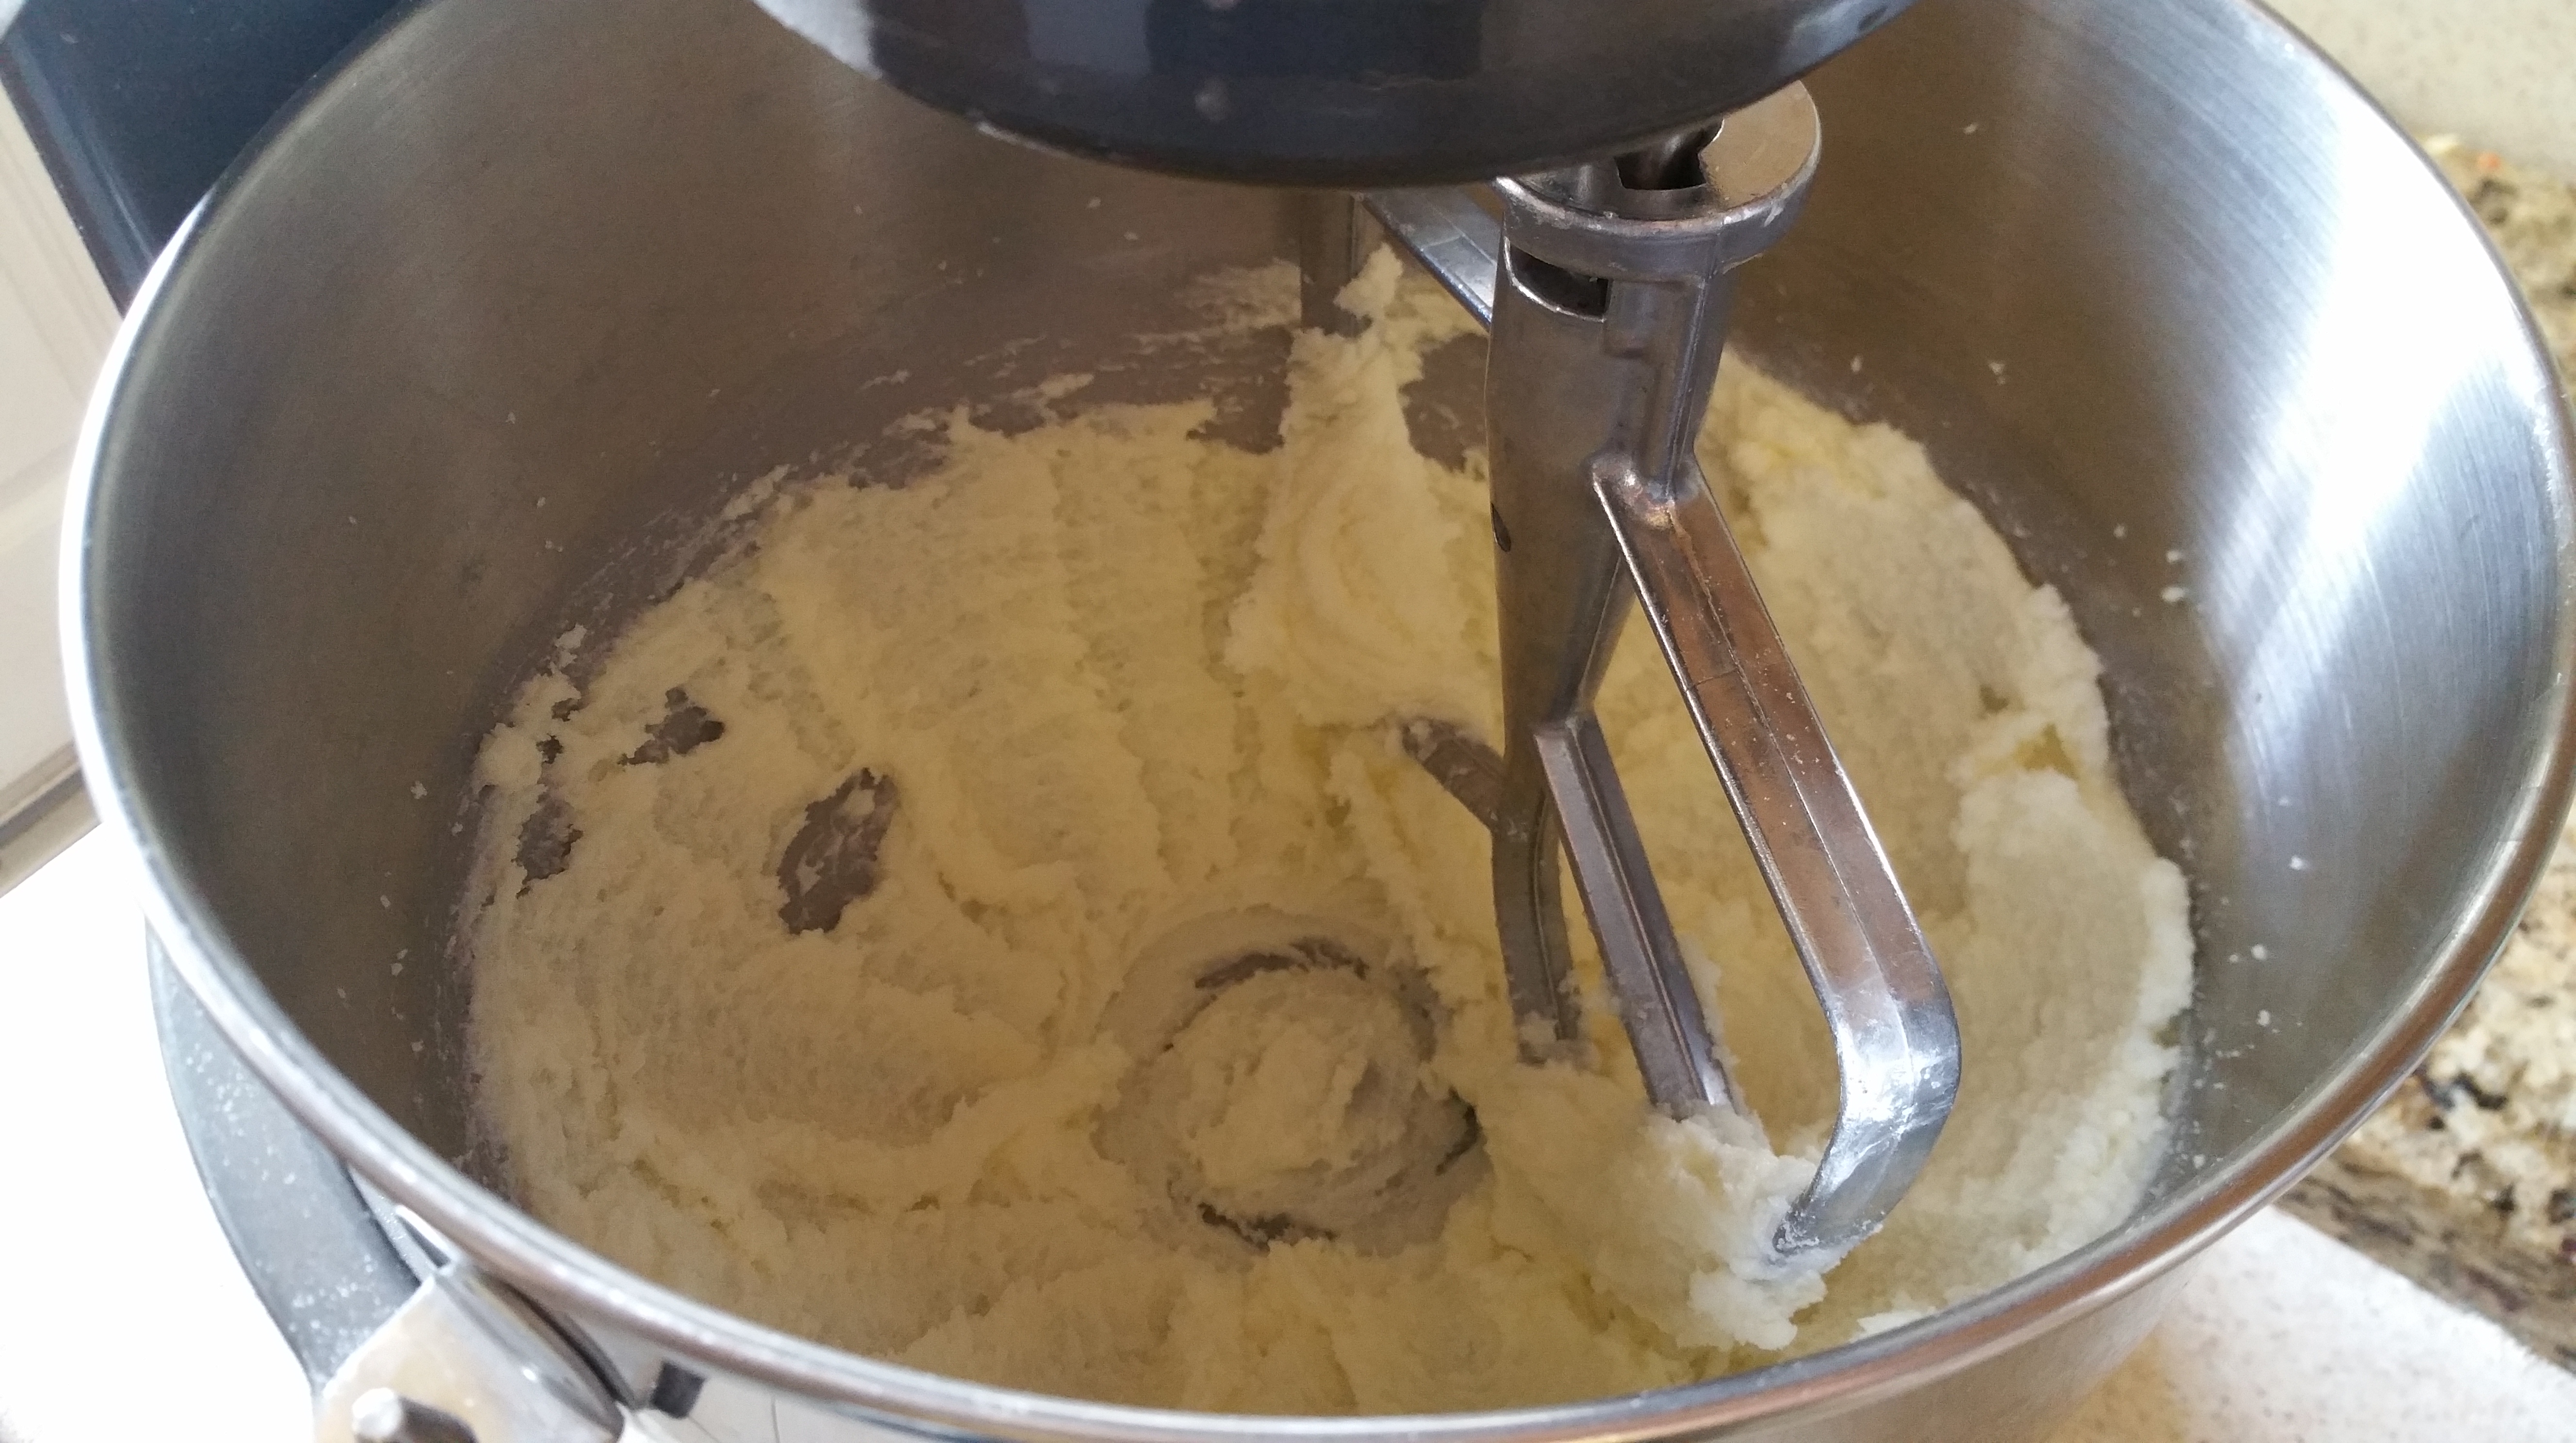
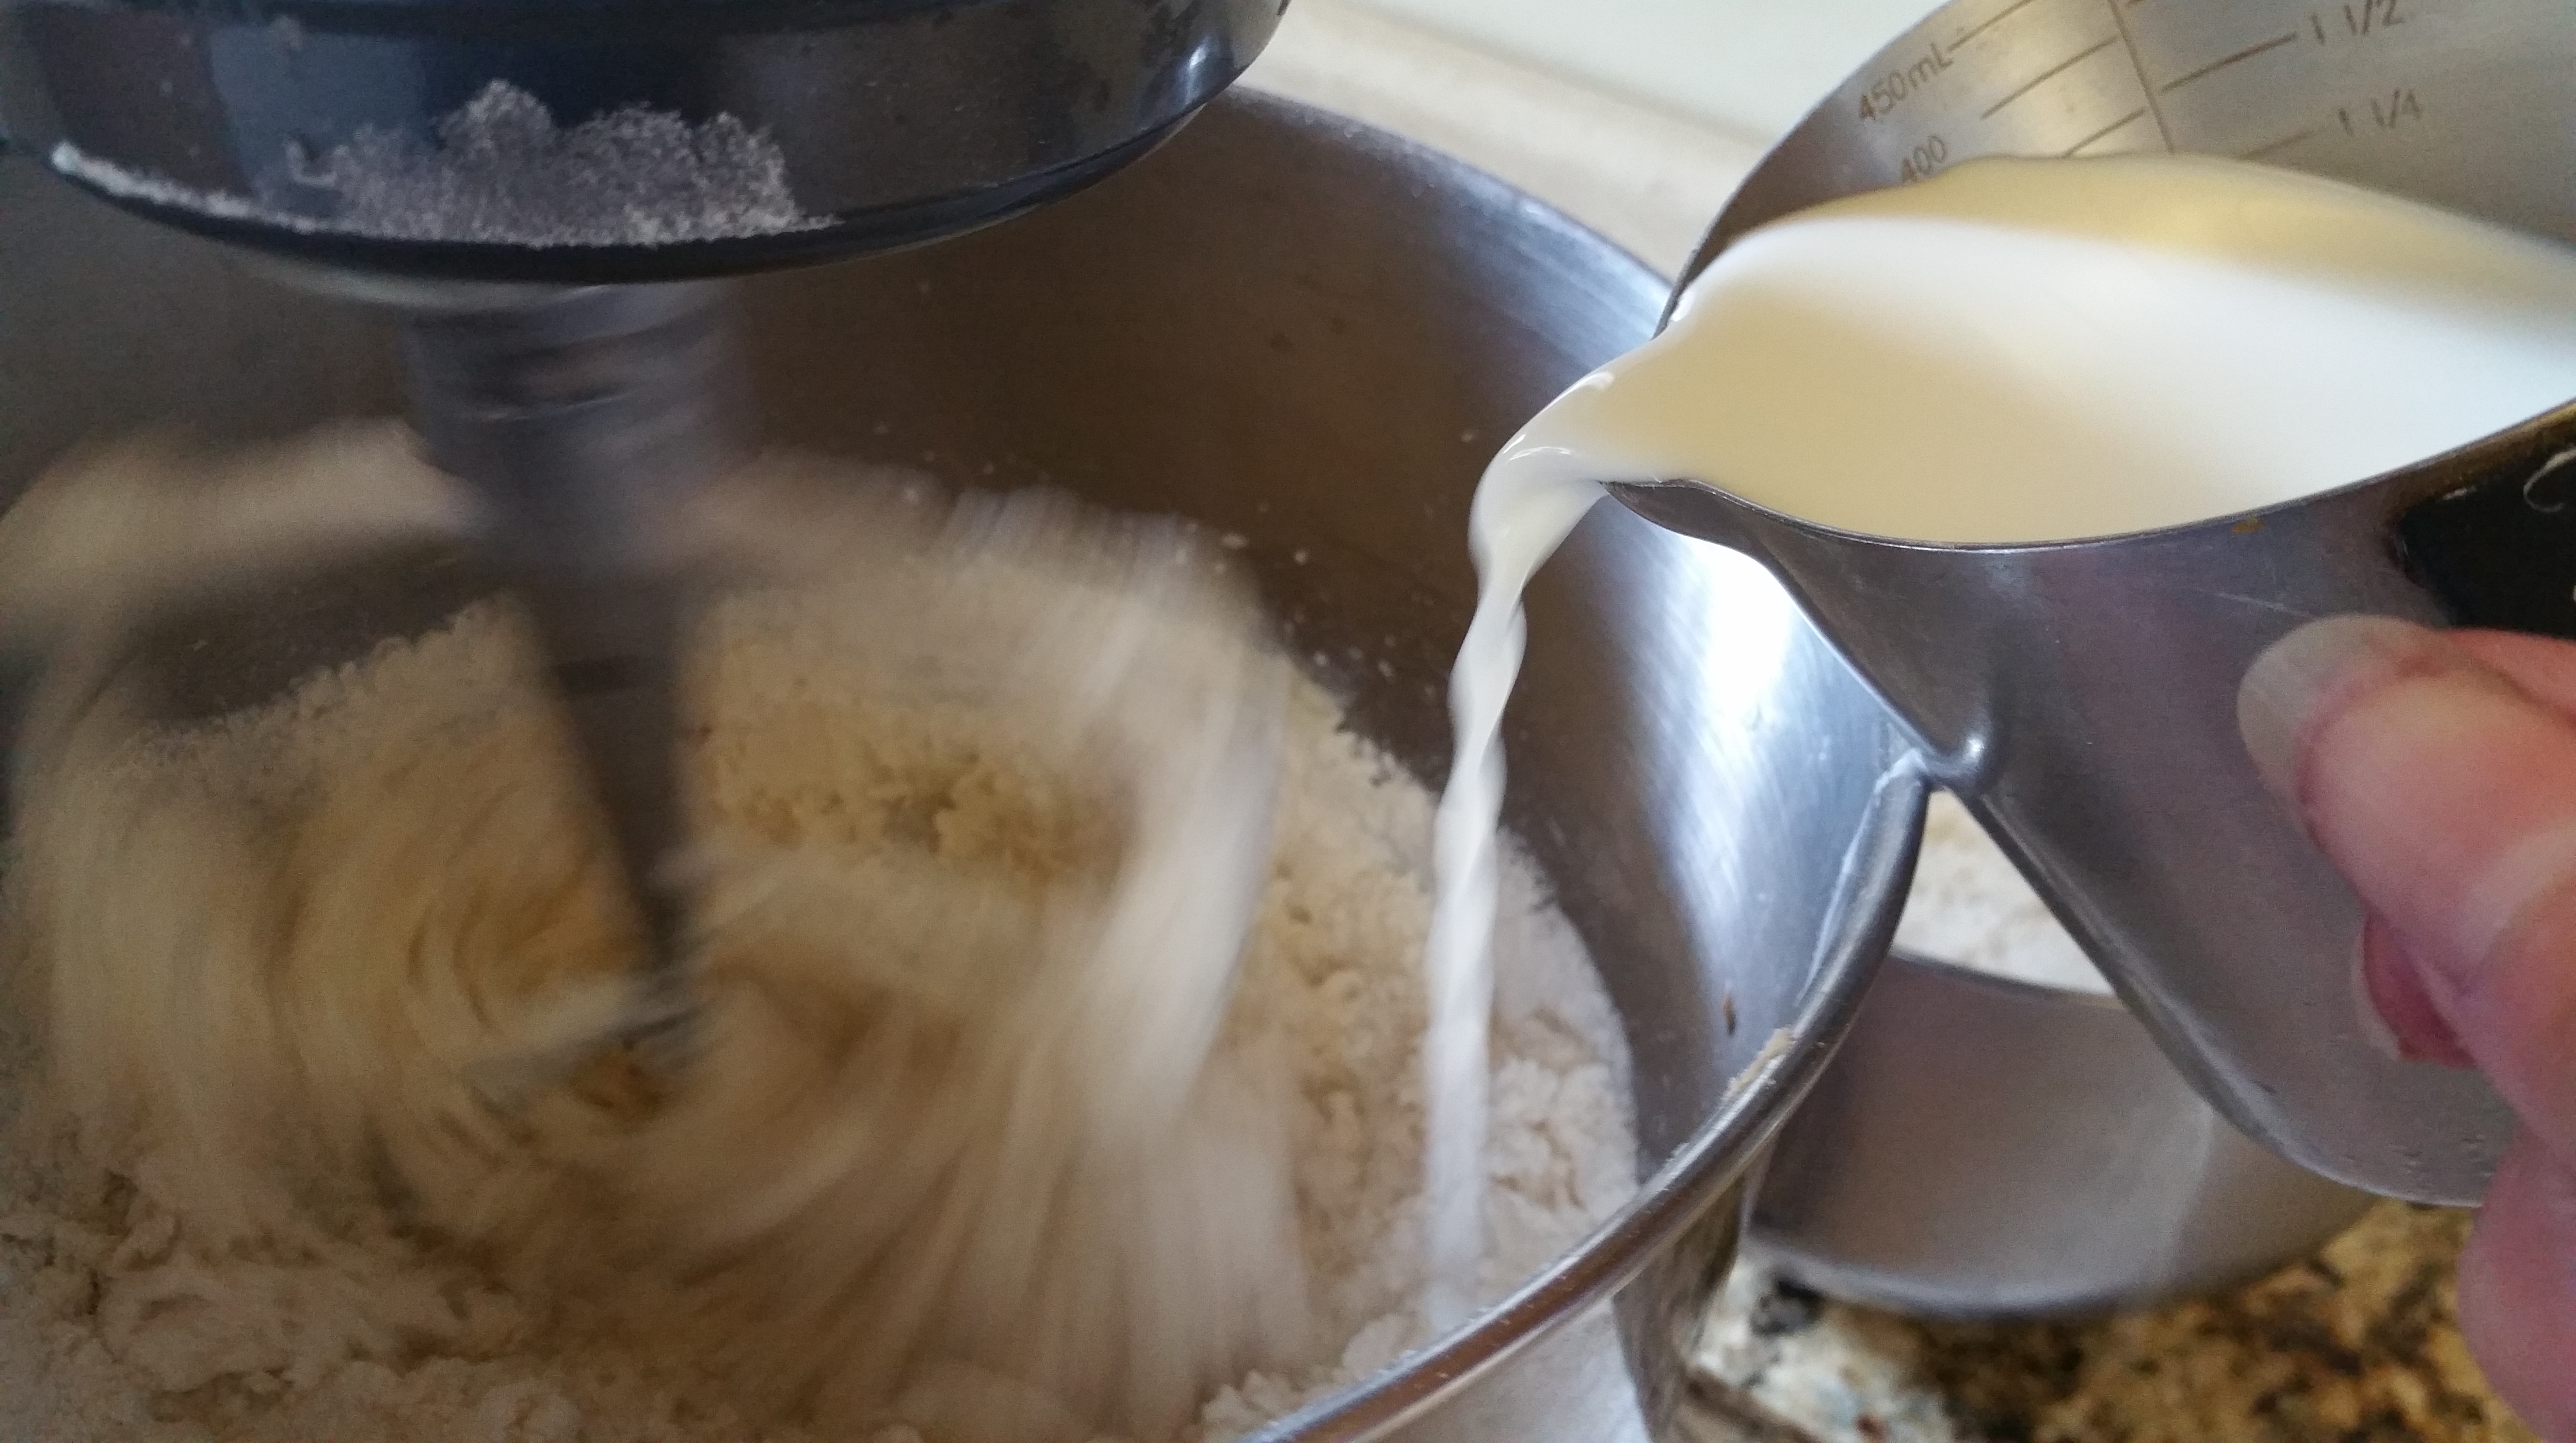
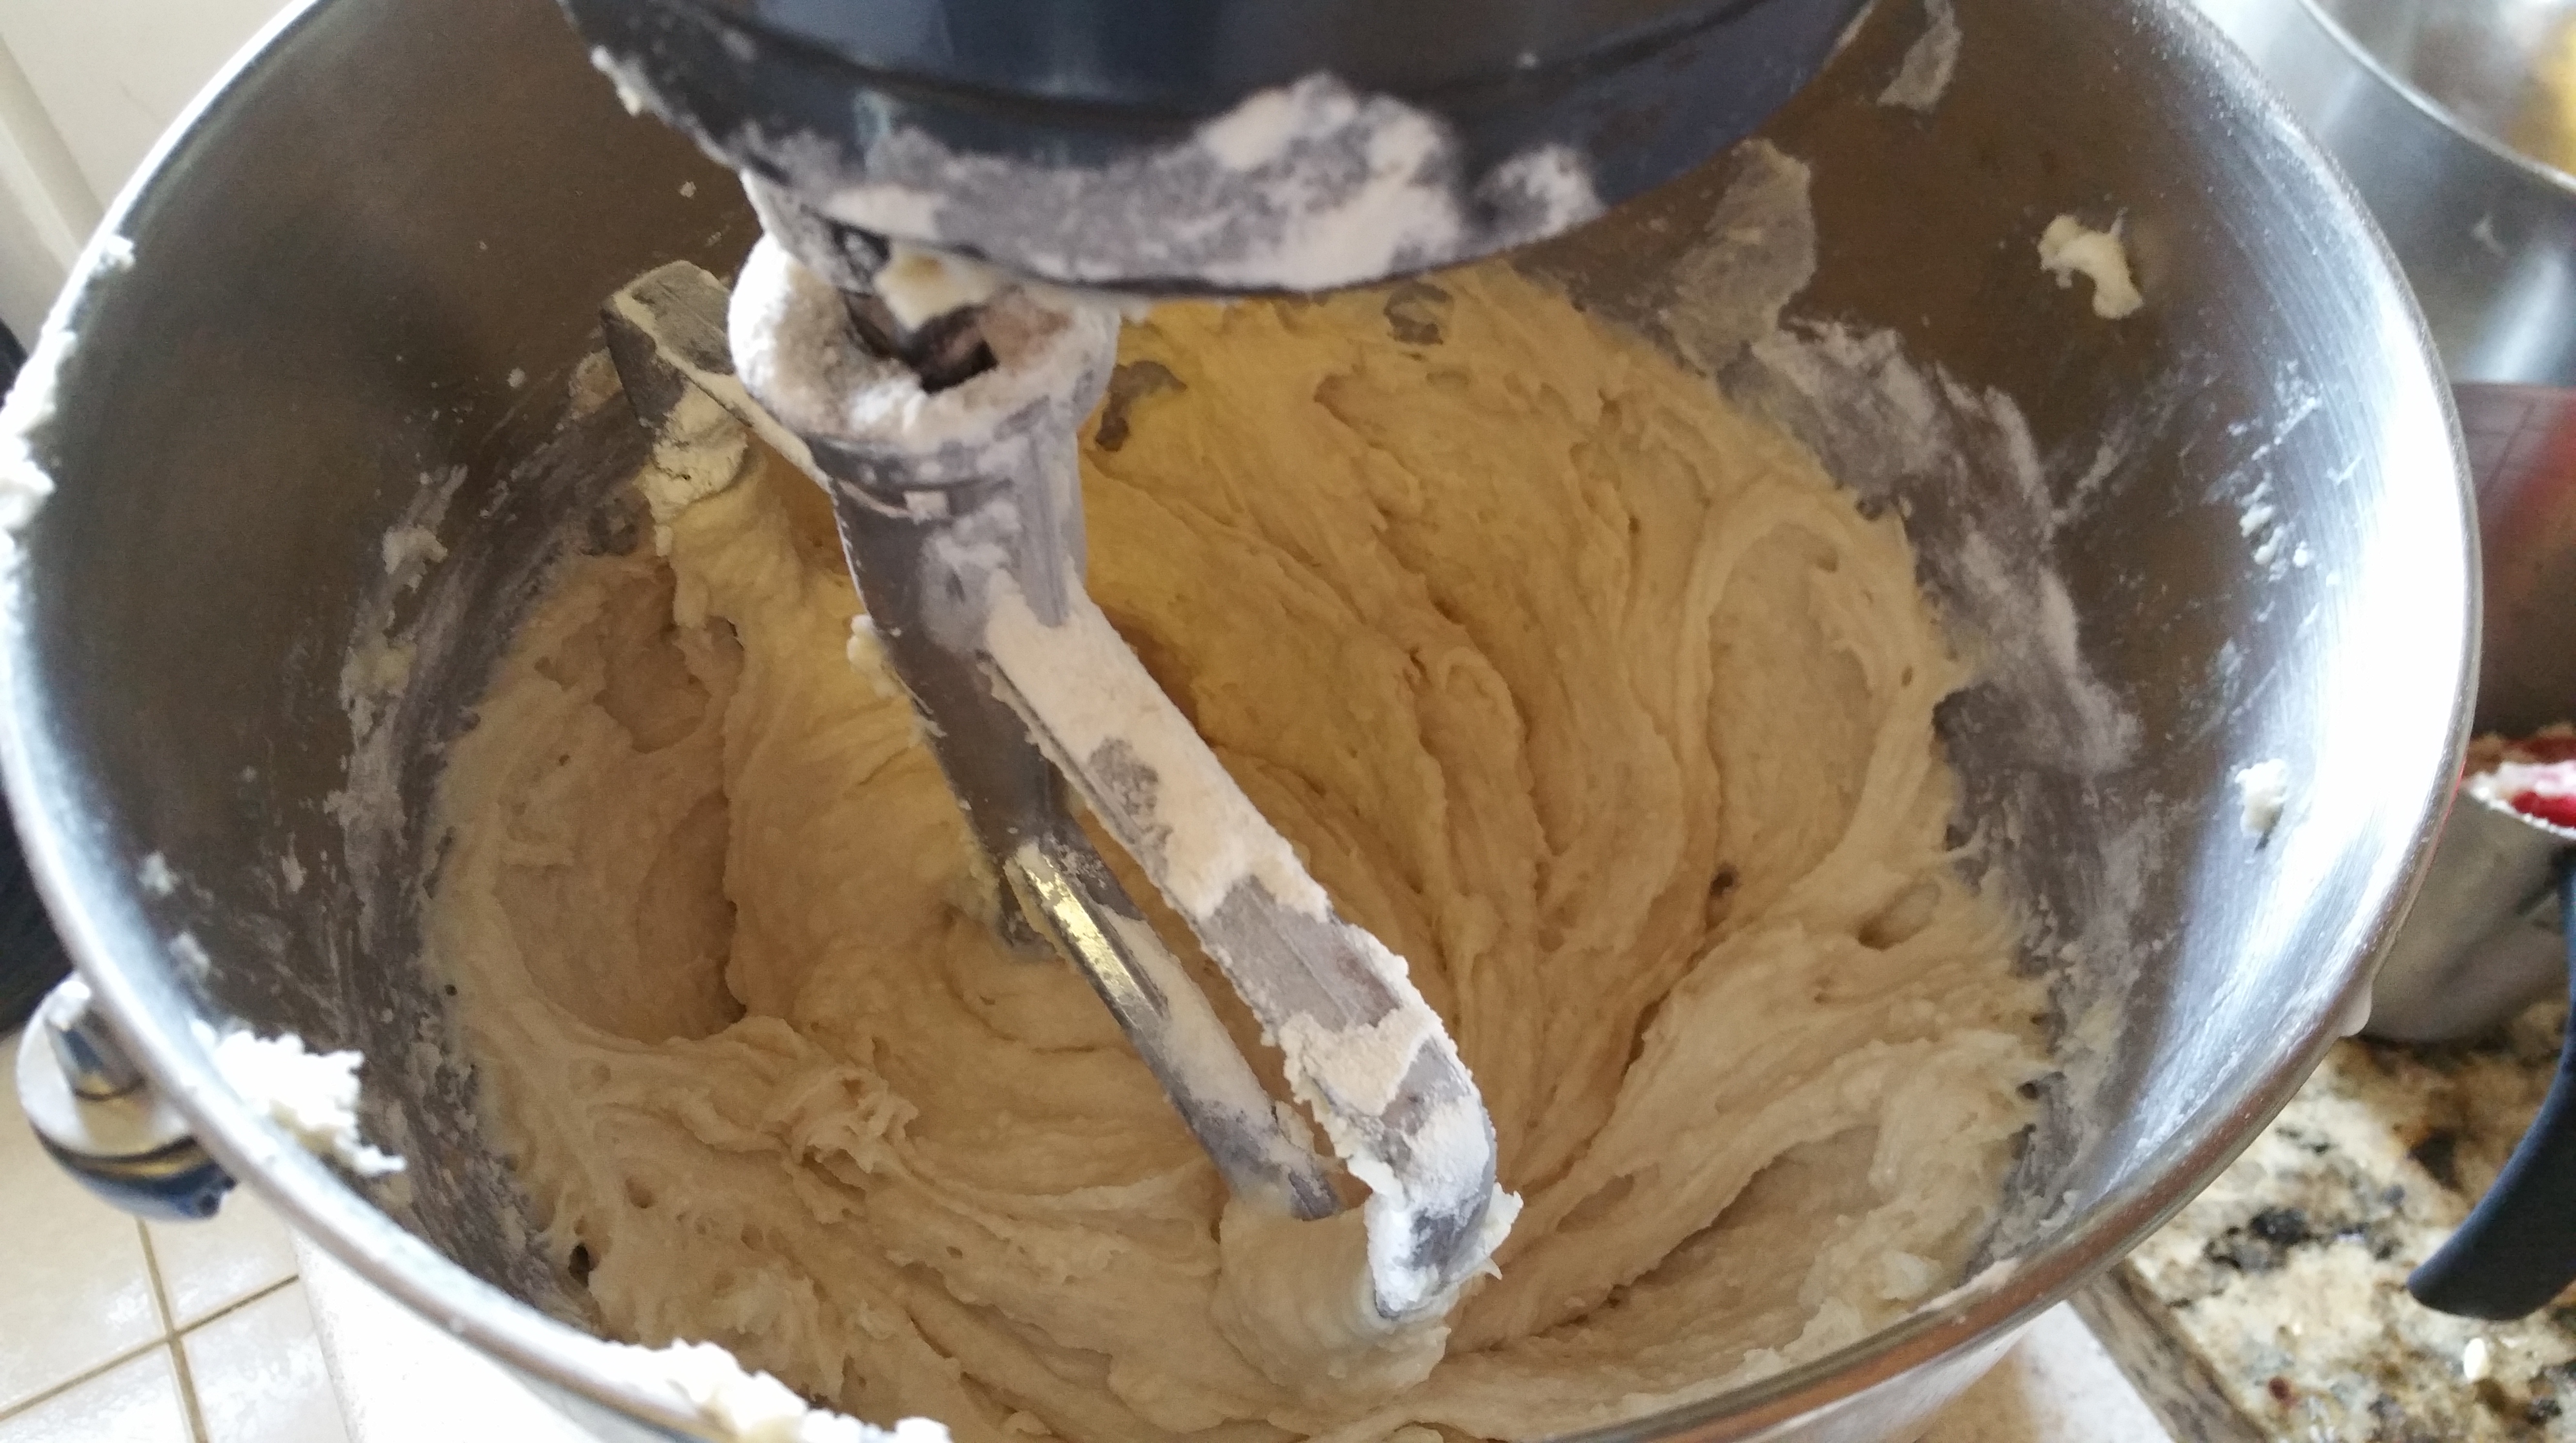
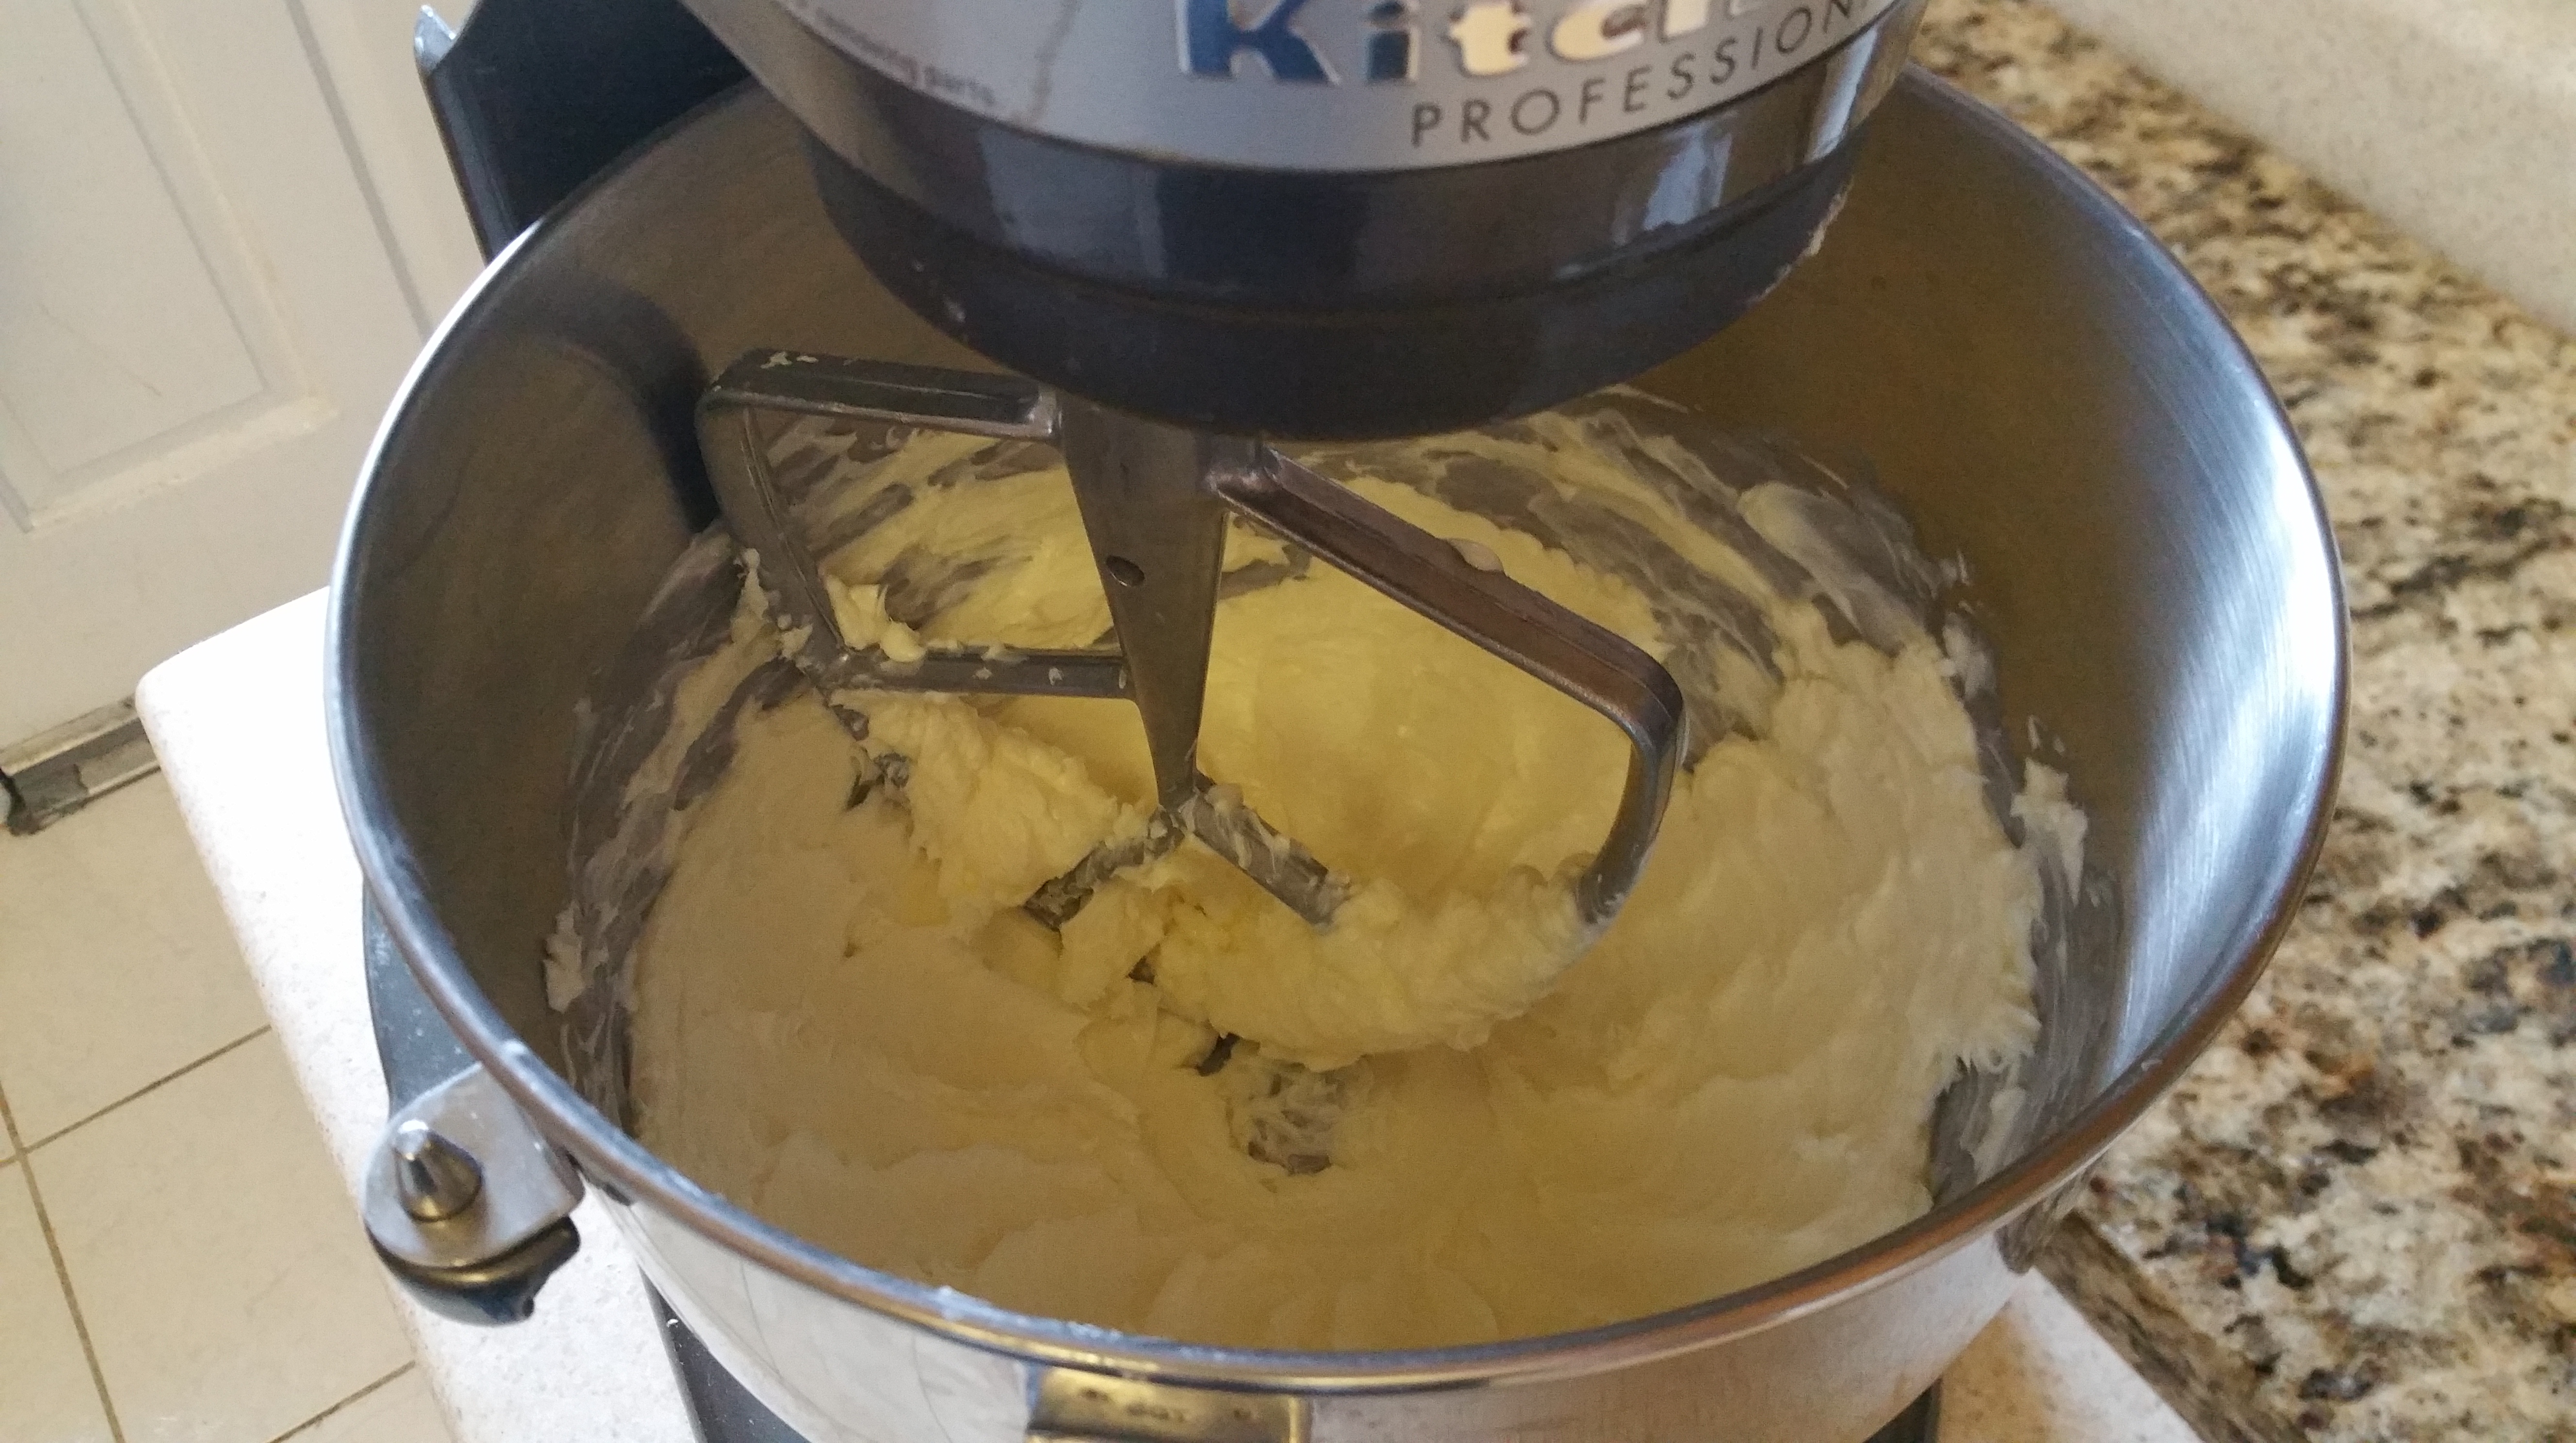
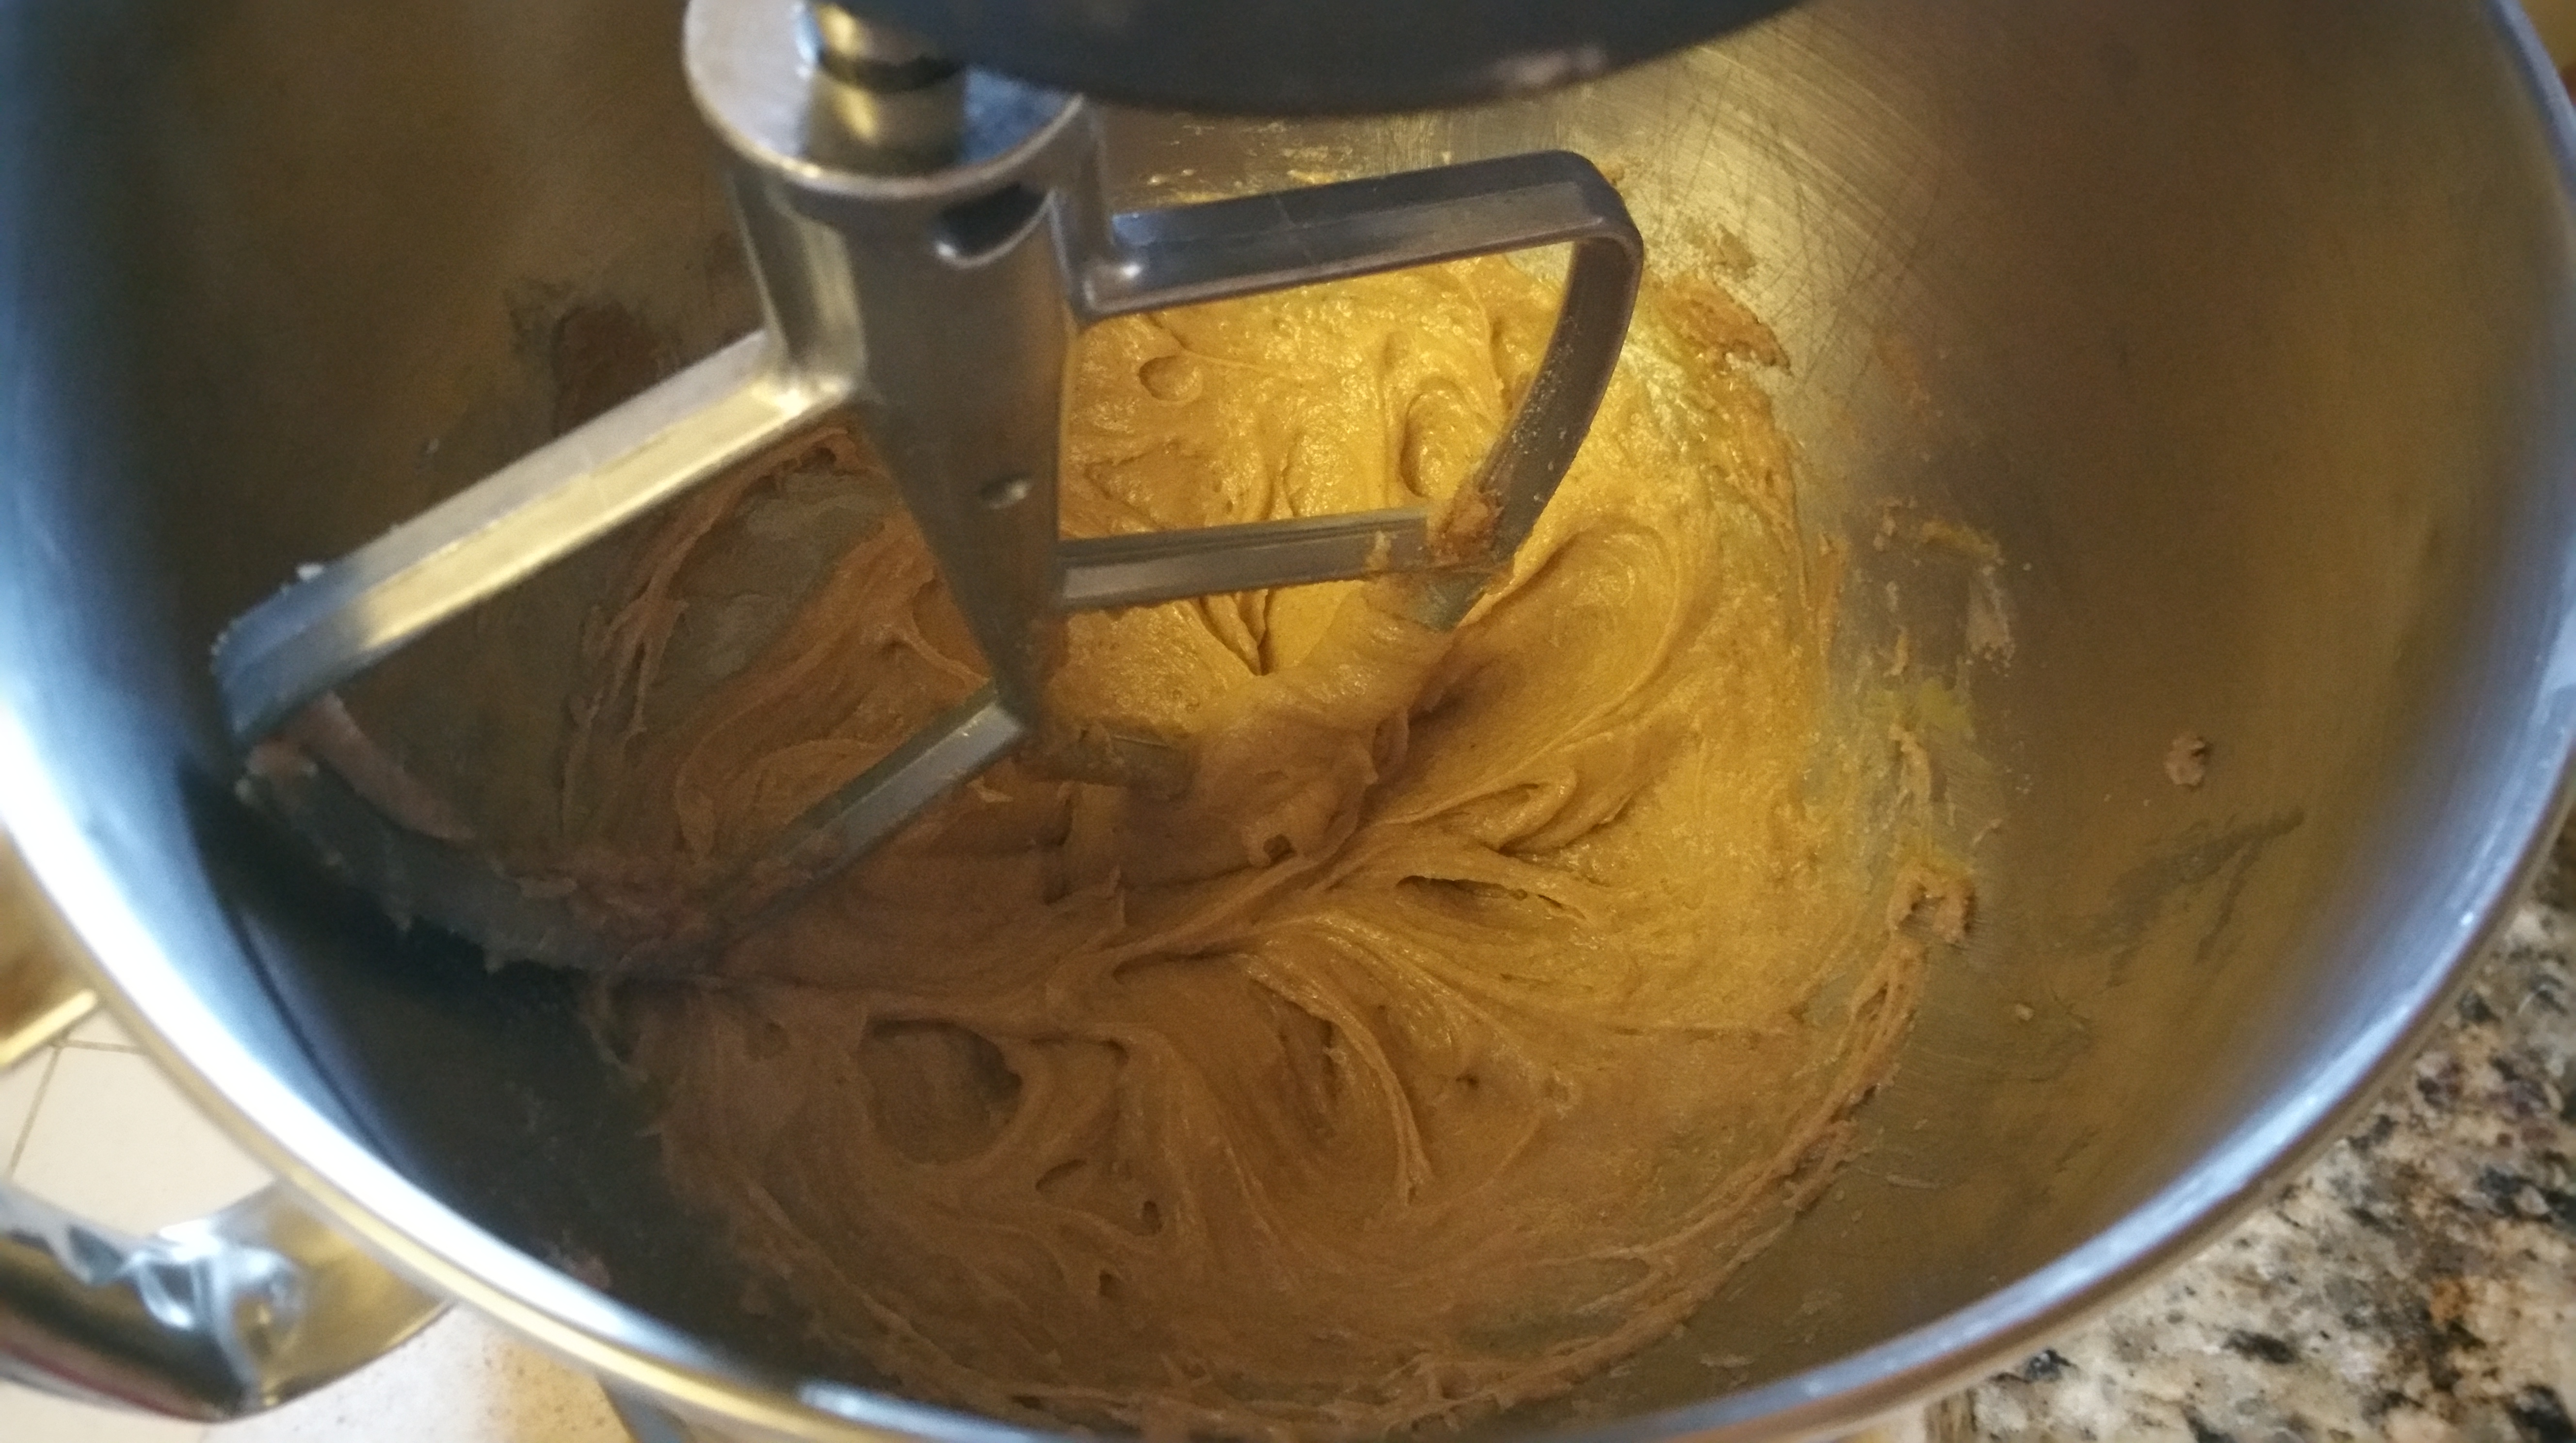
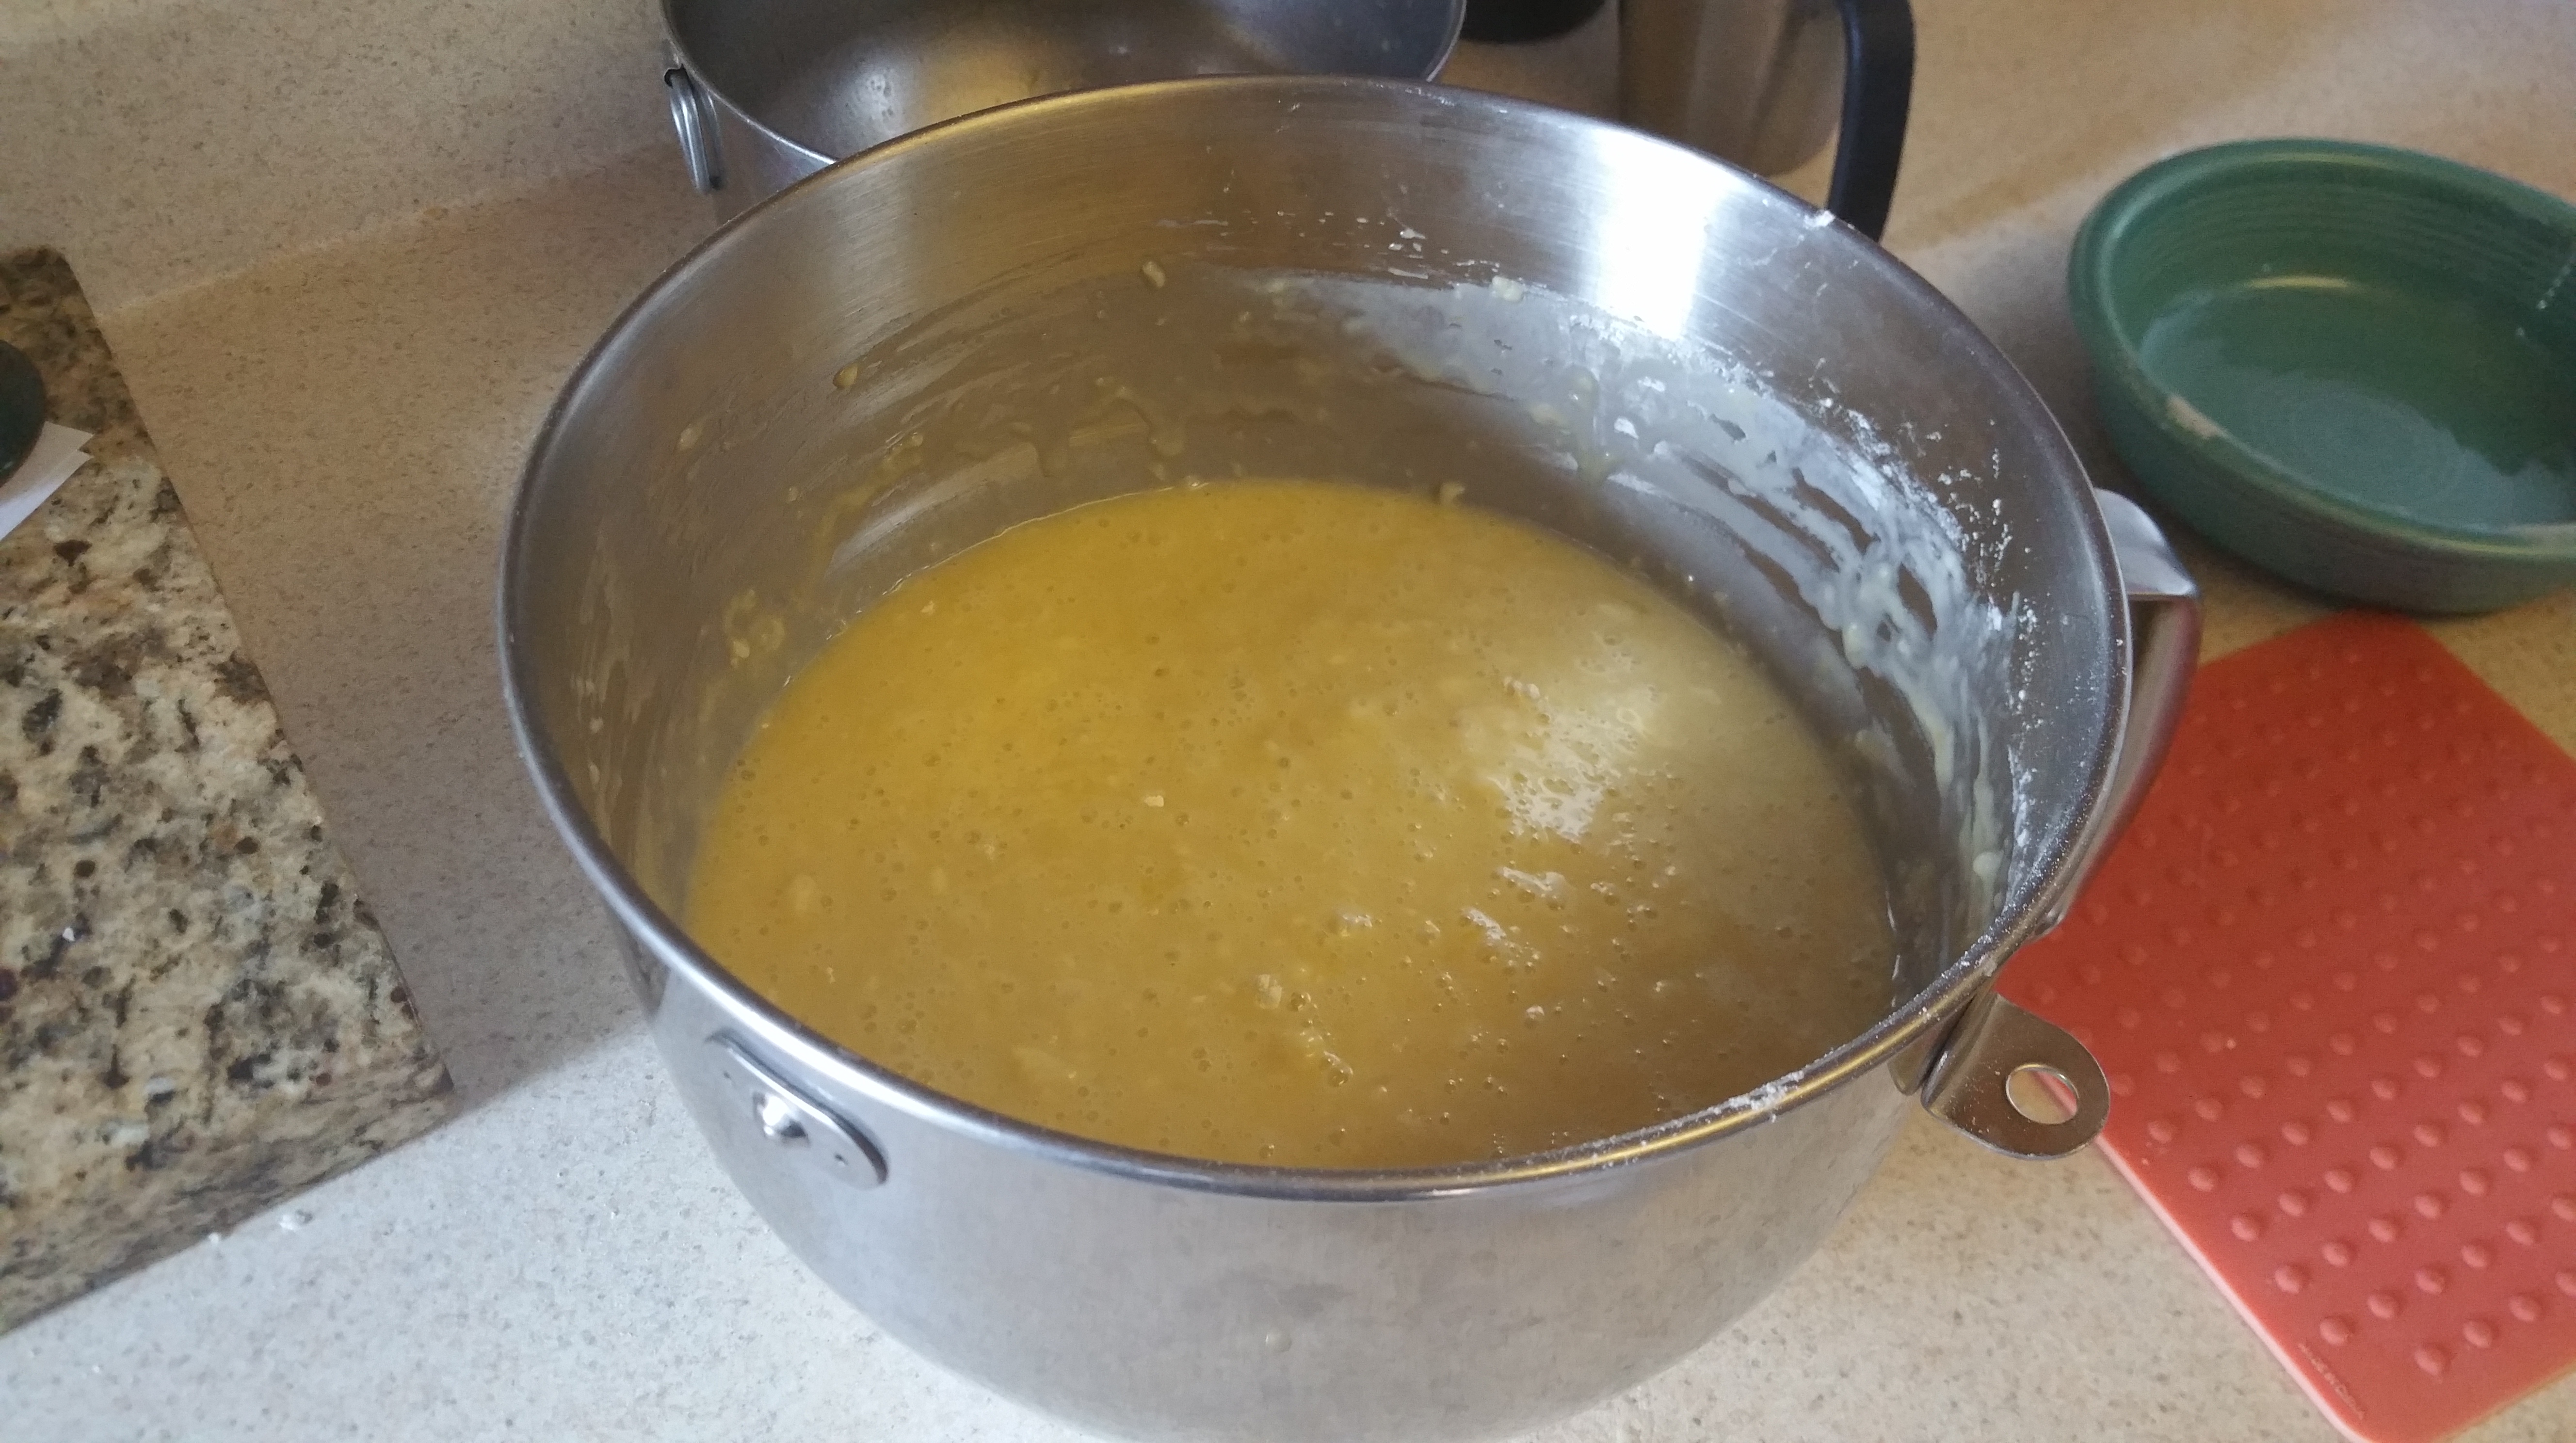
In another bowl, whisk together the butter, sugar, milk, vanilla extract, and eggs until well combined.

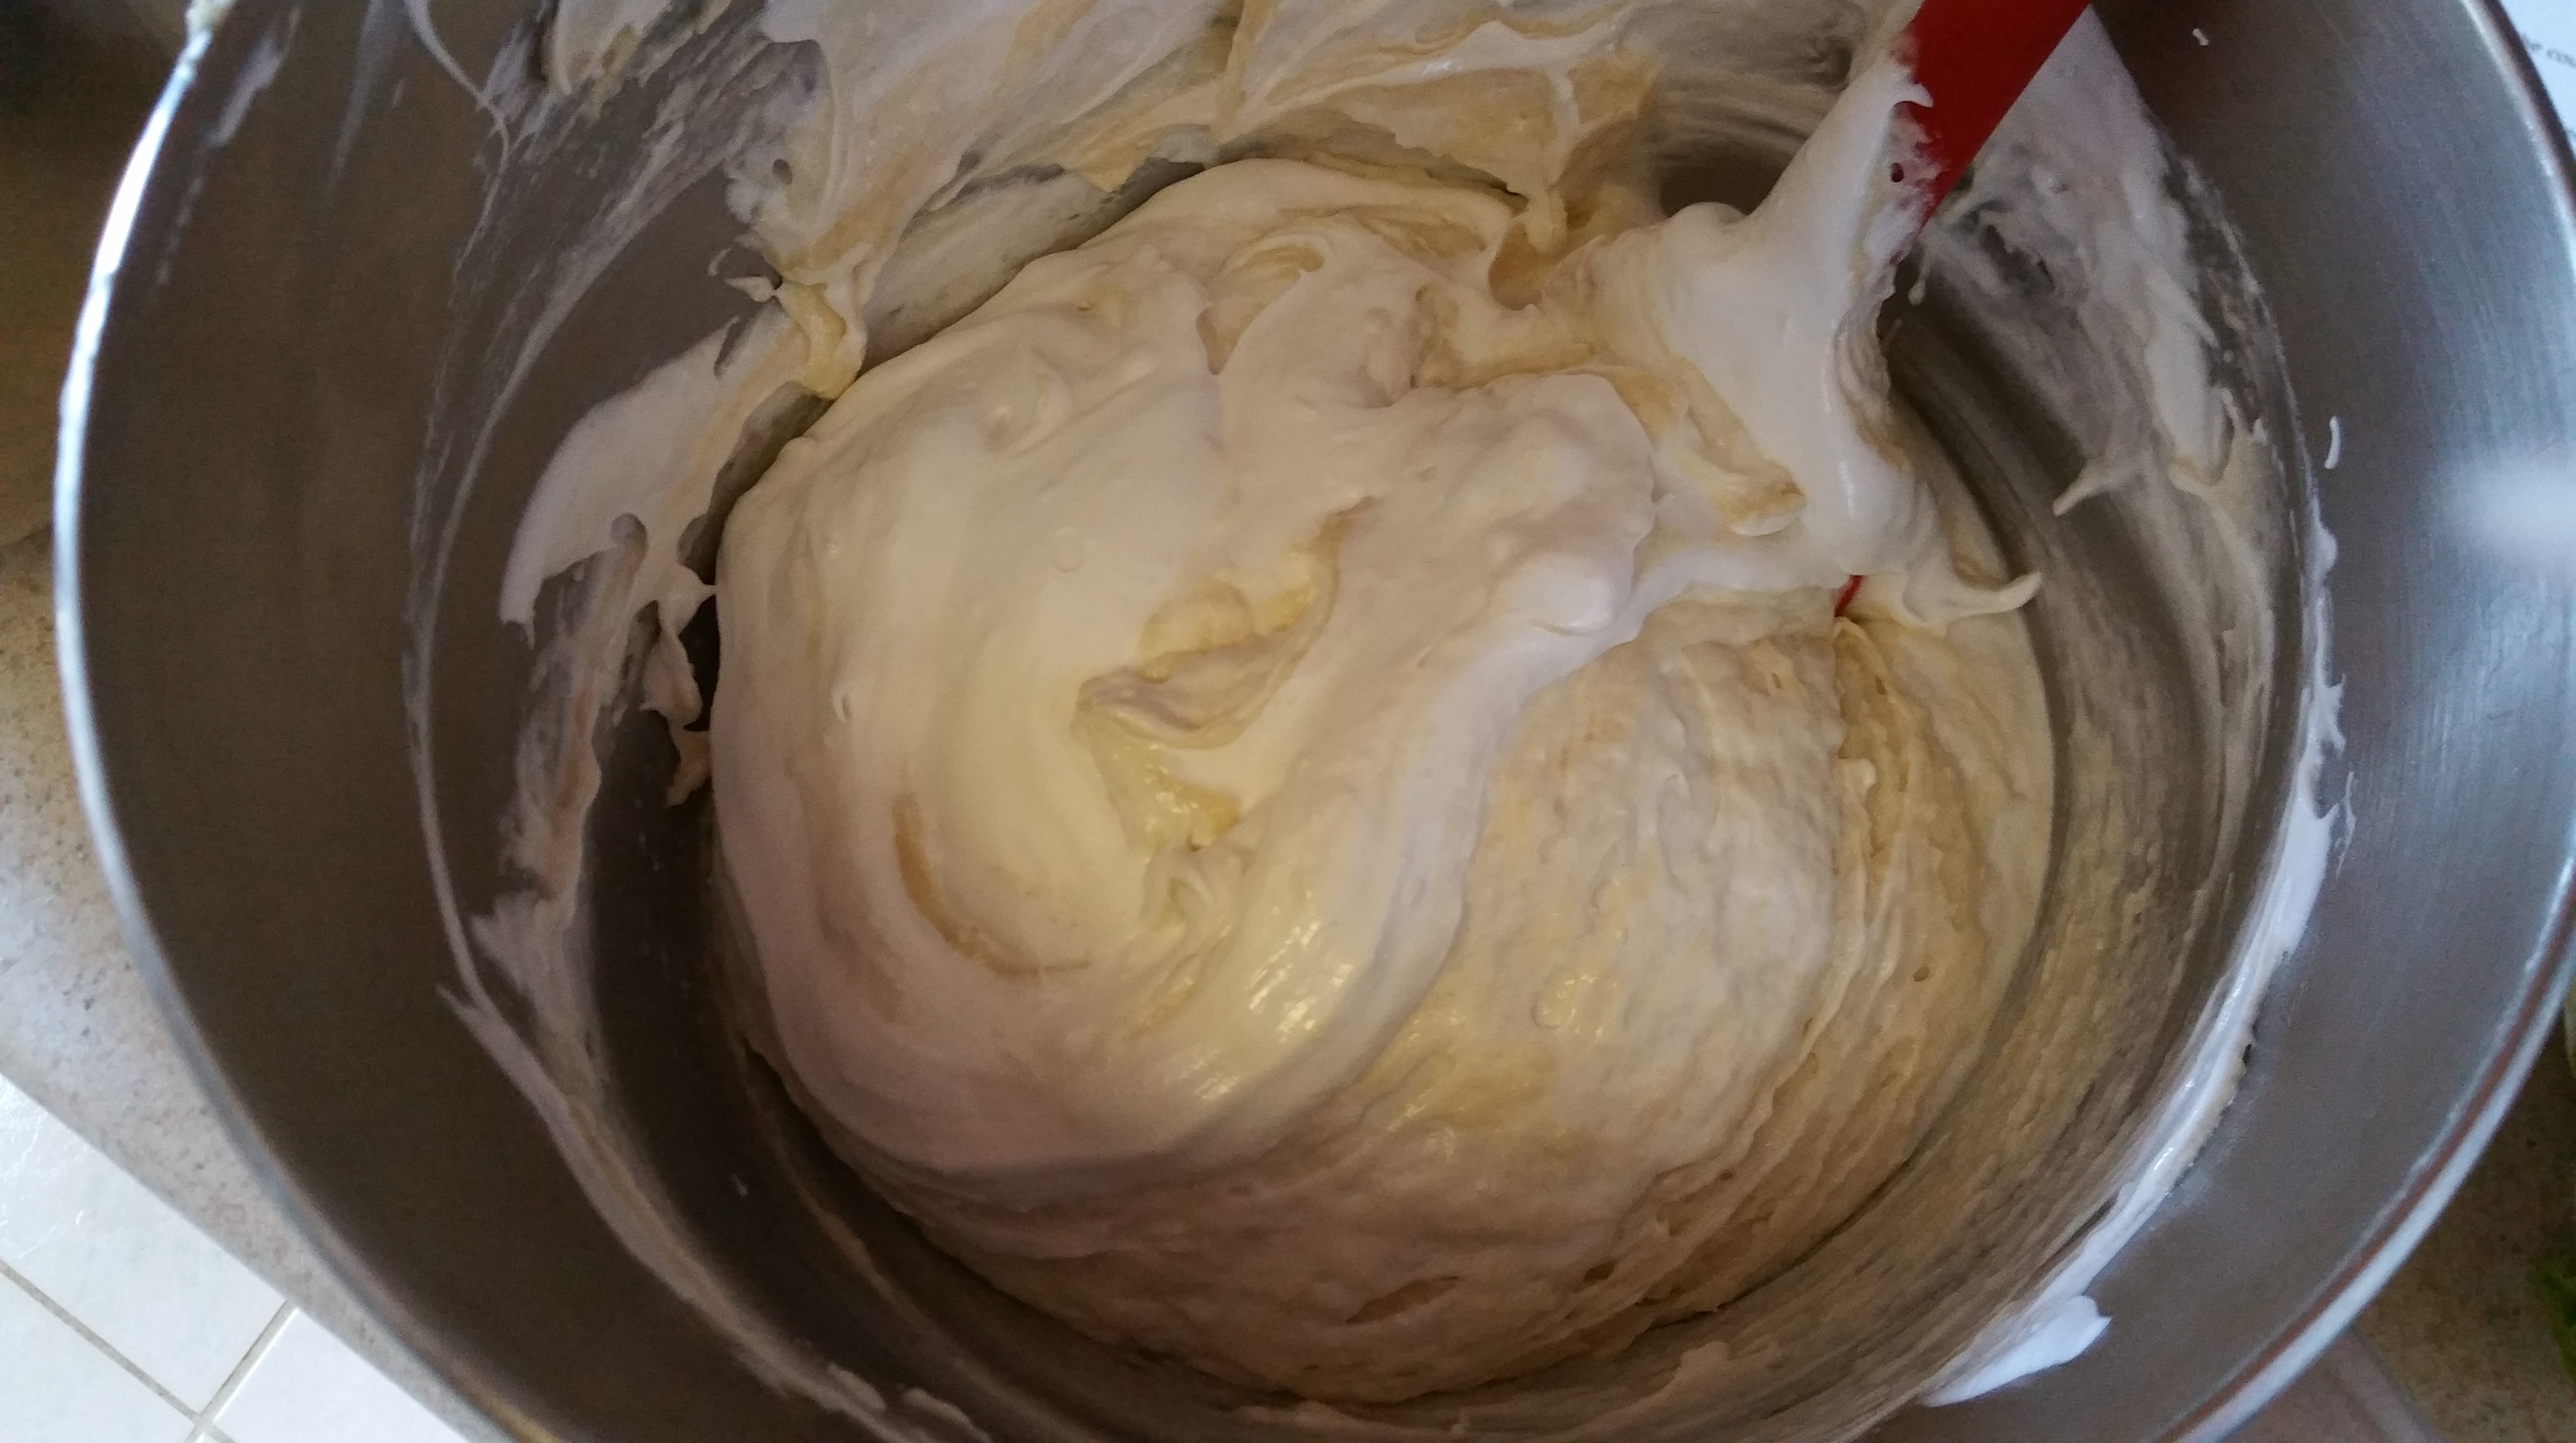
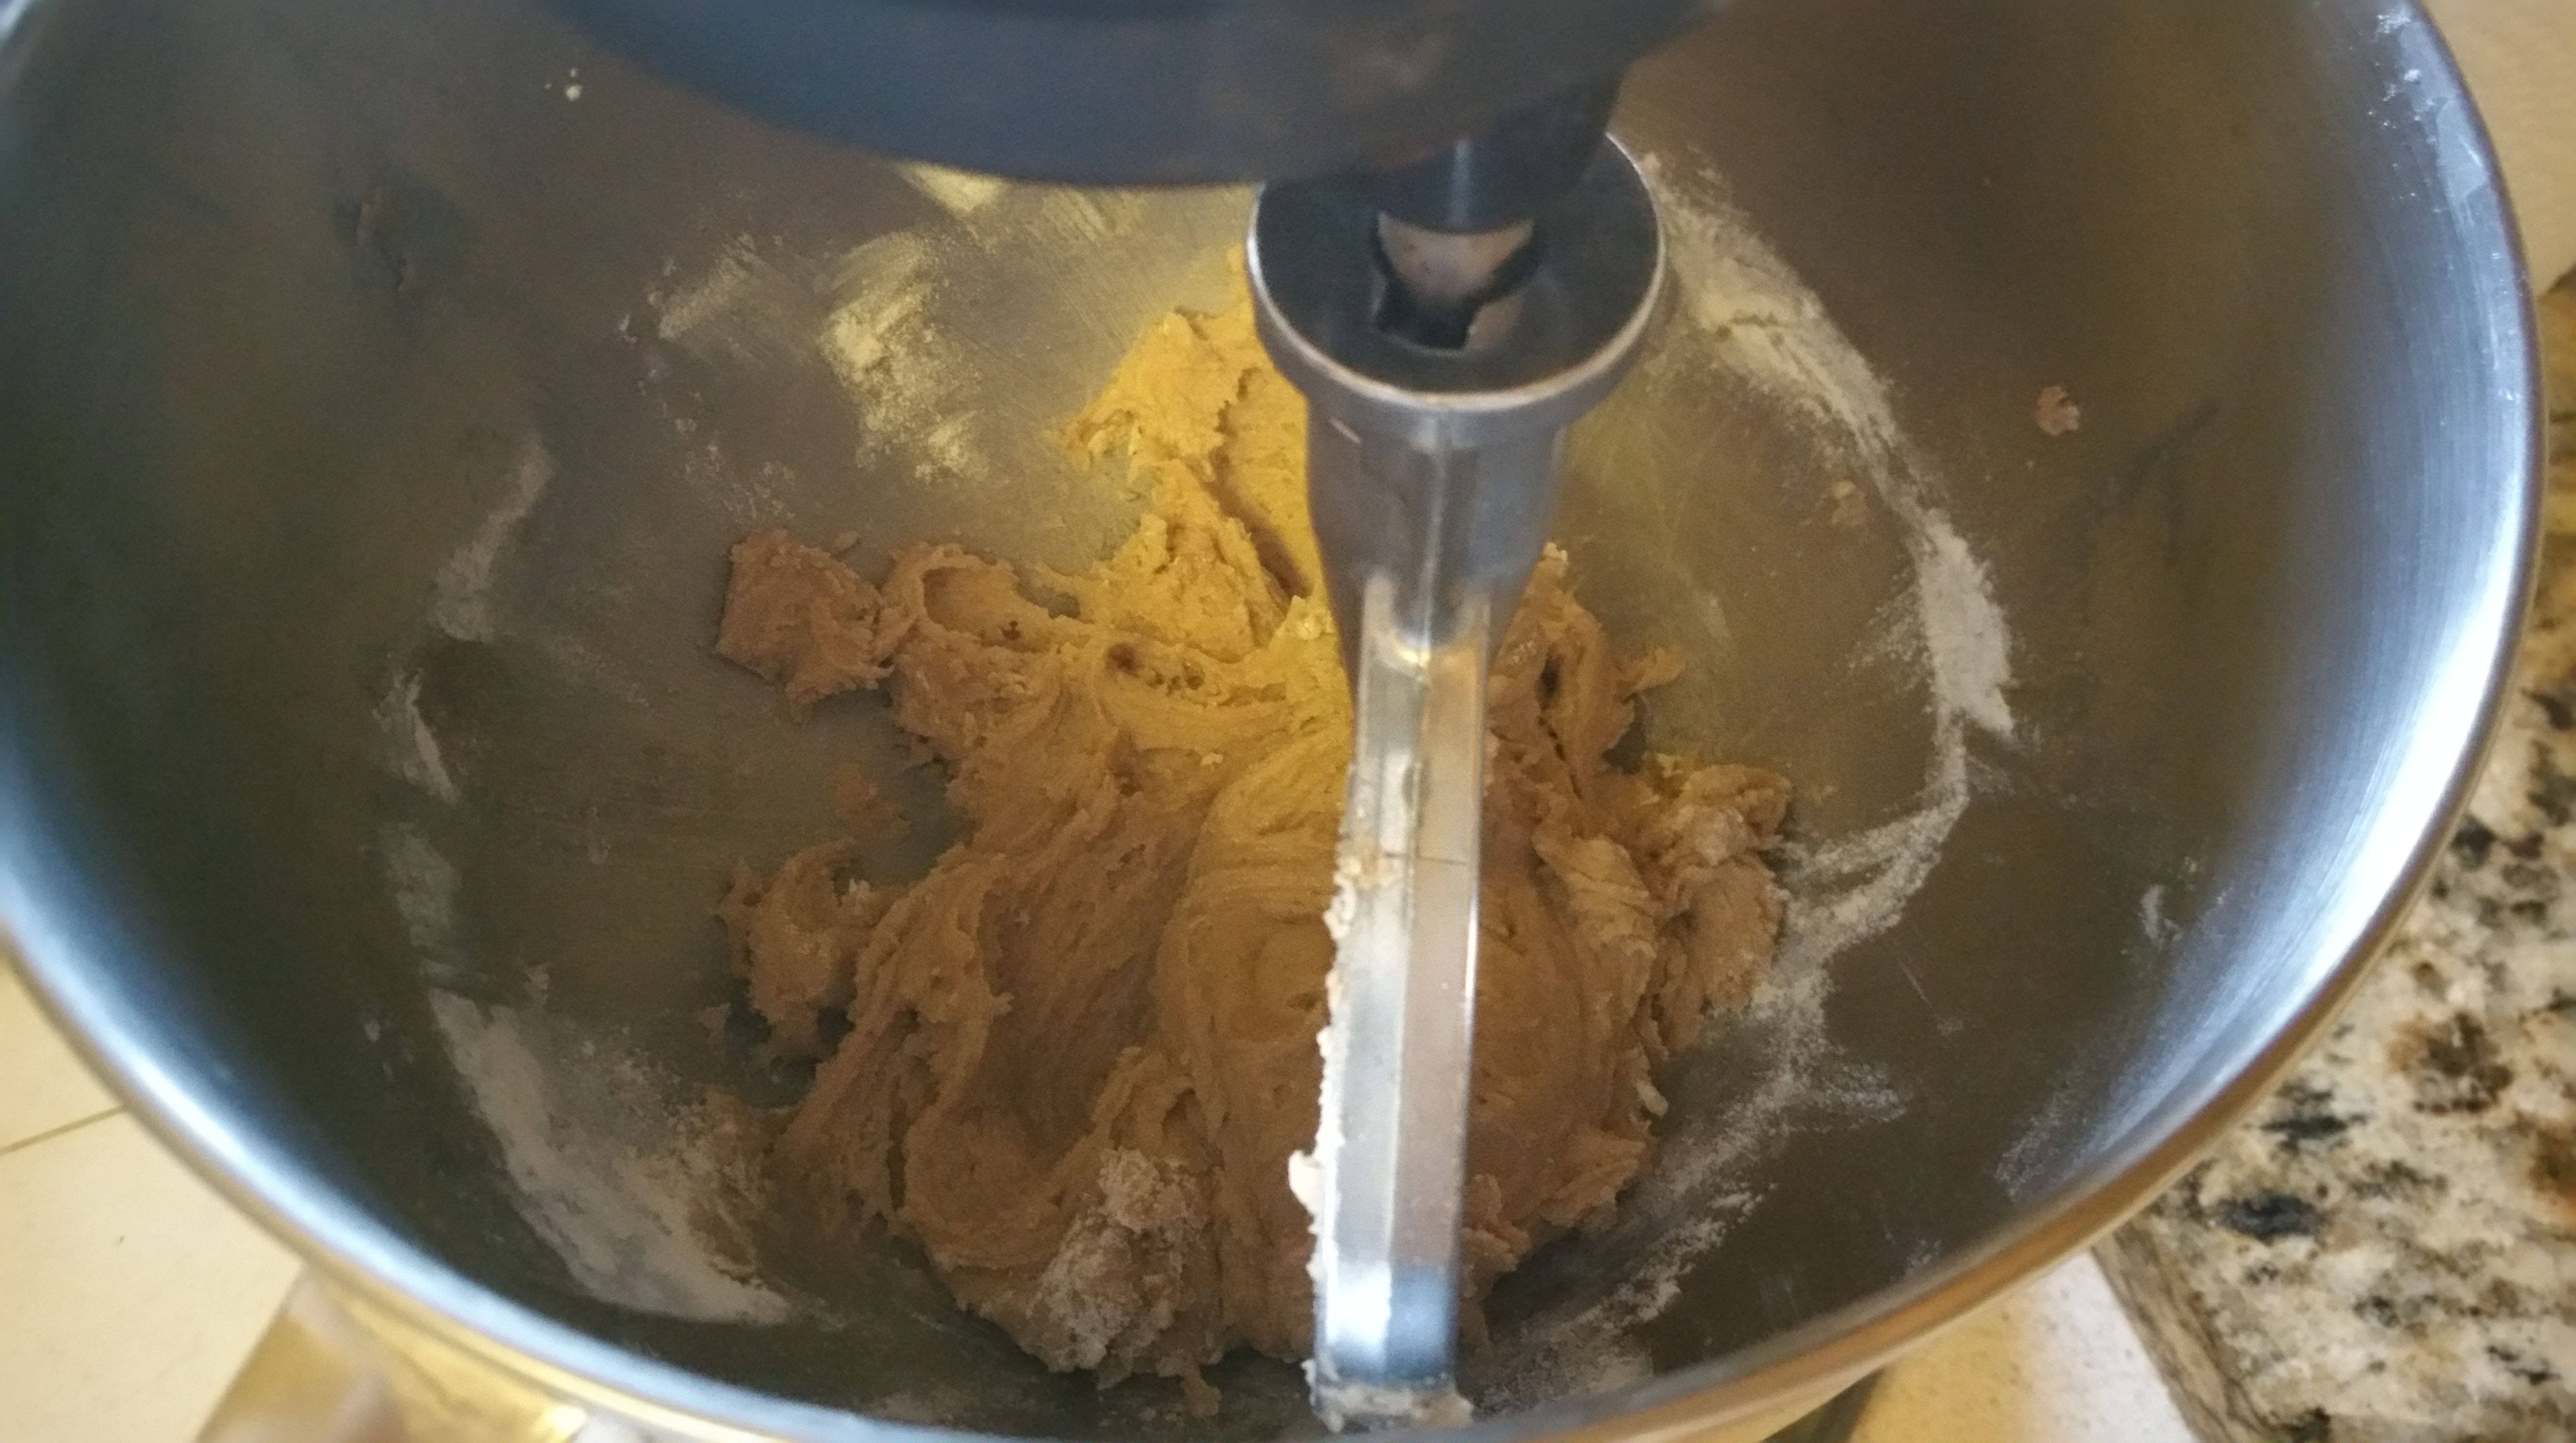
Pour the wet ingredients over the dry ingredients and whisk just until it comes together. It will look lumpy, like pancake batter. Let this rest for 15 minutes and then whisk until smooth.

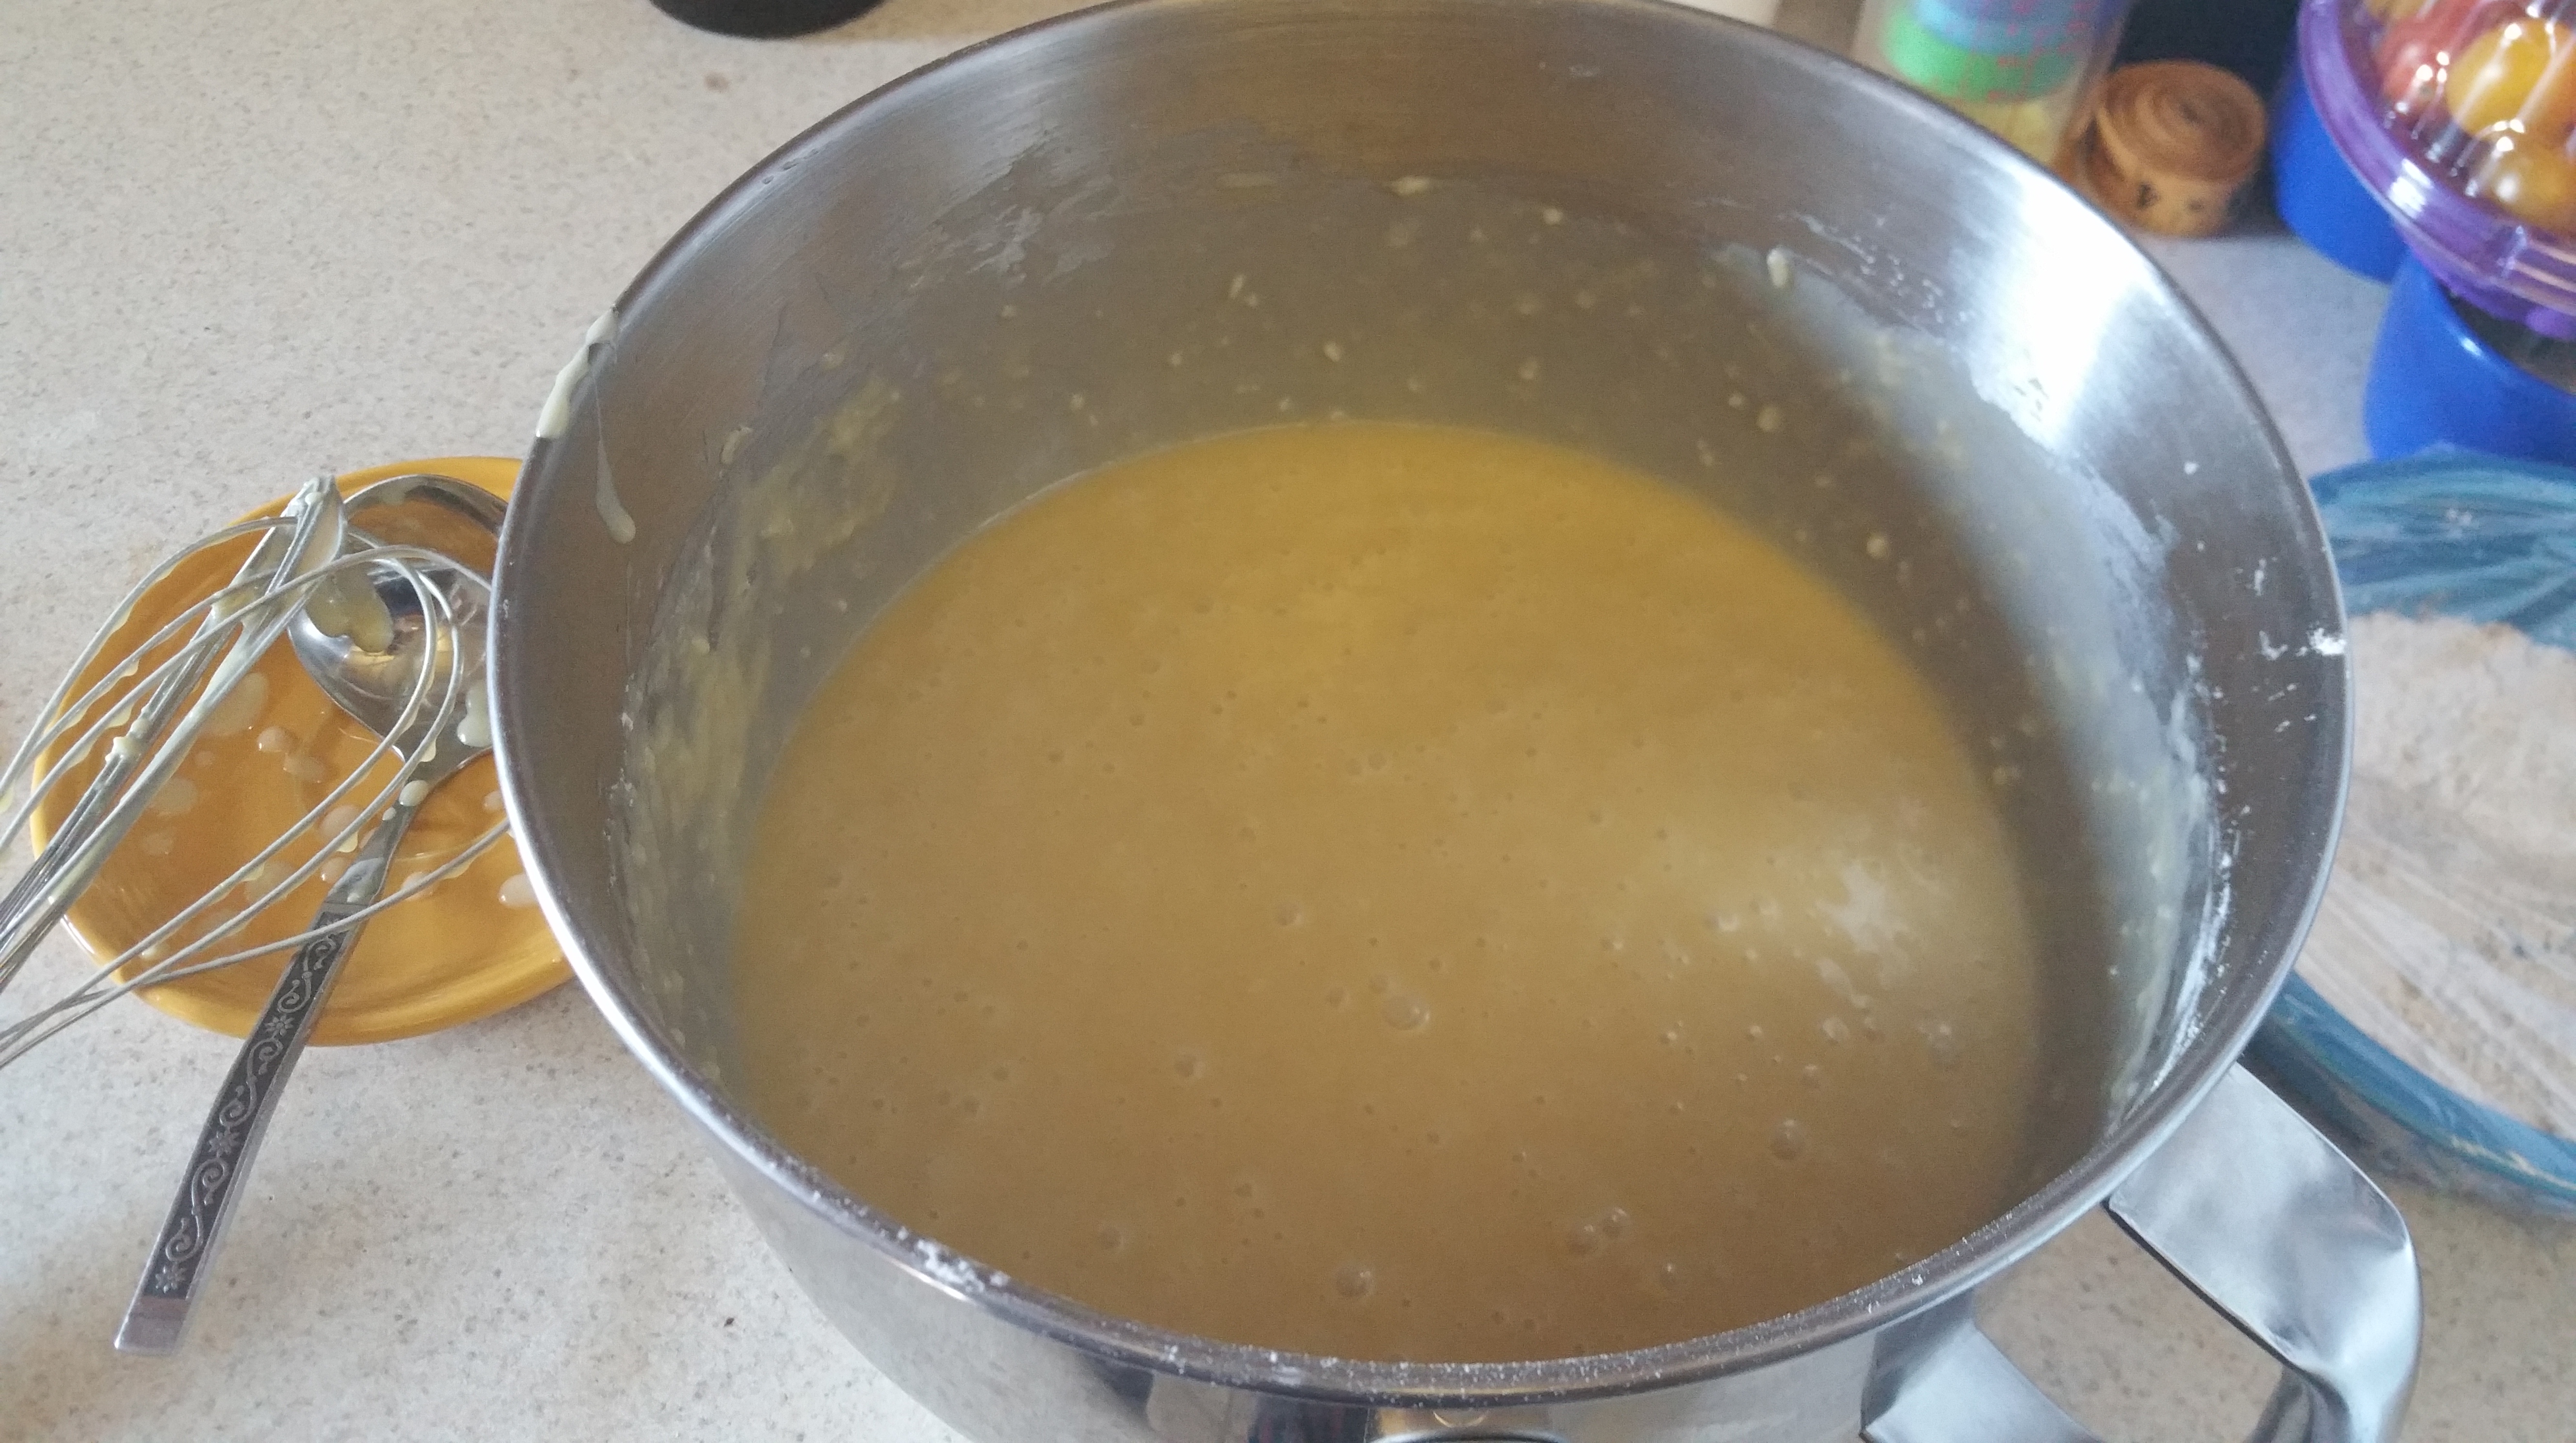
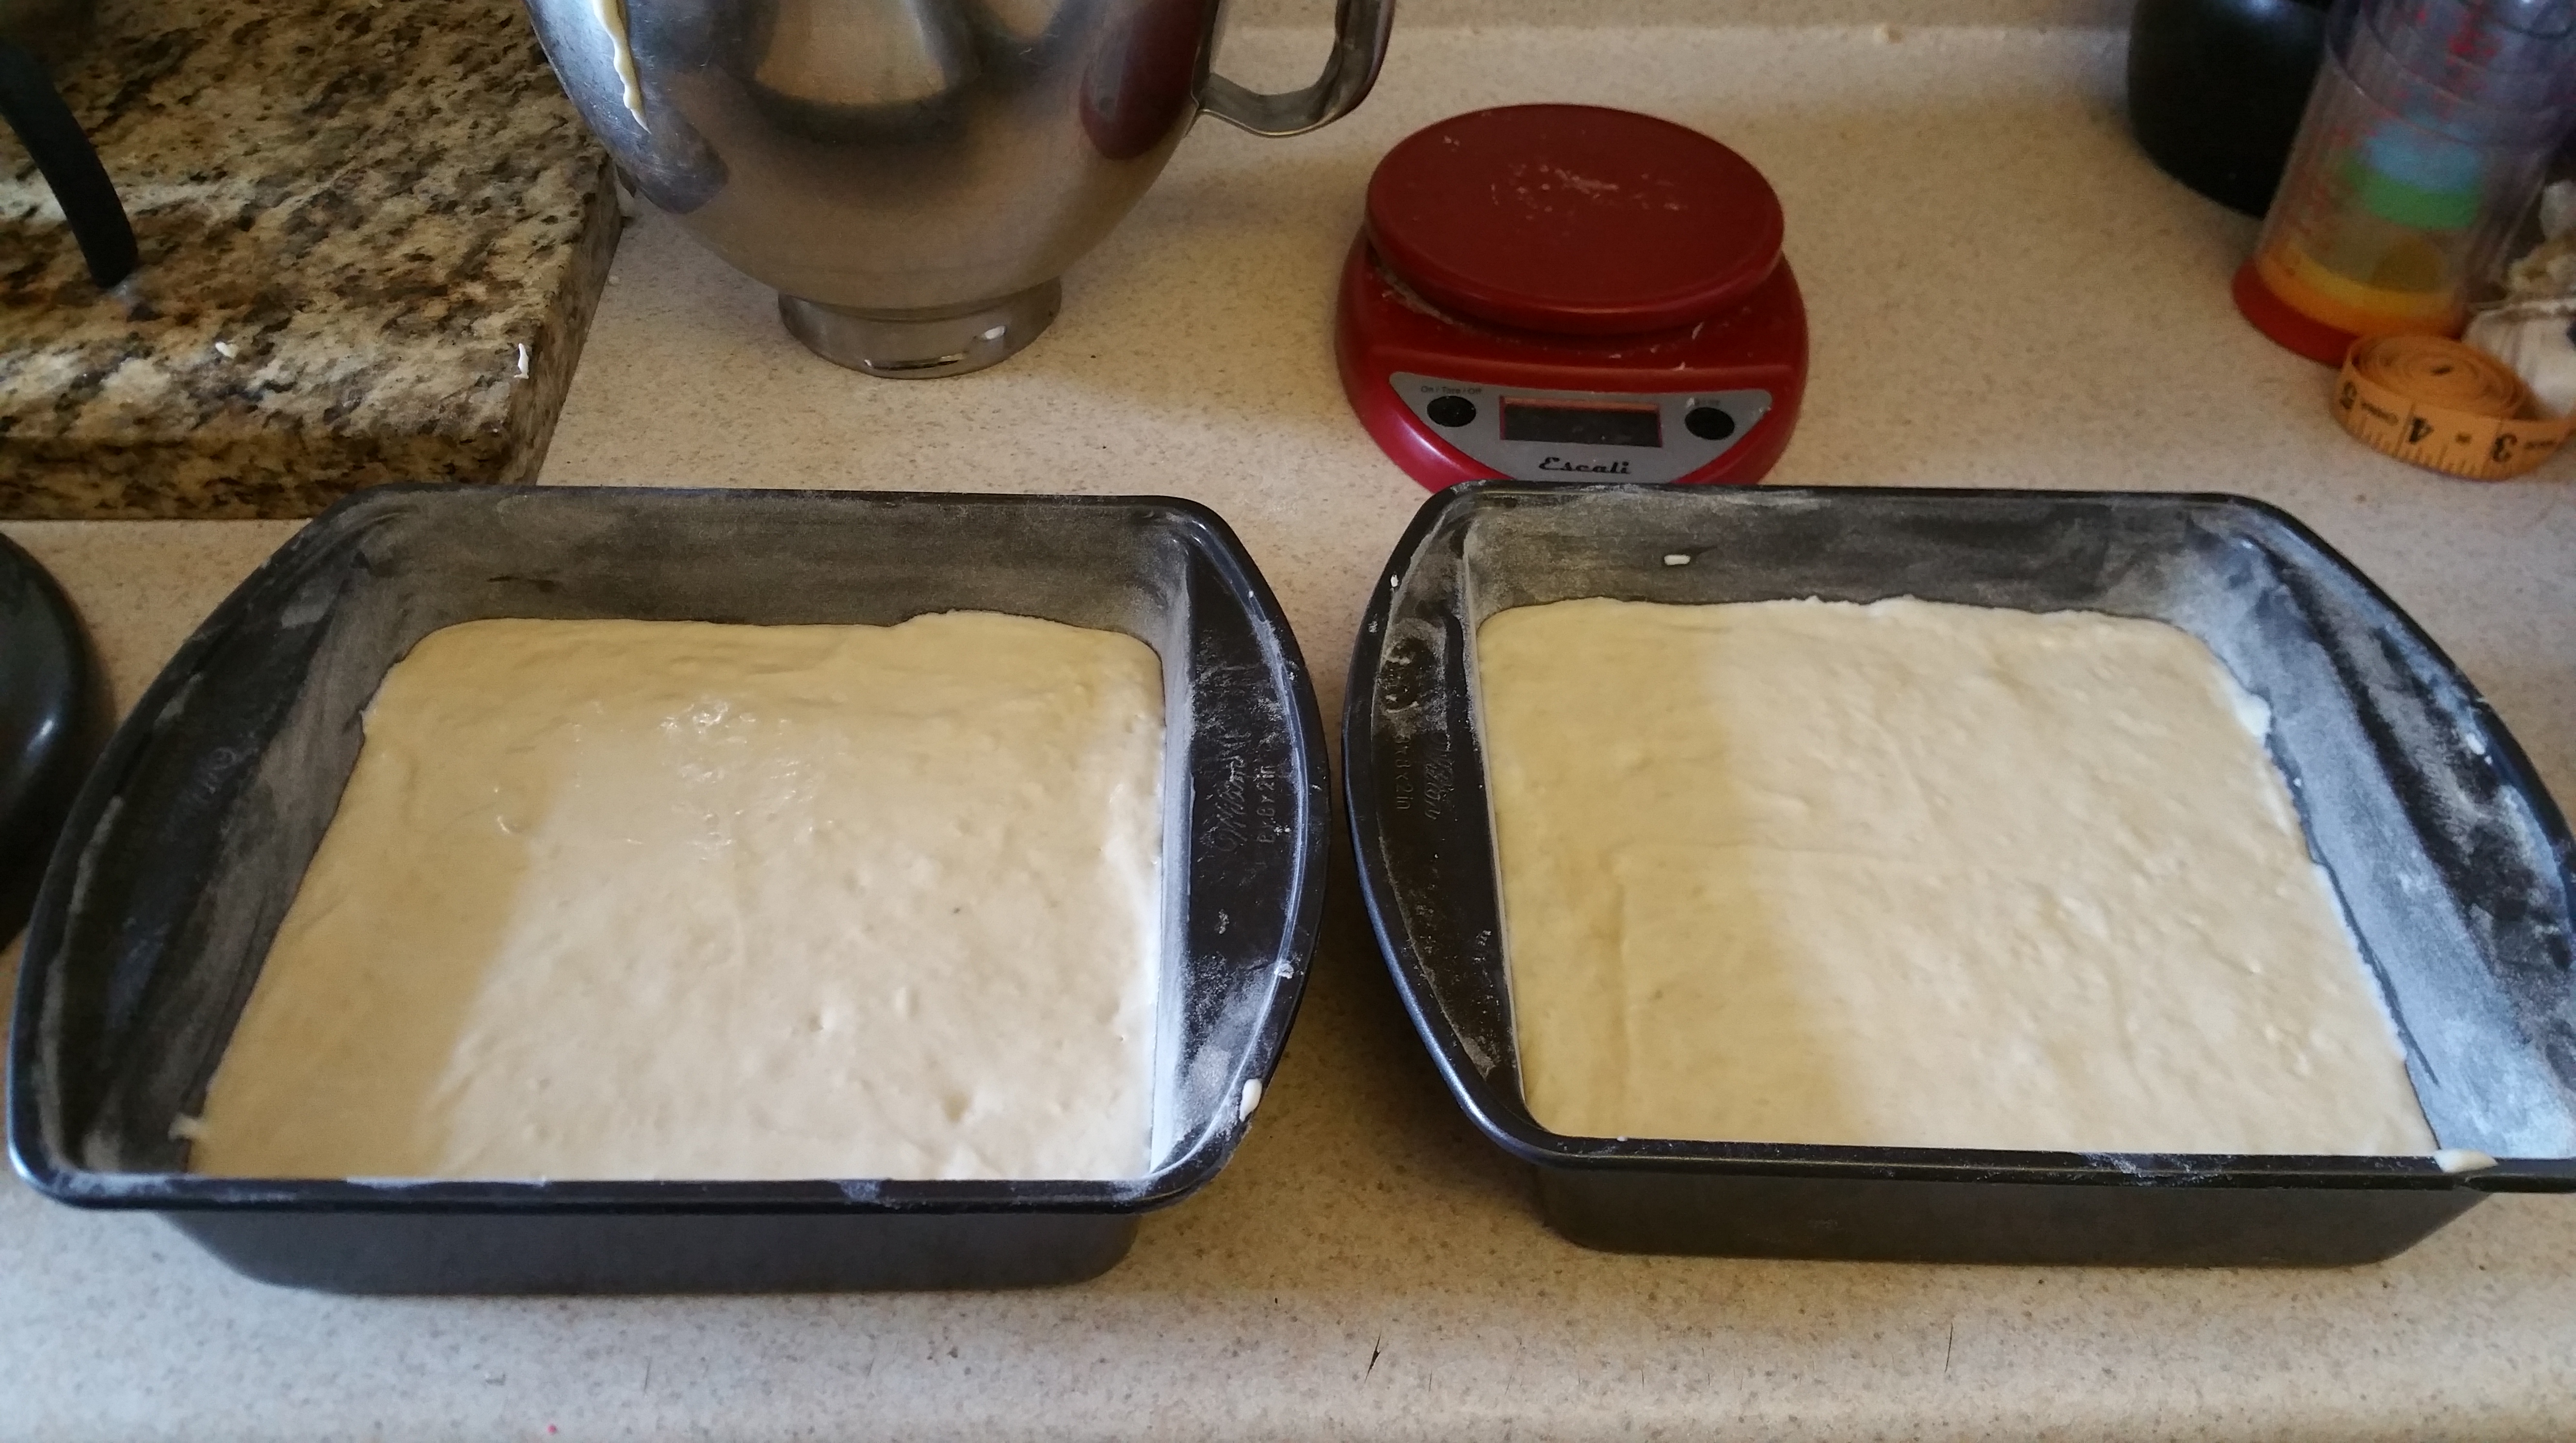
If you are going by weight, weigh your batter, subtract the weight of the bowl, and then divide by 8 to get the amount of batter you’ll use per pan. Alternatively, put a clean bowl on the scale, use the tare function, and pour the batter into the clean bowl. Then divide that number by 8. For my batter, this worked out to just under 9 oz. per pan. I would say it was a heavy ¾ cup per pan.

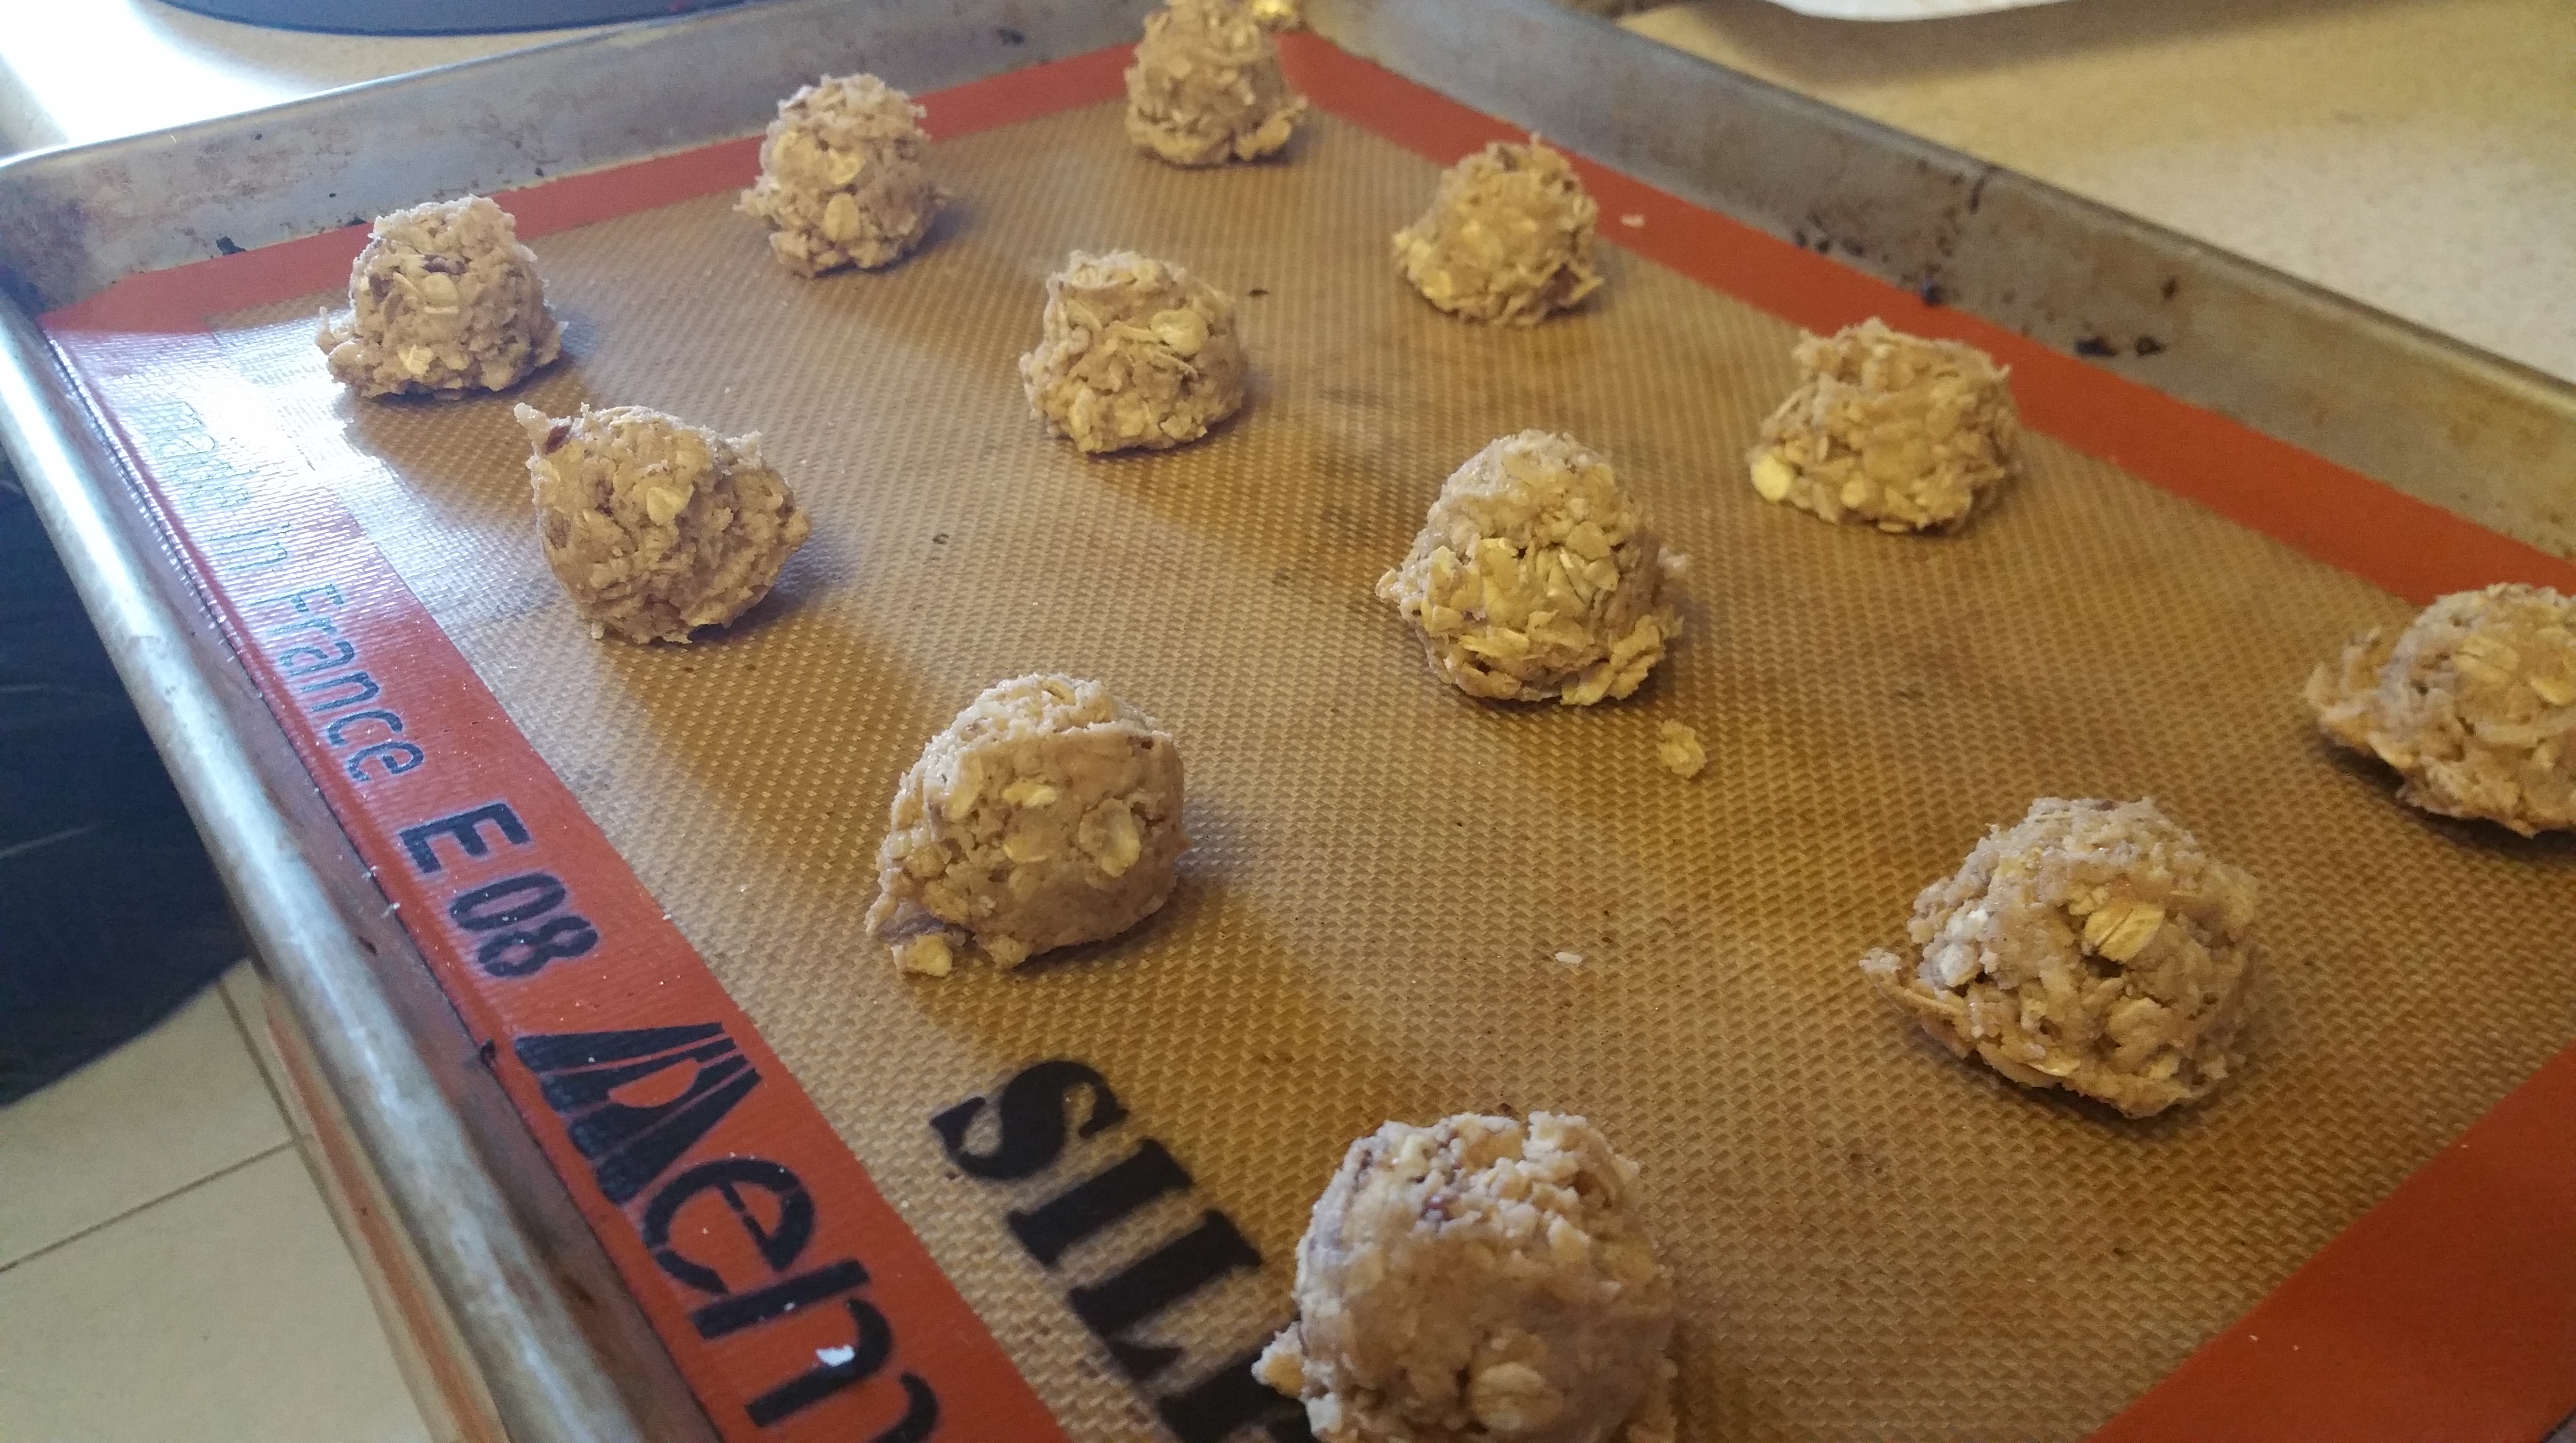
Spoon the batter into the prepared pans and then tilt the pans to spread the batter evenly across the bottoms.

Bake the layers for 15 minutes or until just golden at the edges and pulling away from the pan.

Allow the layers to cool in pans for 5 minutes, and then invert onto wire racks to cool completely. I don’t have enough cooling racks for 8 cakes, but these cool fast and you can move the cooled layers onto parchment to give yourself more real estate when the next batch is coming out.

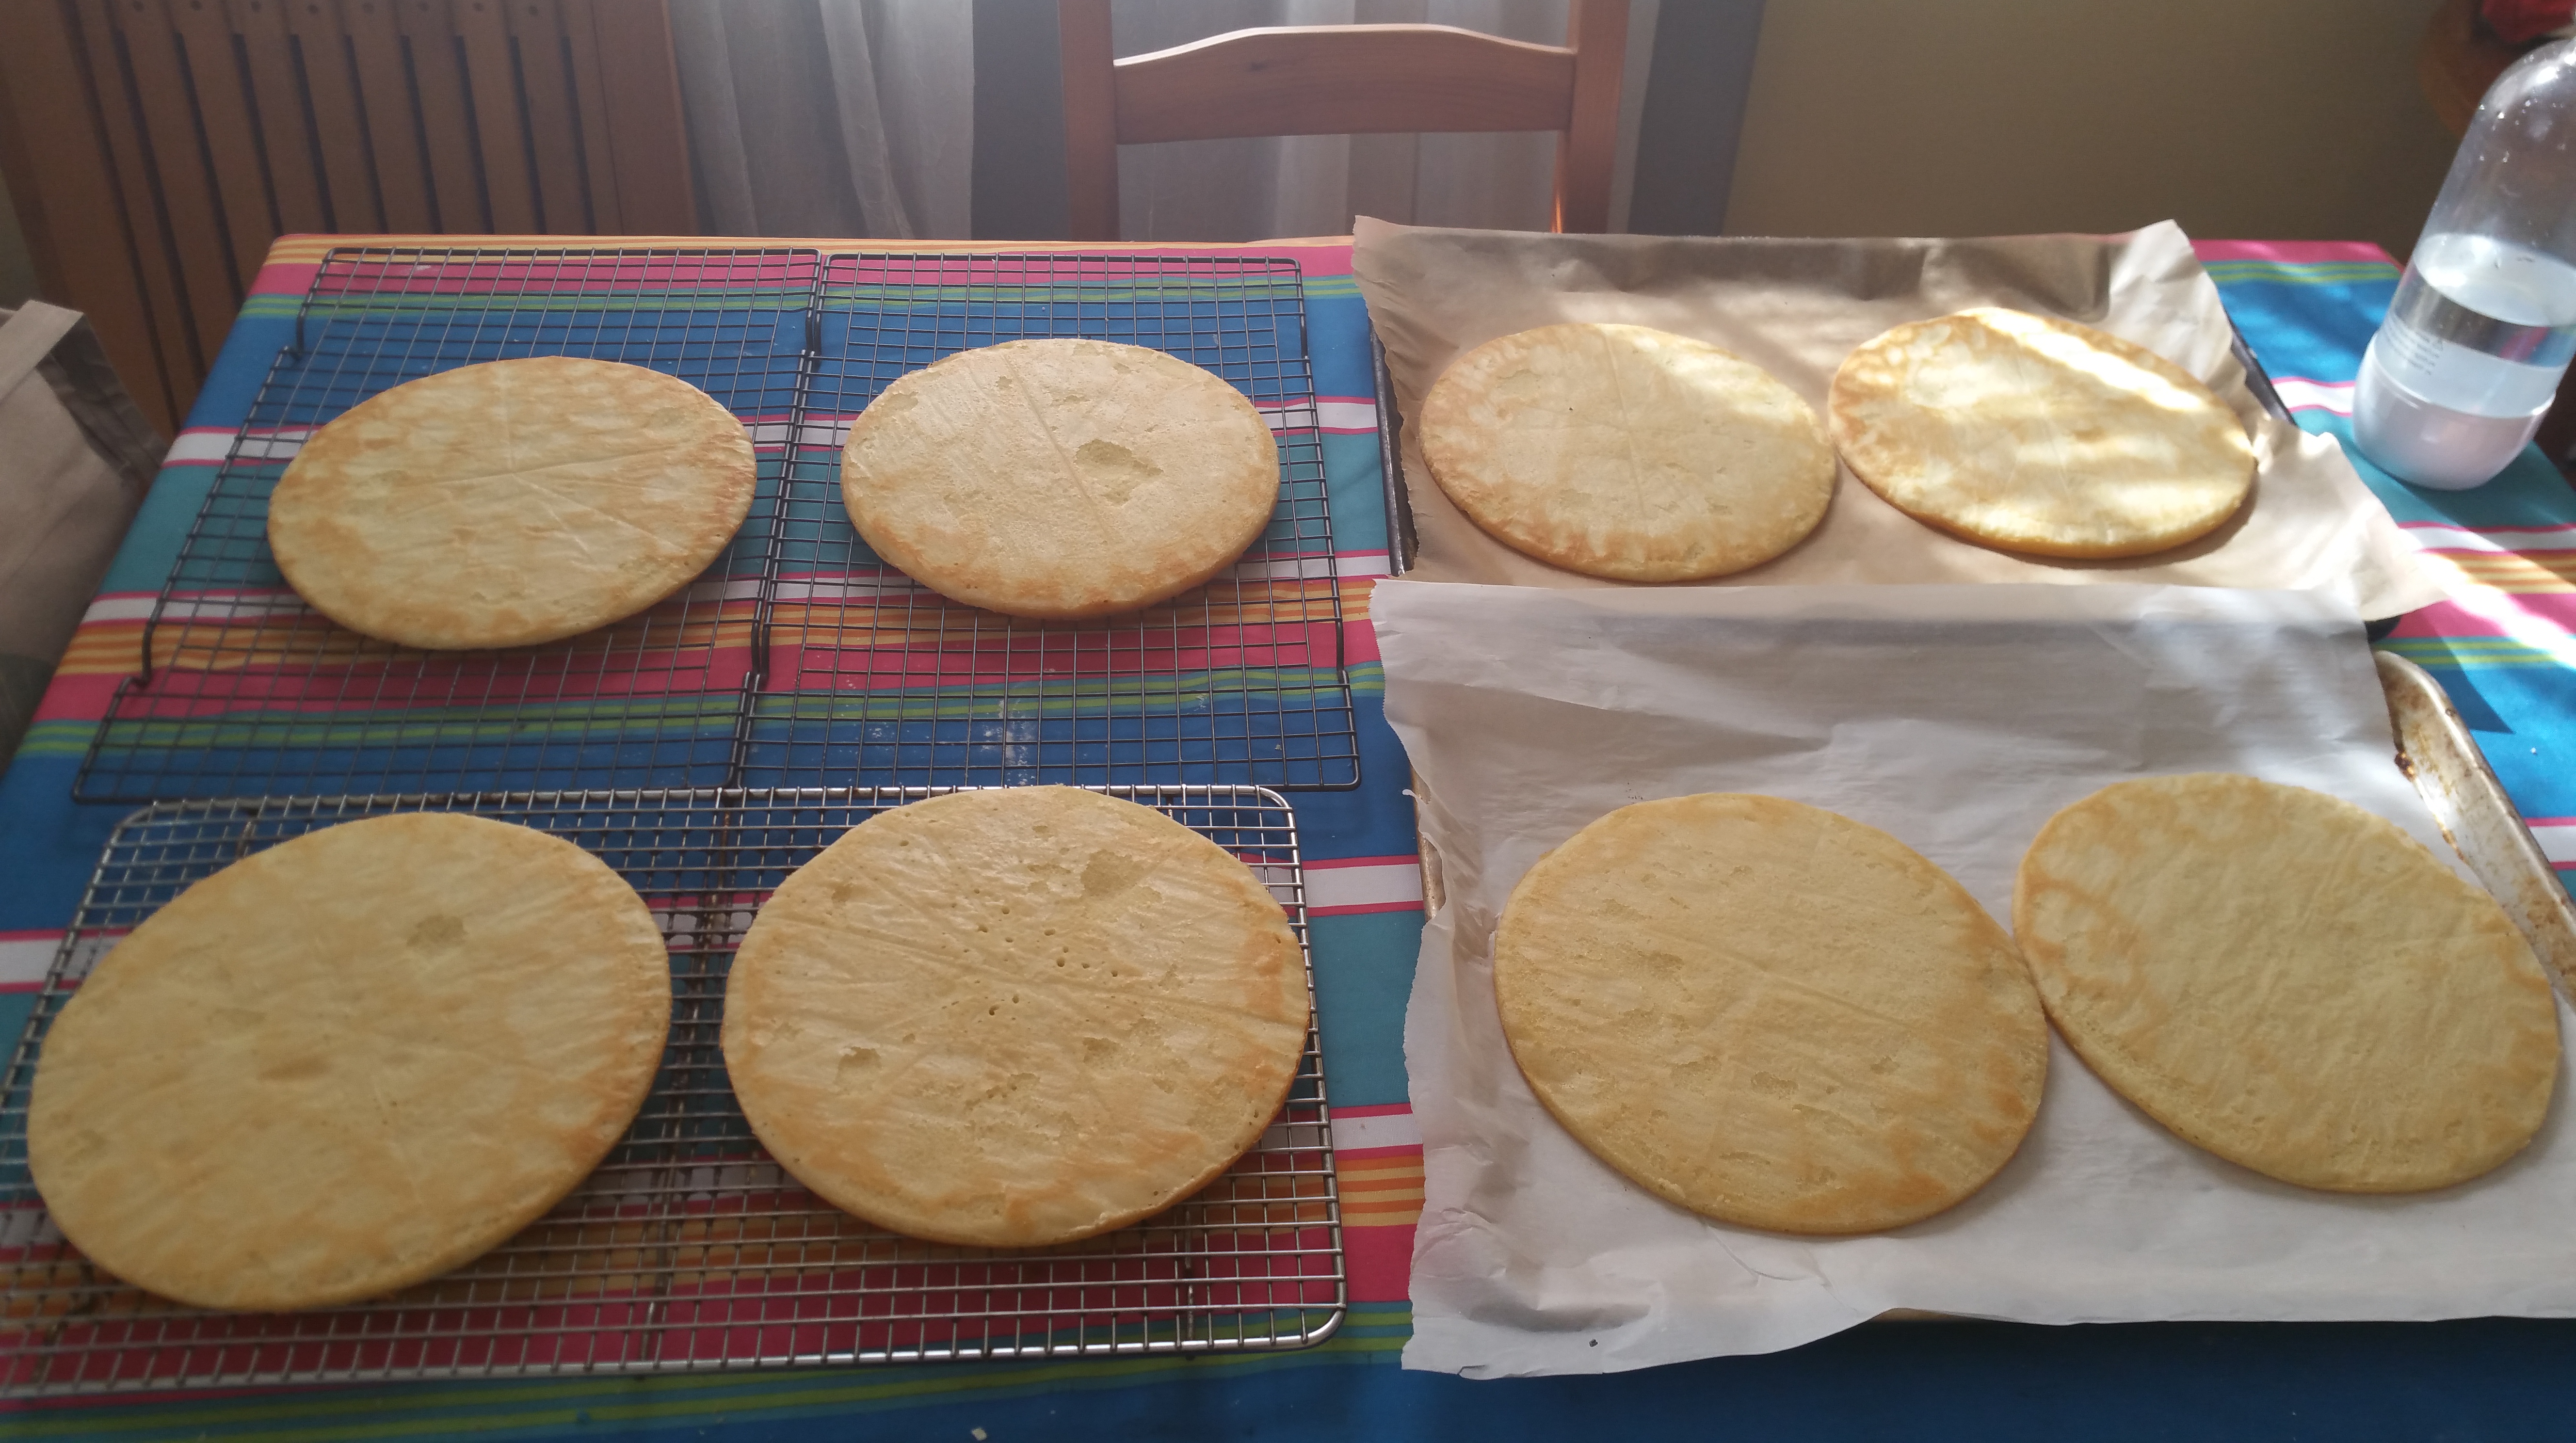
Re-grease and flour pans as needed, divide batter, and bake until you have made eight layers.

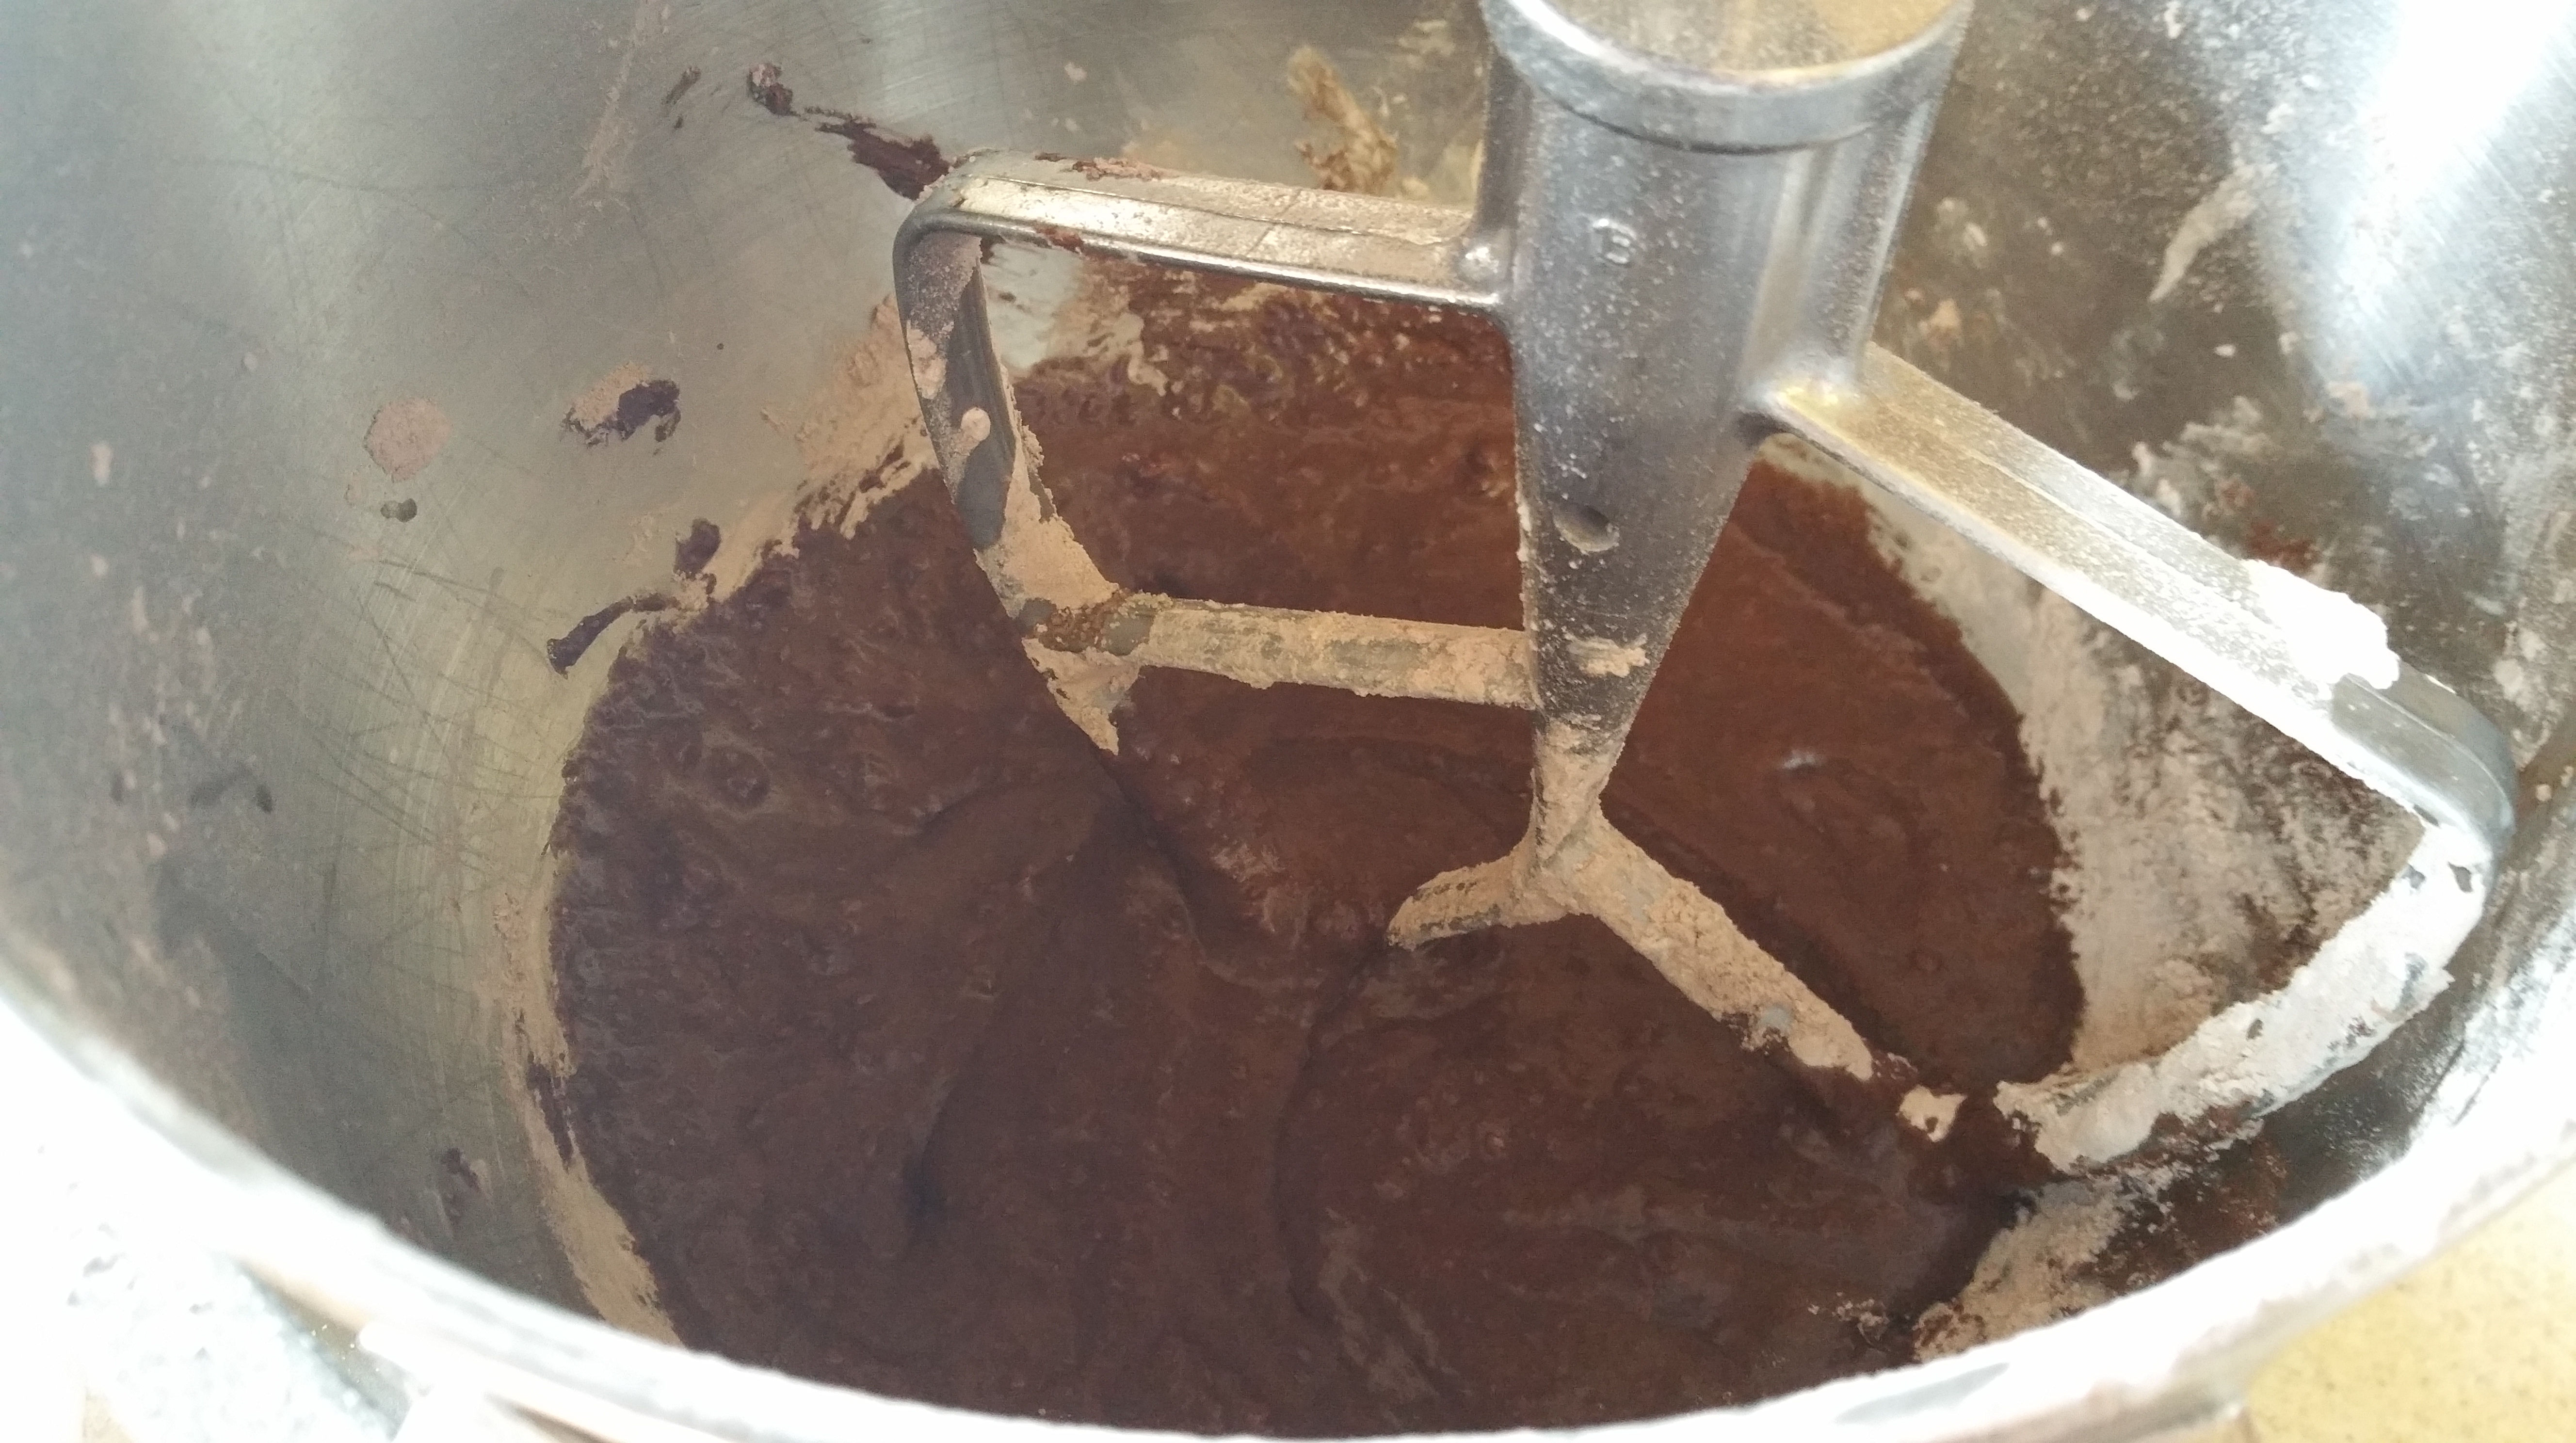
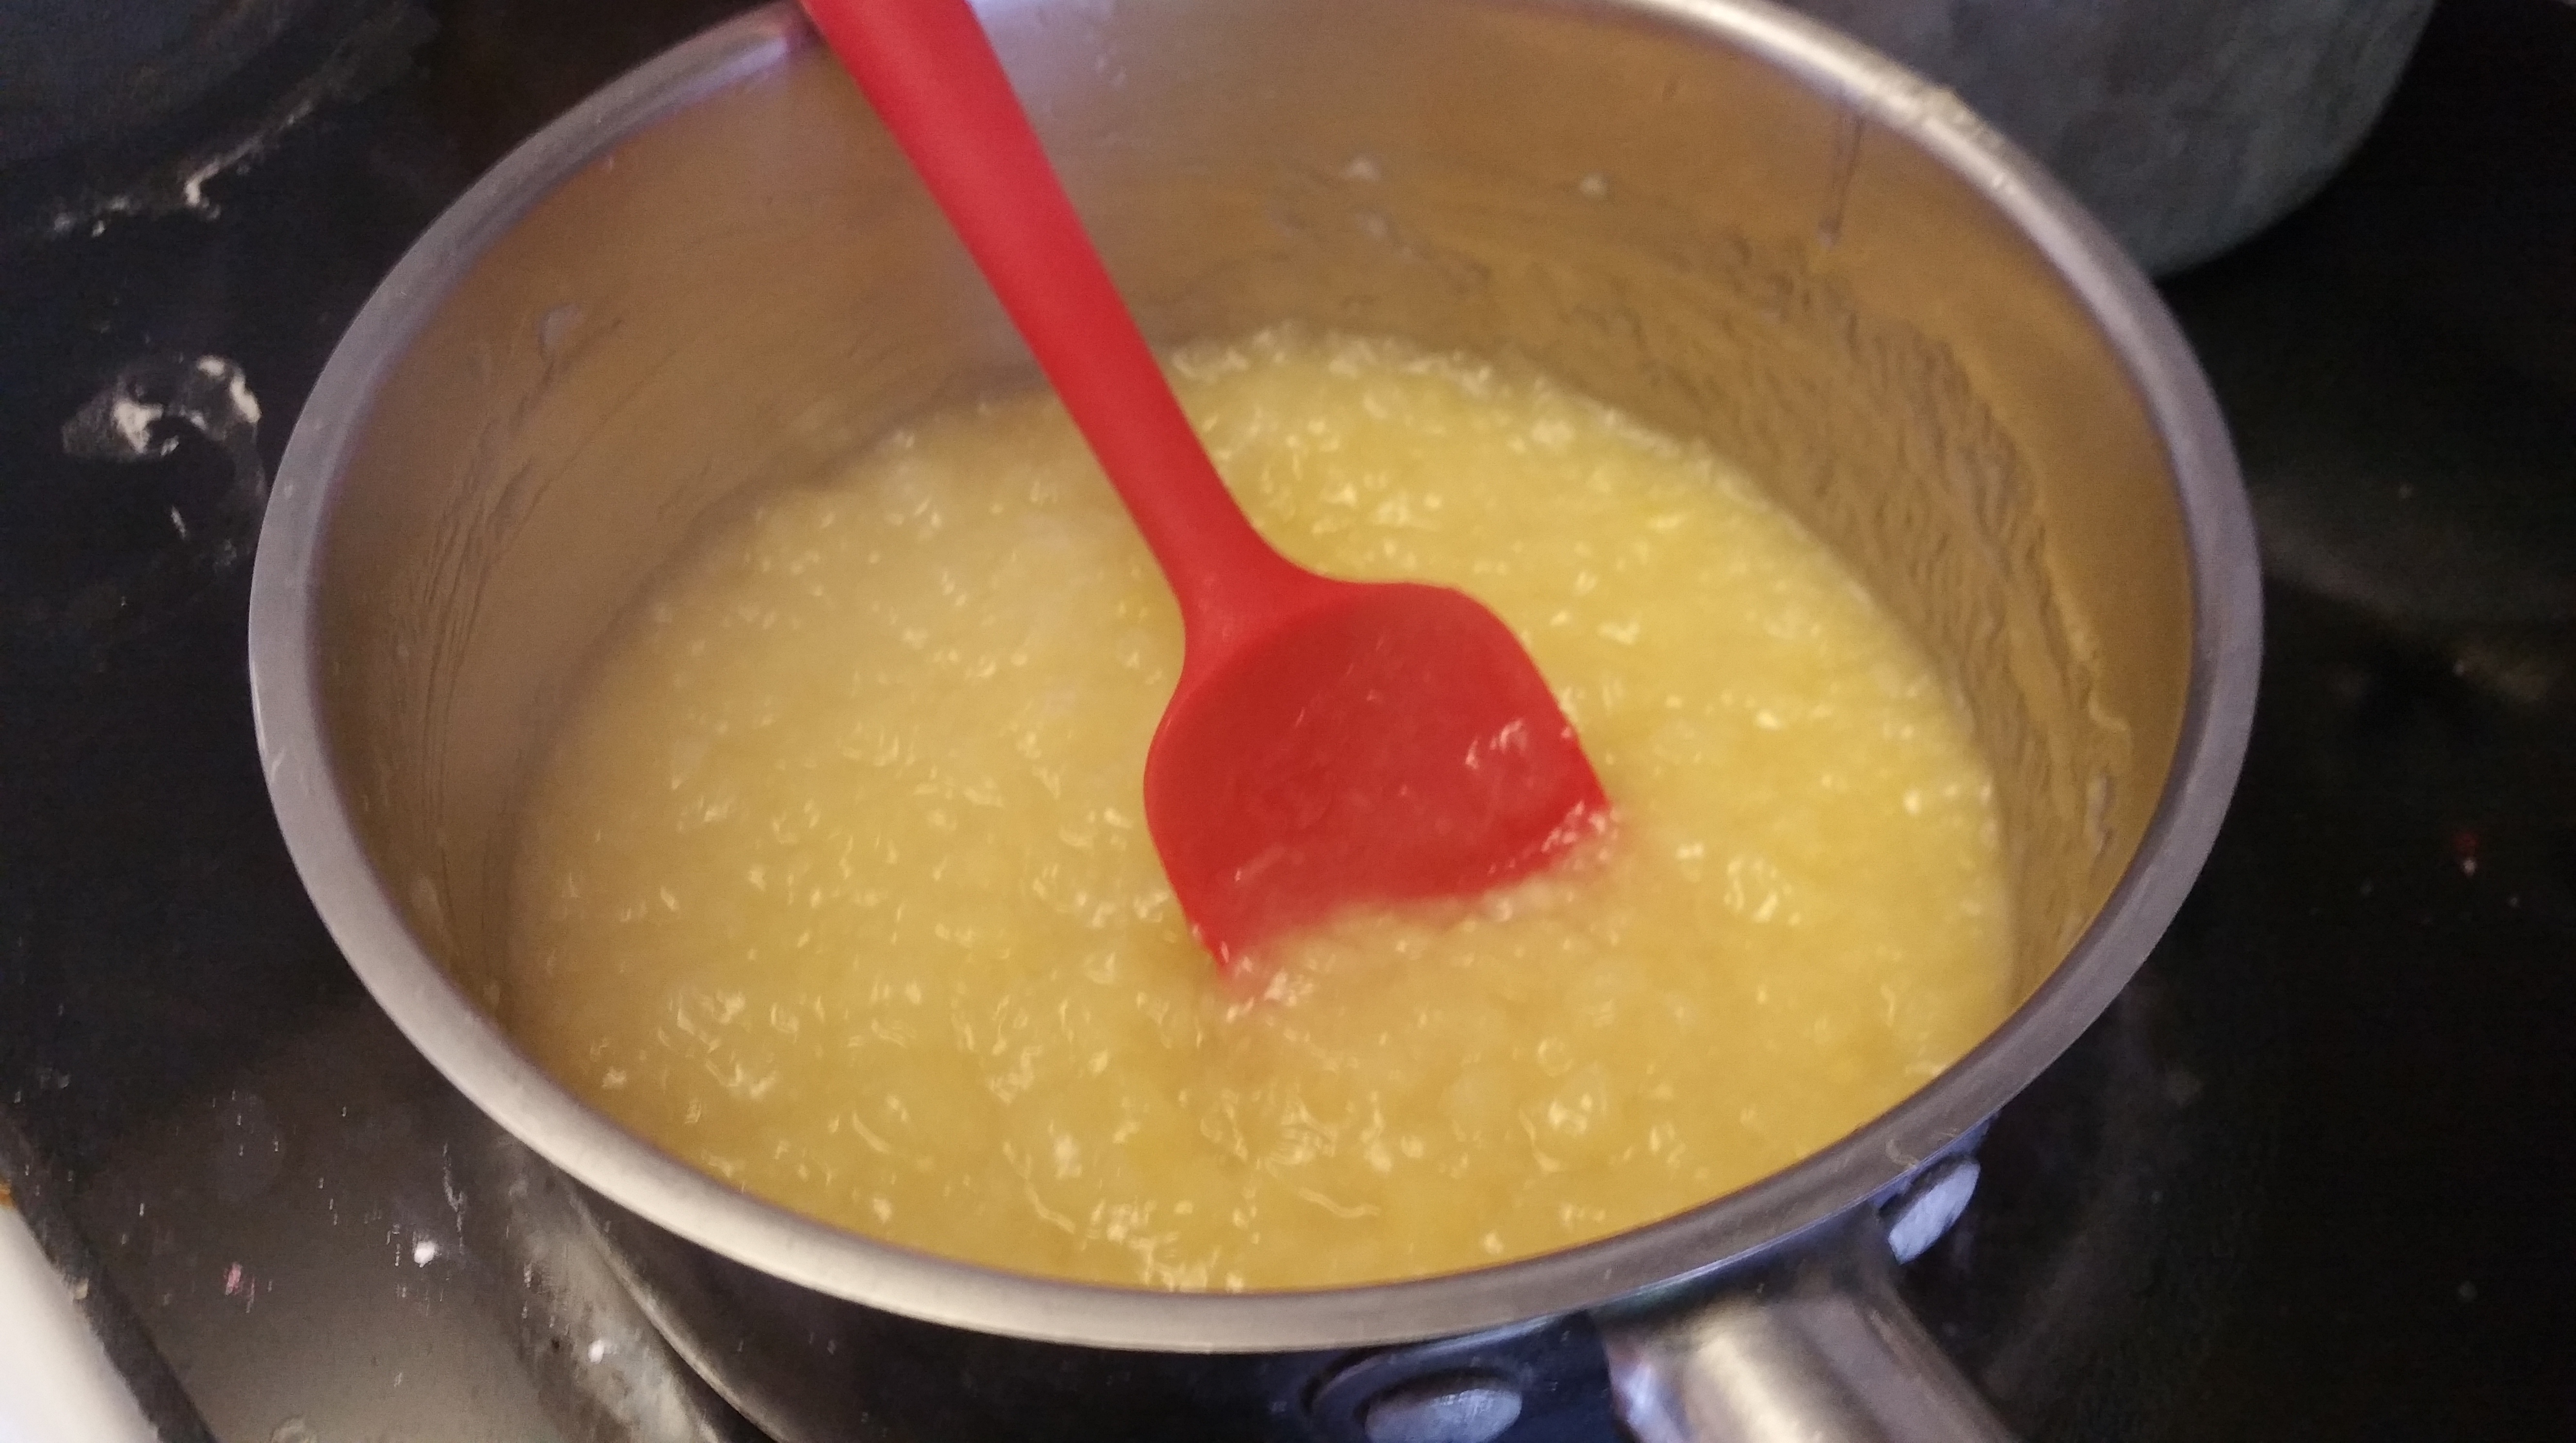
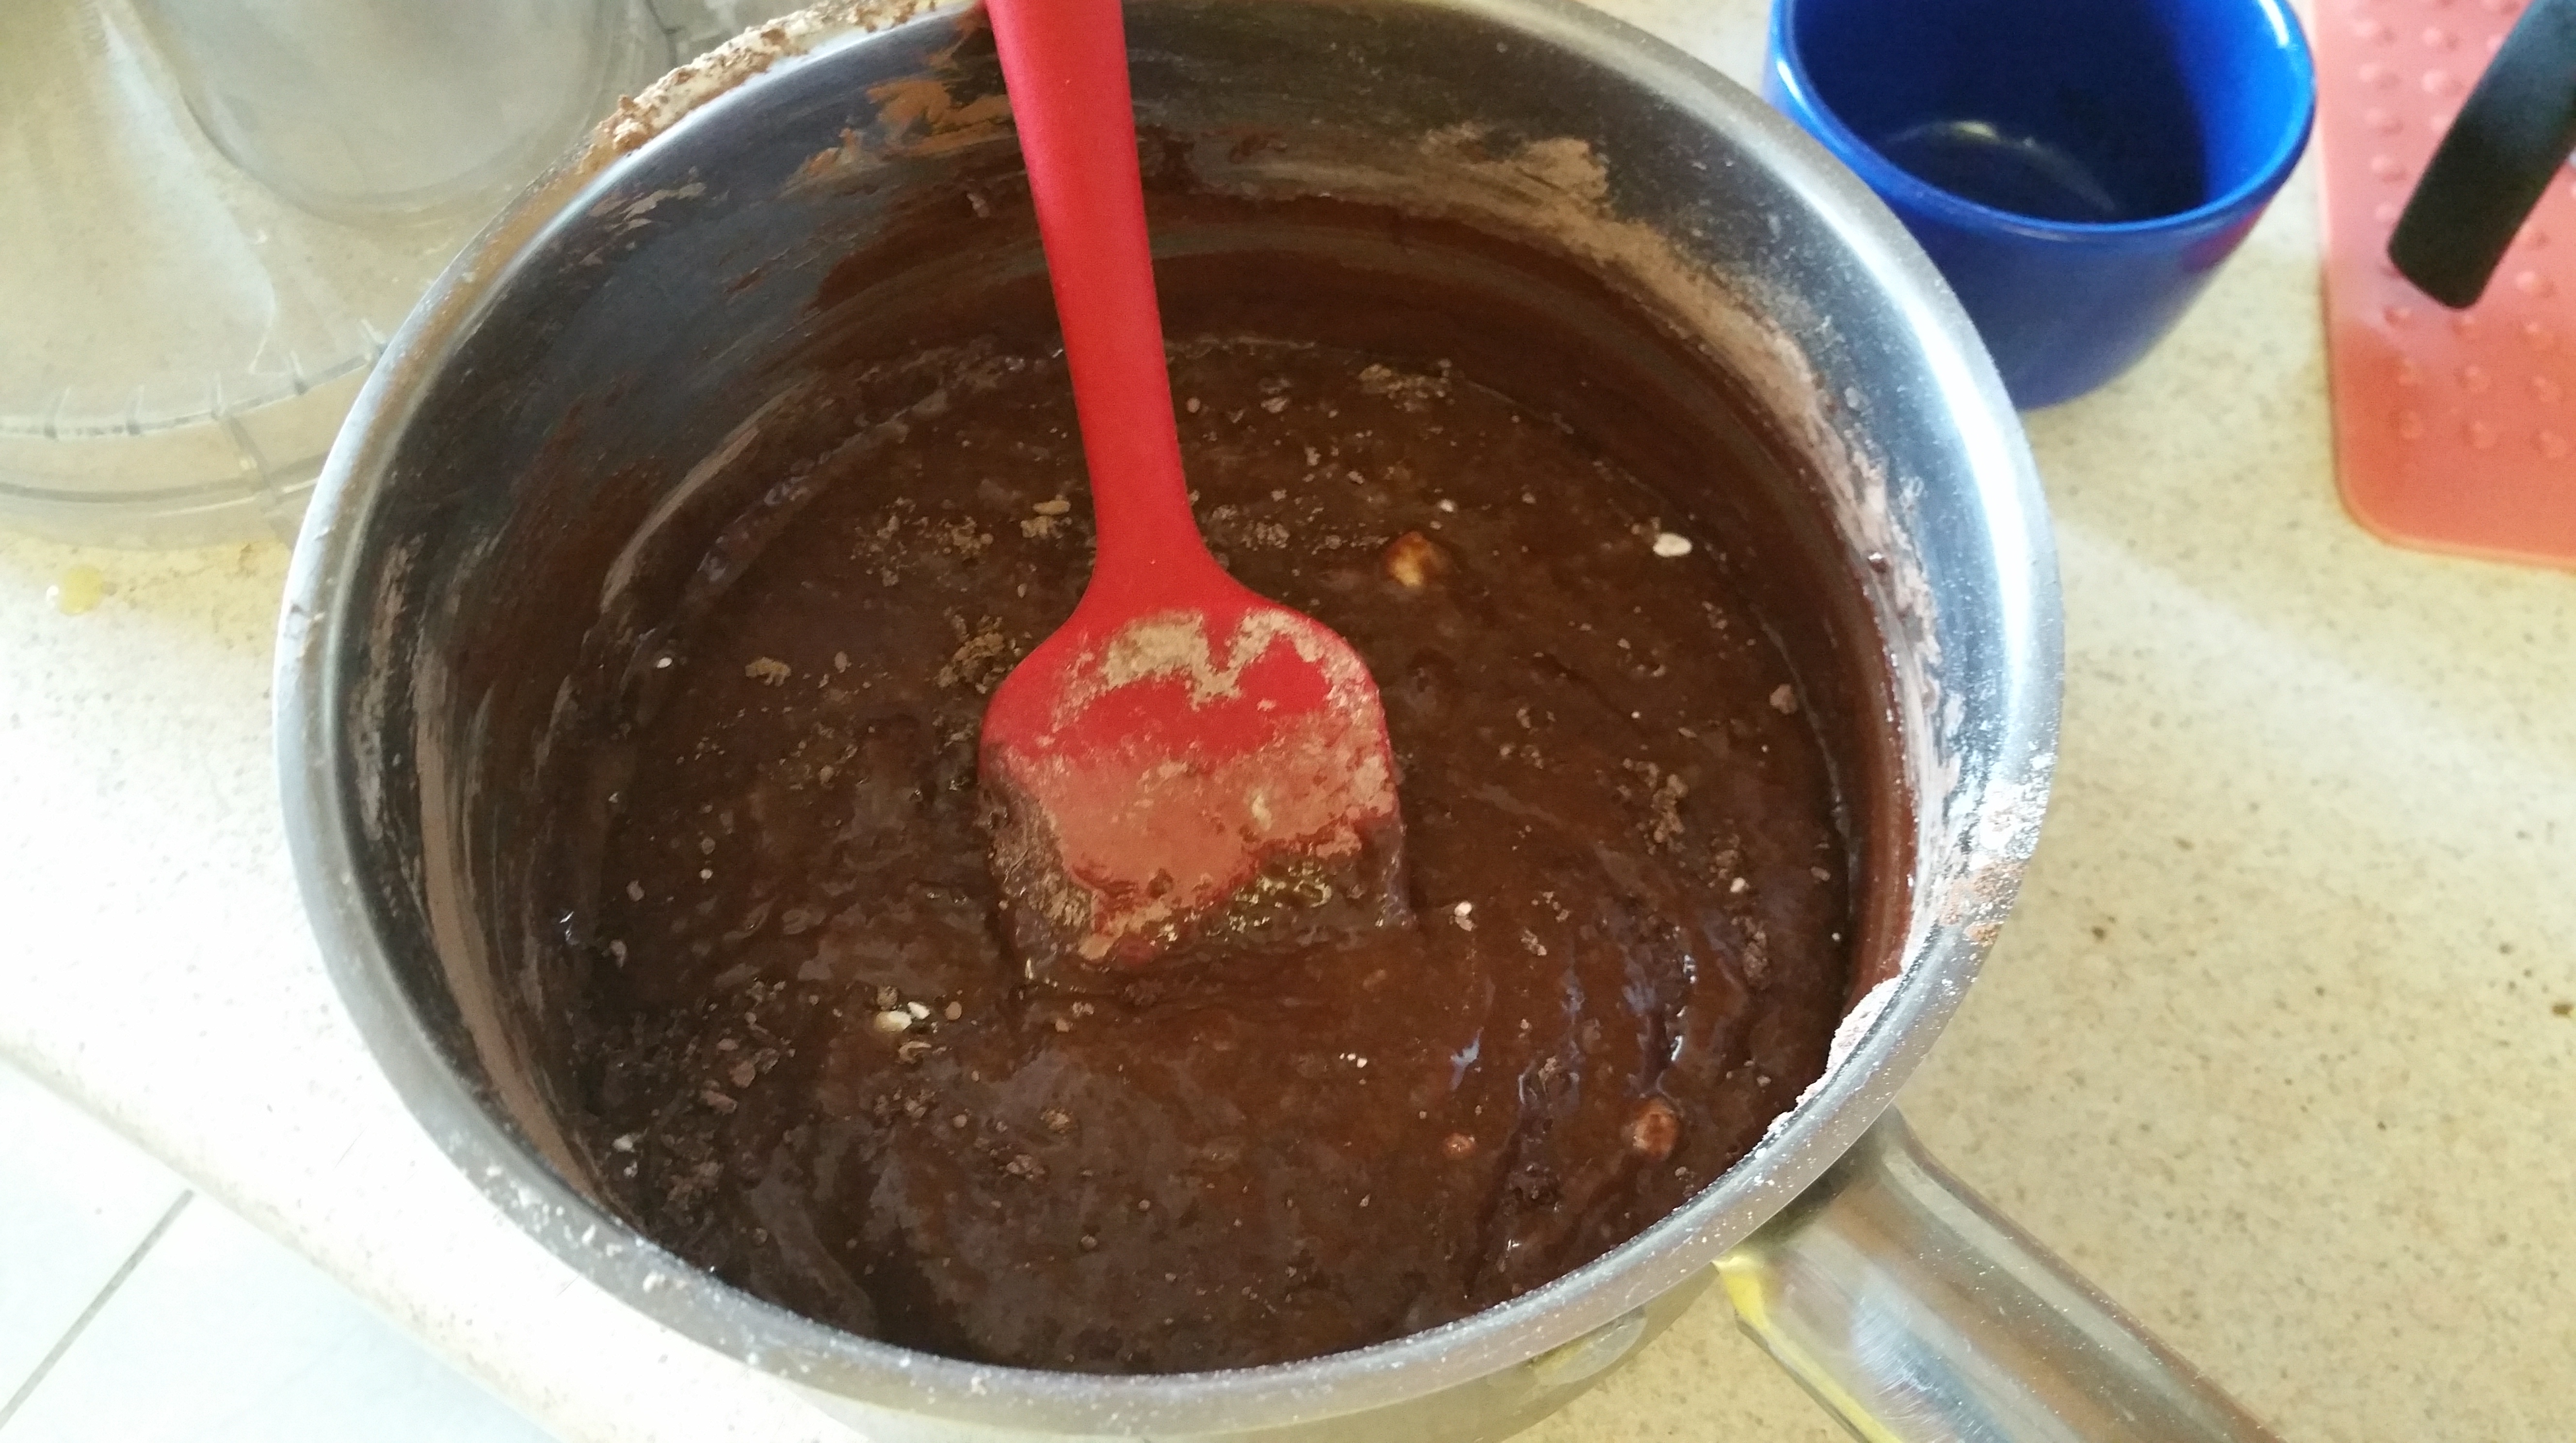
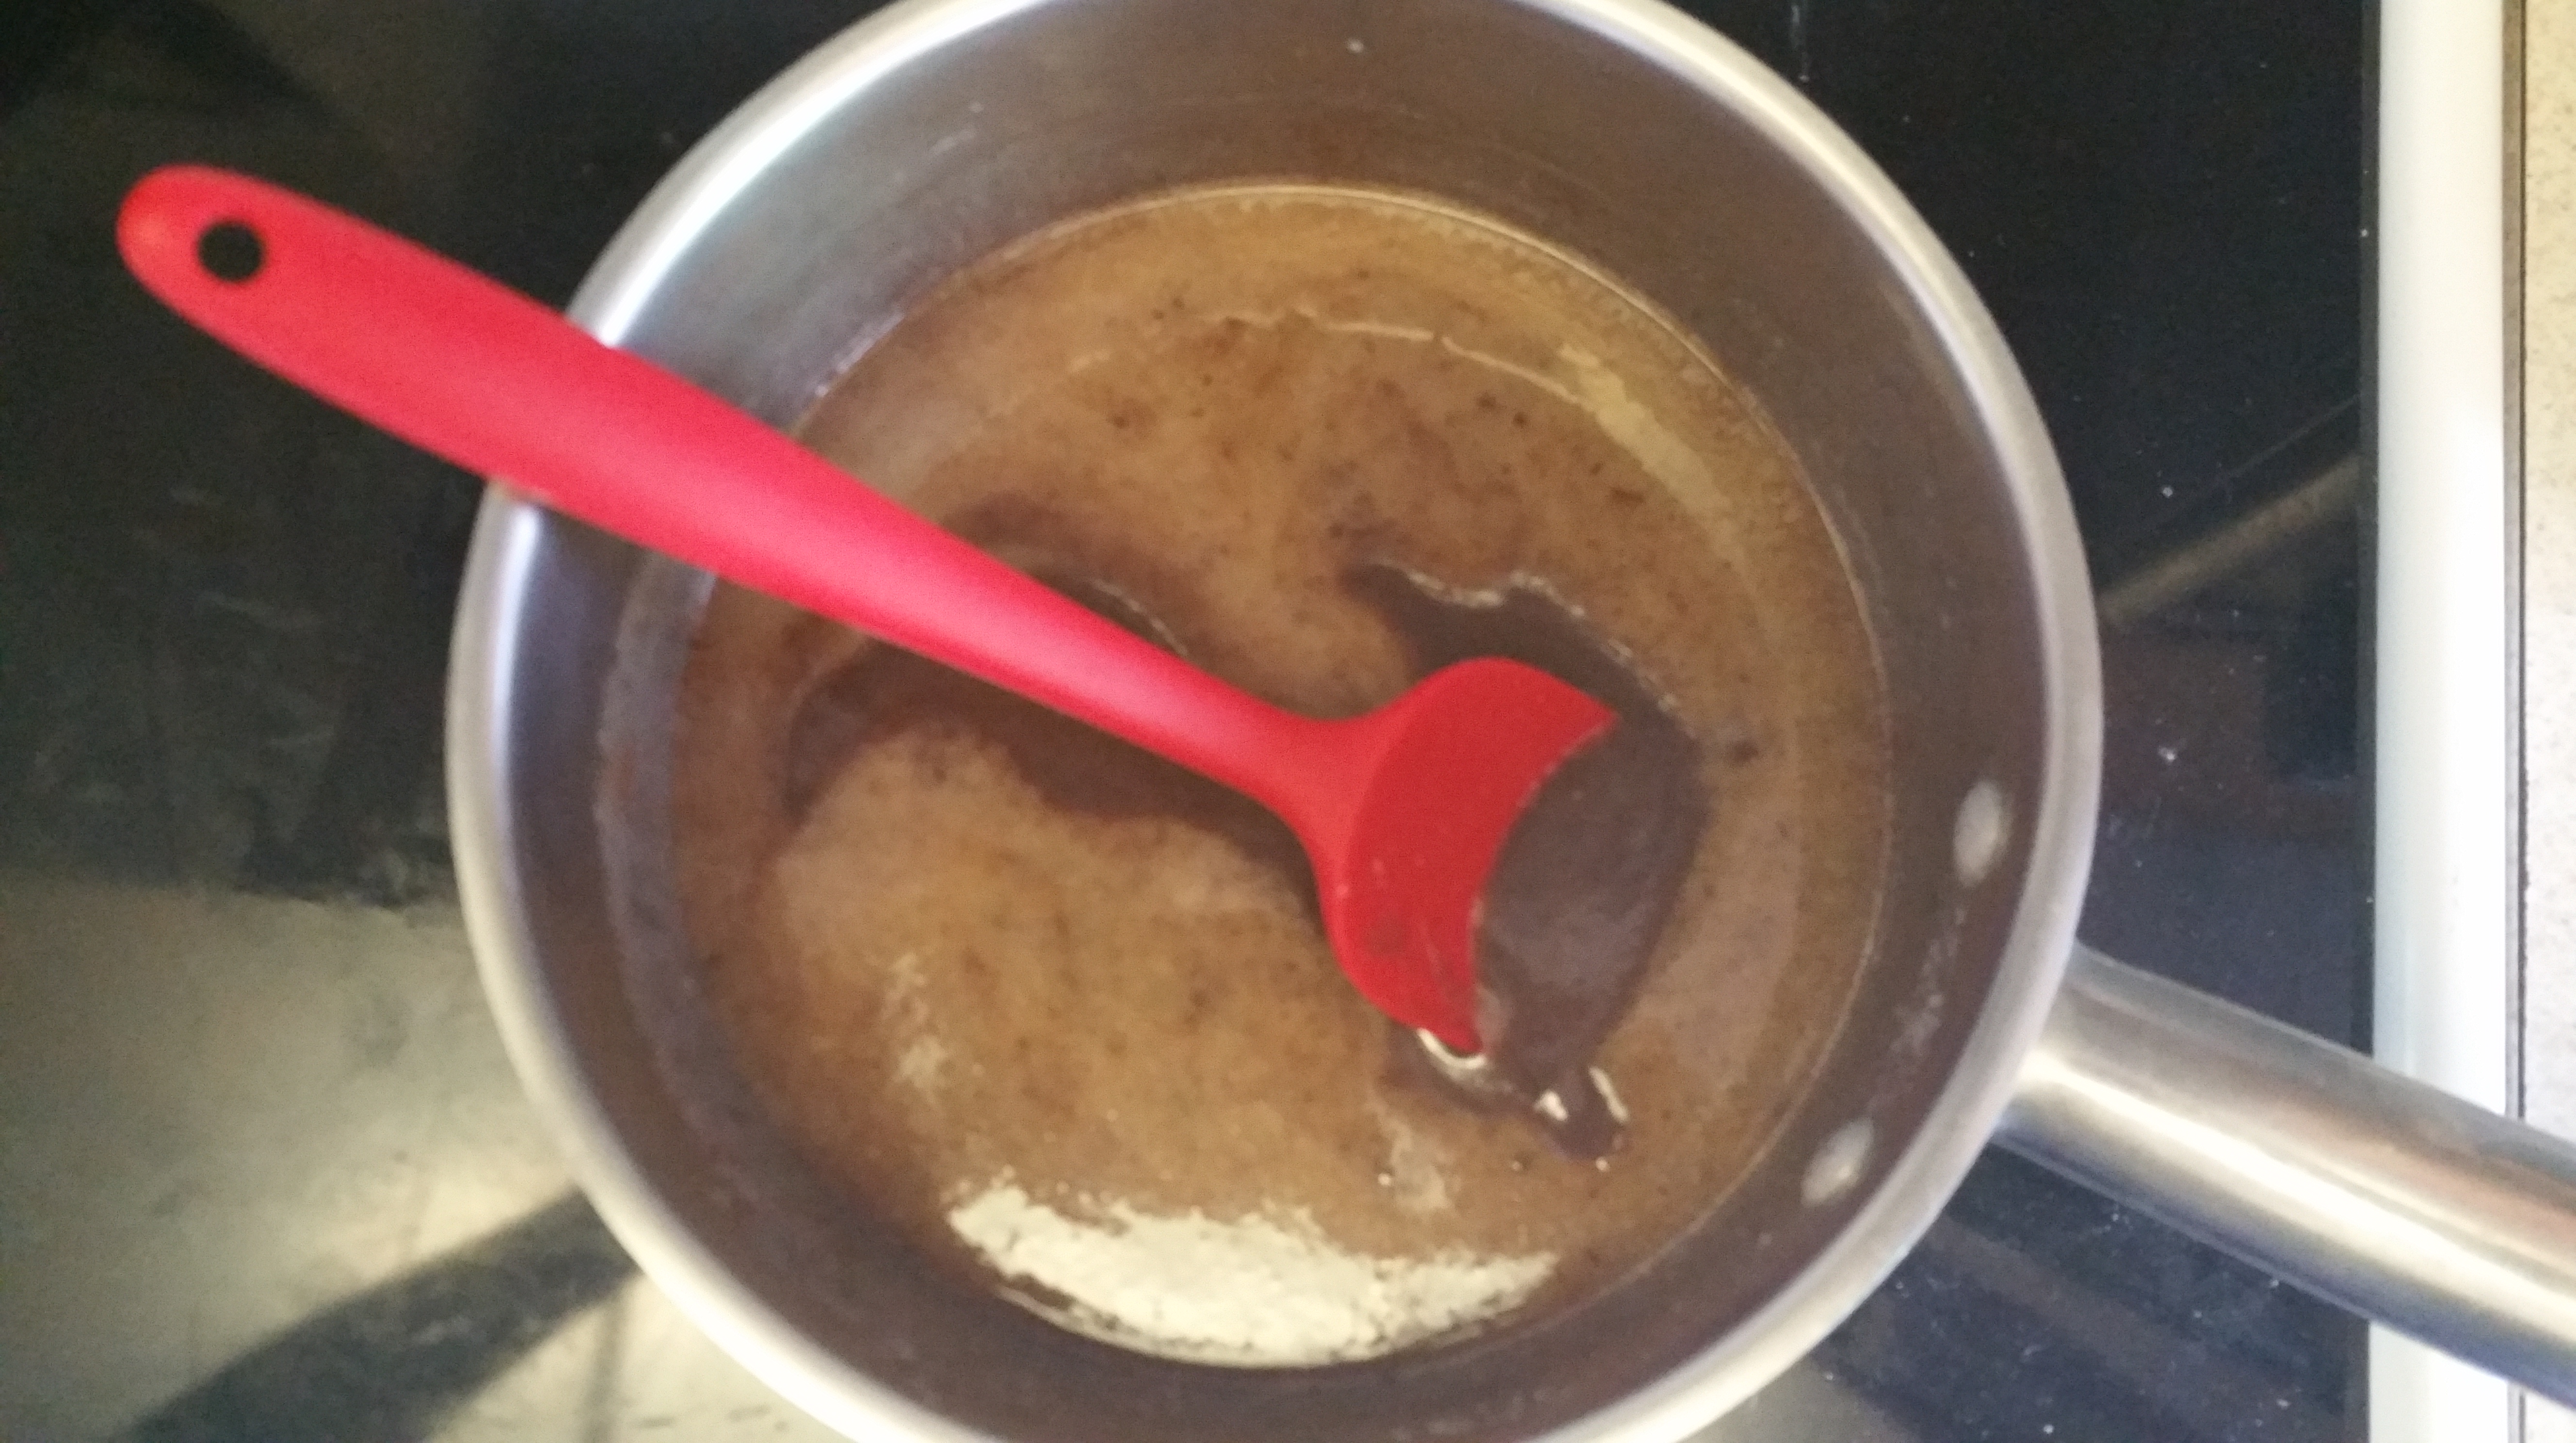
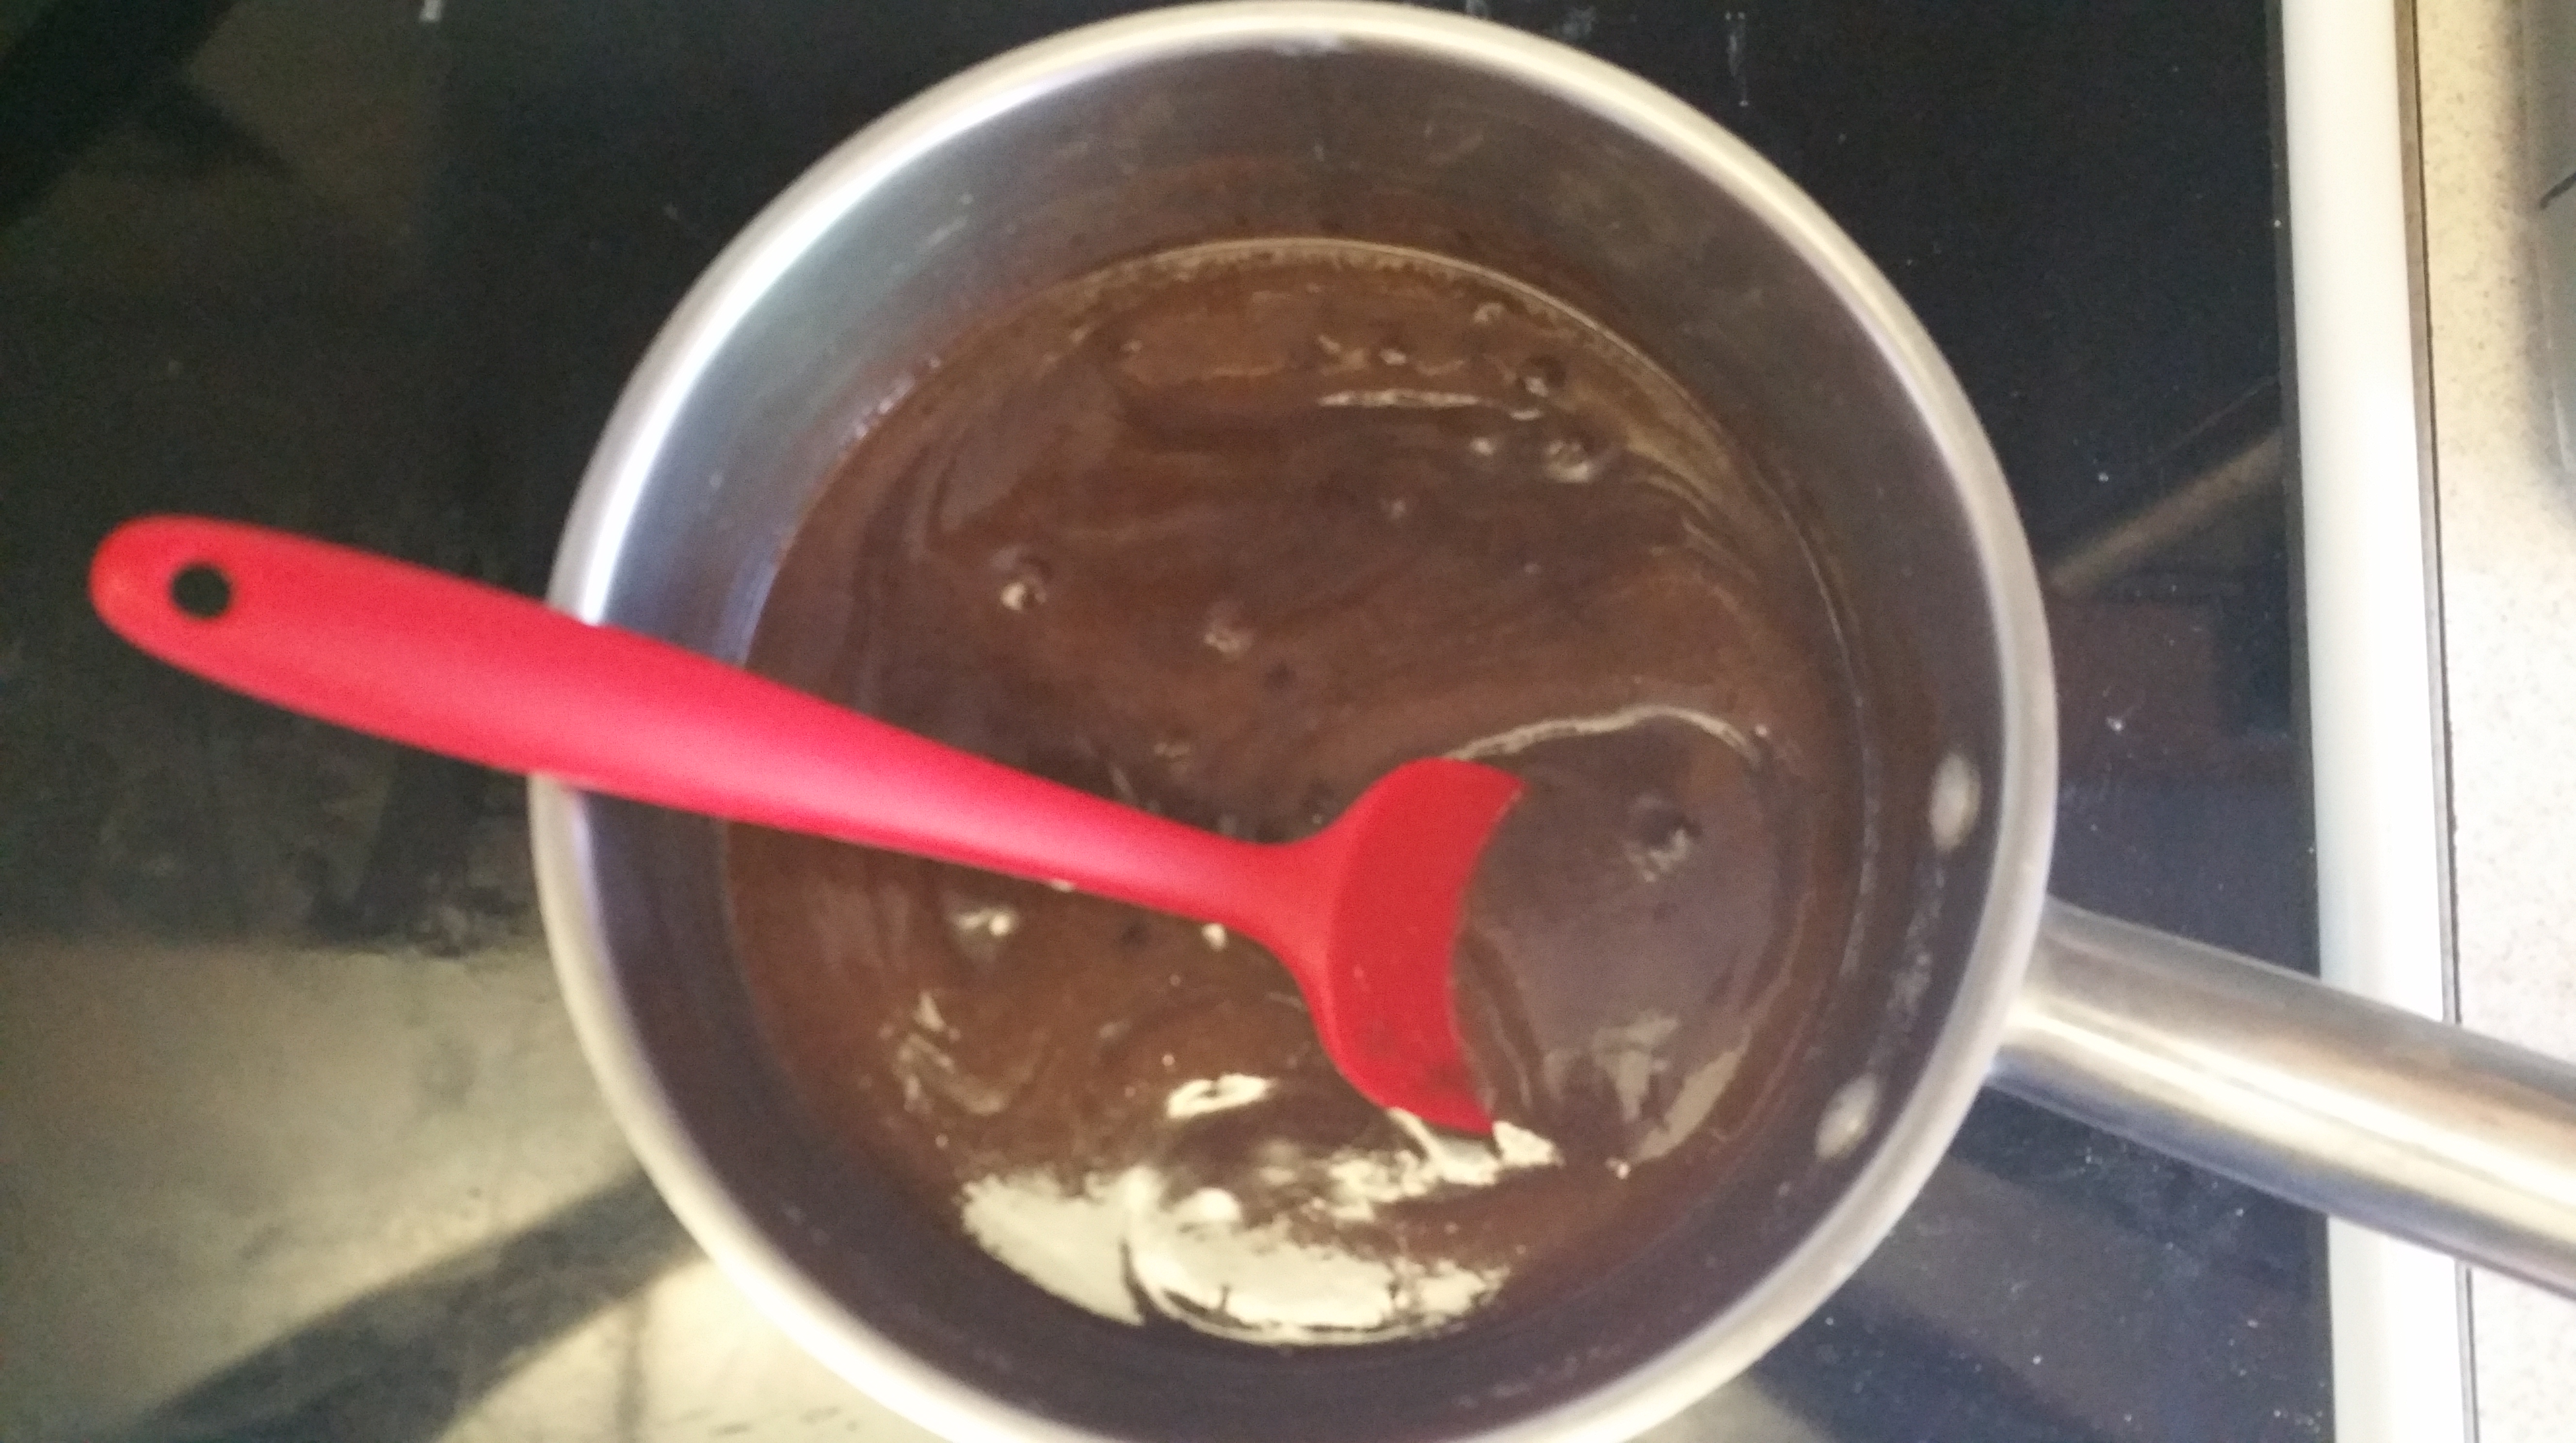
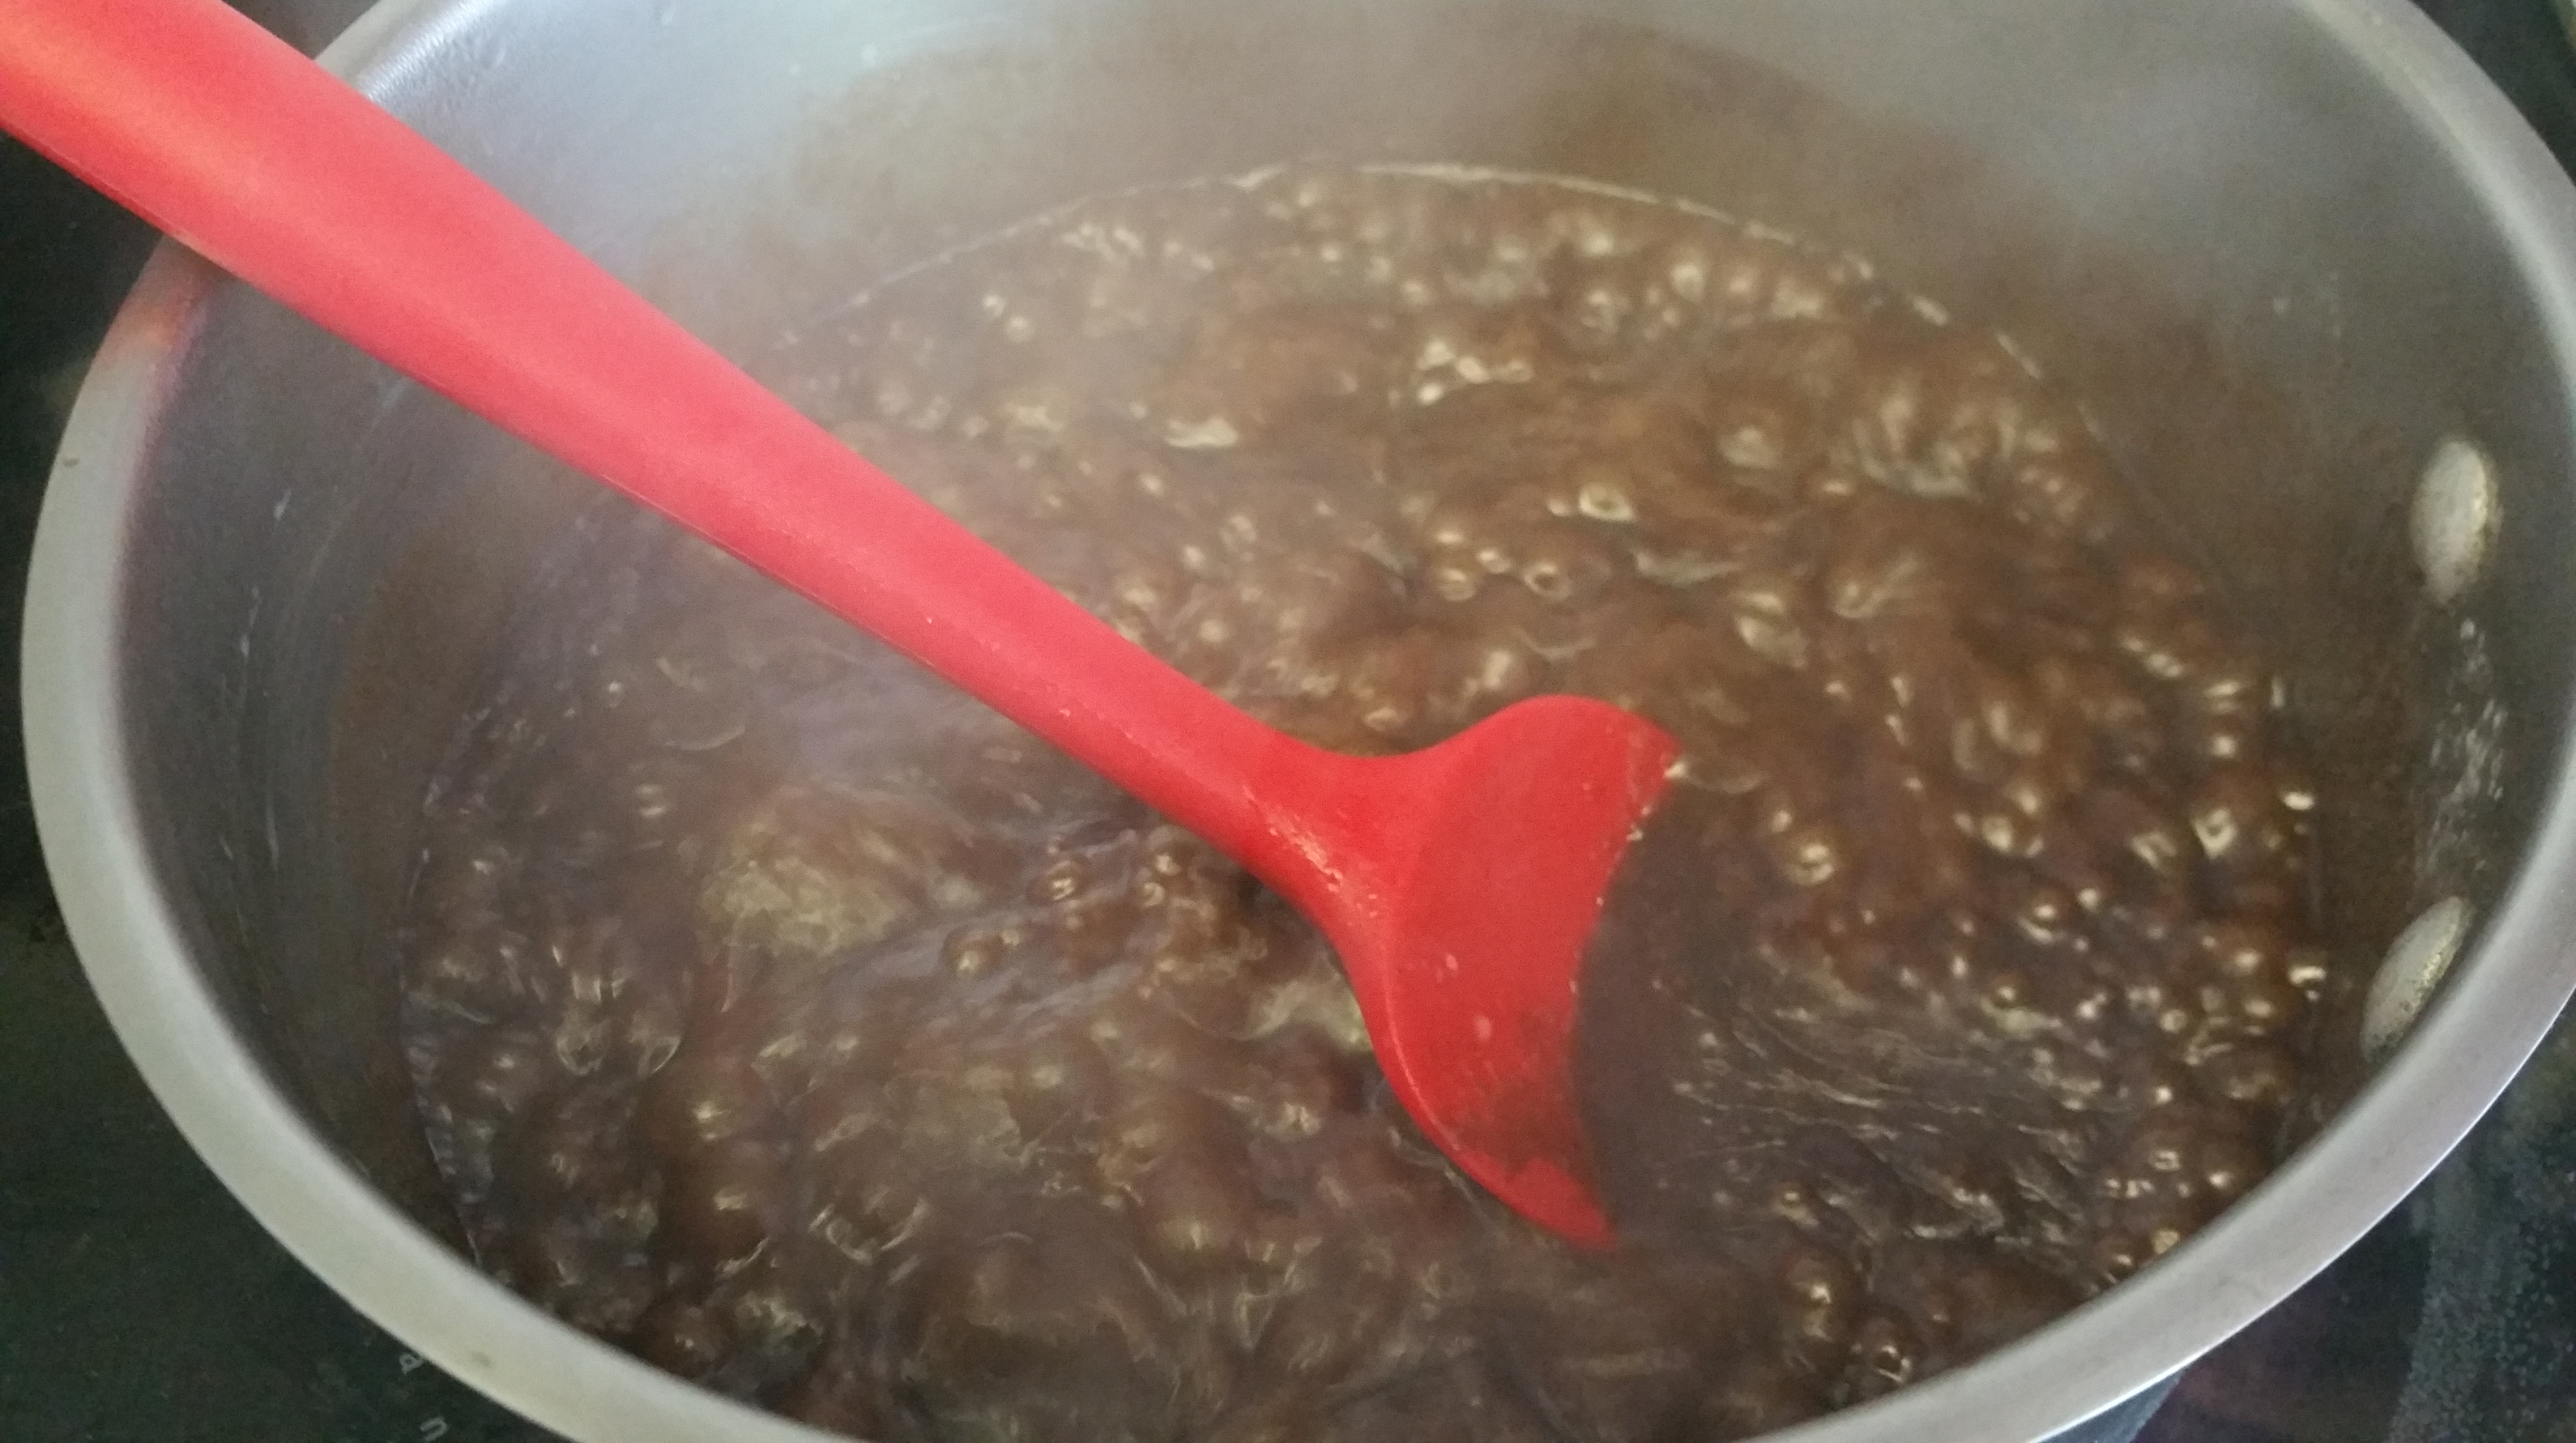
To make the fudge frosting, combine the butter, evaporated milk, chocolate, and sugar in a saucepan over medium high heat, stirring often. Boil the mixture, stirring, until thick and shiny (about 8 minutes). It should coat the back of a spoon well. Set aside to cool for about one hour, or until warm, but spreadable.

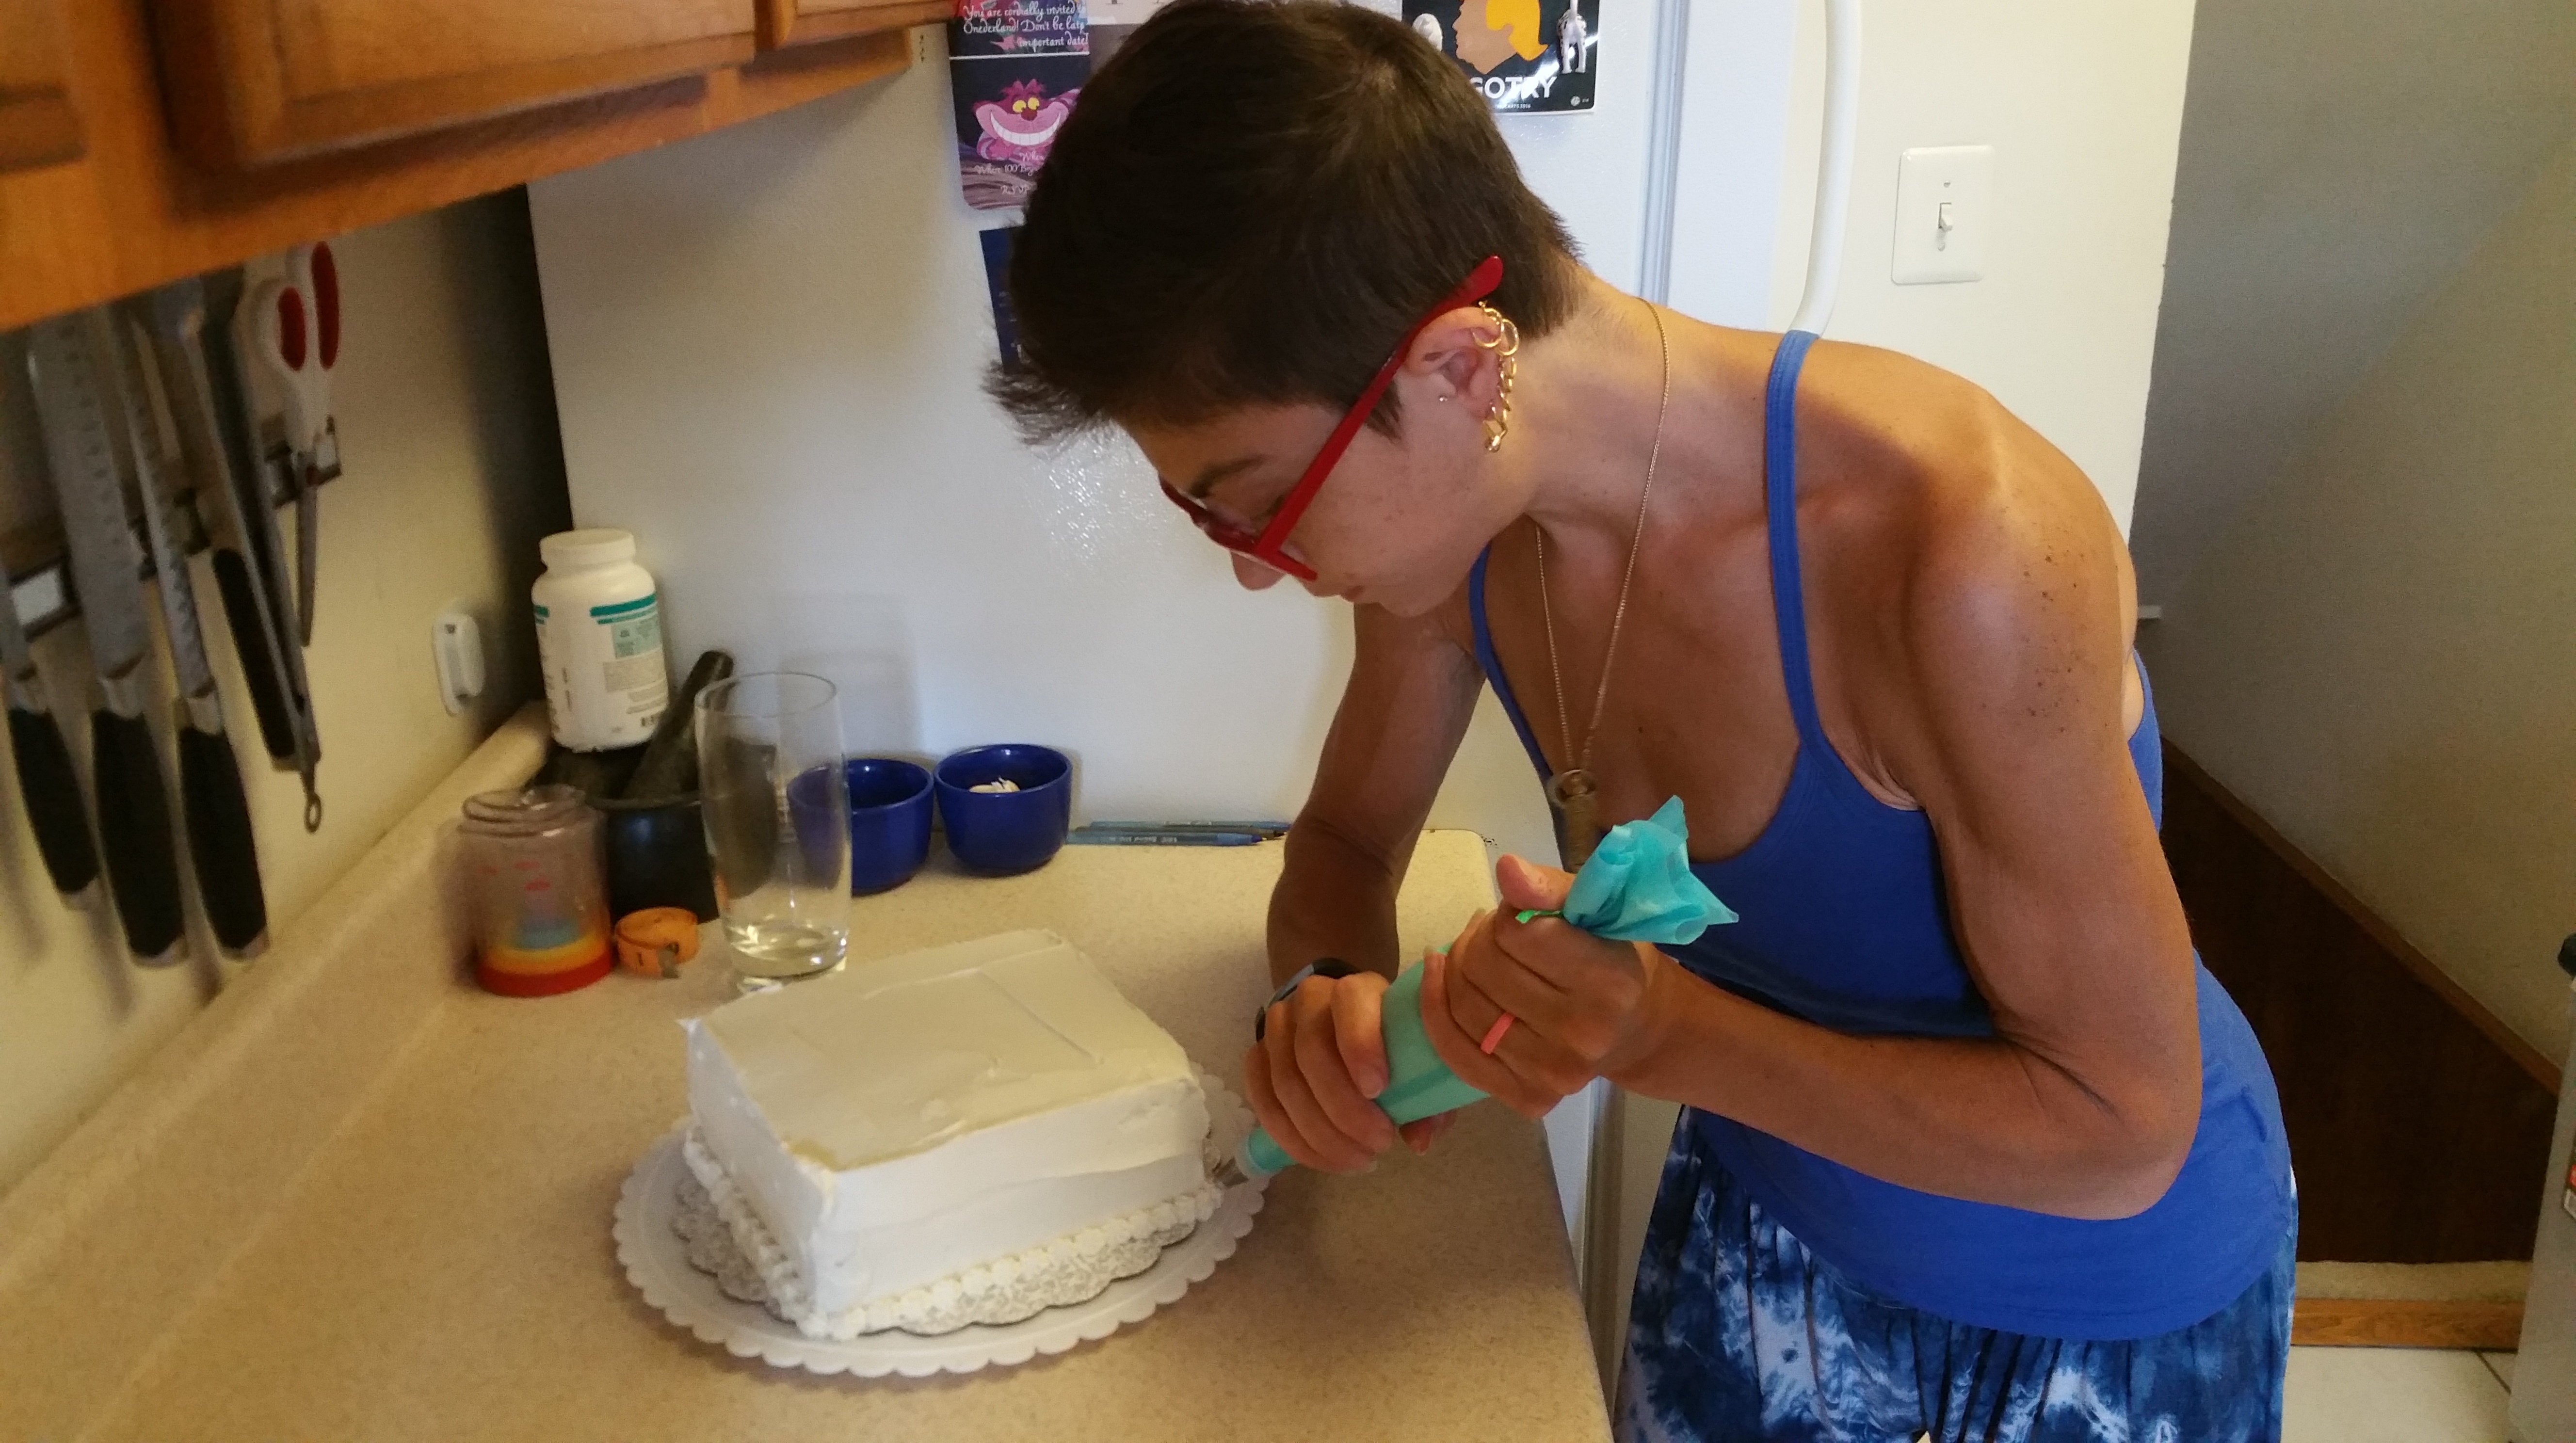
To assemble the cake, spread a thin layer of frosting over each layer. As you stack, the frosting will start to set up and keep things pretty stable.


Once you have stacked all 8 layers, spread the remaining frosting along the sides and top of the cake. If it starts to get too stiff, just re-warm it a little and it will become spreadable again. Like I said before, super resilient stuff to work with.

And…

I added a little spun sugar for a decorative top, but really this cake is about the insides. Let the frosting set up for at least an hour before cutting. Trust me, it’s worth it, because if you’re patient…


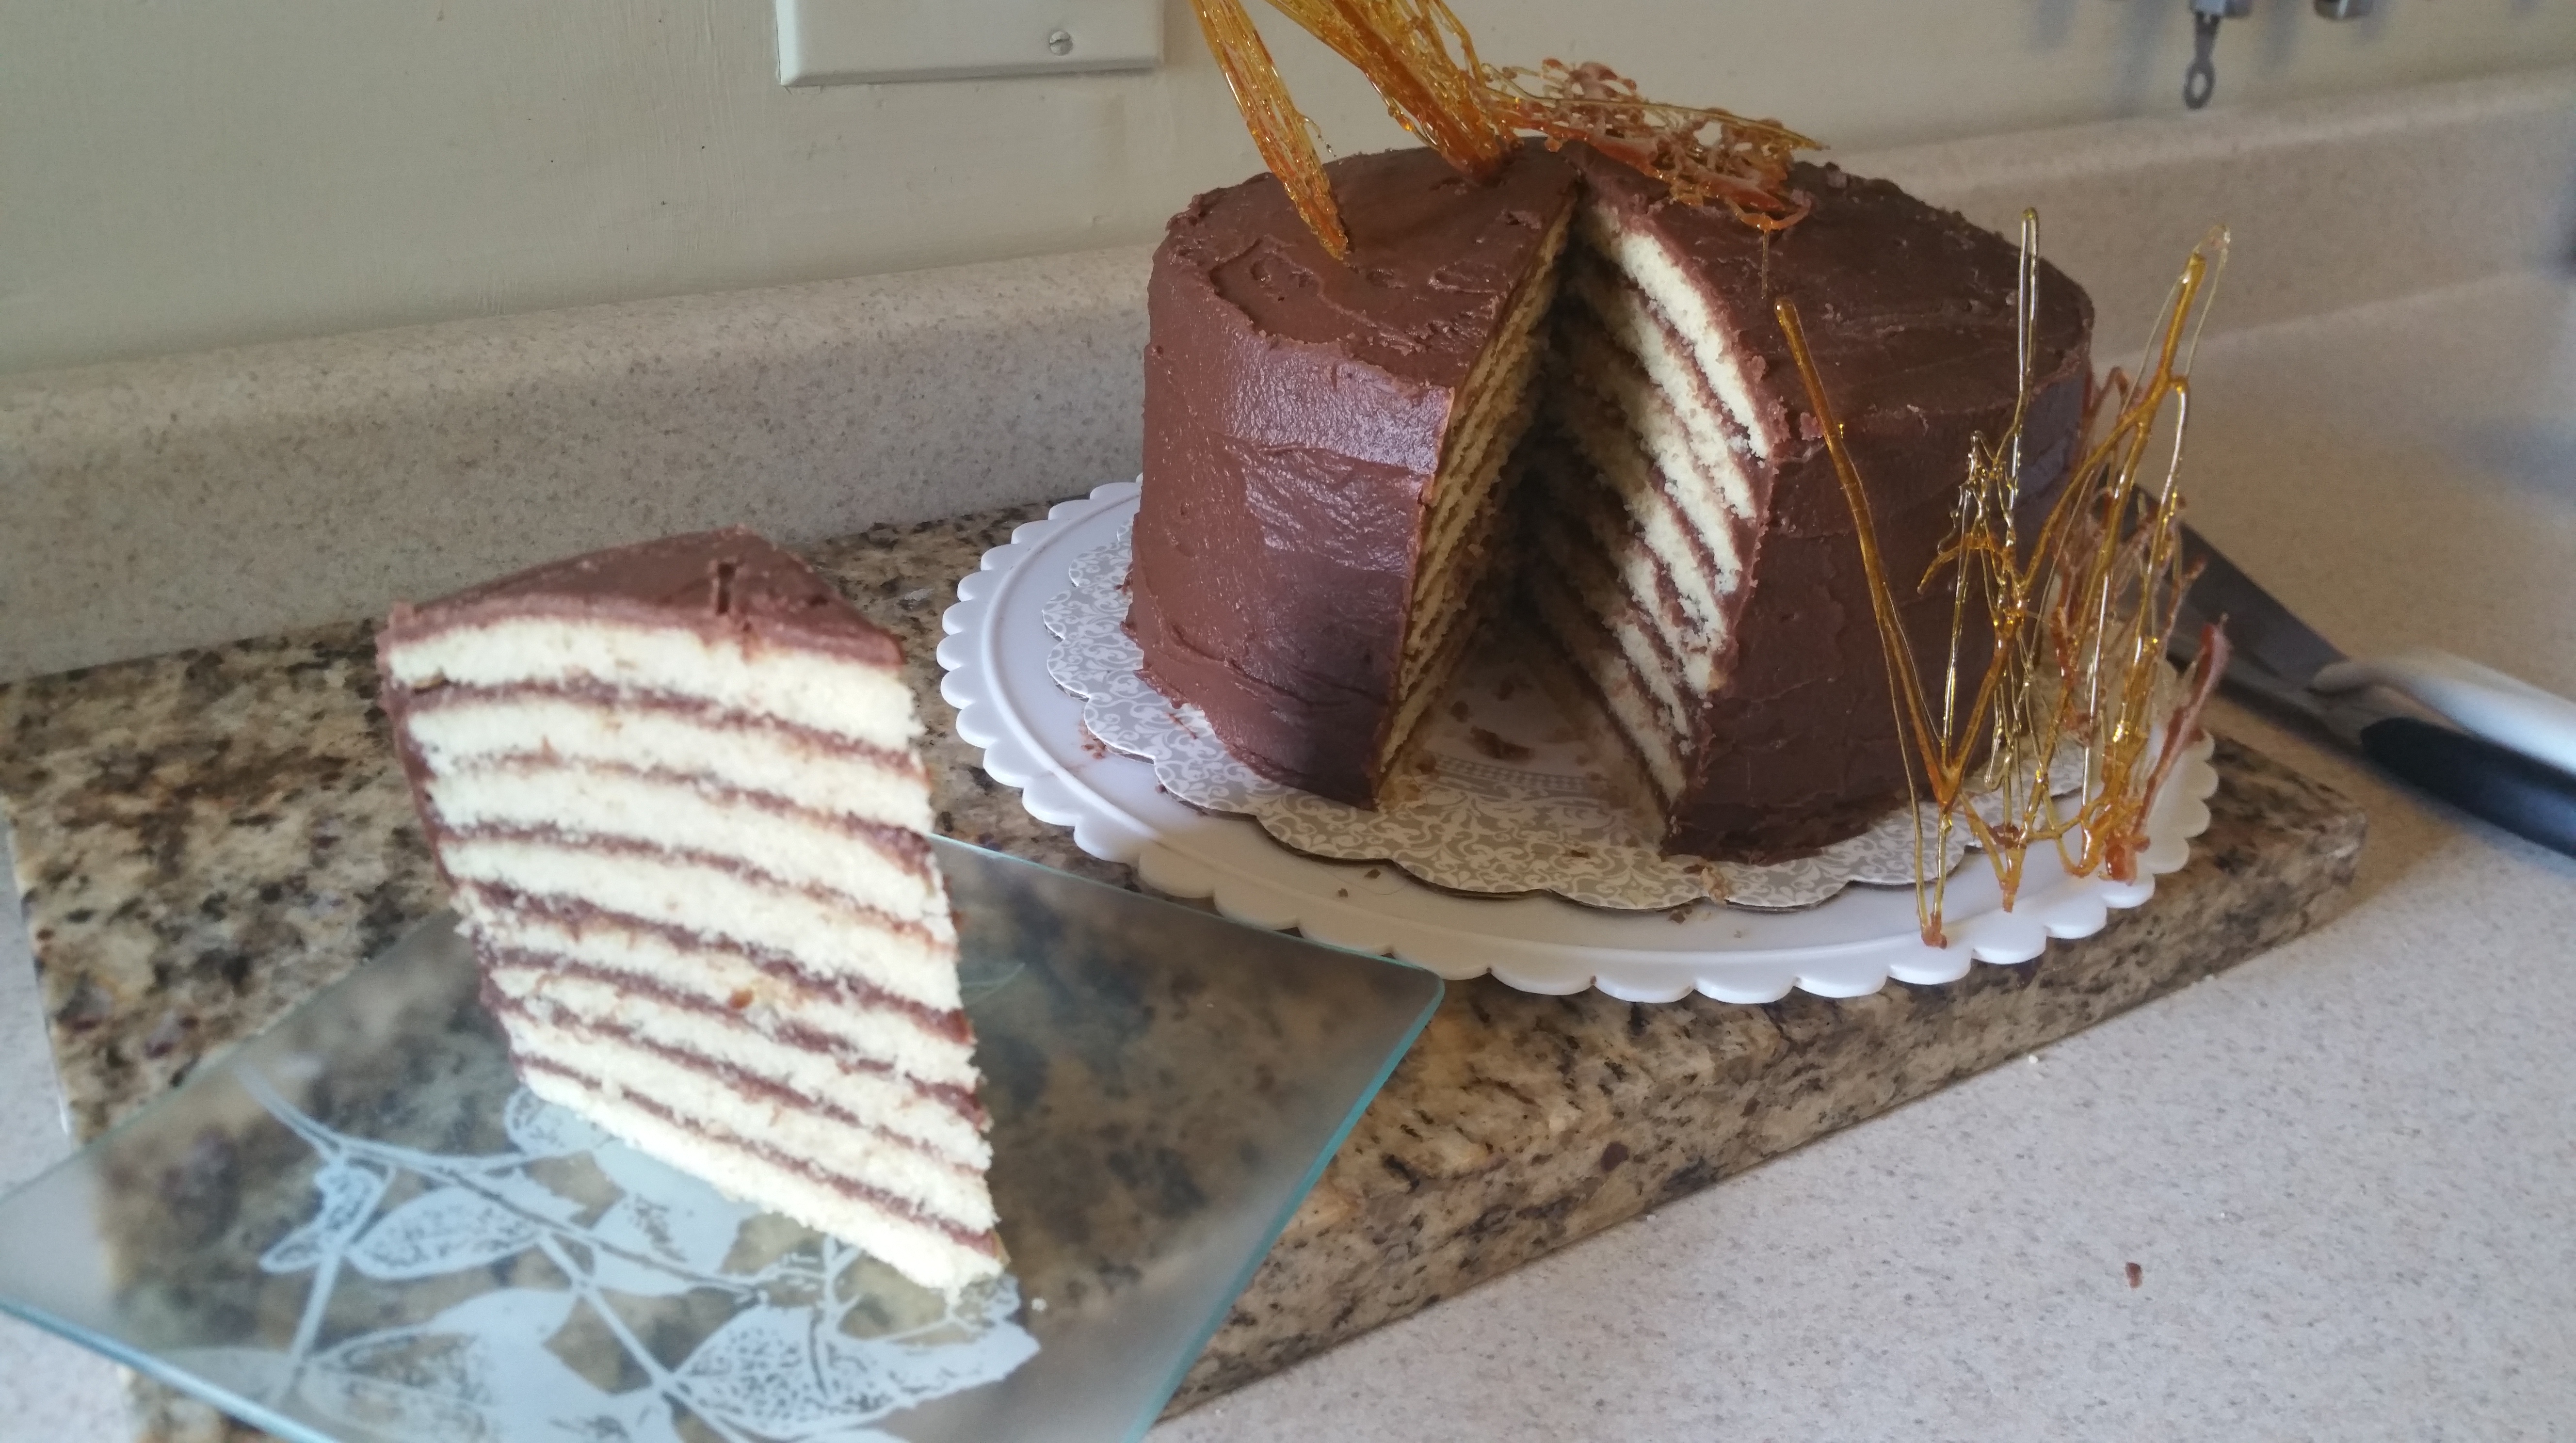
Yes, perfect, clean layers! So satisfying.

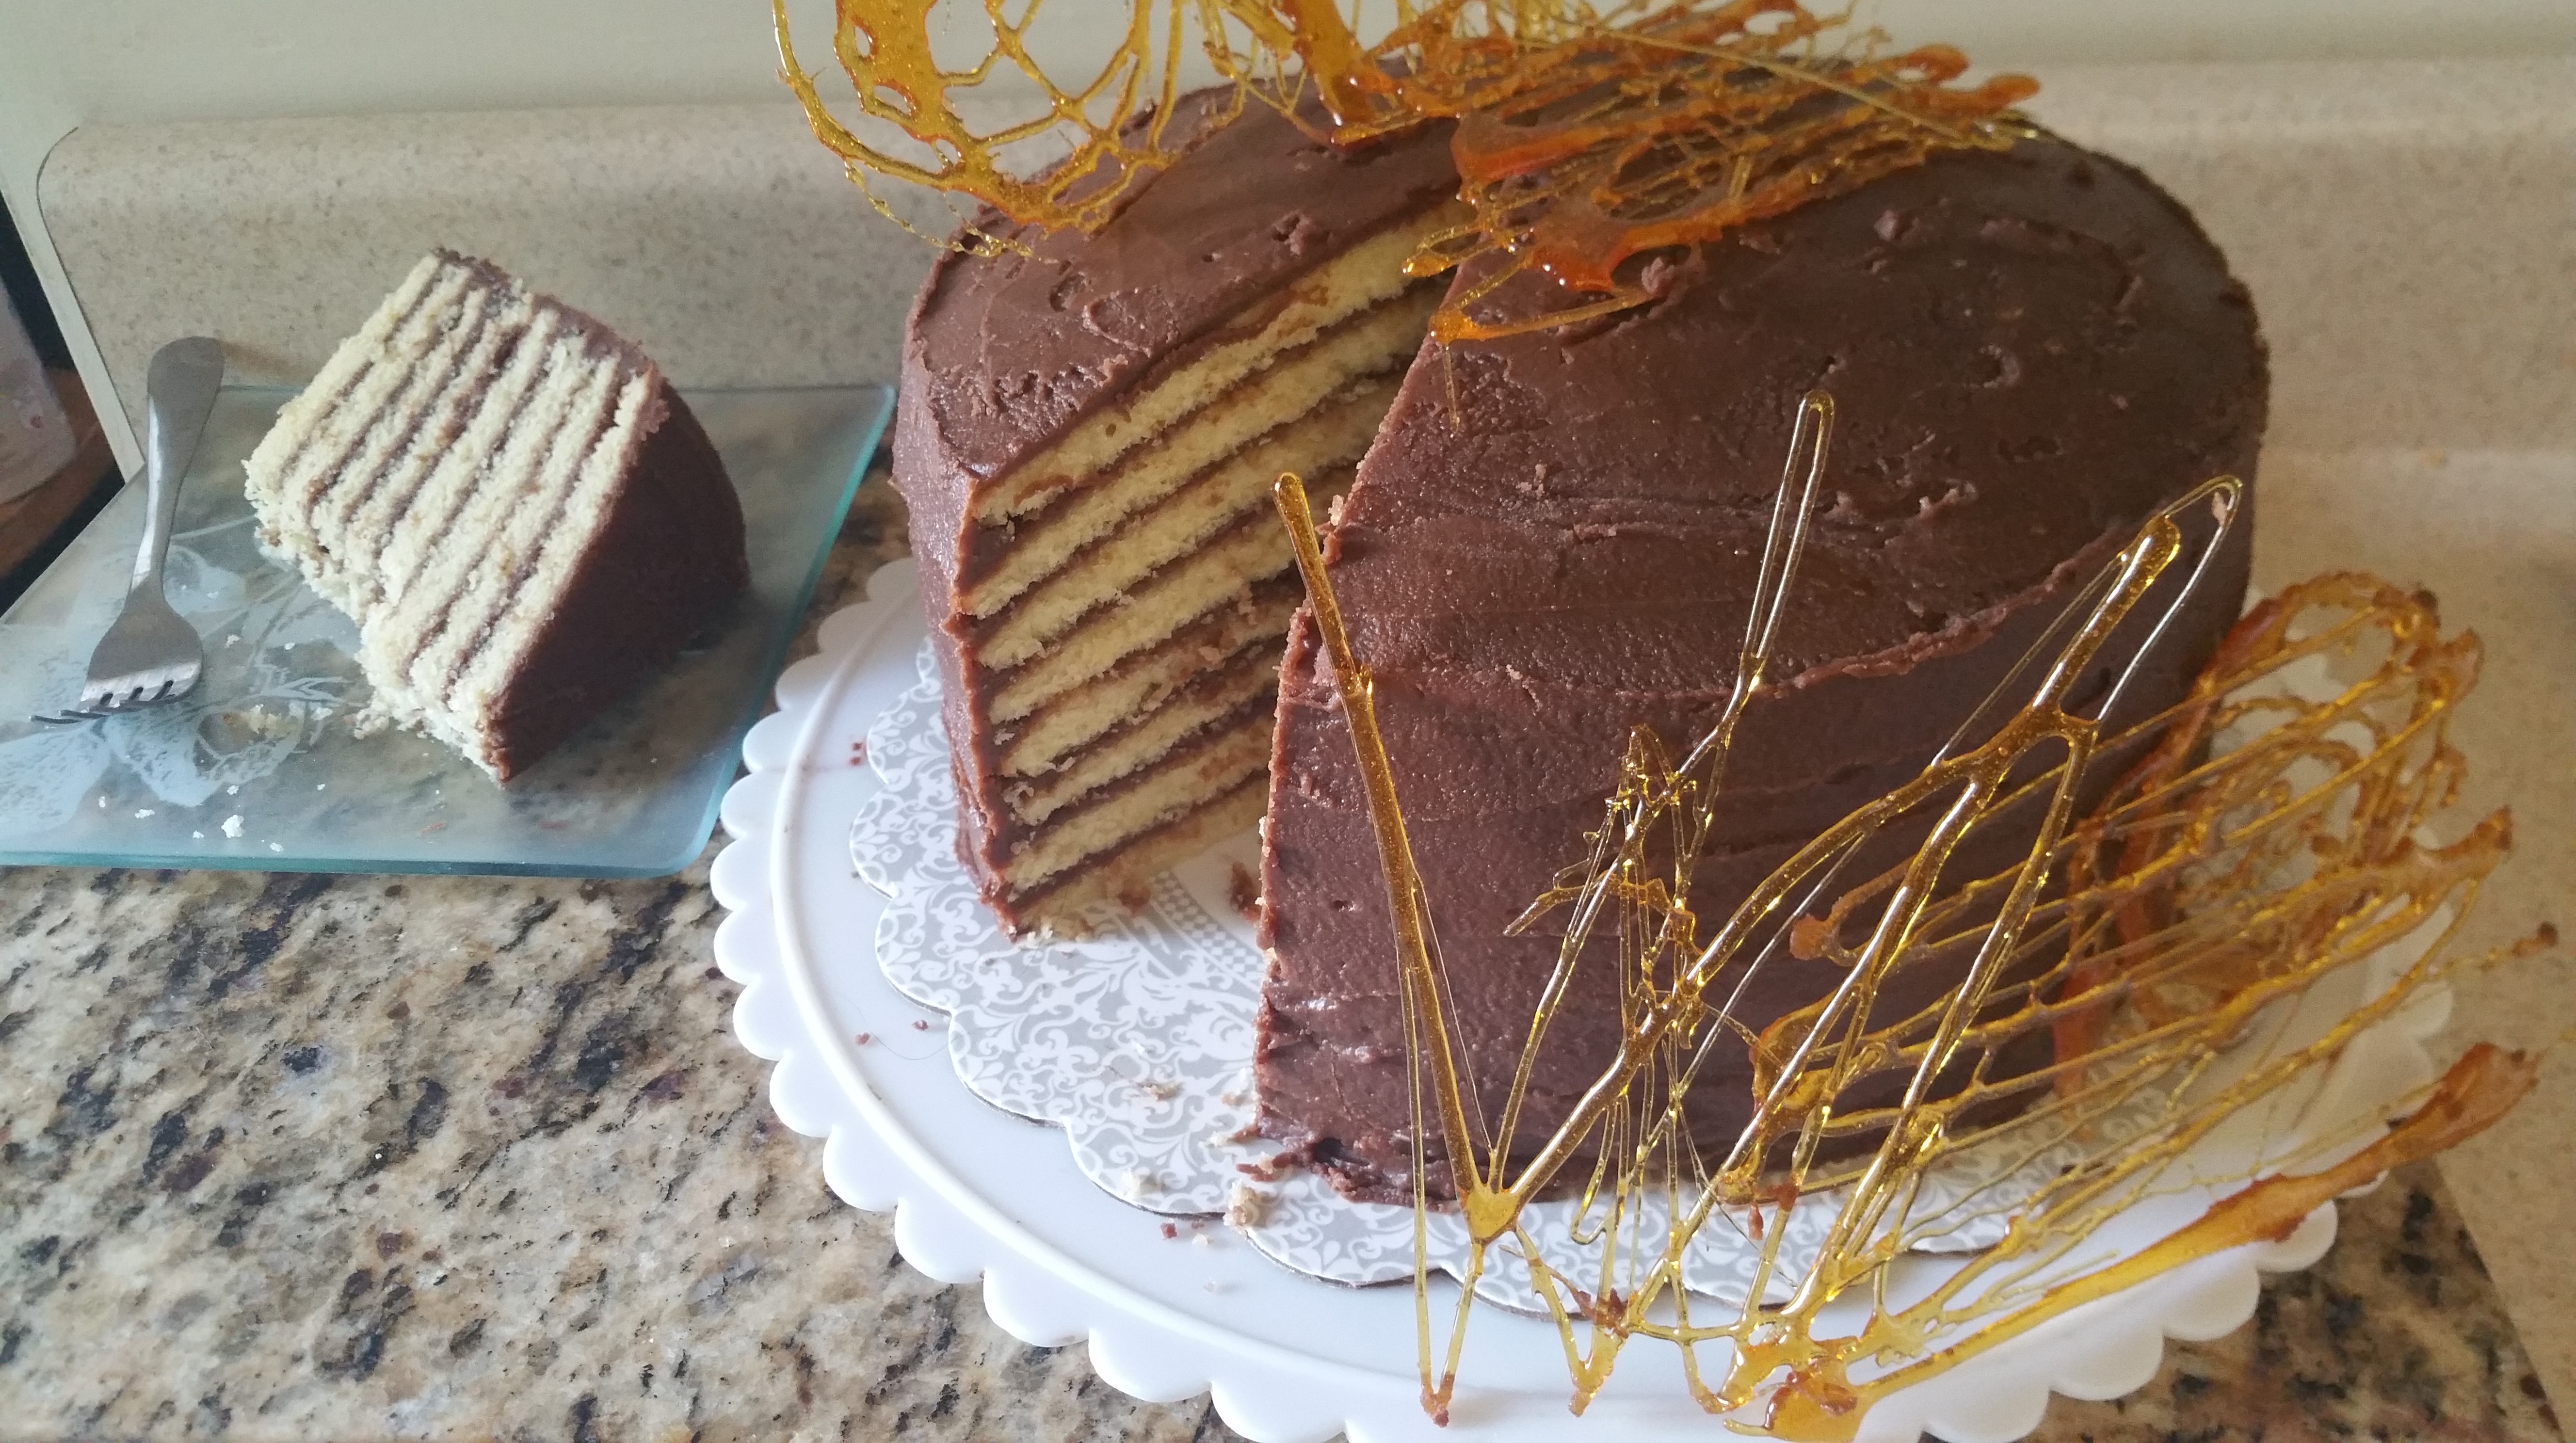
So what’s the cake like? It has a buttery soft texture and a warm vanilla flavor. The fudge frosting is something special. I love how it sets up and makes this cake so easy to slice. The flavor is a decadent, rich chocolate that’s, well, wonderfully fudgy!

I know the baking in batches is a bit time consuming, but this cake is so easy to put together once that’s done. And so very worthy of state dessert status!

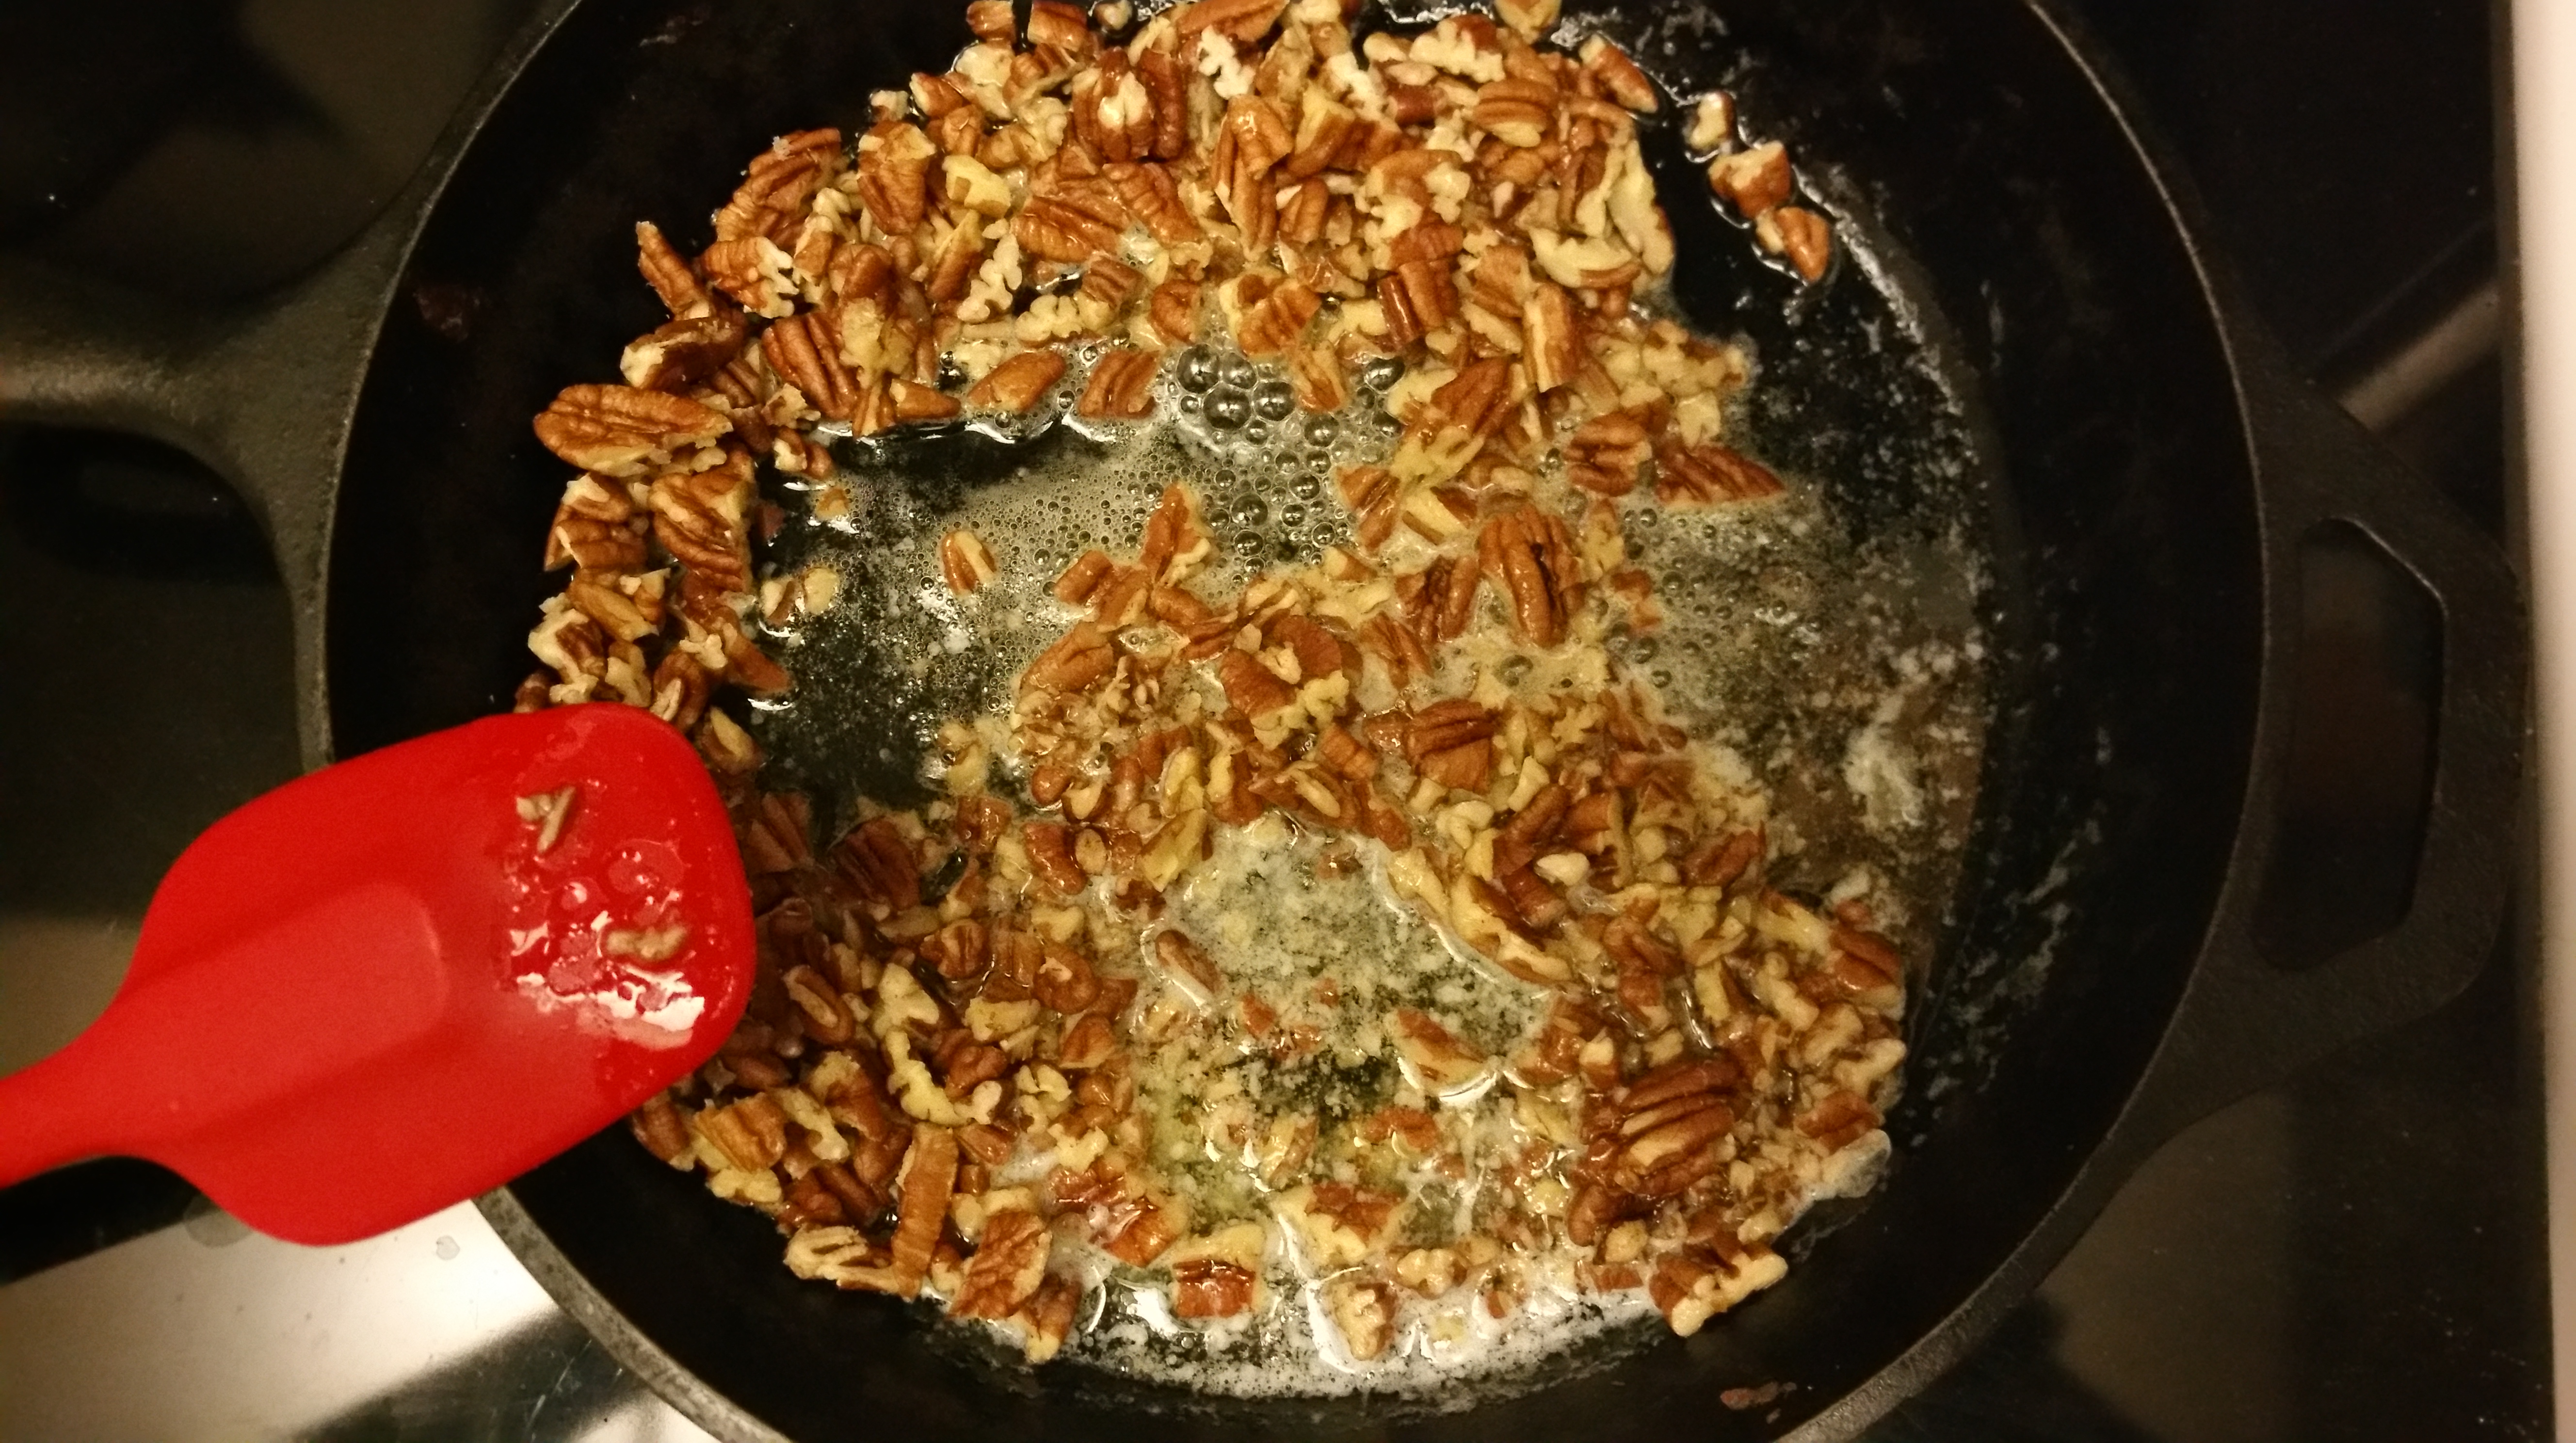
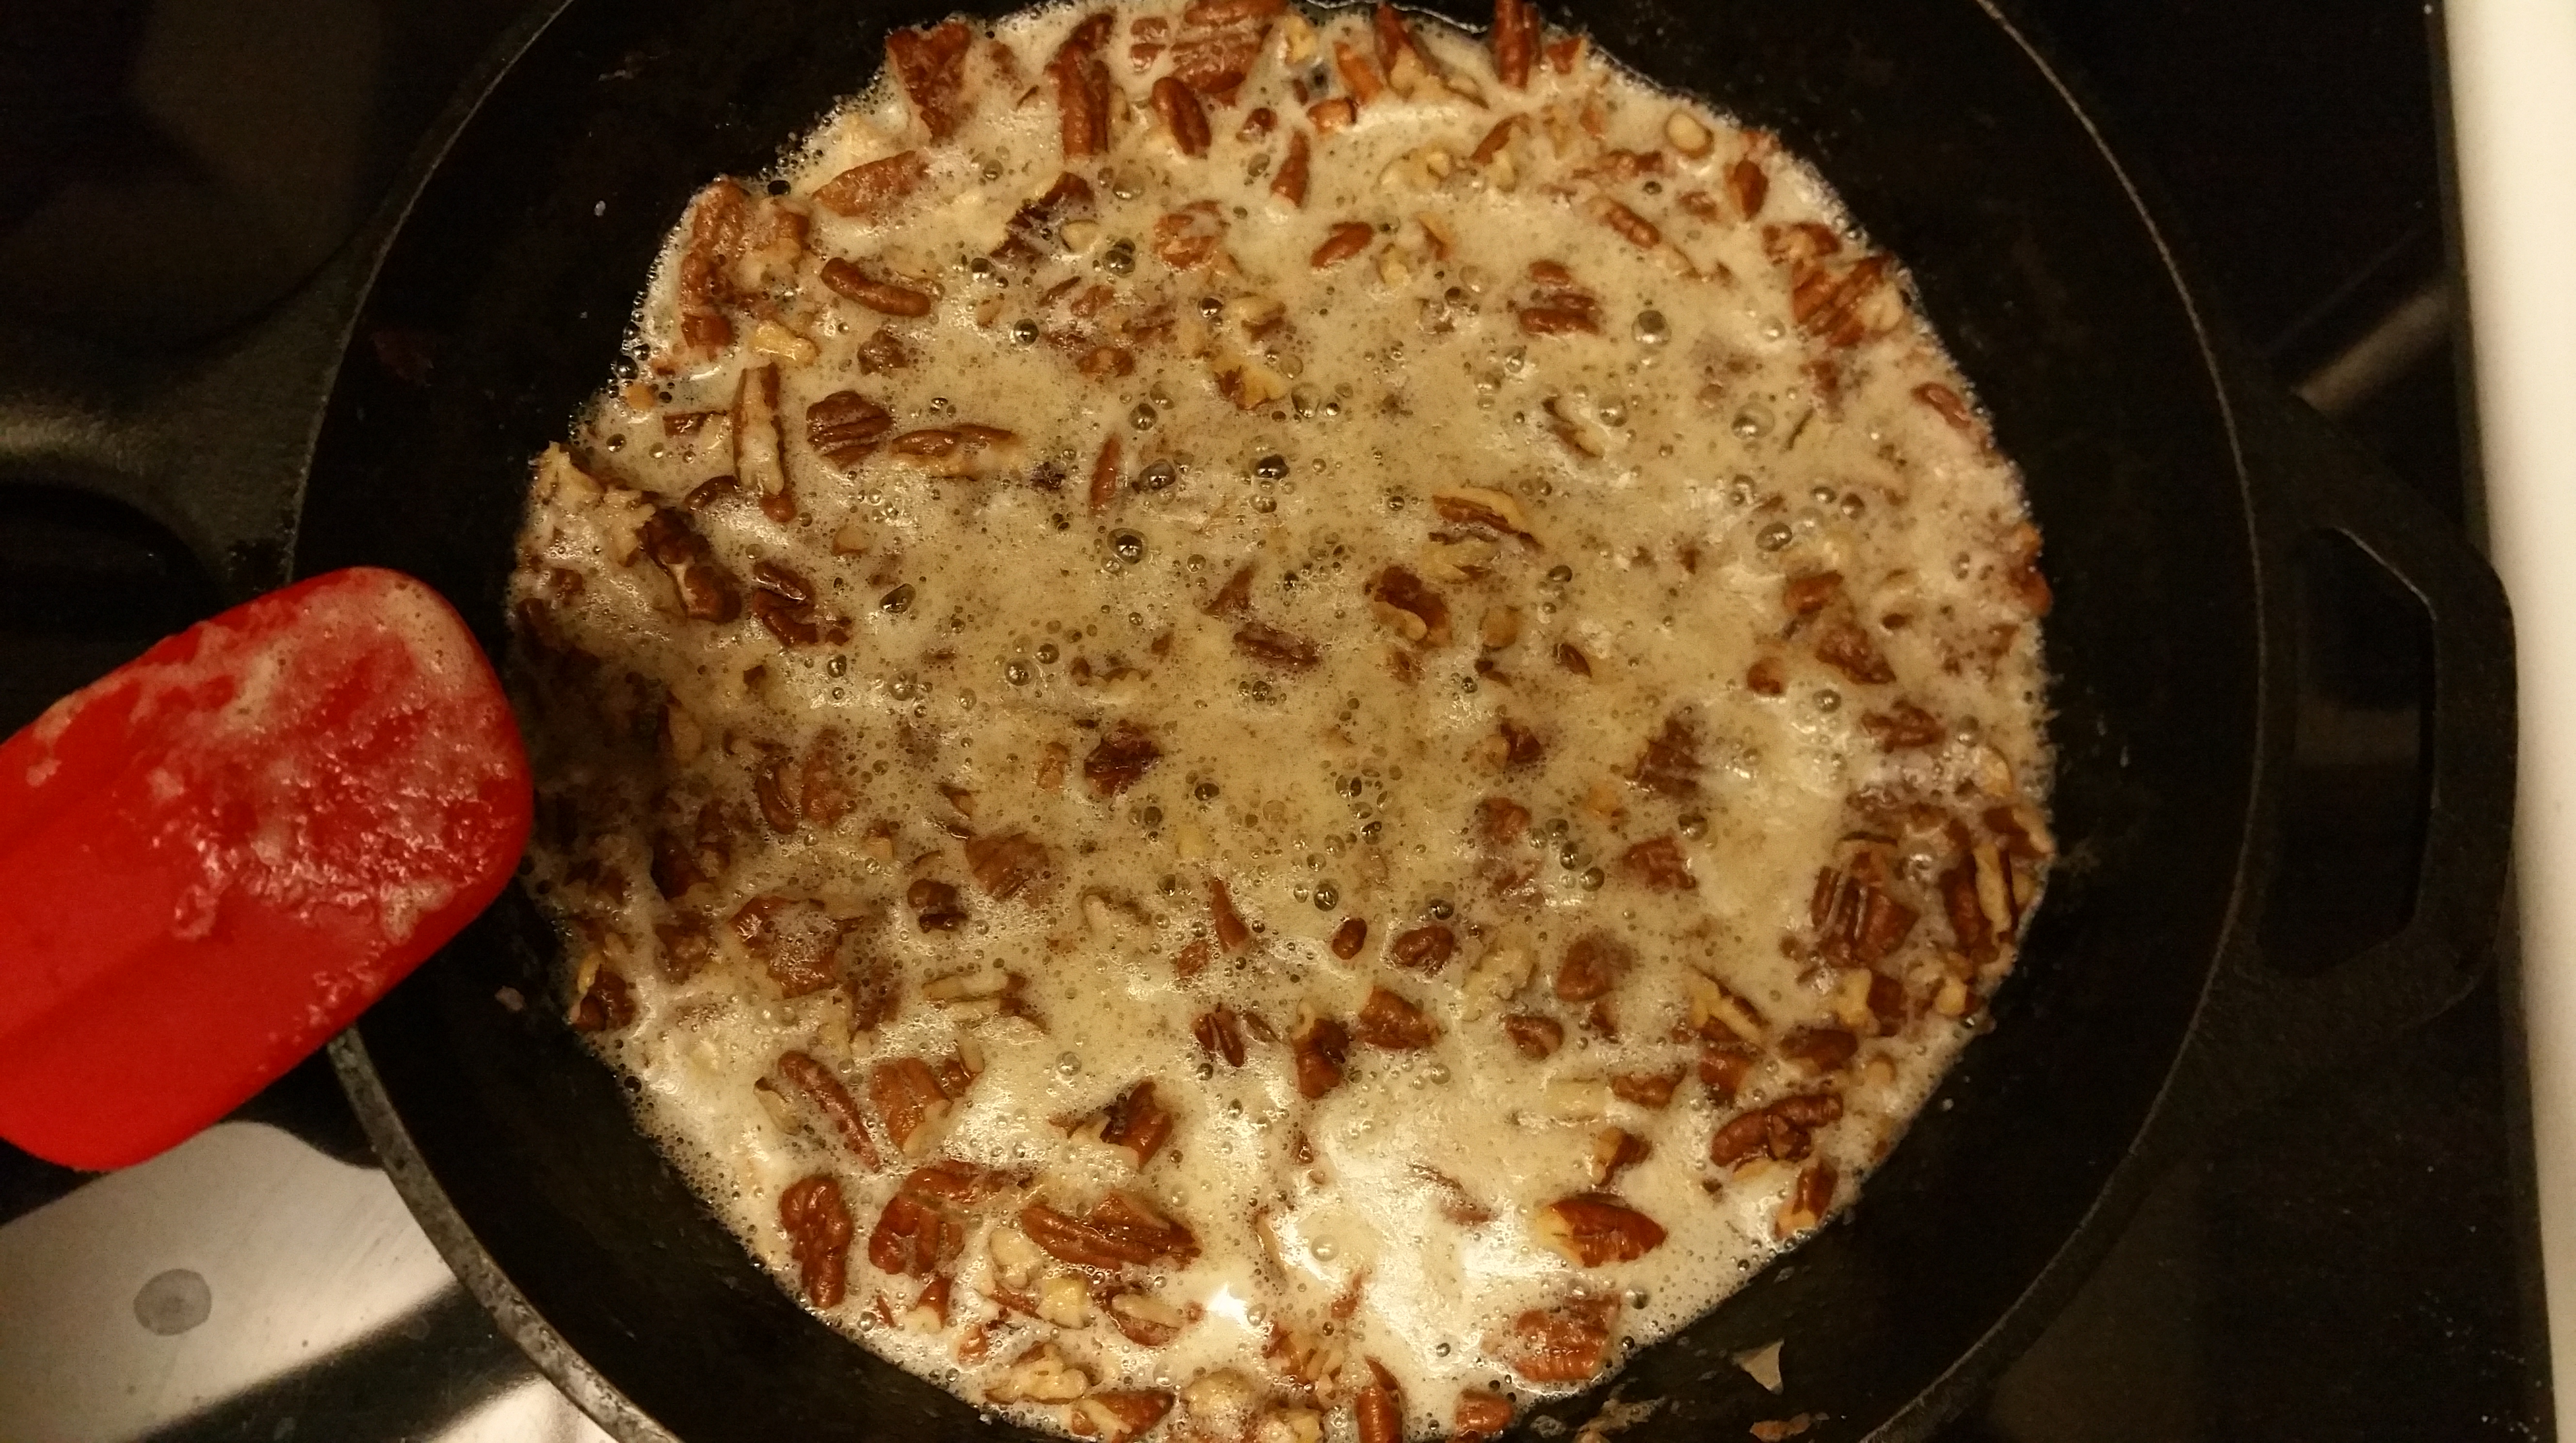
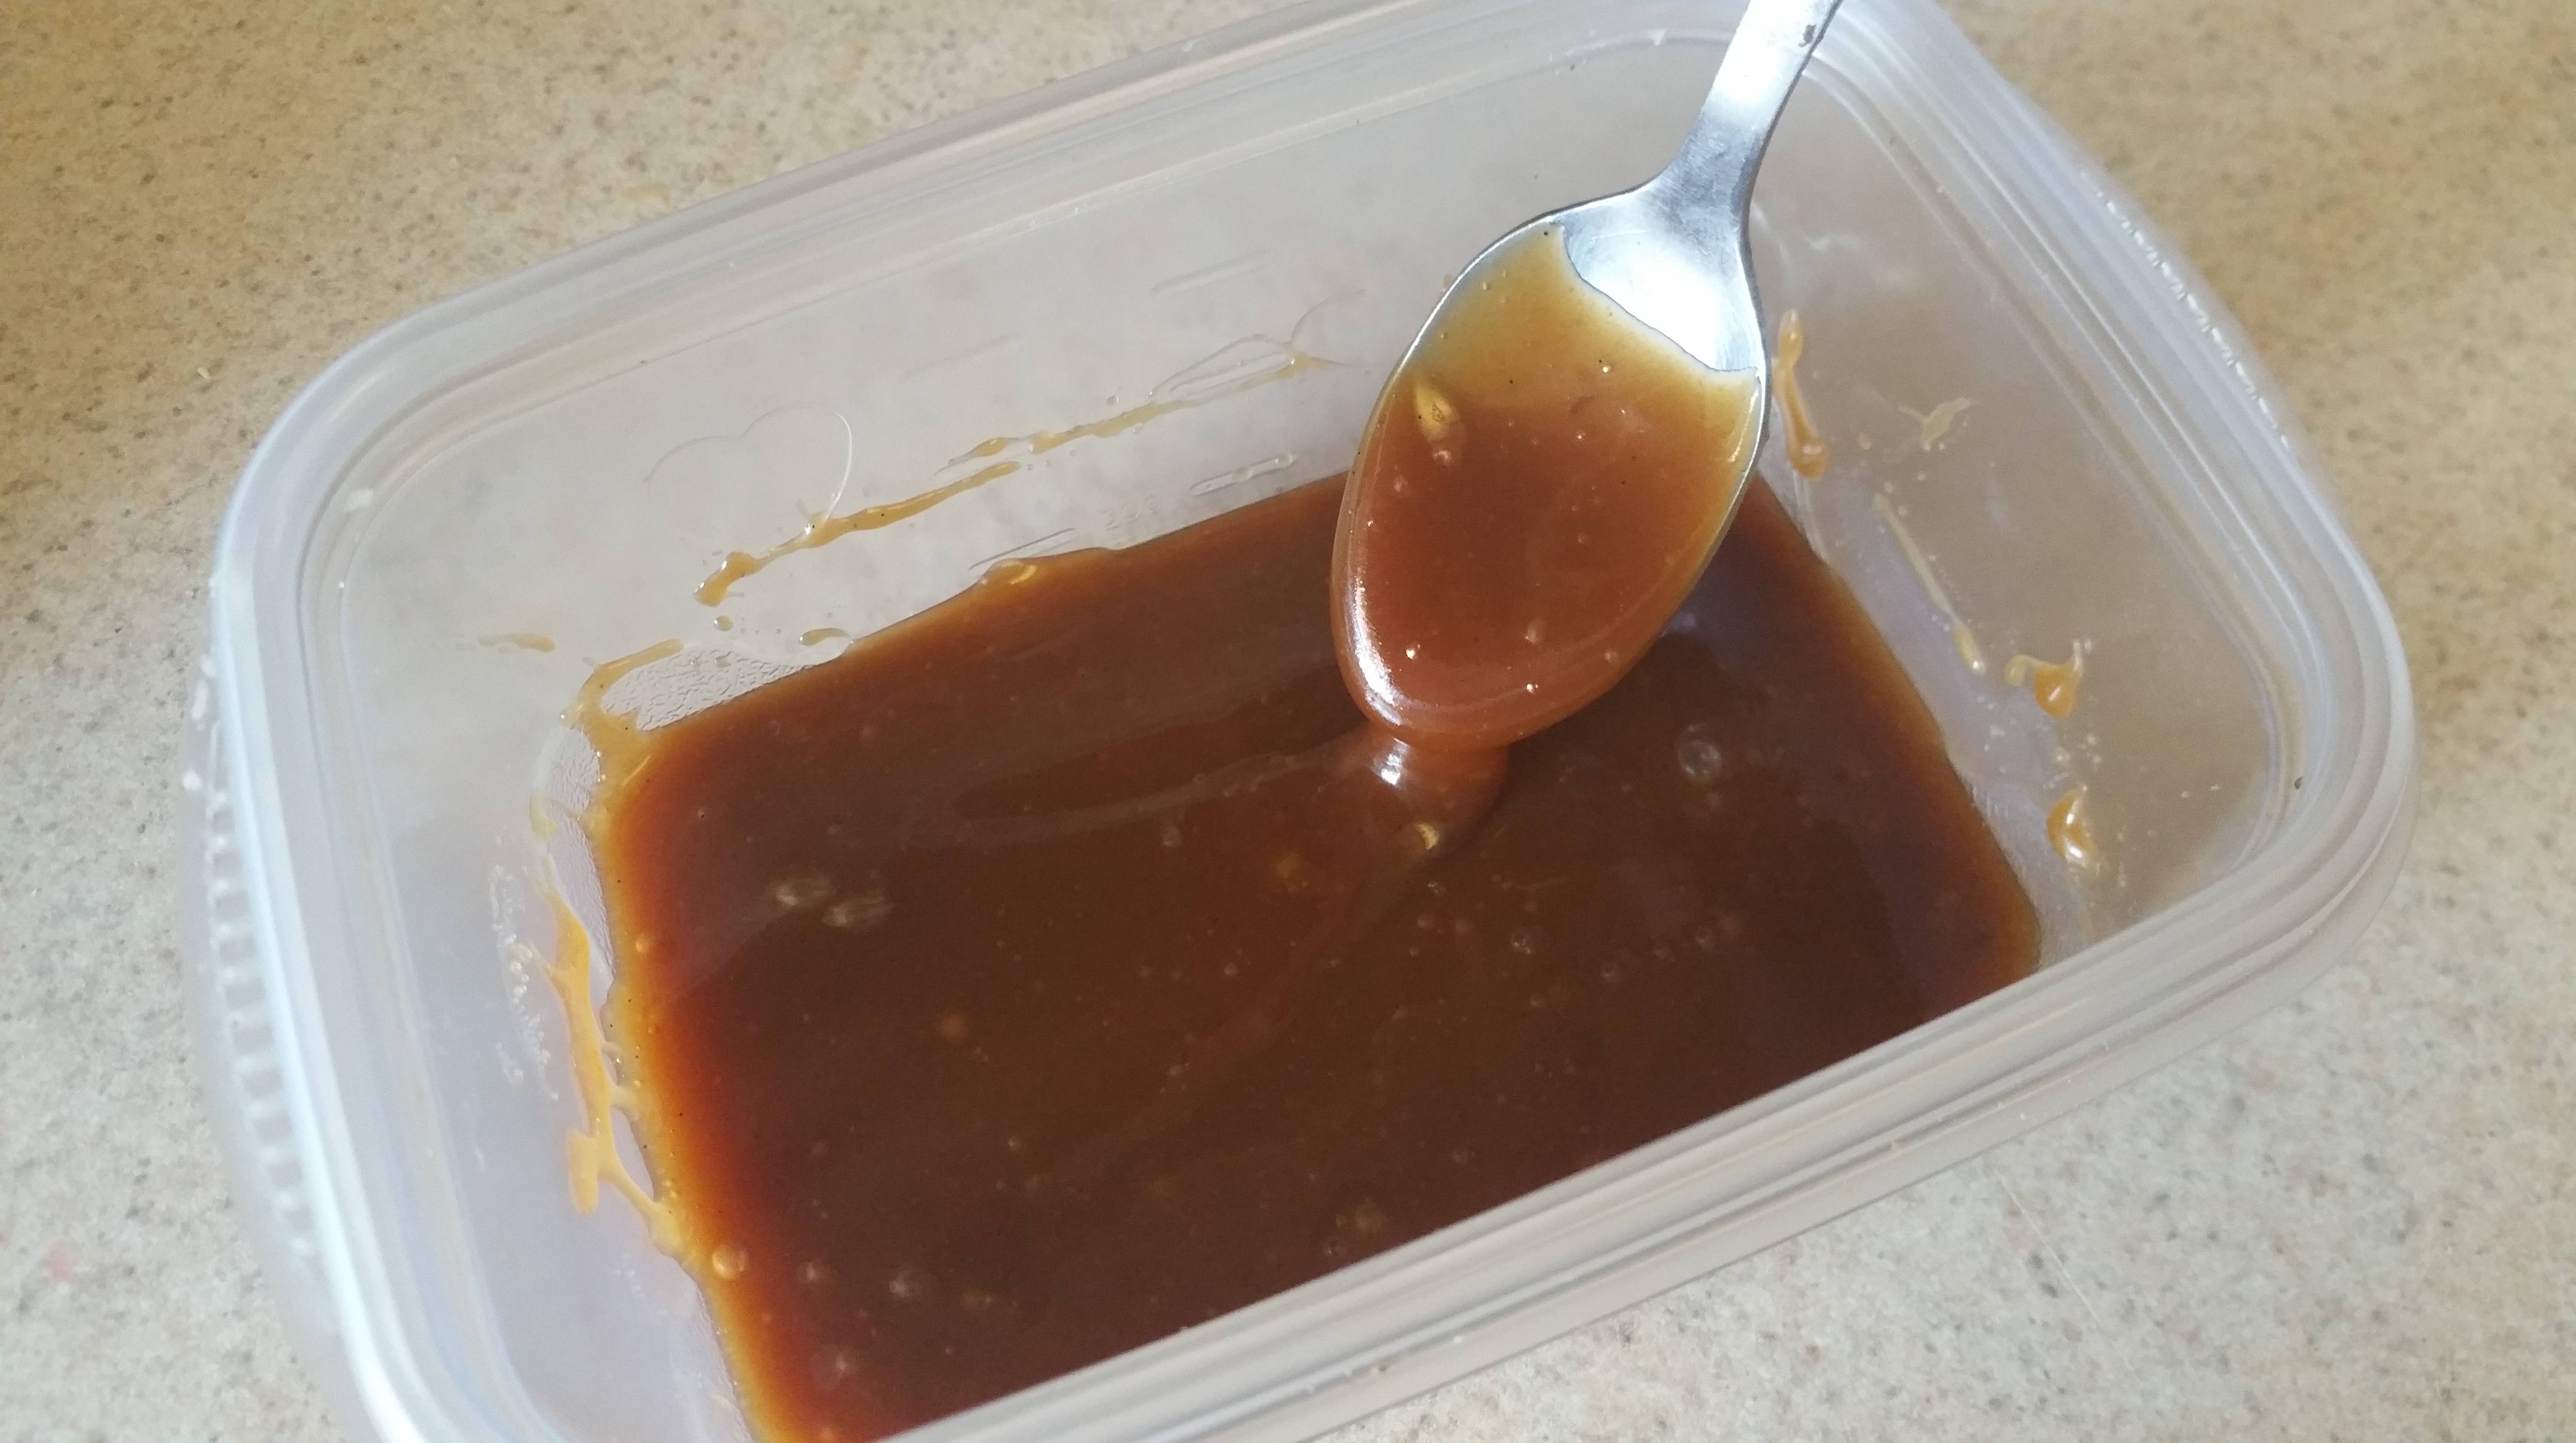
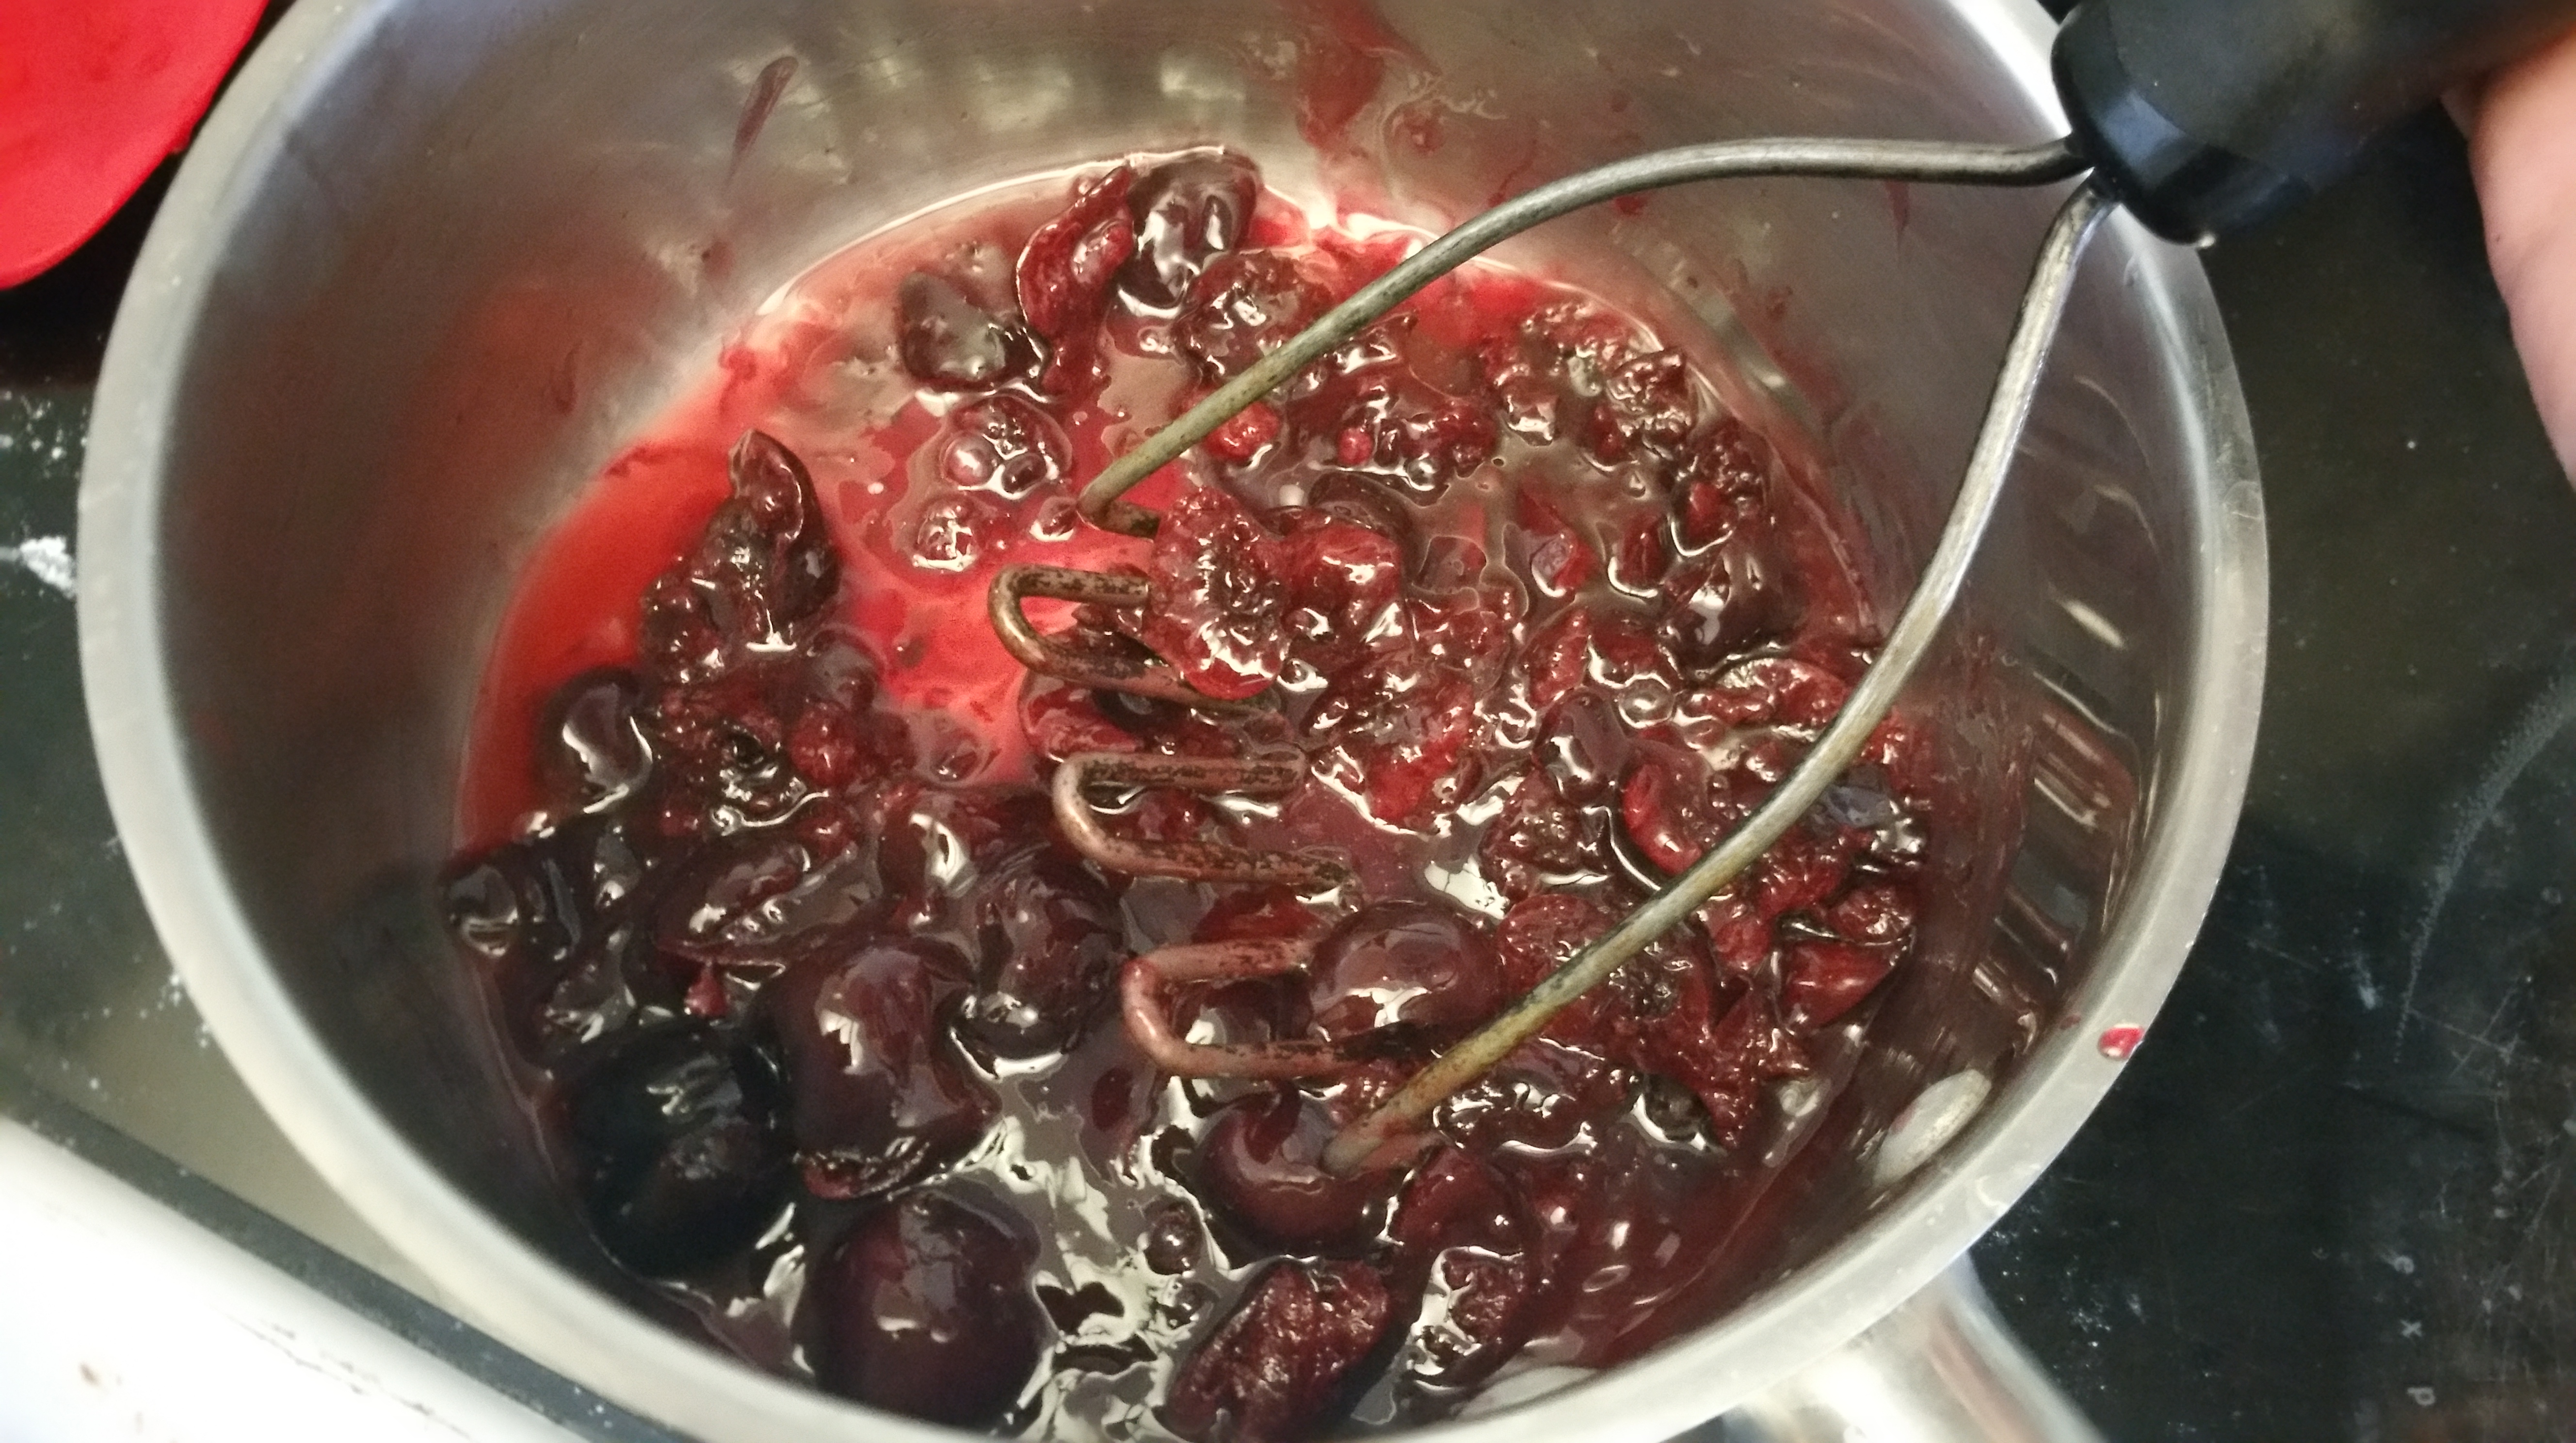
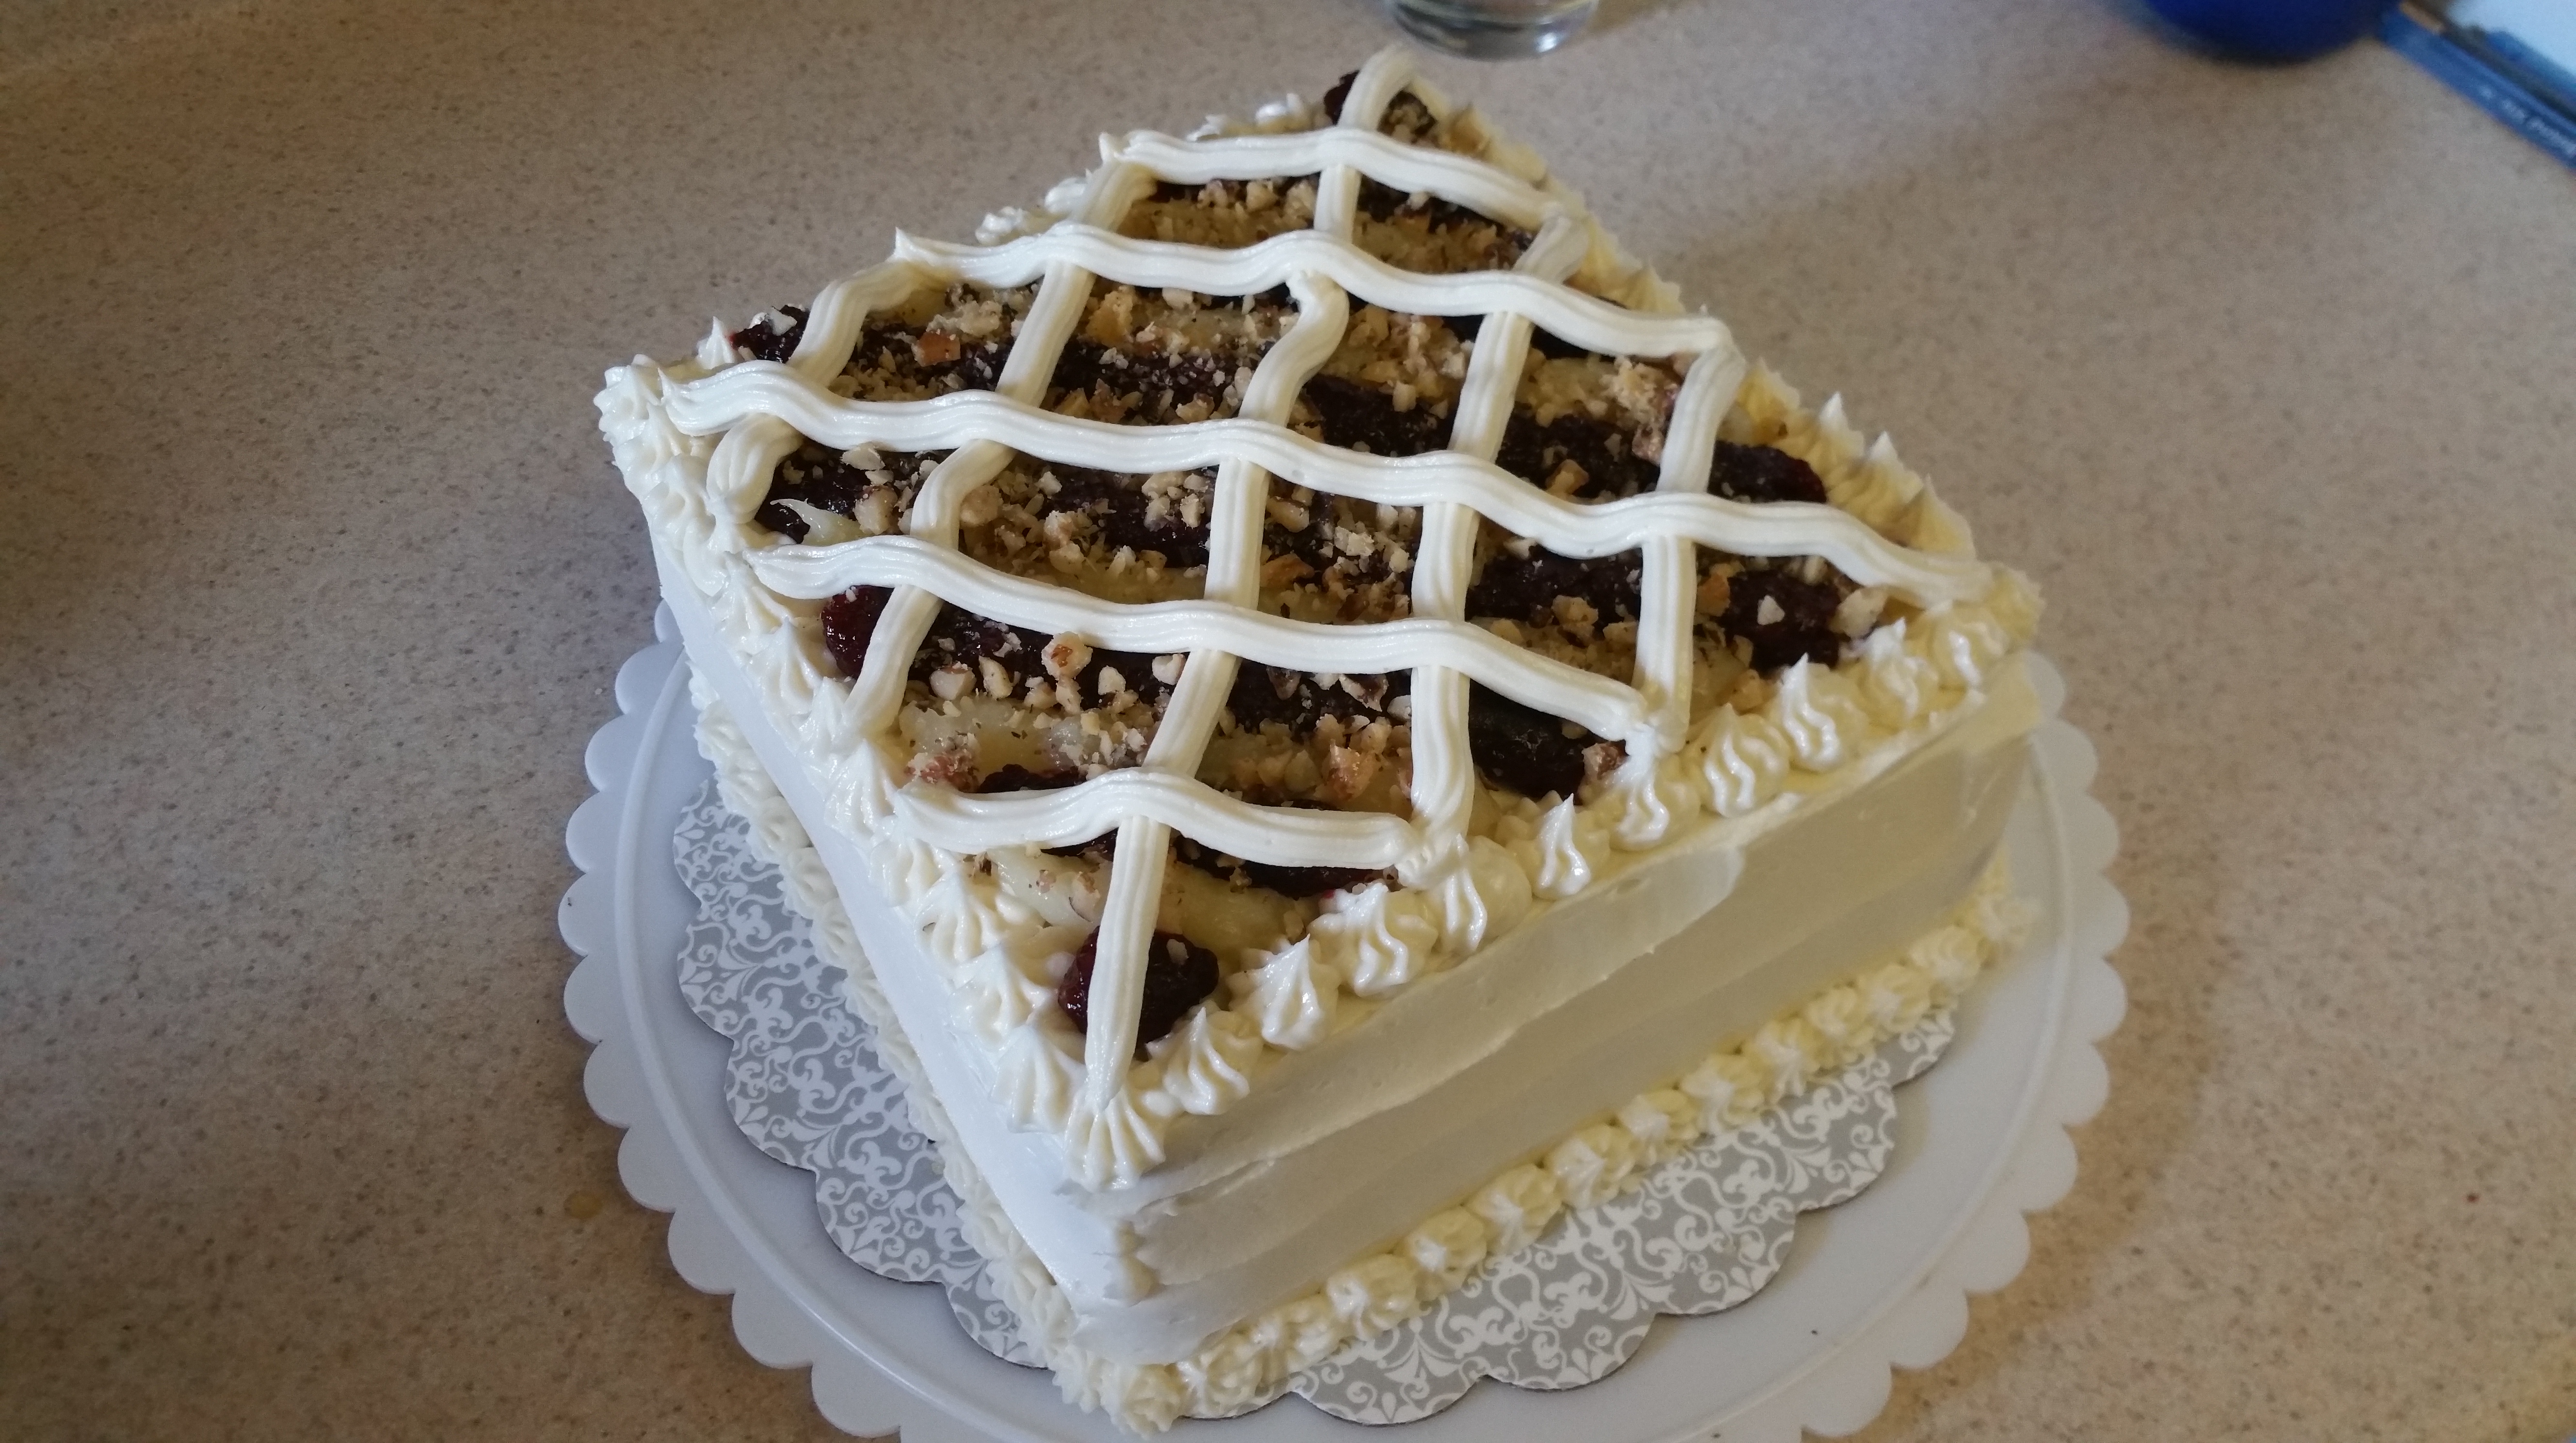
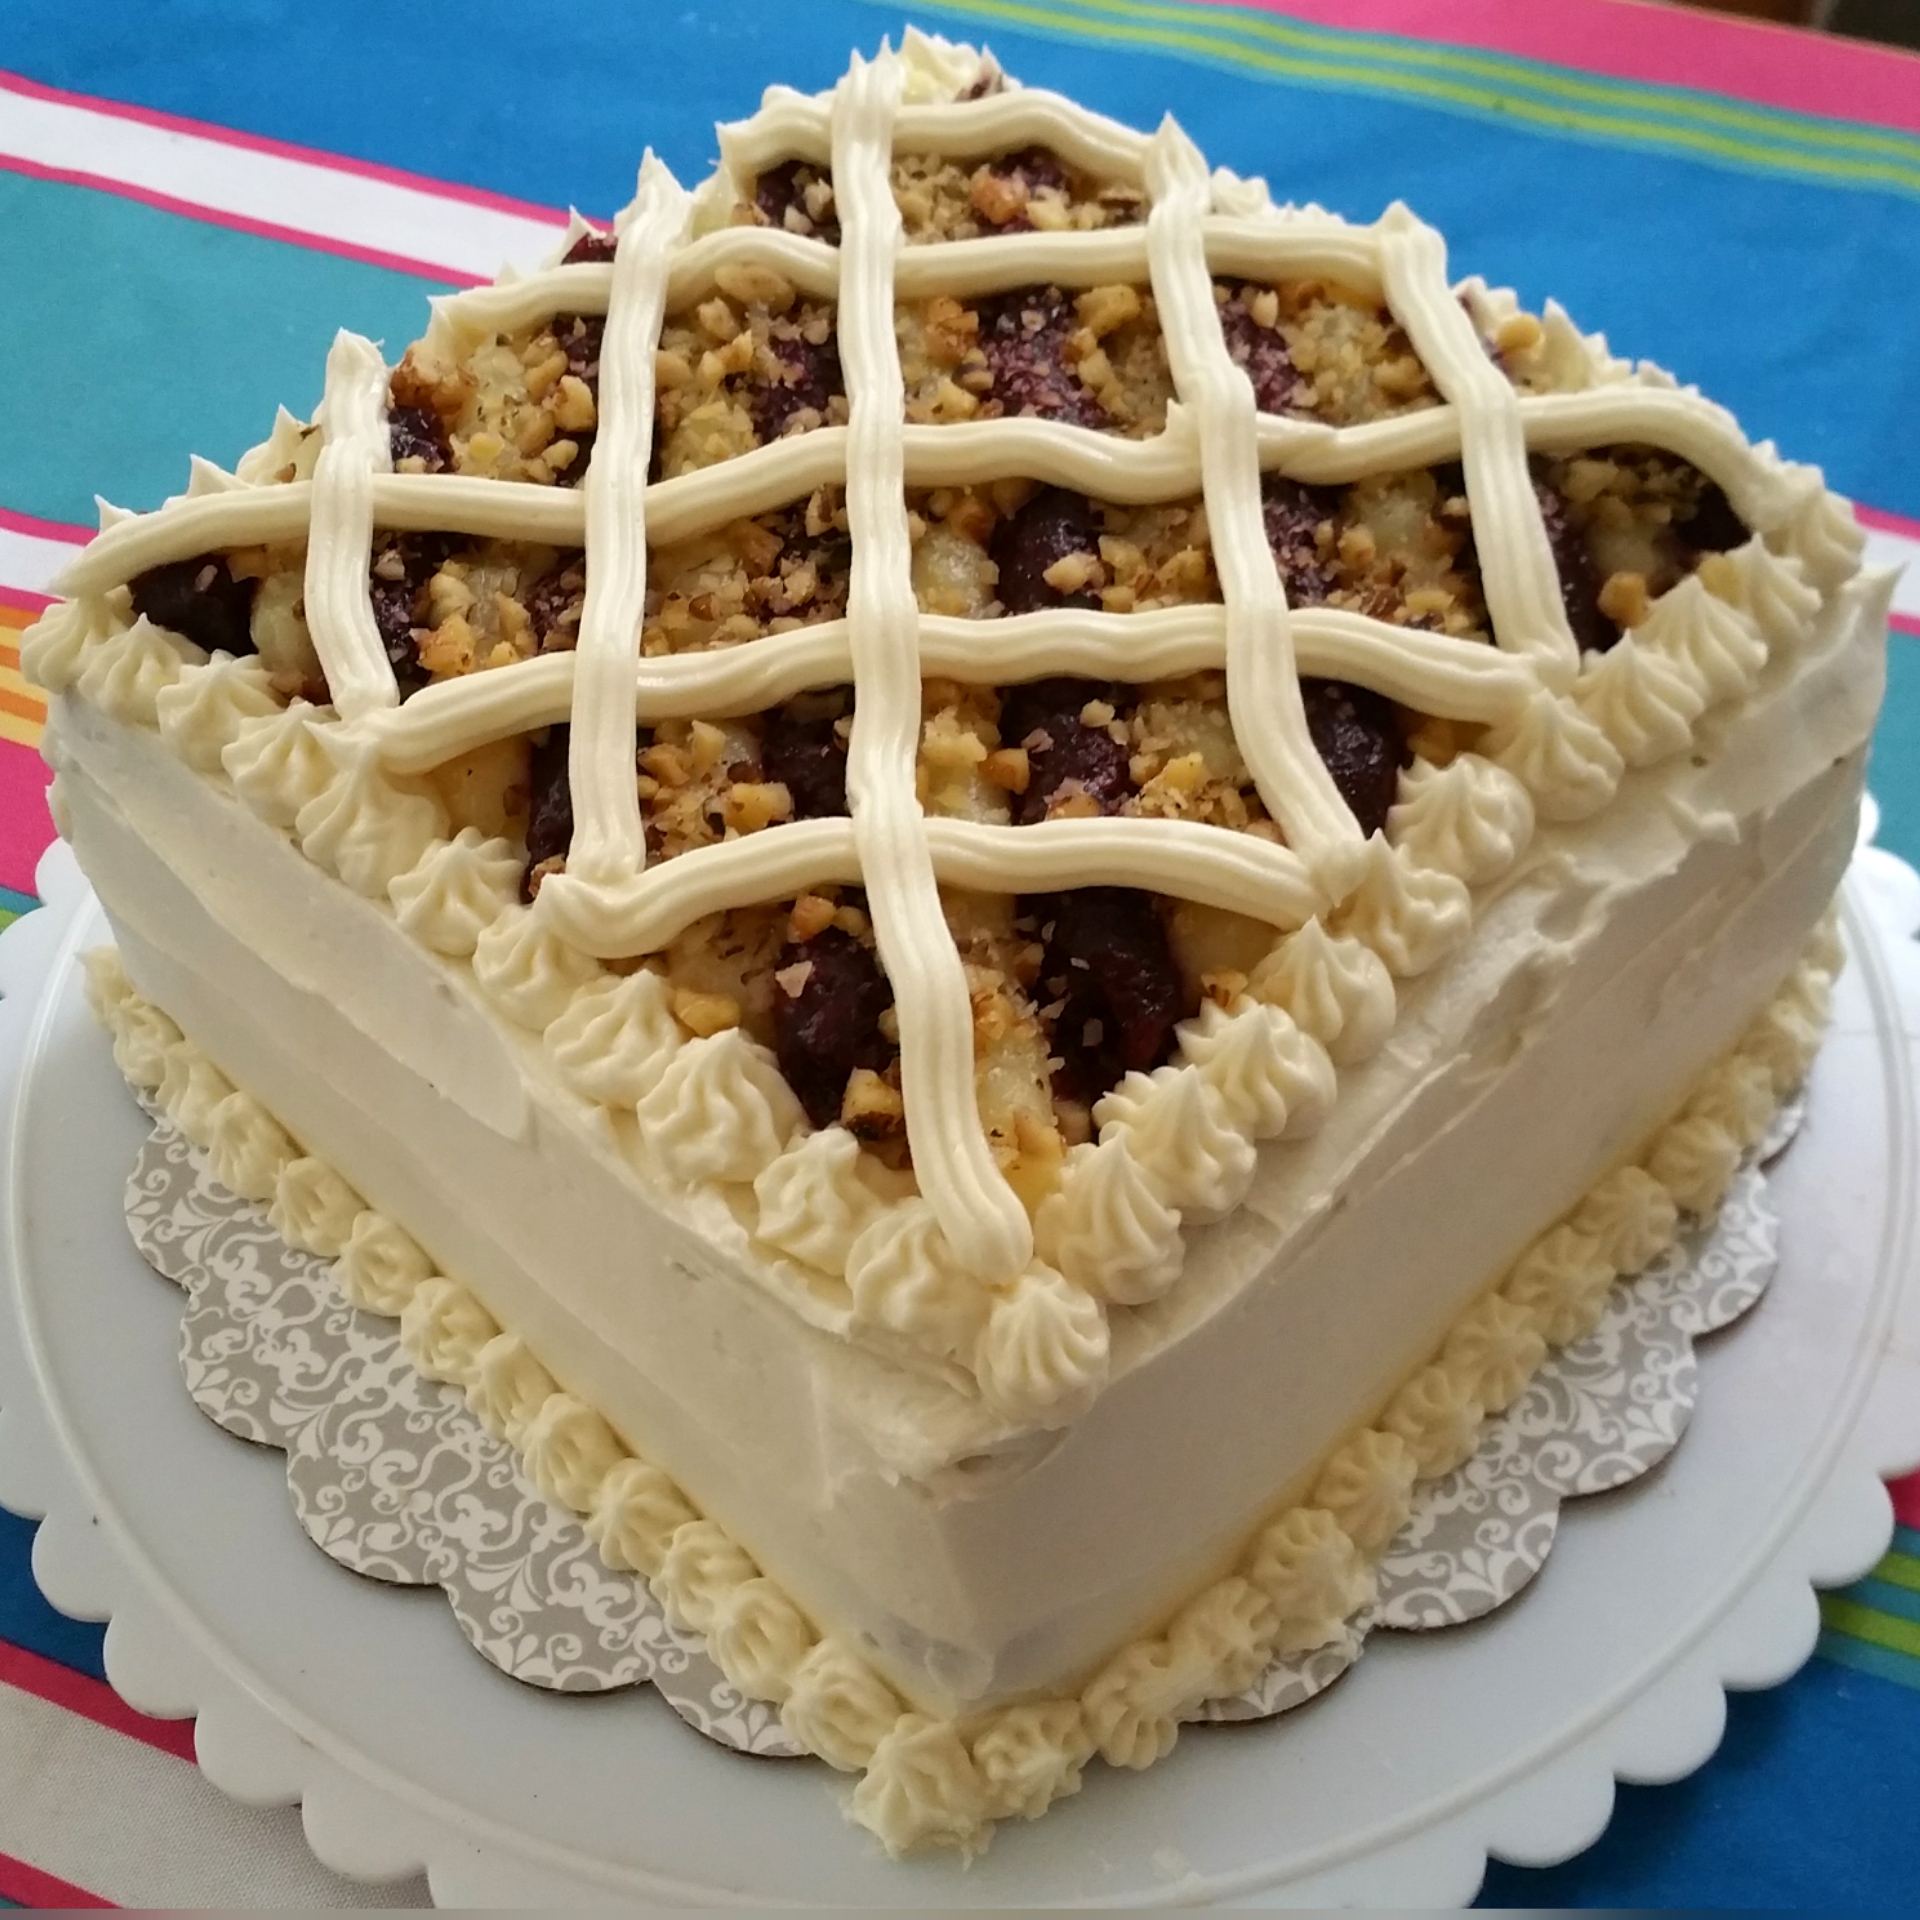
Don’t be afraid to be creative. You can certainly make some vanilla fudge frosting or a double recipe of maple buttercream, peanut butter filling, or caramel sauce to sandwich between the layers. Jam or curd might be a bit slippery unless you let the layers sit in the fridge between stacking/filling, but the cherry filling from the Ribbon Cake is definitely thick enough to hold up here. You could really make some fantastic stripes, in fact I’m already dreaming about my next birthday cake.

Next time I’m in Chincoteague, I’ll have to do some extremely important and detailed research. 😉

Ciao for now,

Neen

One Night in NOLA: Salted Butter Pecan Ice Cream with Caramel Swirl

10 Aug

I don’t eat ice cream very often. I’ve made vanilla and cookies and cream versions for Joe, but usually I have a spoonful and leave it at that. I’m more of a pie and pastry person when it comes to sweets. When I think back to many birthday parties over the years, I’ve never wanted a scoop of ice cream with my cake.

But I have my moments. The craving hits every once in a while and always for the same flavor: butter pecan. And the way I see it, if you are going to treat yourself to ice cream, you should go all the way and make it everything you want. As many of my recipes are, this one is born from a memory.

Seven Junes ago, Joe proposed to me a few days before a trip to New Orleans with my family. When we arrived in NOLA, we surprised everyone with the news, and what was already set to be a fun vacation became even more celebratory and special.

The first night there was, as expected, hot and muggy. We made our way through the French Quarter to a tiny restaurant called Green Goddess. We had an excellent meal, but for one time in my whole life, it was an ice cream dessert I ordered there that embedded itself in my brain. It was a sundae consisting of butter pecan ice cream, a caramel sauce, candied bacon, and whipped cream. And it was unreal. The ice cream was perfectly creamy and packed with buttery toasted pecans, the caramel sauce was dark and rich, and the candied bacon was smoky, salty, crunchy, and sweet. The cloud of homemade, not-too-sweet whipped cream on top was the perfect finish.

So when I got my annual(?) ice cream craving, I thought about just making butter pecan, but then I thought back to that sundae and decided it needed a caramel swirl right through the ice cream along with some crispy, salty pecans. Go all the way, right?

The best part about this ice cream is that it’s really not fussy (no egg tempering!), and all of the components can be made in advance. For me, that’s really excellent. My energy level since being diagnosed with RA has been erratic at best, so recipes that allow me to do things at my own pace are especially valuable to me.

Obviously, you will need an ice cream maker of some kind to make this recipe. Whether you roll a ball or use a electric countertop model, you’ll turn out some great ice cream. Let’s get churning!

Salted Butter Pecan Ice Cream with Caramel Swirl

Ice Cream Base

  • 1 cup cold whole milk
  • 3/4 cup brown sugar
  • 2 cups cold heavy cream
  • 2 tsp pure vanilla extract or 1/3 vanilla bean, split and scraped

Salted Buttered Pecans

  • 1 cup chopped pecans
  • 4 tbsp. butter
  • ¾ tsp. salt

Caramel Swirl

  • 1/2 cup sugar
  • 1/3 cup light corn syrup
  • 1/4 cup water
  • 7 tbsp. heavy cream
  • ½ tsp. vanilla extract
  • ½ tsp. kosher salt

Method

To make the ice cream base, whisk together milk and brown sugar until brown sugar is dissolved.

Stir in heavy cream and vanilla extract or vanilla bean pulp. I also throw the empty vanilla pod in.

Pour into a lidded container (or cover the bowl) and chill in the refrigerator for at least 1 hour, though I usually let it go overnight.

To make the buttered pecans, melt the butter in a skillet. Add pecans and salt to the pan, and cook over medium low heat until pecans are browned and fragrant, about 8-10 minutes.

Remove from heat, strain off the excess butter (and save that pecan butter! It’s so good on pancakes), and spread the pecans on a foil lined baking sheet to cool.

Cool completely before use.

To make the caramel, using a heavy bottomed saucepan, bring the sugar, corn syrup, and water to a boil over medium heat, stirring just until sugar is dissolved.

Then boil mixture, without stirring, but gently swirling pan, until the syrup turns a deep amber color. Be careful, it goes from golden to burnt quickly. I like to swirl on and off the heat to keep the syrup nice and even in color.

Remove pan from heat and carefully pour in the cream and vanilla extract. The mixture will bubble up and harden a bit. Return it to the heat and simmer mixture, stirring, until caramel is smooth.

Remove pan from heat, stir in the salt and cool caramel to room temperature.

If you make this on the same day you are making your ice cream, leave it at room temperature. If you make it in advance, store covered in the refrigerator for up to a week. Warm to room temperature before use. You may need to heat it slightly to loosen it up.

Now let’s put it all together. Have ready the container you want to use, a large spoon for the ice cream, a spoon for the caramel, and a butter knife. Have your buttered pecans and caramel ready to go.

If you used one, remove the vanilla bean pod from the ice cream base.

Pour the chilled ice cream base into your ice cream maker and churn according to manufacturer’s directions. In my ice cream maker, this takes about 24 minutes.

Pour in the pecans during the last 3 minutes of churning.

Take 1/3 of the ice cream and spread it in the container. Quickly drizzle a layer of caramel on top.

Repeat this 2 more times, and then use the butter knife to swirl the caramel through the ice cream. I ended up using about 2/3 of the caramel I made, but it did not go to waste!

Cover the ice cream and quickly move to the freezer to harden. In my freezer, it took about four hours to reach a nice hard scoop consistency. Serve as-is, or if you’re feeling special, drizzle on some extra caramel sauce, sprinkle a few chopped salted toasted pecans, and top with some maple sweetened softly whipped cream.

While no pigs were harmed in the making of this sundae, the savory, crunchy toasted pecans and deep, rich caramel swirl running through the fluffy, soft ice cream with that little pillow of whipped cream on top instantly took me back to that wonderful summer night. Music spilling into the restaurant from the streets, my new fiancé by my side, and my family surrounding me. My heart was full. What a profound testament to the power of foods as vessels for memory.

With Joe at Green Goddess

Recipes are little time capsules we can open at any moment, and I know this is one I will surely return to on many occasions.

Ciao for now,

Neen

Downtown Dreams: Thumbprints

8 Aug

My mom worked in downtown Pittsburgh when I was growing up. It was always a treat when I got to go visit her. We would often make our way to Kaufmann’s department store (eventually Macy’s, who took over in 2006) and the Tic Toc Restaurant for lunch. I can still remember the way their tuna melt tasted 20 years later, not because it was anything particularly ground-breaking, but because I was with my mom downtown and how cool was that??

The iconic Kaufmann’s clock

The other place we’d frequent at Kaufmann’s was the Arcade Bakery. Now, this blog has made evident my love for cookies, but there are few cookies I remember more vividly and pine for more regularly than the thumbprints from the Arcade Bakery. Thick, sandy, and decadent butter cookies rolled in sprinkles or walnuts and topped with a big piped dollop of vanilla or chocolate buttercream. If there is a thumbprint divot in the middle, you’d never know under buttercream mountain.

Thumbprint, what thumbprint??

I’ve made thumbprints lots of ways, but have never quite achieved the texture and flavor of the ones from the Arcade Bakery. Apparently the recipe was never written down and some of the bakers claim not to even have one, which honestly doesn’t surprise me. I’m completely guilty of “I don’t know how much I put in, I just did it until the dough looked right.” So that’s what I had to do through many test batches. Tweak, alter, and poke at the proportions, ingredients, and most crucially the method, until I had what I wanted. It’s not a perfect copy-cat, but it is very special indeed. And transports me back to dates downtown with my mom, so I’m more than happy.

Thumbprints, inspired by Arcade Bakery and happy memories

Thumbprint Cookies

  • 1/3 cup sugar
  • 1/4 tsp. salt
  • ½ cup shortening, room temperature
  • 6 tbsp. unsalted butter, softened
  • 1 egg
  • ½ tsp. vanilla extract
  • ¼ tsp. almond extract
  • 2 cups cake flour
  • Sprinkles or finely chopped walnuts
  • Chocolate buttercream
  • Vanilla buttercream

Chocolate Buttercream

  • 6 tbsp. unsalted butter, softened
  • 2 1/3 cups powdered sugar
  • 3/4 cup unsweetened cocoa powder
  • 1/3 cup whole milk
  • 1 tsp. vanilla extract
  • 1/4 teaspoon salt

Vanilla Buttercream

  • 4 oz. unsalted butter, softened
  • 1 ½ cups powdered sugar
  • ½ tbsp. vanilla extract
  • ¼ tsp. almond extract
  • Pinch salt

For the cookies, preheat the oven to 375 degrees F.

Beat the sugar, salt, shortening, and butter until fluffy.

Add the egg and extracts and beat until thick.

Stir in the flour just until a dough forms (it may still be in chunks).

Form the dough into ¾ oz. balls. This is about 1 tbsp. of dough. I use a rounded 2 tsp. cookie scoop.

Roll in the sprinkles or nuts. Then press down with your thumb (or something with a round edge, like a rolling pin) to form a thumbprint in the middle.

Chill them on baking sheets in the refrigerator for 10 minutes.

Bake the cookies for 15 minutes or until lightly golden on the bottoms. Move to a wire rack to cool completely.

To make the vanilla buttercream, beat the butter until smooth and then slowly add the powdered sugar. Once it is all combined, add the salt and extracts and beat until thick. If this sounds familiar, it is! You can find a photo tutorial for this buttercream in the Ribbon Cake recipe.

Transfer to a piping bag with an open star tip. Or just use a plastic storage bag with the corner cut off.

To make the chocolate buttercream, beat the butter until smooth and then slowly add the powdered sugar and cocoa powder, and beat until combined.

On low speed, slowly stream in the milk and vanilla extract, then add the salt and continue beating until well combined, scraping down the bowl as needed.

Then beat on high speed until thick, about 2 minutes. Depending on the weather and temperature, you may need to add extra powdered sugar to stiffen up the frosting. On a rainy, humid day I have added as much as 1/3 cup extra.

Transfer to a piping bag with an open star tip. Or just use a plastic storage bag with the corner cut off.

To assemble, pipe a large dollop of buttercream into the thumbprint you created, swirling out over the edges and covering about 2/3 of the cookie surface.

So while the sprinkle shape might be different (I thought these coated the cookies better, but for a true replica, use long straight sprinkles), one bite and I was instantly taken back to those afternoons downtown that always felt so special.

Still and always having fun with mom!

While Kaufmann’s, The Tic Toc Restaurant, and the Arcade Bakery might be lost to time, their memories are strong in my heart. This recipe might not be the original, but it is just what I remember, and is now down on paper to share with you.

Ciao for now,

Neen

Reimagining Ribbon Cake

4 Aug

My grandmother turned 90 years old last week! For her birthday cake, we turned to an old recipe that my dad said she used to make frequently. It was a cake I’d never heard of that definitely doesn’t turn up in a basic or reverse Google Image Search, called Ribbon Cake. It’s a two layer white almond cake with white frosting, topped with piped ribbons of cherry and pineapple fillings, sprinkled with a layer of finely chopped walnuts, and finished with a final lattice of frosting to top it all off. It turned out pretty well, though I wasn’t crazy about the all-shortening frosting. And while I liked the fruit fillings, they were more sweet than fruity and were just a touch runny for easy cake topping.

Tradition is great, but I thought the recipe could benefit from an update. I really believe that recipes are live documents that morph over time as trends, ingredient availability, and food tech change. So for this version, let’s frost that fluffy white almond cake with an equally luxurious vanilla-almond buttercream. And while we’re at it, let’s make the fruit fillings from scratch too, for fruitier flavor and to help control the thickness for piping and standing at room temperature. Depending on where you live, you might even be able to make them completely fresh. My dad, mom, and I also learned a few lessons while frosting and decorating the cake that definitely helped make the second go at it a smoother process.

Reimagined Ribbon Cake

White Almond Cake

  • 3 cups all-purpose flour
  • 2 teaspoons baking powder
  • 3/4 teaspoon kosher salt
  • 6 oz. unsalted butter, softened
  • 2 1/2 cups granulated sugar, divided into two 1 ¼ cup portions
  • 1 tsp. vanilla extract
  • ½ tsp. almond extract
  • 1 1/4 cups whole milk
  • 6 egg whites at room temperature

Quick Buttercream Frosting

  •  6 cups powdered sugar, sifted
  • 16 oz. unsalted butter, softened
  • ½ tsp. salt
  • 1 ½ tsp. vanilla extract
  • ½ tsp. almond extract

Cherry Topping

  • 7 oz. cherries, pitted
  • ¼ cup sugar
  • 1 heaping tbsp. cornstarch
  • 1 tbsp. lemon juice
  • ¼ cup water

Pineapple Topping

  • ½ cup + 1 tbsp. sugar
  • 1(20 ounce) can crushed pineapple, packed in its own juice or 2 cups mashed pineapple and 1 cup pineapple juice
  • 3 tbsp. cornstarch
  • 3 tablespoons butter

Walnut Topping

  • ½ cup walnuts, finely chopped

I made this cake over the course of two days, so I’ll describe that process here.

To make the cake, preheat the oven to 350 degrees F. Prepare two 8 in. square pans by lining the bottoms with parchment paper and then greasing and flouring the pans. Alternatively you can use a baking release spray, but I would still recommend lining the bottoms with parchment paper.

In a large mixing bowl, sift together the flour, baking powder, and salt. Set aside.

In the bowl of a stand mixer, cream the butter and 1 1/4 cups of the sugar until light and fluffy. Mix in the vanilla and almond extracts.

Add the dry ingredients in three additions, alternating with the milk, until everything is combined. Transfer back to the large mixing bowl.

Clean and dry the stand mixer bowl thoroughly. Use the whip attachment for this next step.

Add the egg whites and a pinch of salt to the stand mixer bowl. Whip on high speed until the egg whites are frothy, and then very slowly add the remaining 1 ¼ cups of sugar. Whip until the meringue is thick, glossy, and holds stiff peaks.

Fold 1/3 of the meringue into the batter to lighten it, and then gently fold in the rest just until evenly incorporated.

Divide the batter evenly among the two prepared pans.

Bake the cakes for 33-37 minutes, or until pulling away from the sides of the pan. A toothpick inserted in the center should come out clean.

Allow the cakes to cool in the pans for 10 minutes, and then turn out onto wire racks to cool completely.

Next, make the fruit toppings.

To make the cherry topping, combine all of the ingredients in a saucepan over medium-low heat.

Mash the cherries while the mixture heats up.

Stir constantly until the mixture bubbles and thickens. It should be shiny and thickly coat a spoon. Cool and then move to a plastic container and store in the refrigerator.

To make the pineapple topping, combine all ingredients in a saucepan over medium heat and cook until mixture comes to a boil, stirring constantly.

Continue stirring until the mixture is thick and loses its milky look.

Remove the pan from the heat and stir in the butter.

Let cool and then move to a plastic container and store in the refrigerator.

At this point I wrapped the cakes tightly and stopped for the day. The next morning I began by making the buttercream.

Beat the butter on medium speed until creamy.

Gradually add the powdered sugar. Once it is all combined, add the salt and extracts and beat on high speed until thick and fluffy.

To assemble the cake, frost the first layer and stack the second on top.

Frost the cake with the buttercream, and then pipe a border around the top and the bottom of the cake. The top border is important as it acts as your frame for the fruit toppings. It can be as simple as a straight line if you prefer. I piped kisses using an open star tip.

Get out the fruit toppings and give them both a good stir. Transfer to piping bags with just couplers attached (no tips). Alternatively, use a plastic storage bag with the corner cut off. Pipe the first filling in diagonal lines about ½ in. apart.

Using the second filling, pipe lines in the spaces left between the first.

Sprinkle the walnuts over top of the fruit fillings.

Create the final layer by piping a lattice with lines spaced about 1 in. apart.

There you have it! My variation of grandma’s Ribbon Cake. The cake is moist and light, the buttercream silky smooth, and the fruit fillings are nice and bright. Saving most of this one for a visit from my parents. Maybe it will be a new tradition!

Ciao for now,

Neen

Double Dessert: Strawberry Cheesecake Brownies with a Graham Cracker Crust

23 Jul

Let’s face it, you have enough difficult decisions to make on a day to day basis, yes? So when it comes to having your dessert at the end of a long day, why add one more challenging choice into the equation? This is precisely the thought that came into my head Sunday afternoon. I wanted these super fudgy brownies I made earlier in the week (that seriously satisfied my illicit obsession with “testing” brownie/cake batter), but also had a craving for creamy cheesecake. And yes, the classic marbled chocolate and cheesecake brownie seemed like the obvious answer, but there were a few sticking points I needed to address.

First of all, if you are going to call something a cheesecake, it needs a delicious crust. And second of all, fudgy brownie and cheesecake together cry out for something fruity or acidic to cut all of that richness. So what I started to imagine was a crunchy, sweet crust, gooey, rich brownie, and smooth decadent cheesecake with a little strawberry swirl. I wandered into the kitchen without a recipe and only my cravings to guide me. And a few hours later, I definitely had no difficult choices to make.

Strawberry Cheesecake Brownies with Graham Cracker Crust

Crust

  • 1 ½ cups graham cracker crumbs
  • 6 tbsp. unsalted butter, melted
  • 2 tbsp. sugar
  • 2 pinches of salt

Brownie Layer

  • 8 tbsp. unsalted butter, melted
  • 1 tbsp. cacao or cocoa butter,* melted
  • 1 cup sugar
  • 2 eggs
  • 1 tsp. vanilla extract
  • ½ cup all purpose flour
  • ½ cup cacao or cocoa powder*
  • ½ tsp. salt

*Cacao butter/powder are the raw versions of cocoa butter/powder. This just means that these products have not been processed at temperatures higher than 115 degrees F. Either will produce great results, I just like the flavor of the raw product. Can’t find cocoa butter? Any neutral cooking oil will do in a pinch.

Cheesecake Layer

  • 8 oz. cream cheese, softened
  • 1 large egg yolk
  • 1/3 cup sugar
  • 2 tbsp. strawberry preserves

Preheat the oven to 350 degrees F.

Line an 8×8 pan with aluminum foil and butter the foil.

Combine the graham crackers, sugar, salt and melted butter and mix well.

Press into the prepared pan in an even layer and bake for 12 minutes, or until just set. Move to a wire rack to cool slightly while you prepare the filling.

To make the brownie batter, combine the butter, cacao butter, and sugar and mix well.

Add the eggs and vanilla extract and beat until thick.

Stir in the dry ingredients, but do not overmix. Some lumps are fine.

Pour the brownie batter on top of the crust and set aside.

To make the cheesecake layer, blend the cream cheese, egg yolk, and sugar until smooth. I like to use a food processor for this.

Drop the strawberry preserves onto the cheesecake filling and swirl just slightly. Do not blend well.

Drop the cheesecake batter on top of the brownie layer in dollops and then use a butter knife to swirl the fillings together.

Bake for 35 minutes or until puffy and just set.

Allow the brownies to cool at room temperature for an hour, and then chill for 2 hours before cutting into 24 pieces. If you care about keeping it pretty, wipe down your knife with a warm, damp cloth between cuts.

This really is an awesome contrast of textures and flavors. You get that rich, fudgy brownie against smooth, creamy cheesecake with little swirls of strawberry to brighten it all up a little. Dessert need not be a difficult choice ever again. You’re welcome!

Ciao for now,

Neen

My Favorite Oatmeal Cookies

20 Jul

I love oatmeal cookies. They pair well with lots of different additions, but are also delicious left perfectly plain with a hint of spice. You can do fun things with the texture too. Make them thin and lacy, thick and cake-y, crunchy, or chewy and soft. But my favorite oatmeal cookies, combine lots of textures and have deep dark spice and caramel flavors. The recipe has gone through many iterations as I tried to find the combination of ingredients that gave me the nutty, chewy, crunchy, spicy-sweet cookie I was seeking. I really like where it’s at now, but you know I’d never promise not to play around with the recipe in the future. My imagination is already running off…

I digress. Back to the treats at hand. These are a really special little bite despite their innocent appearance. Let’s fill up the cookie jar!

Toasted Oatmeal, Pecan, and Coconut Cookies

  • ¾ cups rolled oats, toasted until fragrant*
  • ¾ cups quick cooking oats, toasted until fragrant
  • ¾ cup flour
  • ½ cup pecans, toasted and chopped
  • ½ cup (sweetened or unsweetened) shredded coconut, toasted until golden
  • ½ tsp. baking powder**
  • 2 oz. unsalted butter, softened
  • ¼ cup vegetable shortening
  • 1/2 cup light brown sugar
  • 1/4 cup granulated sugar
  • 1 tsp. vanilla extract
  • 1 tsp.  cinnamon
  • 1/2 tsp. salt
  • Pinch fresh ground nutmeg
  • 1 large egg

*To toast the dry ingredients, just turn the oven to 350 degrees F and spread them out on separate baking sheets. The oats and nuts usually take 7-10 minutes and the coconut takes about 2-4 minutes.

** This weird thing happened when I started taking my medication for rheumatoid arthritis. I was finding that some of my baked goods tasted…off. There was this funny aftertaste that I could not get rid of and I had no idea what it was. I realized one day when I accidentally left some baking soda out of a recipe that OH, that’s that funny taste. This particular recipe can absolutely be made with ½ tsp. of baking soda or baking powder. Use what you have on hand.

Preheat the oven to 350 degrees F. and line two baking sheets with parchment paper or silicone mats.

Combine the butter, shortening, brown sugar, sugar, vanilla, cinnamon, and salt, and beat until smooth and creamy.

Add the egg and beat until well combined, scraping down the bowl as needed.

Add the flour and baking powder and beat until incorporated.

Finally, stir in the oats, pecans, and coconut and beat until well distributed.

Use a small cookie scoop (mine is 2 tsp.) or spoon to drop the dough onto the sheets. I got three dozen this way and placed 18 per sheet. Gently press the cookies down with fingertips to flatten.


Bake for 11-12 minutes or until golden at the edges and lightly brown on the bottoms. Cool on a wire rack or eat them warm because YES.

So yes, I’ll admit there are some extra steps to this recipe, but they really are worth it to achieve all the crispy, chewy, crunchy goodness here. The warm spices make them a super comforting accompaniment to any cup of coffee, cocoa, or tea. Definitely a good evening porch-sitting cookie for summer.

Ciao for now,

Neen