It will come as no shock to anyone that I am a fan of the Great British Bake Off. Almost every episode, I am inspired by at least one of the challenges or history lessons presented. Recently, I’ve been watching old episodes and gathering creativity from them. In one of the episodes I came across, the contestants made Swiss Rolls, often referred to in the States as Jelly Rolls. These consist of sponge cake topped with a cream filling which is then rolled up into a beautiful spiral.
The challenge has its perils. If the sponge is not rolled at the right time, it can crack or break. If the filling is too soft, it will squeeze out the sides, if the sponge is too warm when the filling is added it can melt, and if the cake is not rolled tightly enough from the start, it will simply fall apart when cut.
By now you might be thinking, “NOPE,” or “Why would anyone want to do this?” Well for starters, sheer curiosity, and secondly the internet is FULL of people sharing techniques to avoid these pitfalls. By the time I was finished with my Swiss Roll, I didn’t feel stressed and I had a delicious and oh so light cake to share with Joe. Now, I’m not under a time crunch or fearing pressure from distinguished judges, and neither are you, so remember this is all just fun at the end of the day.
Let’s roll!
Strawberry Swiss Roll
Cake:
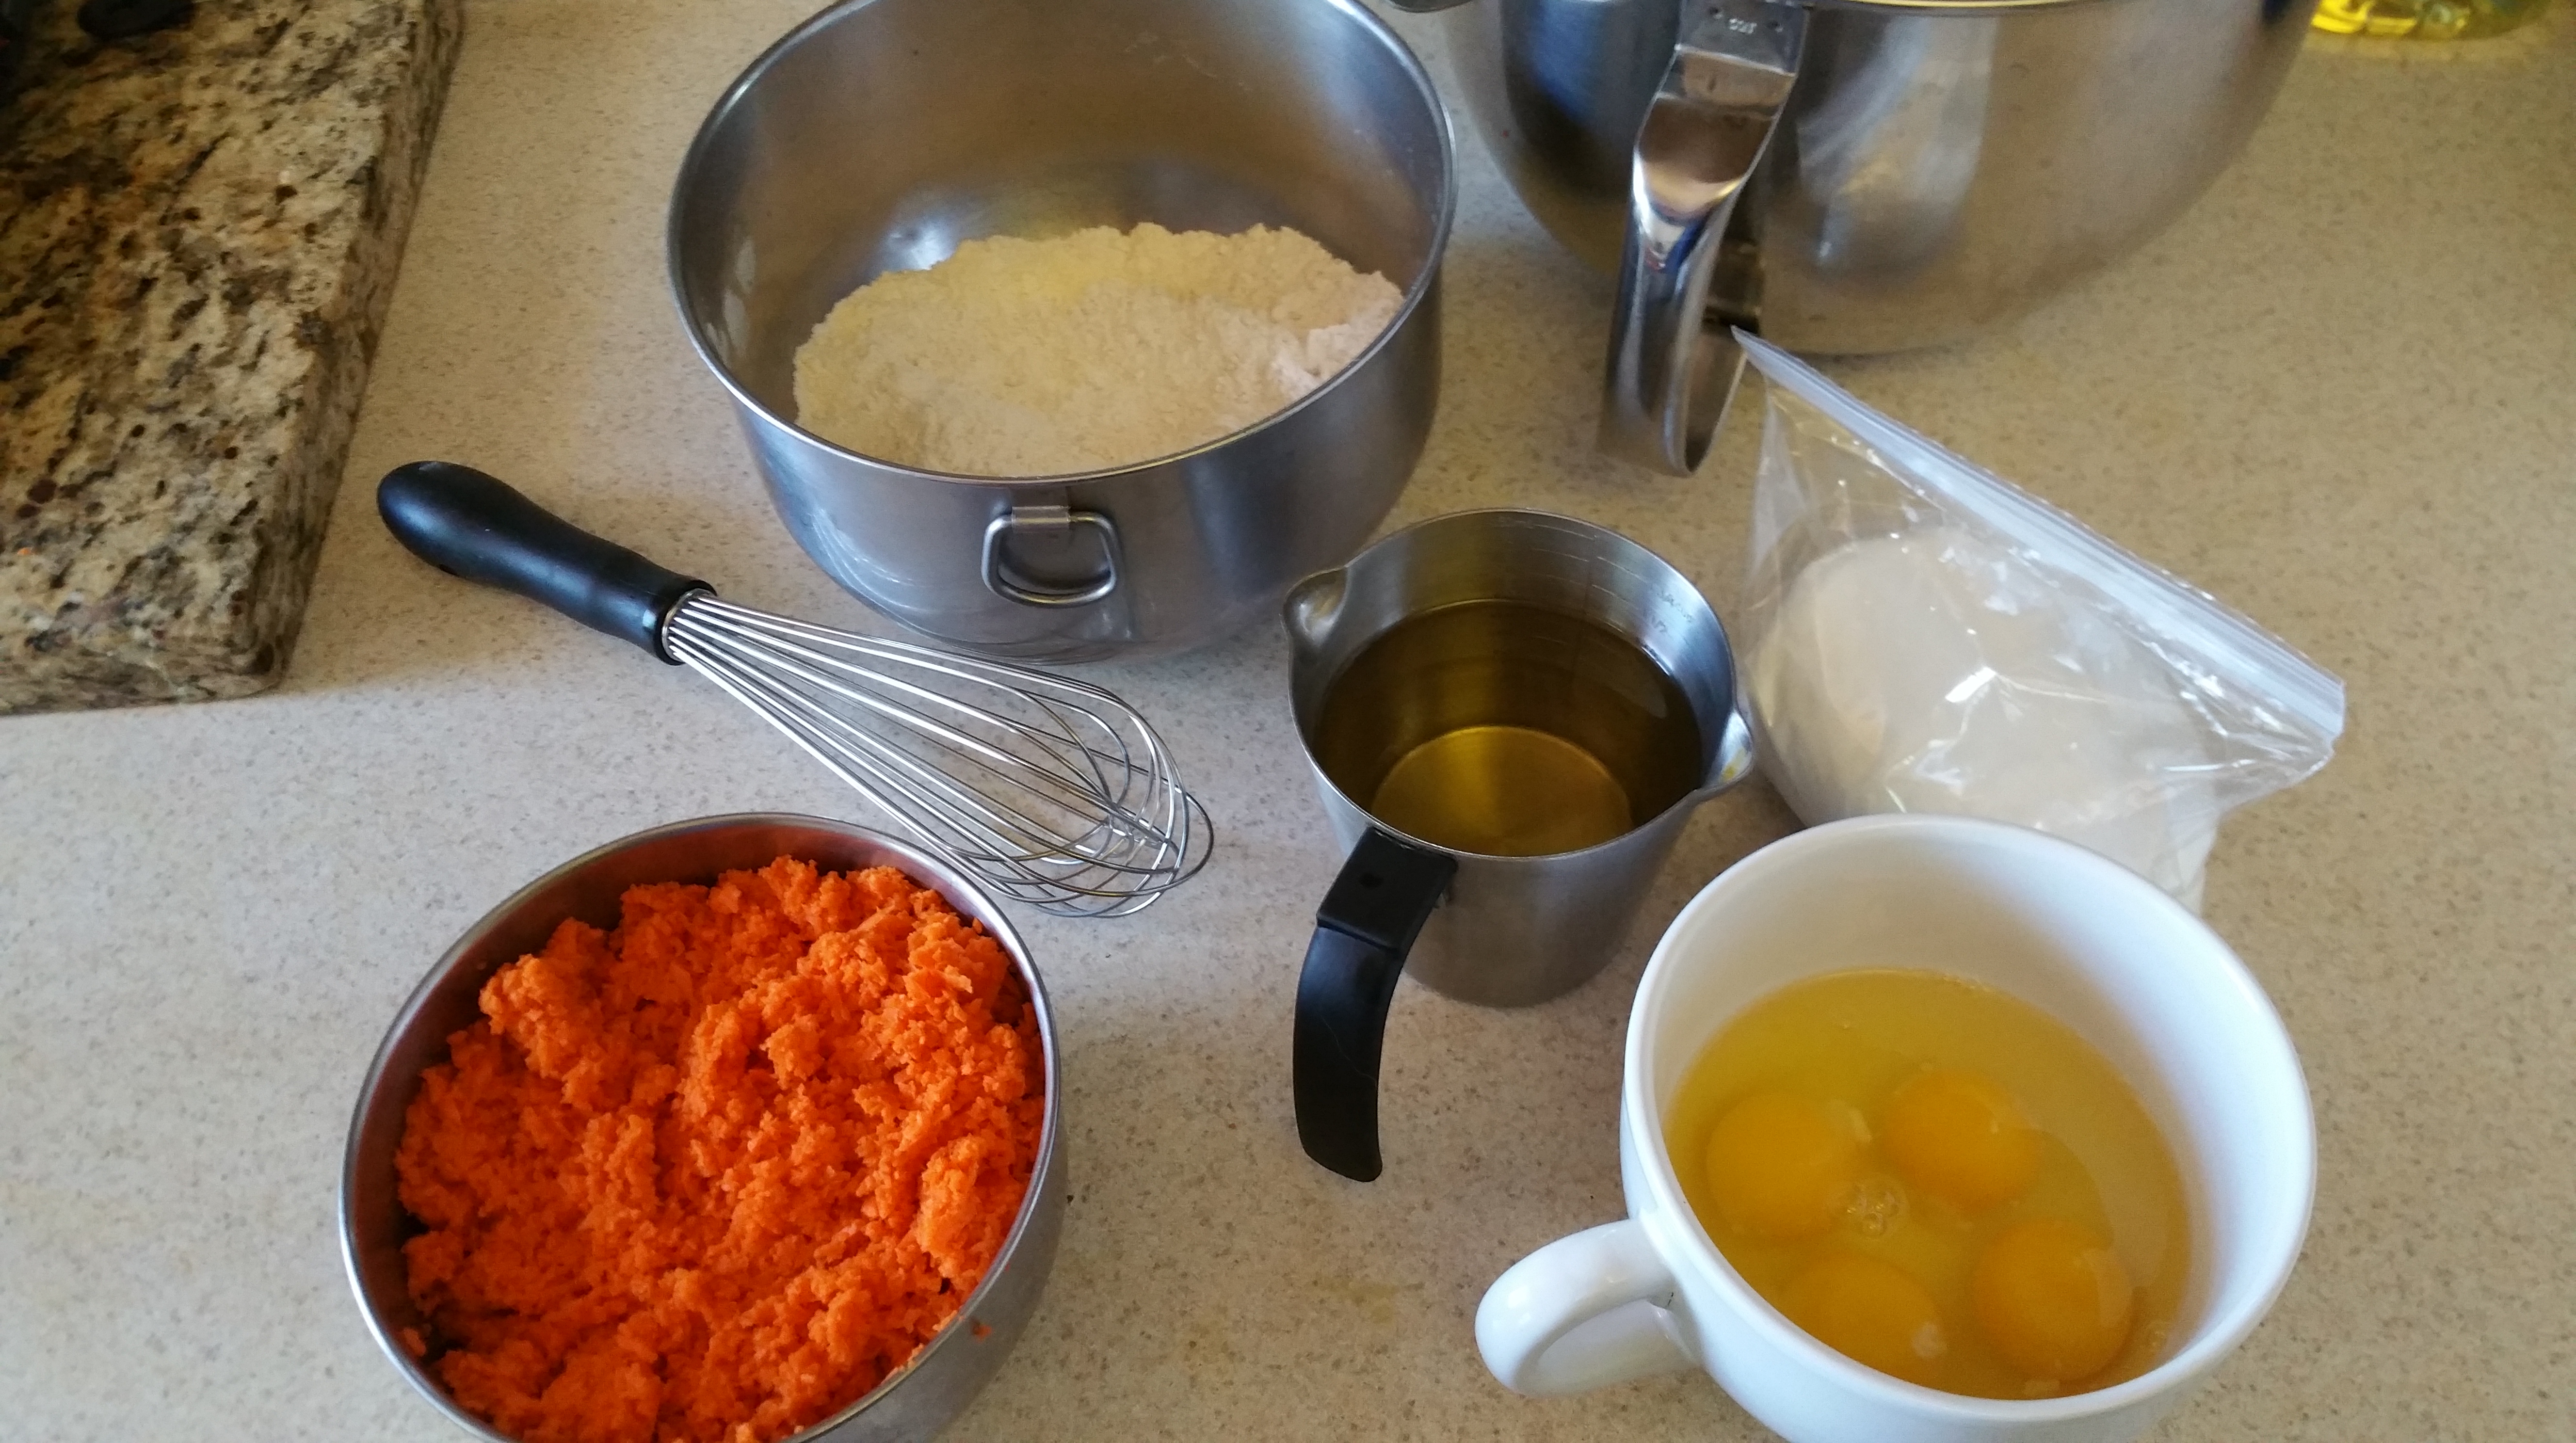
- 4 eggs
- 1 egg yolk
- 1/3 cup cake flour
- 3 tbsp. cornstarch
- ½ cup + 1 tbsp. sugar, divided
- 1 tsp. vanilla extract
- 1/4 teaspoon cream of tartar
- Powdered sugar (for rolling)
Strawberry Cream Filling:
- 1 cup heavy cream
- ½ tsp. vanilla extract
- 1 tbsp. sugar
- 1/3 cup strawberry preserves
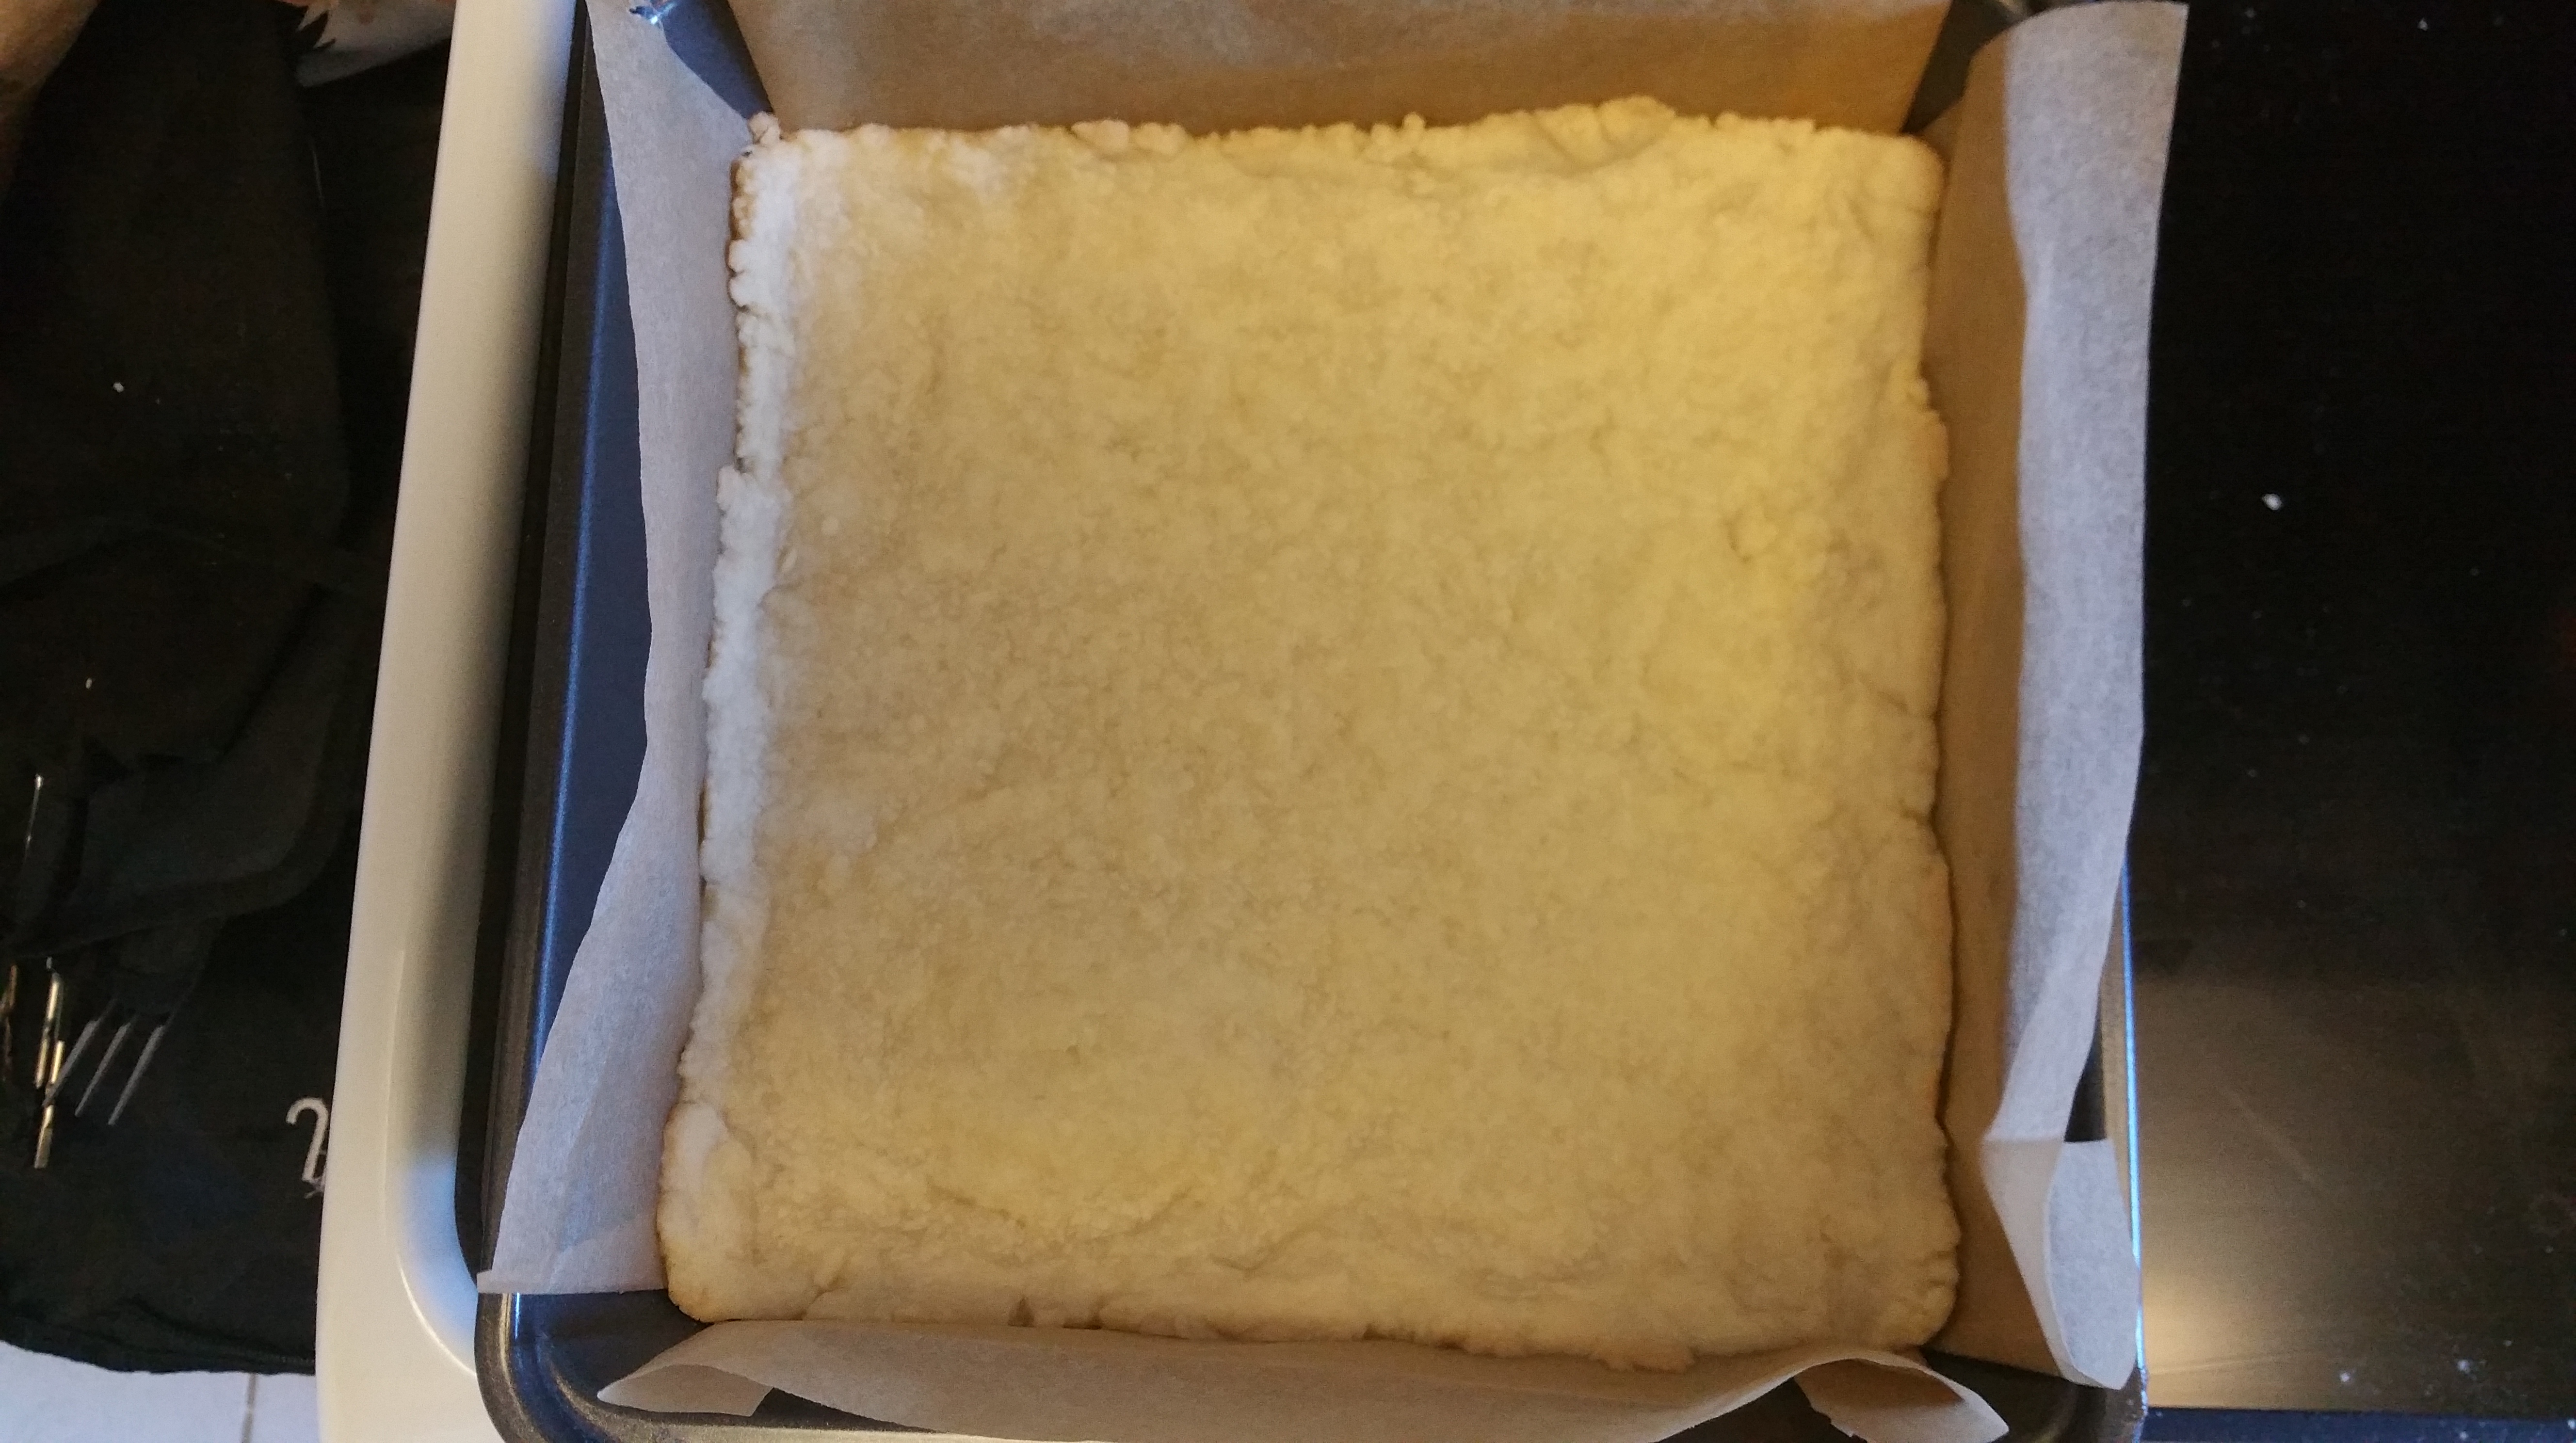
Butter, flour, and line with parchment a standard half sheet pan (12×17 in.), then butter and flour the parchment paper.
Preheat the oven to 450 degrees F.
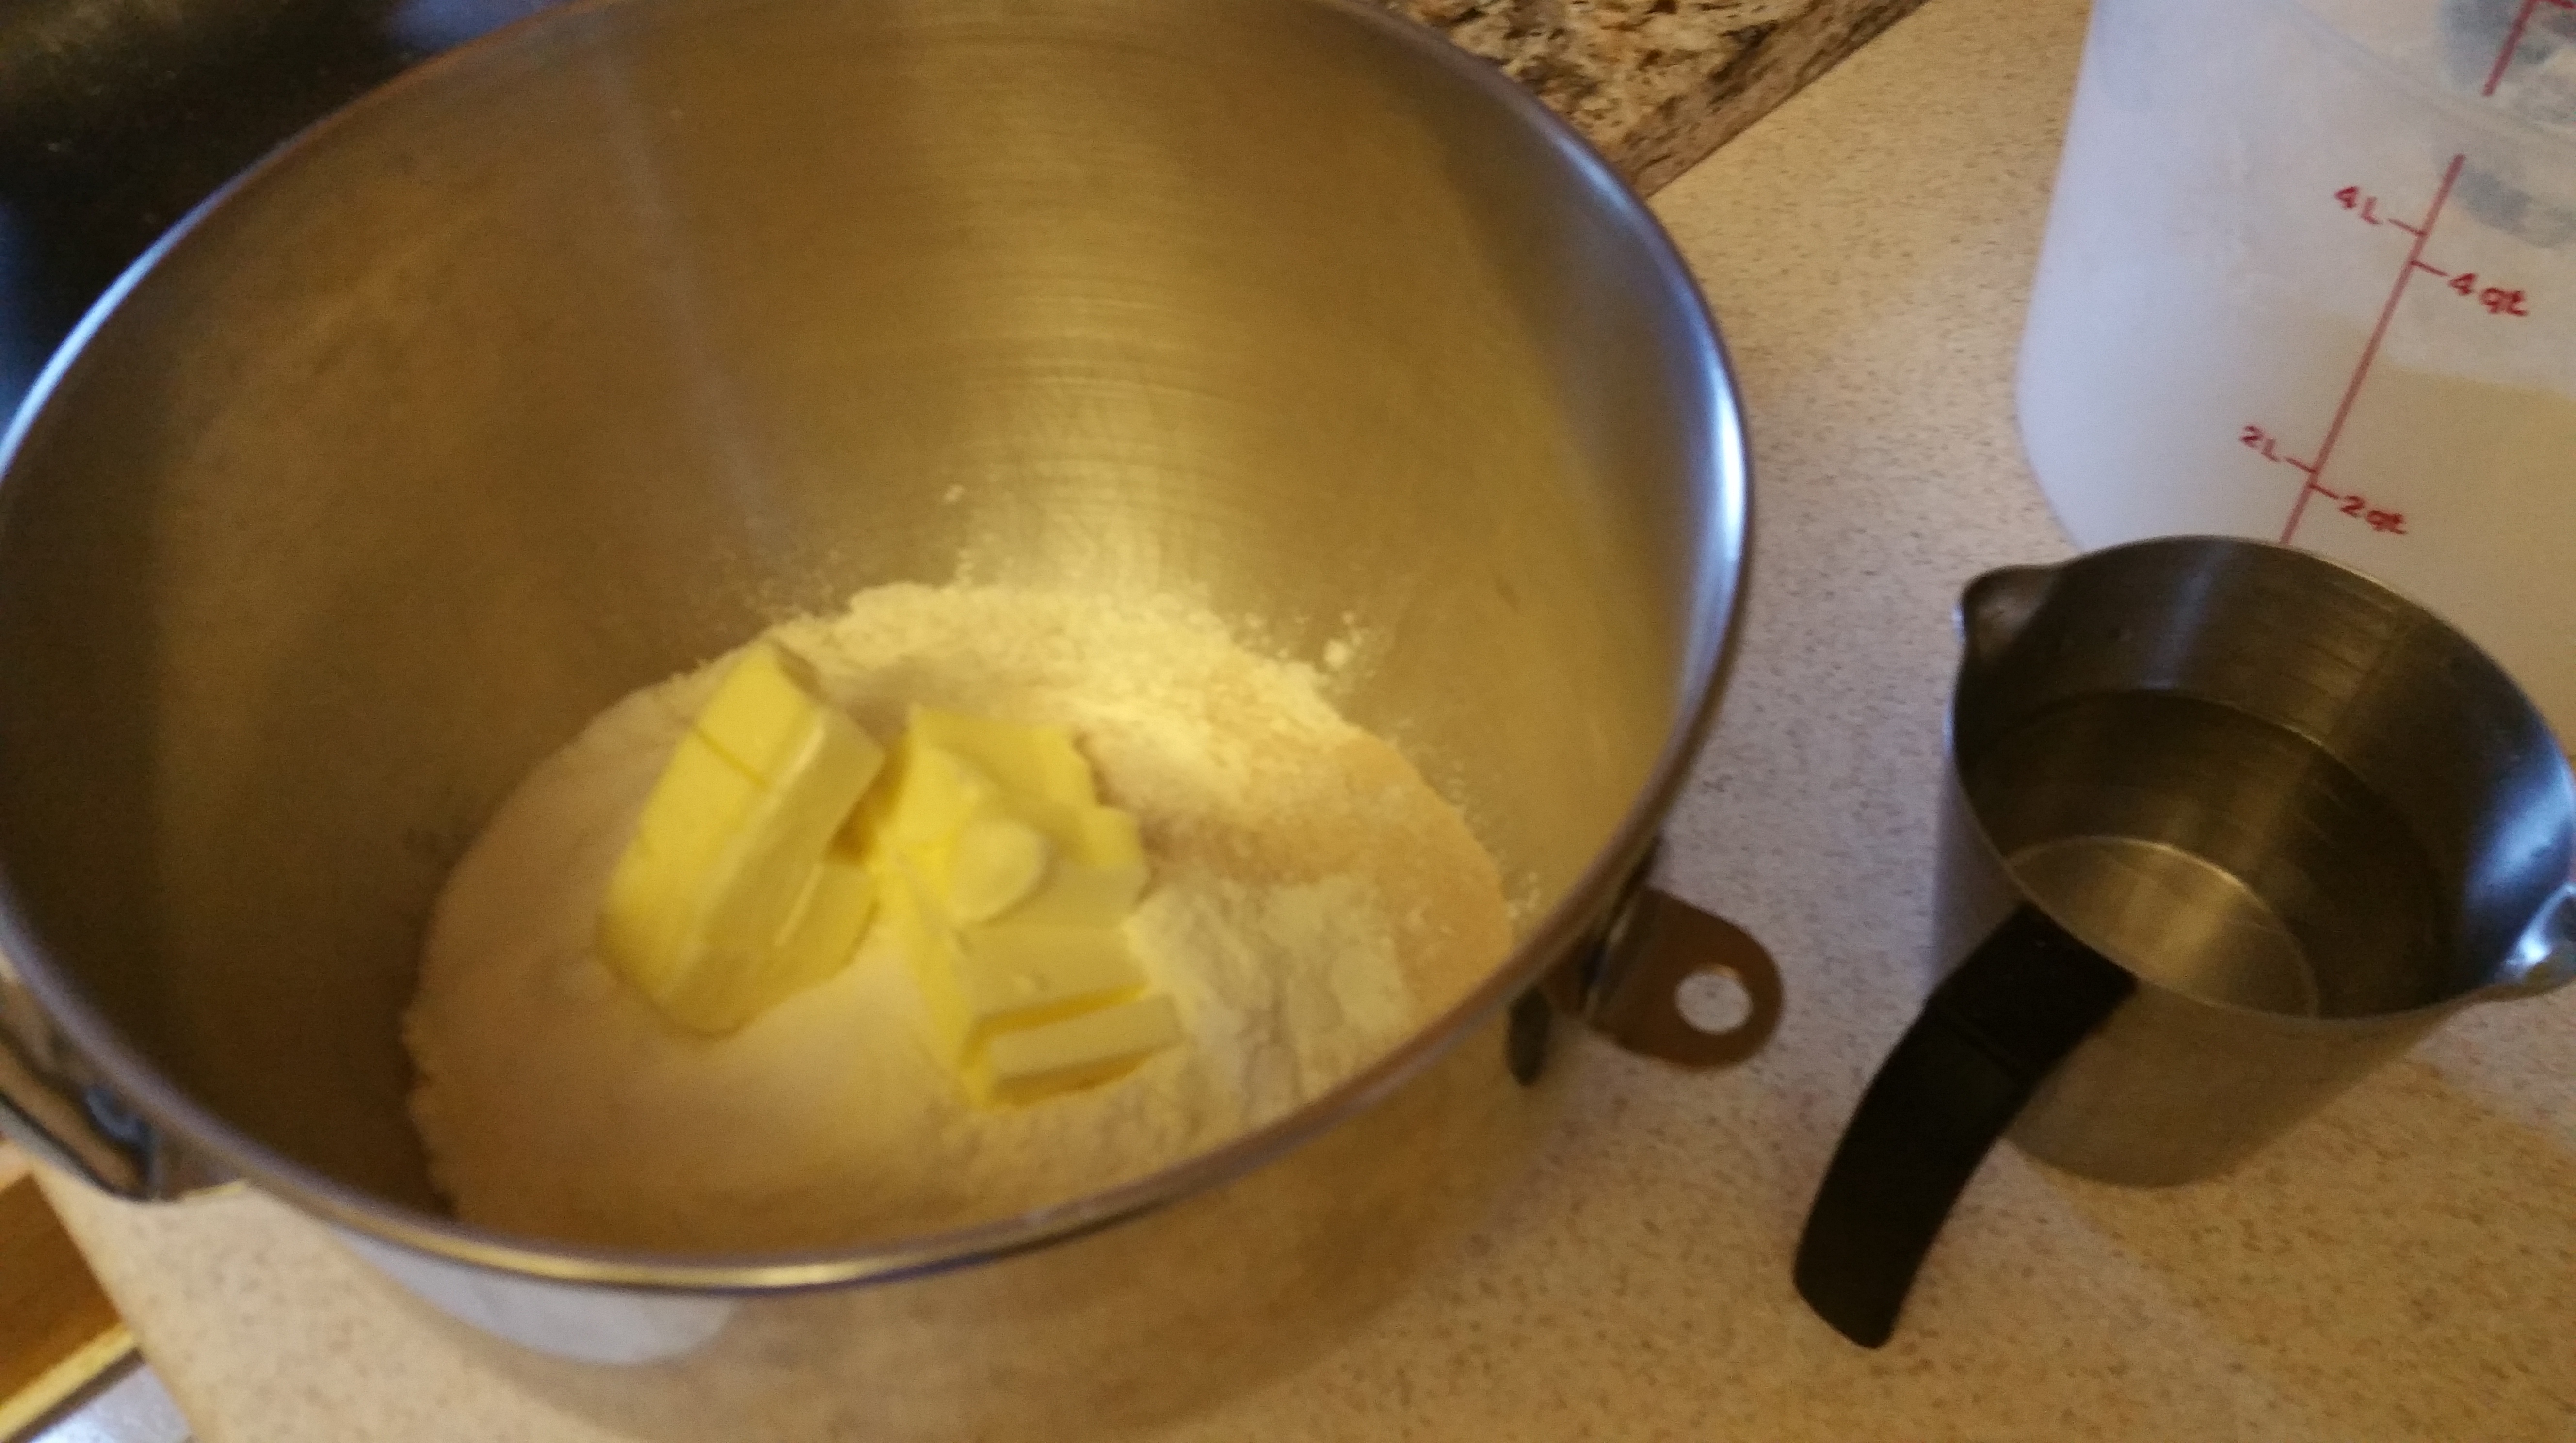
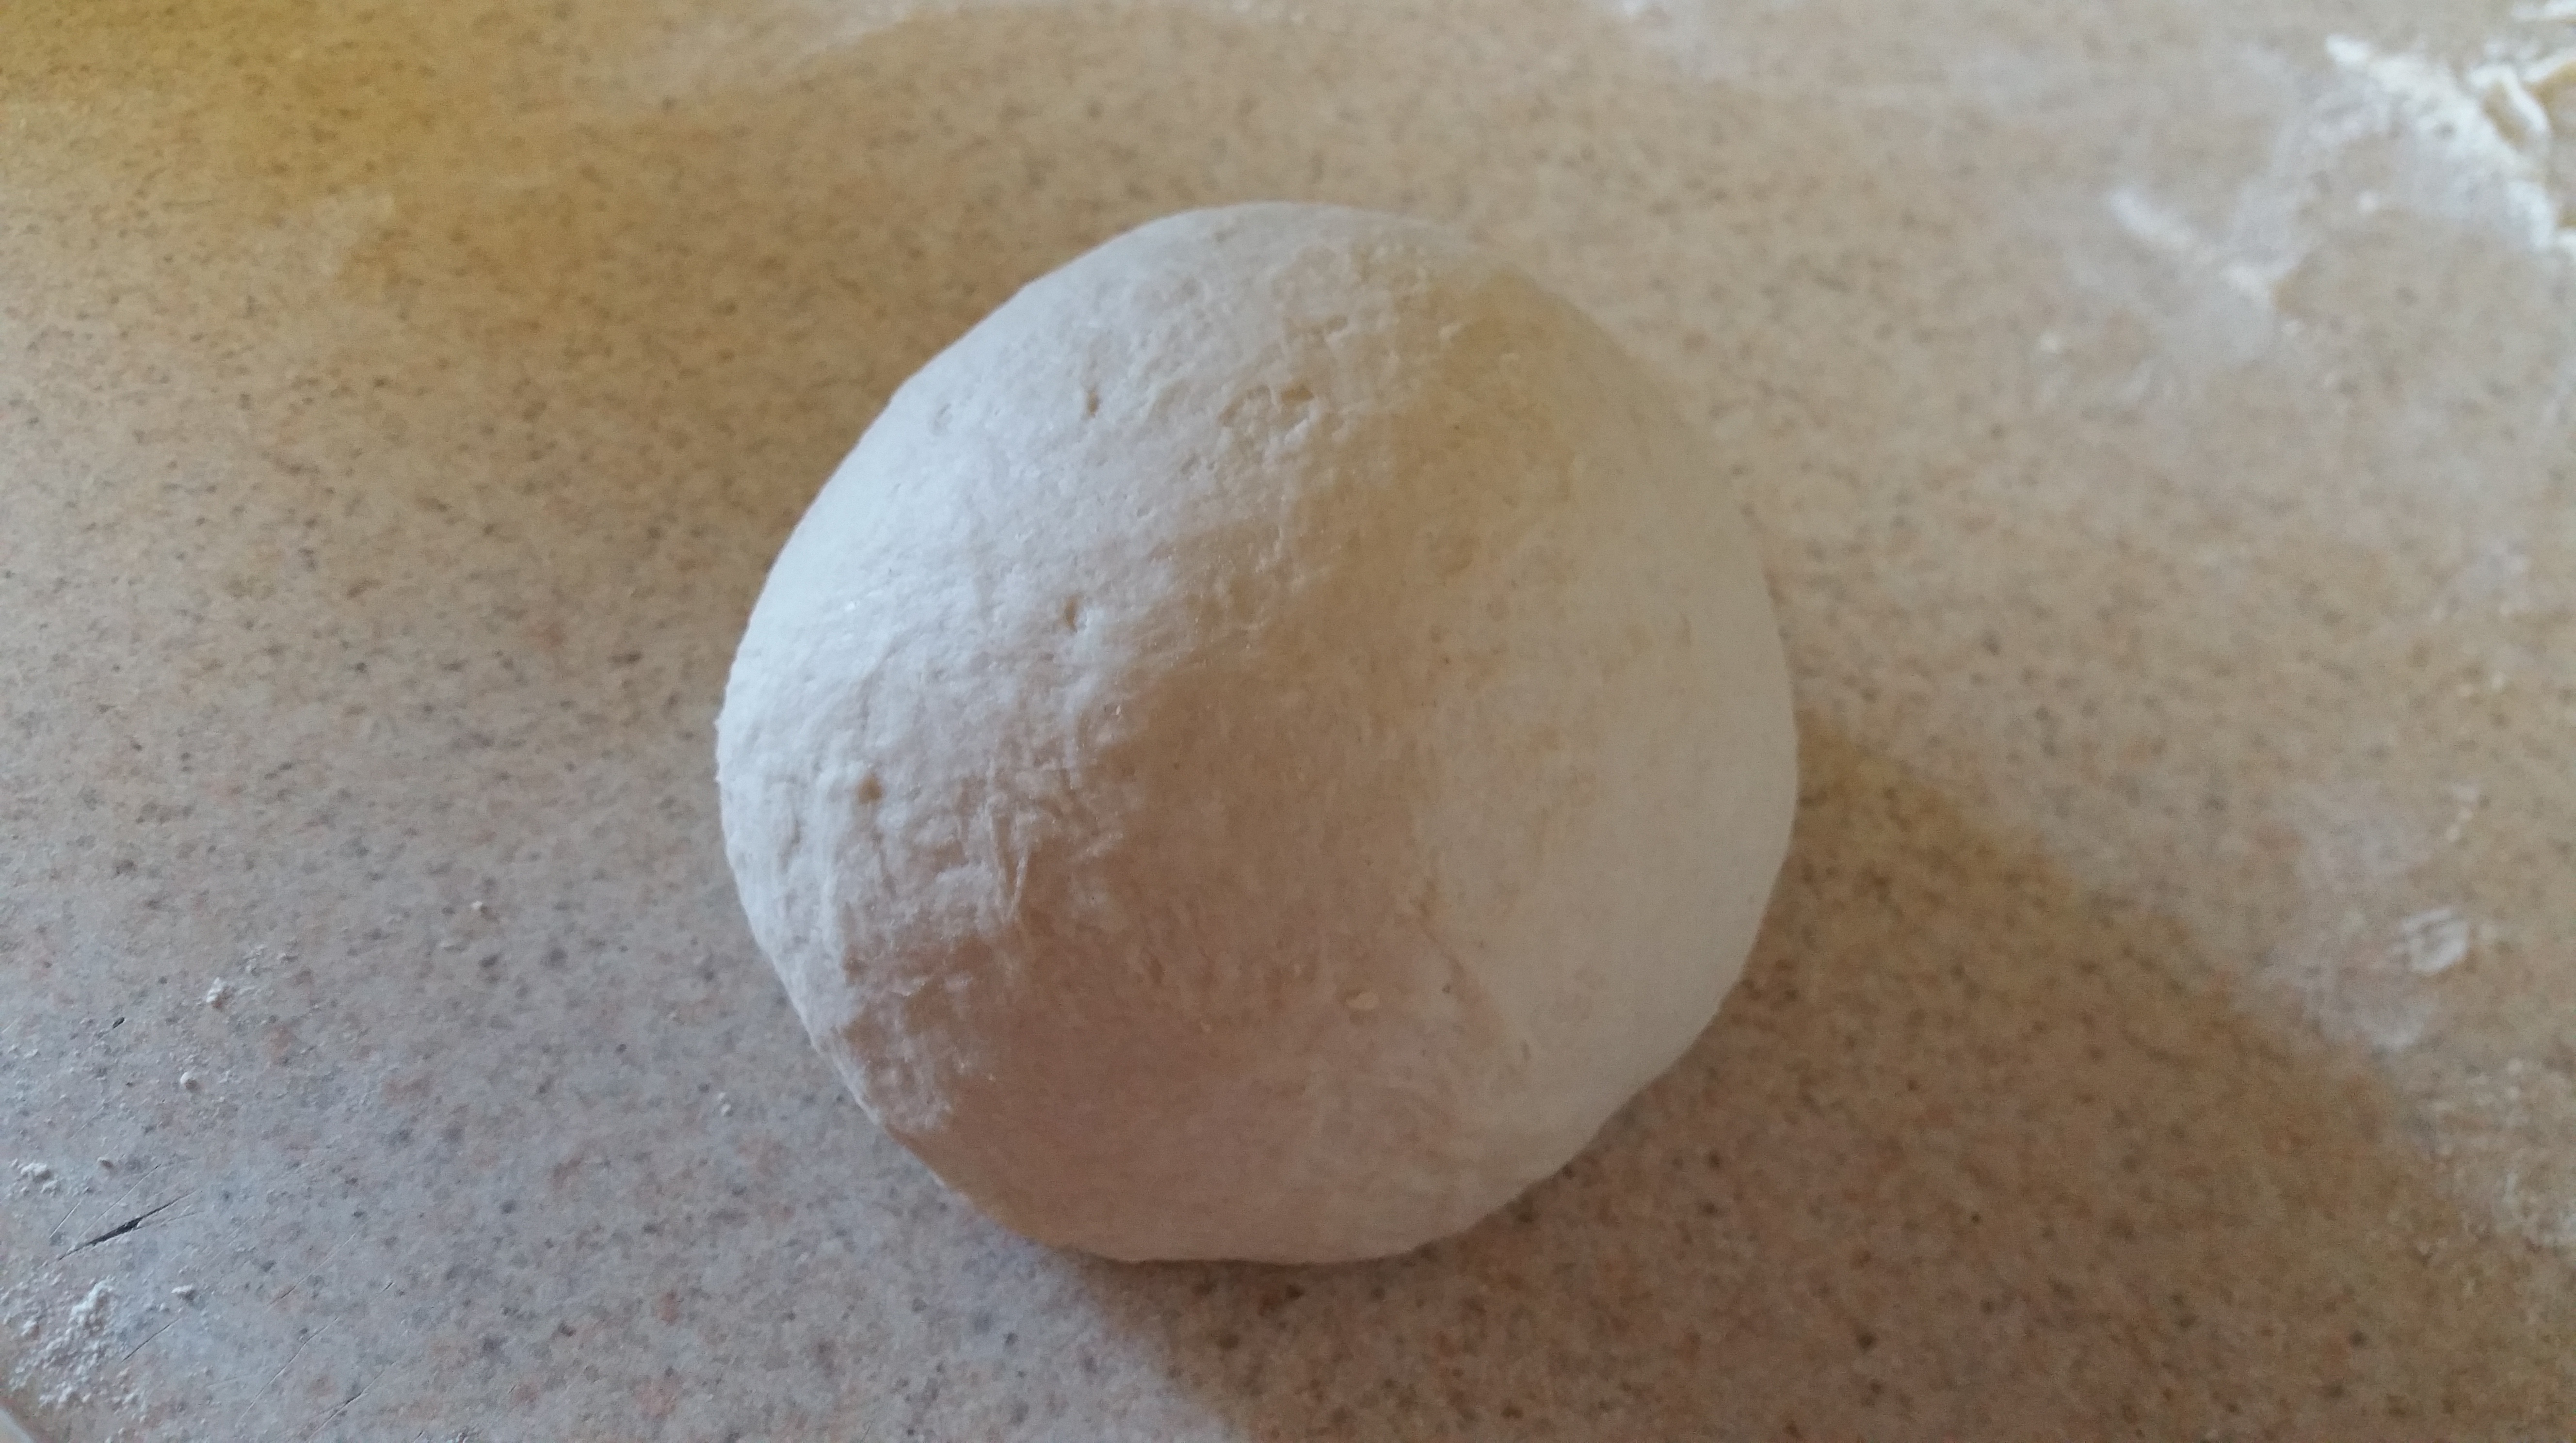
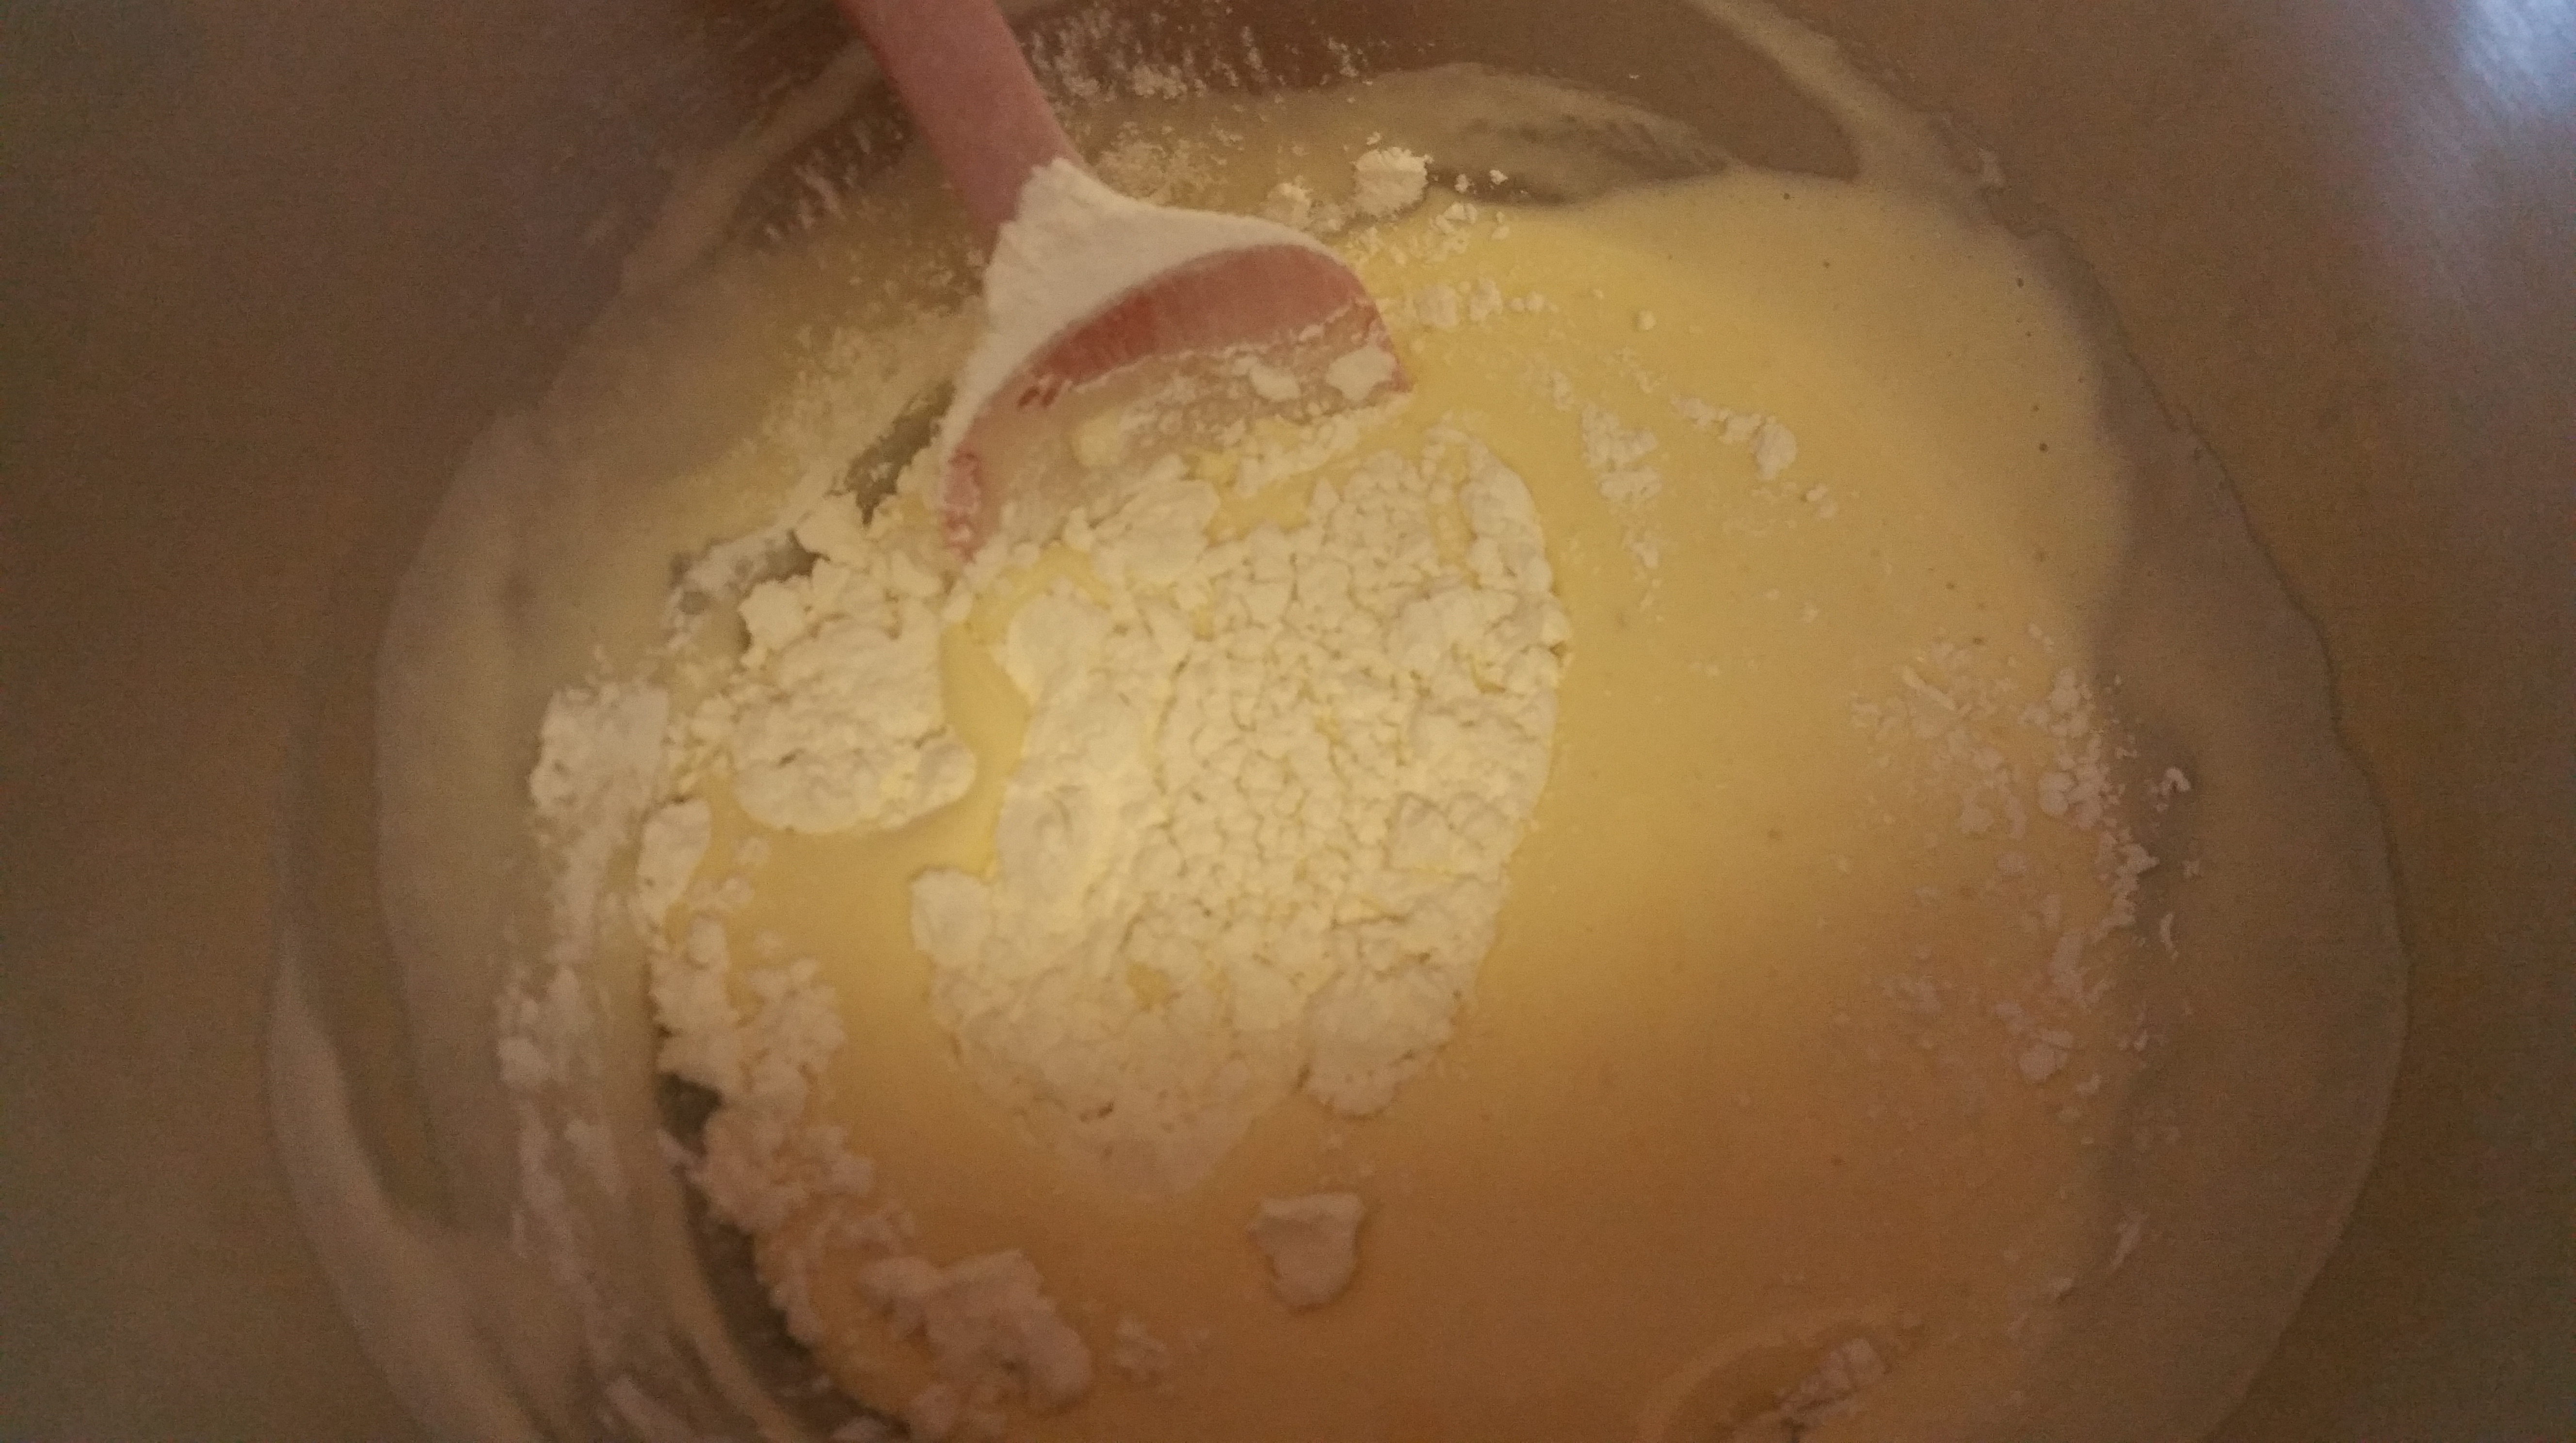
Sift together the flour and cornstarch and set aside.
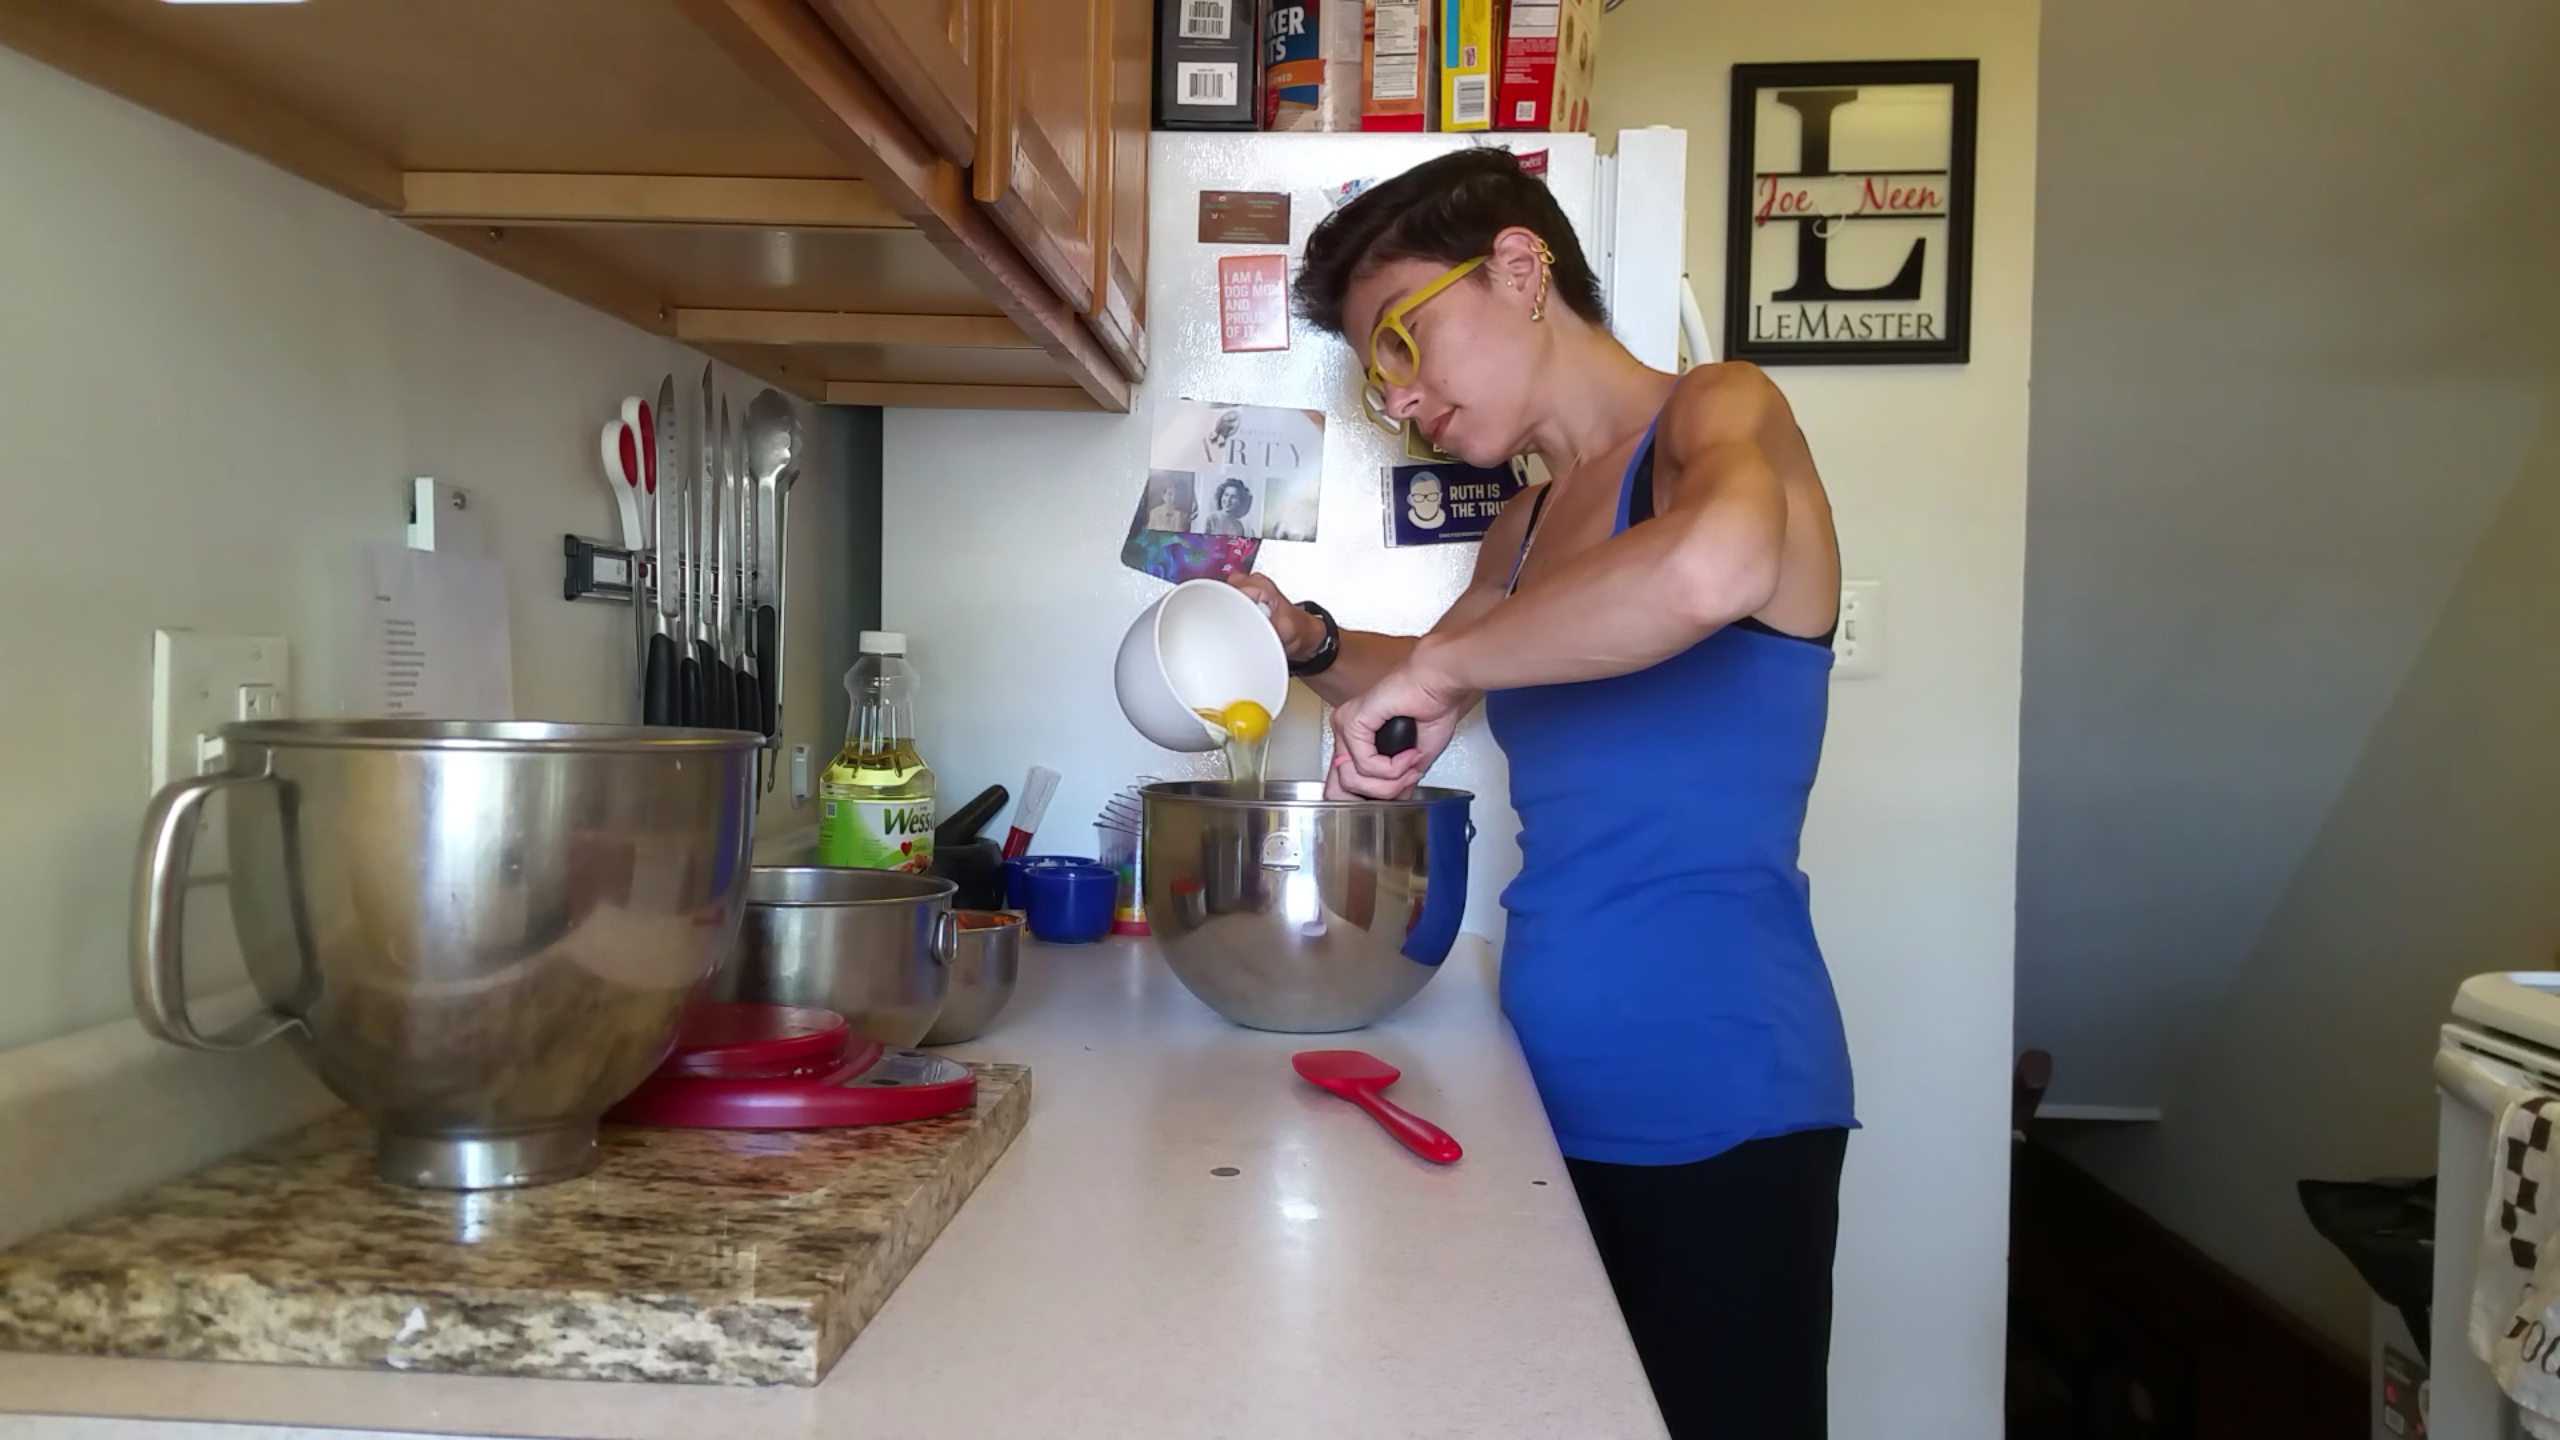
Separate two of the eggs. Set the whites aside, and to the yolks add the two remaining whole eggs and one egg yolk.
Place the egg yolk and whole egg mixture in the bowl of a stand mixer along with ½ cup of the sugar. Beat this mixture on high speed until it is pale yellow and thick. This will take a good five minutes. Add the vanilla extract and beat well. Move this mixture to another bowl and clean and dry the stand mixer bowl.


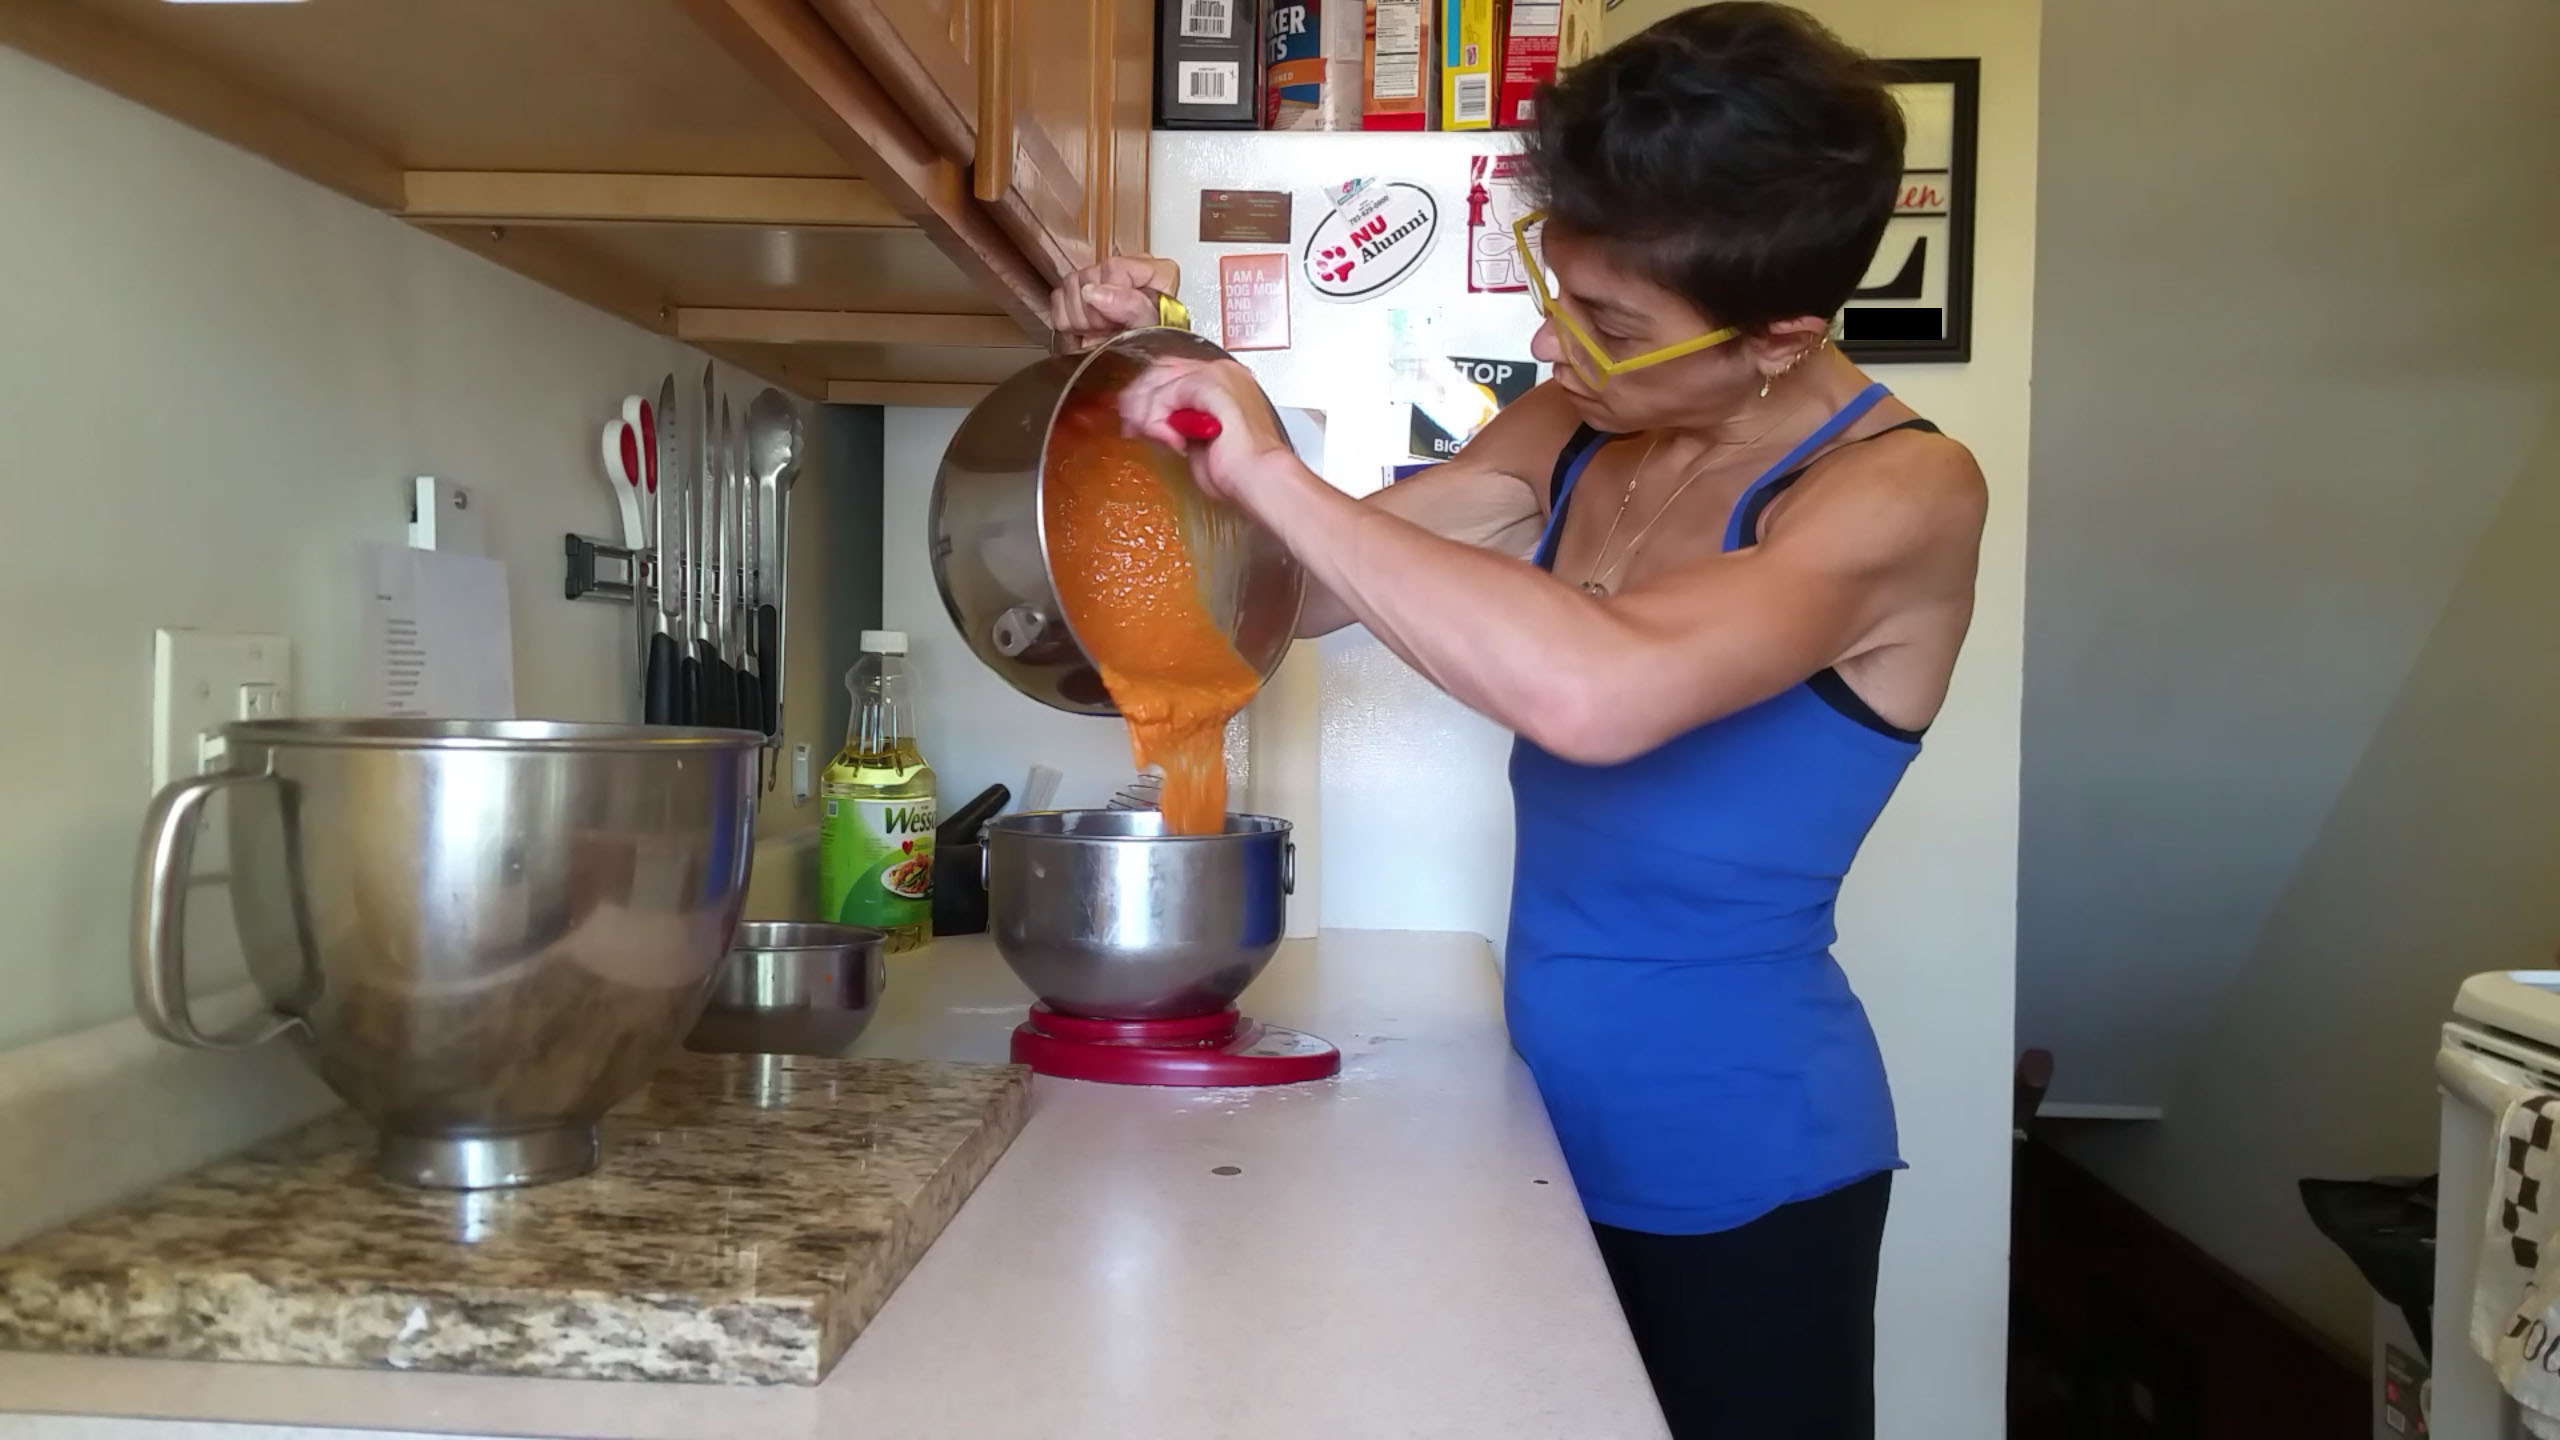
Sift half of the flour mixture over the egg and sugar mixture and fold in gently, then do this with the second half of the flour mixture. Set this aside.

Add the egg whites and cream of tartar to the clean stand mixer bowl and secure a whisk attachment. Beat on high speed until the egg whites are very foamy and then slowly add the remaining 1 tbsp. sugar. Continue to beat on high speed until stiff peaks form.

Fold a small portion of the whipped egg whites into the batter to lighten it, and then gently fold in the rest.

Pour the batter onto the prepared sheet pan and use an offset palette knife to spread it to the edges in an even layer.

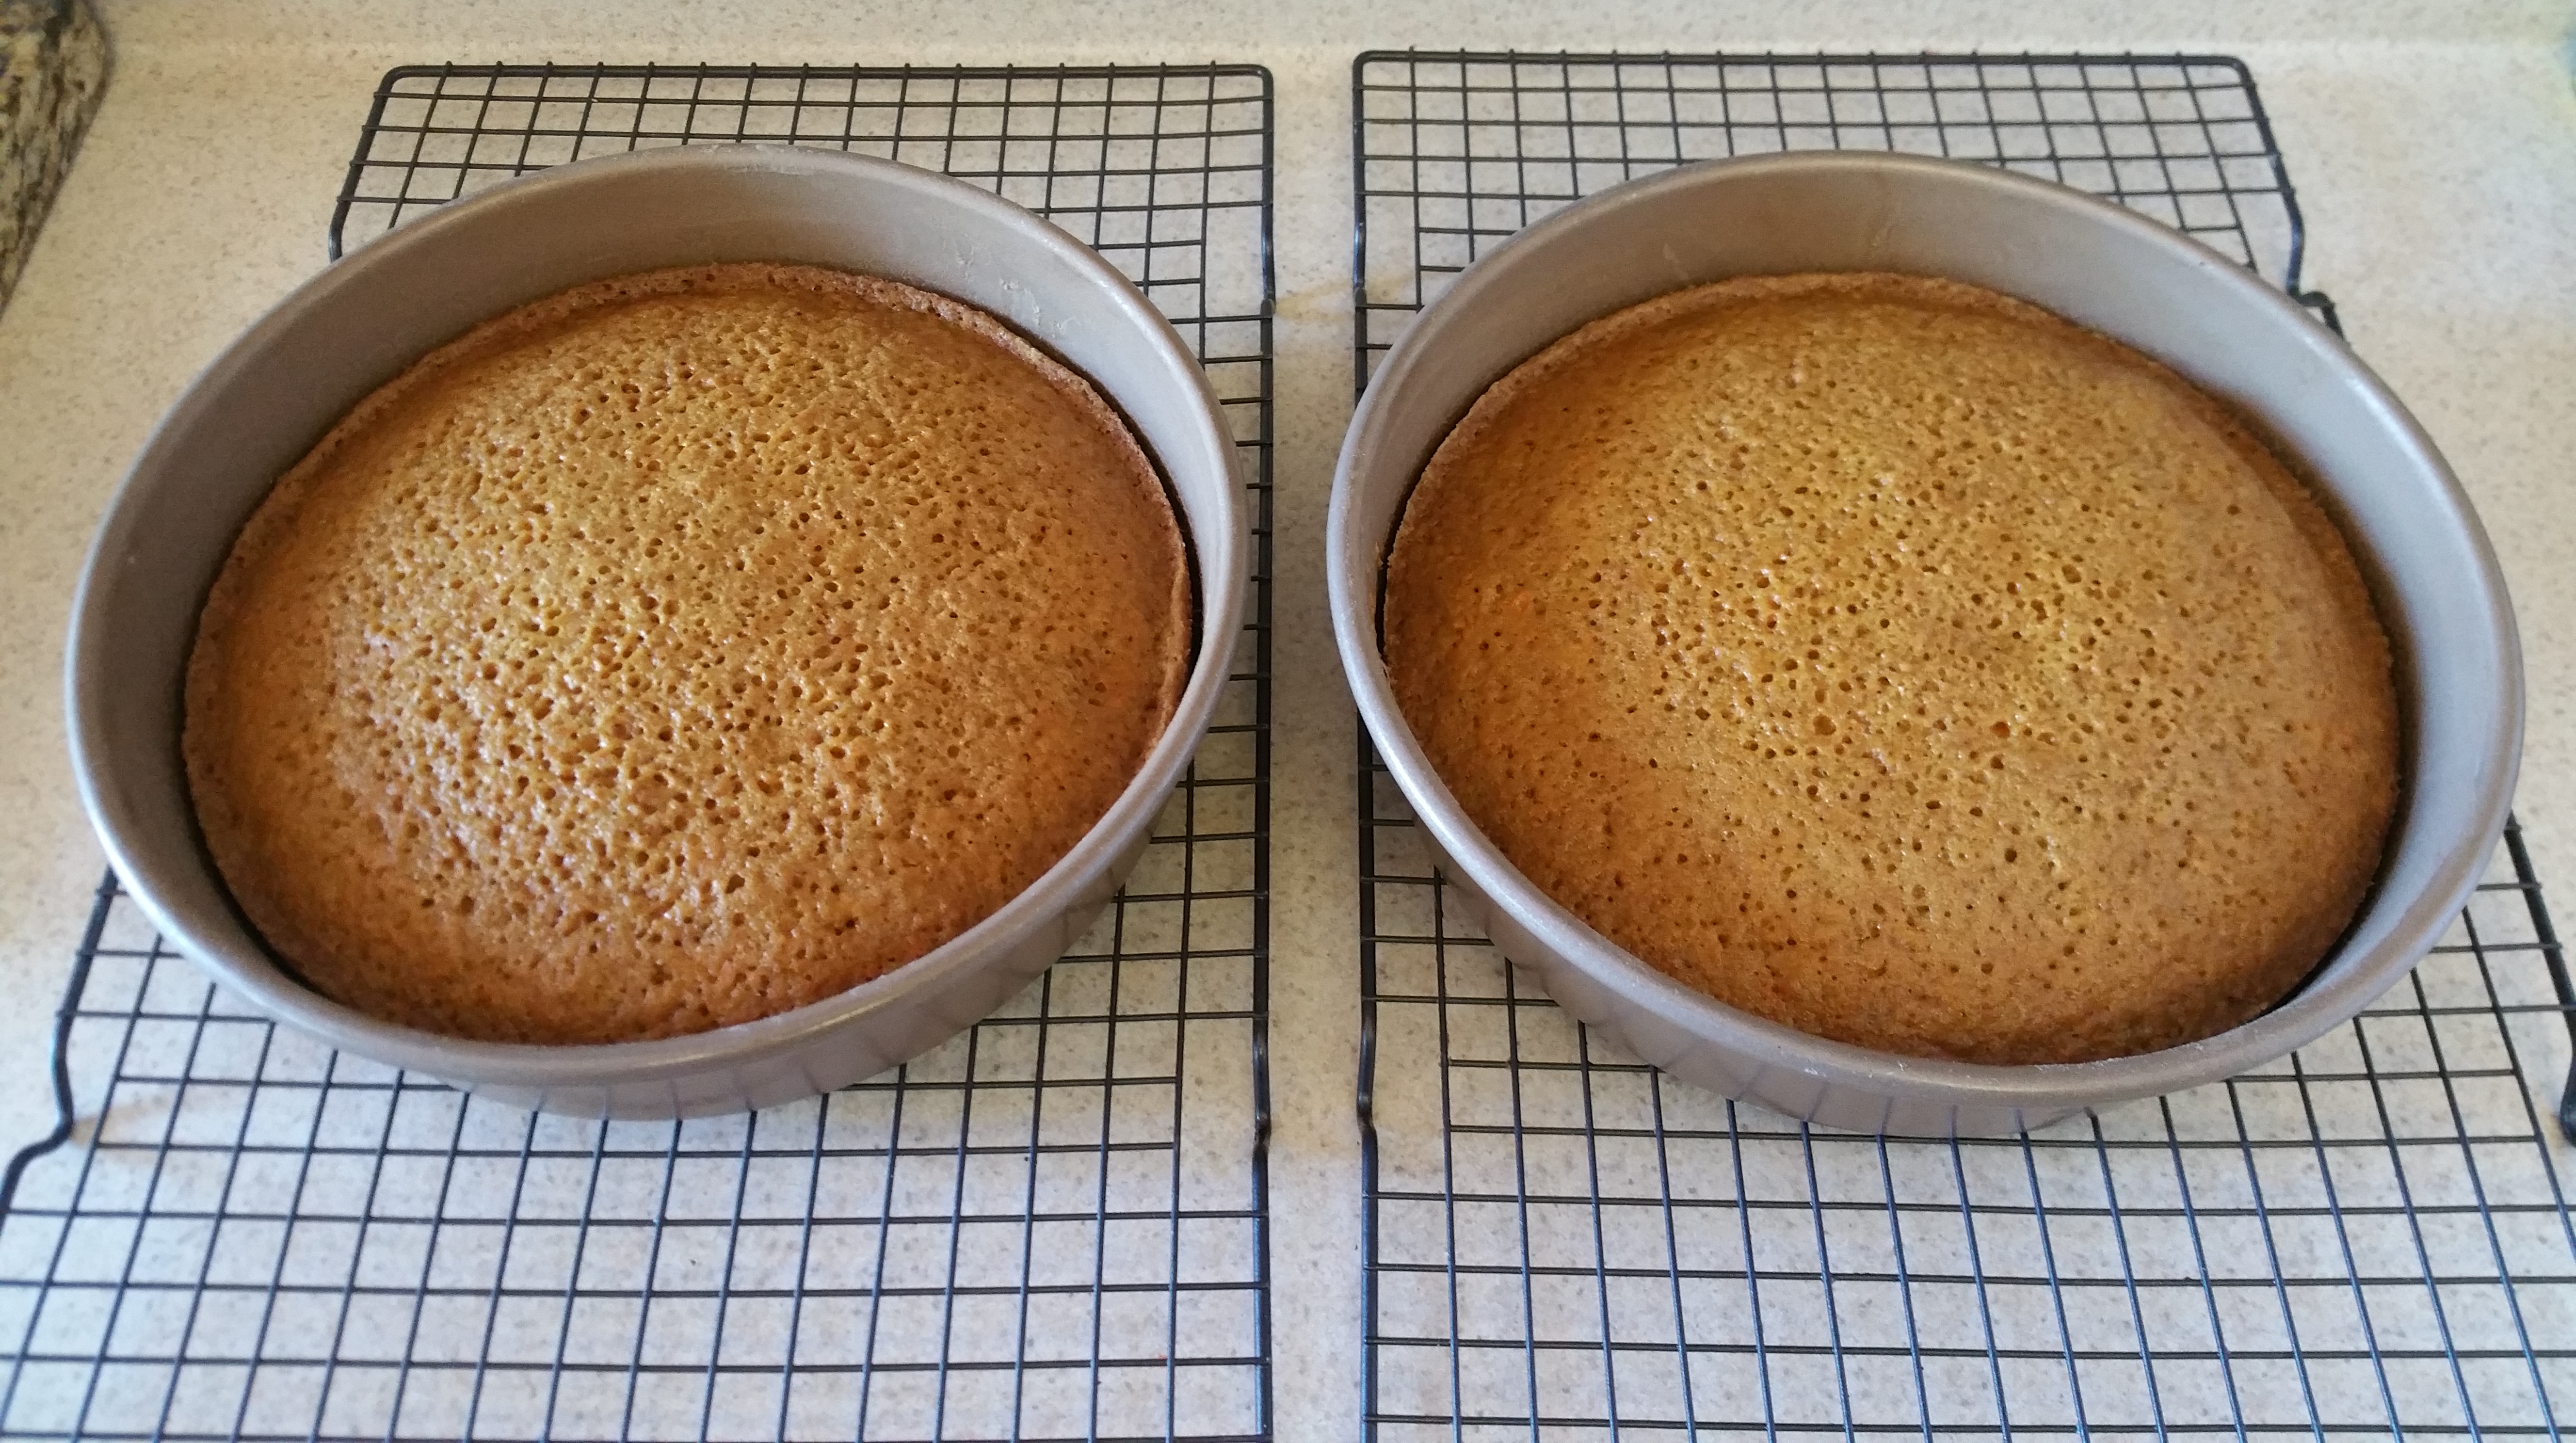
Bake the cake for about 7 minutes, or until it springs back when touched and is golden brown.

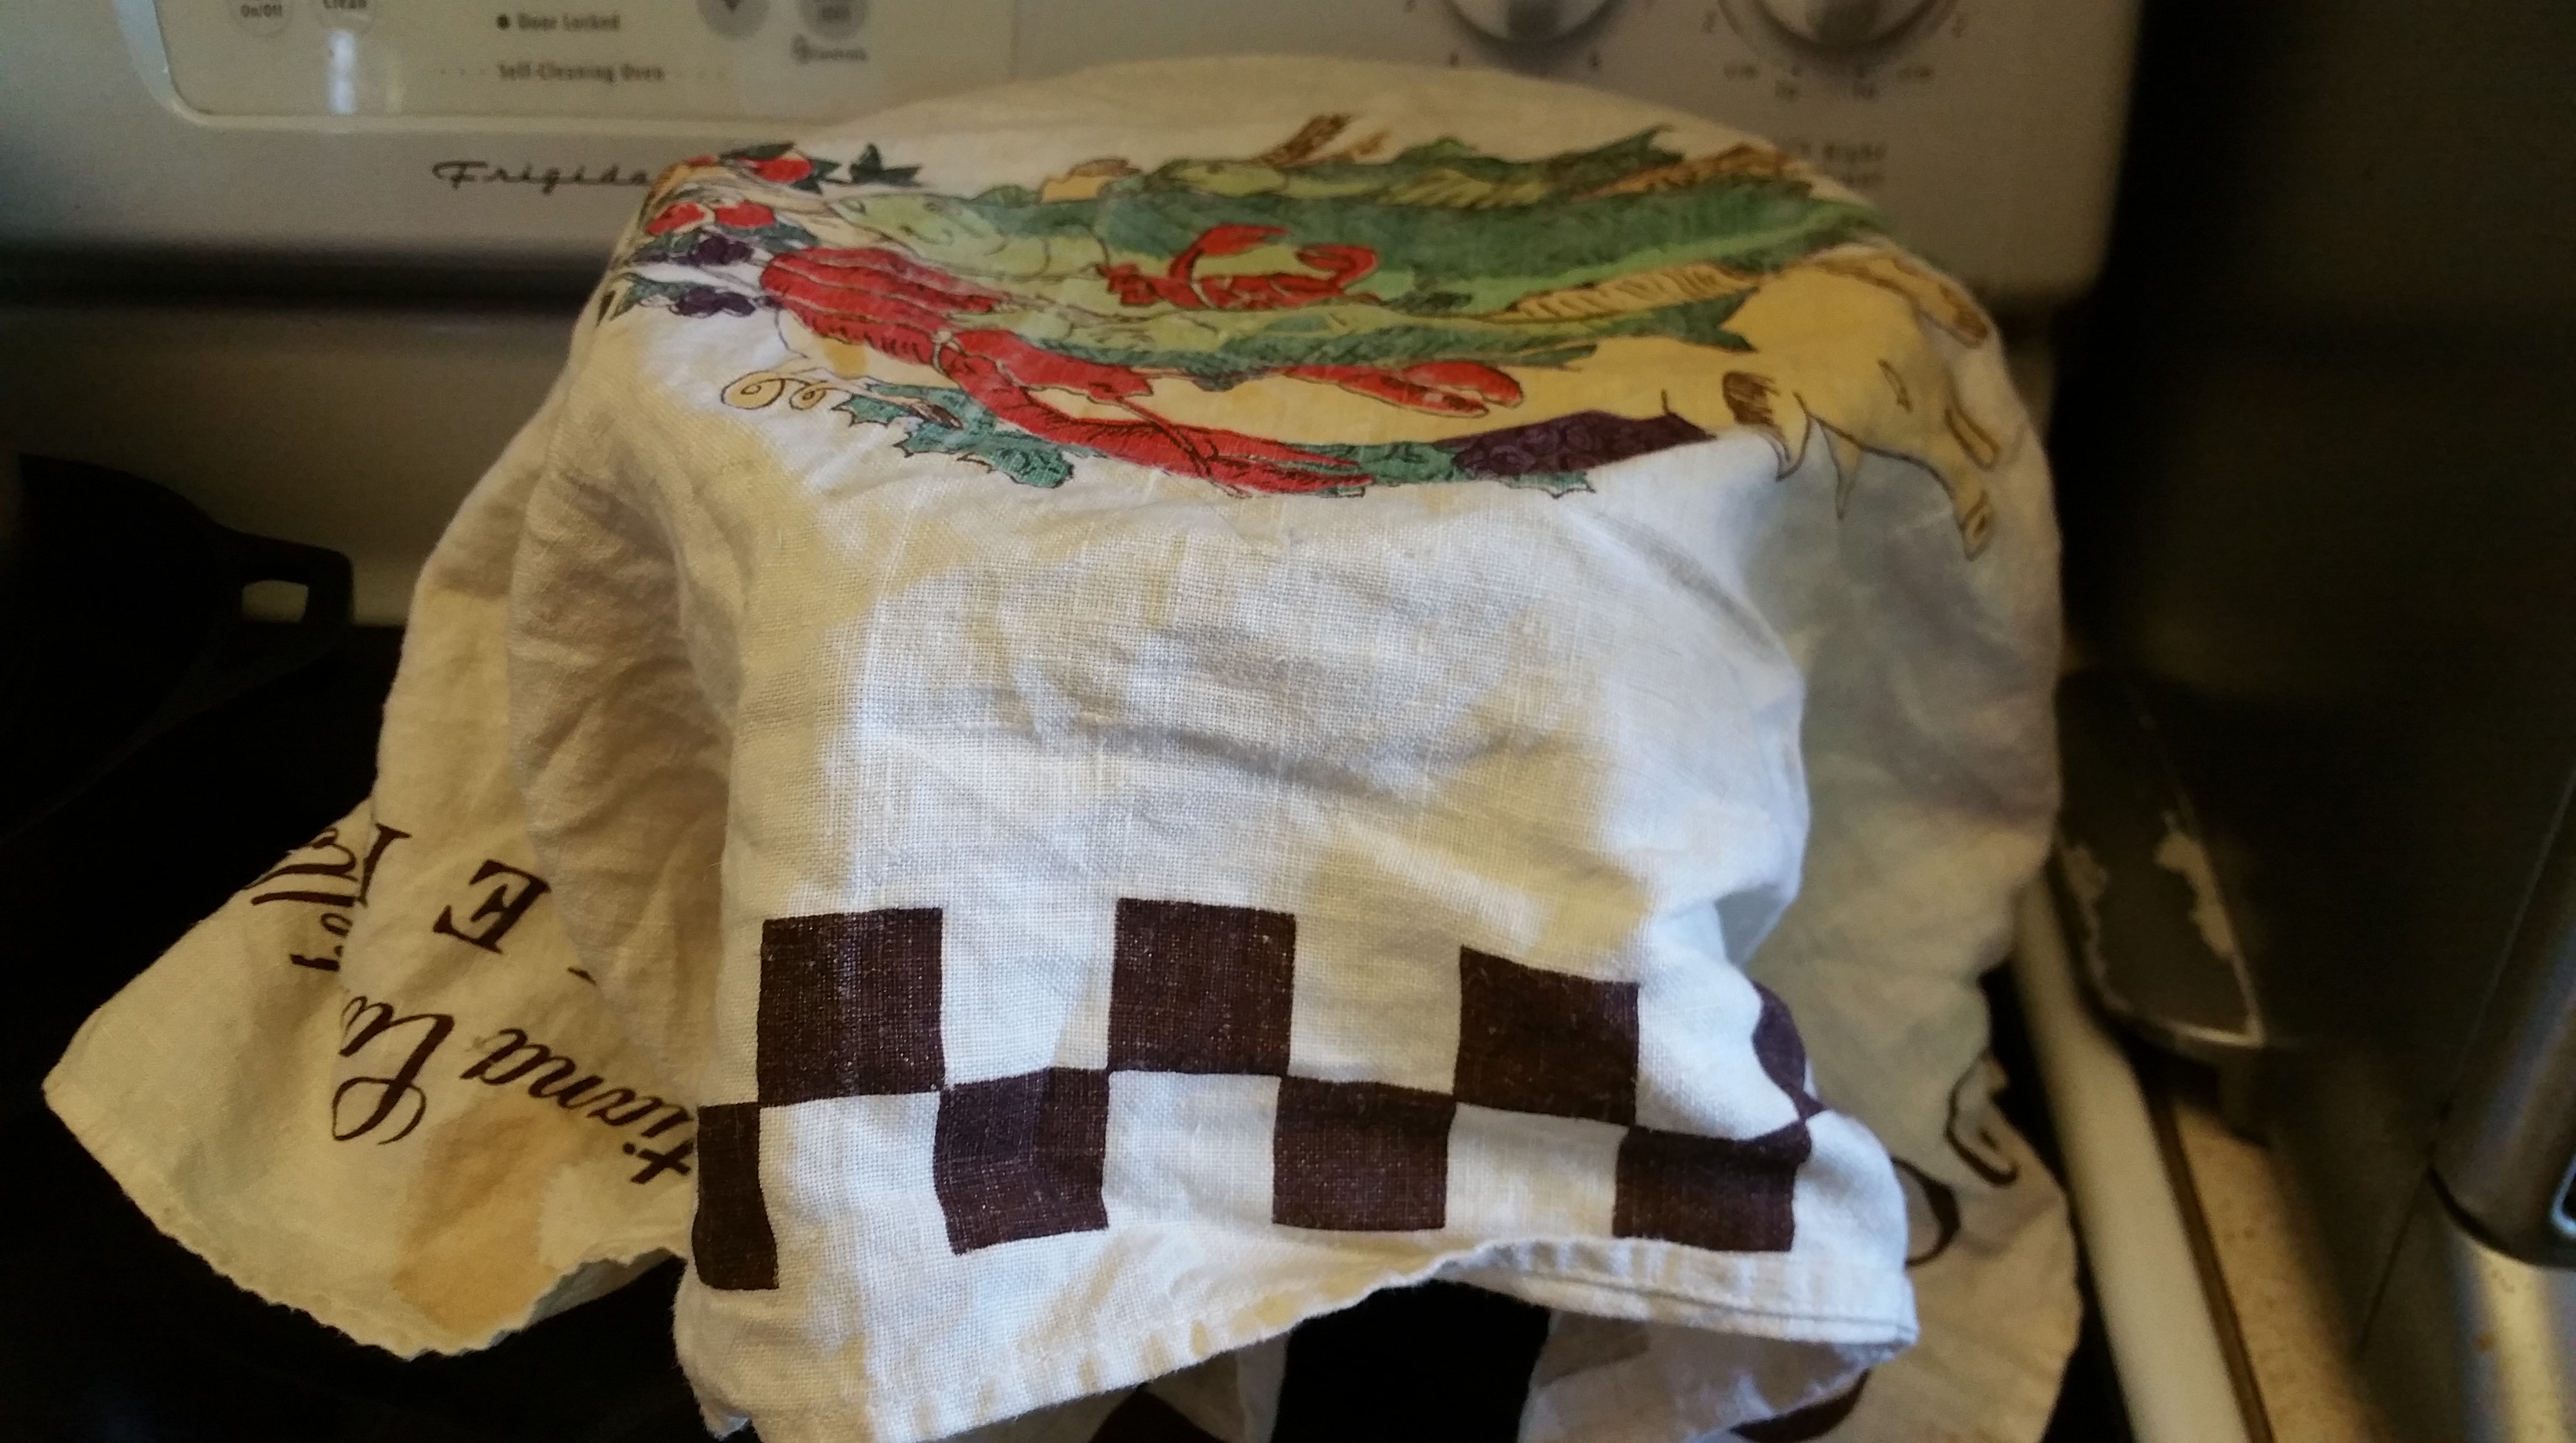
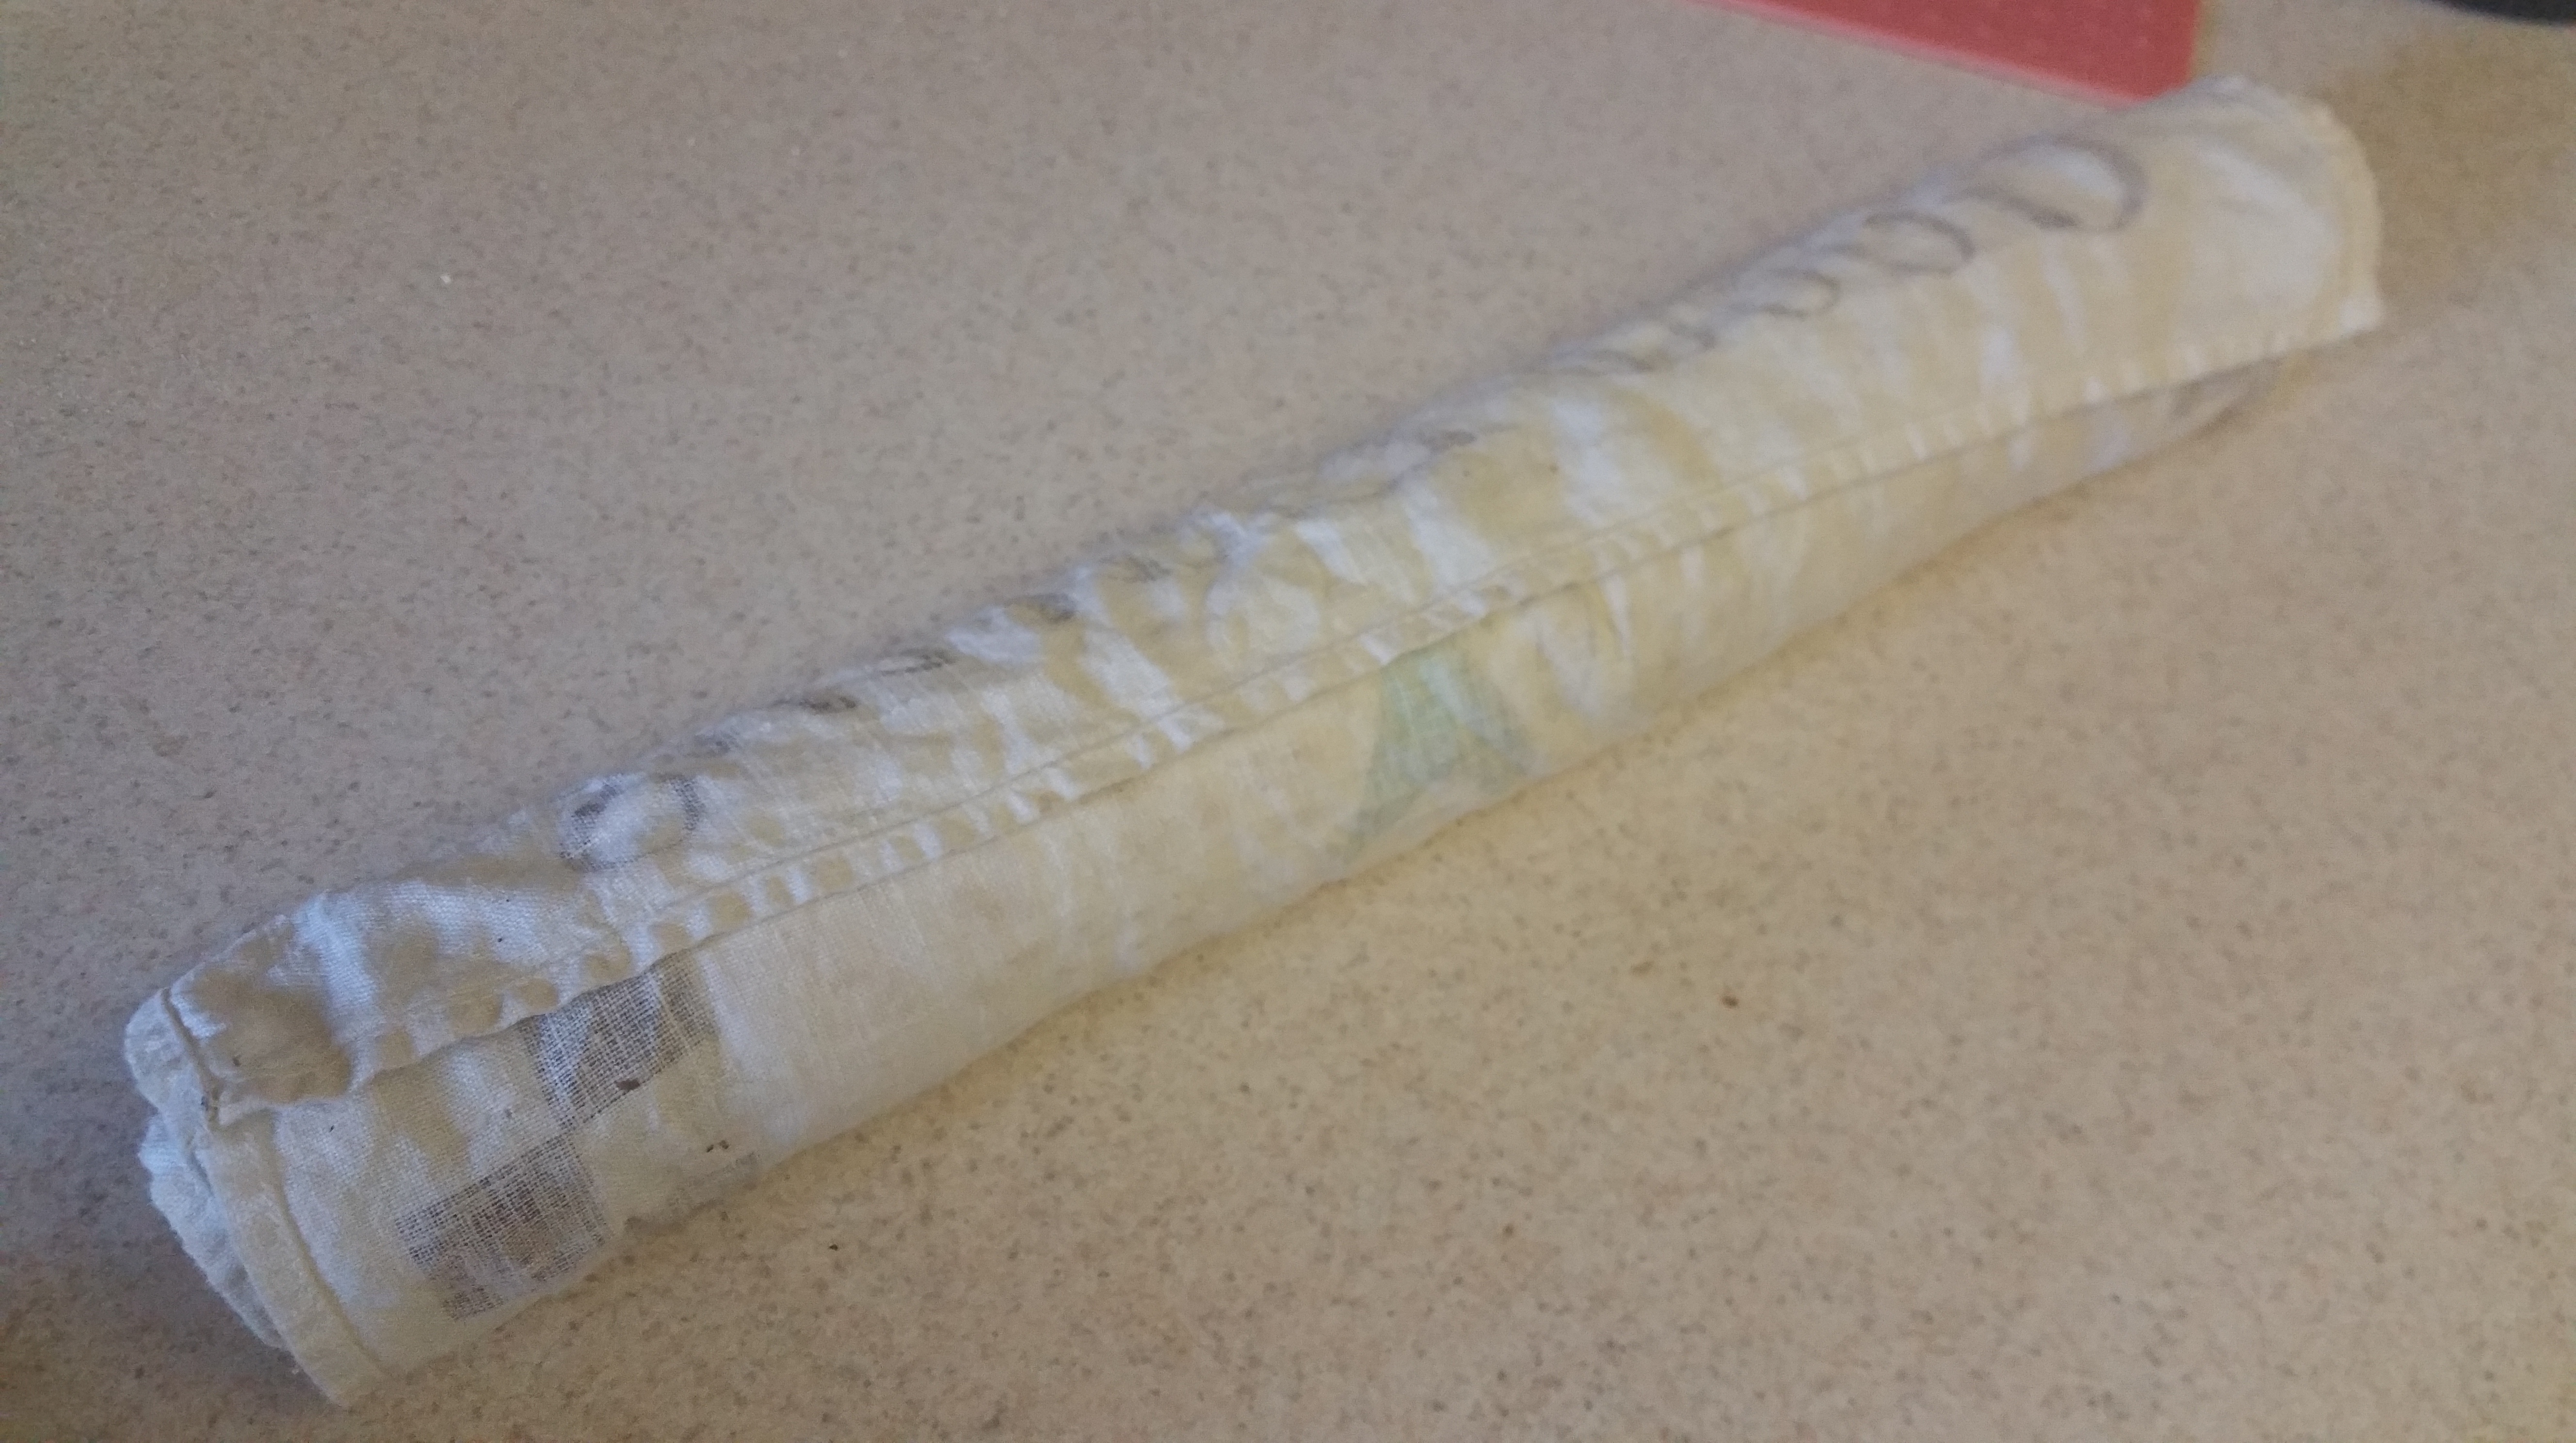
While the cake is baking, lay a clean towel at least the size of the sheet pan out on the counter.
As soon as you take the cake out of the oven, dust the top lightly with powdered sugar and invert it onto the clean towel. Remove the parchment paper lining from the cake, dust the bottom (now top) with powdered sugar, and gently roll the cake up in the towel. Place this on a wire rack and let it cool for at least an hour.
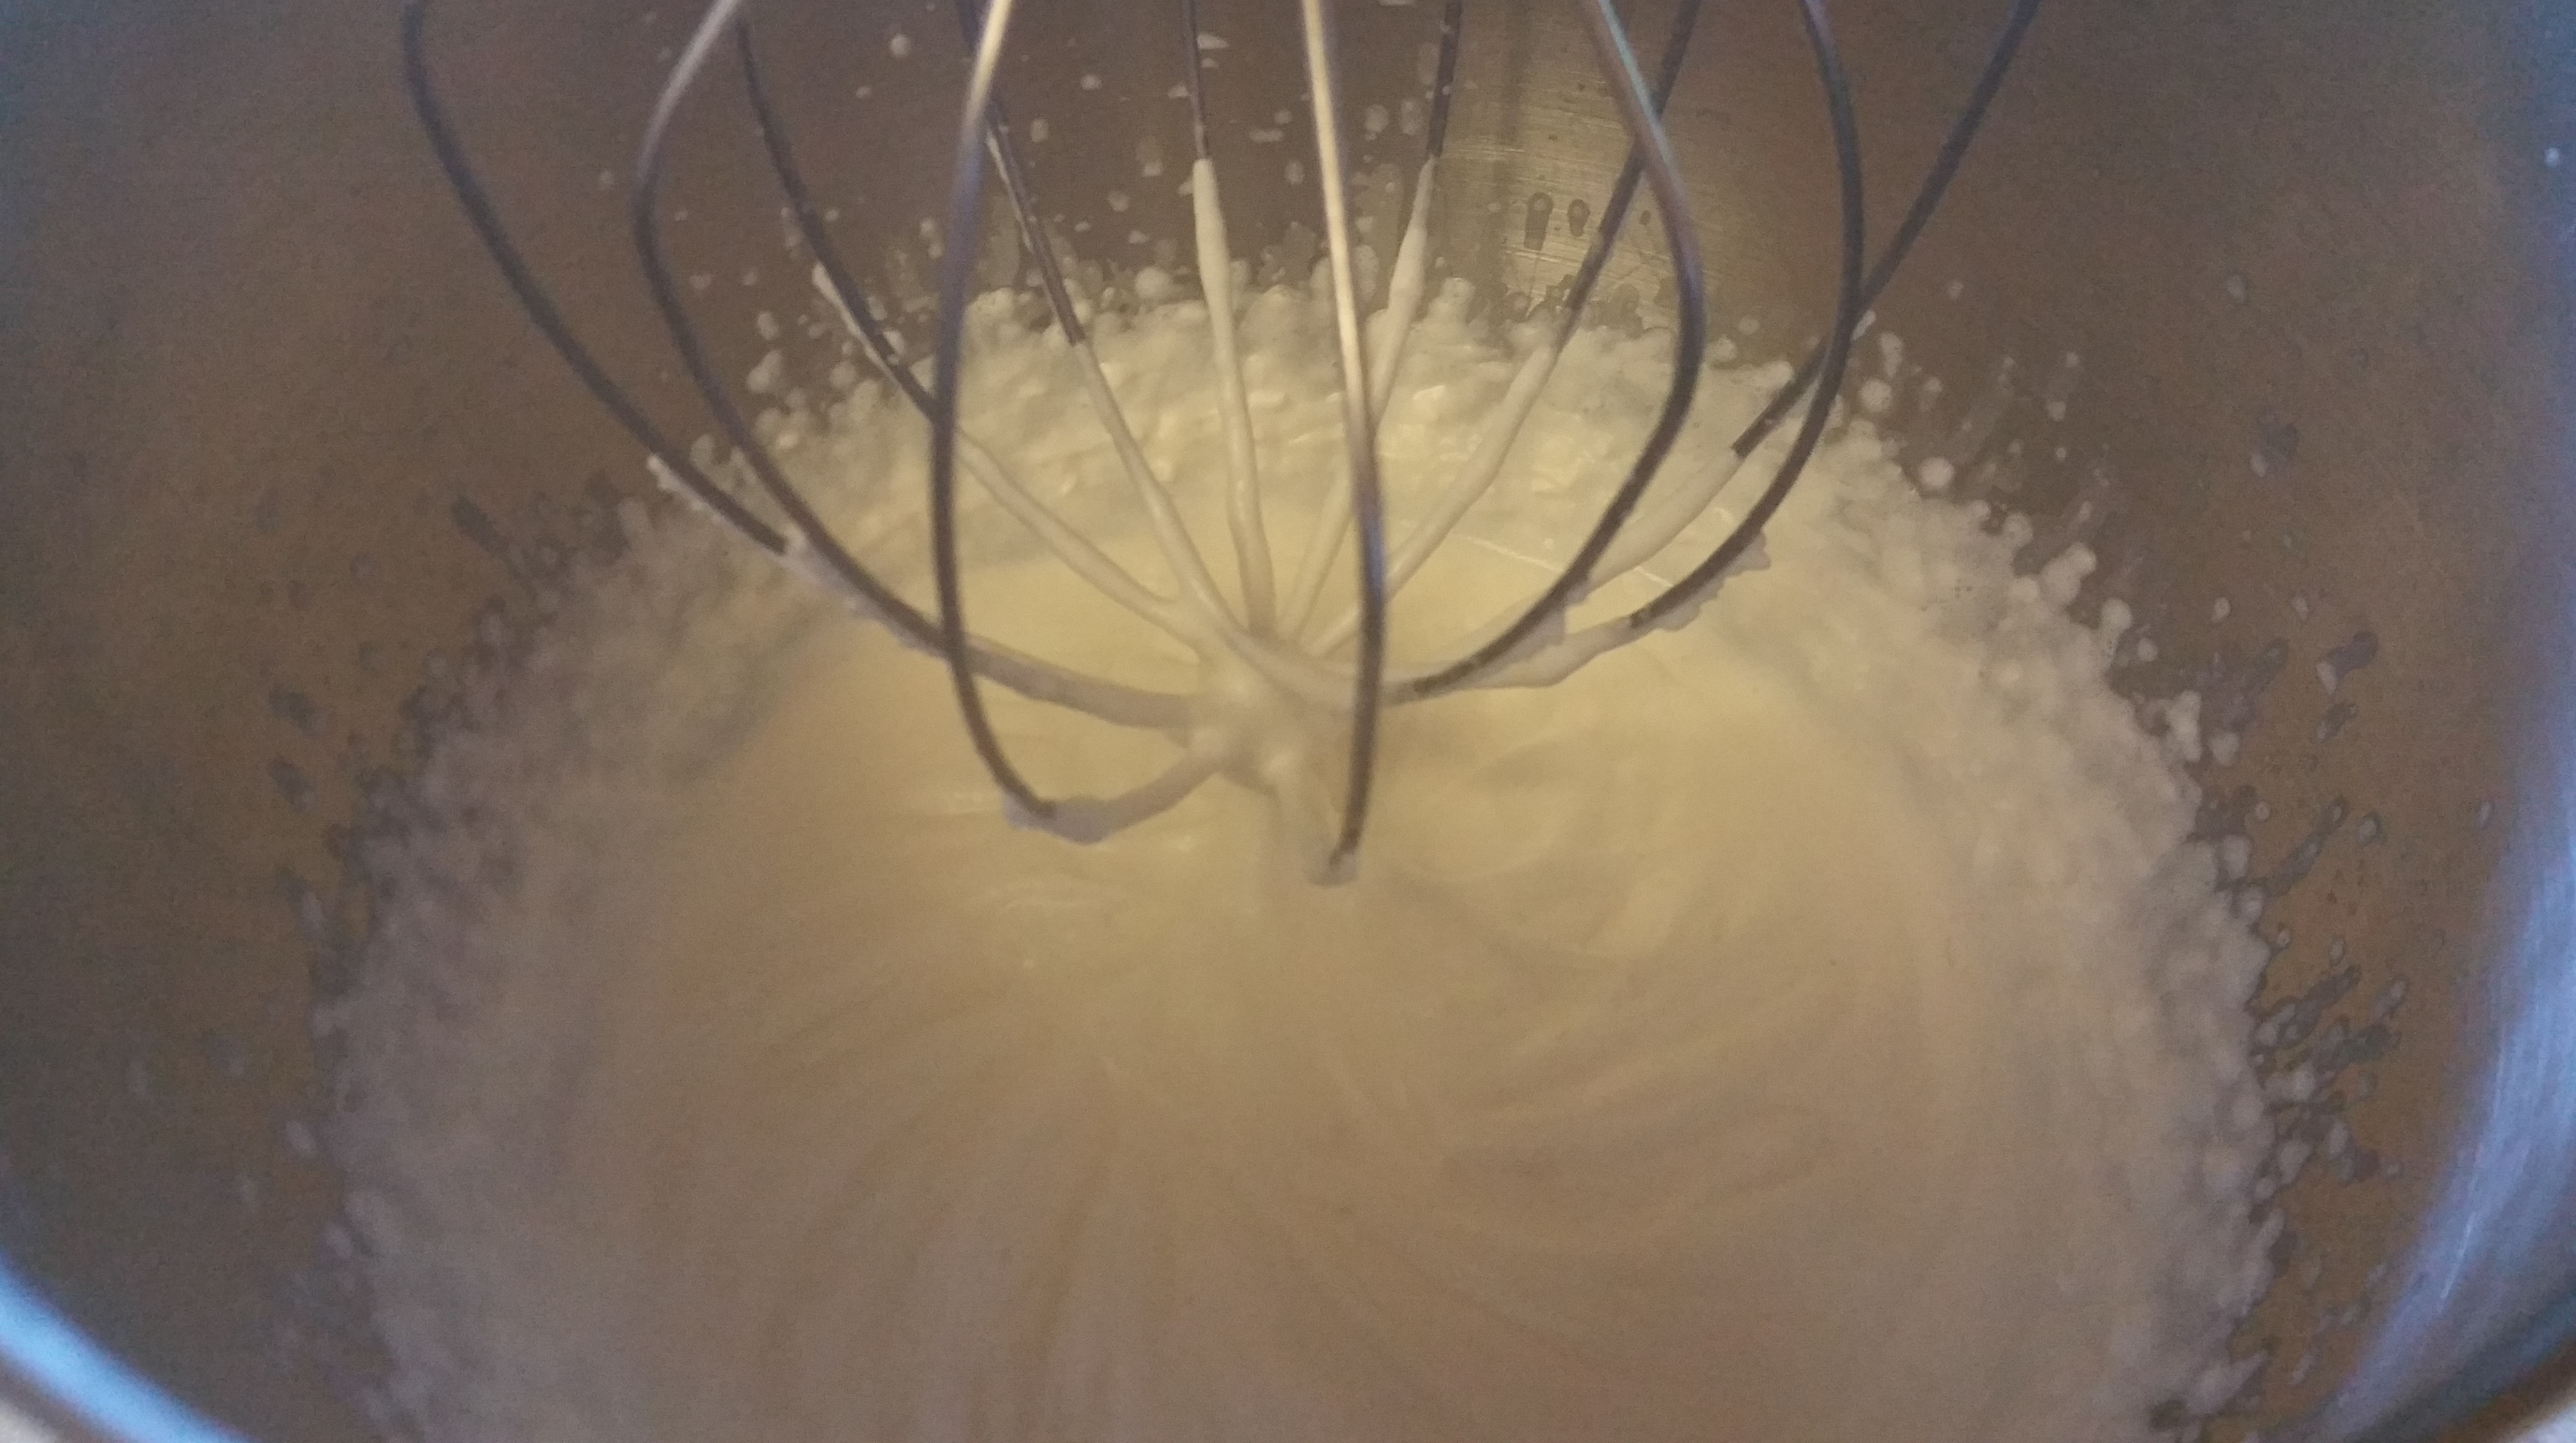
Clean the stand mixer bowl and whisk attachment, and place them in the refrigerator to chill for 15 minutes. If you have enough space in your freezer, you can use that too.
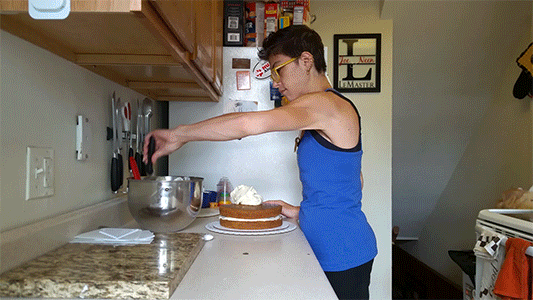
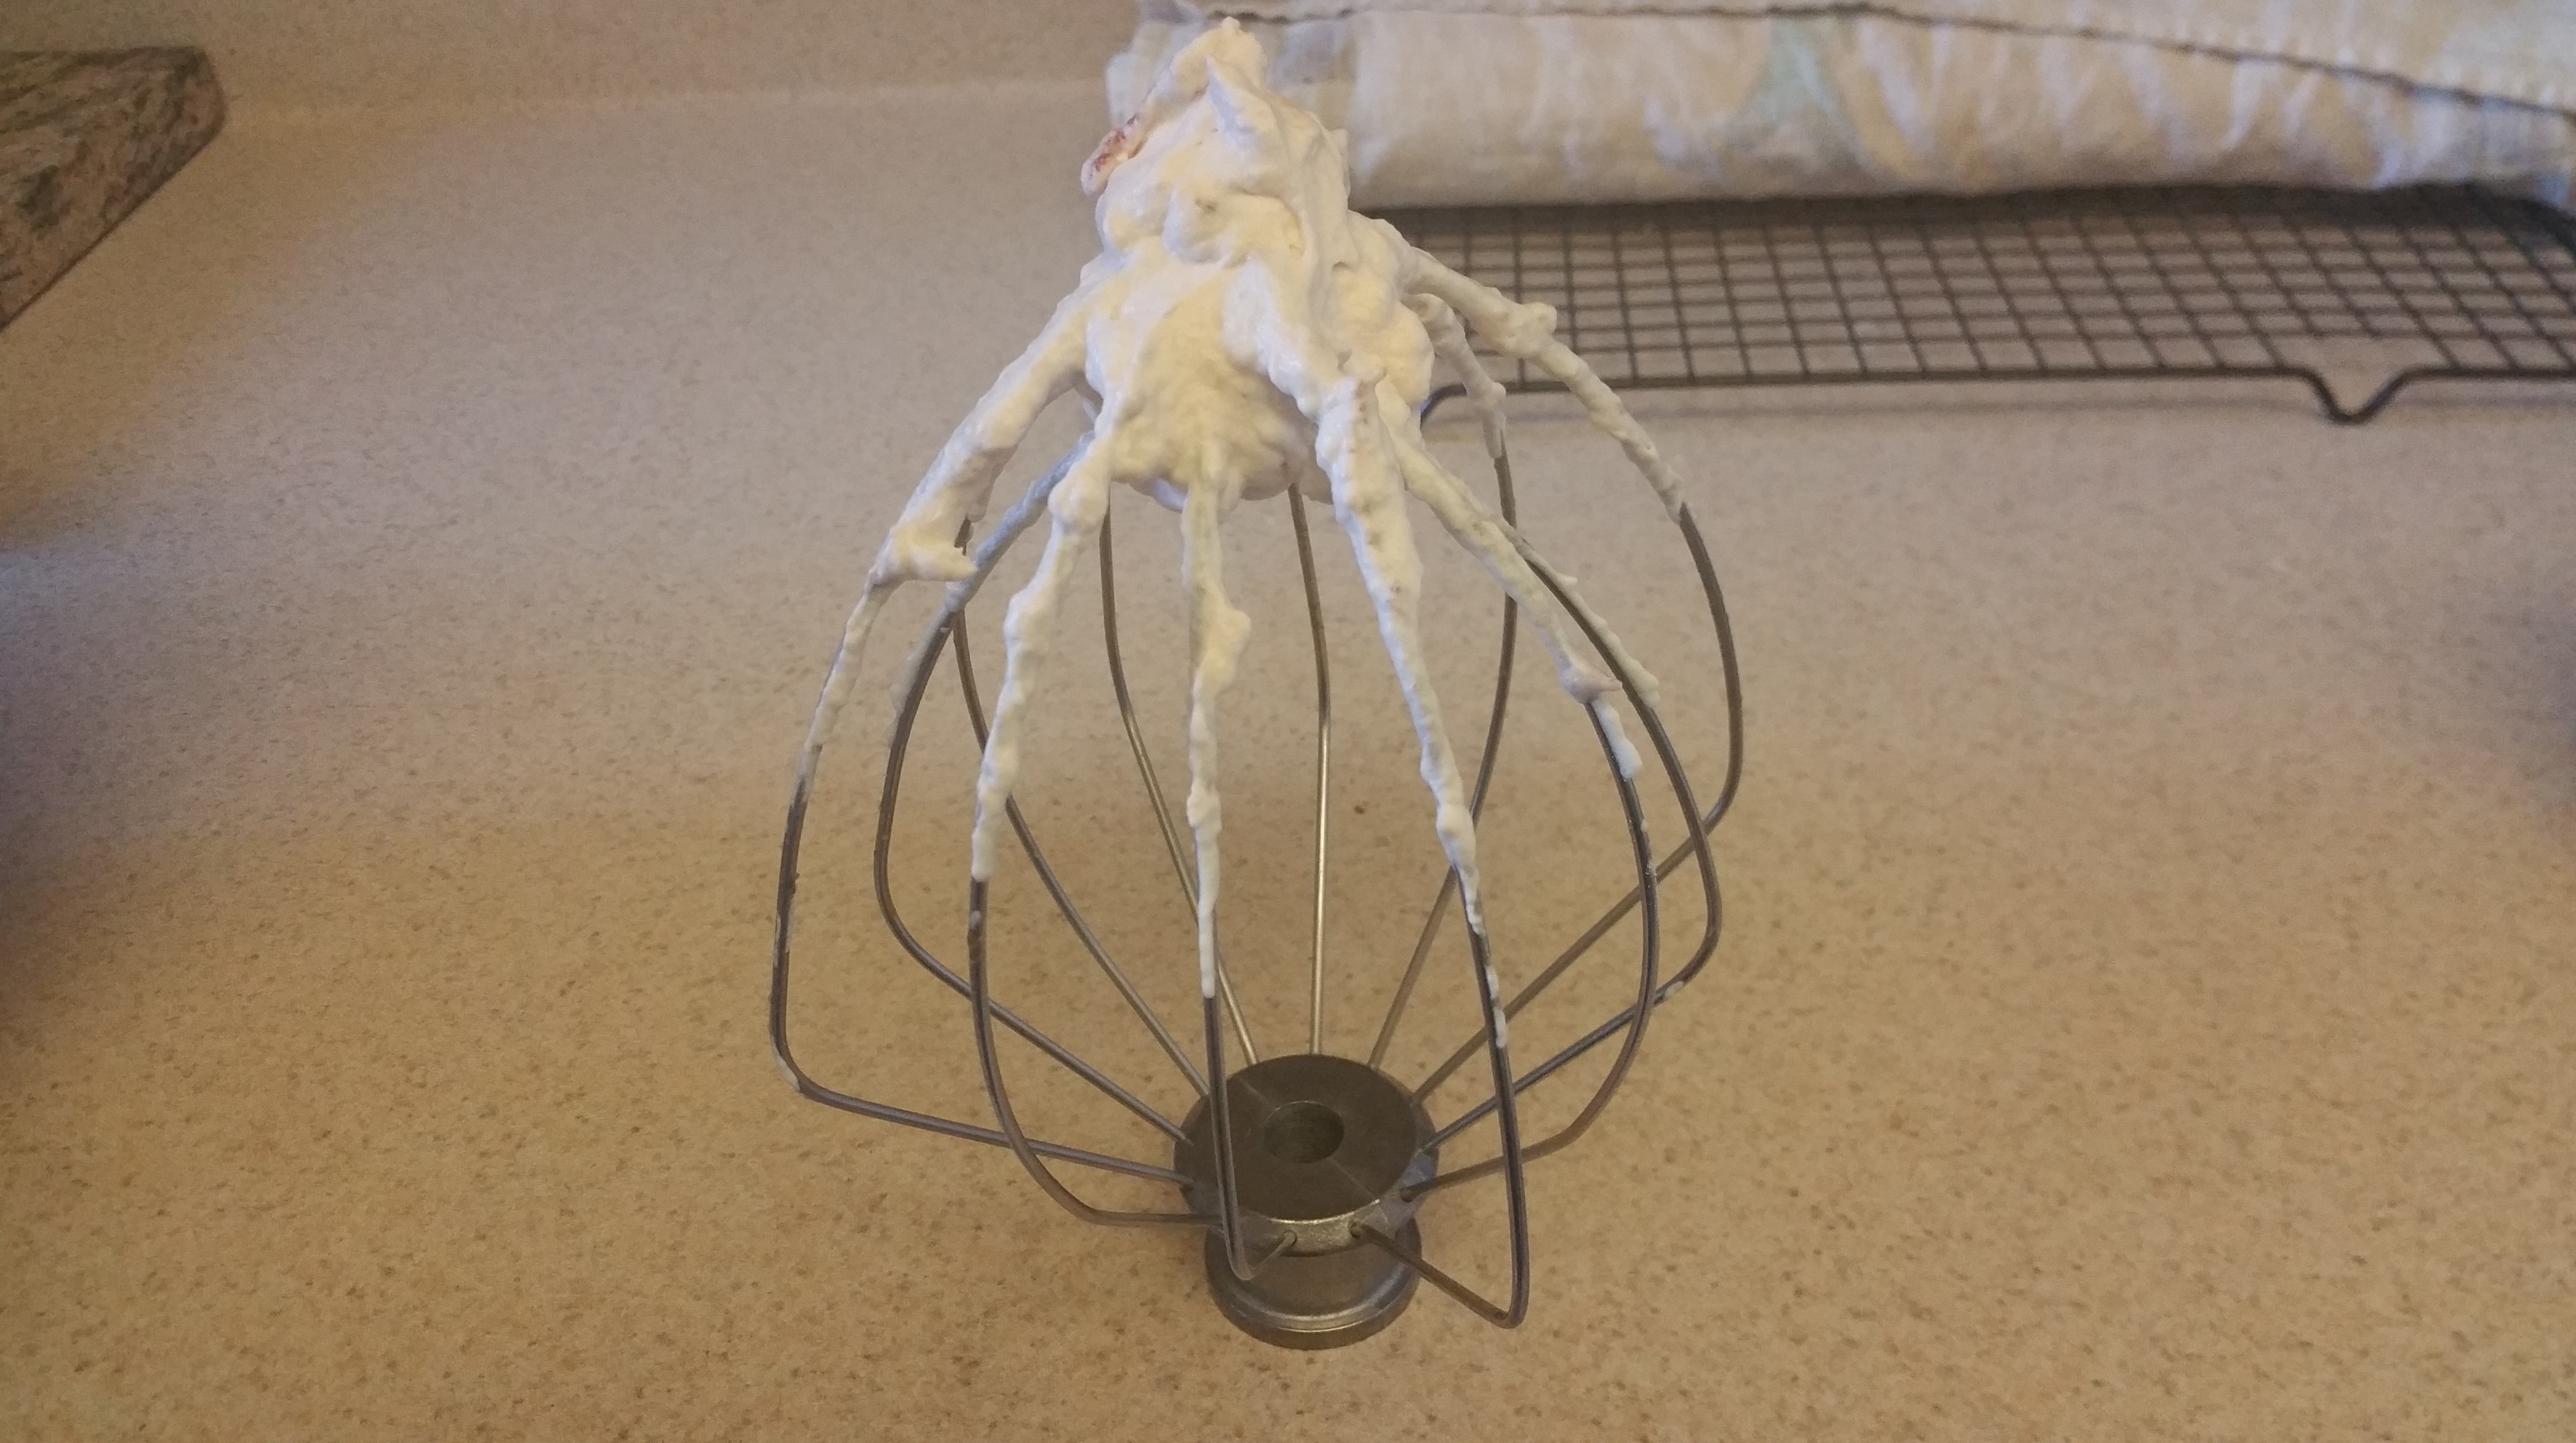
While the cake is cooling, make the whipped cream filling. Place the heavy cream, vanilla extract, and sugar in the chilled bowl. Secure the whisk attachment and beat on high speed until soft peaks form. Add the strawberry preserves and beat until stiff peaks form. Chill this in the refrigerator while you wait for the cake to cool.
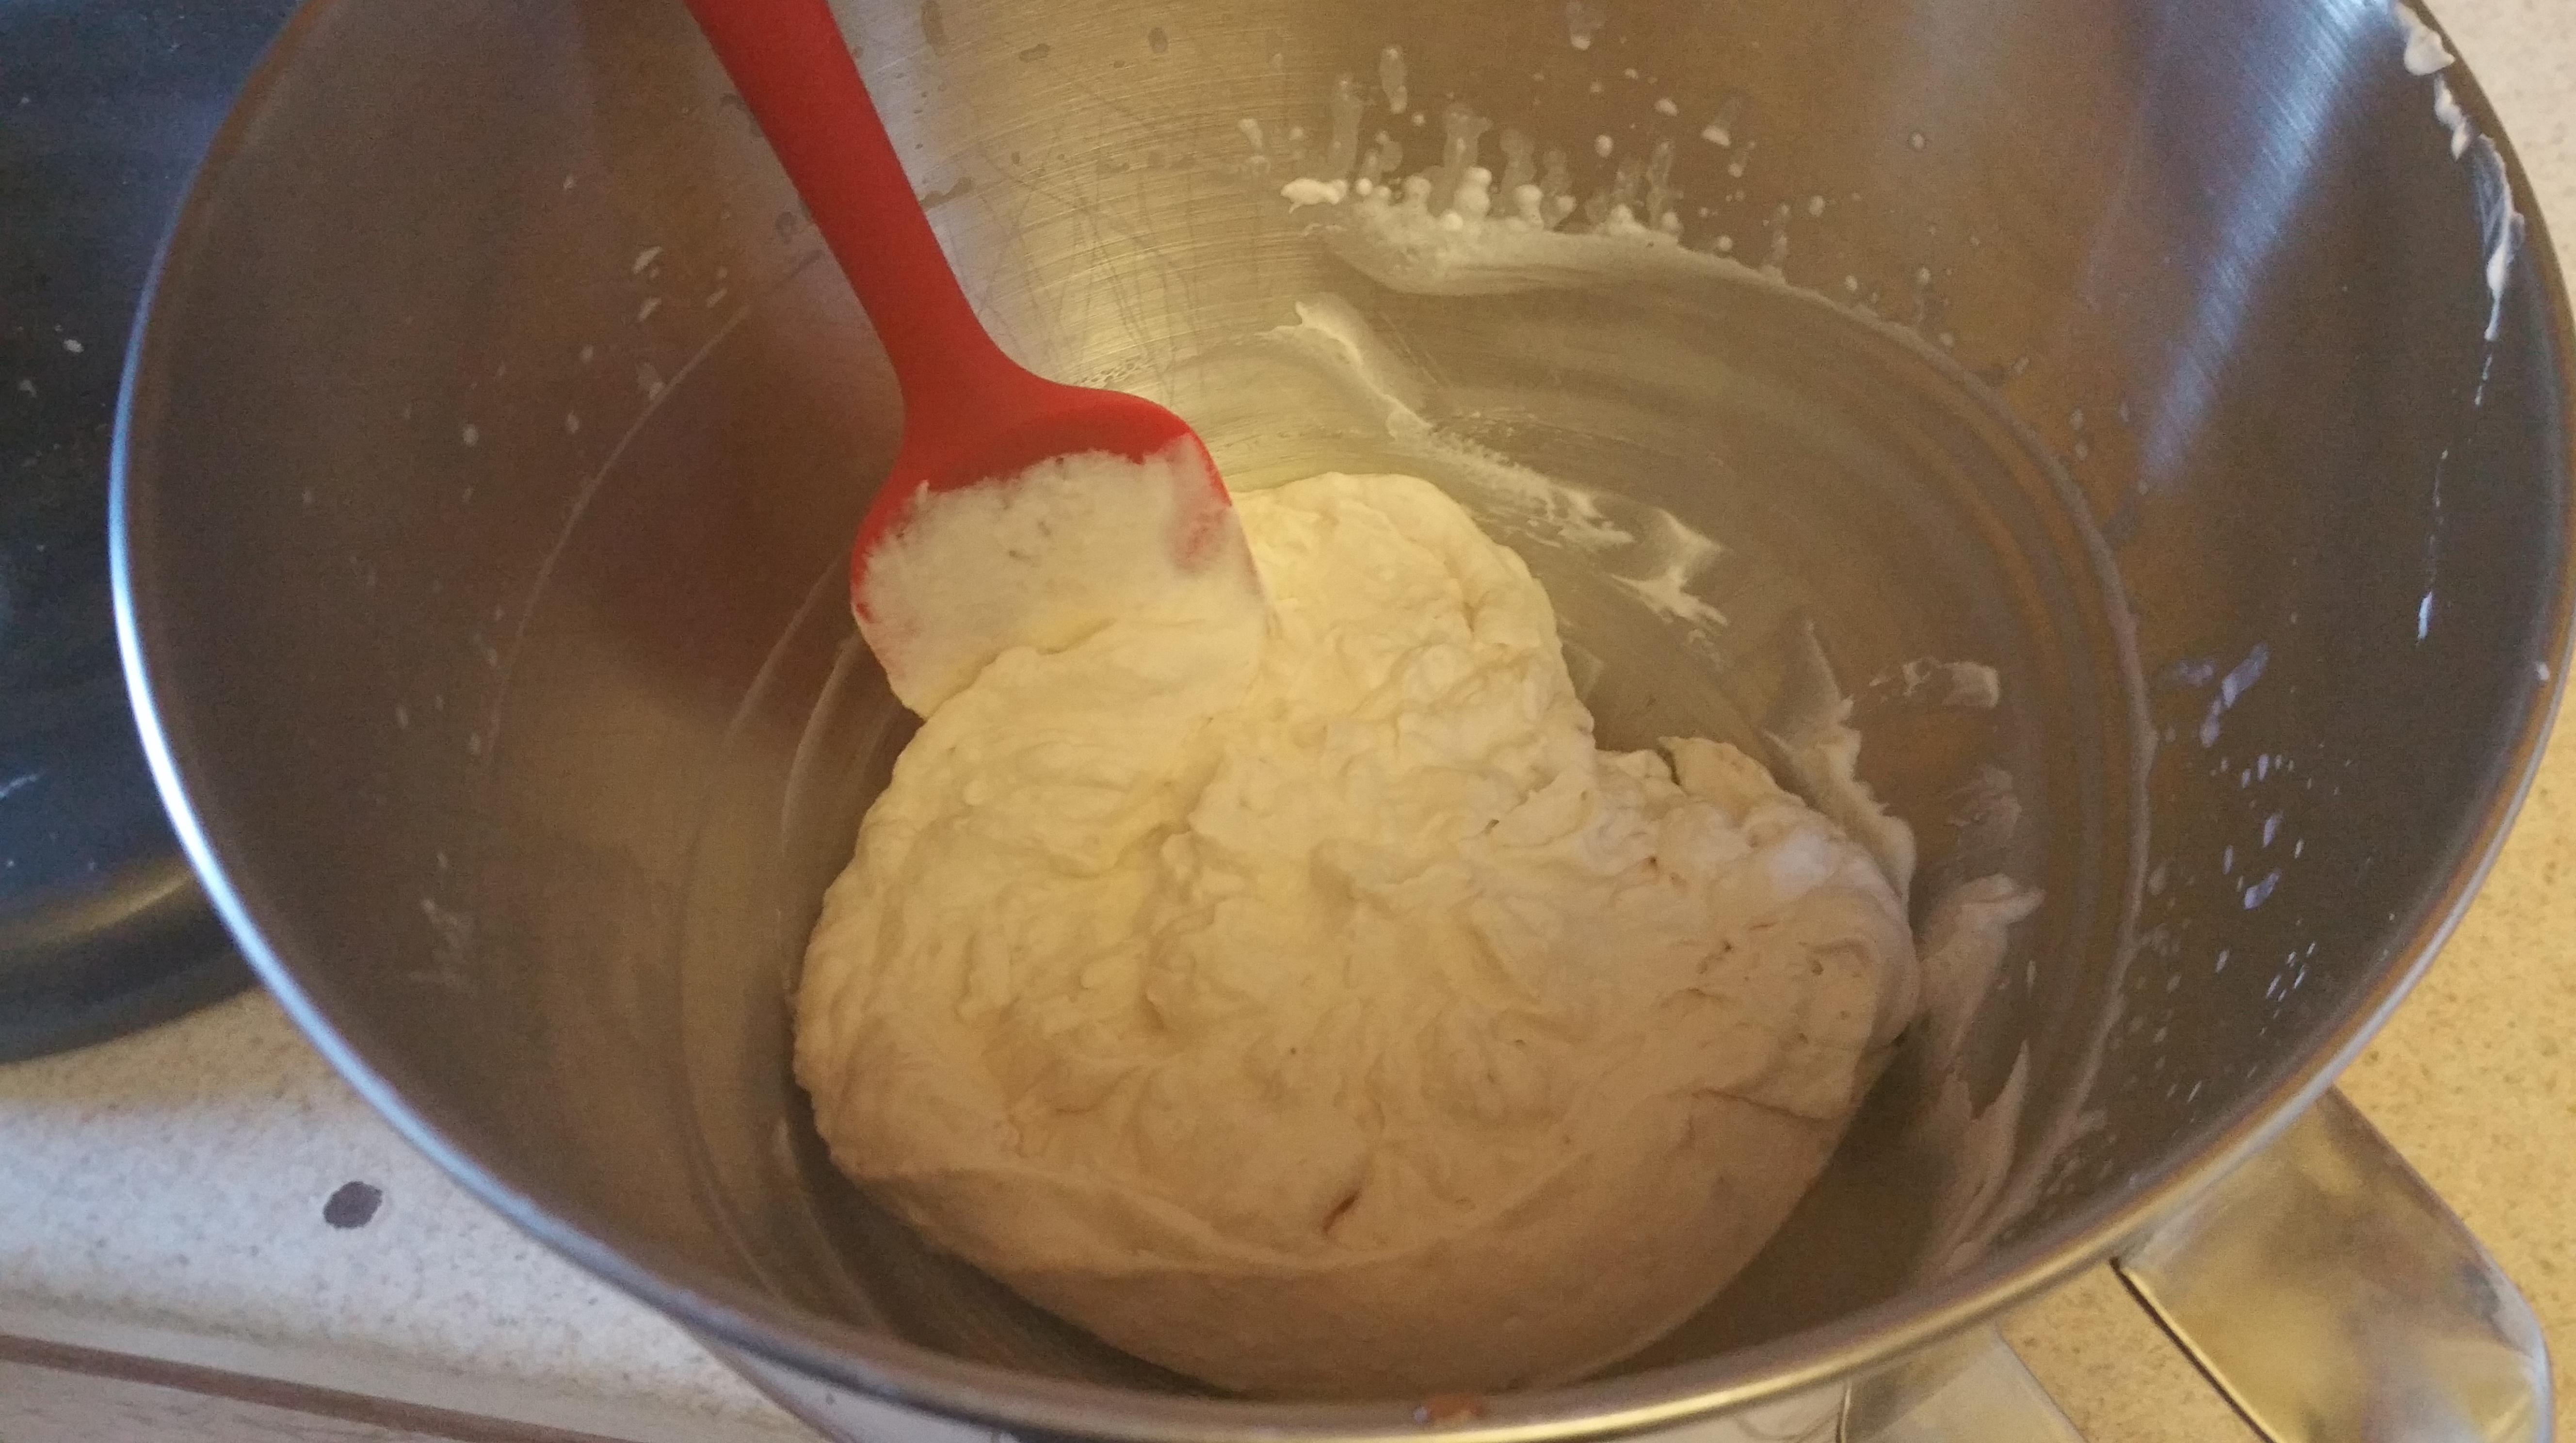
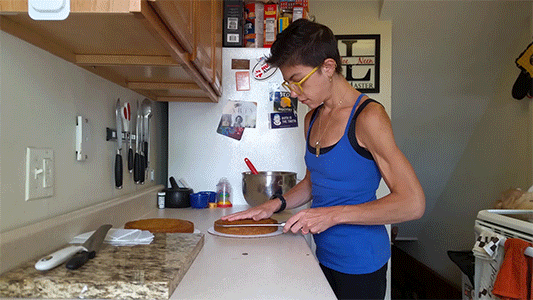
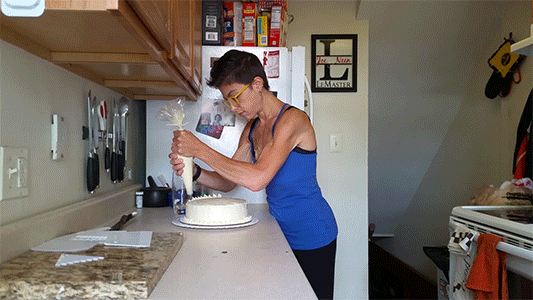
To assemble, unroll the cake gently and spread an even layer of the strawberry whipped cream on top.

Then slowly re-roll the cake, pulling in toward you as you go to tighten the spiral.

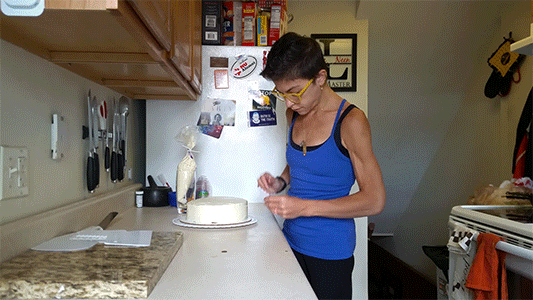
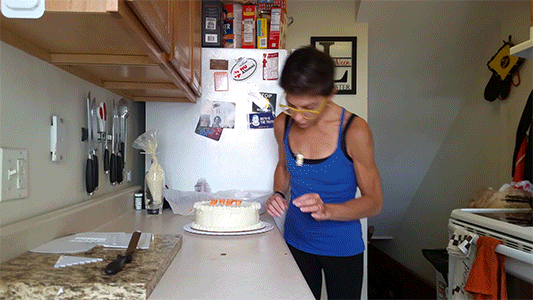
Place the cake on a platter, cover with plastic wrap, and chill in the refrigerator for 2 hours minimum.
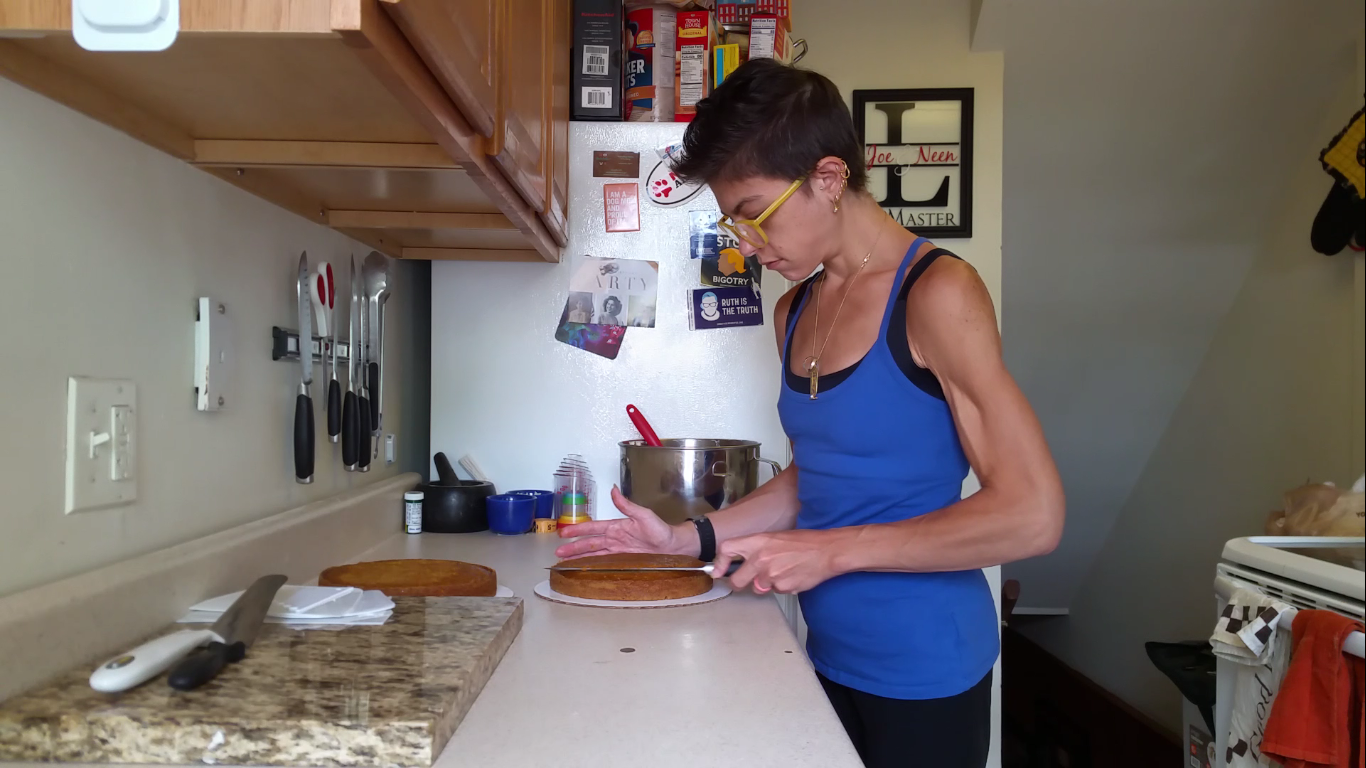
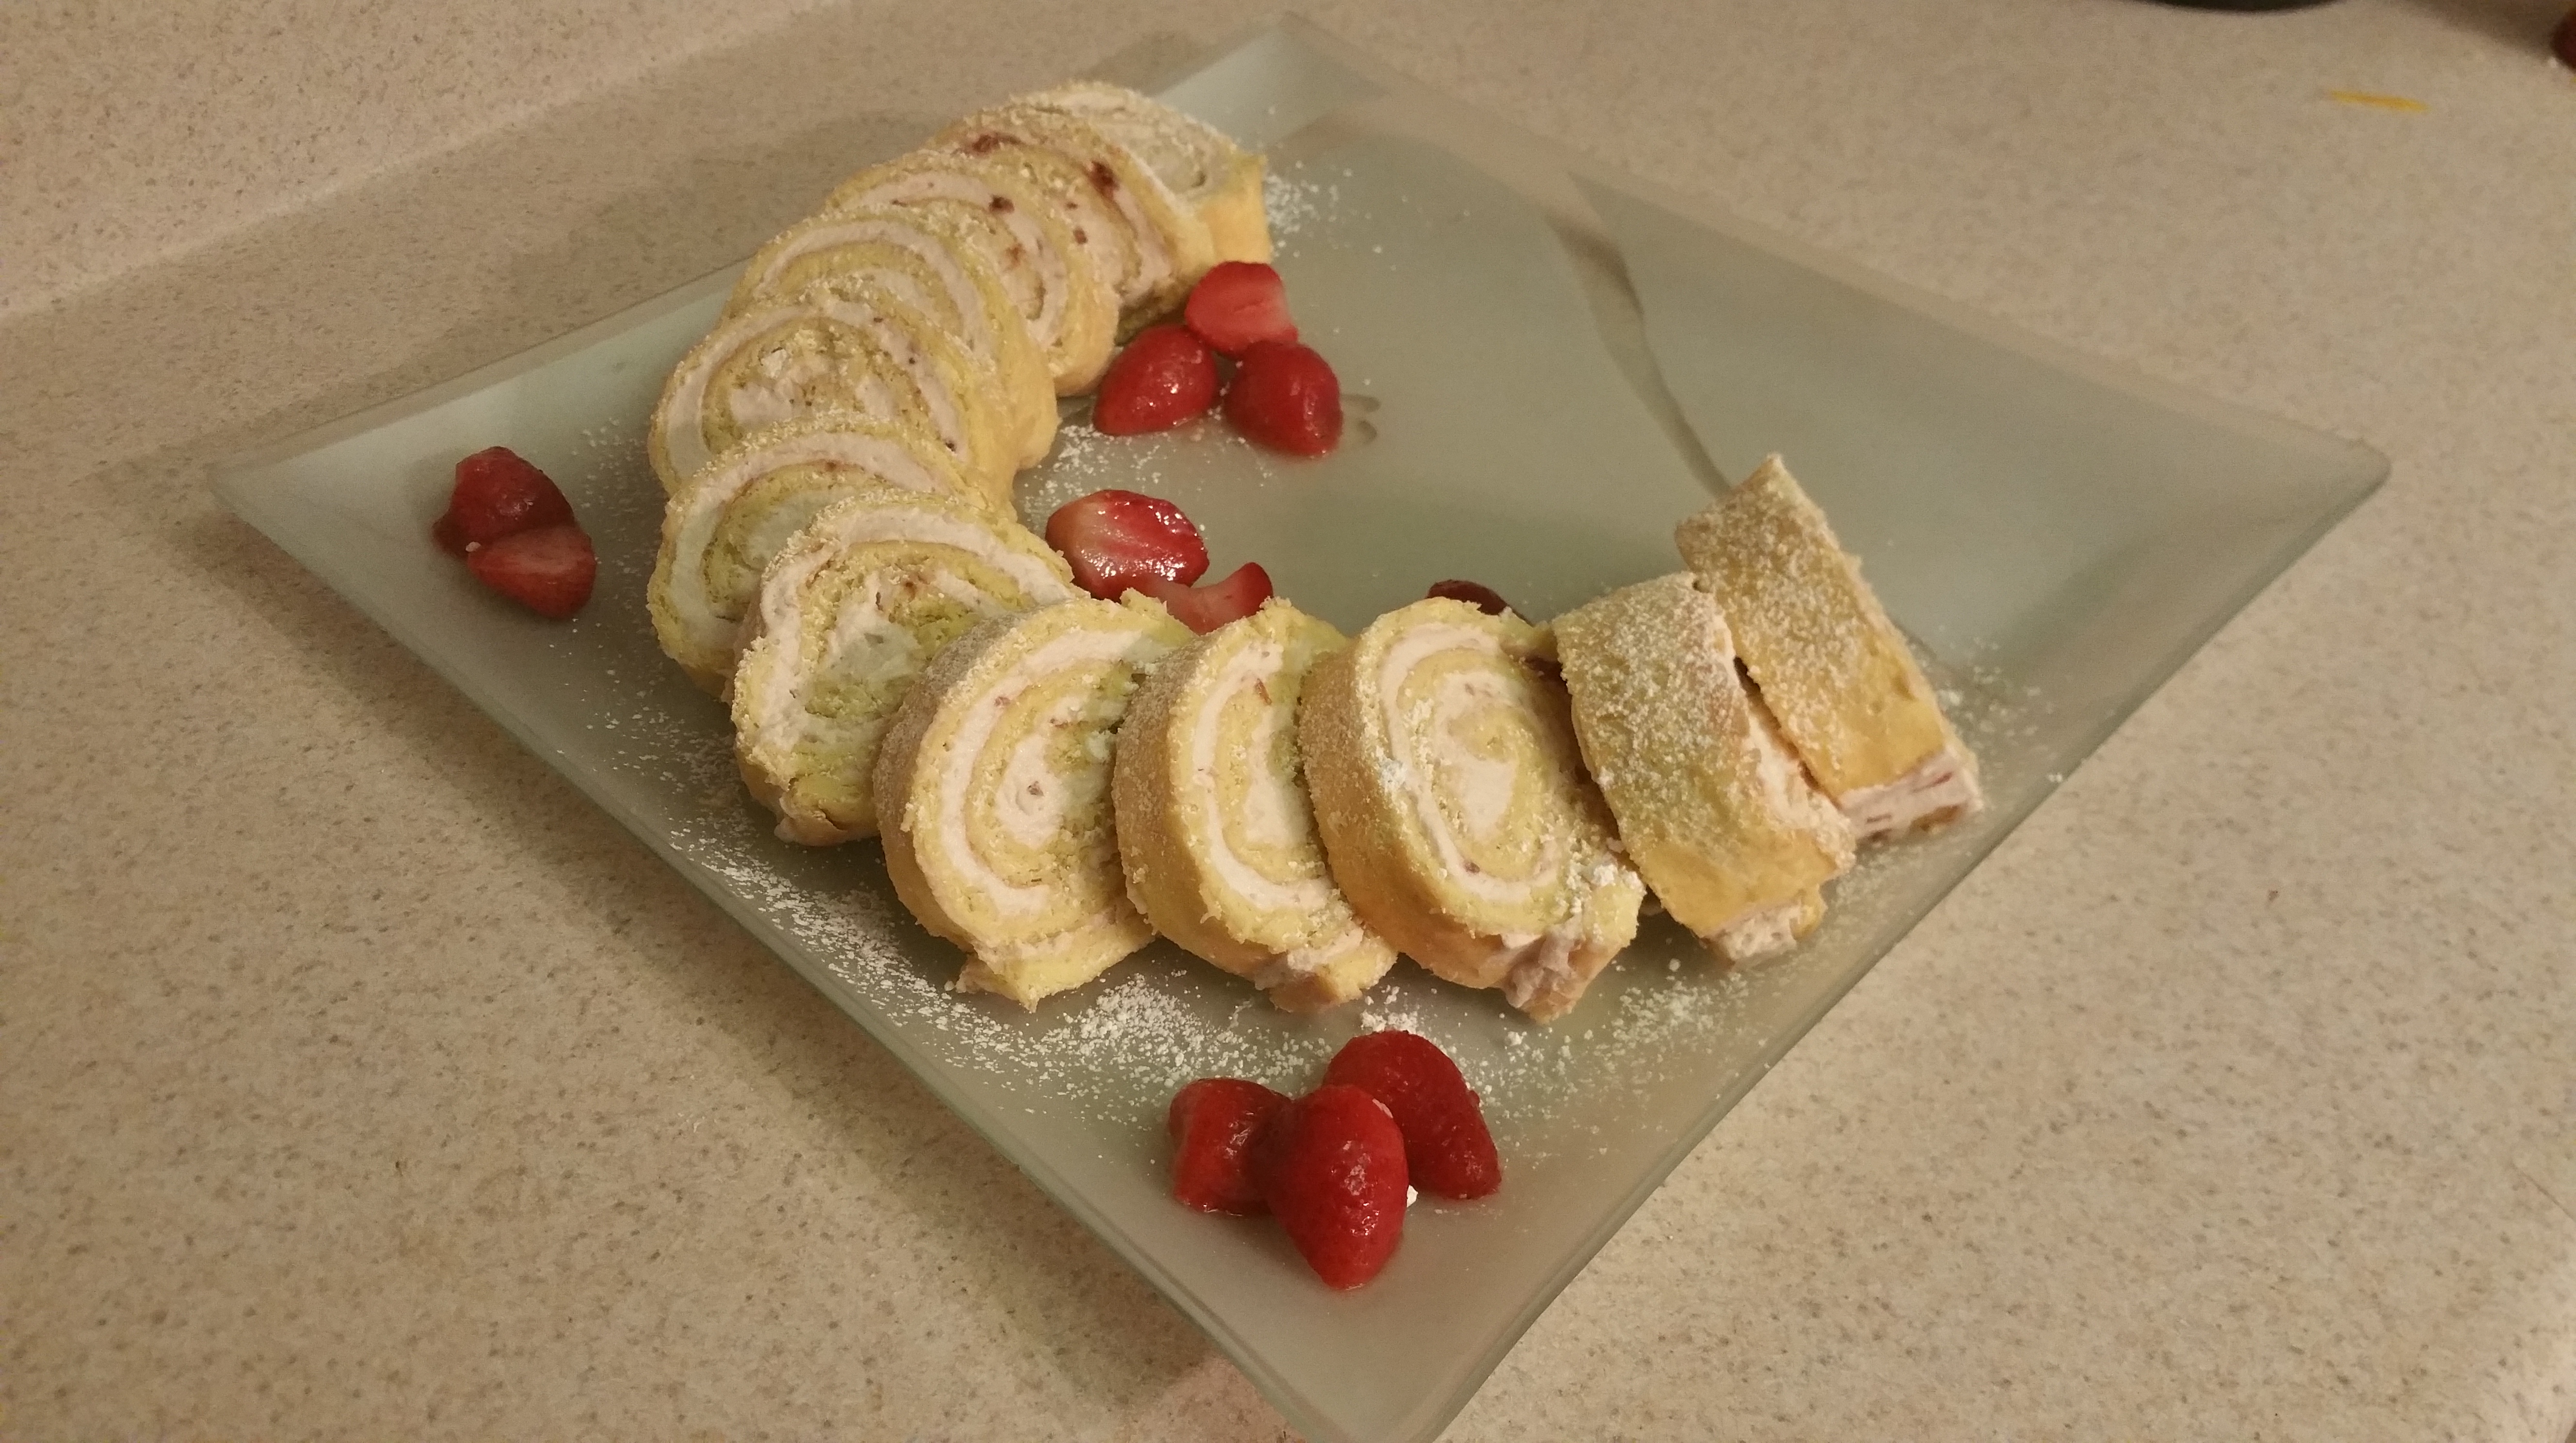
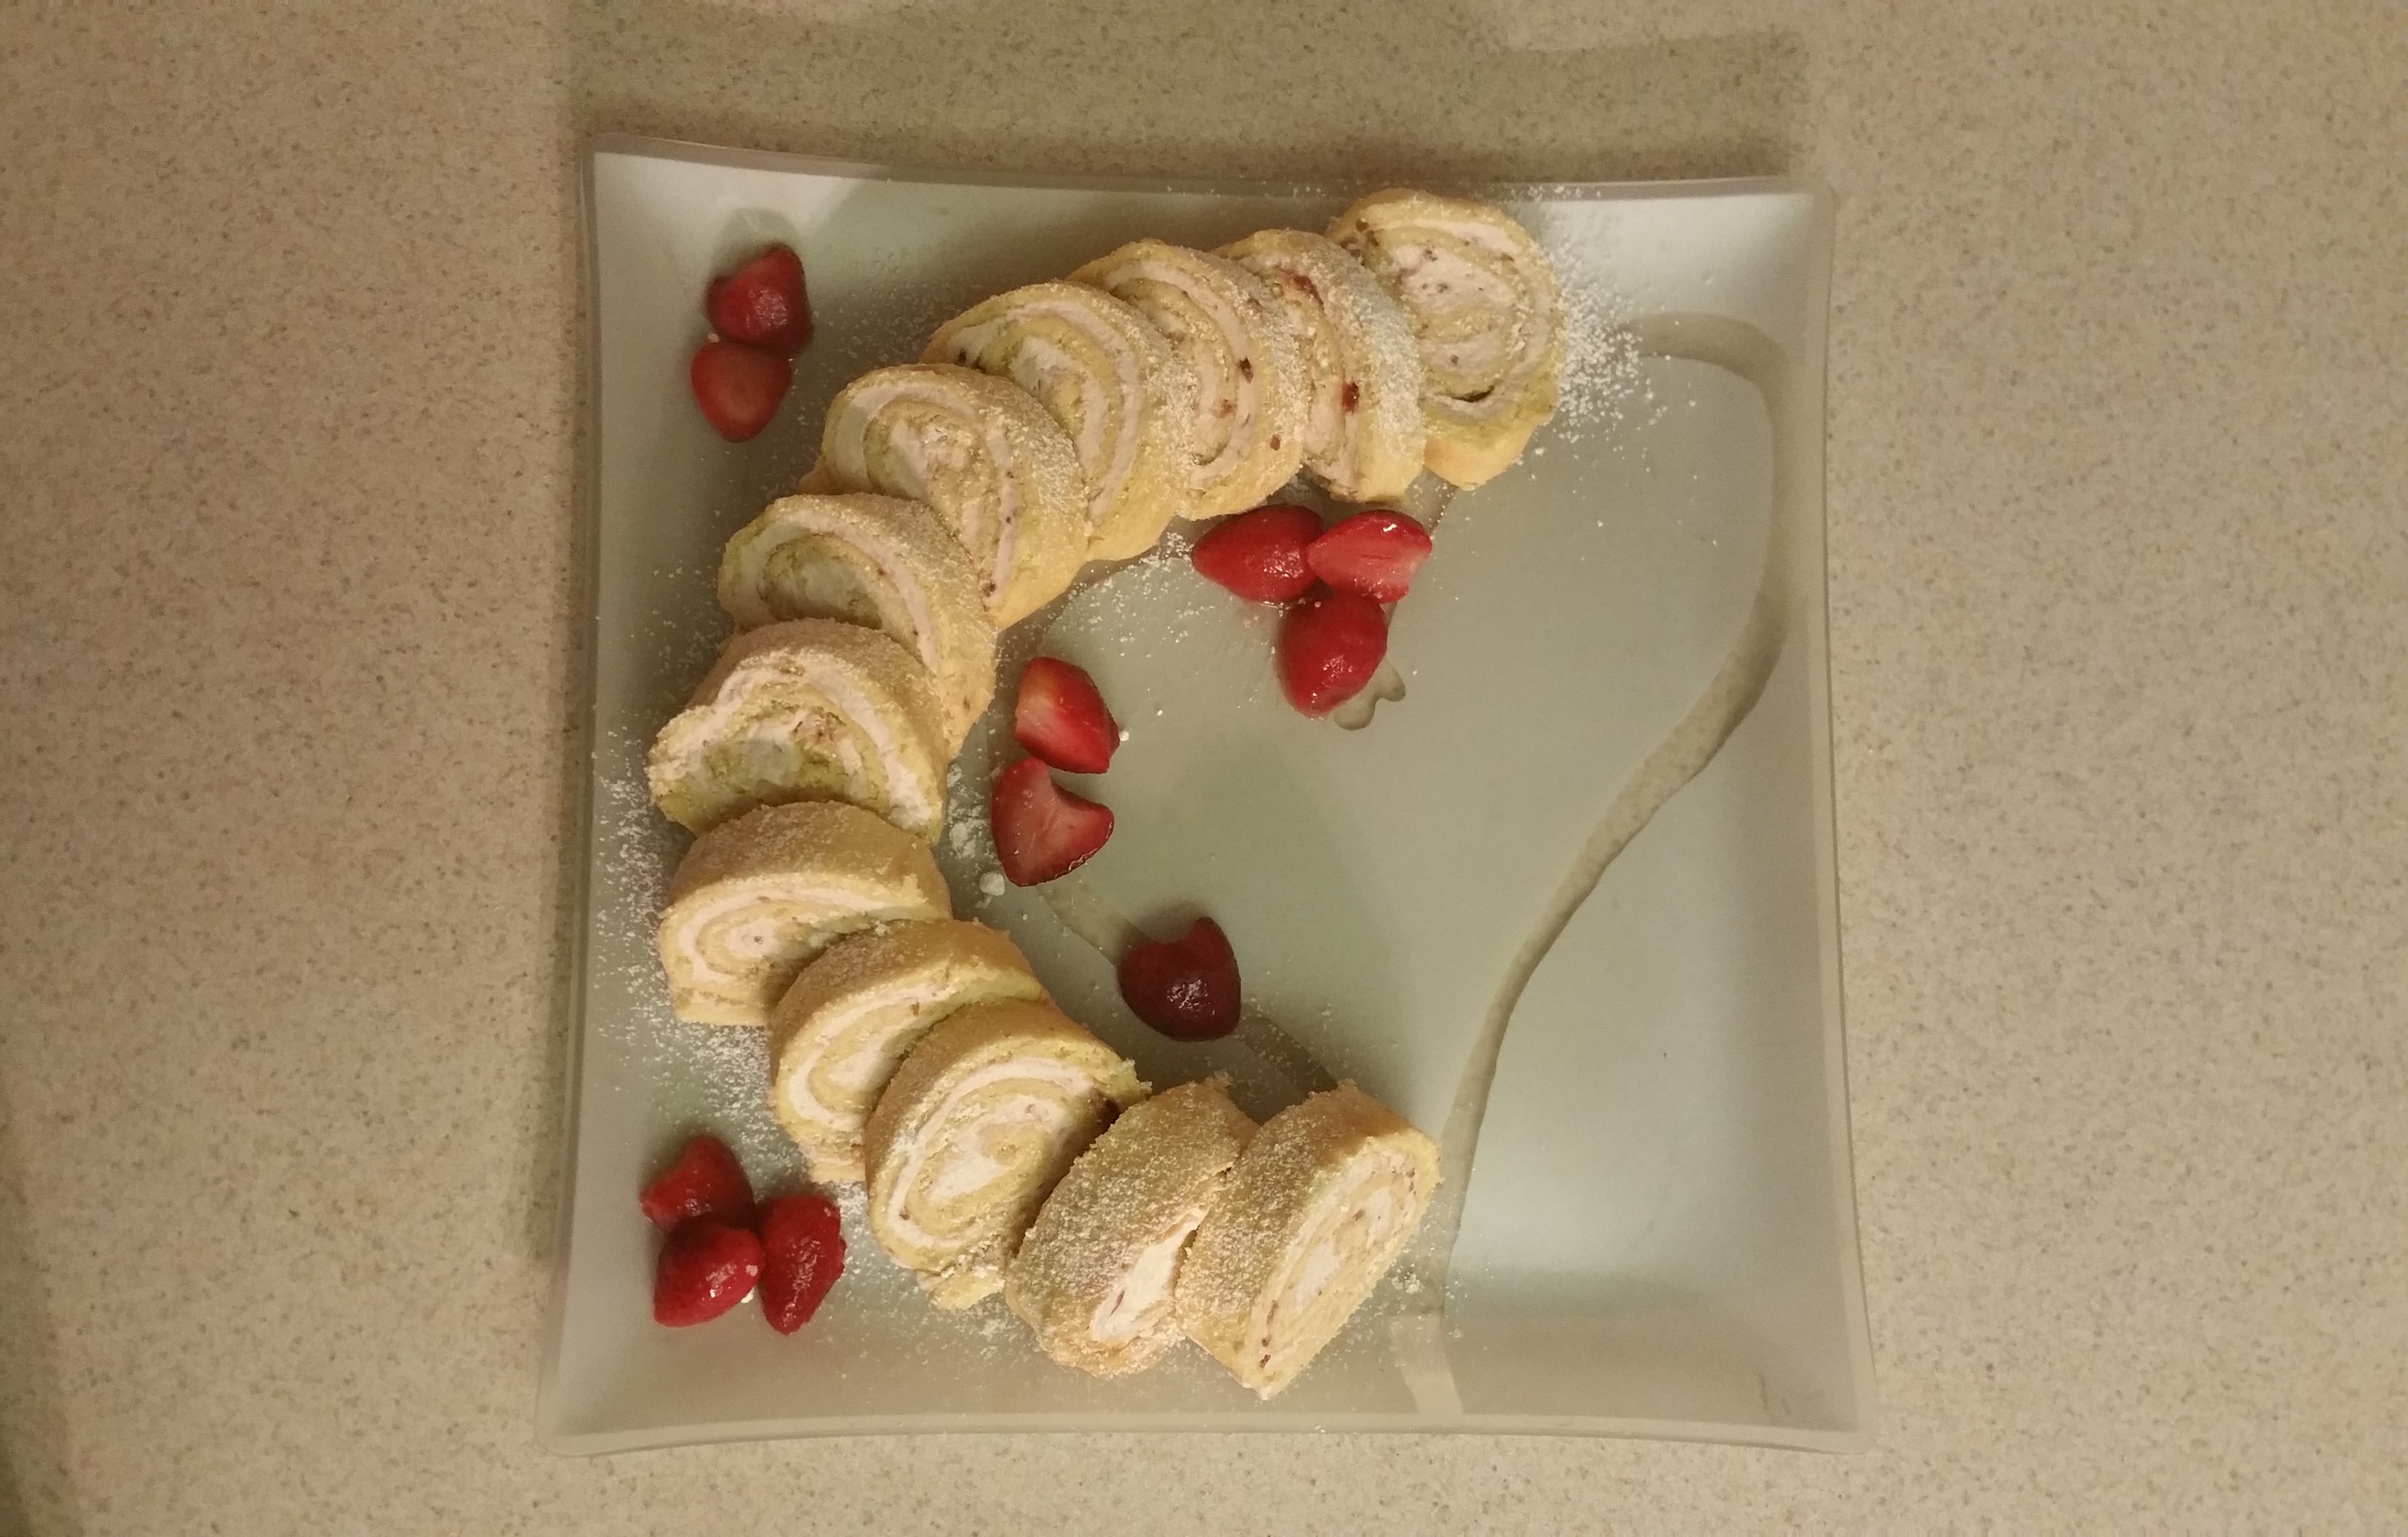
I like to cut this cake into 12 servings. Use a serrated knife and slow, even strokes as you go. Don’t press straight down or you’ll squish your spiral. Lay the cut pieces on a platter, garnish with powdered sugar and fresh strawberries, and serve!
Honestly, as long as you take your time, it’s really not that hard to do. Beating the yolks and some of the whites separately is what gives this particular sponge the elasticity to roll without cracking or breaking. It is a low-stress sponge, I like to say. And the flavor can totally be of your own design! If strawberry’s not your game, use 1/3 cup of whatever flavor of preserves suits you. You can add some lemon zest to the batter or filling, try a different extract (oooooh almond would be good), paint the inside with flavored simple syrup before the second roll, or even give it a little powdered sugar/milk glaze after rolling. This one is a nice blank slate ripe for creativity.
So, there are some things on TV that you should absolutely try at home without fear, and this is one of them: A perfect little pinwheel to share with friends. What could be better?
Ciao for now,
Neen