Archive | Grains RSS feed for this section

Double Dessert: Strawberry Cheesecake Brownies with a Graham Cracker Crust

23 Jul

Let’s face it, you have enough difficult decisions to make on a day to day basis, yes? So when it comes to having your dessert at the end of a long day, why add one more challenging choice into the equation? This is precisely the thought that came into my head Sunday afternoon. I wanted these super fudgy brownies I made earlier in the week (that seriously satisfied my illicit obsession with “testing” brownie/cake batter), but also had a craving for creamy cheesecake. And yes, the classic marbled chocolate and cheesecake brownie seemed like the obvious answer, but there were a few sticking points I needed to address.

First of all, if you are going to call something a cheesecake, it needs a delicious crust. And second of all, fudgy brownie and cheesecake together cry out for something fruity or acidic to cut all of that richness. So what I started to imagine was a crunchy, sweet crust, gooey, rich brownie, and smooth decadent cheesecake with a little strawberry swirl. I wandered into the kitchen without a recipe and only my cravings to guide me. And a few hours later, I definitely had no difficult choices to make.

Strawberry Cheesecake Brownies with Graham Cracker Crust

Crust

  • 1 ½ cups graham cracker crumbs
  • 6 tbsp. unsalted butter, melted
  • 2 tbsp. sugar
  • 2 pinches of salt

Brownie Layer

  • 8 tbsp. unsalted butter, melted
  • 1 tbsp. cacao or cocoa butter,* melted
  • 1 cup sugar
  • 2 eggs
  • 1 tsp. vanilla extract
  • ½ cup all purpose flour
  • ½ cup cacao or cocoa powder*
  • ½ tsp. salt

*Cacao butter/powder are the raw versions of cocoa butter/powder. This just means that these products have not been processed at temperatures higher than 115 degrees F. Either will produce great results, I just like the flavor of the raw product. Can’t find cocoa butter? Any neutral cooking oil will do in a pinch.

Cheesecake Layer

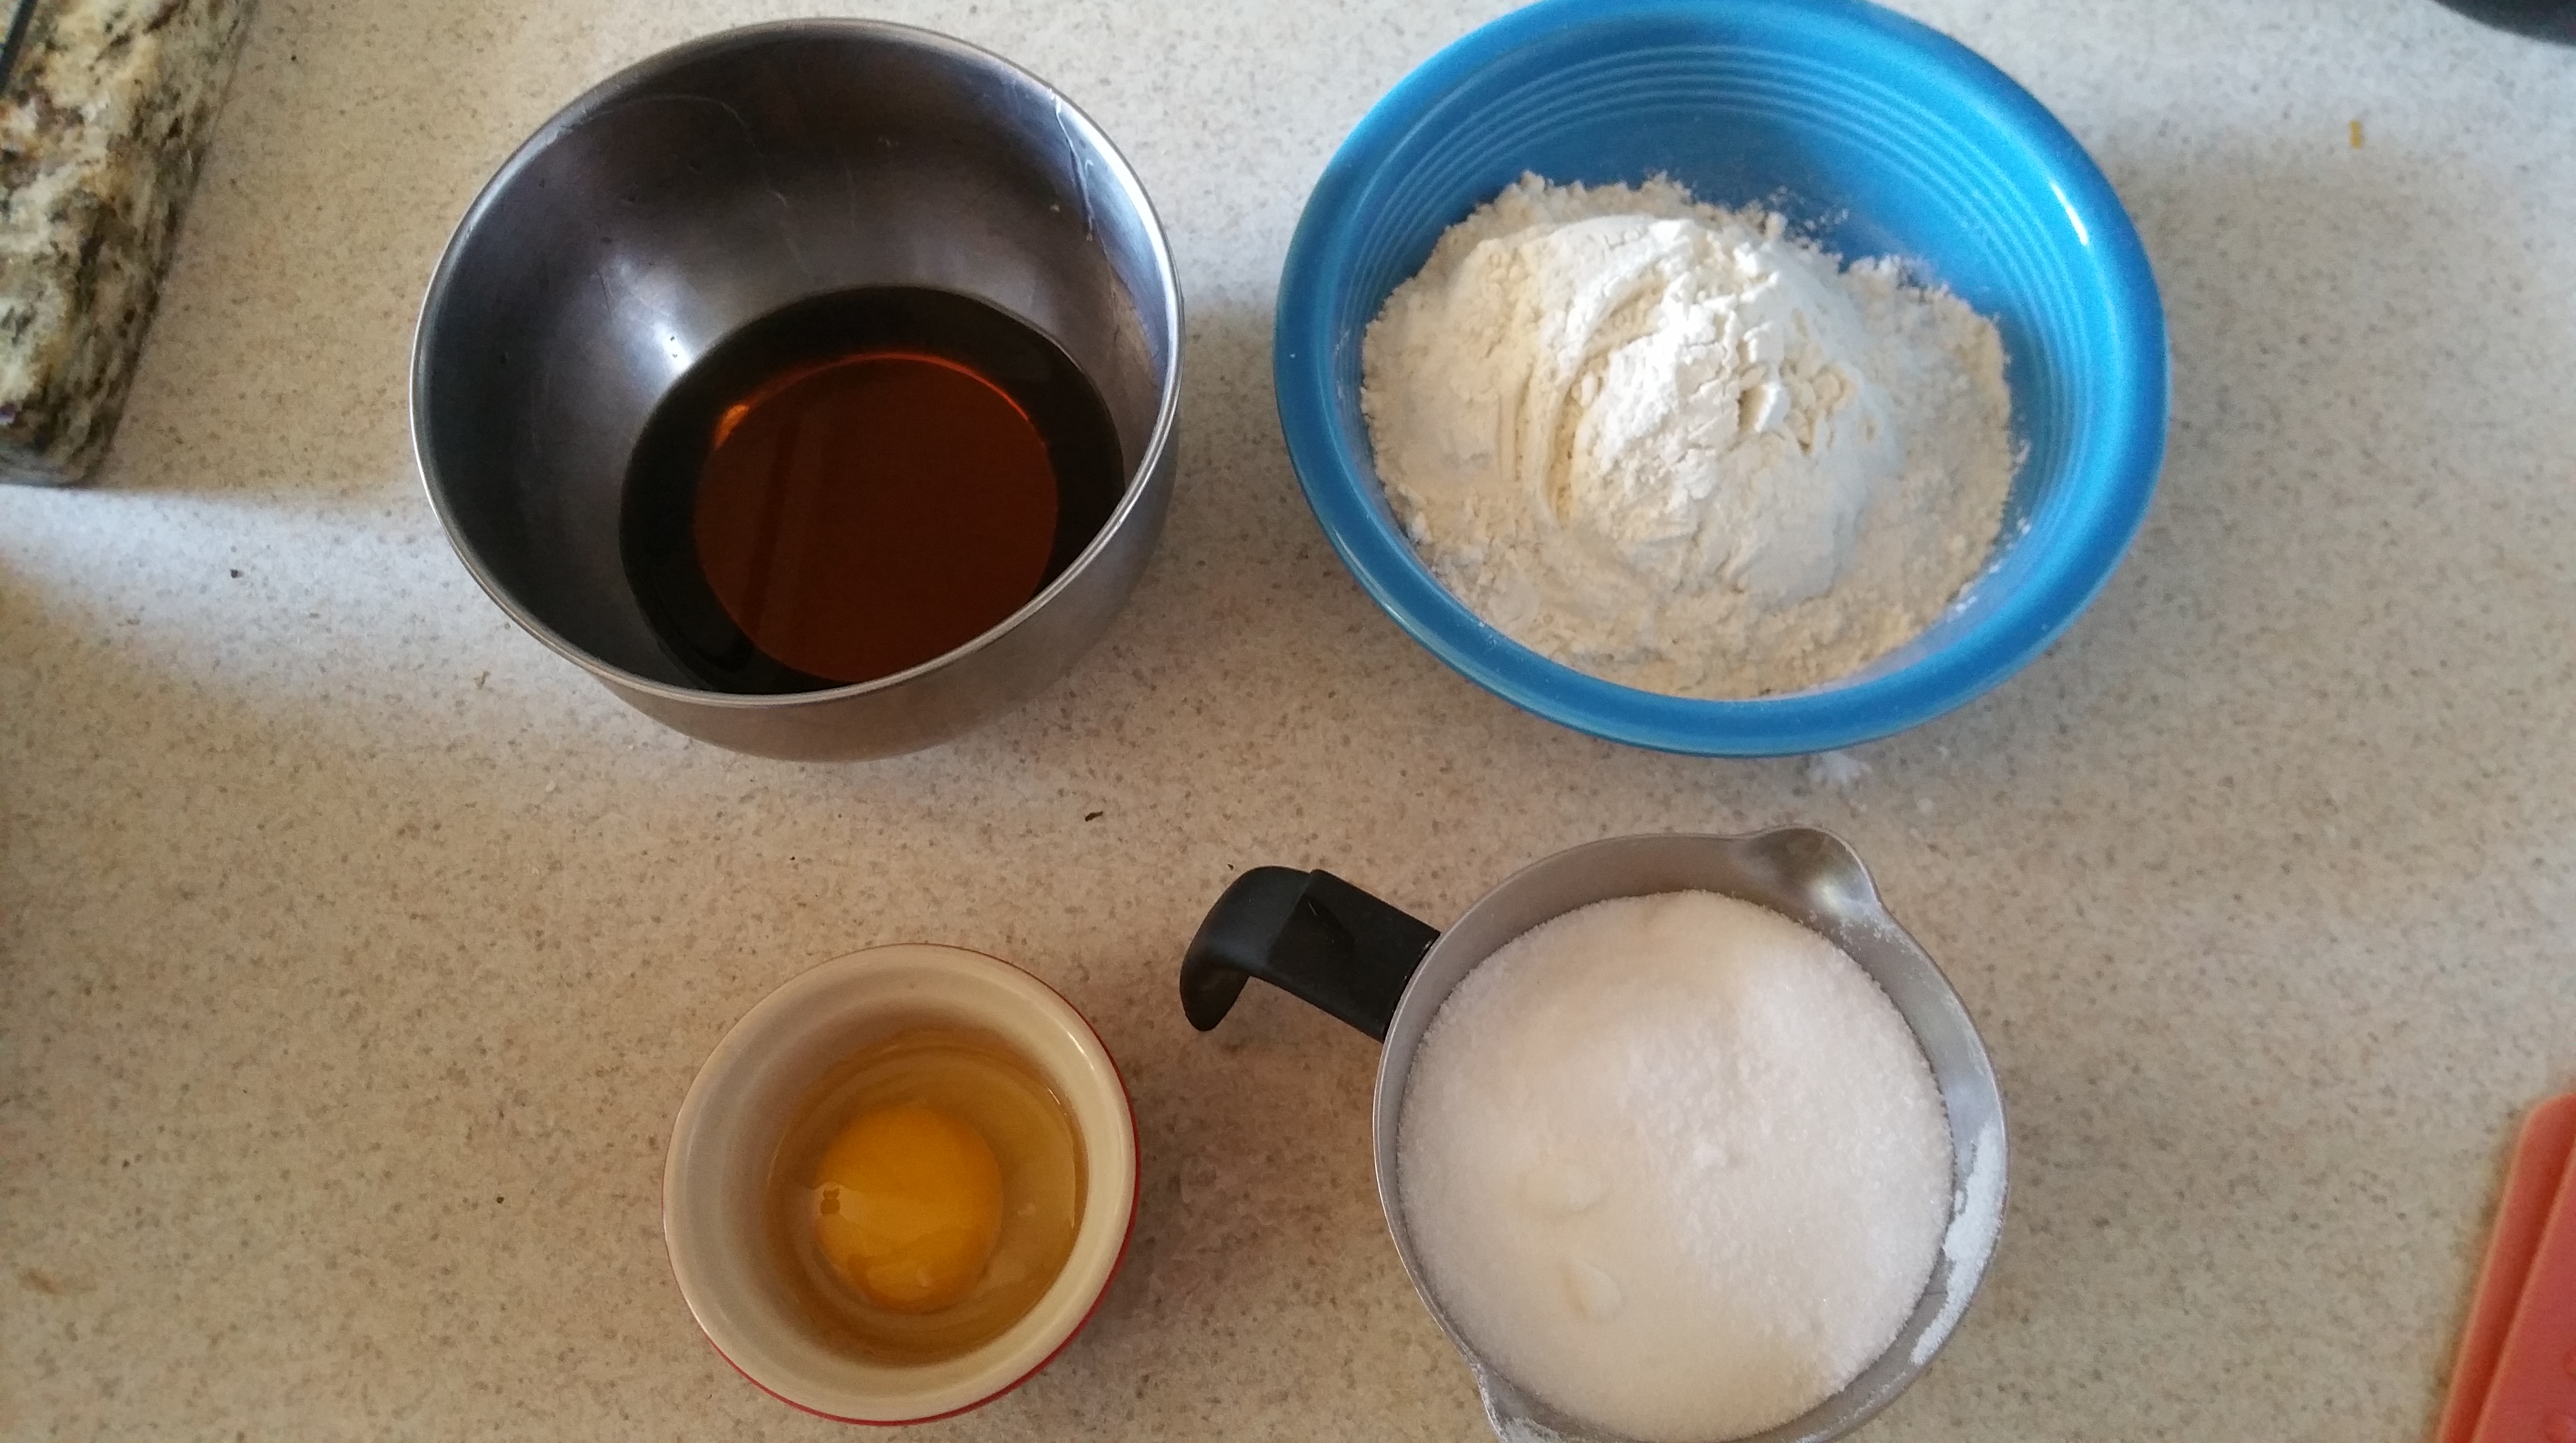
  • 8 oz. cream cheese, softened
  • 1 large egg yolk
  • 1/3 cup sugar
  • 2 tbsp. strawberry preserves

Preheat the oven to 350 degrees F.

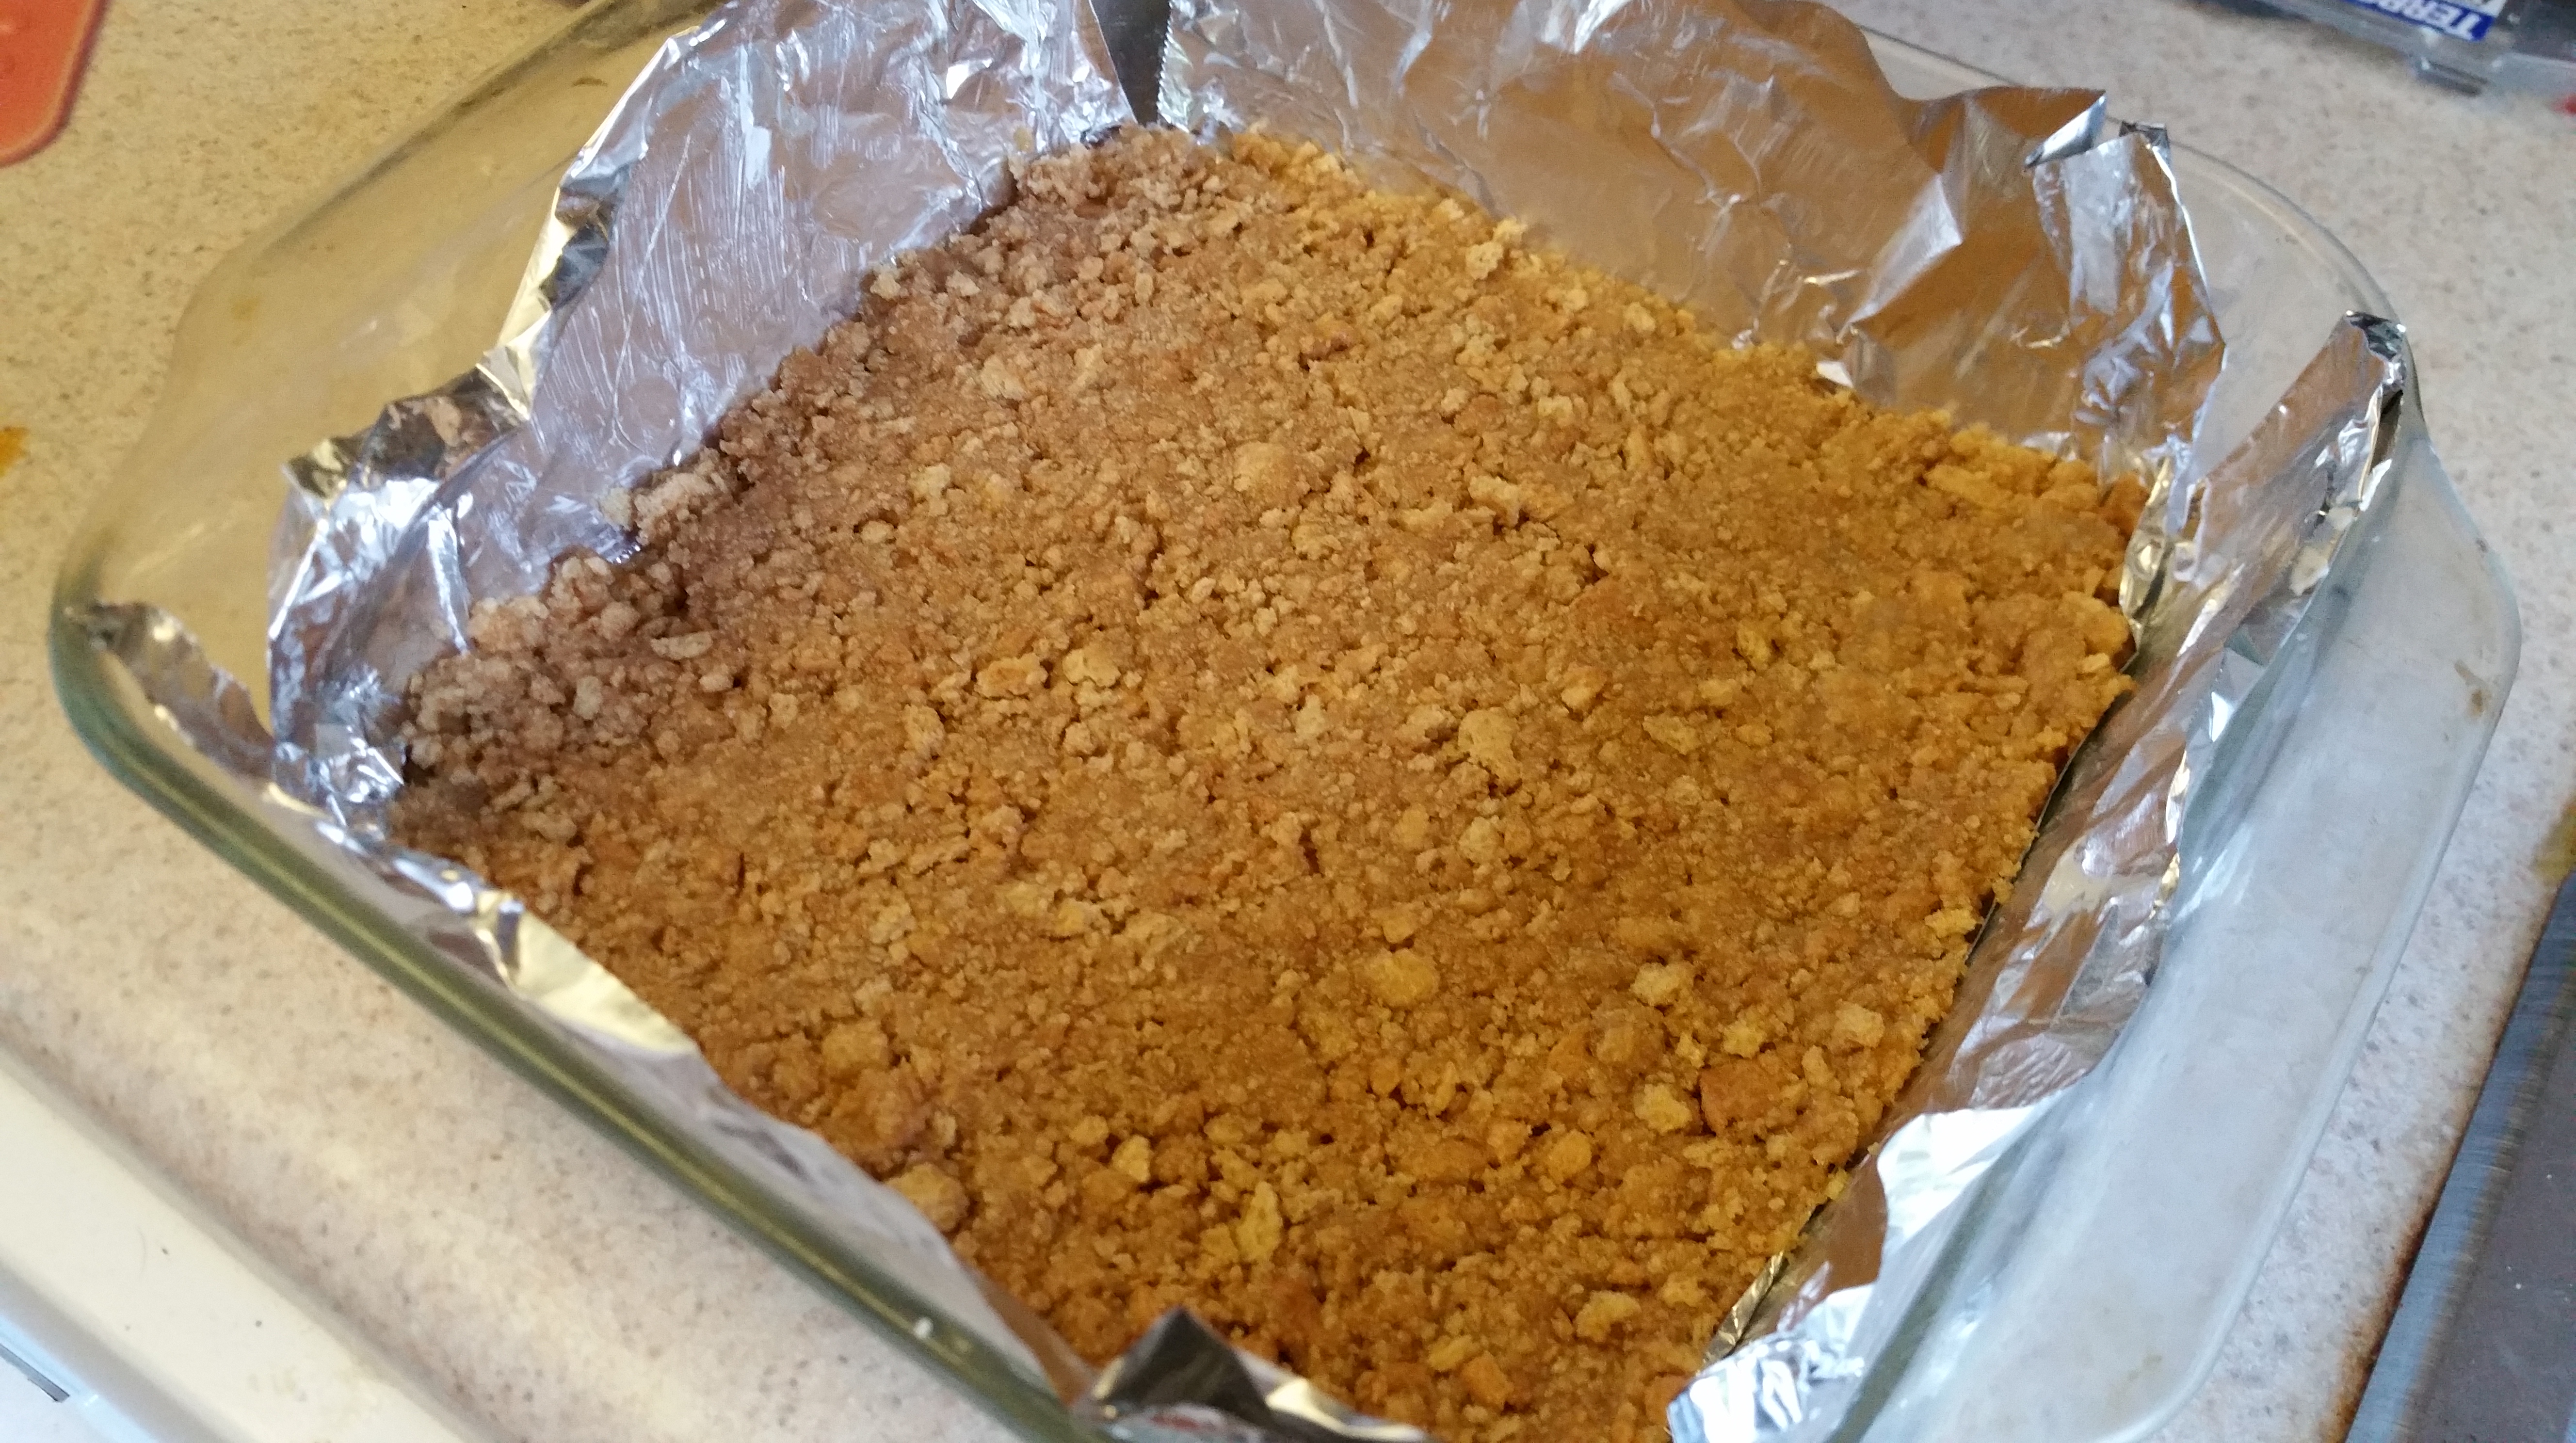
Line an 8×8 pan with aluminum foil and butter the foil.

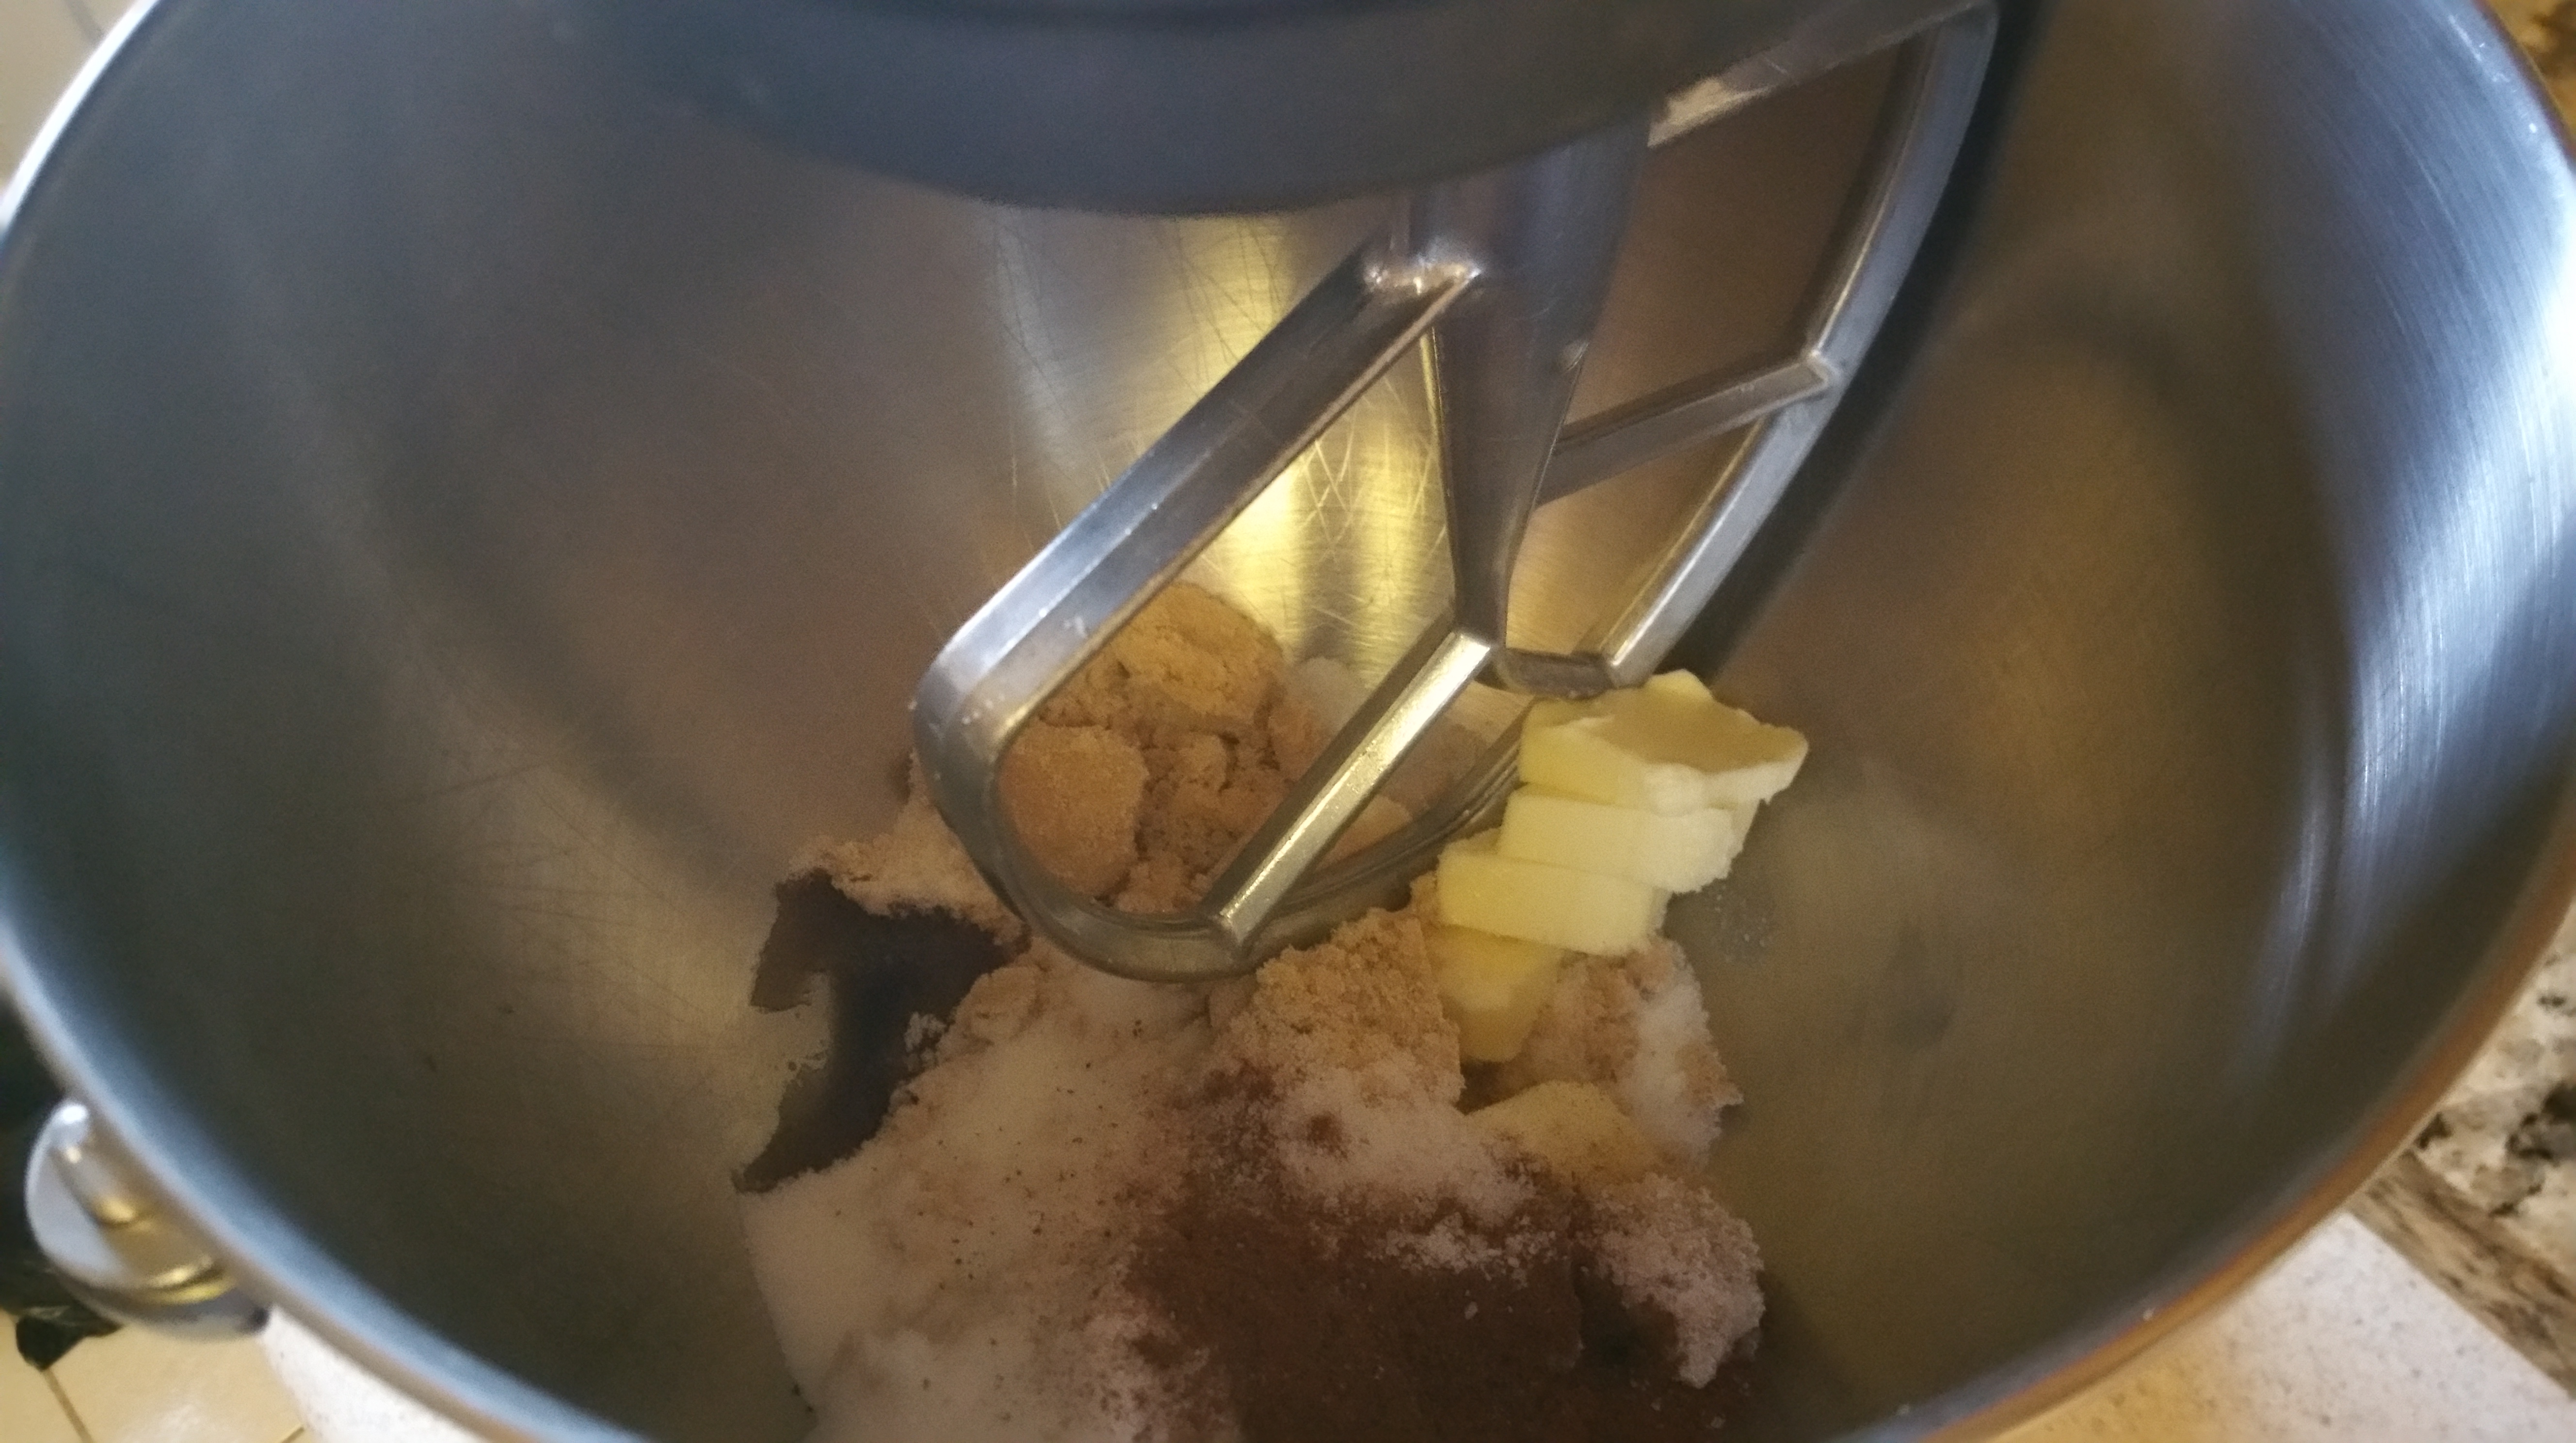
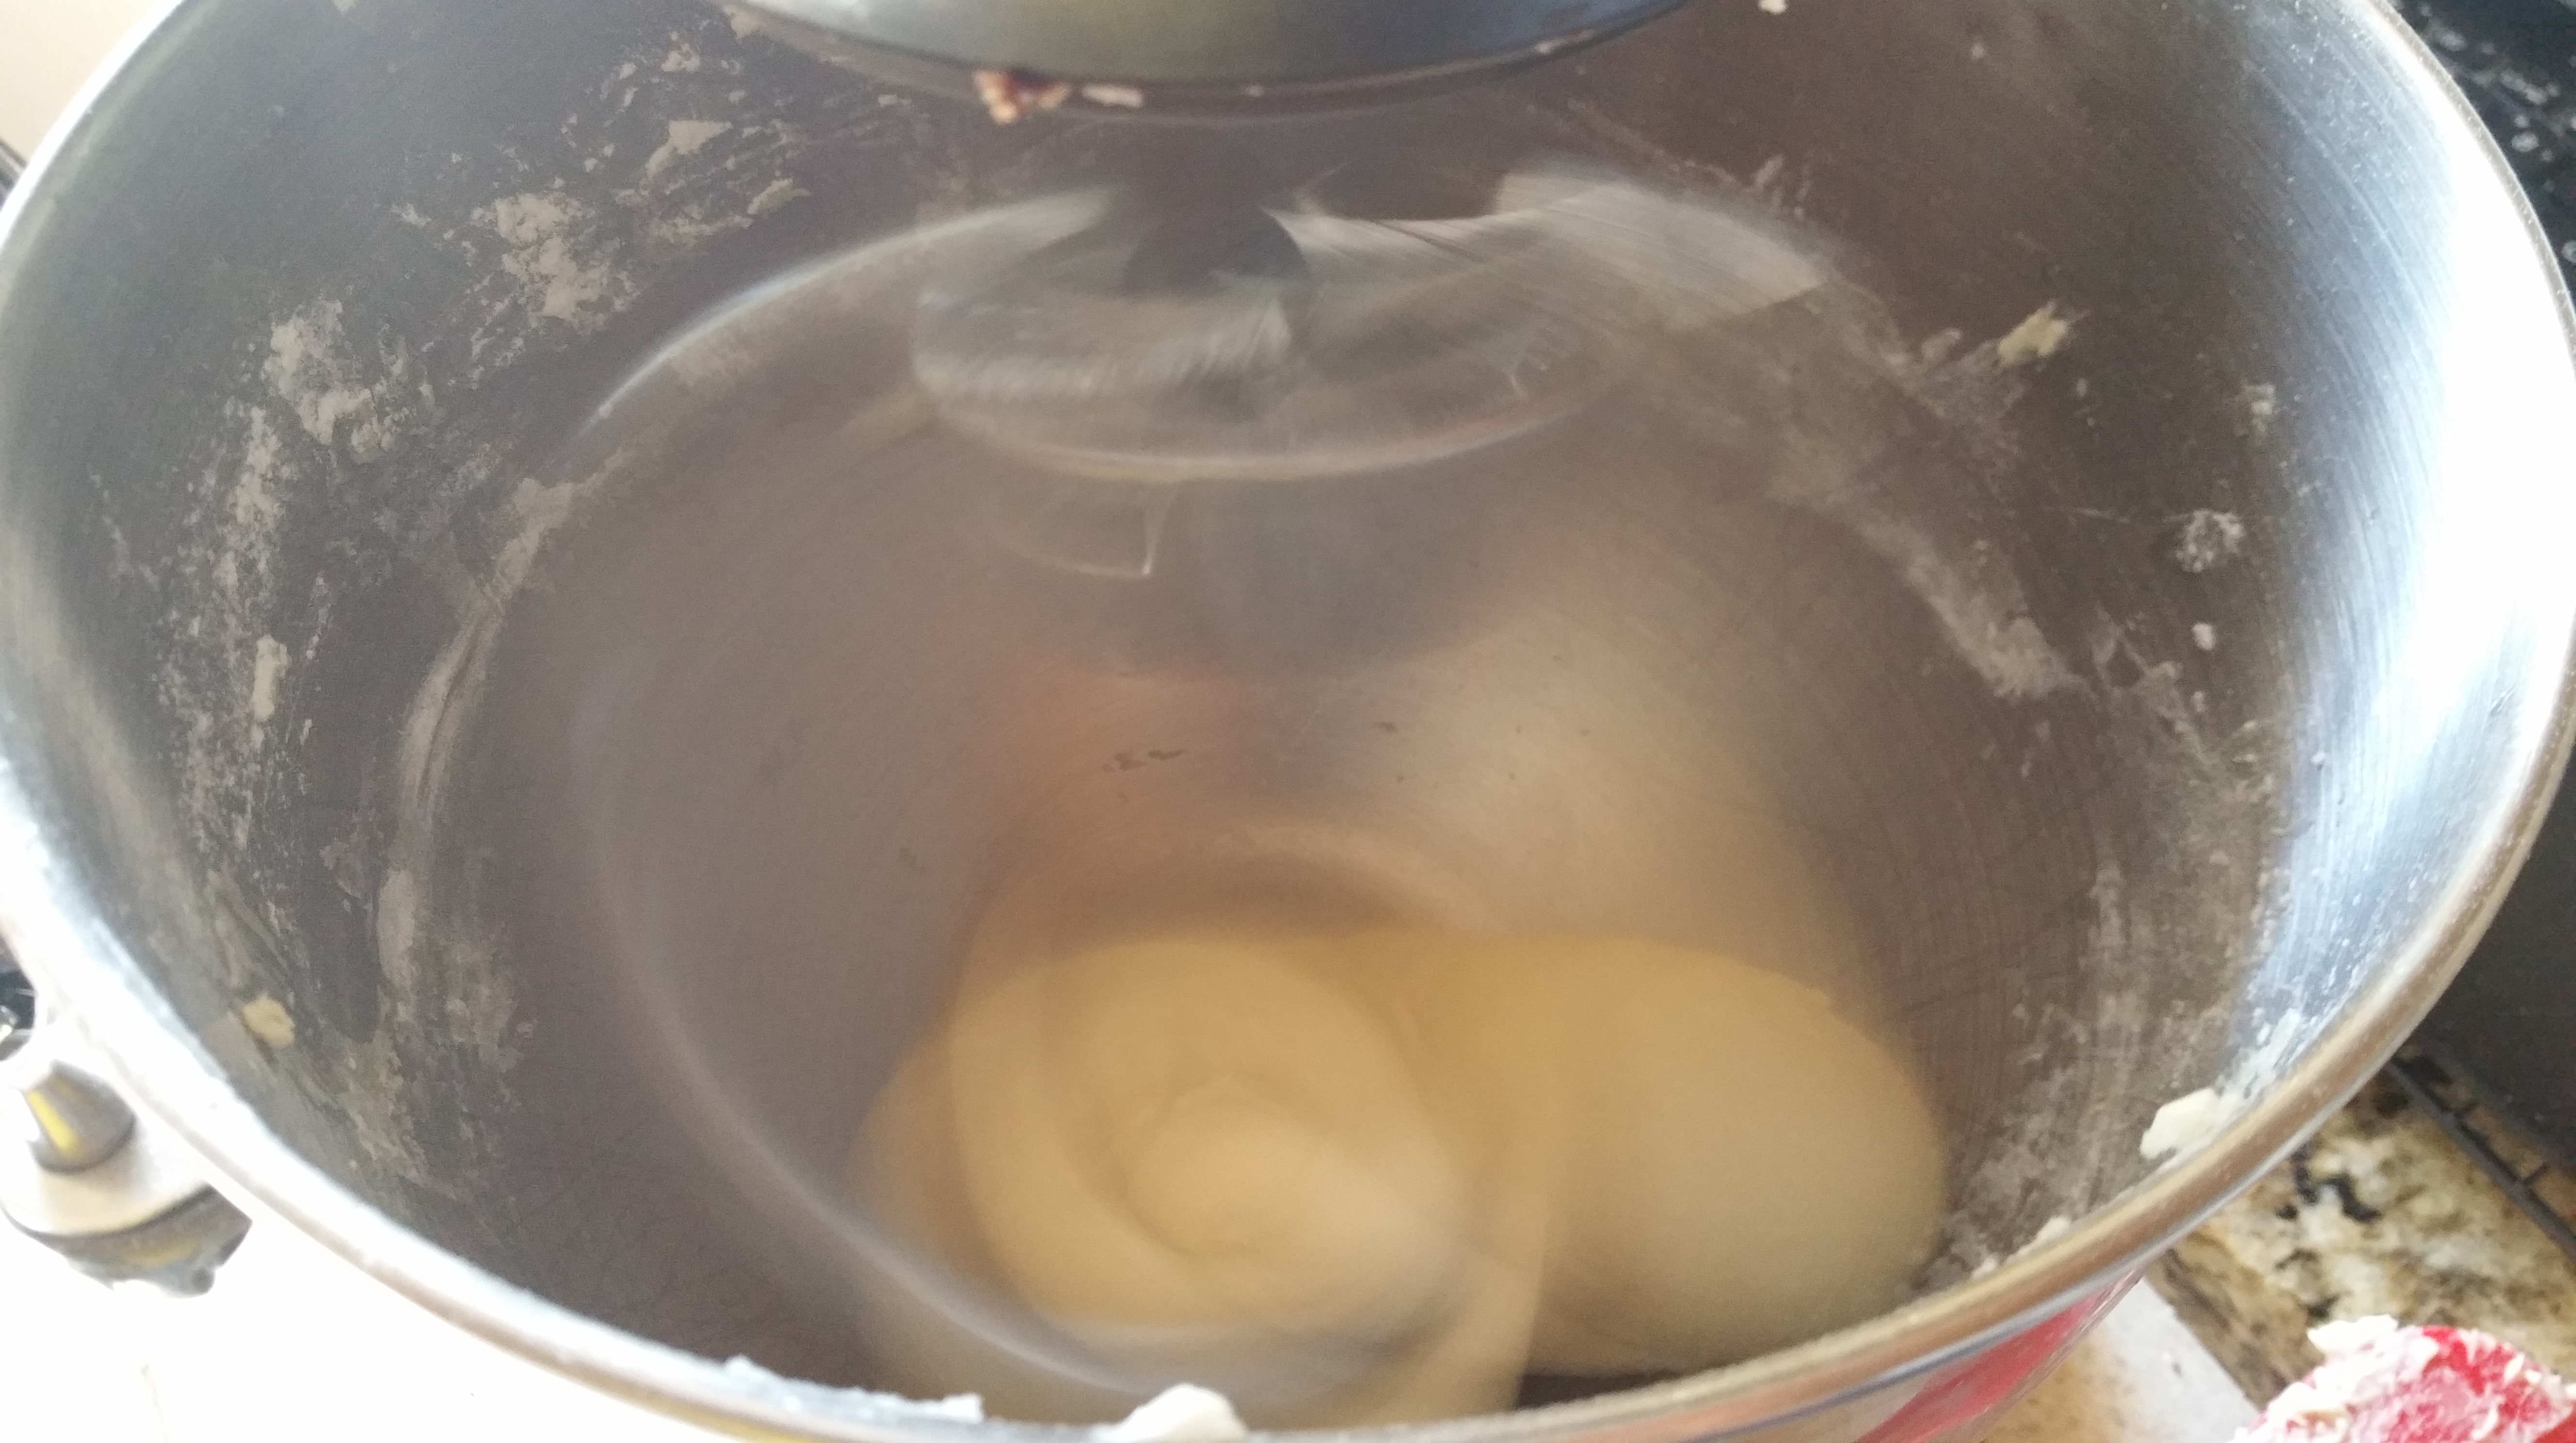
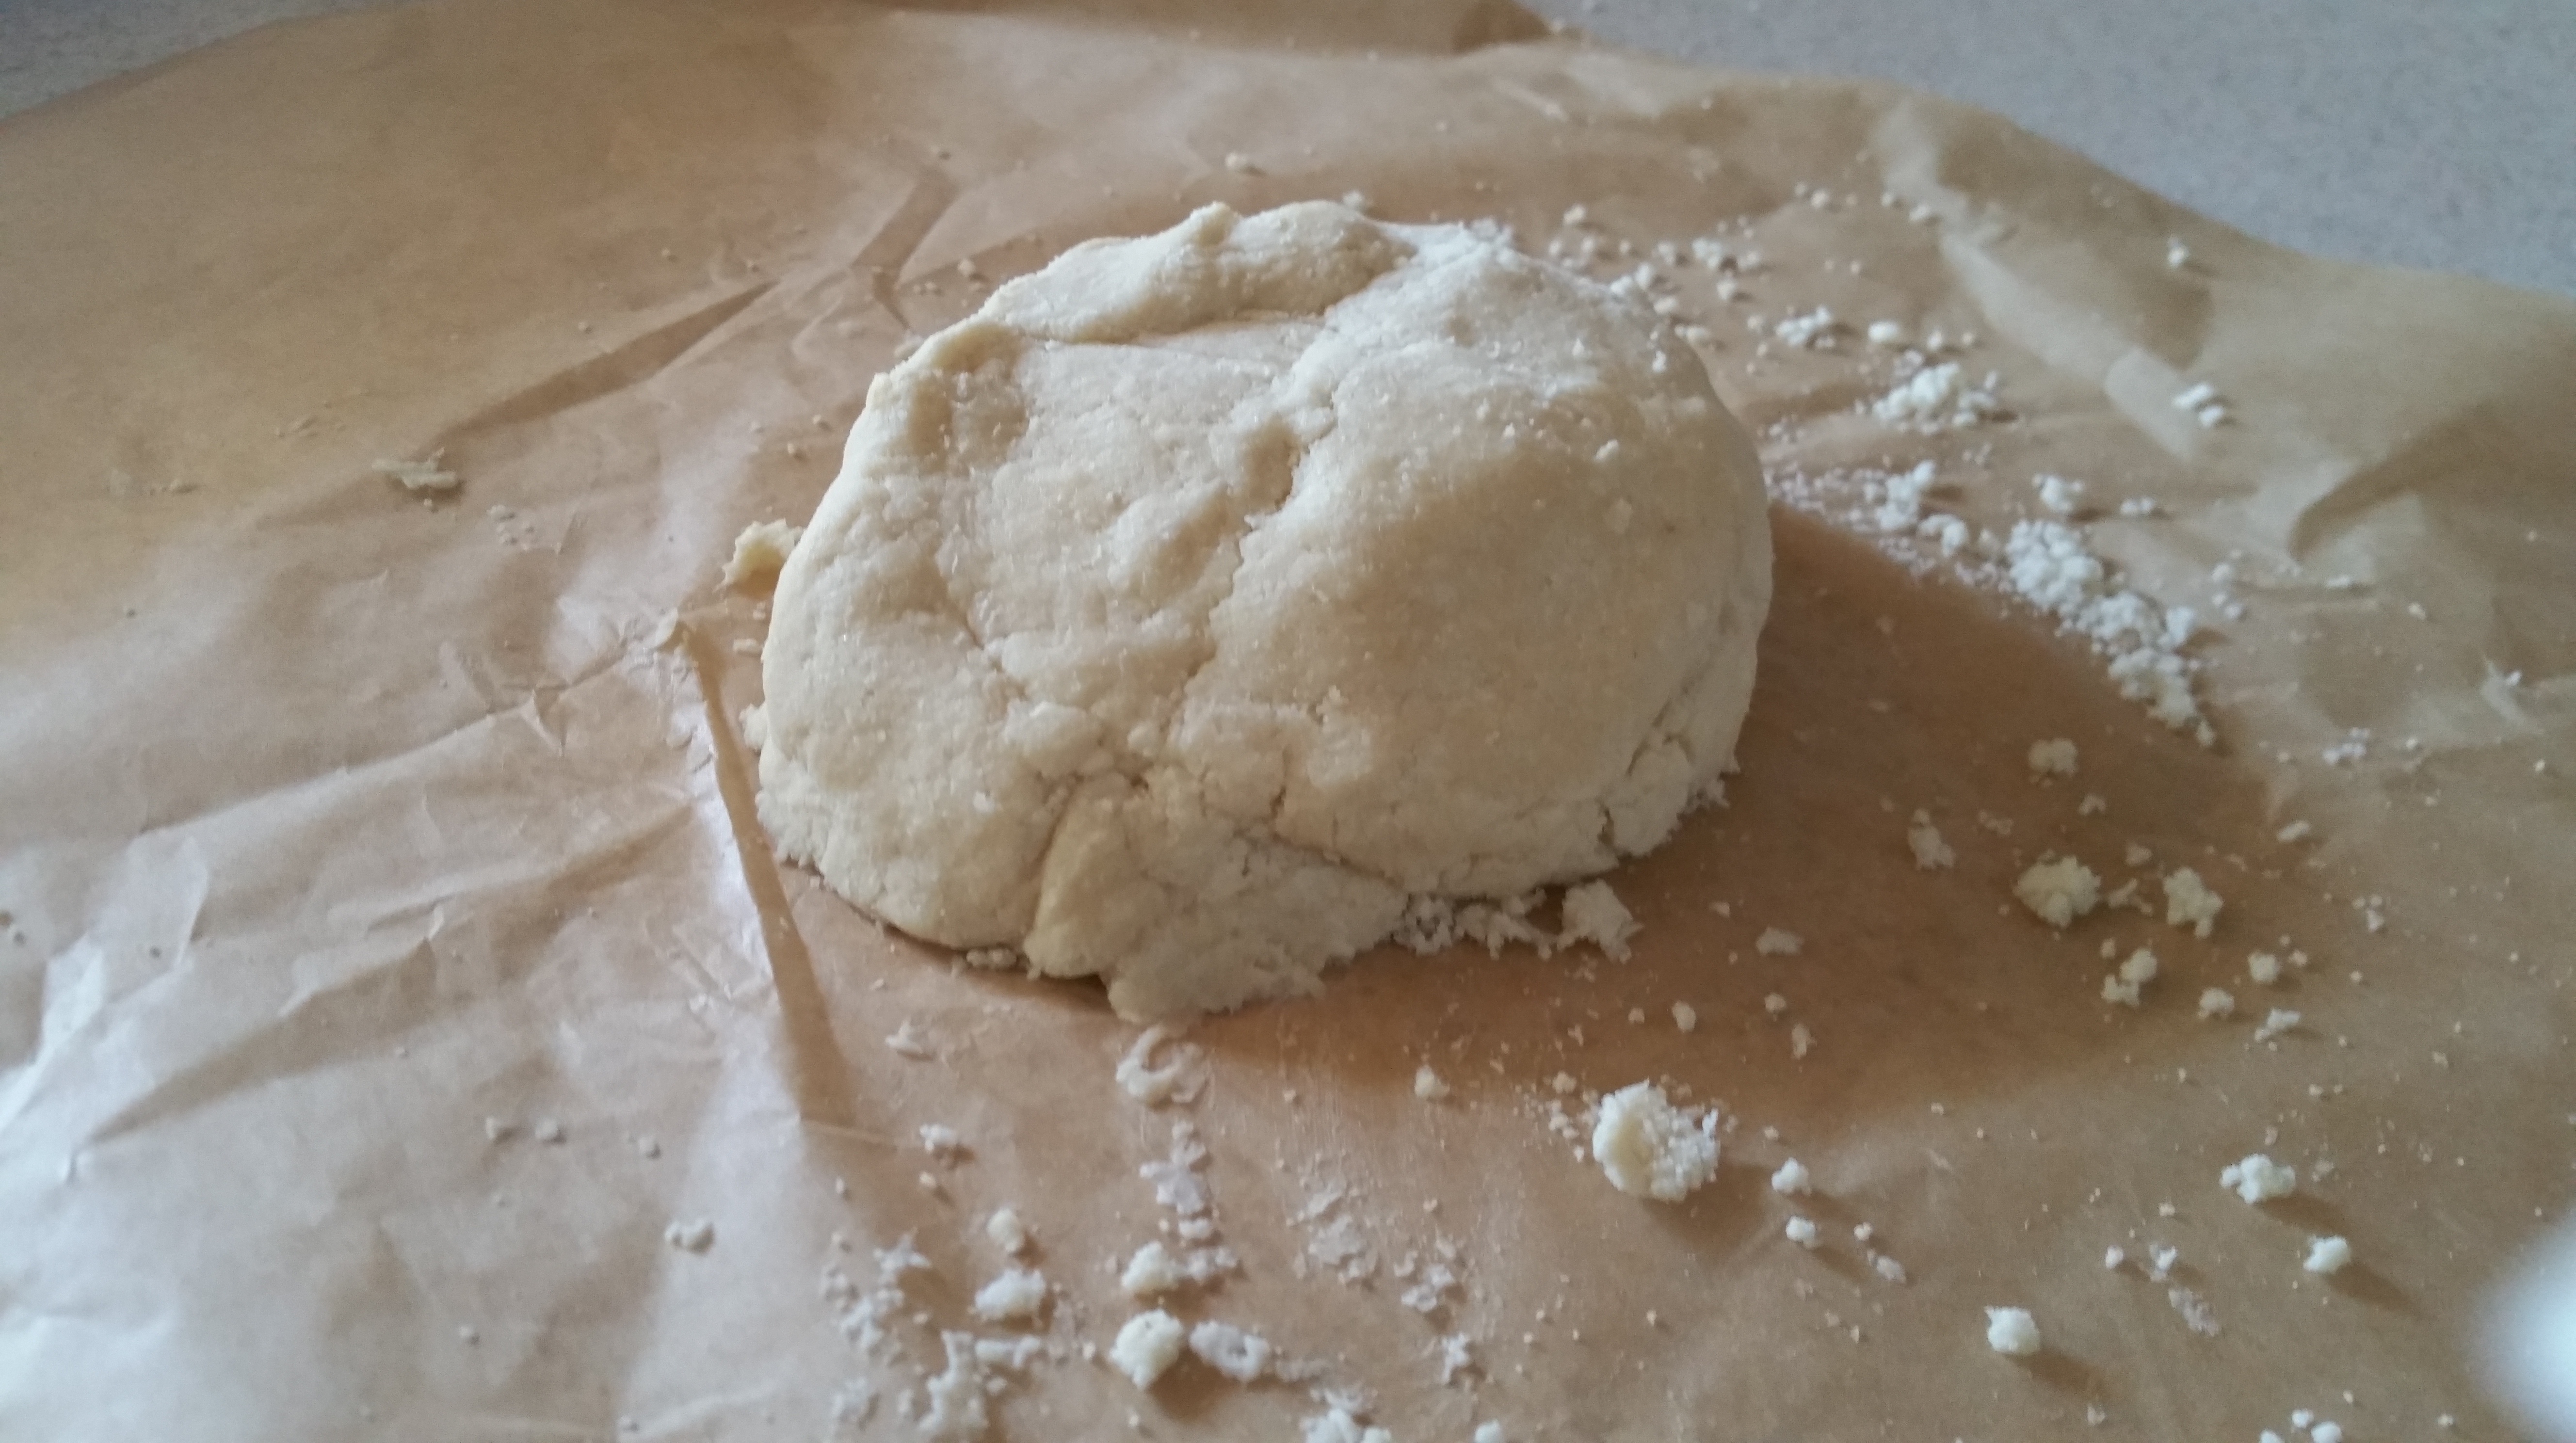
Combine the graham crackers, sugar, salt and melted butter and mix well.

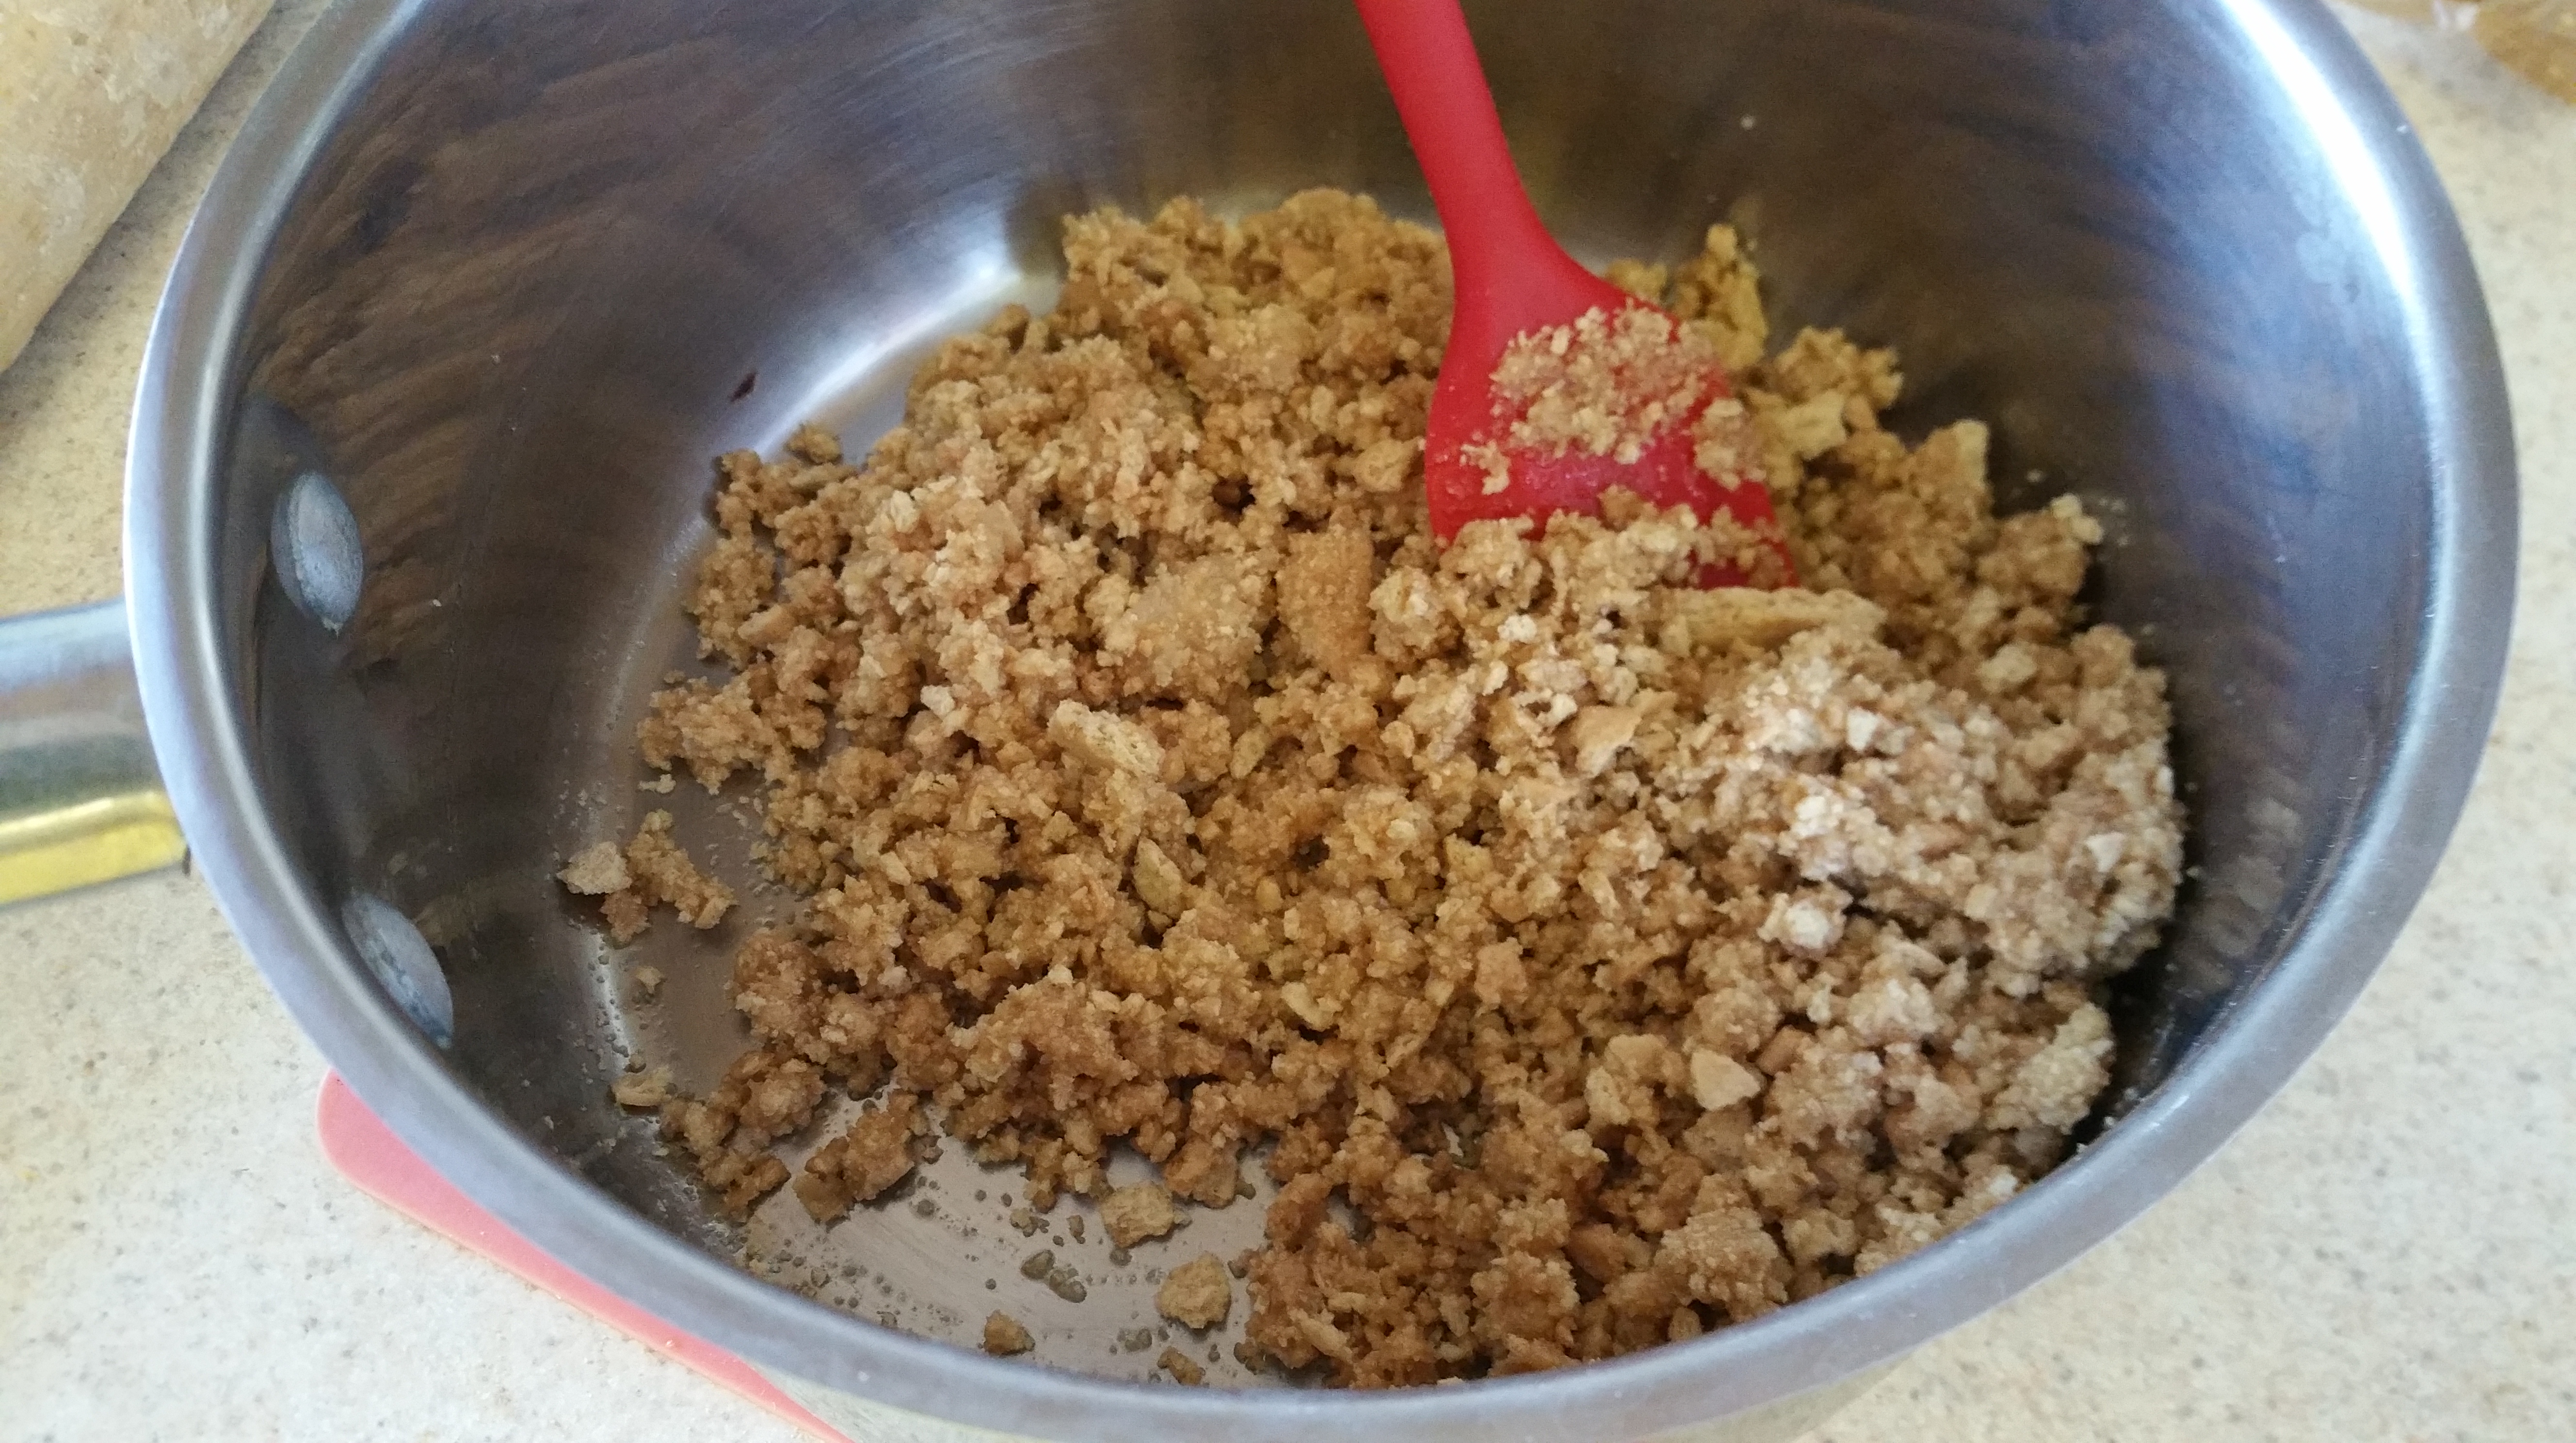
Press into the prepared pan in an even layer and bake for 12 minutes, or until just set. Move to a wire rack to cool slightly while you prepare the filling.

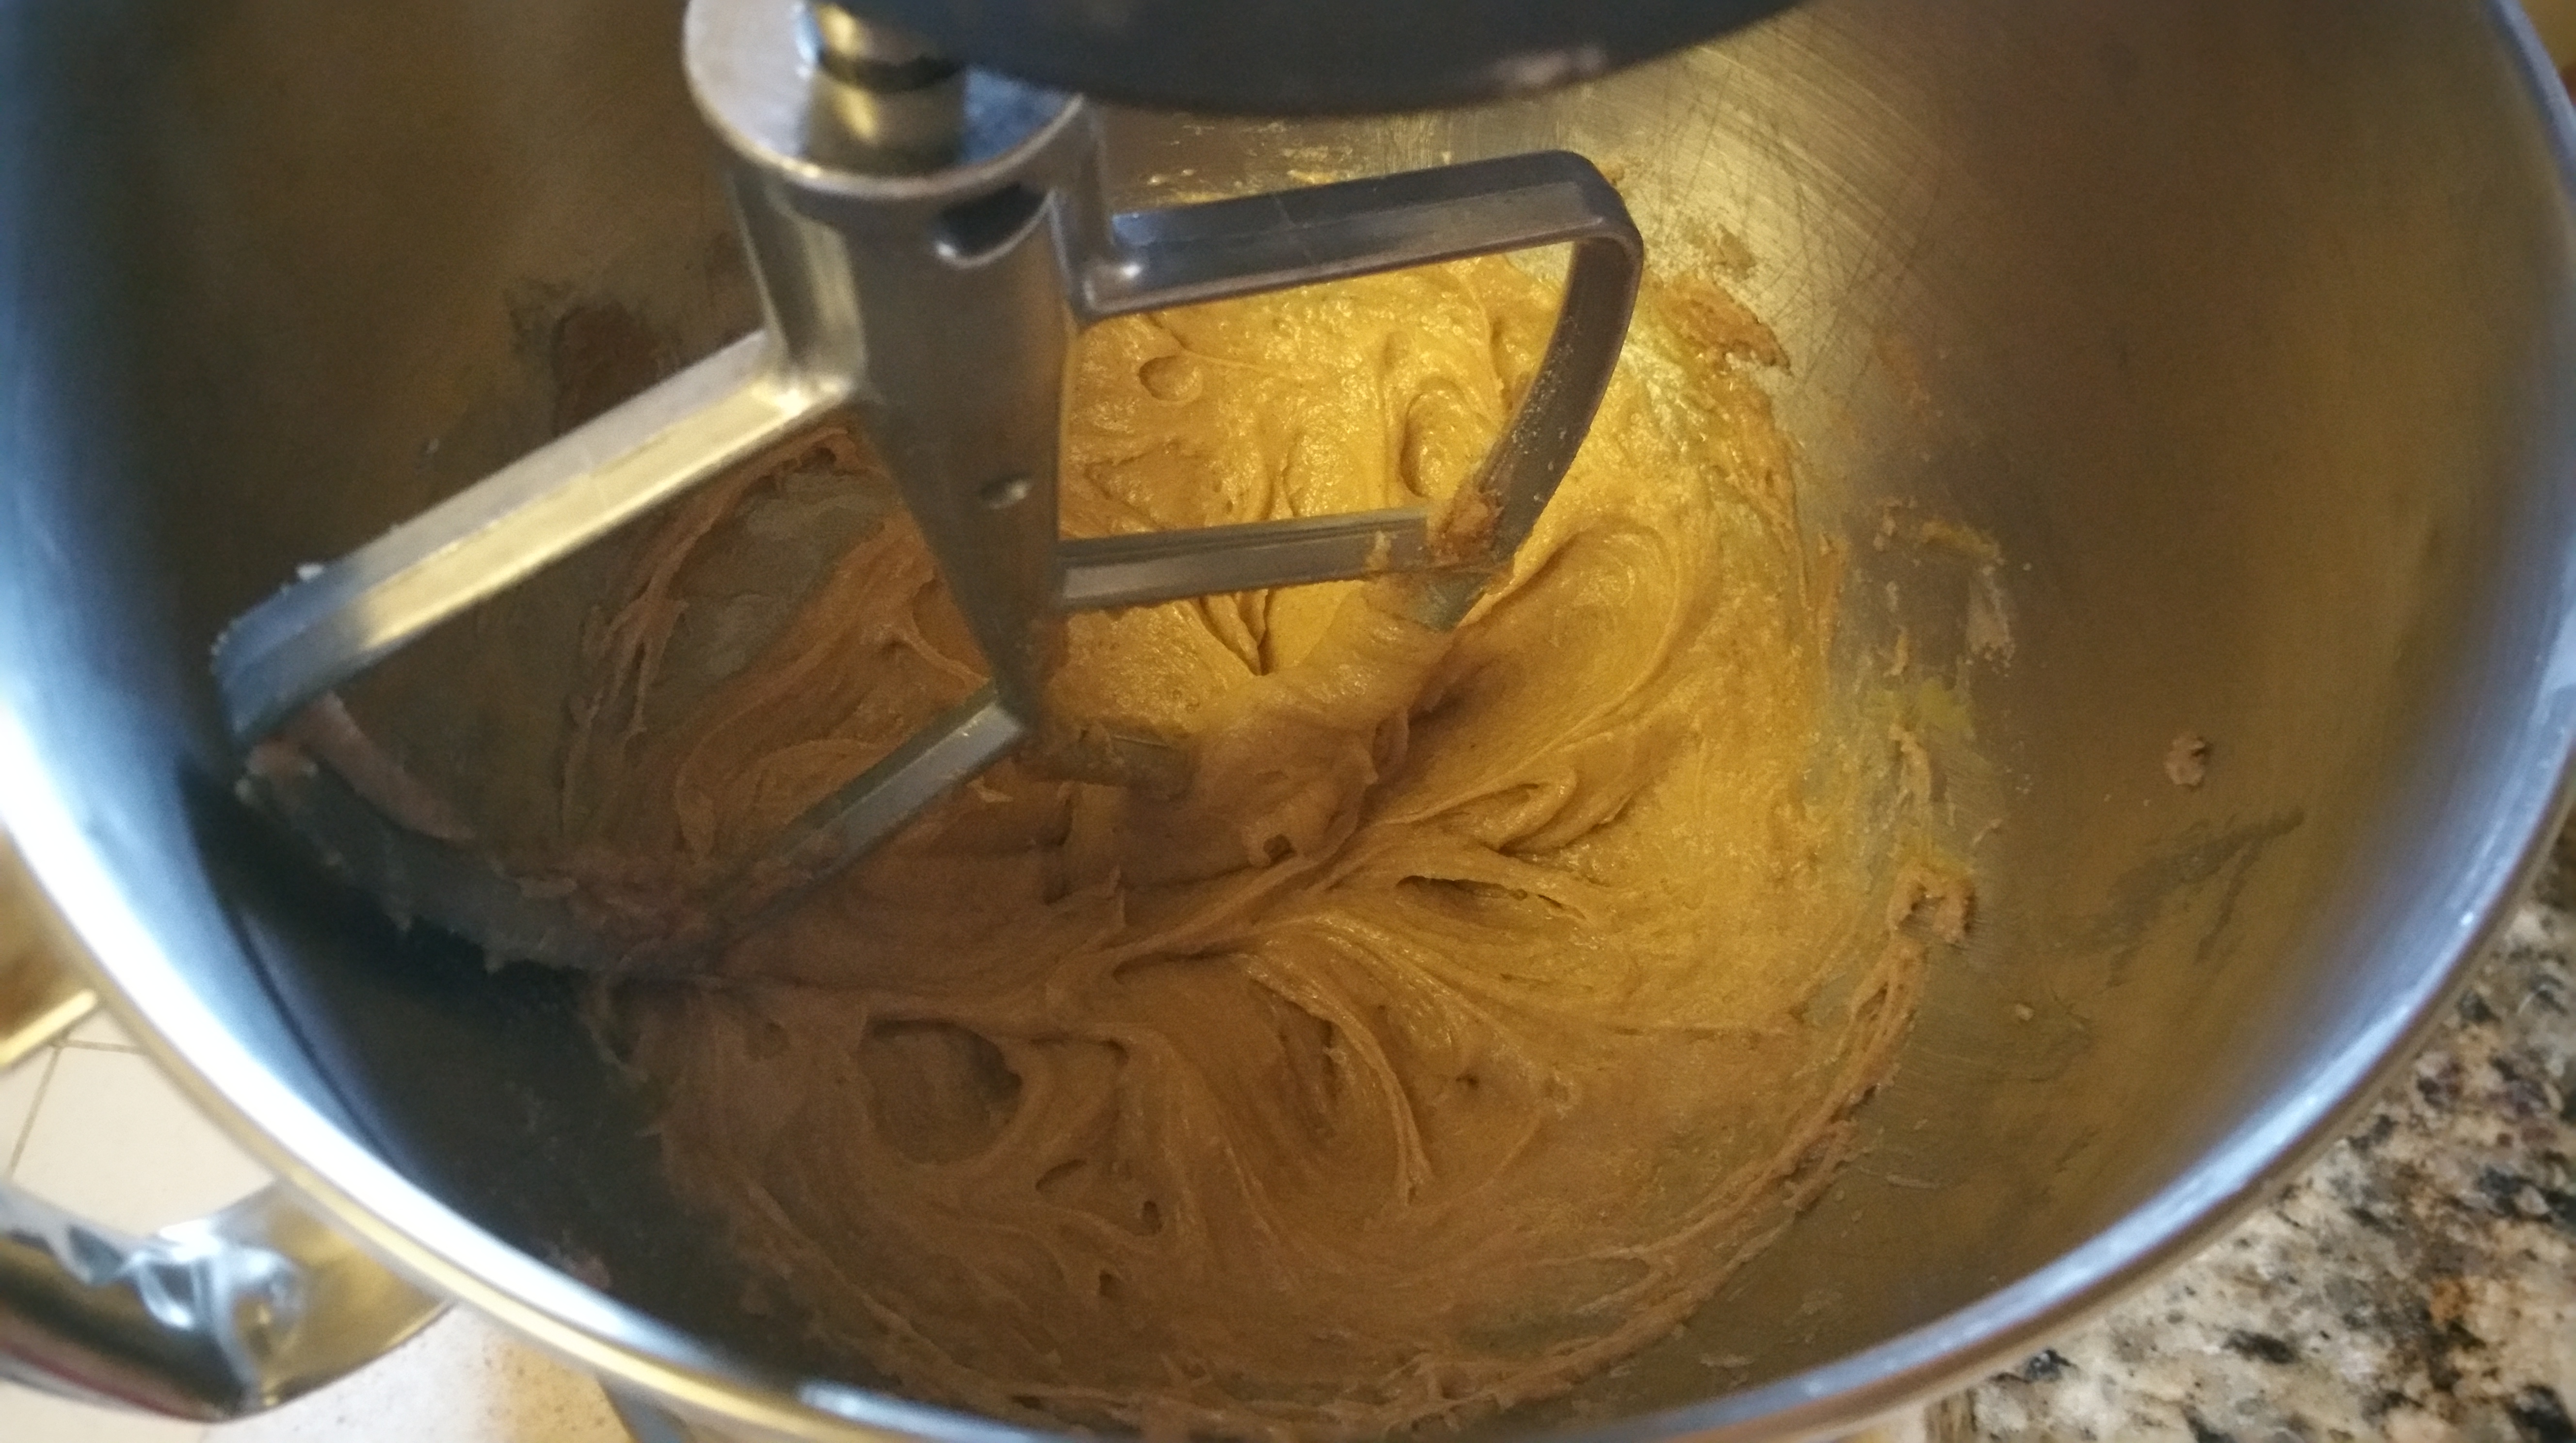
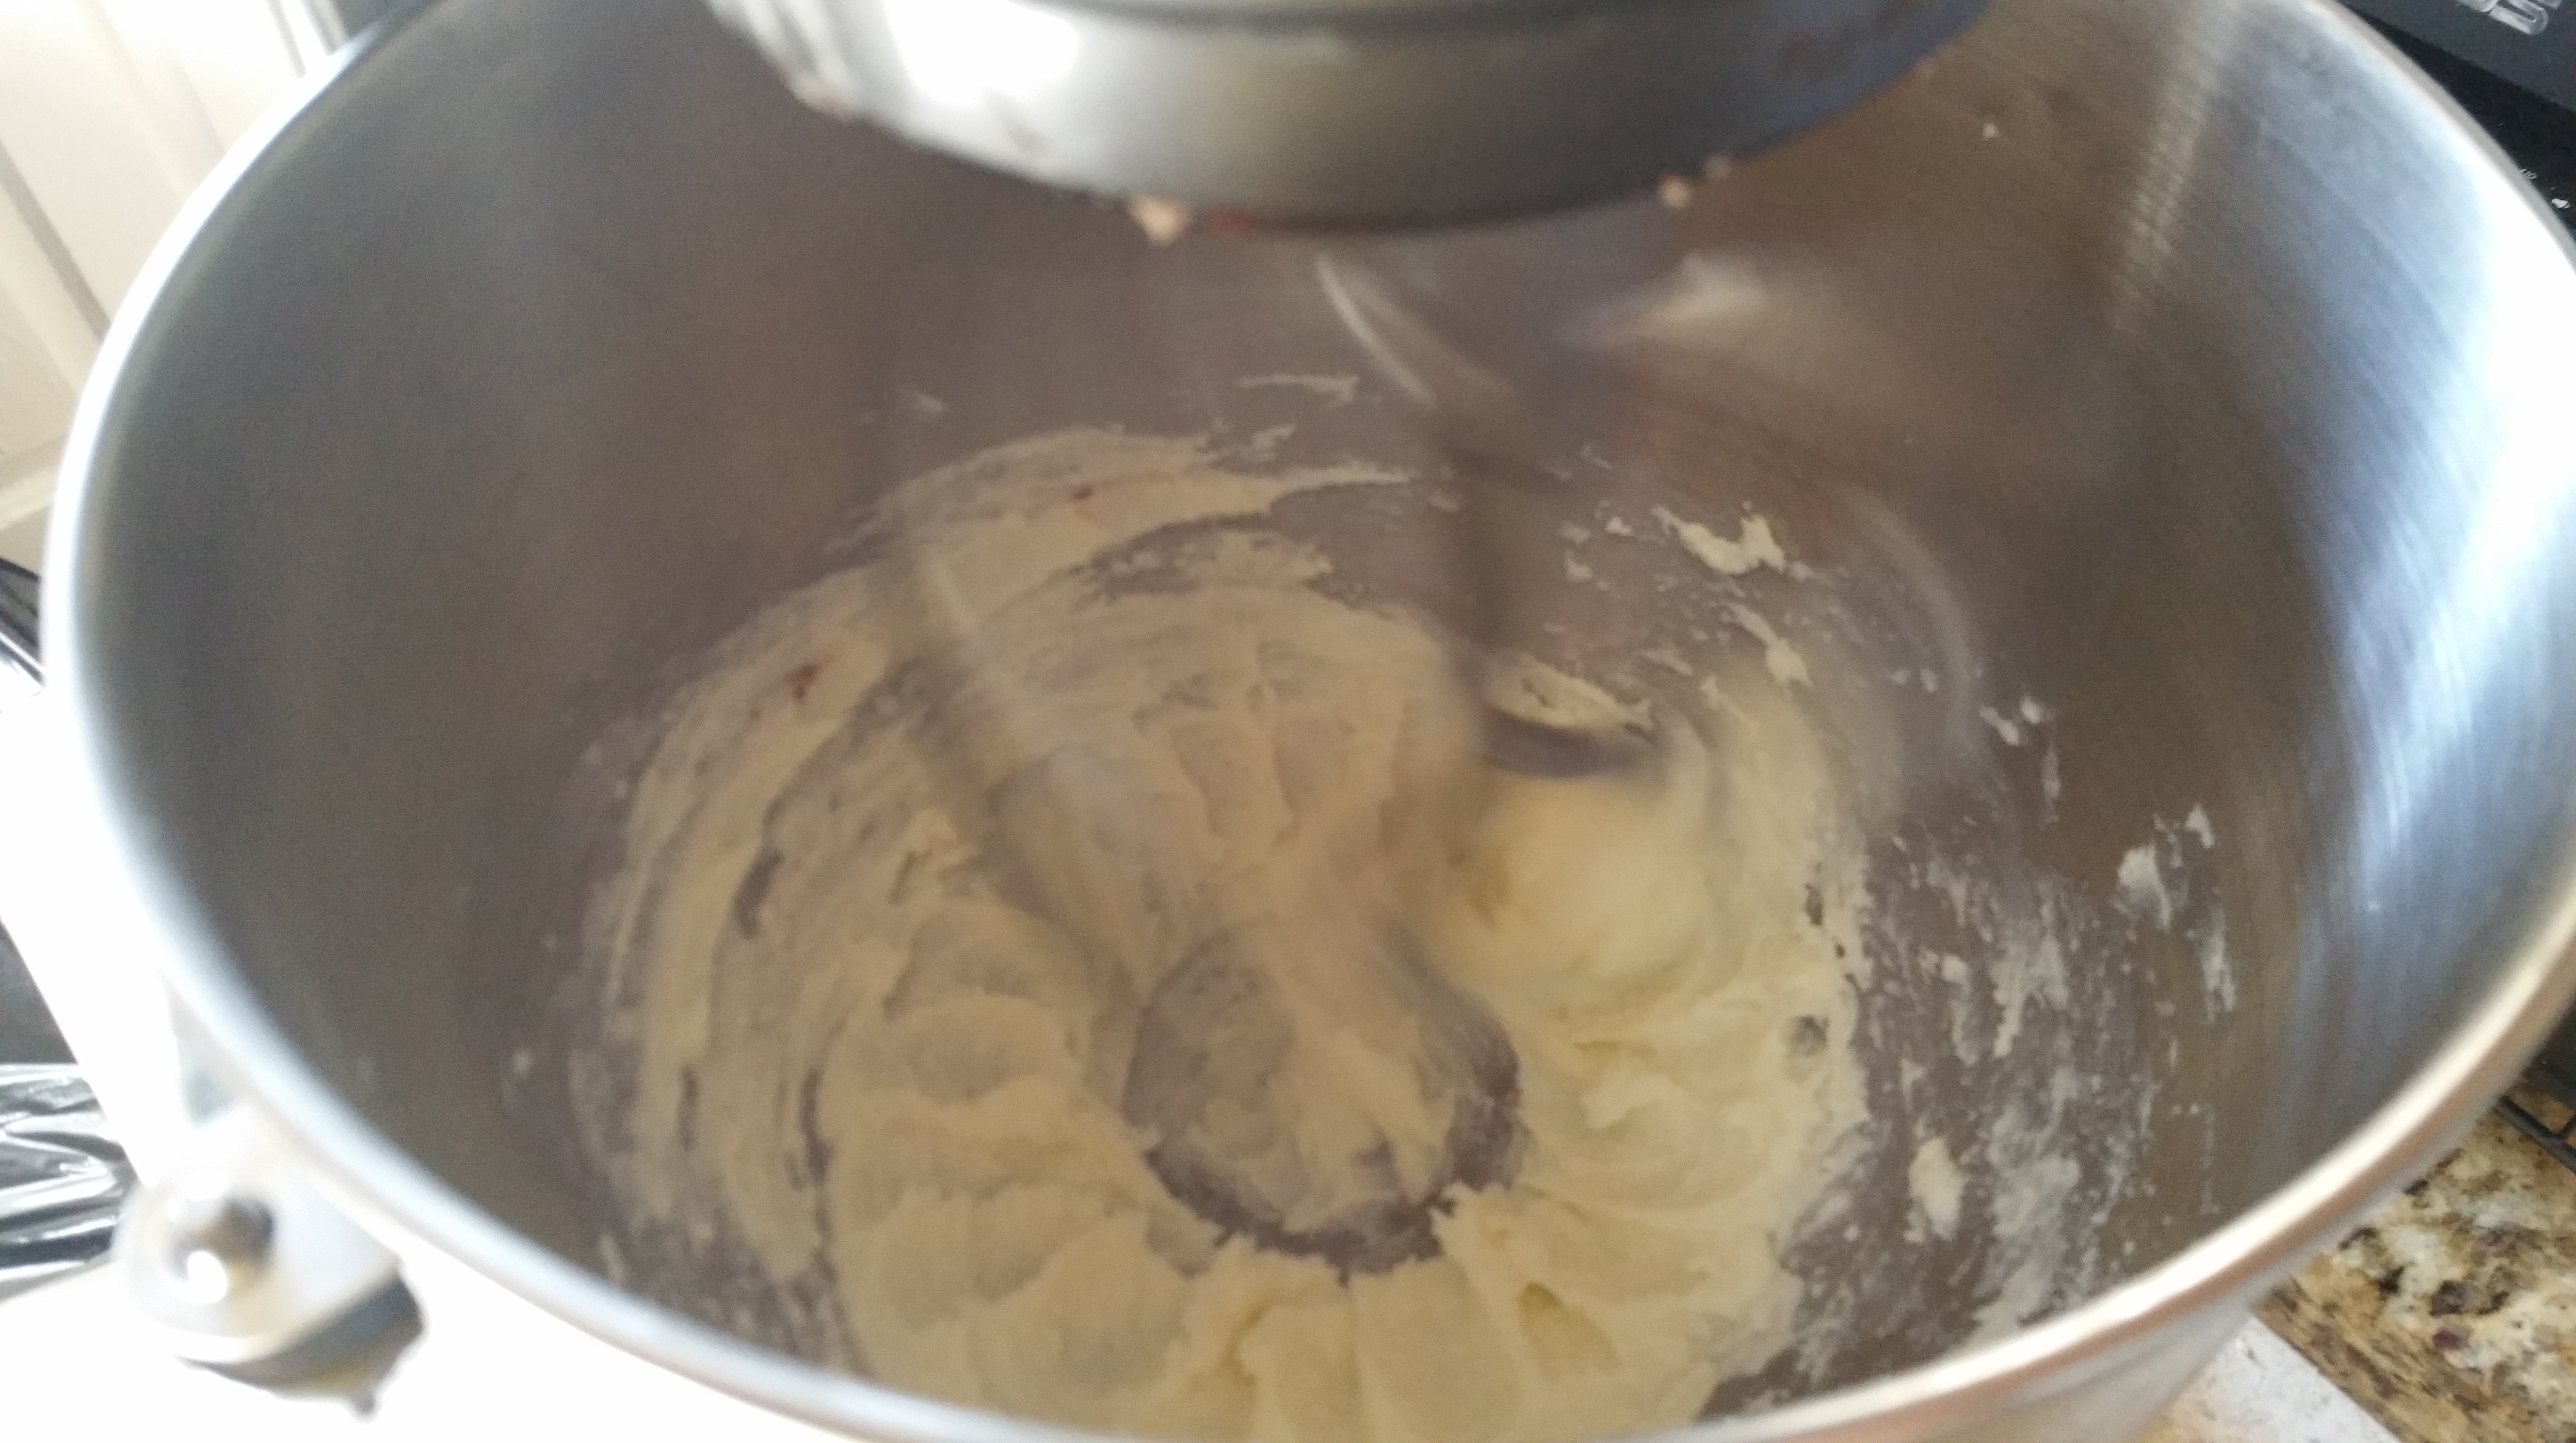
To make the brownie batter, combine the butter, cacao butter, and sugar and mix well.

Add the eggs and vanilla extract and beat until thick.

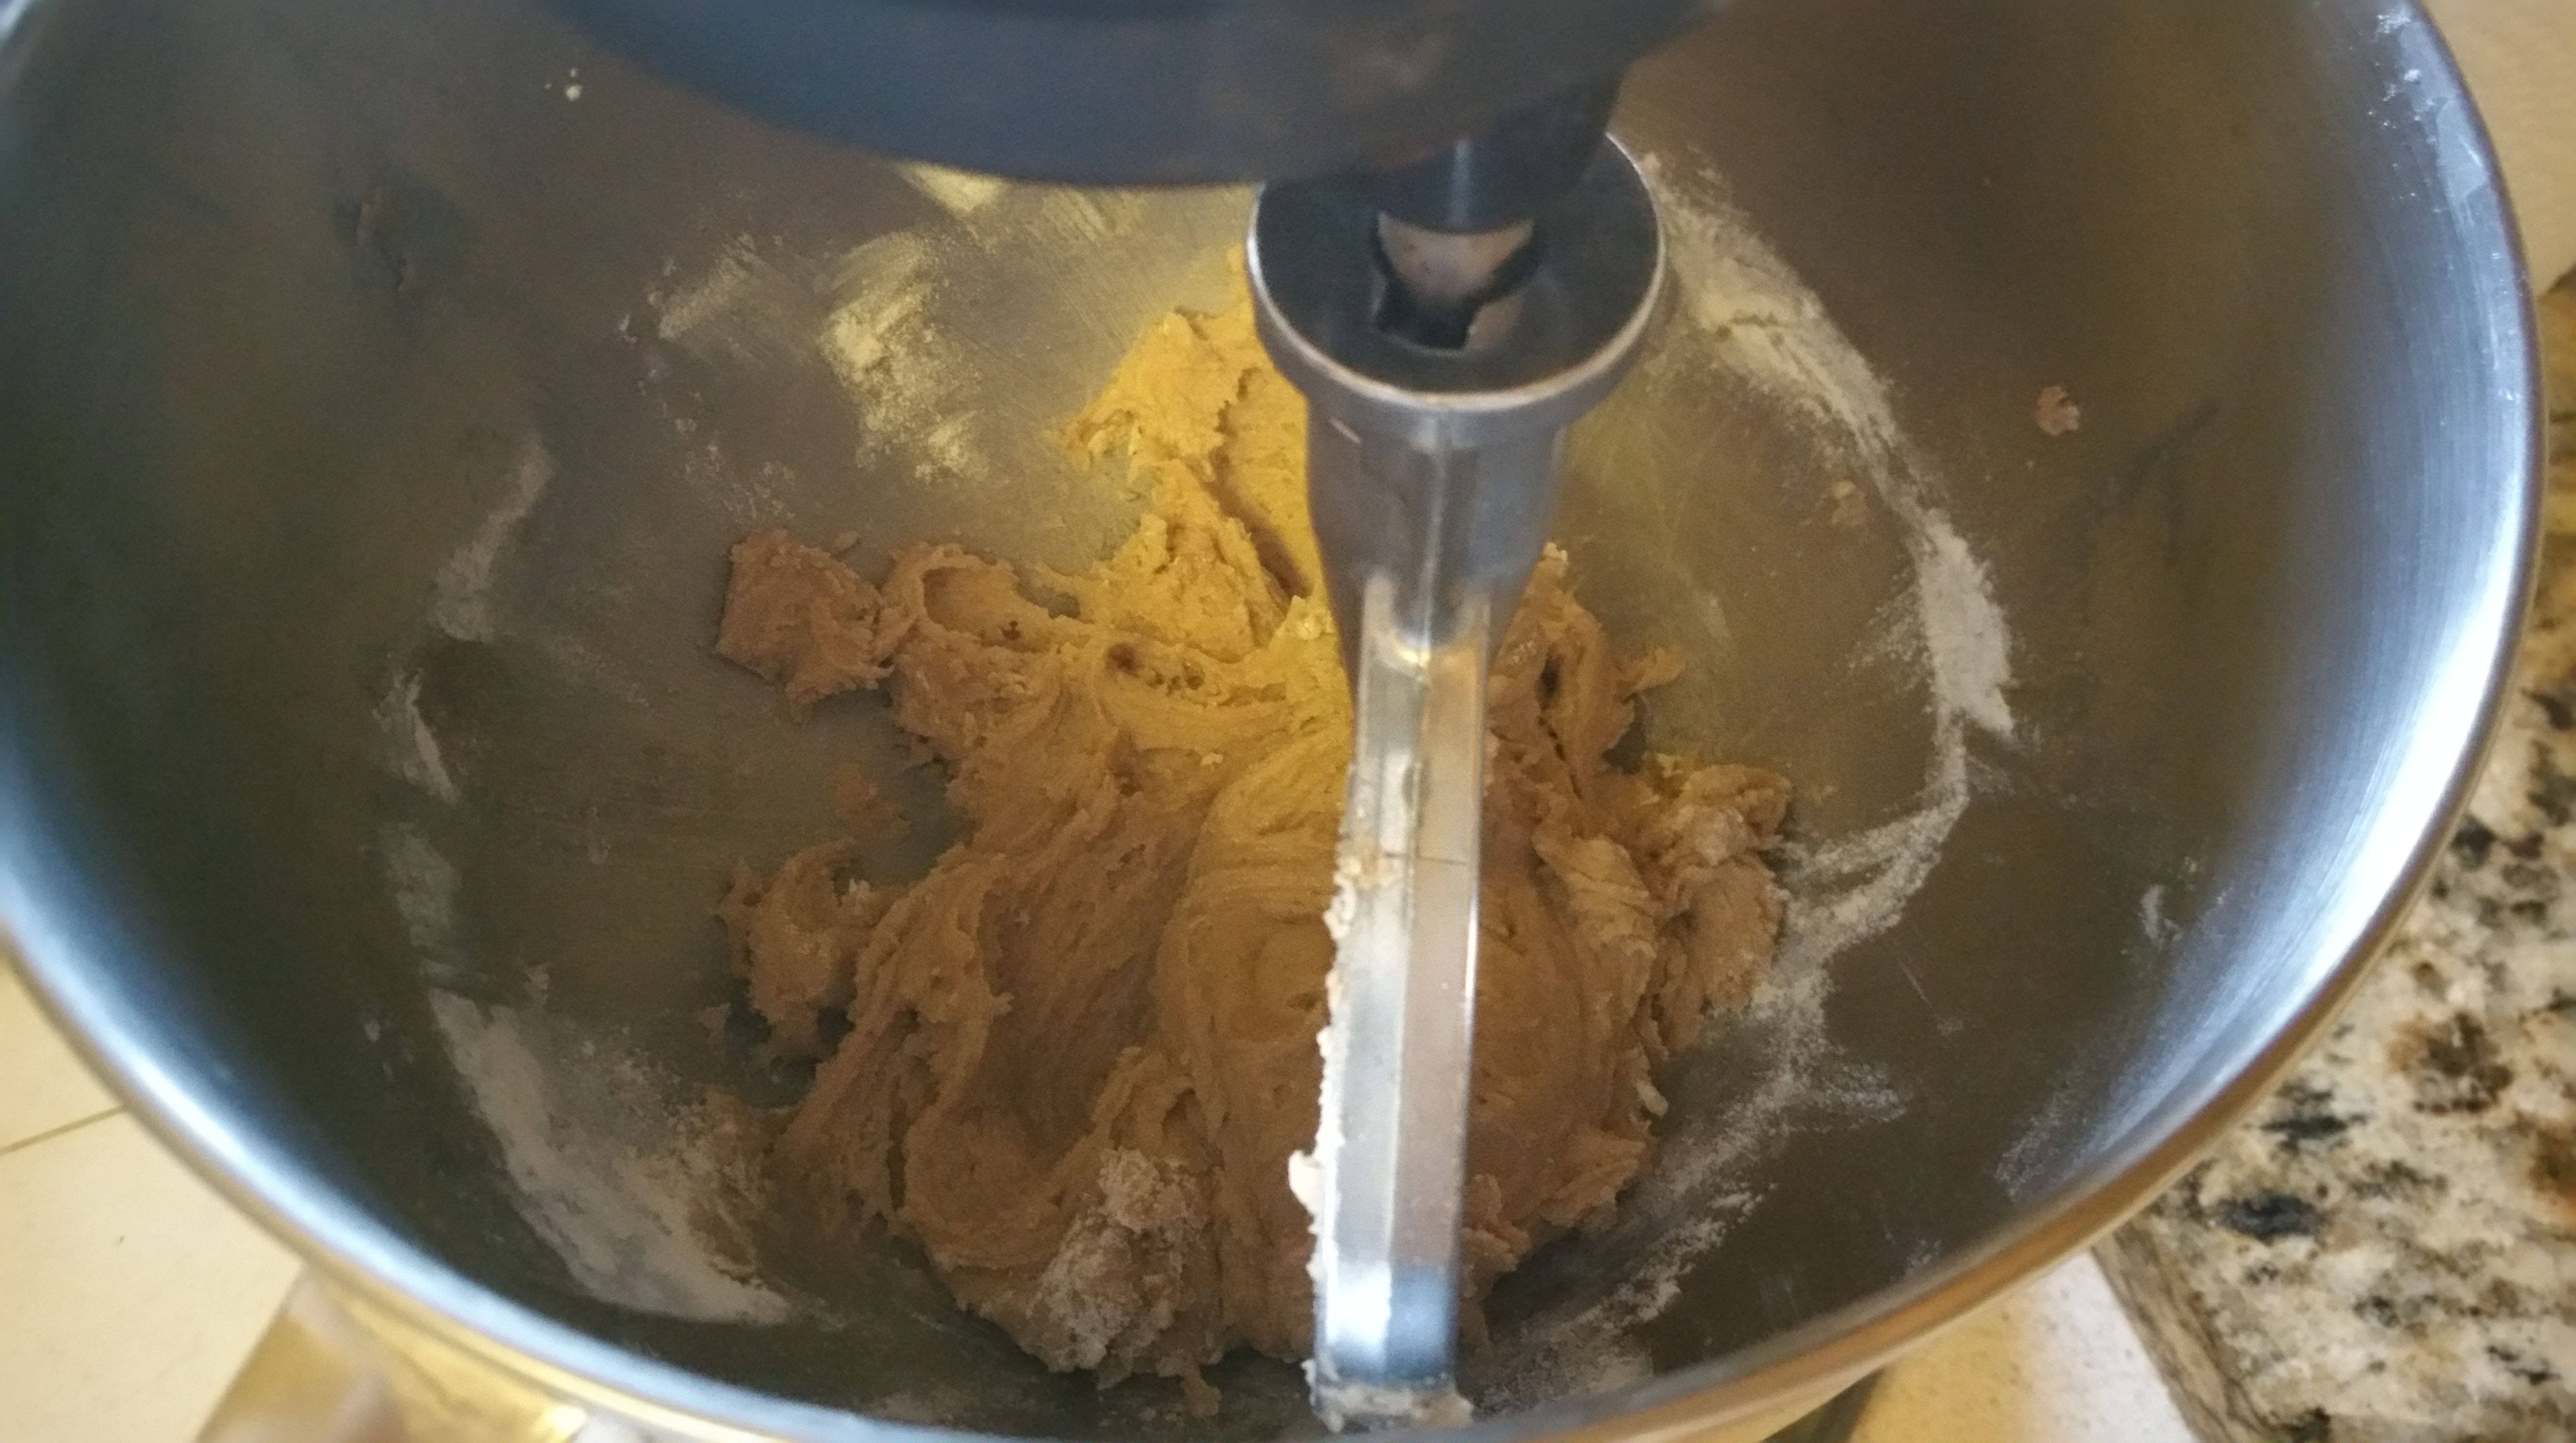
Stir in the dry ingredients, but do not overmix. Some lumps are fine.

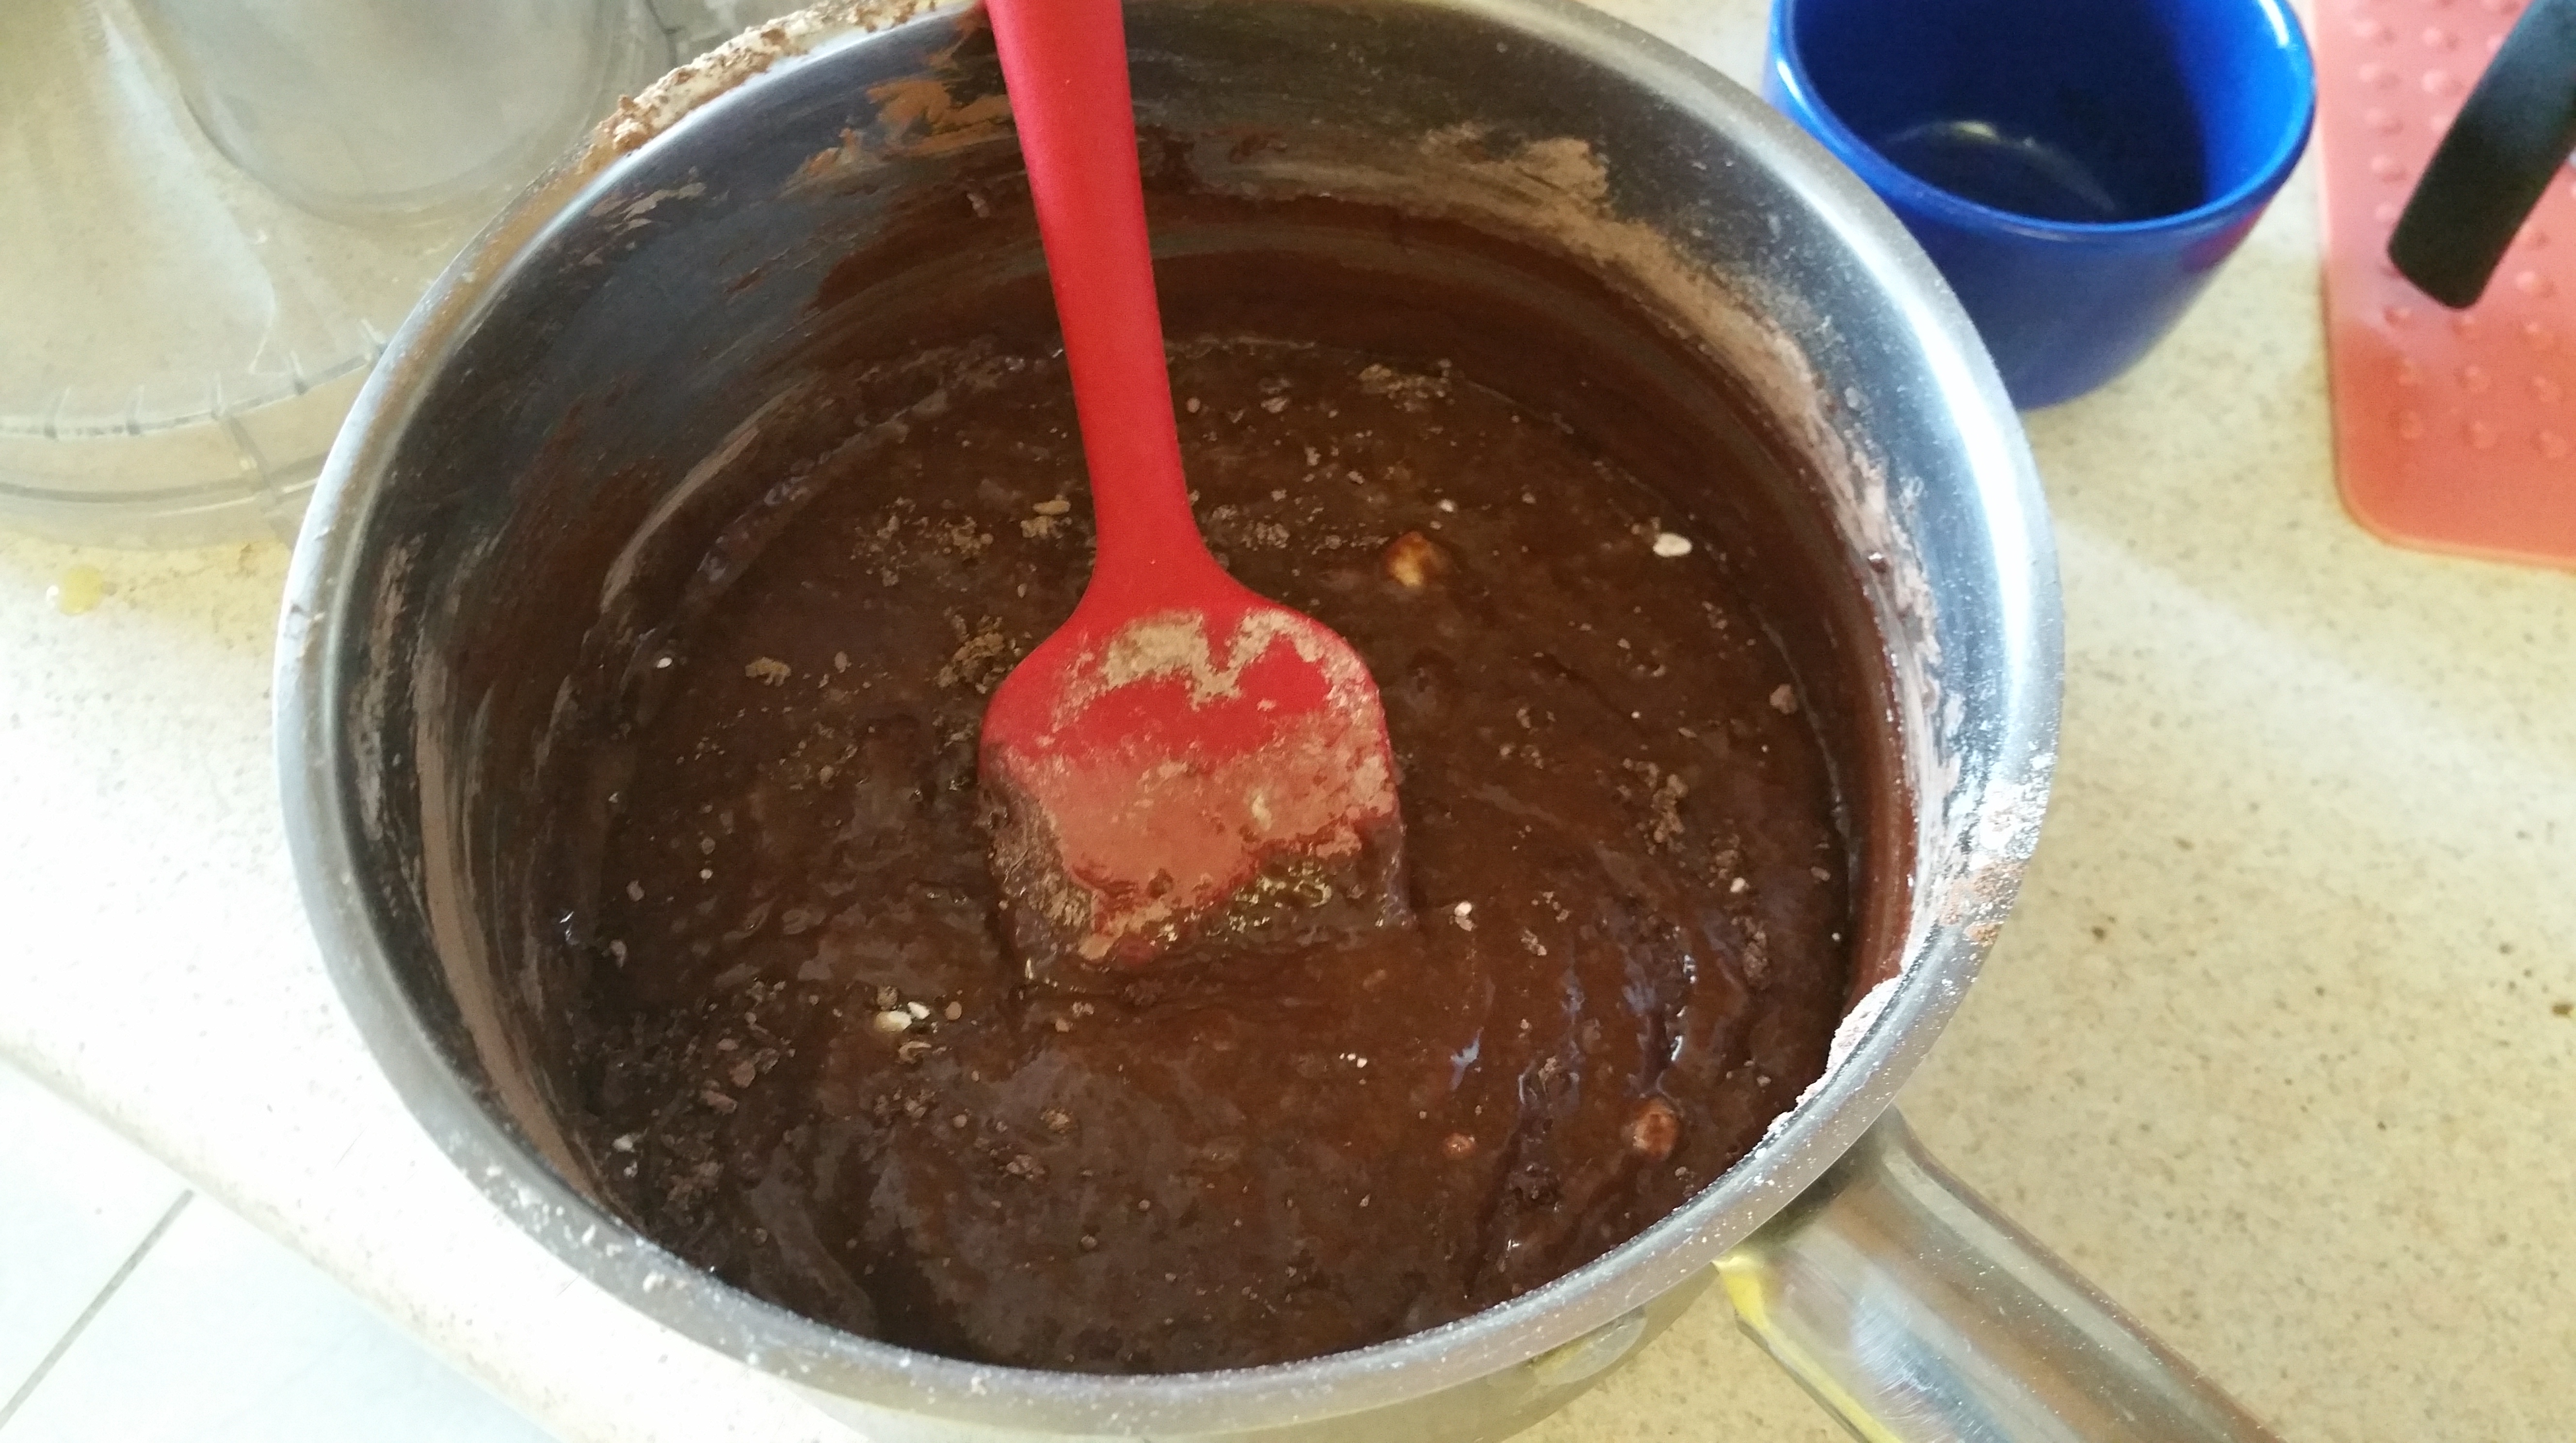
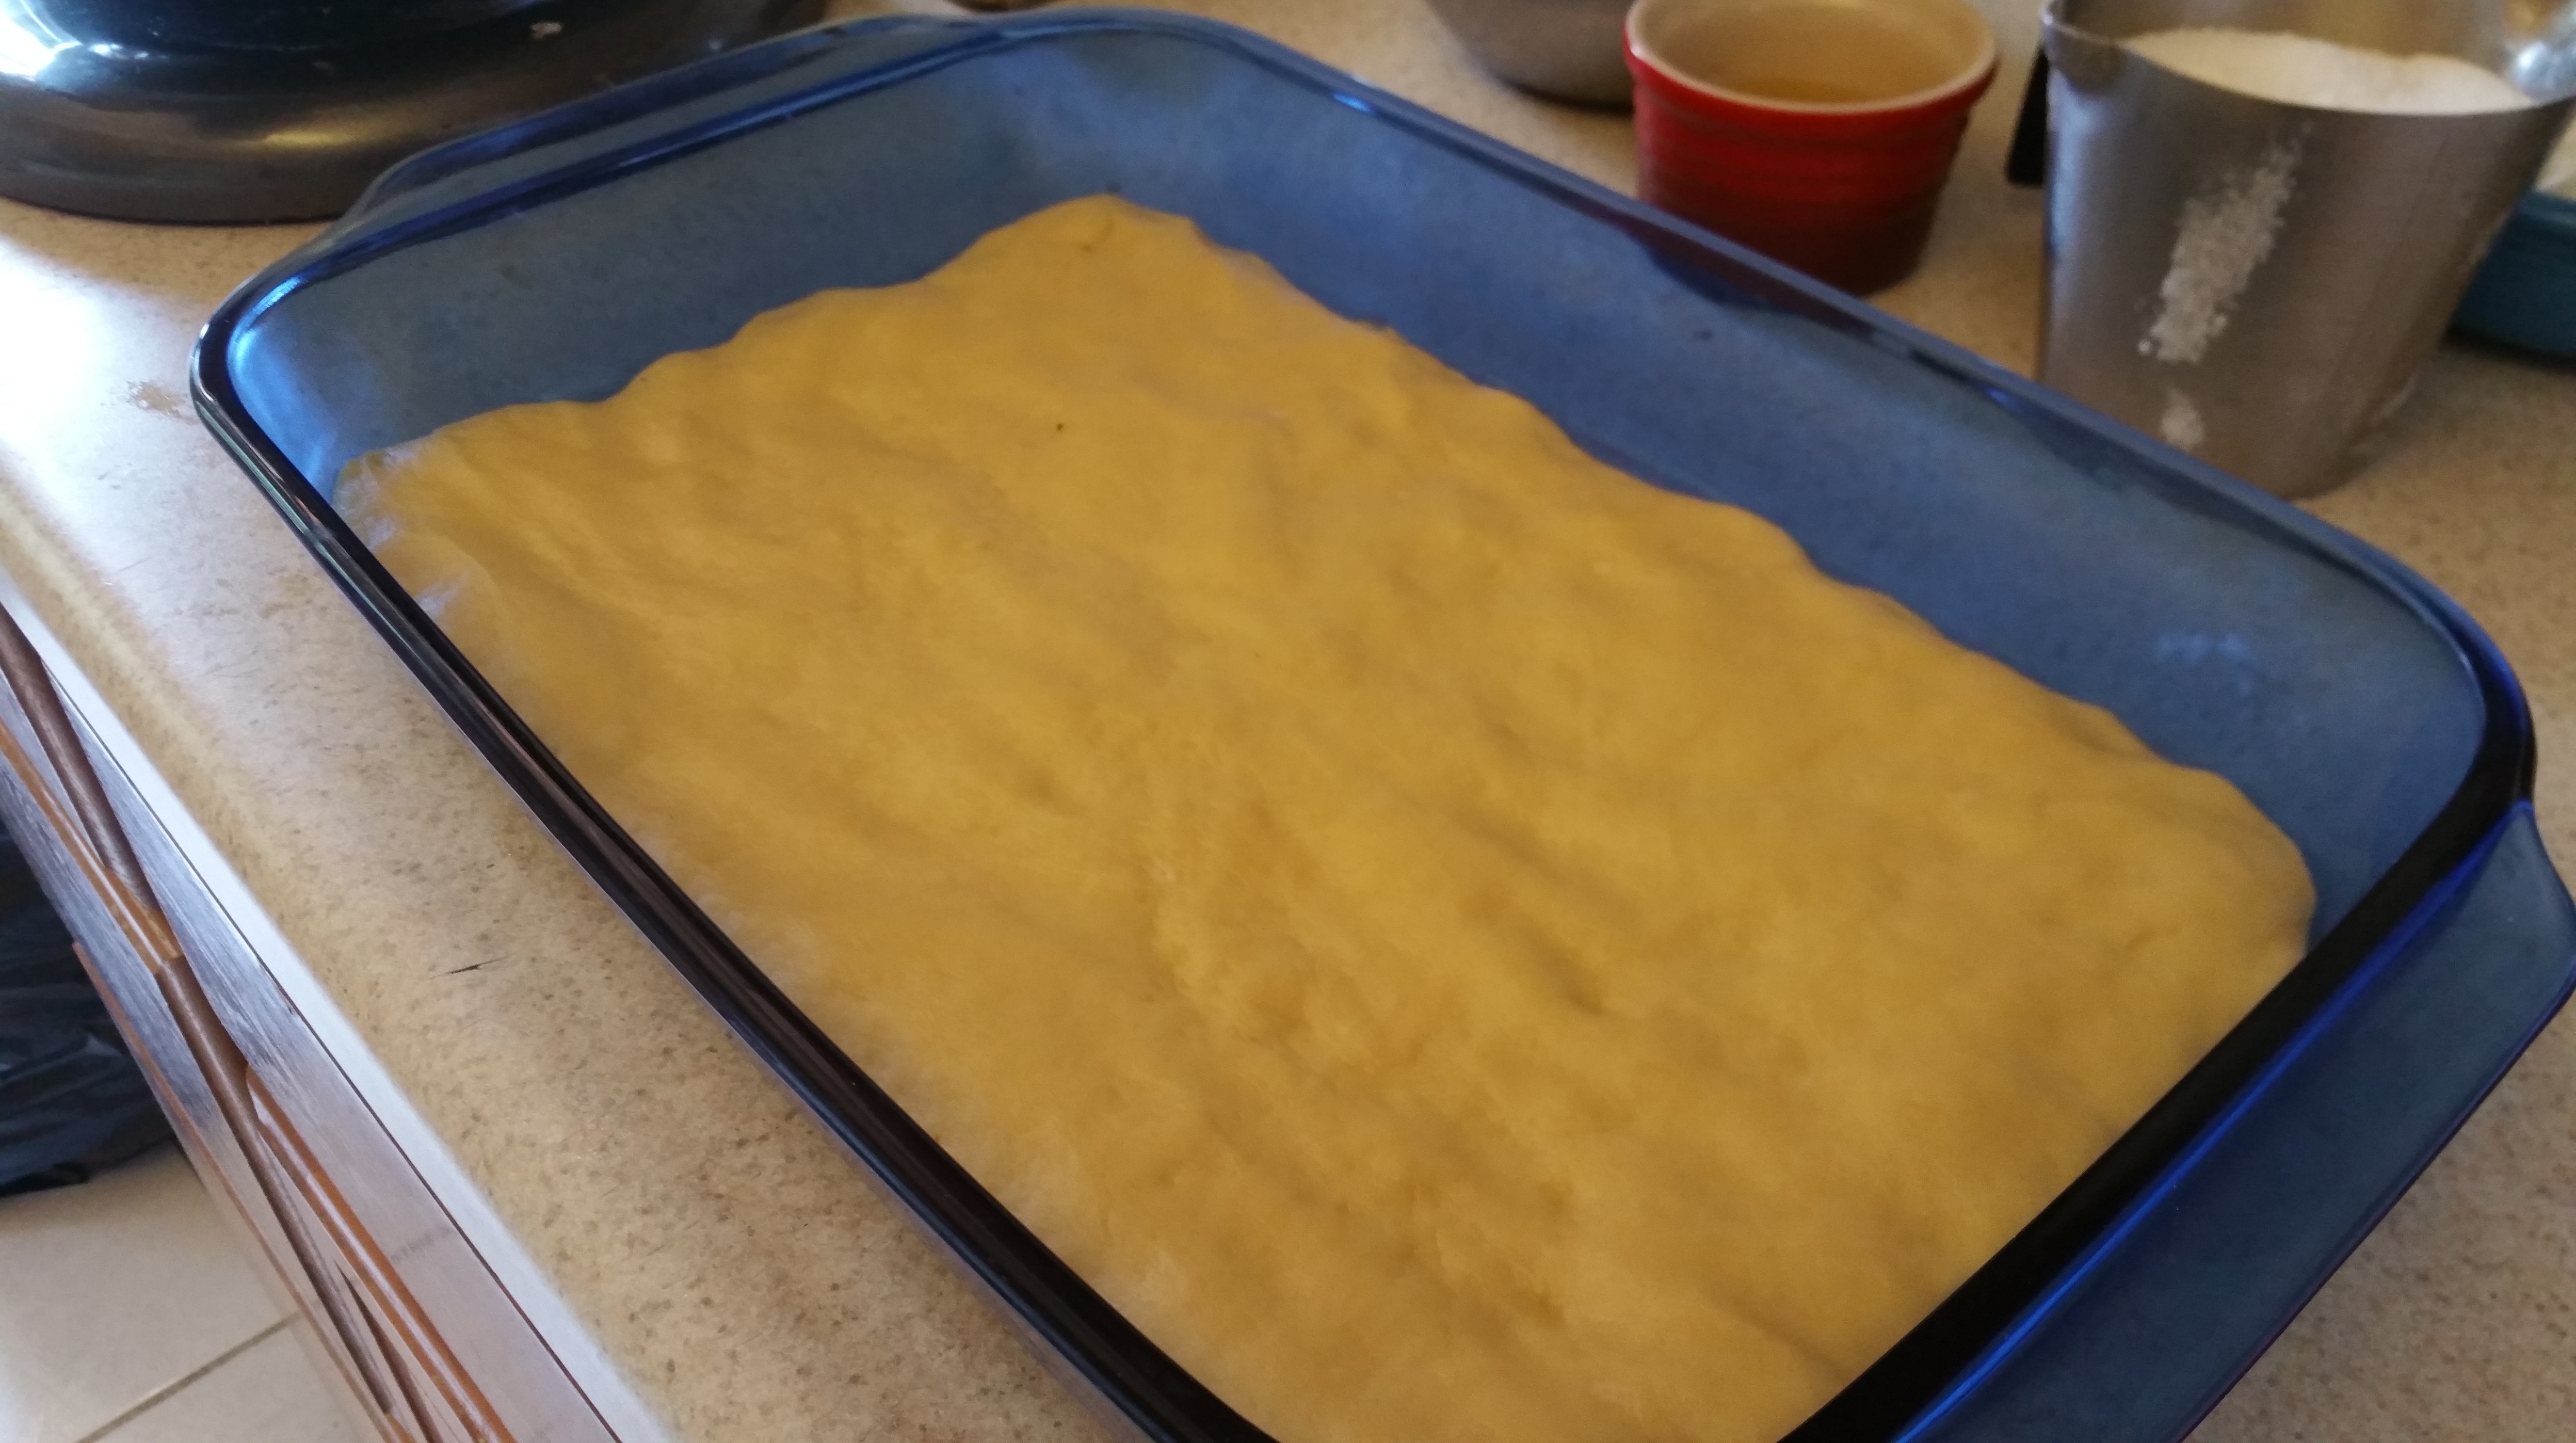
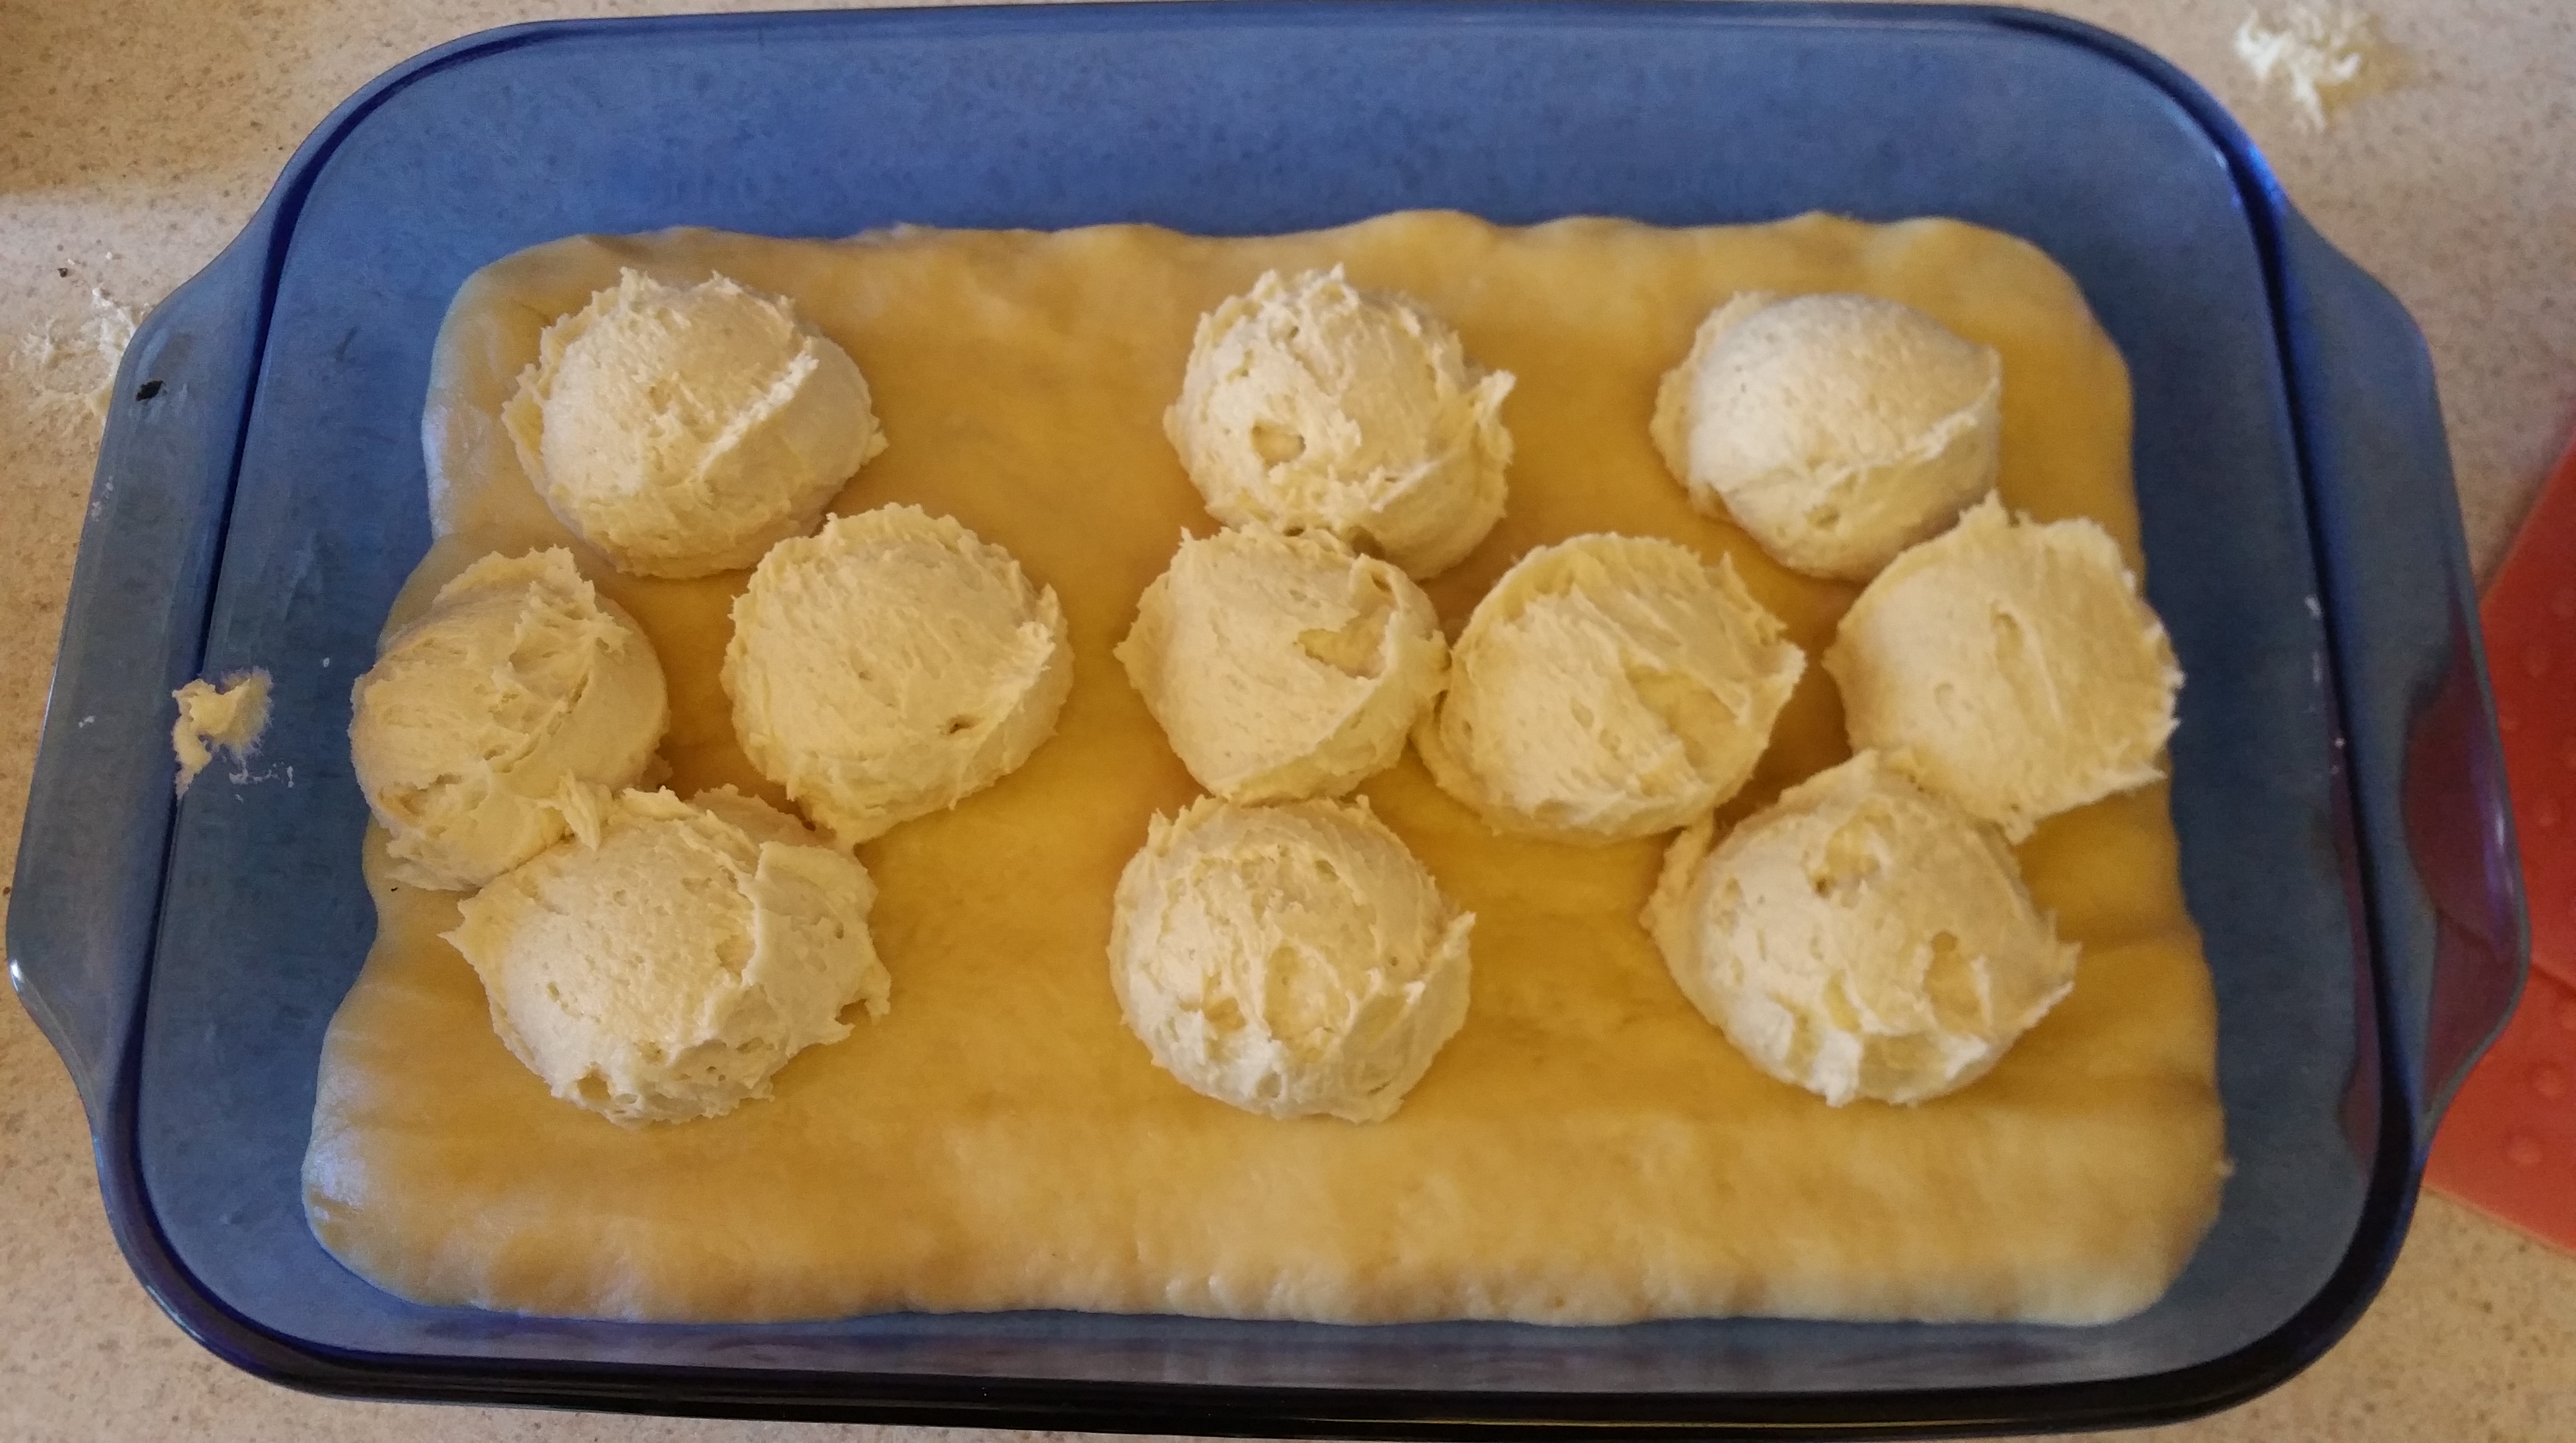
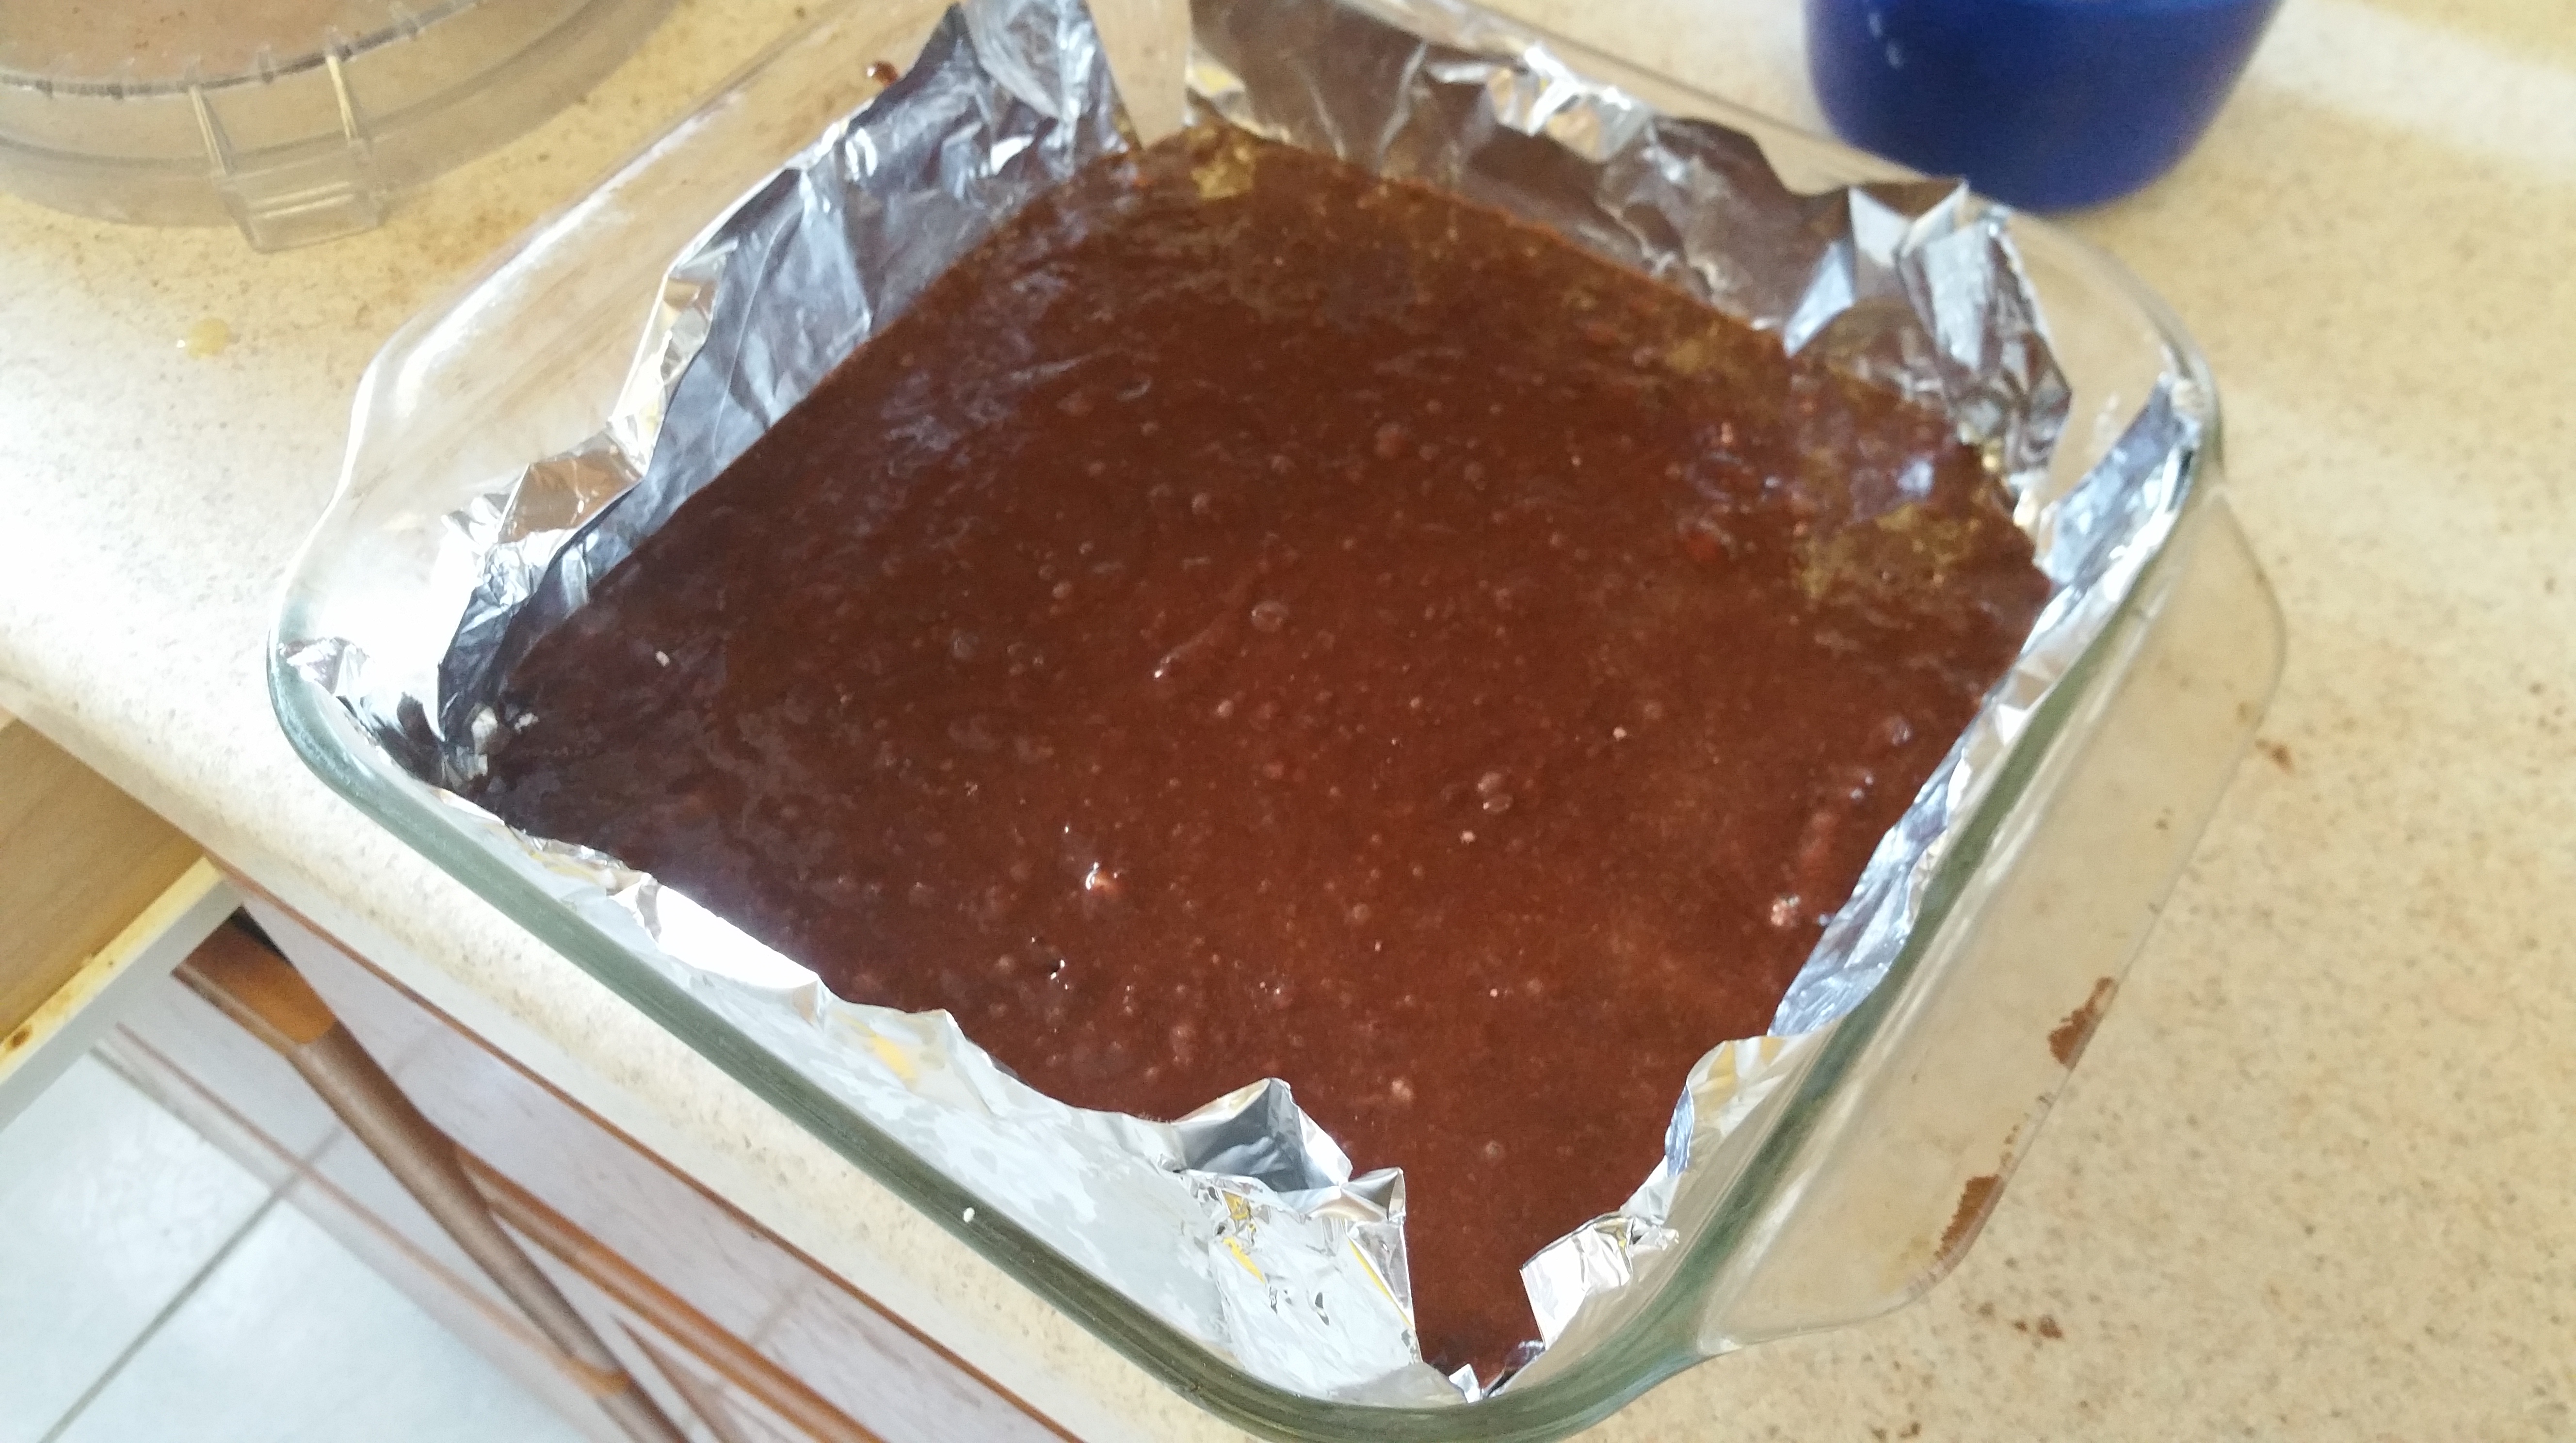
Pour the brownie batter on top of the crust and set aside.

To make the cheesecake layer, blend the cream cheese, egg yolk, and sugar until smooth. I like to use a food processor for this.

Drop the strawberry preserves onto the cheesecake filling and swirl just slightly. Do not blend well.

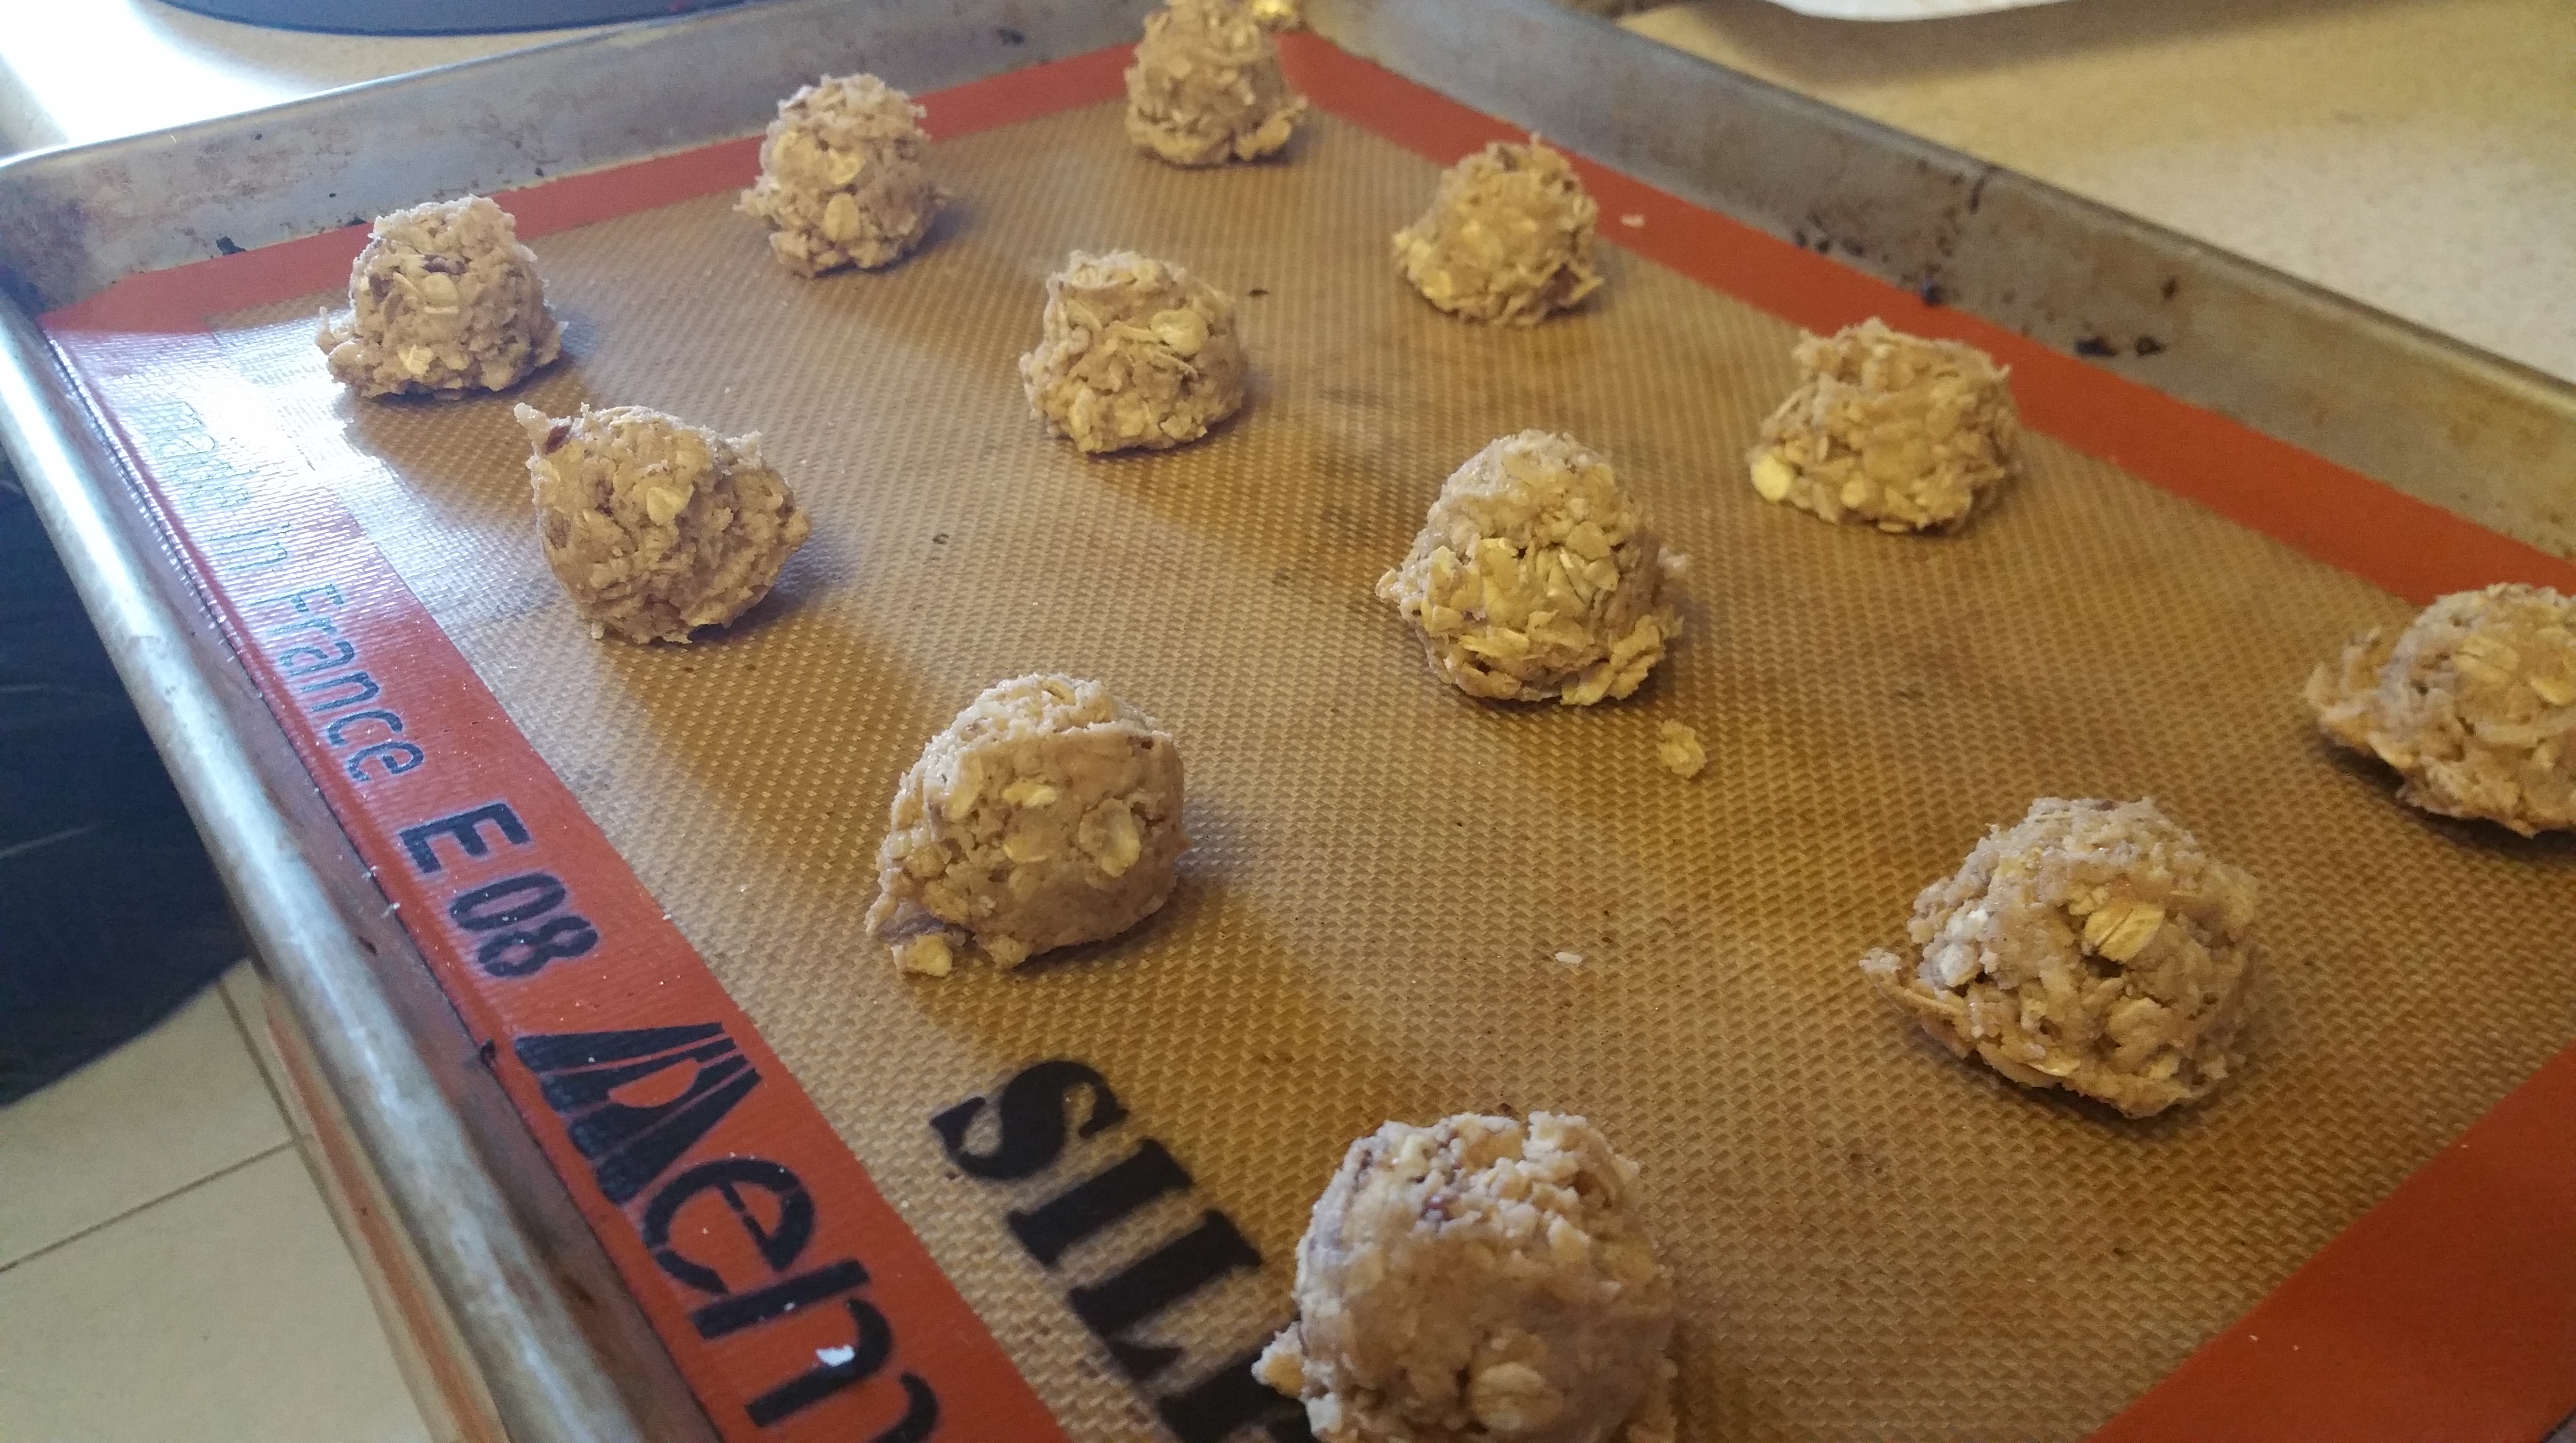
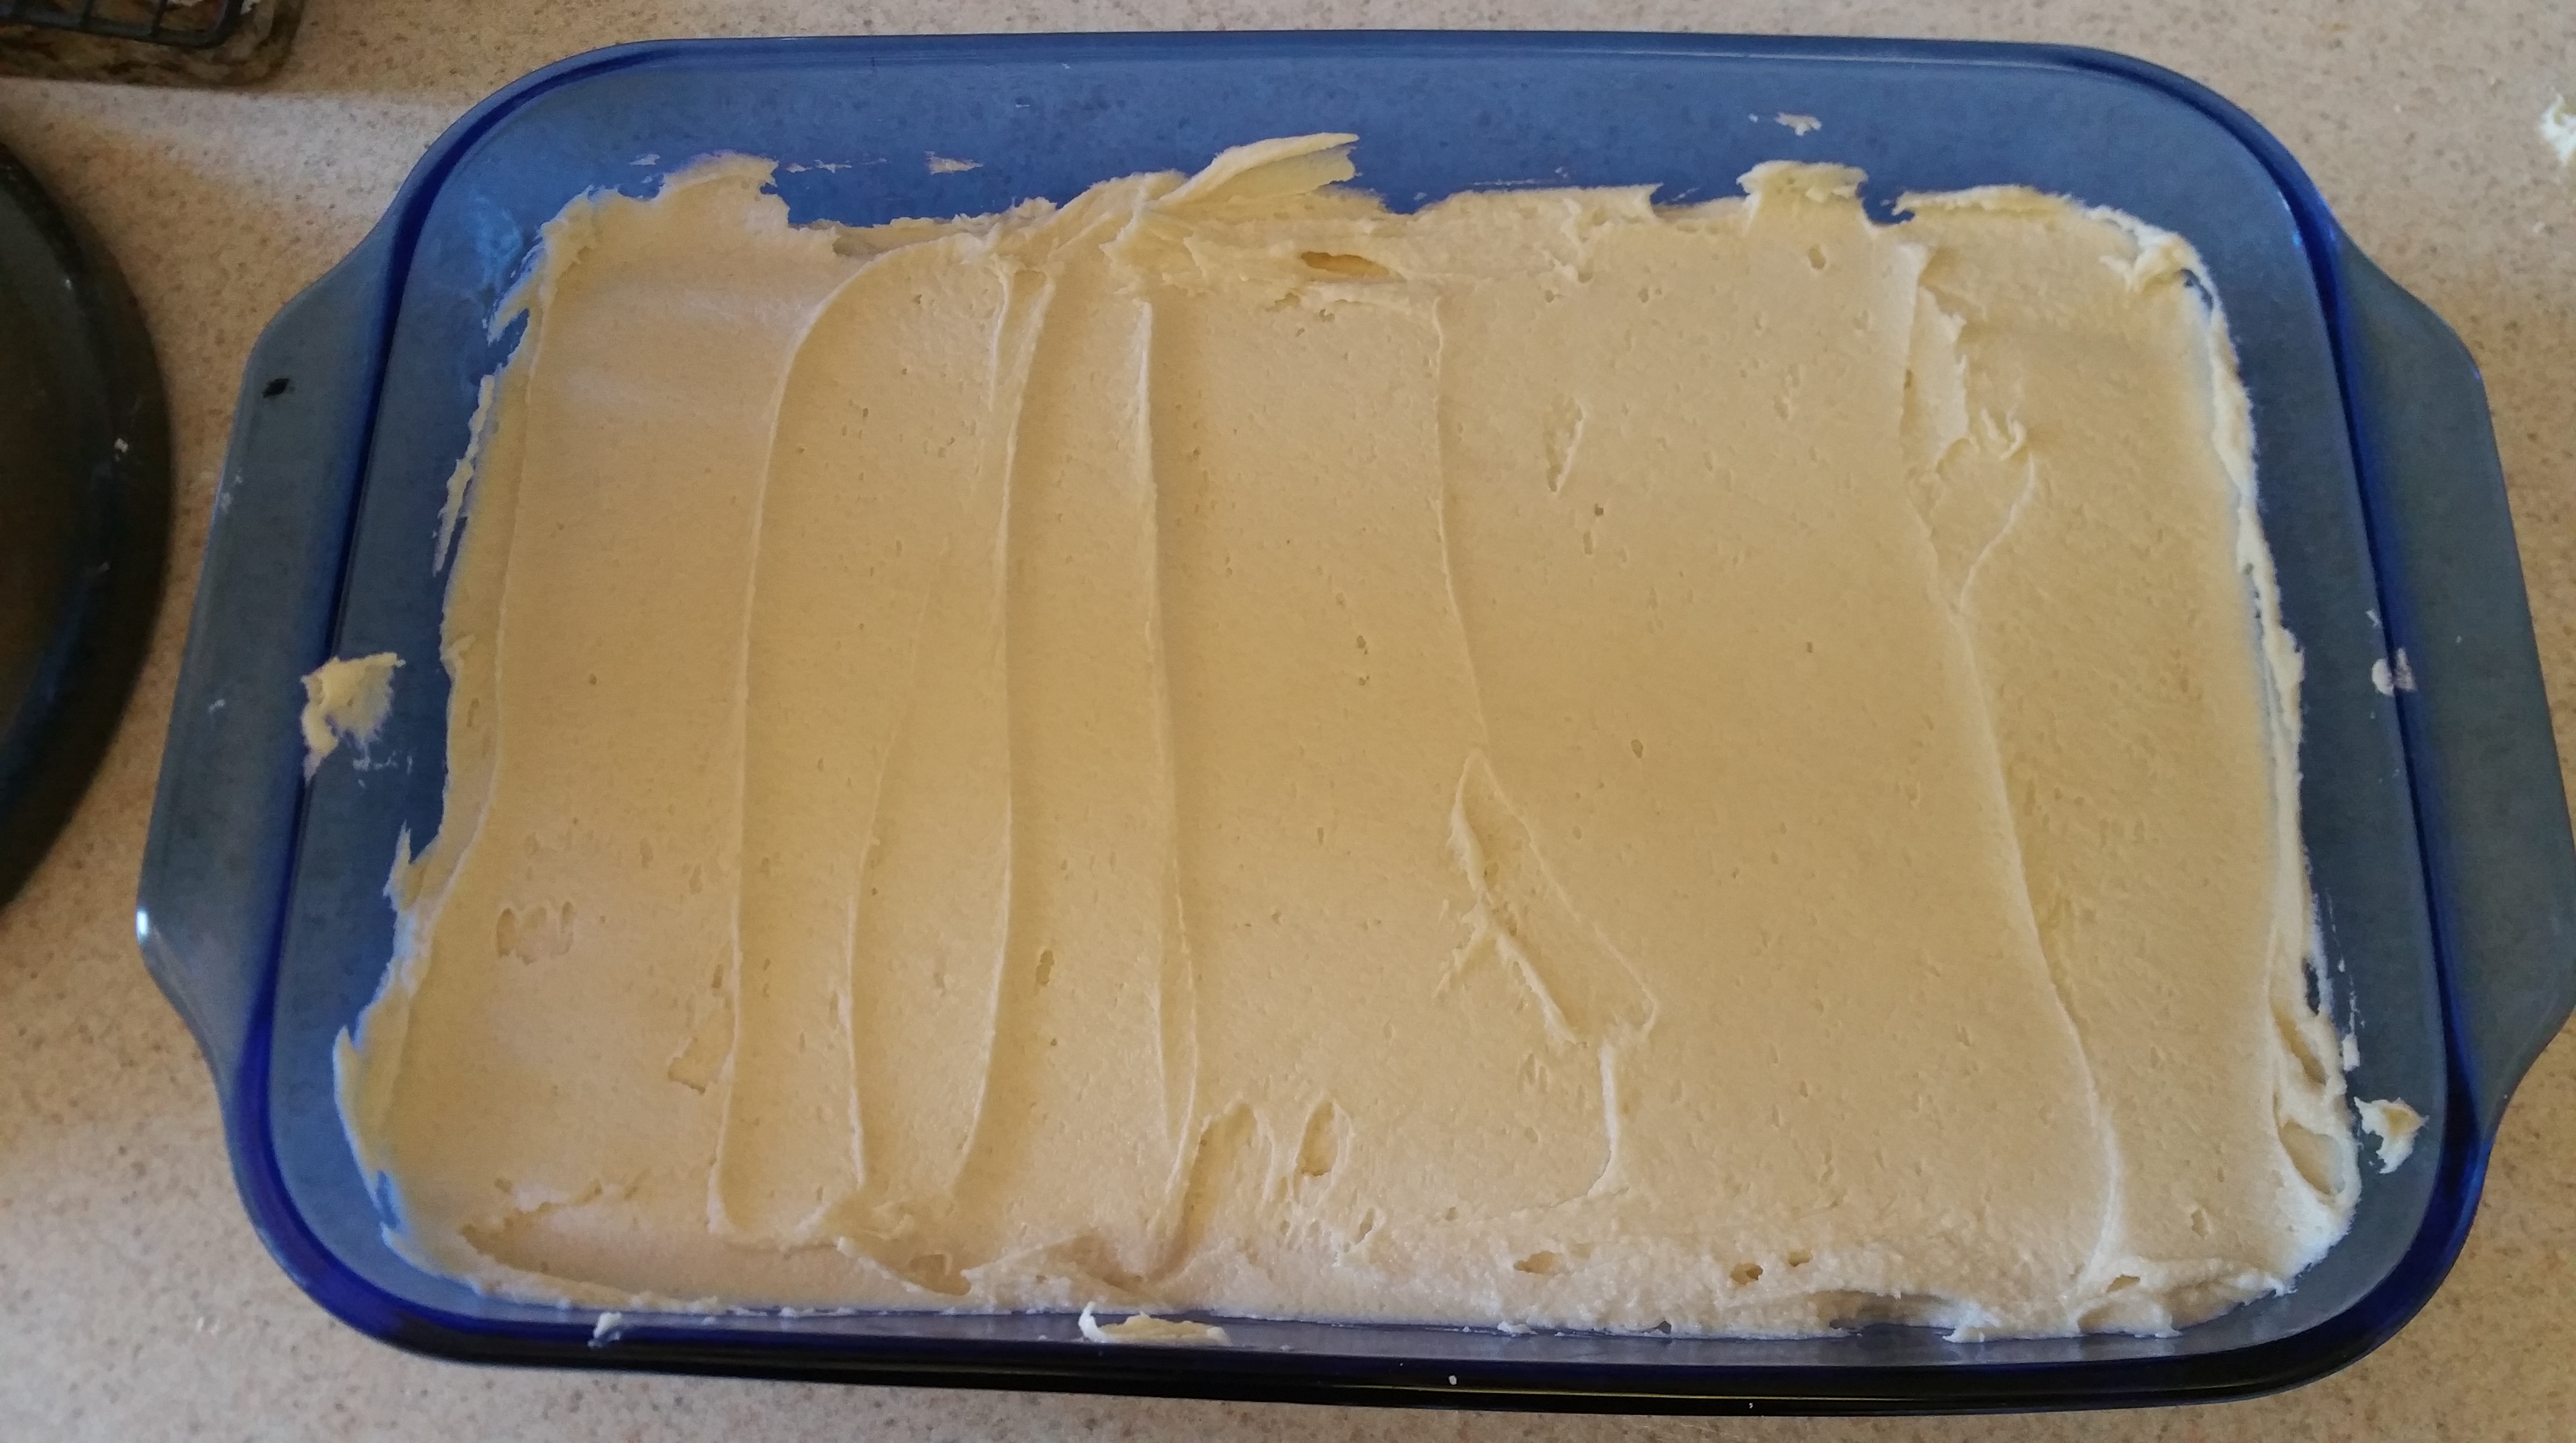
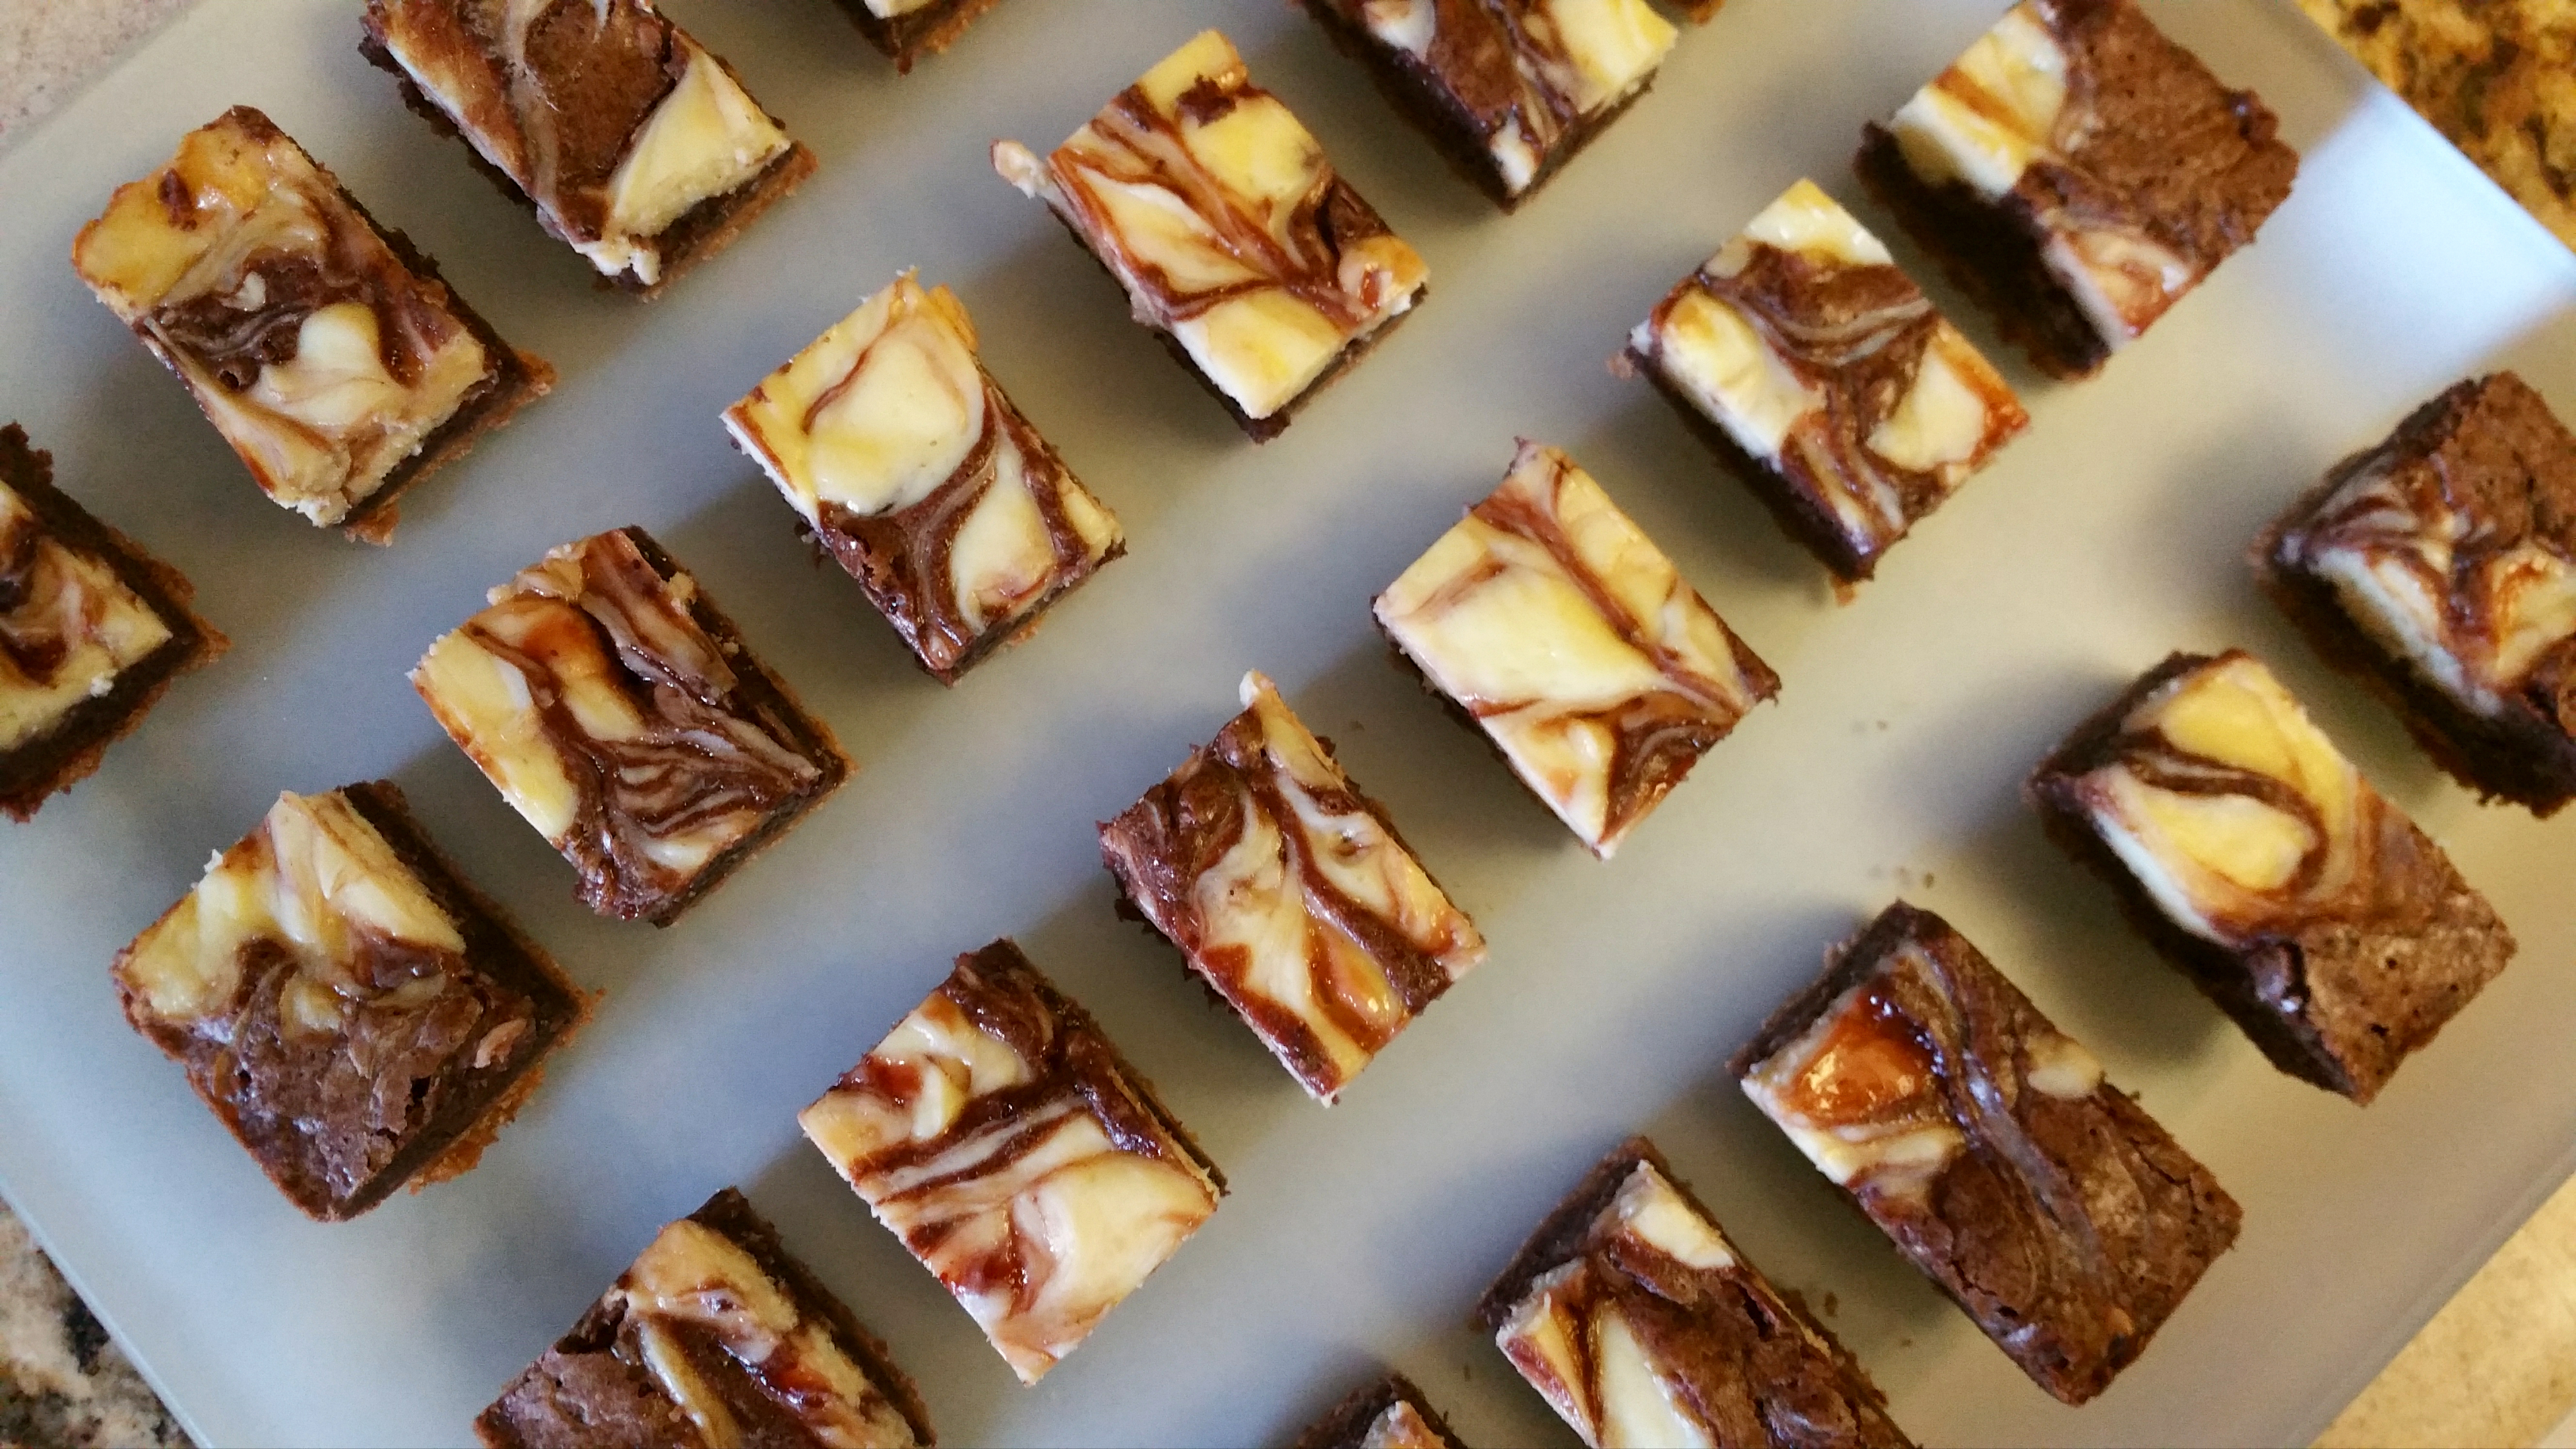
Drop the cheesecake batter on top of the brownie layer in dollops and then use a butter knife to swirl the fillings together.

Bake for 35 minutes or until puffy and just set.

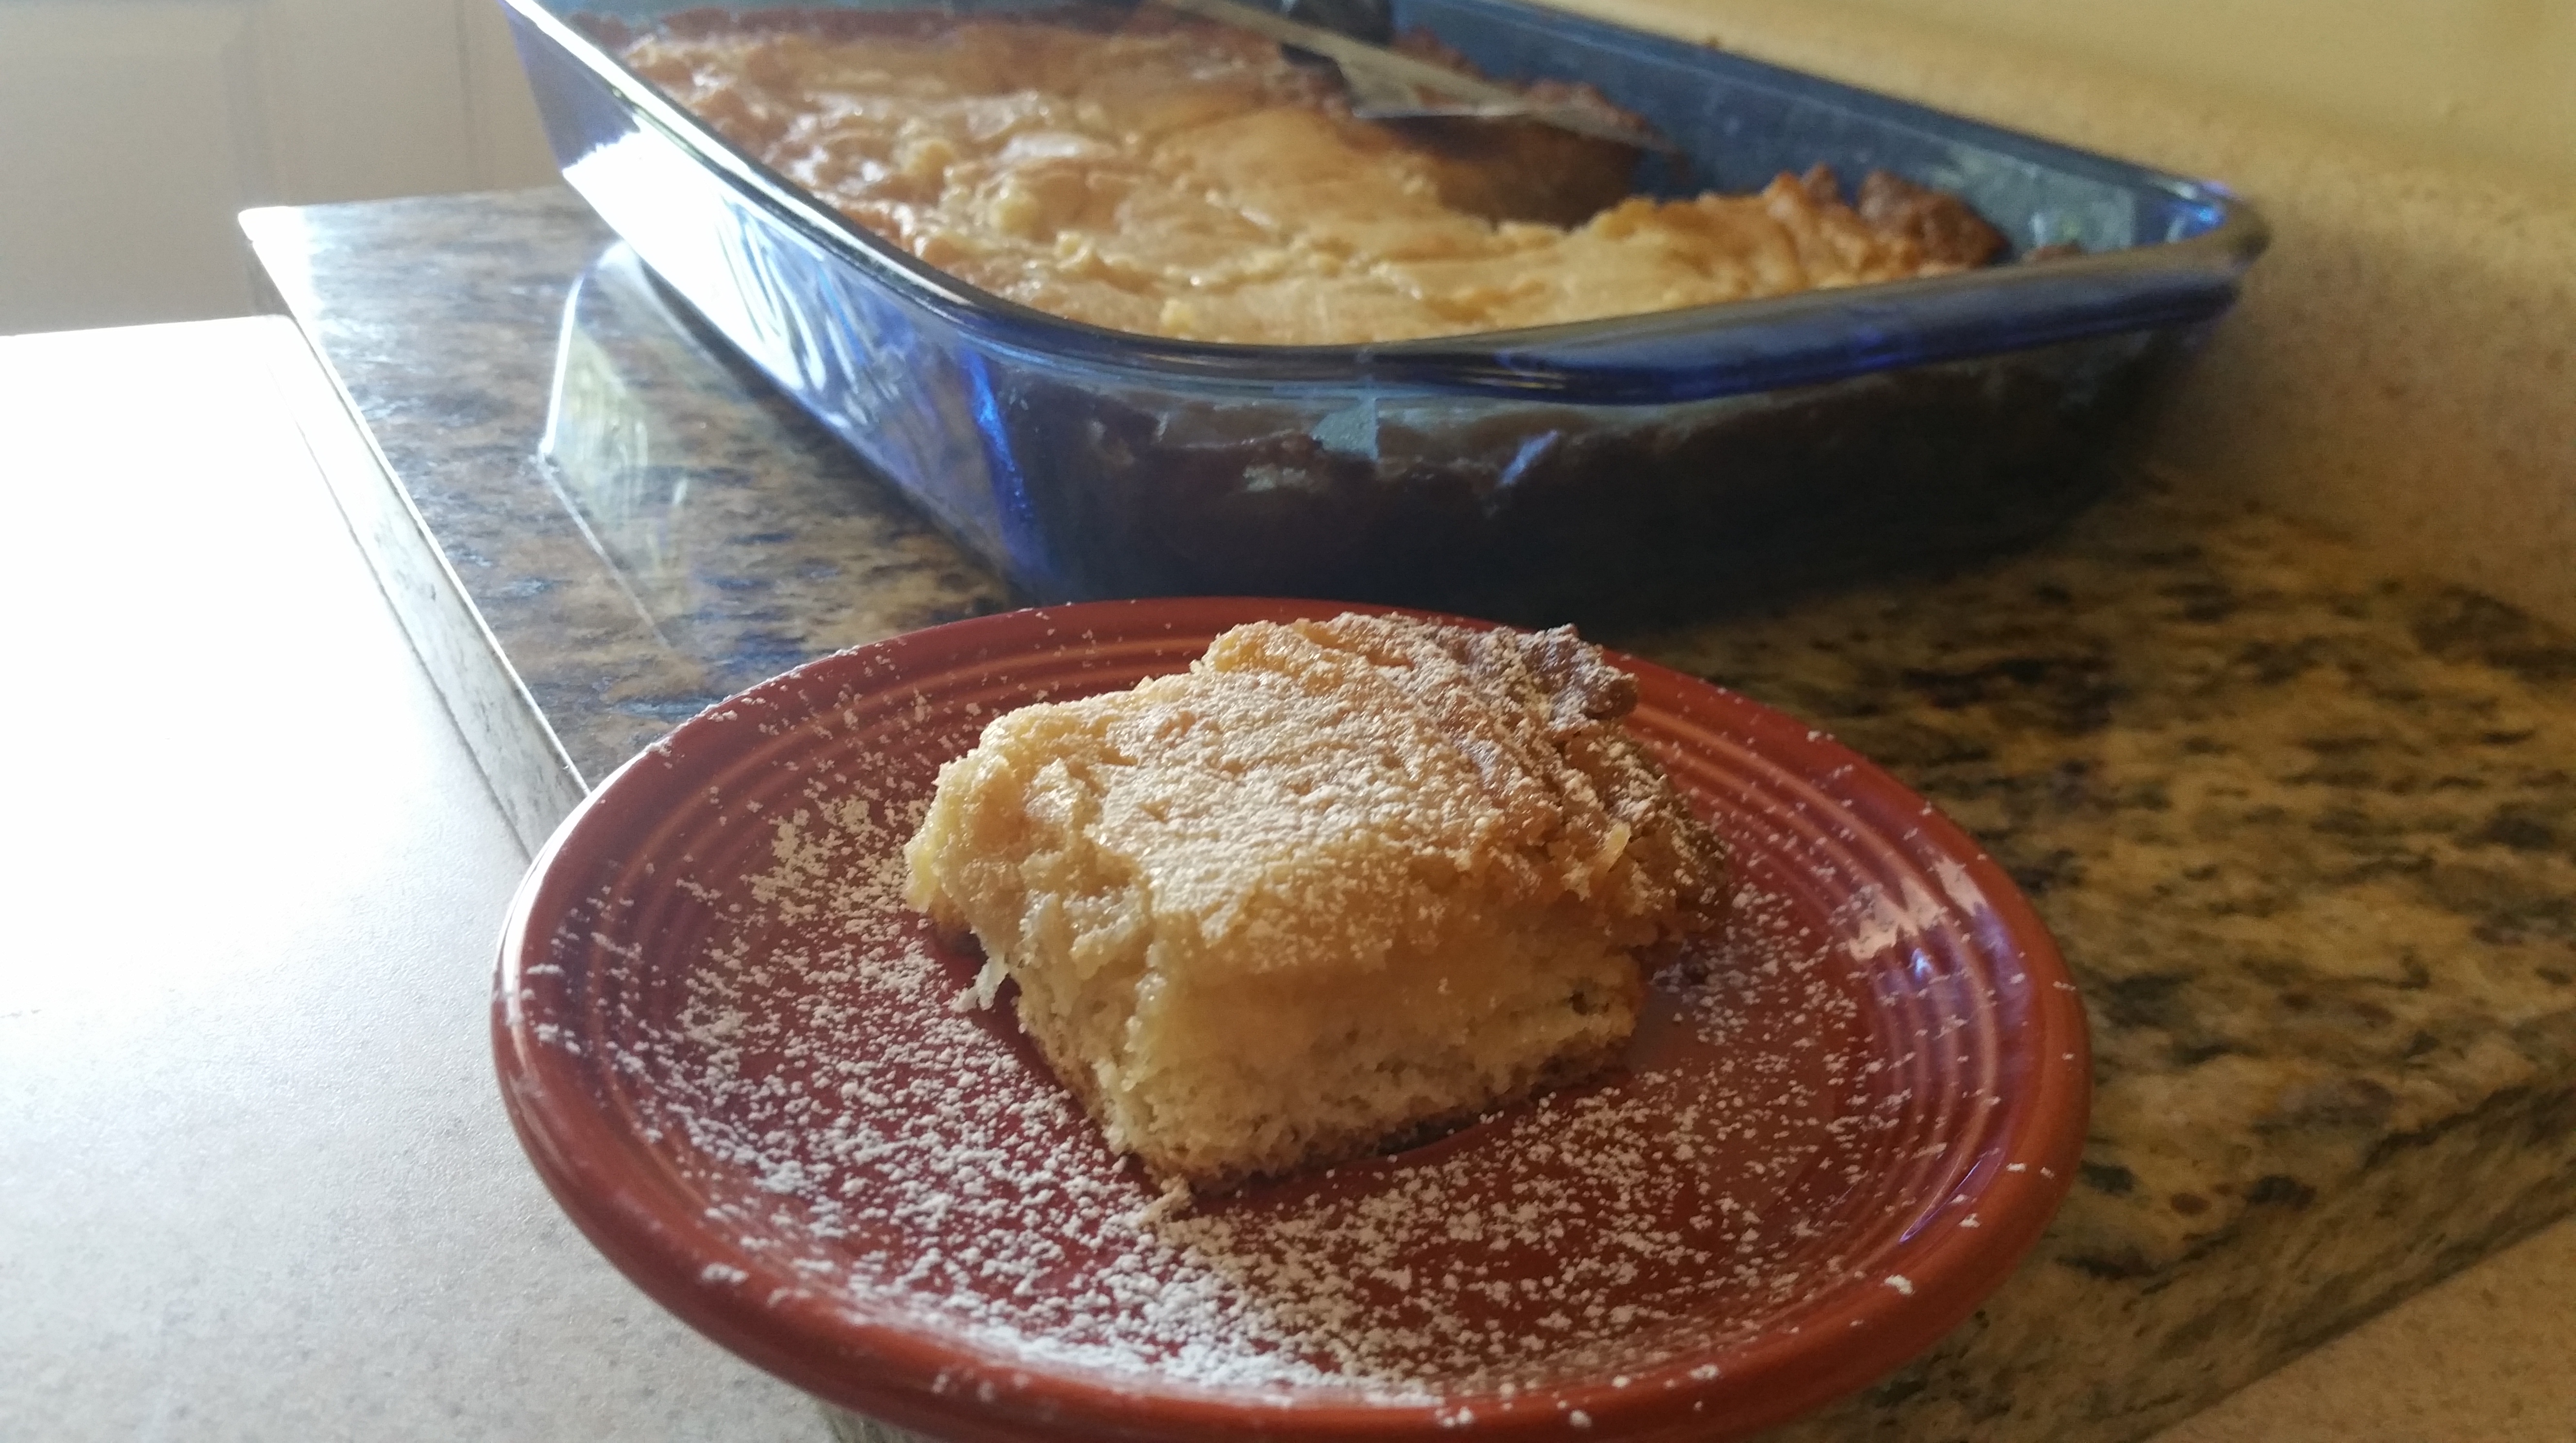
Allow the brownies to cool at room temperature for an hour, and then chill for 2 hours before cutting into 24 pieces. If you care about keeping it pretty, wipe down your knife with a warm, damp cloth between cuts.

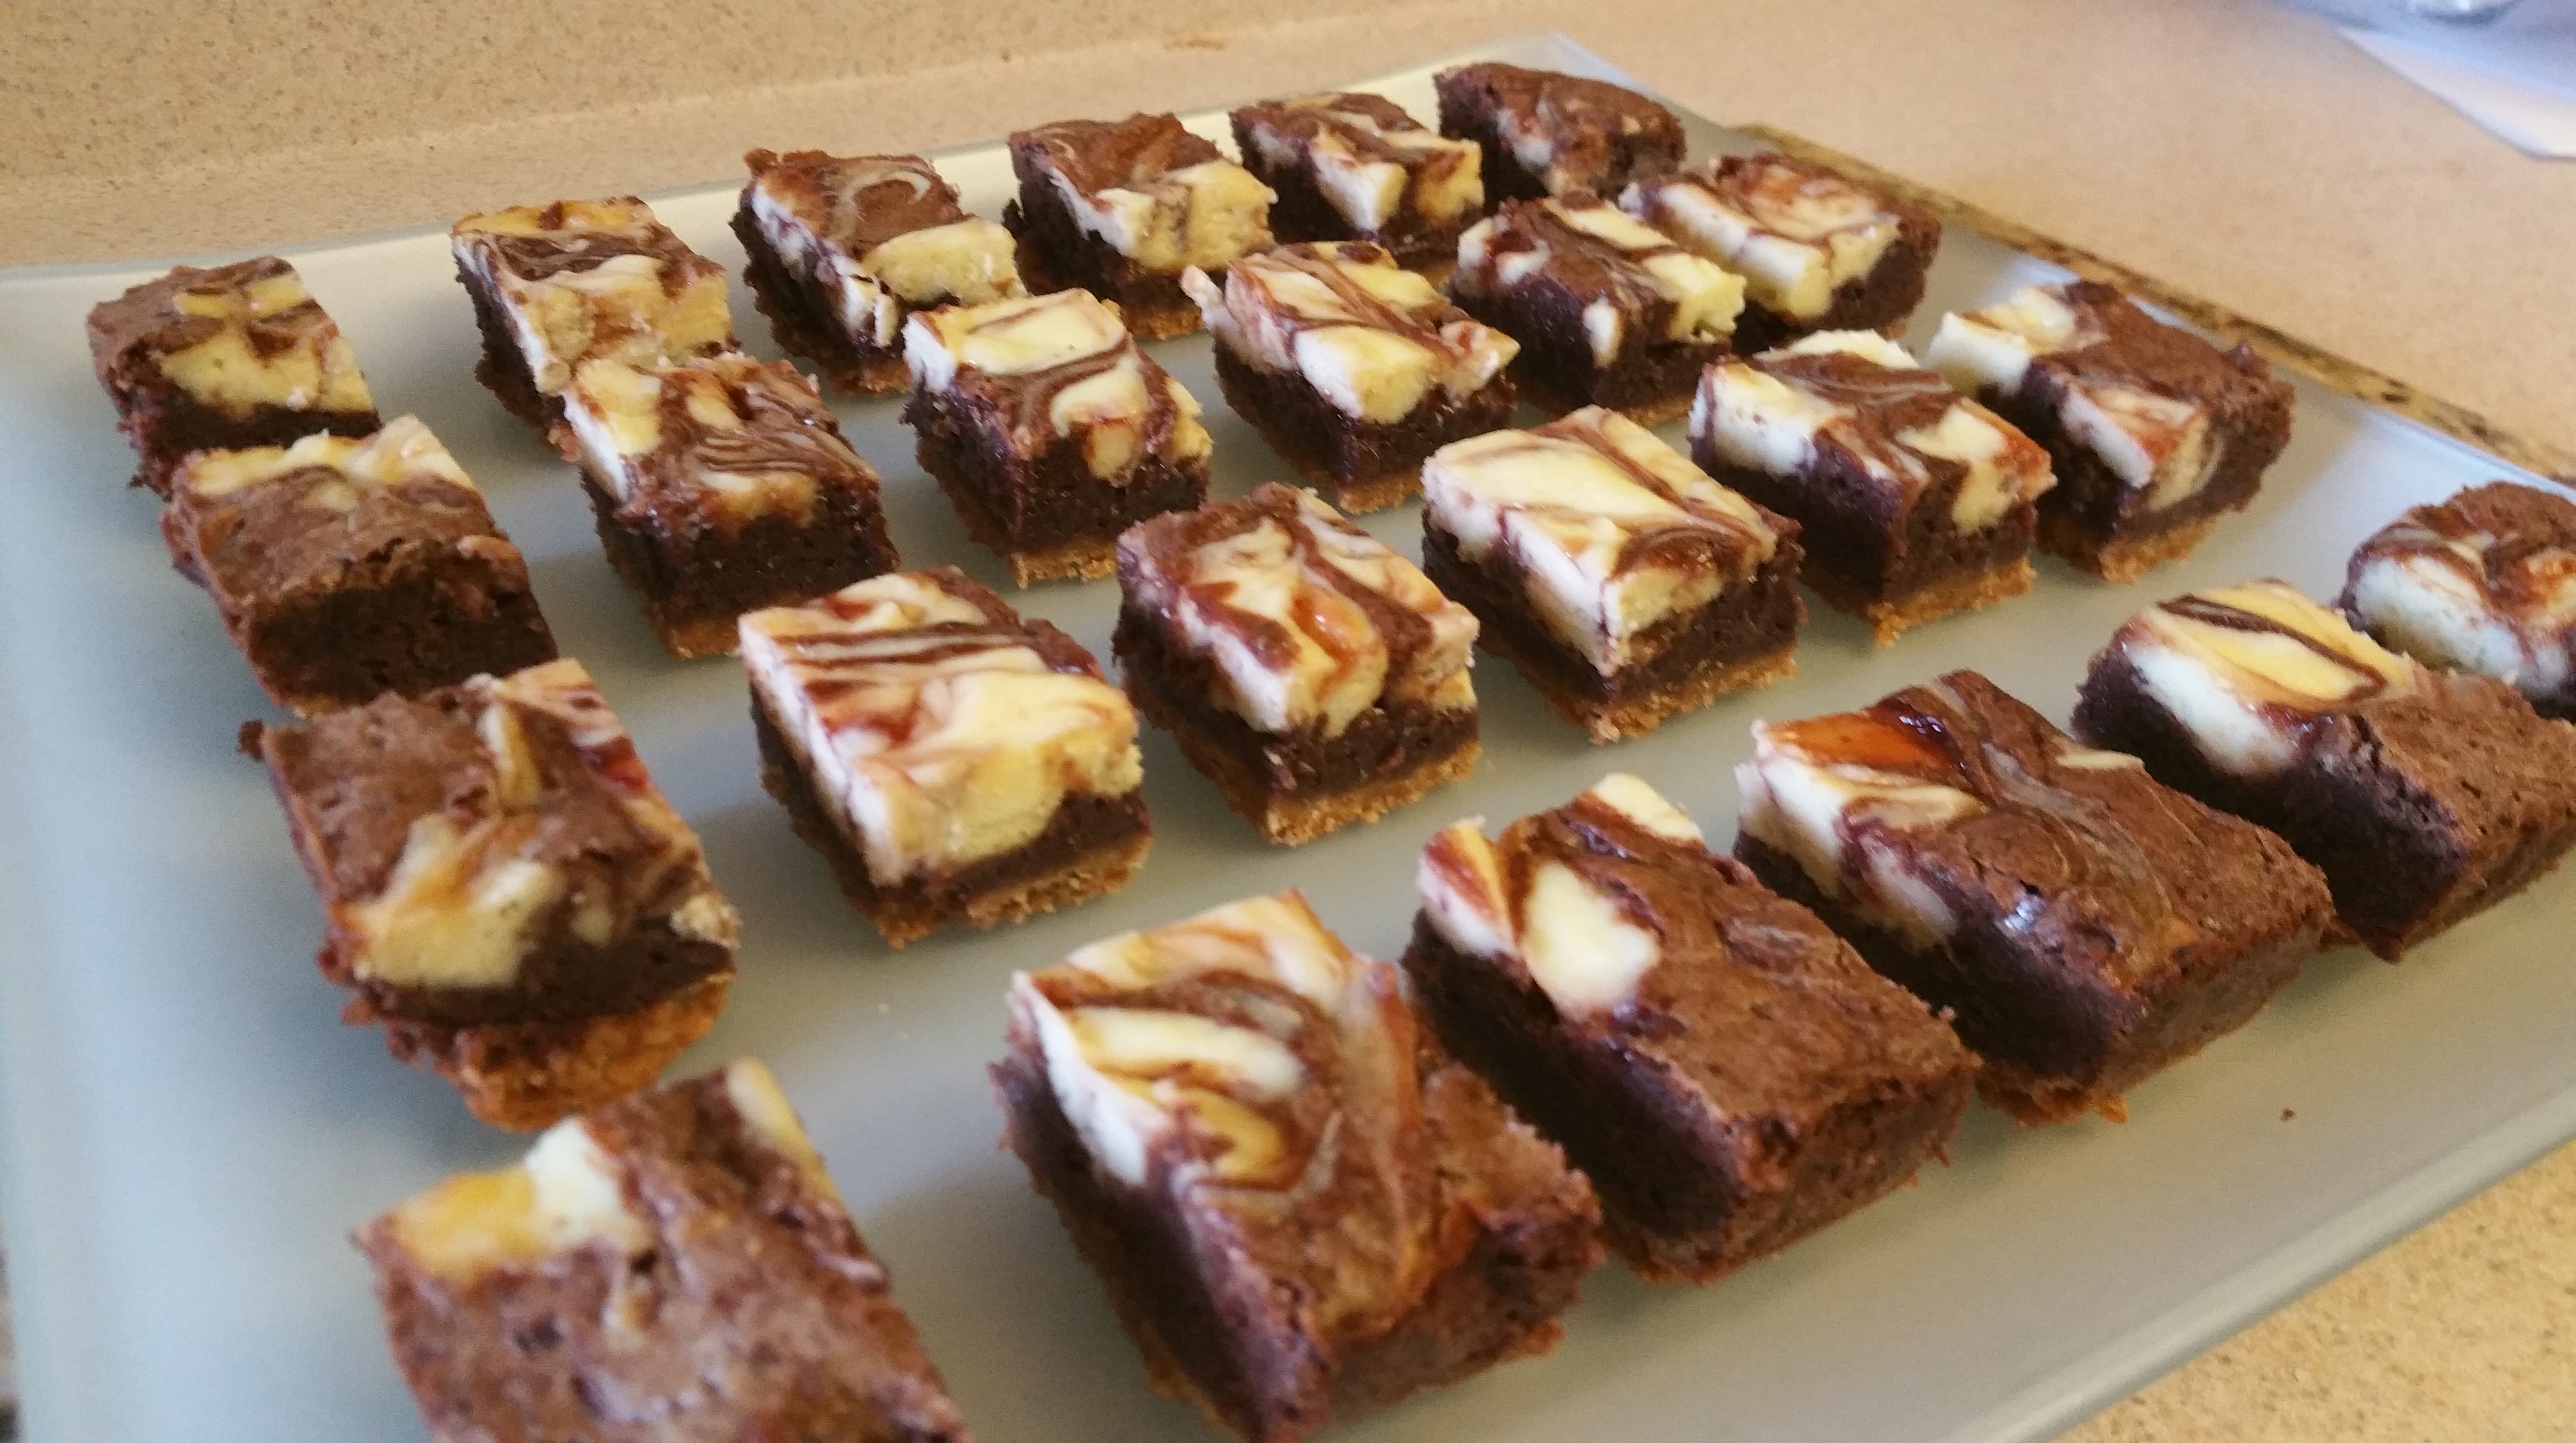
This really is an awesome contrast of textures and flavors. You get that rich, fudgy brownie against smooth, creamy cheesecake with little swirls of strawberry to brighten it all up a little. Dessert need not be a difficult choice ever again. You’re welcome!

Ciao for now,

Neen

My Favorite Oatmeal Cookies

20 Jul

I love oatmeal cookies. They pair well with lots of different additions, but are also delicious left perfectly plain with a hint of spice. You can do fun things with the texture too. Make them thin and lacy, thick and cake-y, crunchy, or chewy and soft. But my favorite oatmeal cookies, combine lots of textures and have deep dark spice and caramel flavors. The recipe has gone through many iterations as I tried to find the combination of ingredients that gave me the nutty, chewy, crunchy, spicy-sweet cookie I was seeking. I really like where it’s at now, but you know I’d never promise not to play around with the recipe in the future. My imagination is already running off…

I digress. Back to the treats at hand. These are a really special little bite despite their innocent appearance. Let’s fill up the cookie jar!

Toasted Oatmeal, Pecan, and Coconut Cookies

  • ¾ cups rolled oats, toasted until fragrant*
  • ¾ cups quick cooking oats, toasted until fragrant
  • ¾ cup flour
  • ½ cup pecans, toasted and chopped
  • ½ cup (sweetened or unsweetened) shredded coconut, toasted until golden
  • ½ tsp. baking powder**
  • 2 oz. unsalted butter, softened
  • ¼ cup vegetable shortening
  • 1/2 cup light brown sugar
  • 1/4 cup granulated sugar
  • 1 tsp. vanilla extract
  • 1 tsp.  cinnamon
  • 1/2 tsp. salt
  • Pinch fresh ground nutmeg
  • 1 large egg

*To toast the dry ingredients, just turn the oven to 350 degrees F and spread them out on separate baking sheets. The oats and nuts usually take 7-10 minutes and the coconut takes about 2-4 minutes.

** This weird thing happened when I started taking my medication for rheumatoid arthritis. I was finding that some of my baked goods tasted…off. There was this funny aftertaste that I could not get rid of and I had no idea what it was. I realized one day when I accidentally left some baking soda out of a recipe that OH, that’s that funny taste. This particular recipe can absolutely be made with ½ tsp. of baking soda or baking powder. Use what you have on hand.

Preheat the oven to 350 degrees F. and line two baking sheets with parchment paper or silicone mats.

Combine the butter, shortening, brown sugar, sugar, vanilla, cinnamon, and salt, and beat until smooth and creamy.

Add the egg and beat until well combined, scraping down the bowl as needed.

Add the flour and baking powder and beat until incorporated.

Finally, stir in the oats, pecans, and coconut and beat until well distributed.

Use a small cookie scoop (mine is 2 tsp.) or spoon to drop the dough onto the sheets. I got three dozen this way and placed 18 per sheet. Gently press the cookies down with fingertips to flatten.


Bake for 11-12 minutes or until golden at the edges and lightly brown on the bottoms. Cool on a wire rack or eat them warm because YES.

So yes, I’ll admit there are some extra steps to this recipe, but they really are worth it to achieve all the crispy, chewy, crunchy goodness here. The warm spices make them a super comforting accompaniment to any cup of coffee, cocoa, or tea. Definitely a good evening porch-sitting cookie for summer.

Ciao for now,

Neen

A Curious Confection: St. Louis Gooey Butter Cake

11 Jul

I’m always excited when I discover a dish I have never heard of that combines many of the textures and flavors I love. This one was actually brought to my attention a few years ago by a dear friend who asked for a St. Louis Gooey Butter Cake for his birthday, and I instantly fell in love with the concept the first time I made it. A soft, lightly sweet yeast-risen cake topped with a thick layer of sugar and butter that bakes up with a crisp crackly top like crème brûlée and a gooey layer beneath that melts on the tongue like cotton candy. Part confection, part cake, part bread, all amazing.

And while it takes a few hours to make, don’t be intimidated. The vast majority of it is just waiting for that cake dough to sloooooowly rise in the pan. The other key component here is to make sure your butter and eggs have a chance to come to room temperature before starting. Your results will be far more consistent.

St. Louis Gooey Butter Cake

Cake:

  • 3 tbsp. milk
  • 1 3/4 tsp. active dry yeast
  • 6 tbsp. unsalted butter, room temperature
  • 3 tbsp. sugar
  • 1 tsp. kosher salt
  • 1 large egg, room temperature
  • 1 3/4 cups all-purpose flour

Topping:

  • 3 tbsp. + 1 tsp. light corn syrup
  • 2 tsp. vanilla extract
  • 12 tbsp. unsalted butter, room temperature
  • 1 1/2 cups sugar
  • 1/2 tsp. kosher salt
  • 1 large egg
  • 1 cup plus 3 tbsp. all-purpose flour

Have ready an ungreased 9×13 in. baking dish. I would recommend glass or ceramic as the edges of the cake will get quite dark when baked in a metal pan.

In a small saucepan, combine the milk with 2 tbsp. of water and heat until between 110-115 degrees F. Remove from the heat, whisk in the yeast, and set aside. The mixture will foam, but just slightly.

In the bowl of a stand mixer or with a hand mixer, cream butter, sugar, and salt. Scrape down sides of bowl and beat in the egg.

Alternately add flour and the milk mixture, scraping down sides of bowl between each addition.

Beat dough on medium speed until it forms a smooth mass and pulls away from sides of bowl, 4-5 minutes.

Press dough into the baking dish in an even layer.

Cover with plastic wrap or a clean towel. Allow to rise until doubled, about 2 1/2 to 3 hours.

Preheat the oven to 350 degrees F while you prepare the topping.

In a small bowl, mix the corn syrup with 2 tbsp. of water and the vanilla extract.

In the bowl of a stand mixer or with a hand mixer, cream butter, sugar, and salt until light and fluffy, 3-5 minutes. Scrape down the sides of the bowl and beat in the egg until well combined.

Alternately add flour and the corn syrup/vanilla mixture, scraping down sides of bowl between additions.

Use an ice cream or cookie scoop to spoon the topping in large dollops over the risen cake, then use a spatula (a small offset works really well here) to gently spread it in an even layer.

Bake for 35-40 minutes. The finished cake will be golden brown on top, but still liquid in center when done.

Allow to cool in pan before cutting into squares. Sprinkle lightly with powdered sugar to serve.

The combination of textures is outrageously good here. Soft cake and a gooey-crisp-confection-like topping sure to make you question why on earth you’ve never heard of St. Louis Gooey Butter Cake before right this moment.

Well if you have, you’re one of the lucky ones. And I hope that now you’ll try to make one too!

Trust me, it’s worth the time spent.

Ciao for now,

Neen

Bite-size Sweets: Mini Strawberry Pies

30 Jun

It may be obvious from some of the recipes on this blog, but I love miniaturizing foods or making single servings. Little cookies or cakes that are a few bites at most are perfect to me, as is anything that can be frozen and revived without much loss of quality. A lot of this comes from a practical place. Neither Joe nor I have a particularly huge appetite, so making a whole cake or pie often means a lot goes to waste. It’s easier to make cupcakes or logs of cookie dough that can be frozen and portioned out when we want them. Right now there’s a bag of cinnamon rosettes, some of those chocolate and vanilla striped cakes, and a handful of flaky layer biscuits too. The point is, I really hate wasting food, so a lot of my cooking reflects that.

I was thinking about what to do with a fresh jar of strawberry preserves and immediately thought of this jam tart, which is one of my all-time favorite recipes. I knew though that we’d each have a piece or two and then we’d get a little bored of eating it. But I was kind of stuck on the idea of pie, and remembered that hand pies reheat pretty well from the freezer. So I decided to size them down a little further and make these cookie sized, a perfect few bites of rich pastry and sweet strawberry filling. And the best part is that you can store them in the freezer and toast or warm in a 350 degree oven for a few minutes and have them just as good as fresh.

Mini Strawberry Pies

Crust:

  • 1 ¼ cups all-purpose flour
  • ½ tsp. kosher salt
  • ½ tbsp. sugar
  • 2-3 tbsp. ice water

Filling:

  • 2-3 tbsp. strawberry preserves

Egg wash:

  • 1 egg beaten with 1 tbsp. water

Method

You can find the method for making the pastry crust here, in my apple pie recipe. Follow the instructions just until the part where the ice water is added and the pieces are pressing together.

Turn the dough pieces out onto a sheet of parchment paper and press them together. Place another sheet of parchment on top and roll out to 1/8 in. thickness. Place on a baking sheet and refrigerate for 30-60 minutes, or until very firm.

Using a 2 in. round cookie or biscuit cutter, cut out 24 circles. If the dough gets soft while working with it, just put it in the freezer for 5 minutes. You may have to re-roll and re-chill the dough to get 24 circles. Place the circles on a parchment-lined baking sheet.

Top half of the circles with a rounded ½ tsp. of strawberry preserves.

Brush the edges of each circle with the egg wash and then place another dough circle on top, pressing the edges to seal, and then crimping the edges with the tines of a fork. Use a sharp knife to poke vent holes in the top of each pie.

Place the pies in the refrigerator and preheat the oven to 350 degrees F.

When the oven is preheated, brush the top of each pie with the egg wash and sprinkle with granulated sugar (if desired).

Bake for 25 minutes, or until the bottoms and edges are golden.

Serve warm or room temperature. Store in a sealed container at room temperature for a few days. For longer storage, freeze on a baking sheet and once they are firm, move them to a freezer bags and seal.

These are delicious little bites that you could certainly make with other fruit preserves. Treat yourself to something sweet and then save the rest for when you’re really craving them again. It’s like baking for yourself a bunch of times all at once. Awesome!

Ciao for now,

Neen

Easy Decisions: Vanilla and Milk Chocolate Striped Cakes

19 Jun

While thinking recently about what to bake, I came across that age-old question: Vanilla or chocolate? And it occurred to me that sometimes, you should not have to make such a decision and can, in fact, have everything you want. These little cakes are proof of that.

And they look pretty, too!

Vanilla and Milk Chocolate Striped Cakes

  • 1 ½ cups + 2 tbsp. all-purpose flour
  • 2 tsp. baking powder
  • ½ tsp. kosher salt
  • 4 oz. unsalted butter, softened
  • 1 cup granulated sugar
  • 1 large egg
  • 1 tsp. vanilla extract
  • ¼ cup yogurt mixed with ¼ cup milk
  • 4 oz. milk chocolate, chopped small
  • 2 tbsp. coffee

Preheat the oven to 350 degrees F. Butter and flour a muffin tin or mini bundt pan.

Combine the chocolate and coffee in a small pot and melt over low heat, stirring until smooth. Set aside to cool slightly.

Sift together the flour, salt, and baking powder in a small bowl.

In the bowl of a stand mixer, beat the butter and sugar until fluffy.

Add the egg and vanilla extract and beat until thick.

Add the flour and milk/yogurt mixture alternately, beginning and ending with flour, and beat until just combined.

Put half the batter in a separate bowl and stir in the melted chocolate.

Using a spoon or a small disher, drop alternate spoonfuls of chocolate and vanilla batter into the pan. It will look something like this:

Bake the cakes for 23 minutes, or until they spring back when touched gently.

Cool in the pan for 10 minutes and then turn out onto a wire rack.

These are pretty sweet cakes because of the milk chocolate, so I omitted frosting and opted for a little bit of whipped cream instead. Delicious!

Sometimes you do get to have everything you want in one perfect little package. Pretty great, isn’t it?

Ciao for now,

Neen

Back to Bread Baking: Rosemary Asiago Focaccia

7 Jun

So, it’s been a very strange two months.

The first week of April, I woke up suddenly with back pain so excruciating, Joe and I had to cancel our annual trip to Boston for PAX East. Things deteriorated from there. My joints swelled randomly and massively, there were weeks at a time when I could not walk, and I was in constant, excruciating pain. After a long two months of MRIs, x-rays, labs, and doctor appointments, I was finally diagnosed last week with rheumatoid arthritis. While things haven’t improved greatly (yet), I am much more comfortable and have a treatment plan to move forward.

Needless to say, I wasn’t doing much cooking. The last couple of weeks I’ve had a little more energy, my hands hurt a little less, and I have started to cook some meals and get back to baking. I’ve been going for a lot of comfort foods like meatloaf, soups, and homemade pasta. But what really feels like home to me is baking bread. So when my rosemary plant decided to offer this…

I knew a really good focaccia was on the way.

Let’s get back in the kitchen together!

Rosemary Asiago Focaccia

Bread:
2 tsp. active dry yeast
1 cup warm water (110-115 degrees F)
2 tbsp. sugar
3 1/2 to 4 cups bread flour
1 tbsp. kosher salt
1/4 cup olive oil
2 tbsp. fresh rosemary, chopped
1.5 oz. finely grated asiago cheese

Toppings:
2 tsp. fresh rosemary, chopped
1 oz. coarsely grated asiago cheese

Dissolve the salt in 2 tbsp. of water and set aside.

In the bowl of a stand mixer, combine the yeast, sugar, and water, and let stand until foamy, 5-10 min.

Turn the mixer on low speed and slowly add 3 1/2 cups of flour to the bowl. Add the salt water and olive oil, and once incorporated, add the chopped rosemary and finely grated asiago cheese.

Once the dough comes together, turn out onto a lightly floured surface and knead until smooth and elastic, about 10 minutes. (You can also knead this in a stand mixer fitted with a dough hook, I just enjoy doing it by hand.) Add flour as needed if the dough is sticky.

Form the dough into a ball and transfer to an oiled bowl, tossing to coat in the oil. Cover the bowl loosely with plastic wrap or a towel and allow the dough to rise until doubled in size, about 45 minutes.

Preheat the oven to 450 degrees F and adjust a rack to the lower third of the oven.

Lightly oil a baking sheet and turn the risen dough out onto it. Gently stretch the dough into an oblong shape about ½ in. thick.

Let rest, uncovered, for 15 minutes.

Gently dimple the dough with your fingertips. Brush the surface of the dough with olive oil, and then sprinkle on the coarsely grated asiago cheese and chopped rosemary.

Bake the focaccia for 13-15 minutes or until golden brown all over. Allow it to rest at least 15 minutes before slicing.

This bread reheats especially well in the toaster or conventional oven (if you don’t finish it all in one day!)

While I often find the road ahead daunting and uncertain, I am lucky to be surrounded by supportive people, and have hobbies like cooking and yoga that ground me and offer me a meditative space. And I’ll keep writing to you here as often as I can, because food is meant to be shared and I will always be happy to share with you.

Ciao for now,

Neen