Archive | Recipes RSS feed for this section

Petite Sweets: Mini Jam Tarts

3 Feb

My dad made a whole lot of jam and marmalade to hand out at Christmas this past year, and even though I wasn’t home, I got a package in the mail FULL of delicious treats. While the spreads are perfect on warm toast, I did make a blackberry version of this jam tart to bring on a visit home. But I also thought a petite pastry would be a perfect way to use just a little bit of the strawberry jam and orange marmalade.

Mini Jam Tarts

  • 1 cup all-purpose flour
  • 2 tbsp. sugar
  • ¼ tsp. salt
  • 4 oz. (8 tbsp.) unsalted butter, cold
  • 2 tbsp. milk
  • ½ tsp. vanilla extract
  • ¼ cup preserves, jelly, or marmalade

Combine the flour, sugar, and salt in the bowl of a food processor.

Add the butter and pulse until a coarse meal forms.

Add the milk and vanilla extract and process until a soft dough forms.

Divide the dough into 12 equal pieces and roll each into a ball.

Place one ball of dough in each well of an ungreased mini muffin tin.

Using your fingers or something with a rounded edge (I used the end of a rolling pin), press down on the dough ball to create a well in the center. The edges of the dough should reach the top of the cup.

Place about a tsp. of jam in the center of each tart.

Bake for 30-33 minutes or until the edges are golden brown and the jam is bubbling.

Allow the tarts to cool for 30 minutes in the pan before removing to cool completely.

The crust is like thick shortbread, buttery and rich—perfect against the sweetness of the jam filling. Any flavor will work, so try preserves or jellies that float your boat. Mix and match for a special dessert platter. Since you need so little jam, these are a great way to use up those near-empty jars.

You can also fill these with buttercream or melted chocolate. Just bake the tarts without any filling in them, re-press the center divot when they come out of the oven, cool completely, and then fill. The fillings from this thumbprint recipe would all be excellent choices.

I hope you enjoy these easy to make bite-size treats soon!

Ciao for now,

Neen

Keeping Cozy: Oatmeal Brown Bread

31 Jan

Most of the country is in the midst of a massive cold front right now. Parts of the US are seeing temperatures reaching -30 degrees F (-50 to -60 with wind chill!) and it is brutal. It’s less insane here in Arlington, but still in the teens. Cold enough certainly that I’m thinking comforting, warming foods like pasta and stew. When I turned to bake my weekly bread, I decided to go with something a little heartier too.

Brown bread seemed like just the ticket. I opted for a traditional baked loaf, rather than the steamed Boston-style brown bread. I also decided to include whole wheat flour and oats to make it extra filling and nutritious. The result was a slightly sweet, moist, and rich loaf that’s equally suitable for sandwiches or eaten plain alongside a bowl of hot soup.

Oatmeal Brown Bread

  • 1 ½ cups boiling water
  • ½ cup old fashioned rolled oats
  • 1 tbsp. unsalted butter
  • 1 tsp. kosher salt
  • 1 tsp. instant yeast
  • 2 tbsp. brown sugar
  • 3 tbsp. molasses
  • 1 ½ cups all-purpose flour
  • 1 ½ – 2 cups whole wheat flour
  • 1-2 tbsp. melted butter

Combine the boiling water, rolled oats, unsalted butter, and kosher salt in a small bowl and allow the mixture to cool to between 110-115 degrees F.

In a large bowl, combine the all-purpose flour, 1 ½ cups of whole wheat flour, instant yeast, brown sugar, and molasses and mix until well combined.

Add the cooled oatmeal mixture and mix well. Add enough of the remaining ½ cup of whole wheat flour to form a soft dough that is slightly tacky.

Knead the dough for 6-8 minutes until smooth and elastic. It will still be slightly tacky.

Grease a large bowl and place the dough in it, turning once to coat with oil. Cover the bowl and allow the dough to rise until doubled, about one hour.

Punch down the dough and pat it out to a 5in. by 6-8 in. rectangle.  Starting from the short end, roll up the dough, pinching seams along the way to increase surface tension. Pinch the final seam shut and gently rock the loaf to even it out.

Place the loaf, seam side down, in a greased loaf pan and cover lightly with greased plastic wrap. Let rise until doubled again, about 30-45 minutes.

Preheat the oven to 375 degrees F and bake the bread for 30-35 minutes, or until golden brown. The internal temperature should measure at least 195 degrees F.

Remove the bread from the pans and brush the top with melted butter. Cool completely before slicing.

This loaf is moist, rich, and full of flavor. It was surprisingly soft and light despite the large proportion of whole wheat flour. I kept warm in the kitchen while it baked and enjoyed the wonderful scent filling up the house. I bet it will make amazing toast, too! Hope you are finding ways to take the chill off. Definitely try this one out. There’s nothing more heartwarming than baking your own bread.

Ciao for now,

Neen

Study Break: Maple Butter Cake with Bourbon-Maple Glaze

19 Jan

I’ve been down a schoolwork hole the last couple of weeks. I’m studying to be a pharmacy technician and while I’m really enjoying the program, I admit it is more science and math than I’ve done in years. That means I’m reading, re-reading, making flashcards, Googling formulas, performing lab experiments, and taking practice tests pretty much every day. Today it was time for a break, and there is no better way for me to relax than (what else?) baking! After all, too much of anything is overkill and after a certain point you stop retaining information.

I wandered into the kitchen and decided it was time for cake. Something warm and wintry felt right in the midst of all the recent ice and snow. What came to mind immediately was the combination of maple and bourbon with their sweet, rich caramel notes. And I thought a butter cake would be the perfect vehicle. So take a study break with me!

Maple Butter Cake with Bourbon-Maple Glaze

Cake:

  • 2 cups cake flour (can substitute all-purpose, but the final cake will be denser)
  • 1 tsp. baking powder
  • 1/4 tsp. baking soda
  • 1 tsp. salt
  • 6 oz. (12 tbsp.) unsalted butter, softened
  • 2/3 cup brown sugar
  • 2 large eggs
  • 1/2 cup maple syrup
  • 1 cup plain whole milk Greek yogurt (or strained regular whole milk yogurt)
  • 1 tsp. vanilla extract

Glaze:

  • 1 oz. (2 tbsp.) unsalted butter
  • 1/4 cup maple syrup
  • 1/4 cup bourbon

Preheat the oven to 350 degrees F. Grease and flour a 9 or 10 cup bundt pan

Combine the flour, baking powder, baking soda, and salt in a small bowl and set aside.

In the bowl of a stand mixer or using a hand mixer, beat the butter and brown sugar on medium speed until light and fluffy.

Add the eggs one at a time, beating well and scraping down the sides of the bowl between additions.

Add half of the flour mixture and beat until incorporated.

Mix in the yogurt and vanilla extract, scraping down the sides of the bowl as needed.

Add the rest of the flour mixture and beat until just combined.

Pour the batter into the prepared pan and spread evenly.

Bake the cake for 45 minutes, or until a toothpick inserted in the middle comes out clean.

Cool the cake in the pan for 10 minutes and then invert onto a wire rack.

To make the glaze, combine the bourbon, butter, and maple syrup in a medium saucepan. Bring to a boil and then reduce to a simmer and cook for 10-12 minutes or until it becomes syrupy.

Brush the glaze over the warm cake.

Serve warm or at room temperature.

The cake is surprisingly light and very moist. The bourbon-maple glaze is sweet without being cloying and adds just the right finish to the rich cake. This one is perfect alongside coffee or tea and the flavor reminds me a lot of pancakes with butter and syrup.

Now that I’ve made some sustenance and taken a break to have some playtime, it’s back to the books. But don’t worry, I can never stay out of the kitchen very long.

Ciao for now,

Neen

Fit to be Fried: Extra-Crispy Chicken Tenders

13 Jan

Occasionally I find myself making something for the thousandth time and wondering, “Why have I not put this on the blog yet?” Usually I think maybe it’s too simple or not “special” enough…but if it’s good enough to make over and over and over again, doesn’t that make it definitely worth sharing? I think so. And that’s certainly the case with today’s post.

Now, traditional fried chicken is great for sure. The crispy skin and juicy interior are a winning combination on any plate. But sometimes you don’t want to fuss with bones and you want something extra extra crunchy. That’s when chicken tenders are precisely the answer to your fried chicken cravings. This recipe makes the blank slate that is the boneless, skinless chicken breast into something truly remarkable. Plus, the small, even portions make for faster frying and more easily controlled oil temperature (which means more crispy and less greasy!)

Extra-Crispy Chicken Tenders

  • 2 lbs. boneless skinless chicken breasts, cut into 2-3 oz. strips, or 2 lbs chicken breast tenders
  • Salt, pepper, paprika, and dry mustard
  • All-purpose flour for dredging
  • 7 cups corn flakes, crushed, mixed with 1 cup all-purpose flour
  • 2 eggs
  • 1 tbsp. Dijon mustard
  • 1/3 cup milk
  • Peanut oil for frying

Pat the chicken breast pieces dry season liberally with salt, pepper, paprika and dry mustard.

Whisk together the eggs, milk, and Dijon mustard.

Arrange your breading stations: Dredging flour, egg mixture, and corn flake/flour mixture. Have a pan lined with aluminum foil ready.

Dredge the chicken in the flour and shake off the excess.

Next, dip the chicken in the egg mixture and let the excess drain off.

Finally, roll the chicken in the corn flake/flour mixture, gently pressing to get the crumbs to adhere.

Move the breaded chicken to a pan lined with aluminum foil and refrigerate for at least an hour to allow breading to set well.

To fry, preheat about 1-2 in. of oil in a deep pot or saute pan to 350 degrees F. Have an upside-down cooling rack over some paper towels ready for draining the finished chicken.

Fry the chicken pieces for 3 minutes or until golden brown.

Move the chicken to the cooling rack and season with salt.

And that’s it! A few simple ingredients and a speedy cooking time make this a great weeknight meal. I especially like that you can prepare your chicken hours in advance and fry whenever you’re ready to eat. The corn flakes make for a spectacular crunchy crust and the meat stays juicy due to the short cooking time.

Things don’t always have to be complex to be special. I hope this recipe sticks around in your kitchen just as much as it has in mine.

Ciao for now,

Neen


Back to Baking: Sugar Cookies

7 Jan

I missed Christmas cookie baking season for the first time in YEARS. I still managed to crank out a few cookies for my doctors, hair stylist, etc. using my food processor, but it was nowhere near the variety or number that usually graces my table during the season. Needless to say, I was pretty bummed out by it. But hey, it was a small price to pay to have a functional heart!

Luckily my parents are also pretty baking-happy during the holiday season, so I received a package in the mail with quite a variety of delicious goodies to enjoy. Of all the cookies they sent, it was the simplest one that I still craved days after polishing off. I speak of course of sugar cookies. I asked my mom for the recipe, which she was kind enough to pass along, and swore that as soon as I was medically cleared to lift my stand mixer onto the counter again I’d make them and share them with all of you.

Guess who can use both arms again??? Let’s celebrate with something sweet!

Sugar Cookies

  • 6 oz. unsalted butter, softened
  • 1 cup sugar
  • 2 eggs
  • ½ tsp. vanilla extract
  • 2 ½ cups flour
  • 1 tsp. baking powder
  • ½ tsp. salt
  • Sprinkles for decoration

In a medium-sized bowl, sift together the flour, baking powder, and salt. Set aside.

In the bowl of a stand mixer, beat the butter and sugar together on medium speed until smooth and fluffy.

Add the eggs and vanilla extract and beat until well combined, scraping down the sides of the bowl as needed.

Add the flour mixture and stir until a soft dough forms.

Gather the dough into a ball and then flatten into a large disc and wrap in plastic wrap. Chill the dough for at least one hour.

Preheat the oven to 400 degrees F.

Lightly flour a work surface and then roll the dough out to ¼ in. – ½ in. thickness.

Cut out cookies and re-roll scraps as needed. Depending on the size of your cookie cutters, this will make 3-4 dozen cookies.

Arrange the cookies on a baking sheet about 1 in. apart and top with sprinkles.

Bake for 6-8 minutes or until just set and barely golden on the bottom. Cool completely on a wire rack.

Store in an airtight container…if they last that long.

So even though they weren’t ready in time for the holidays, who says you can’t enjoy these sweet surprises year-round? A gift of cookies is always sure to make someone smile, so share the love often.

Until next time, happy baking!

Ciao for now,

Neen


Back in Action: Turkey Meatloaf with Honey-Dijon Glaze

19 Dec

Hi there, remember me? Yes, it’s been a few weeks. And what a few weeks! Shortly after Thanksgiving, I ended up in the hospital after a series of blackouts. It turns out I had a complete heart block, which is where the electrical signal doesn’t make it from one chamber of the heart to the next. Basically it made my heart rate tank into the low 20s, making me very short of breath and causing the aforementioned blackouts. The solution to this problem was immediate surgery to give me a pacemaker, so that my heart can beat 100% at the proper speed. I feel GREAT! It’s really been like coming out of the dark. I’ve been fatigued for a long time and had no clue how bad I was feeling until, well, I wasn’t anymore. So that’s why I’ve been absent. I can’t really use my left (dominant) arm for reaching, lifting, or straining for about a month, so baking has been pretty much out of the question.

But I am finding ways to keep on cooking. One of the things suggested in my discharge papers from the hospital was to follow a heart-healthy diet. Not because I had any artery-blocking problems, but because reducing strain on the heart and preventing any of those issues is a generally good idea for someone who already has a pacemaker. So I’ve been having fun both finding creative ways to cook and also some ways to alter favorite recipes.

That brings me to today’s offering. The perfect winter meal, both easy to prepare and surprisingly even better to reheat: Meatloaf. It’s easy to make a juicy meatloaf with beef and pork, but I was interested in taking something leaner and making it sing. I turned to ground turkey, and while there isn’t much fat there to speak of, fat’s not the only way to keep a meatloaf moist both on the initial cooking and when you want to have a tasty meatloaf sandwich the next day. And the best part is that our additions will add lots of bright and earthy flavors to the party.

Turkey Meatloaf

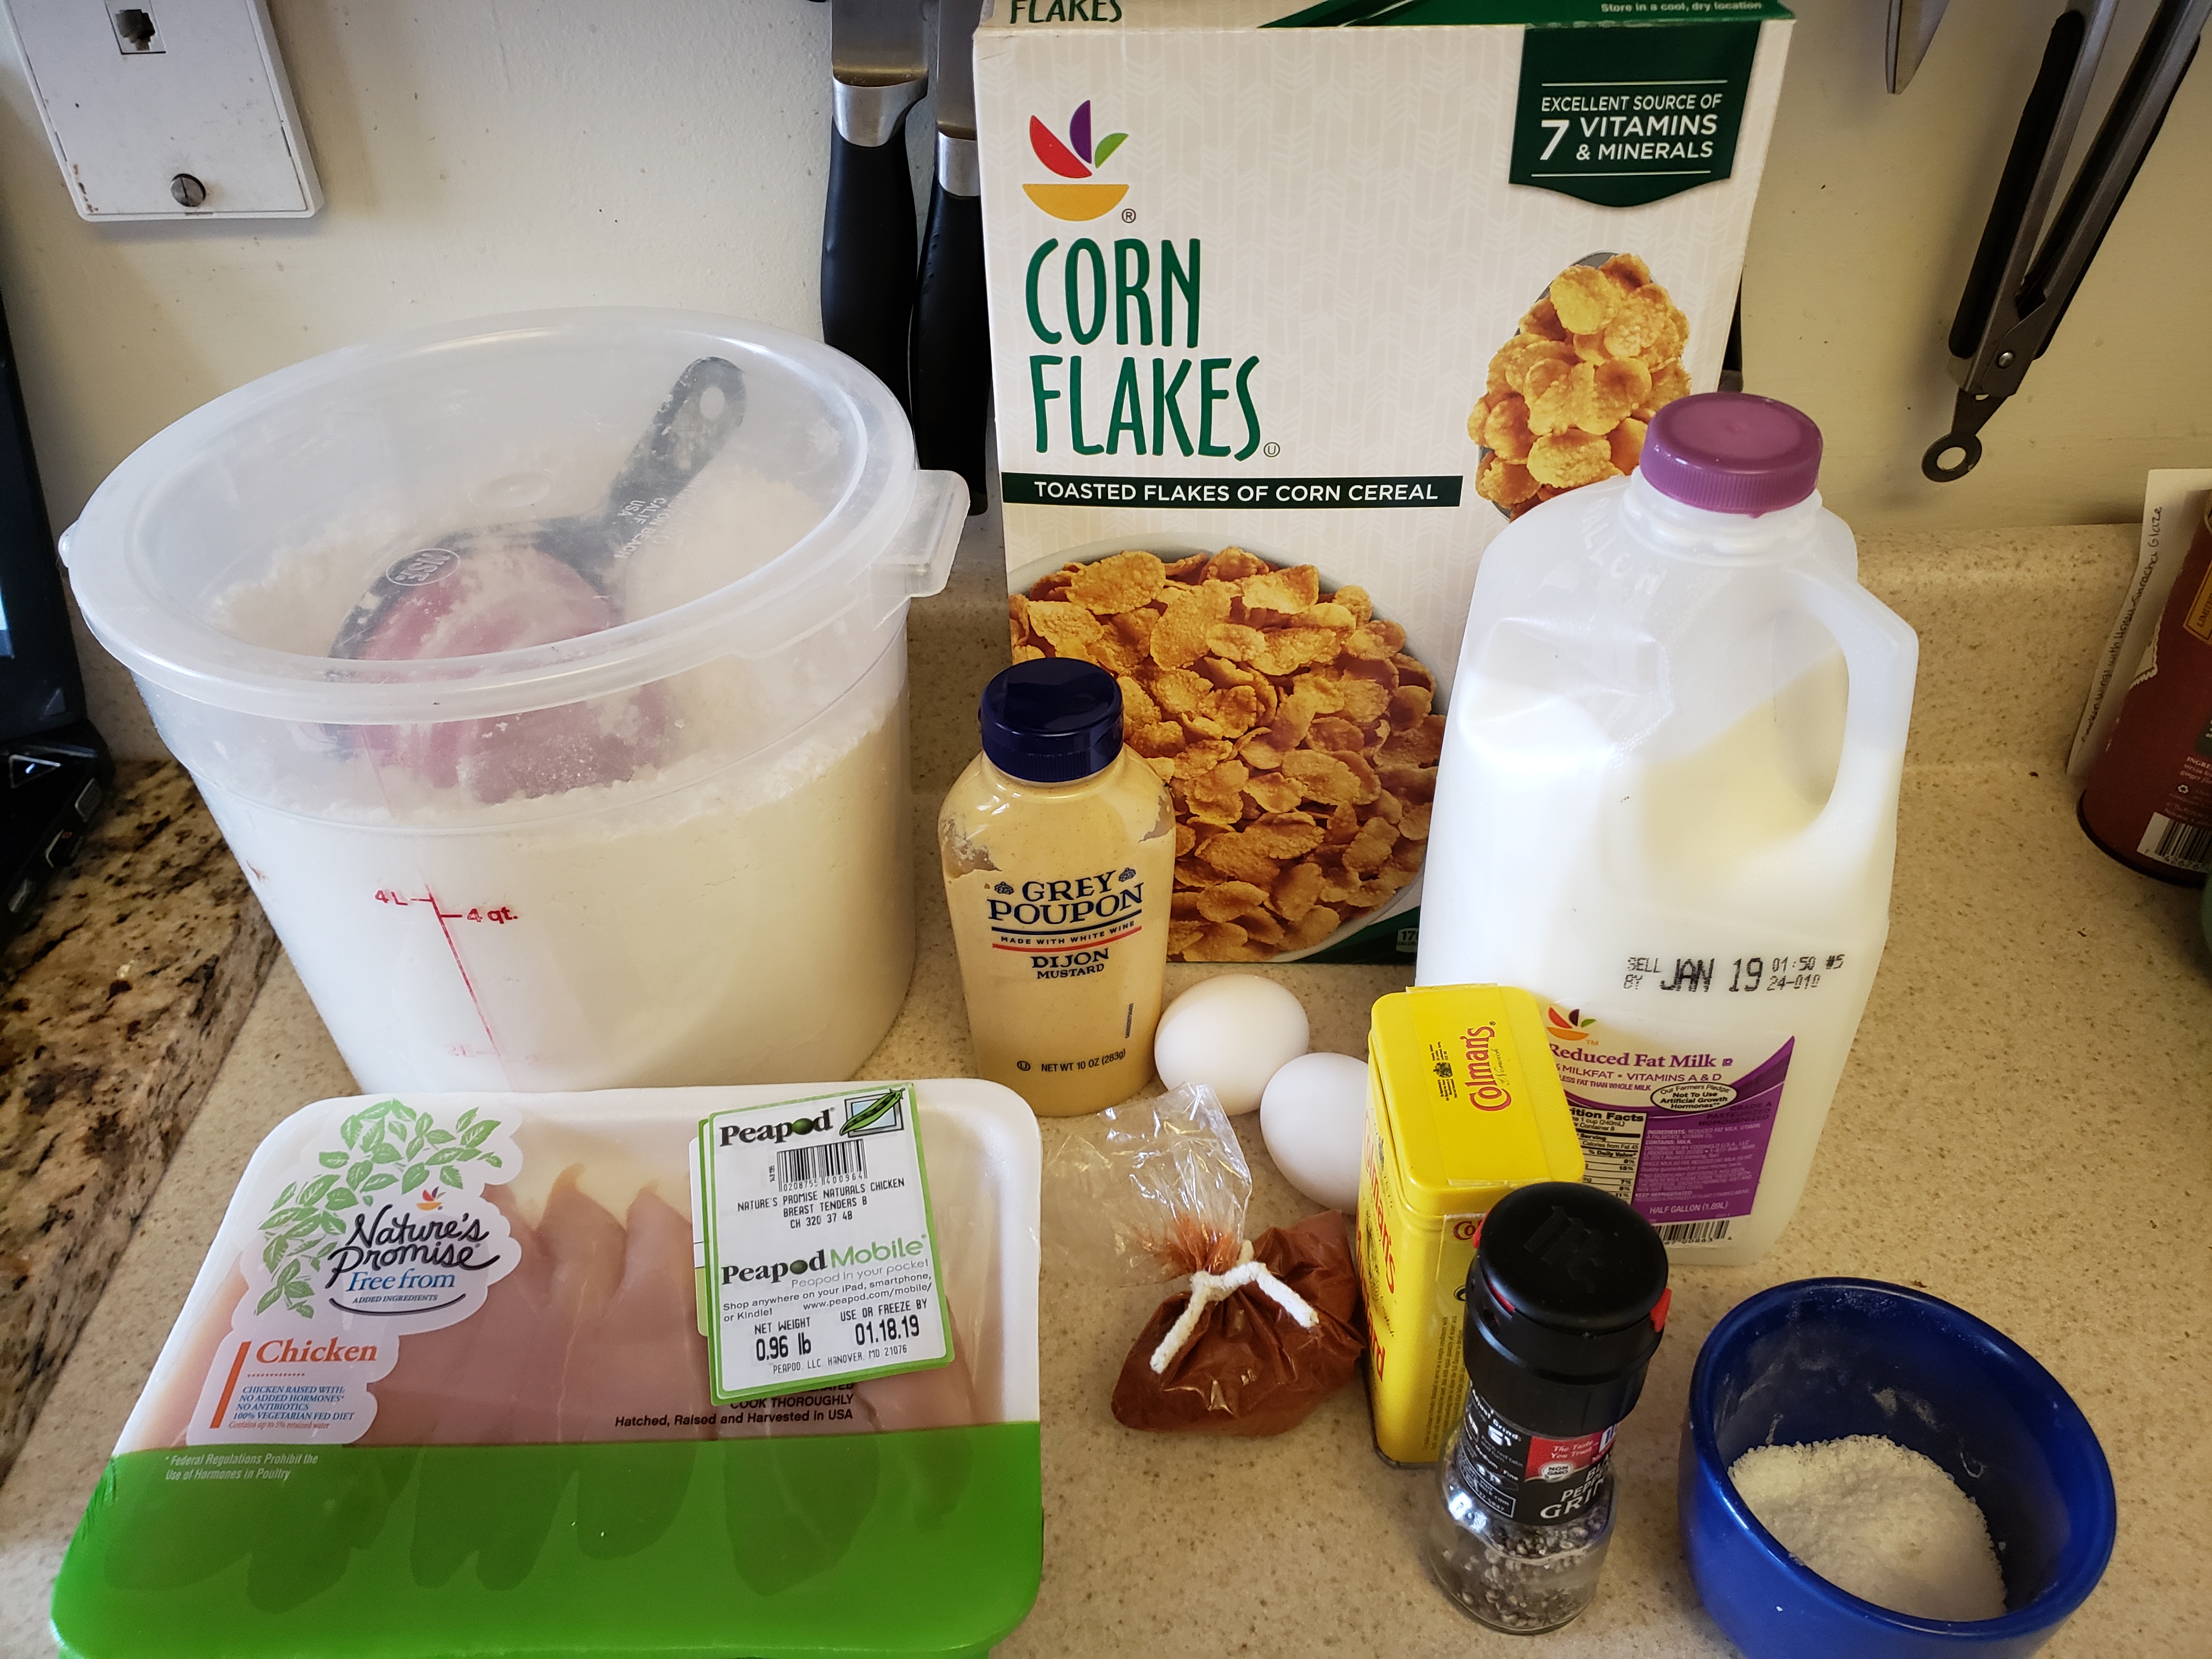
  • 1 ¼ lb. ground turkey
  • 8 oz. mushrooms, finely chopped*
  • 1 onion, finely chopped*
  • 1 red or orange bell pepper, finely chopped*
  • 2 garlic cloves, minced
  • 1 tbsp. olive oil
  • 1 tbsp. Worcestershire sauce
  • 3 tbsp. ketchup
  • 1 cup panko bread crumbs
  • 1/3 cup milk
  • 2 eggs, lightly beaten
  • 3 tbsp. Dijon mustard
  • 3 tbsp. honey
  • Salt and freshly ground black pepper

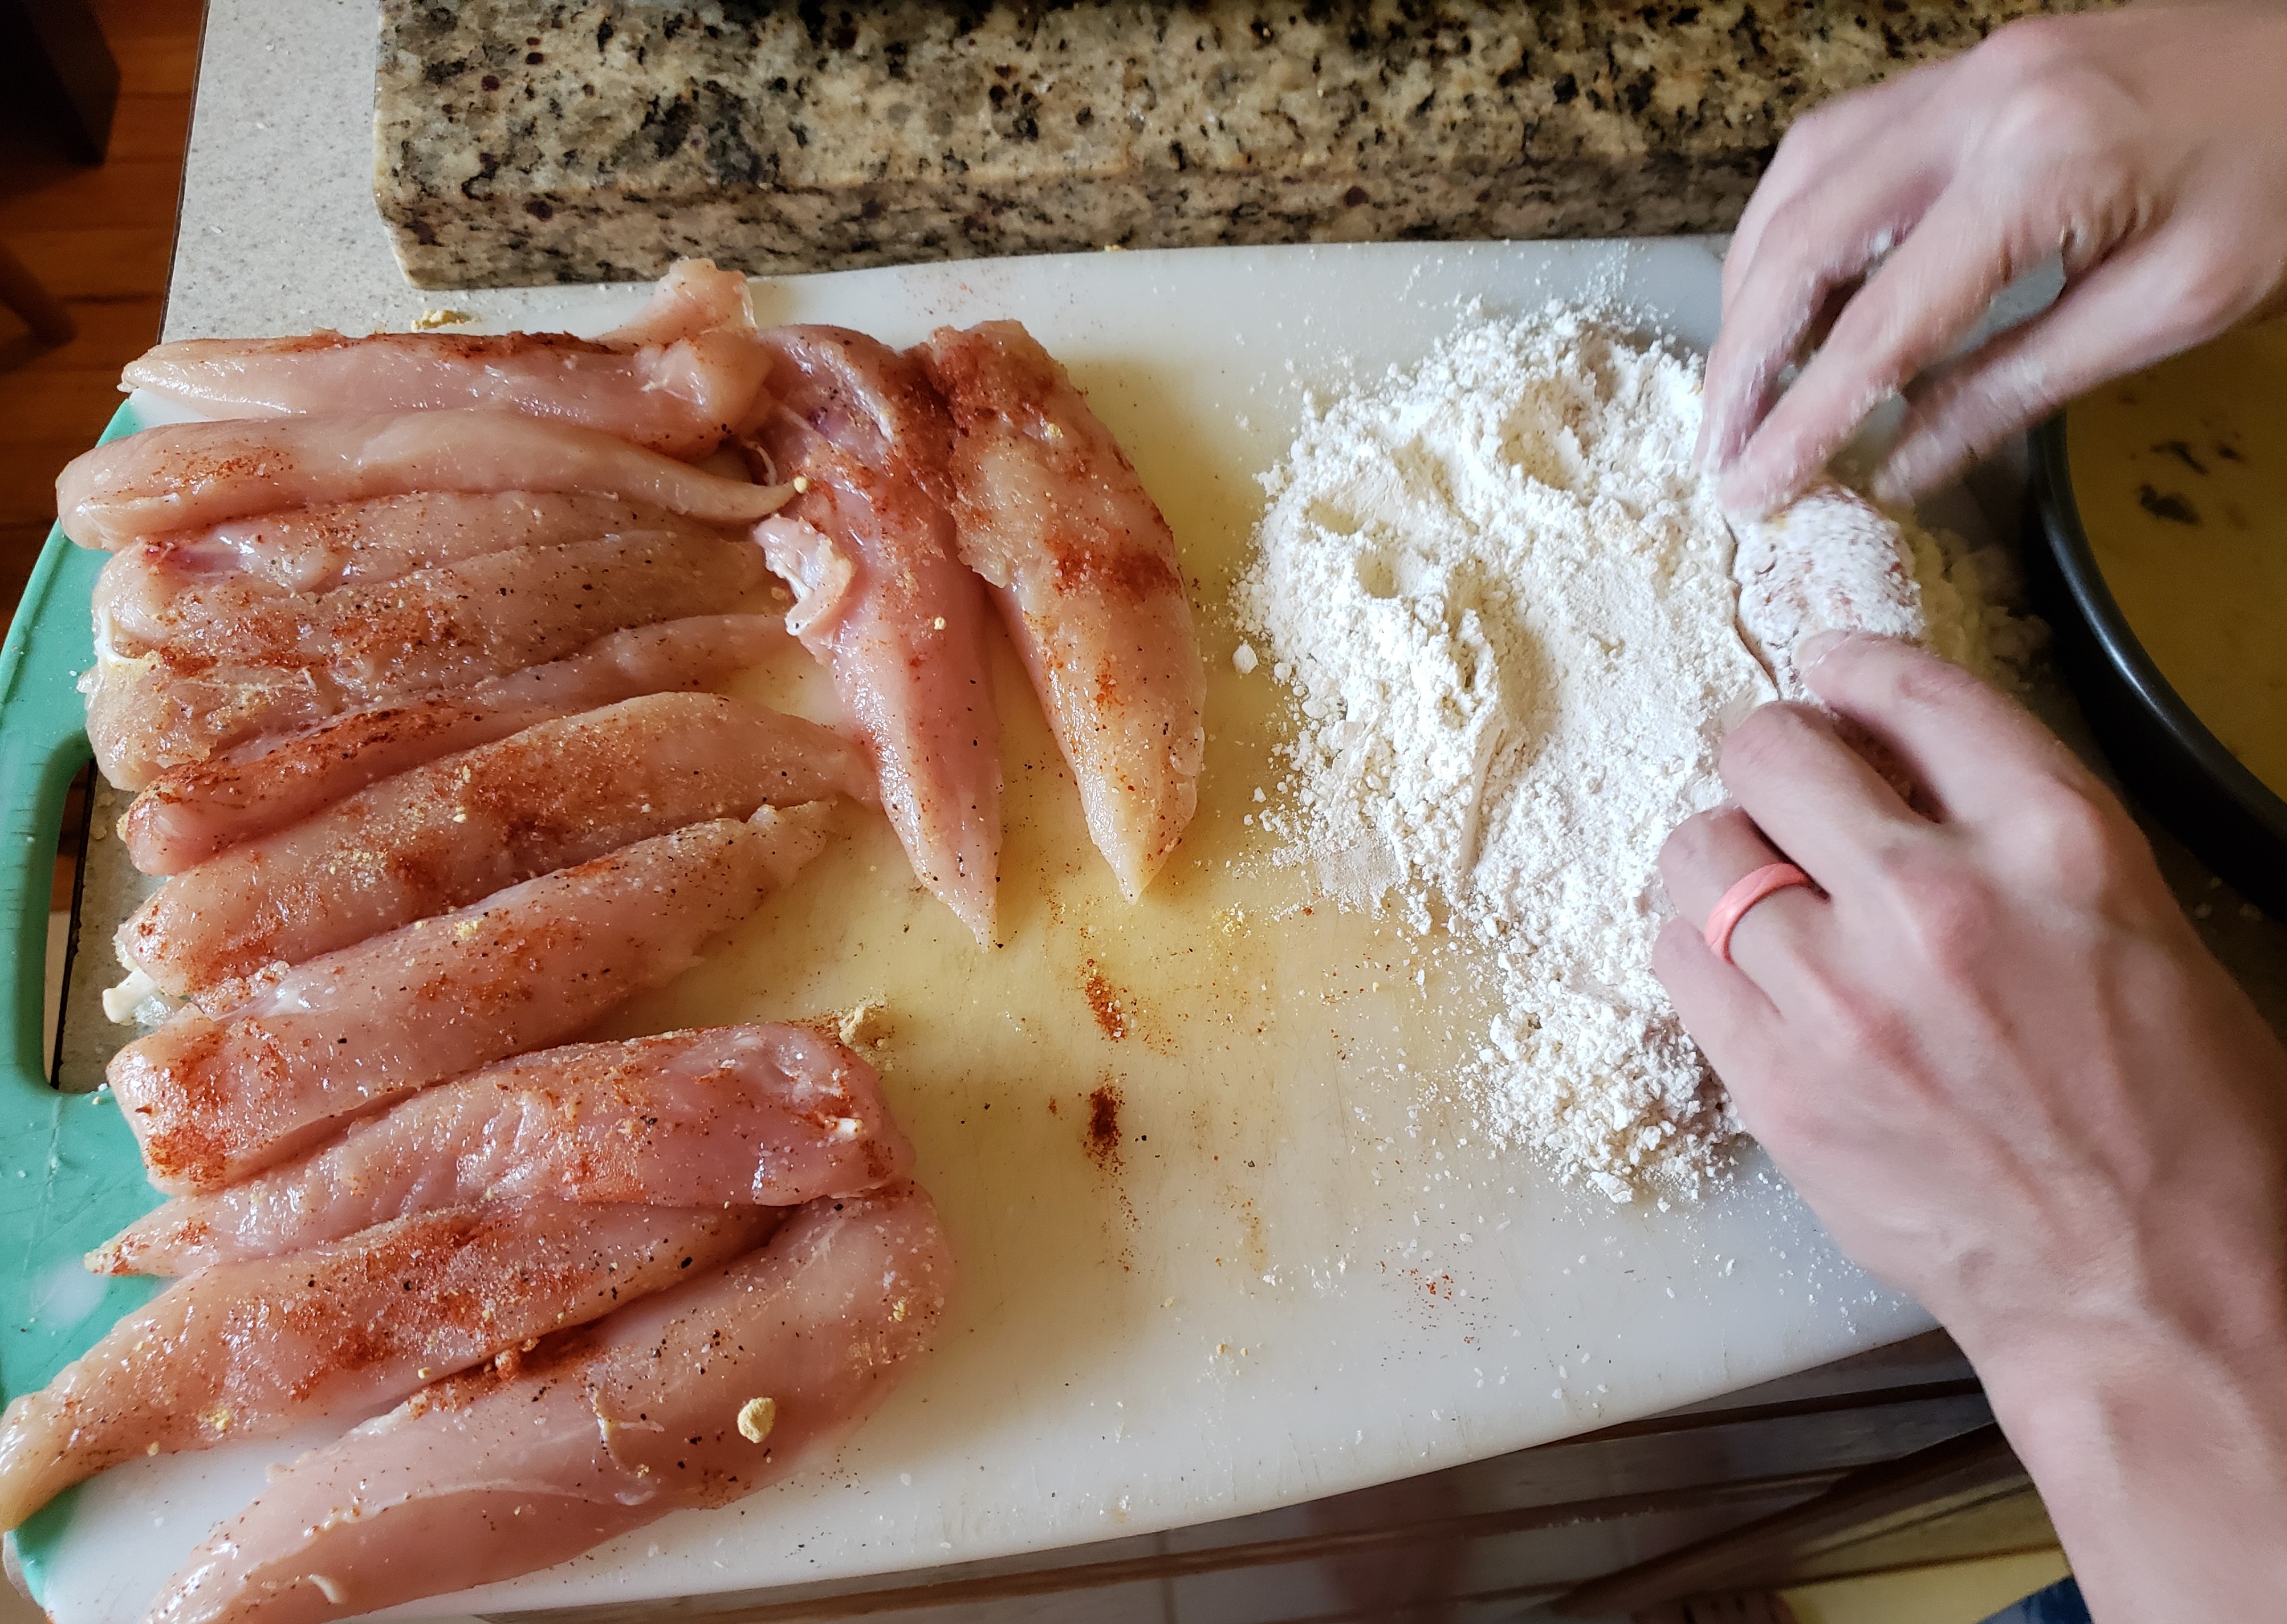
*I let my food processor do the work here since my arm mobility is limited and I’d recommend it for getting a super-fine, even dice.

Preheat the oven to 400 degrees F and lightly grease a baking sheet lined with aluminum foil.

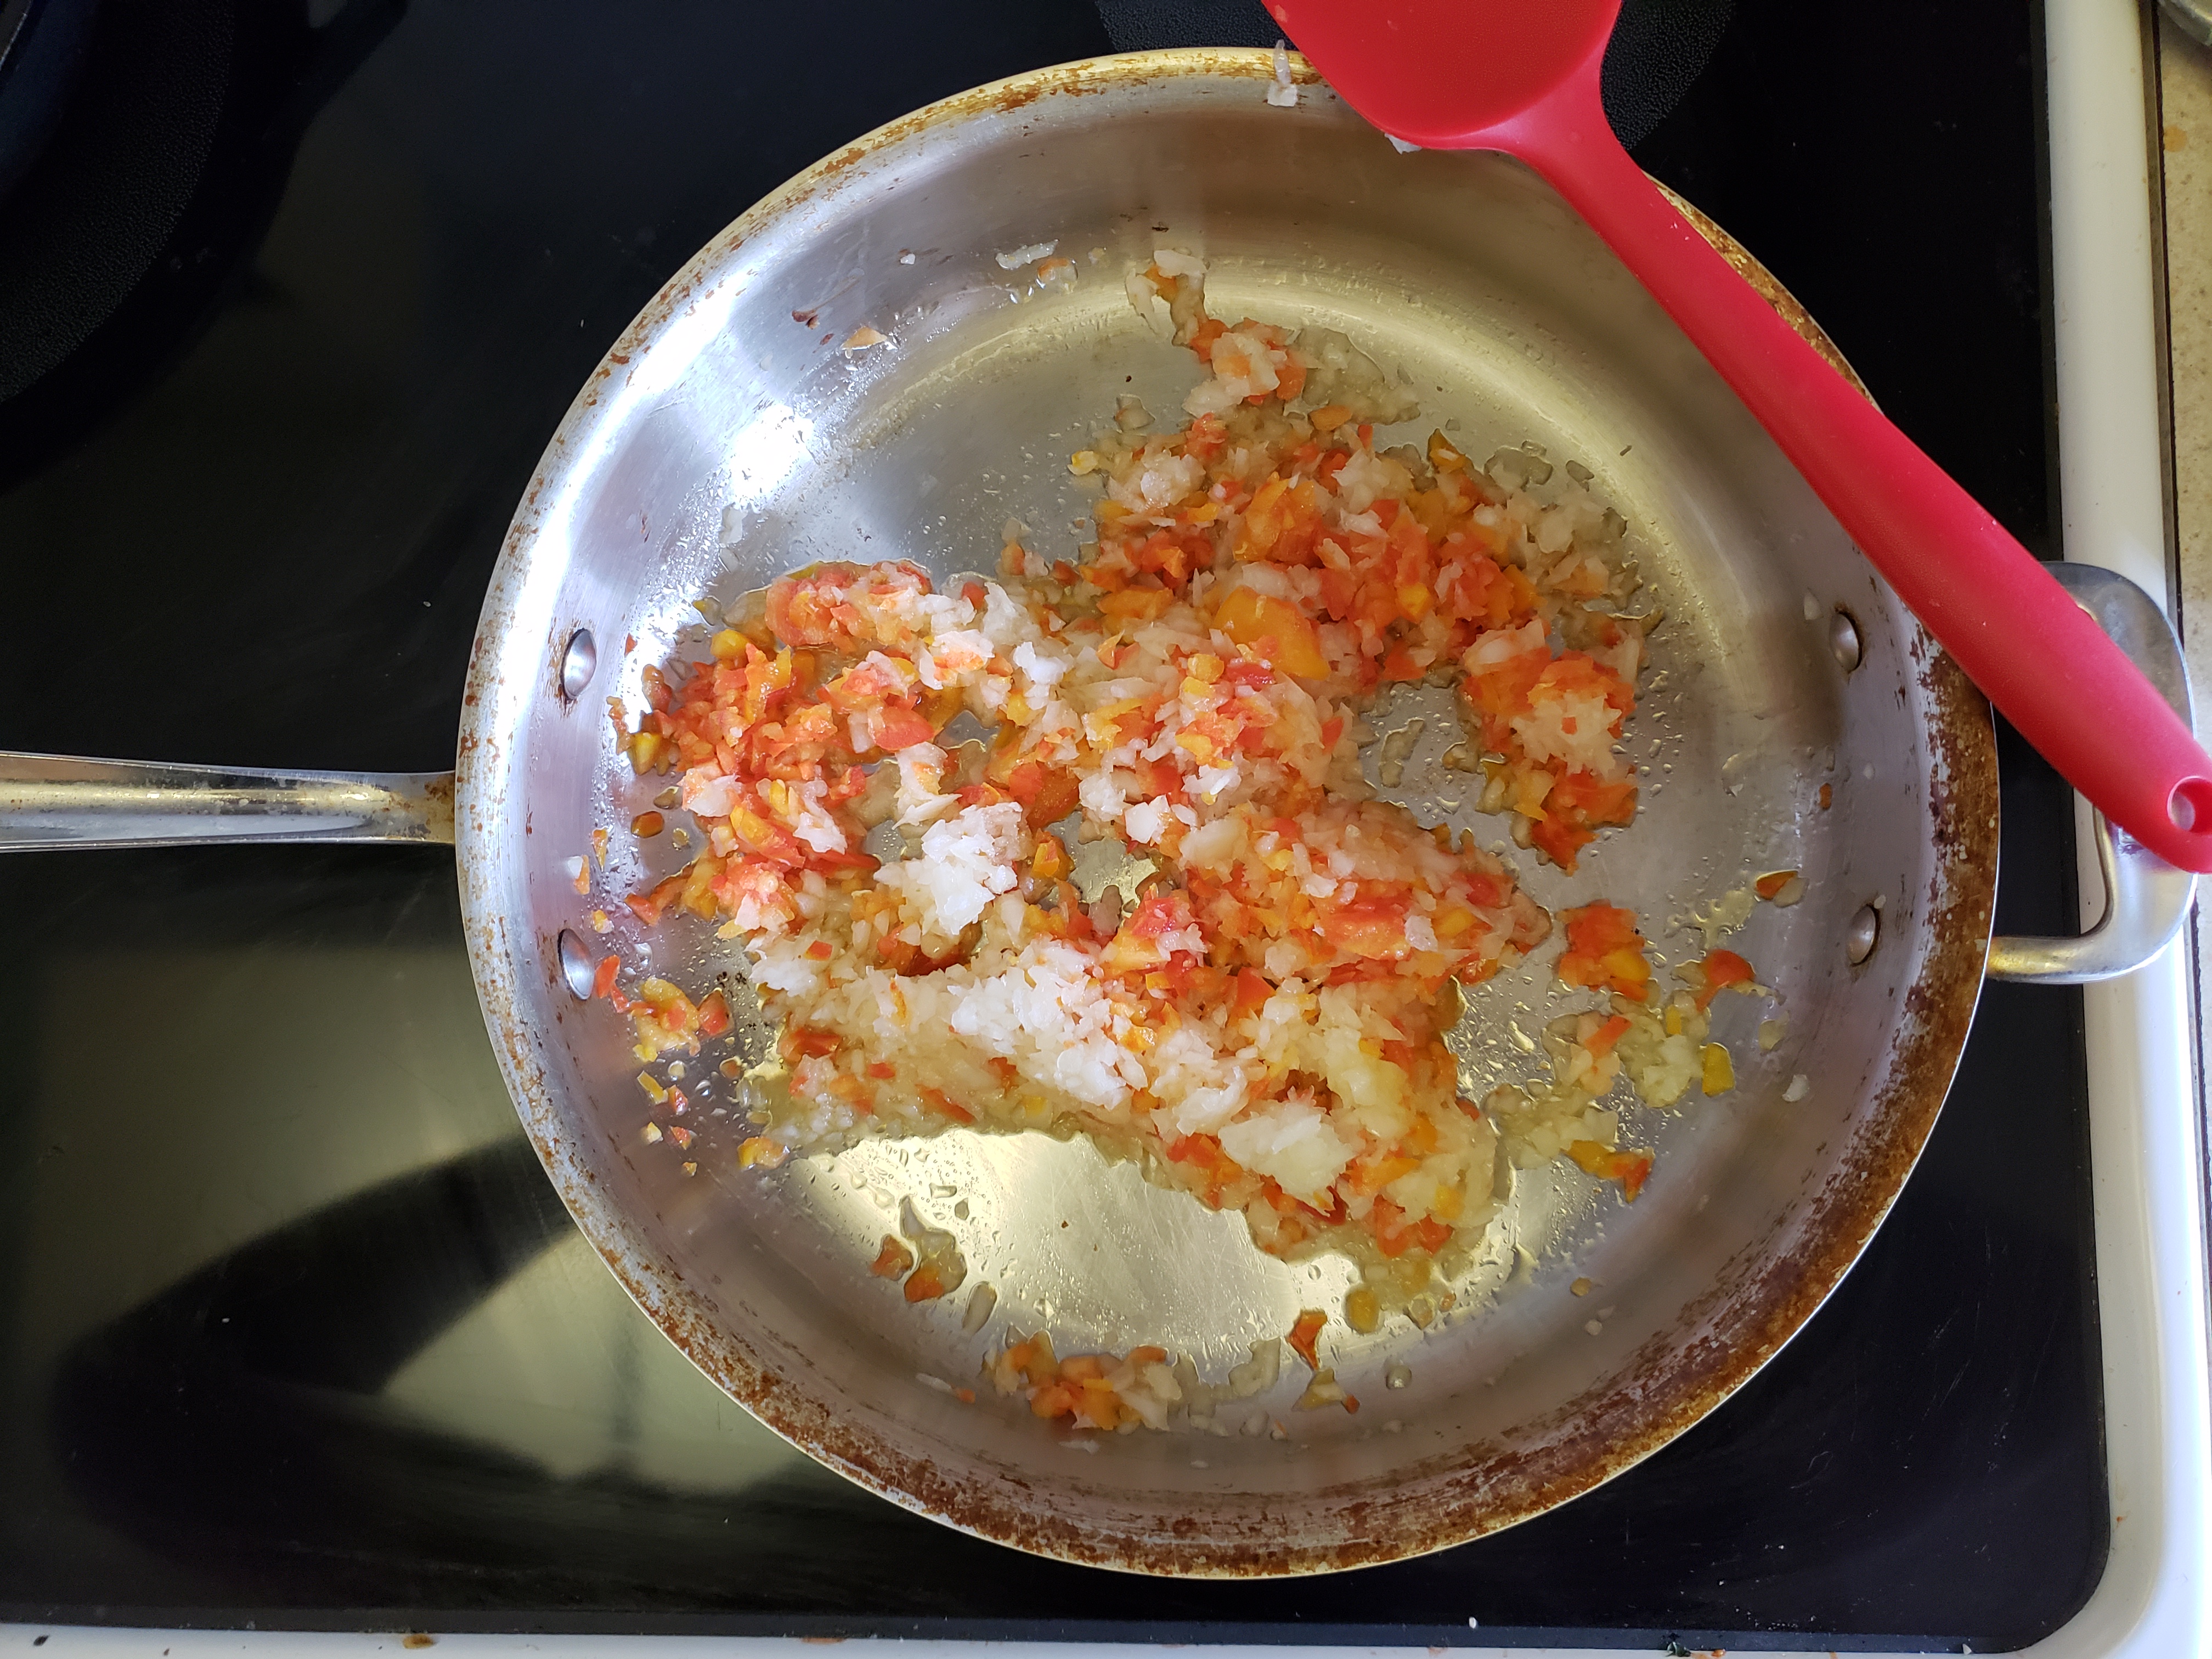
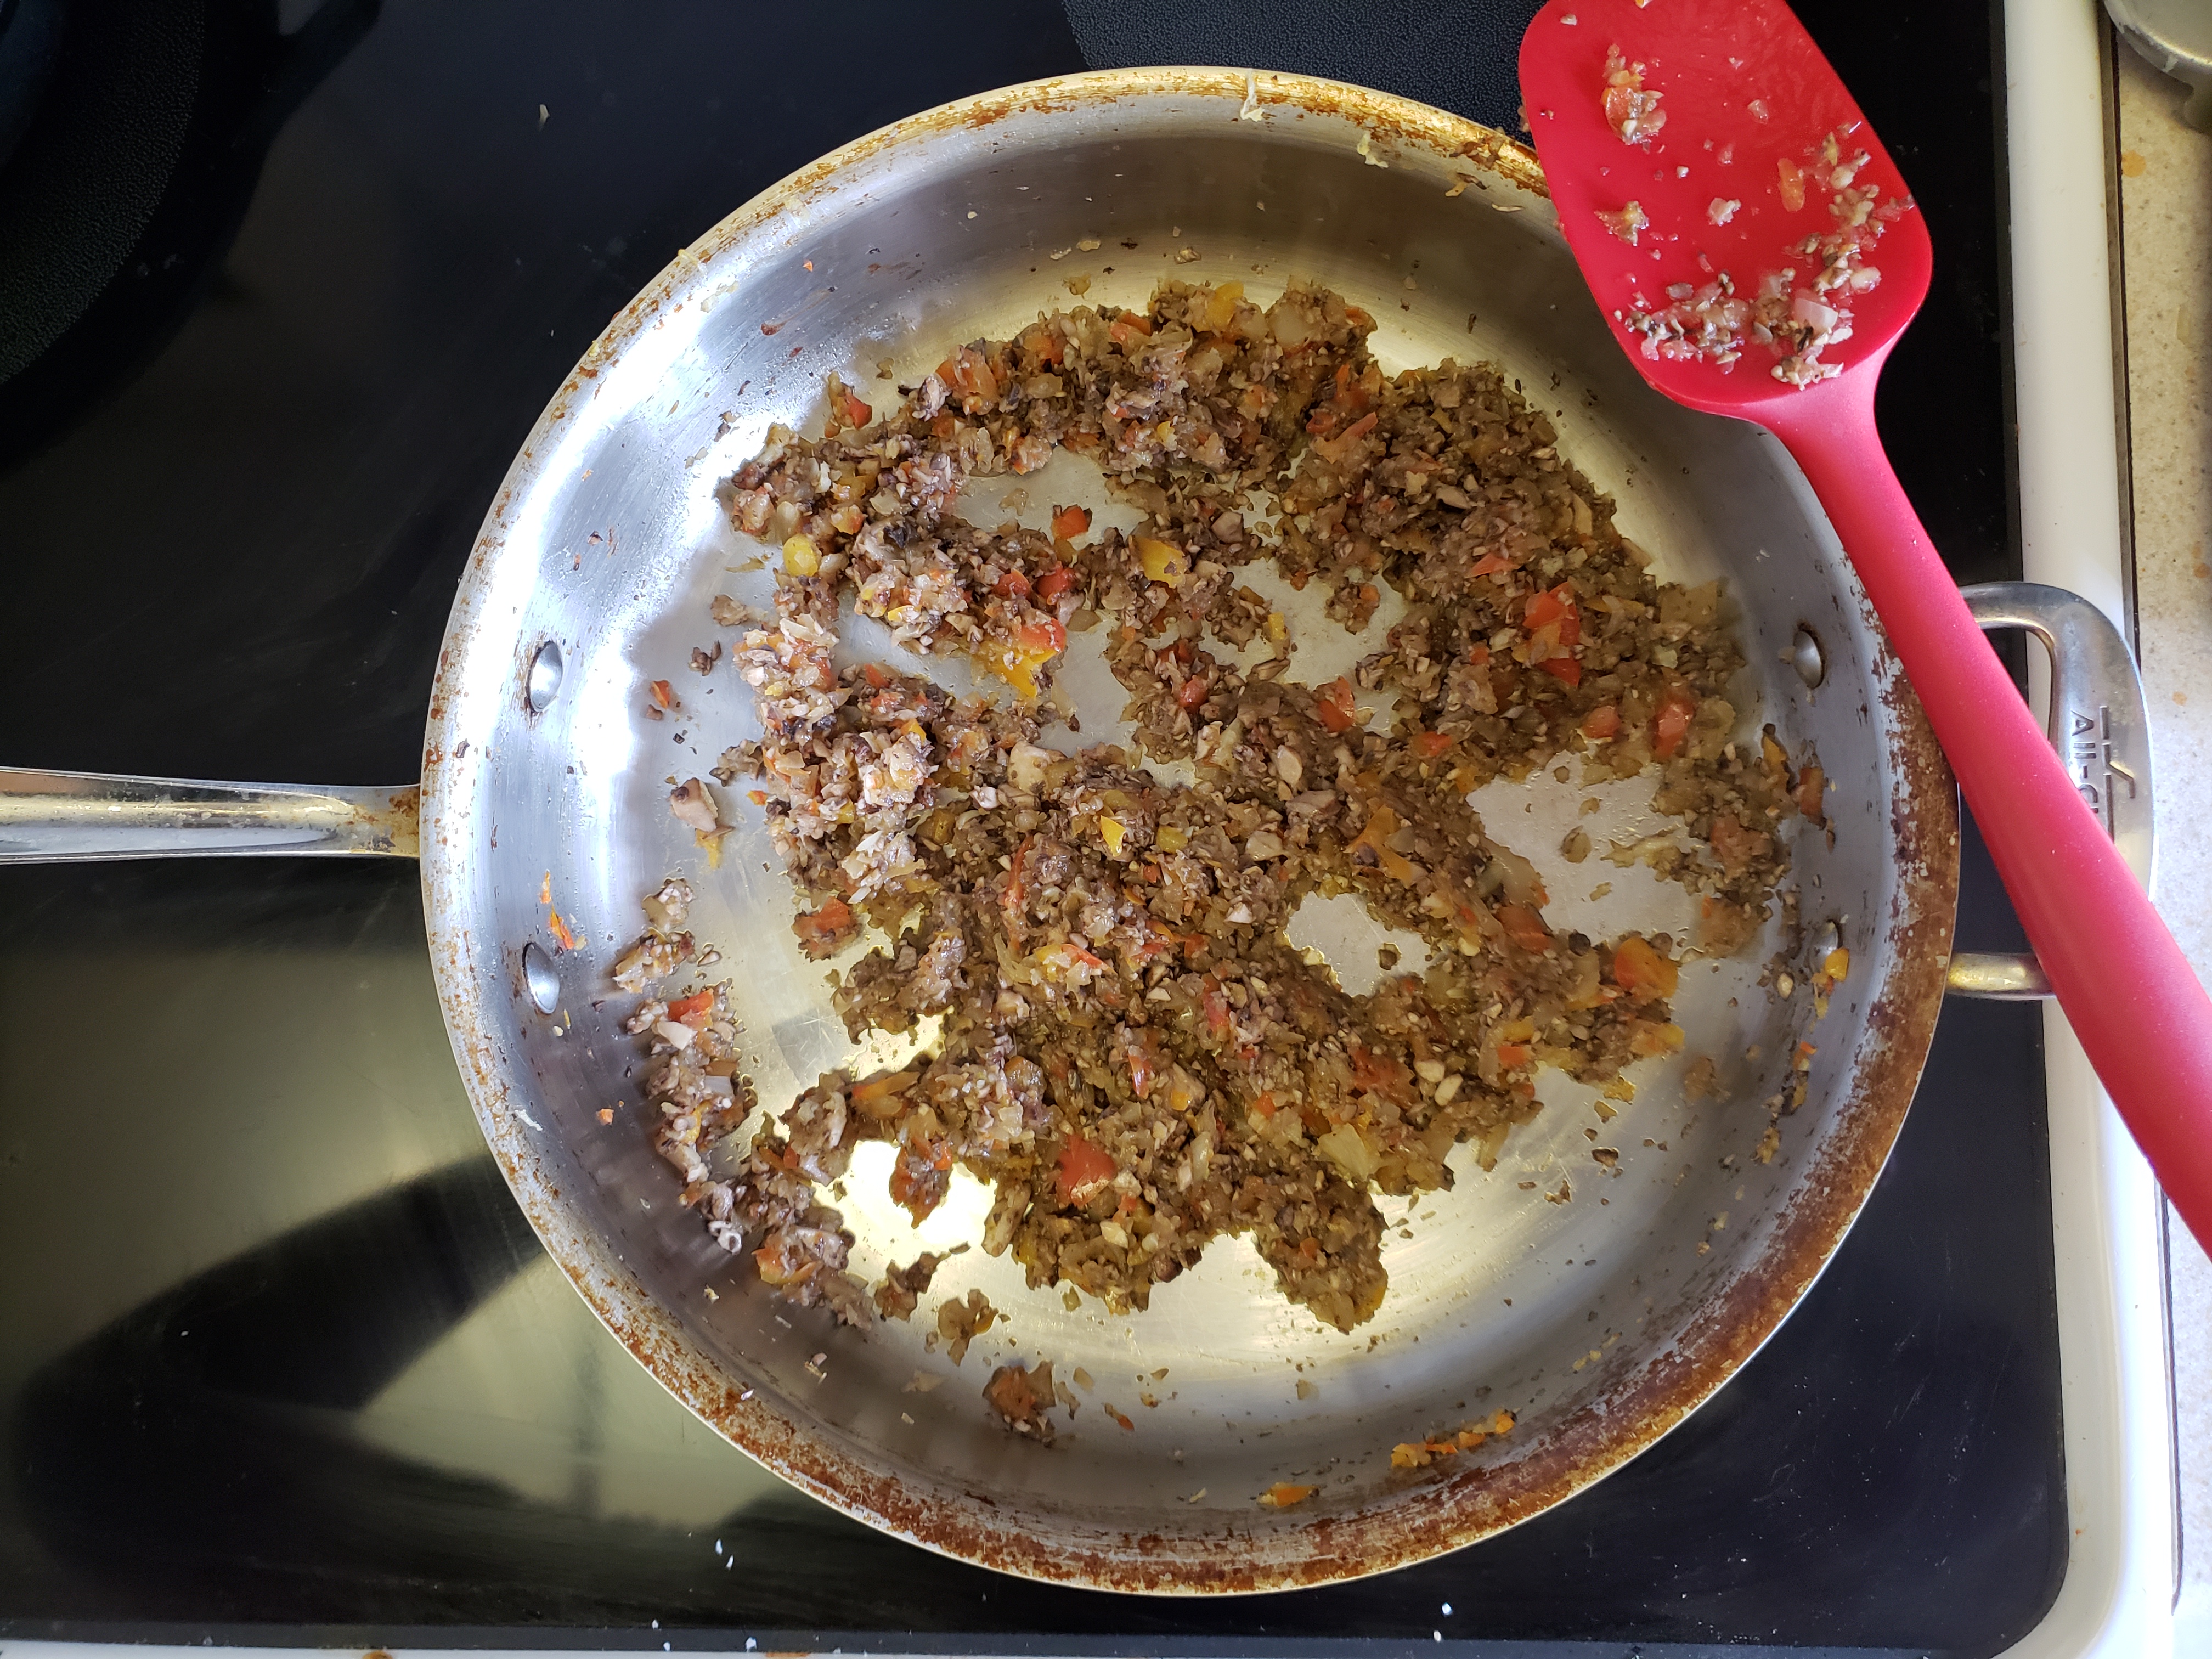
Heat the oil in a large saute pan over medium-low heat. Once the oil is fragrant, add the onion, pepper, and a pinch of salt and cook until softened, about 4-5 minutes. Add the garlic and cook 1 minute more.

Add the mushrooms, a pinch of salt, and a pinch of freshly ground black pepper. Cook until the mushrooms release their liquid and it evaporates, about 7-8 minutes.

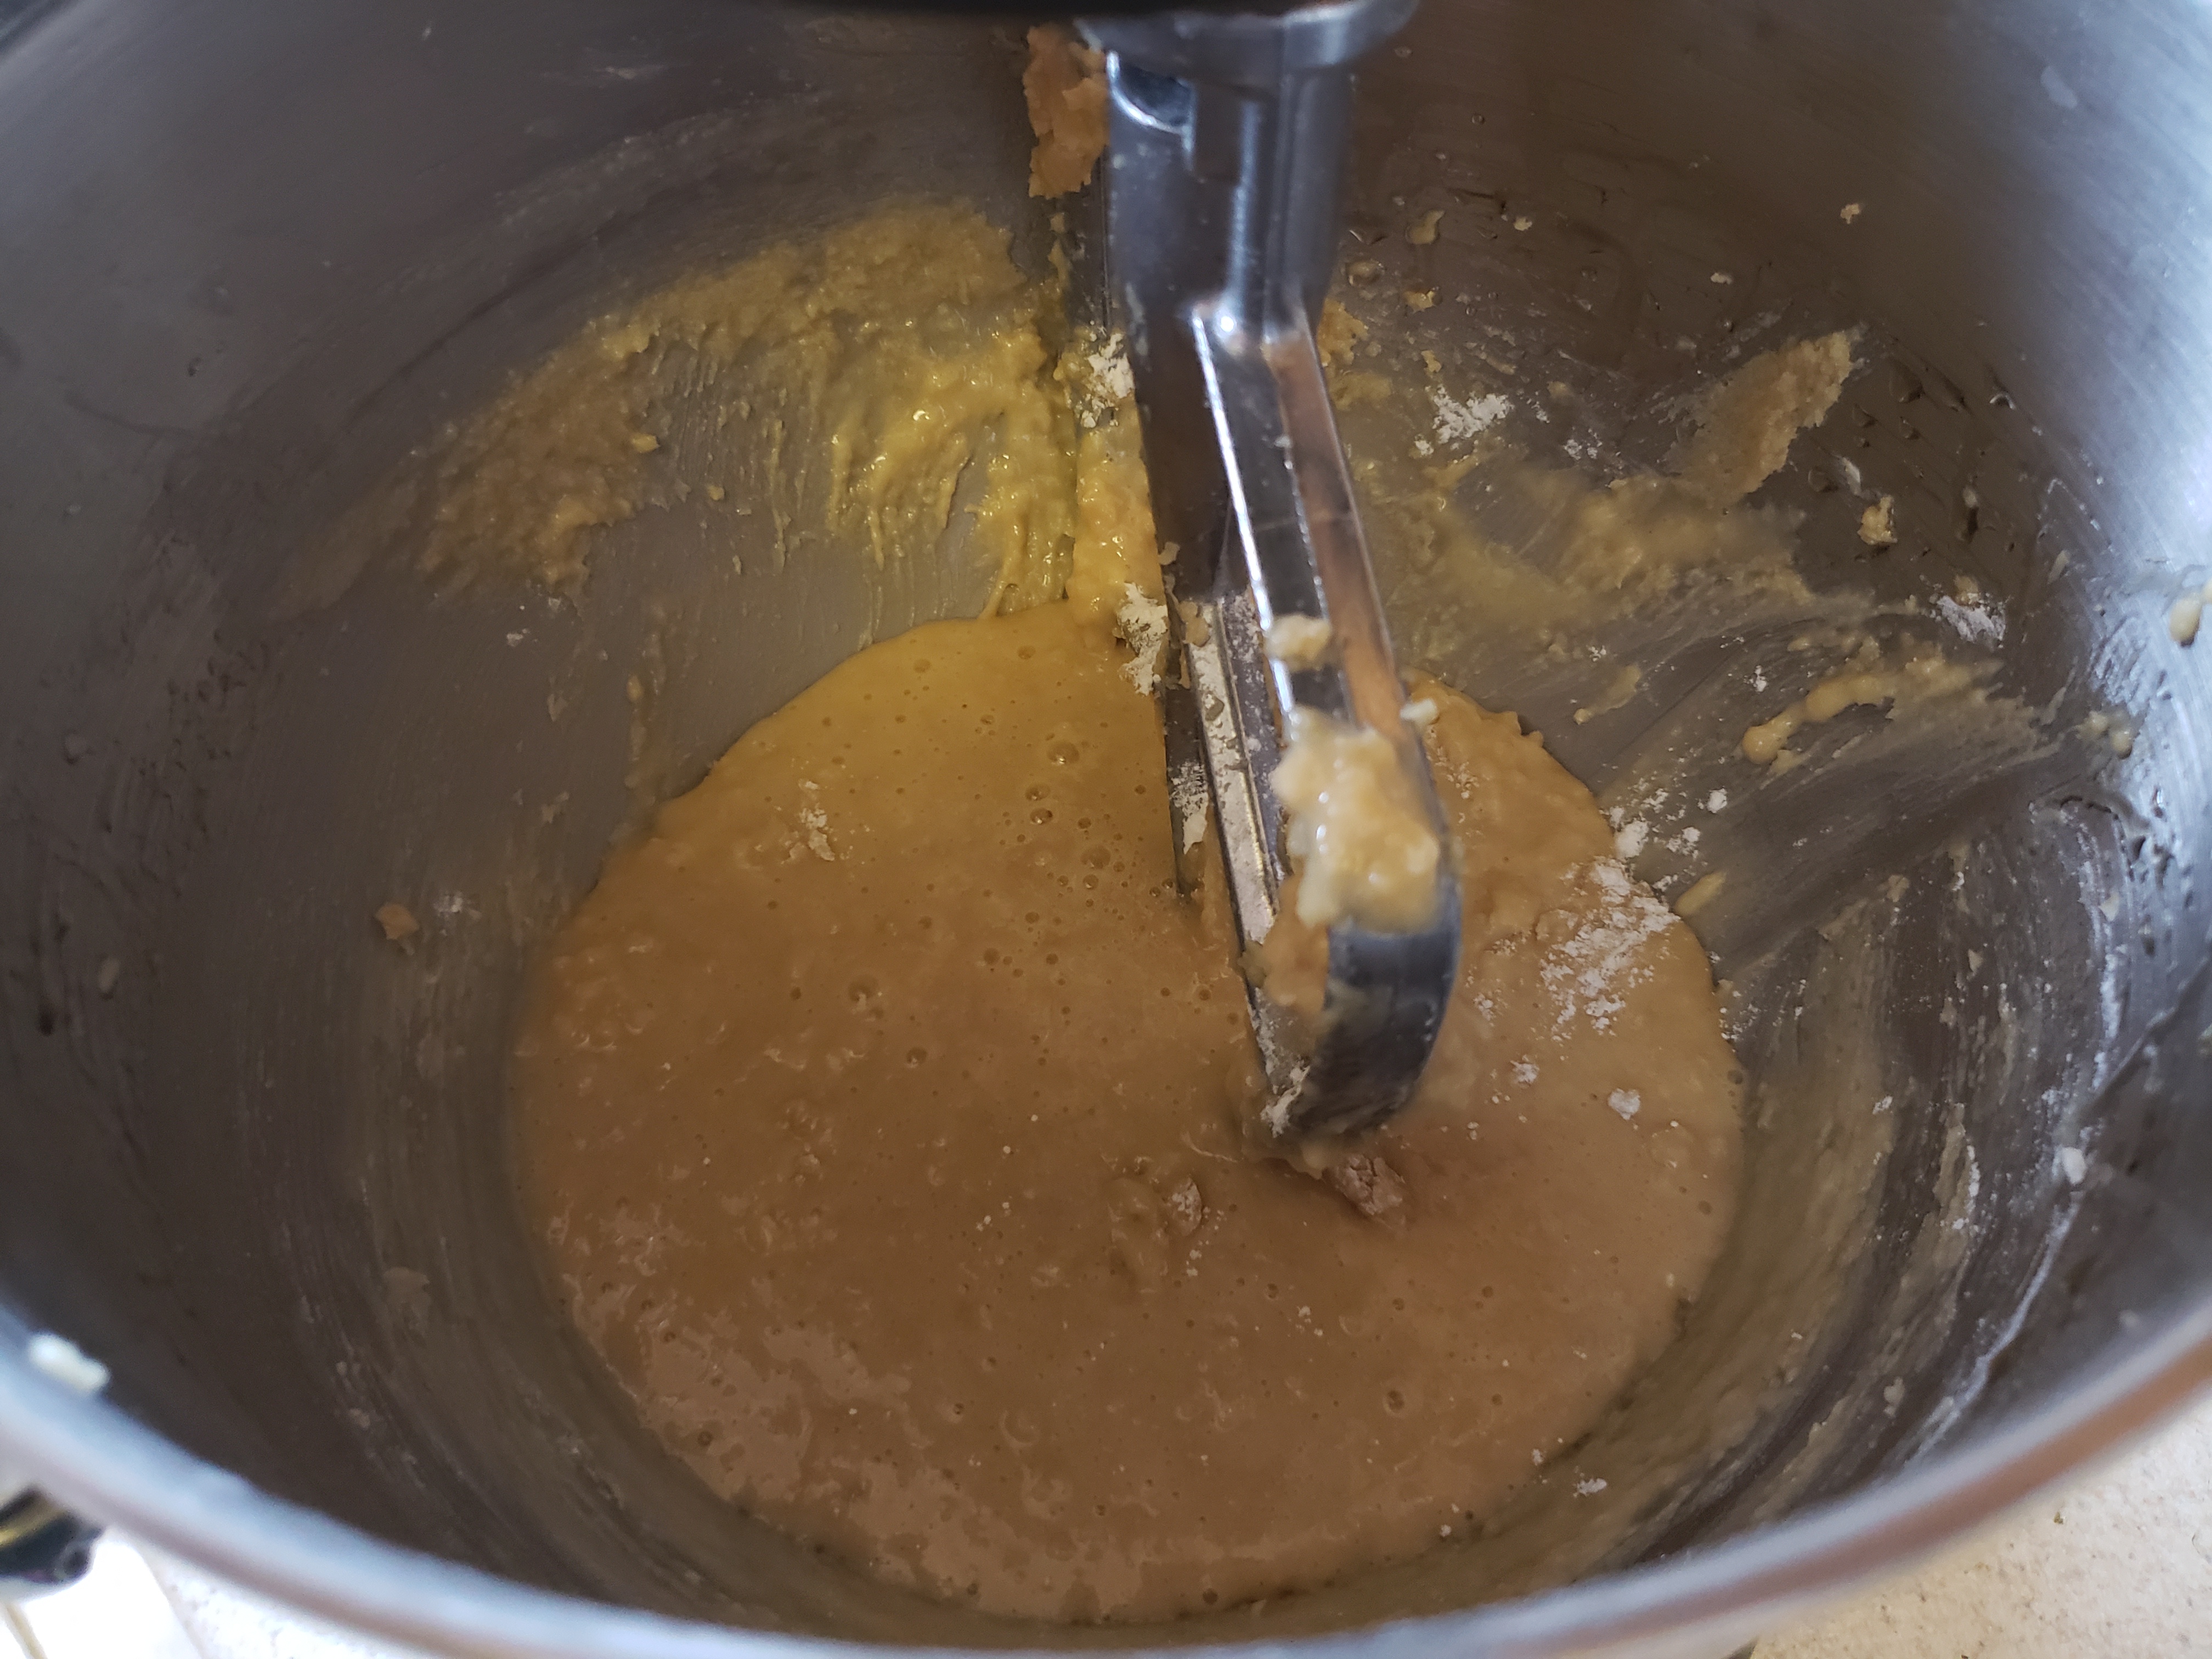
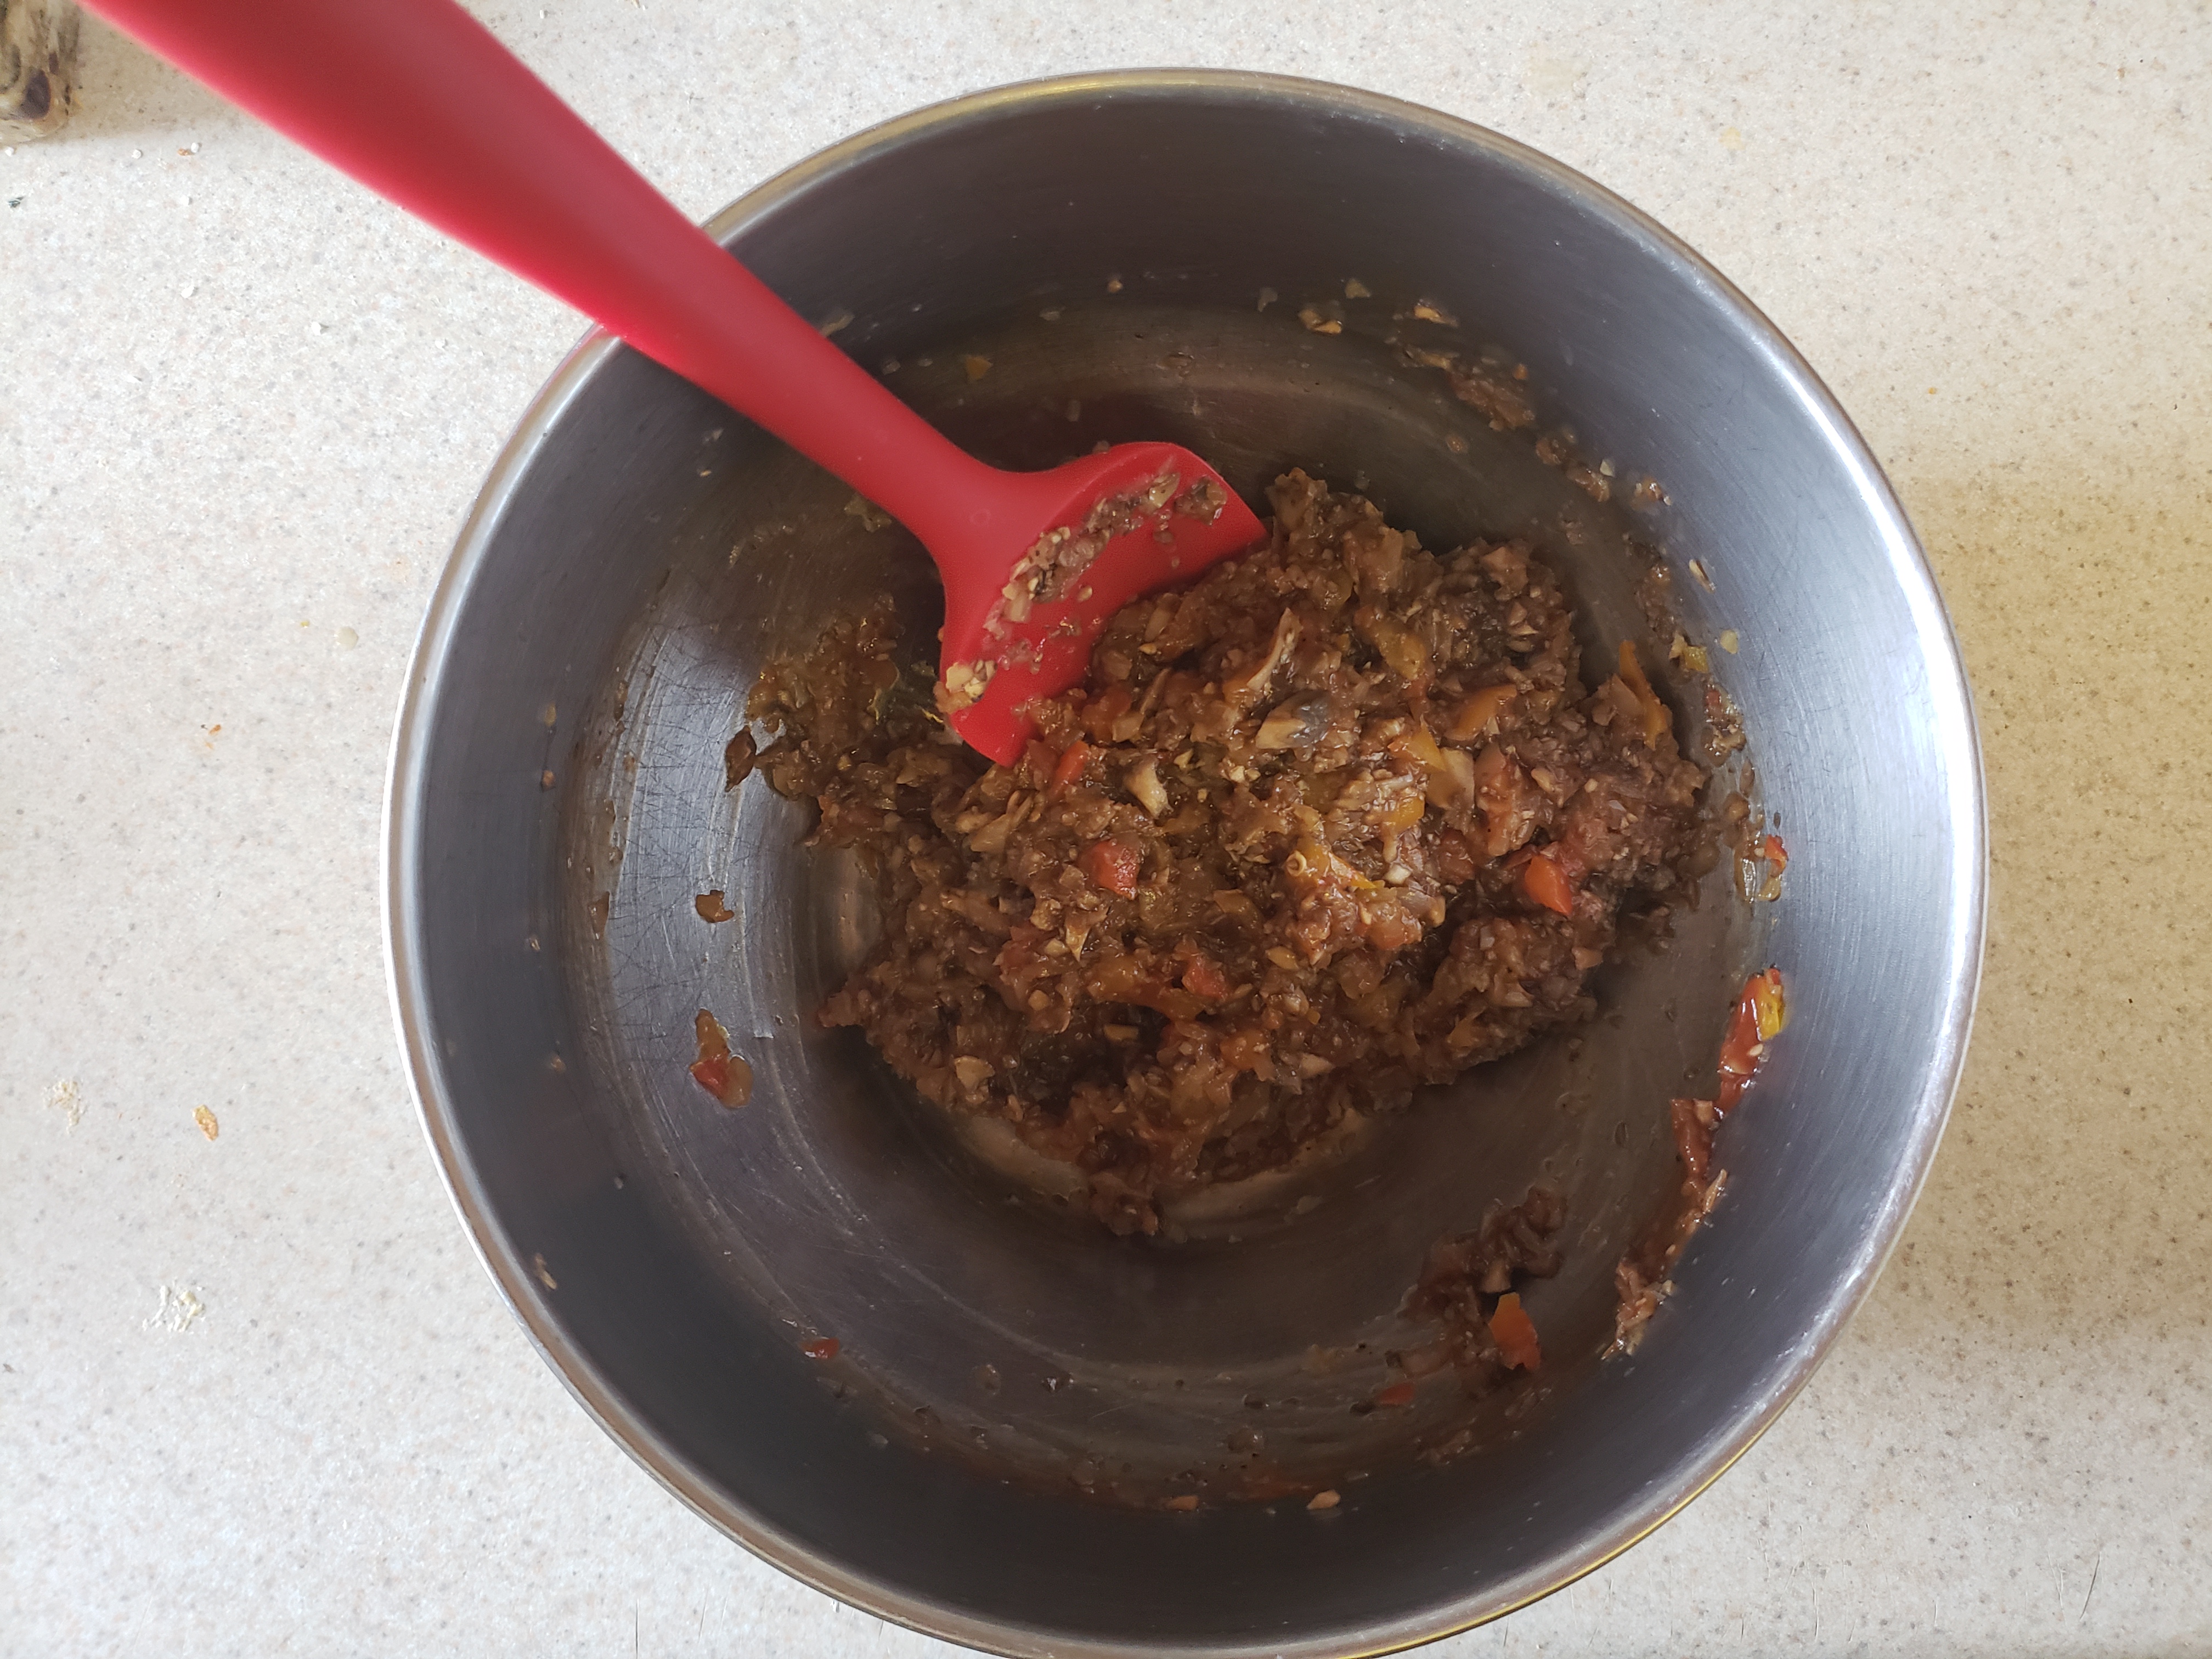
Transfer the vegetable mixture to a large bowl and stir in the Worcestershire sauce and ketchup. Set aside to cool slightly.

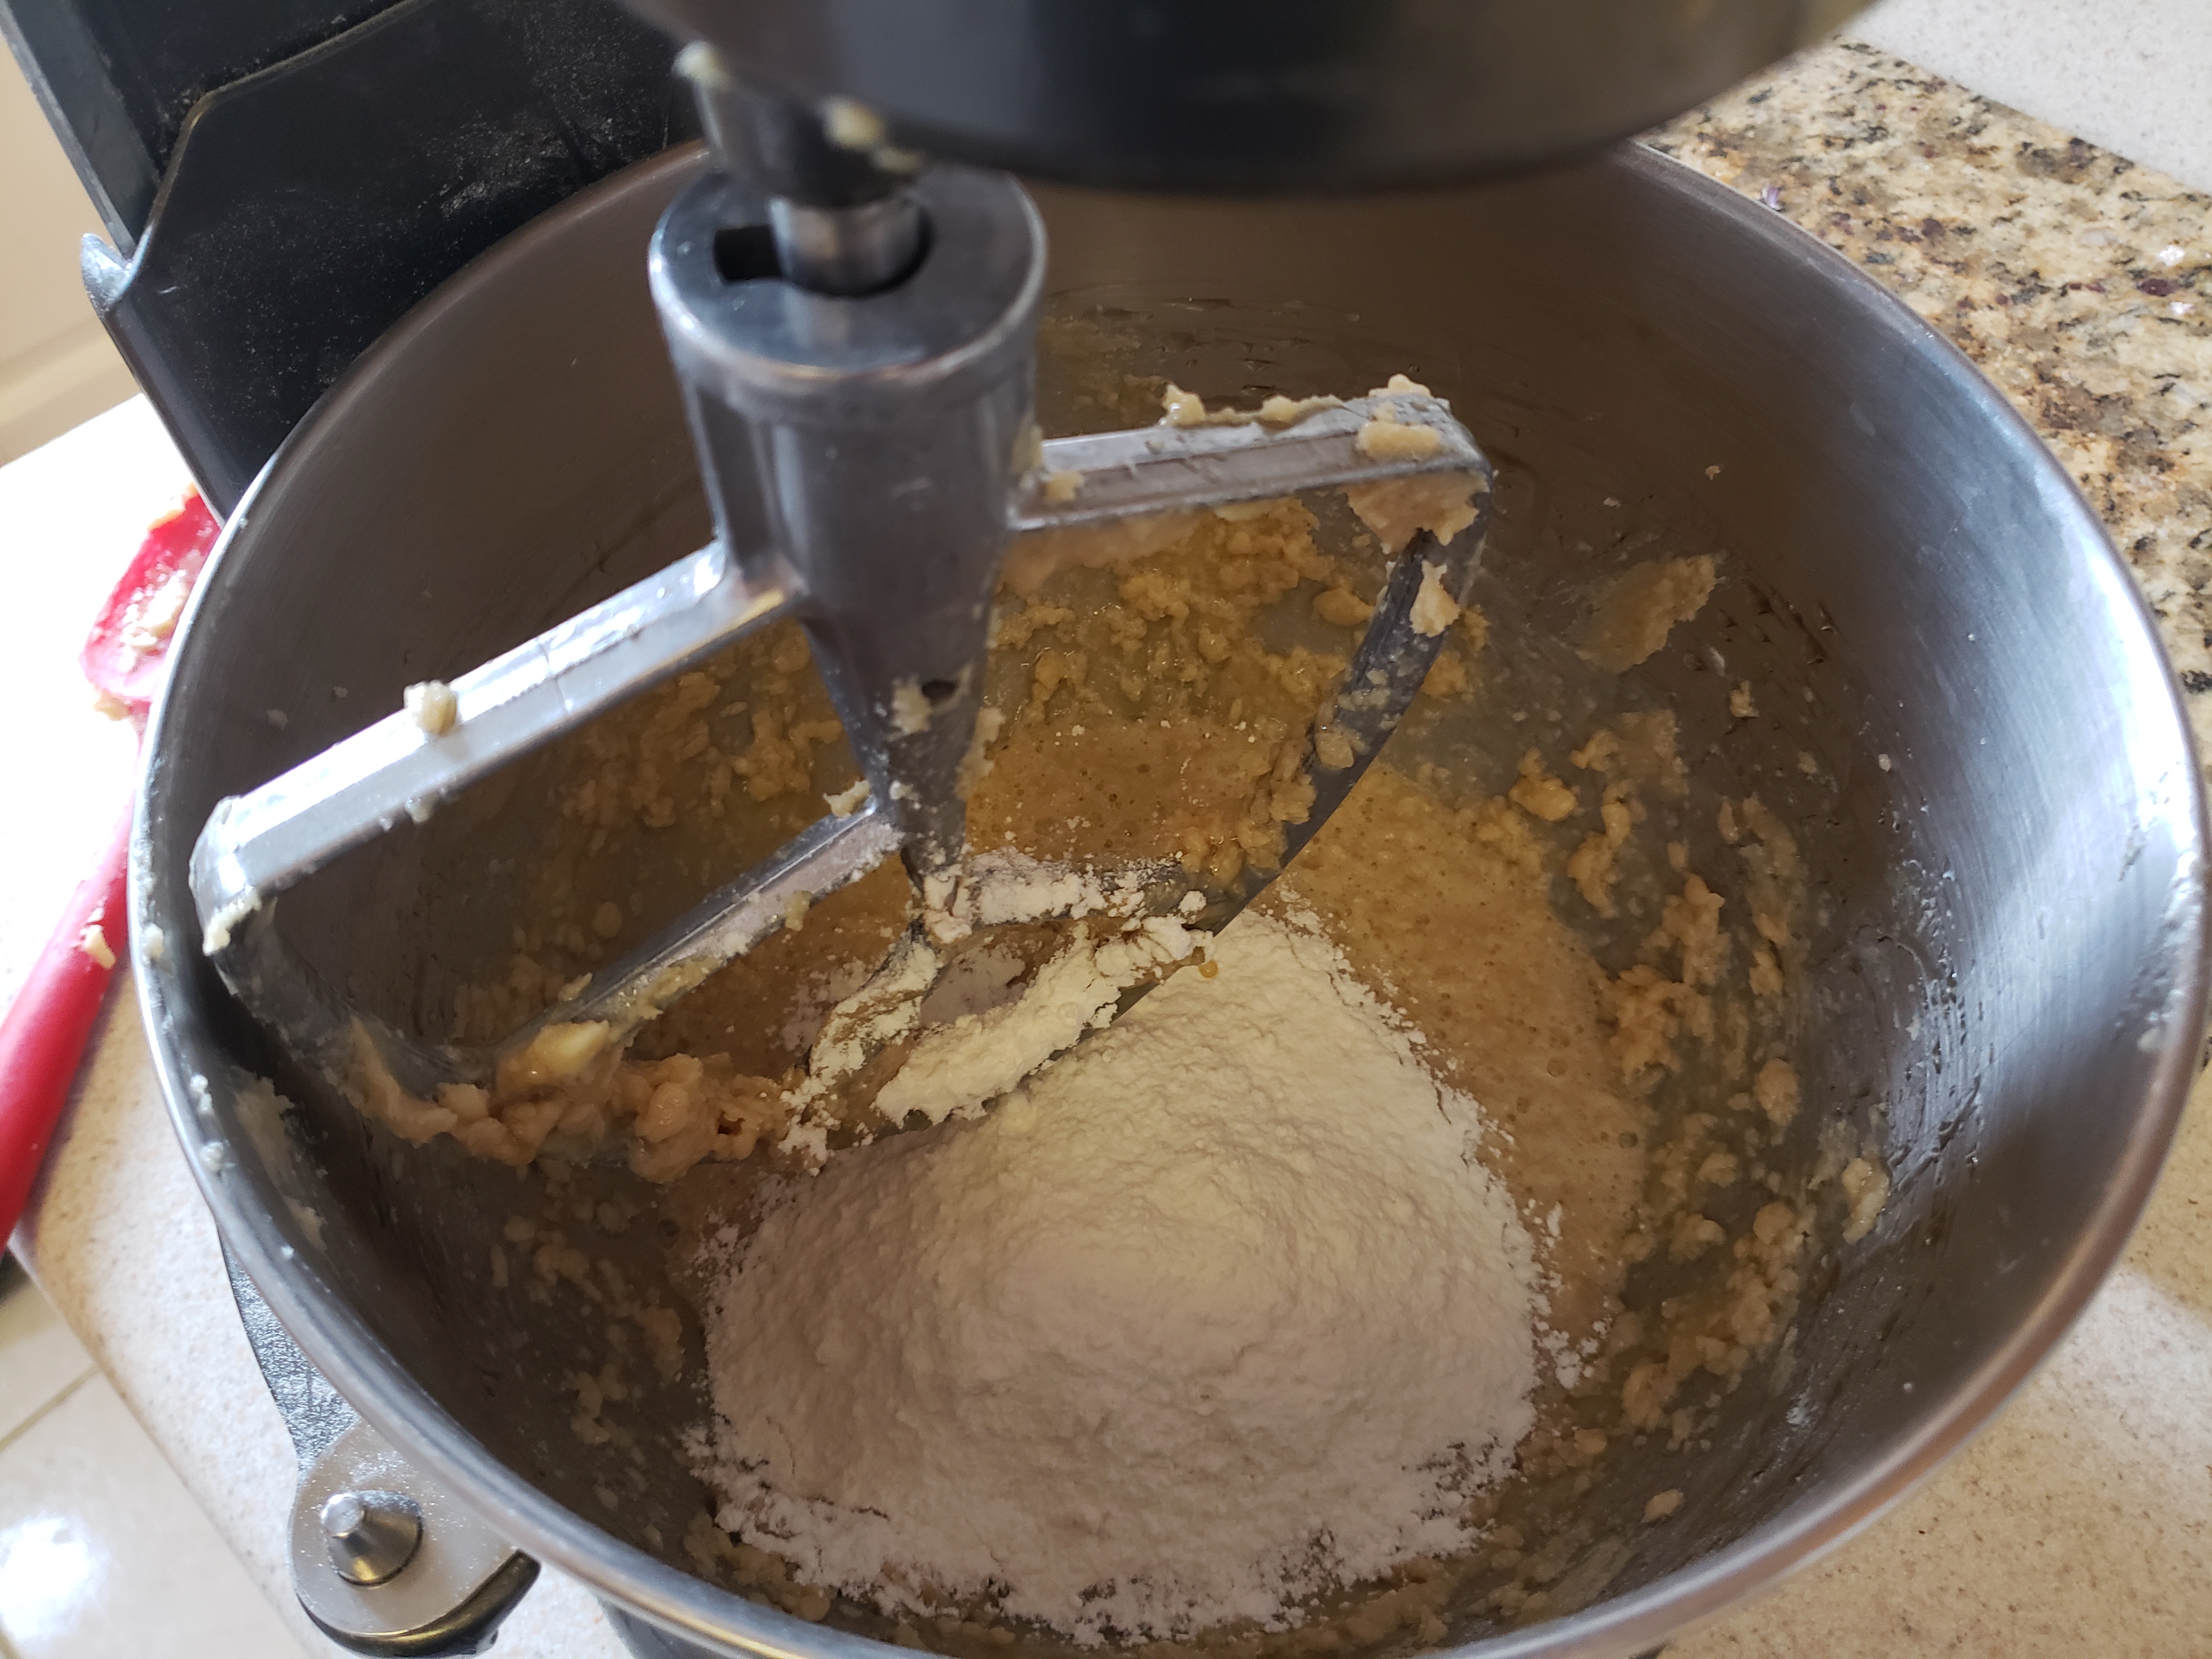
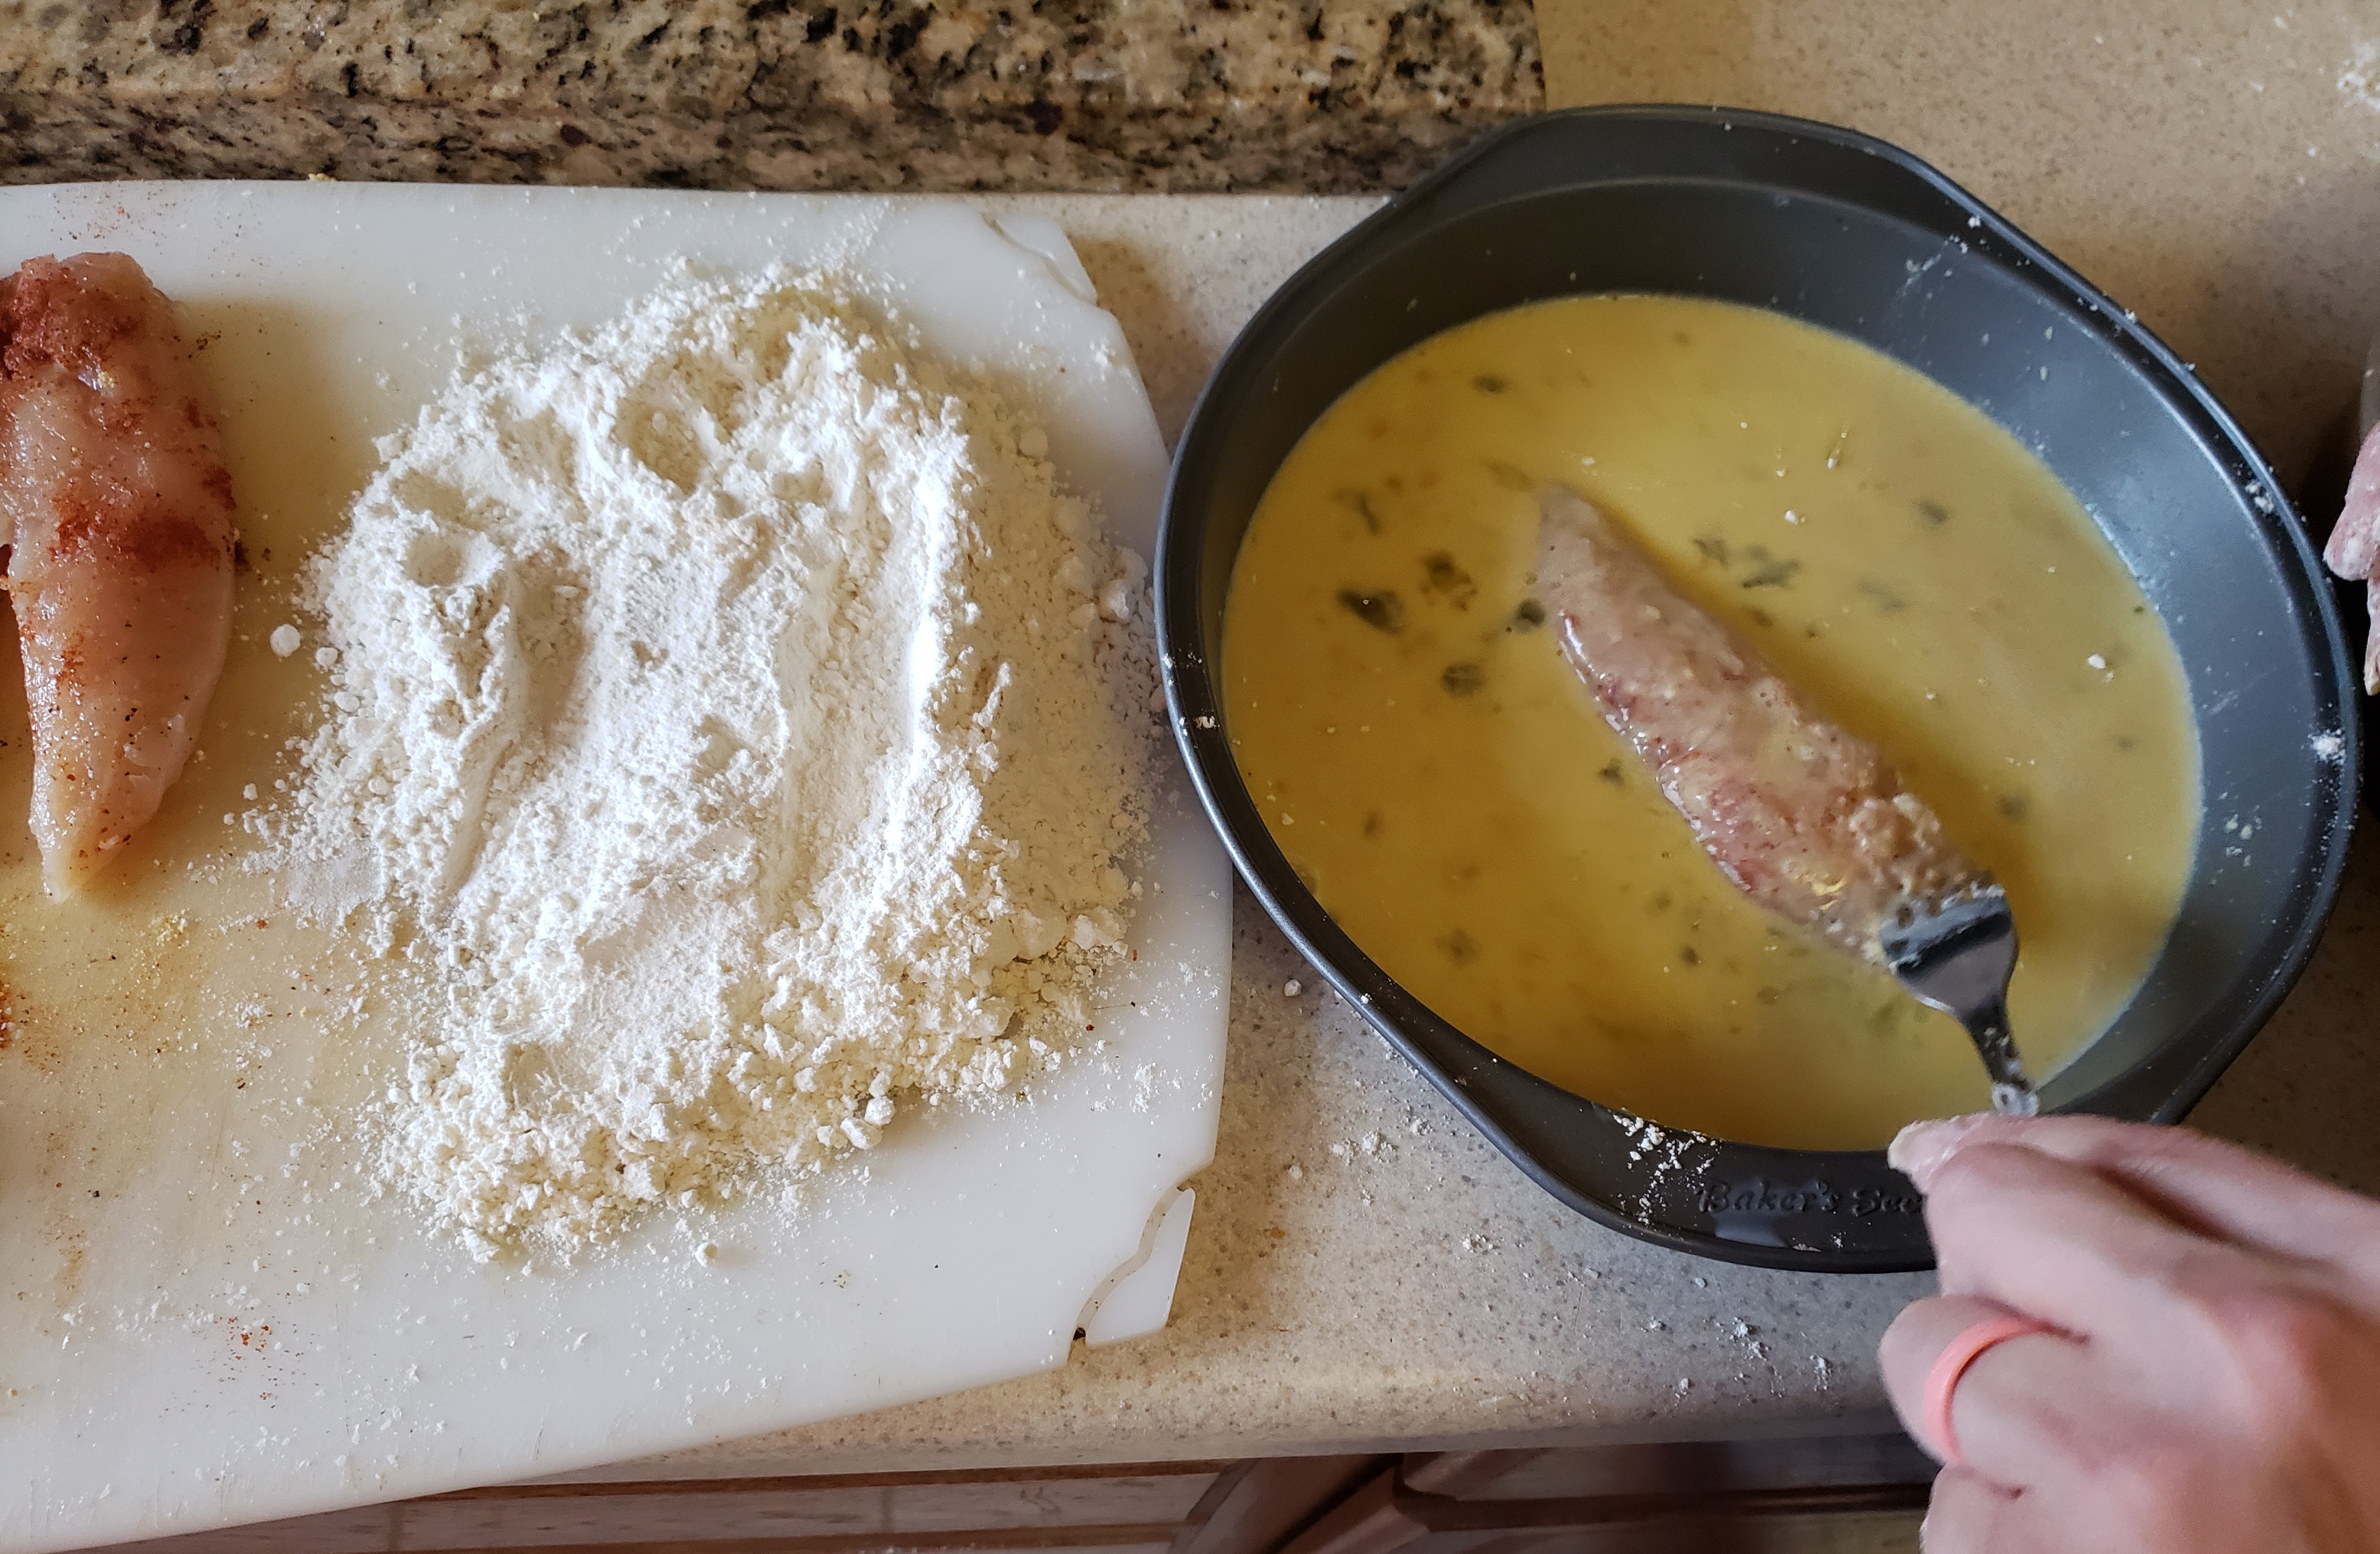
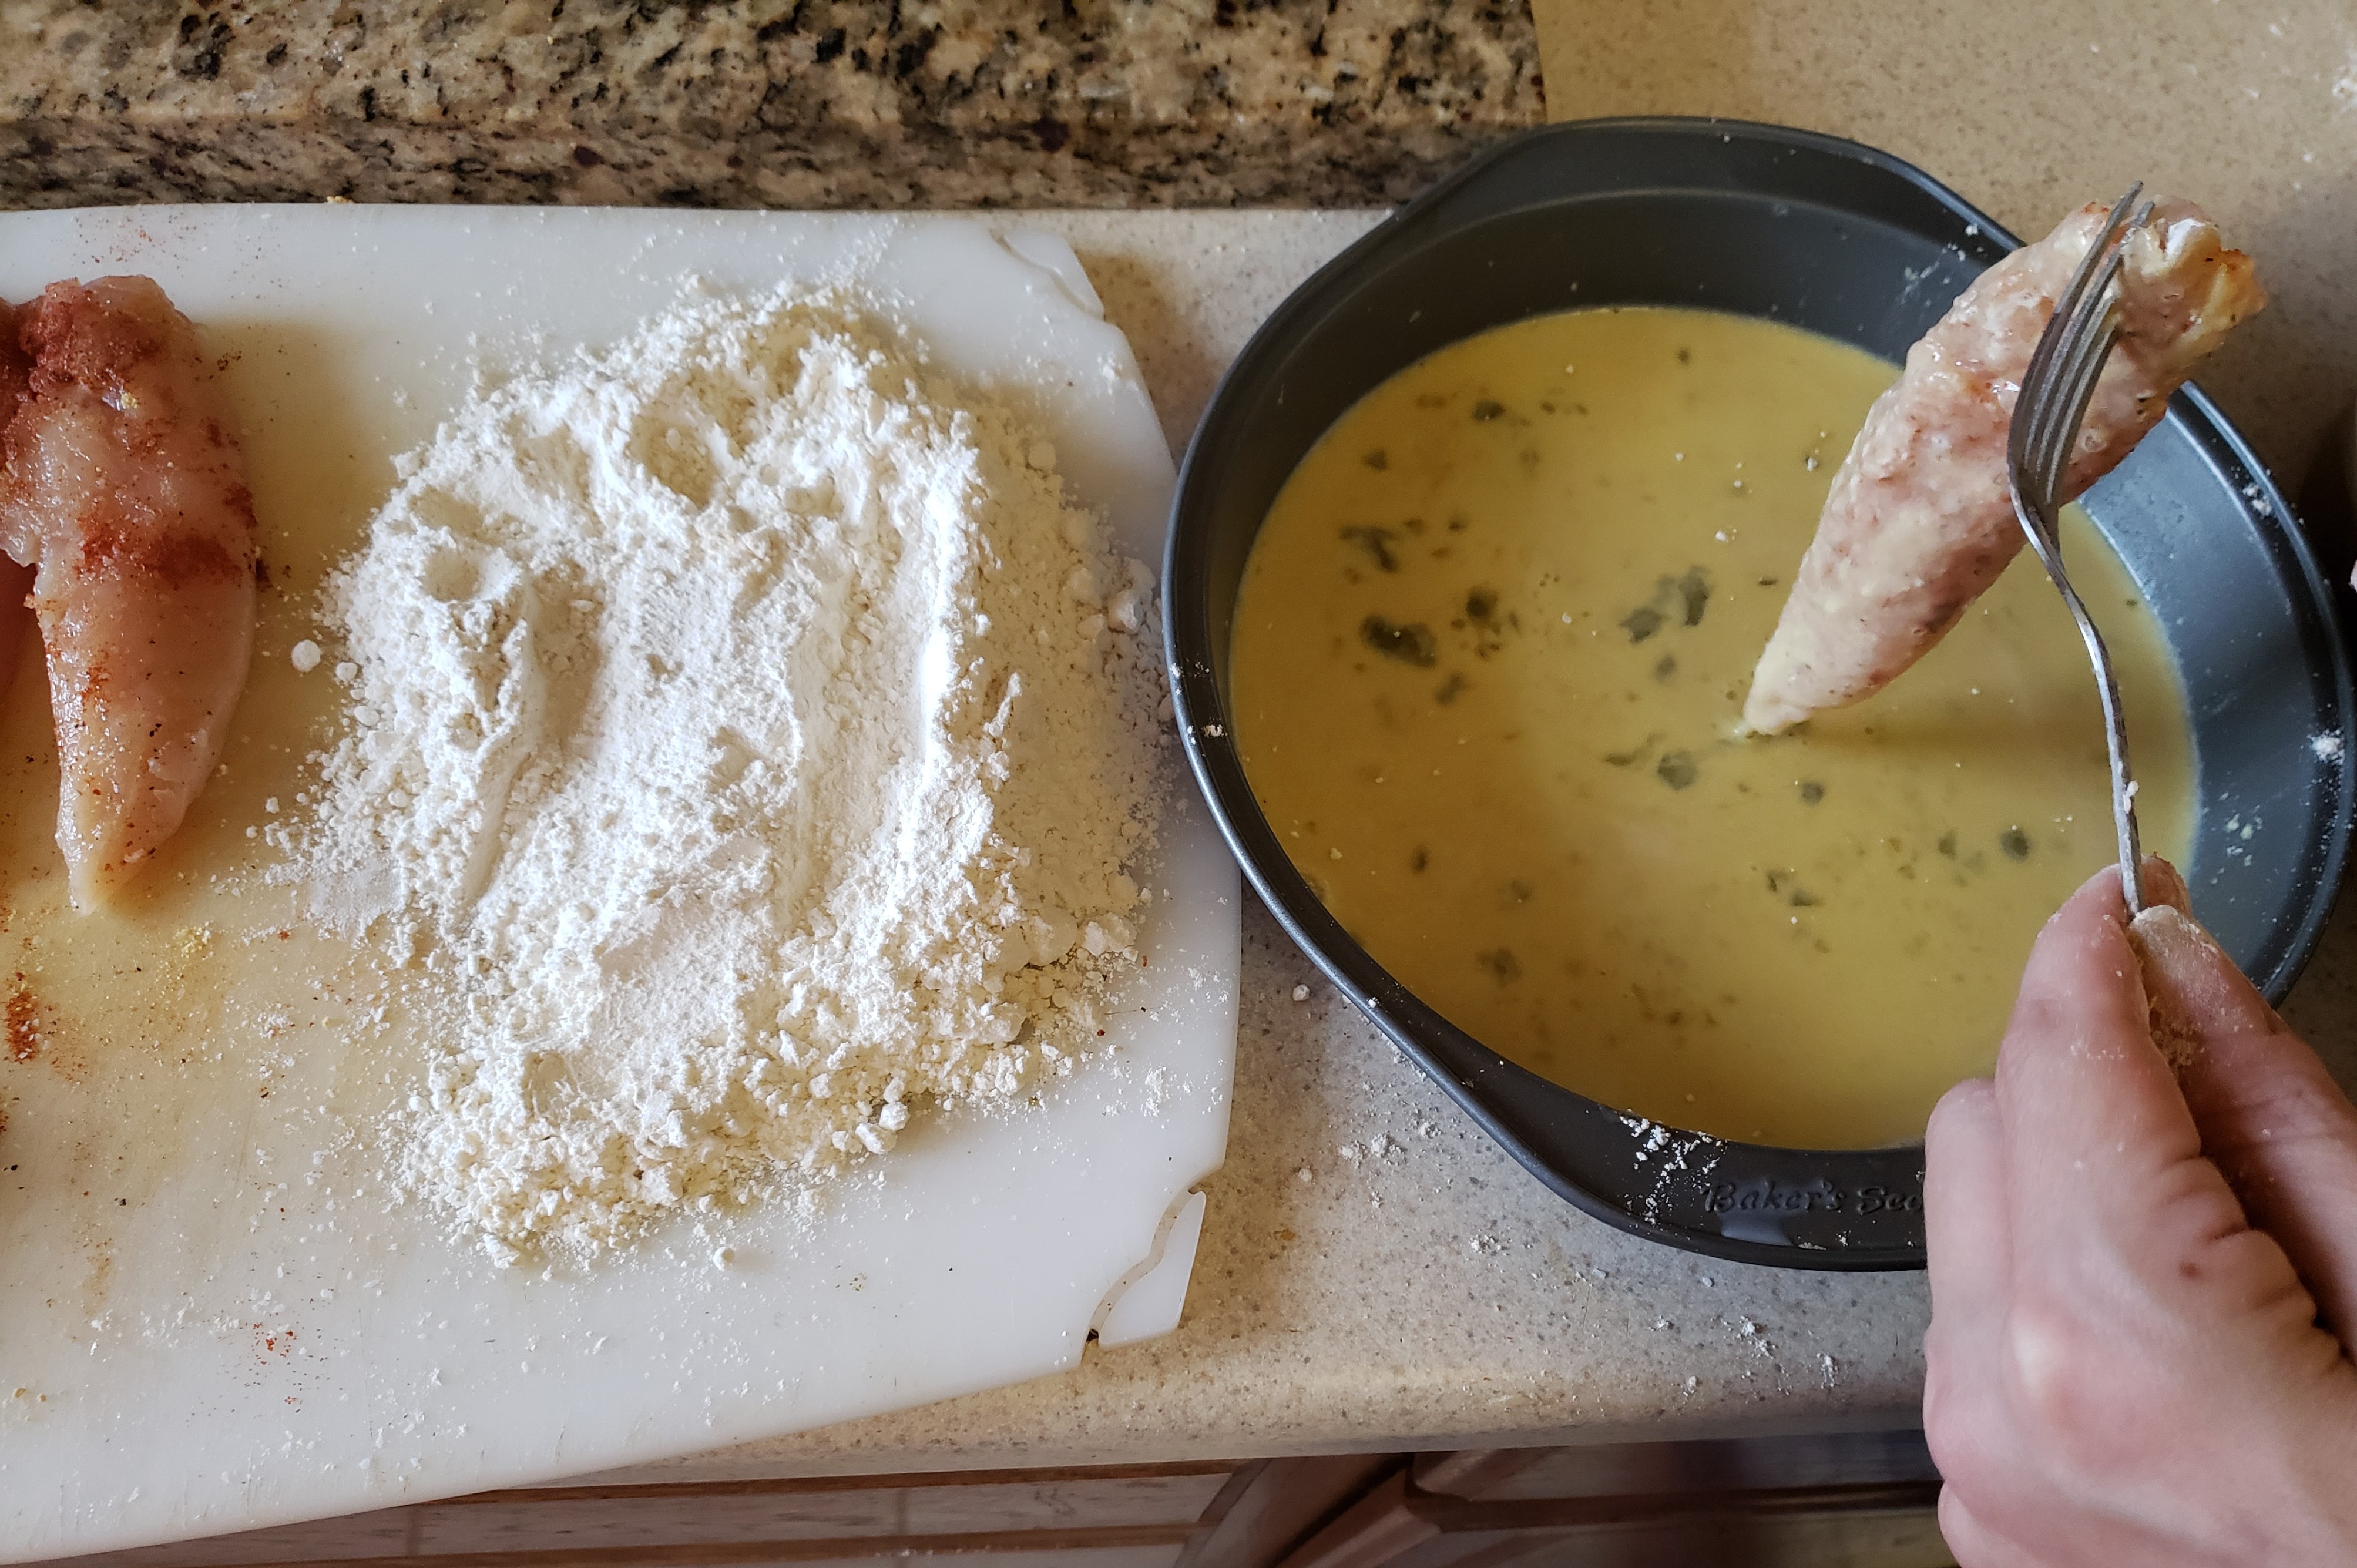
Combine the bread crumbs and milk in a small bowl

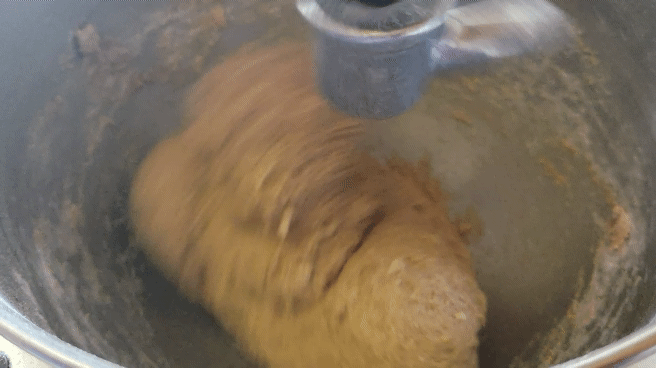
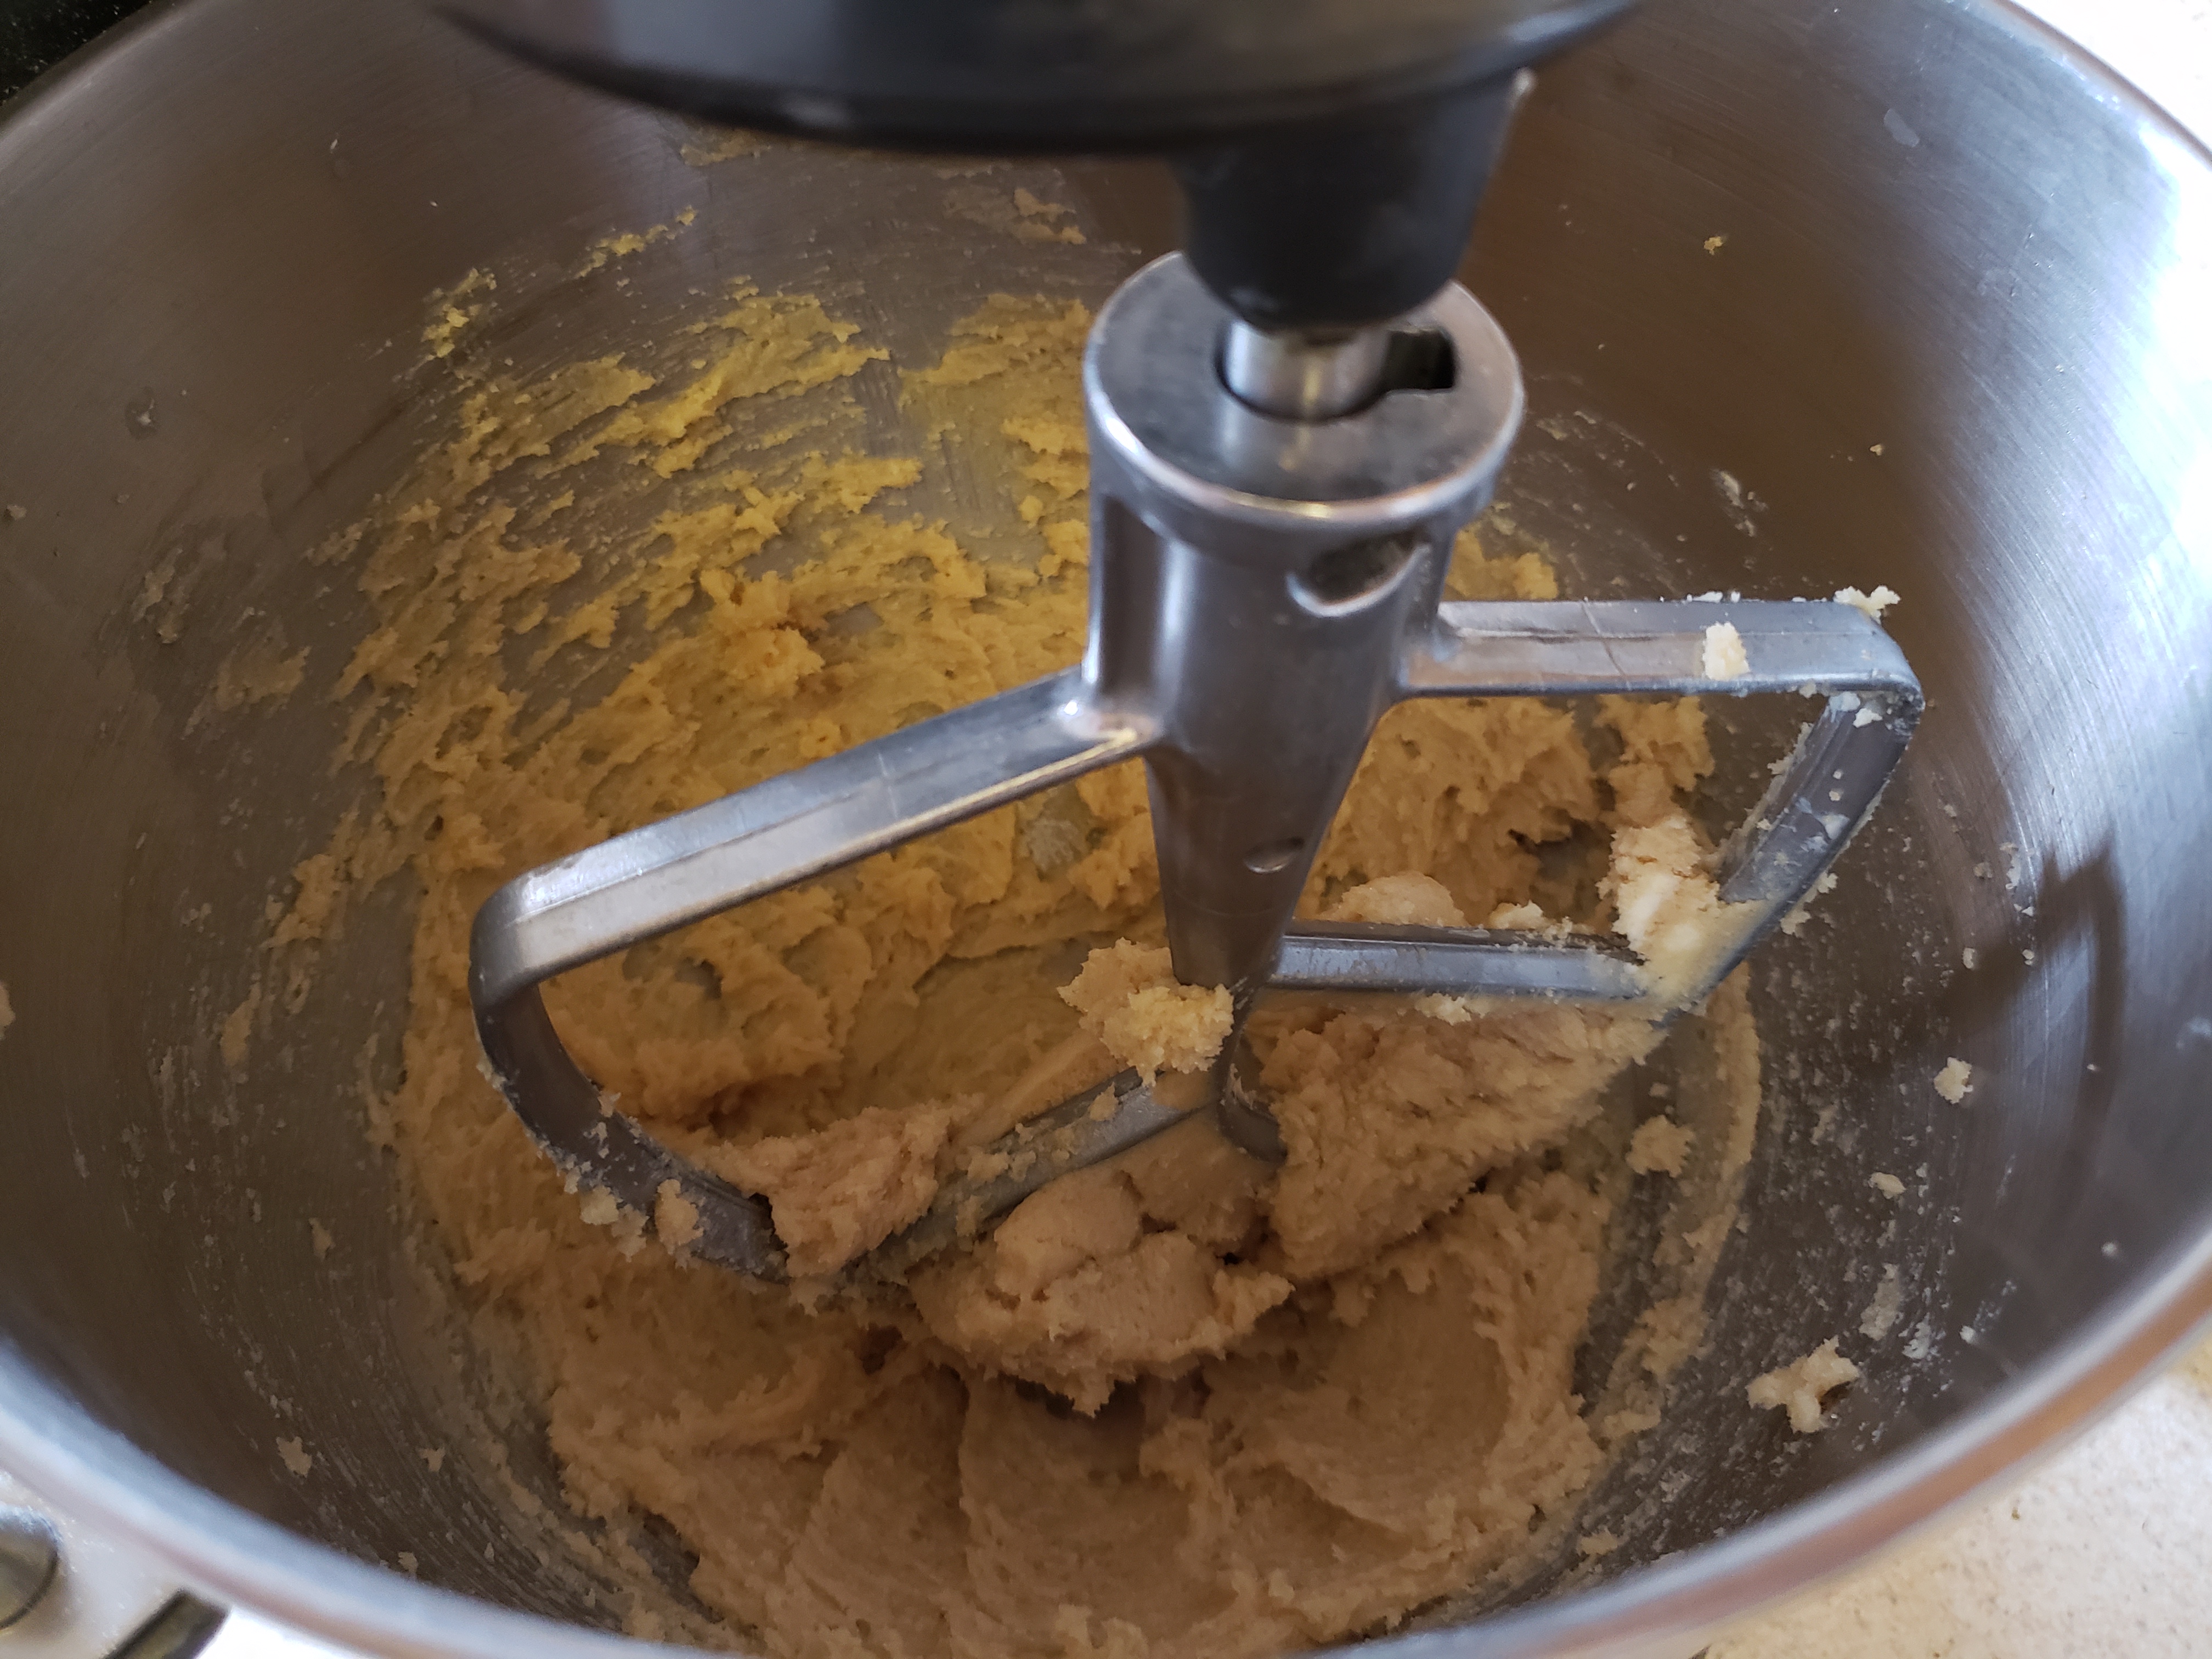
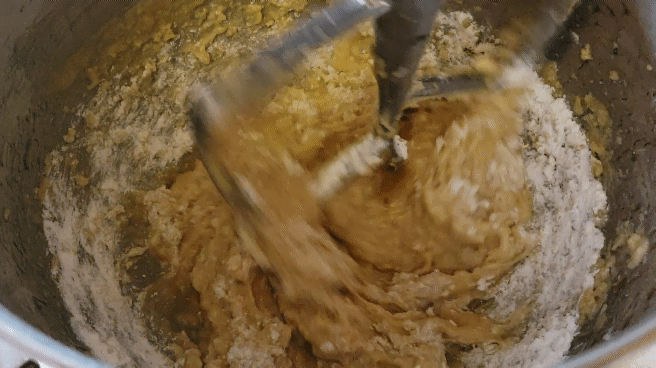
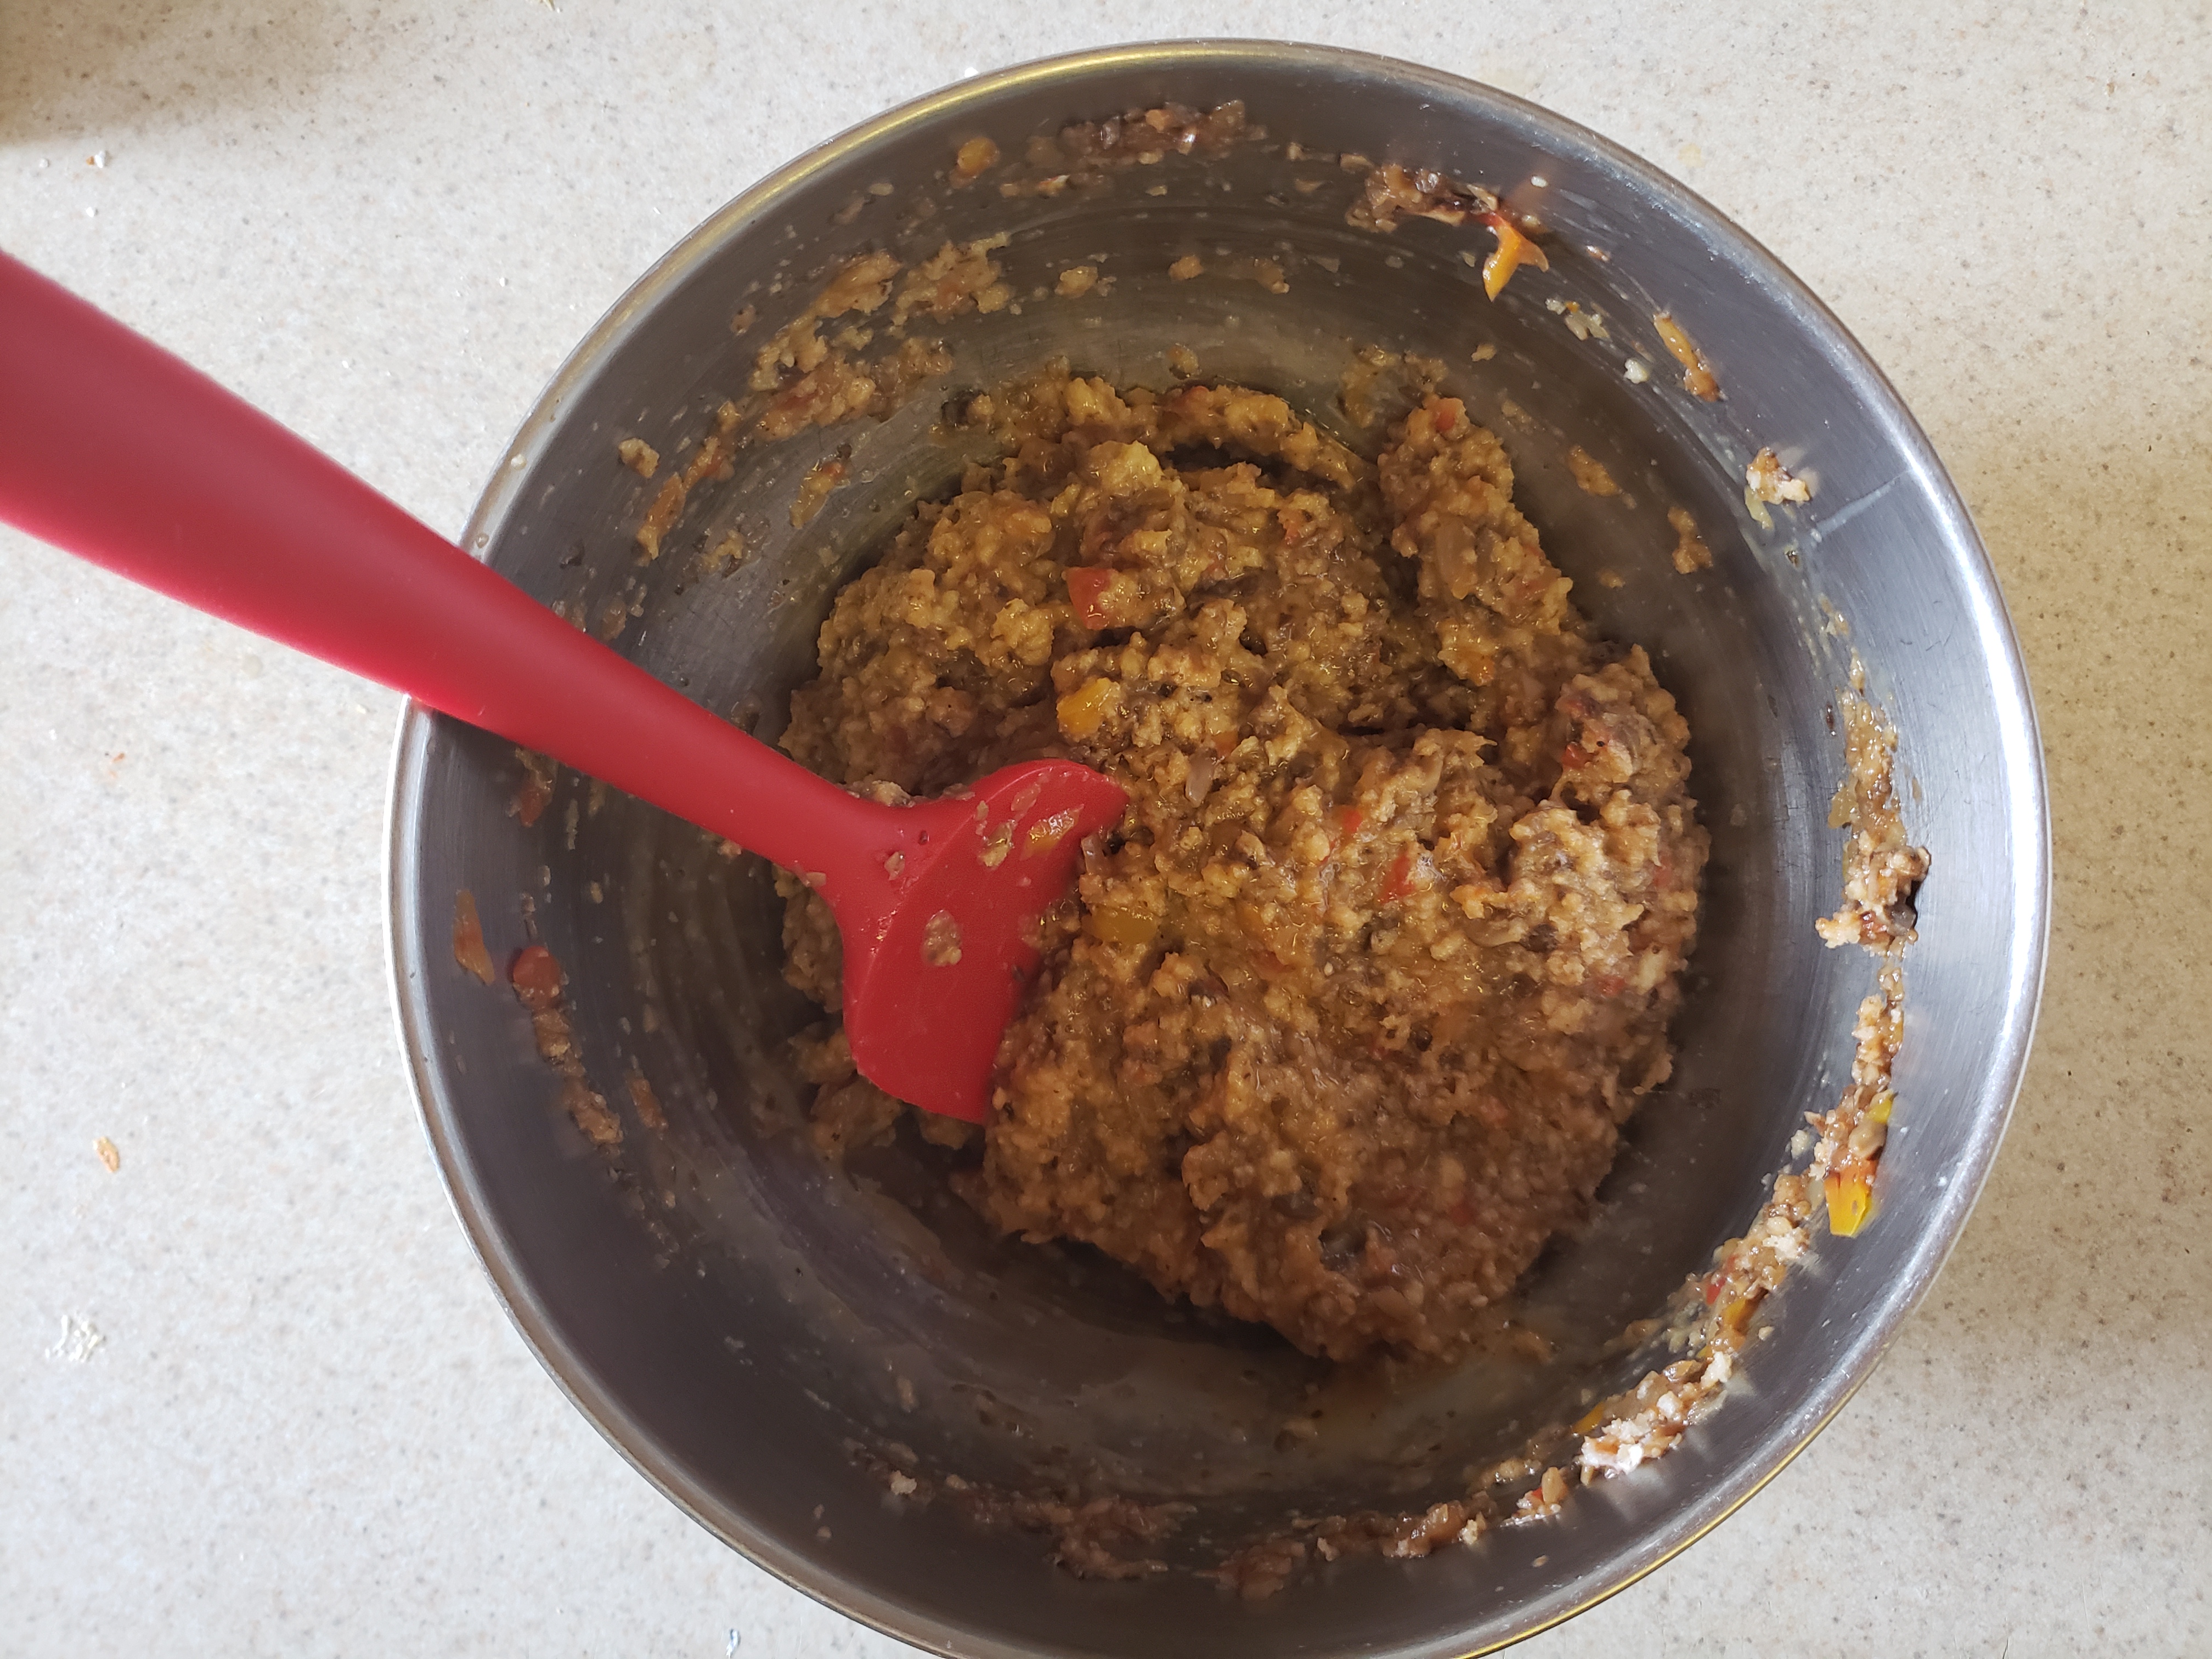
Add the bread crumb mixture and eggs to the vegetable mixture and stir well. Then, using your hands or a spatula, mix in the turkey.

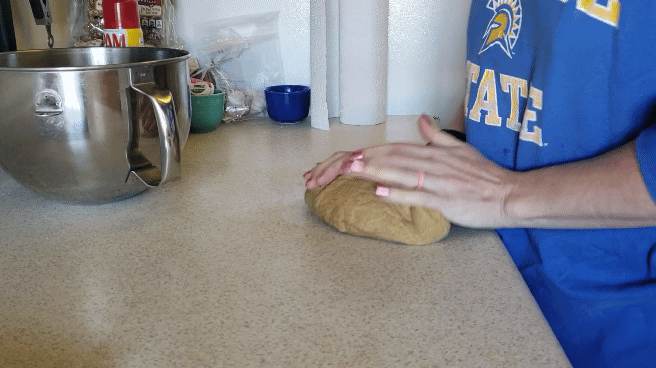
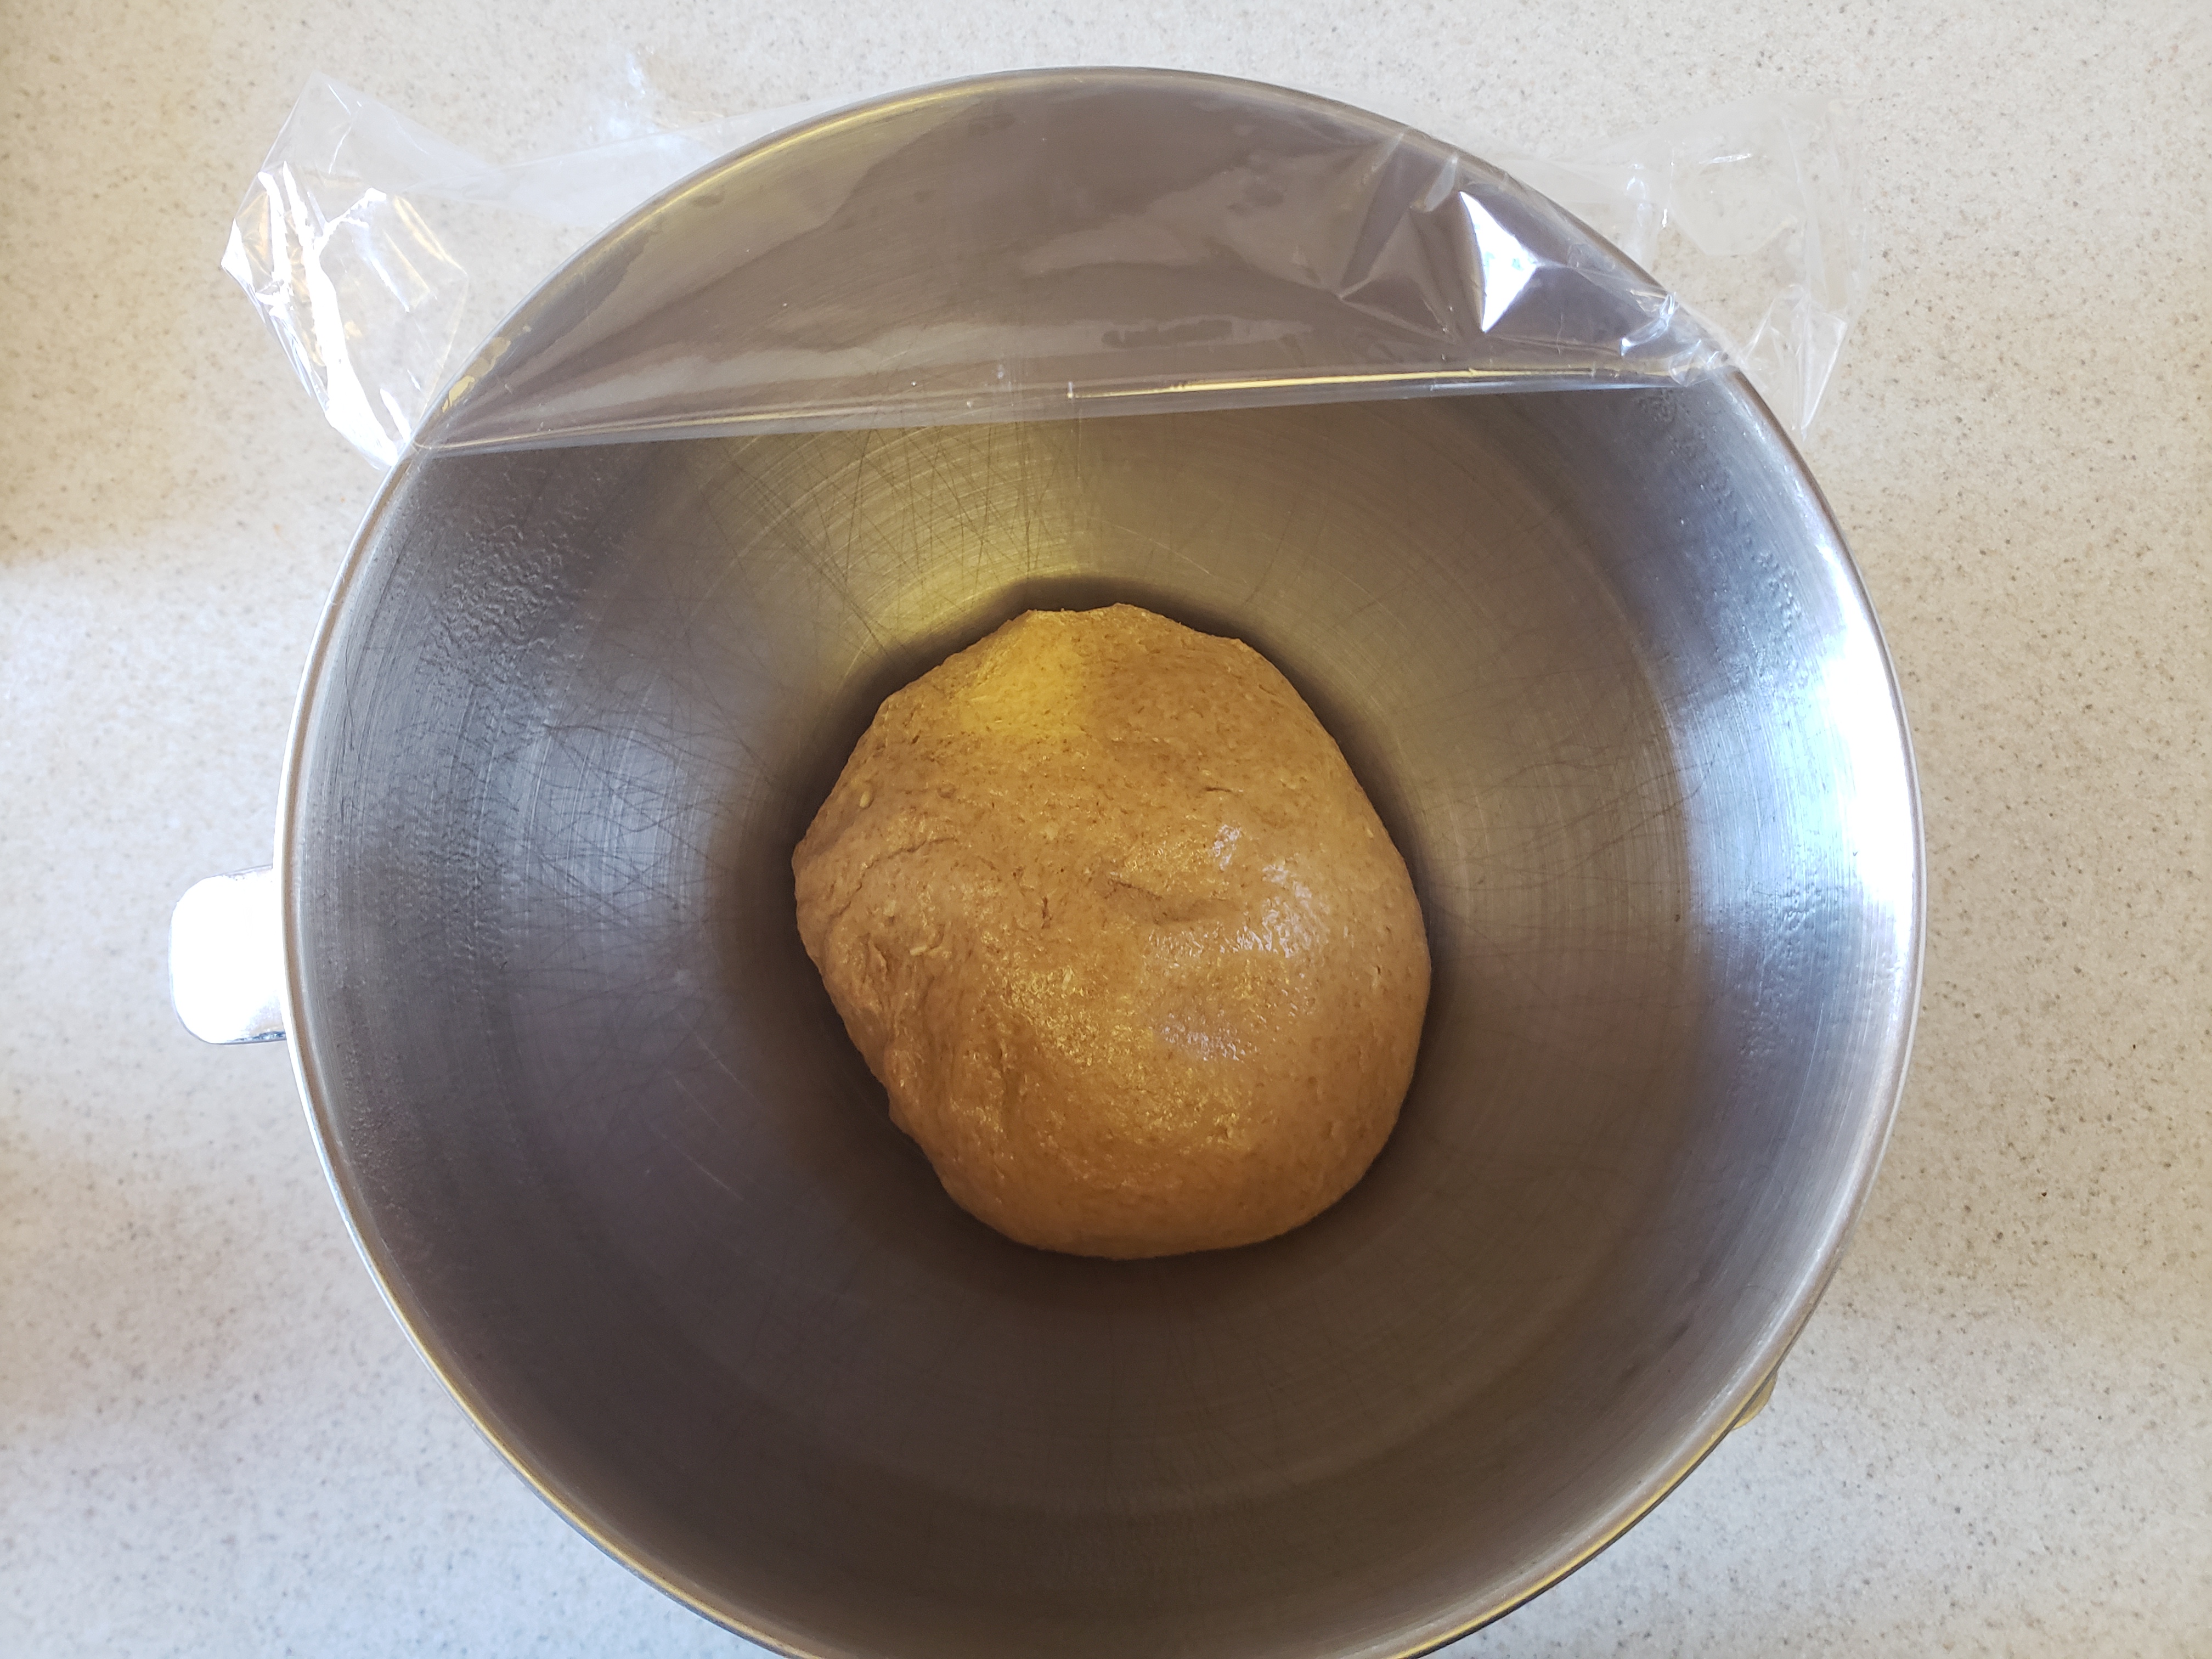
You can either free-form the loaf into a 9×5 in. oval or use a 9×5 loaf pan as a mold and then turn it out onto the prepared baking sheet.

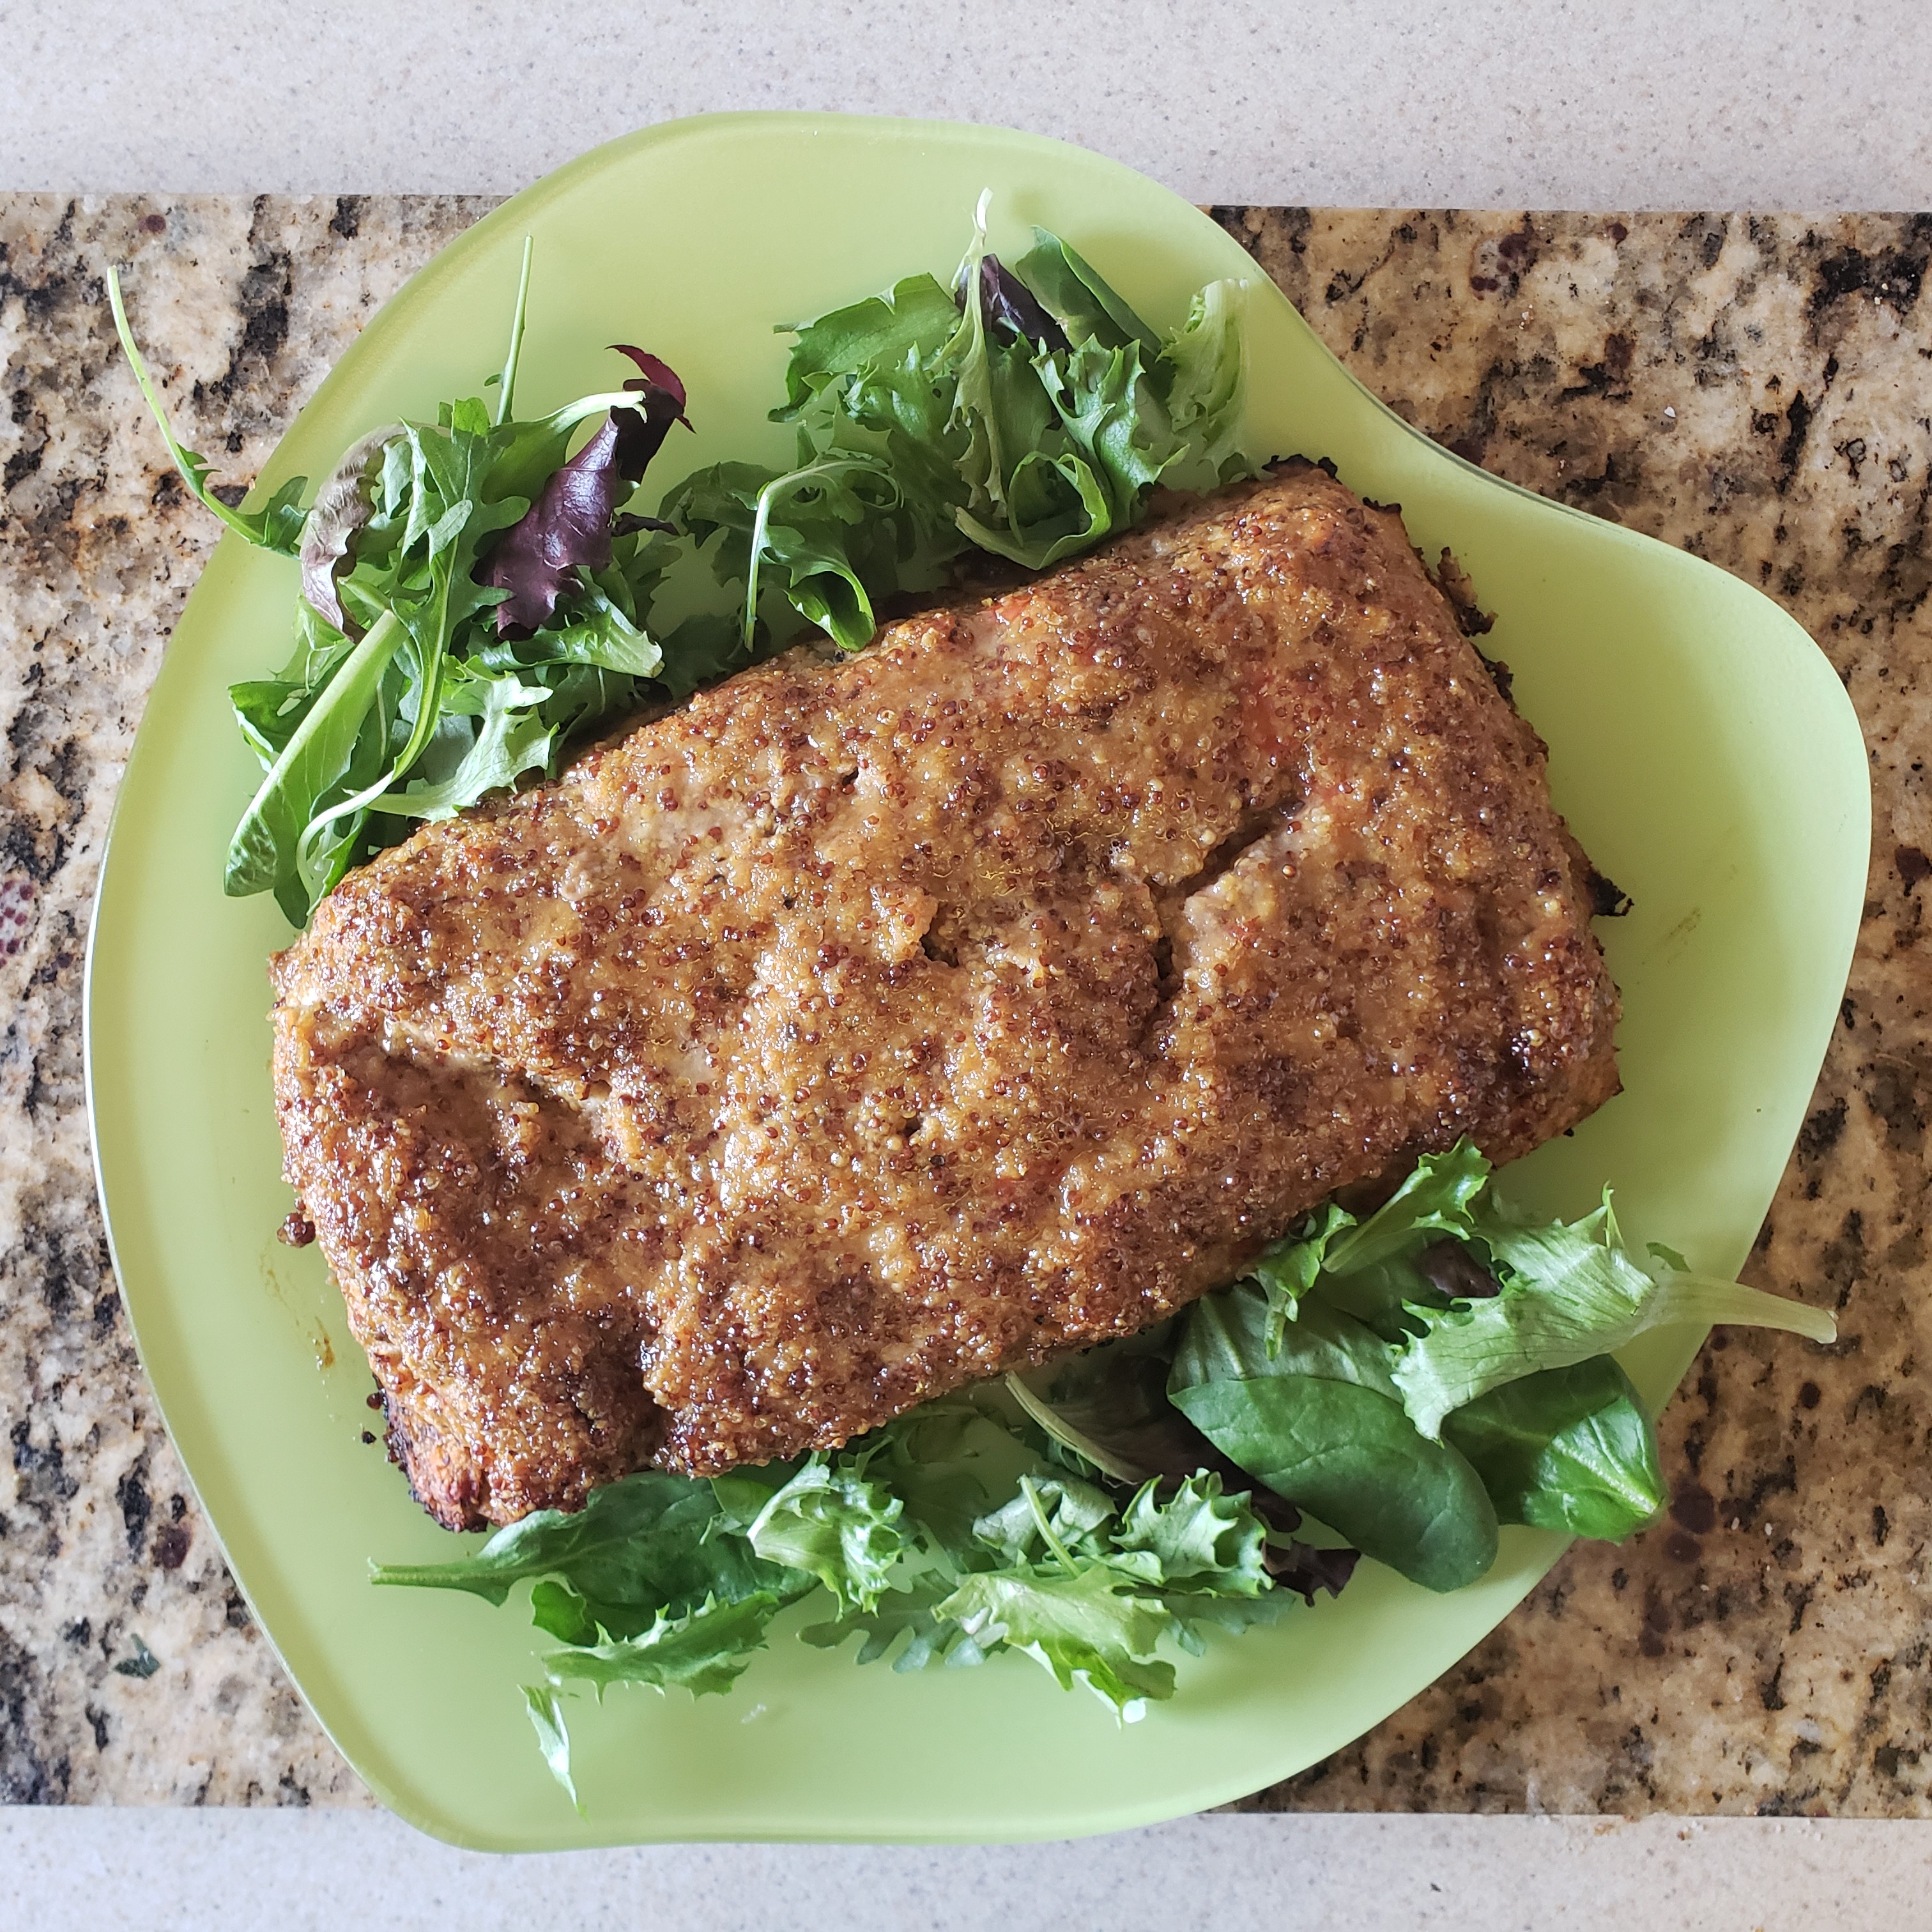
Combine the honey and mustard, and glaze half of it on the meatloaf.

Bake the meatloaf for 30 minutes, and then spread the remaining glaze on top and bake until an instant-read thermometer inserted in the middle registers 170 degrees F, about another 10 minutes. Let the meatloaf rest for 10 minutes before slicing.

I think a serrated knife works best for getting clean slices.

The mushrooms add moisture and a nice meaty texture, while the bell pepper also adds some juiciness and brightens the whole dish. My favorite part is the tangy-sweet honey-dijon glaze that really amps the flavor up. I enjoyed mine with some mixed greens and brown rice for a perfectly delicious and very filling heart-healthy meal.

I’m really happy to be healing well, and can’t wait to get back to baking soon. My posts might be a bit intermittent for the near future, but I’m always thinking up new treats to share, and will be back to regularly scheduled programming ASAP. I hope you enjoy every moment of this holiday season. I know I am extra, EXTRA grateful this year just to be here.

Ciao for now,

Neen