One of my favorite mainstay dishes is greens and beans. It’s perfect for a snack, meal, or side dish any time of day. In the morning, I eat it with a couple of scrambled eggs and feel ready to take on the day. To make this variation even more filling, I’ve added some broccolini for texture and flavor. The best part is that this delicious and versatile dish comes together in one saute pan in about 10 minutes, Let’s go for it!
I’ve included the type of greens and beans that I use most often when making this, but most varieties will work well here, so use what you have on hand.
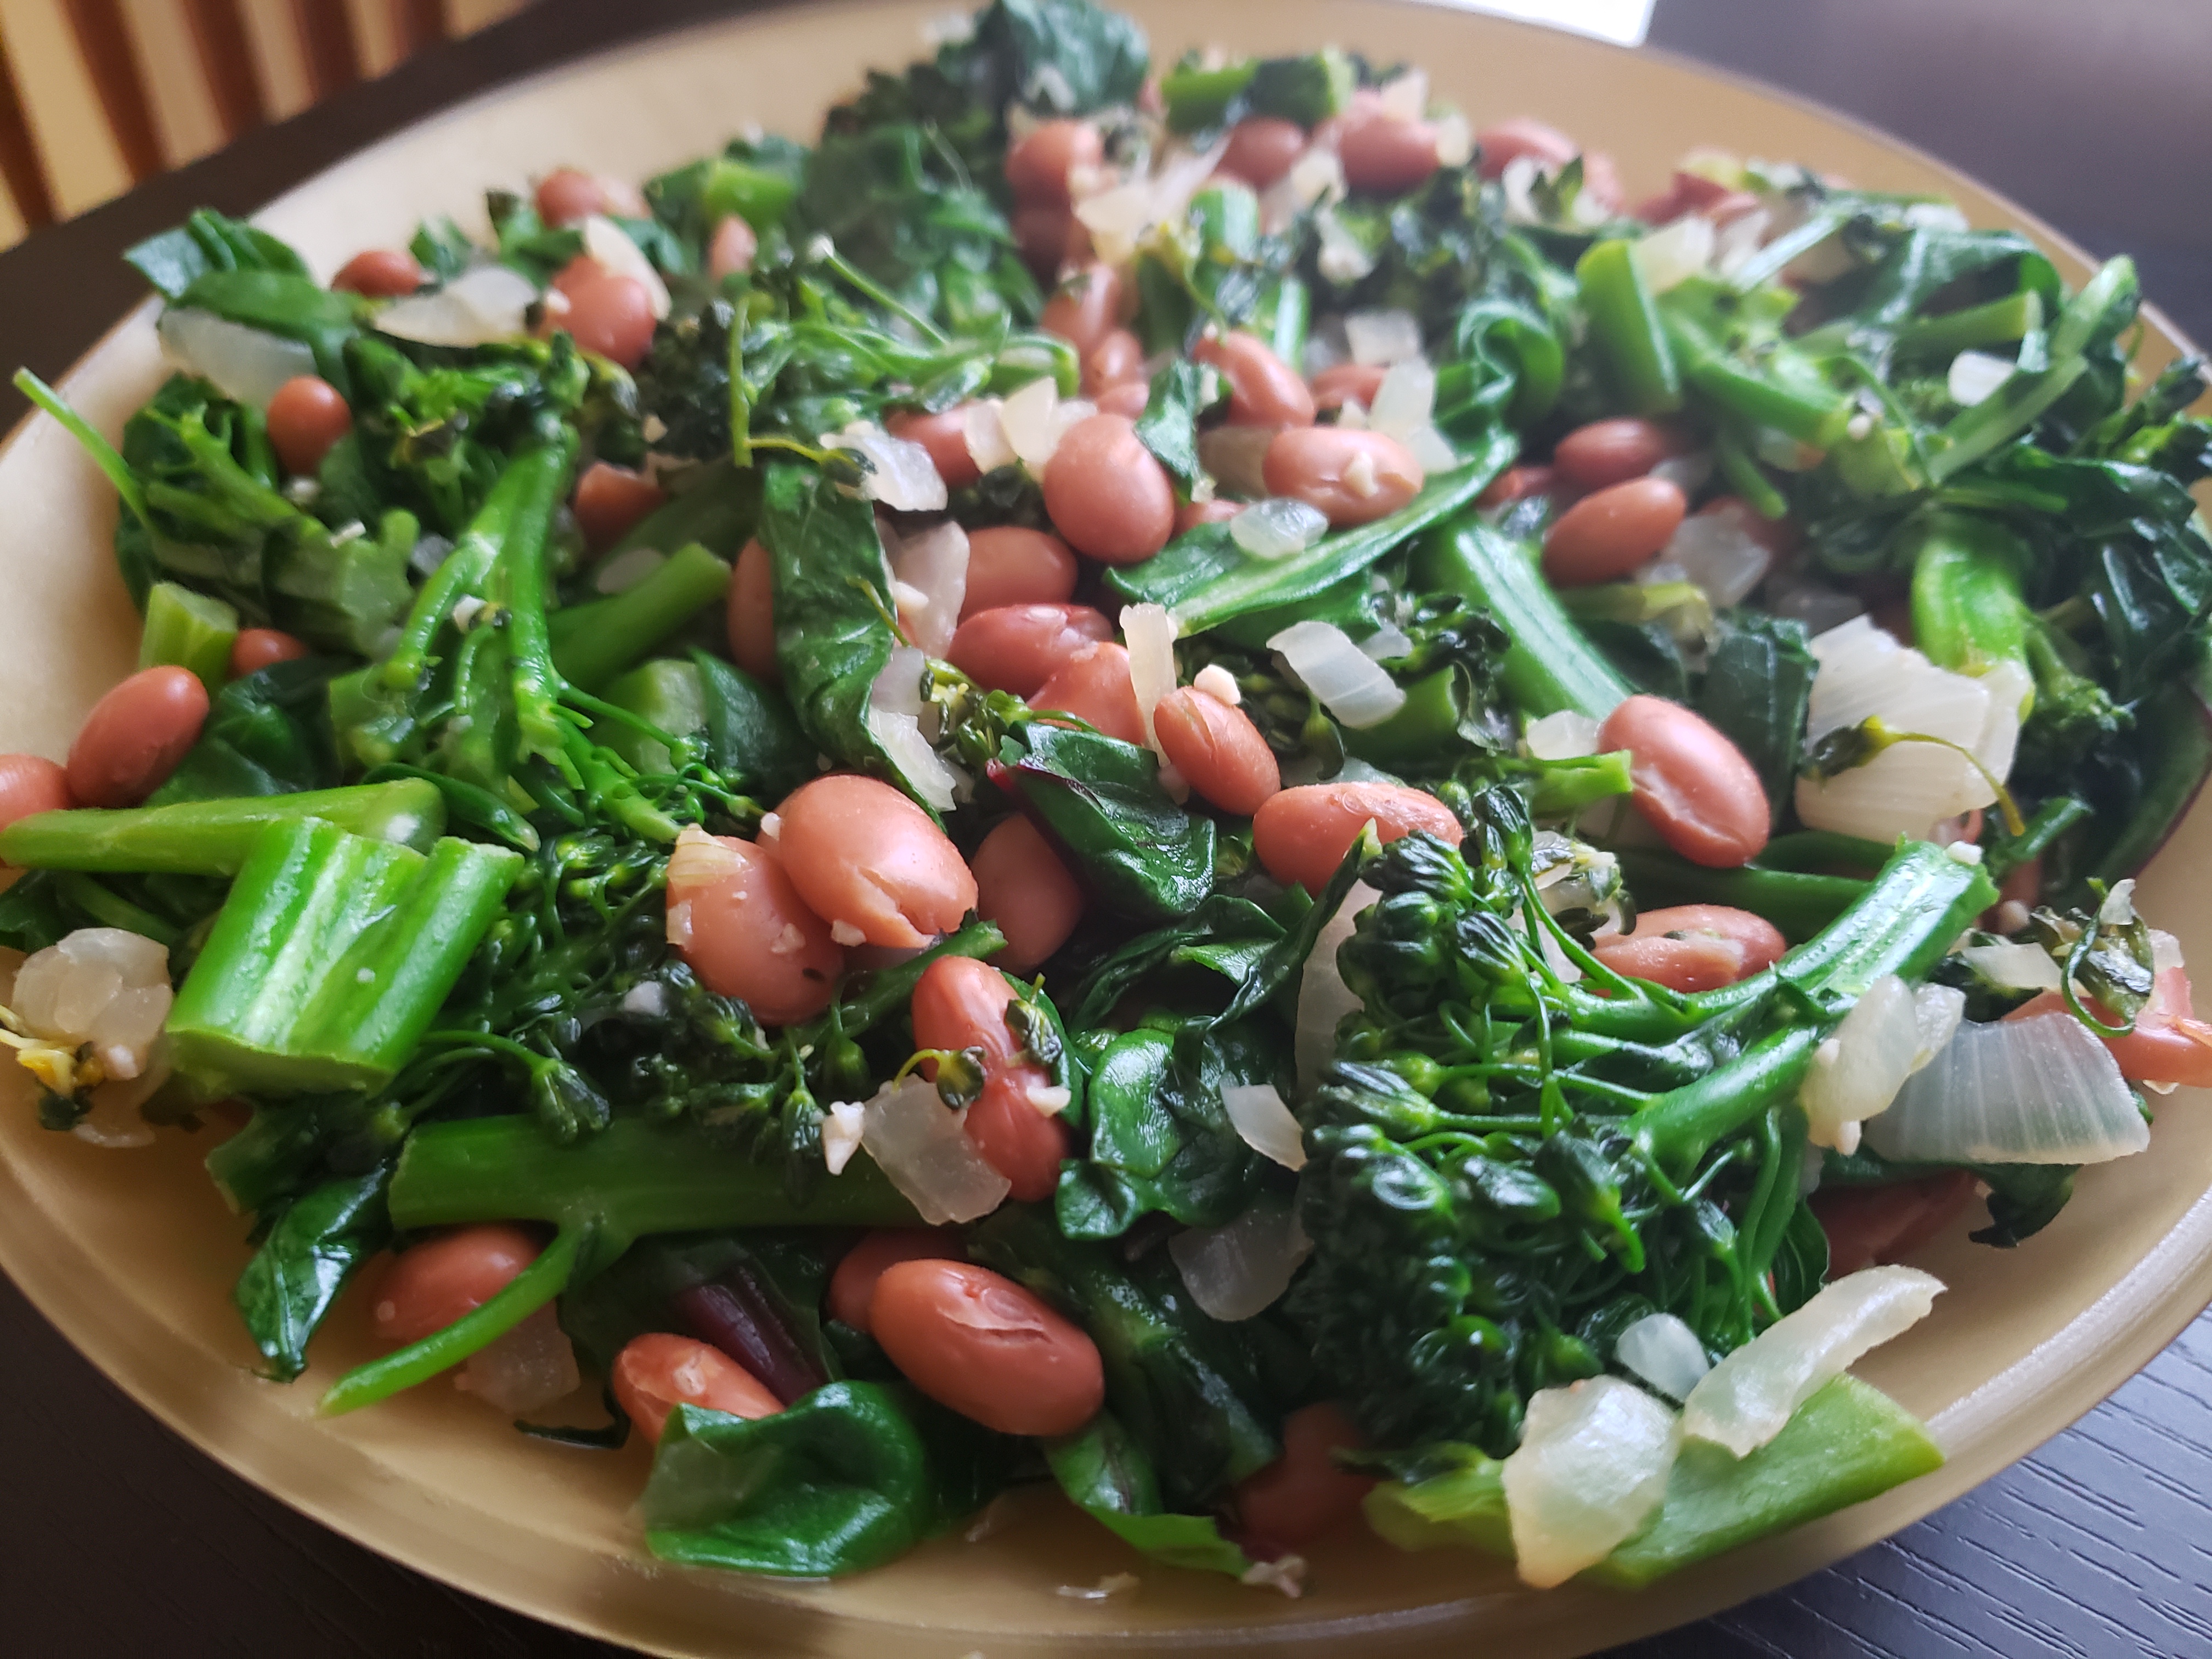
Broccolini, Greens, and Beans
- 10 oz. greens (I used baby spinach, kale, and chard)
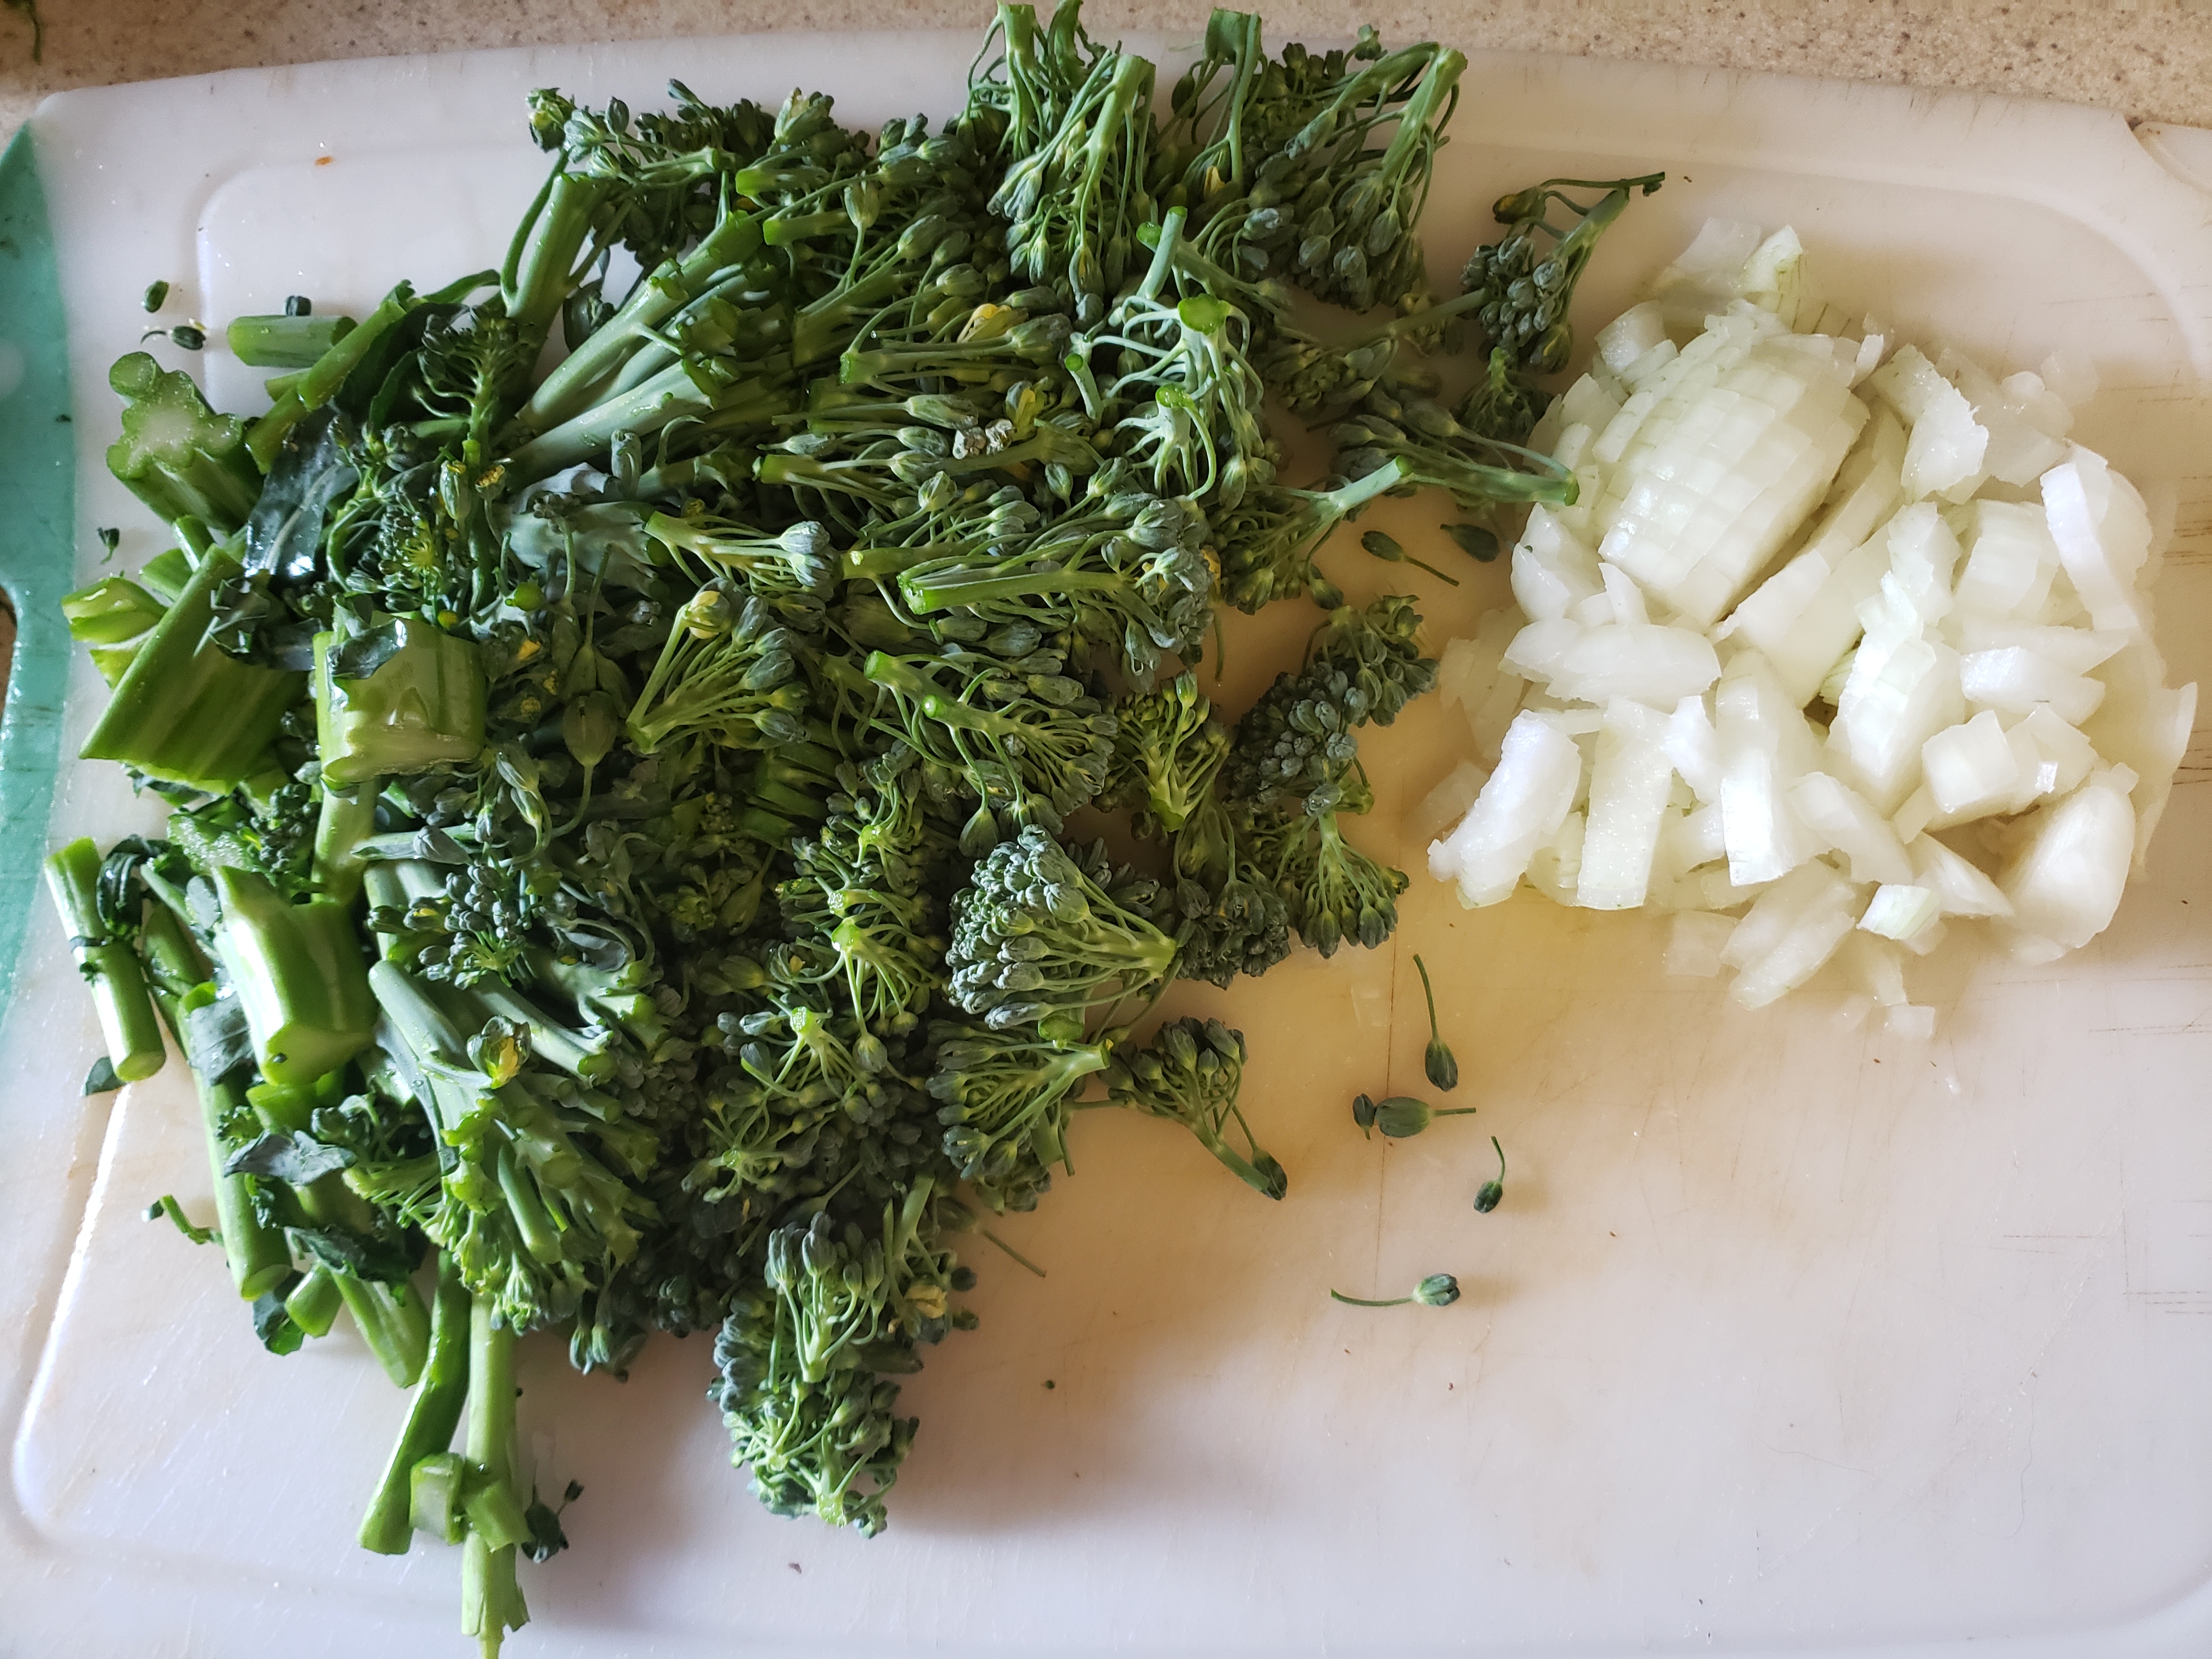
- 1 bunch broccolini, chopped
- 1 onion, diced
- 2-3 cloves garlic, minced
- One 15.5 oz. can white beans (I used pinto beans), drained and rinsed
- ¼ cup unsalted chicken stock or water
- ½ tsp. kosher salt
- 1 tbsp. olive oil

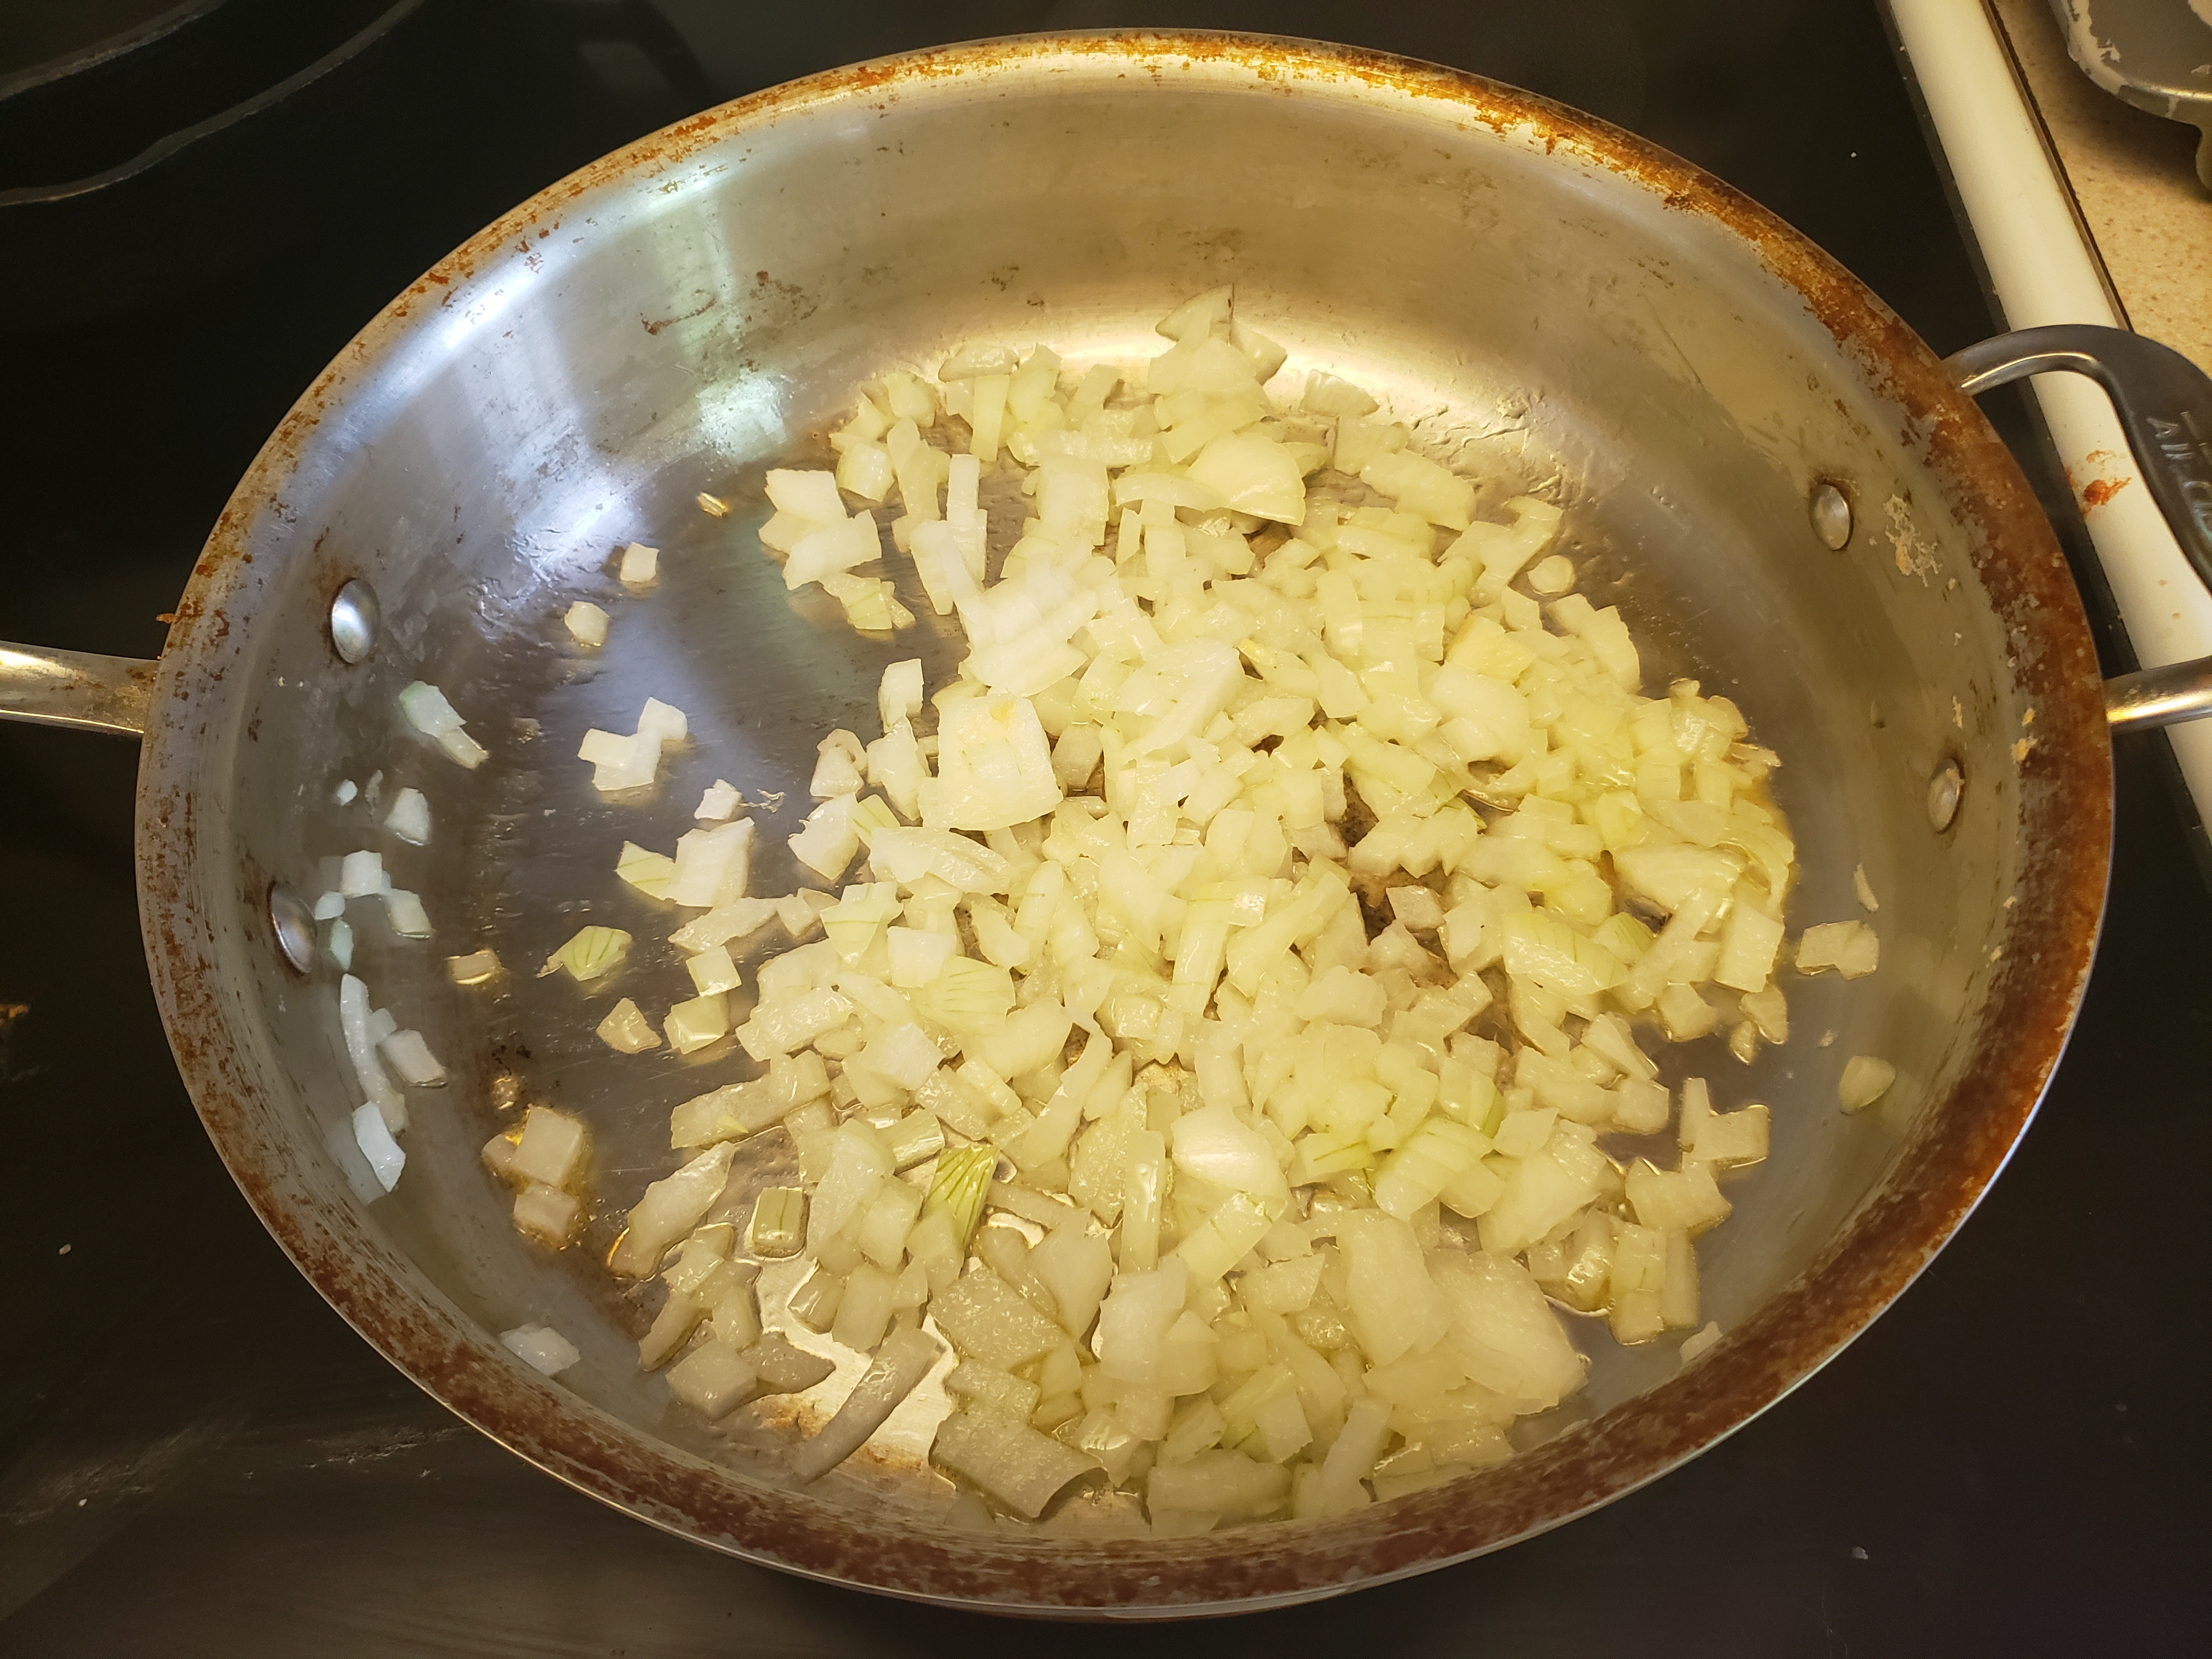
Begin by sautéing the onion in the olive oil for 3-4 minutes or until fragrant and slightly softened.
Add the broccolini, salt, and garlic, and saute for 3-4 minutes more.

Pour in the stock or water and cook until it evaporates, about 2-3 minutes.

Add the beans to the pan and stir well.

Add the greens and cook, stirring, just until wilted and well incorporated. Taste for seasoning and add salt as needed.

Serve hot, room temperature, or even cold.

It makes really delicious leftovers too, especially once the greens and beans soak in those aromatics.
I hope you enjoy making this fast, healthy, delicious treat for any meal of the day! This time of year, farmers markets are opening and teeming with greens, so don’t be afraid to try something new. Enjoy!
Ciao for now,
Neen