Archive | Vegetables RSS feed for this section

Meal Prep: Shredded Chicken with Tomato, Carrot, Pepper, and Onion Salad  

21 Mar

I think lunch gets overlooked because most of us are busy in the middle of the day. All the more reason that a filling, healthy lunch is so important. You need that mid-day boost to keep your energy up. Preparing my meals in advance is one of the ways I keep myself spending money on buying something quick in the middle of the day. Sunday nights, I make enough food for four lunches, giving me one less task to attend to during the week when I’d rather be focused on other things.

This is another place where the pressure cooker comes in handy. You can have this all done in under an hour using two pots and one bowl. Easy, right?

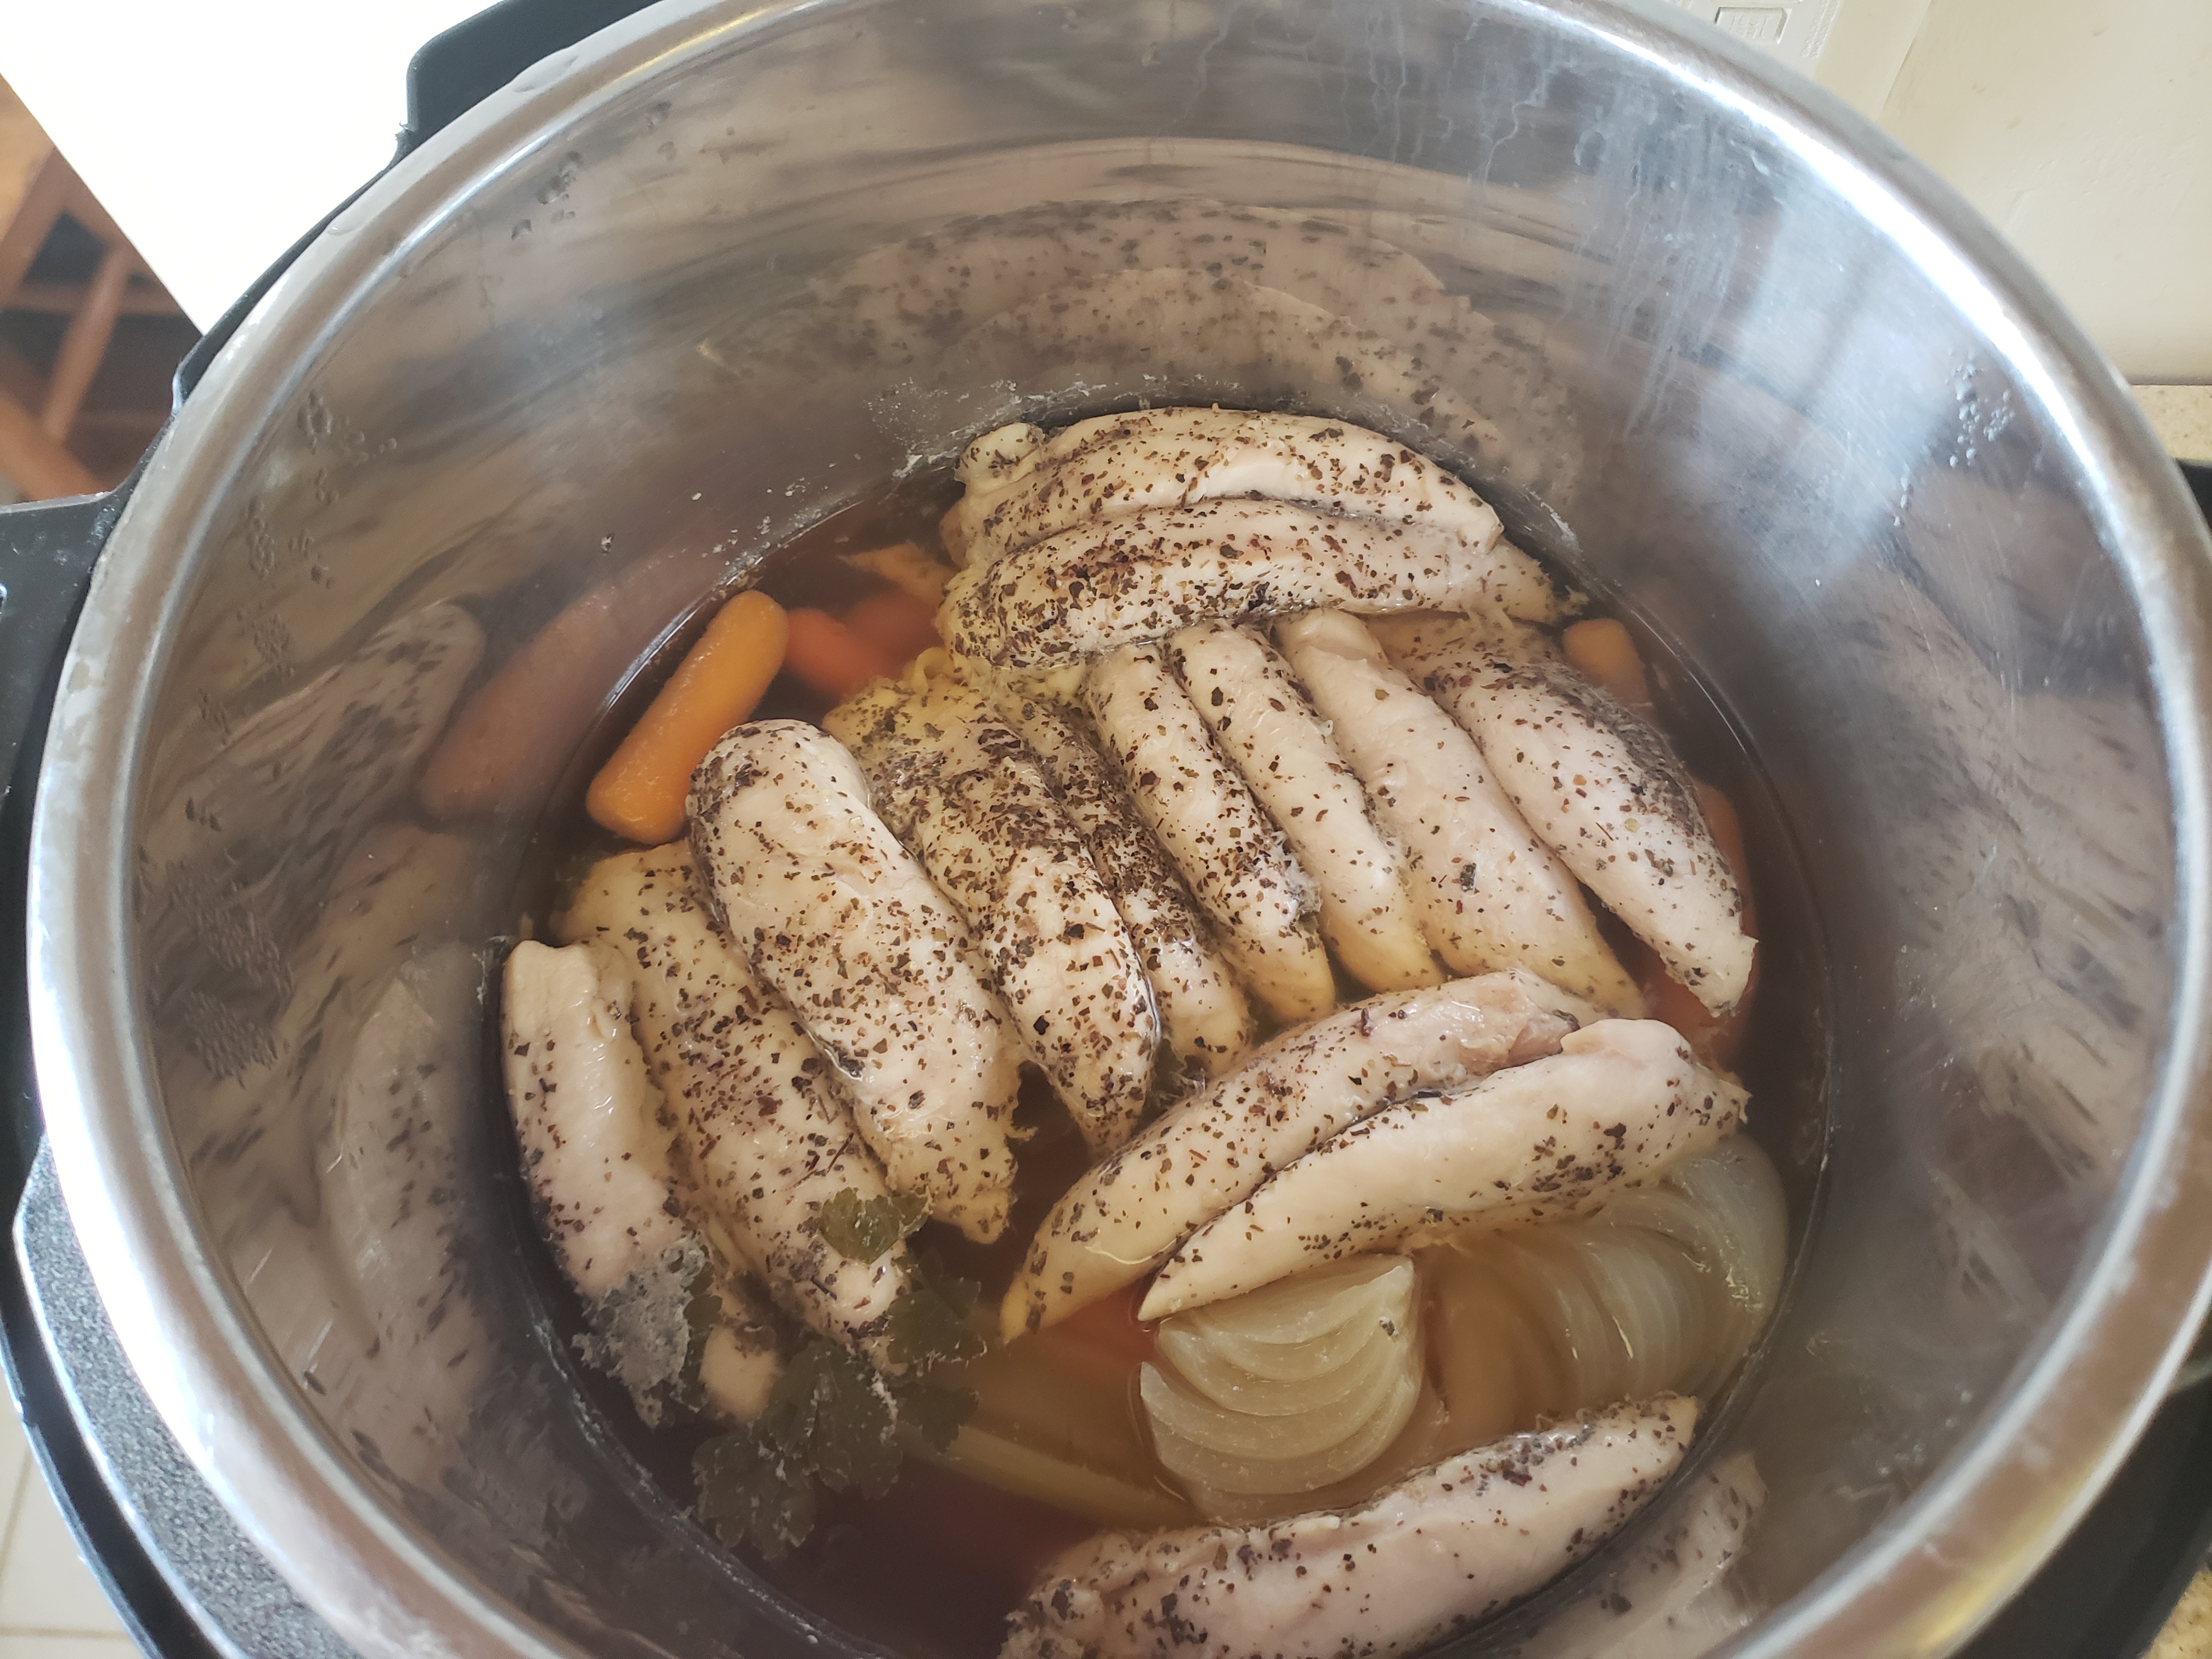
Pressure Cooker Shredded Chicken

  • 3 ½ – 4 lbs. chicken breasts, cut into strips
  • 1 onion, quartered
  • 2 carrots, cut into quarters or a handful of baby carrots
  • 3 stalks celery, cut into quarters
  • 1 clove garlic, smashed
  • 1 bay leaf
  • 3 cups unsalted chicken stock or low-sodium chicken broth
  • A few stems of fresh parsley
  • Kosher salt
  • Pepper
  • Dried oregano

Tomato, Carrot, Pepper, and Onion Salad

  • 16 oz. carrots, diced
  • 16 oz. red, yellow, or orange bell pepper, diced
  • 8 oz. grape tomatoes, halved
  • 8 oz. red onion, diced
  • 2 tsp. dried basil
  • 2 tsp. dried oregano
  • 4 tsp. dried parsley
  • 1 tbsp. kosher salt
  • Several grinds of black pepper
  • ½ cup white wine vinegar
  • 6 tbsp. Dijon mustard
  • 1 tsp. honey

Brown Rice

  • 2 cups brown rice
  • 4 cups water
  • 2 tsp. kosher salt

First, get the rice started. Bring 4 cups of water to a boil, add the rice, cover the pot, and reduce to a simmer. Simmer the rice, covered, for 25-35 minutes until all of the water is absorbed. Fluff the rice with a fork and then move to a lidded container for storage in the refrigerator.

While the rice is cooking, prepare the chicken. Place the onion, carrot, celery, parsley, and garlic in the pressure cooker.

Season the chicken on both sides with salt, pepper, and oregano.

Add the chicken stock/broth and seal the pressure cooker.

Cook on high pressure for 20 minutes and then release the pressure naturally or using a quick release function.

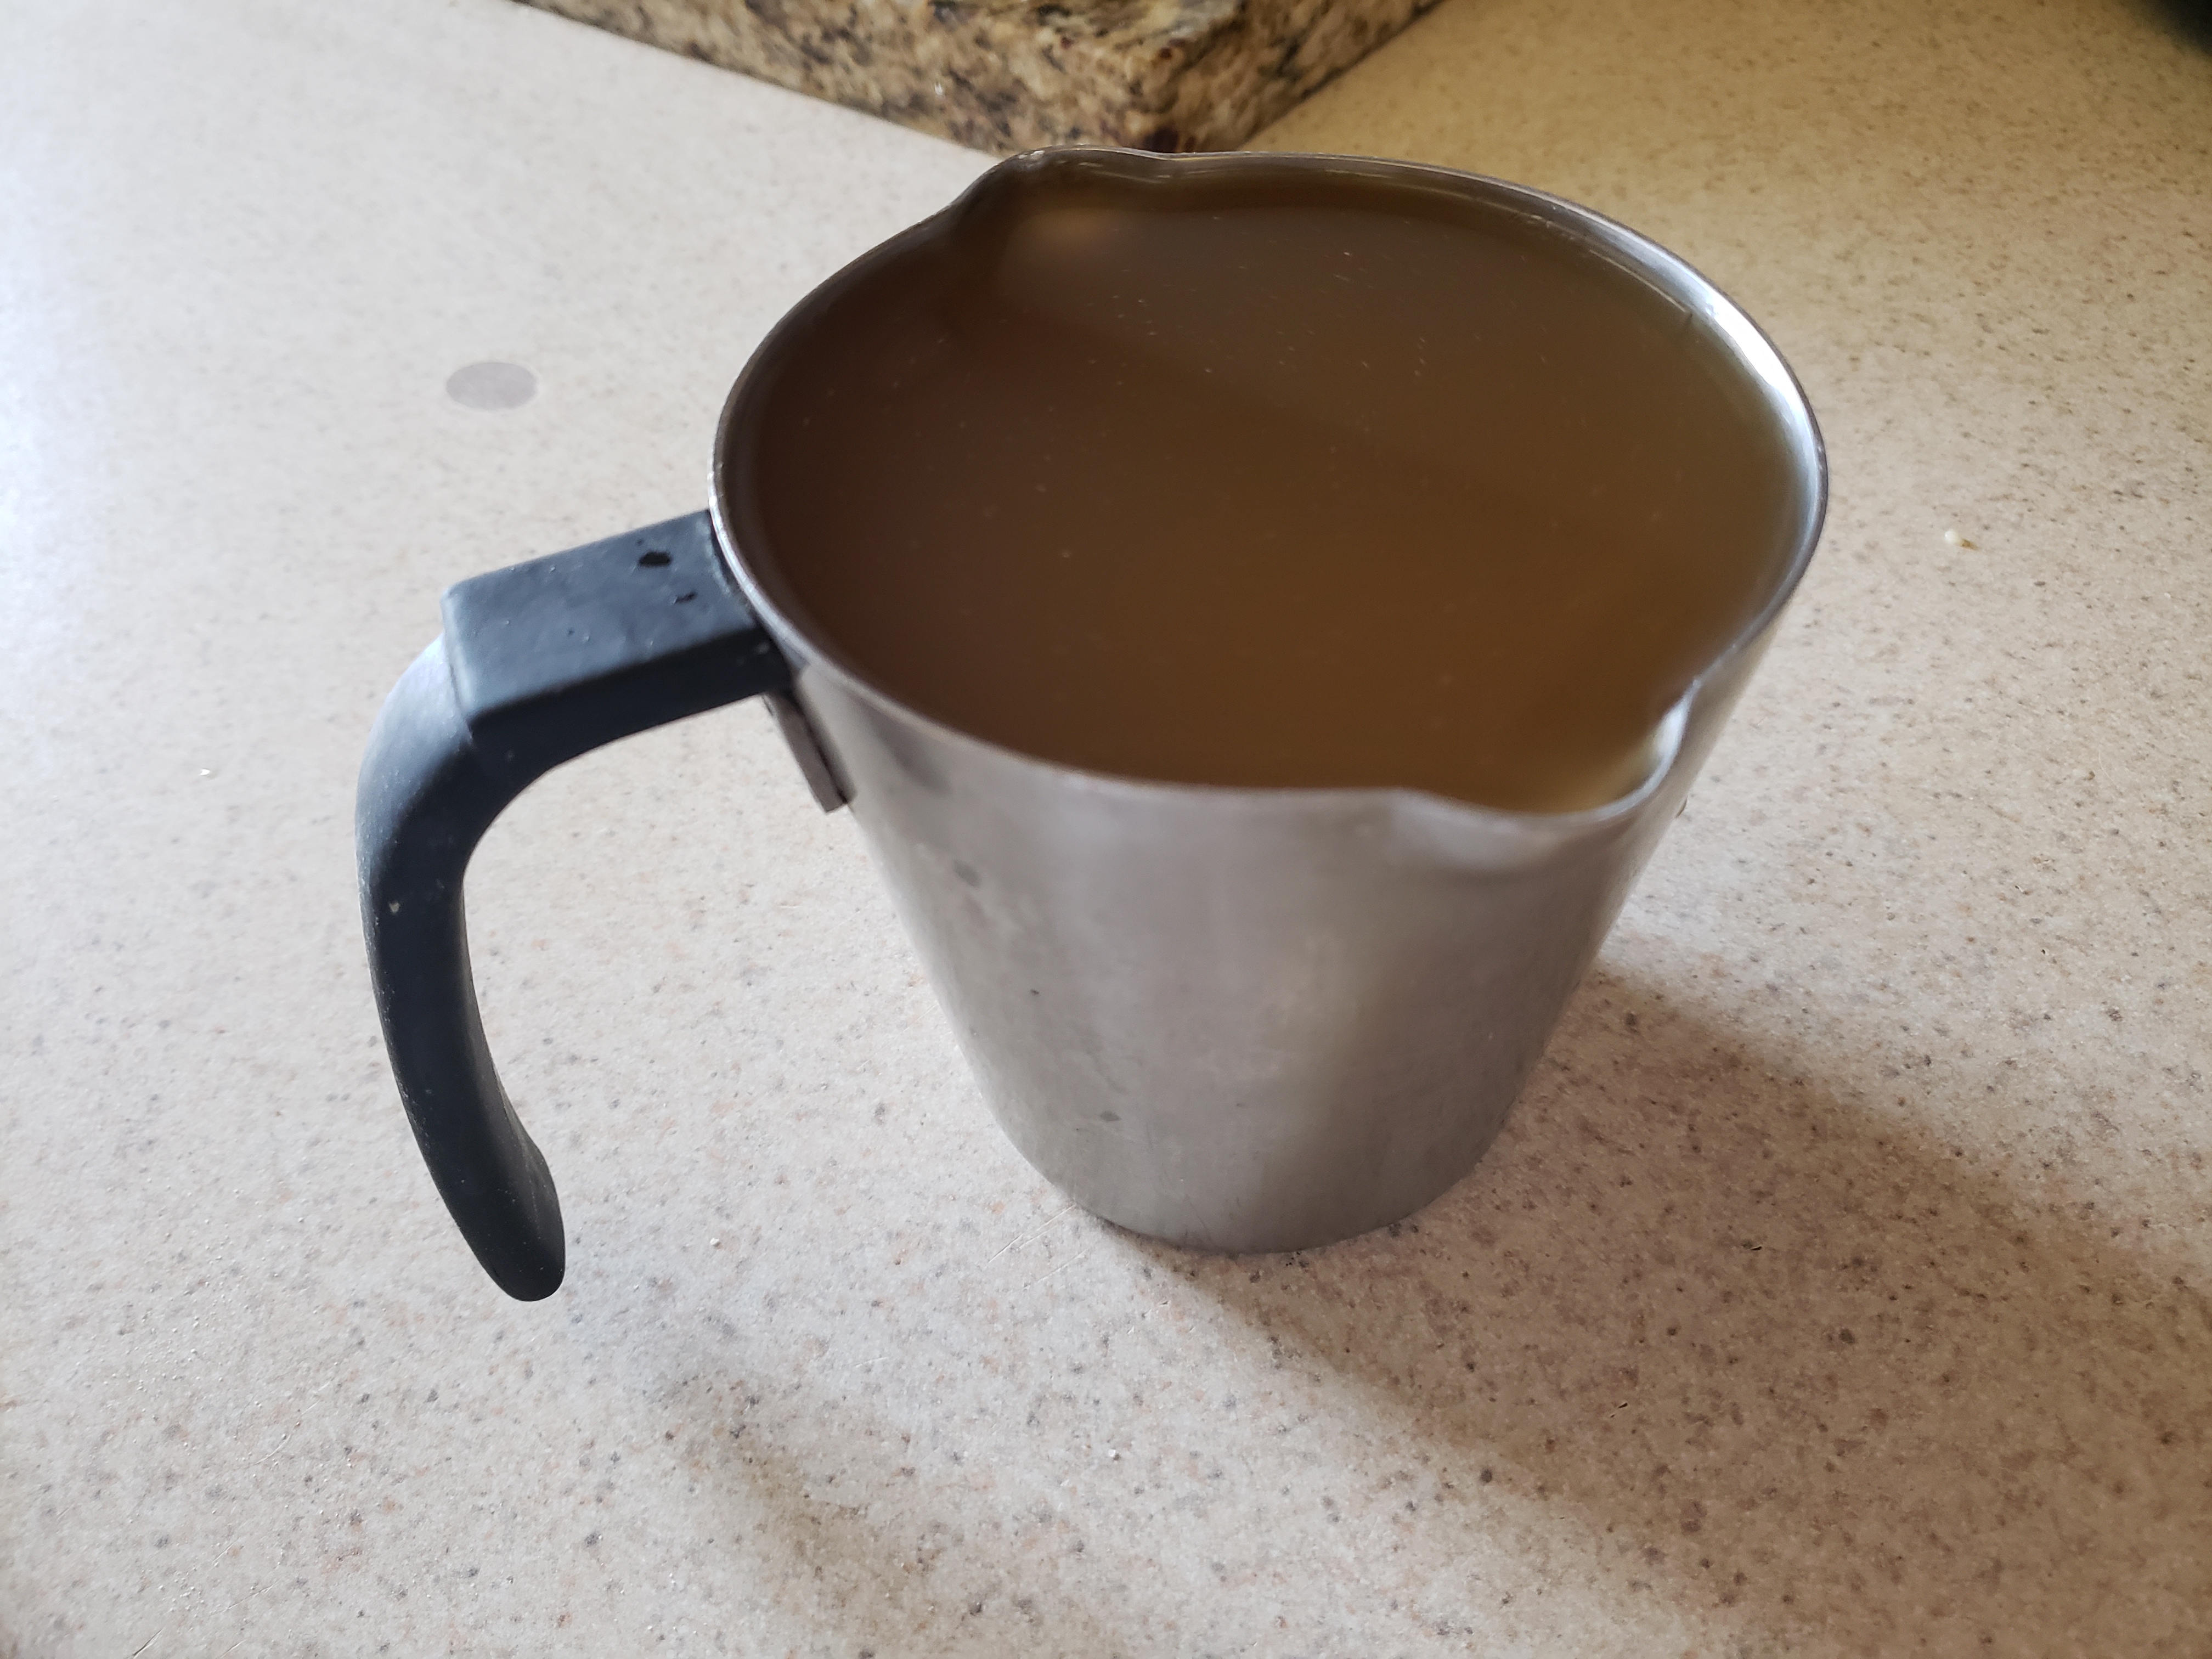
Remove the chicken to a container, shred using a couple of forks, and then season with more salt if needed. Move to a lidded container and store in the refrigerator. Strain the broth from the pot and save it in another container in the refrigerator.

For the salad, combine all of the dry ingredients in a large bowl and then divide among four containers. Whisk together the white wine vinegar, mustard, and honey. Divide the dressing evenly among the containers of salad, seal, and then shake each container to distribute the dressing.

Usually I take 5-7 oz. of chicken, reheat it gently with some of the leftover chicken broth and eat that over about a cup of the reheated rice with the salad on the side. It’s a really filling, but not heavy meal with lots of different textures. The savory chicken over well-seasoned rice is warm and comforting, and the salad gets better as the week goes on because the dressing really soaks into the veggies.

Taking a little bit of time to prep at the beginning of the week makes my lunches easy, inexpensive, healthy, and delicious; the best of all worlds! I hope this helps you out too.

Ciao for now,

Neen

Easy Eats: Instant Pot / Pressure Cooker Turkey Chili

27 Feb

When I’m short on time, I often turn to my pressure cooker for quick, big batch meals. It’s an easy way to throw a few simple ingredients together and make something filling and delicious without a lot of prep or clean-up.  As an added bonus, it can turn out some really healthy meals too, and today’s recipe ticks all the boxes. (For those readers on Weight Watchers, this is a freebie zero-point recipe!)

If you don’t have a pressure cooker, this can also be modified into a regular slow-cooker recipe. Just follow the steps, and saute the ingredients in a separate pan, add the ingredients to the slow-cooker and then cook on low for 5-6 hours instead of pressure cooking. It’s not as fast, but it’s still delicious.

Pressure Cooker Turkey Chili

  • 1 lb. ground turkey breast or ground turkey
  • 1 can pinto beans, rinsed and drained
  • 1 can kidney beans, rinsed and drained
  • 1 28 oz. can crushed tomatoes
  • 1 cup chicken stock
  • 1 onion, diced
  • 2 bell peppers, diced
  • 2 cloves garlic, minced
  • 1 tbsp. chili powder
  • 1 ½ tsp. cumin
  • 1 tsp. salt

Spray the pot with spray oil or add a tbsp. of olive oil. Saute the onions and ground turkey for 5-8 minutes, or until the onions begin to turn translucent.

Add the garlic and bell peppers and saute for 2-3 minutes more.

Deglaze the pot with the chicken stock, being sure to scrape any browned bits off the bottom of the pot.

Add the cumin, chili powder, salt, crushed tomatoes, and beans and stir well to combine.

Seal the pressure cooker and cook on high pressure for 5 minutes. You can let the pressure release naturally or use the quick release function.

Garnish with fresh parsley or cilantro (which I wish I liked but just tastes like soap to me, alas) and serve.

Definitely a one-pot wonder for sure. This turns out a rich, hearty chili that’s even better the next day. It also freezes really well. Super comforting for the cold, blustery days we’ve been having recently. Hope you have a chance to try it soon!

Ciao for now,

Neen

Back in Action: Turkey Meatloaf with Honey-Dijon Glaze

19 Dec

Hi there, remember me? Yes, it’s been a few weeks. And what a few weeks! Shortly after Thanksgiving, I ended up in the hospital after a series of blackouts. It turns out I had a complete heart block, which is where the electrical signal doesn’t make it from one chamber of the heart to the next. Basically it made my heart rate tank into the low 20s, making me very short of breath and causing the aforementioned blackouts. The solution to this problem was immediate surgery to give me a pacemaker, so that my heart can beat 100% at the proper speed. I feel GREAT! It’s really been like coming out of the dark. I’ve been fatigued for a long time and had no clue how bad I was feeling until, well, I wasn’t anymore. So that’s why I’ve been absent. I can’t really use my left (dominant) arm for reaching, lifting, or straining for about a month, so baking has been pretty much out of the question.

But I am finding ways to keep on cooking. One of the things suggested in my discharge papers from the hospital was to follow a heart-healthy diet. Not because I had any artery-blocking problems, but because reducing strain on the heart and preventing any of those issues is a generally good idea for someone who already has a pacemaker. So I’ve been having fun both finding creative ways to cook and also some ways to alter favorite recipes.

That brings me to today’s offering. The perfect winter meal, both easy to prepare and surprisingly even better to reheat: Meatloaf. It’s easy to make a juicy meatloaf with beef and pork, but I was interested in taking something leaner and making it sing. I turned to ground turkey, and while there isn’t much fat there to speak of, fat’s not the only way to keep a meatloaf moist both on the initial cooking and when you want to have a tasty meatloaf sandwich the next day. And the best part is that our additions will add lots of bright and earthy flavors to the party.

Turkey Meatloaf

  • 1 ¼ lb. ground turkey
  • 8 oz. mushrooms, finely chopped*
  • 1 onion, finely chopped*
  • 1 red or orange bell pepper, finely chopped*
  • 2 garlic cloves, minced
  • 1 tbsp. olive oil
  • 1 tbsp. Worcestershire sauce
  • 3 tbsp. ketchup
  • 1 cup panko bread crumbs
  • 1/3 cup milk
  • 2 eggs, lightly beaten
  • 3 tbsp. Dijon mustard
  • 3 tbsp. honey
  • Salt and freshly ground black pepper

*I let my food processor do the work here since my arm mobility is limited and I’d recommend it for getting a super-fine, even dice.

Preheat the oven to 400 degrees F and lightly grease a baking sheet lined with aluminum foil.

Heat the oil in a large saute pan over medium-low heat. Once the oil is fragrant, add the onion, pepper, and a pinch of salt and cook until softened, about 4-5 minutes. Add the garlic and cook 1 minute more.

Add the mushrooms, a pinch of salt, and a pinch of freshly ground black pepper. Cook until the mushrooms release their liquid and it evaporates, about 7-8 minutes.

Transfer the vegetable mixture to a large bowl and stir in the Worcestershire sauce and ketchup. Set aside to cool slightly.

Combine the bread crumbs and milk in a small bowl

Add the bread crumb mixture and eggs to the vegetable mixture and stir well. Then, using your hands or a spatula, mix in the turkey.

You can either free-form the loaf into a 9×5 in. oval or use a 9×5 loaf pan as a mold and then turn it out onto the prepared baking sheet.

Combine the honey and mustard, and glaze half of it on the meatloaf.

Bake the meatloaf for 30 minutes, and then spread the remaining glaze on top and bake until an instant-read thermometer inserted in the middle registers 170 degrees F, about another 10 minutes. Let the meatloaf rest for 10 minutes before slicing.

I think a serrated knife works best for getting clean slices.

The mushrooms add moisture and a nice meaty texture, while the bell pepper also adds some juiciness and brightens the whole dish. My favorite part is the tangy-sweet honey-dijon glaze that really amps the flavor up. I enjoyed mine with some mixed greens and brown rice for a perfectly delicious and very filling heart-healthy meal.

I’m really happy to be healing well, and can’t wait to get back to baking soon. My posts might be a bit intermittent for the near future, but I’m always thinking up new treats to share, and will be back to regularly scheduled programming ASAP. I hope you enjoy every moment of this holiday season. I know I am extra, EXTRA grateful this year just to be here.

Ciao for now,

Neen


Shared Experiences: Santorini Fava

19 Oct

One of the best things you can bring back from a trip is a recipe. I’m excited when I or others try something delicious ­and learn how to make it. Sharing food traditions is special and important. My parents recently went on a trip to Santorini, where they tried a dish called fava, which has precisely nothing to do with fava beans. The hero here is a different fava, the humble yellow split pea, which has been growing on Santorini for over 3,500 years. With these peas and relatively few other ingredients, we create an incredibly earth, hearty, and smooth dip or spread that is popular in the local tavernas there.  Think of it as an alternative to hummus that can be served warm, room temperature, or even chilled.

Santorini Fava

  • 250g yellow split peas, rinsed
  • 1 red onion, chopped
  • 3-5 sprigs thyme
  • 1 clove garlic, chopped
  • 4 tbsp. olive oil, divided
  • 2 cups warm water
  • Juice of one lemon
  • Salt and pepper

Heat 1 tbsp. olive oil in a large saucepan over medium-high heat. Add the onions, thyme, and a pinch of salt, and saute until the onions begin to soften and turn translucent, 5-6 minutes.  Add the garlic and saute one minute more.

Stir in the split peas and then add the water and olive oil, reduce the heat to medium and cover.

Cook until the peas are mushy, 35-45 minutes.

Add the mushy peas and lemon juice to the bowl of a food processor and puree until smooth. Taste for seasoning and adjust as needed.

I like to serve this room temperature with a spoonful of cold plain yogurt, caramelized onion, and chopped fresh parsley to garnish.

The combination of textures and temperatures is just excellent. Fried capers would be more than welcome here, I just didn’t have any on-hand.

I’m so glad my parents took the time to get this recipe and passed it along to me. It’s the perfect quick snack alongside some warm pita or crisp, cool vegetables. And I never would have heard of it if not for their travels! One savory little way to taste a part of their experience.

Ciao for now,

Neen

Flavorful Few: French Onion Soup

13 Oct

Some recipes are all about technique and time. Applying those two things to the simplest, humblest of ingredients can bring a true depth of flavor to the party without clearing out the pantry. Take French onion soup for example. Vegetables and herbs deeply caramelized, deglazed with a bit of wine, thickened with flour, simmered with broth, and topped with a broiled cheesy crouton. Caramelize, deglaze, thicken, simmer, and broil. It’s the steps that build the body of the soup, not a pantry full of ingredients.

Surprisingly hearty and heart-warming, there’s no reason not to stop and make this right now! Just be sure to take it slow and you’ll be enjoying a rich bowl of satisfying soup in about an hour and a half.

French Onion Soup

  • 3 lbs. Vidalia onions (about 4 large onions)
  • 4 oz. unsalted butter
  • 3 cloves garlic, minced
  • 2 bay leaves
  • 3 sprigs fresh thyme
  • ¾ cup dry white wine
  • ¼ cup all-purpose flour
  • 8 cups unsalted beef stock or low-sodium beef broth
  • Salt and freshly ground black pepper
  • French bread and grated gruyere cheese for serving

Melt the butter in a large pot over medium heat and then add the onions, garlic, bay leaves, thyme sprigs, and some salt and pepper.

Cook, stirring occasionally, until the onions are well-caramelized and very soft, about 45 minutes.

Add the white wine to the pan, scrape the bottom of the pot to release the fond (browned bits), bring to a boil, and then reduce the heat and simmer until most of the liquid has evaporated, 10-15 minutes. Remove the bay leaves and thyme sprigs.

Sprinkle on the flour and give the mixture a stir. Reduce the heat to medium-low and cook for about 7 minutes.

Add the beef stock/broth and bring the soup to a simmer. Cook for 10 minutes. Taste for seasoning and adjust salt and pepper as needed.

To serve, preheat a broiler. Ladle the soup into a heatproof bowl and top with a slice of French bread. Add a generous helping of gruyere cheese on top of the bread.

Broil until the cheese bubbles and the bread is toasted. Garnish with fresh thyme.

Basically crispy, gooey grilled cheese and savory soup all perfectly balanced together in one bowl. Yum! This recipe makes quite a lot and does freeze well. By taking your time during the initial making of the soup, you have something intensely deep, rich, and satisfying that you can reheat quickly when a craving strikes.

So take those simple ingredients and make them shine!

Ciao for now,

Neen

Sniffle Stopper: Vegetable Soup

24 Sep

Ever since I started taking immuno-suppressants for my RA, I’ve had a constant, nagging cold. Maybe that’s why I woke up at 4:45 am today with an immediate and insatiable craving for vegetable soup. Your body tends to speak to you, and I’ve learned it’s generally a good idea to listen. So yes, there I was at 5 am in Safeway, standing in the produce section without a list. While things usually go better when I plan, vegetable soup is one of those things that you don’t really need a plan for, you just need to know what vegetables you like and what looks good at the store. It’s also helpful to know a little bit about what stands up well to being cooked in broth without going to mush on you, and that’s why I think that simple though this recipe may be, it’s well worth sharing because of its balance of textures and flavors. Let’s put the soup on!

Vegetable Soup

  • 2 tbsp. olive oil
  • 2 cloves garlic, minced
  • 2 leeks (white part only, save the tops for stock!), diced
  • 2 cups carrots, peeled and cut into circles
  • 2 cups red potatoes, diced
  • 2 cups green beans, cut into 1 in. pieces
  • 1 cup celery, diced
  • 2 qts. low sodium chicken broth
  • 28 oz. can whole peeled tomatoes, pulled into pieces
  • 2 ears corn, kernels removed
  • ¼ cup flat (Italian) parsley, chopped
  • 1 tbsp. lemon juice
  • Salt and pepper to taste

Heat the oil in a stockpot over medium-low heat.

Add the leeks, garlic, and a heavy pinch of salt, and sweat until the leeks are soft, 6-7 minutes.

Add the carrots, potatoes, green beans, and celery, and cook 5 minutes more, stirring occasionally.

Add the chicken broth and turn the heat up to high. Once the soup comes to a simmer, add the tomatoes and corn. Reduce the heat to low, cover the pot, and cook for 25 minutes or until the vegetables are tender.

Remove the pot from the heat and stir in the lemon juice and parsley. Season with salt and pepper to taste.

Simple, savory, and perfect for the crisp autumn days ahead. It’s got a nice mix of textures, an intoxicating aroma, and all the vitamins you could possibly want. Maybe this lip-smacking medicine will subdue my sniffles a little bit. Even if it doesn’t, it certainly satisfied my craving for a hearty soup. Hope it warms your heart too!

Ciao for now,

Neen