Archive | Beginner RSS feed for this section

My Favorite Oatmeal Cookies

20 Jul

I love oatmeal cookies. They pair well with lots of different additions, but are also delicious left perfectly plain with a hint of spice. You can do fun things with the texture too. Make them thin and lacy, thick and cake-y, crunchy, or chewy and soft. But my favorite oatmeal cookies, combine lots of textures and have deep dark spice and caramel flavors. The recipe has gone through many iterations as I tried to find the combination of ingredients that gave me the nutty, chewy, crunchy, spicy-sweet cookie I was seeking. I really like where it’s at now, but you know I’d never promise not to play around with the recipe in the future. My imagination is already running off…

I digress. Back to the treats at hand. These are a really special little bite despite their innocent appearance. Let’s fill up the cookie jar!

Toasted Oatmeal, Pecan, and Coconut Cookies

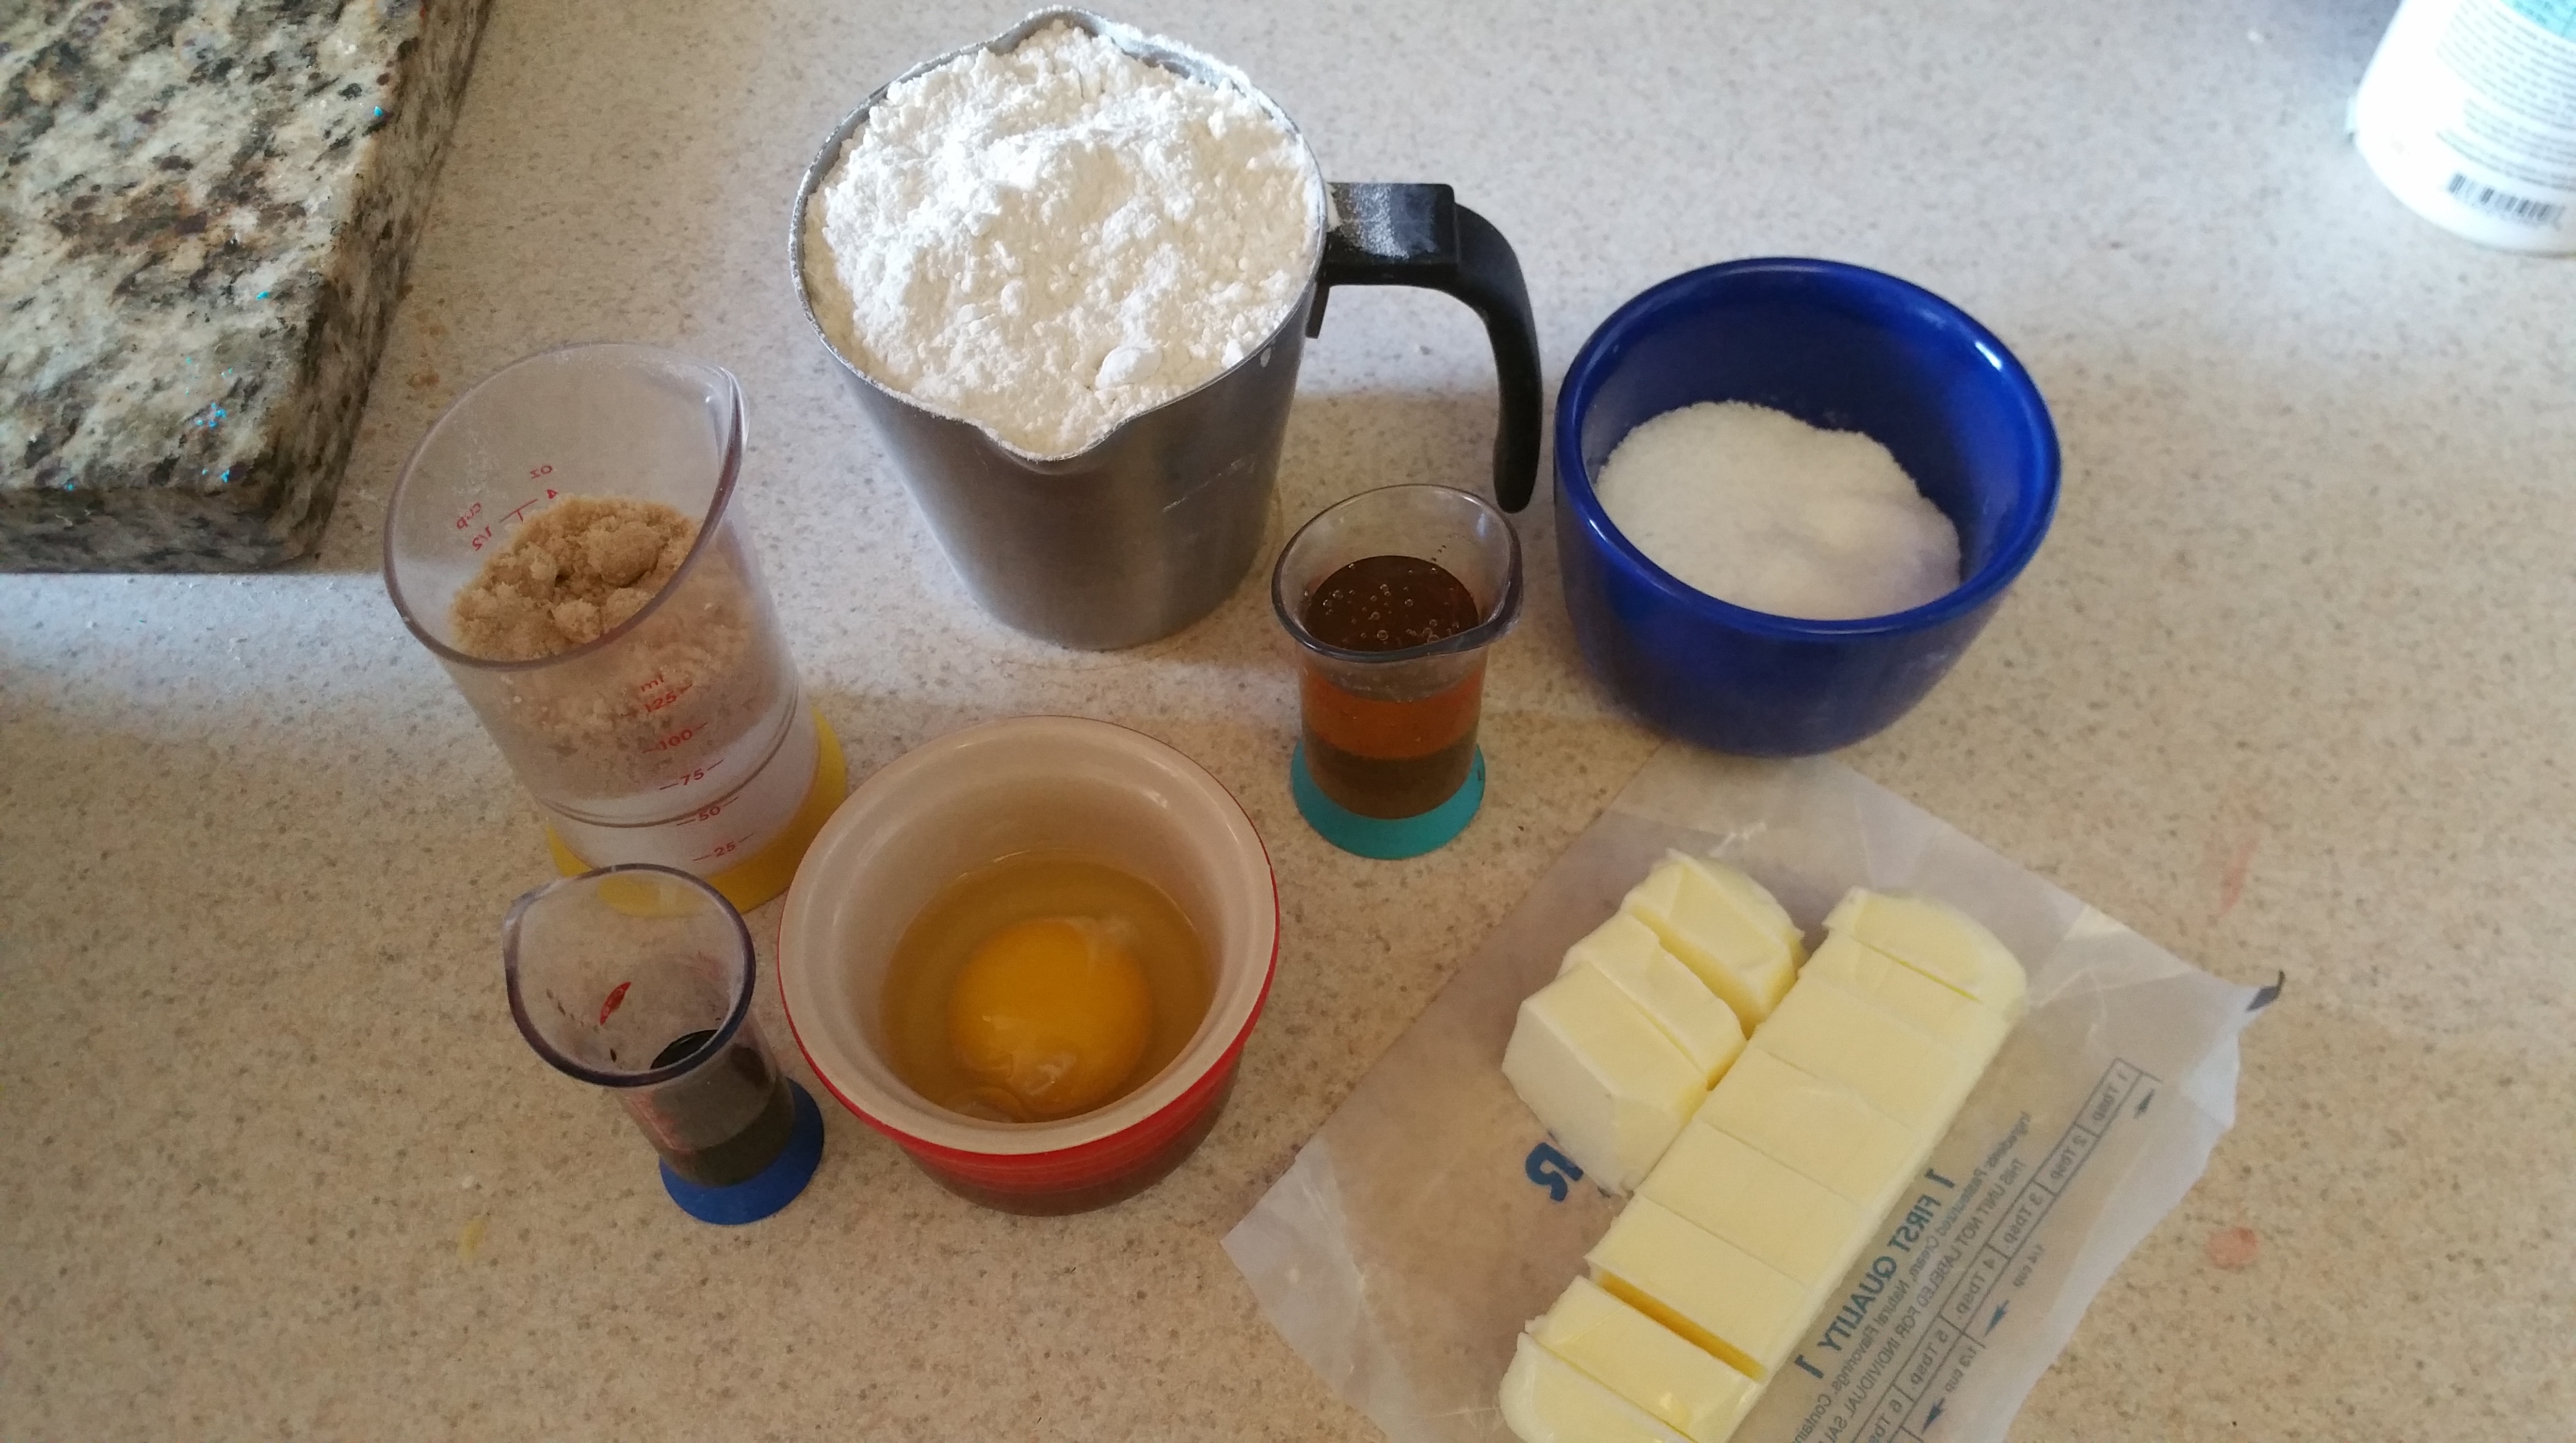
  • ¾ cups rolled oats, toasted until fragrant*
  • ¾ cups quick cooking oats, toasted until fragrant
  • ¾ cup flour
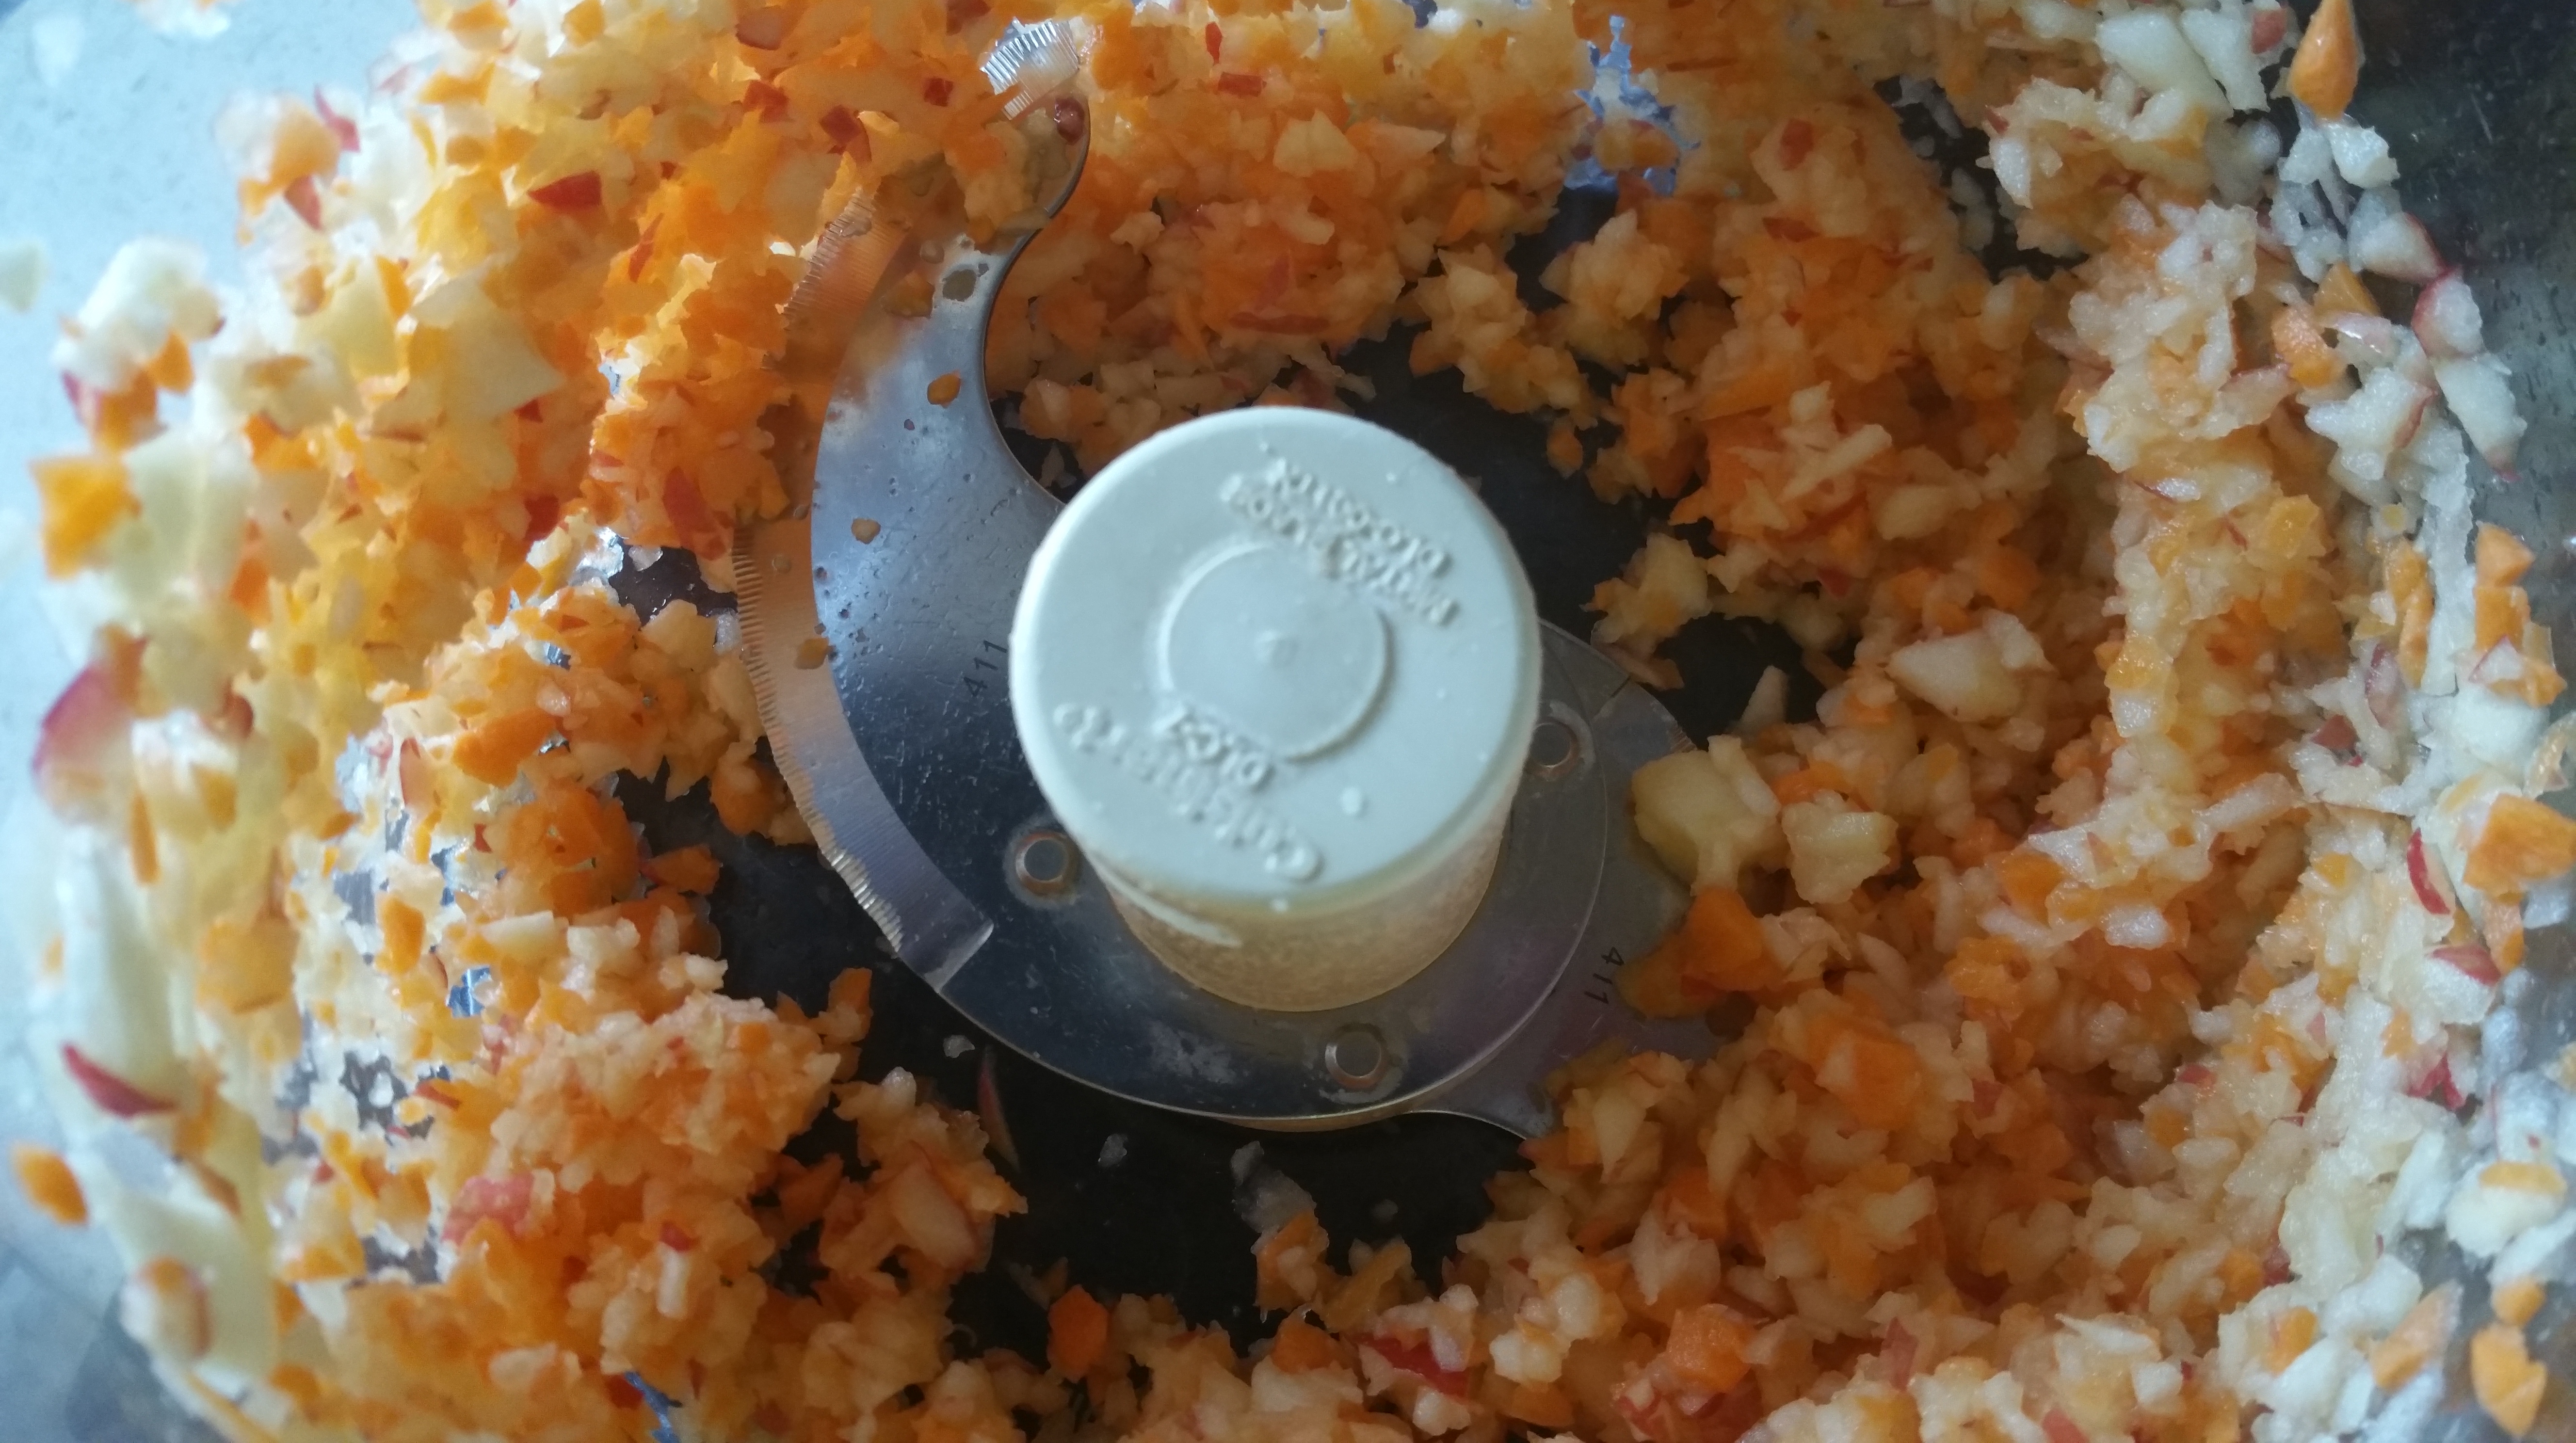
  • ½ cup pecans, toasted and chopped
  • ½ cup (sweetened or unsweetened) shredded coconut, toasted until golden
  • ½ tsp. baking powder**
  • 2 oz. unsalted butter, softened
  • ¼ cup vegetable shortening
  • 1/2 cup light brown sugar
  • 1/4 cup granulated sugar
  • 1 tsp. vanilla extract
  • 1 tsp.  cinnamon
  • 1/2 tsp. salt
  • Pinch fresh ground nutmeg
  • 1 large egg

*To toast the dry ingredients, just turn the oven to 350 degrees F and spread them out on separate baking sheets. The oats and nuts usually take 7-10 minutes and the coconut takes about 2-4 minutes.

** This weird thing happened when I started taking my medication for rheumatoid arthritis. I was finding that some of my baked goods tasted…off. There was this funny aftertaste that I could not get rid of and I had no idea what it was. I realized one day when I accidentally left some baking soda out of a recipe that OH, that’s that funny taste. This particular recipe can absolutely be made with ½ tsp. of baking soda or baking powder. Use what you have on hand.

Preheat the oven to 350 degrees F. and line two baking sheets with parchment paper or silicone mats.

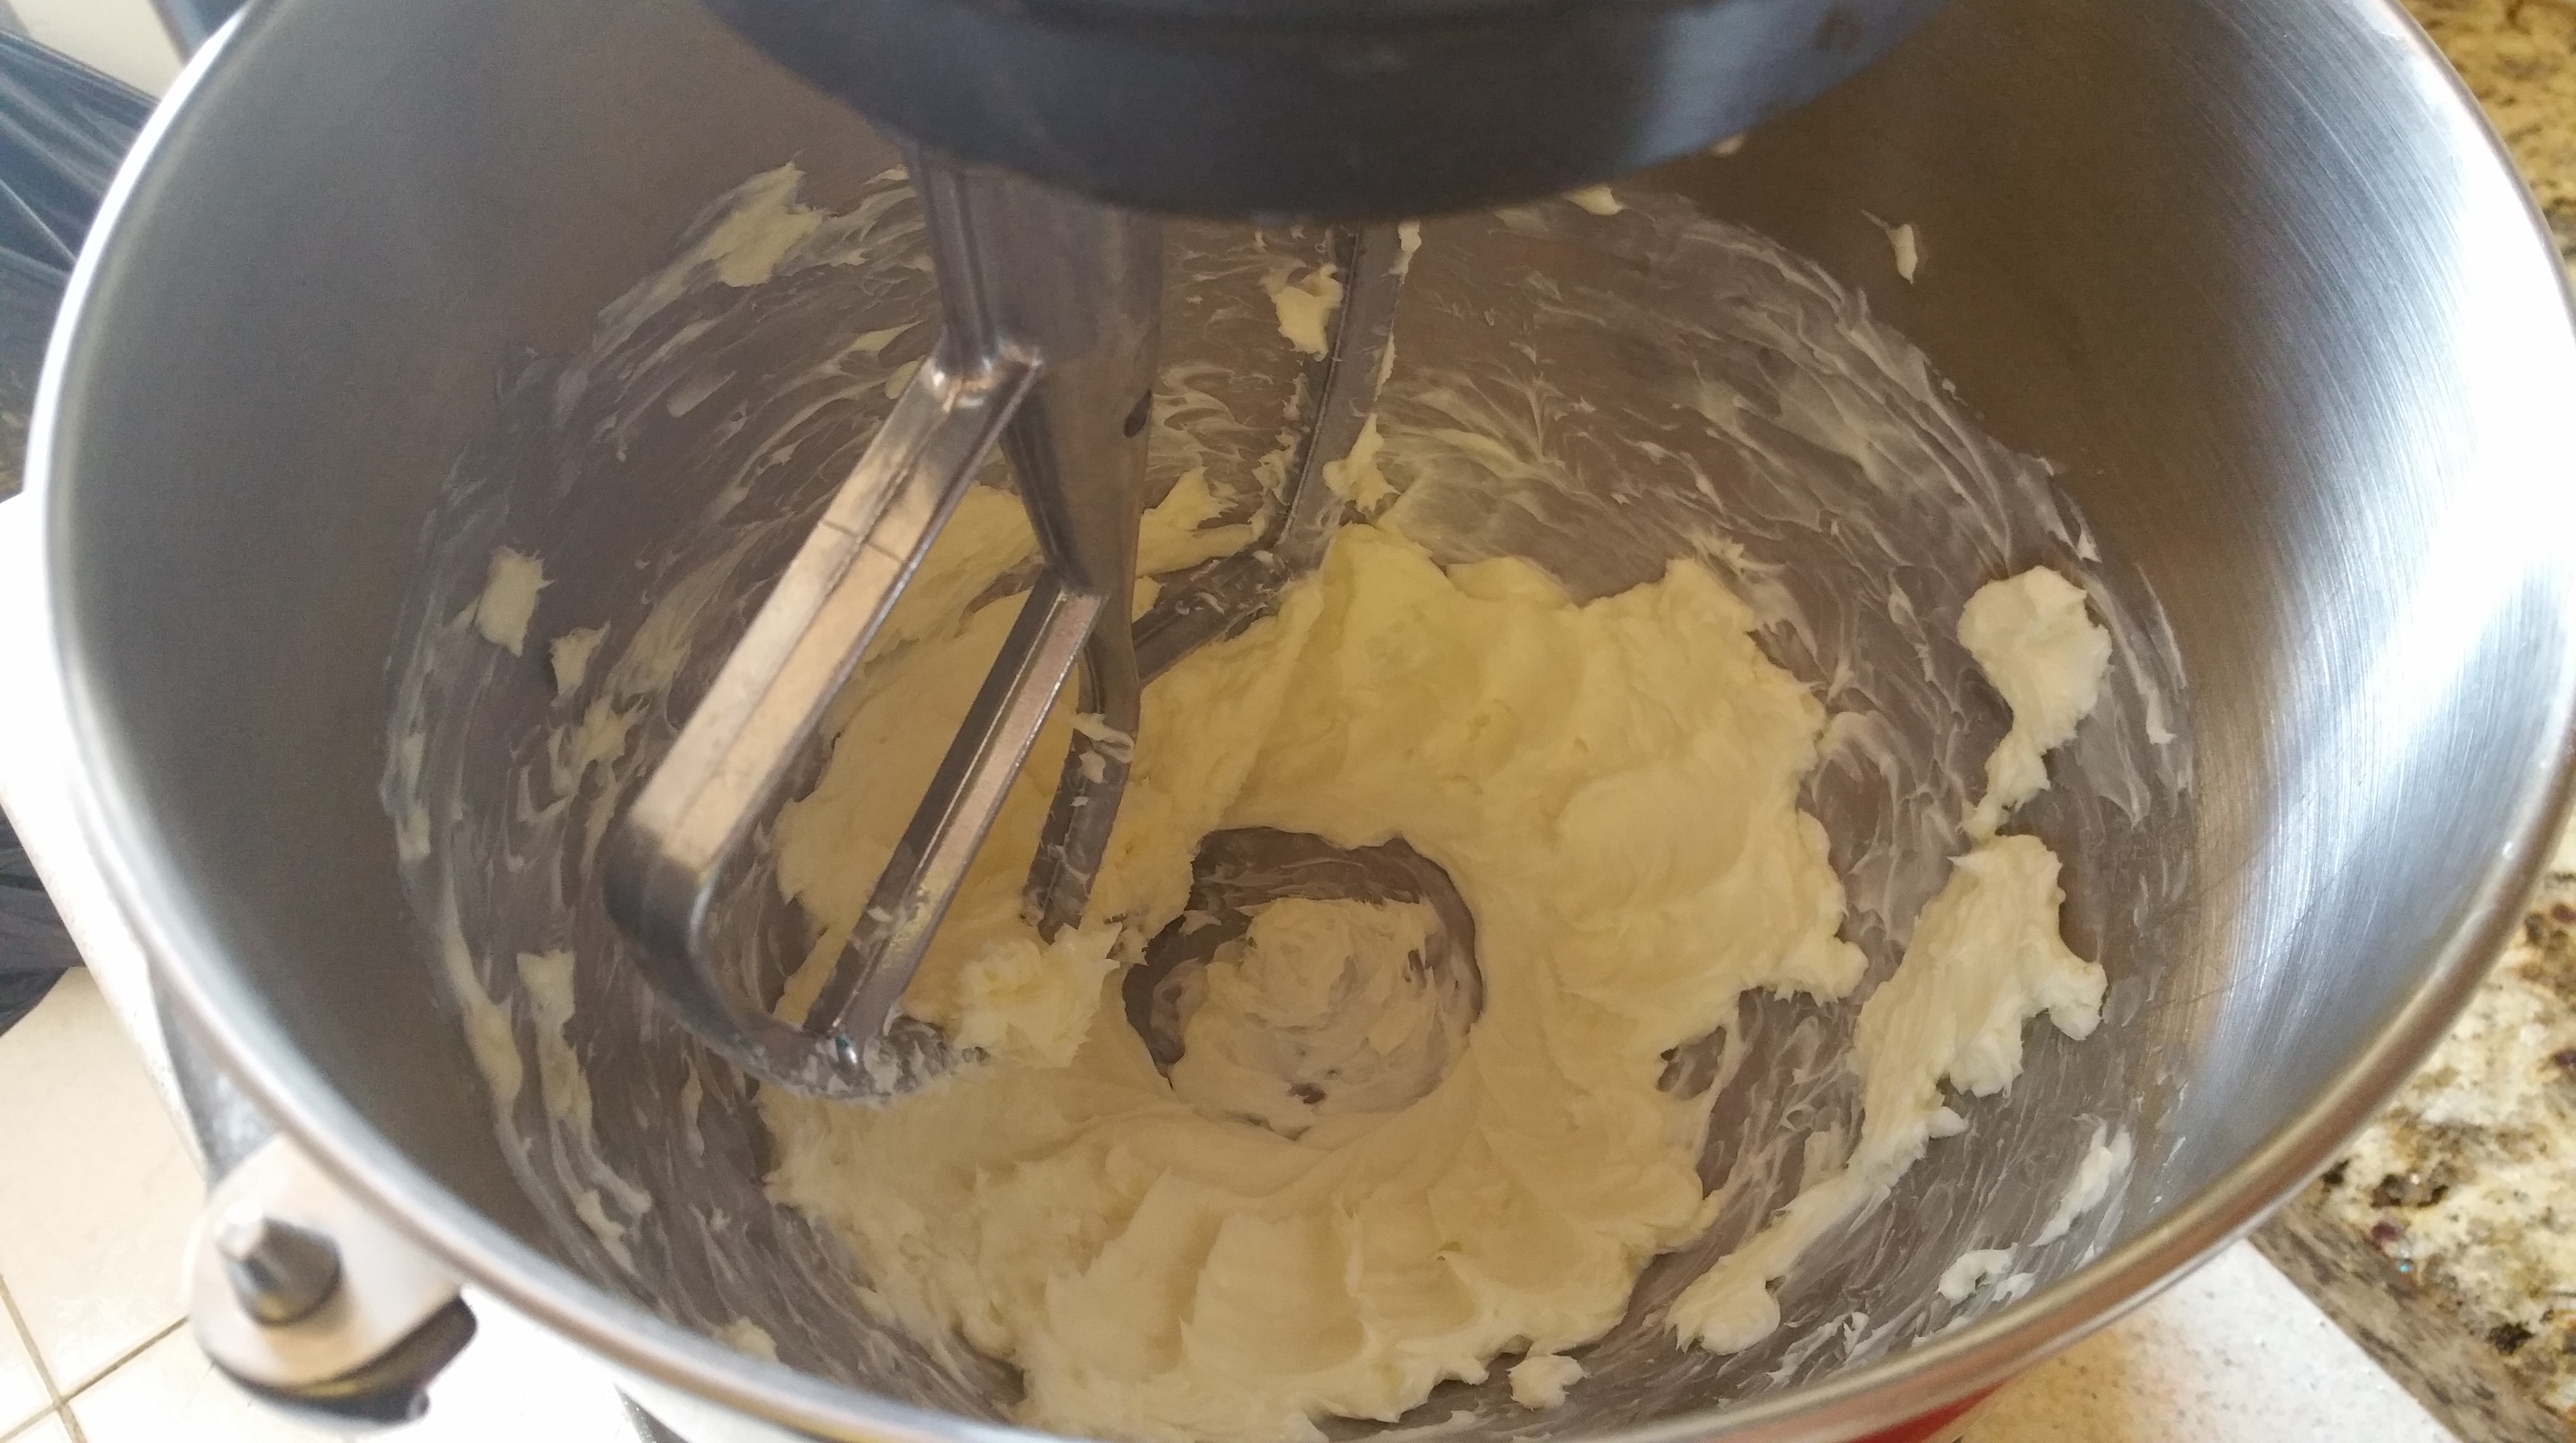
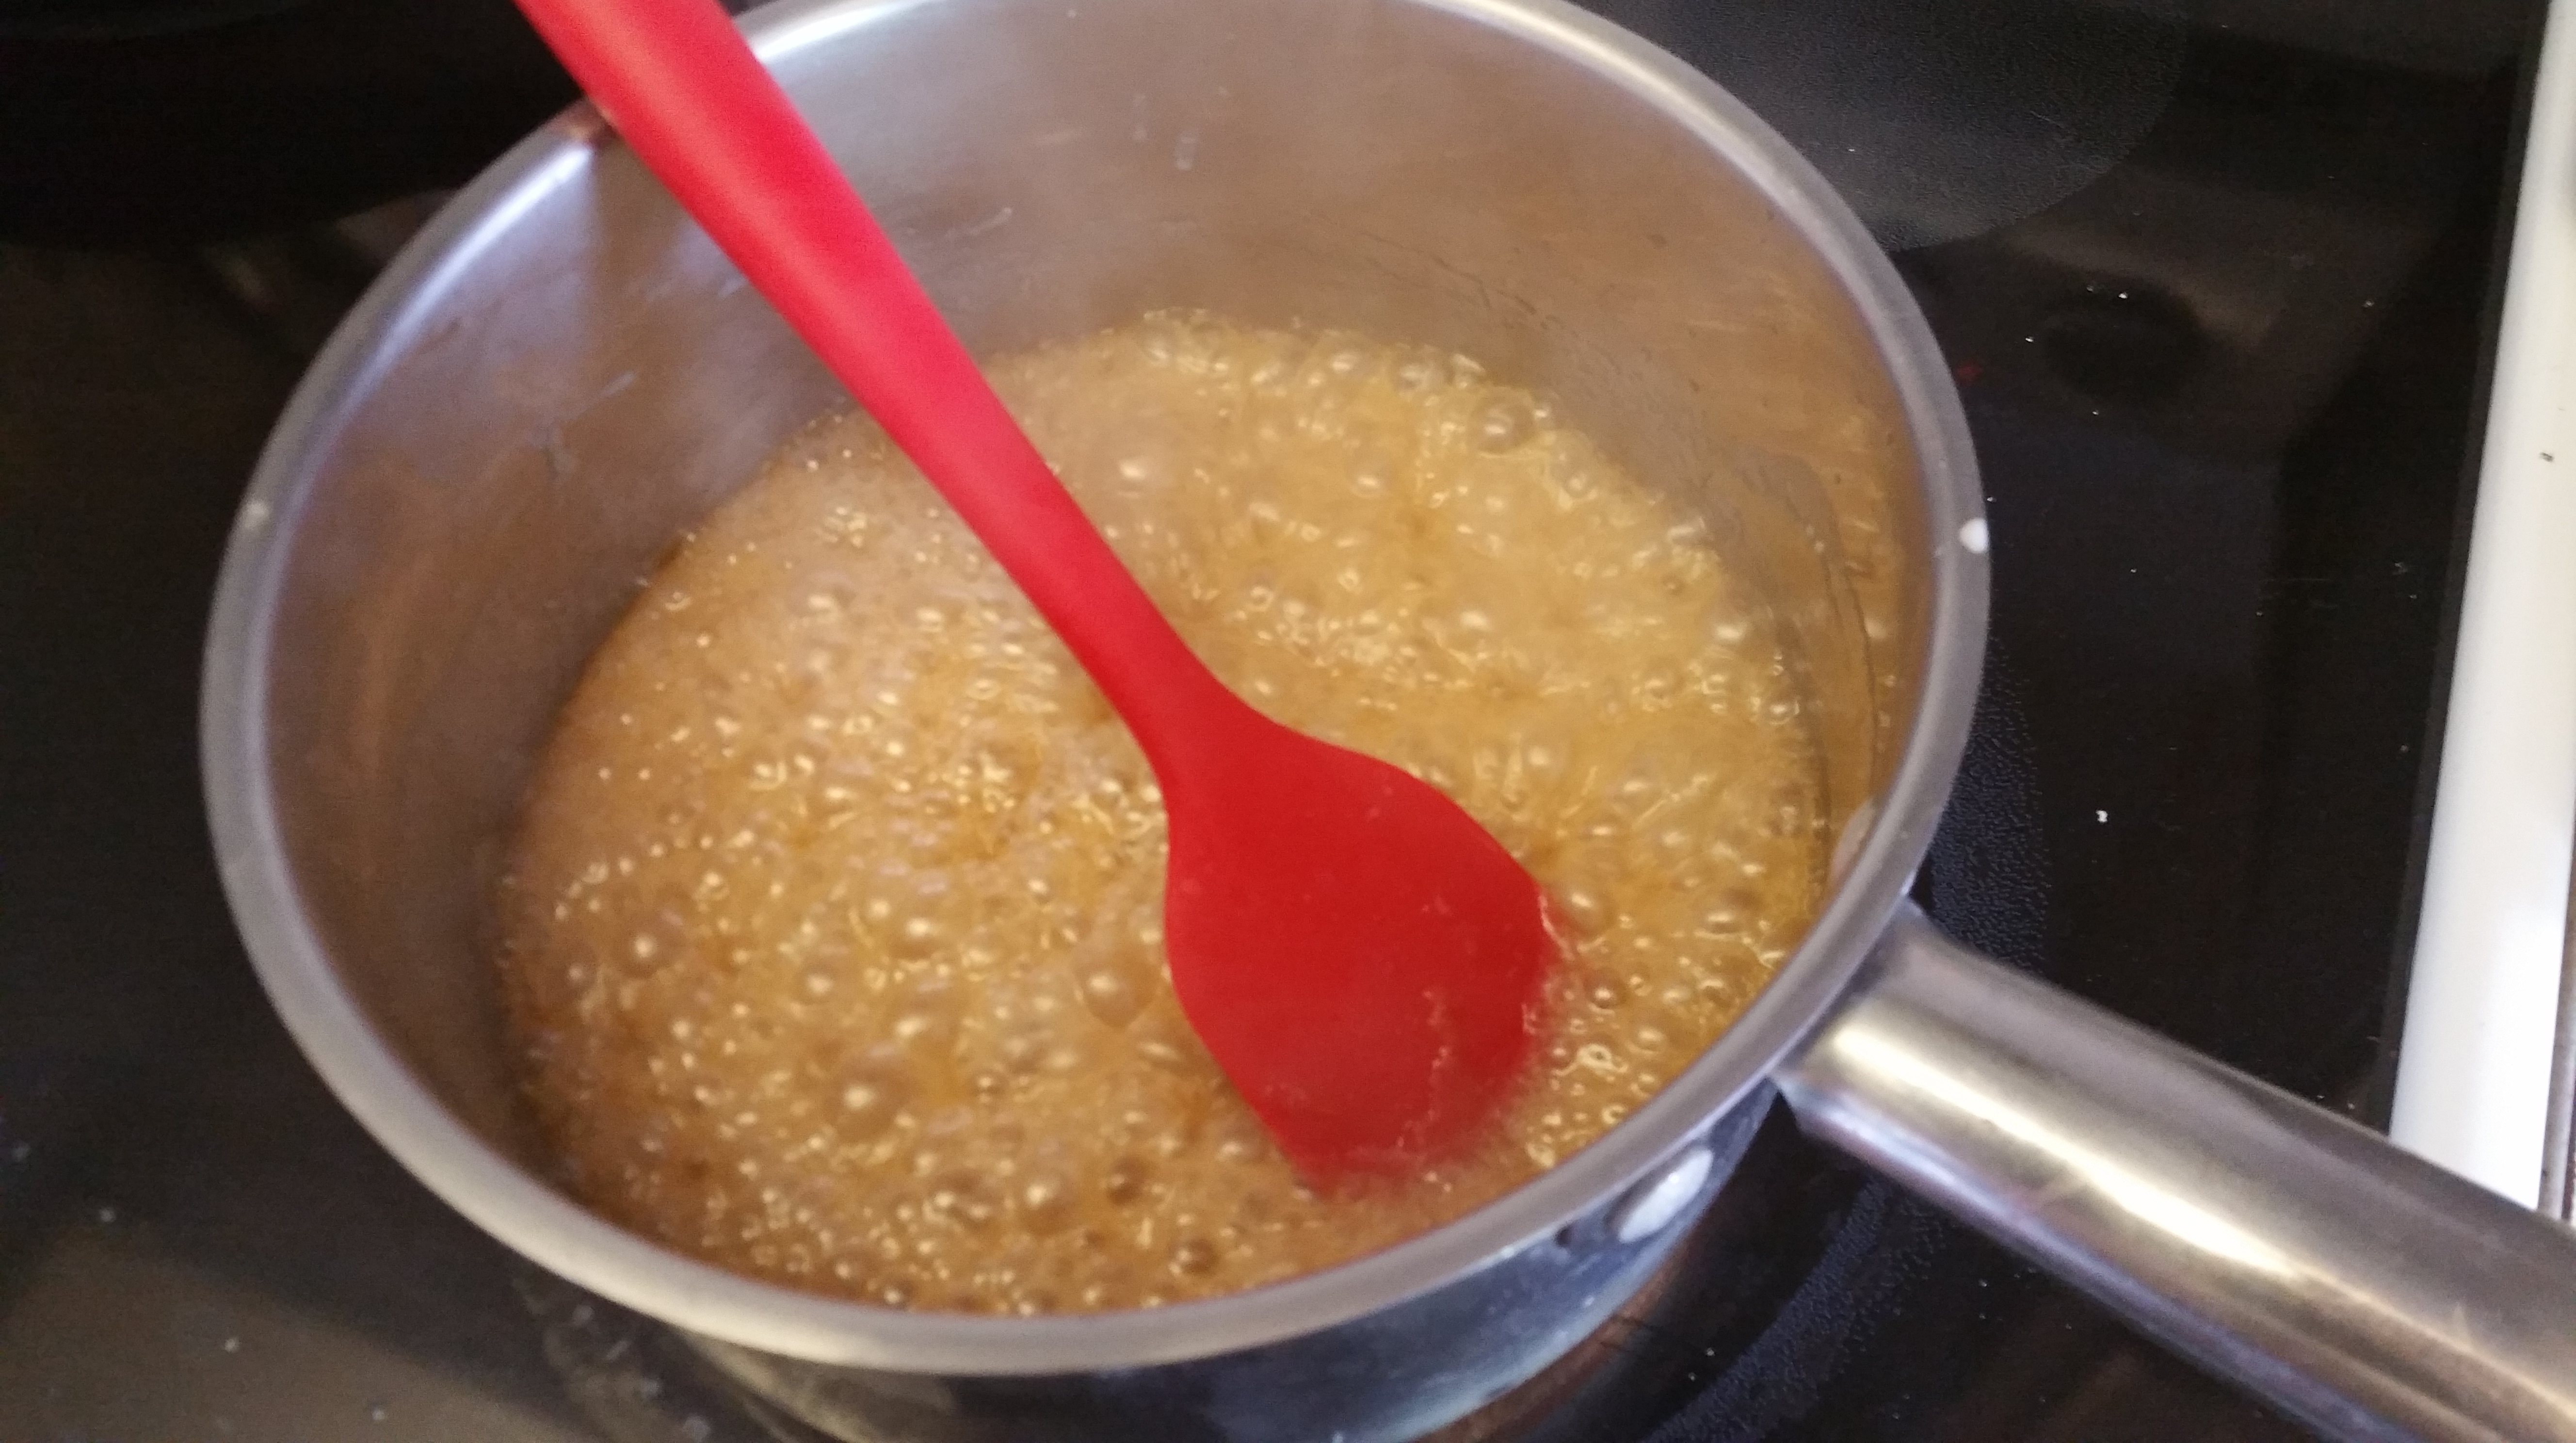
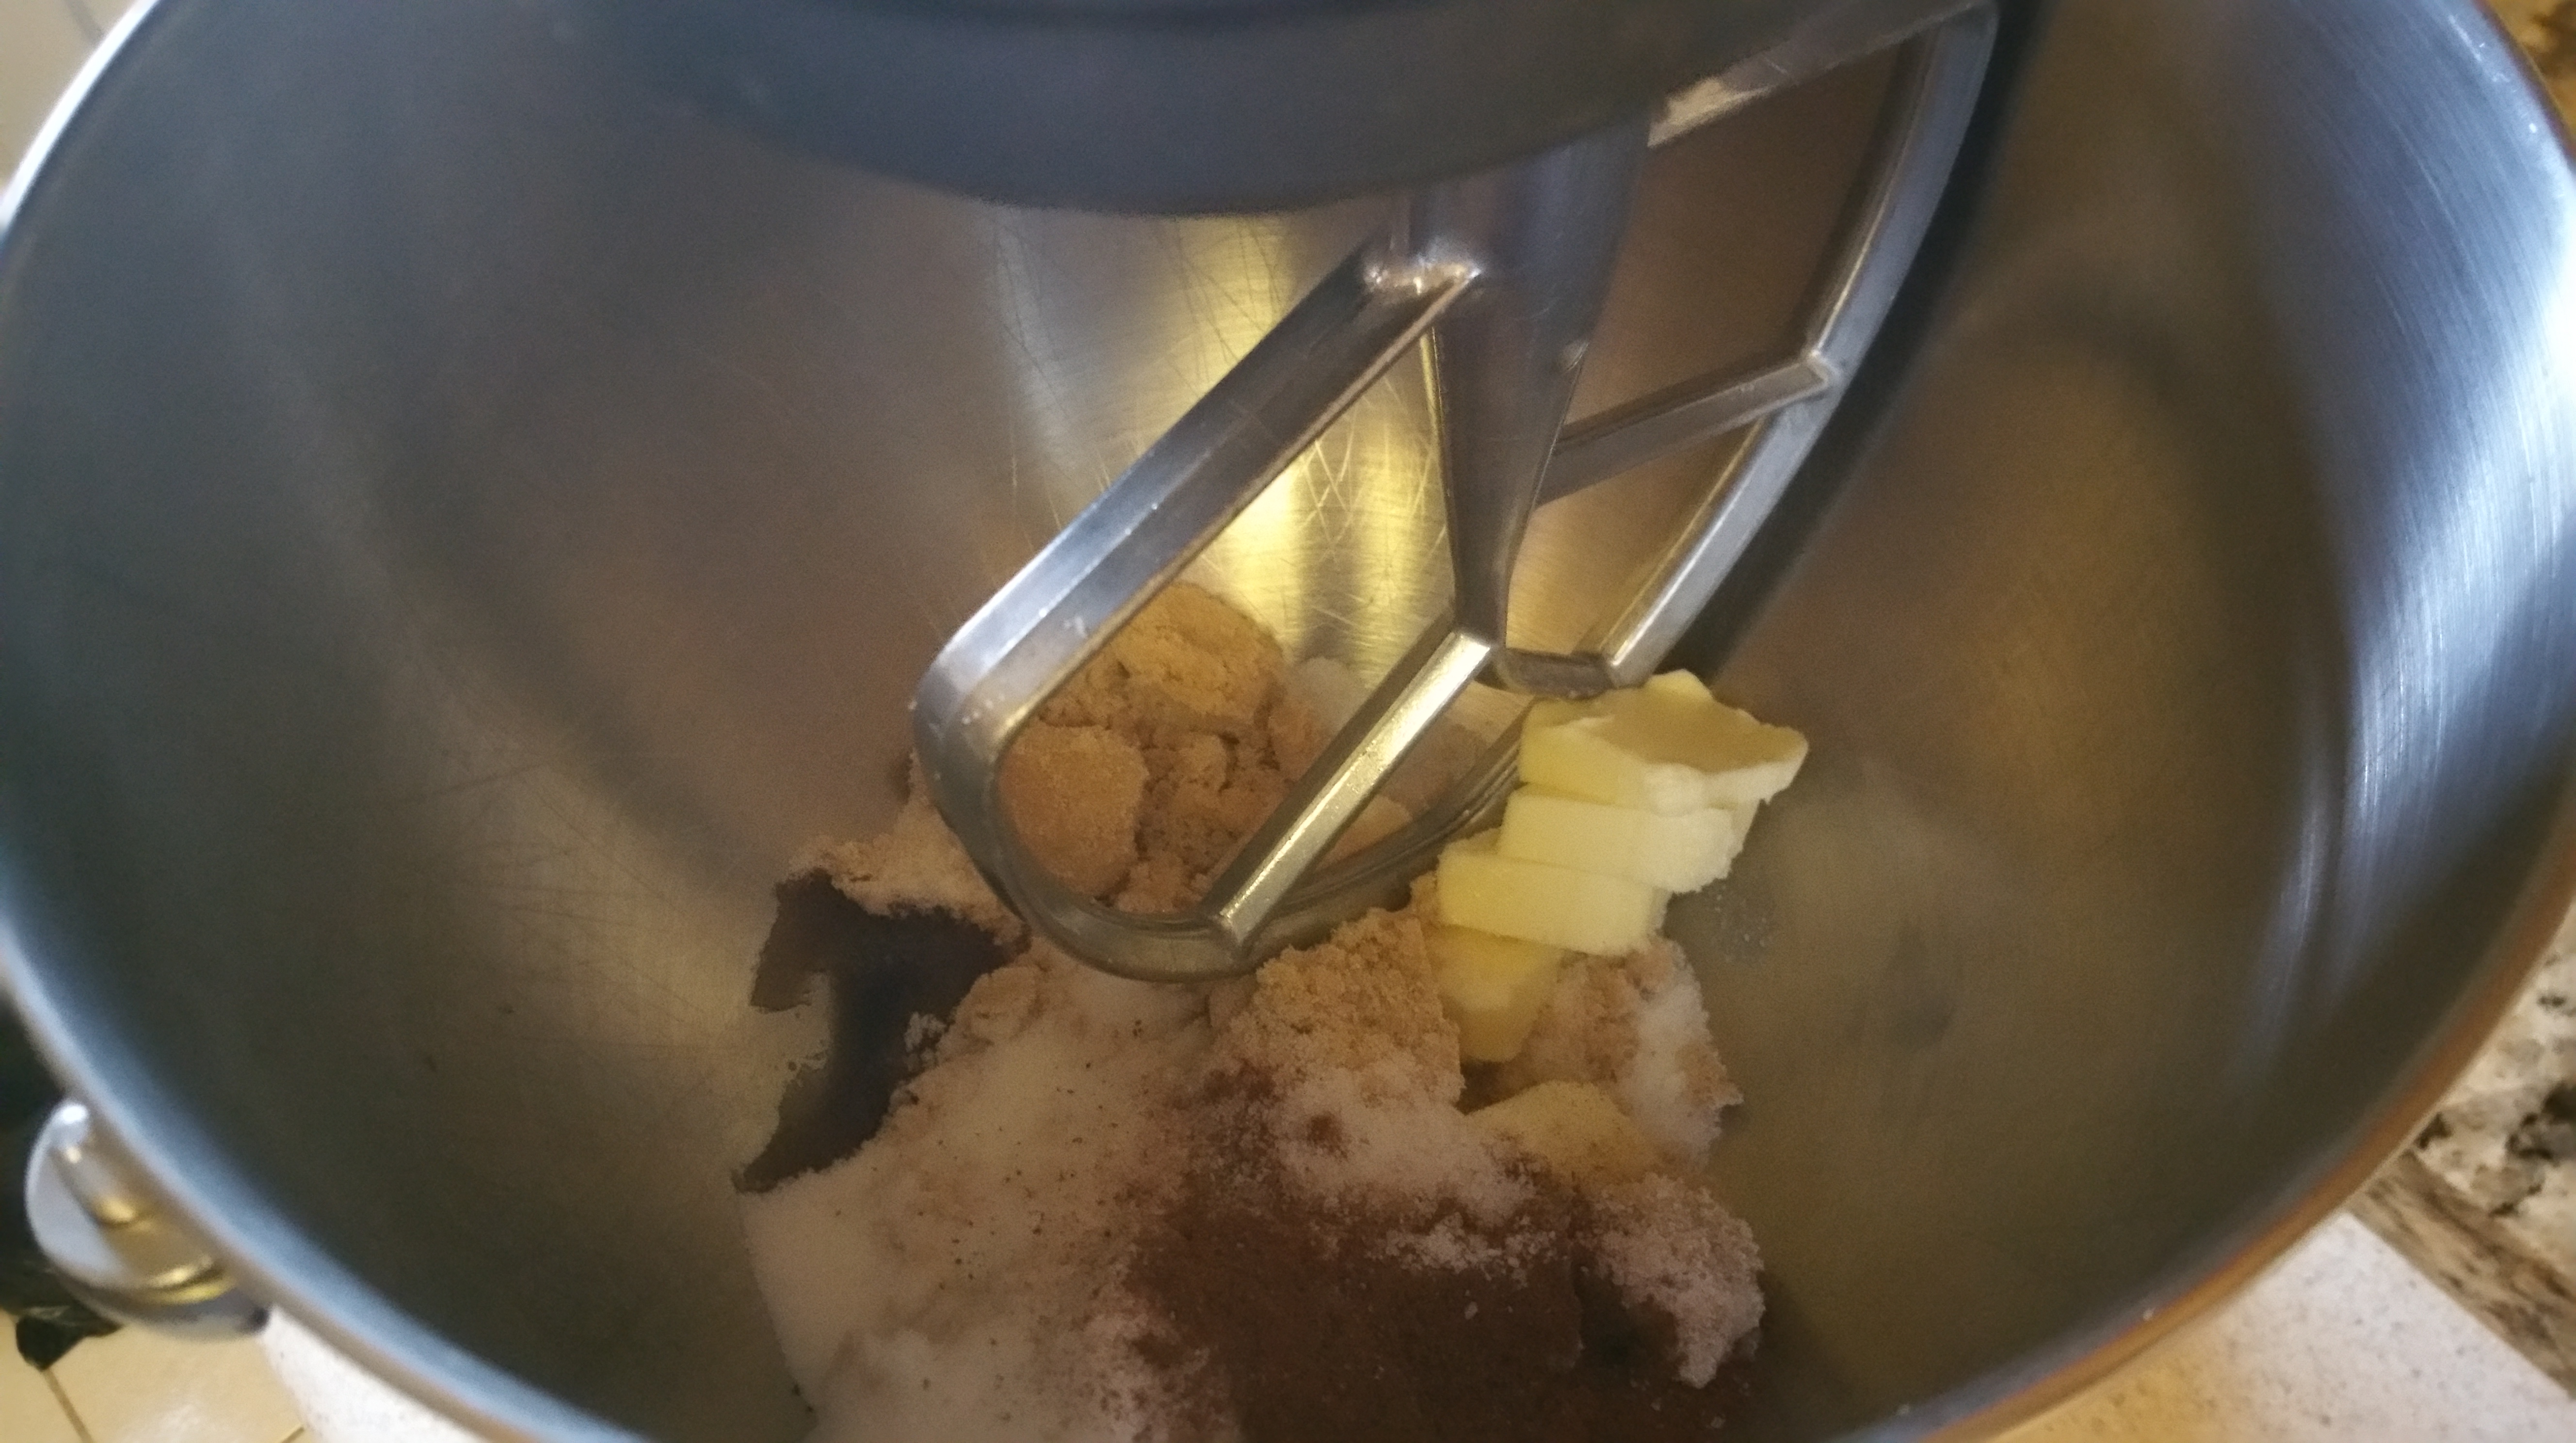
Combine the butter, shortening, brown sugar, sugar, vanilla, cinnamon, and salt, and beat until smooth and creamy.

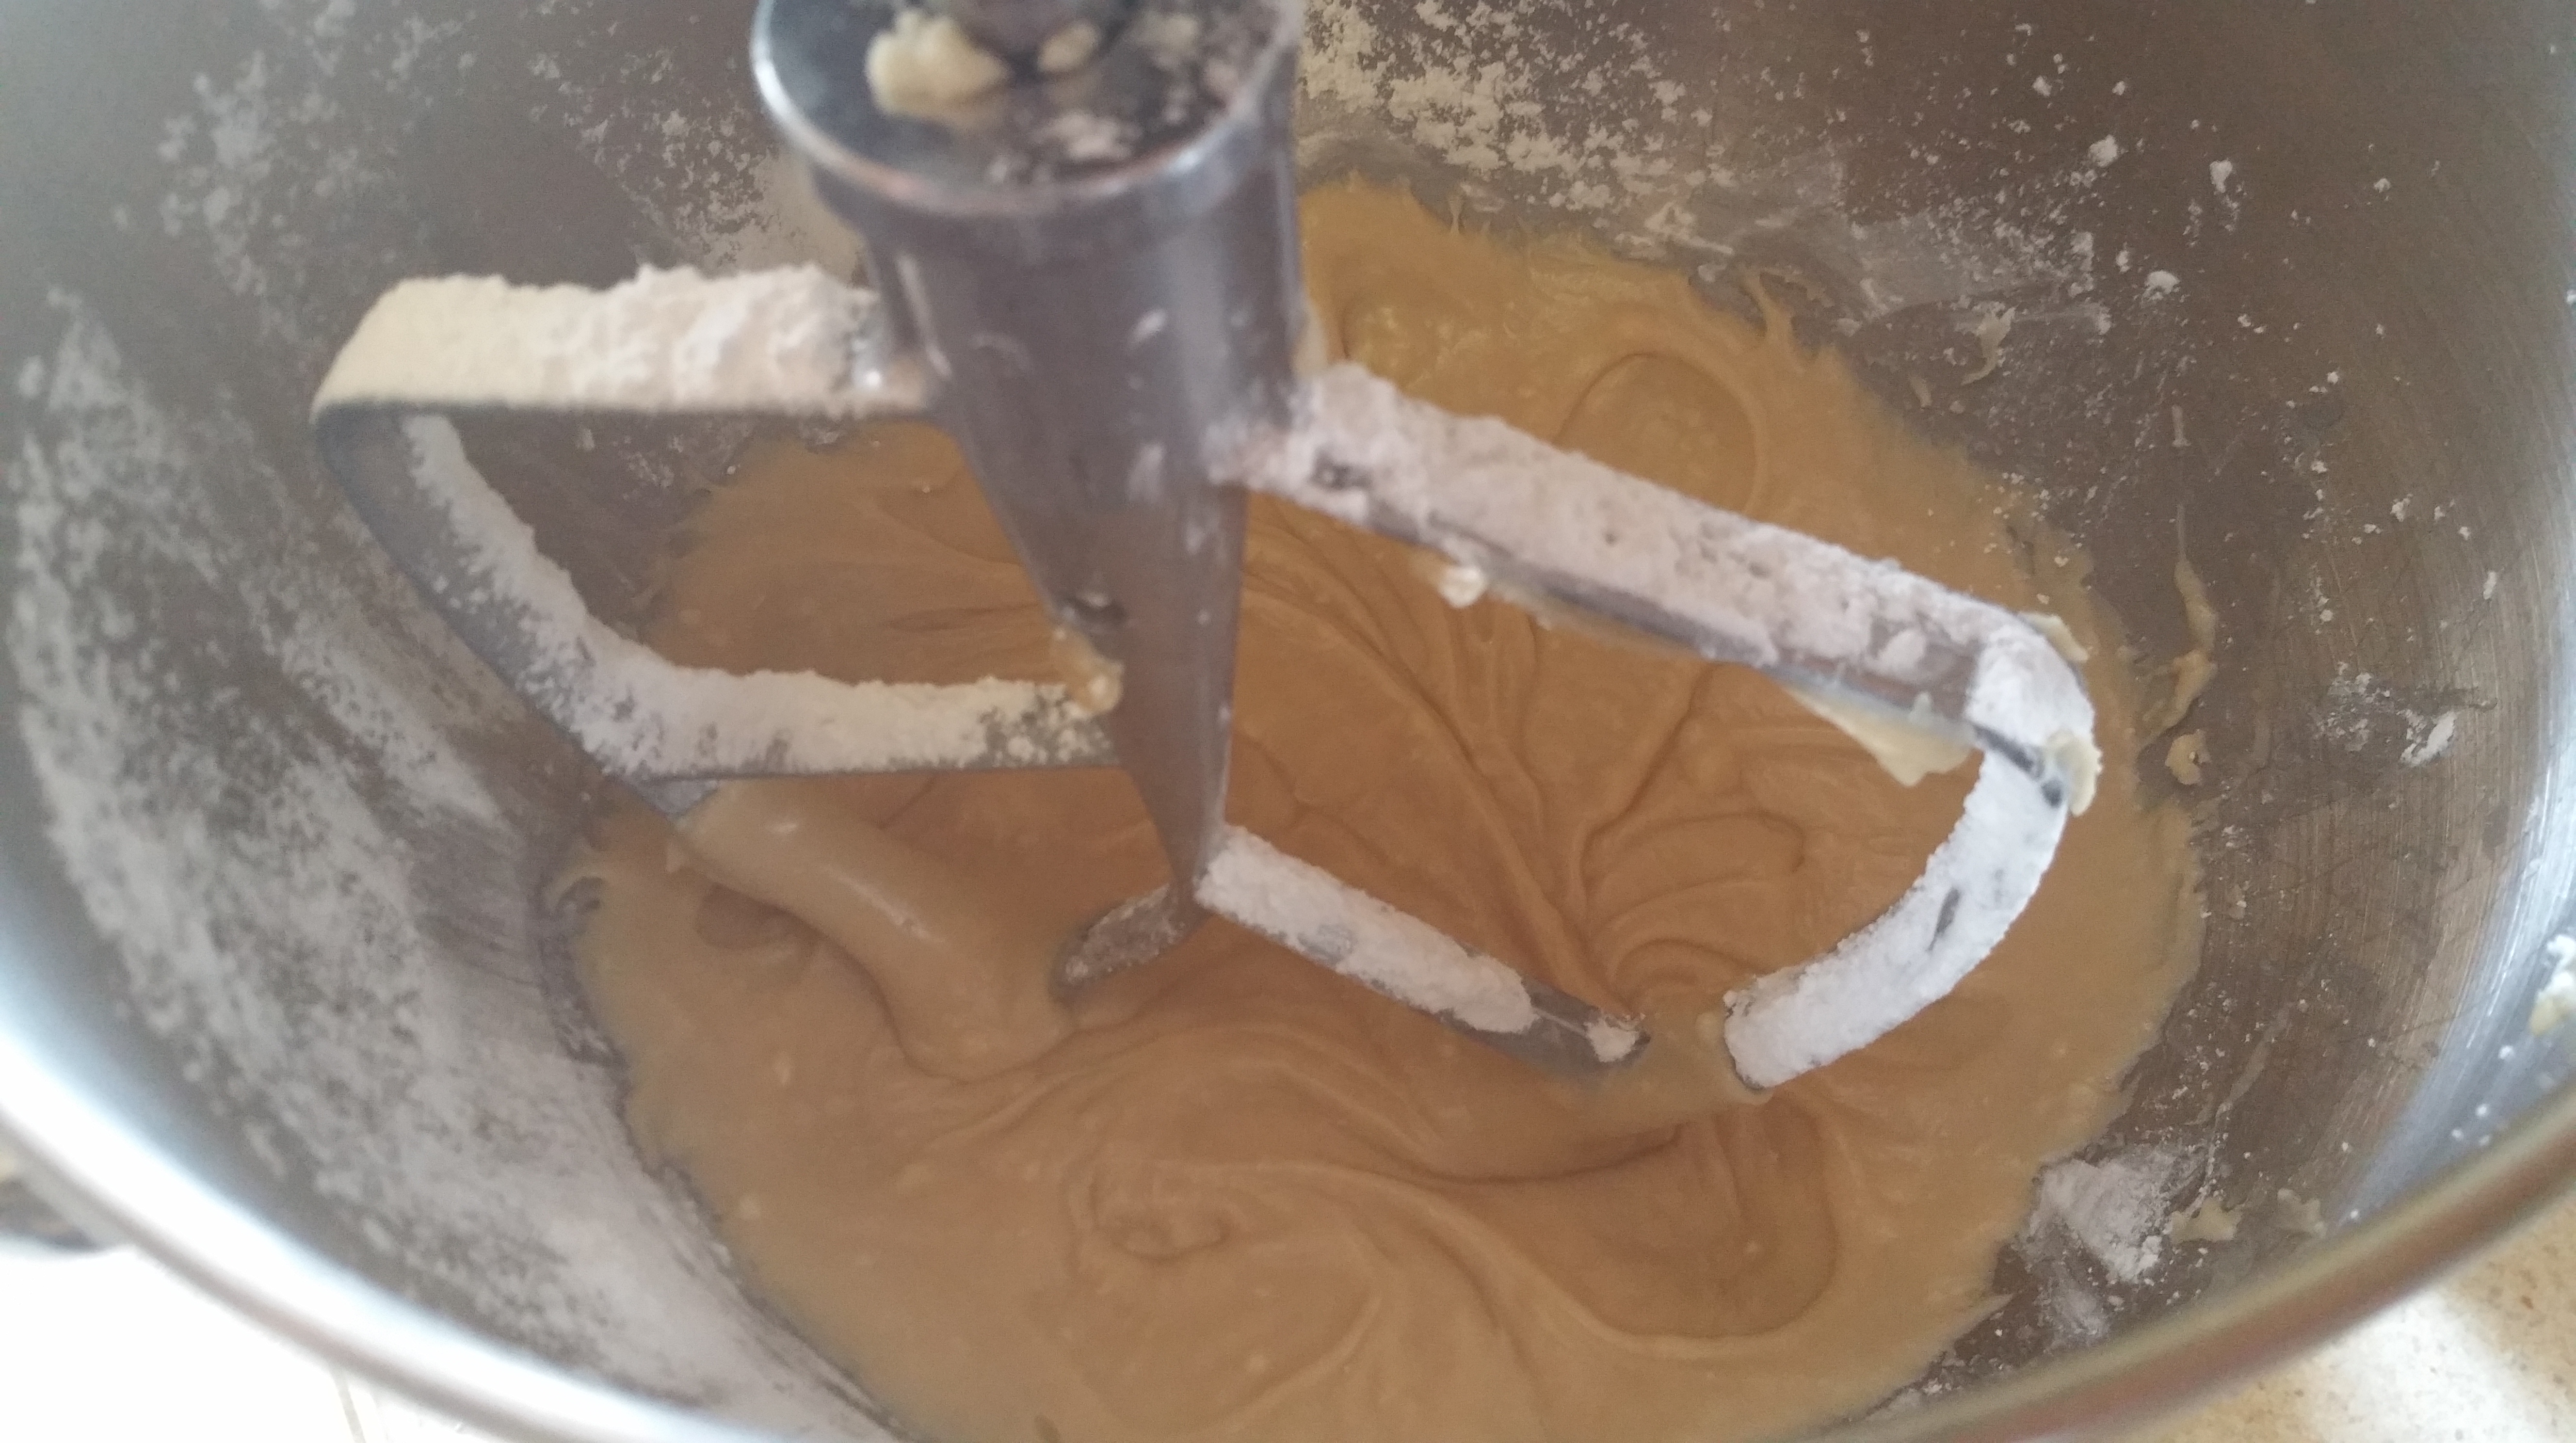
Add the egg and beat until well combined, scraping down the bowl as needed.

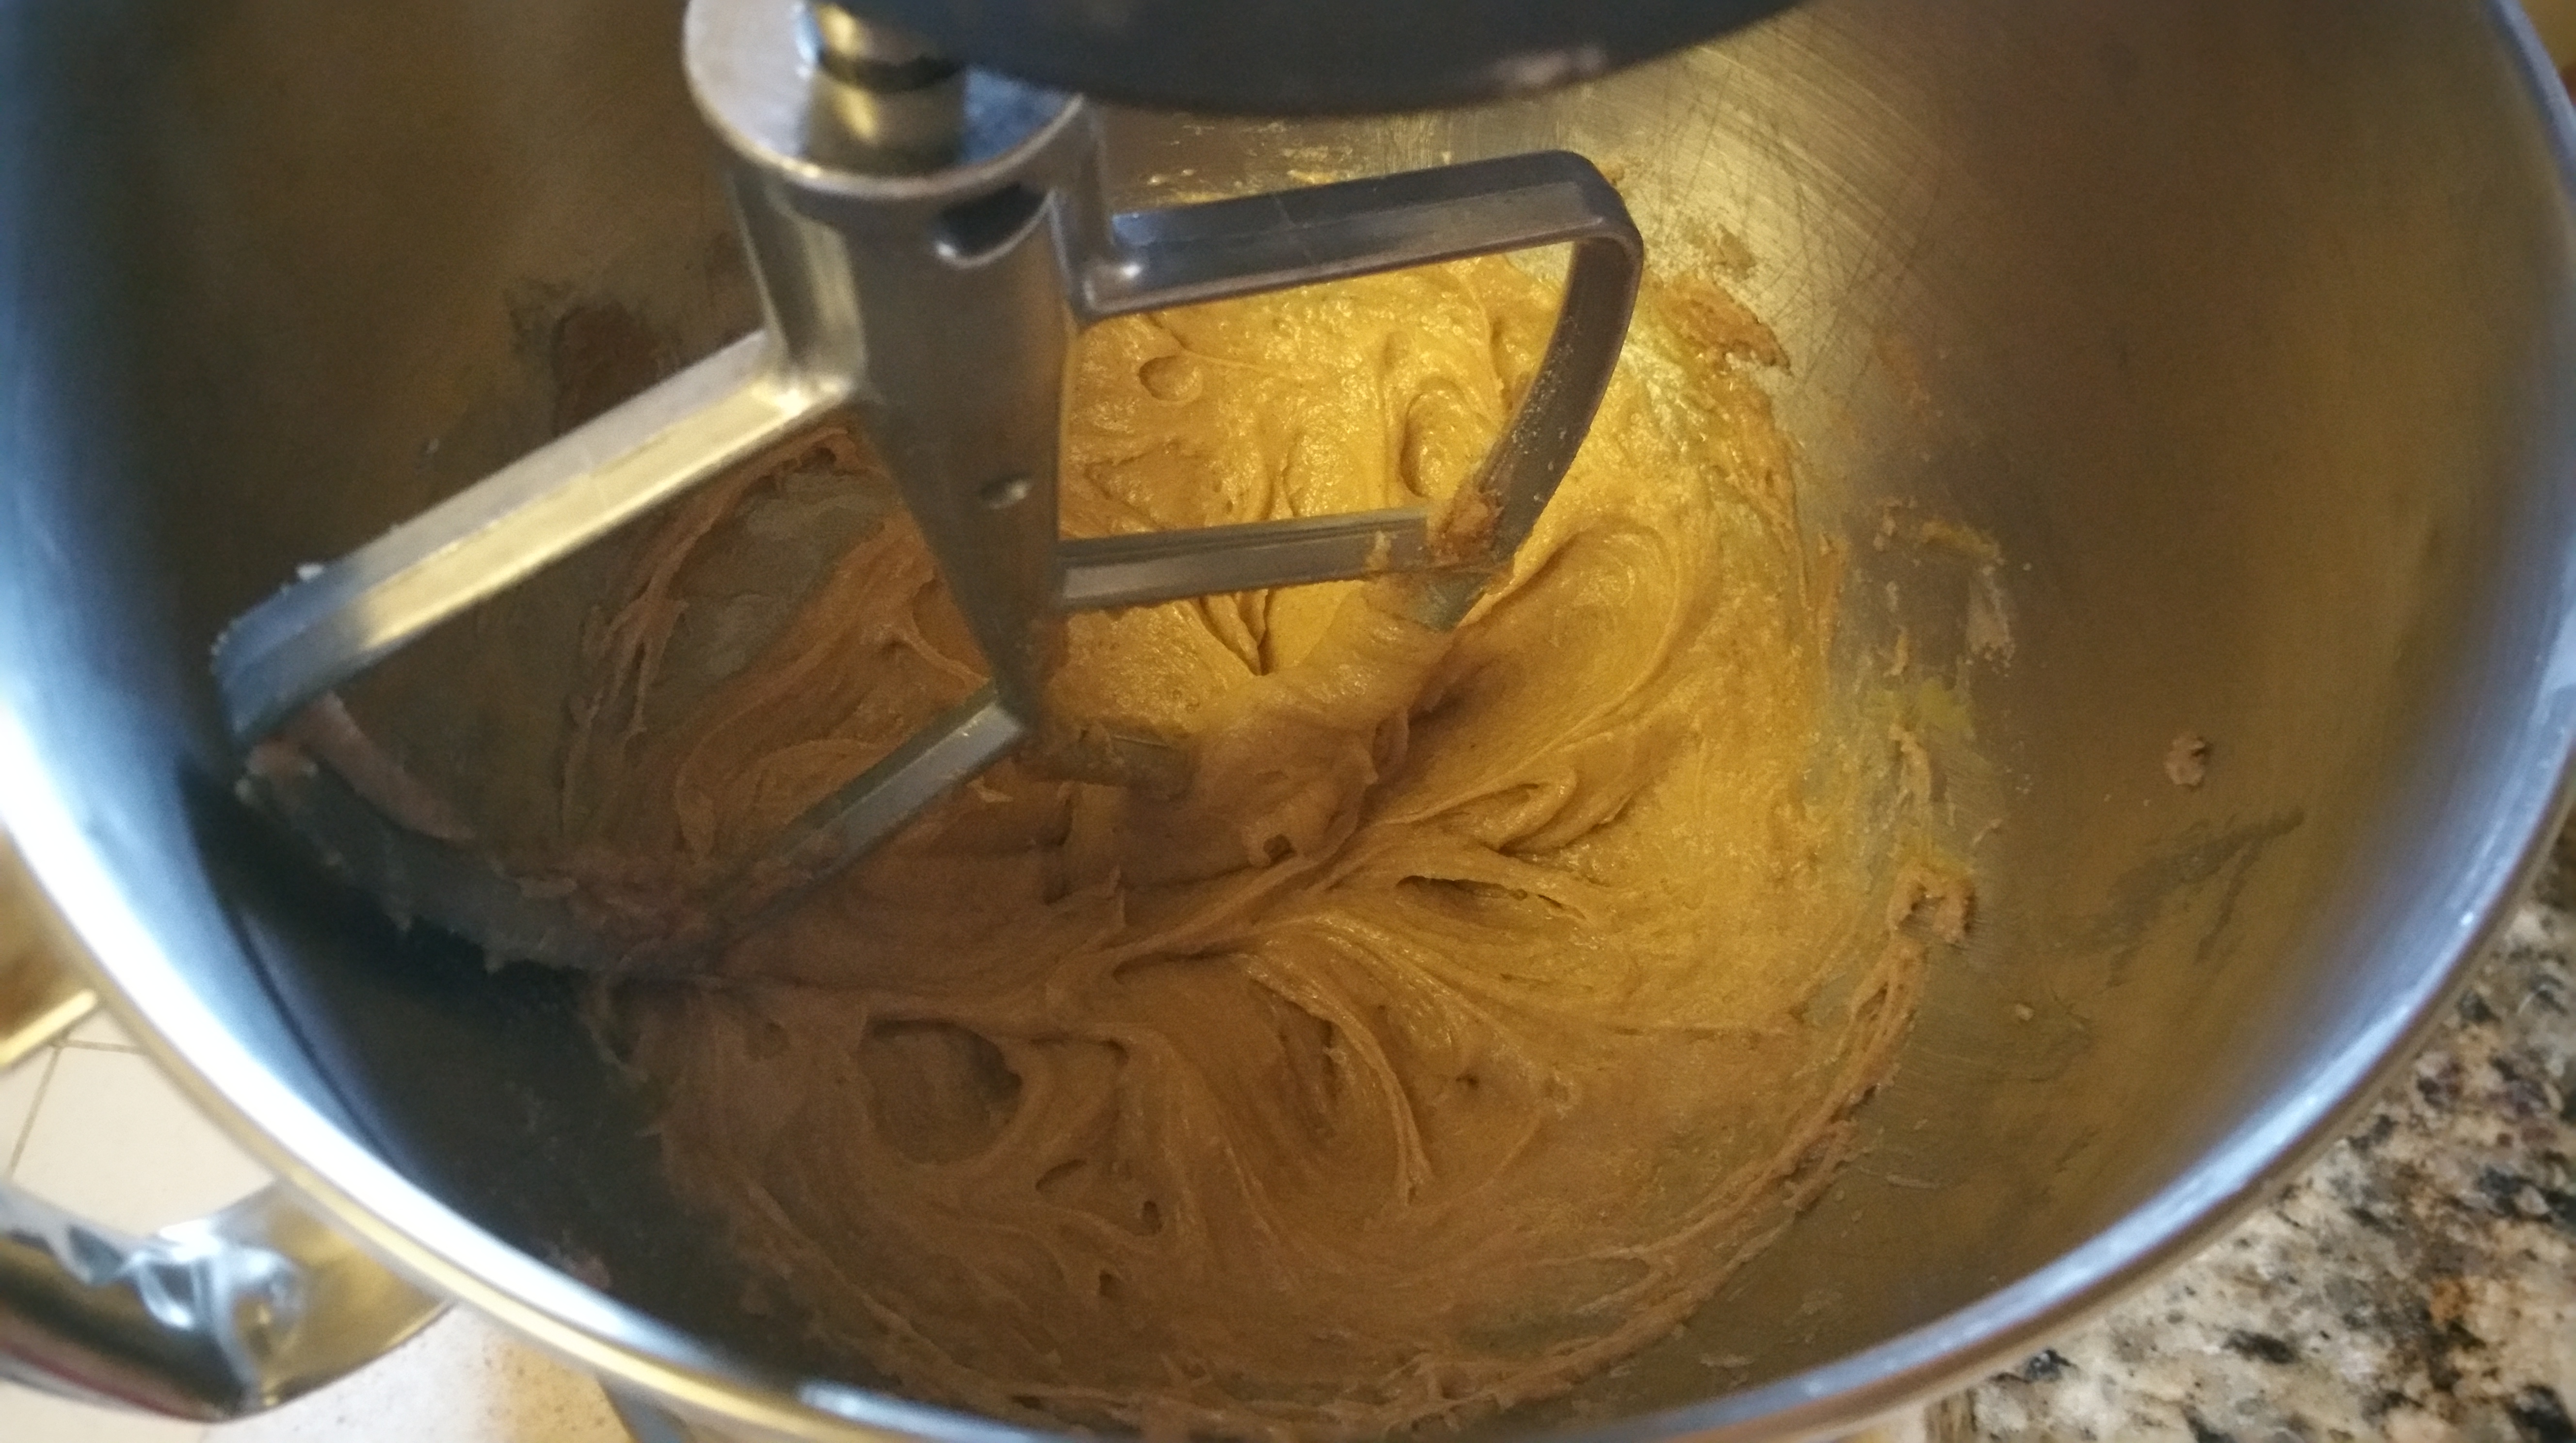
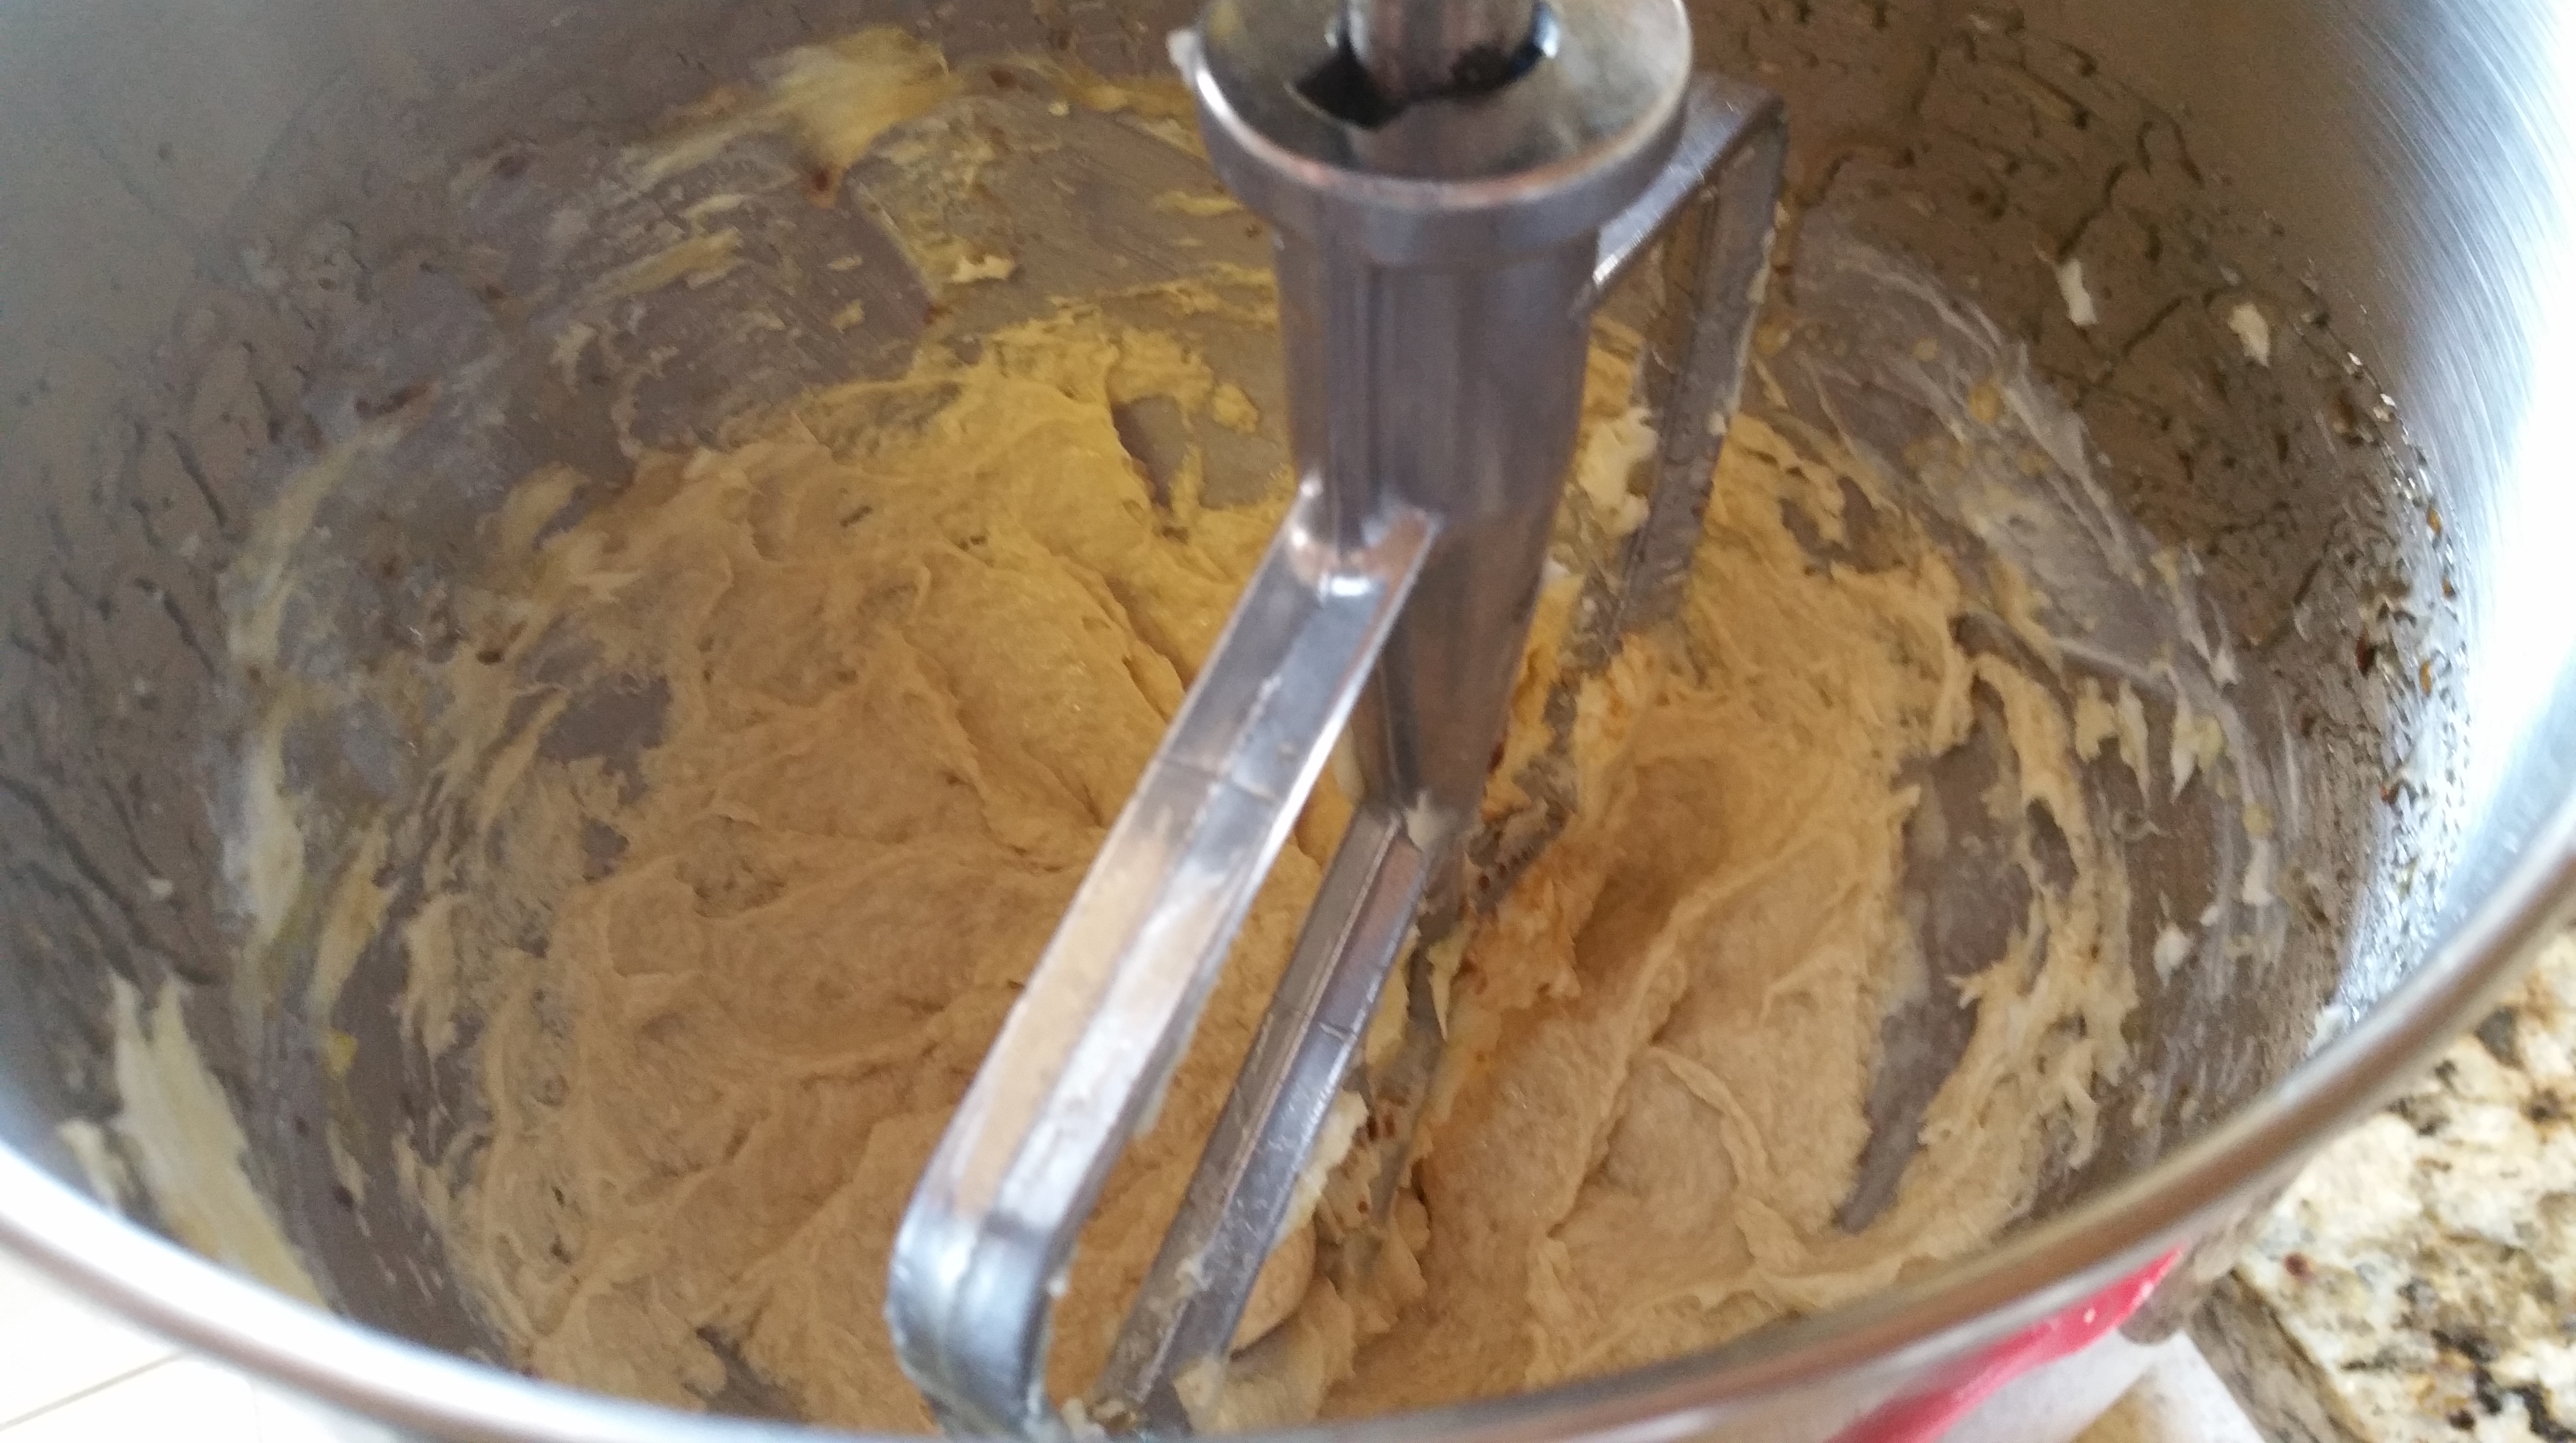
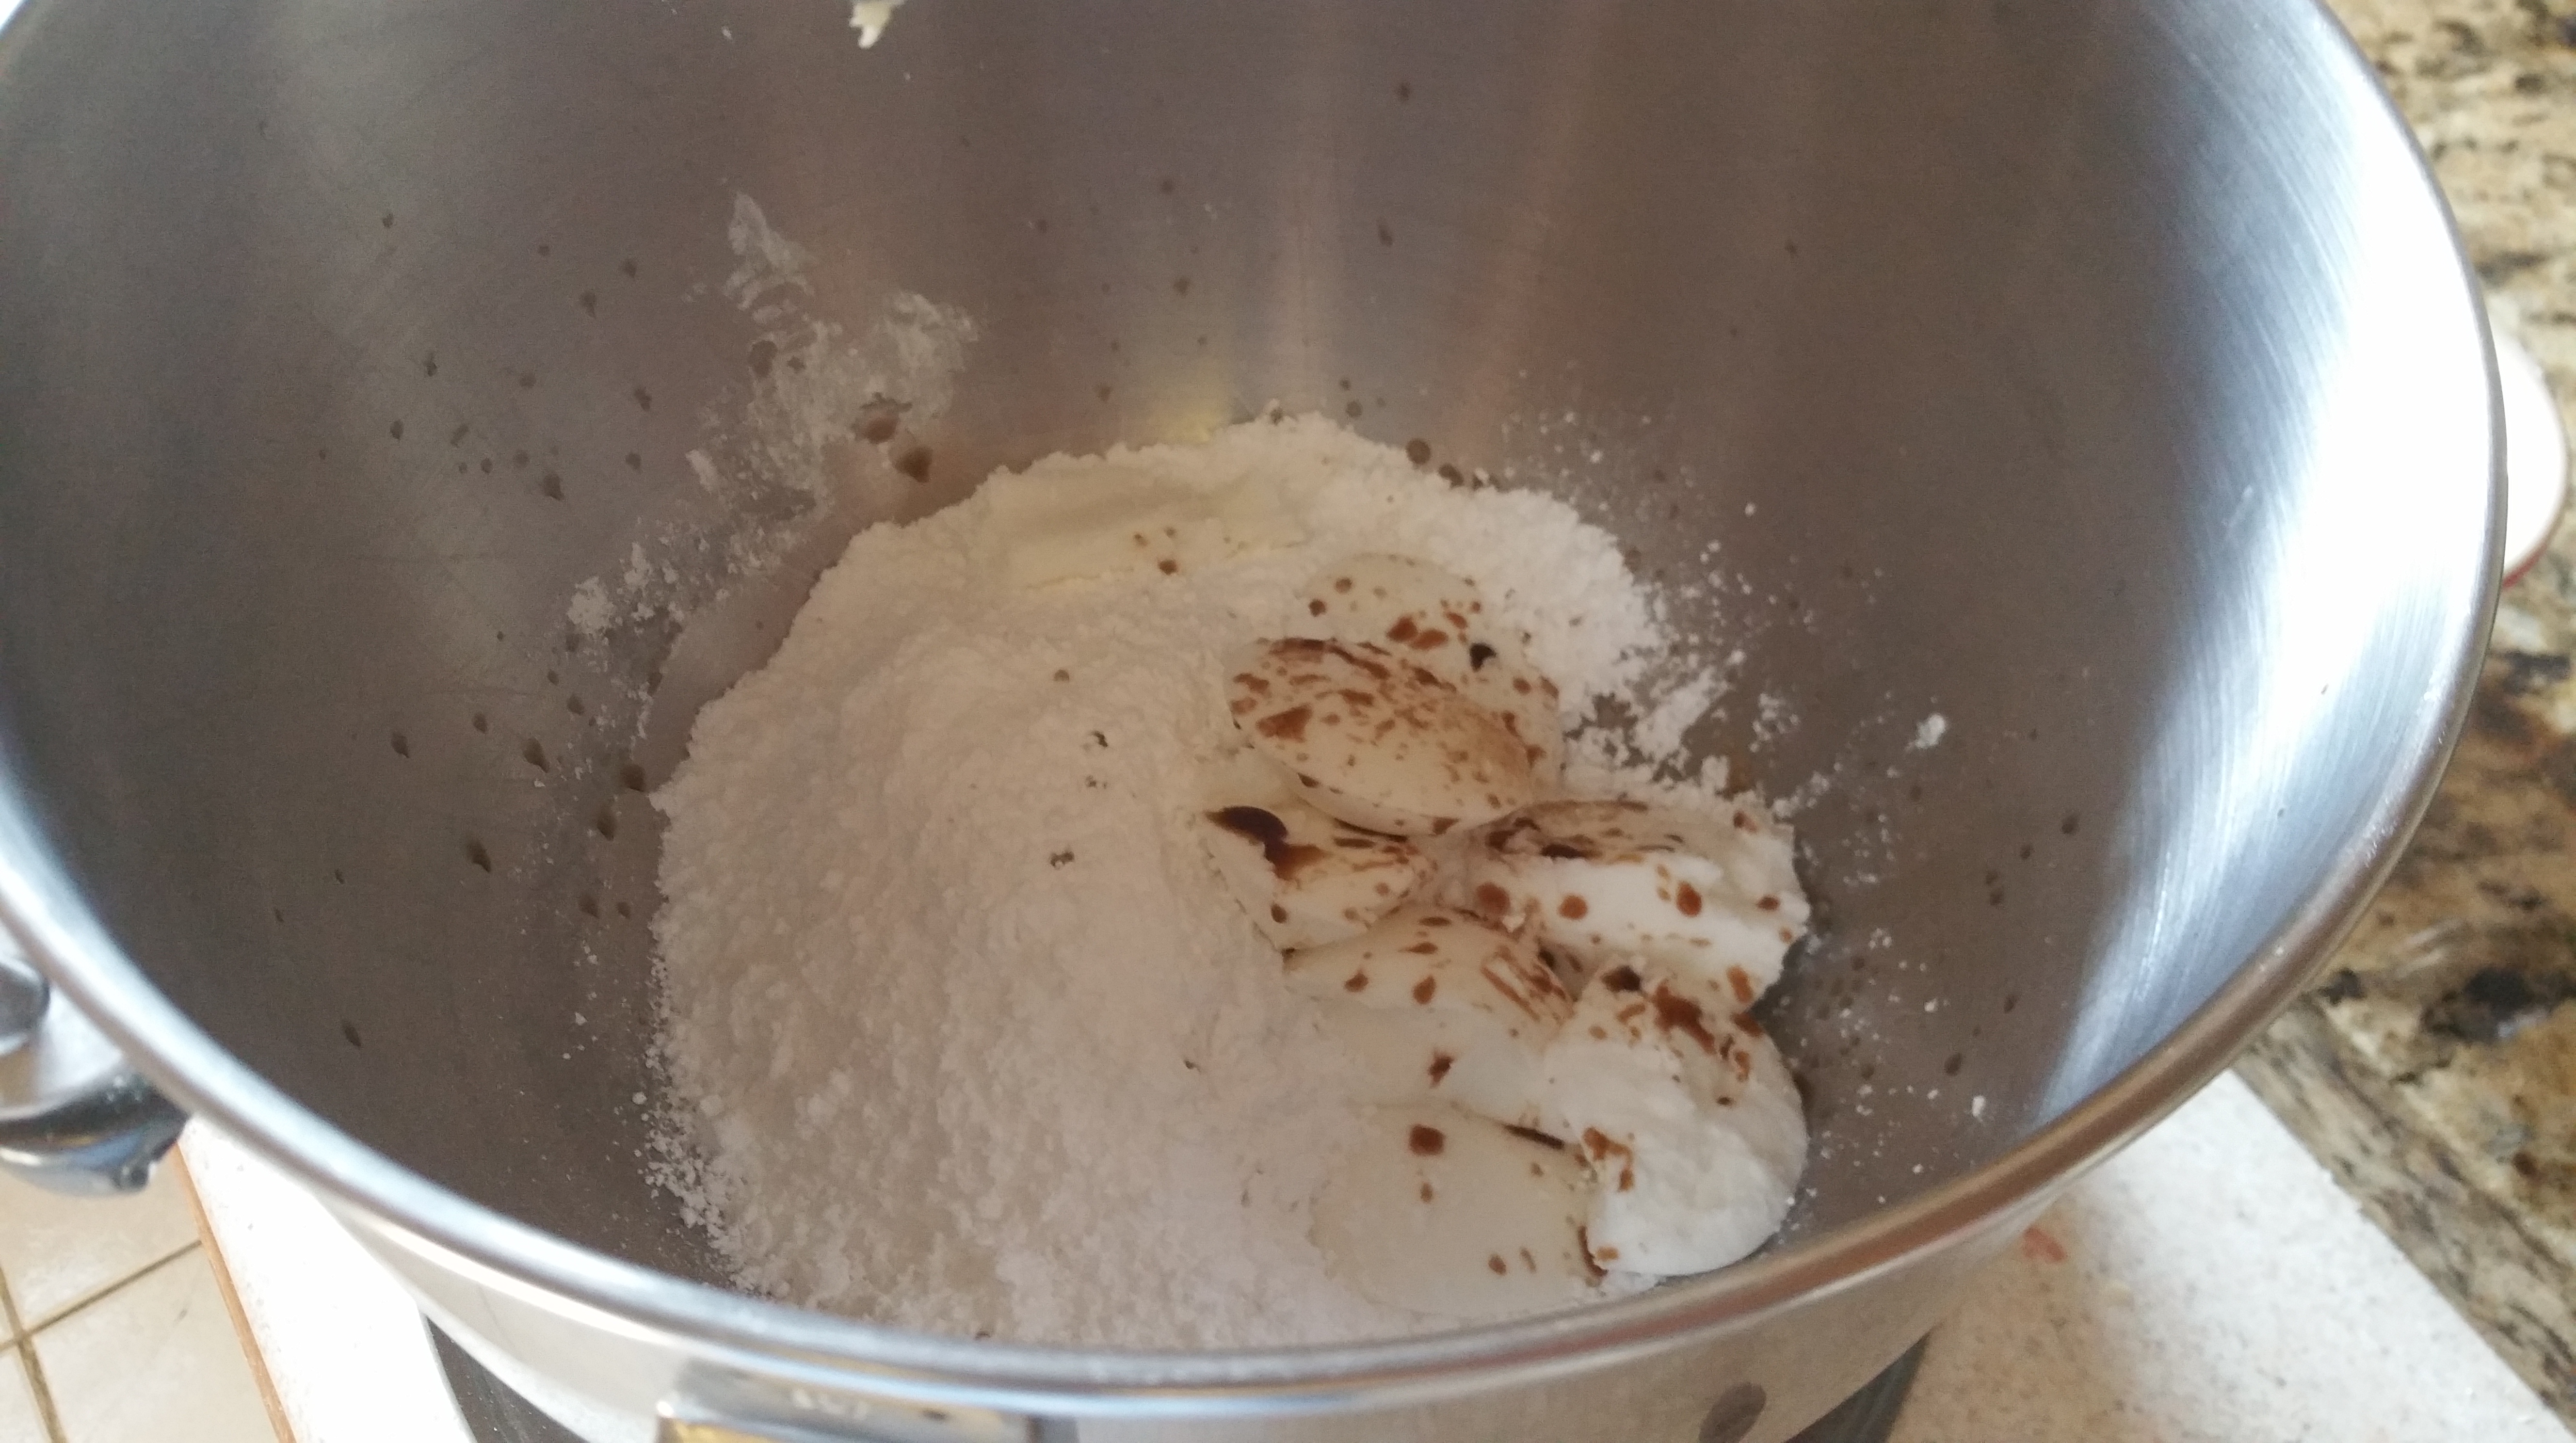
Add the flour and baking powder and beat until incorporated.

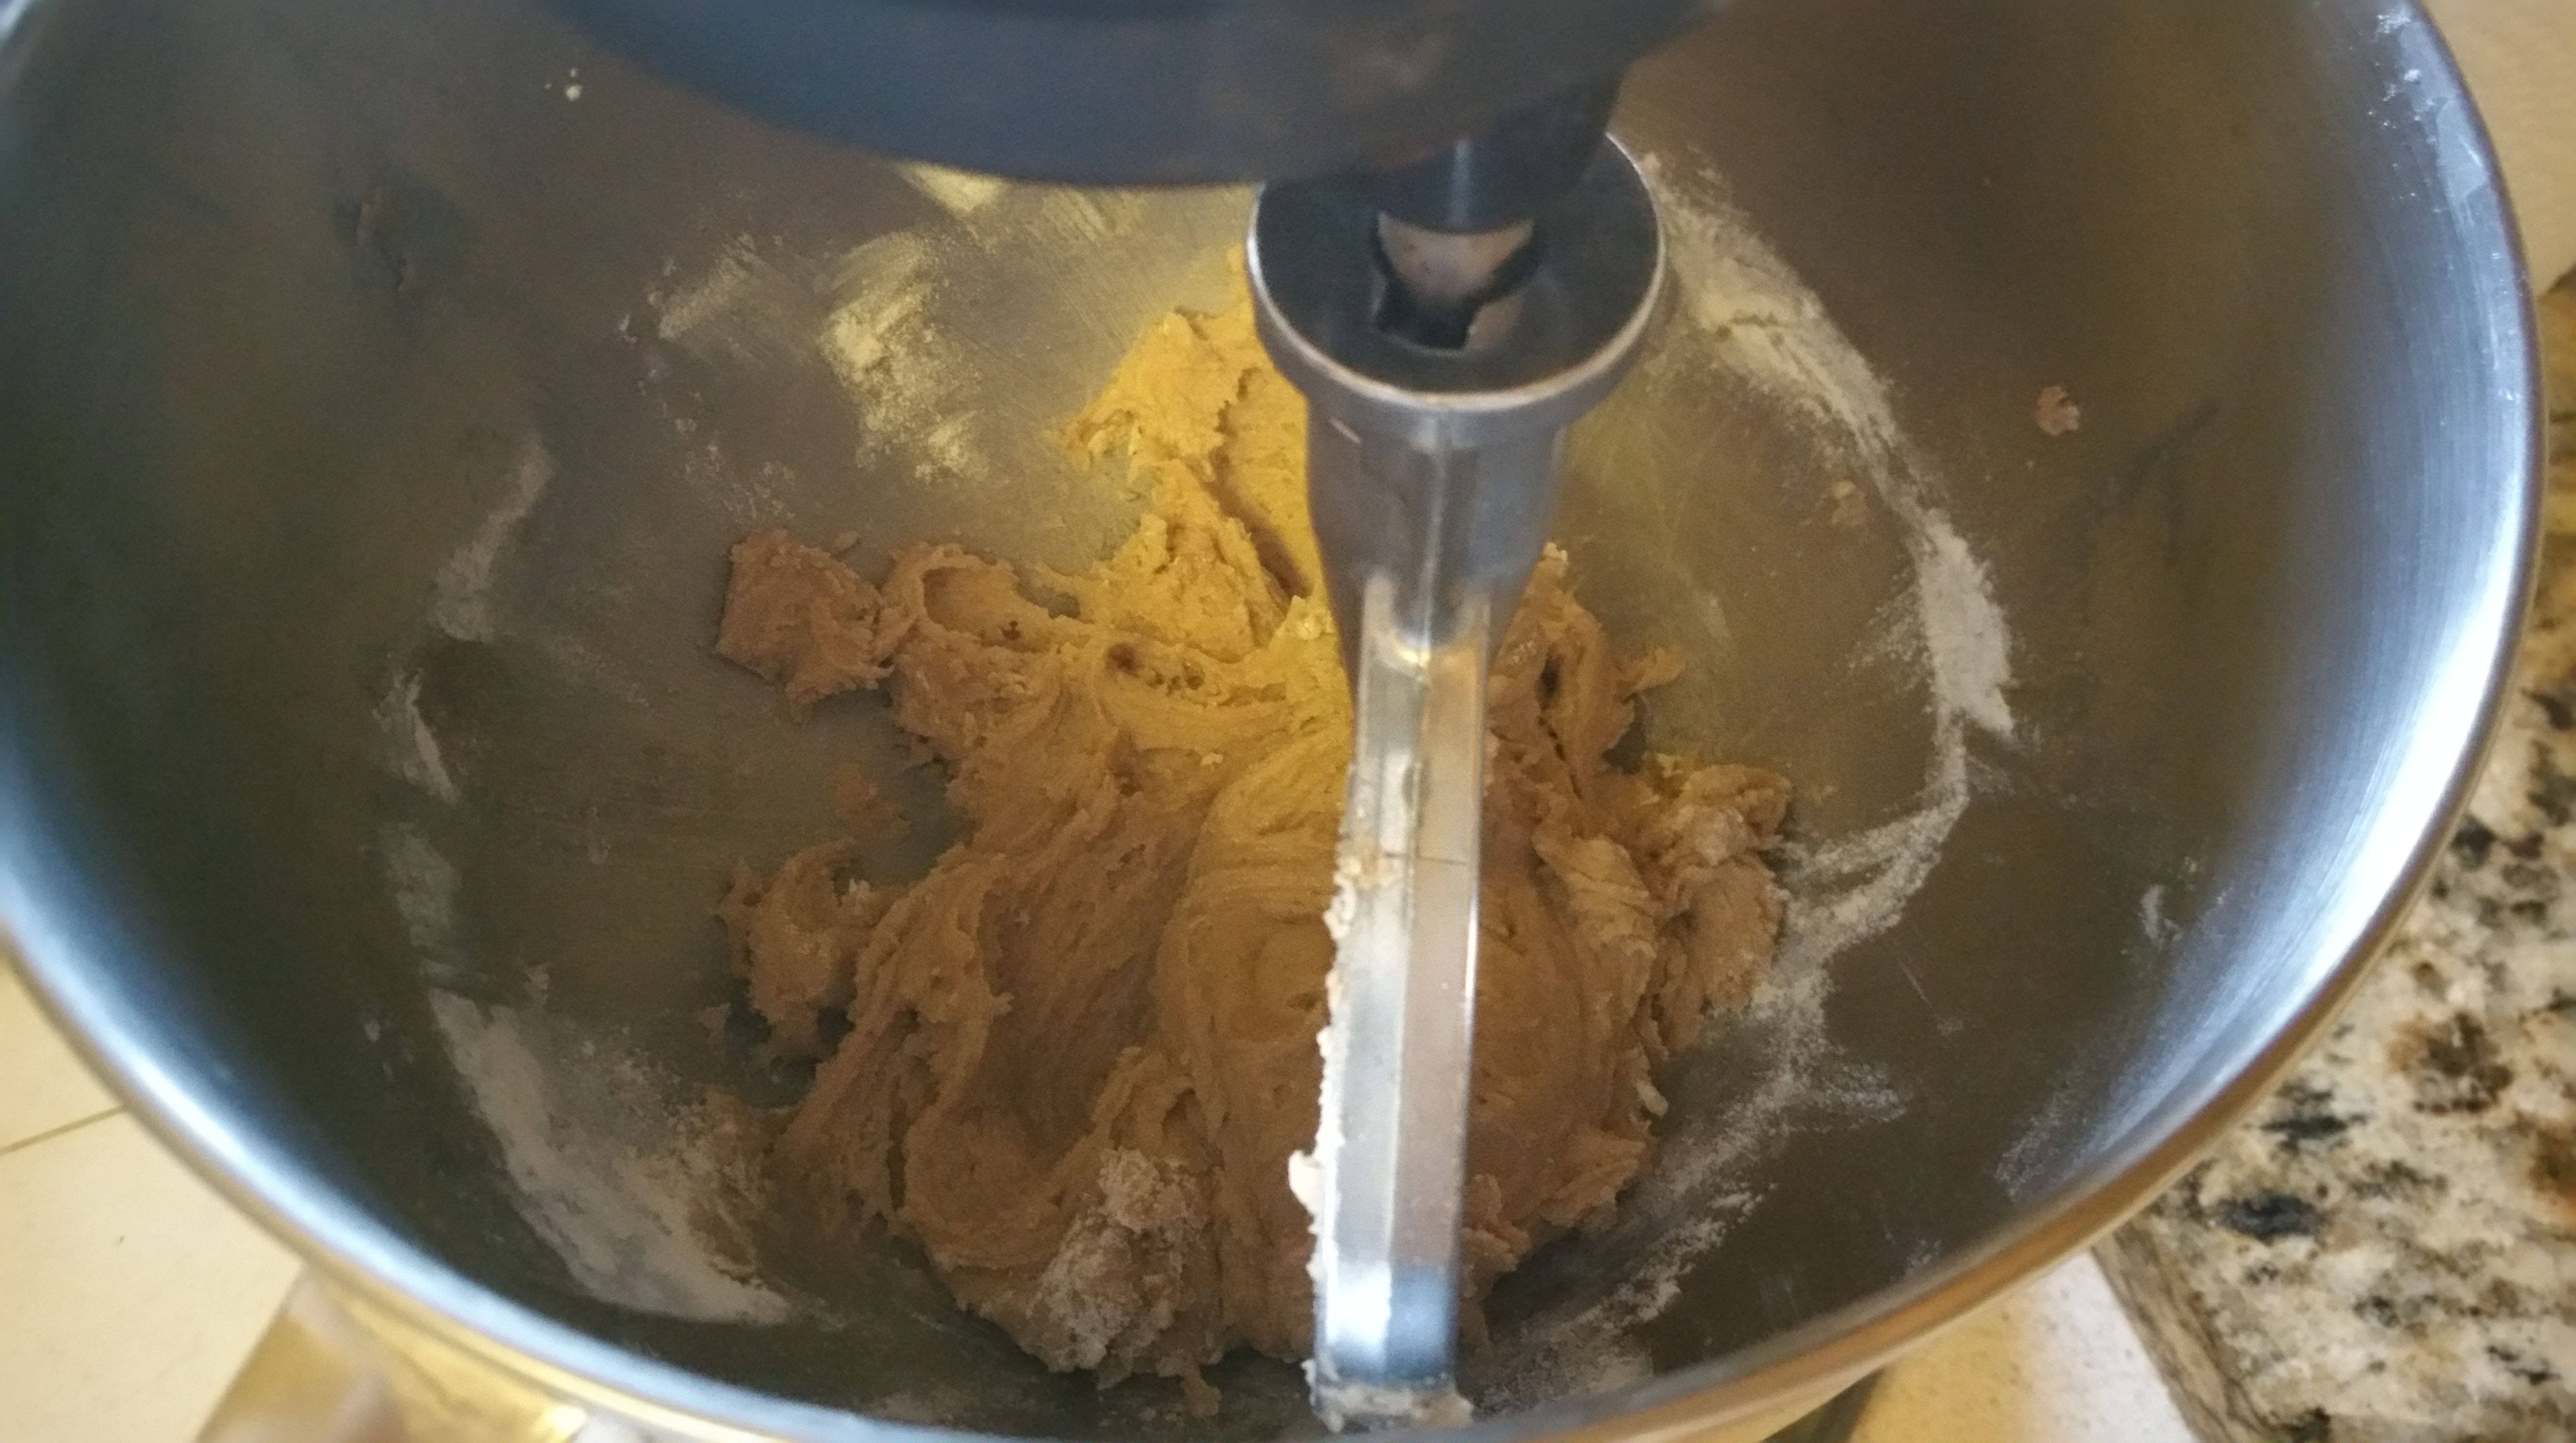
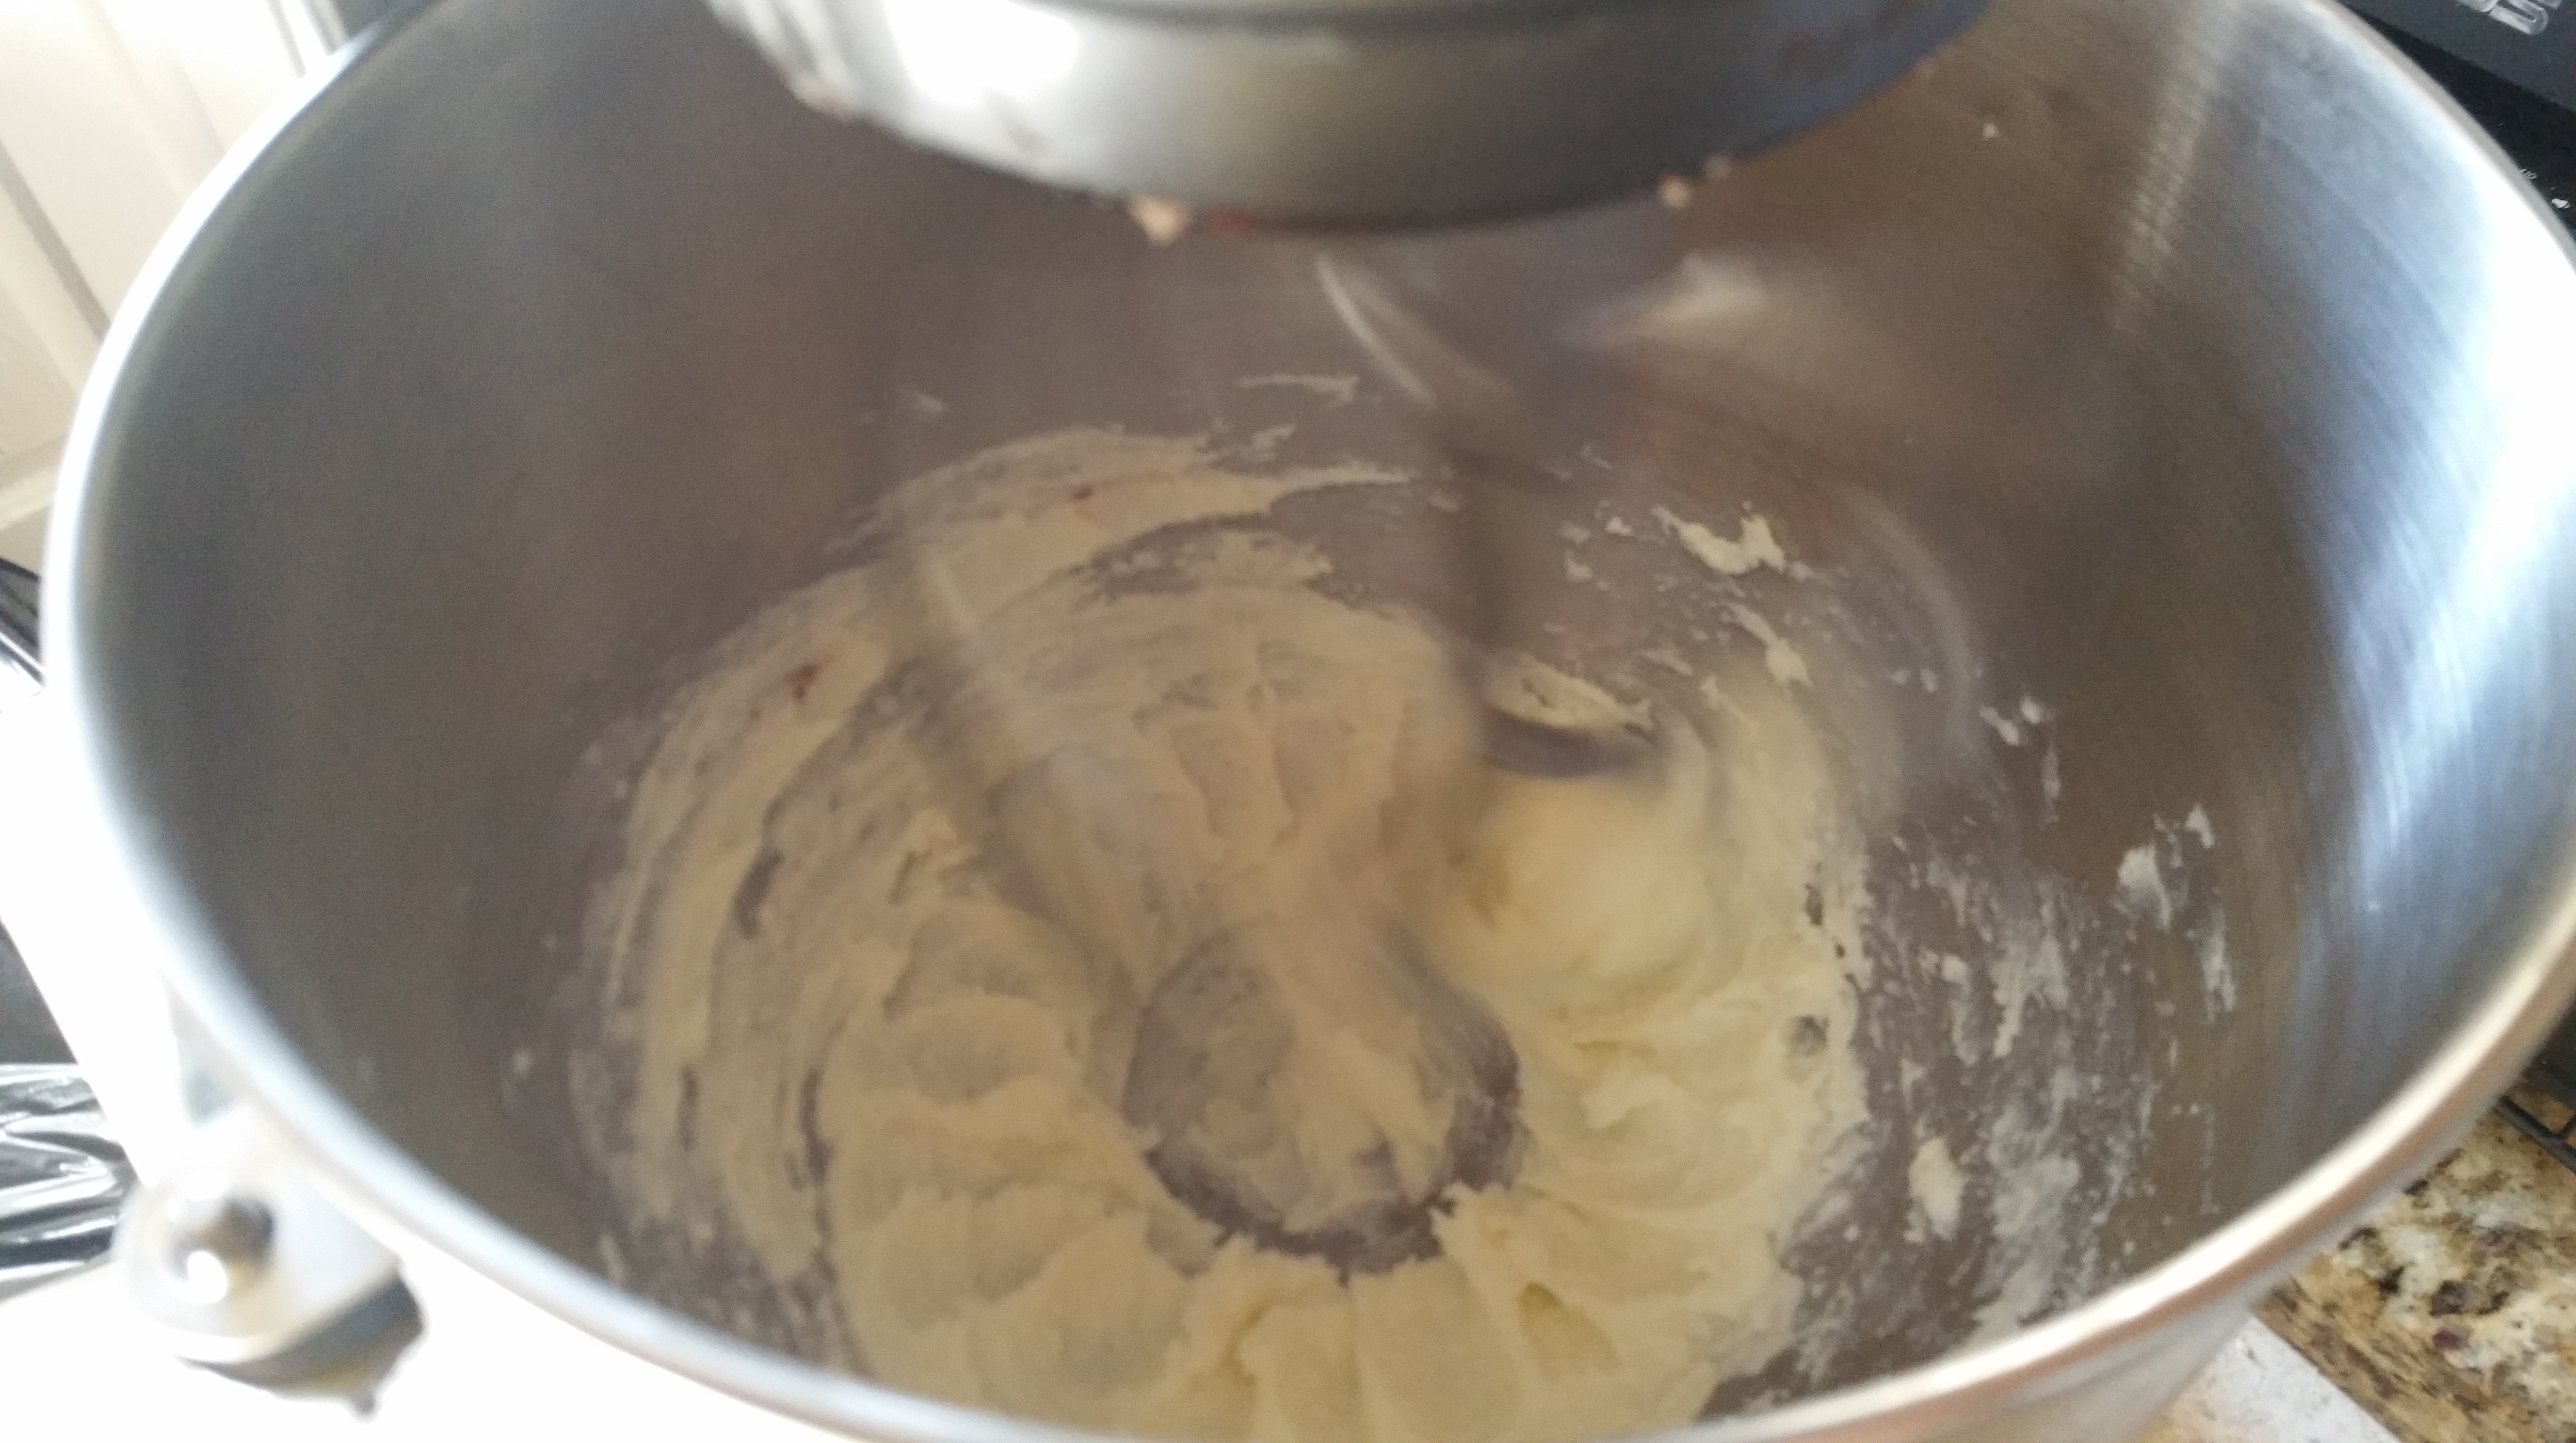
Finally, stir in the oats, pecans, and coconut and beat until well distributed.

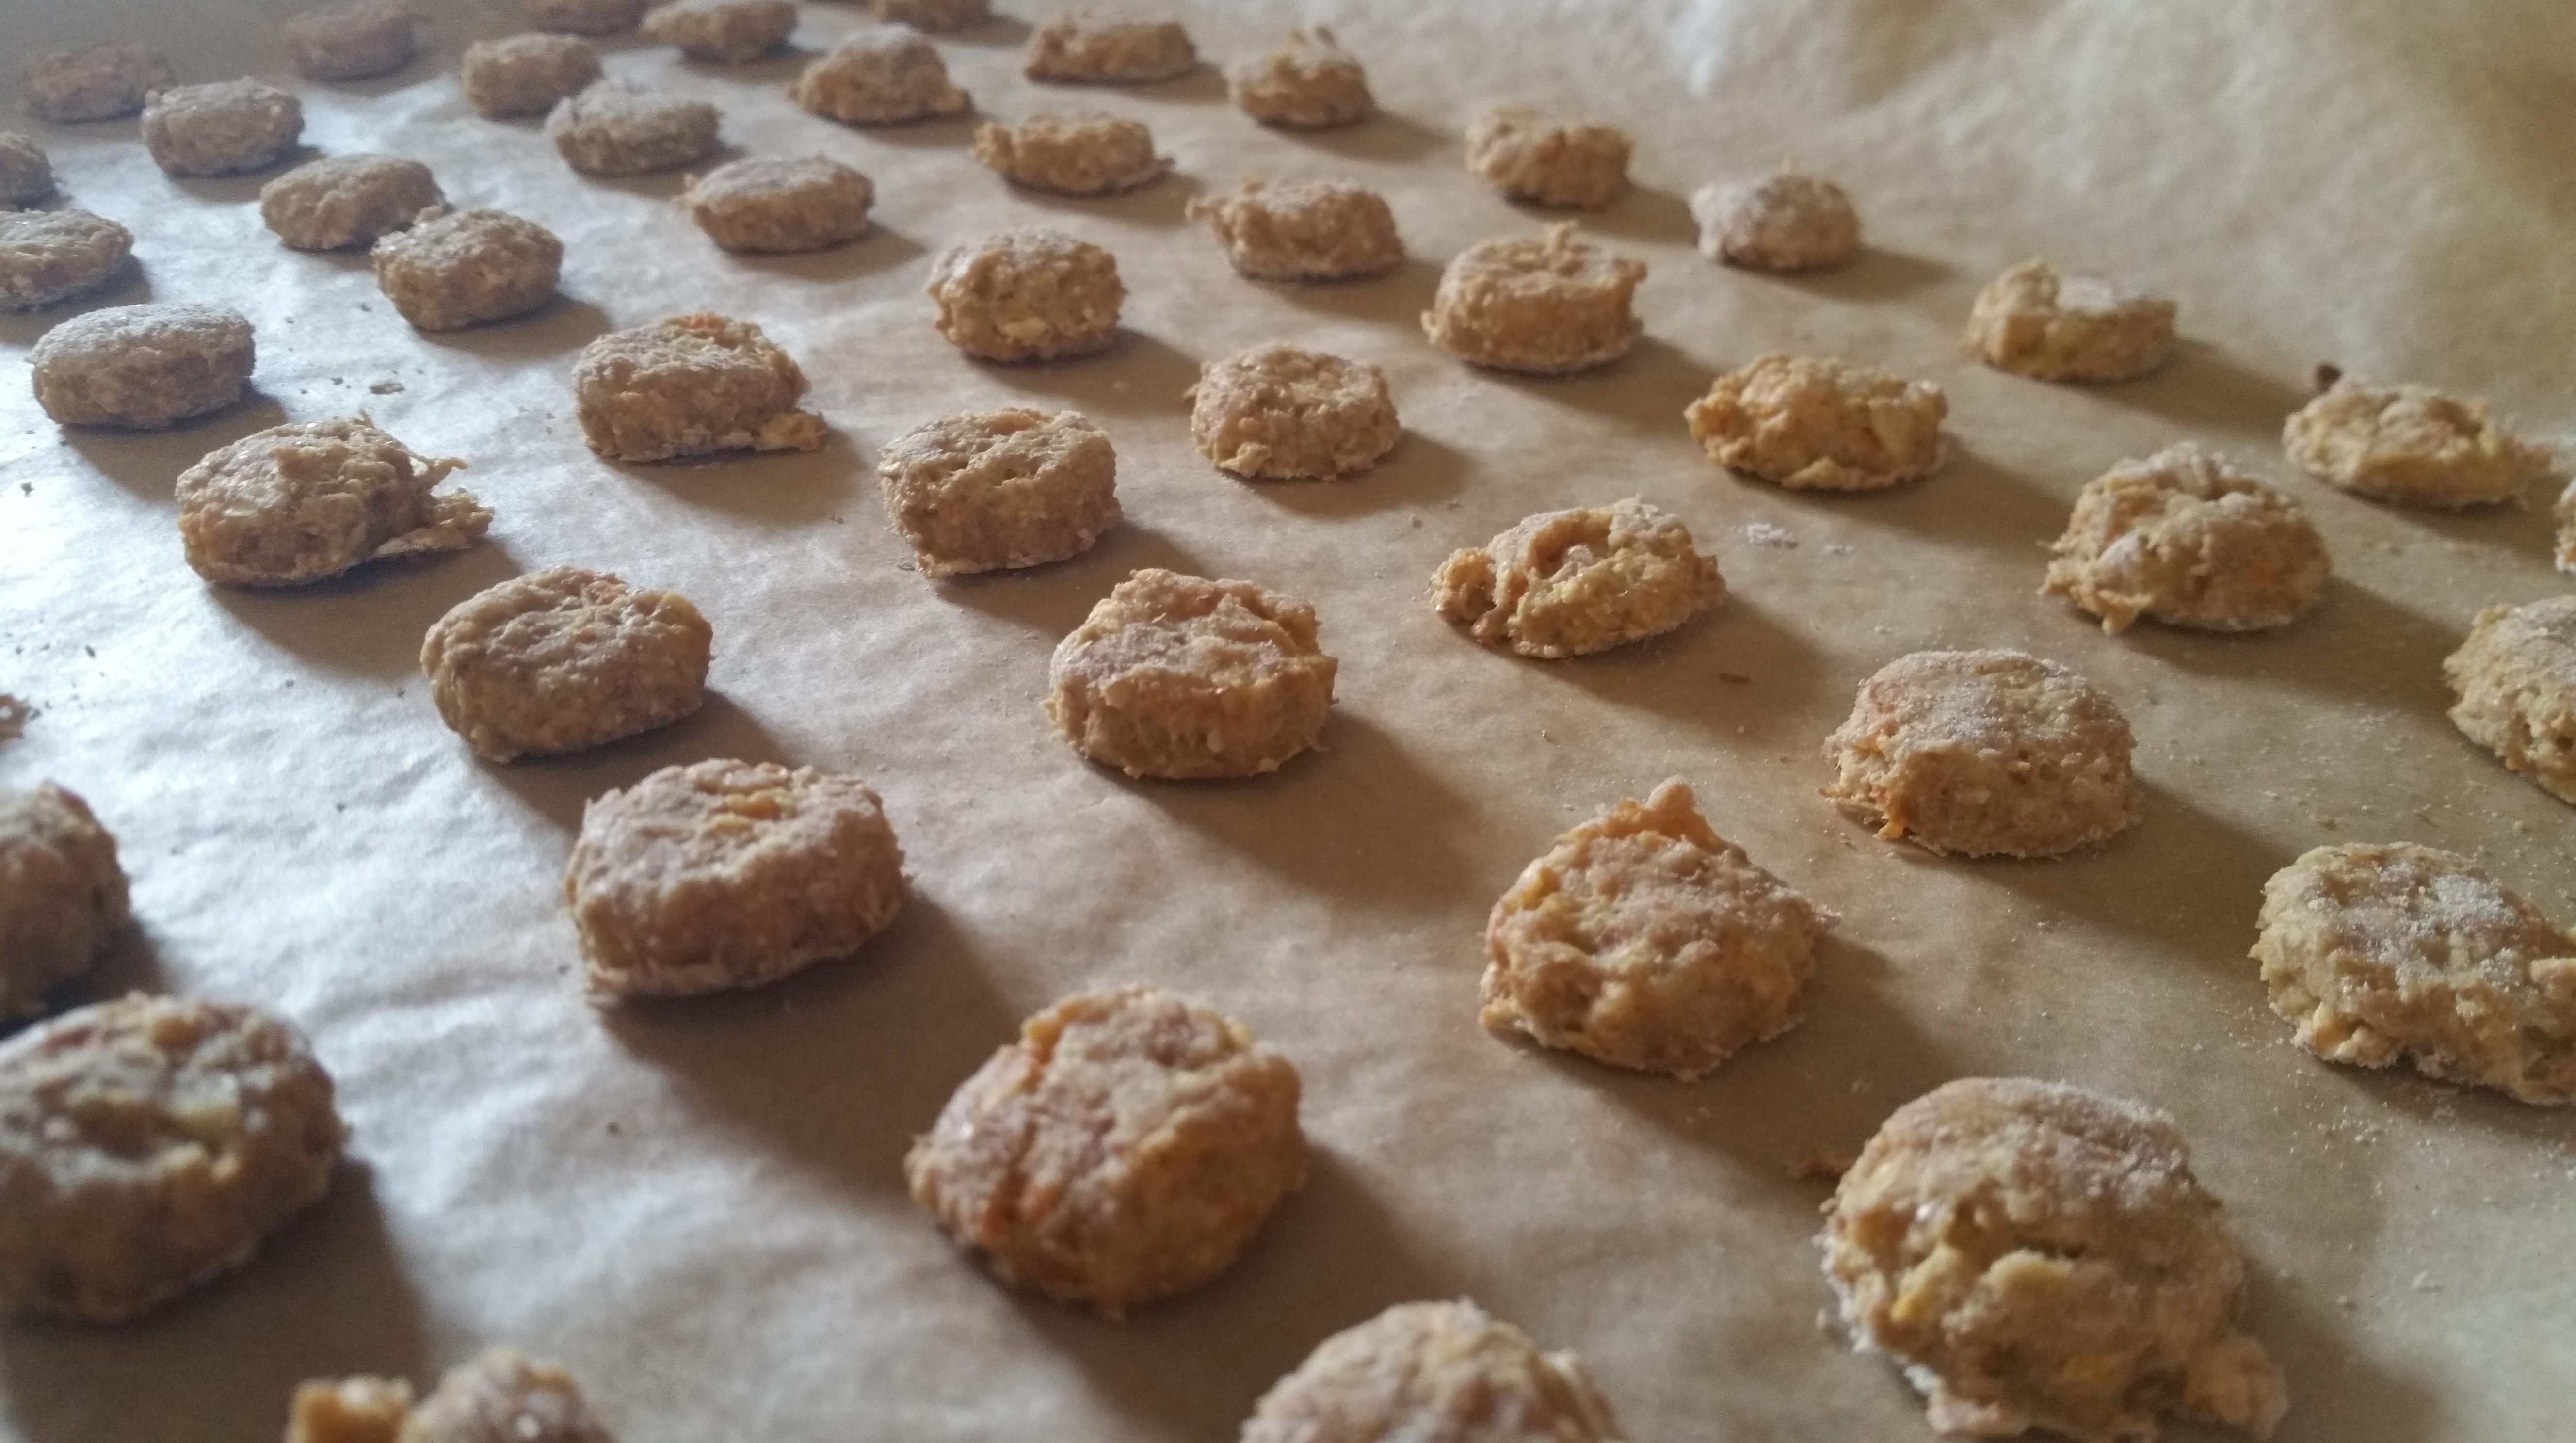
Use a small cookie scoop (mine is 2 tsp.) or spoon to drop the dough onto the sheets. I got three dozen this way and placed 18 per sheet. Gently press the cookies down with fingertips to flatten.


Bake for 11-12 minutes or until golden at the edges and lightly brown on the bottoms. Cool on a wire rack or eat them warm because YES.

So yes, I’ll admit there are some extra steps to this recipe, but they really are worth it to achieve all the crispy, chewy, crunchy goodness here. The warm spices make them a super comforting accompaniment to any cup of coffee, cocoa, or tea. Definitely a good evening porch-sitting cookie for summer.

Ciao for now,

Neen

Honey-Vanilla Sandwich Cookies with Vanilla Creme (and Their Peanut Butter Buddies)

17 Jul

Often, my recipe ideas come from prepared or packaged products I see in the grocery store, because I get deeply curious about how they are made. I’ll look at the ingredients and slowly peel away the stabilizers and preservatives to get a sense of what makes up the food itself. And then I’ll try my best to give it a little makeover.

I rarely buy packaged cookies because I love to bake so much, but there are a few that Joe buys because he really likes them. I would not come between that man and his milk chocolate Milano cookies. He also really enjoys Golden Oreos. And for whatever reason, that’s what got stuck in my head this week. I think Golden Oreos taste pretty good too, but the problem with vanilla on vanilla is that it can be too sweet and a little flat. So my goal was to create a cookie with a little more depth of flavor that was crisp at the edges, but soft enough to bite without squeezing the filling out. If the cookie had the right balance, the vanilla creme could remain nice and sweet without becoming cloying. So not really a mock Golden Oreo, but a cookie loosely based on the idea. I think I came up with something pretty good. Joe ate two this morning before he went to work, and that’s honestly the best feeling. Let’s make some sandwiches!

Honey-Vanilla Sandwich Cookies with Vanilla Creme Filling

Cookies:

  • 11 tbsp. unsalted butter, room temperature
  • ¼ cup brown sugar
  • ¼ cup granulated sugar
  • 2 tbsp. honey
  • ½ tsp. salt
  • 1 egg
  • 1 ½ tsp. vanilla extract
  • 2 cups all-purpose flour
  • Sparkling sugar

Vanilla Creme Filling:

  • 2 ½ cups powdered sugar, sifted
  • ½ cup vegetable shortening
  • 1 tsp. vanilla extract
  • 2-3 pinches salt
  • 1-2 tsp. cold water


Get out four sheets of parchment paper the size of your baking sheets and set them aside.

To make the cookies, use an electric mixer or hand mixer to beat the butter until smooth.

Add the sugar, brown sugar, honey, and salt, and beat until fluffy (2-3 min).

Add the egg and beat until the mixture thickens slightly. Scrape down the bowl as needed. Mix in the vanilla until well incorporated.

Stir in the flour just until a soft dough forms.

I used to find the rolling/cutting of cookies to be a little messy and inconsistent. The best part about the method we’ll use here is that it makes this step super simple and avoids adding any extra flour to the dough.

Gather the dough into a ball and put it on a sheet of parchment paper, place another sheet of parchment on top and roll the dough out to ¼ in. thickness. Place this on a baking sheet and put it in the freezer for 30 minutes or until the dough is completely firm.

Preheat the oven to 350 degrees F.

Place the two remaining sheets of parchment on baking sheets.

Using a 2 in. cutter, cut out circles of dough and lay them evenly spaced on the baking sheets. You will probably need to re-roll scraps once. Do it the same way as the first round of rolling, only this time you only need to chill for 5 minutes or so. While you are working with one sheet pan, put the other in the freezer so that the cookies stay cool and firm.

I fit 20 cookies per sheet pan. They won’t spread, so you can place them fairly close.

Very, very lightly brush the tops with a tiny bit of water and then sprinkle on the sparkling sugar. This will give the cookies a wonderful crunch!

Bake for 10-12 minutes or until the edges are just golden-brown. Let them cool on the baking sheet for a minute or two before moving to wire racks to cool completely.

To make the filling, combine all ingredients except the water and mix well. It will seem too dry, but eventually it will come together. At that point, add just enough water to make it cohesive. Beat until smooth. It should be fairly stiff.

Assemble the cookies by turning half of them over and spooning or piping about 2 tsp. of the filling in the center of each one.

Place another cookie on top and gently press down in the center to spread the frosting out.

The crunch from the sparkling sugar is delightful on top of these slightly-soft-in-the-middle cookies and the filling is creamy and sweet. I love the flavor the honey adds to these too. I bet dark buckwheat honey would be almost caramel-y.

Oh! Vanilla not your thing? Beat ½ cup peanut butter with 1 ½ cups powdered sugar, a pinch or two of salt, and 3-4 tbsp. milk for a delicious peanut butter filling variation. The salt content of peanut butters varies so much brand to brand that it is best to add to your own taste here. (Oh darn you might have to taste it multiple times!)

Try out these little sandwiches and start dreaming up your own variations! A warm maple, bright lemon, or a rich chocolate-hazelnut all sound pretty heavenly to me. I think I might have to head back to the kitchen for more important experiments.

Ciao for now,

Neen

Happy Accidents: Peculiar Pralines

13 Jul

It started with my birthday cake. I made this kind of over-the-top layer cake that was two layers of yellow butter cake, a salted caramel-pecan filling, chocolate buttercream frosting, and vanilla meringues and shortbread cookies as decorations. It was one of my finer moments, to be sure.

I was enjoying it with my family when my dad turned to me and said of the filling, “There’s a praline in there somewhere.”

Now, I love pralines, so this comment embedded itself in my brain. I have on more than two occasions had pralines shipped to me from New Orleans. I’ve learned how to make them the proper way, using a method similar to making fudge. It requires a lot of precision with a candy thermometer and a pretty good knack for timing.

But my dad was right. The salted caramel buttercream I’d made was strikingly similar in texture and flavor to praline candy, only it stayed soft sandwiched between the cake layers. I wondered what would happen if I played around with the method a little bit and then gave the final product a chance to air-dry and set. If it worked, it would mean that we could ALL have pralines without consulting a candy thermometer or complicated process. And if not, I’d have a bowl full of pecans in caramel, so I’d still be pretty happy.

And oh, did it work. Light color and questionable method aside, I have the candy I dream about. Now you can too.

Peculiar Pralines

  • ½ cup unsalted butter (1 stick or 4 oz.)
  • 1 cup brown sugar (light or dark is fine)
  • ¼ cup milk
  • ½ tsp. salt
  • 2 cups powdered sugar
  • 1 cup pecans, toasted and chopped

Line a baking sheet with parchment paper.

Melt the butter in a saucepan over medium heat.

Add the brown sugar and stir constantly. Once the mixture comes to a boil, continue stirring and boil for 2 minutes.

Add the milk and bring the mixture back to a boil (this will happen quite quickly).

Remove from the heat and stir in the salt. Allow the mixture to cool for 5-7 minutes.

Pour the warm caramel into the bowl of a stand mixer (or use a hand mixer) and beat on medium speed while slowly adding the powdered sugar a little bit at a time. Scrape down the sides of the bowl between additions. The mixture will lighten in color and thicken slightly.

Fold in the pecans.

Use a cookie scoop or large spoon, drop dollops of the mixture onto the prepared baking sheet. They will spread just slightly. Using a well-rounded 2 tsp. cookie scoop, I made 16 pralines. But you can make them smaller or larger as you wish.

Allow the pralines to sit at room temperature for several hours or until firm. This took almost 5 hours in my dining room, BUT I made these on an extremely humid summer day. So it may take less time if you are in a cooler, drier climate. Store in an airtight container, if you can possibly leave them alone long enough to save any.

So while they’re not traditional in any sense, they’re definitely creamy, fudgey, sweet, and full of toasted pecans. What’s not to like? Thanks, dad!

Ciao for now,

Neen


A Curious Confection: St. Louis Gooey Butter Cake

11 Jul

I’m always excited when I discover a dish I have never heard of that combines many of the textures and flavors I love. This one was actually brought to my attention a few years ago by a dear friend who asked for a St. Louis Gooey Butter Cake for his birthday, and I instantly fell in love with the concept the first time I made it. A soft, lightly sweet yeast-risen cake topped with a thick layer of sugar and butter that bakes up with a crisp crackly top like crème brûlée and a gooey layer beneath that melts on the tongue like cotton candy. Part confection, part cake, part bread, all amazing.

And while it takes a few hours to make, don’t be intimidated. The vast majority of it is just waiting for that cake dough to sloooooowly rise in the pan. The other key component here is to make sure your butter and eggs have a chance to come to room temperature before starting. Your results will be far more consistent.

St. Louis Gooey Butter Cake

Cake:

  • 3 tbsp. milk
  • 1 3/4 tsp. active dry yeast
  • 6 tbsp. unsalted butter, room temperature
  • 3 tbsp. sugar
  • 1 tsp. kosher salt
  • 1 large egg, room temperature
  • 1 3/4 cups all-purpose flour

Topping:

  • 3 tbsp. + 1 tsp. light corn syrup
  • 2 tsp. vanilla extract
  • 12 tbsp. unsalted butter, room temperature
  • 1 1/2 cups sugar
  • 1/2 tsp. kosher salt
  • 1 large egg
  • 1 cup plus 3 tbsp. all-purpose flour

Have ready an ungreased 9×13 in. baking dish. I would recommend glass or ceramic as the edges of the cake will get quite dark when baked in a metal pan.

In a small saucepan, combine the milk with 2 tbsp. of water and heat until between 110-115 degrees F. Remove from the heat, whisk in the yeast, and set aside. The mixture will foam, but just slightly.

In the bowl of a stand mixer or with a hand mixer, cream butter, sugar, and salt. Scrape down sides of bowl and beat in the egg.

Alternately add flour and the milk mixture, scraping down sides of bowl between each addition.

Beat dough on medium speed until it forms a smooth mass and pulls away from sides of bowl, 4-5 minutes.

Press dough into the baking dish in an even layer.

Cover with plastic wrap or a clean towel. Allow to rise until doubled, about 2 1/2 to 3 hours.

Preheat the oven to 350 degrees F while you prepare the topping.

In a small bowl, mix the corn syrup with 2 tbsp. of water and the vanilla extract.

In the bowl of a stand mixer or with a hand mixer, cream butter, sugar, and salt until light and fluffy, 3-5 minutes. Scrape down the sides of the bowl and beat in the egg until well combined.

Alternately add flour and the corn syrup/vanilla mixture, scraping down sides of bowl between additions.

Use an ice cream or cookie scoop to spoon the topping in large dollops over the risen cake, then use a spatula (a small offset works really well here) to gently spread it in an even layer.

Bake for 35-40 minutes. The finished cake will be golden brown on top, but still liquid in center when done.

Allow to cool in pan before cutting into squares. Sprinkle lightly with powdered sugar to serve.

The combination of textures is outrageously good here. Soft cake and a gooey-crisp-confection-like topping sure to make you question why on earth you’ve never heard of St. Louis Gooey Butter Cake before right this moment.

Well if you have, you’re one of the lucky ones. And I hope that now you’ll try to make one too!

Trust me, it’s worth the time spent.

Ciao for now,

Neen

Baking for my Buddies: A Duo of Dog Treats

20 Jun

It occurred to me recently that I don’t always bake for people, and some of you might have furry friends at home as well. I make a lot of different kinds of dog treats for Dioji and Zero, but I like these two recipes because all you need is a food processor to put the doughs together. No other mixing required, though you can certainly make them by hand if you do not have a food processor. It just takes a little elbow grease.

Apple and Carrot Dog Treats

  • 1 cup whole wheat flour
  • 1 cup rolled oats
  • 1 apple, chopped
  • ½ cup carrots, chopped
  • ¼ cup peanut butter
  • 1 egg

Preheat an oven to 350 degrees F and line 2 baking sheets with parchment paper.

In the bowl of a food processor, pulse together the apple and carrot until fine.

Add the egg and peanut butter and process until well combined.

Add the flour and oats and process until a soft dough is formed.

Turn the dough out onto a lightly floured surface and roll out to ¼ in. thickness. Cut into desired shapes.

Bake for 10-15 minutes depending on size. The bottoms of the treats will be a light golden brown when finished. Cool completely on parchment paper or a wire rack.


Peanut Butter and Banana Dog Treats

  • 1 cup rolled oats
  • 1 banana
  • ½ cup peanut butter

Preheat an oven to 350 degrees F and line 2 baking sheets with parchment paper.

In the bowl of a food processor, pulse together all ingredients until a soft dough forms.

Turn the dough out onto a lightly floured surface and roll out to ¼ in. thickness. Cut into desired shapes.

Bake for 10-15 minutes depending on size. The bottoms of the treats will be a light golden brown when finished. Cool completely on parchment paper or a wire rack.

Healthy treats with simple ingredients for your pups, what could be better? Zero is obsessed with bananas, so he goes especially crazy for the second kind. Hope your dogs are just as excited to get these!

Ciao for now,

Neen

Easy Decisions: Vanilla and Milk Chocolate Striped Cakes

19 Jun

While thinking recently about what to bake, I came across that age-old question: Vanilla or chocolate? And it occurred to me that sometimes, you should not have to make such a decision and can, in fact, have everything you want. These little cakes are proof of that.

And they look pretty, too!

Vanilla and Milk Chocolate Striped Cakes

  • 1 ½ cups + 2 tbsp. all-purpose flour
  • 2 tsp. baking powder
  • ½ tsp. kosher salt
  • 4 oz. unsalted butter, softened
  • 1 cup granulated sugar
  • 1 large egg
  • 1 tsp. vanilla extract
  • ¼ cup yogurt mixed with ¼ cup milk
  • 4 oz. milk chocolate, chopped small
  • 2 tbsp. coffee

Preheat the oven to 350 degrees F. Butter and flour a muffin tin or mini bundt pan.

Combine the chocolate and coffee in a small pot and melt over low heat, stirring until smooth. Set aside to cool slightly.

Sift together the flour, salt, and baking powder in a small bowl.

In the bowl of a stand mixer, beat the butter and sugar until fluffy.

Add the egg and vanilla extract and beat until thick.

Add the flour and milk/yogurt mixture alternately, beginning and ending with flour, and beat until just combined.

Put half the batter in a separate bowl and stir in the melted chocolate.

Using a spoon or a small disher, drop alternate spoonfuls of chocolate and vanilla batter into the pan. It will look something like this:

Bake the cakes for 23 minutes, or until they spring back when touched gently.

Cool in the pan for 10 minutes and then turn out onto a wire rack.

These are pretty sweet cakes because of the milk chocolate, so I omitted frosting and opted for a little bit of whipped cream instead. Delicious!

Sometimes you do get to have everything you want in one perfect little package. Pretty great, isn’t it?

Ciao for now,

Neen