Archive | Local Food RSS feed for this section

Mystery Food Week 3 and Doing the Can-Can

17 Jun

I took advantage of waking up incredibly early this past Saturday and decided to take a trip out to Bluemont, VA and visit Great Country Farms. That’s where I’ve purchased a CSA share from this year and their weekly newsletter noted that tart cherries were ripe for picking.

It took about an hour to drive to the farm from Arlington, but it was a peaceful, sunny morning and I spent the next hour or so in cherry trees looking for the chubbiest, dark red specimens. Well, 6lbs. of cherries later I finally decided that I had enough for jam and drying. The trees were so lovely and the landscape was incredibly serene. It was nice to be somewhere so quiet.

Sunday morning I at last christened the new canning rig…Now this is canning Tim Taylor/Jeremy Clarkson (“POWERRRRRRRR!”) style:

I whipped up a batch of fabulous tart cherry jam. No-sugar-added jam is actually quite easy to make. The canning process adds a few extra steps at the end, but the actual method for jam-making is very straightforward.

 I used 3lbs. of cherries, 1 1/4 cup of white grape juice, one box of no-sugar/low-sugar pectin, and a 1/2 tsp. of citric acid to preserve the vibrant red color. To get started, pit the cherries and put them in a big pot on the stove over high heat. Smash them up with a potato masher, sprinkle in the citric acid (you can also use a squirt of fresh lemon juice) and let it come to a simmer. Whisk the grape juice and pectin together and then add them to the cherries. Let the mixture come to a full, rolling boil (one that does not stop when stirred) and cook for 1 minute. Turn off the heat and skim the foam off of the top of the jam. Let it sit for 5 minutes and then stir before ladling into jars. This short rest period followed by stirring keeps the fruit from floating to the top and separating from the juices. Even though it’s very liquid-y when hot, the jam will set as it cools down.

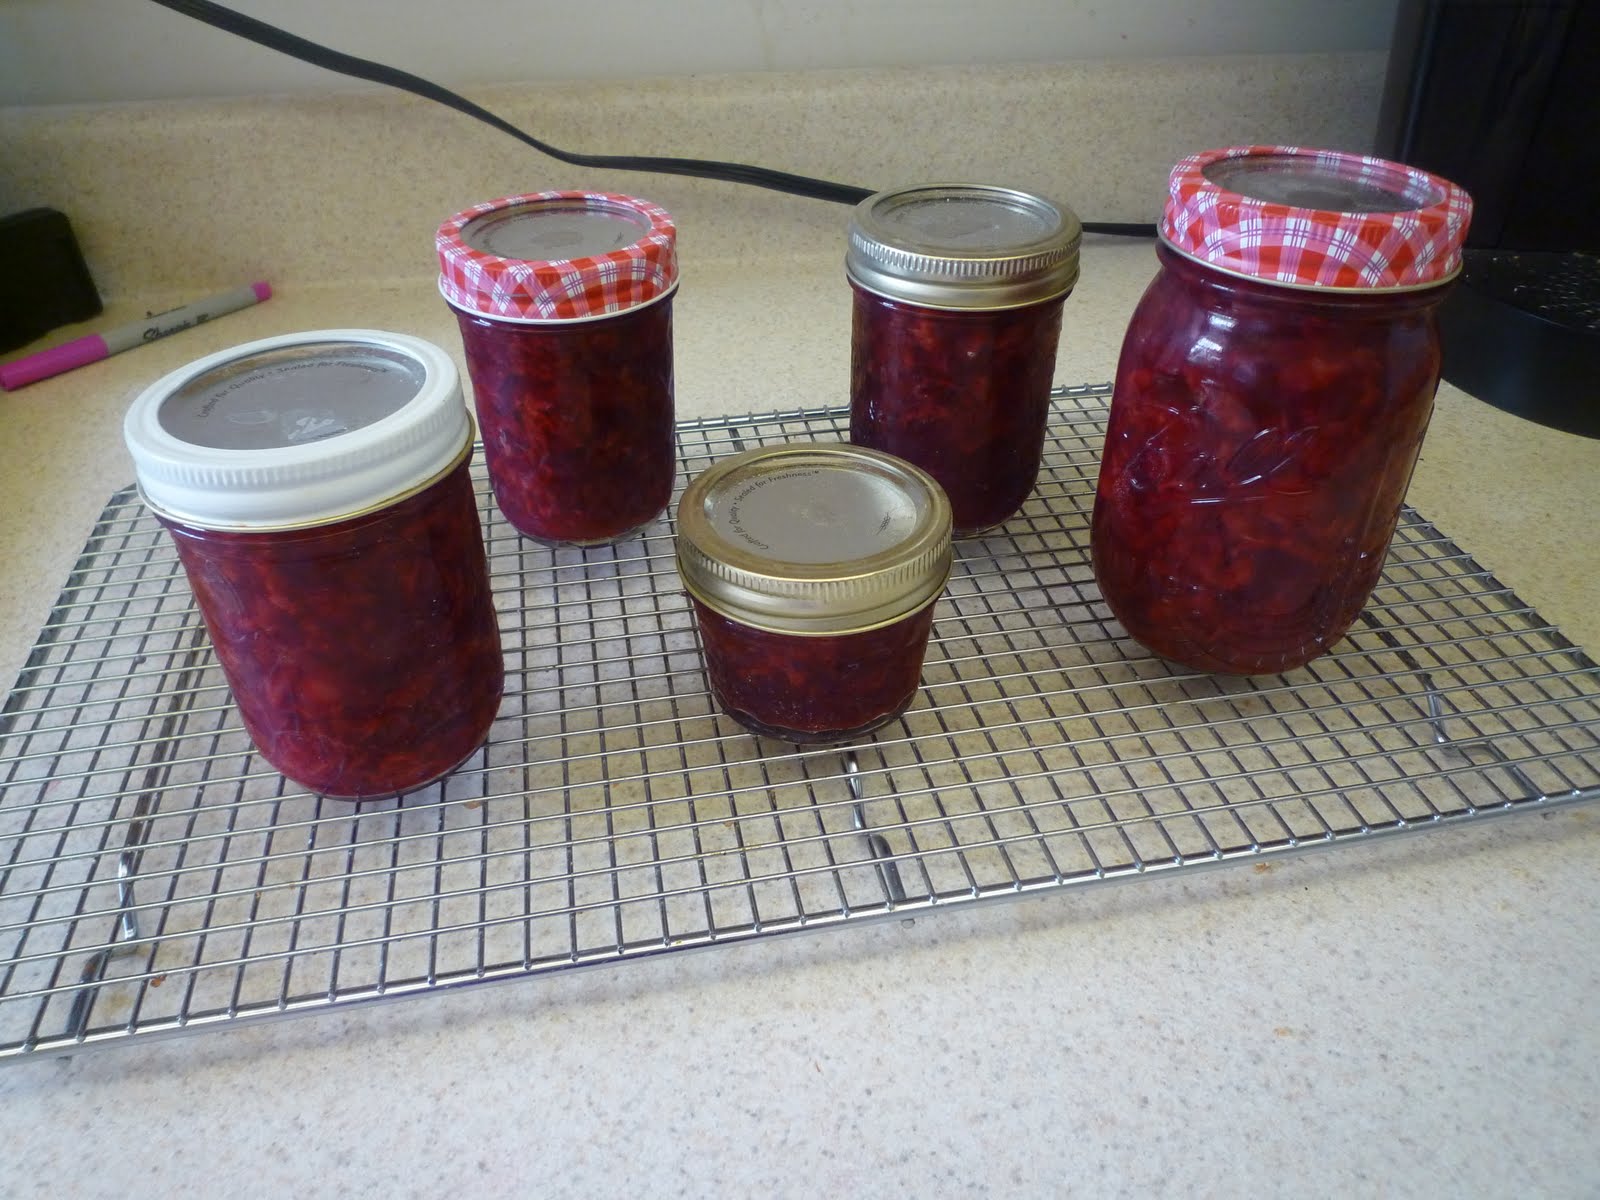
If you’re interested in canning this recipe for long-term storage or gift-giving you will also need a big pot of boiling water, 5 or 6 pint jars with flat lids and rings, and something to lift the jars in and out of the boiling water. Jar grabbers are available online for less than $10. If you have mason jars hanging around, the actual jars and rings are certainly reusable, but it is important to always use brand-new flat lids as the adhesive on them will only form a tight seal once.

Sterilize the jars and rings by washing them with hot soapy water or running them through a dishwasher with a heated dry cycle. While you prepare the jam, place the flat lids into a small pan of simmering water to warm up the adhesive. Gently ladle the hot jam into the jars, leaving 1/4 inch headspace at the top. Wipe the edges of the jars with a damp towel, place on the flat lids, and then screw on the rings. Place the closed jars into the pot of boiling water, making sure that they are completely submerged, and boil for 10 minutes. Carefully remove the hot jars and place them somewhere to cool undisturbed. Over the next several hours, you might hear tiny popping noises–it’s a good thing. It means that the air-tight vacuum has formed and that the jar has properly sealed. After 24 hours, check all of the jars by pressing down on the flat lid gently. If it doesn’t pop back, the jar is safely sealed. Store the jars in a cool, dark place for up to a year. Homemade jam will start to lose its firm set after about 8 months, but is still safe to eat (albeit a bit runny) as long as the jar remains sealed.

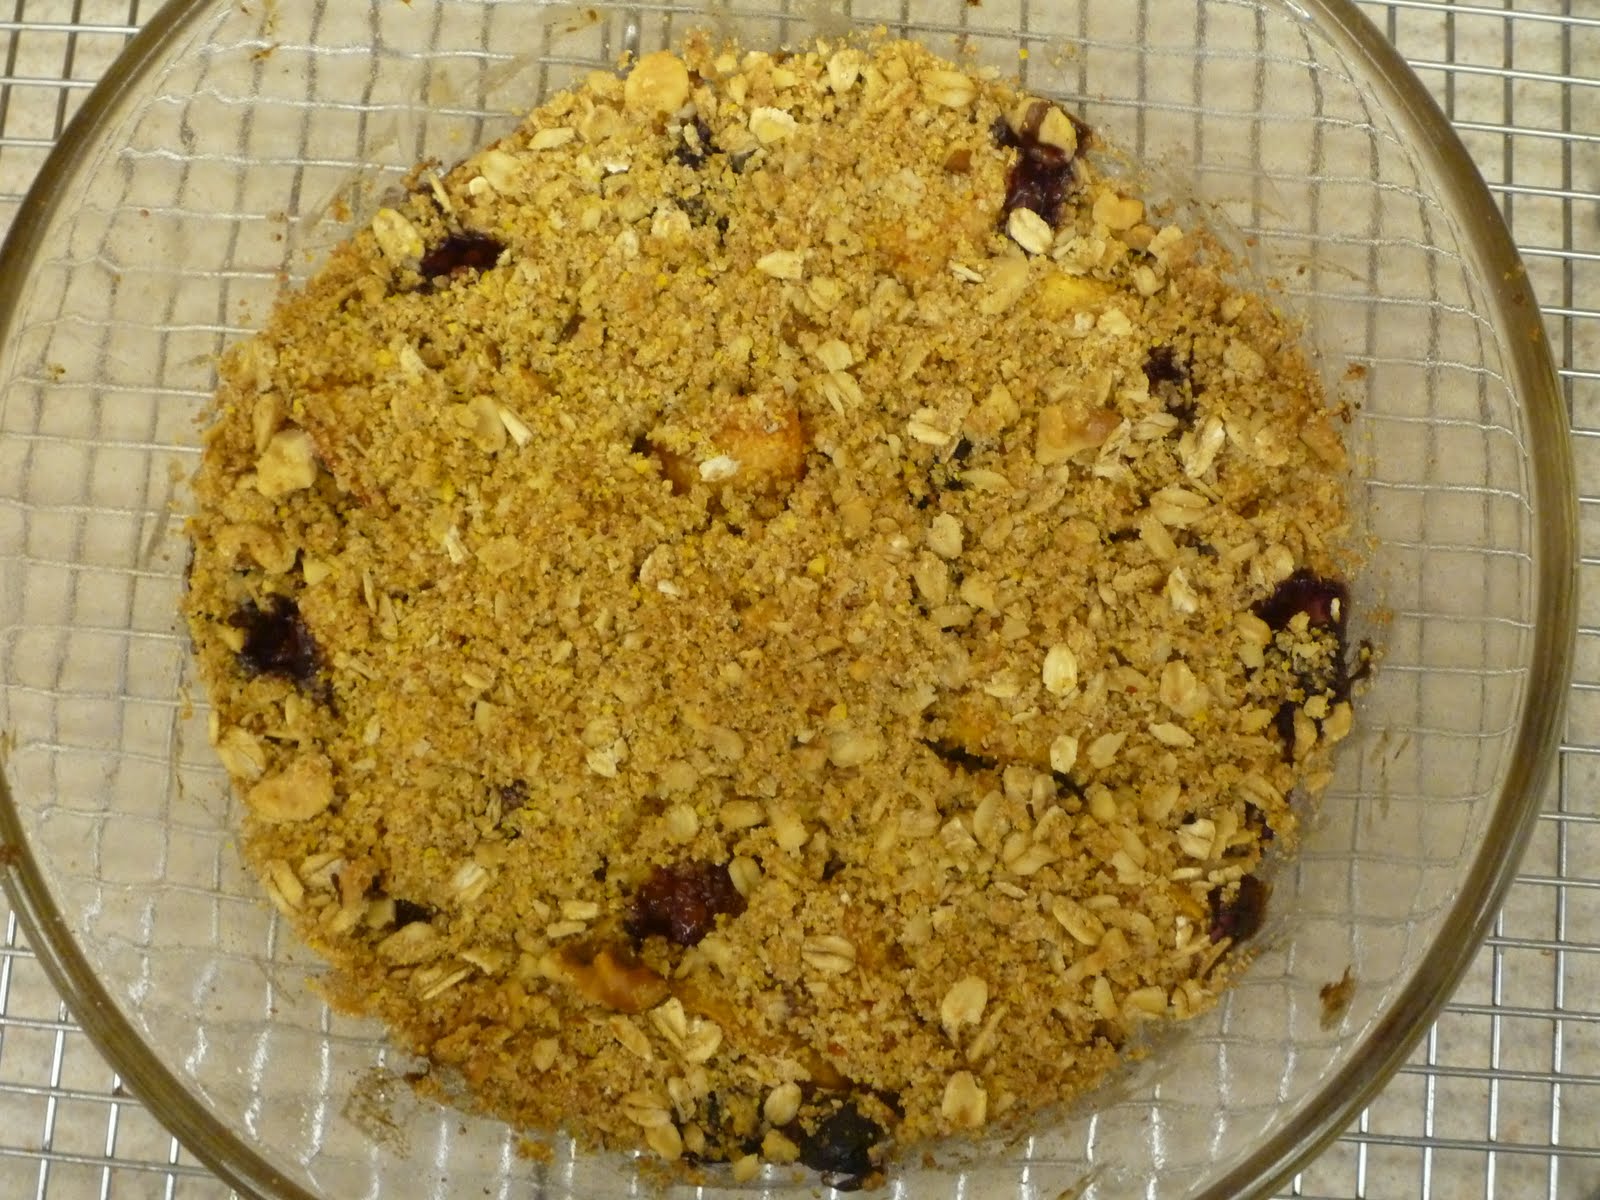
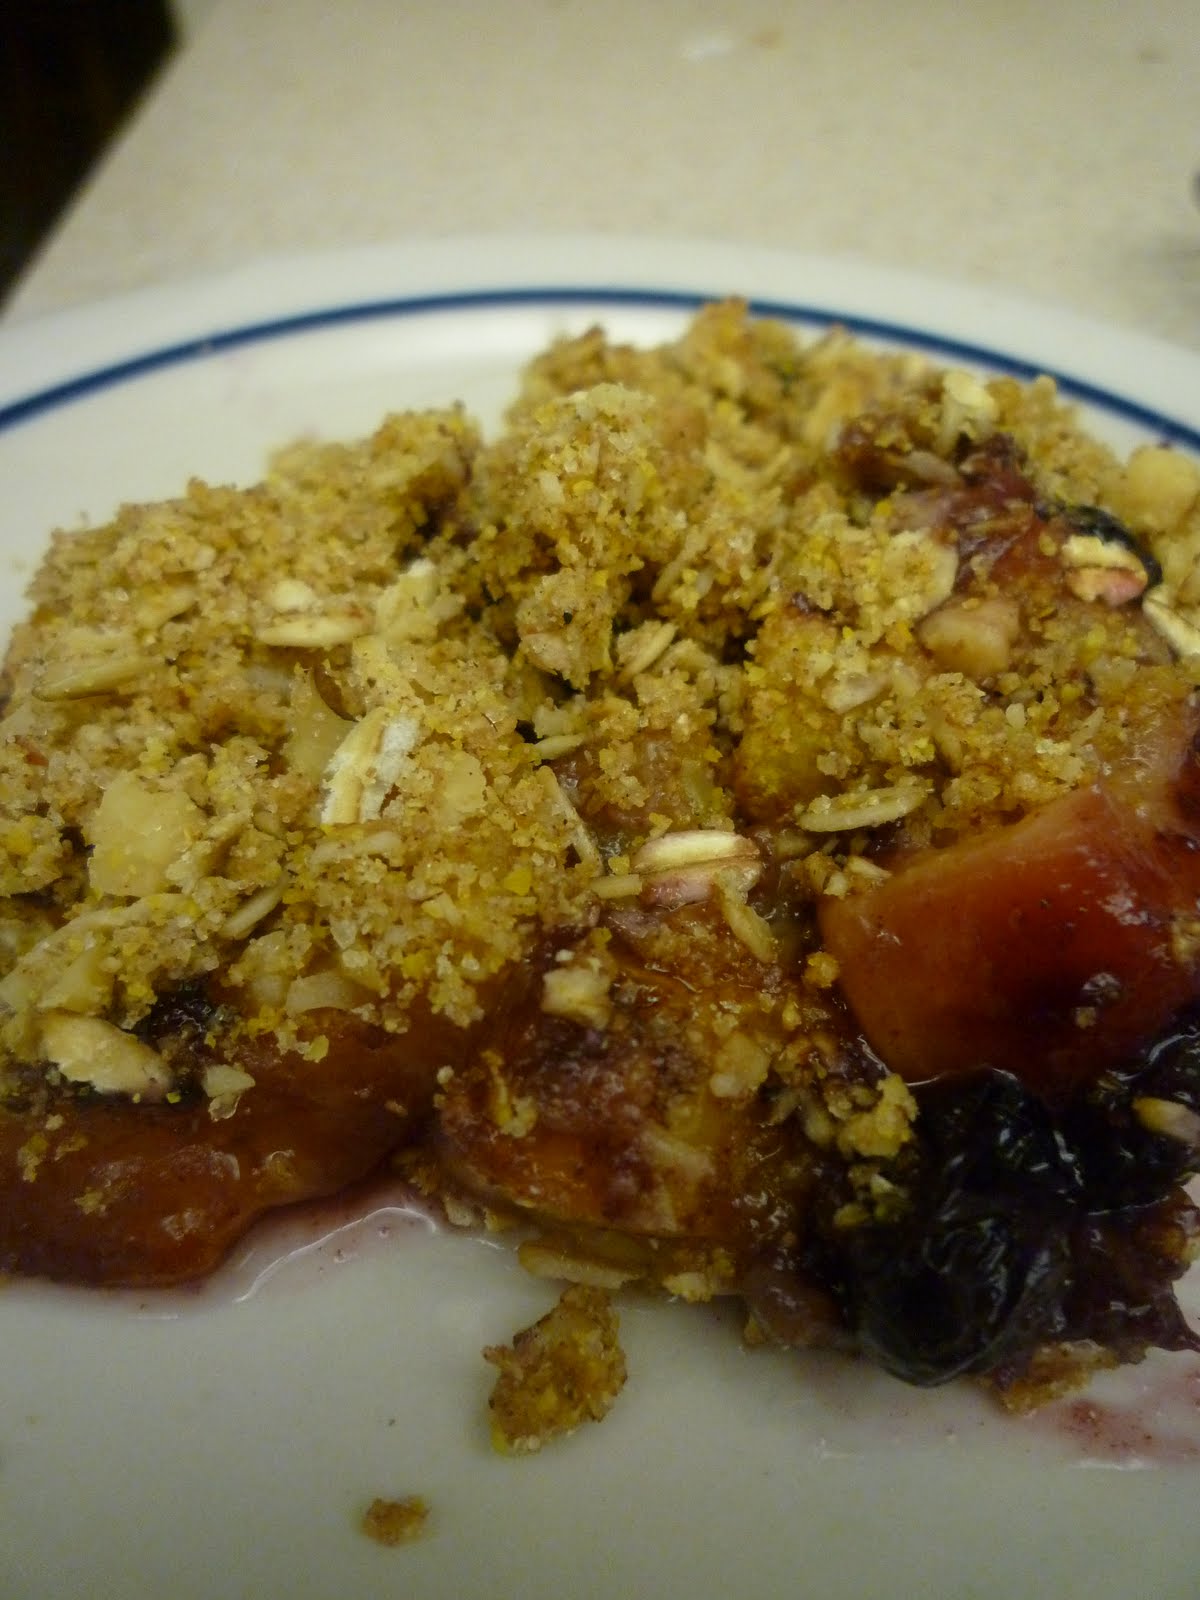
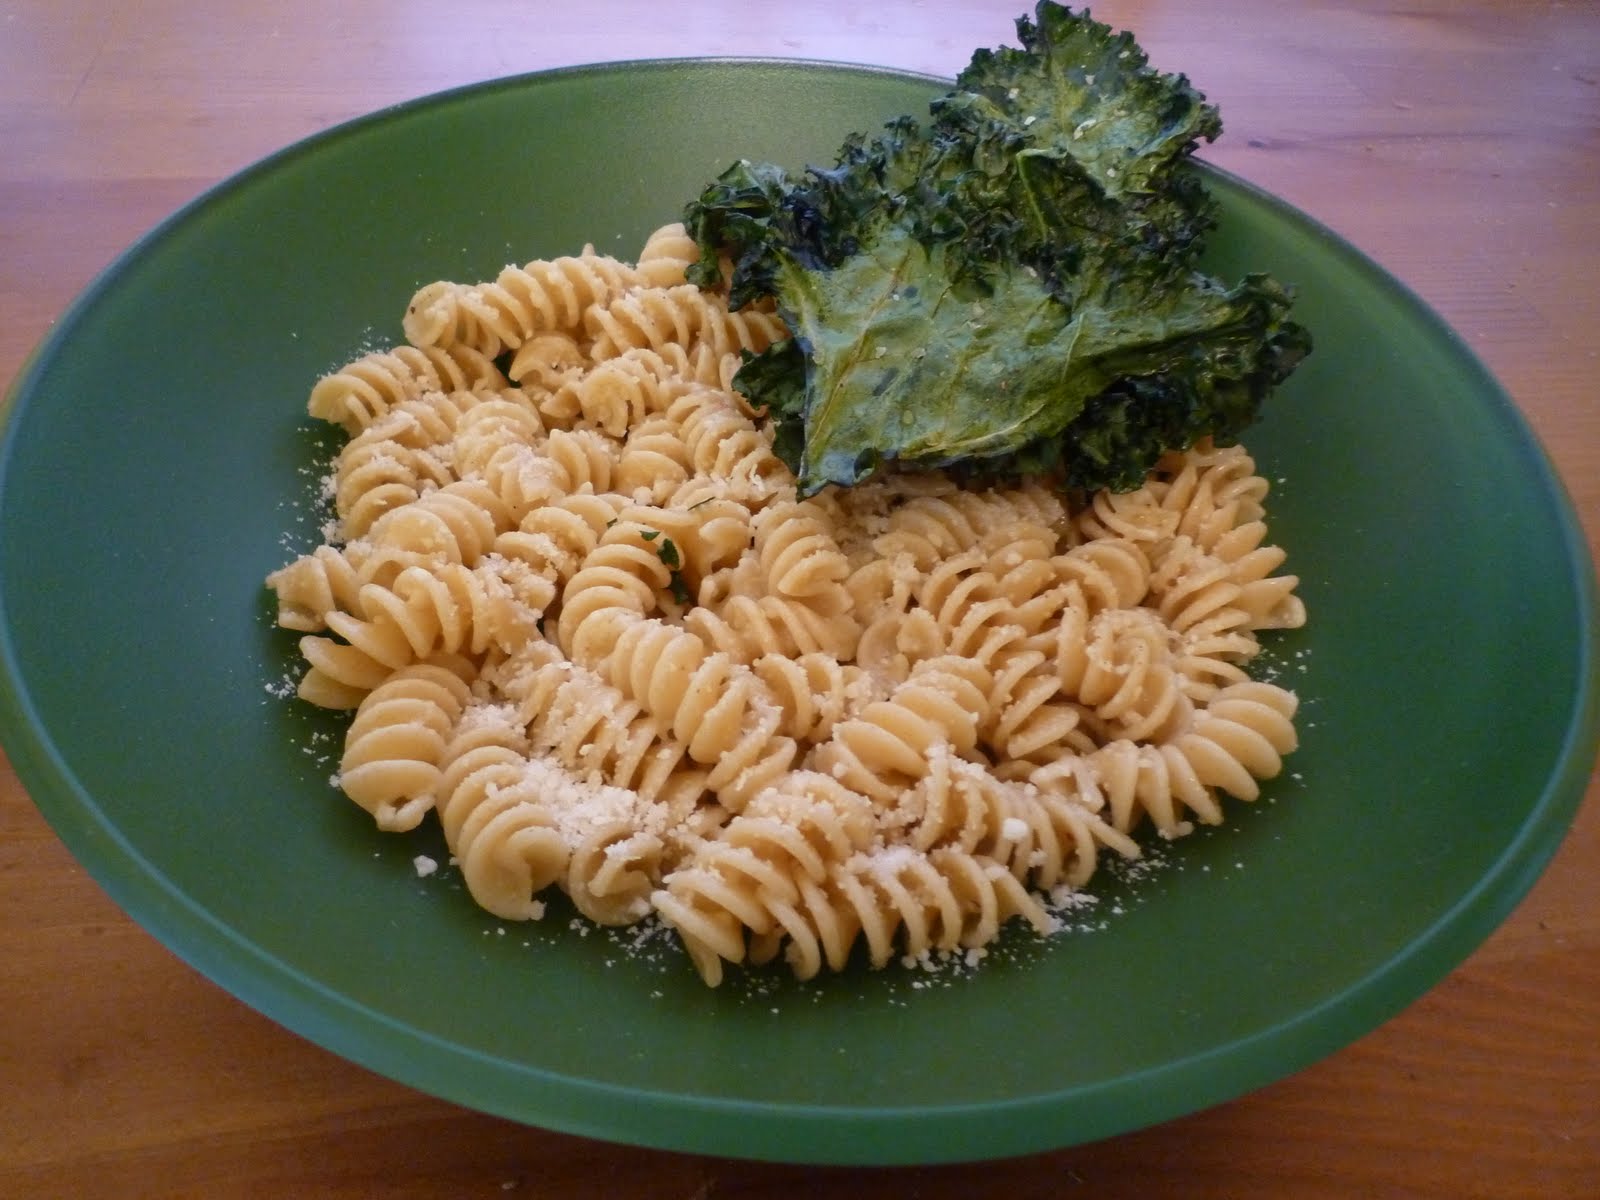
Here’s the final product, from farm to table in one weekend:

Not a bad way to spend the weekend, I must say. And of course, a mere two days later it was time for more goodies:

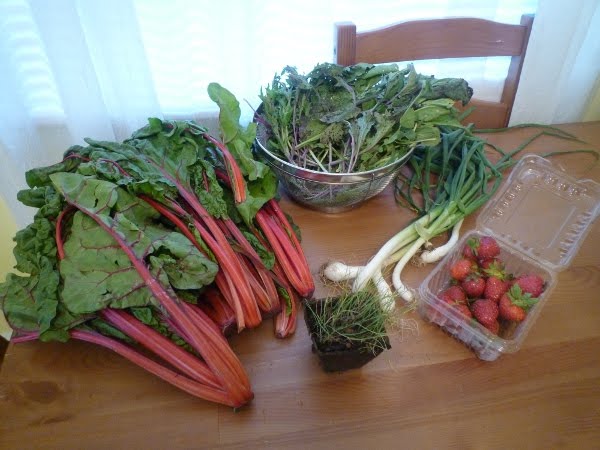
That’s Mystery Food Week 3 and included in the basket this week were collard greens, red leaf lettuce, beets, broccoli (my personal favorite), and cilantro. Cilantro and I don’t get along so well, so that plant will probably be given to a good home. I’m sorry cilantro, it’s not you, it’s me.

I’m still thinking up creative ways to use everything, but those collards look destined for my favorite application—sautéed in a bit of bacon fat with a whole lot of garlic and white beans. Food just doesn’t get more comforting than that.  Have a great week all!

Ciao for now!
-Neen

Mystery Food Week 2

9 Jun

Here’s this week’s delivery of red chard, mixed salad greens, potted chives, spring onions, and strawberries:

My goodness, look at that chard! It’s beautiful. How beautiful do I think it is? It was beautiful enough that it got me out of bed 20 minutes early this morning so that I could think of something to make with it for lunch. Now that is some serious motivational power.

I still had a small bunch of (oddly not wilted) kale from last week’s delivery, so I chopped that up with several handfuls of the chard and sautéed them in olive oil with garlic, spring onions, and about 1 and a half cups of cooked garbanzo beans. Seasoned it all with a few heavy pinches of salt and some red pepper flakes and then took it off the heat and added about 2 tbsp. of grated parmesan cheese. The whole process took about 10 minutes, and if you can believe it, the chard got even more vibrant as it cooked. Normally, I’d just eat that as is, but I like to have a little bit more protein at lunch for a mid-day boost. I boiled a few eggs this morning and will likely chop one up and put it over the greens and beans.

The strawberries were exceedingly ripe and therefore needed to be eaten immediately (oh darn!). I baked a version of yesterday’s Goodbye Gluten Peach-Berry Crumble, changing out the blueberries for strawberries. It was every bit as incredible as I dreamed.

My own little garden is looking pretty fantastic this year. I attribute this mostly to good spring rainfalls and a few doses of bone meal and blood meal at the base of the plants. Here are some of the lovely cayenne peppers and zucchini that are growing:

I was surprised how much larger the peppers have grown this year. Those two are already the length of my hand!

The garden also has two watermelon plants (that seem to grow longer by the hour) and several Romanian sweet pepper plants that are starting to bear vegetables. The spinach plants have been harvesting big, beautiful leaves for the past month, but are about finished now. Finally, there’s the tomato plant. I’ve never had much luck with tomato plants in the past, but I bought a smaller variety this year and already have three little green tomatoes.

All of this makes me very excited to be receiving Well-Preserved: Recipes and Techniques for Putting Up Small Batches of Seasonal Foods by Eugenia Bone in the mail today.  I want to christen the new pressure canner with something fabulous.

Ciao for now!
-Neen

Something Sweet for Sarah

8 Jun

My cousin Emily and her boyfriend Josh had their beautiful little girl Anna Marie baptized this weekend. She looked like a little angel in a christening gown made from the train of my grandmother’s (Anna’s namesake) wedding gown. The event was a great excuse to make a trip to Pittsburgh and see my family, most of whom I haven’t seen since the winter holidays.

And everyone looked great! At the reception I was sitting and chatting with my cousin Sarah. A while back, she learned that she has some kind of gluten intolerance and has been avoiding wheat. Unfortunately for her, this meant that she could only taste the (divine) frosting on the white almond cake from Oakmont Bakery. Boo. That’s no fun. Even our gluten-free friends should get to have some sweets.

Well Sarah, this one is for you. Not only is this a fairly clean dessert, but it is entirely free of wheat products and is pretty perfect for summer. Plus, it doesn’t require any babysitting—I made this during Stanley Cup Finals, and hey, I have priorities.

This recipe can be doubled if you’d like to bake it for a larger crowd, but I generally only cook for two so I make it in a loaf pan or small round casserole dish.

Goodbye Gluten Peach-Berry Crumble

Filling:
-2 small peaches, pitted and diced
-2/3 cup of berries (I used blueberries this time, but strawberries or blackberries would be delicious, I’m sure.)
-1 1/2 tsp. cornstarch
-1 tsp. natural, unrefined cane sugar, sucanat, or palm sugar (It’s a small amount—you can get away with regular white sugar if that’s what you have on hand.)
-1/2 tsp. cinnamon

Crumb Topping:
-2 tbsp. stone-ground cornmeal
-2 tbsp. rolled or Scottish oats***
-2 tbsp. natural, unrefined cane sugar, sucanat, or palm sugar
-1 tbsp. walnuts
-1/2 tbsp. butter
-1 tsp. cinnamon

***If you are extremely wheat or gluten-sensitive, check the label and buy a variety that is made on equipment that does not also process wheat ingredients. Bob’s Red Mill, Glutino, and Glutenfreeda are some brands that offer a specific gluten-free variety of oats.

Method:

Preheat an oven to 375 degrees F.

In a small bowl, combine the ingredients for the filling and set them aside while you prepare the topping. (The fruit will get wonderfully juicy!)

In the bowl of a food processor or a regular mixing bowl, combine the dry ingredients for the topping. If you’re not using a food processor, chop the walnuts before you add them.

Cut in the butter using short pulses (in the food processor) or the tines of two forks until the mixture resembles a coarse meal like this:


Lightly grease a small baking dish and add the fruit. Sprinkle the crumble topping over the fruit—no need to press it down—and bake for 50 minutes or until the fruit is softened and the juices are bubbling.

Heap a generous serving-spoonful onto your plate and enjoy! Share if you must.

Yep, I could eat that everyday. Hope you like it, Sarah. 🙂

Mystery Food Week 2 to come later…

Ciao for now, folks!
-Neen

Mystery Food Week 1 and Twist on an Old Favorite

2 Jun

This is what was waiting for me when I got home from work today:

Onions, a potted dill plant, strawberries, a glorious amount of lush kale, and salad greens.

I ran outside and planted that dill in my garden, which has already supplied me with a generous amount of spinach this year. The other plants (zucchini, peppers, cherry tomatoes and watermelon) are all looking good as well. I’m crossing my fingers for a good harvest.

In the mood for simple comfort food, I decided to dress up one of my favorites with some of that gorgeous-looking kale.

Parmesan-Black Pepper Pasta with Crispy Olive Oil-Garlic Kale Chips

It’s a pretty basic pasta dish: Whole-wheat rotini tossed with olive oil, coarse salt, lots of freshly ground black pepper, and a few handfuls of grated parmesan cheese.

To make the kale chips:

Pre-heat an oven to 300 degrees F. Simply remove the hard ribs and stems from a bunch of kale. Toss the leaves with a little bit of olive oil and then lay them in a single layer on a parchment-lined cookie sheet. Sprinkle the leaves with coarse salt, pepper, and garlic powder and then bake for 20-25 minutes or until crispy. Cool on a rack.

I like to crumble the kale chips over the top of the pasta. Mmm, delicious. And Tuesday-night-easy.

Not a bad way to start off the CSA season. Now to go enjoy some of those strawberries…

Ciao for now!

-Neen

Mystery Food: 2010 Edition

1 Jun

Last year, blogging my weekly CSA share really helped to keep me writing more regularly so I’ve decided to take on that project again this year. Not only does it encourage me to think more about creative ways to use my share, but it also shines a spotlight on some of the beautiful, locally grown fruits and vegetables here in Northern VA.

This year, I’ve purchased a half-share from Great Country Farms, located in Bluemont, VA. The weekly box will be delivered on Tuesdays (starting today!) for 20 weeks. I’m looking forward to a summer full of fresh, inspiring food and new recipes.

It’s been awhile since I’ve had a chance to update Neen’s Notes. Spring was full of new challenges. As I come closer to completing my MLIS in December, I’m doing more and more research and writing a lot of papers. Sometimes after a day of writing and e-mailing at the office and then reading and writing for school, I just don’t have it in me to be a blogger too. I do think it’s important to “turn-off” for a little while before going to bed at night otherwise all of the day’s thoughts have no time to settle down.

One of the challenges I’ve also been dealing with lately is how to get back on the clean-eating wagon after taking a pretty nasty spill. When things got stressful and busy, it was much harder to avoid falling back on easy take-out or delivery solutions. As a consequence, I put on a bit of weight around the middle and haven’t been feeling like I’m at my best. So I thought that starting up my “mystery food” blogs again might help me win back some of my motivation.

You’ve got to start somewhere, right?

I just keep reminding myself that two steps forward and one step back is STILL progress.

Ciao for now. Look for Mystery Food 2010 Week 1 later!

-Neen

Project Yogurt: Fun with Fermentation

10 Mar

It’s an underestimation to say that I like yogurt…

I find it hilarious to type that because it was only a few years ago that I distinctly recall wretching at the taste of the various low-sugar/low-fat yogurts I tried to choke down in a vain attempt to get some protein. To me, most of it tasted like chalky, artificially-flavored goop. I decided that yogurt just wasn’t for me and it never would be.

Then I started using it in baking. As you’ve probably noticed if you read this blog regularly, I use Greek-style plain yogurt as a replacement for oil or buttermilk in a lot of my recipes. At the outset, it was just to add some protein, but along the way I found that it brought a softness to the texture of muffins/quick breads that applesauce or other fruit puree didn’t seem to copy. It was a win-win situation in my head: the benefit of yogurt without the taste!

One day at the farmer’s market, the vendor I regularly bought ricotta cheese from was selling tubs of fresh, homemade Greek-style yogurt. “Alright,” I thought, “maybe I’ll like fresh yogurt. After all, I can flavor it myself and peaches are in season.” At worst, it would end up in my latest loaf of strawberry bread. Not a bad fate.

But that yogurt was destined for greater things. One spoonful and I was hooked. I started eating it nearly every day with a touch of raw honey and whatever fruit I could find. Peach-cinnamon, strawberry-apple, blueberry-banana…the possibilities were endless. It was so rich and creamy I found it hard to believe that it was fat free, but the vendor swore up and down that it was. Soon, every week I came home from the market with at least 2 tubs of it that might last the week (if I was lucky).

Then came winter. And we were pummeled with snow. I couldn’t get to the market as often and missed my yogurt. In vain, I searched for a store brand that didn’t taste goat-cheesy (not my thing), runny (gross), or somehow…off. (I get it, I’m picky about yogurt. Sue me.) I even tried the more expensive, organic “all-natural” flavored ones and they were tasty, but had enough sugar to make me remember why I’d scratched them off the list years ago.

I also began to consider just how much money I was spending on that particular dairy product (oh dear). The label read only: skim milk, non-fat dry milk, live active cultures. Could it really be so hard to just make it myself?

Answer: Nope.

And here’s how I did it…

Basic Yogurt


*image from treehugger.com

Ingredients and Equipment

-2 quart-sized mason jars with lids and rings. Plastic containers are also fine, but make sure you sterilize whatever you use. I do this by putting the jars in my dishwasher on a heated dry cycle. Leaving them in a pot of boiling water for 5-10 minutes works too.
-1 large saucepan.
-1 candy/fry/probe thermometer that you can leave in said saucepan.
-A warm place for incubating. I created a small incubator by placing a heating pad set to “low” on the bottom of an insulated cooler and placed the jars of yogurt on top of that. A crockpot set to “keep warm” works well, as does simply wrapping up the containers in thick bath towels and setting them in a warm place in your house.
-Half-gallon of the milk of your choice. It can be pasteurized, but avoid ultra-pasteurized varieties as it is more difficult to cultivate the necessary bacteria in these. I used skim milk, but any fat content will do.
-1/2 cup of plain yogurt containing live active cultures OR a powdered yogurt starter (which can be found on Amazon.com). I used a small container of store brand plain, non-fat yogurt.
-1/2 cup of non-fat dry milk to aid in thickening.

For thicker, Greek-style yogurt, you will also need a colander lined with several layers of coffee filters or cheesecloth set over a large bowl.

Method

-Begin by placing the half gallon of milk in a heavy-bottomed saucepan and putting the pan over medium heat. Clip the candy or fry thermometer to the saucepan and allow the milk to heat to 185 degrees F.
-Remove the saucepan from the heat and allow the milk to cool to 110 degrees F. (You can do this quickly by gently setting your saucepan in a sink full of very cold water.)
-Once the milk cools to 110 degrees F, add the 1/2 cup yogurt and 1/2 cup dry milk and whisk until smooth. Ladle this mixture into the jars or containers and secure lids and rings.
-Incubate the yogurt in a warm place for 7-8 hours. At this point, it will have thickened and some liquid (whey) will probably have settled on the surface.

At this point, you may CHOOSE YOUR DESTINY!

You can either move the jars directly from incubation to the refrigerator. After several hours of cooling (overnight is best), you will have delicious yogurt that can then be flavored with any number of things. Fruit puree, jam, raw honey, cocoa powder/raw honey, agave, cinnamon, and even herbs are all great.

Or if you’re like me and love the thick, rich flavor of Greek-style yogurt, pour the just-incubated yogurt into a colander lined with several layers of coffee filters or cheesecloth set over a large bowl. Set that in the refrigerator and allow it to strain for several hours. You will be left with a colander full of thick, wonderful, protein-rich yogurt and a bowl full of whey (which you can discard or use in other recipes). Ladle the yogurt back into the jars and store in the refrigerator.

What does one do with nearly two quarts of yogurt? Well if you’re like me that won’t last you very long, but if you need some ideas these are my favorites:

-Mix 6oz. yogurt with 1 tbsp. all-fruit strawberry preserves and a drop of vanilla extract for strawberry creamsicle yogurt.
-Mix 6 oz. yogurt with 1/2 tbsp. raw buckwheat or apple blossom honey and a shake of cinnamon. This goes great on top of diced apples or peaches.
-Mix 2-3 tbsp. yogurt with a can of tuna, some Dijon mustard, and assorted vegetables for a high-protein tuna salad.
-Mix 4oz. yogurt with one small cucumber, pinch of thyme, and cayenne pepper and use it as a spread on sandwiches or as a vegetable dip.
-Mix 4oz. yogurt with 1 head of steamed, diced cauliflower, a dash of cayenne pepper, onion powder, garlic powder, and a handful of parmesan cheese.
-Blend 4oz. yogurt with 4oz. light cream cheese, a can of drained artichoke hearts, a few tbsp. of parmesan cheese, herbs, dry mustard, and some sautéed leafy greens and garlic for a fantastic dip.
-Use in Zucchini-Apple Quick Bread (see the post before this one!)

So you see, yogurt has a multitude of sweet and savory uses. Usually, if a recipe calls for sour cream or mayonnaise, I like to see if part or all of that can be replaced with yogurt. It adds a significant amount of protein and is also a great source of calcium.

There you have it: Yogurt 101. Go to it!

Cheers,
Neen