Since being diagnosed with rheumatoid arthritis in June, life has kind of been a rollercoaster. How I feel when I wake up each day is a complete surprise. I live in a constant state of fatigue and trying to catch up with whatever joints are flaring that day. Sometimes I need a cane to walk, or can’t raise my arms overhead, or am unable to do things as simple as squatting down or bending over. Even a simple shower can be painful sometimes. It’s almost impossible to have a consistent schedule or make firm appointments. For someone who loves to move and be in the kitchen, this can be really, really difficult. I’m able to work, but the opportunities have become very limited. It feels like so much has been taken away, and my primary job has become working toward remission.
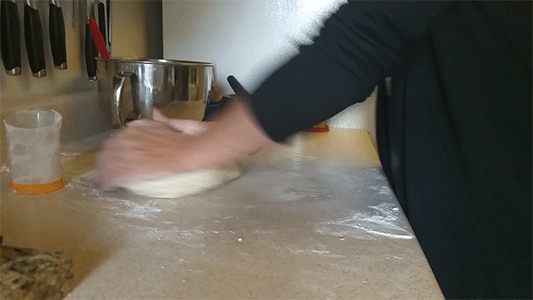
In the midst of all of this, I discovered something wonderful, something unexpected, and something I am beyond grateful to have. I’ve mentioned on this blog before that baking bread makes me feel soothed, comforted, and home. I was deeply worried that my often swollen and painful hands and fingers would keep me from this practice. Okay, sure, I could use my mixer to knead bread, but a huge part of handling bread dough and knowing when it is ready is how it feels. And you can’t do that kneading in a mixer.
One night, I made a sponge starter for a loaf of bread. When I woke up the next day, my fingers were puffy, swollen, and angry. I was heavily disappointed. Yet again, an unexpected flare had hit me. I was about to throw the sponge starter and rest of the ingredients into my mixer, and then remembered a self-massage technique my physical therapist had shown me. It basically involved rubbing down the palms and fingers to move the inflammation. I realized it was essentially the same act as kneading. So why not take 10 minutes to move my hands through soft dough and just see what happened? Worst case, I’d have to give up and let the mixer do the work.
But I was right. While it wasn’t a perfect solution, by the time I finished kneading the dough, the swelling in my hands had reduced significantly. They still ached, but I had more mobility and a better grip. My love, my home had again brought me comfort and soothed me during struggle. So in light of that, I want to share with you the bread I was making that morning (and again this week). Get your hands in there and enjoy every second of it.
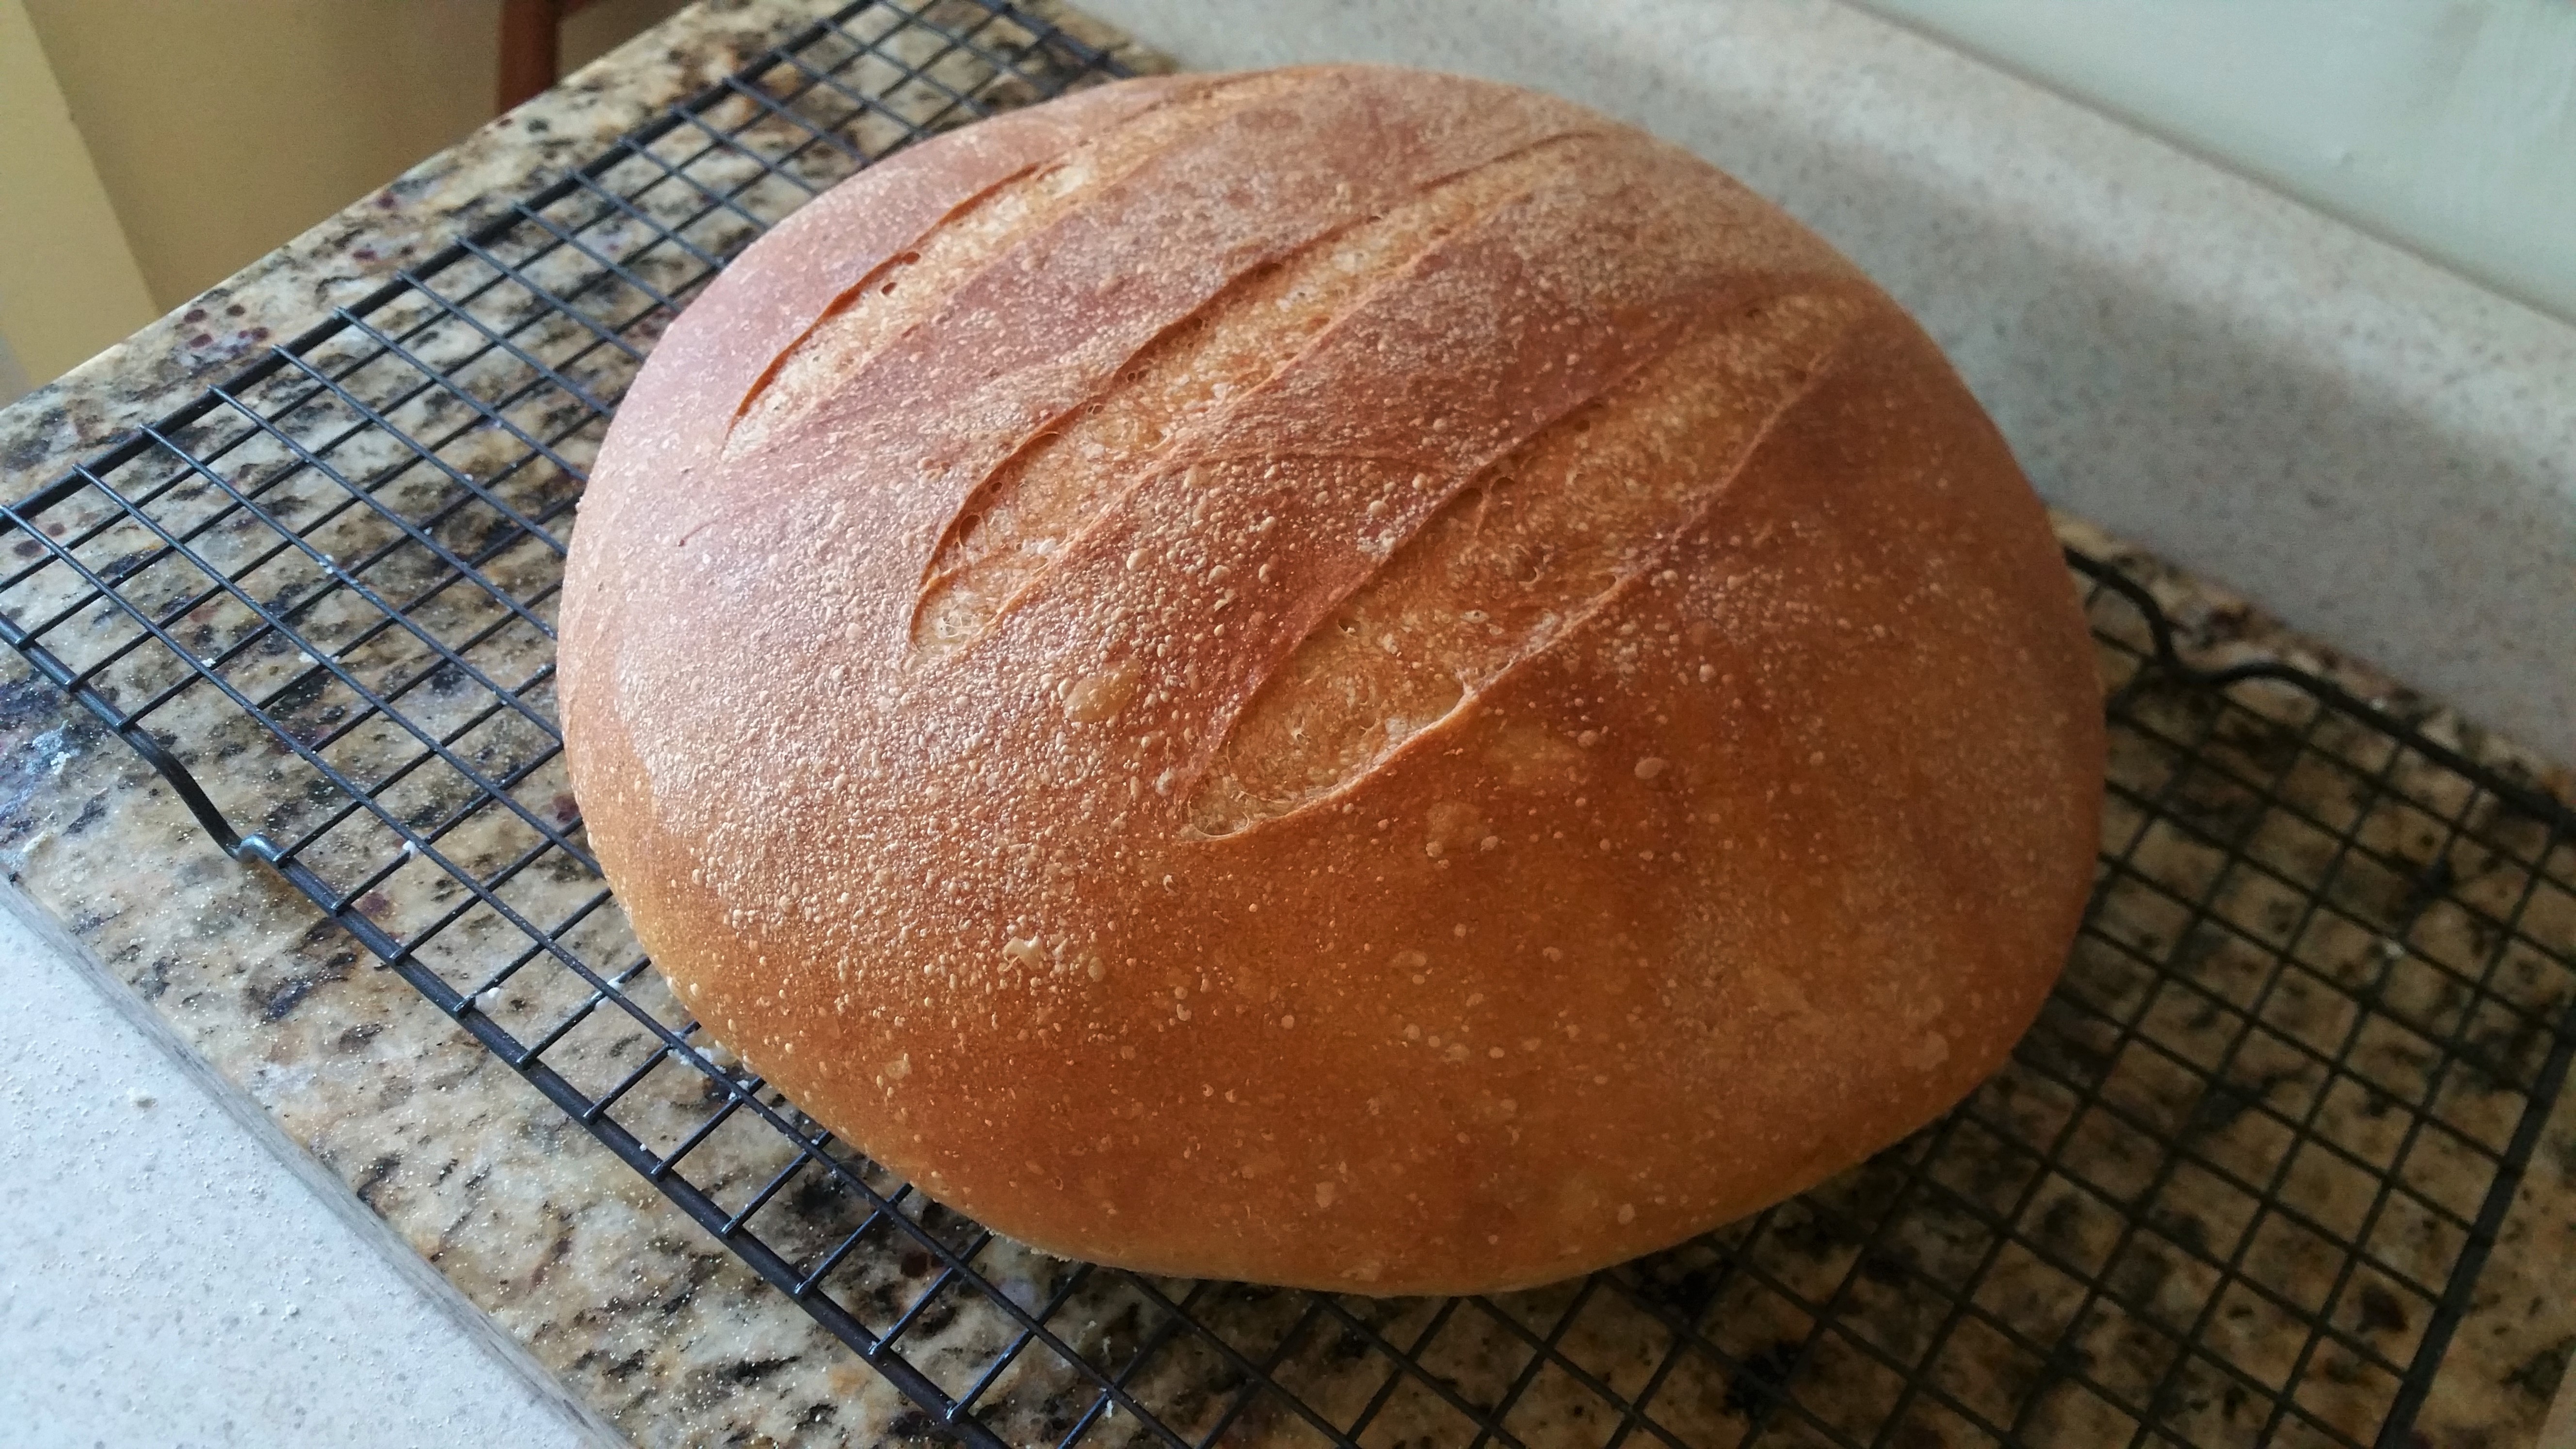
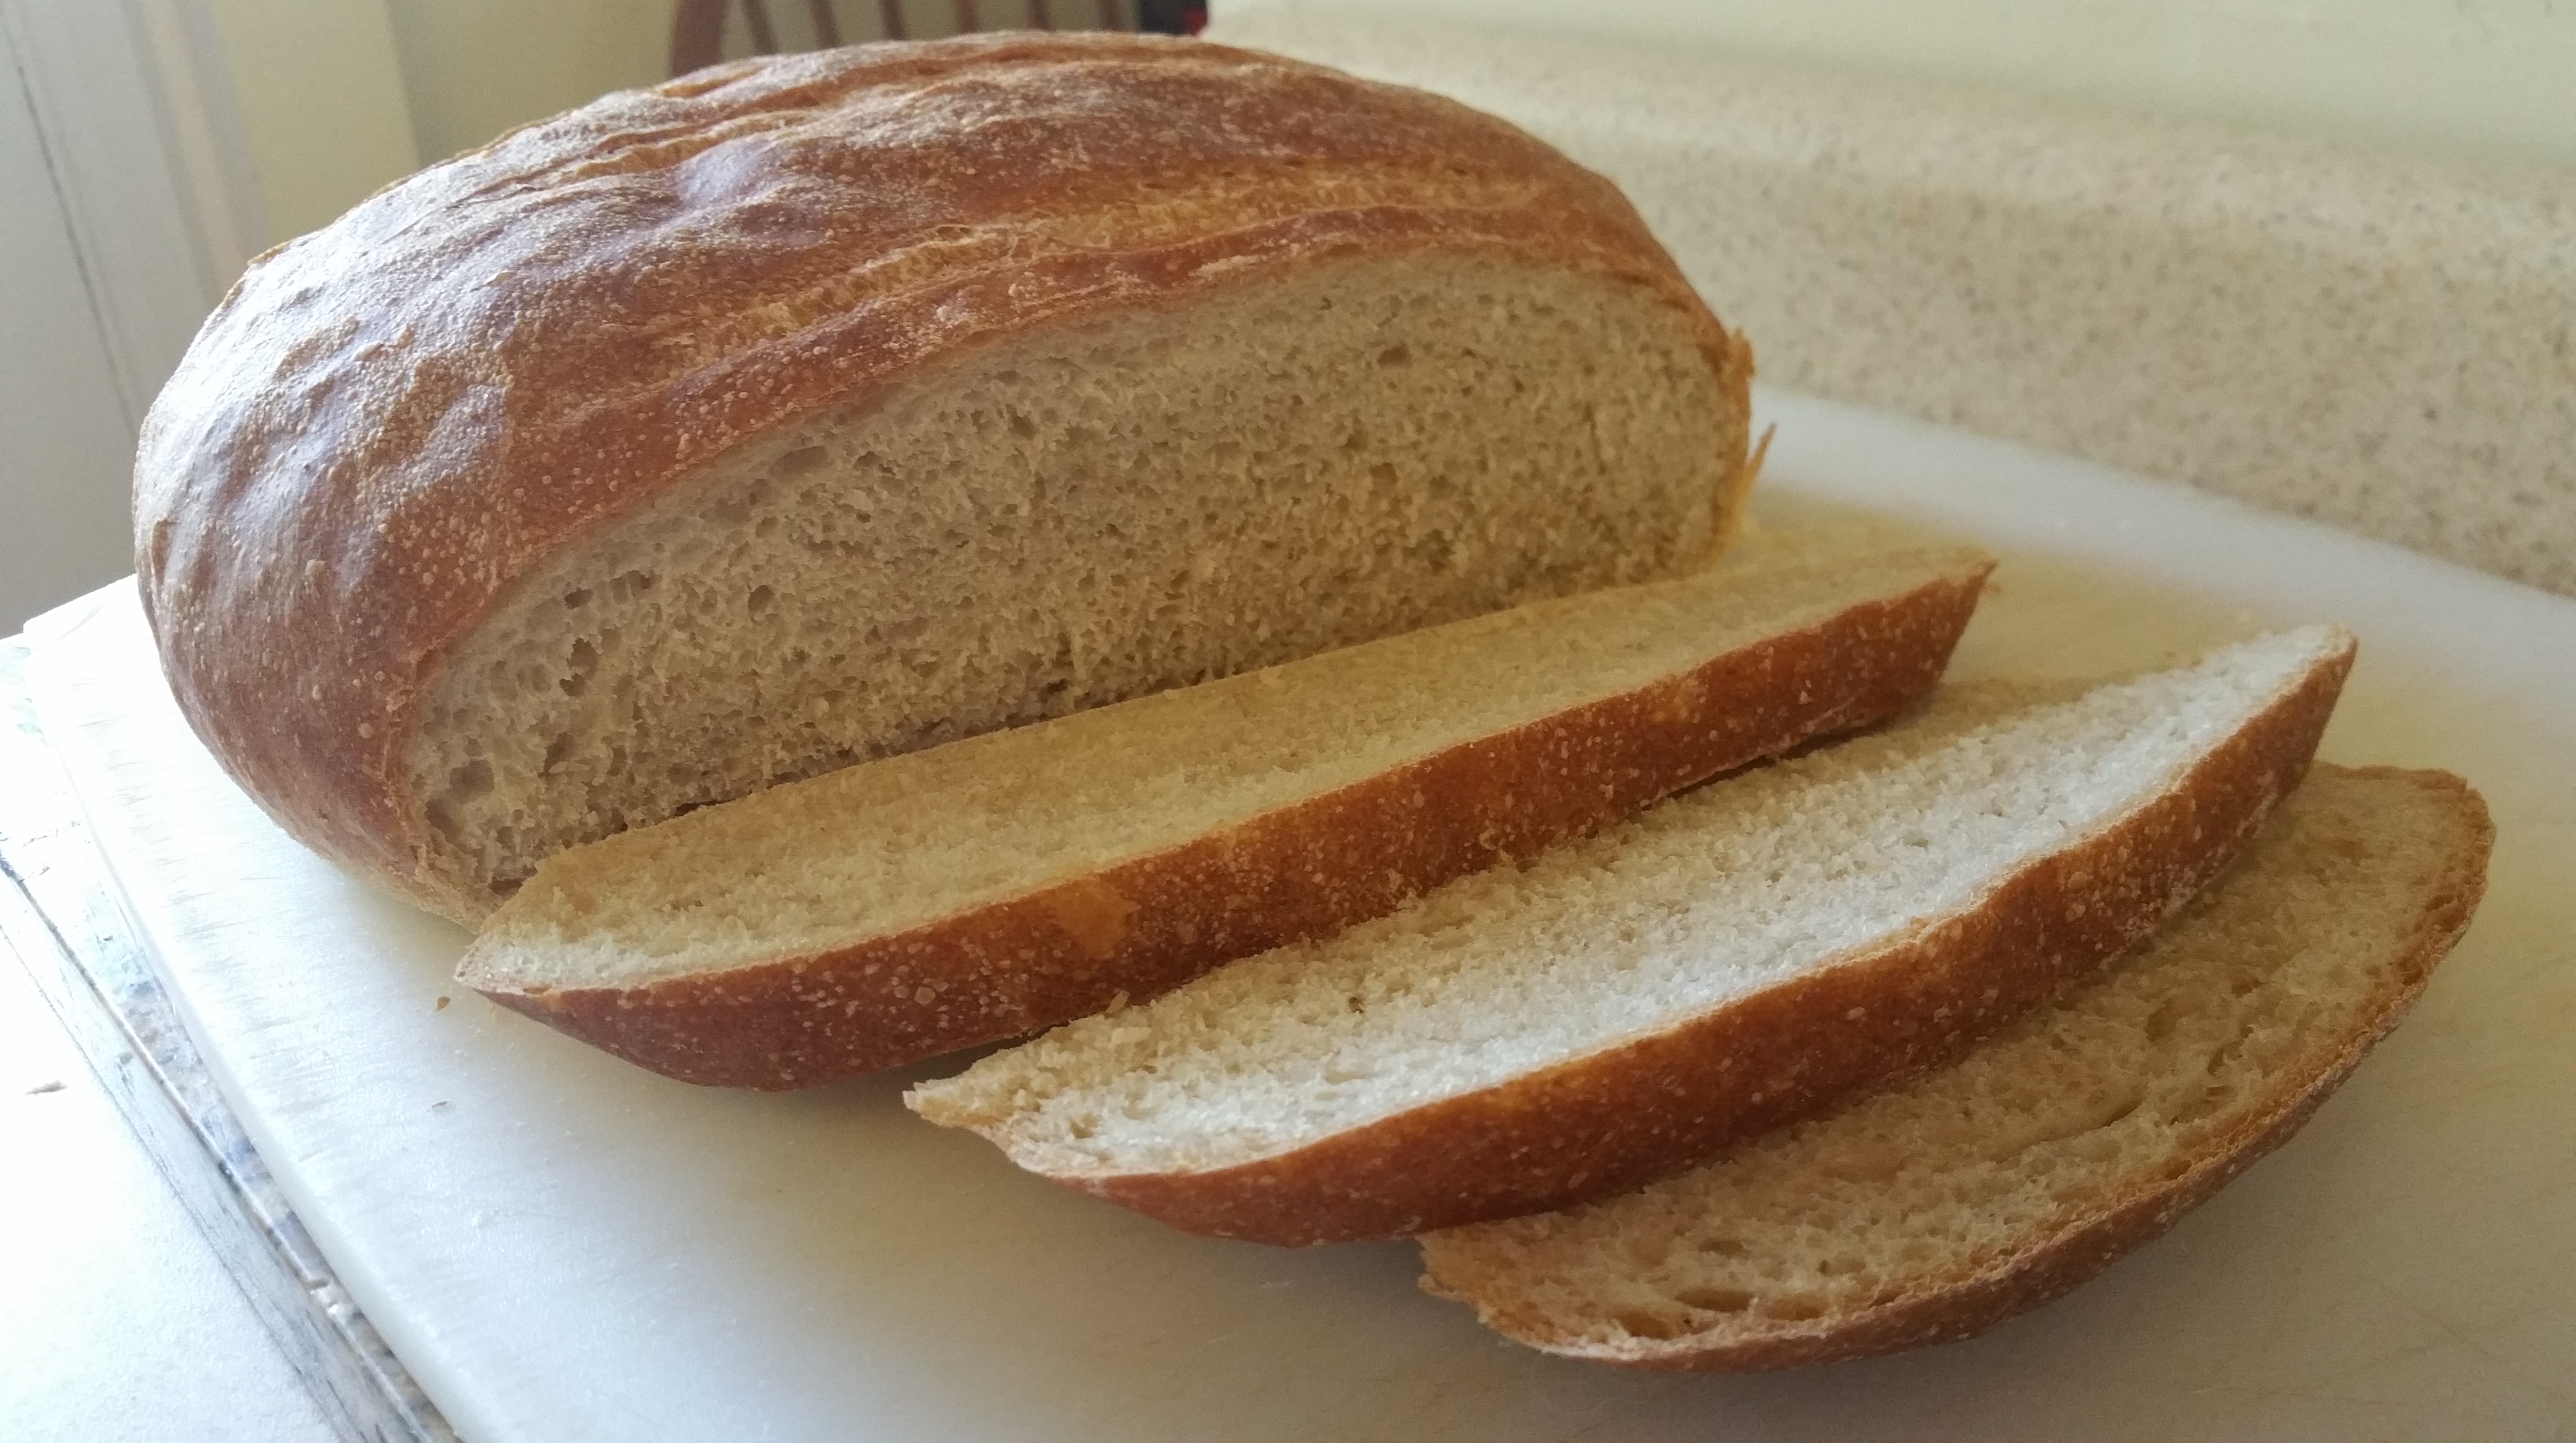
French-style Country Bread
Sponge:
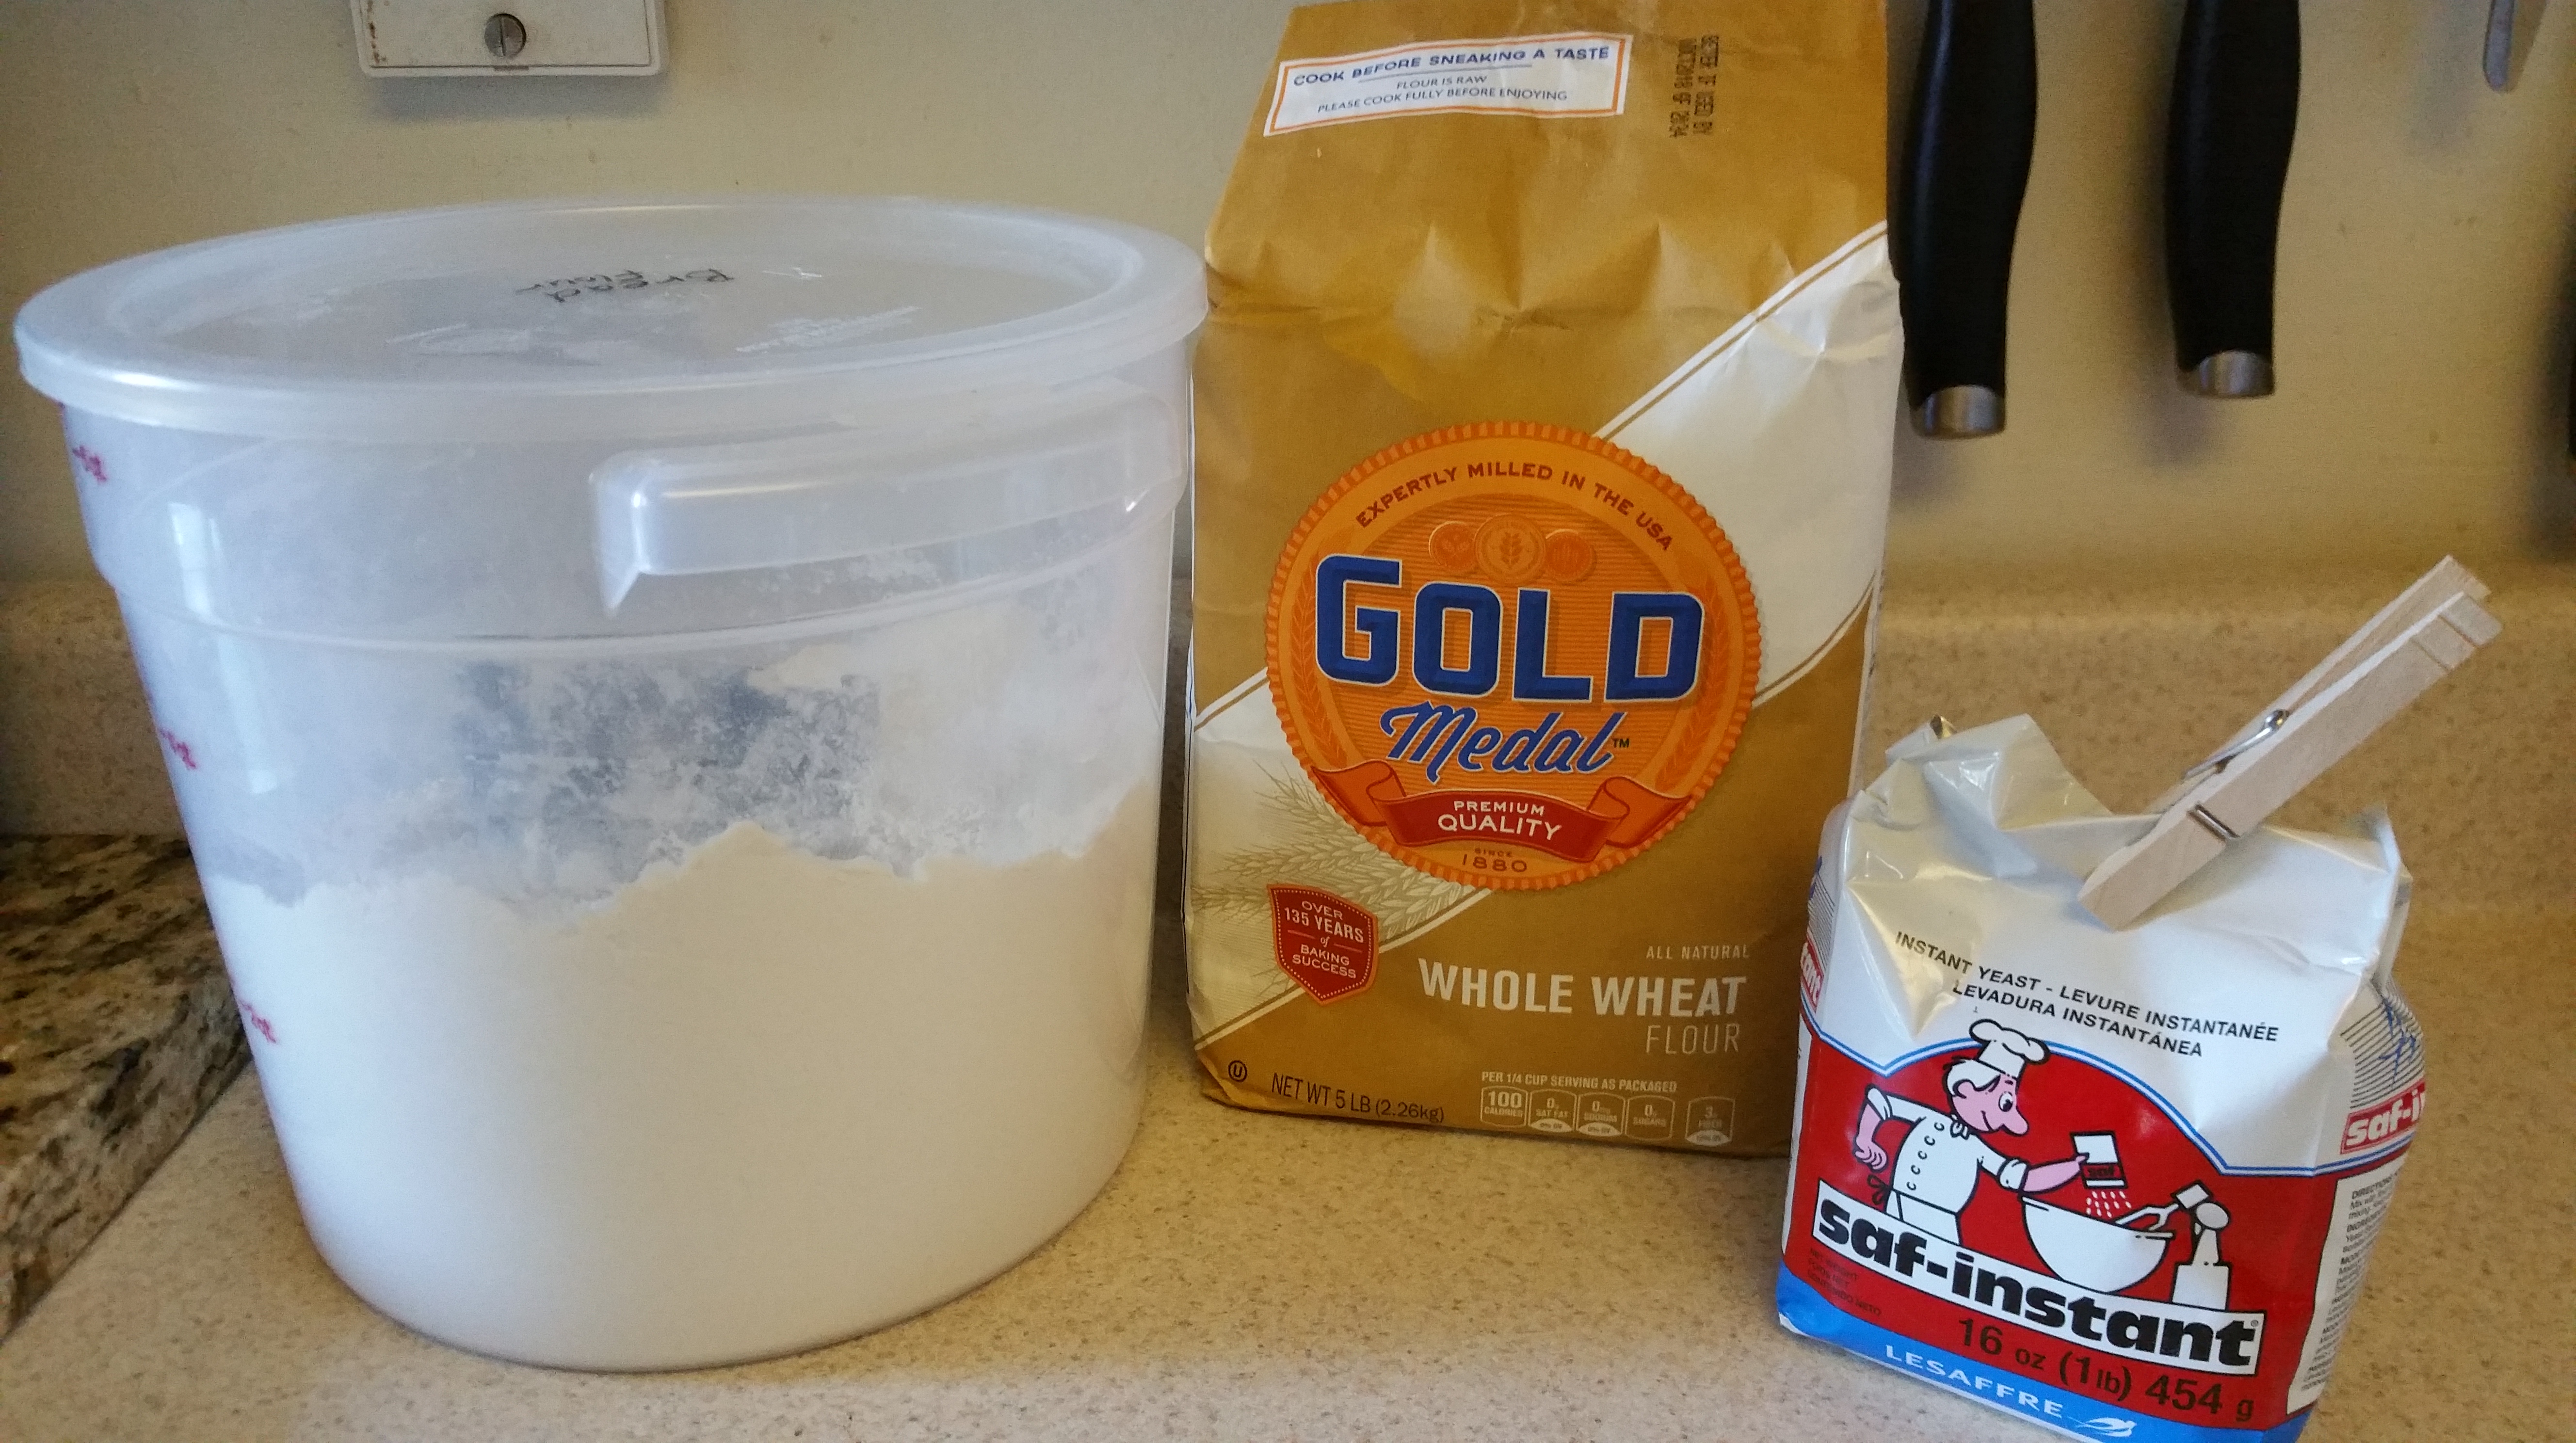
- 1 cup cool to lukewarm water (90-100 degrees F)
- 1/2 tsp. instant yeast
- 1 1/4 cups unbleached bread flour
- 1/4 cup whole wheat flour
Dough:
- Sponge
- 1 cup lukewarm water (100-115 degrees F)
- ½ tsp. instant yeast
- 1 tbsp. sugar
- 3 3/4 to 4 cups unbleached bread flour
- 1 1/2 tsp. kosher salt

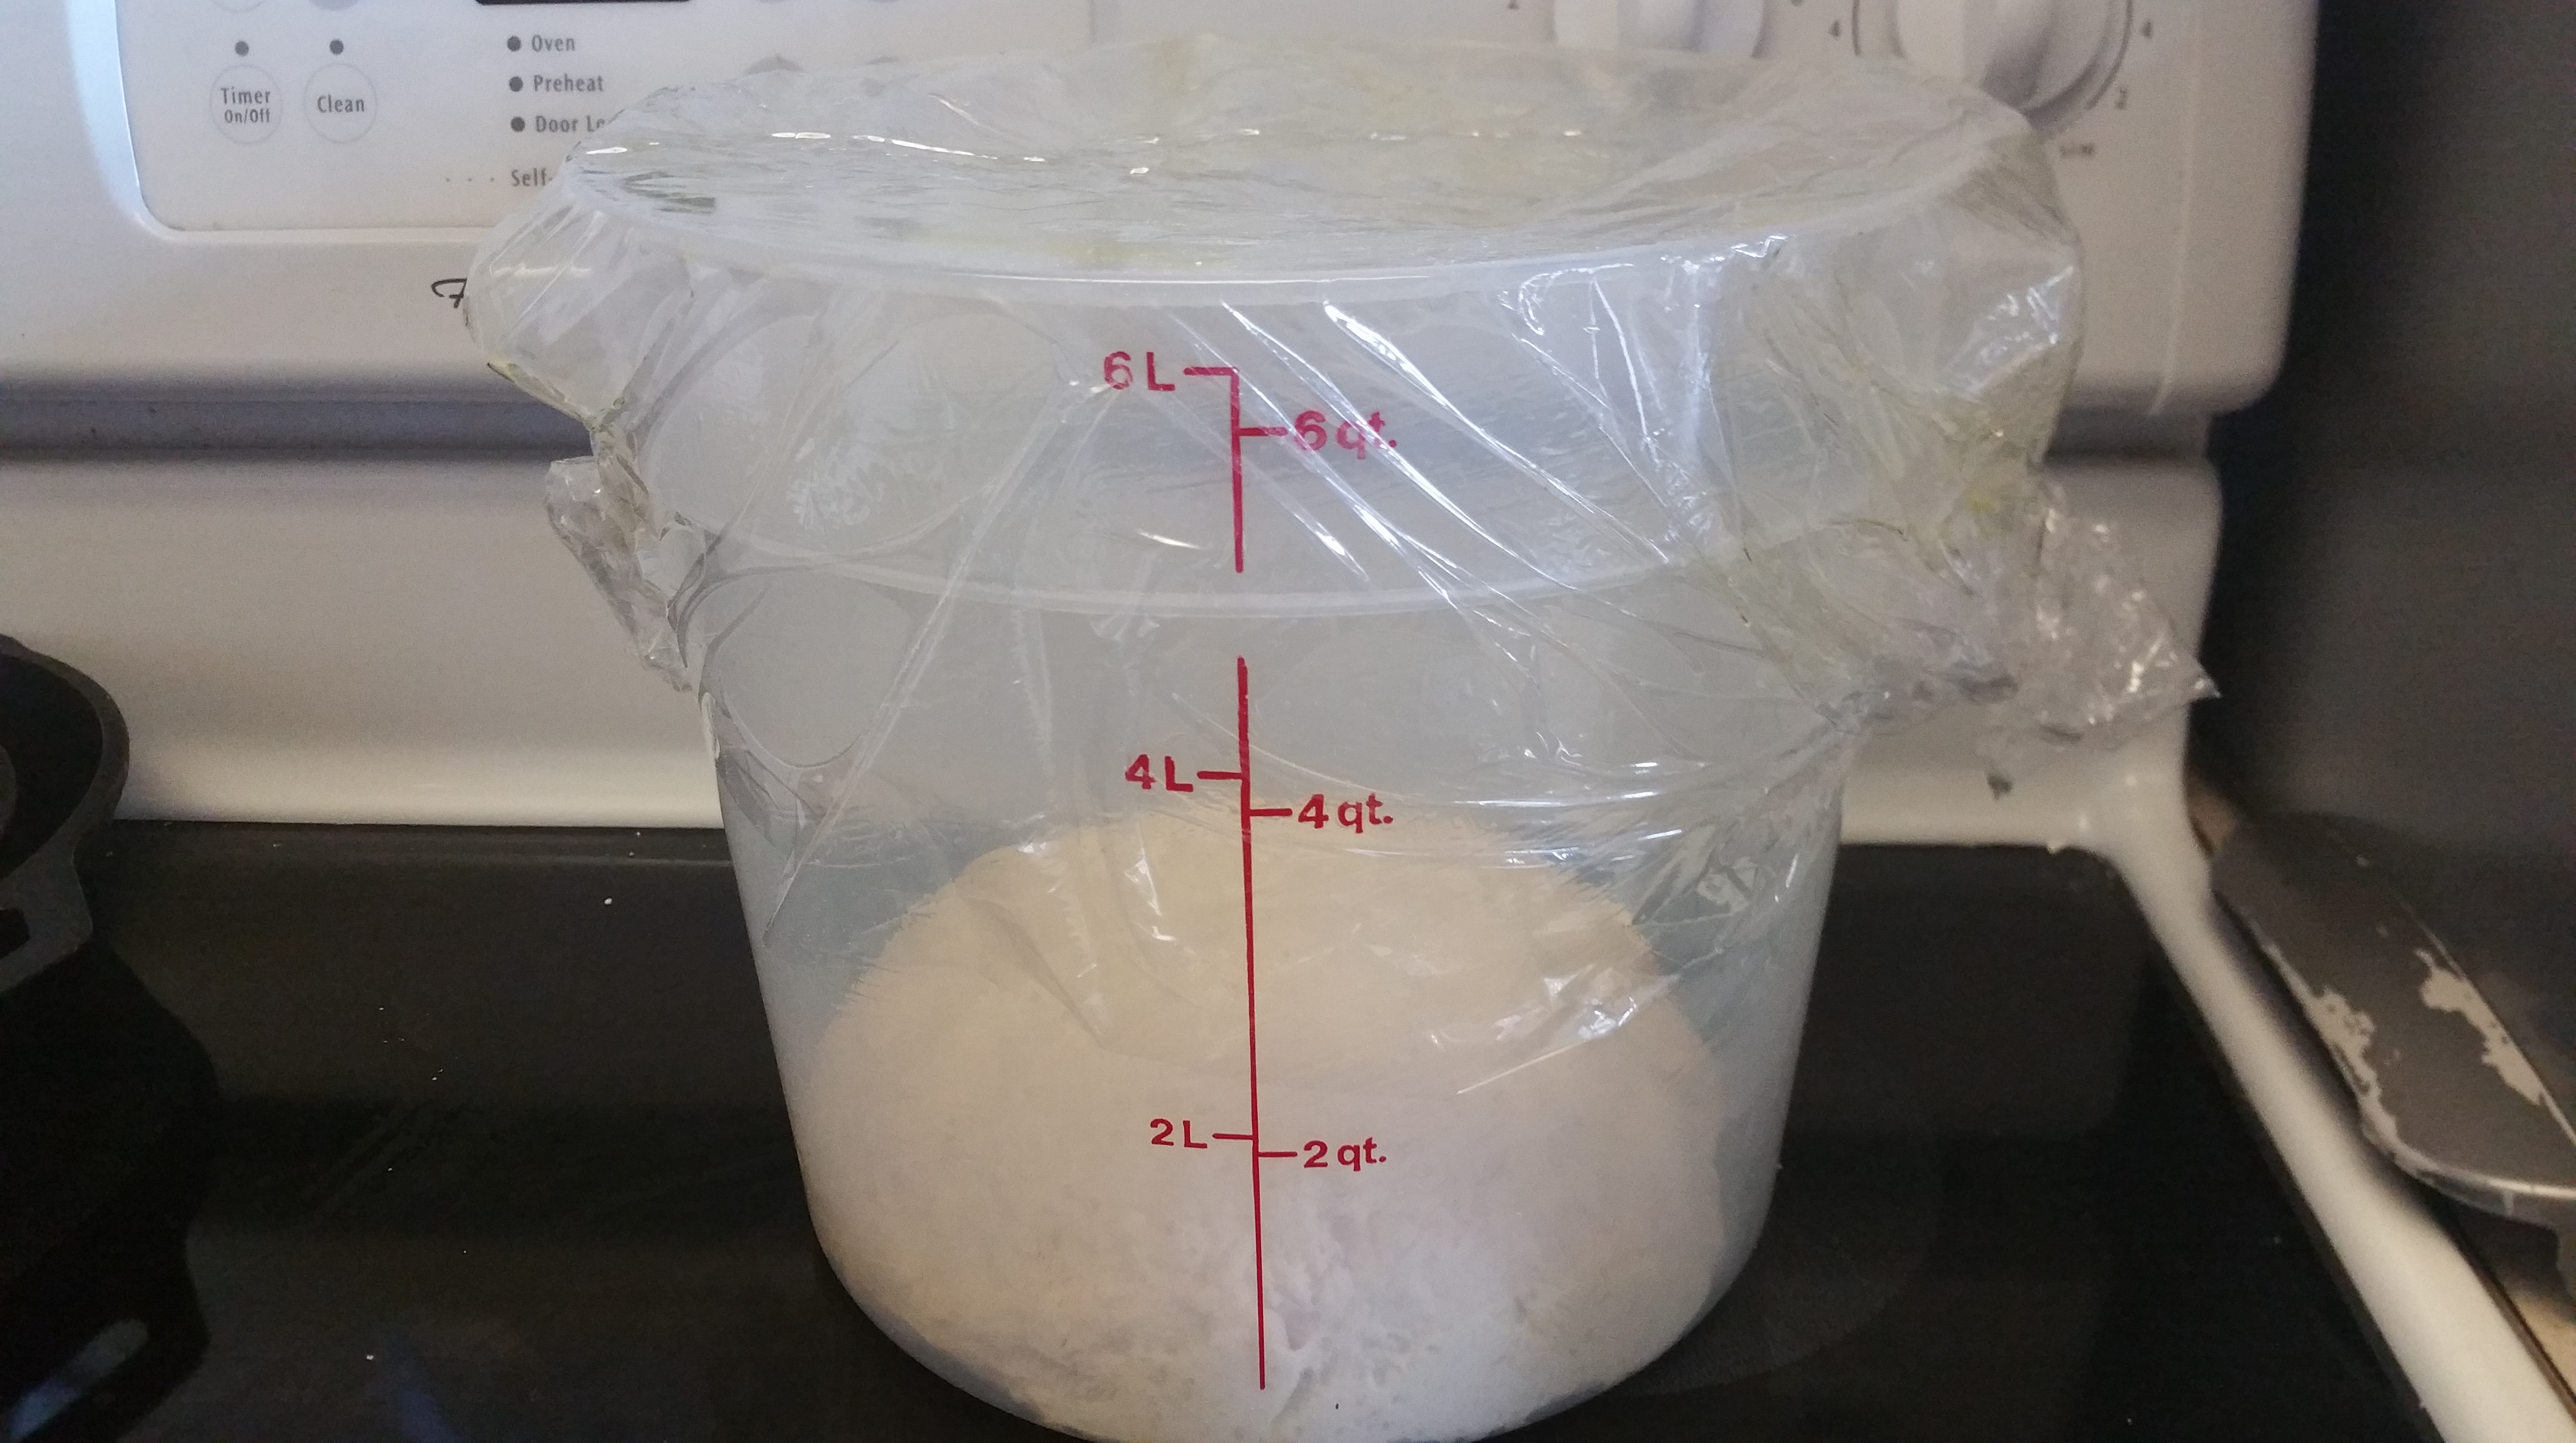
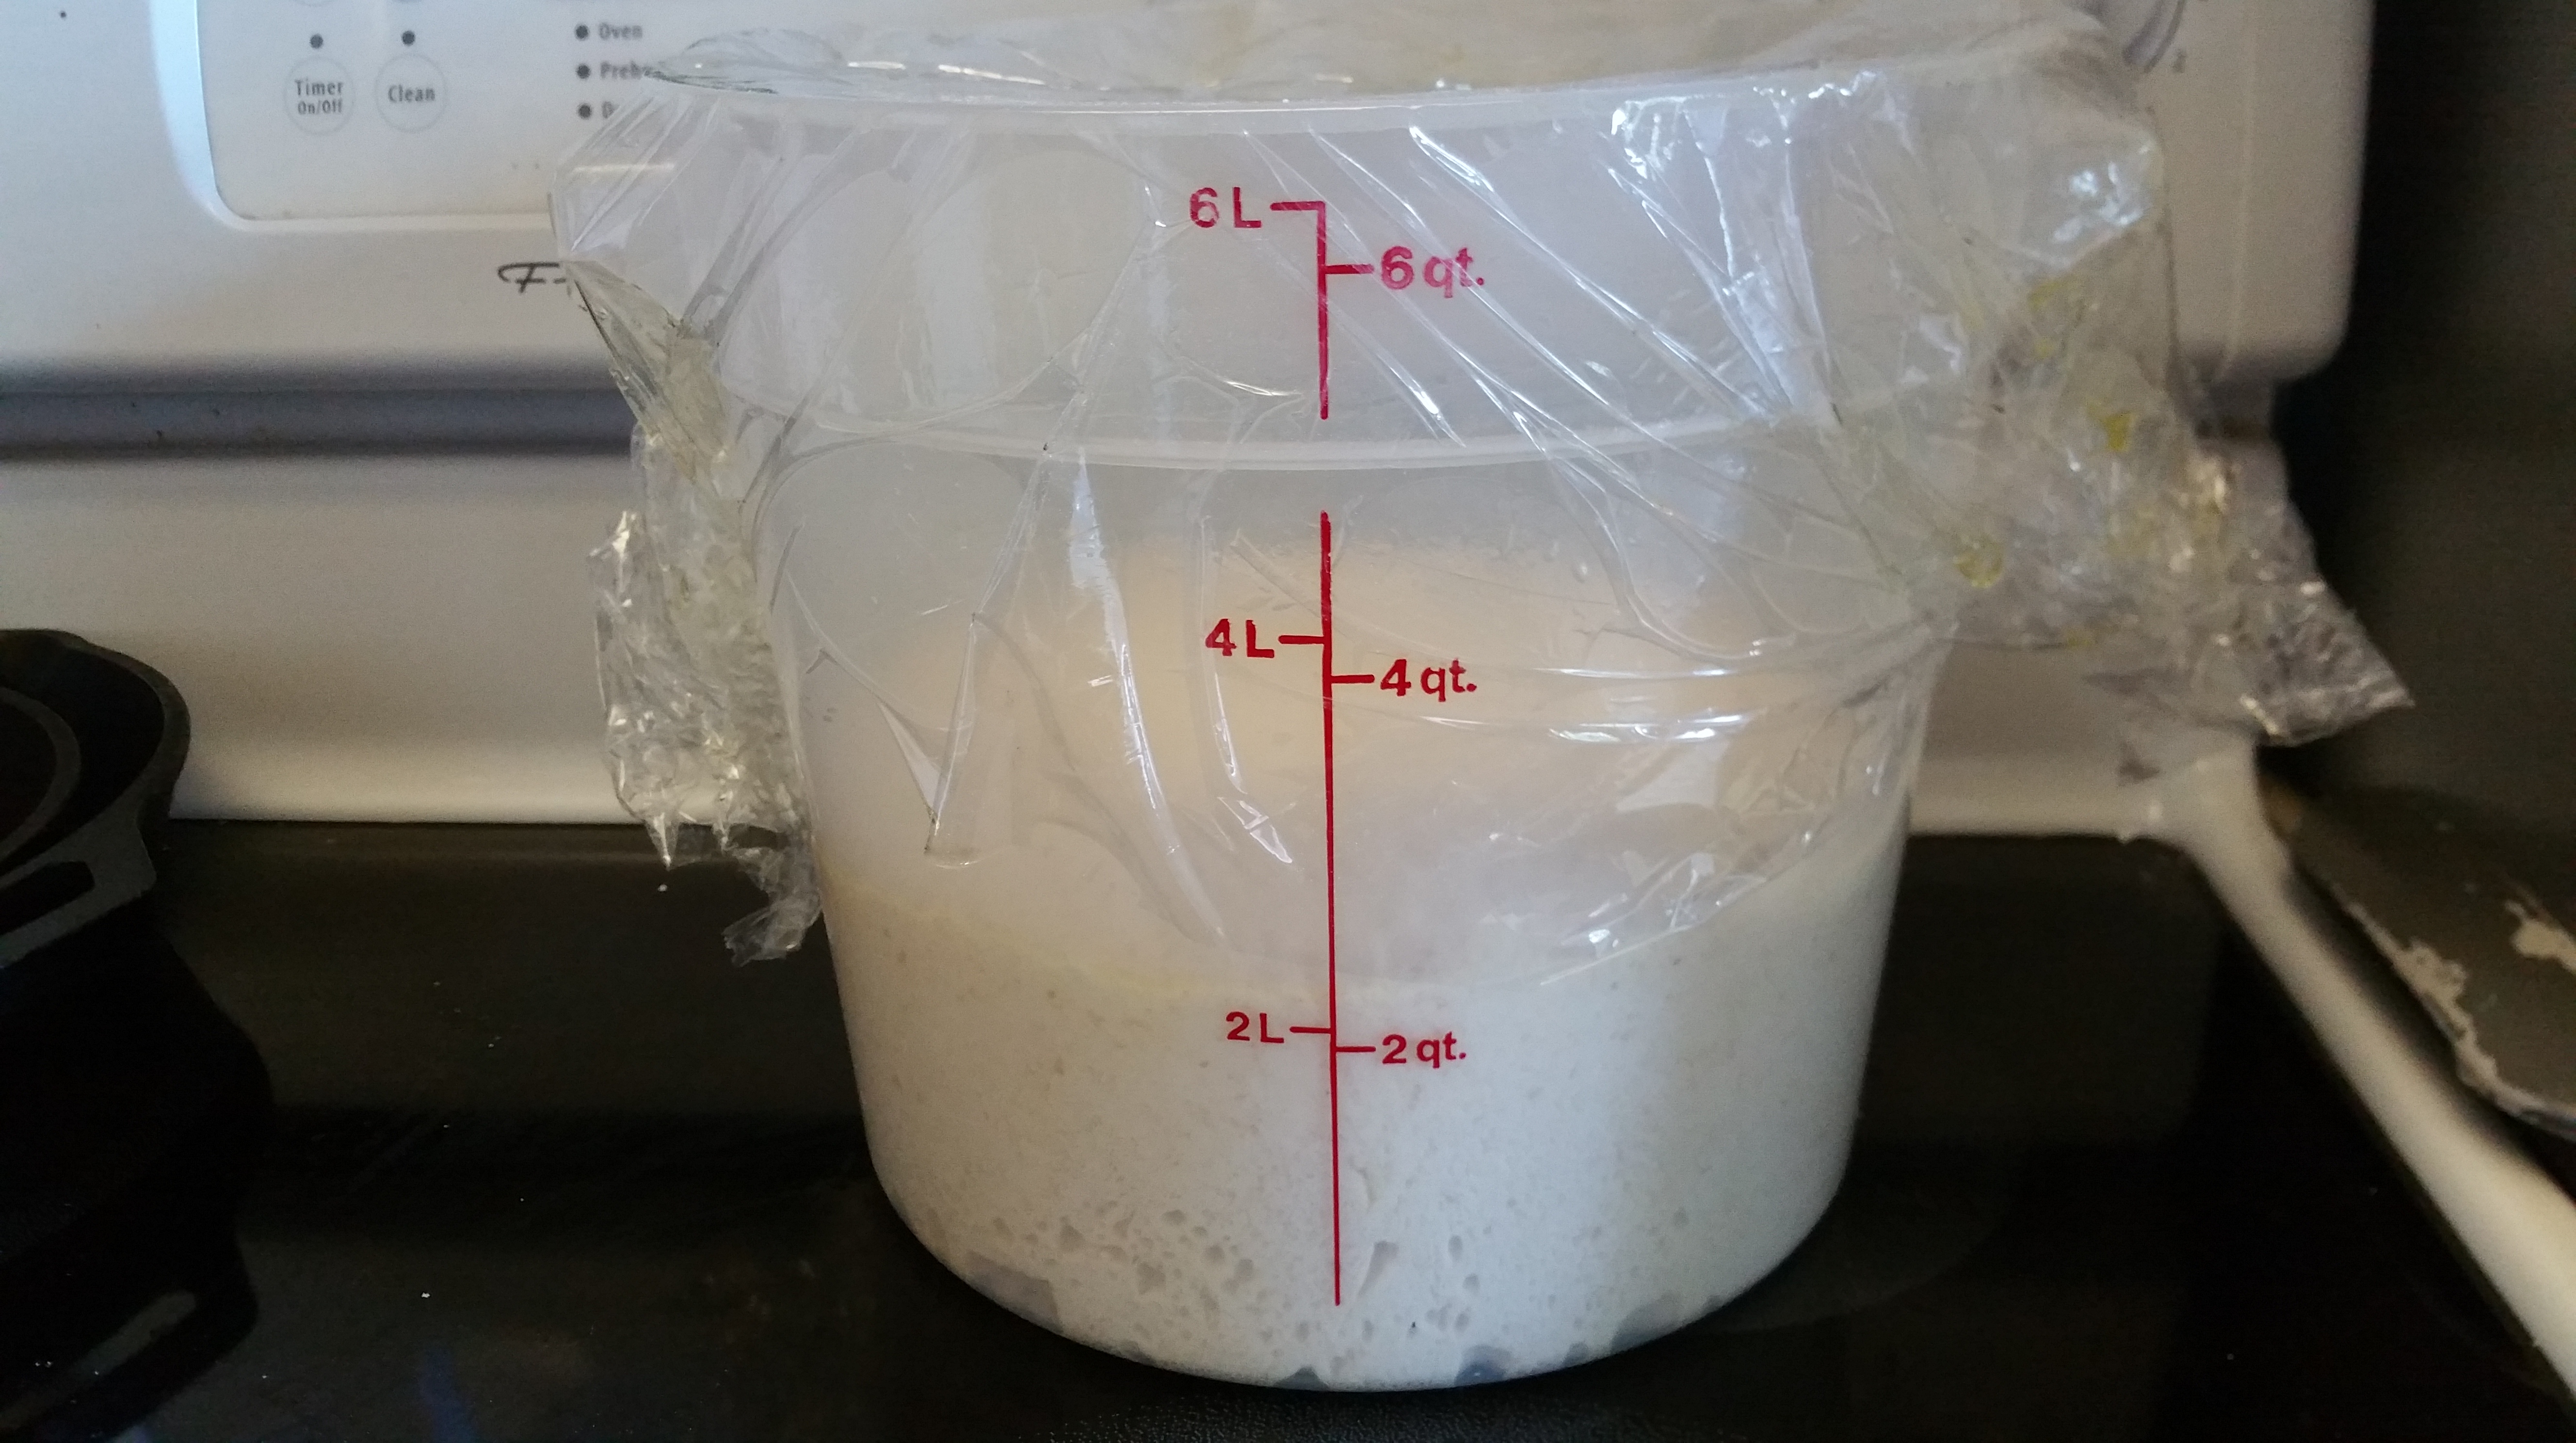
Make the sponge by stirring all of the ingredients together in a large bowl. Cover with plastic wrap and allow it to rest overnight or for as much as 16 hours.
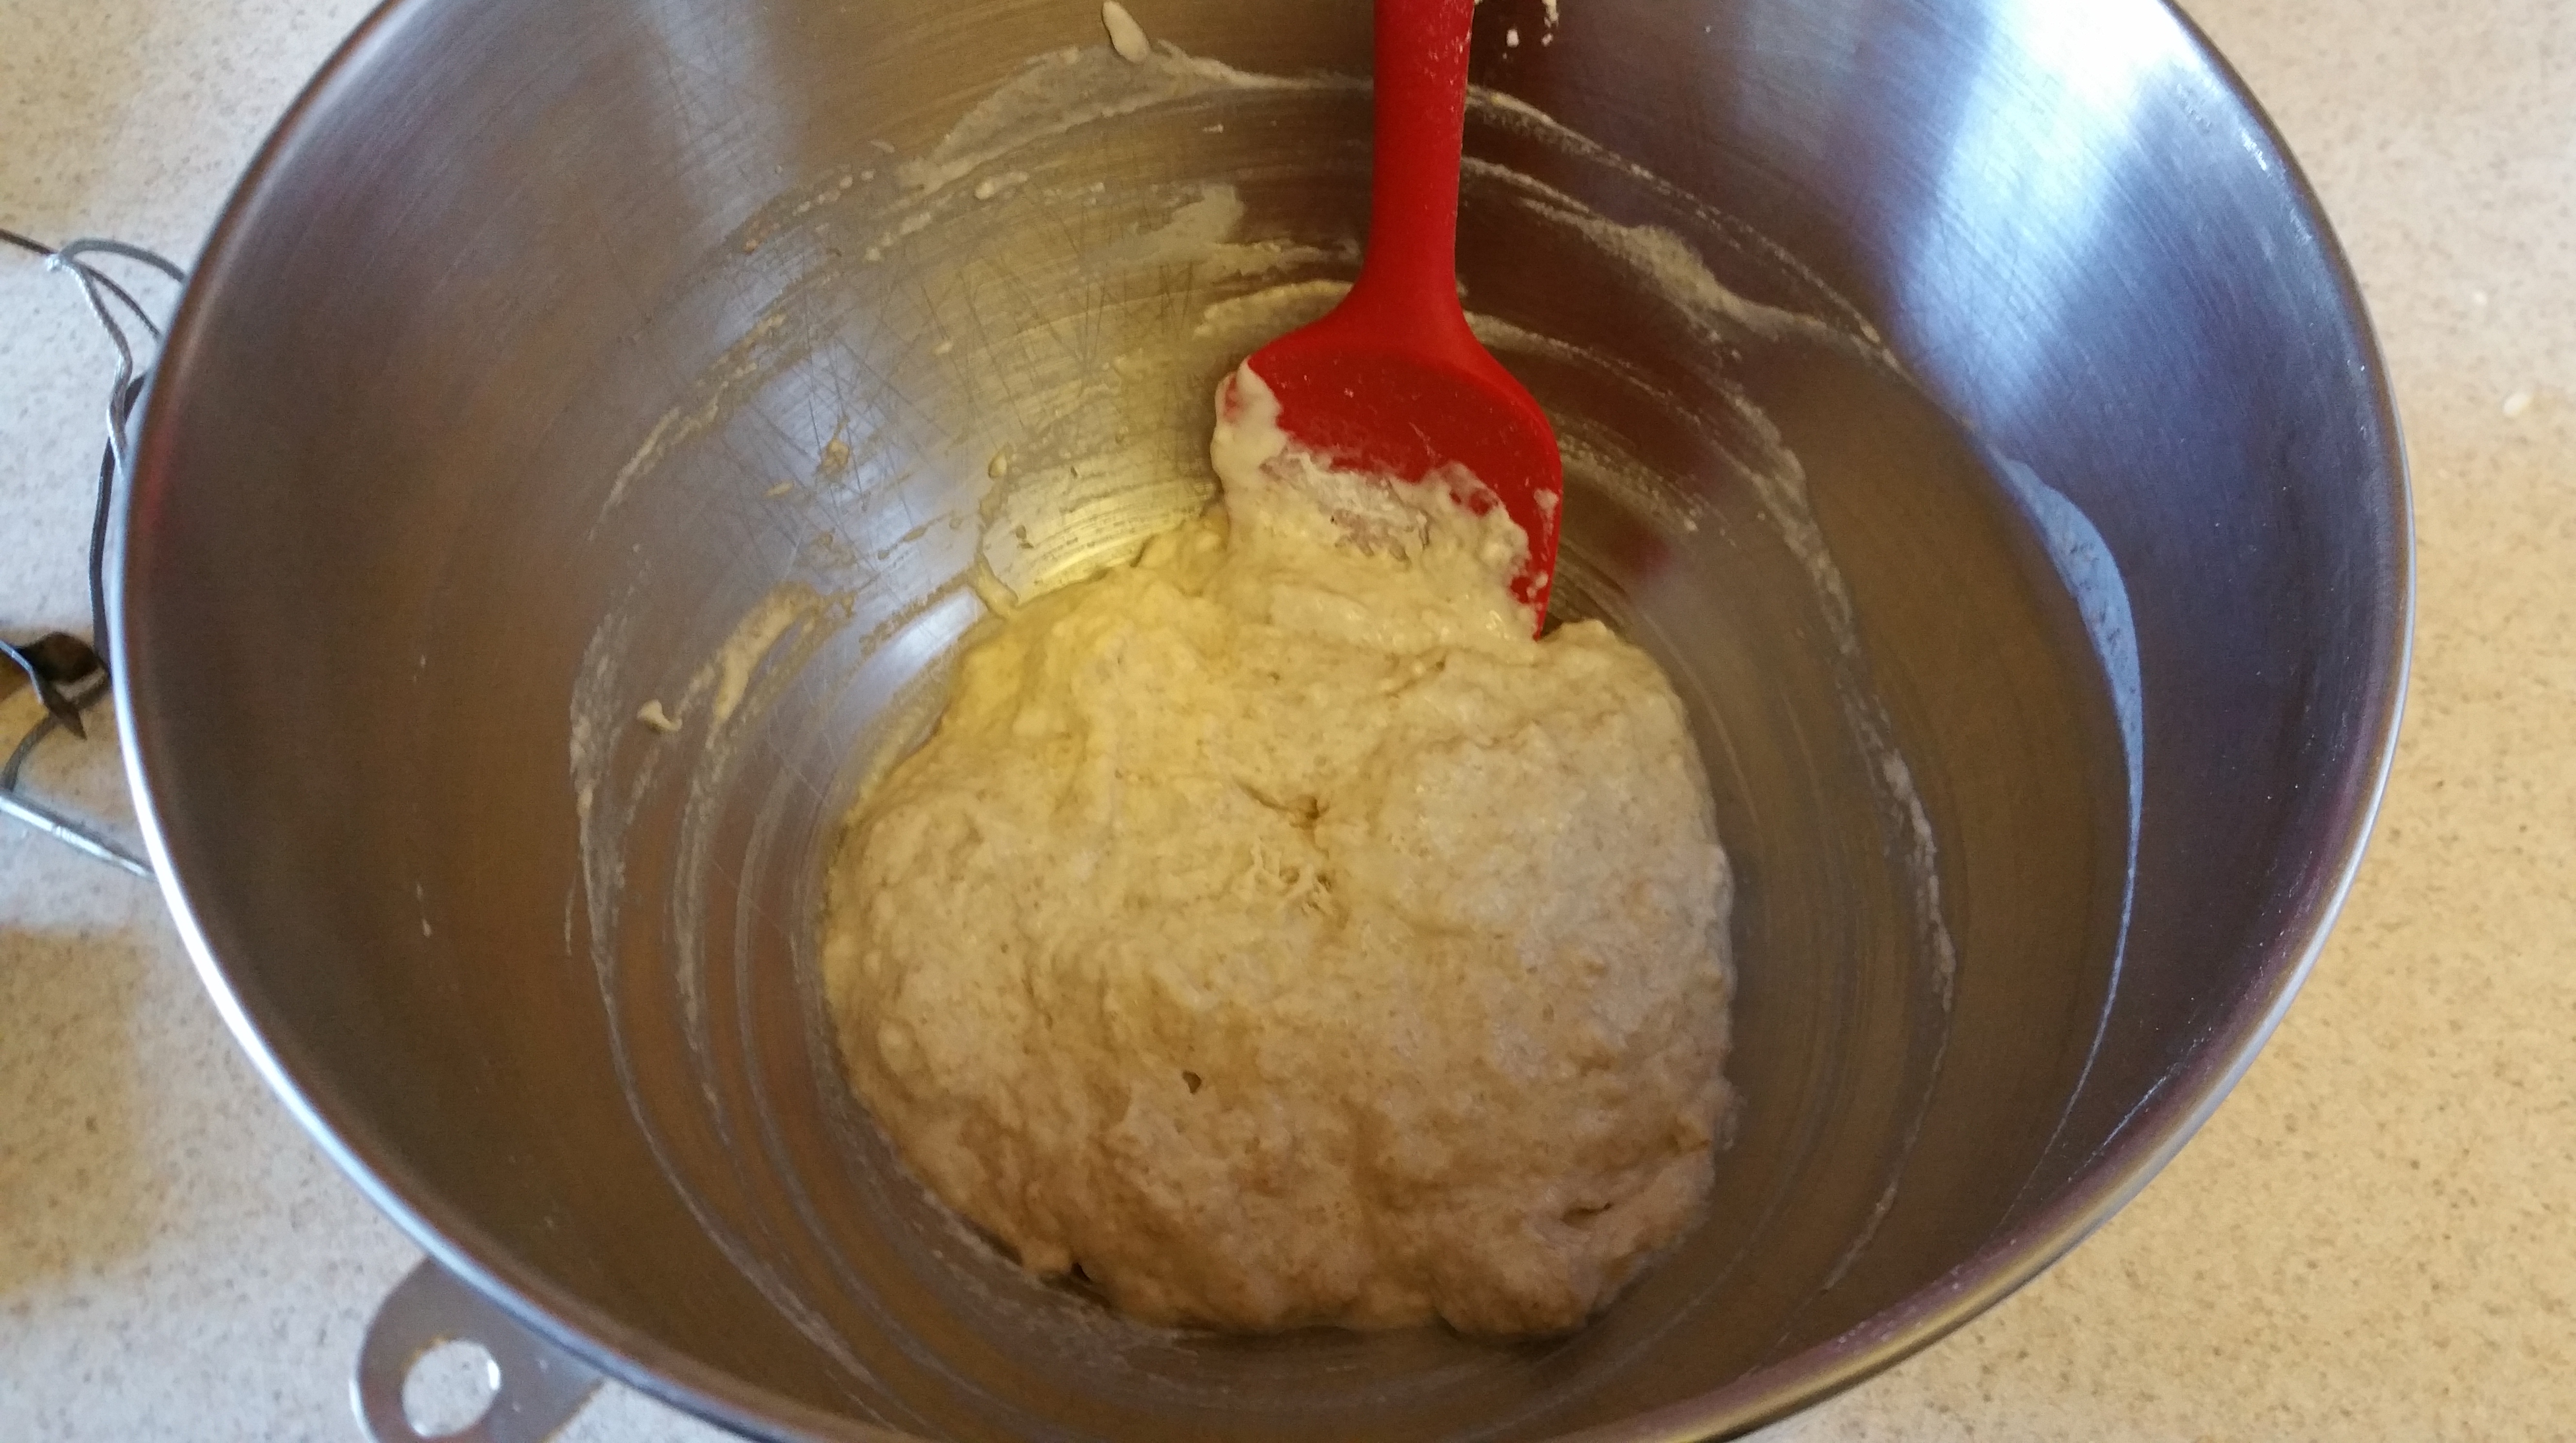

After the resting period, stir the starter and add the water, yeast, sugar, 3 1/4 cups of the flour, and the salt. The dough will look rough and messy. Let it rest for minutes and then stir again. The dough will be more cohesive.

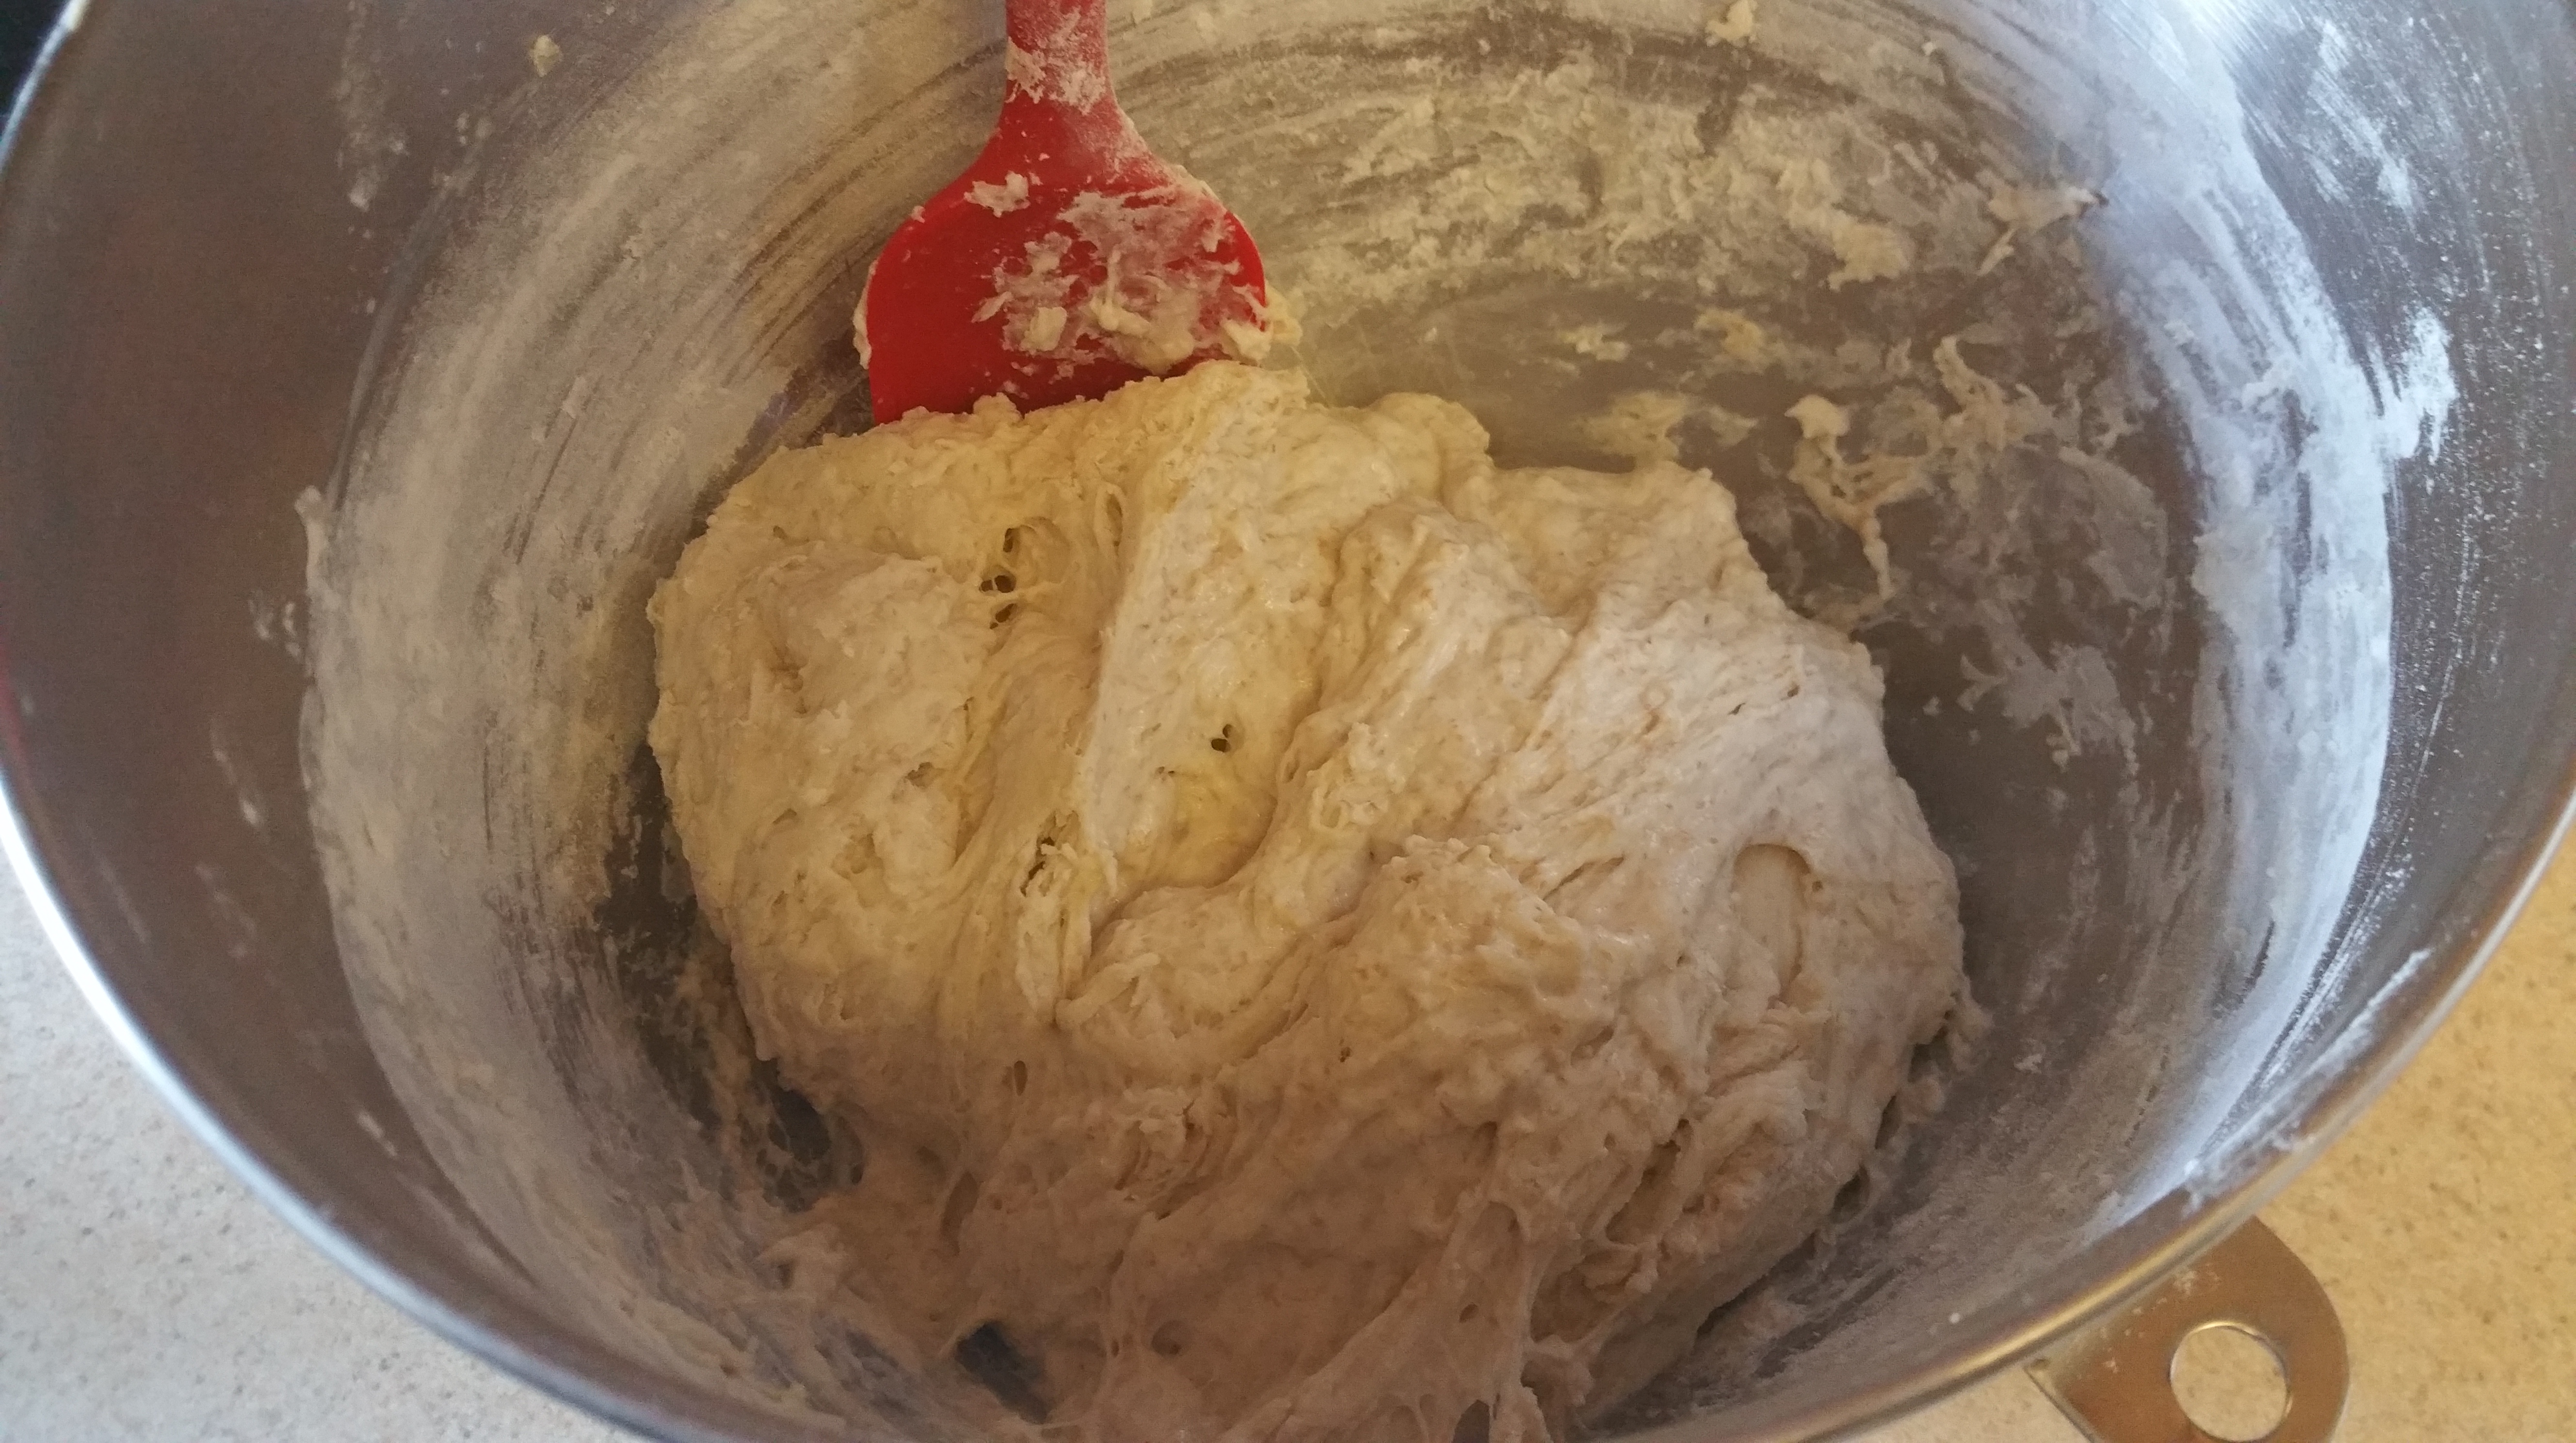
Knead the dough for 10-12 minutes, adding the remaining ¾ cups of flour only as needed to form a smooth dough. On a humid summer day, I needed all of the flour. When I’ve made this bread in the winter I have needed less than half, so it can vary a lot.
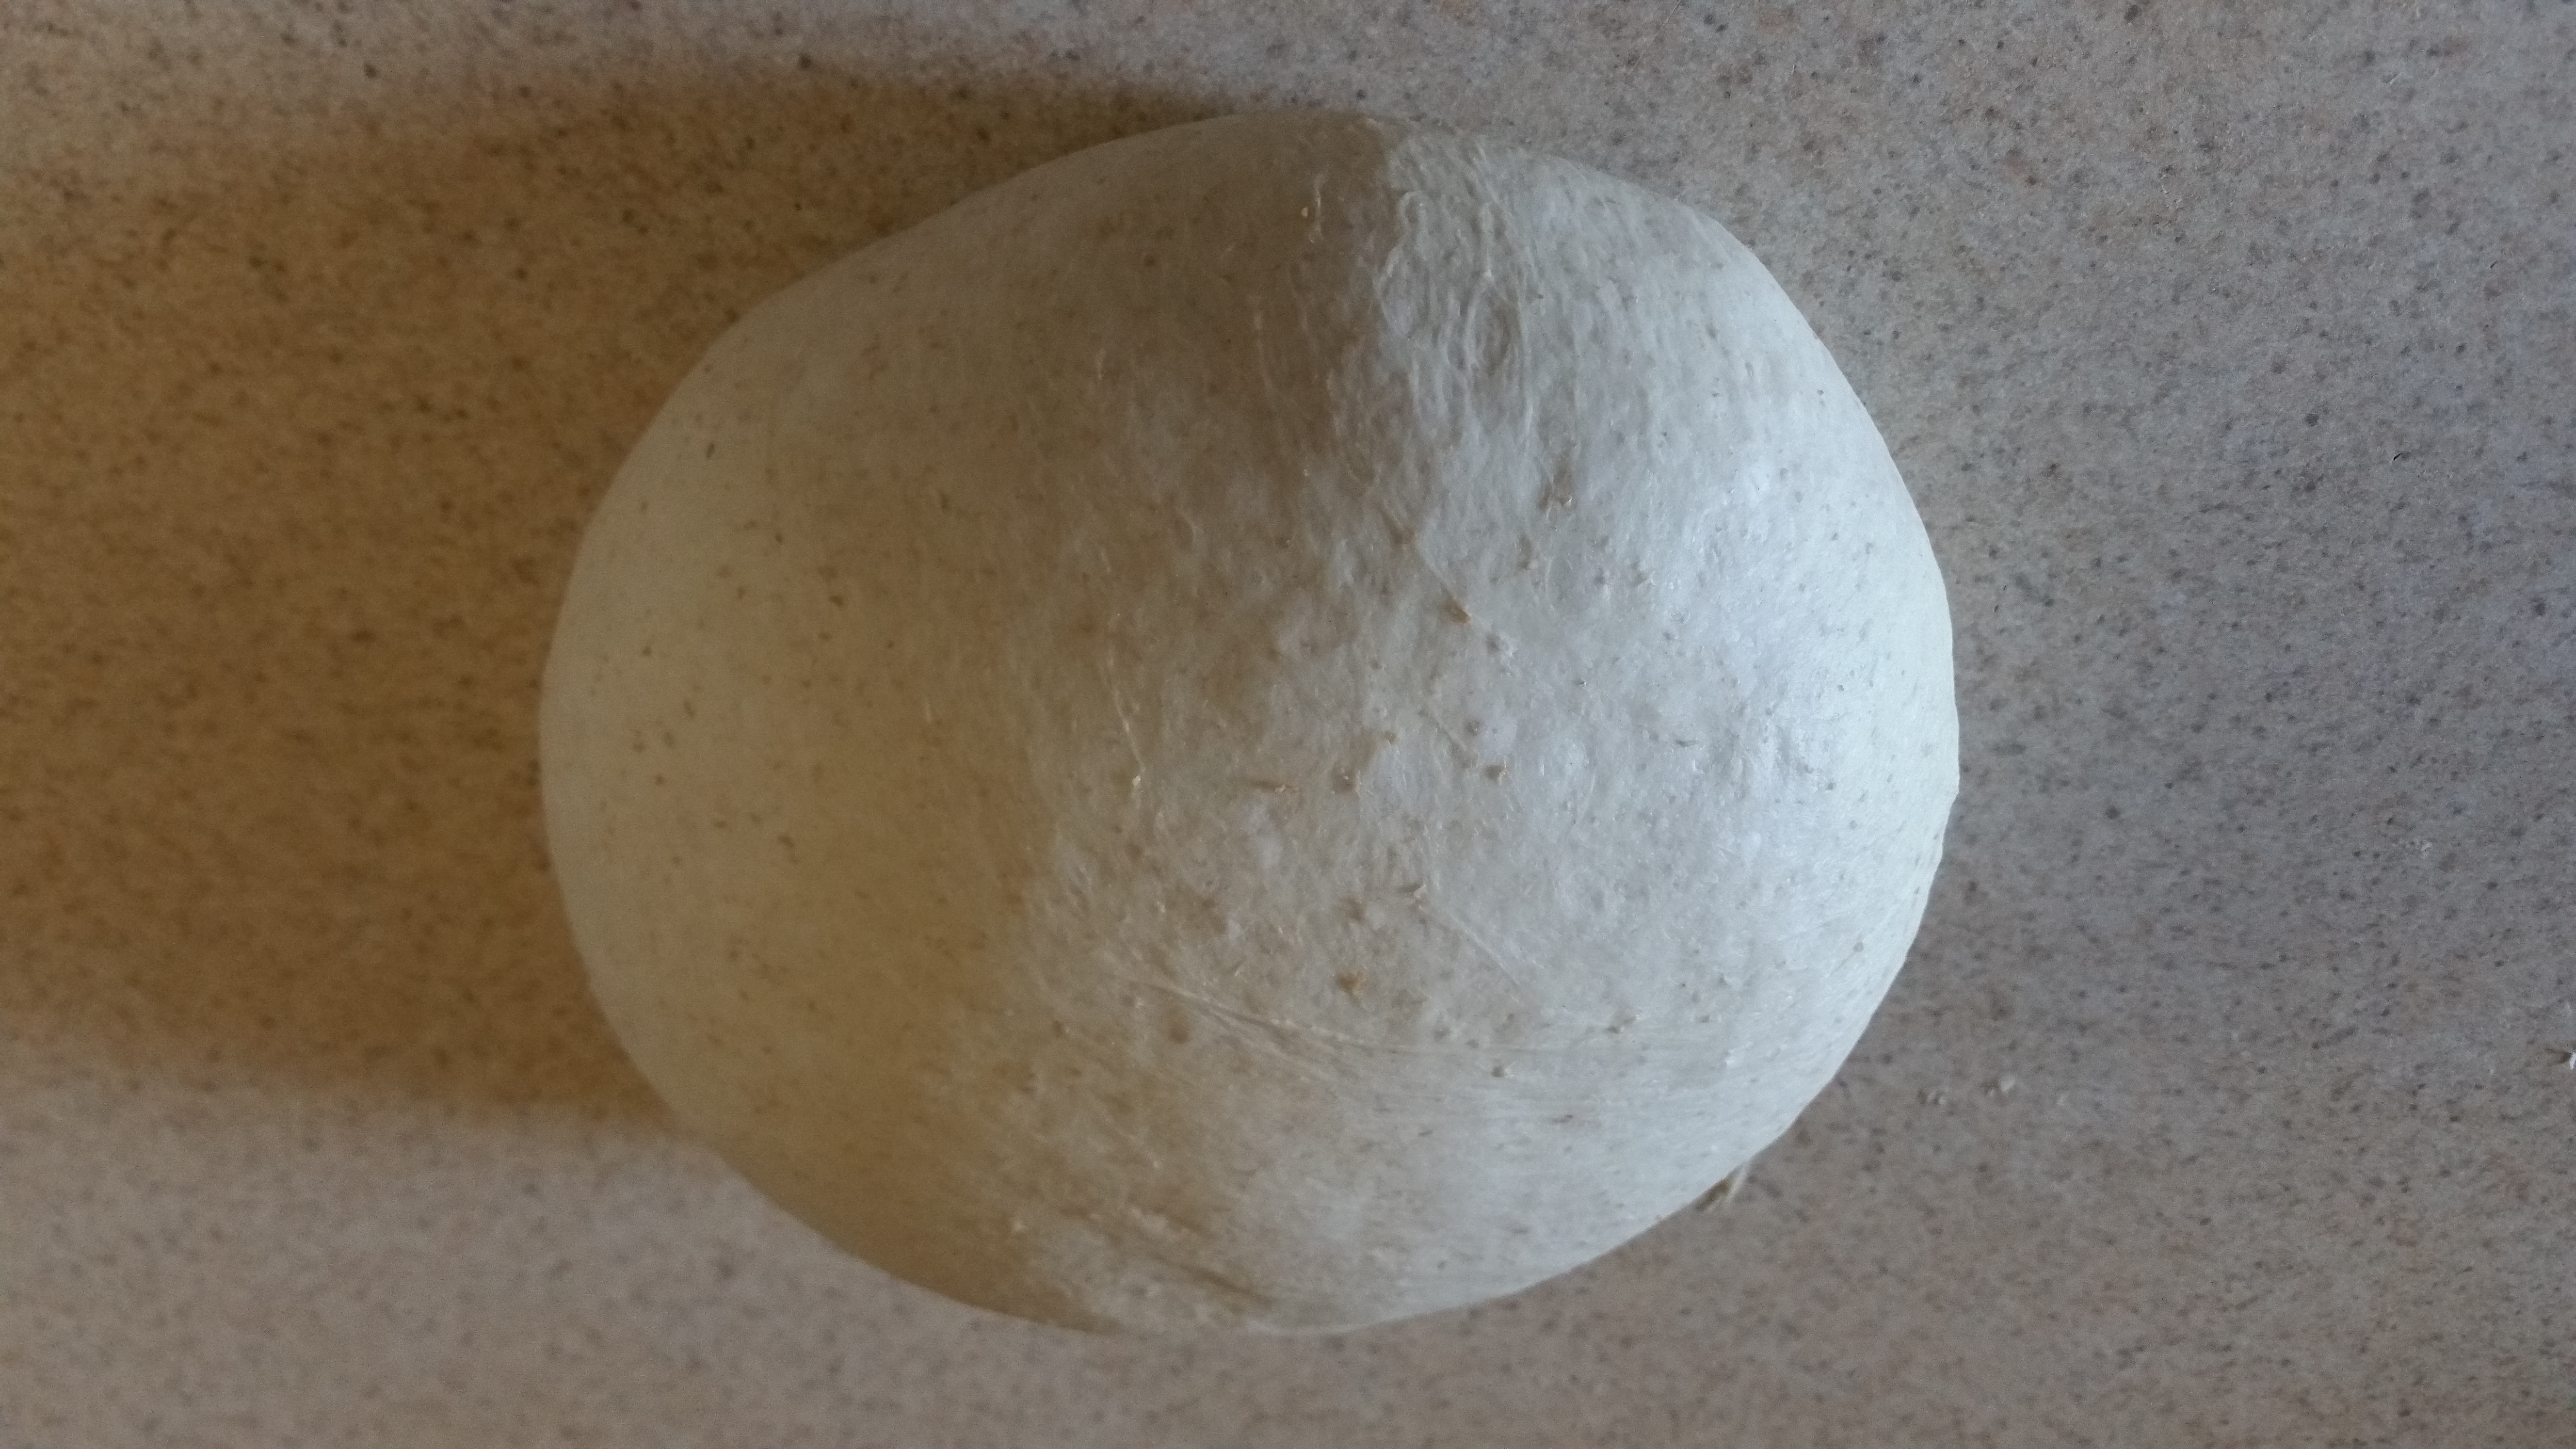
Place the dough in a lightly greased bowl or plastic container. I like a measured plastic container because it is easier to see the exact volume of the rise. Cover with lightly greased plastic wrap, and let the dough rise until almost doubled, 1-2 hours.
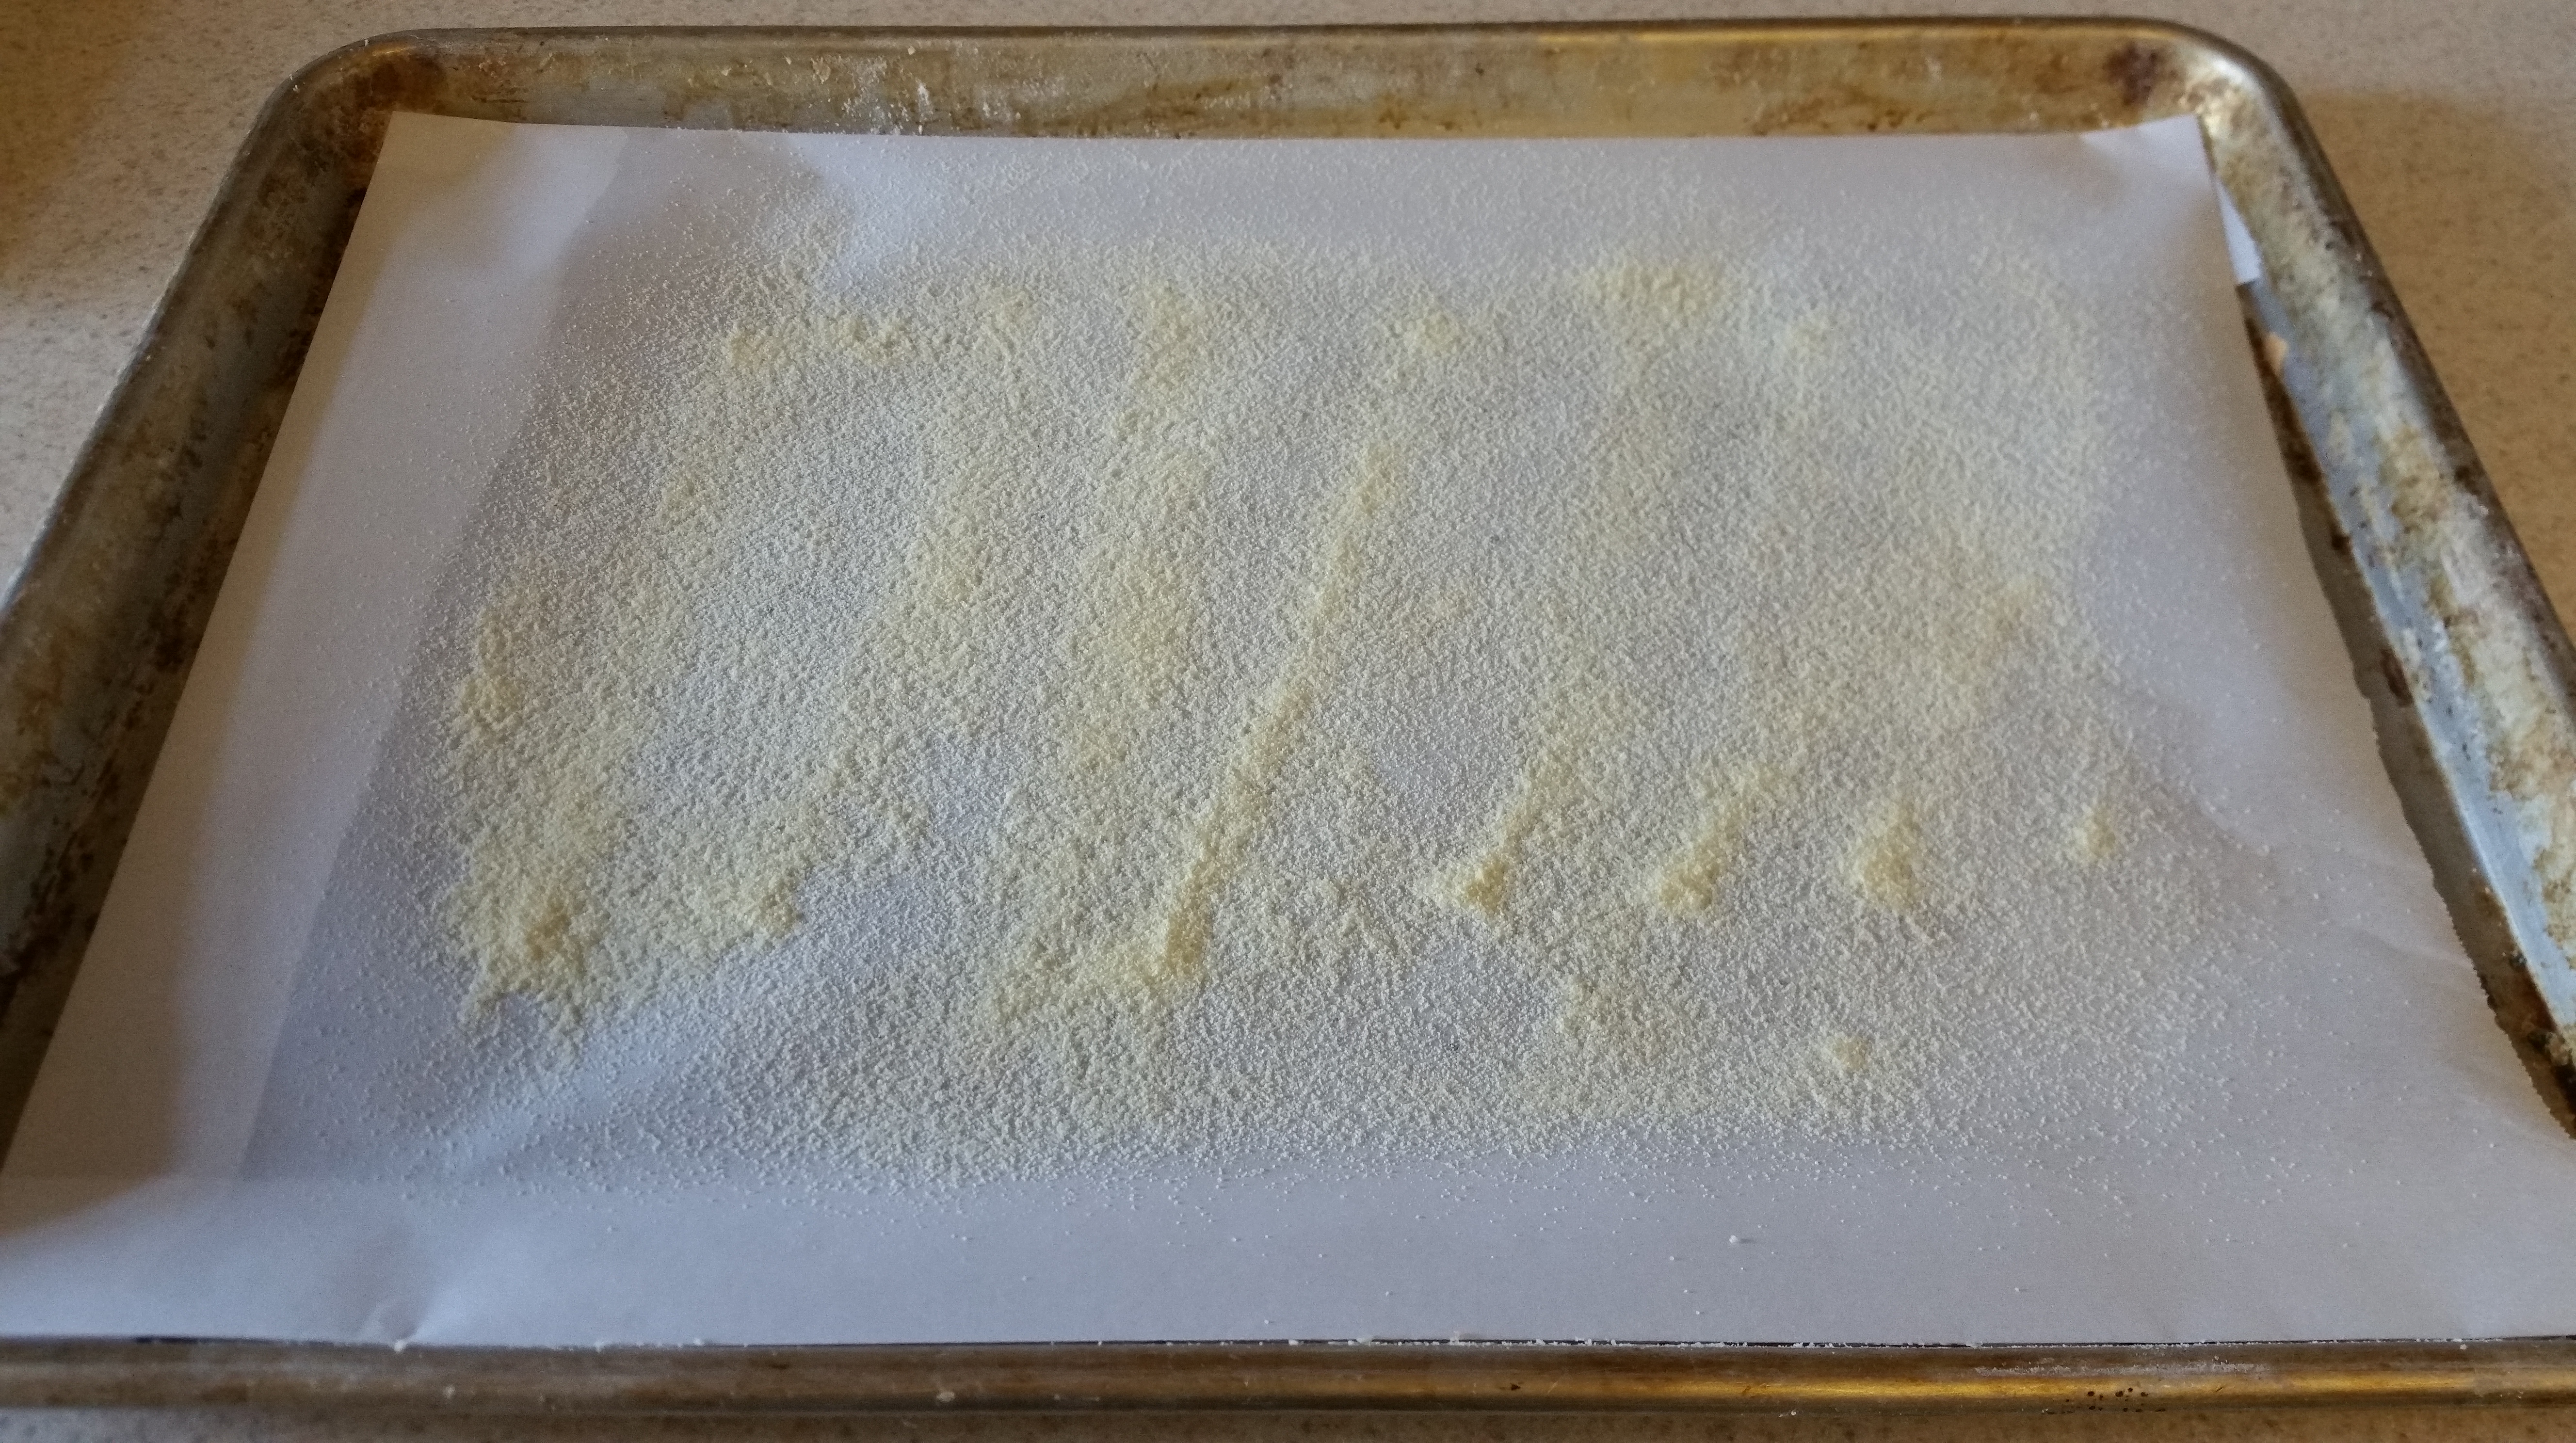
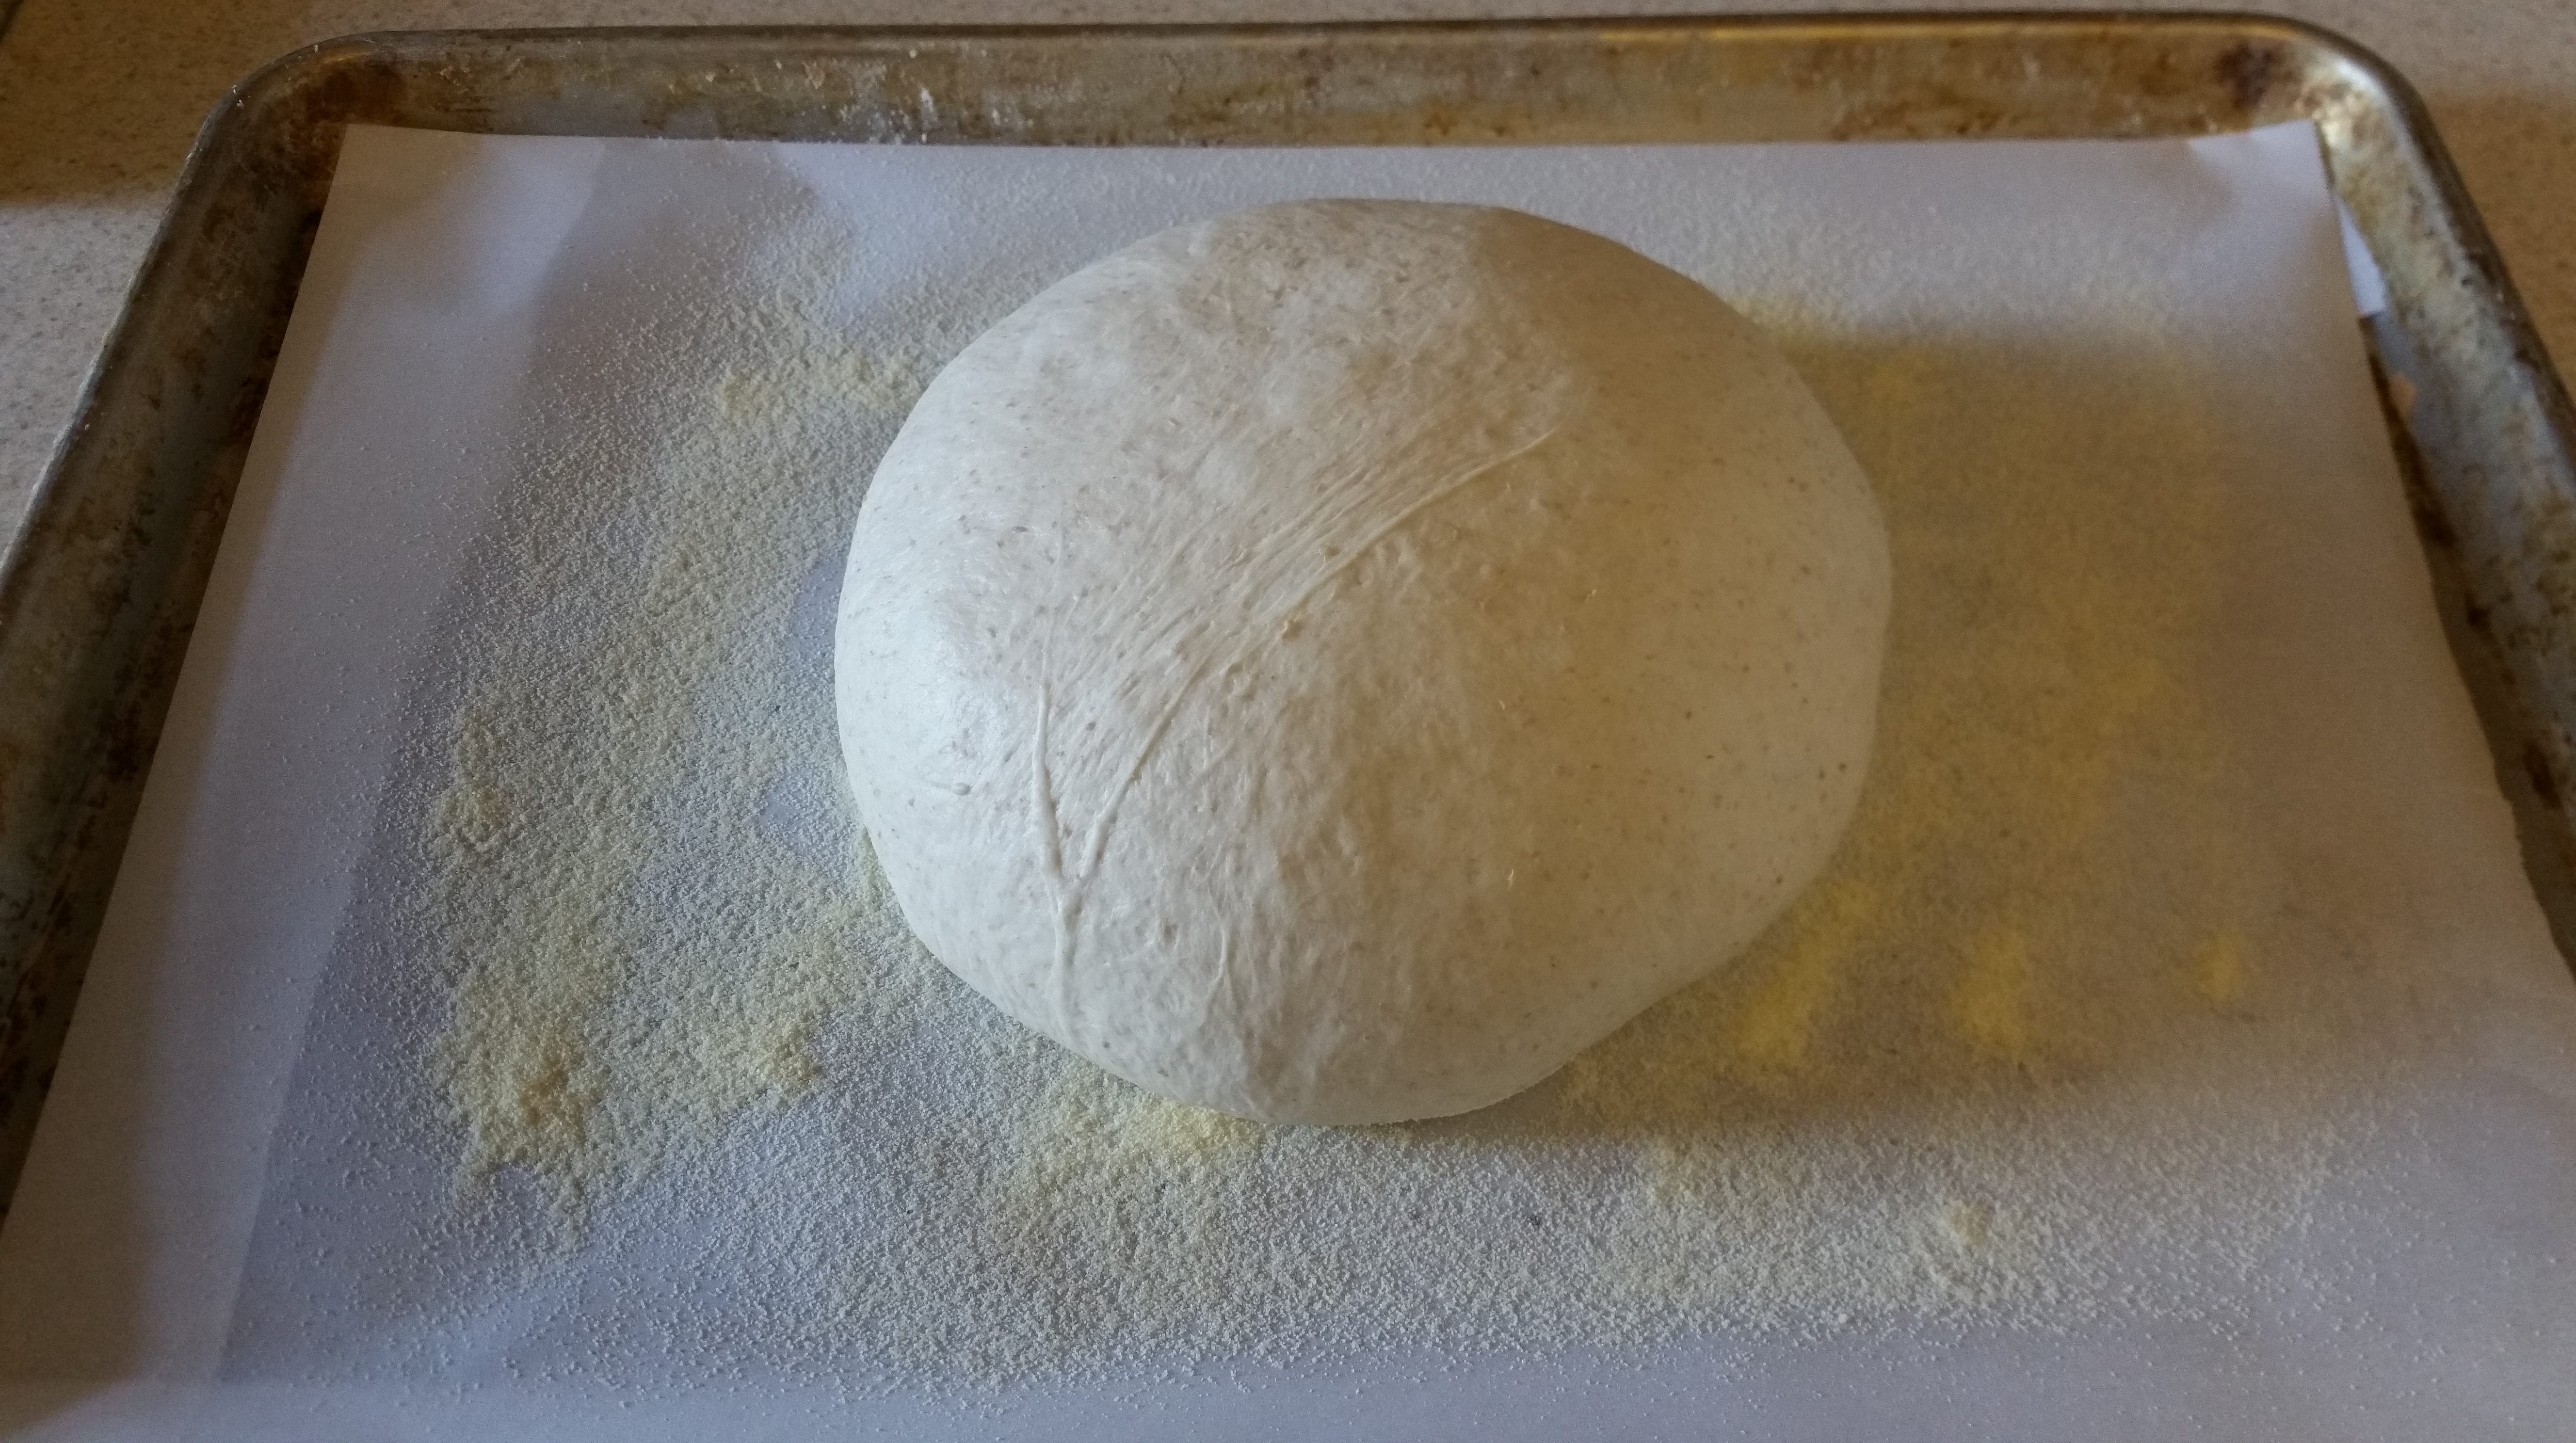
Line a baking sheet with parchment paper and sprinkle lightly with cornmeal or semolina.
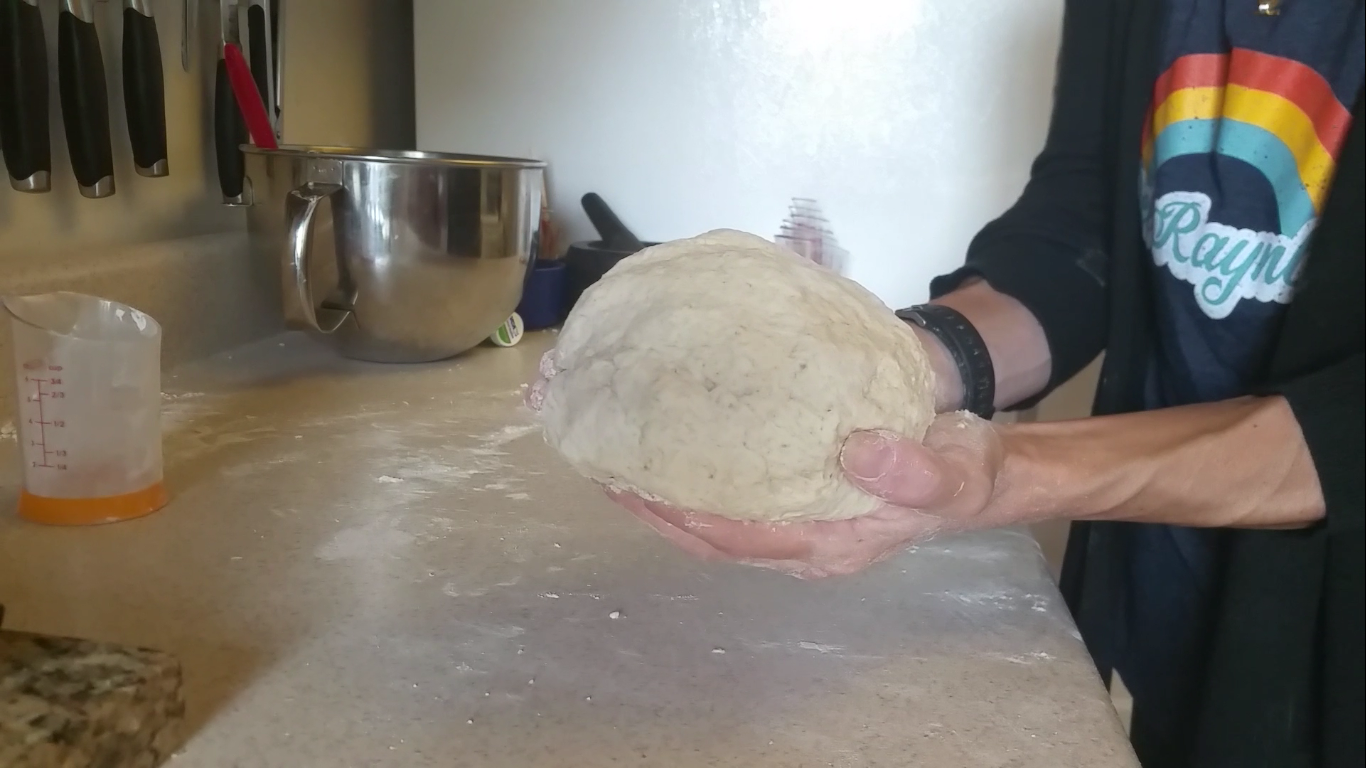
Gently pour the risen dough out onto the counter and shape into a large ball.
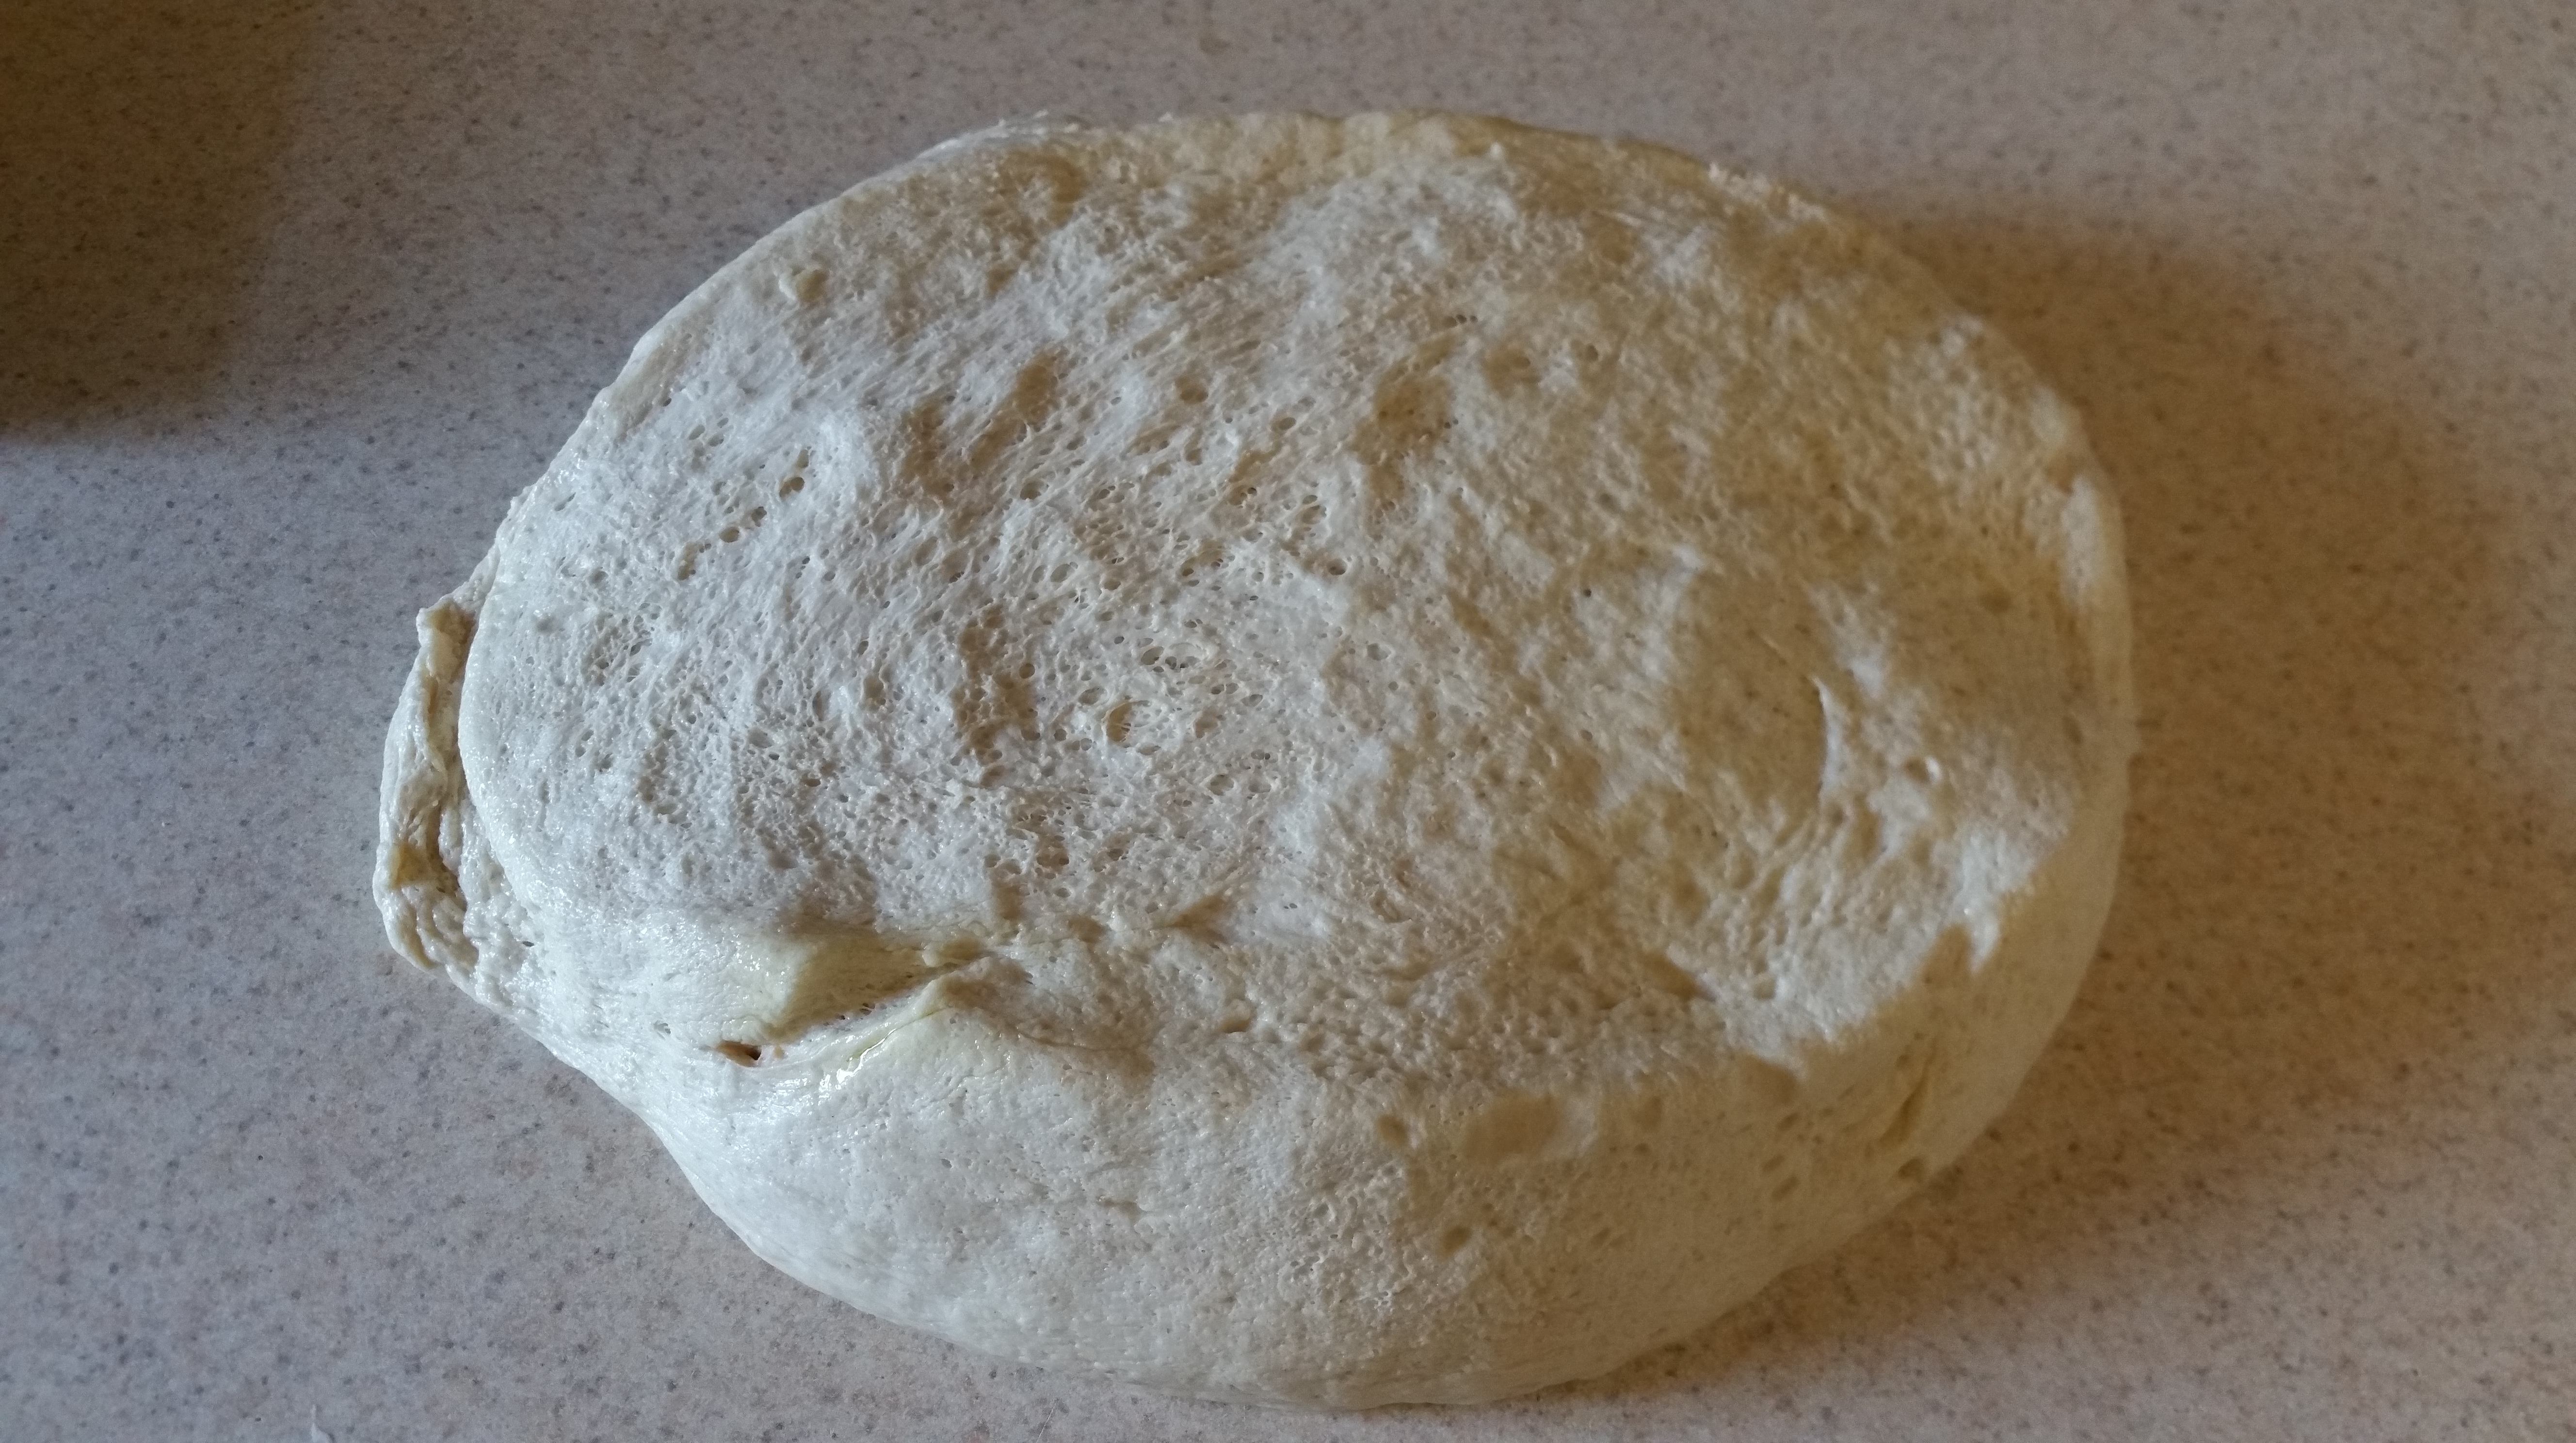
Place this seam-side down on the prepared baking sheet.
Cover the loaf lightly with greased plastic wrap and allow it to rest until it becomes puffy and about 50% larger. This can take anywhere from 45-90 minutes.

Preheat your oven to 475 degrees F and place a 9×13 baking pan or cast iron pan on the bottom rack. Adjust the other rack to the middle position.
Make three slashes across the top of the loaf of bread, or make a tic-tac-toe pattern. Have ready 1 cup of hot water.
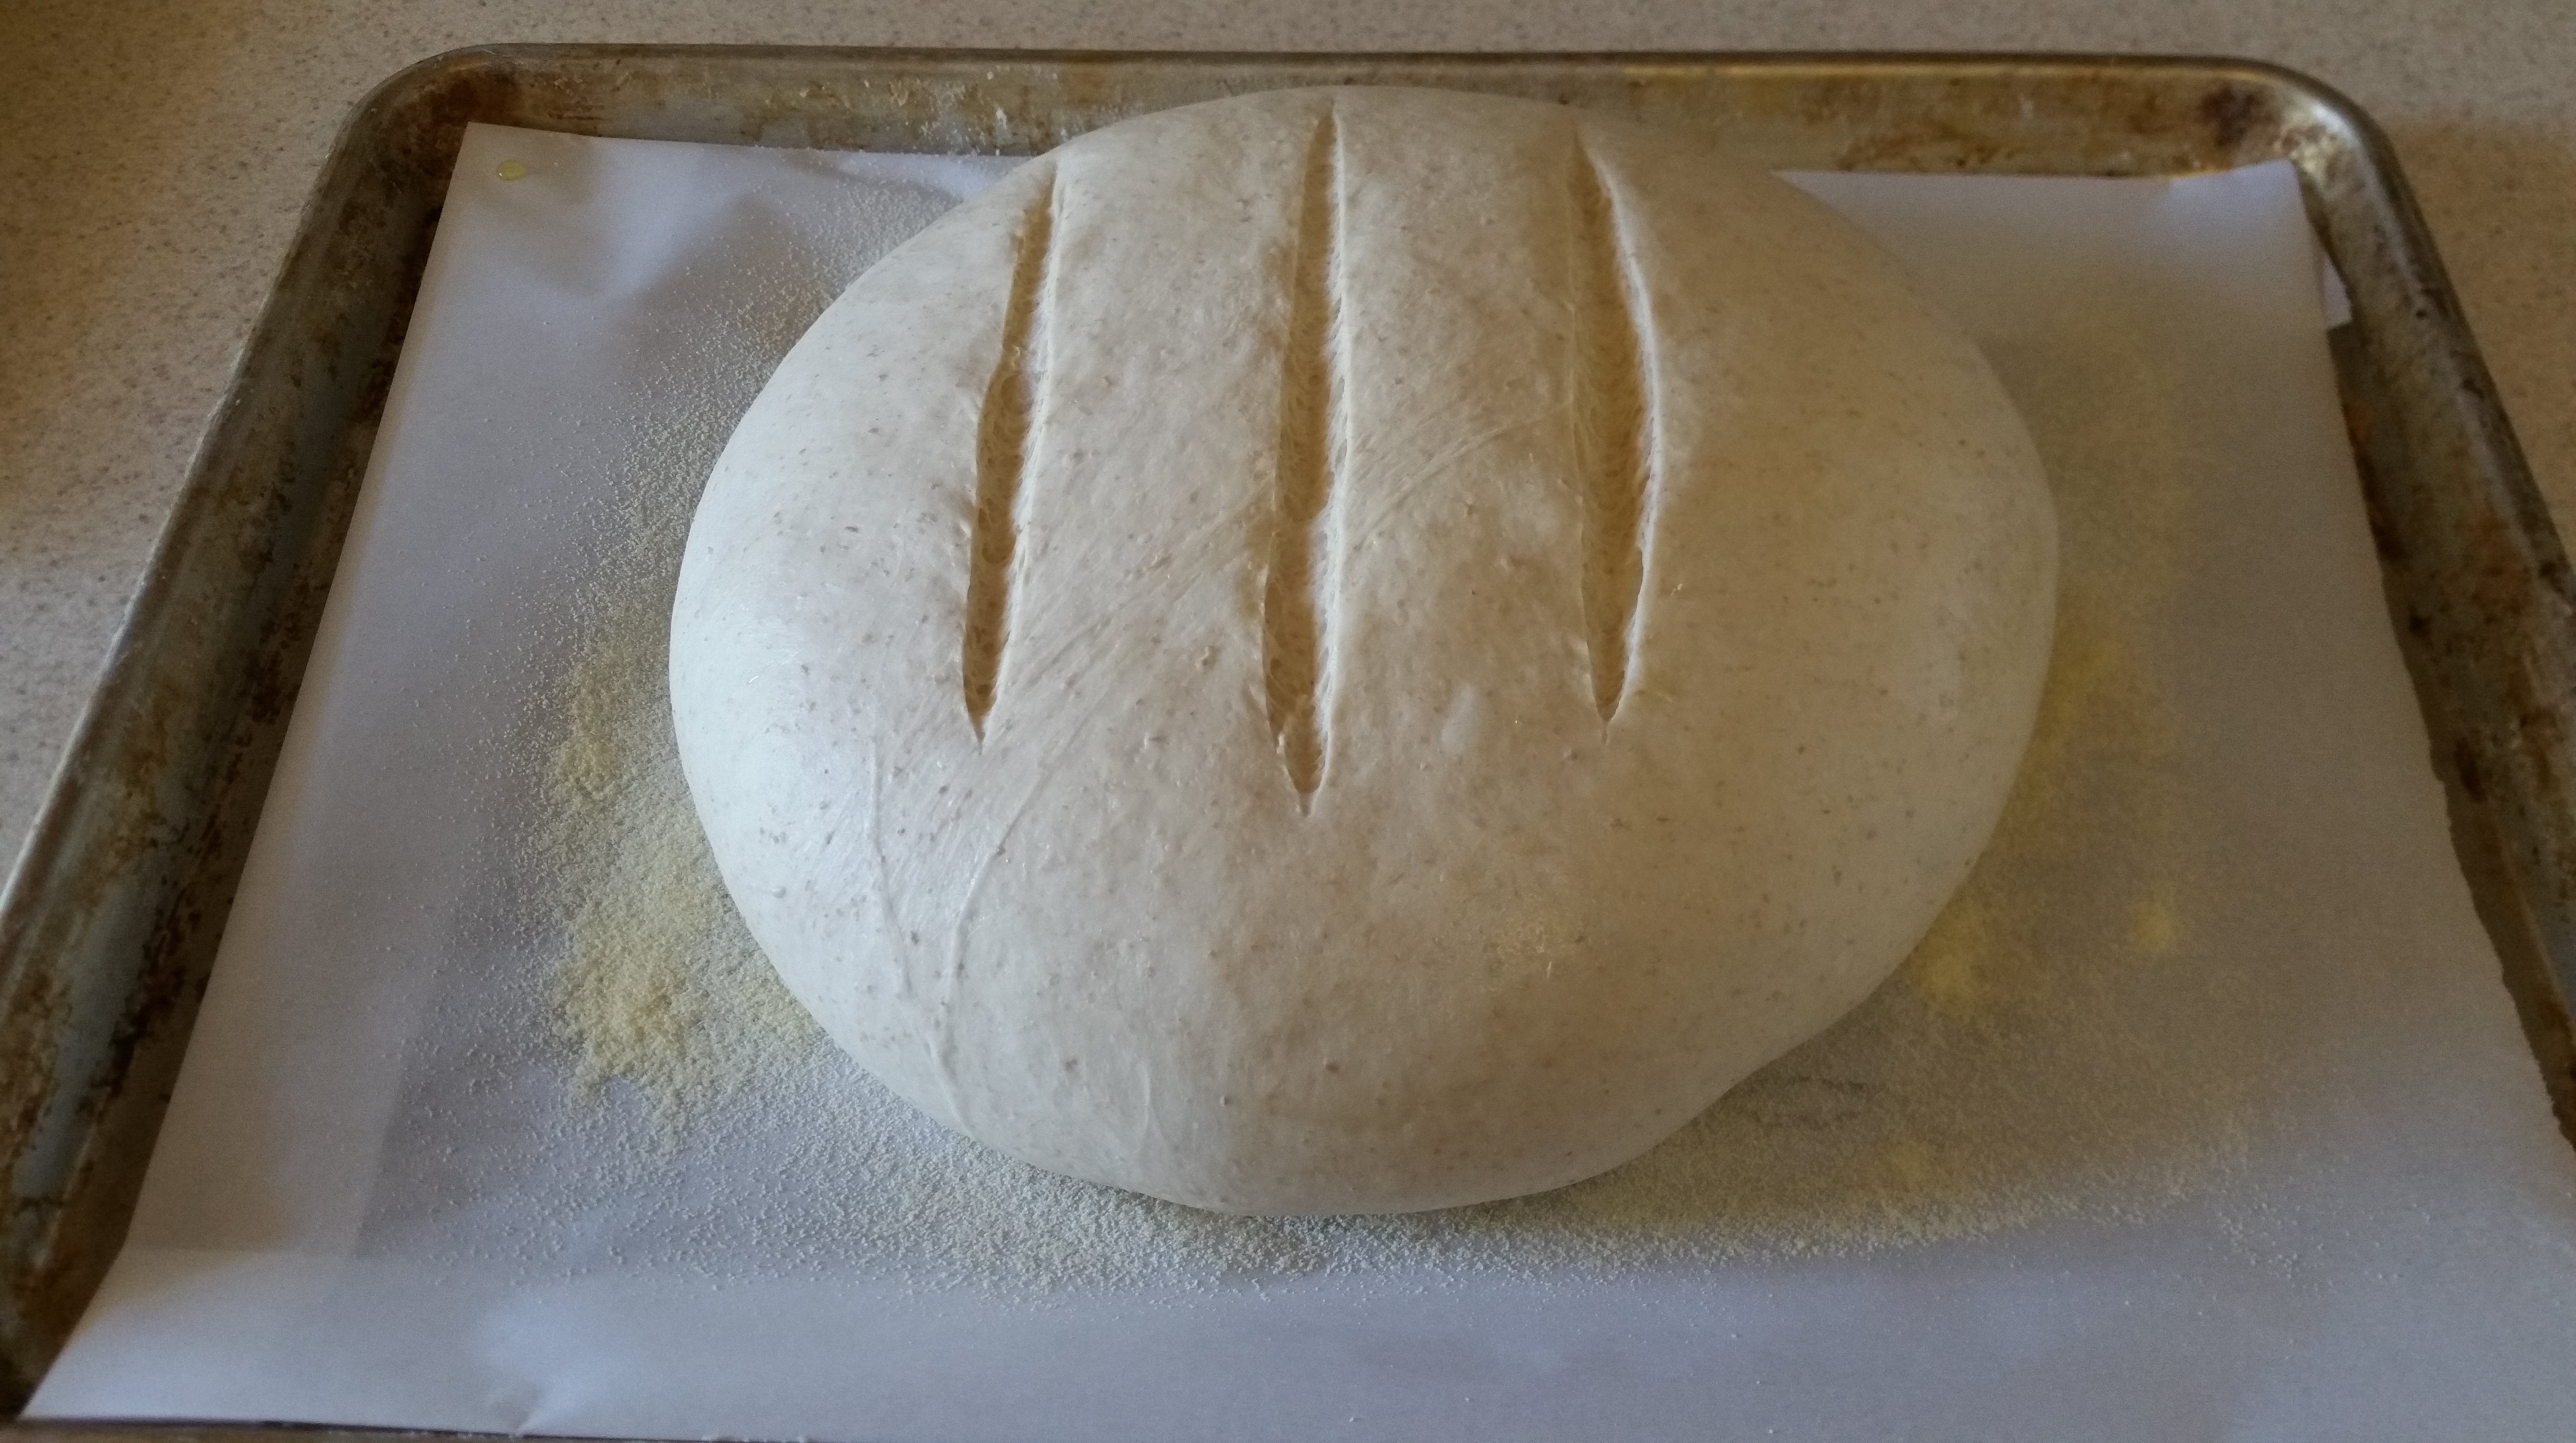
Place the bread in the oven on the middle rack and pour the hot water into the pan below it. Quickly close the oven to trap the steam and then reduce the oven temperature to 425 degrees F.
Bake the bread for 25 to 30 minutes, or until it’s a deep golden brown and the internal temperature is at least 190 degrees F. You can also test bread doneness by tapping the bottom of the loaf. It should sound hollow. Remove the bread from the oven, and cool it on a wire rack.

Maybe a lot has been taken away (temporarily), but RA has also become my greatest teacher, helping me learn greater patience, compassion, and gratitude for the ability to do even the simplest of tasks. I have discovered strength and perseverance I didn’t know that I had in me.
Whenever I feel myself struggling—and I know that is part of this too, I will go into the kitchen, massage my hands, and find myself home again.
Ciao for now,
Neen


Leave a comment