Archive | Uncategorized RSS feed for this section

Conquering the Wall and Baking Biscotti

7 Jun

There it was.

There was really only one obstacle on Warrior Dash that I felt unsure of my ability to tackle. They call it “The Great Warrior Wall.” For as grandiose as it sounds, it’s just a 15 ft. wall with a rope hanging down the side. There are no footholds. Once you get to the top there are a few handles to help you down the other side, but it’s getting there that is the challenge.

I’d thought about it for weeks. I could never climb up the rope in gym class, never do a pull-up or a chin-up to save my soul, and only recently found enough upper body and core strength to do REAL push-ups. Surely, I could not climb a wet, muddy, 15 ft. wall with nothing but a thick rope to help me up.

I didn’t count on being angry.

It’s strange. I always tell myself how much I need to approach situations with a positive mindset, but I learned a valuable lesson the day of Warrior Dash: Sometimes you can’t. And then? Well, you make the negative work for you.

So there was the Great Warrior Wall, painted completely black and looming over me. A panicked middle-aged woman was perched at the mid-way point with her arms shaking as she gripped the rope. I couldn’t tell whether she was terrified to go higher or just exhausted from pulling herself up in the first place. It was how I imagined myself looking in a few—

“See? Just like that. See how she’s leaning back and using the rope for leverage?” I realized that I wasn’t on the ground anymore. In fact, I’d passed the panicked woman and was almost at the top ready to throw my legs over and climb down the other side. Her friends were pointing me out. I had no idea how I’d gotten there, but remembered the thought that passed me by mere seconds beforehand.

You have nothing to lose.

The wall I’d thought about, dreaded, and planned a thousand ways to tackle was almost entirely behind me without even enough time for doubt to creep in. Because I was angry, hurt, and had absolutely no clue who I was. I was feeling such a loss of identity that it took away all of the negative thoughts I had about myself in addition to the good ones. So instead of assuming “I can’t”, or thinking “I can,” I just did. Granted, the sentence, “I’ll show you, you son of a…” probably flitted through my mind with more clarity than I’d like to admit.

But I climbed that damned wall. Not only did I climb it, but I barreled through 3.6 miles and 12 other obstacles covered in rain, mud, sweat, tears, and even a little bit of my own blood. And 3.6 miles later I elatedly threw my mud-caked feet across the finish line.

635048283409248655971546_10100976493970069_2088340527_n
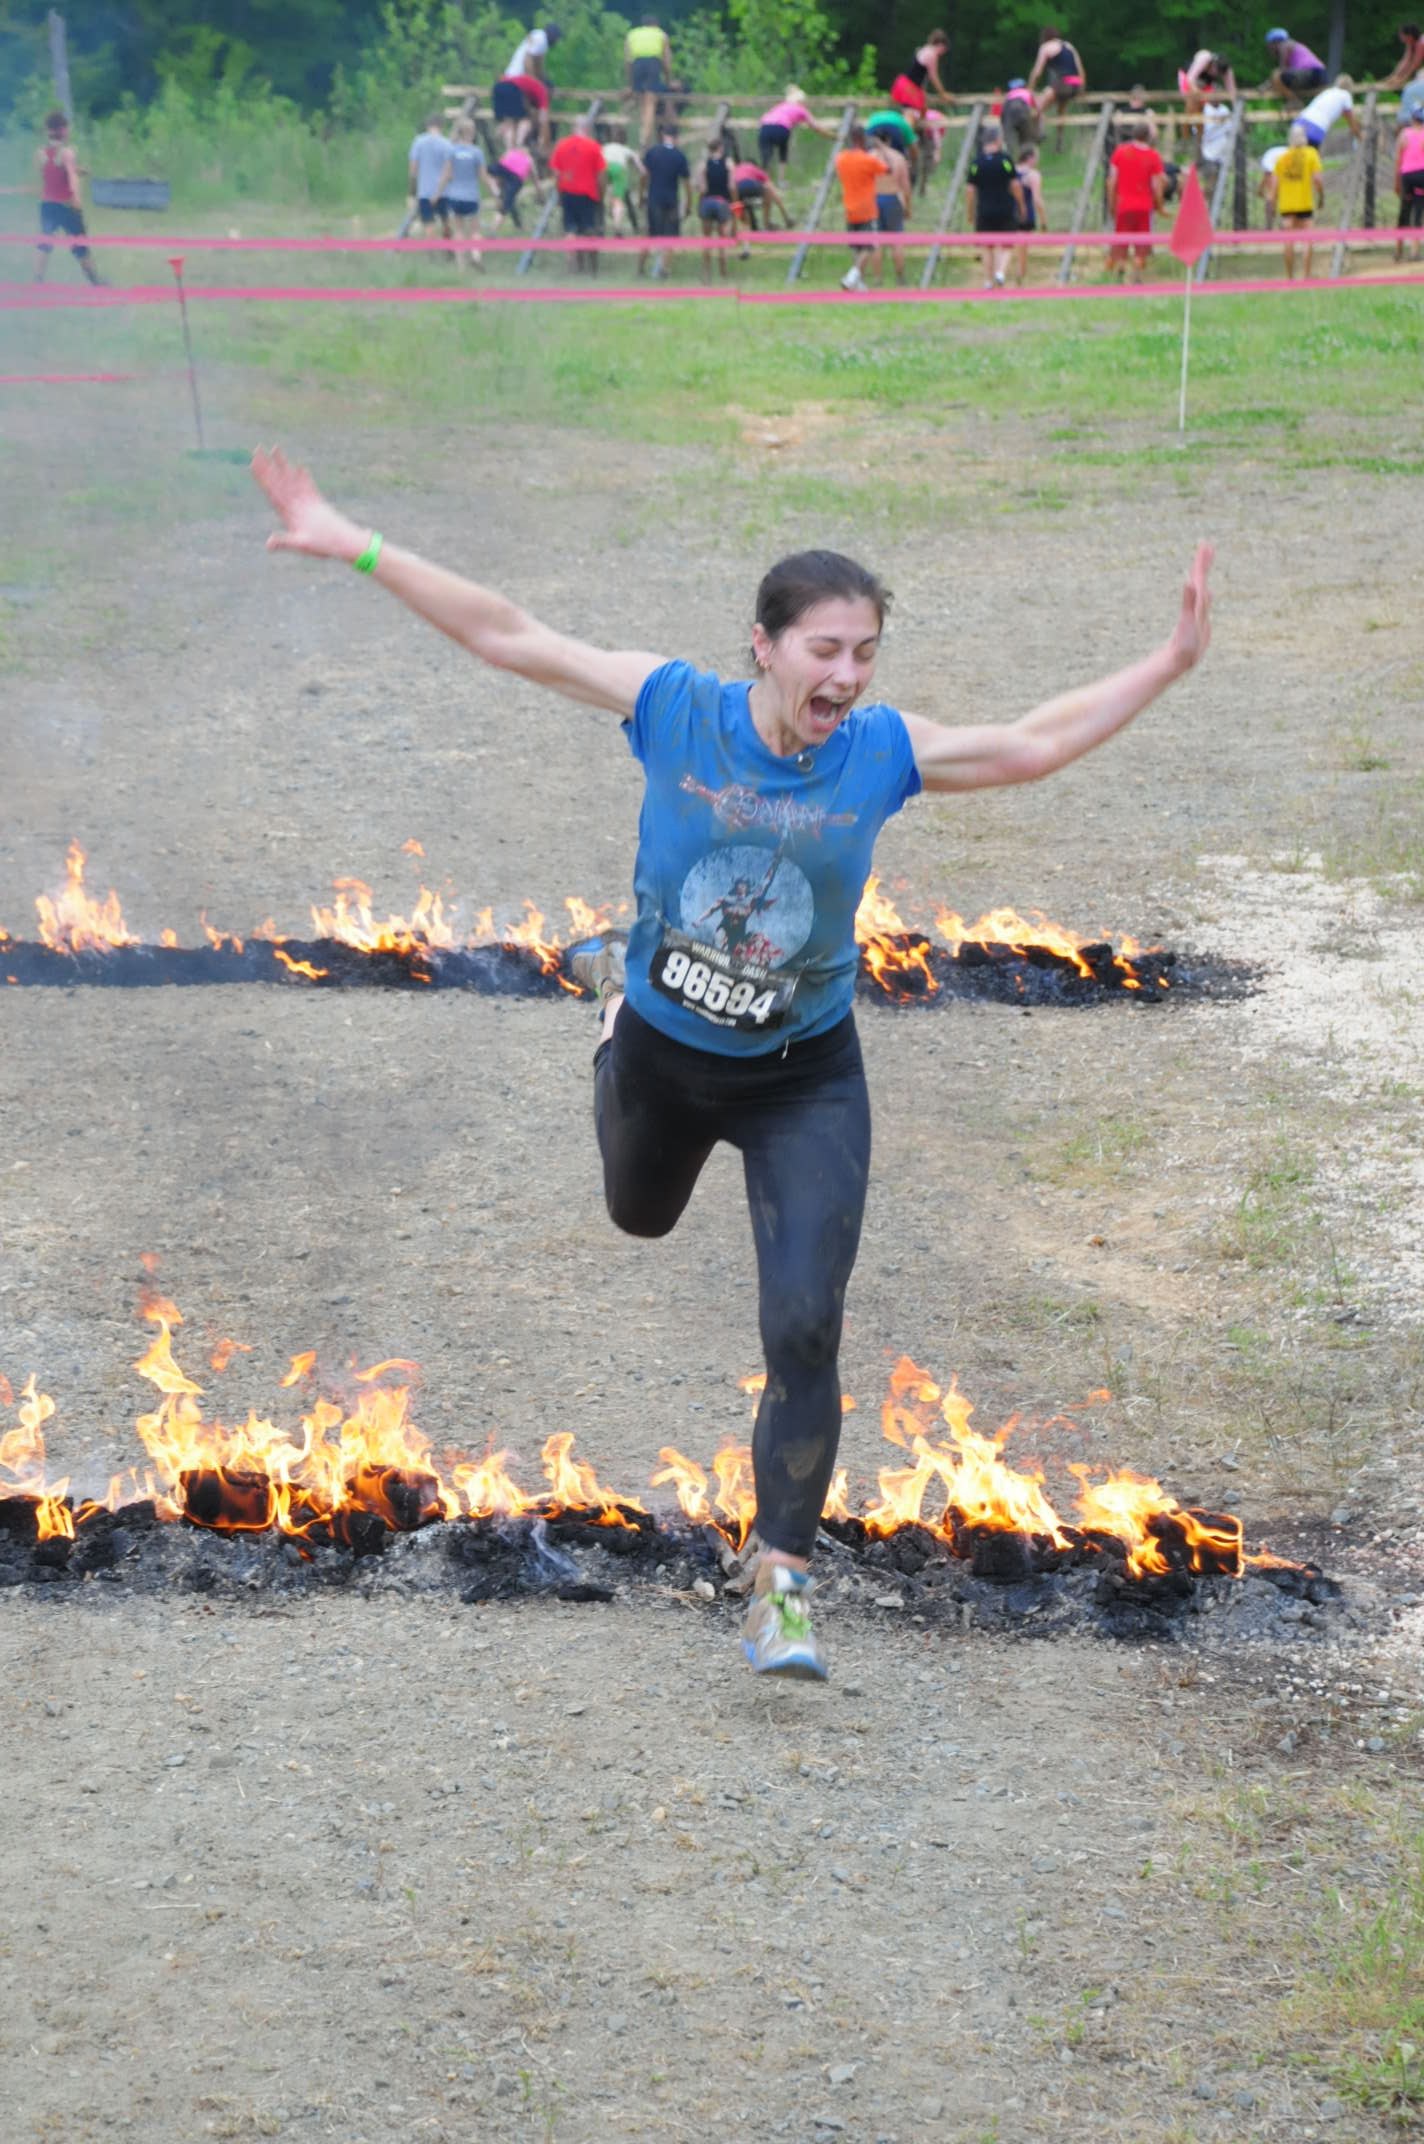
I rode the adrenaline high, took pictures, enjoyed a steak with my husband and father-in-law, went home, and burst into tears.

The race had been the ultimate distraction since finding out the day beforehand that I’d lost my job. It doesn’t matter how many times the powers-that-be tell me that my position’s elimination was just the way the cards fell in our department’s reorganization, it still feels as though I have been left behind and left out of something I put my heart into making really special. And the sense of loss I feel over no longer being with my colleagues every day has been overwhelming. I’ve always said that I have the best coworkers (why else would I bake cookies for them every week?), and having that taken away is honestly one of the most emotionally challenging things I’ve gone through this year.

Bruised inside and out, I stood in my kitchen with the medal from Warrior Dash swinging gently from my neck. Running my fingers across the smooth edges, I had a brief epiphany:

You climbed the wall you never believed you would climb. And you will climb this wall too.

And it began with letting go of the anger, and letting in the thankfulness for what I have had over the past five years. As my last weeks at the Folger go by (all too quickly), I find myself baking a lot more—just wanting to get in those last few treats to share with everyone at morning coffee.

What goes better with coffee than biscotti?

Biscotti (plural of biscotto) comes from the Latin word “biscoctus,” which means “twice-baked.” Historically, it refers to items which were baked twice in order to dry them out for long-term storage. The baking process, and the lack of fat that could easily go rancid, renders them somewhat nonperishable. These cookies are also referred to as cantuccini in parts of Italy and Argentina.

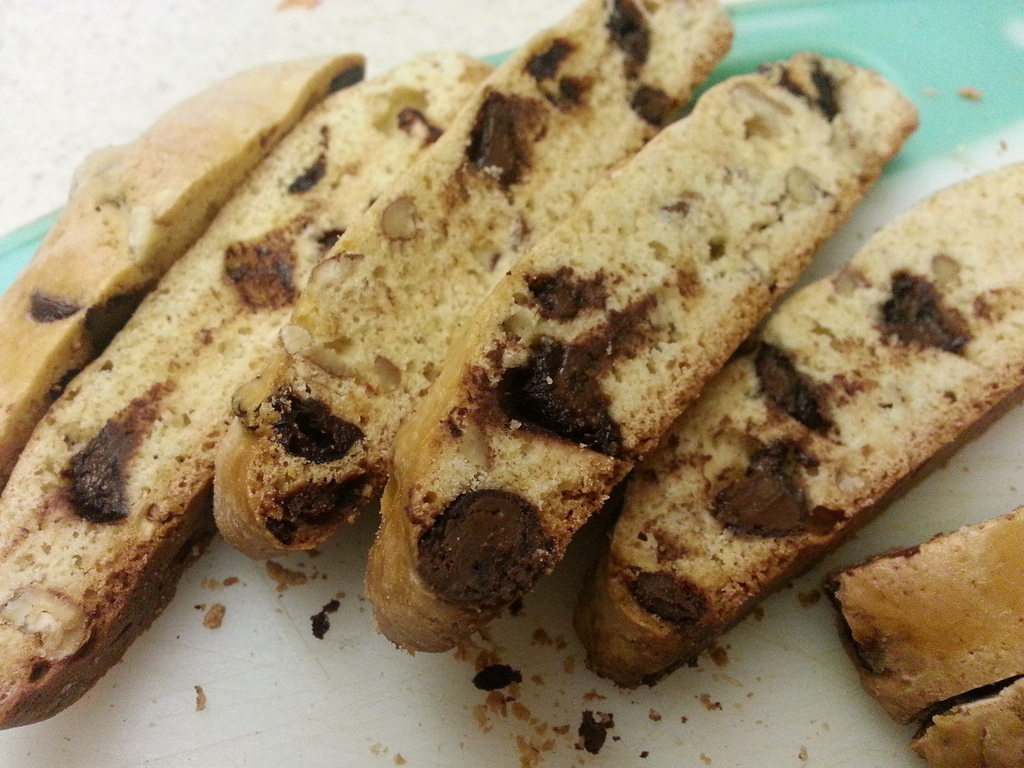
Aside from being mail-friendly, I love biscotti because they pair well whether you’re a wine or coffee drinker, they’re a really tasty but not-too-sweet cookie, and they are extremely versatile. For this iteration, I picked flavorings centered around finding that perfect complement to your beverage of choice. Pecans for an earthy, nutty flavor; semisweet chocolate for rich sweetness with a little bitter note, and finally dried sour cherries for some tartness. I’ve tested their deliciousness alongside coffee and found it to be just right, but you’ll have to do some more extensive testing to find out what wine you like with them best ;-).

Chocolate, Cherry, and Pecan Biscotti

Cook’s note: My photos show a double-batch, so do not be alarmed at the volume. The written recipe makes 2 loaves (approximately 40 cookies).
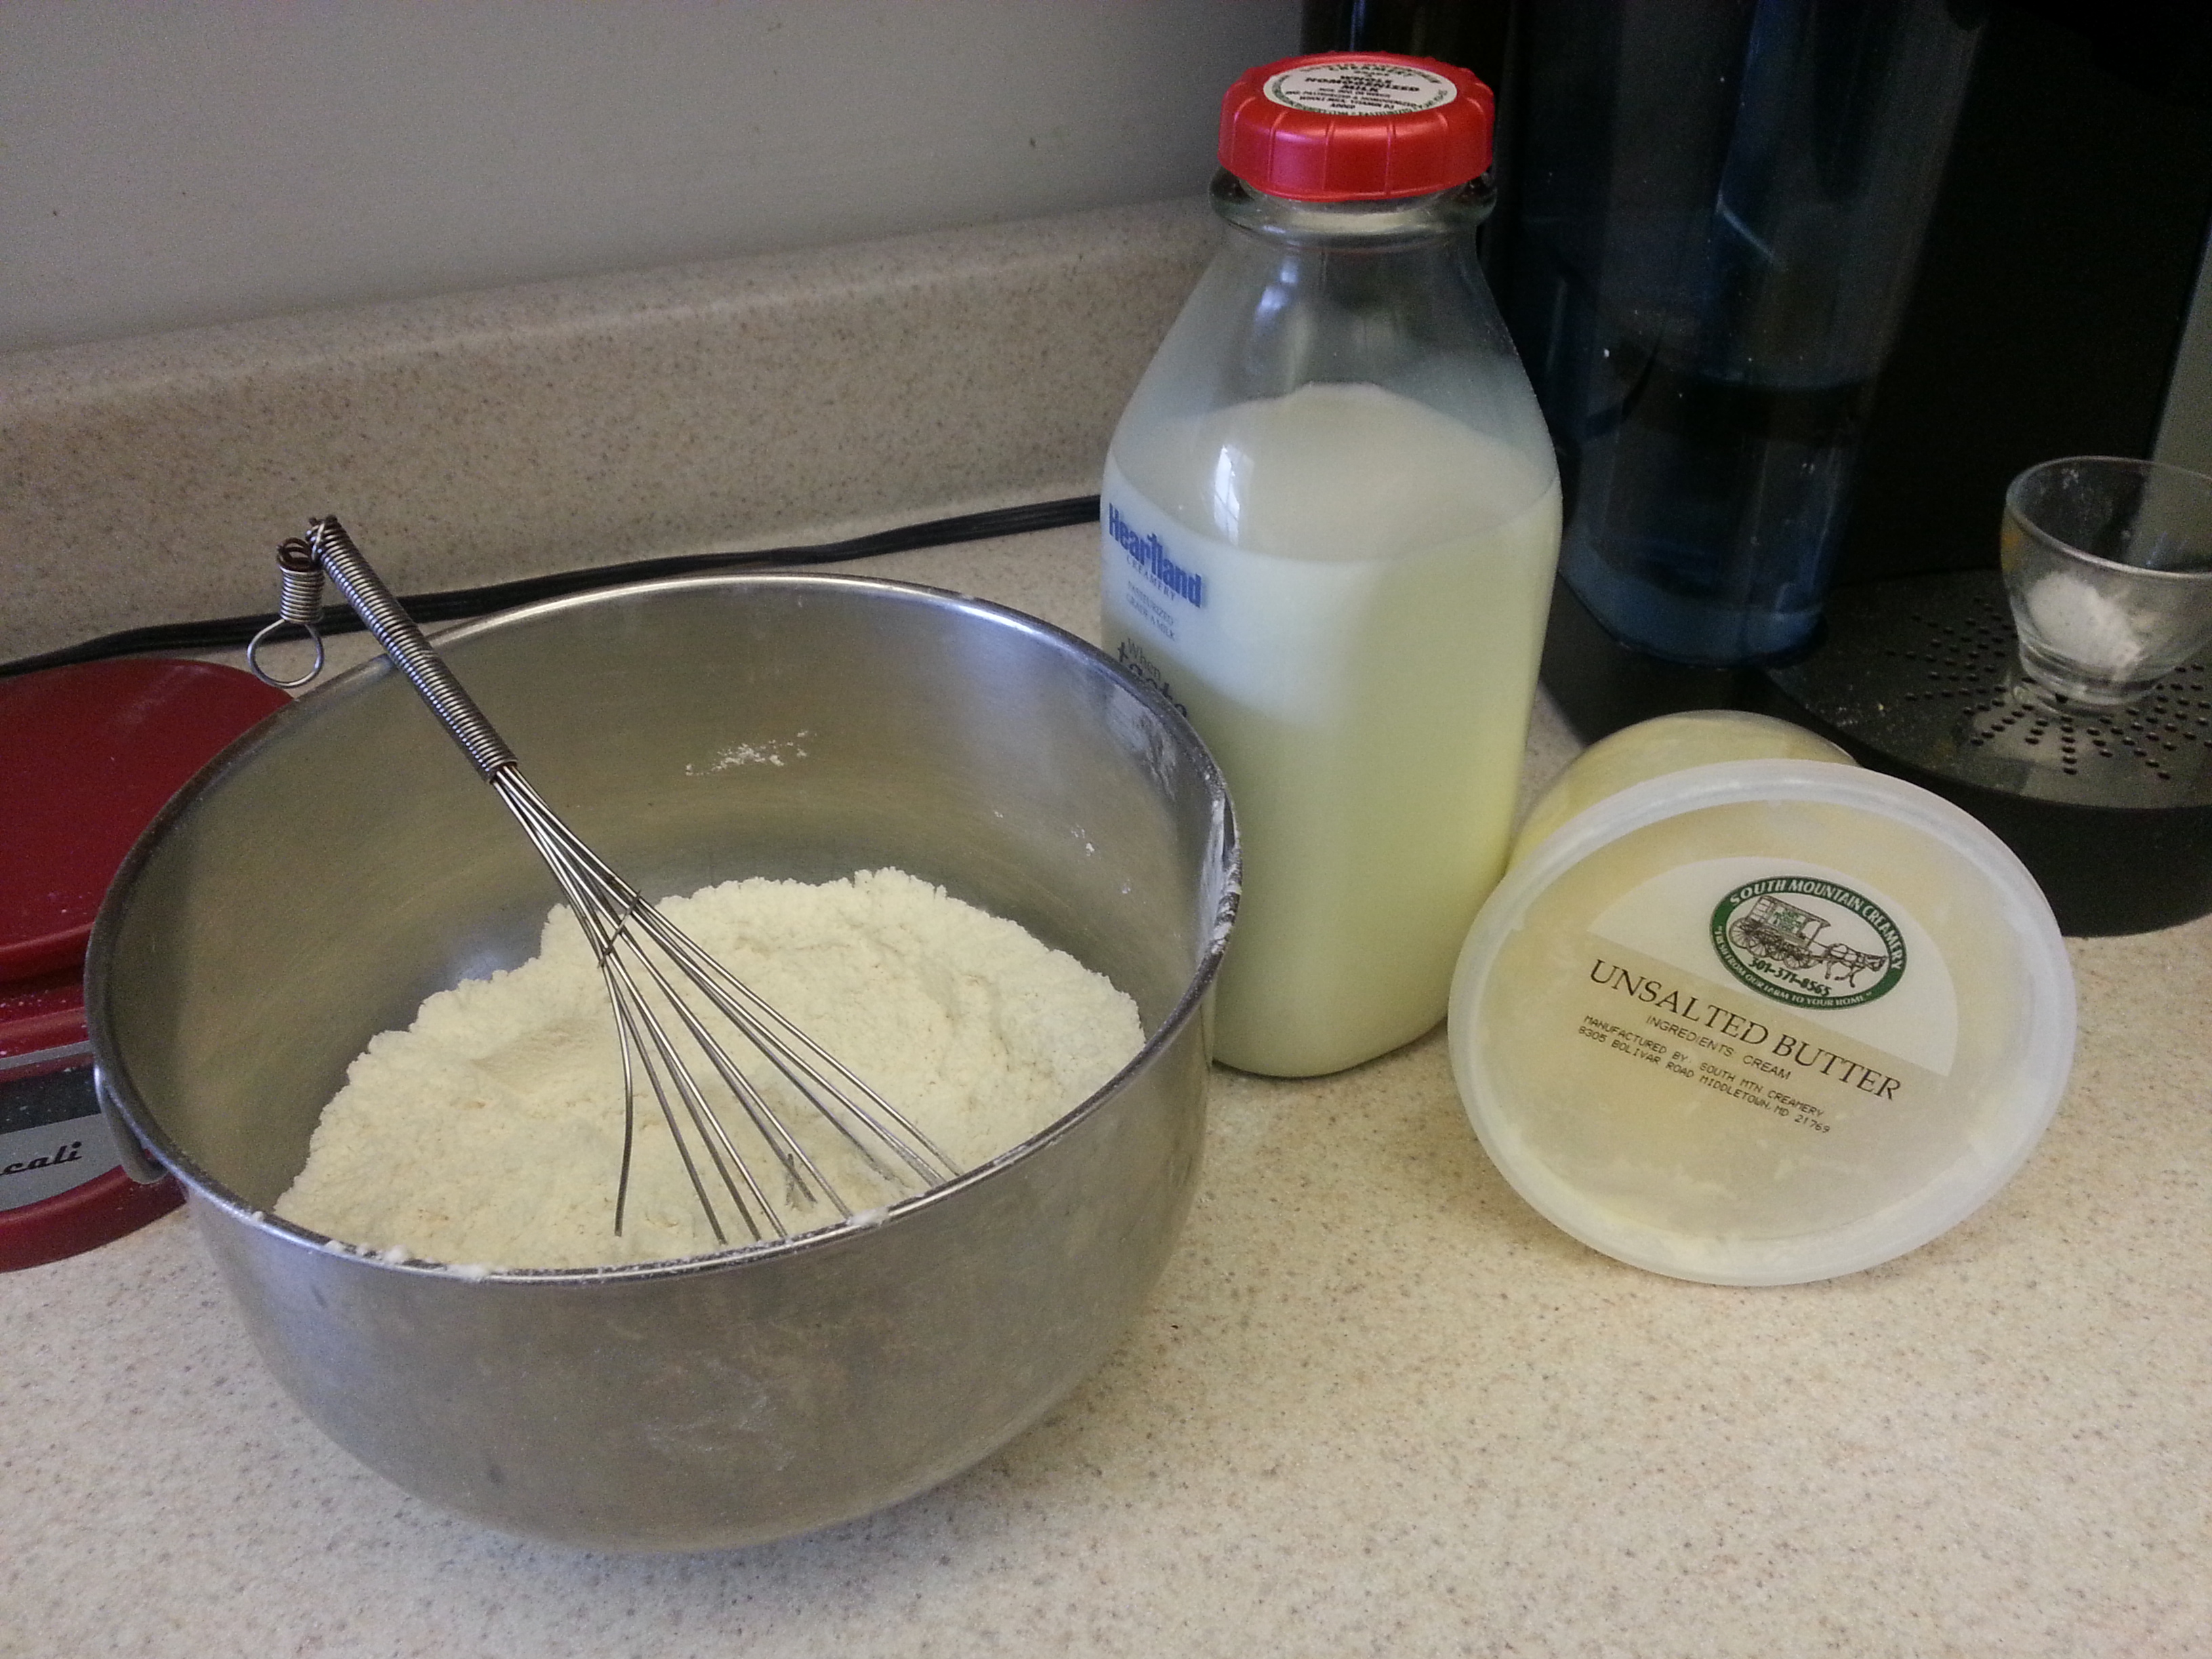
  • 3/4 cup brown sugar
  • 1/4 cup sugar
  • 3 eggs
  • 1/2 tbsp. vanilla extract
  • 2 3/4 cups flour
  • 1 tsp. baking powder
  • 1/2 tsp. salt
  • 1 cup semisweet or bittersweet chocolate chips
  • 2/3 cup chopped pecans
  • 2/3 cup dried tart cherries
  • Egg wash: 1 egg + 1 tbsp. water, well beaten

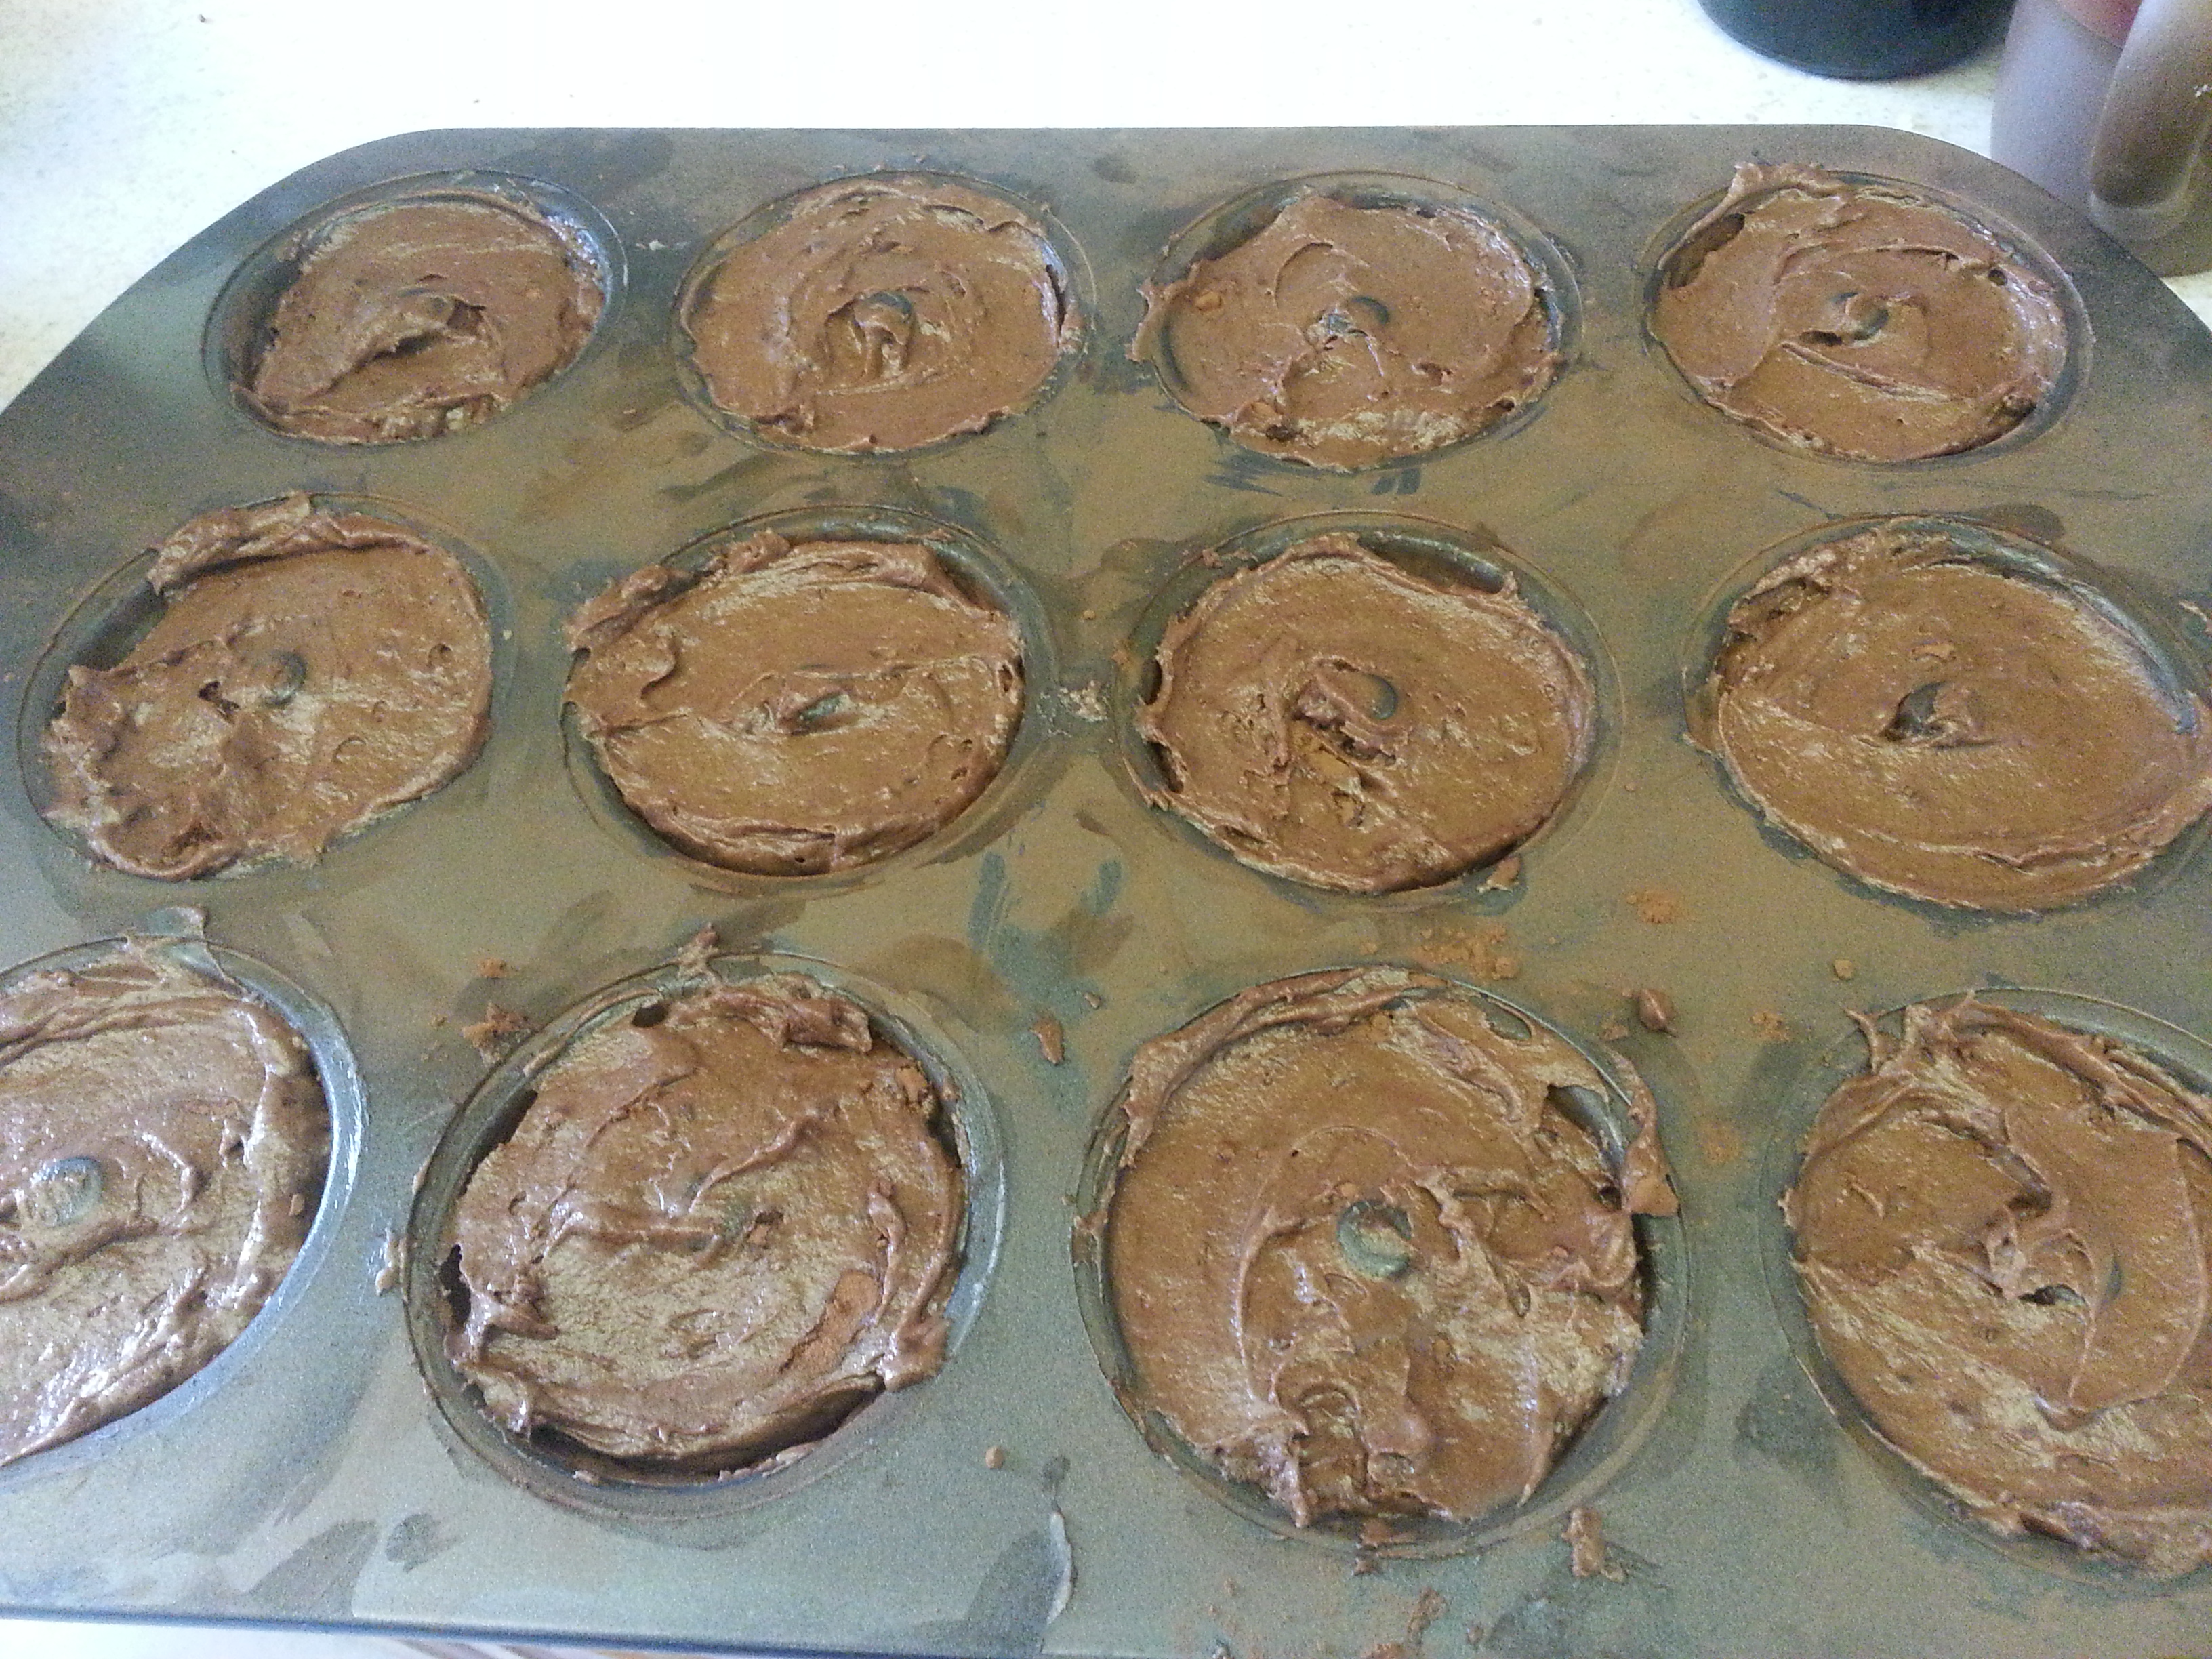
Preheat an oven to 325 degrees F and line a baking sheet with parchment paper.

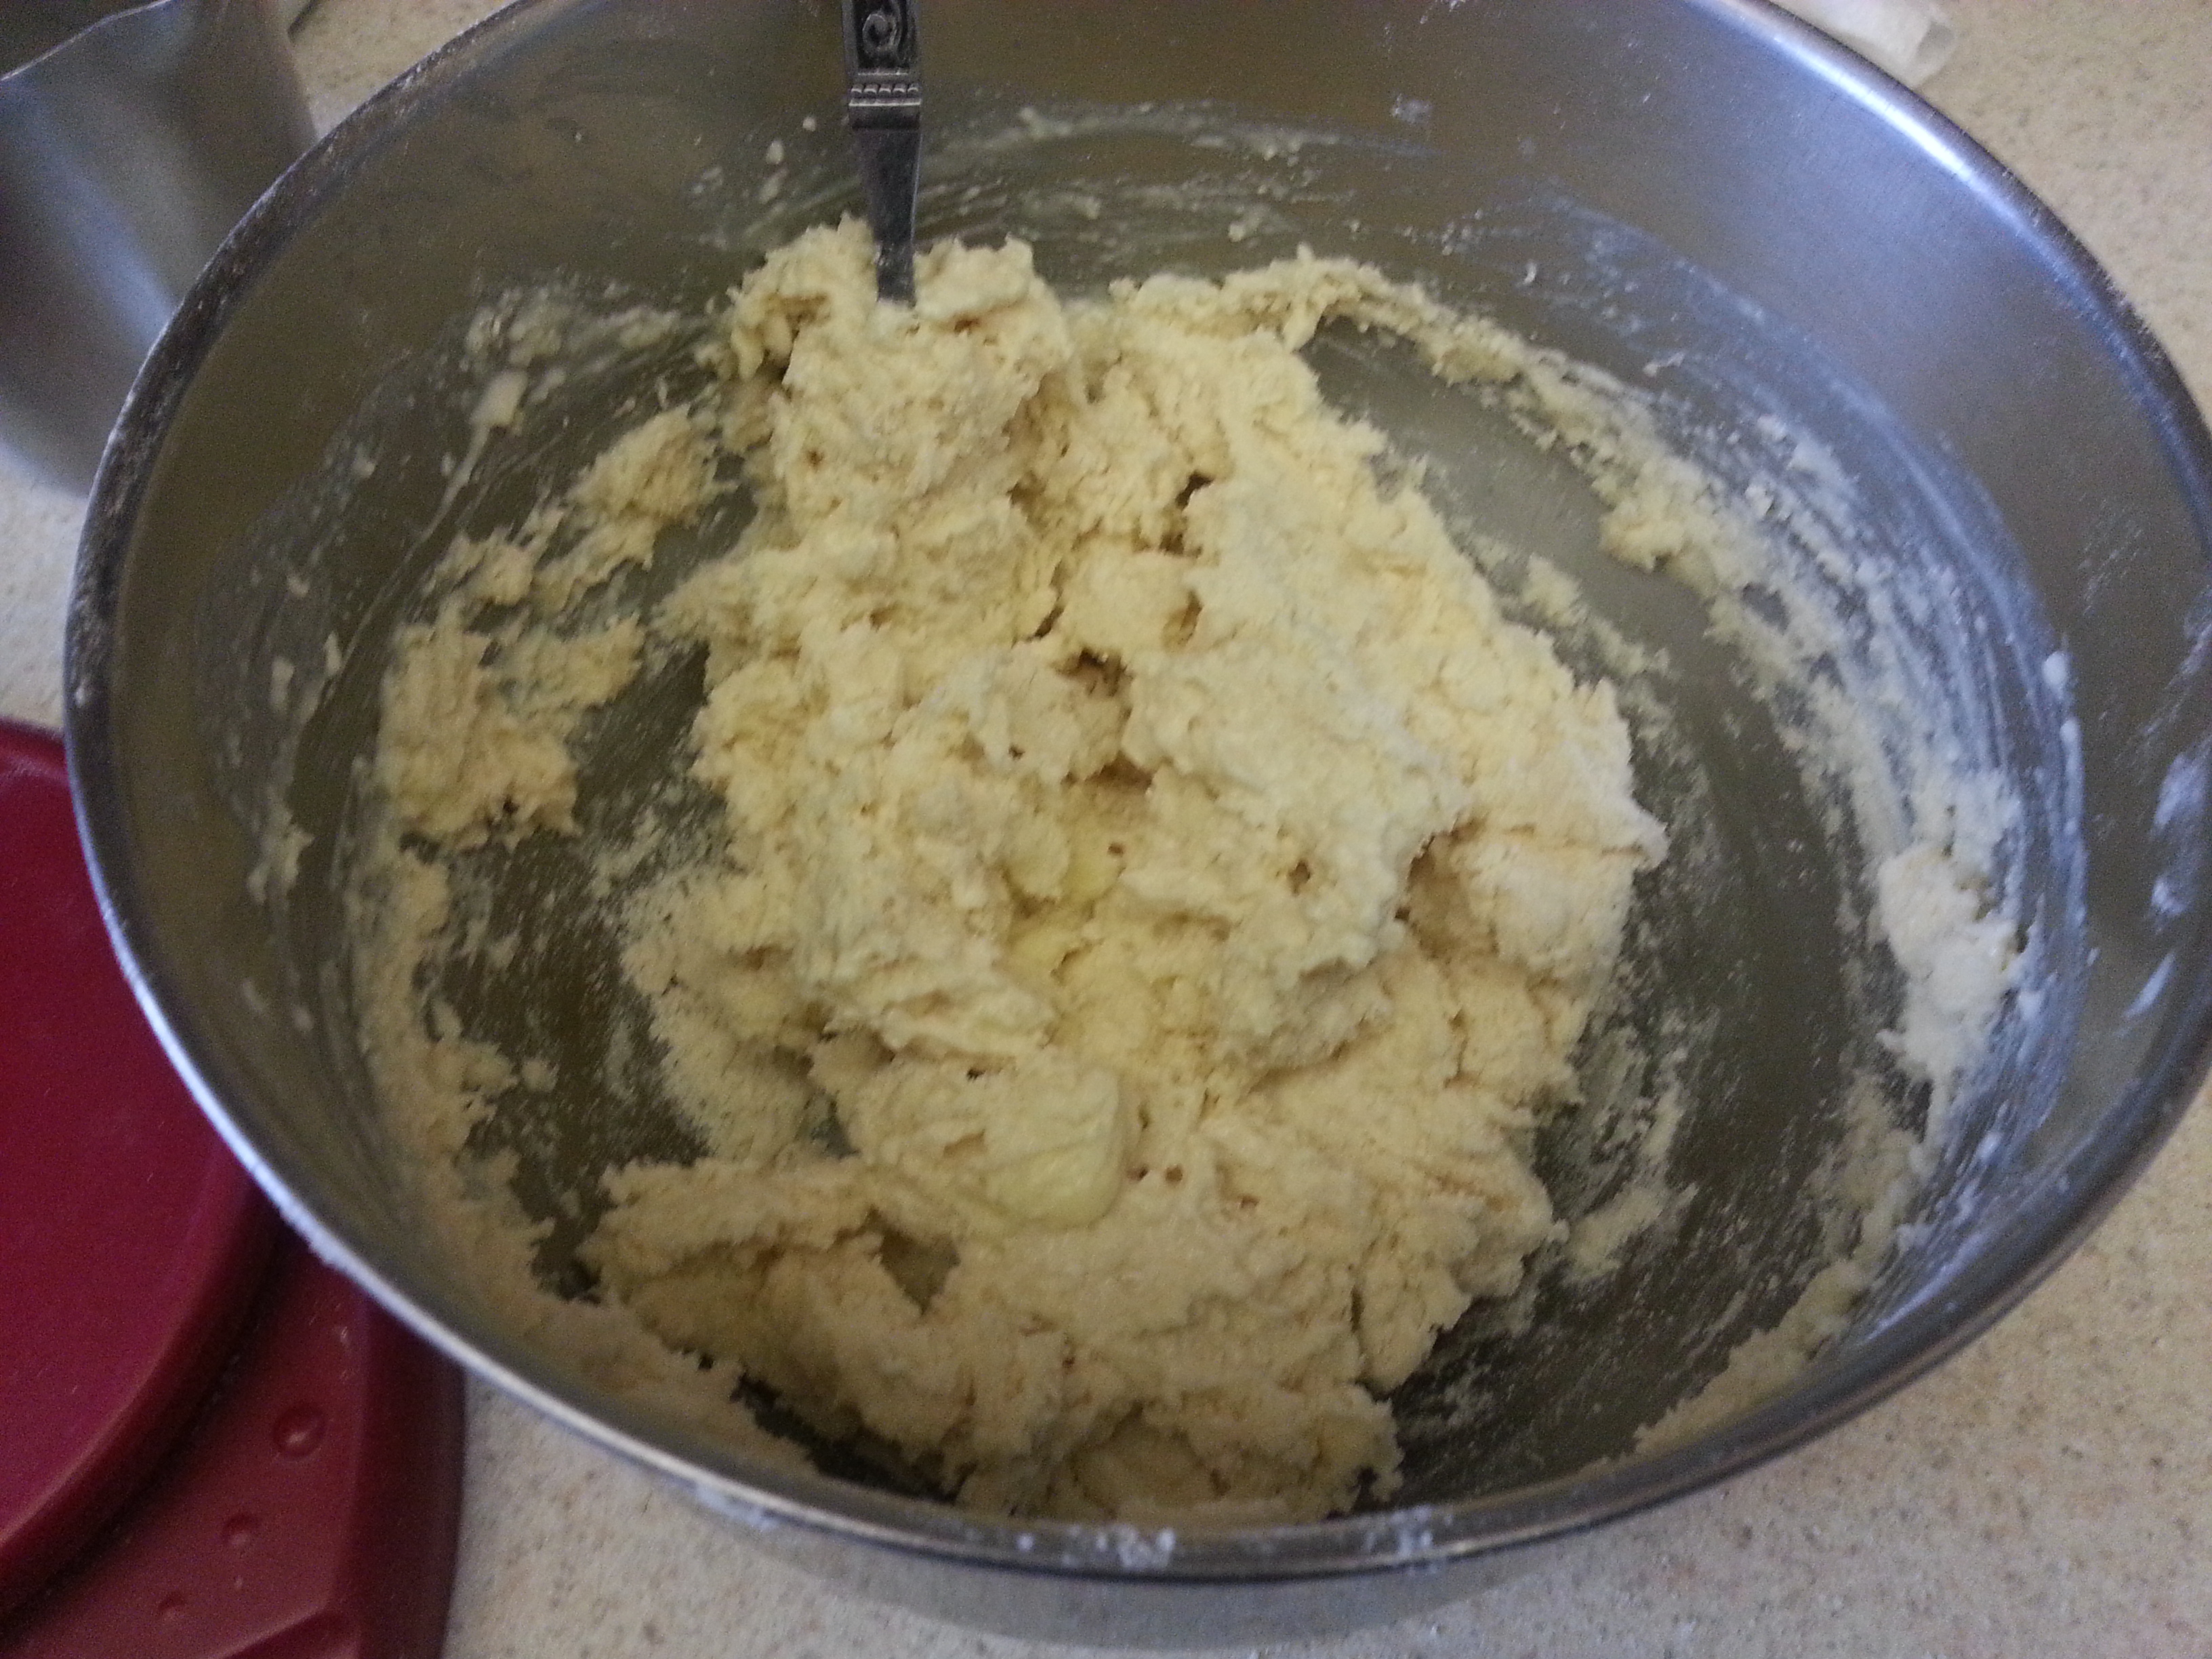
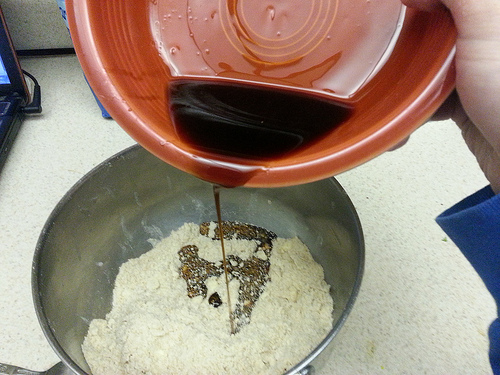
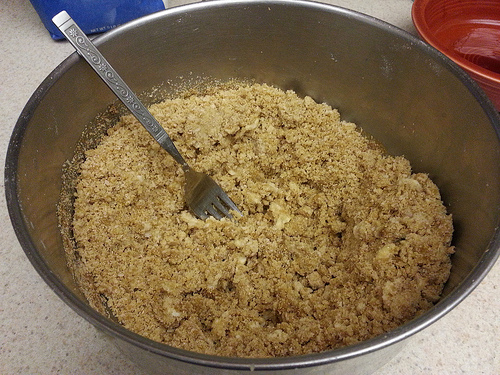
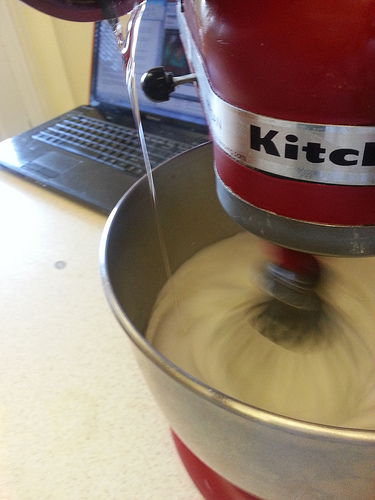
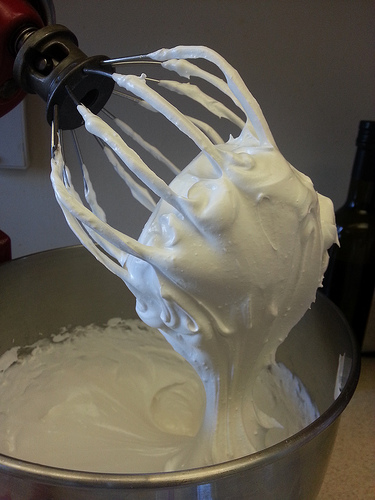
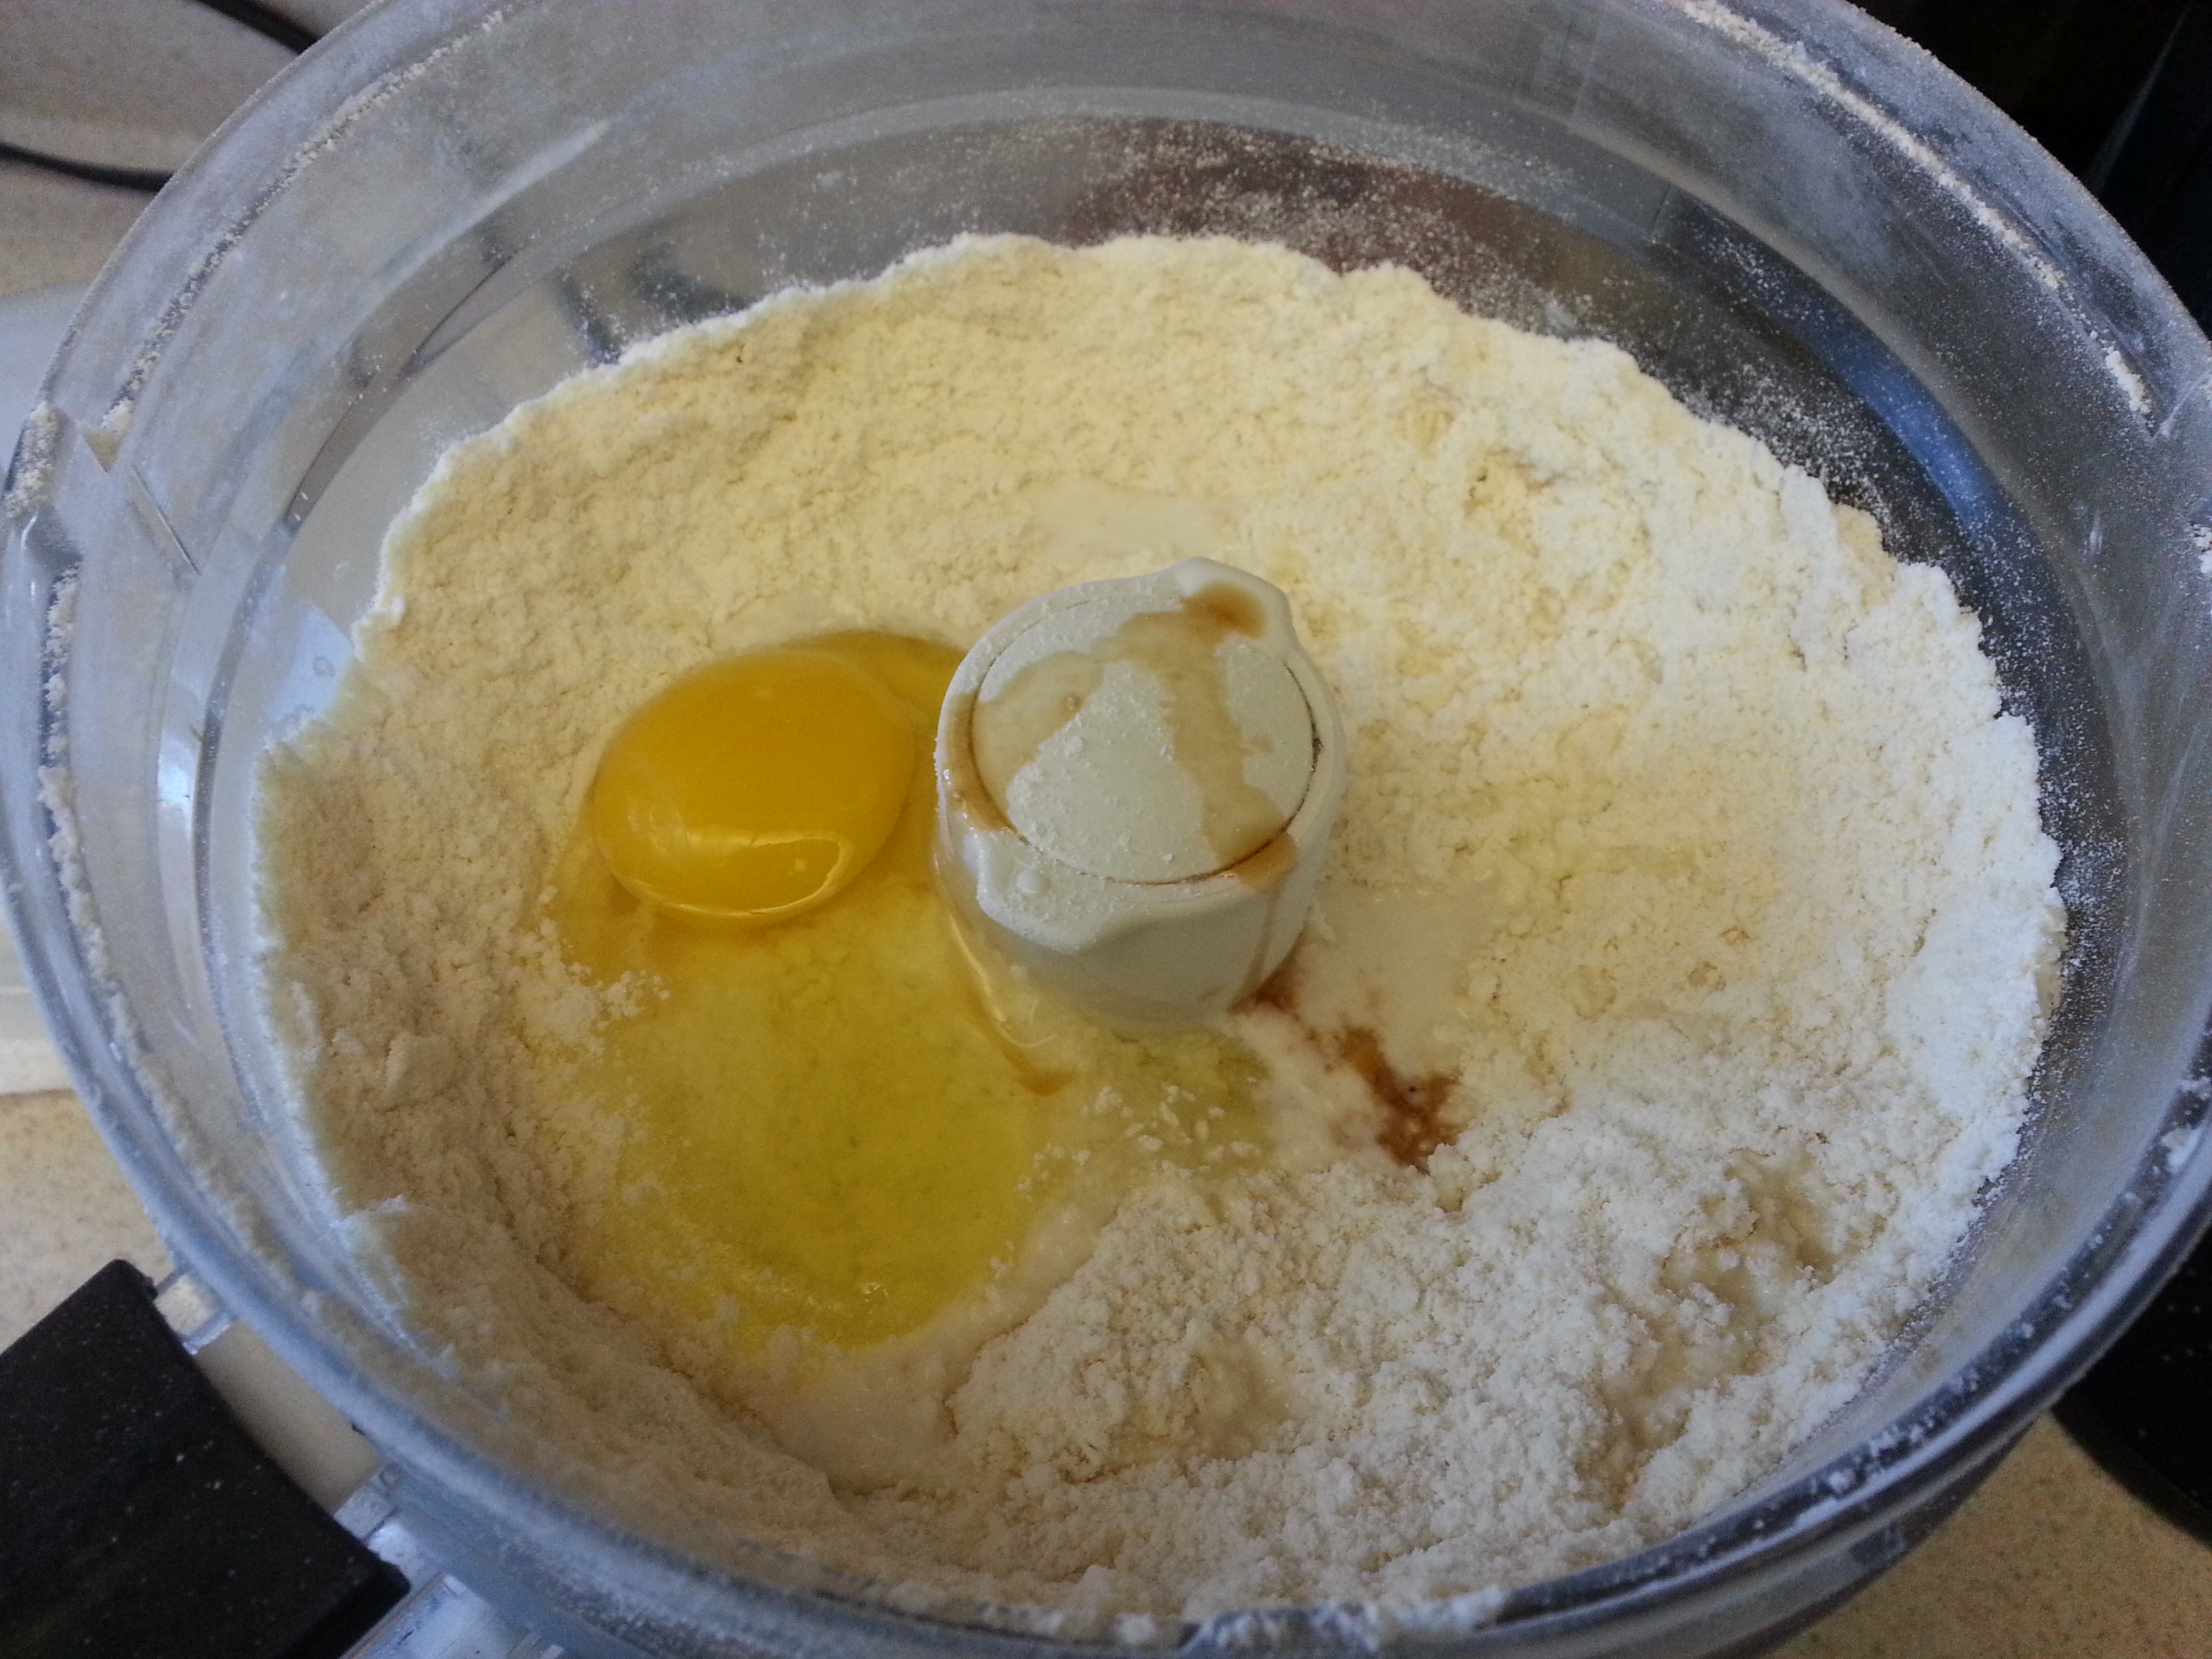
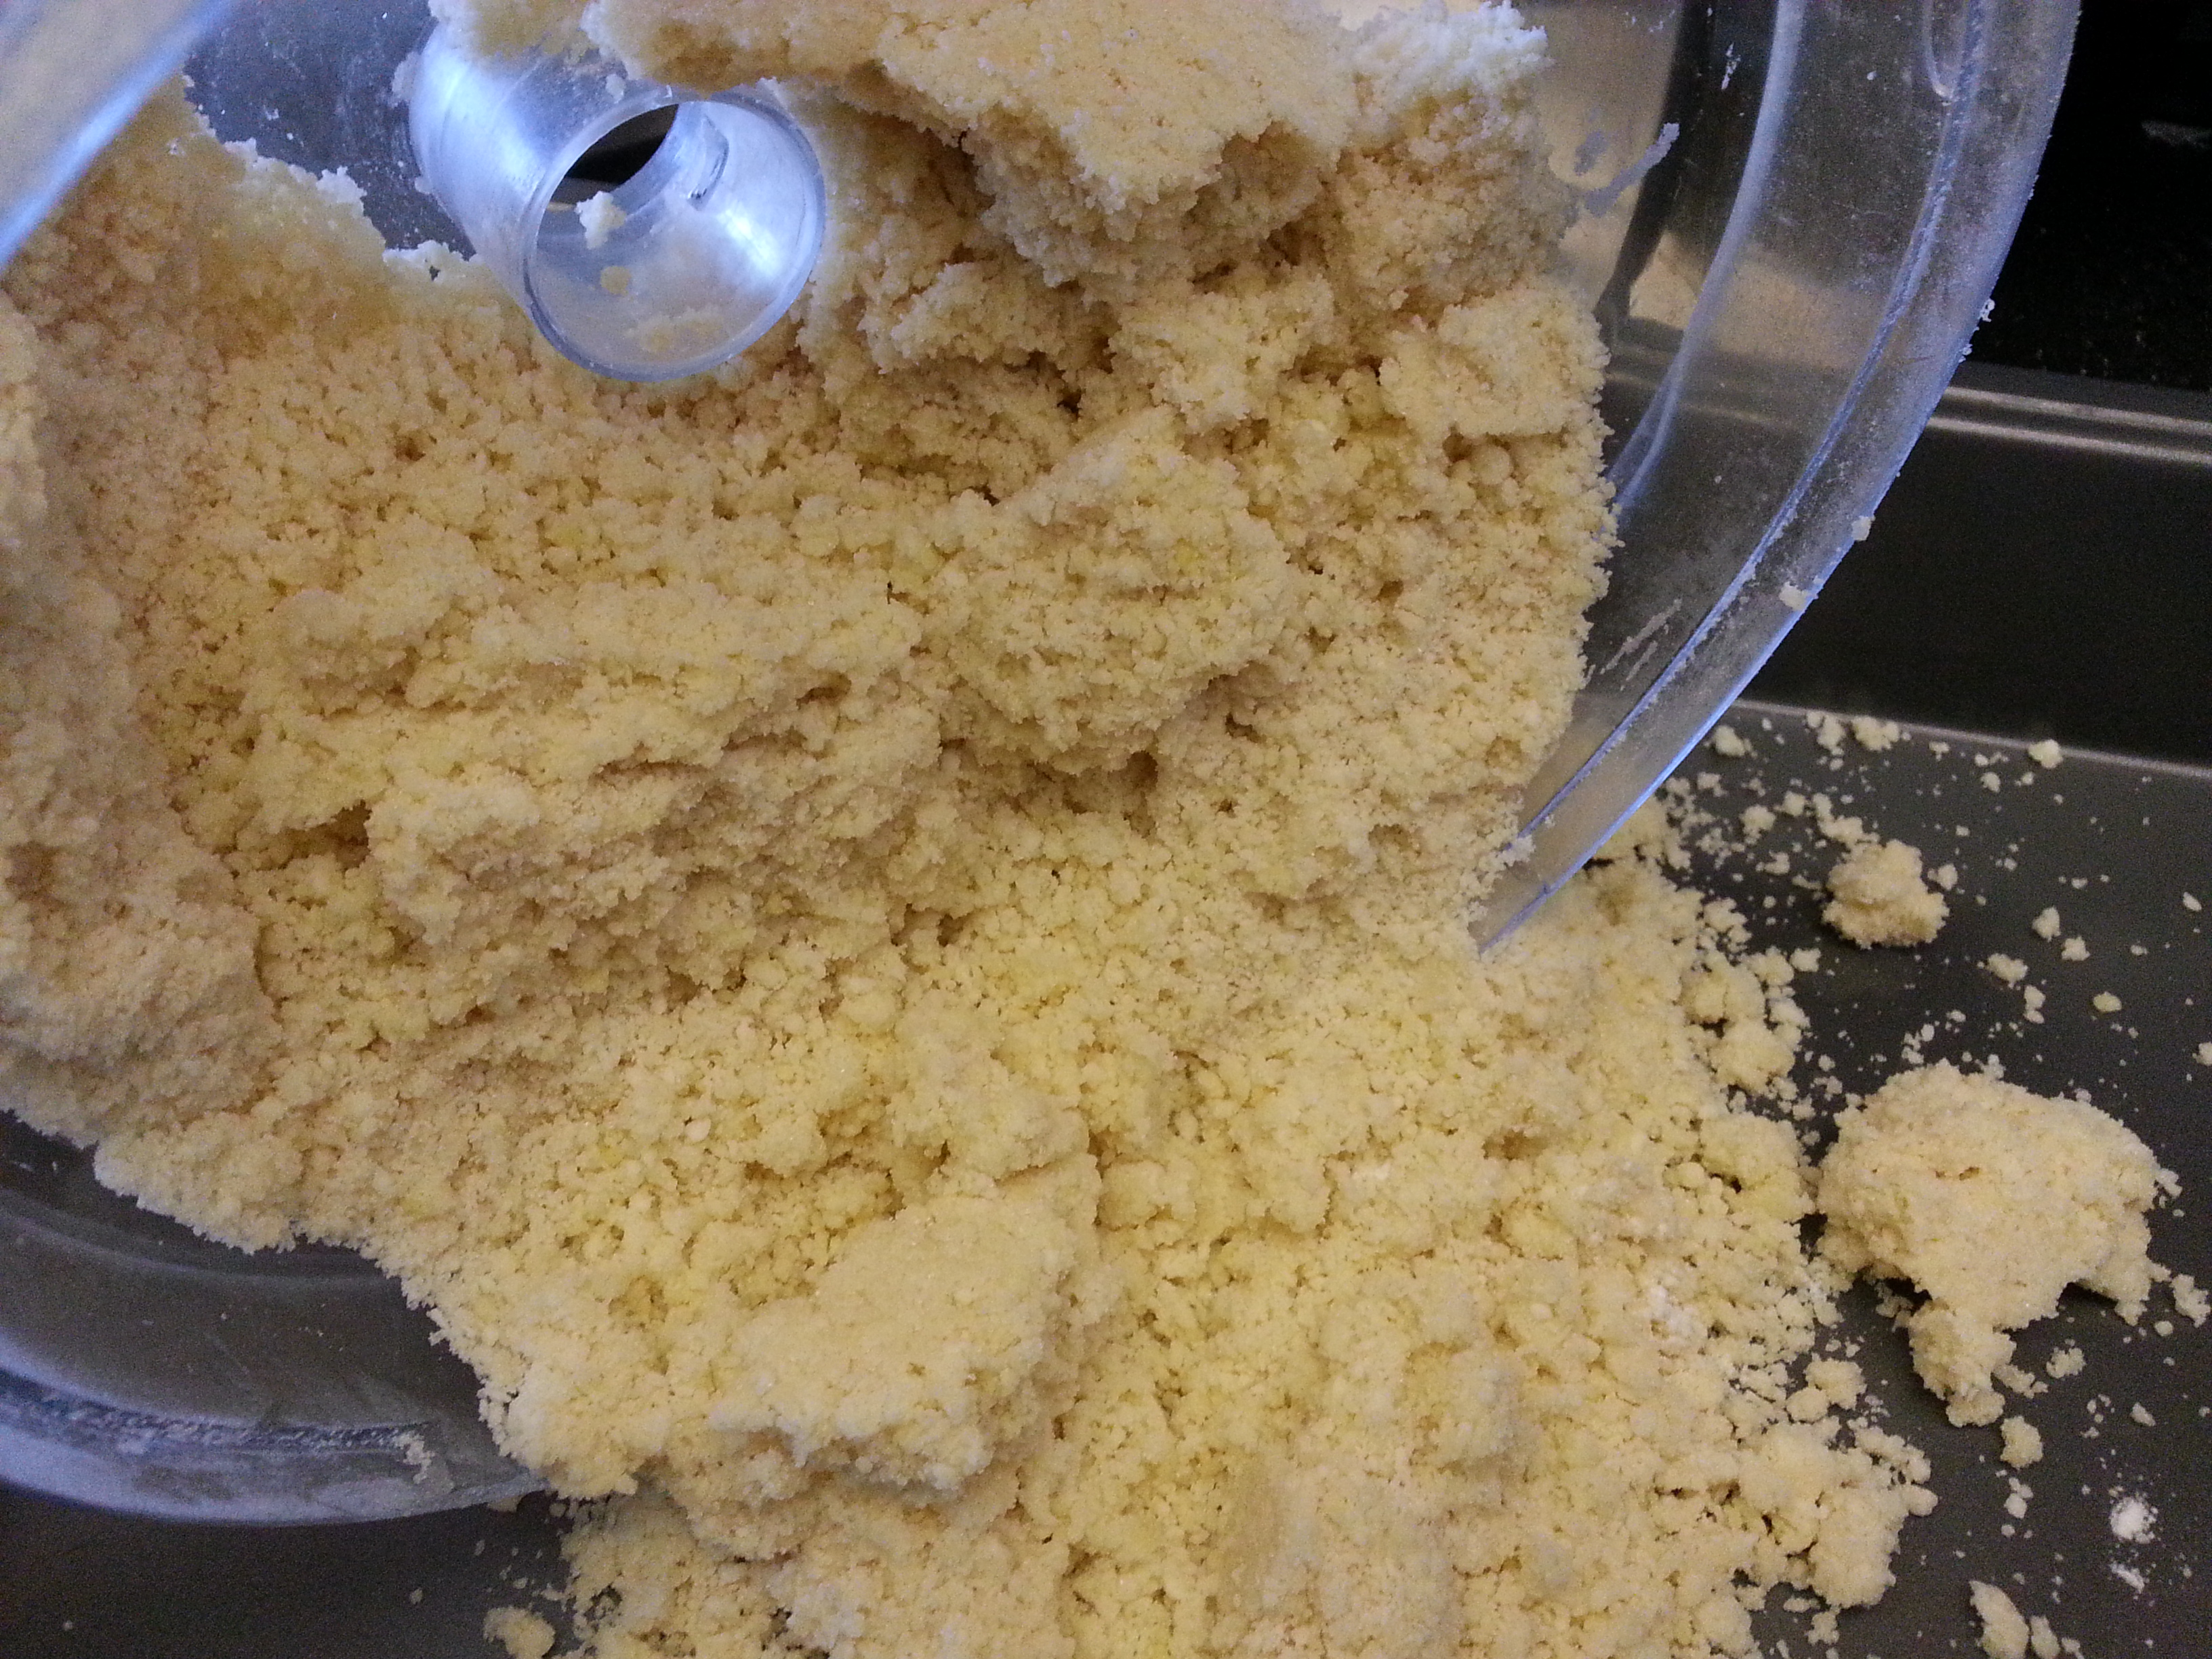
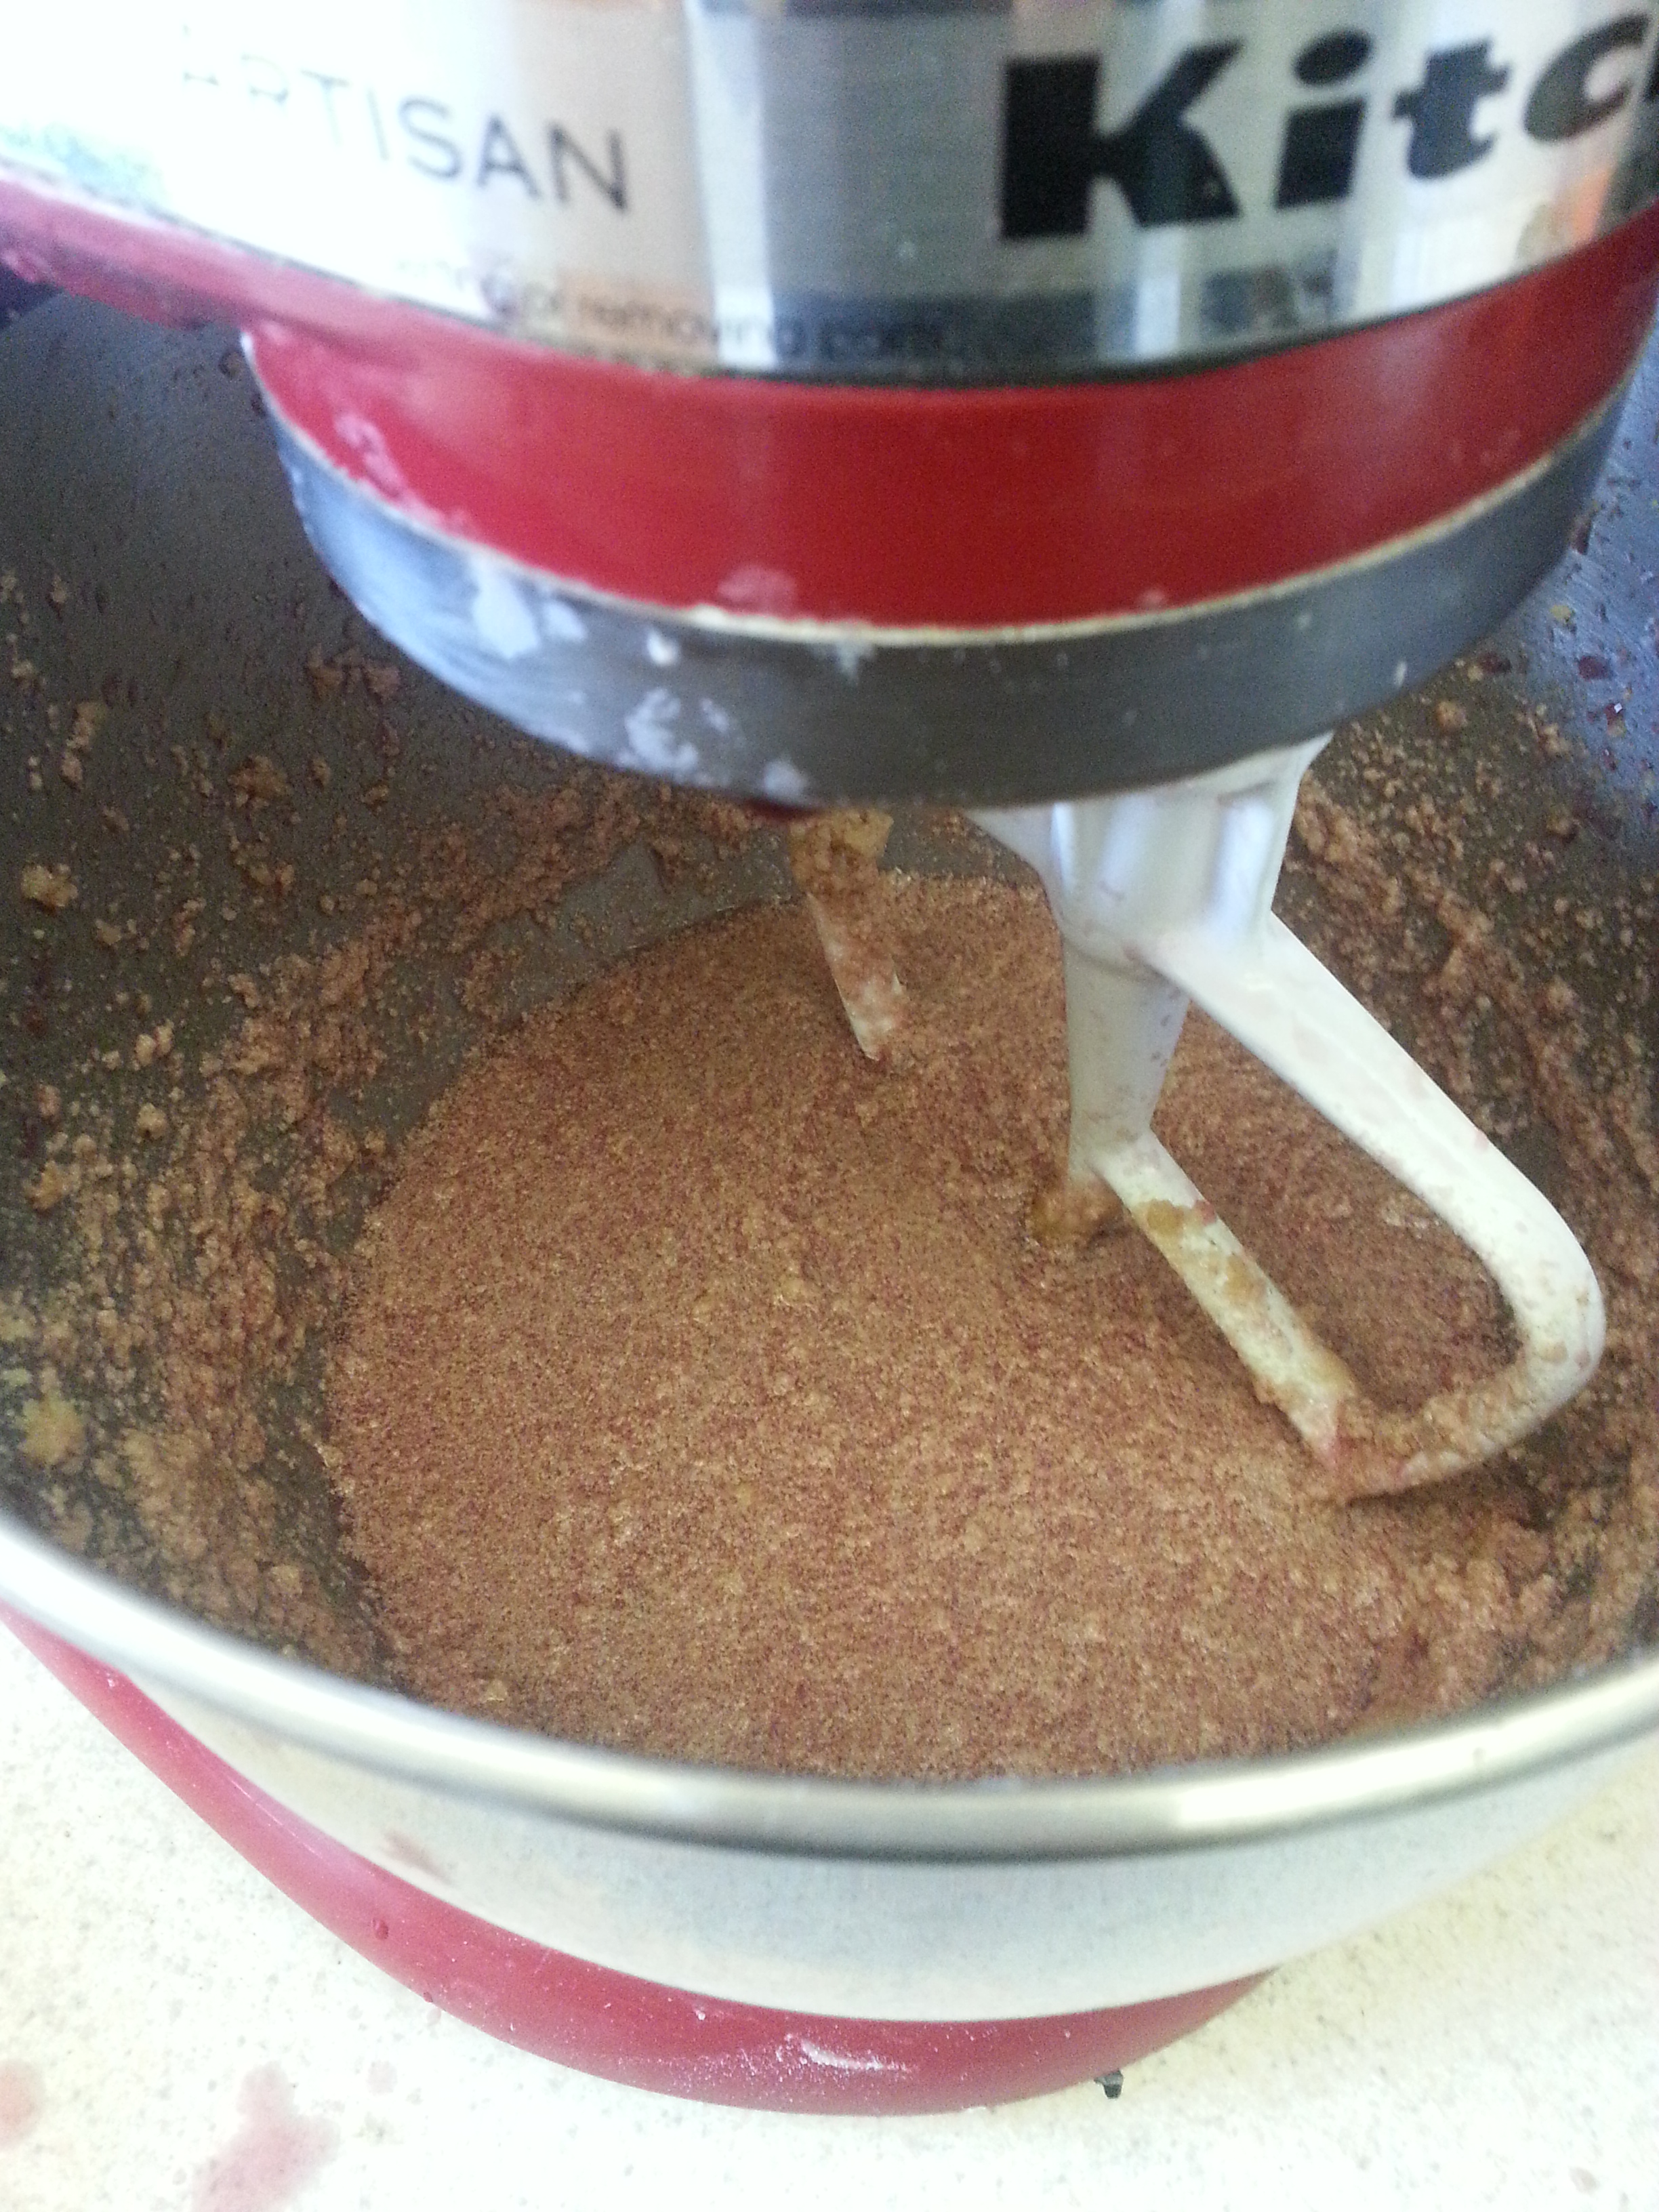
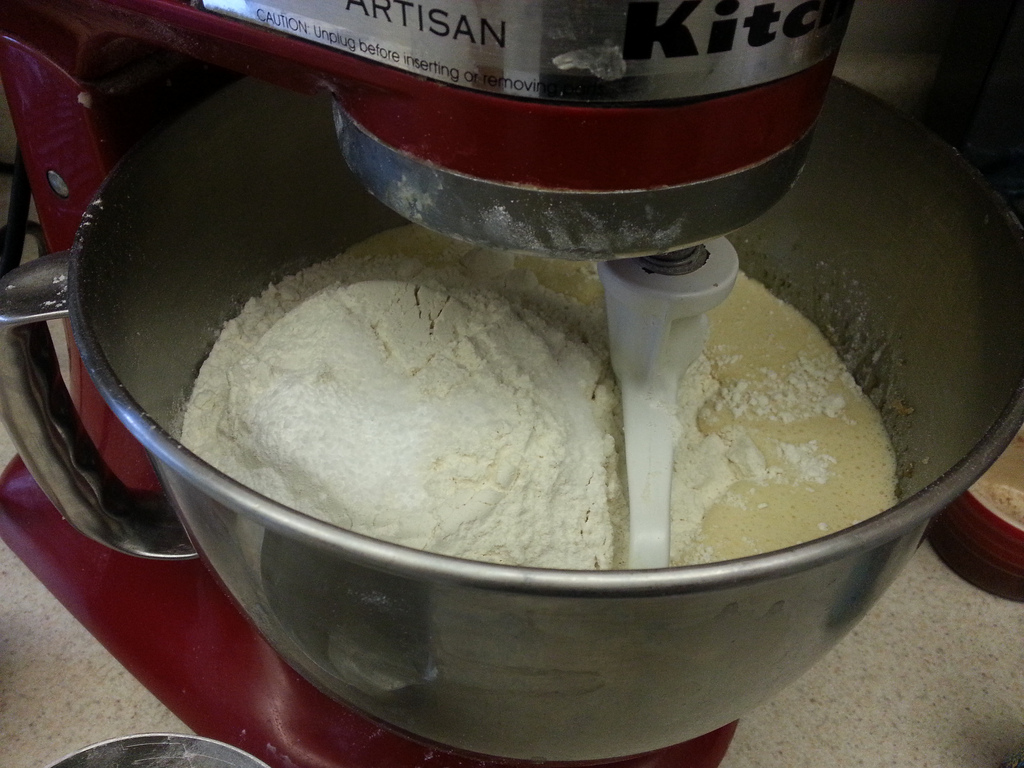
Beat the eggs with the sugar and brown sugar until thick. It will take about 3 minutes in a stand mixer set to medium speed. Add the vanilla extract.

whip the eggs and sugar
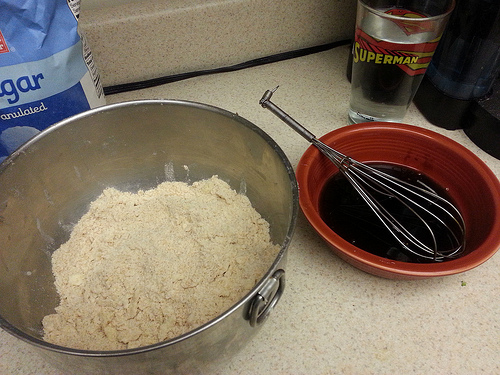
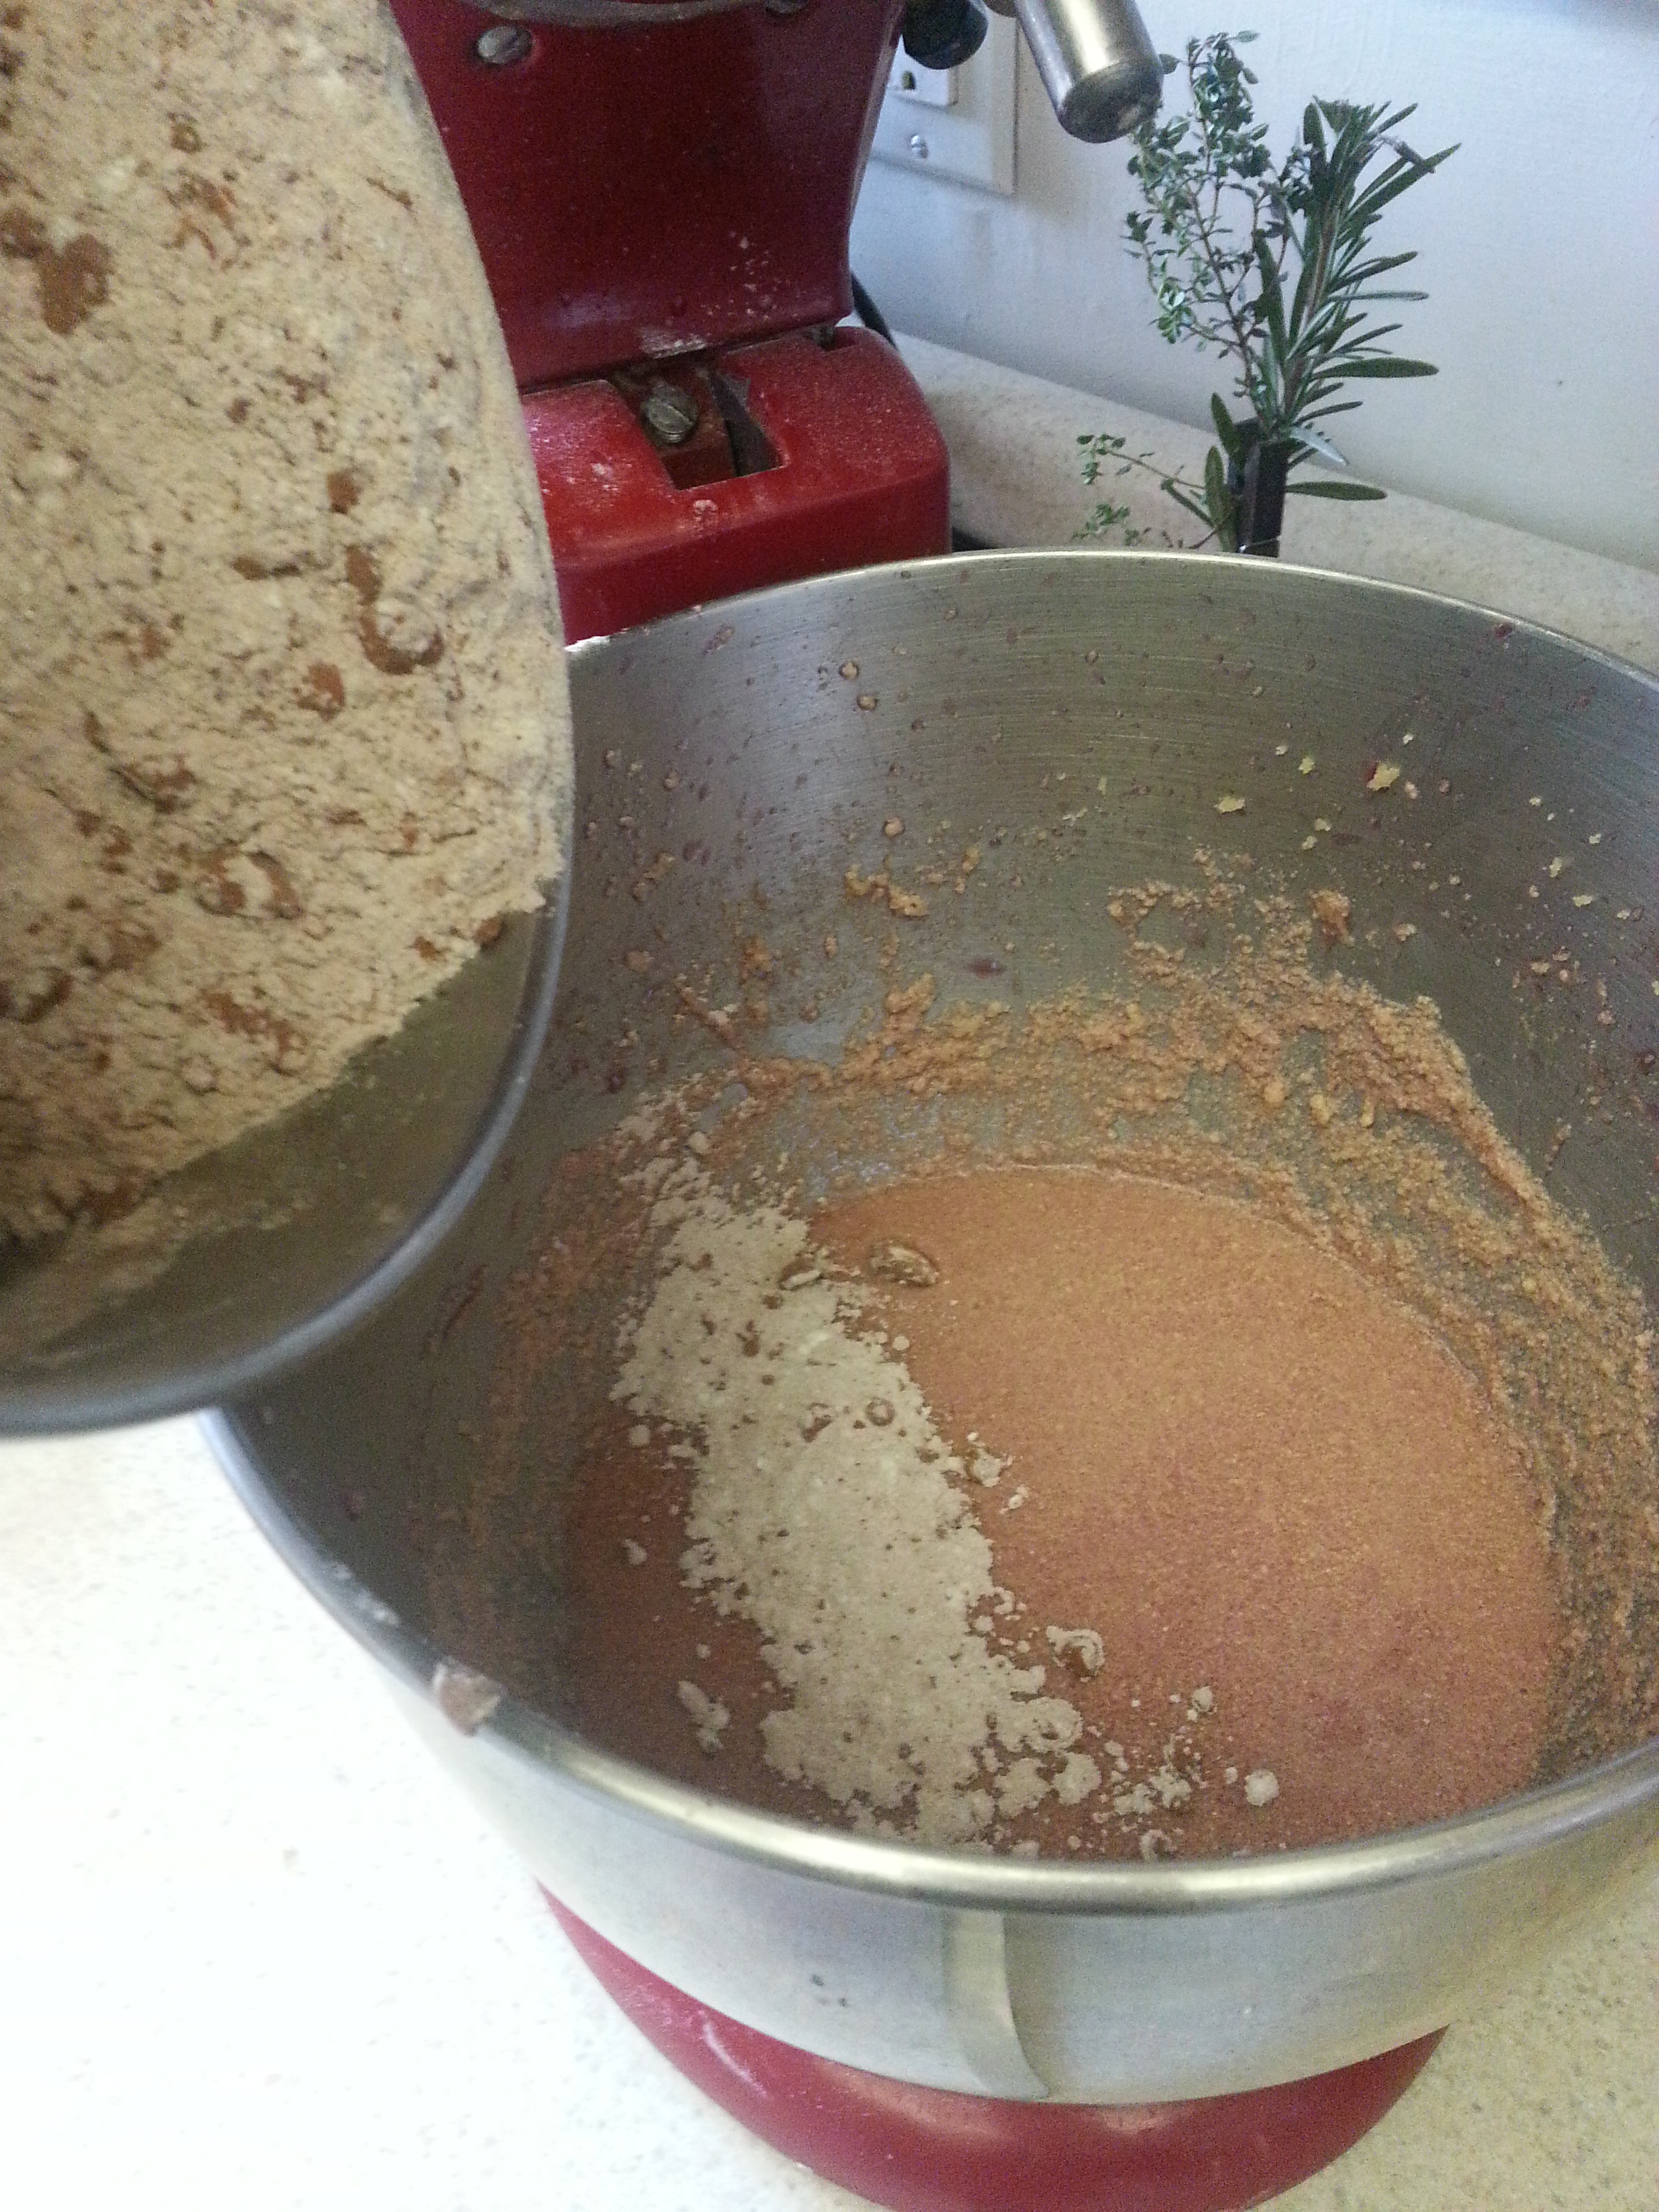
Add the flour, baking powder, and salt to the egg/sugar mixture and stir to combine.

add the wet ingredients
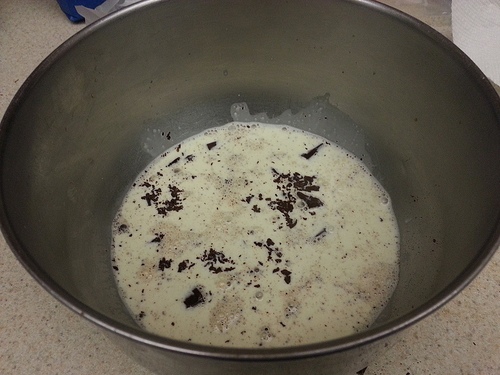
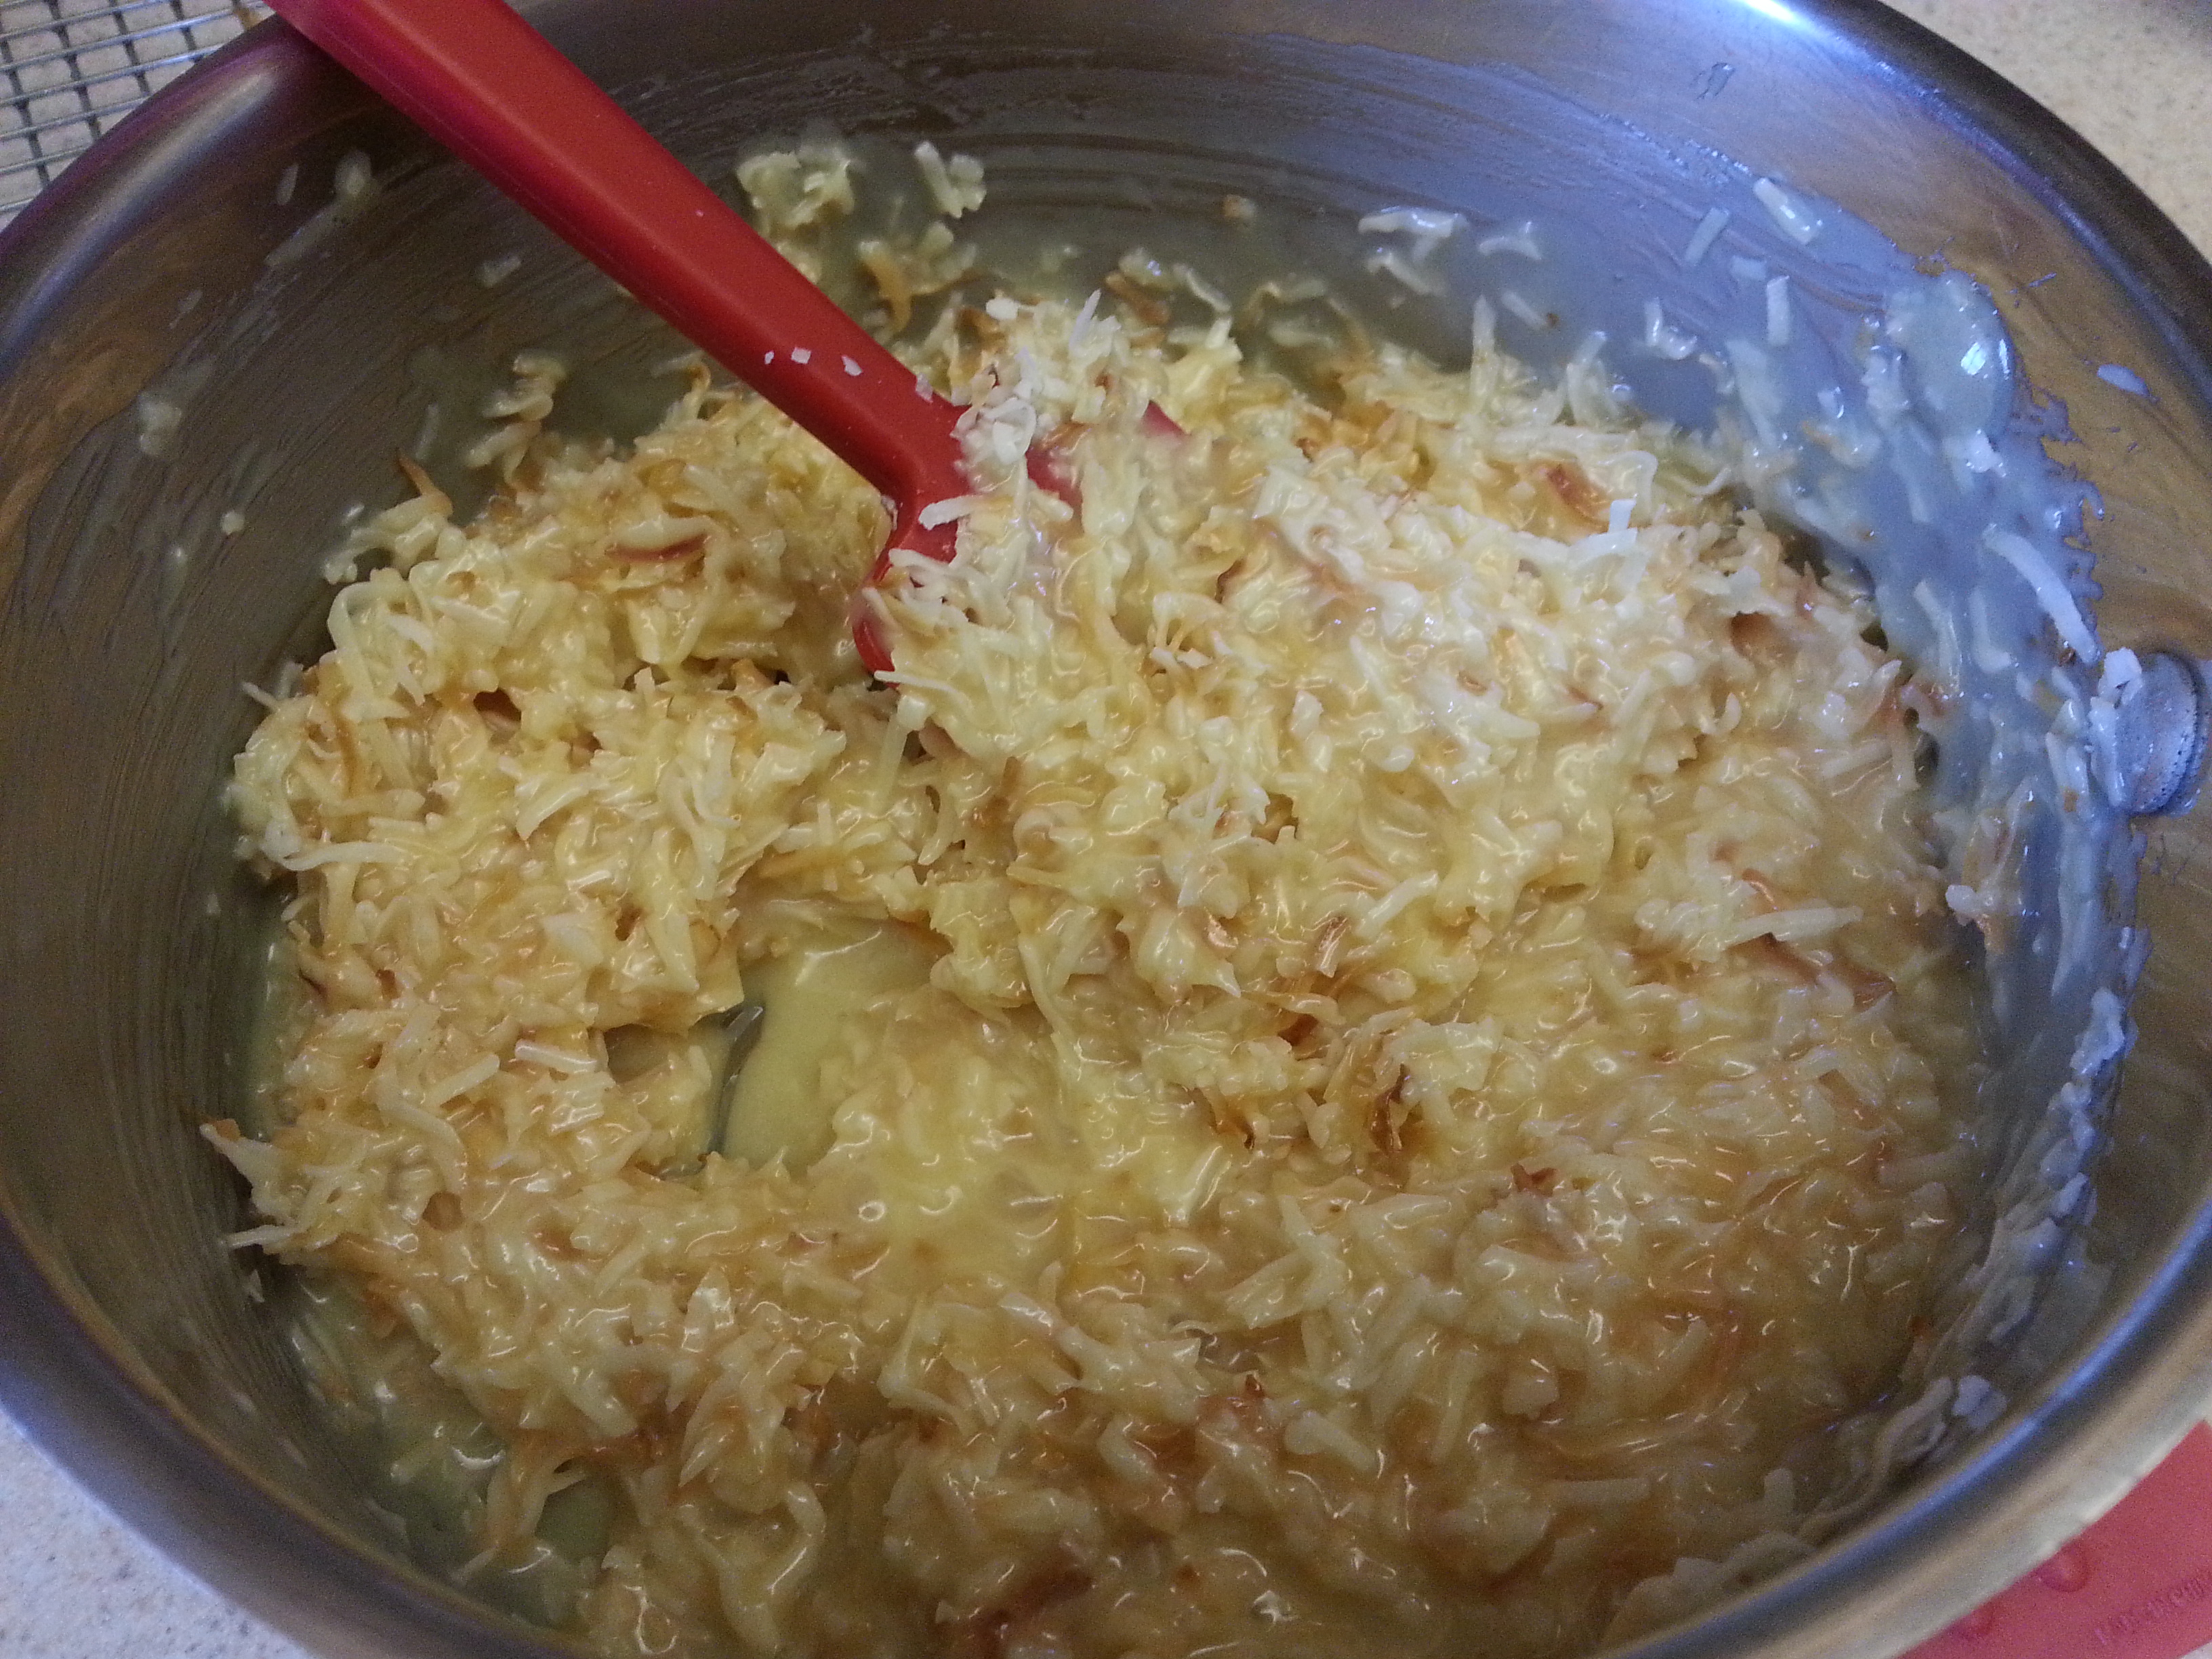
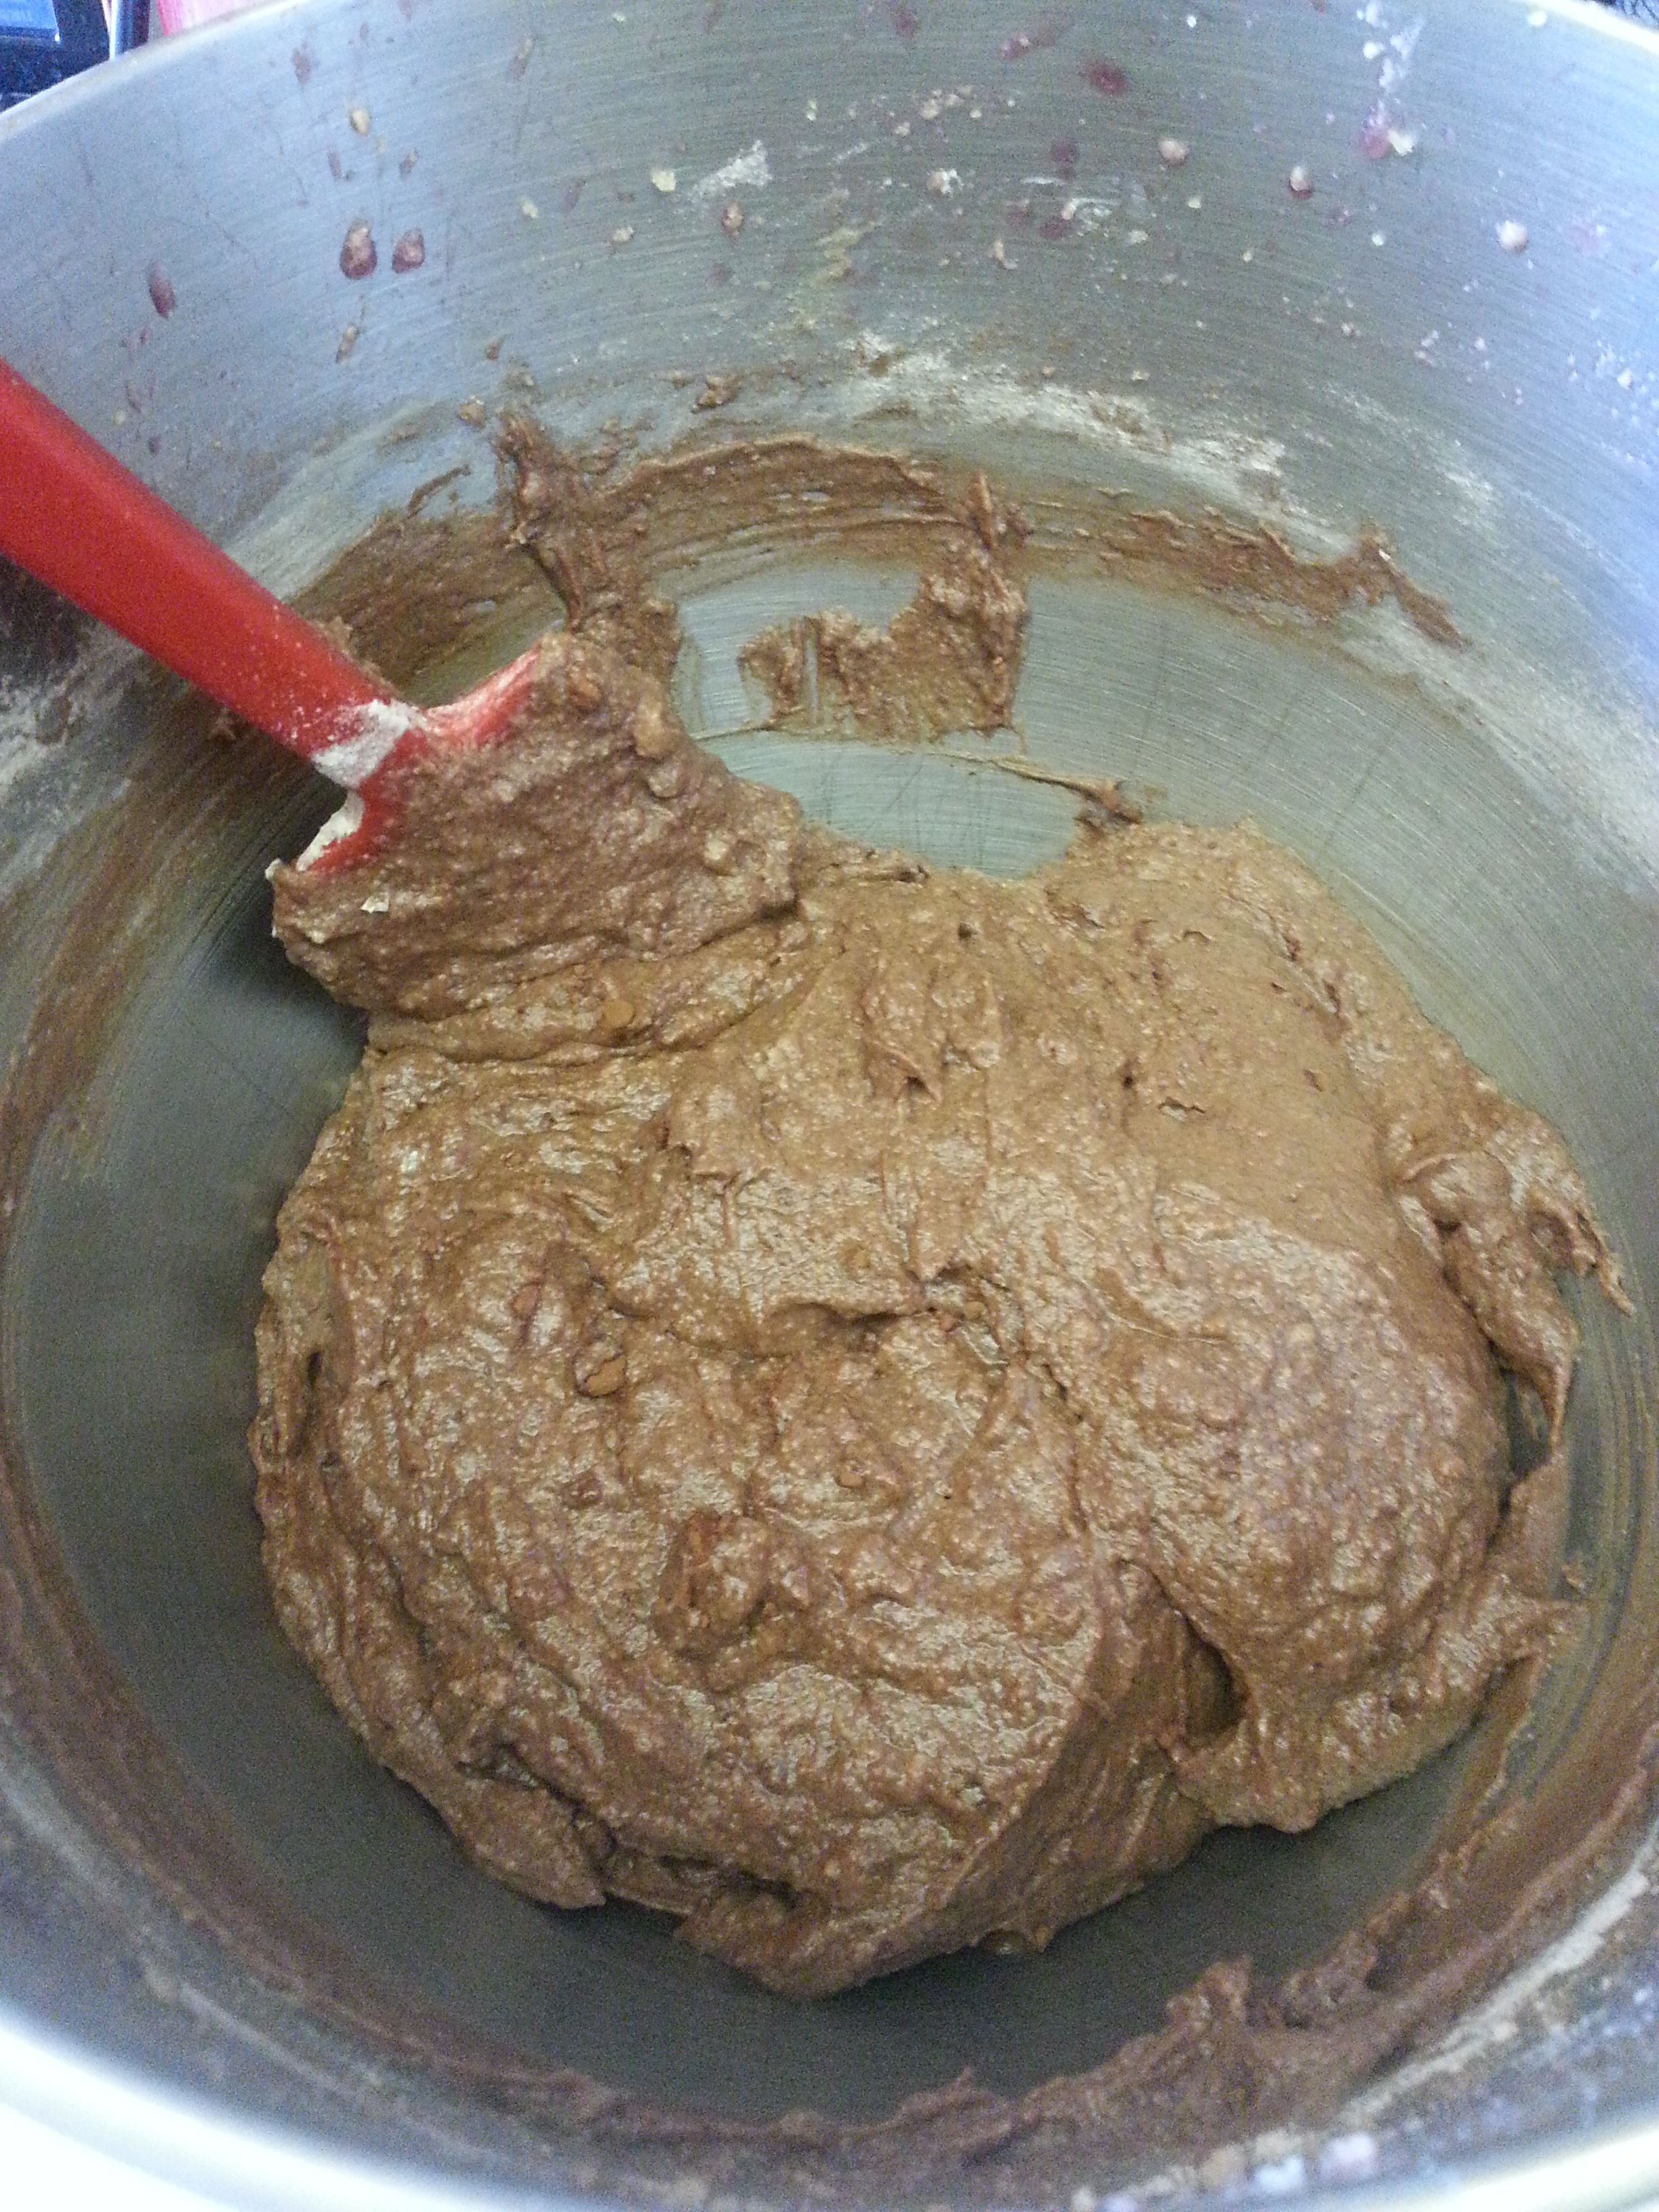
Stir in the cherries, pecans, and chocolate chips.

finished dough
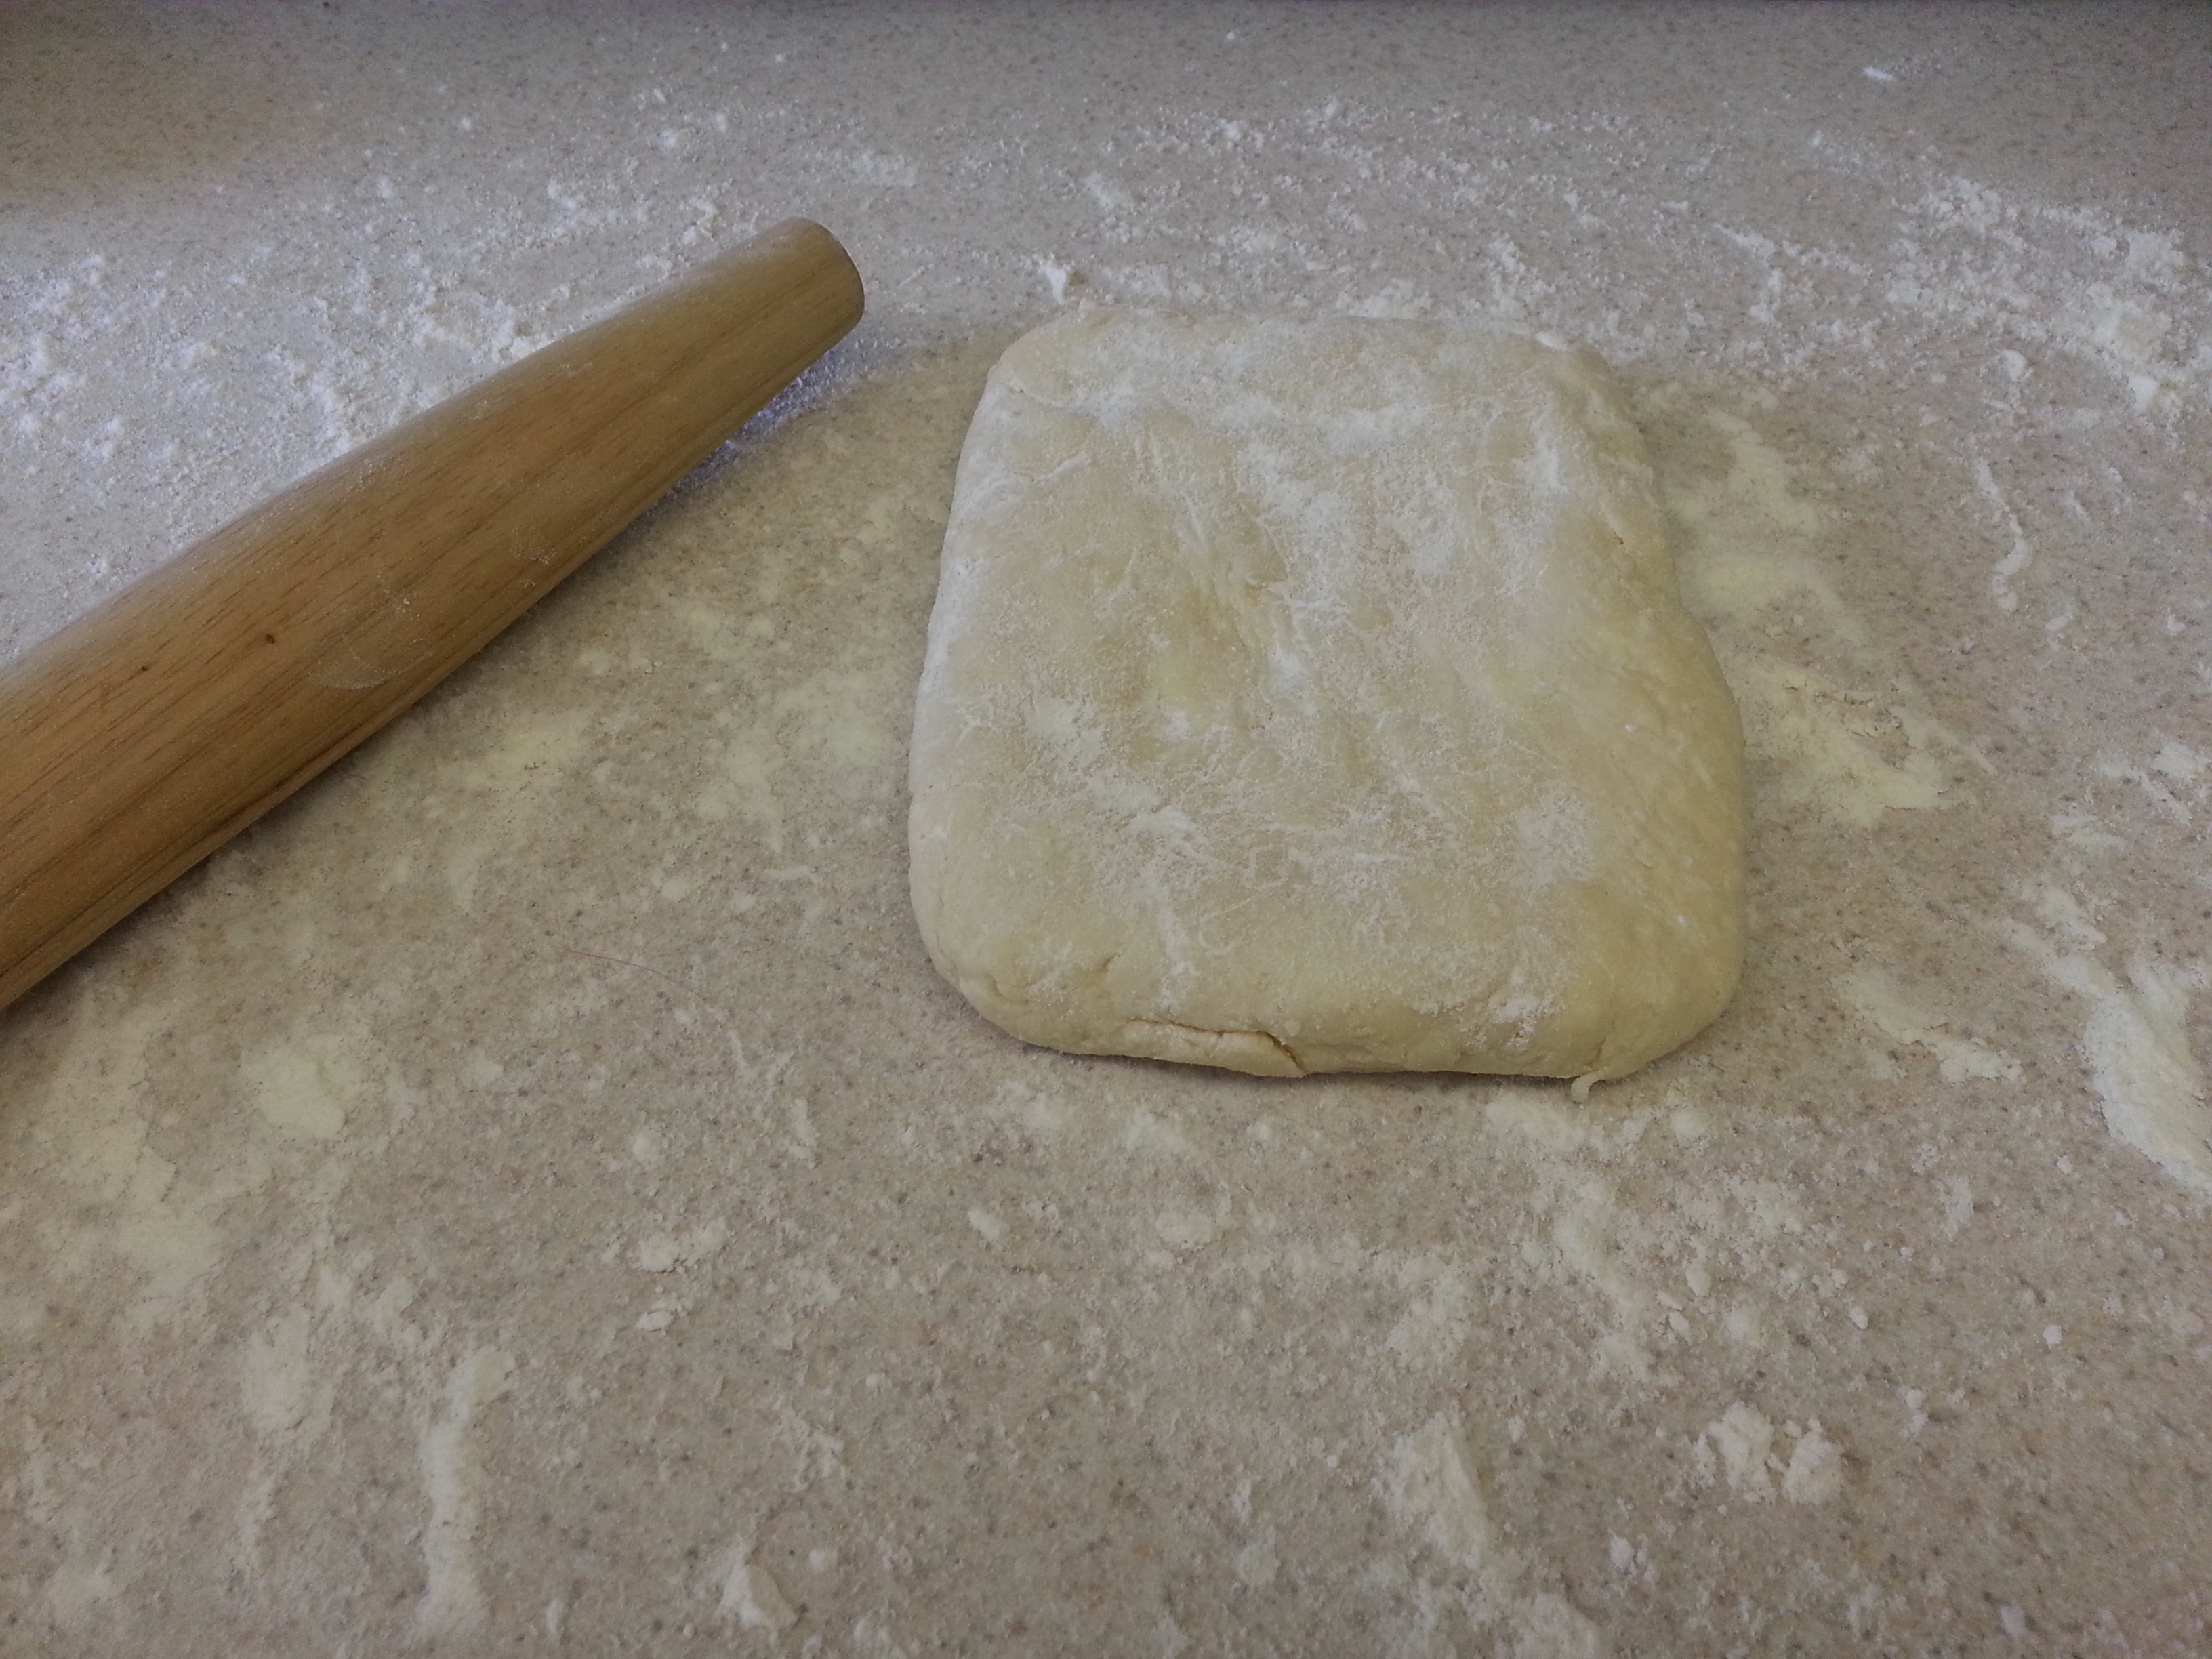
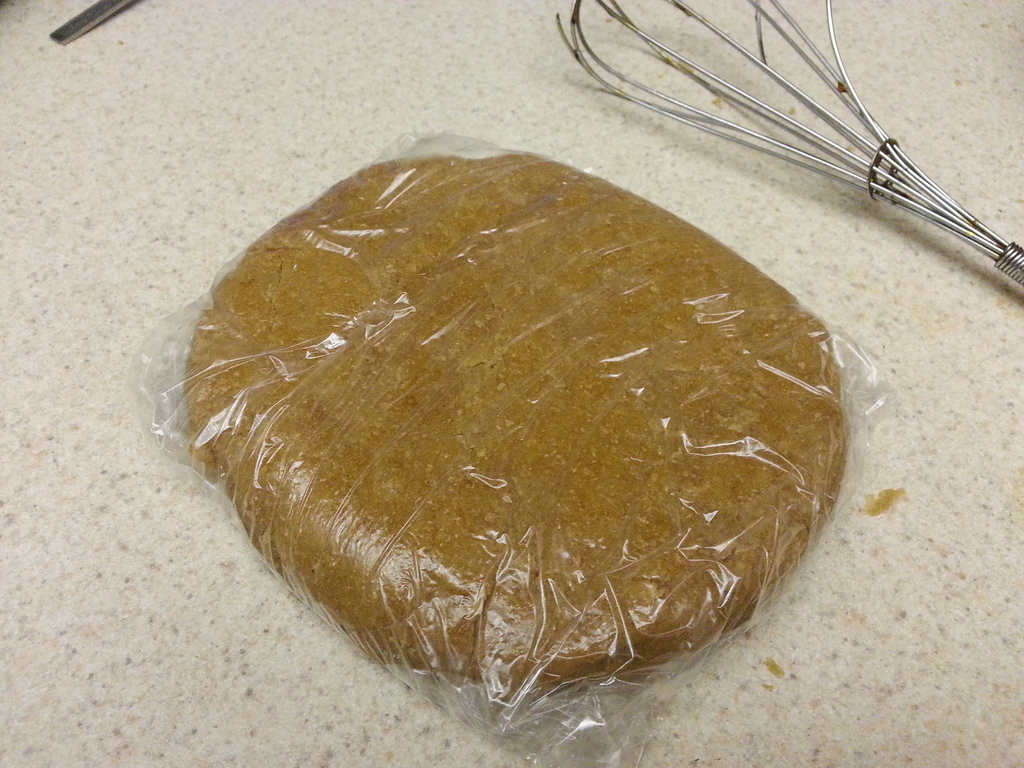
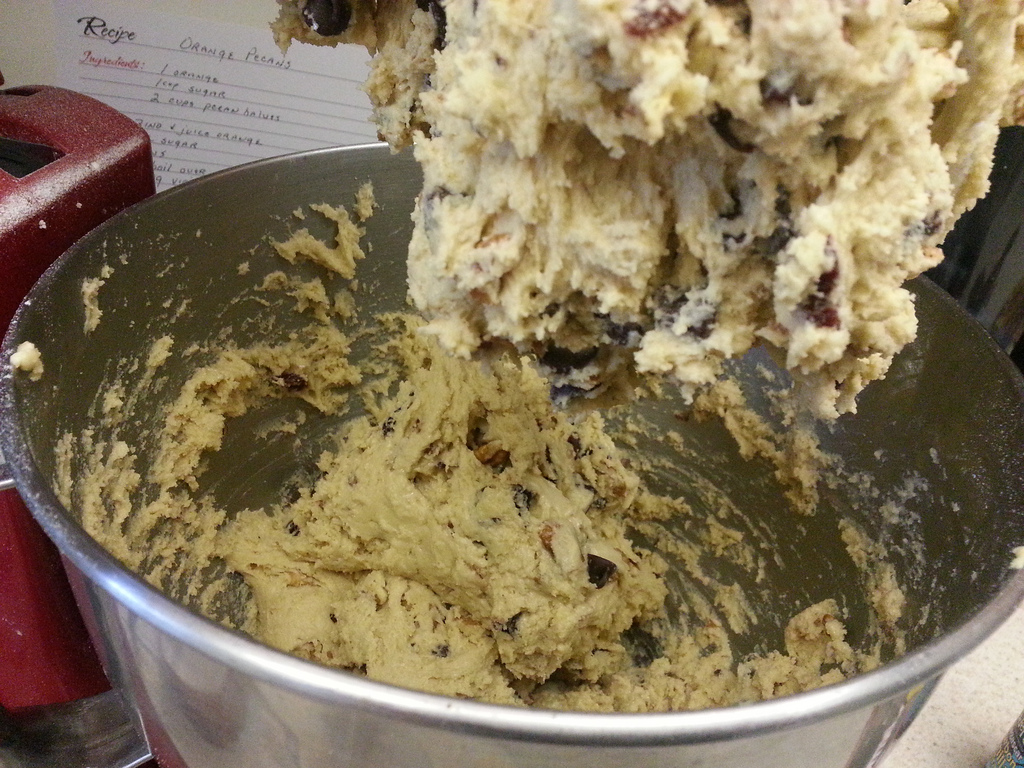
Allow the dough to rest for 5 minutes and then divide it in half. doughball
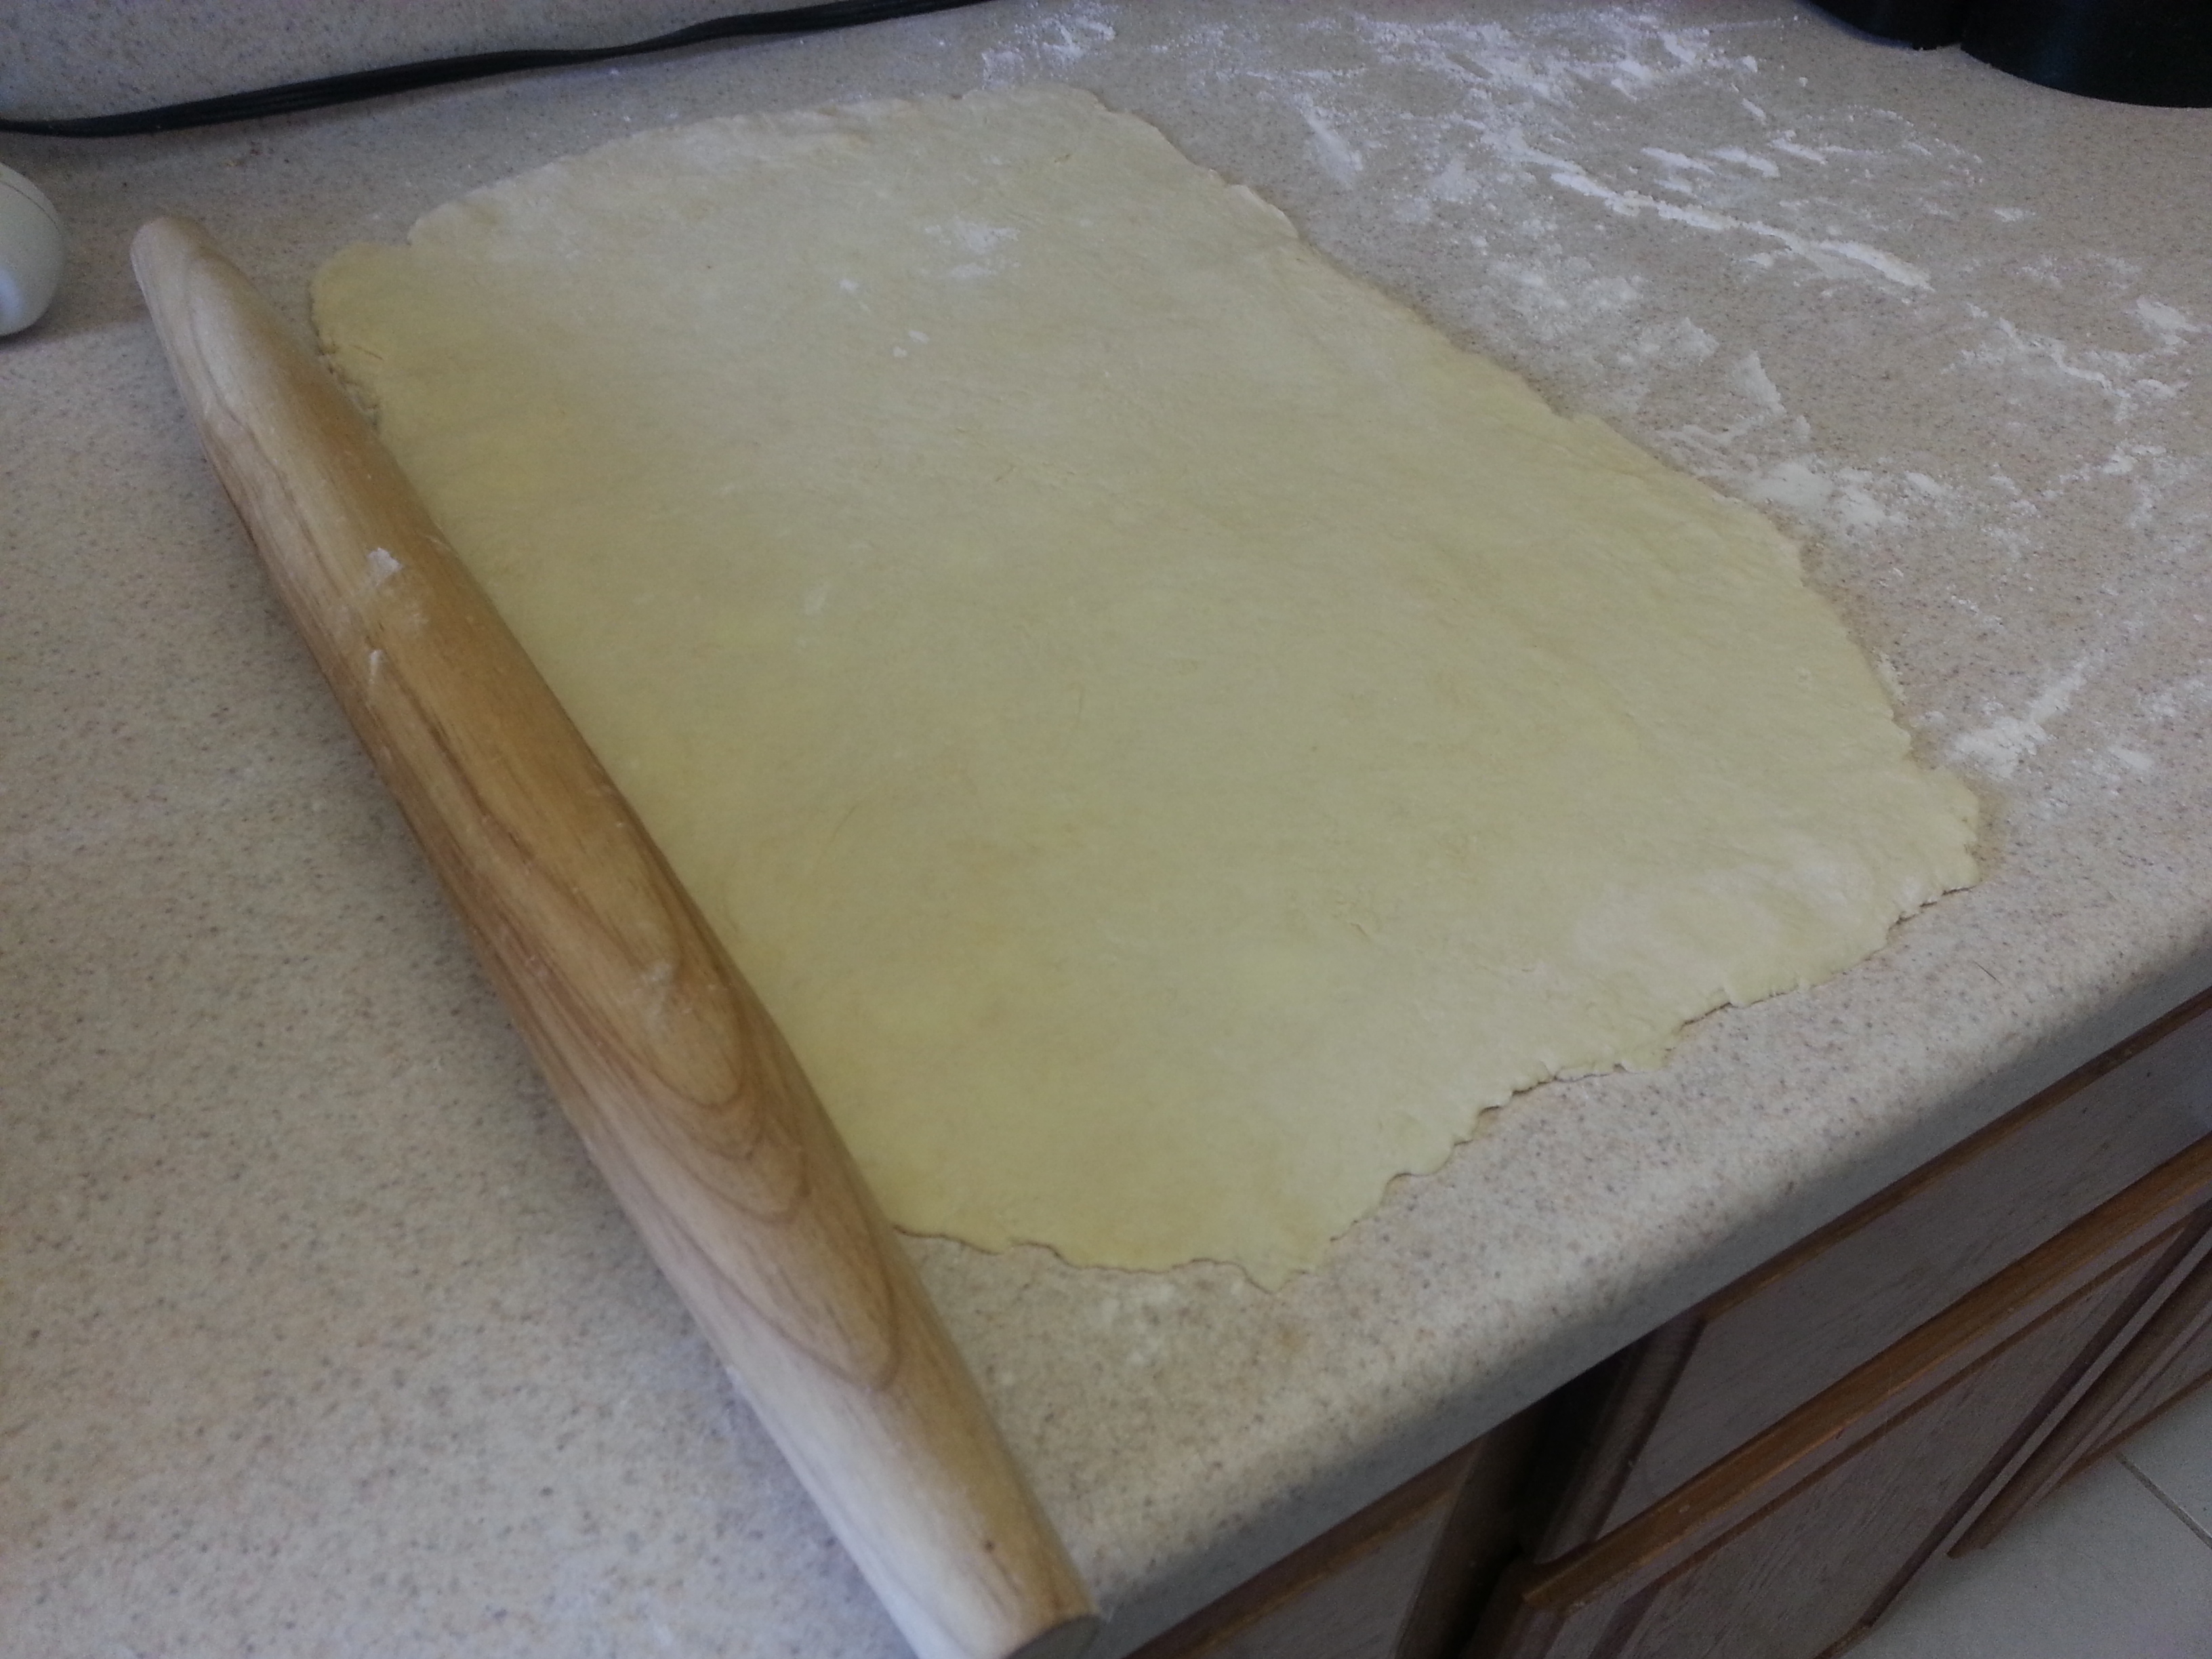
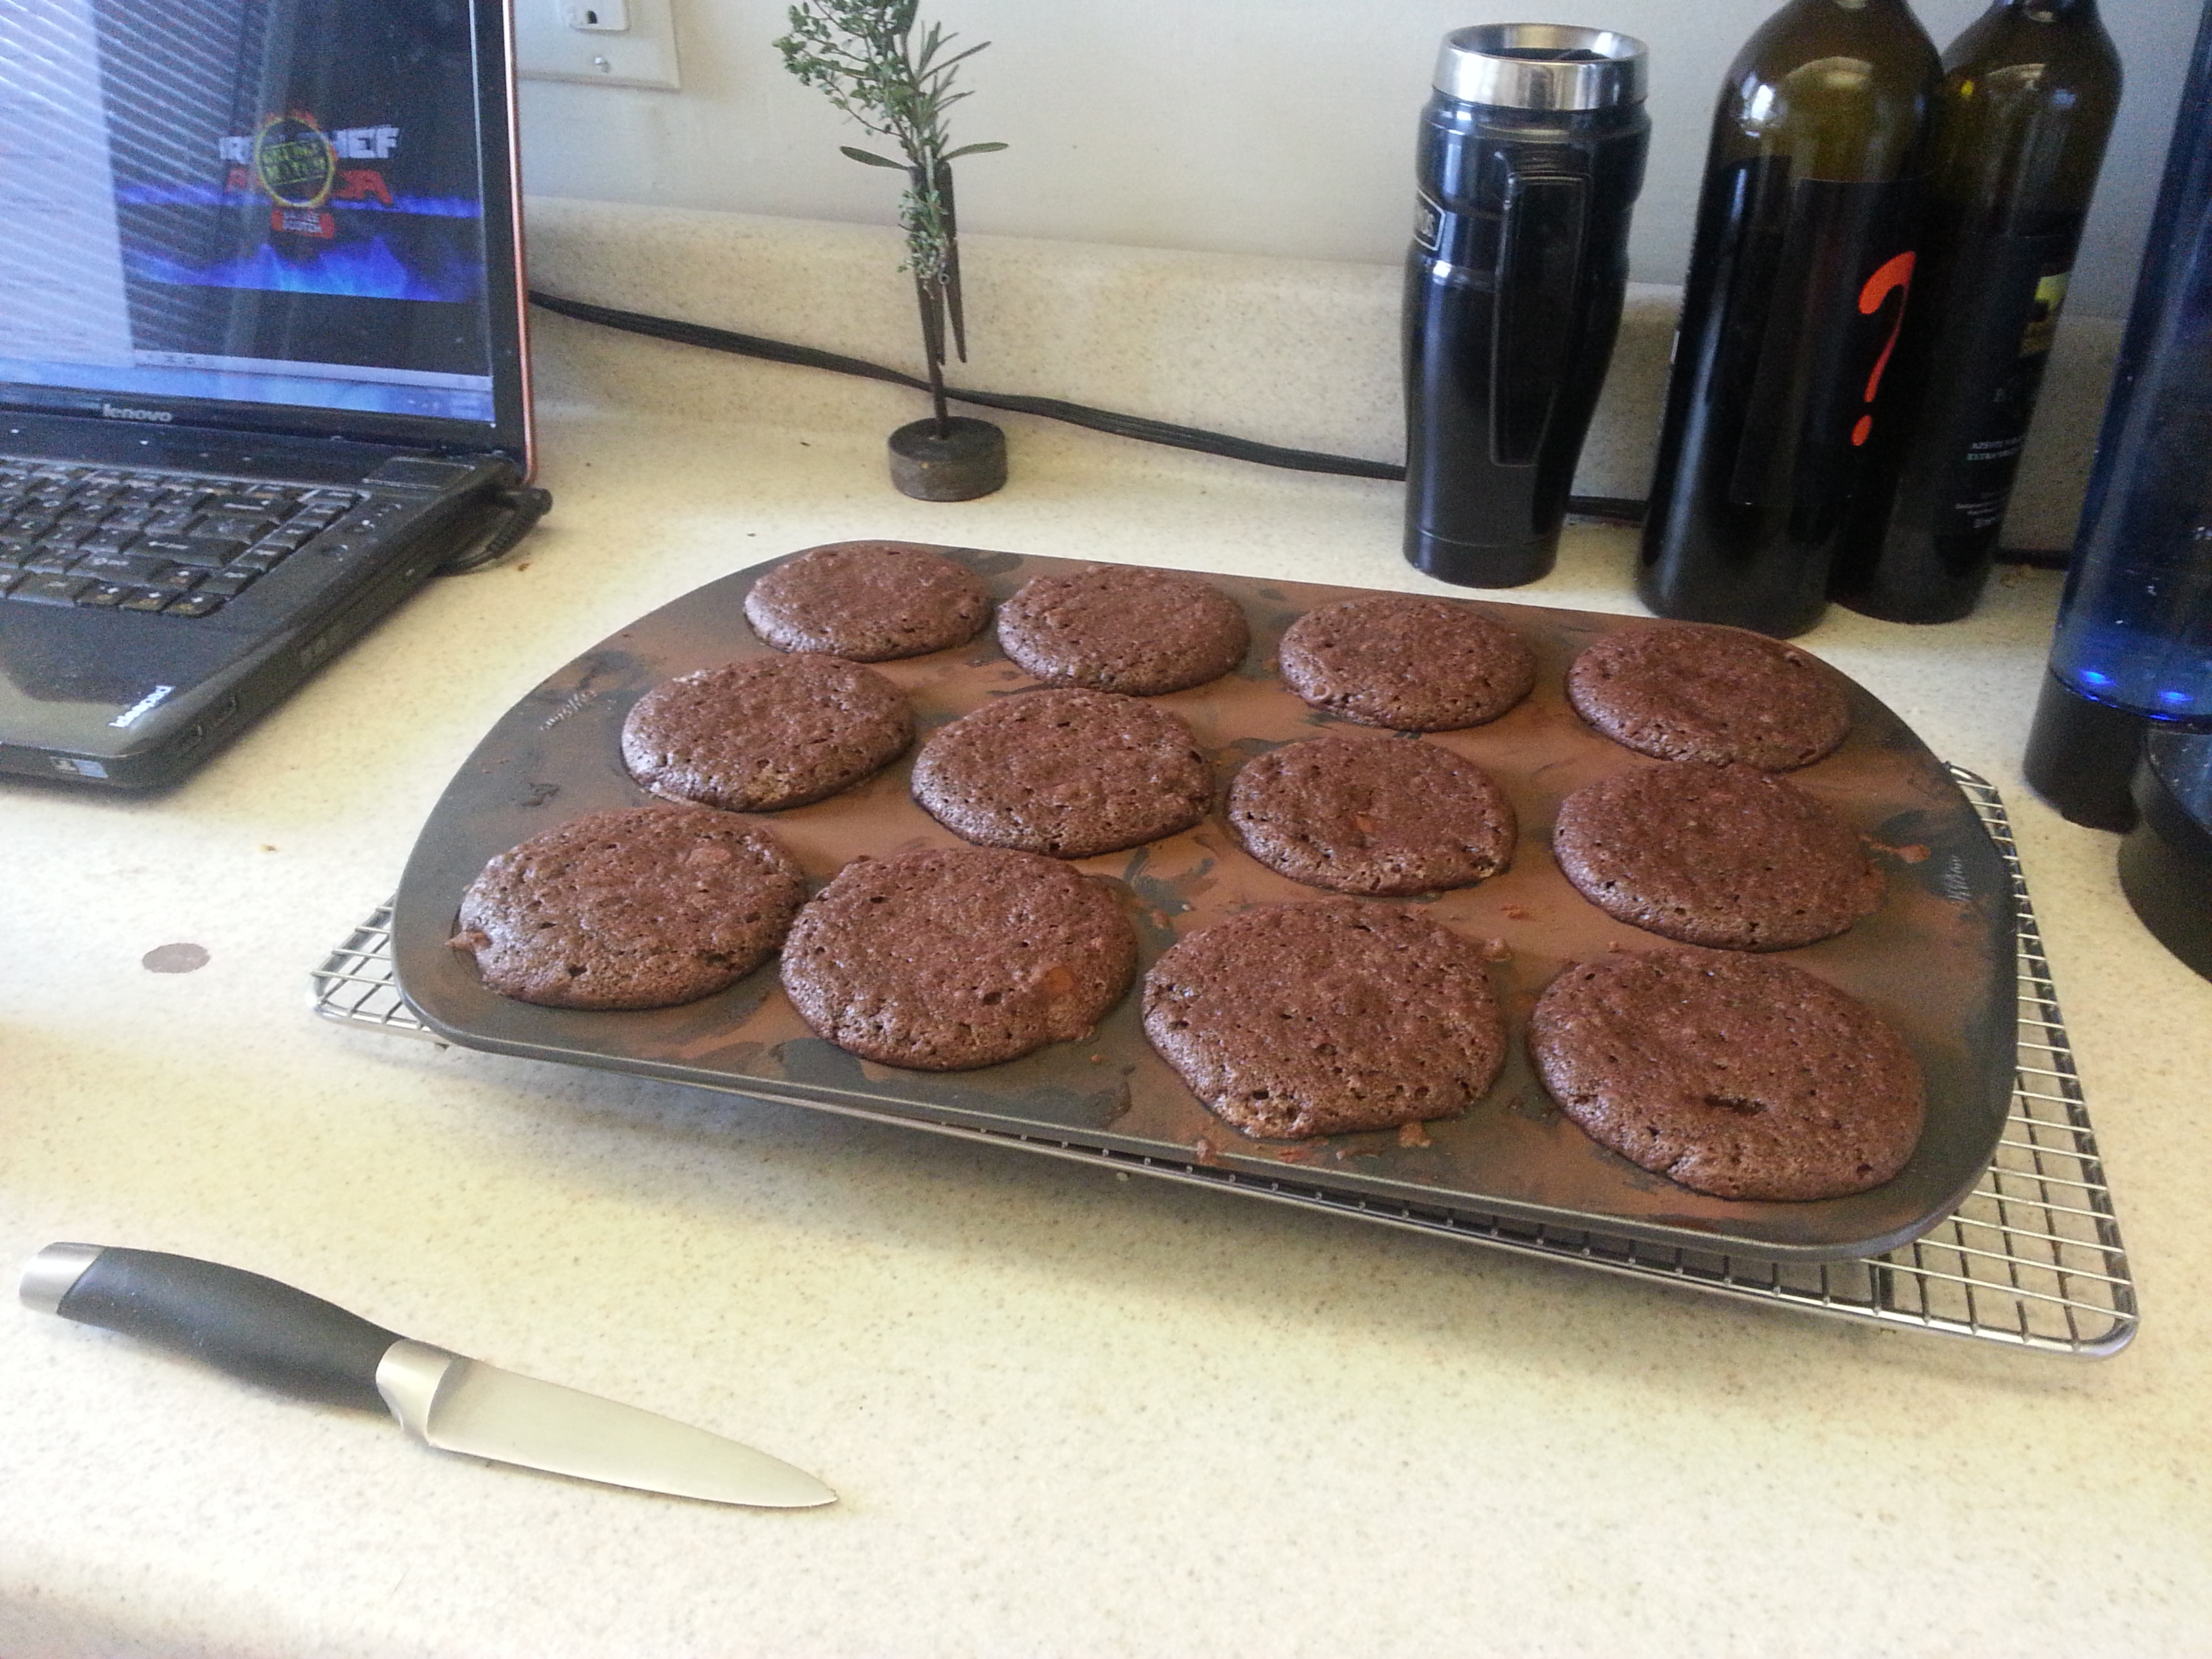
Roll each half into a log about a foot long, place on the baking sheet, and then flatten the logs so that they are 3-4 in. wide. Brush the loaves with egg wash and then bake them for 40 minutes, rotating the pan once to ensure even done-ness.

egg washing loavesRemove the loaves from the oven and lower the oven temperature to 275 degrees F.

baked loaves
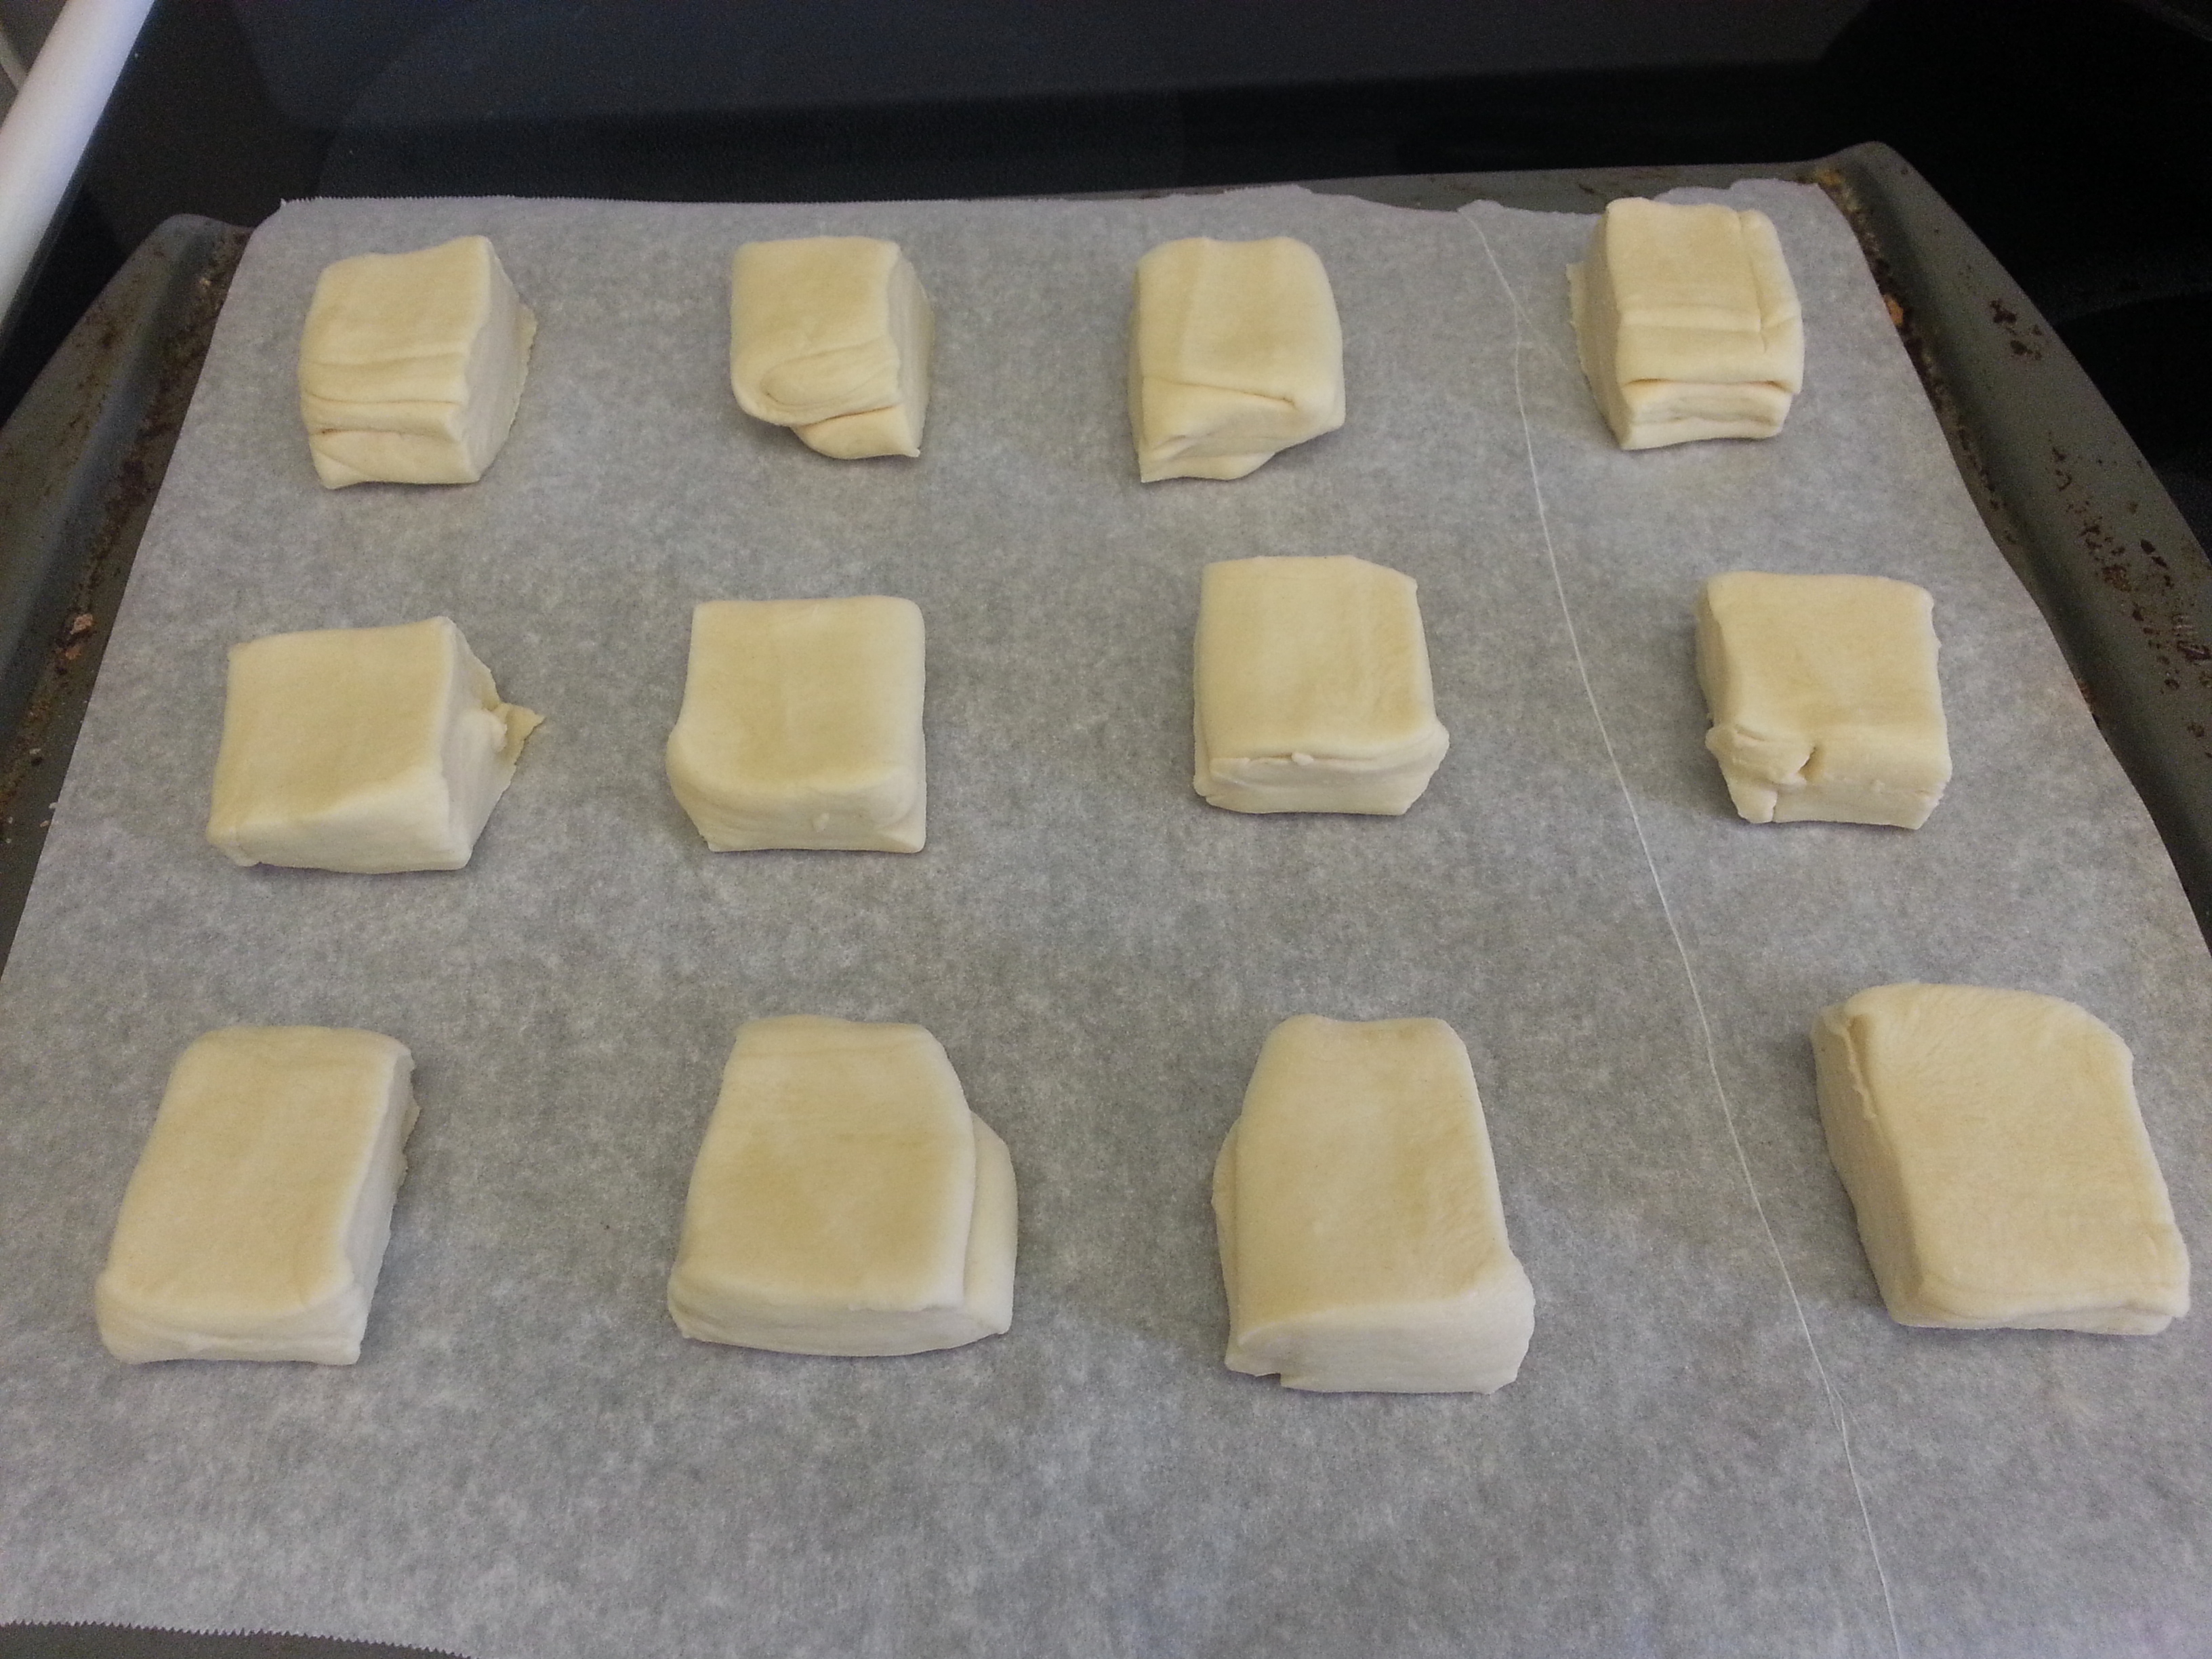
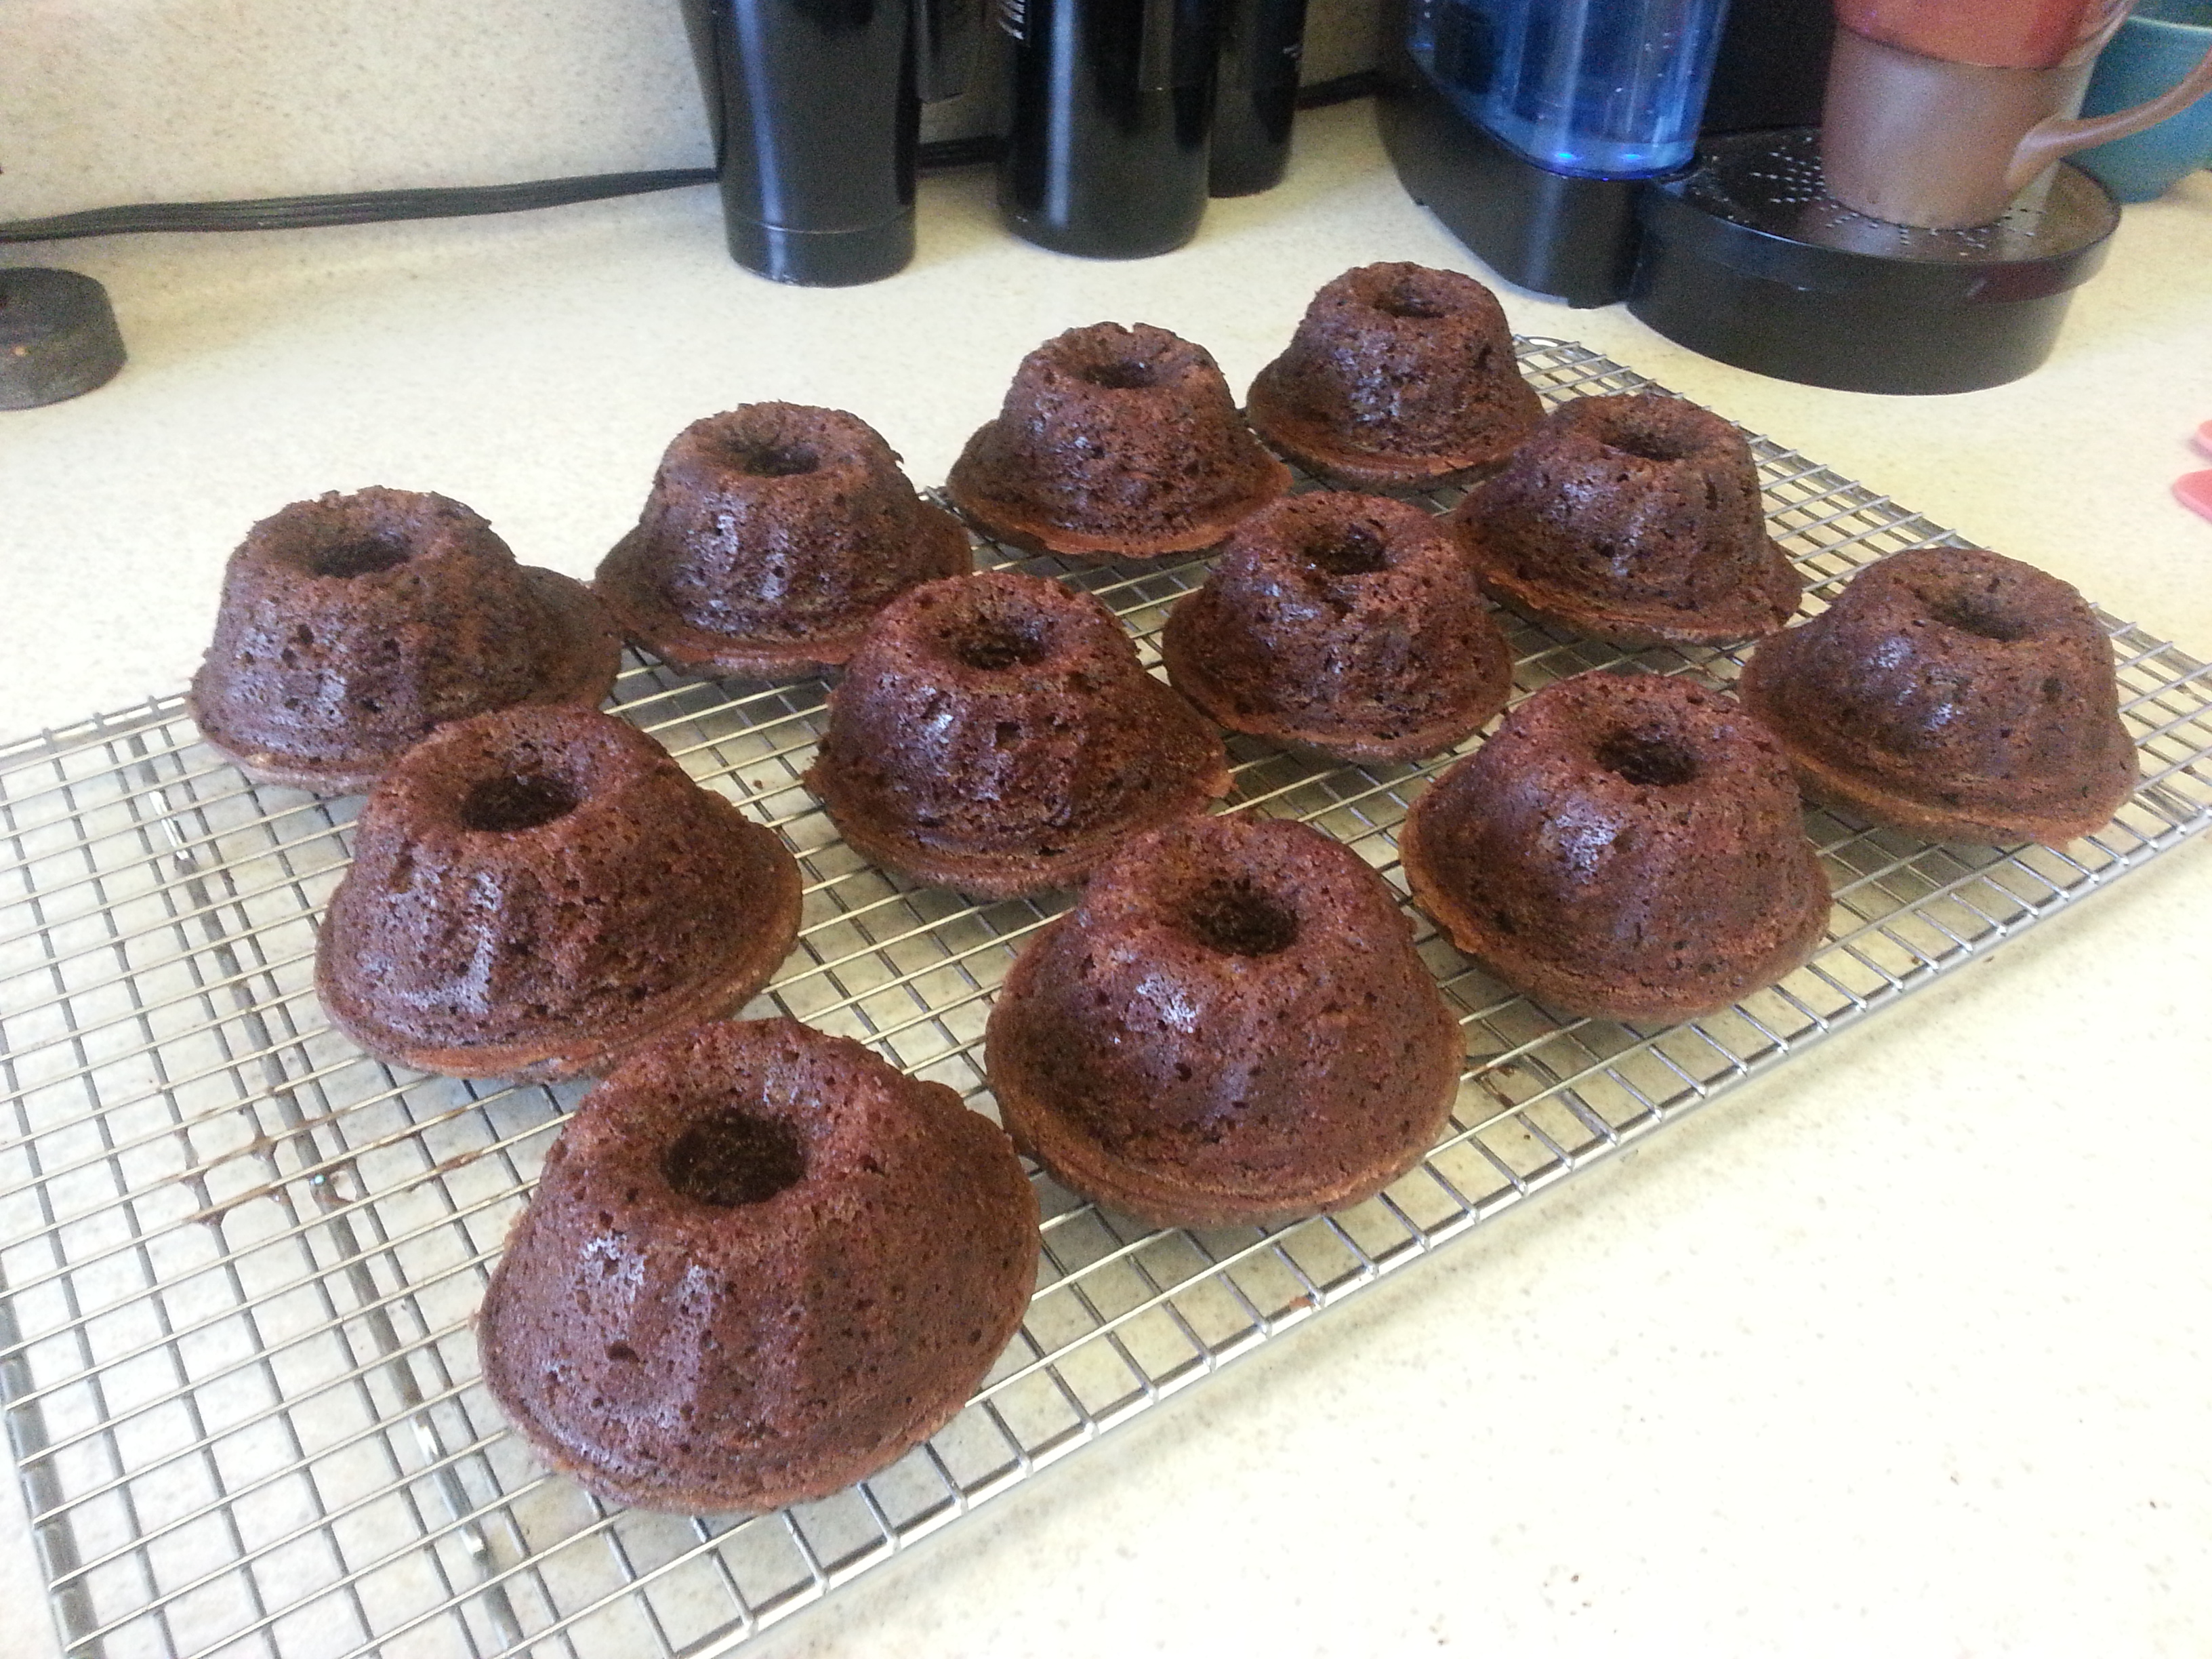
Cool the loaves on a wire rack for 5-10 minutes, and then cut into 1/2 in. slices. Arrange the slices standing up on a baking sheet. They do not need to have a ton of space between them, but they should not touch.

cutting cookies
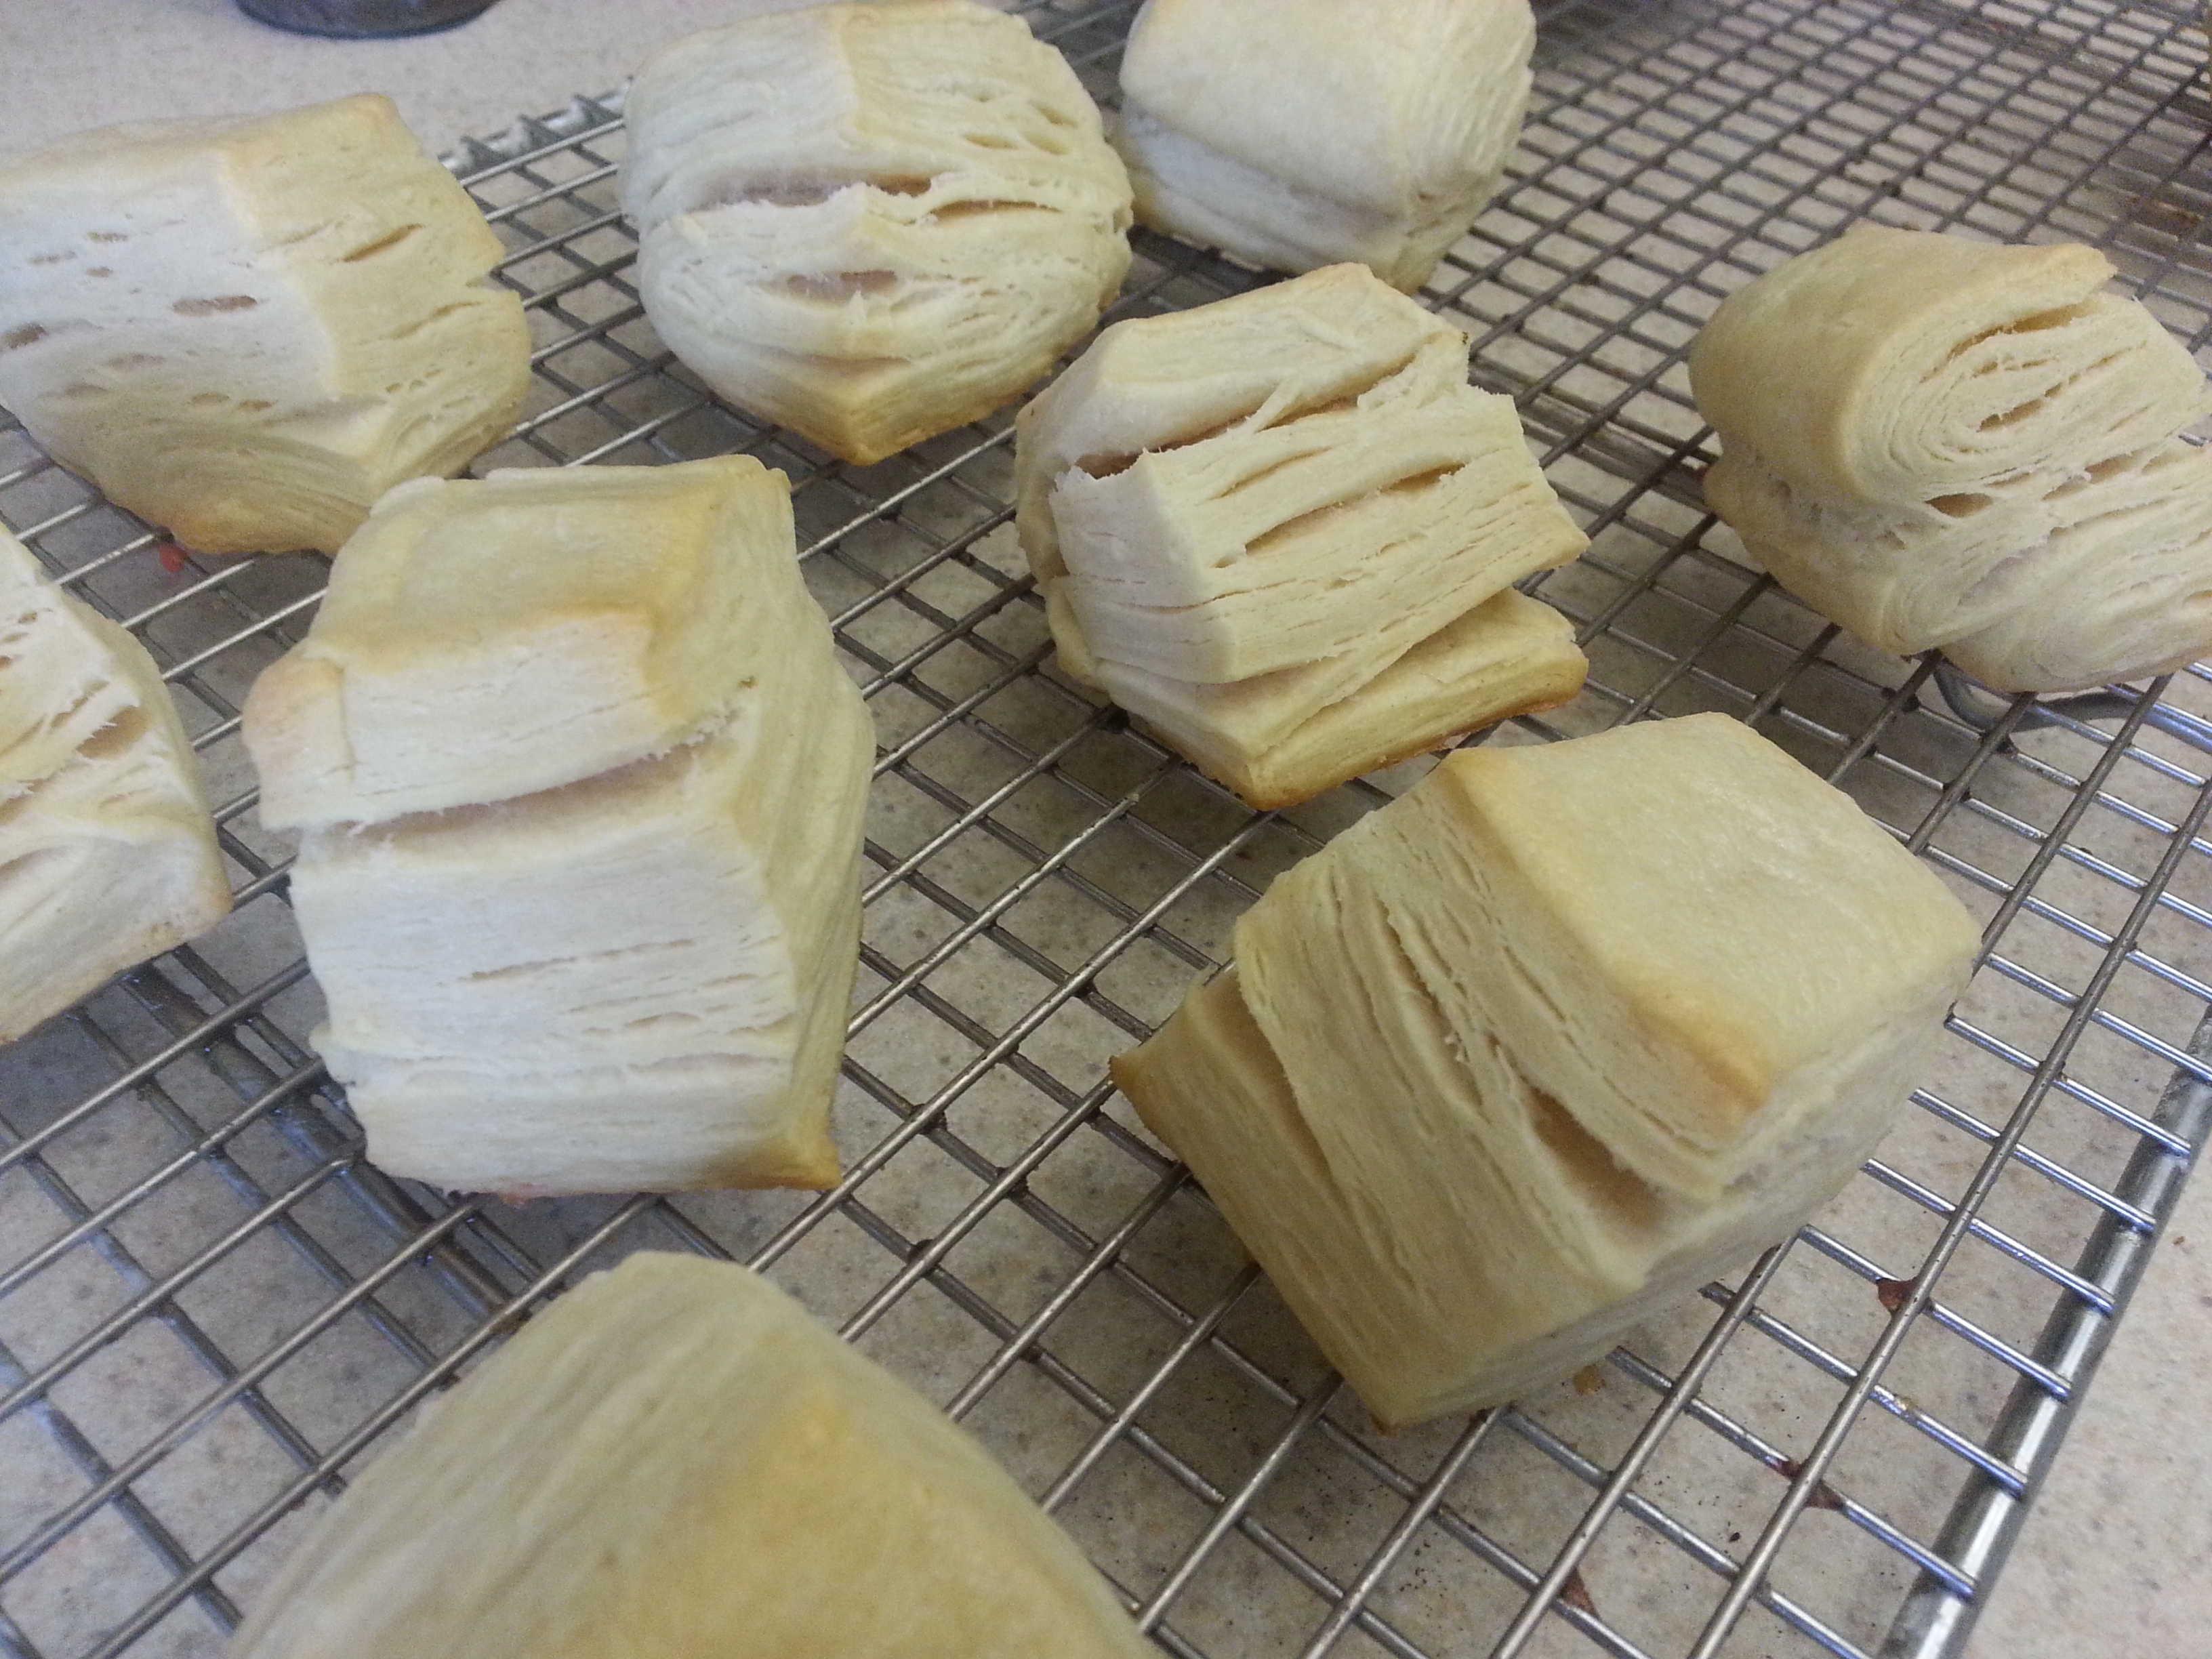
Bake for 22 minutes and then move to a wire rack to cool completely. Store in a well-sealed container.

cut cookies8978650634_e12aedc296_b
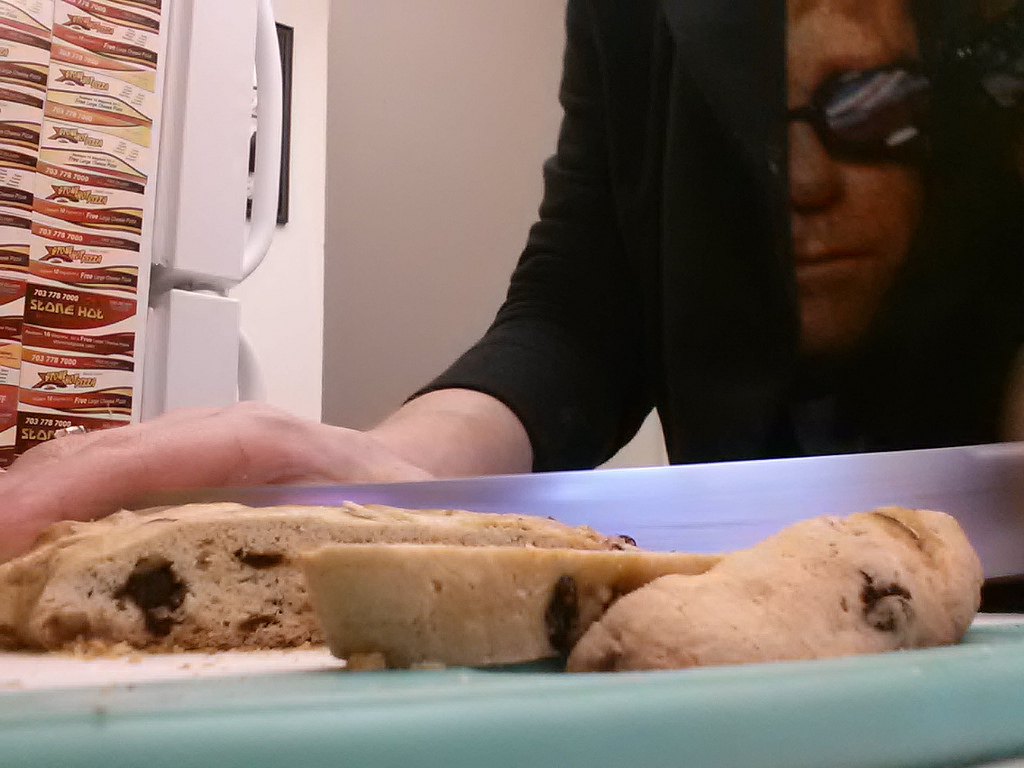
If I can let my coworkers know anything before I head off toward whatever adventure lays in front of me, it is that they are important, they are loved, and they will always, always be welcome in my kitchen. It may not be as close as my picture-laden office on the second floor, but I can guarantee a steaming cup of coffee, a smile, and at least one delicious cookie at the little brick townhouse in Arlington.

Ciao for now,

Neen

Nine Years of Thankfulness

17 Apr

Nine Aprils ago, I was of my own free will, laying in a hospital bed and staring at my hands. They felt naked. The ring mom and dad got me for my confirmation and the one my aunt gave me at my high school graduation were safely tucked away in the overnight bag I left with my parents.

“You know you can’t keep this a secret.”

In a matter of weeks it was going to be obvious. I was already wondering how I’d feel about the questions and (potential) judgment from others. It had already crept up from friends I expected would be supportive, and scared me off of saying much to anyone outside of my immediate family.

“You realize this is permanent, right? This is for the rest of your life.”

True. And at eighteen years old, what clue did I have about permanence? Was I even mature enough to be making a massive life decision? My heart raced a little more quickly.

“You can do this. Would mom and dad ever support you doing something like this if they didn’t think it was going to help?”

I found myself wishing that hospitals didn’t have such stark white walls and fluorescent lights everywhere. All I wanted was a soothing blue ocean, and I tried to picture the summers we spent on Satellite Beach basking in the sun and eating pizza at Bizarro’s.

“Pizza. That’s going to be a hard one.”

Why was I thinking about food? This was the worst possible time to be thinking about food. For the next 6 weeks, there wouldn’t be so much as a crunchy Cheerio in my diet. The kitchen at home was already full of soup, tuna, cream of wheat, and eggs. Even eggs were out for the first two weeks. The panic came back and I suddenly wondered how fast I could get the saline IV out of my arm, and bolt out of the hospital before anyone noticed.

And then there was peace. There was nothing. There was silence.

“This is going to save your life.”

I’d technically been obese since my early teen years. I was always overweight as a kid, even when I swam year-round, but teetered into obesity once high school hit. Between school, marching band, drama club, forensics, a job at the YMCA, a job at the jewelry stand, and time with family and friends, eating right didn’t make my list of priorities. By the time I was a junior, I was only pretending to not hate every single thing about my body. I wanted to be pretty, so I wore lots of jewelry, dyed my hair fun colors, bought sparkly clothes at the plus-size store, and tried to convince myself that it was okay. But simultaneously, I tried every single diet in the book. Changing myself became an obsession, and I went to lengths that I am not proud of to try to lose weight. The “safe” ways like South Beach, Atkins, Weight Watchers, or liquid diets stuck for awhile, but every attempt had an end, everything I tried failed at some point. Temporarily, I could shed a meager 10-20 lbs. but it always came back. I’d find myself buying boxes of cereal to replace the ones I shamefully decimated in a matter of a day or two, destroying the empty boxes and throwing them in a trash can away from home. I tried to hide the binges, but after awhile all it took was looking at me to know that what I ate in front of others could not possibly be ballooning my body at such a rapid pace.

It got worse when I went to college. For the first time in my life I was making food choices entirely on my own, and the freedom was almost intoxicating. Grilled cheese sandwiches and chocolate chip cookies for lunch, all washed down with a big glass of diet coke? Hell yeah. Breakfasts comprised of double Pop-Tarts and Odwalla smoothies? Bring on the sugar rush, baby. I’d catch myself every so often, and the shame would draw me back toward the complete opposite end of the spectrum. Before I knew it, everything would flip again and I’d be hiding in my dorm room destroying half a box of penne. Writing that out now makes my face turn hot and red. After all these years, I’m still embarrassed at what I couldn’t just control. People don’t think about someone obese having an eating disorder, but that’s exactly what it was.

At my highest weight--somewhere in the 280s.

At my highest weight–somewhere in the 280s.

And so there I was, nine years ago, freezing in a thin hospital gown, 280ish uncomfortable pounds packed on my bones, and a little sick to my soon-to-be reorganized stomach. Dr. Quinlin pulled back the curtain to my little cube in the surgery prep ward and gave me a warm smile. “How are you doing this morning?”

“Nervous.”

After all, this (wonderful) surgeon was about to make a bunch of incisions in my abdomen, close off a rather large portion of my stomach, bypass a long section of small intestine and reattach the rest of the intestine to the remaining egg-sized piece of my stomach. That’s the short description of Roux-en-y gastric bypass. For the next week and a half, I’d have only clear liquids, the two weeks after that clear and opaque liquids, the four weeks after that just soft foods, and finally a slow reintroduction to coarser solids. Basically, I was about to be an infant again. I was going to re-learn to eat, and in doing so, try to undo almost 2 decades of bad habits and damage to my body.

RNY-Diagram-Mayo-Clini

A simple diagram of RNY gastric bypass surgery.

Dr. Q gave me a smile and a pat on the arm. “You’re going to do great, okay?”

“Okay.”

A few hours later, my new life began. It was like hitting the reset button, getting the fresh start I always wanted. Starting from scratch.

Visiting my brother in Lucca, Italy about 3 months post-op. I was down about 55-60 lbs. at that point.

And what a miracle. What a life it has become. There is not a day that goes by that I do not believe that Dr. Quinlin saved my life in April 2004. Yes, I have had to make an effort—one that felt unbearable at times for the first year post-op. Yes, I still have to work at making good choices every day. Yes, I still have to fight the (much fainter) urge to fall back on disordered eating and a distorted perception of food.

But do you know what I can DO now? I can bike 20 miles, I run 5k and 8k races, I do ninety minutes of yoga six days a week, and go through body weight circuits like a champ. And mostly I do all of this just because I CAN. Because there was a time that it felt so impossible, and so far out of my reach that I didn’t even dare to dream of it. There was a time when I was out of breath after one flight of stairs. I always believed that even if I was somehow thin, surely I would never be athletic.

At the Race for a Cause 8k - October 2012.

At the Race for a Cause 8k – October 2012.

I'm Superman!

I’m Superman!

People often think of gastric bypass as some golden ticket, or “the easy way out.” There’s not a post-op alive who hasn’t heard that line and had to grit their teeth and smile thinking, “You have no (expletive) clue what you’re talking about.” It’s not easy to withstand those first few restrictive months, the physical healing takes a long time, restaurants are difficult for the first year post-op, finding 70 grams of protein everyday can be really hard, grocery shopping was a nightmare at first because I had to evaluate every label and ingredient, and I had (and have) to be ridiculously careful consuming sugar or alcohol; the former because I hate feeling nauseated, and the latter because I would like to remember entire conversations. If you were (as I was) a major food addict prior to surgery, there’s a good chance you’ll look somewhere else for comfort. If you aren’t prepared it can turn into something ugly like alcoholism. As a regular contributor to a weight loss surgery forum, I can tell you that it is a familiar refrain. Trust me when I tell you that this was not an easy way out. It was as hard, if not harder than any diet I ever tried. The reason it worked for me was its two-fold approach: Restriction and malabsorption. Since the stomach pouch is quite small, the amount of food that can fit is much less than normal, and since part of the intestine is bypassed there is a reduction in the amount of calories that the body absorbs. The malabsorption is effective for about the first year and a half, but the restriction remains permanently for the most part. It is not uncommon for patients to experience some weight re-gain once the “honeymoon” period is over. I most certainly did. I put 30 lbs. back on before I looked in the mirror and thought, “Don’t waste this. You got your second chance.” I’d accepted remaining overweight because it was better than being obese.

“But that isn’t why you had this surgery. You had it to be truly healthy.”

So I re-grouped, started tracking my nutrition and exercise, and worked to find the balance that helped me get to and maintain a weight in the normal range for a woman of my stature.

...and totally jumped out of a plane.

…and totally jumped out of a plane.

I am literally half of myself. But unless I told you (and I do tell people because it has been such an incredible life change), you’d probably never know I had surgery. You’d probably just think I have a small-ish appetite. I still eat all of the things I used to love, just less, and I’m a lot pickier about the quality of the food I eat. We have dairy, meat, and poultry products delivered from a local farm once a week, and buy as much of our produce from the nearby farmers’ market as much as possible. Sometimes that isn’t so great for my wallet, but the way I see it, food is part of my health care costs. And my health is more valuable to me than I can explain.

beanpot

Same jersey, just 9 years in between pictures.

So here I am, nine years later and 135-140 lbs. less than my highest recorded weight. There is one pair of size 22 pants that hang in the very back of my closet. Every so often when I am feeling truly discouraged, I fit myself into one leg of those pants and remember all that I couldn’t do, and everything that I can do now. It might not be a big deal to someone else, but to me it’s nothing less than miraculous. Could I have lost weight and maintained that loss without weight loss surgery? To be honest, I’m not sure. I understand so much more about obesity now that I know my problem was not simply a lack of willpower. I’m not sure what I’d be like today if not for RNY surgery.

But I know what I really am today, and what I am is so grateful that I still cry my eyes out every single year on one special day late in April. My heart overflows with gratitude for Dr. Quinlin and his staff. Thank you, thank you, thank you for helping me to achieve a healthy and active life, the life I never dared to dream of as a food-addicted, ashamed teenager. Every single run, every single yoga practice, and every single healthy check-up I think of you. I will never, ever forget what you did for me, and the compassion and care that you showed every step of the way.

Oh, how things change...(click for full-size!)

Oh, how things change…(click for full-size timeline!)

I remember the first time that I wasn’t bothered that I couldn’t find a cab outside of the Prudential Center and would have to walk the mile home to my dormitory carrying 6-7 bags of groceries (a Thanksgiving turkey for dinner with friends included!).

Looking up at the cloudy, gray November sky at that moment, it was  more beautiful than anything I’d ever seen in my life.

dancer

A moment of grace and gratefulness.

Ciao for now,

Neen

Completely Counter-intuitive

18 Mar

Guess what we’re going to do today? We’re going to make BISCUITS! And we’re probably going to make a few people cry or write me angry letters.

I make biscuits and bacon for Joe almost single weekend, and use a pretty basic method. Always by hand, never in the food processor. Always all-butter (a cube or two of lard if I have it), never shortening. Always patted gently, never rolled out, and cut only once. Dough scraps are mashed together to make a mutant (but still delicious) biscuit, but the dough is NEVER re-rolled. And if it gets remotely warm while being handled, to the freezer with it!

The point here is that I’ve been threatened by enough Southern cooks in my life to know that YOU DO NOT OVER HANDLE THE BISCUIT DOUGH. Want them tender, crispy, and flaky? The less you touch it, the better. Otherwise: Bricks. Buttery, delicious bricks, but heavy and flat all the same.

There was an incident. I blame the bad reality television I leave on in the background when I’m in the kitchen. I was probably momentarily horrified by seeing an individual take a piece of raw chicken out of a marinade to cook, and then proceed to begin reducing the remaining marinade into a sauce. Mmm, salmonella! Anyway, an incident. I tossed my flour, salt, and baking powder together and then added the cubed, cold butter. As I worked my hands through it, quickly breaking and smearing the butter into small fragments, I thought “This is taking longer than usual…”

After adding the milk, the dough came together as usual…but the texture was different. It wasn’t sticky or too dry to come together, it just felt different. I chalked it up to paranoia and tossed the dough in the fridge. As I began to close the door to the refrigerator, I noticed that the 16 oz. tub of butter I’d bought earlier was nearly empty. “How did I go through this much butter this week? I didn’t even bake anything for work…”

(Censored expletive.)

"Why does this feel so light?"

“Why does this feel so light?”

A synapse clearly fired wrong, because the normal ratio of butter to milk is 1:2 in my biscuit dough recipe. Normally it’s 3 oz. butter and 6 oz. milk. And yet somehow that morning I was convinced that they were equal 6 oz. portions. “Now what?”

It occurred to me that the proportion of butter:flour made the ratio slightly closer to a croissant dough or pate brisee than a biscuit, but croissants use yeast, so it’s not abnormal there to handle the dough a lot. And pate brisee doesn’t need to rise, and has practically no liquid at all. At this point I figured that while I was already going off into left field, that I might as well just go all the way and see what resulted.

Something wonderful happened.

Flaky Layer Biscuits

The second time I made these, I made a few improvements to the methodology, and a 1 oz. reduction in the amount of butter. This was because the most inner layers in the first batch were over-saturated and a little greasy for my taste.

  • 9 oz. flour (about 2 cups, lightly scooped)
  • 5 oz. butter, cubed and chilled
  • 6 oz. whole milk or buttermilk
  • 2 tsp. baking powder
  • 1 tsp. salt

In a medium sized mixing bowl, mix the flour, salt, and baking powder.

20130317_083011

Add the cubed butter. Smear and break up the pieces until the mixture is pebbly. The largest pieces of butter should be pea-sized.

Add the milk / buttermilk and stir the mixture with a fork until a rough dough forms.

20130317_084012

Transfer the dough to the counter and pat it into a small rectangle.

20130317_093225

Wrap this in plastic wrap and refrigerate it for a half-hour or until it is firm enough to roll.

Remove the dough from the plastic wrap and roll into a 9 x 17 in. rectangle.

20130317_093459

Letter-fold (as in my croissant recipe) into thirds, and then rotate the dough 90 degrees and repeat the process.

20130317_09354820130317_09361020130317_09371820130317_101009

Wrap the folded dough in plastic wrap and refrigerate for a half-hour.

Remove the dough from the plastic wrap and roll into a 9 x 17 in. rectangle, and again letter fold into thirds, rotate, and fold again. This time, cut the rectangle in half, and stack the two squares on top of one another, making sure that the folded sides of each square are at opposite ends. Press down, and then wrap the folded dough tightly in plastic wrap and refrigerate for a half-hour.

20130317_10115920130317_105140 20130317_10152120130317_101543

Remove the dough from the plastic wrap for the final time, and repeat the previous three-step process. Then roll or press it out to 1/2 in. thickness.

20130317_10522720130317_105420

Cut into 12 squares with a sharp knife or pizza wheel. Place the biscuits on a parchment-lined baking sheet and refrigerate while the oven preheats.

20130317_105805

Preheat the oven to 375 degrees. Brush the tops of the biscuits with a beaten egg or a little bit of cream or milk.

20130317_110659

Bake for 20-25 minutes or until fluffy and golden brown.

20130317_11385220130317_113830

Then you can enjoy slowly peeling apart all of the buttery layers and eating a delicious biscuit. Perfectly soft and flaky in the middle, a touch salty, and crisp on the outside. Voila!

20130317_114122

I was convinced these were going to be masonry equipment, but the result was opposite in nearly every way. The texture was just incredible, and they needed absolutely nothing spread on them (although fresh jam would be fantastic I’m sure). If, like me, you wish to gamble with your cholesterol numbers…they’re kind of amazing alongside a fried egg that’s still slightly runny.

It’s not the quickest biscuit recipe, but it’s hands-down my new favorite. I doubt I’ll have the patience to make it my every-weekend recipe. Even so, it was truly the happiest of accidents.

So go ahead. Handle the dough, roll the dough, and go nuts. Follow what I’ve written and you too will wonder why everyone has been lying to you. Maybe it’s a conspiracy among southern cooks to never reveal this secret. If I disappear, I wish you to assume that I’ve been kidnapped by someone’s grandma and locked in a basement for my crimes. Happy baking!

Ciao for now,

Neen

The Happy Camper

14 Mar

Dear Summer, MOVE IT.

My brain has gotten demanding lately. Cravings for fruit and beaches abound, I’m sick to death of wearing tights under dresses and needing to keep my coat on in the office, and I want to go swimming, plant a garden, and grill. I’m the kind of person who will stand outside in humid 90 degree DC weather drinking a cup of coffee and feel perfectly fine with the situation. I am clearly a child of the long summer days.

Our HR department at work decided to hold a pie baking contest to celebrate Pi Day, and I was initially pretty stumped. Can you imagine? One of the most versatile pastries and I could not think of One. Damn. Thing. Not much fruit is particularly in season, most of what I canned last year is gone, and we were asked to omit nuts due to allergen potential, so there were a few challenges. Of course I could have gone for something savory, but for some reason I got stuck on layers. Distinct layers of flavors with different textures, maybe a little deconstruction.

“You’re over thinking this, Neen. What do you really want to eat right now?”

The answer from my summer-obsessed head came instantaneously:

“I want s’mores. I want s’mores reeeeeeeal bad.”

Hmmm….buttery, crunchy, molasses-laden crust, a creamy, slightly bitter chocolate center, a towering marshmallow meringue, and an excuse to use my blow torch? It sounded too fun to pass up.

S’mores Pie, or, “The Happy Camper”

Graham Pastry

  • 1 1/3 cups flour – For graham crackers, I always use half all-purpose and half white whole-wheat.
  • 1/4 cup granulated sugar
  • 1/2 teaspoon kosher salt
  • 1/2 teaspoon ground cinnamon
  • 4 oz. unsalted butter, cubed and chilled
  • 1 1/2 tbsp. cold vodka or water
  • 1 tbsp. honey
  • 1 1/2 tbsp. blackstrap molasses
  • 1/2 tsp. vanilla extract

Chocolate Cream Ganache

  • 7 oz. bittersweet chocolate, chopped
  • 1 cup heavy whipping cream
  • 1 large egg brought to room temperature

Marshmallow Meringue

  • 1 tbsp plus 1/3 cup water
  • 1/2 teaspoon unflavored gelatin
  • 1 cup sugar
  • 1/3 cup light corn syrup
  • 4 large egg whites
  • 1 tsp.vanilla extract

Begin by making the graham pastry. Combine the flour, sugar, salt, and cinnamon in a bowl. Add the butter, and using your fingertips, gently smear and break the butter into the flour until the largest pieces are pea-sized. It should have a pebbly, sandy texture.

Whisk the molasses, honey, vanilla extract, and vodka or water together until blended.

8557809664_fa6cbde255

Add the wet ingredients to the butter-flour mixture and stir with a fork just until a rough dough forms.

8557807254_c9f4a3e2b48557806338_e73e0f5b57

Knead the dough once or twice on the counter until it adheres together.

Flatten the dough into a disc, wrap in plastic wrap, and refrigerate for a half hour.

8557805344_dec275c914_b

Preheat your oven to 350 degrees.

Remove the graham pastry dough from the refrigerator, unwrap, and roll into a circle about 12 inches in diameter. Fit into a 9 1/2 in. tart pan with a removable bottom, or a 9 1/2 in. pie pan. Trim the excess from the edges.

8556695729_dafd0309ff

Line the crust with foil or parchment paper and weigh it down with dried beans. This allows you to pre-bake the crust without it puffing up in the middle.

8556694869_ed0865f8e1

Bake for 20 minutes at 350 degrees.

Leave the crust on a wire rack while you prepare the chocolate ganache filling.

Put chocolate in a large bowl.  In a medium sized saucepan, heat the cream over medium-high heat until it just comes to a boil. Remove it from the stove and pour gently over the chocolate.  Wait one minute and then whisk the mixture until smooth and shiny. Add the egg and mix until well integrated.

8556694087_67517a80be8556693417_b0fc89f922

Pour  the filling into the crust and jiggle the pan slightly to make it even.

8557801190_f9b1b93336

Cover the edge of the pan with a pie shield or foil and then bake for 22 minutes or until the filling jiggles just slightly when the pan is tapped. Cool for at least one hour. I moved it to the refrigerator after an hour and left it there while I made the meringue.

8557800174_b928fc8487

Place 1 tbsp. of water in a small ramekin and put that in a small skillet. Add water to the skillet until it is a depth of 1/2 inch. Sprinkle the gelatin over the water in the ramekin and set aside to bloom.

8557799042_c97079fbc6

Put the egg whites and a pinch of salt in the bowl of a stand mixer fitted with a whip attachment.

Whisk sugar, corn syrup and 1/3 cup water together in a heavy bottomed saucepan. Bring the syrup to boil over medium heat, stirring only until sugar dissolves.

8556689619_825a75468b

Once the syrup has begun to boil, turn the mixer onto a high setting and beat the egg whites to stiff peaks.

Boil the sugar syrup without stirring until it reaches 248 degrees F. Remove from the stove, and with the mixer on, pour in a thin stream into the egg whites.

8557797824_598326a376

Beat for 4 minutes or until stiff, glossy peaks form. Add the vanilla and beat to combine.

8556688503_b3b453f692

Bring water in skillet to simmer. Stir the gelatin mixture in cup until it dissolves into a clear liquid.

8556687799_a02423a08e

Slowly pour gelatin over egg whites and beat until the marshmallow meringue is cool, anywhere from 8-10 minutes.

8557795900_8f07a1155b8557795024_9c2df8764fSpread the meringue over the top of the pie, forming small peaks by tapping the flat side of a butter knife against the meringue and flipping upward.

8557794458_2239755caf

Using a blow torch or broiler, brown the meringue. Refrigerate the pie until serving. This holds up very well in the refrigerator and the meringue won’t weep because of the magical gelatin.

8557851144_f12227c6128556685067_d0cfdfb2c2

From the first taste it was…a s’more. A giant, fluffy s’more. The crust was crunchy, with a little caramel flavor from the molasses and a distinctly graham cracker taste. The chocolate ganache was creamy, somehow tasting melted even in a chilled state. But the marshmallow meringue was the star. Puffy and springy on the outside with an almost divinity-like texture inside. The final torching gave it the toasty campfire flavor, finally quieting my weary-of-winter brain.8557793060_32cc0f9c76

It didn’t win the contest, but it made me really happy to make it and that’s a reward I cherish dearly. Besides, I work with an insane amount of creative, talented people, so a baking contest here is no cakewalk, er, piewalk.

Hope everyone is having a happy March. It is, of course, the month of super-husband’s birthday, so there will be cake soon. Maybe I’ll have some new sweet treat to share with you!

Ciao for now,

Neen

Earning the Merit Badge: Coconut Caramel and Dark Chocolate Cookie Bars

8 Mar

I apologize to the Girl Scouts of America.

While their cookies are oh-so-delicious, one of the ingredients in them is sorbitol, a sugar alcohol which unfortunately makes me a sick and sad individual. I was depressed to discover this fact, but even more bothered by the fact that the boxes of cookies contained such a litany of unpronounceable ingredients that I’m not sure what I was eating when I did endure the nausea for a Samoa.

I had one of those “As Seen on TV” moments where the person throws their hands up in defeat and says aloud, “There’s GOT to be a better way!” Usually followed by a thrilled voiceover actor assuring the person that yes, there most certainly is a better way.

Sorry ladies, but butter always wins over partially hydrogenated vegetable oil.

Regardless of digestive distress or non-food ingredients, I missed Samoas / Caramel Delites. I’d still give in and buy a box to share, justifying that the proceeds helped young girls, and cookie sales taught entrepreneurship and encouraged social skills. Well, I think I’ll just be making an annual donation now, because I’ve done it. I’ve really done it.

I’ve made a cookie better than Samoas. No joke. Doubt me? Please wait while I retrieve the co-workers that took a batch of these down in about 5 minutes. I may never have been the most competitive Girl Scout when it came to selling cookies, but making them, OH, I’ll take you on. Then we’ll see who gets the “Cookie Star” merit badge.

Coconut Caramel and Chocolate Cookie Bars

For the cookie layer:

  • 12 tbsp. butter, cut into 1 in. pieces
  • 1/2 cup sugar
  • 1 egg
  • 2 cups flour
  • 1/2 tsp. salt
  • 1/2 tsp. vanilla extract
  • 2 tbsp. milk or cream
  • Pinch of kosher salt

For the caramel layer:

  • 6 tbsp. butter
  • 1/2 cup sugar
  • 1/2 cup light corn syrup
  • 14 oz. can of sweetened condensed milk
  • 4 cups unsweetened shredded coconut, toasted until golden brown
  • 1/2 tsp. vanilla extract
  • 1/4 tsp. kosher salt

For the topping:

  • 1 cup dark chocolate, roughly chopped

Preheat the oven to 350 degrees F.

Begin by making the cookie layer. Combine the flour, sugar, and salt in the bowl of a food processor.

Add the butter to the flour mixture and pulse until a sandy texture is reached. Add the egg, milk, and vanilla and pulse until everything is mixed well. The dough will look a little bit uneven and clumpy, but should not be sticky.

20130307_16490220130307_165104

Pat the dough evenly into a 9 x 13 in. pan and bake for 20 minutes, or just until the edges are light golden brown. Set the pan aside on a wire rack while you make your caramel.

Combine the butter, sugar, corn syrup, and pinch of salt in a large saucepan set over medium low heat. Heat, stirring constantly, until the mixture comes to a boil. It won’t take very long—I was surprised. Continue to stir and boil for 3 minutes.

20130307_165854

Add the sweetened condensed milk to the pot and continue to cook over low heat while stirring until an instant read thermometer reads 225-228 degrees.

20130307_170935

Remove the pot from the heat and thoroughly stir in the toasted coconut and vanilla extract. (Cook’s note: I’ve also added chopped nuts to the caramel along with the coconut and it’s delicious! Try adding a 1/2 cup of finely chopped pecans if you like nuts.)

20130307_171531

Spread the caramel over the cookie base evenly and allow to cool completely on a wire rack. I usually put the pan into the refrigerator once it’s not hot to the touch anymore.

Finally, melt the dark chocolate over low heat, then drizzle over the cookie bars.

20130307_18574420130307_194548

Once the chocolate is set, cut the cookies into small squares. Yield: 32 cookies (I cut them into 8 rows of 4.)

20130307_19484620130308_07213920130307_195722

Using the unsweetened coconut really keeps that caramel from getting cloying, and the dark chocolate plays nicely against both the buttery cookie and creamy, lightly salted caramel. This is what I imagine would result if a Samoa cookie and a Magic cookie bar got into a brawl and somehow melded into one glorious item.

Come to think of it, shortbread was kind of a theme in February. The rest were mostly cut-outs with some very delicious frostings. Here are some of the other creations that came out of me really not wanting to sit on a fractured / dislocated coccyx.

Portal Companion Cube

20130220_221342

The Detective is on the case!batman

Dancing Mutant People885593_10100875545326959_601188076_o

Not as sweet as he is, but pretty darn good!857286_10100886421271479_1088374384_o

These were for my friend Erica’s birthday and were extra special. Coconut and macadamia nuts blended into the shortbread cookies, topped with dark chocolate.858763_10100874757211349_1969064040_o

Hope you’re all having a wonderful start to the (early) spring!

Ciao for now,

Neen

The Real Red Velvet

13 Feb

For as much of a love of sweets as I have, you’d think that I’d be a chocoholic. While I do love my nearly daily chocolate-caramel Kashi protein bars and can’t resist a peanut butter blossom cookie to save my soul, something chocolate-y isn’t what I’d pick out of a line-up for dessert on the vast majority of occasions.

Please don’t slap me. It takes me months to work through a jar of Nutella, and usually the chocolate treats I do make end up at the Folger or the Advisory Board (where they are truly appreciated).

Joe is not a chocoholic either and for the most part relegates his chocolate eating to peanut butter cups, peanut butter blossoms (ha-ha, I got him hooked too), and chocolate chip cookies. He is far more content with a pan of simple butter shortbread or blueberry cake. Both our wedding and wedding party cakes last summer were white almond cake with strawberry filling and vanilla buttercream. I mean just look at them, of course you want to eat that:

neenjoe cake 2neenjoe cake

So while I generally have at least 2 lbs of butter, sugar, and flour on hand at all times, I rarely have baking chocolate. Someone did however give me a tin of unsweetened cocoa at Christmas, and over the weekend I found myself thinking that I really ought to use it for something wonderful. We were headed to a Mardi Gras party on Sunday night, and I’d previously thought I’d go with something vanilla and pecan-laced, but remembered that the hostess makes the world’s BEST king cake and decided that a contrasting dessert would probably be more enjoyed.

“Okay, chocolate cake,” I thought. “Really freaking good chocolate cake. Chocolate cake of gloriousness.” Only I was out of buttermilk and entirely without something to acidulate the milk in my fridge. Regular milk would have worked fine, but the tangy, acidic quality of buttermilk gives chocolate cake that tender, soft crumb.

As I often do when this kind of problem arises, I began pacing around the house trying to think of a reasonable substitute. It was the perfect storm: Out of buttermilk, yogurt, and sour cream. There wasn’t even a jar of applesauce anywhere!

Then it hit me. A few months ago, Joe and I went to a wine tasting out in Loudon county and the gentleman serving us gave us each a piece of dark chocolate to go with one of the wines we were drinking. So why not take this concept a step further and put it in some chocolate cake? We had a mystery bottle of red table wine, and as Julia Child said, “The only real stumbling block is fear of failure. In cooking you’ve got to have a what-the-hell attitude.” Preach it, Julia.

I’m now convinced that this is what should really be called red velvet cake. It doesn’t have that bright hue, but there is a deep red tinge when you cut into it and the spicy-sweet scent of red wine hits your nose right away. I went with a cream cheese filling for the middles, but powdered sugar alone would also be just fine. The cake is more than moist enough to be served without any kind of glaze or frosting.

Red Wine Chocolate Cupcakes

I used a mini bundt pan here, but this recipe also works baked in a cupcake tin or loaf pan.

  • 4 oz. unsalted butter
  • 1 cup firmly packed light or dark brown sugar
  • 1/2 cup granulated sugar
  • 1 large egg
  • 1 cup red wine
  • 1 tsp. vanilla extract
  • 1 1/2 cups all-purpose flour
  • 3/4 cup unsweetened cocoa powder
  • 1/2 tsp. baking soda
  • 1/4 tsp. kosher salt

Preheat the oven to 325 degrees F. Lightly grease a cupcake tin or loaf pan, and dust it with cocoa powder.

20130210_100552

Cream the butter and sugar together until light and fluffy, scraping down the sides of the bowl as needed. Add the egg and vanilla extract and mix thoroughly.

Mix in the red wine. Do not panic if the mixture takes on an uneven or grainy appearance. This perfectly normal.

20130210_095941

Sift the flour, cocoa powder, baking soda, and salt, and then add them to the wet ingredients, stirring just until no dry spots remain.

20130210_10042020130210_100528

Spread the batter equally into the cupcake wells and then tap the pan lightly on a countertop to even them out.

20130210_101115

Bake for about 23 minutes or until a toothpick inserted into the center of a cake comes out clean. If using a loaf pan, it will take 50-60 minutes. Allow the cakes to cool in the tin for 10 minutes and then turn them out onto a wire rack to cool completely.

20130210_10335820130210_104538

Dust with powdered sugar, or whip 4 oz. cream cheese, a punch of salt, and a few drops of vanilla extract with enough powdered sugar to reach the consistency of a frosting that can be piped or spread easily. If it gets too thick, just add a tbsp. of milk to thin it back out.

20130210_11352120130210_113554

These were whisked away to a Mardi Gras party where as far as I could tell, they were wholeheartedly enjoyed. I bet they’d be a great gift for your Valentine(s) too. And don’t give me the lecture on why you hate Valentine’s Day because it’s too commercial and has a narrow definition of love. Holidays are what you make them, and I refer you to this post.

Ciao for now,

Neen ❤